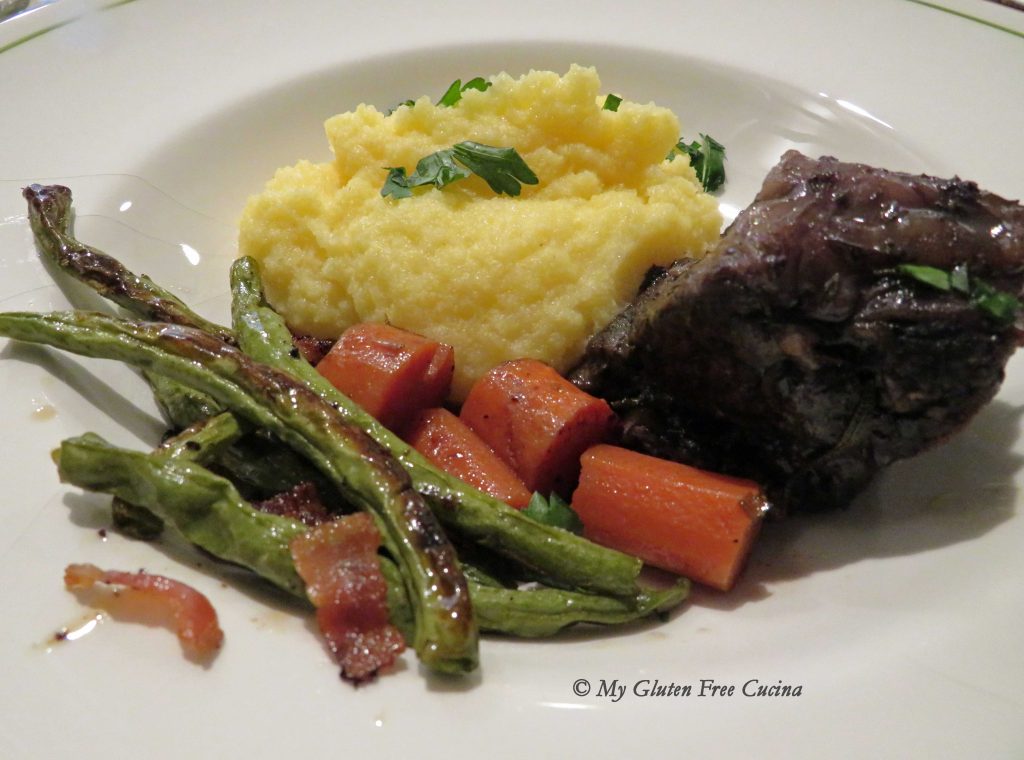
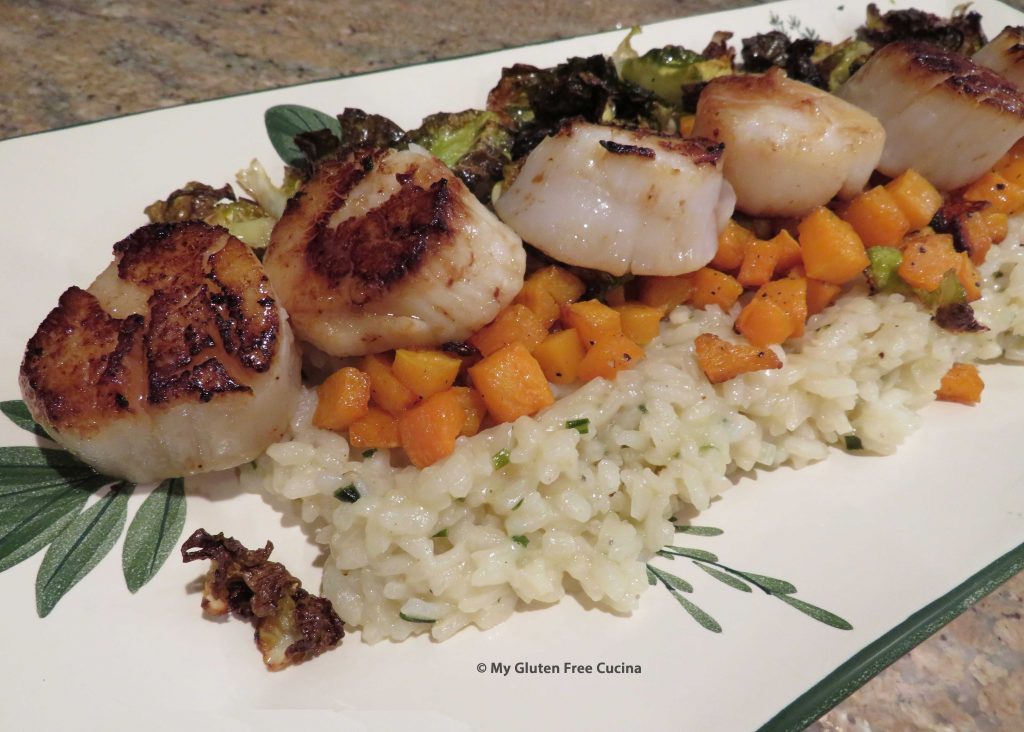
This delicious slow cooked meal is perfect for Sunday afternoons in autumn! Braised Beef Short Ribs are marinated in red wine with herbs. Your kitchen will smell amazing as they are slowly simmered on the stove top until the meat is tender and falling off the bone. Served over creamy Polenta, with a side of roasted green beans.

2 Servings (for heartier appetites, allow 2 ribs per serving)
This post contains affiliate links.
Ingredients:
- 2 bone-in beef short ribs
- 3/4 cup of red wine
- sprigs of rosemary, thyme and chives
- salt and black pepper
- 3 tbsp. olive oil
- 1 carrot, diced
- 1 celery stalk, diced
- 1/2 sweet onion, diced
- 2 garlic cloves, minced
- 1 tbsp. ketchup
- 1 tbsp. honey
- 2 cups gluten free stock (chicken, beef or vegetable)

Preparation:
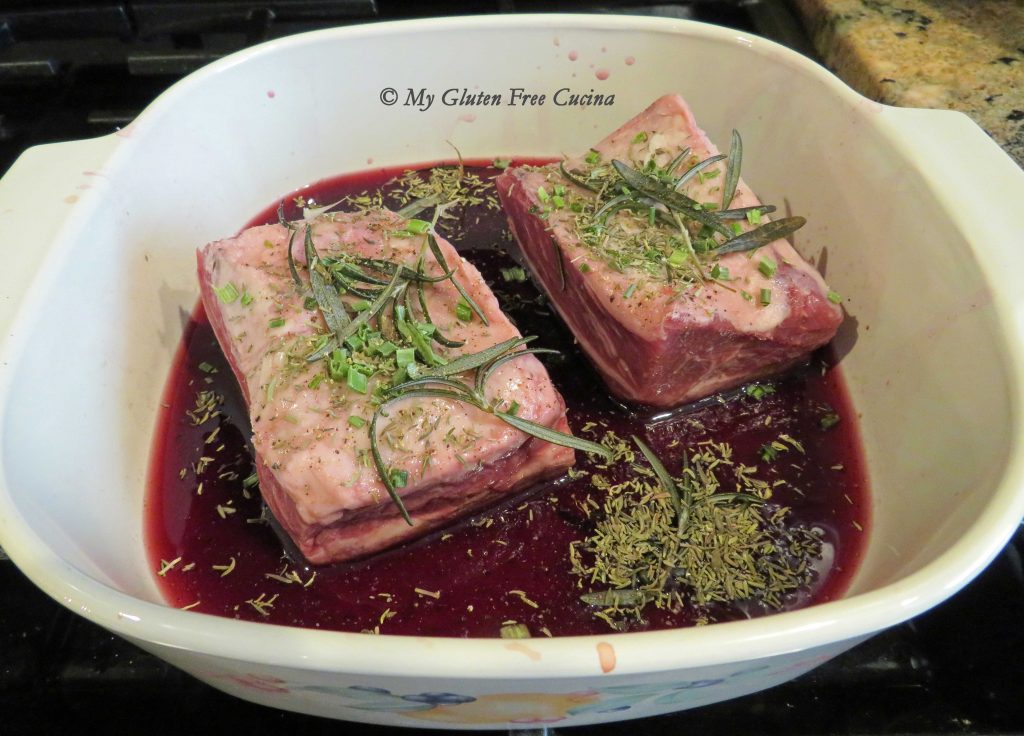
Combine the wine and herbs in a covered baking dish with lid (mine is an antique Corningware!). Add the short ribs and season with salt and fresh ground pepper. Cover and marinate the short ribs for 2 hours at room temperature, turning every 30 minutes.
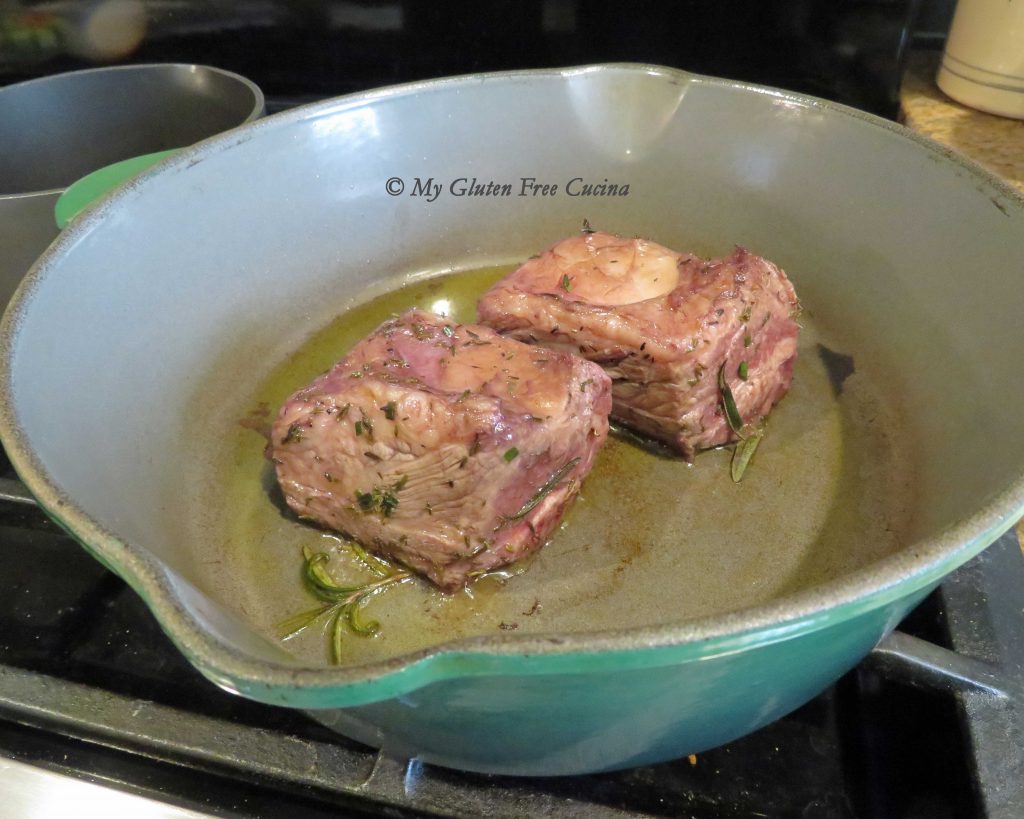
About 3 hours before dinner, pour the marinade into a saucepan and keep warm. Sear the ribs in a deep skillet with 2 tbsp. olive oil. You can also use a Dutch oven, or other heavy pan with a cover.
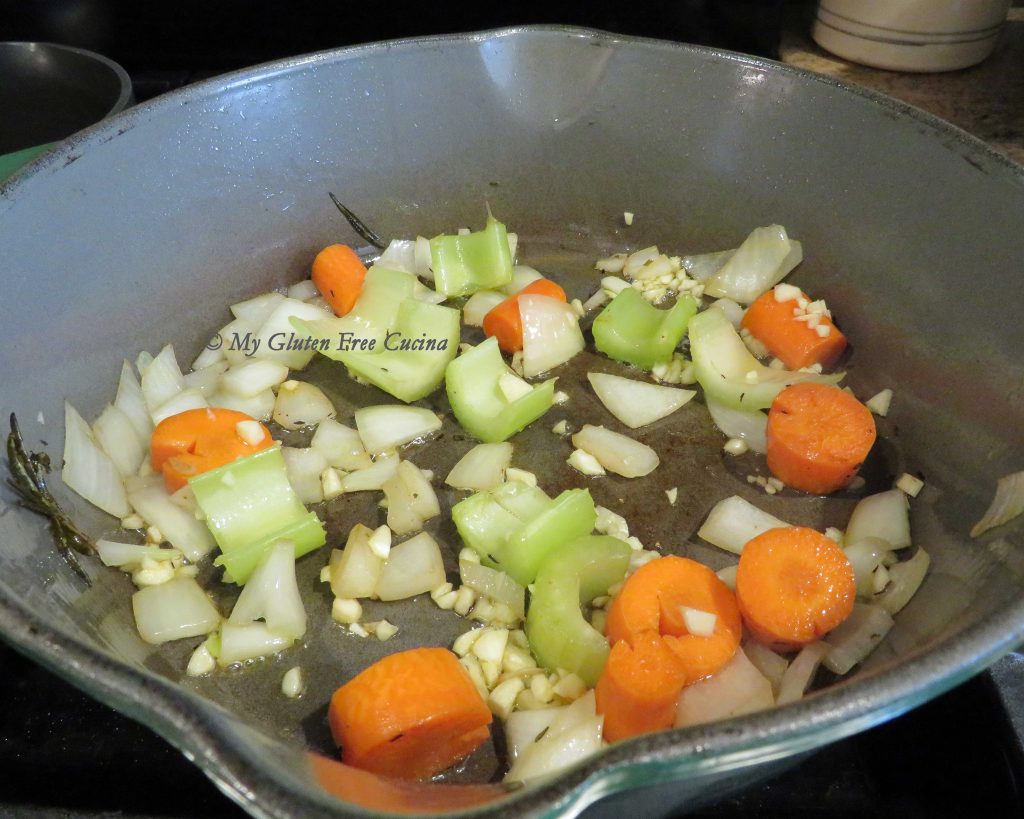
Remove the ribs, and add the carrots, onion, celery and garlic with 1 tbsp. more olive oil. Season with salt and pepper. Cook 5 minutes, stirring frequently.
Take the skillet off the heat and pour in the reserved marinade. Deglaze the pan, then add the stock, honey and ketchup.
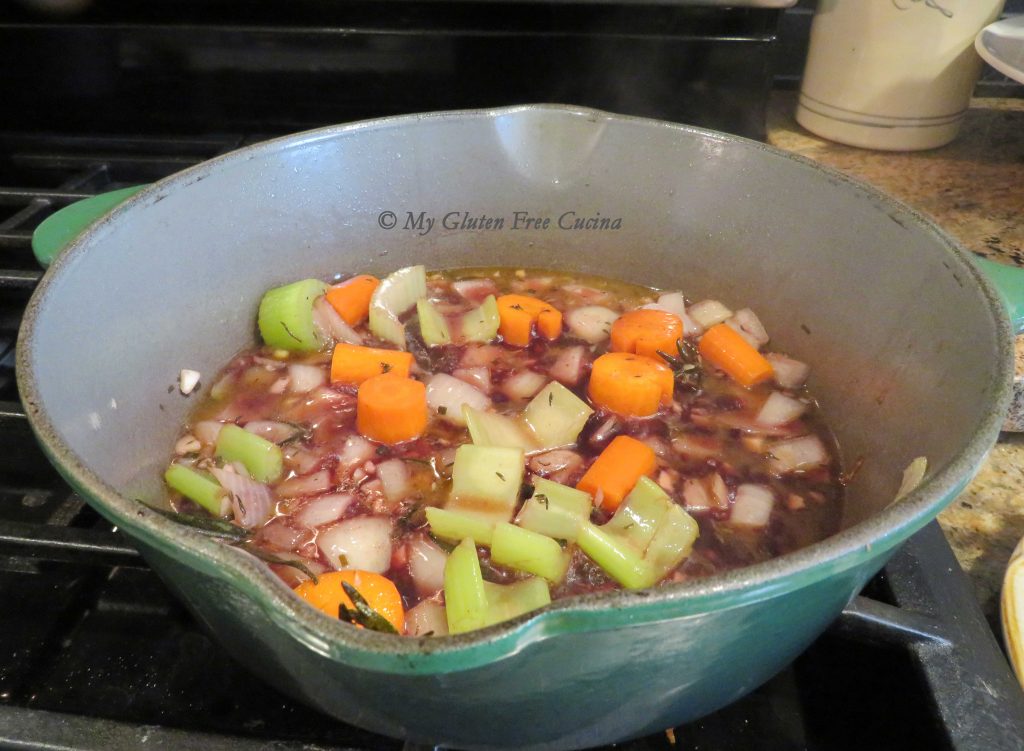
Return the short ribs, cover and turn the heat down to the lowest setting. You want a constant slow simmer.
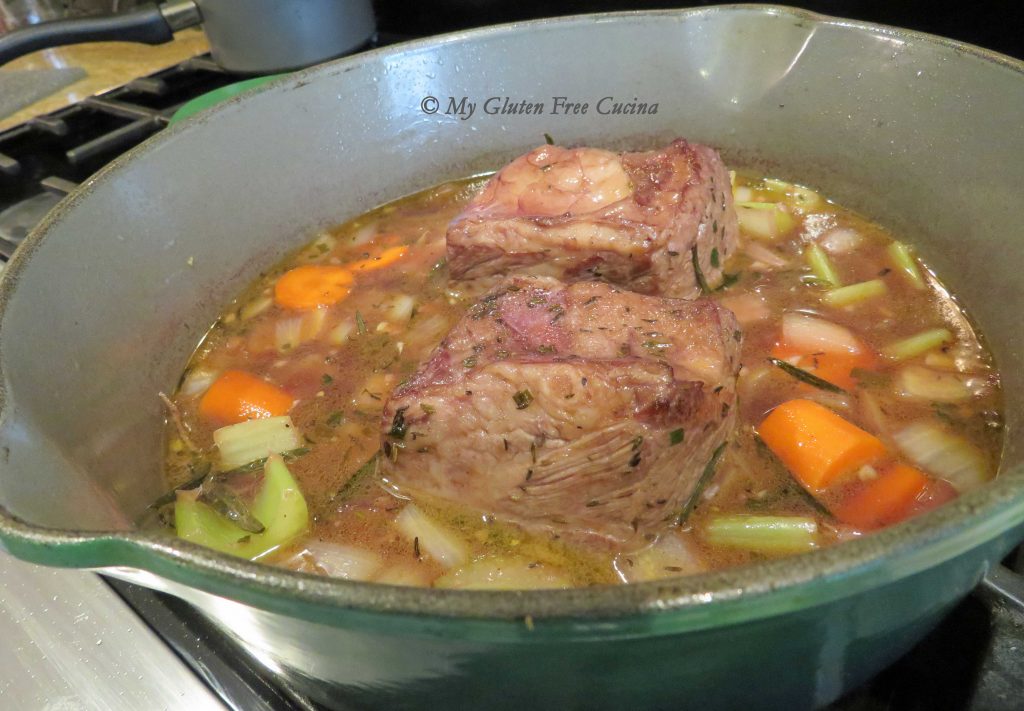
After 3 hours of gentle heat, the ribs are melt in your mouth tender and pulling away from the bone.

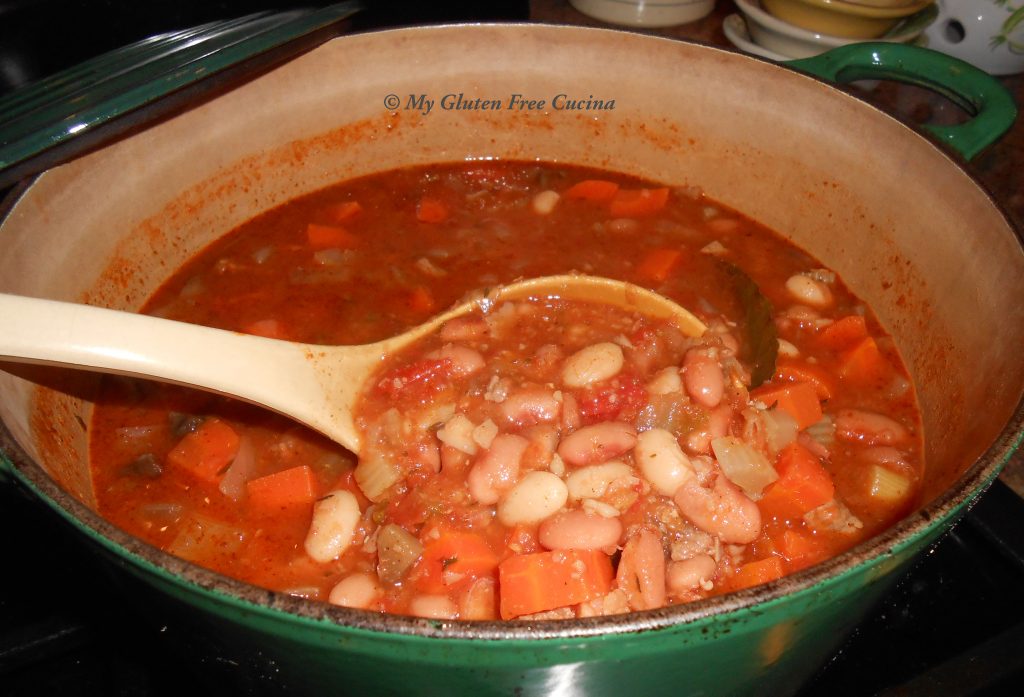
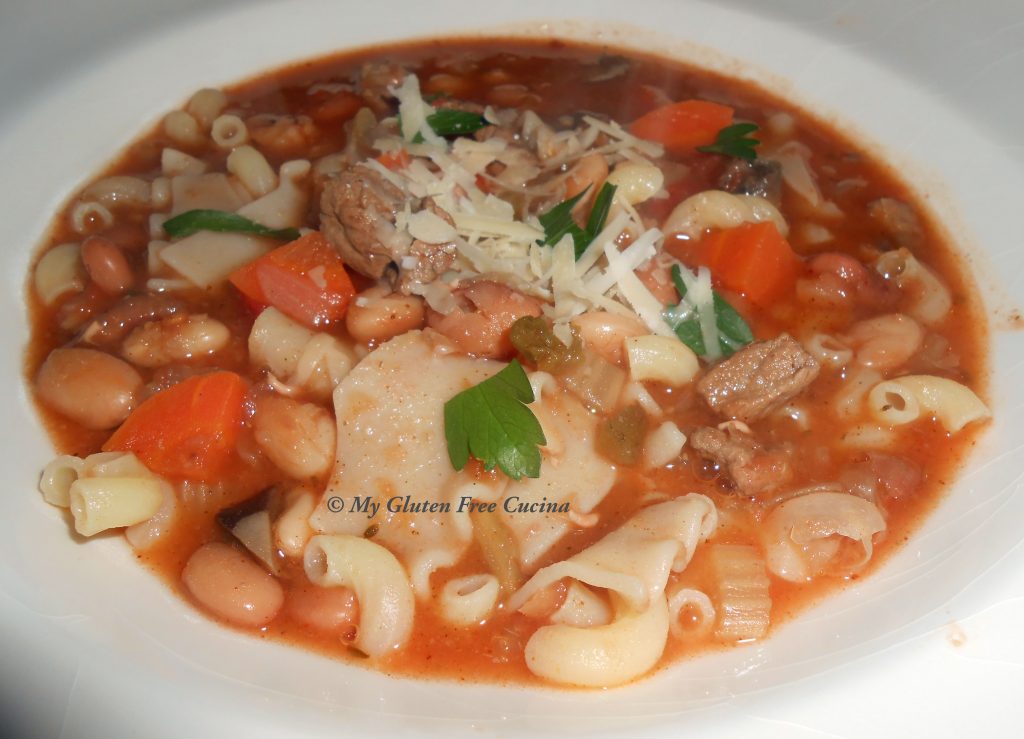
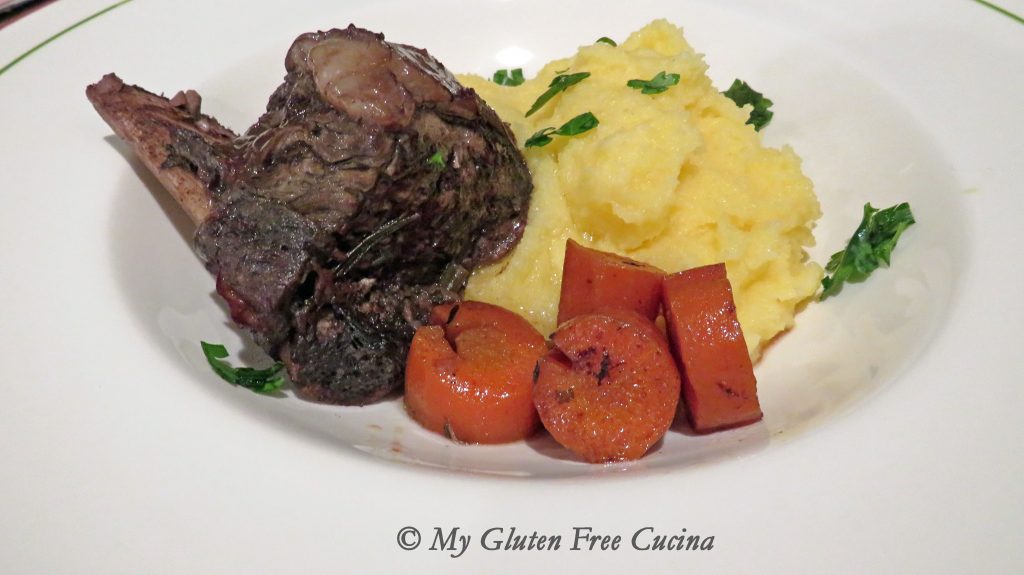
The skillet liquid is full of rich flavor. Strain it into a saucepan and reserve for soup stock!
I made individual serving bowls, and set each short rib over Polenta, with just a drizzle of the pan juices. Carrots and fresh parsley add a pop of color. Roasted green beans were served up on the side.
Notes ♪♫ I used a simmer mat in this recipe. It’s one of those kitchen gadgets you didn’t know you needed until you have one. It will prevent hot spots, maintain that low steady simmer, and keep your rice and delicate sauces from burning. It is perfect for recipes like this one, where braising is done on the stove top.


[print_link]


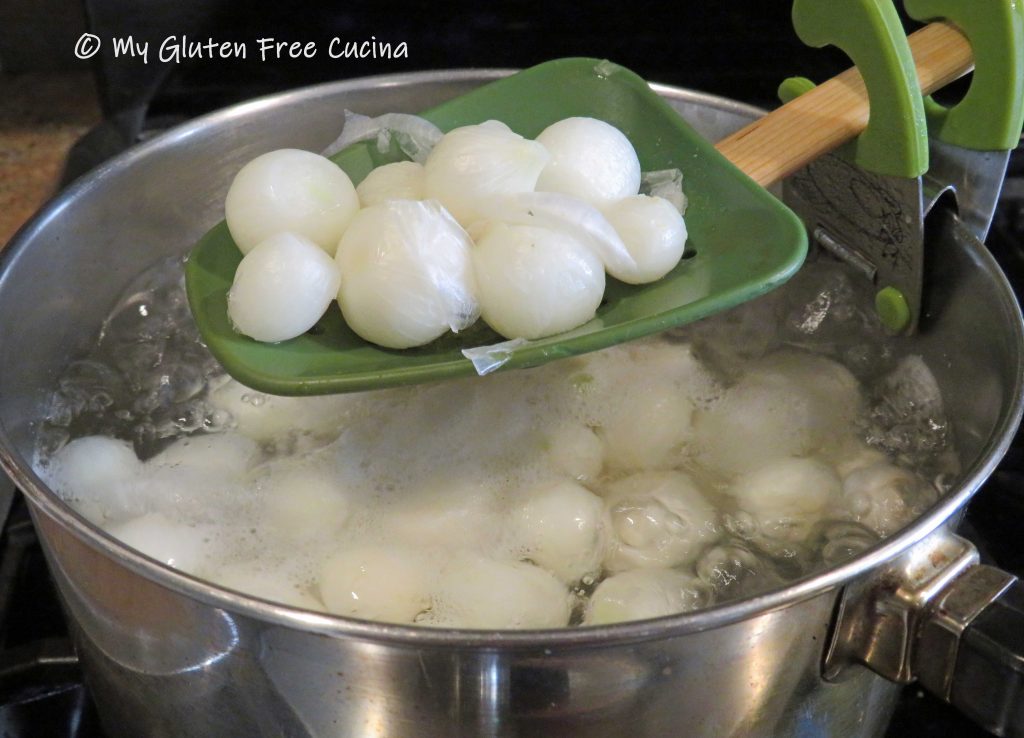

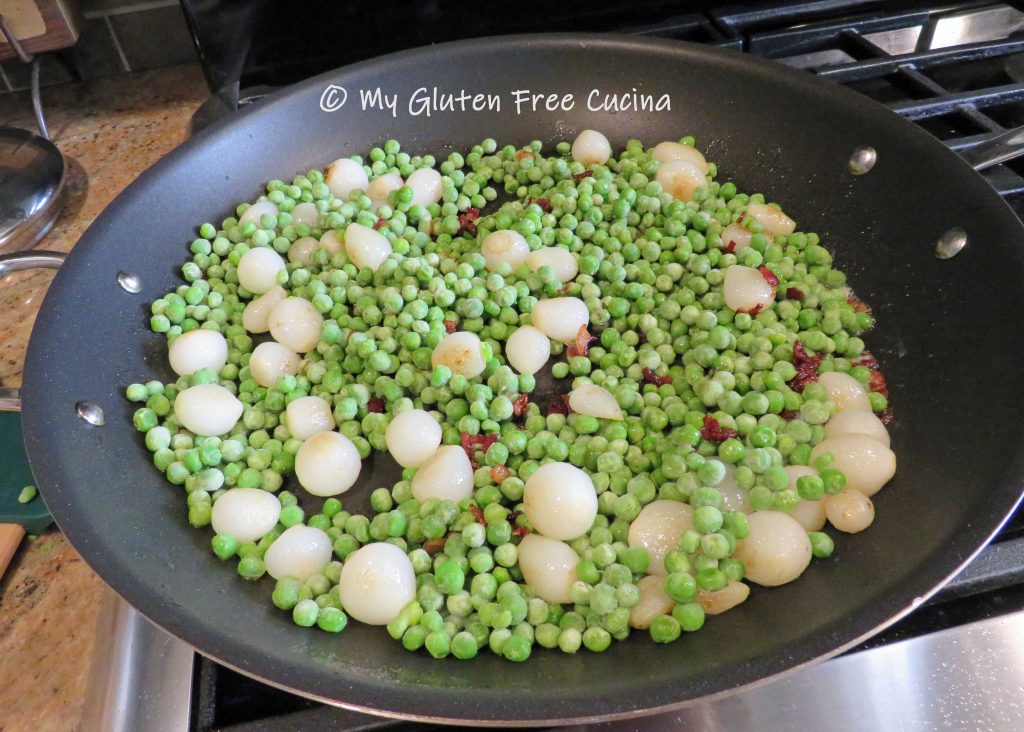
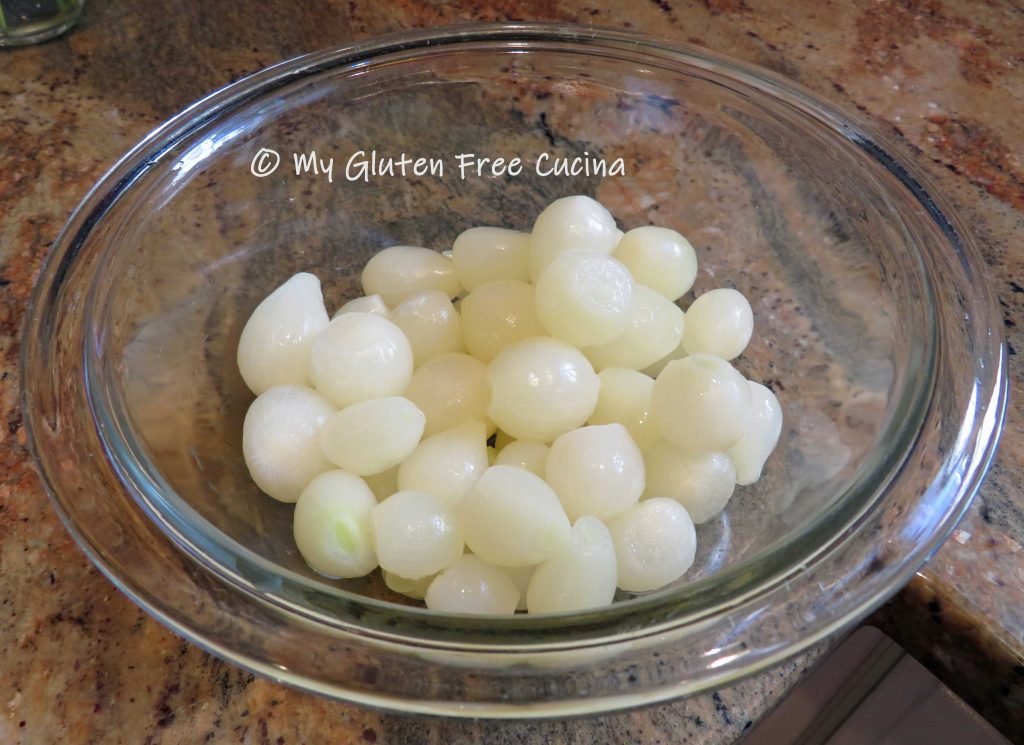 If you were lucky enough to find frozen pearl onions, thaw them on the counter for at least 30 minutes, along with the peas. Frozen pearl onions have already been peeled and blanched, a real time saver!
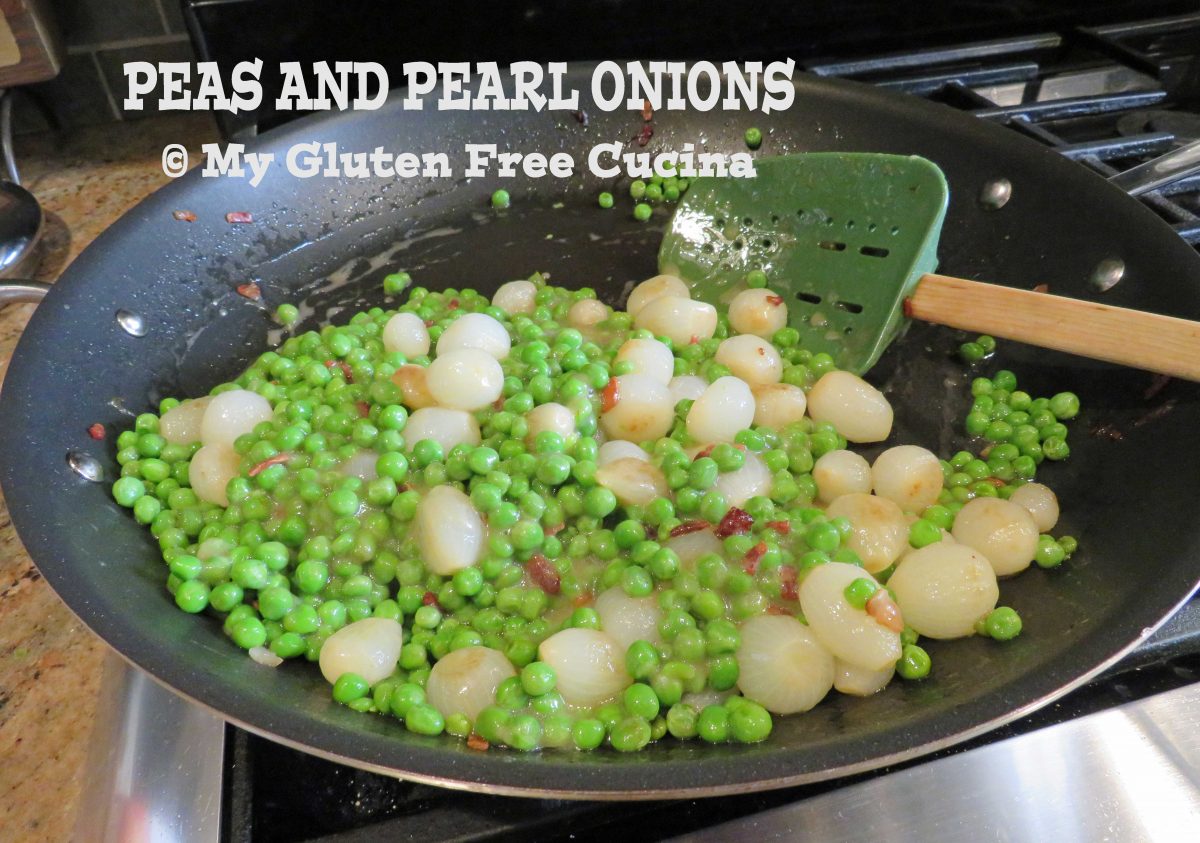
 When the bacon starts to brown, add the onions and cook for 5 minutes over medium low heat.
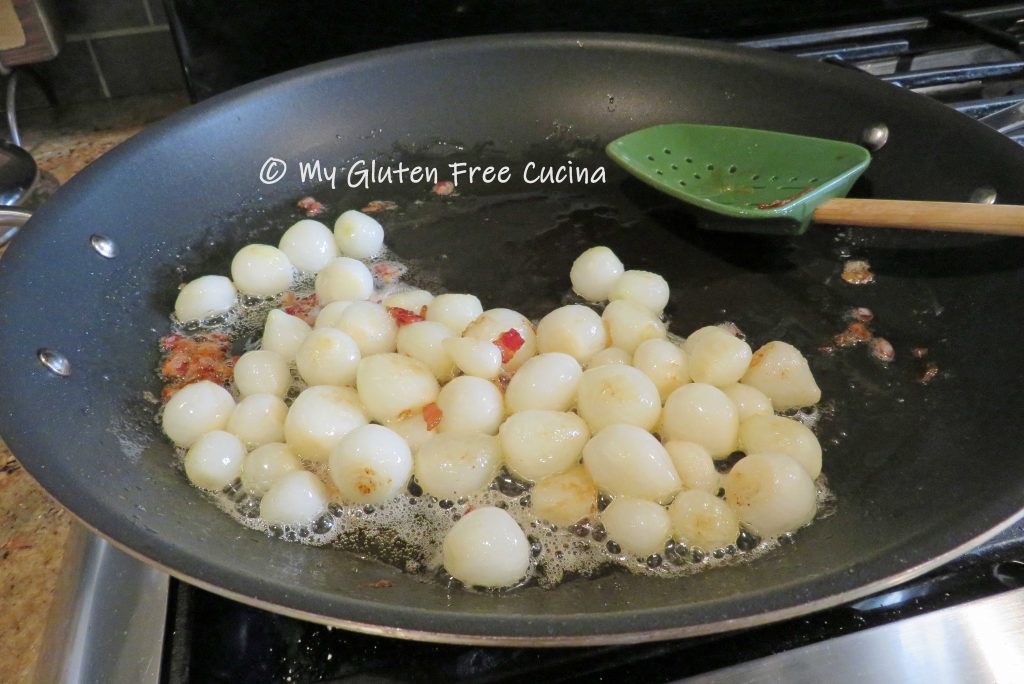
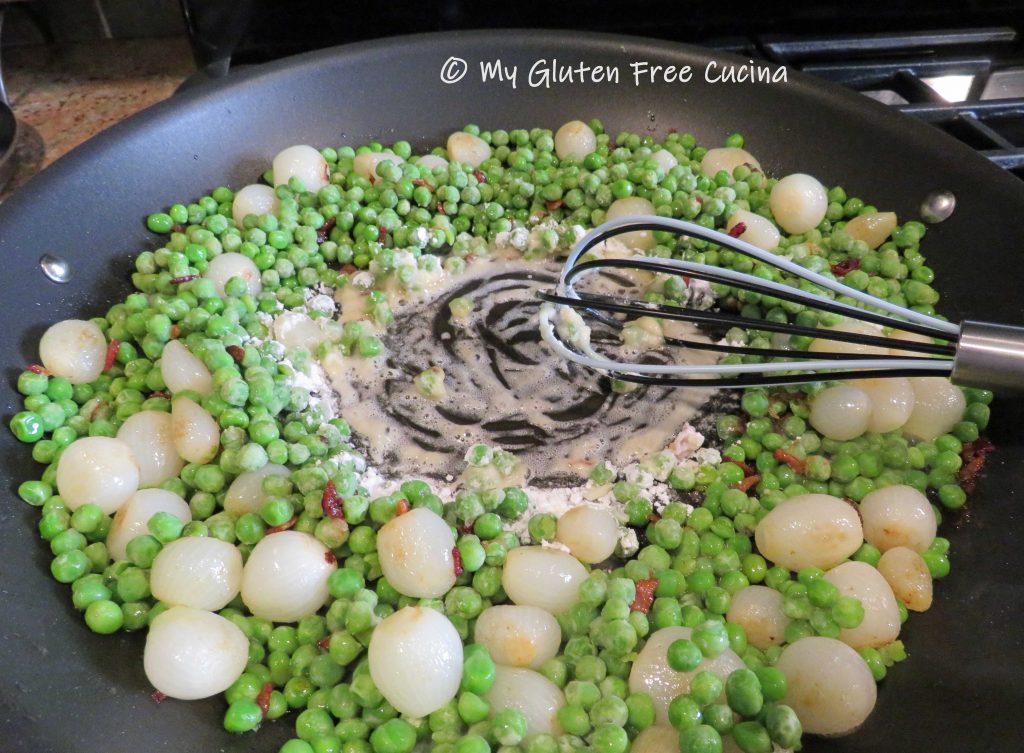 Stream in the chicken broth as you continue whisking. Start with 1/2 cup and add more if needed.
 Remove from the heat and stir in the cream or half and half if desired.