I have been making Country Style Pork Ribs for years, and they are a family favorite. For some reason though, I thought that really good Baby Back Ribs would require expensive BBQ equipment and complicated cooking techniques. So even though I have always loved Baby Back Ribs, I’d never made them at home.
As it turns out, I couldn’t have been more wrong! In fact, I would say this was one of the easiest meals that I have made. Since the preparation was mostly hands off, I had plenty of time to whip up a batch of my Homemade Gluten Free BBQ Sauce. Of course that is optional, but when I make it, I always get rave reviews.
The verdict on the ribs, amazing! I now make these year-round.
This post contains affiliate links.
Ingredients:
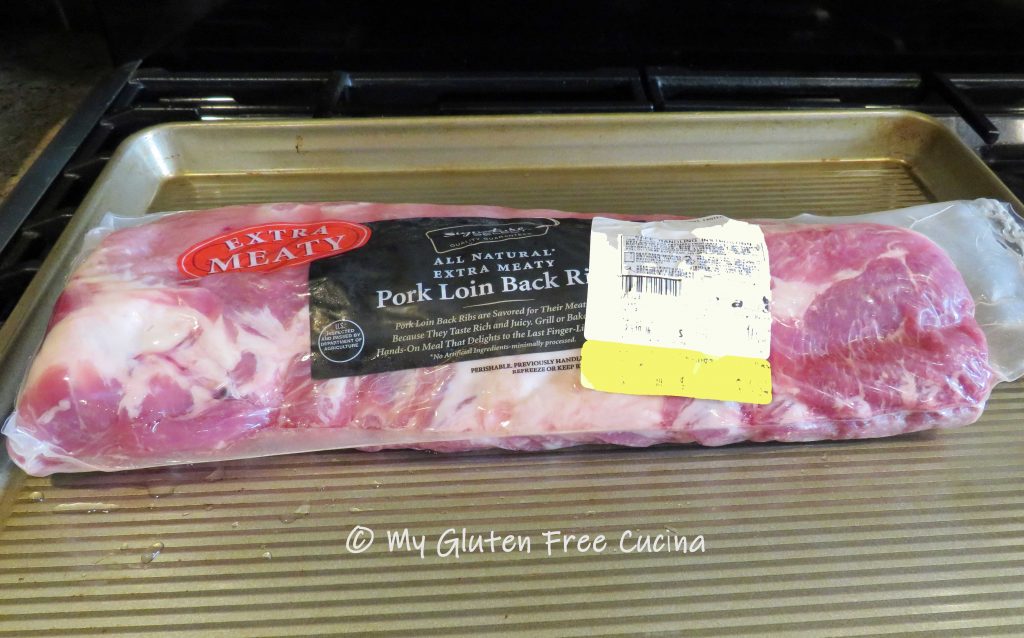
- 1 rack of baby back ribs
- salt and pepper
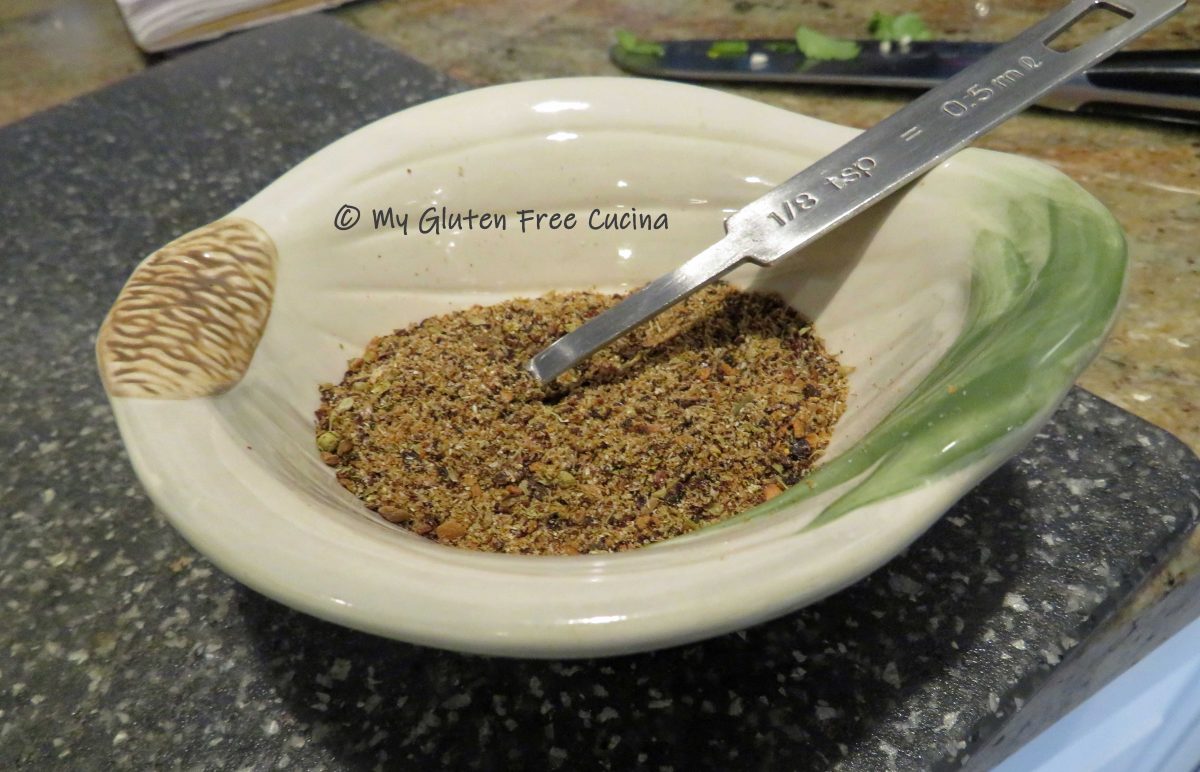
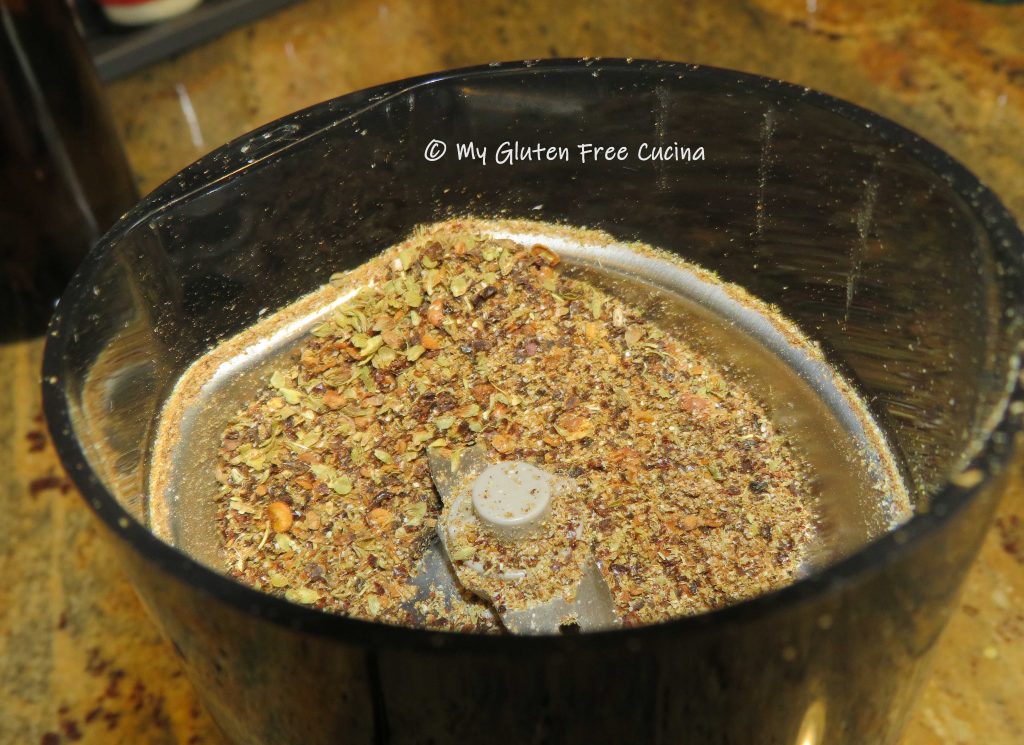
- creole seasoning
- Gluten Free BBQ Sauce
Preparation:
Preheat the oven to 275º. That may sound low, but the secret to tender ribs is to cook them slowly on very low heat.
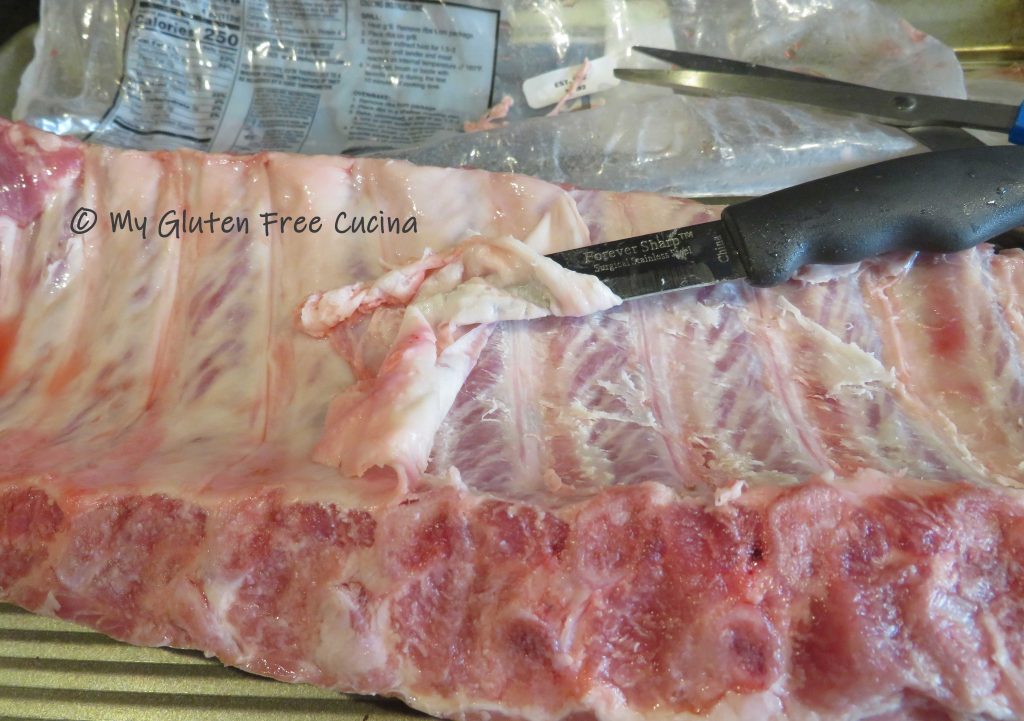
Remove the packaging and pat the ribs dry. Turn the ribs meat side down and use a sharp paring knife to loosen the white membrane. Once you have it started, use a paper towel to grasp the membrane and pull it off. While not absolutely necessary, removing the tough membrane will result in the most tender ribs. If you would rather not do this, be sure to pierce the membrane all over with a knife.
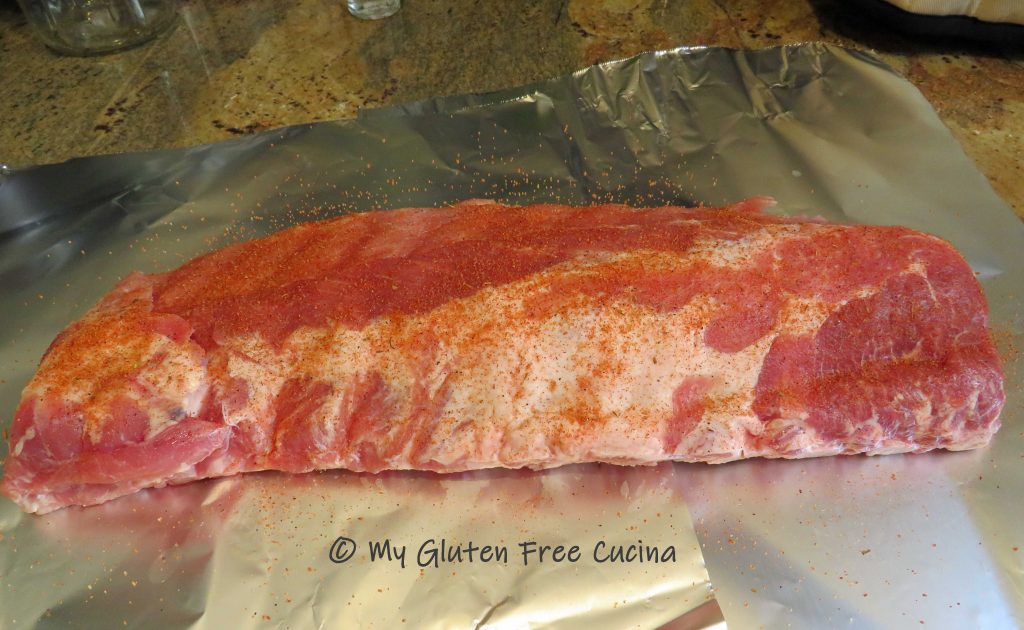
Season the rack with salt, pepper and creole seasoning.
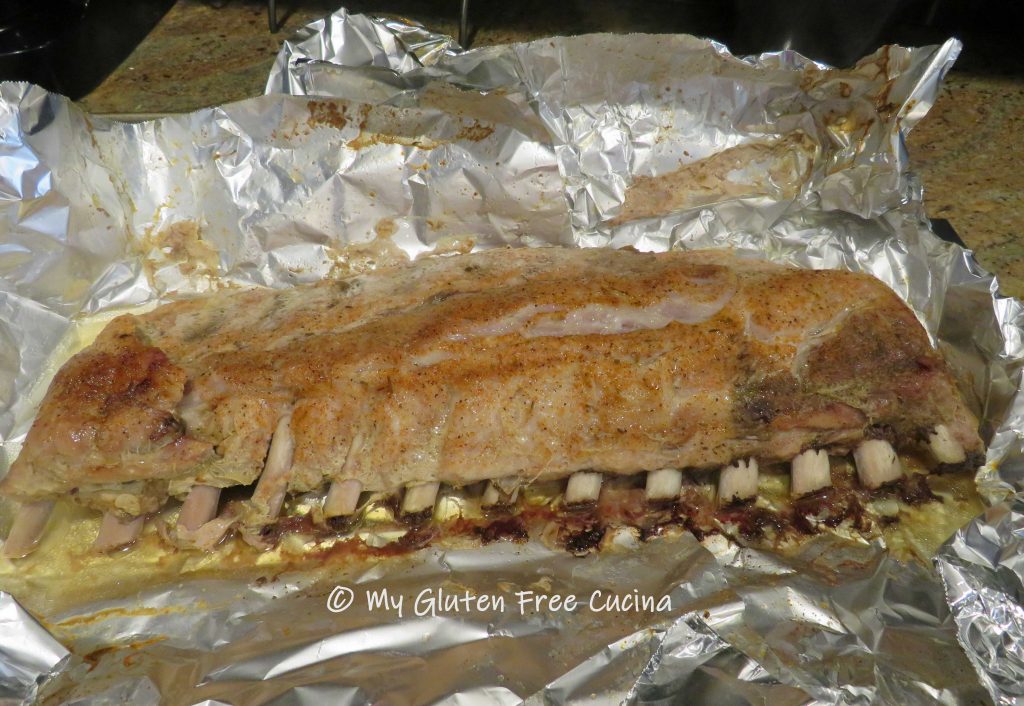
Wrap the ribs in foil and place on a large baking sheet (to catch any drips). Bake at 275º for at least 3 hours and up to 4 hours.

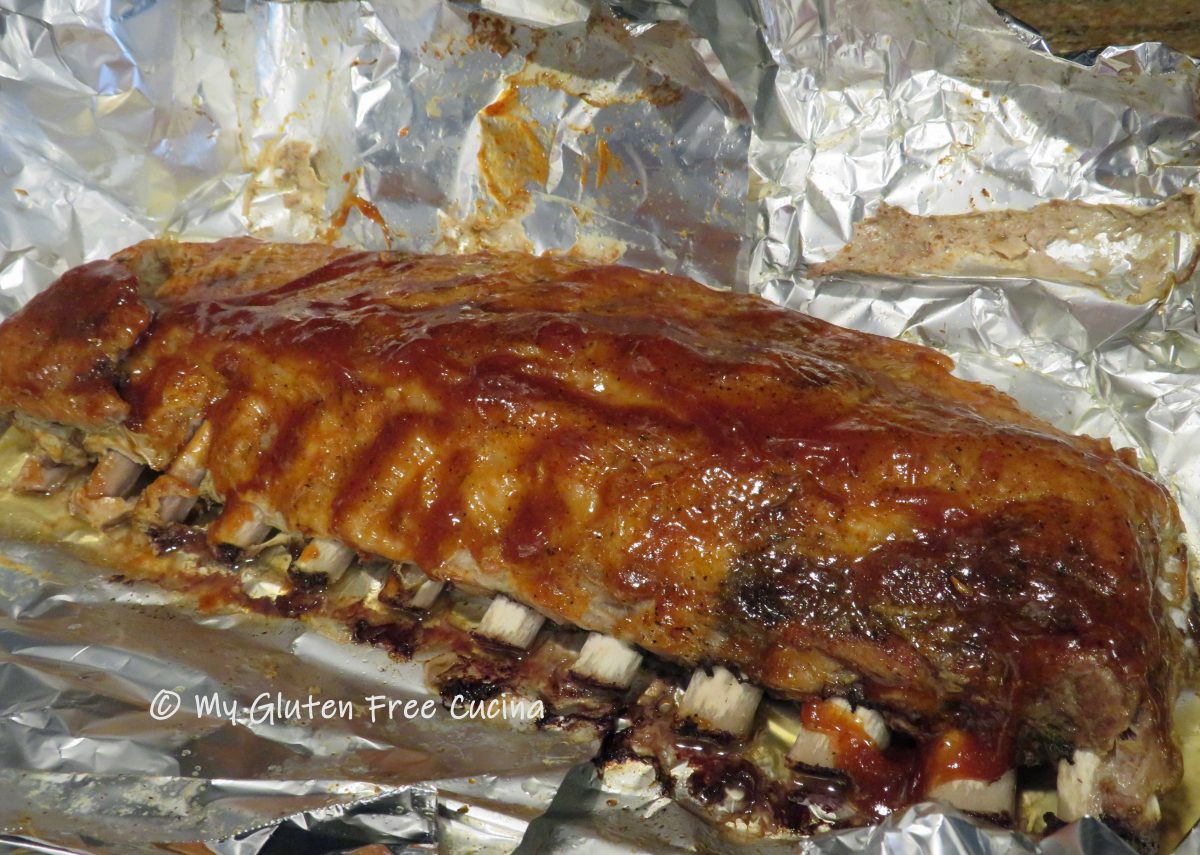
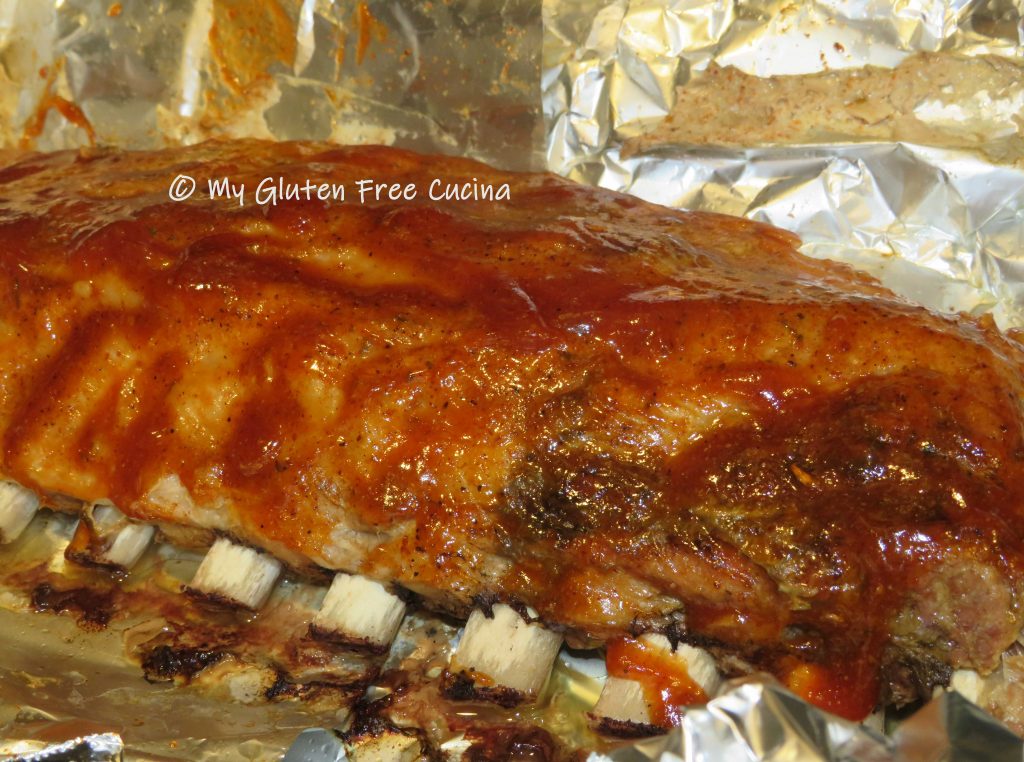
When the ribs are done, use tongs to carefully open the foil.
Brush with your favorite BBQ sauce and serve. For other serving suggestions see my homemade Potato Chips and Gluten Free Corn Bread!
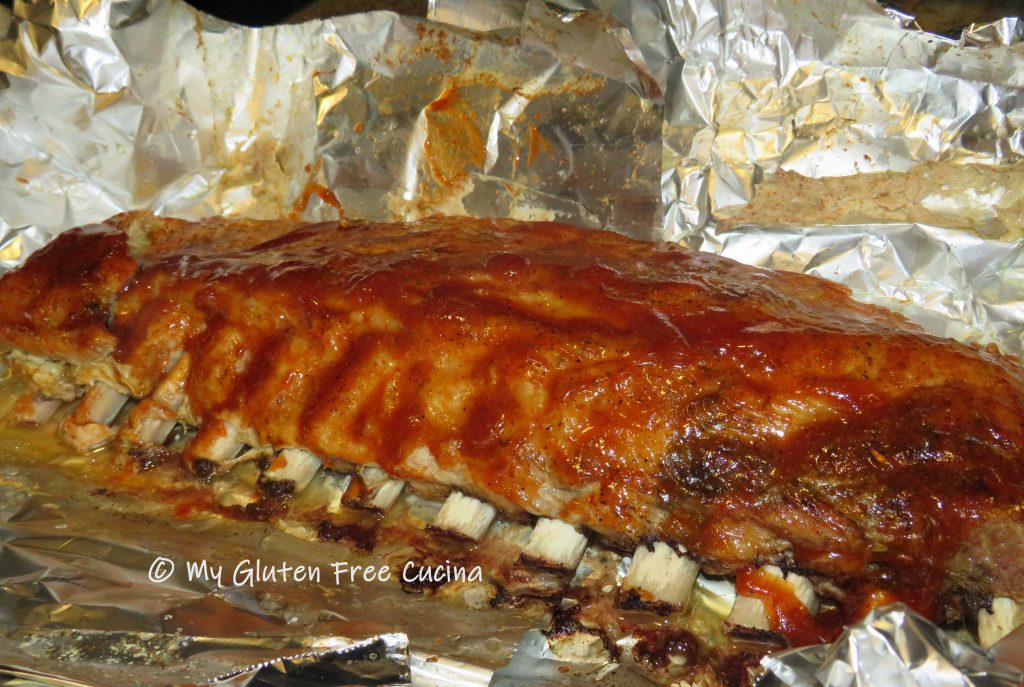
Notes ♪♫ Always watch for hidden gluten in sauces and seasonings. The BBQ sauce is my own from scratch recipe which I make for special occasions. If using store bought, I recommend Stubbs’s brand which is gluten free.