

I love easy skillet dinners like this one for busy weeknights! You can make the whole meal beginning to end in about 30 minutes. Honestly, if you prep the veggies the night before it can be ready in less time than that. It’s a great way to use leftover ham, or you can purchase a ham steak which is what I did here. Don’t forget those little finishing touches that can make a meal special, in this case it’s a sprinkle of toasted Pignoli (pine nuts), a favorite of mine!

3-4 Servings
This post contains affiliate links.
Ingredients:
- 8 oz. boneless ham steak, cut into small cubes
- 4 oz. gluten free pasta
- 1 cup sweet onion, diced
- 1 tbsp. garlic, minced
- 1 cup frozen peas, thawed
- 1 can (14.5 oz.) diced tomatoes
- 1/2 tsp. gluten free Italian seasoning
- salt and pepper to taste
- Olive oil
- 1 tbsp. pignoli (pine nuts), toasted
- 1/2 tsp. Italian seasoning
- fresh Italian parsley, for garnish
- grated Parmesan, for serving
 Preparation:
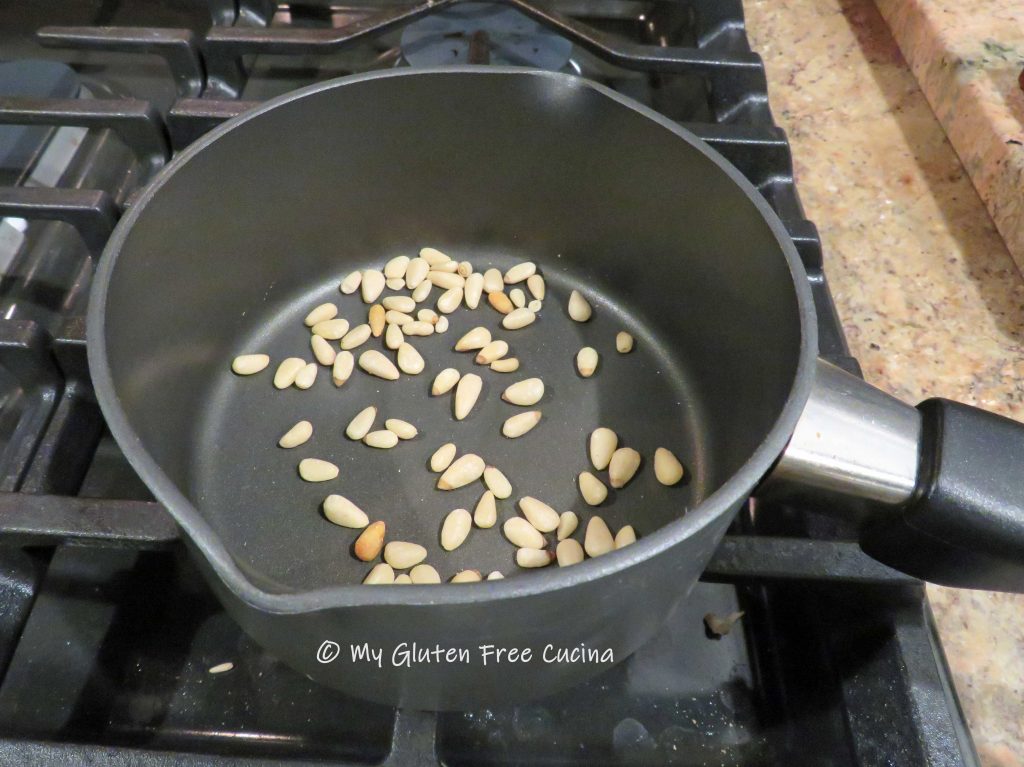
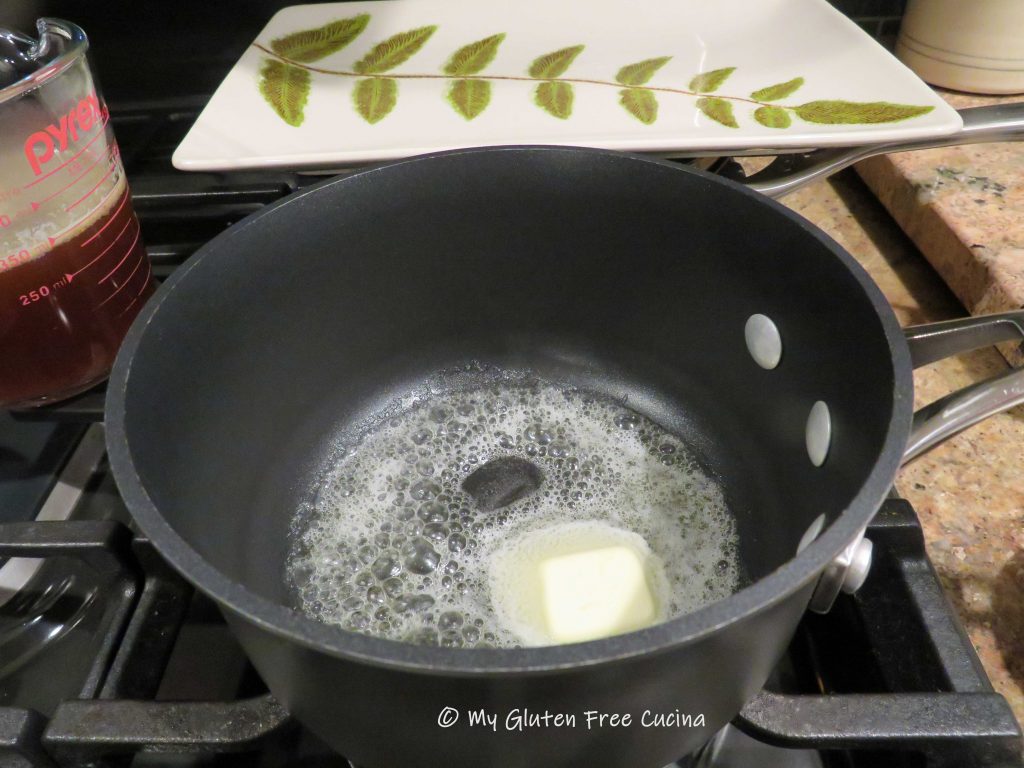
Toast the pignoli until lightly browned and fragrant. I like to use a small saucepan, so they don’t jump all over the place. Set aside for garnish.
Cook the pasta to 1 minute less than package directions, drain and set aside. While the pasta cooks, heat a large, nonstick skillet with 1 tbsp. olive oil and cook the ham 3 minutes. Remove and set aside.

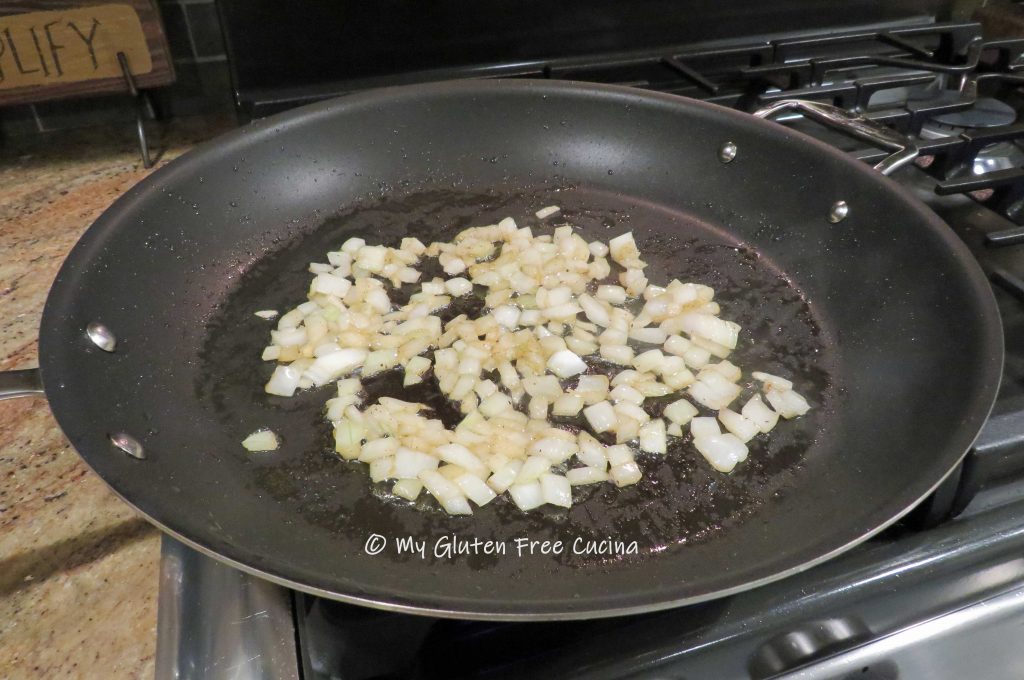
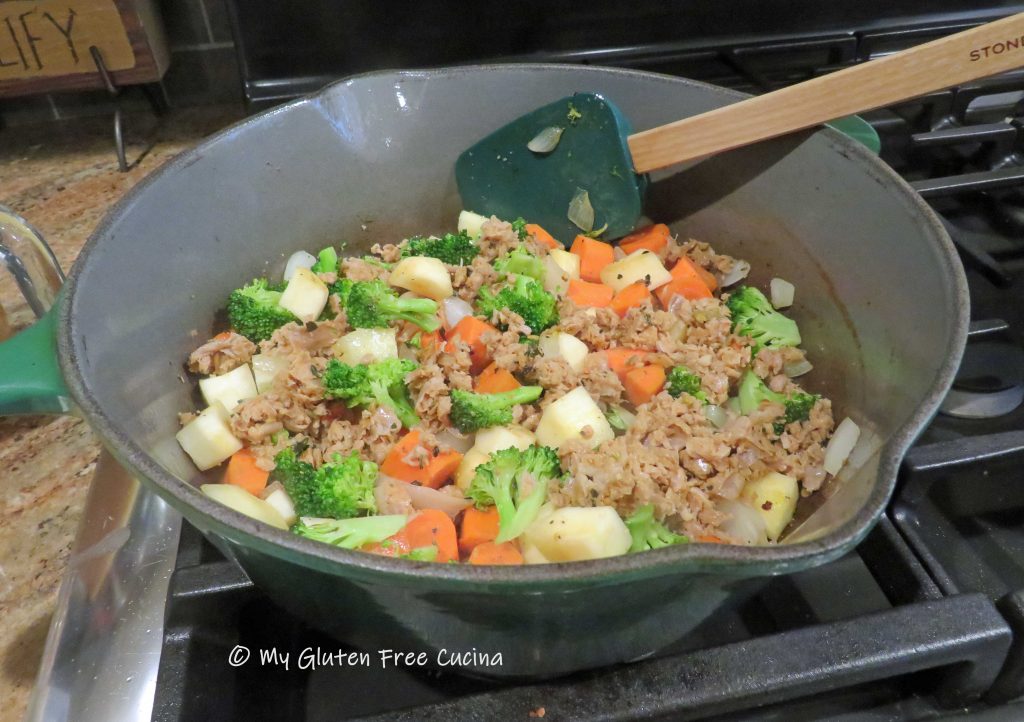
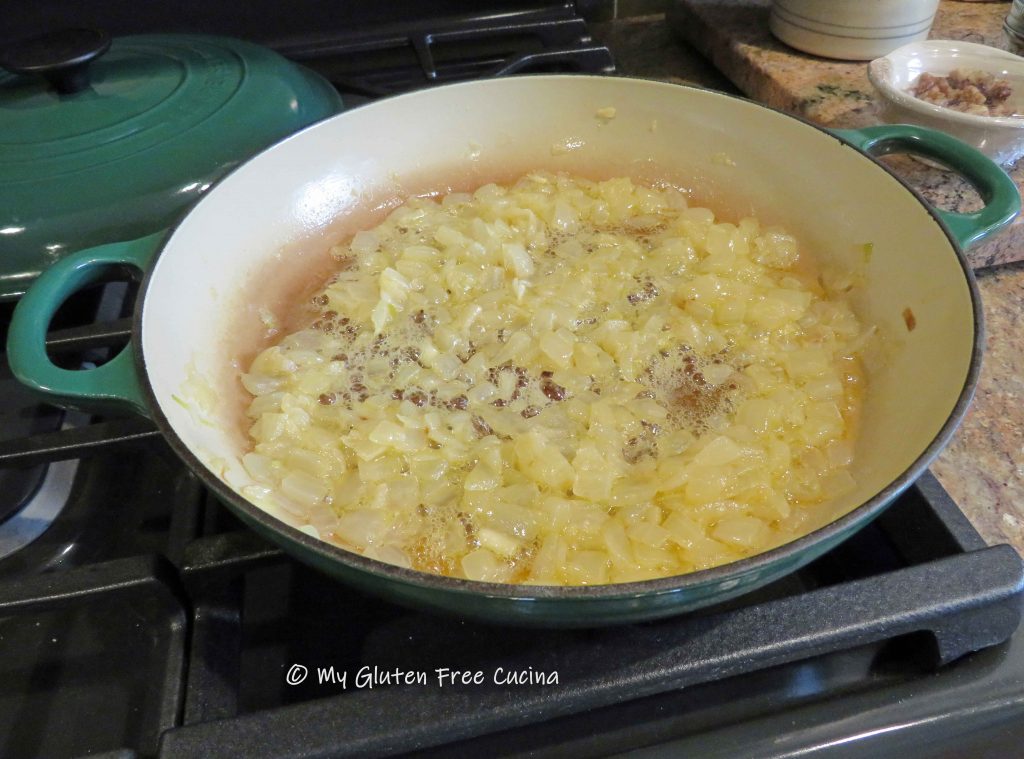
Add a little more olive oil and cook the onions until just beginning to brown, about 3 minutes. Add the garlic and peas, cook 2 minutes more stirring frequently. Season with salt and pepper.

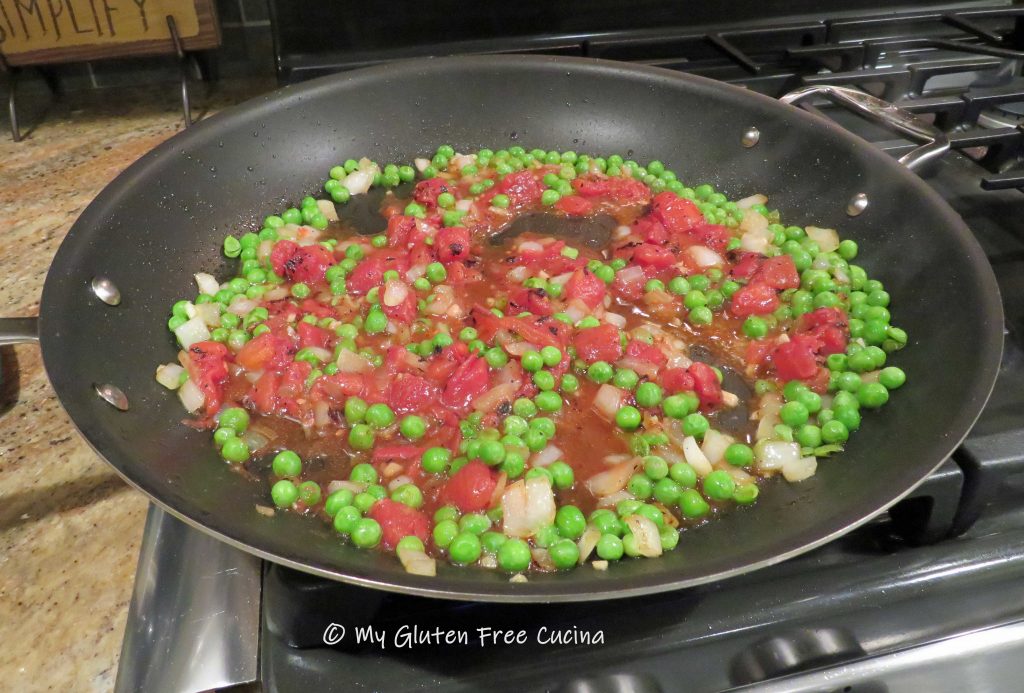
Add the tomatoes with their liquid, toss well to combine and cook until liquid almost evaporates. If the pan is too dry add a ladle of pasta water. Sprinkle with Italian seasoning.
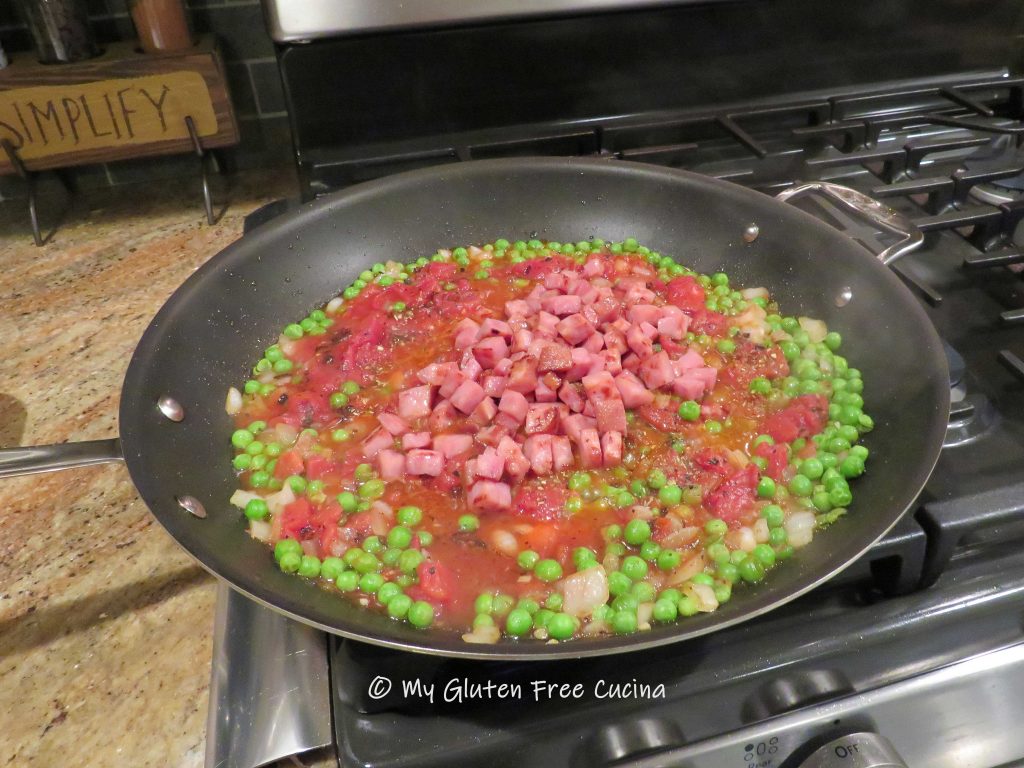
Add back the ham.
Next add back the drained pasta and toss well. Drizzle with olive oil, stir and toss to finish cooking the pasta, 1 minute more. Sprinkle grated cheese.

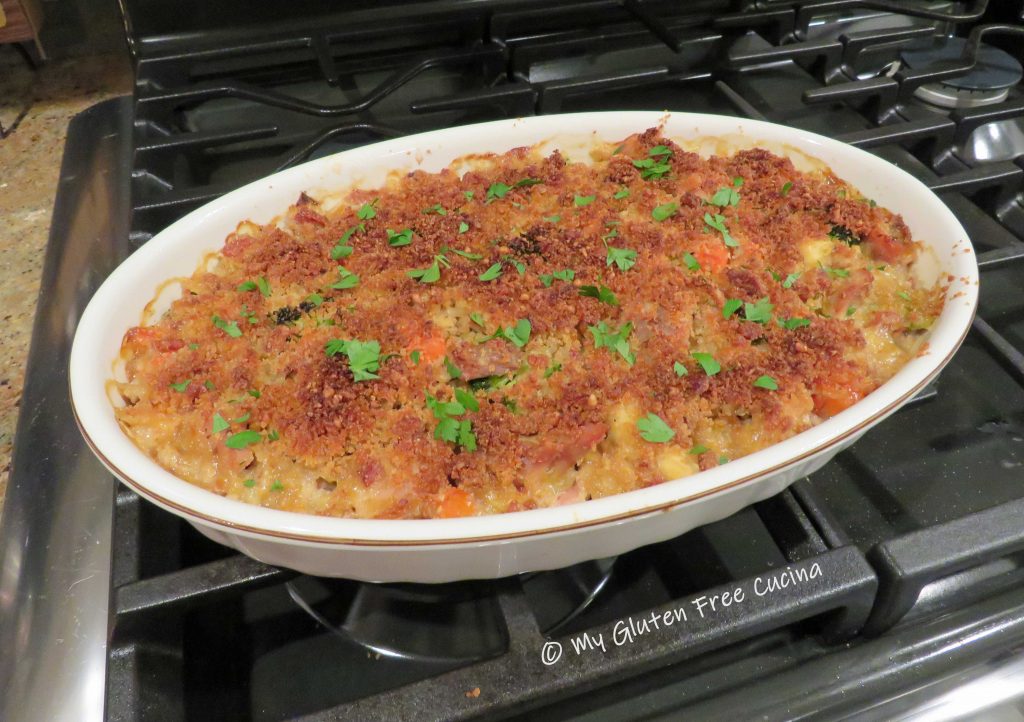
Transfer to a serving dish, garnish with parsley and toasted pignoli, and serve with grated cheese.

Notes ♪♫ I used Jovial gluten free farfalle (bowtie pasta) in this recipe. One of my favorites, it has great taste and chew. The Smithfield ham steak was labeled gluten free. Always check ingredient labels for hidden gluten, especially in processed foods and seasoning blends.
Originally published 5/16/2020 Updated 12/10/2022


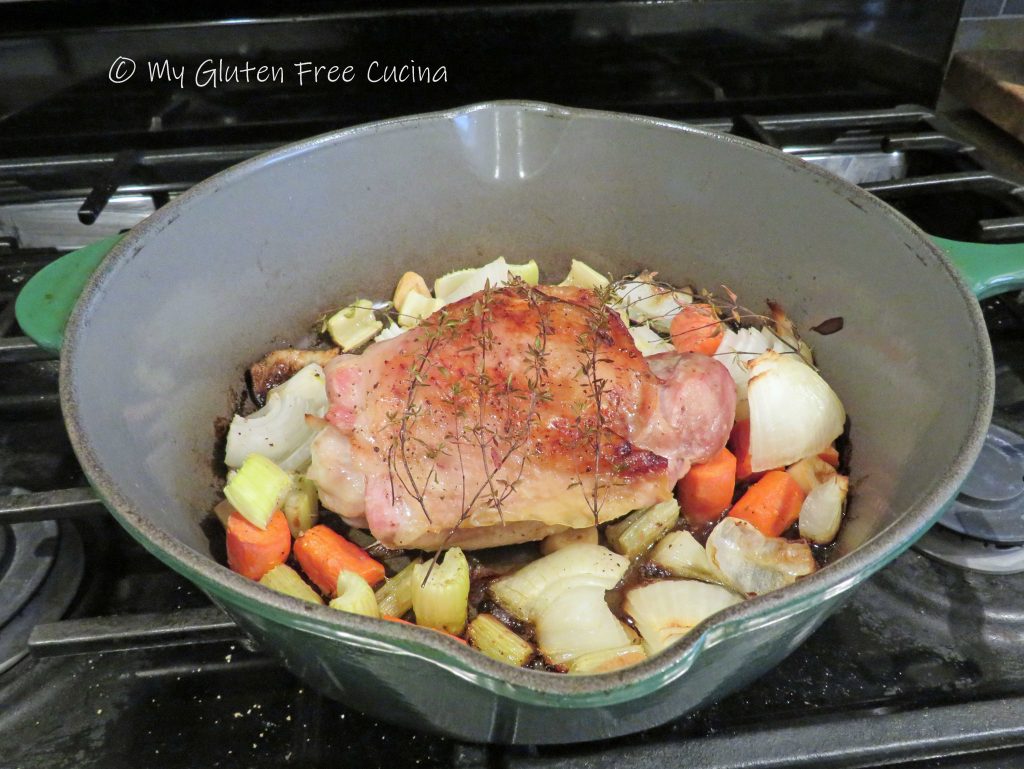
 If you don’t have a probe (oven safe) thermometer, then roast for 20 minutes per pound and check with an


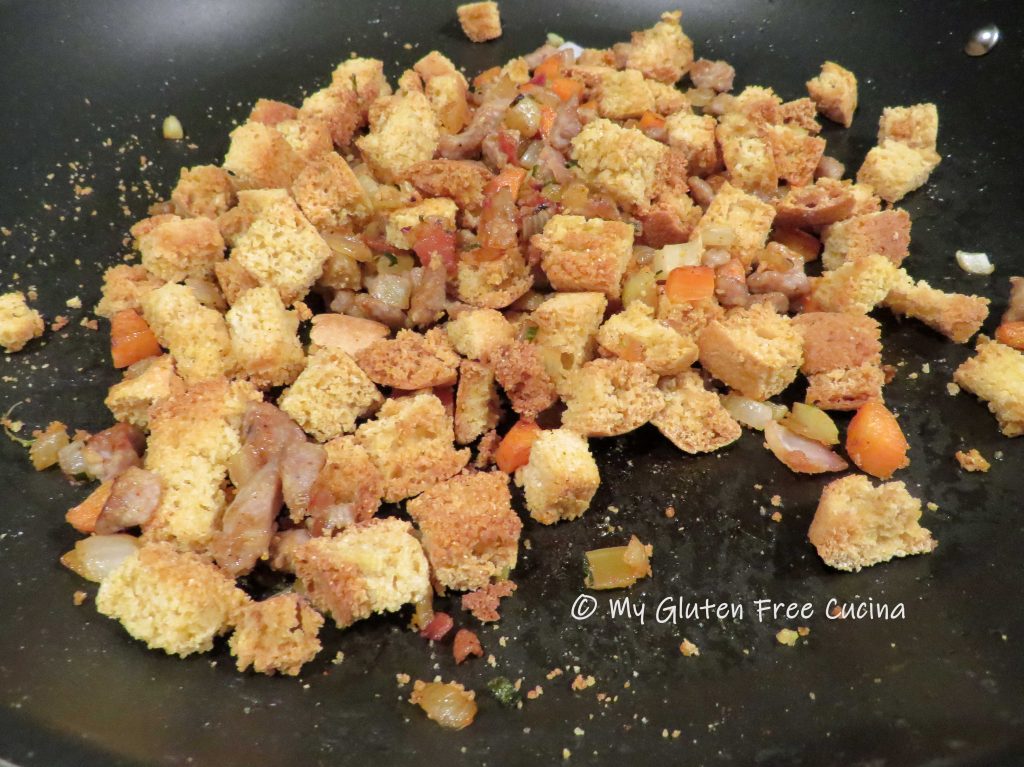
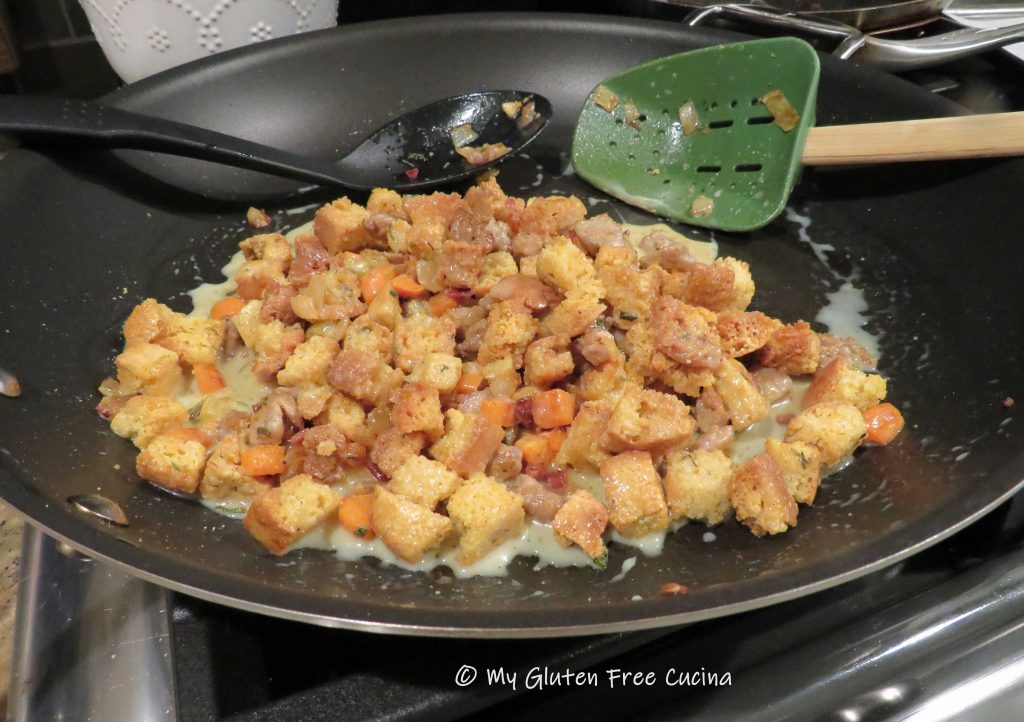
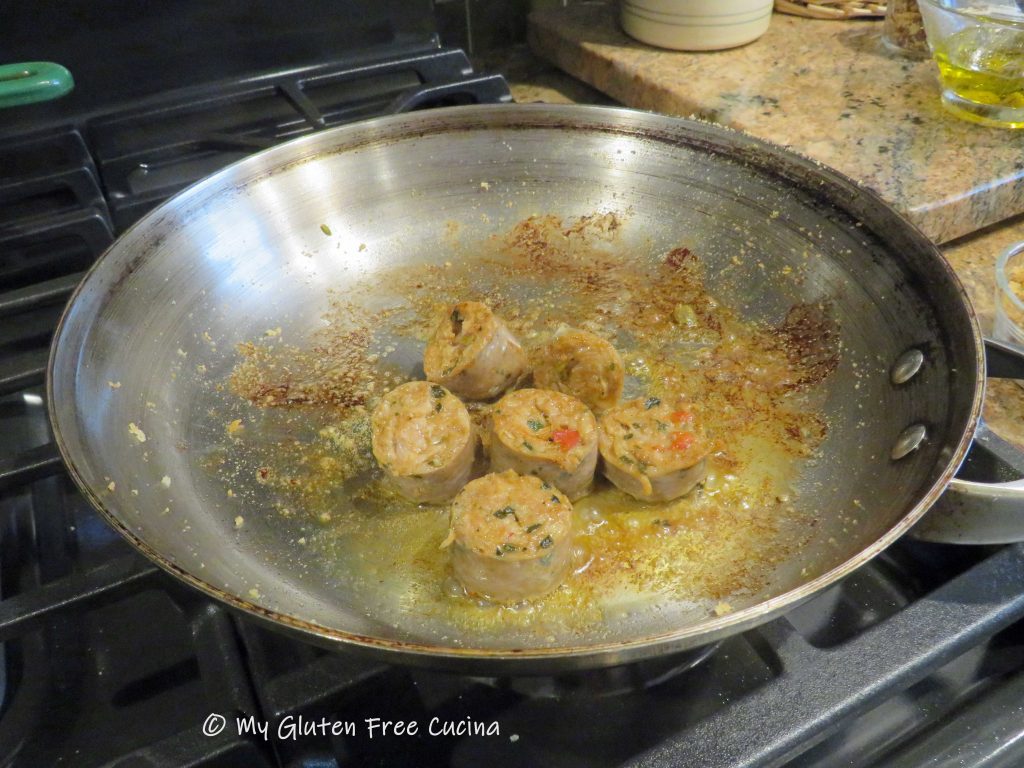
 Add back the sausage and bacon to the skillet and toss well to combine.
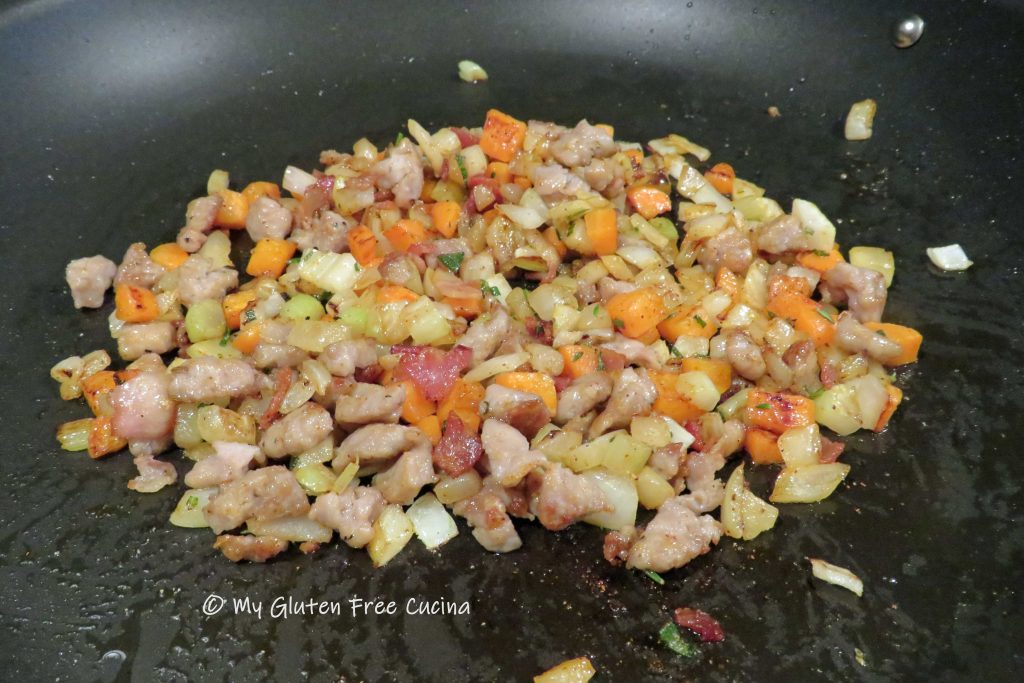


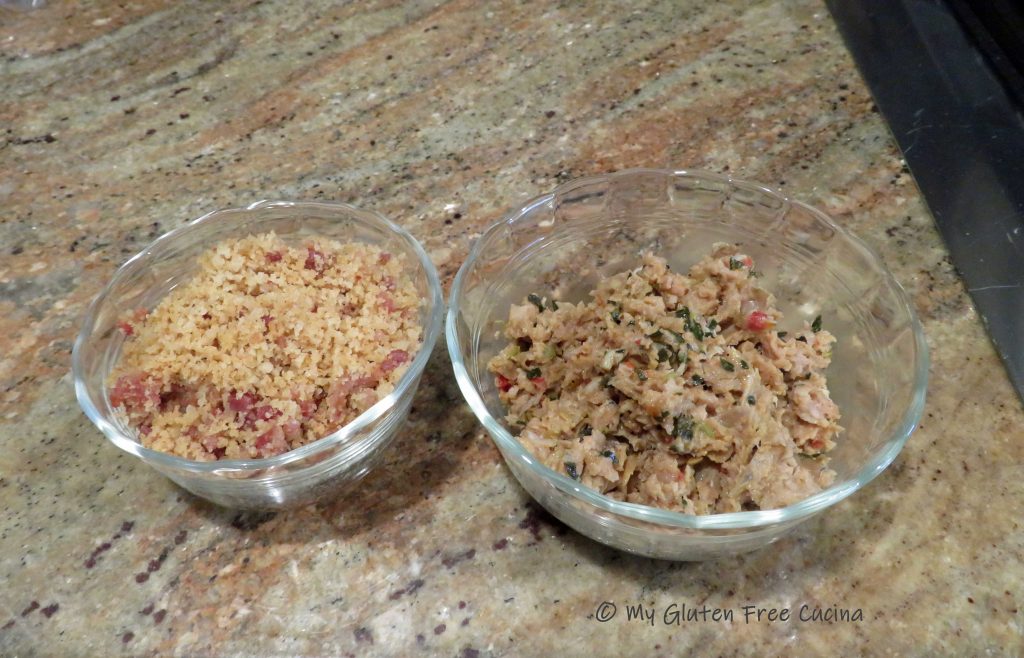
 Crumble the bacon, or place in an
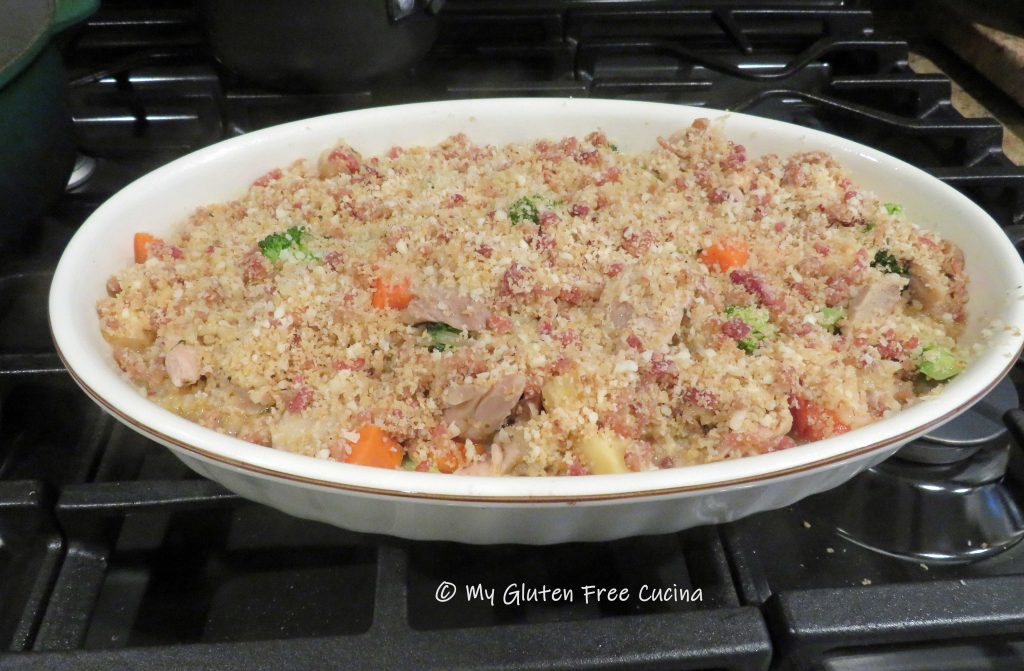
 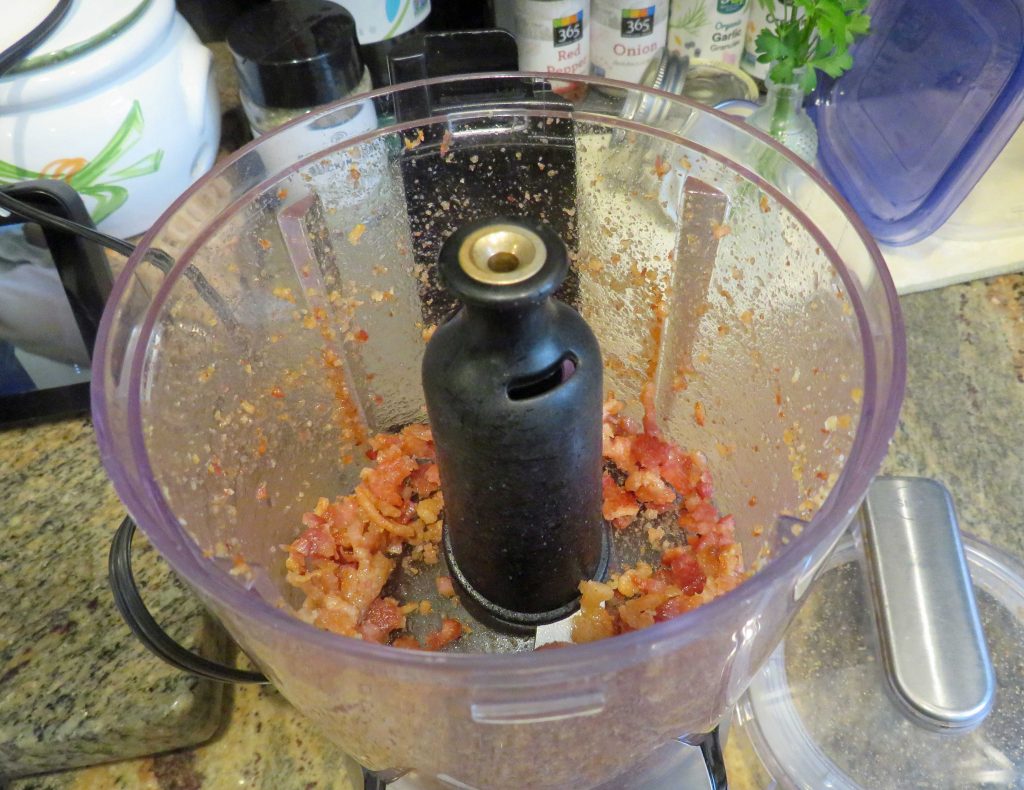 Add 1/3 cup of gluten free breadcrumbs to the skillet with the bacon fat and stir over low heat. Add back the crumbled bacon and stir well to combine. Set aside to cool, then mix with 1/4 cup grated parmesan cheese for topping.
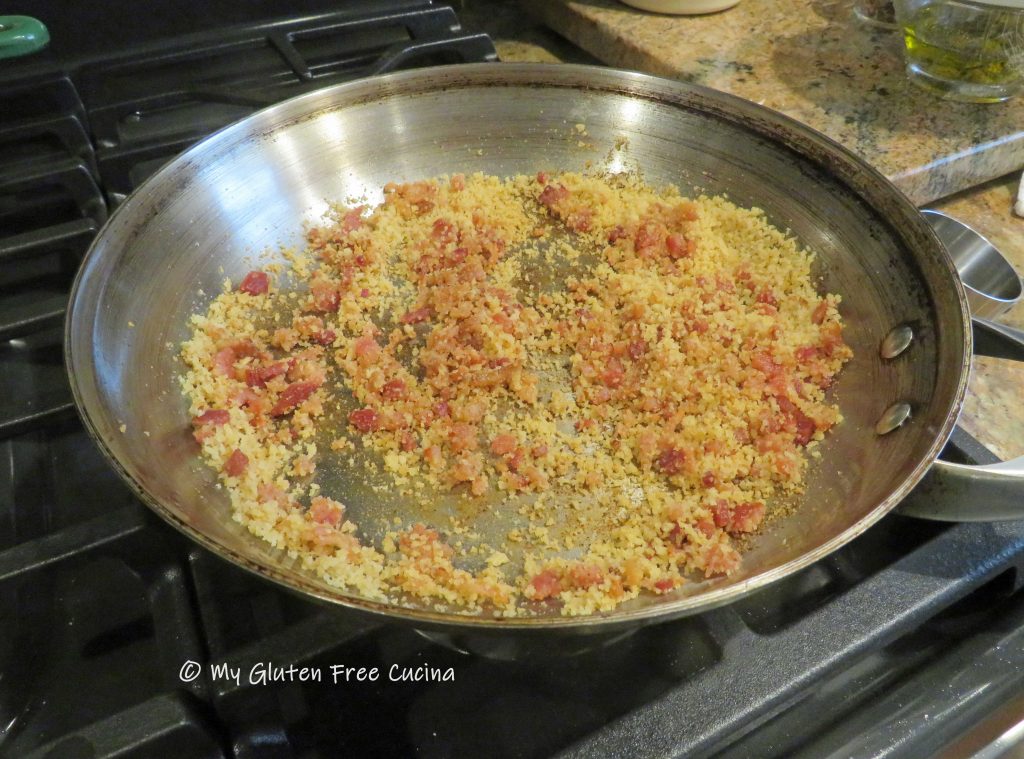

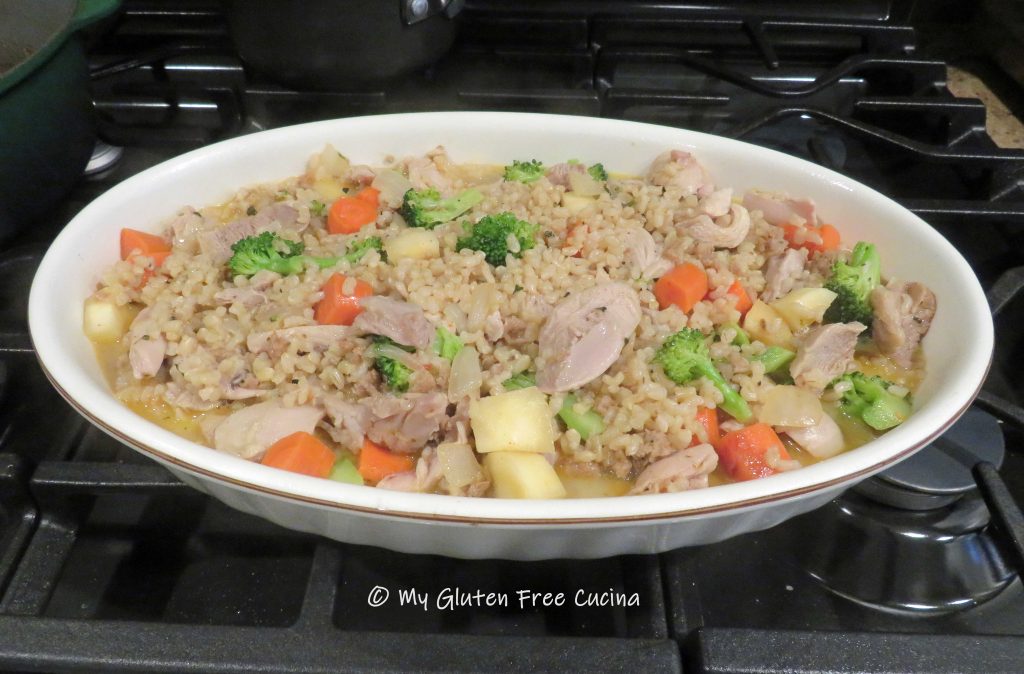
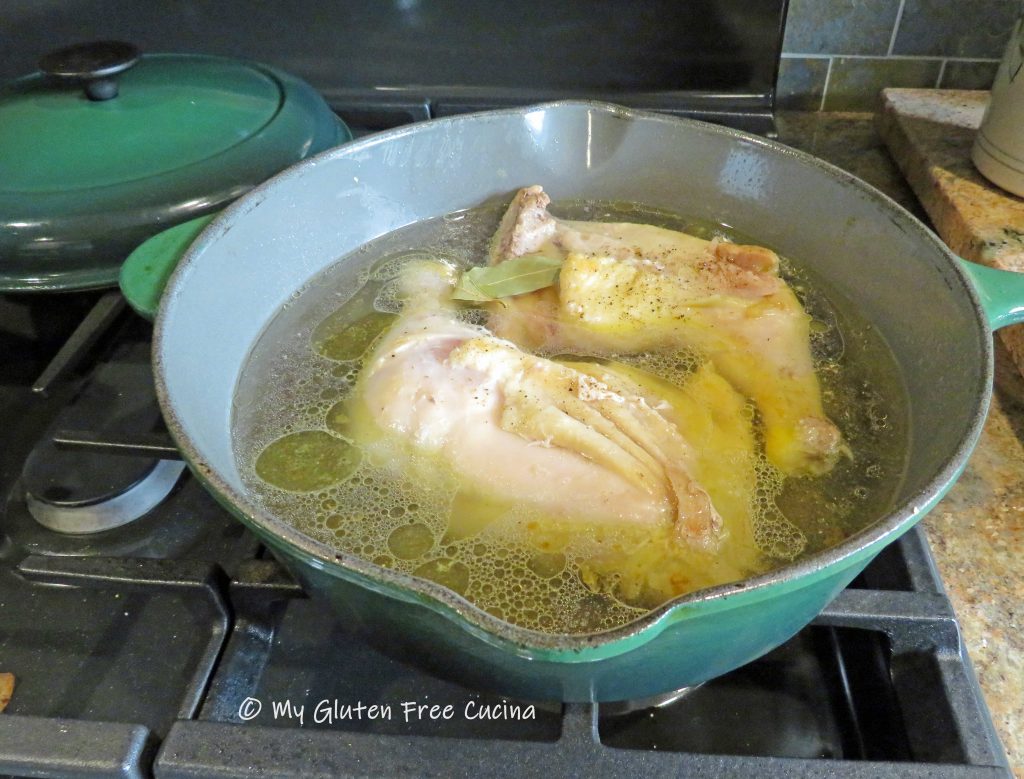
 Place browned chicken in a
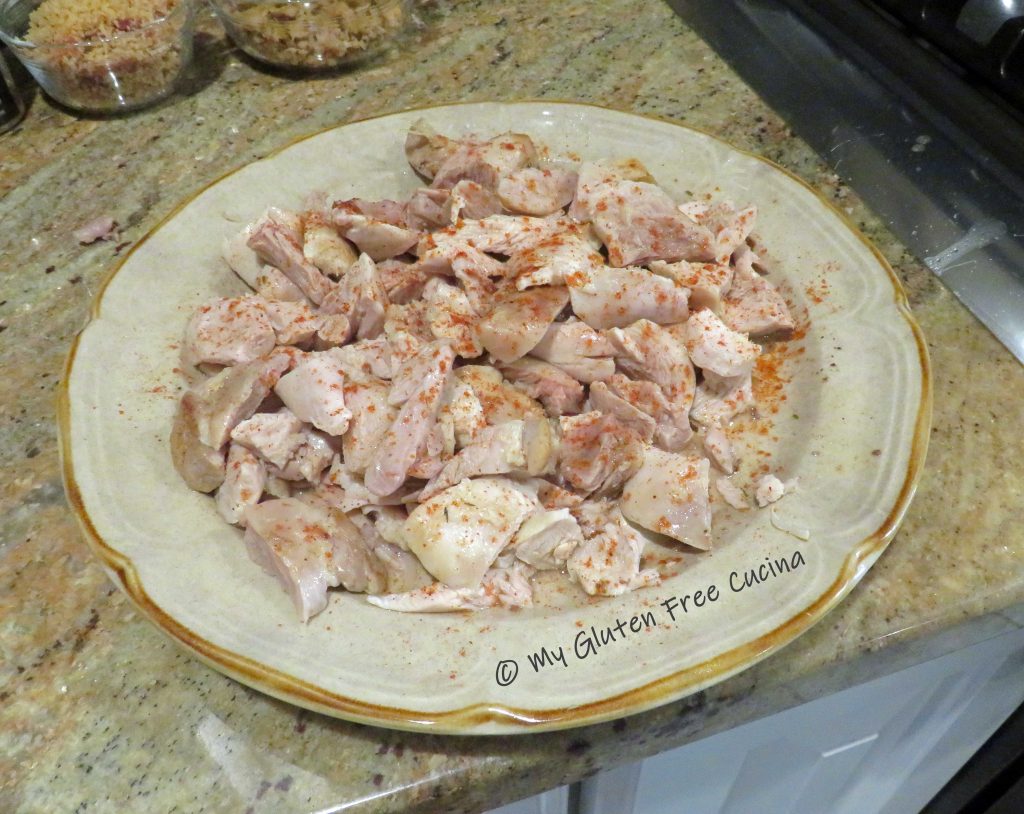


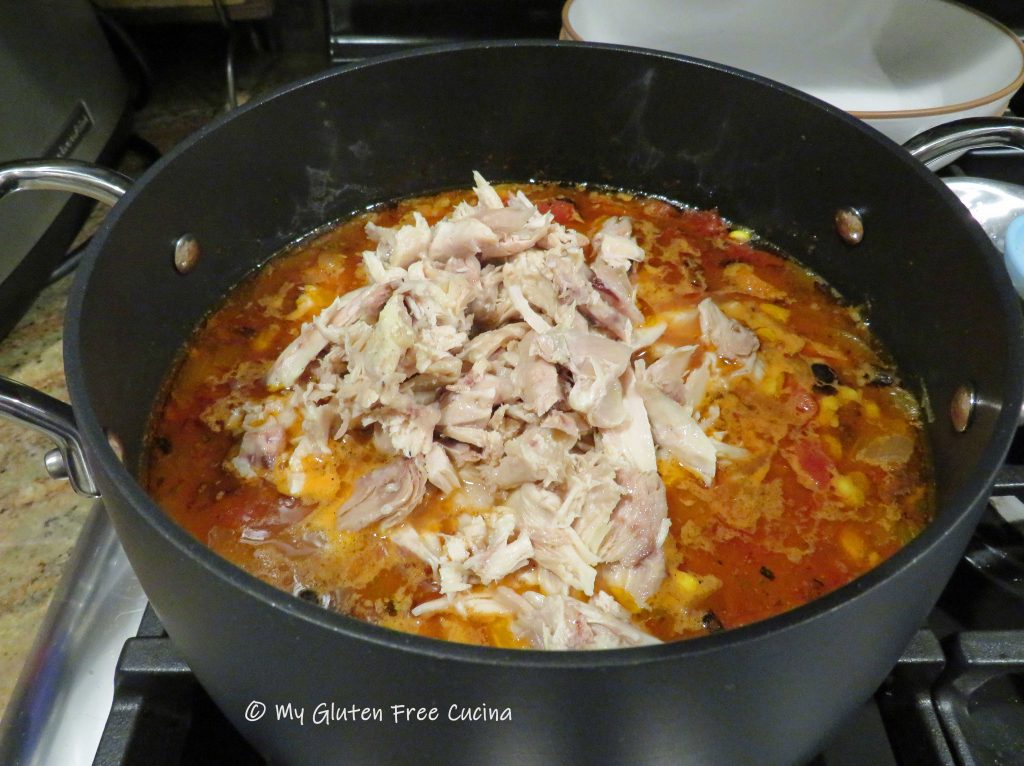
 Garnish each bowl with tortilla strips.
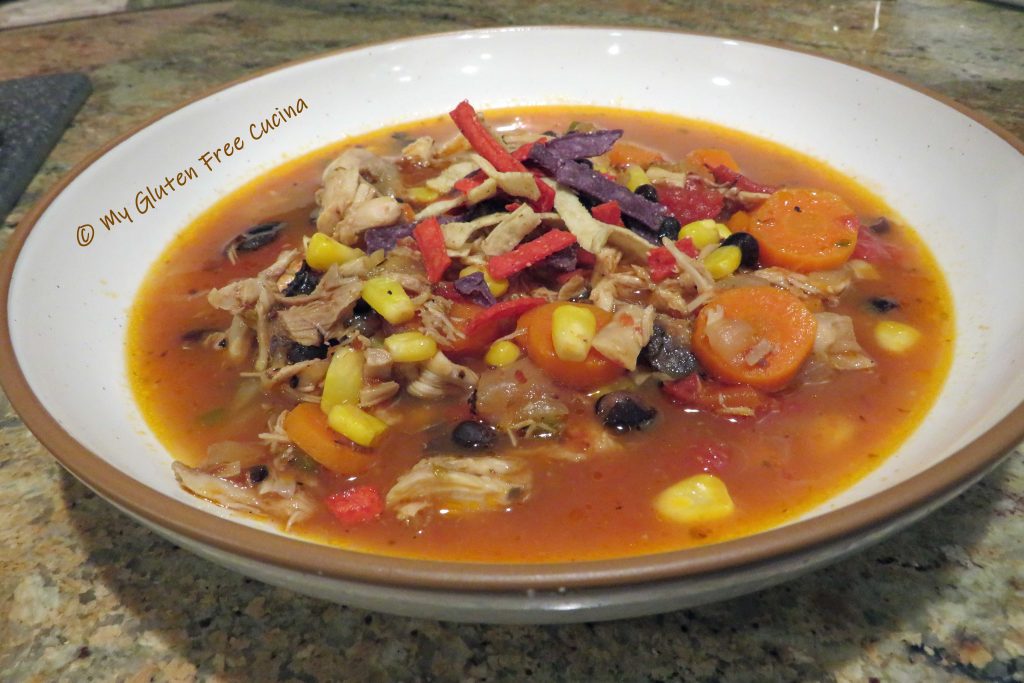

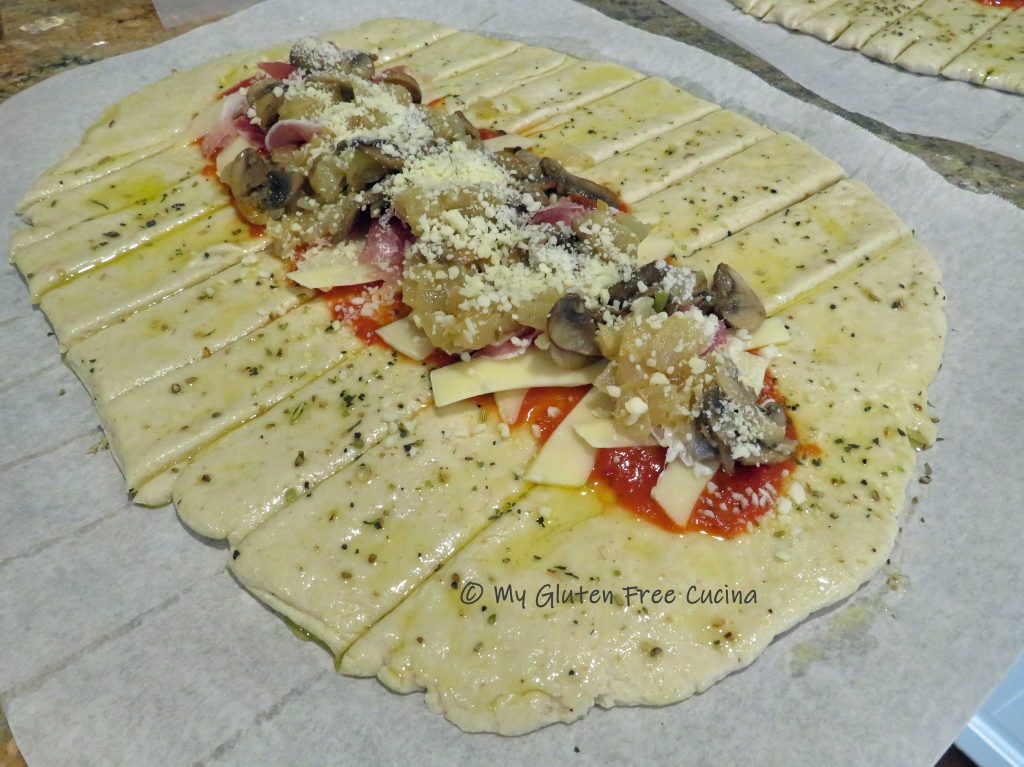
 Cook the mushroom slices in 1 tbsp. butter and 1 tbsp. olive oil.
 Drain the mushrooms and onions to remove as much liquid as possible.
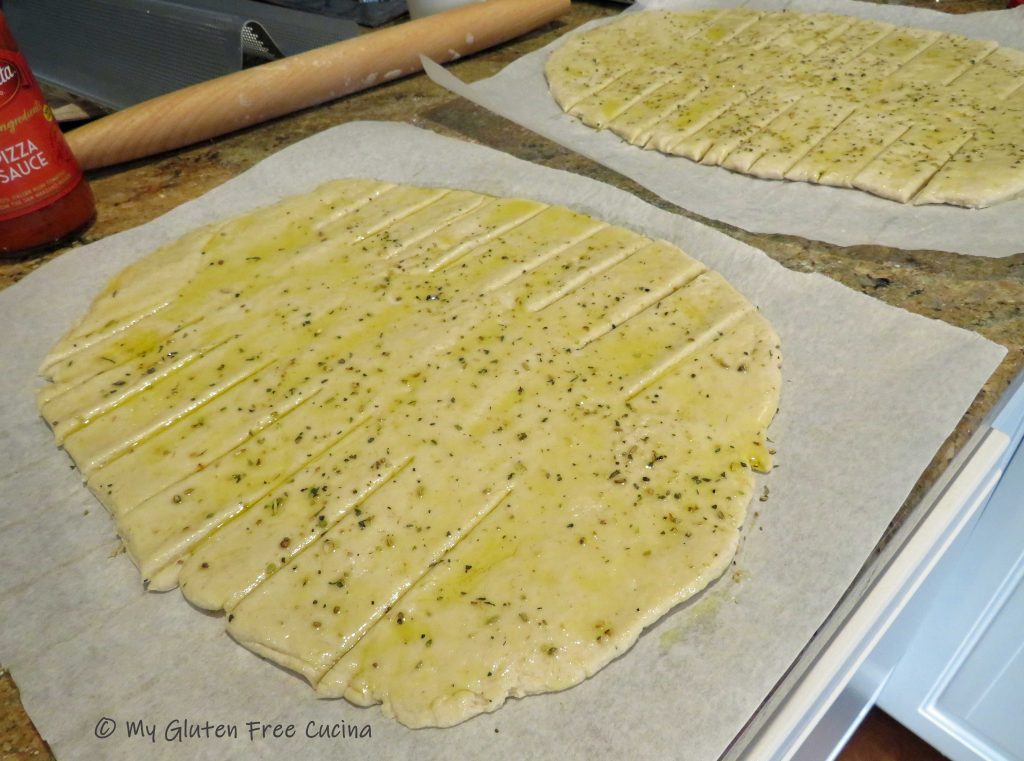
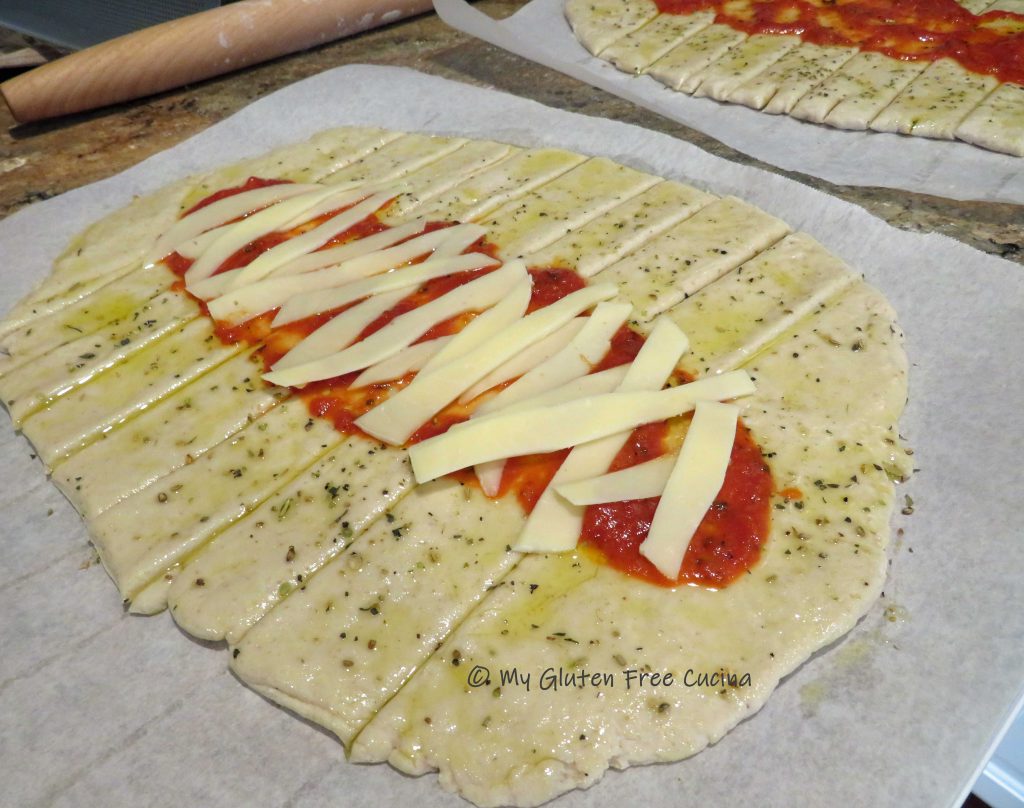
 After 1 hour in the fridge, turn the dough out onto floured parchment and use a


 Peel and dice the apples. In a
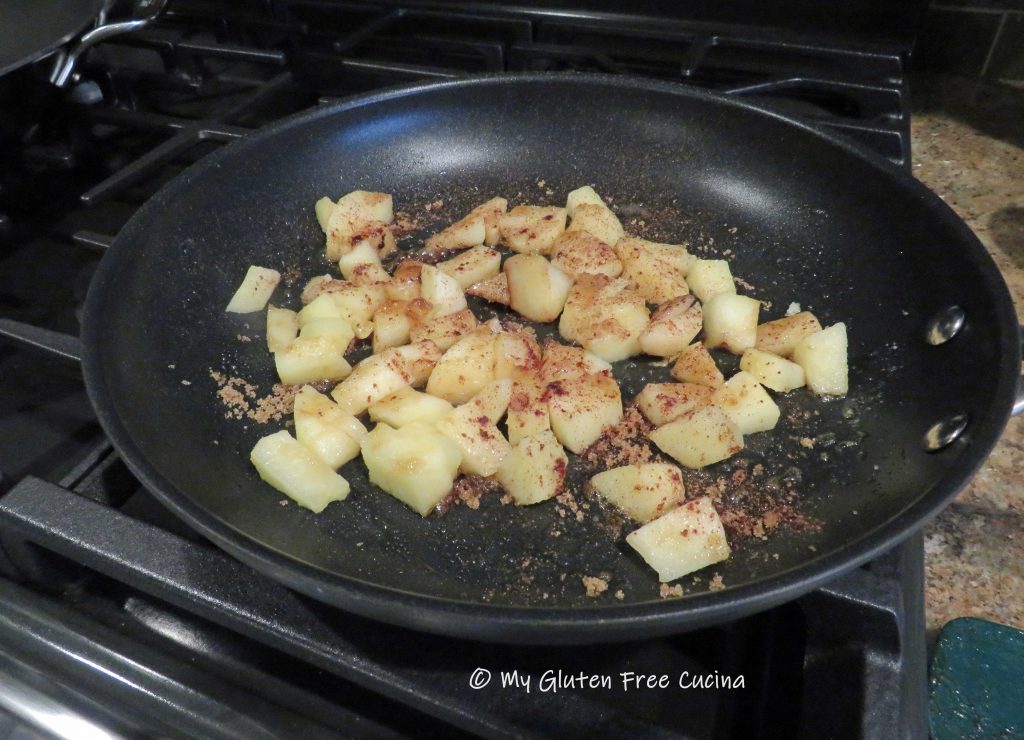

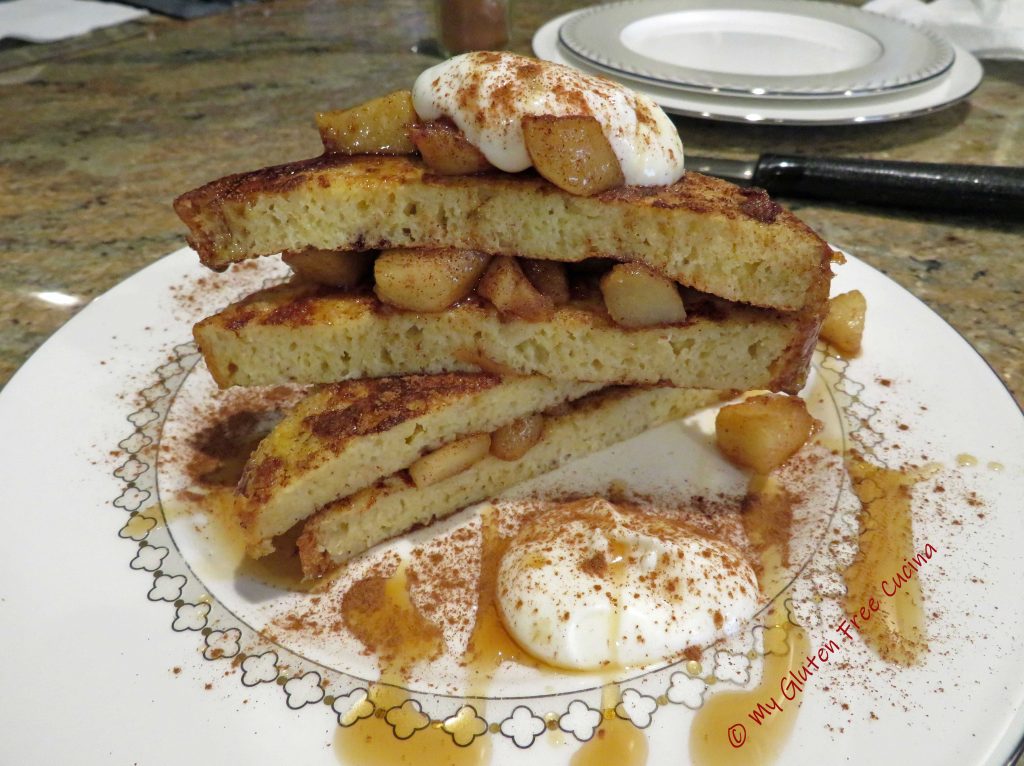
 Look at that plate, breakfast fit for a king and queen! Definitely a wonderful way to start your day!