When I was growing up in the 1960’s, Sunday morning in our Italian neighborhood was all about making the sauce. I can still see my Mom’s Farberware Stockpot simmering on the stove, filled to the rim.
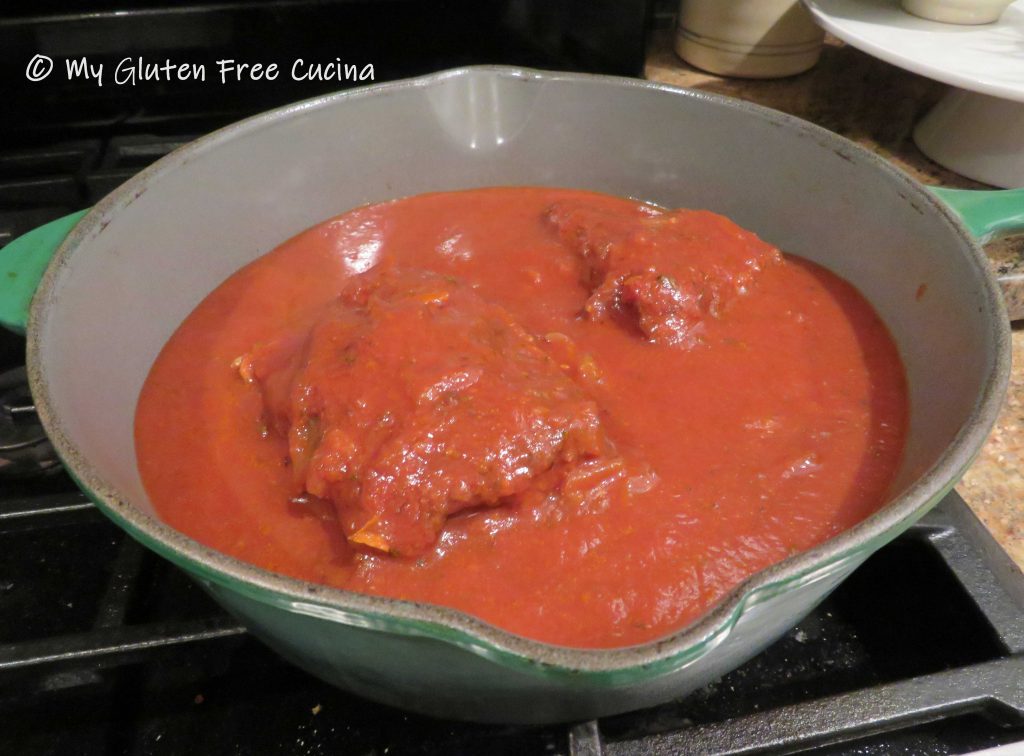
She often cooked a pot roast right in the sauce, as it was so easy to do and the resulting meal was delicious. The aromas filled our home and beyond, in fact it seemed every kitchen in the neighborhood was busy preparing their own Italian Sunday Dinner.
This post contains affiliate links.
I always think of my mom when I make this recipe, but instead of stovetop I prefer using my crock-pot, which makes it virtually hands off while you go about your busy day. The roast can be cooked on the weekend and reheated during the week, for an easy meal when you get home from work. Chuck roast is an economical cut of beef and after nine hours in the crock-pot the meat will be melt in your mouth tender!

Ingredients:
- 2-4 lb. chuck roast, allow 1/2 lb. per serving
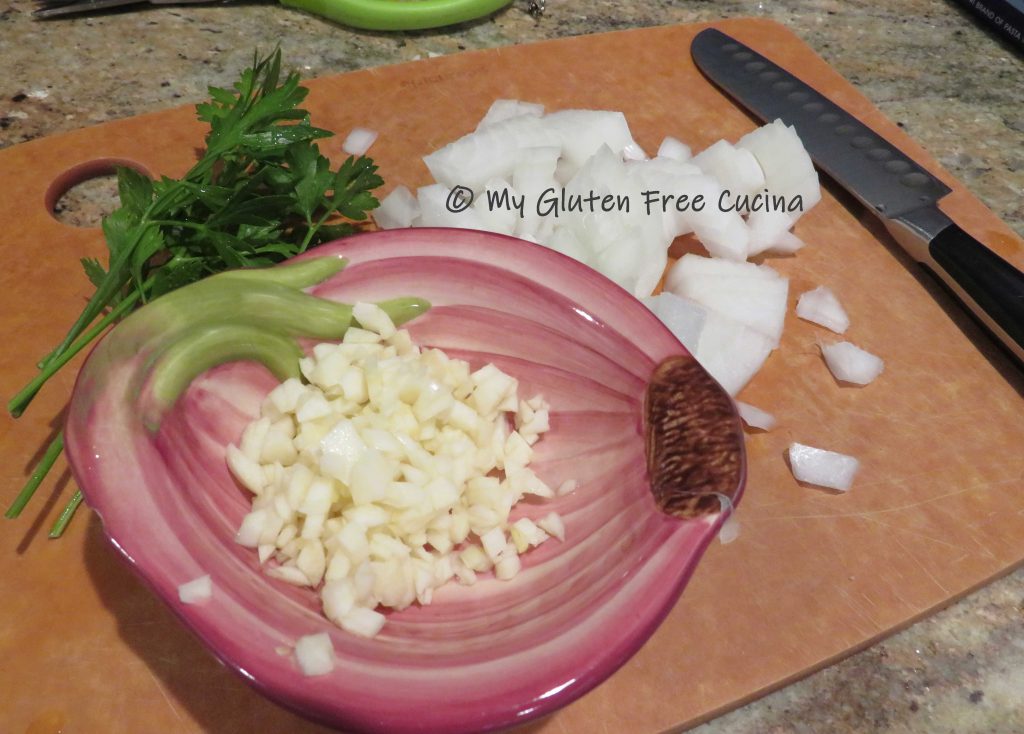
- 4 garlic cloves cut into slivers
- 1/2 sweet onion, diced
- cooking spray
- olive oil
- 1/2 cup red wine
- 1 large can (28 oz.) tomato sauce
- 3 tbsp. tomato paste
- 1-1/2 tsp. basil
- 1 tsp. oregano
- 1/2 tsp. marjoram
- 1/2 tsp. parsley
- 1 tbsp. brown sugar
Preparation:
I got a great deal on a 4 lb. chuck roast, so I cut it into 2 pieces and froze half. A roast like this will shrink during cooking, so when planning portions I allow 1/2 lb. per person. If you have leftovers, this pot roast is great in sandwiches the next day.
To get started, set up your crock-pot and mist with cooking spray. Cut the garlic cloves into long slivers. Use a paring knife to make slits in the top of the roast and insert the garlic slivers.
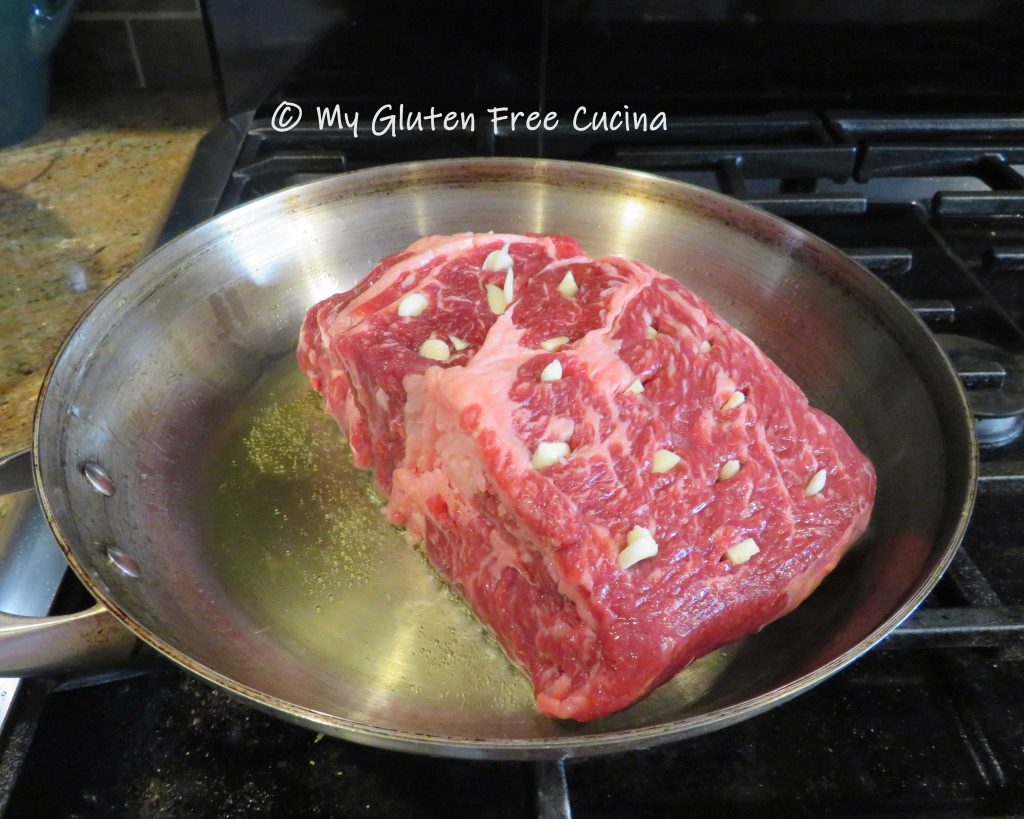
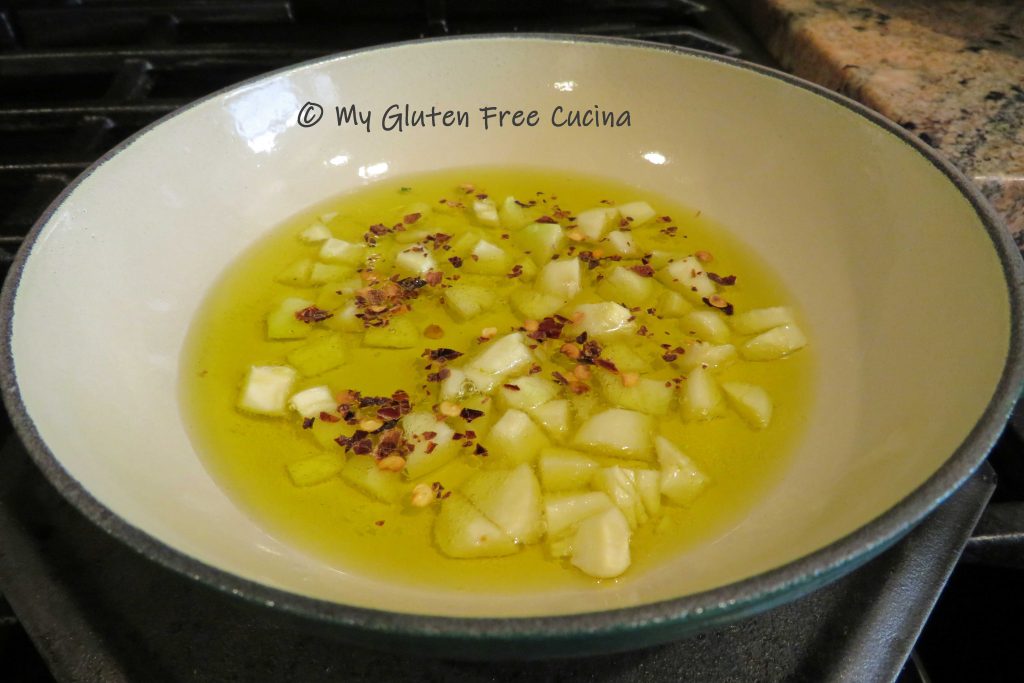
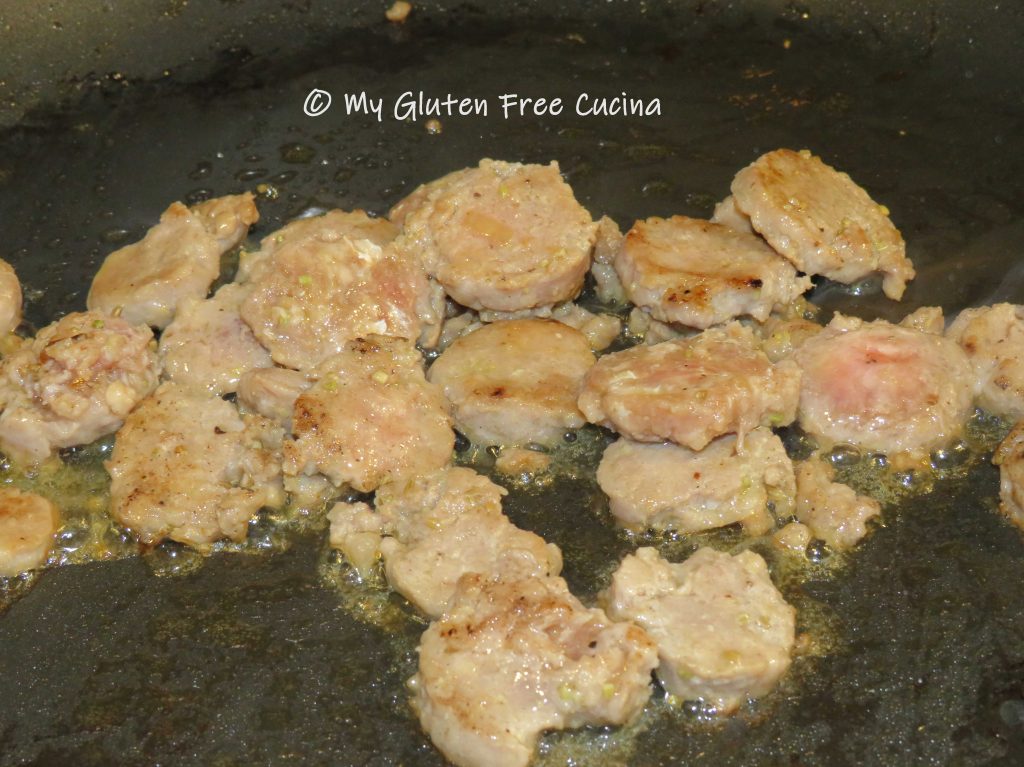
Sear the roast on all sides in a hot skillet with olive oil, then place it in the crock-pot.
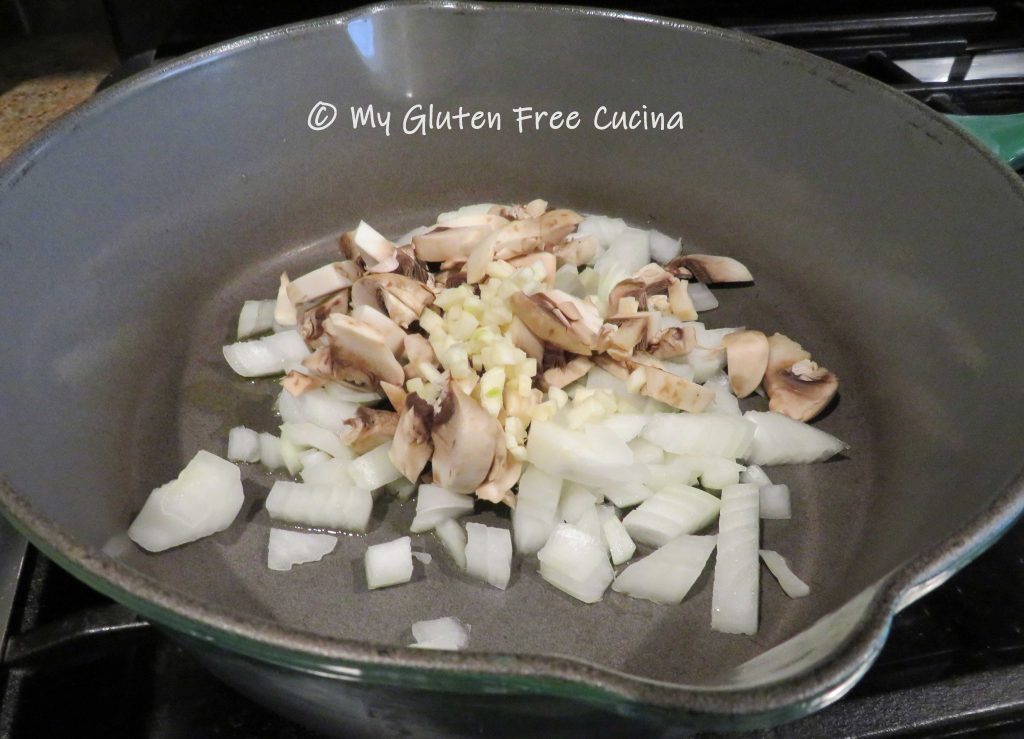
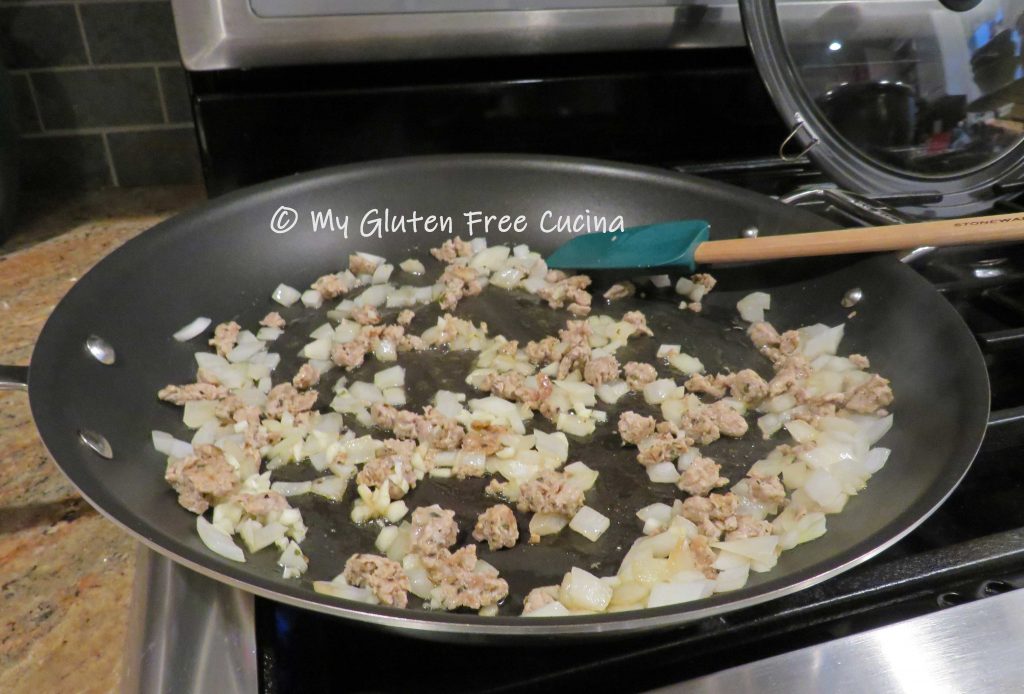
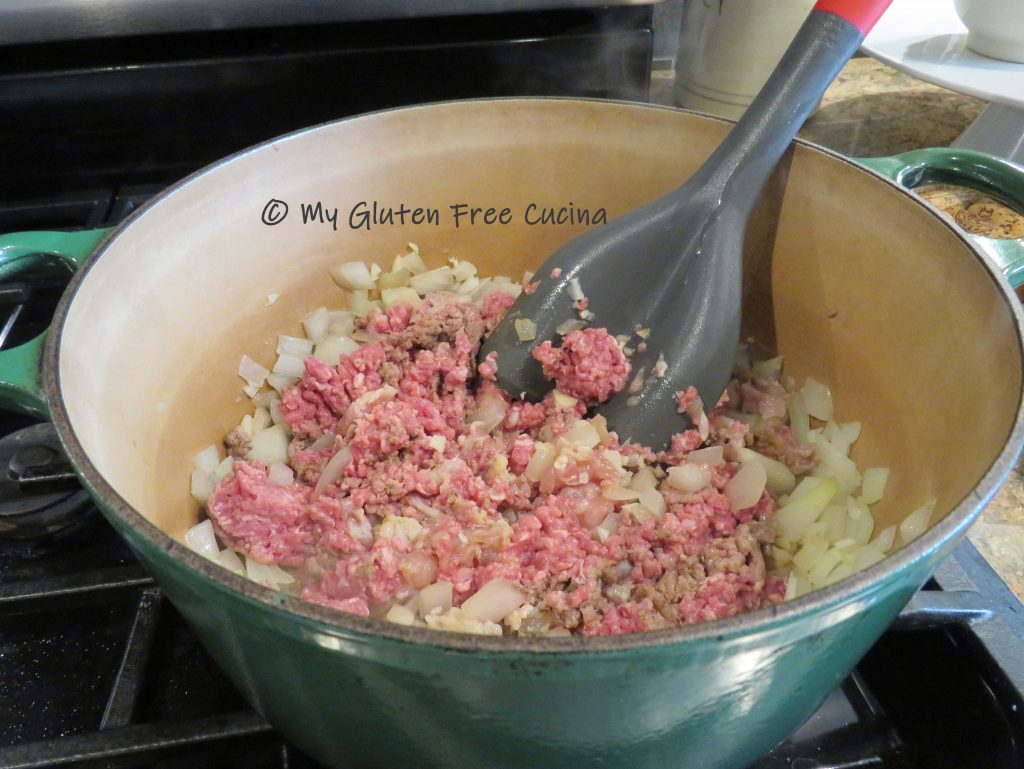
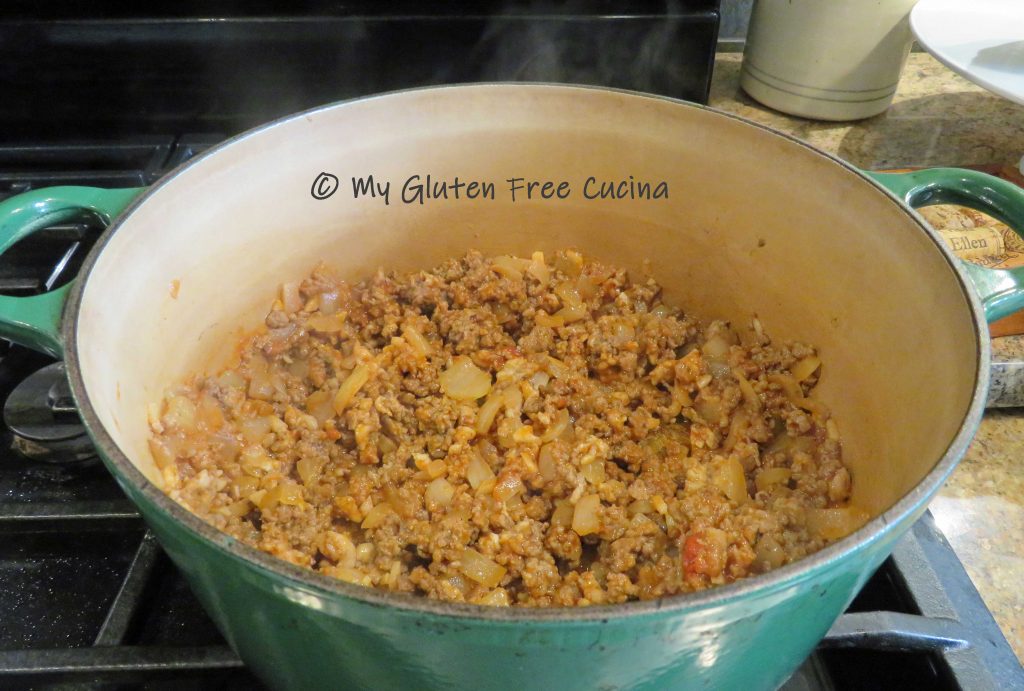
 Add onions to the same skillet and cook until translucent. Add them to the roast then deglaze the skillet with the red wine and pour over everything.
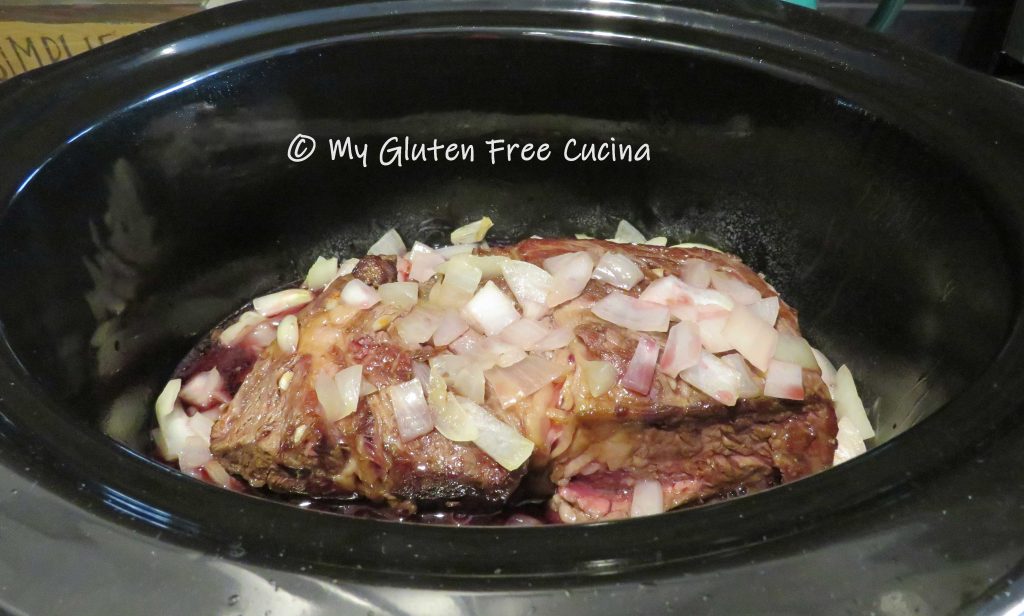
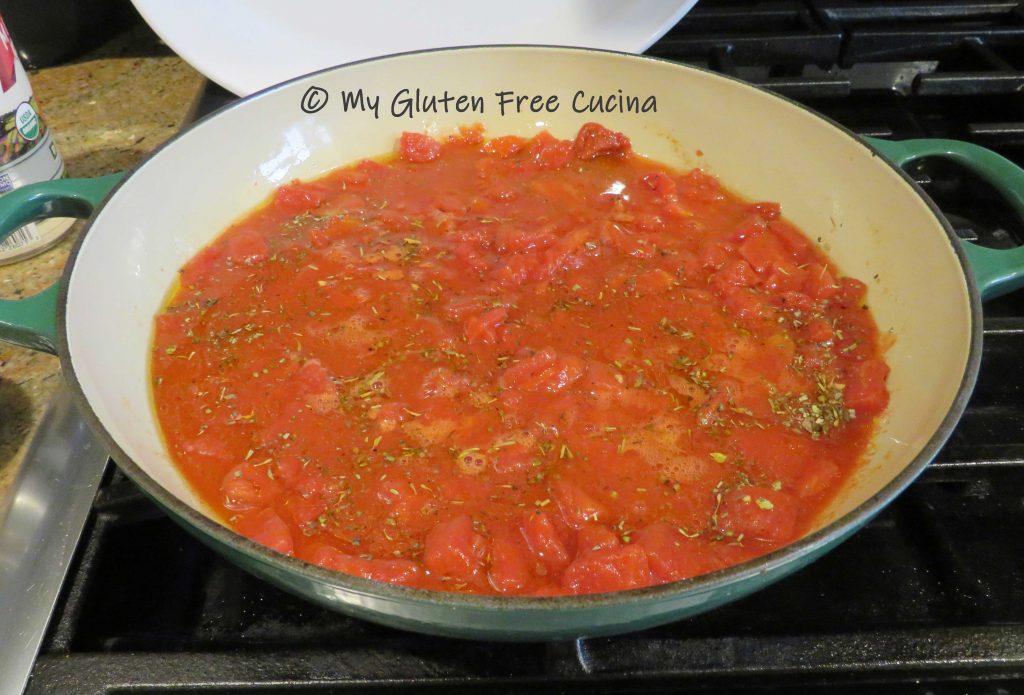
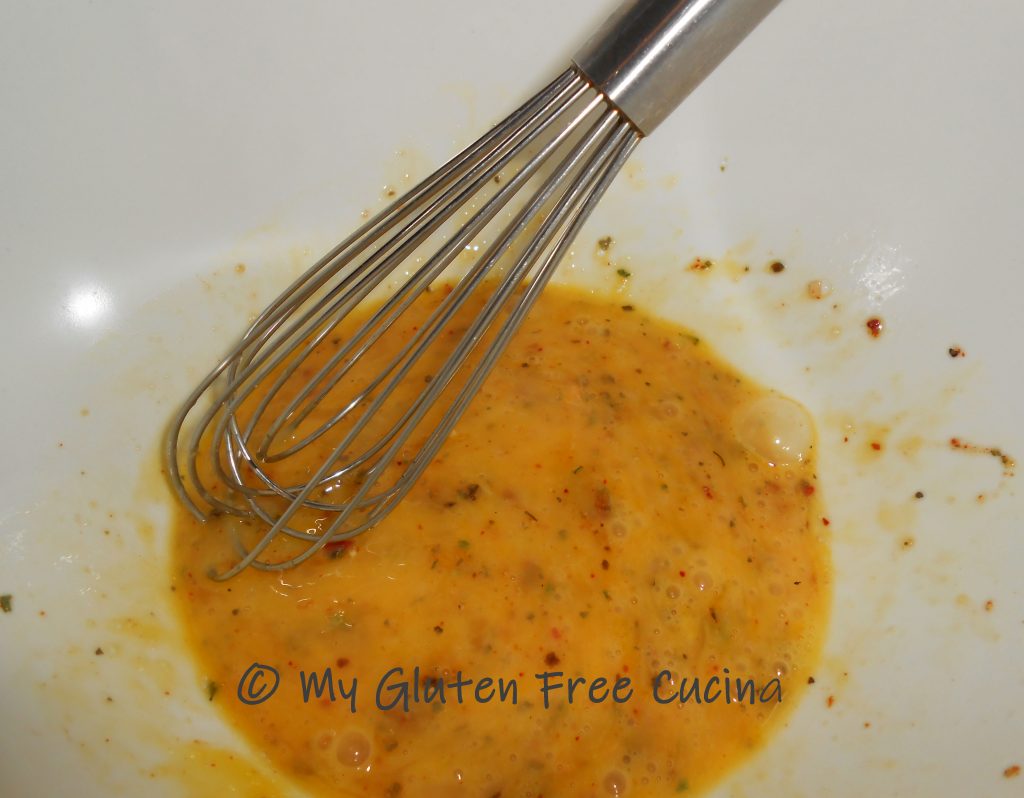
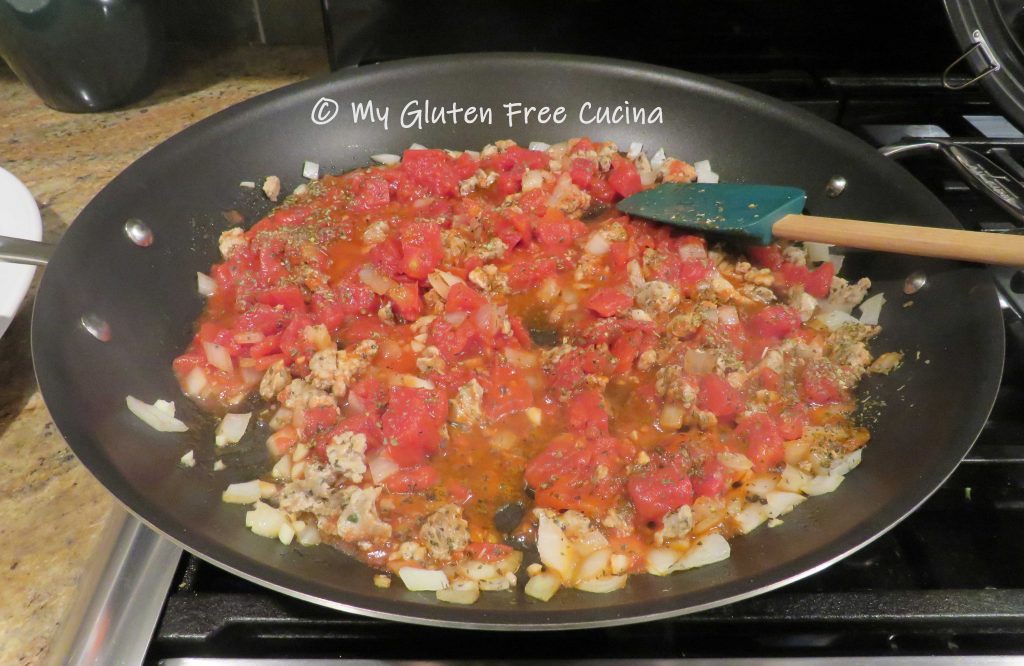
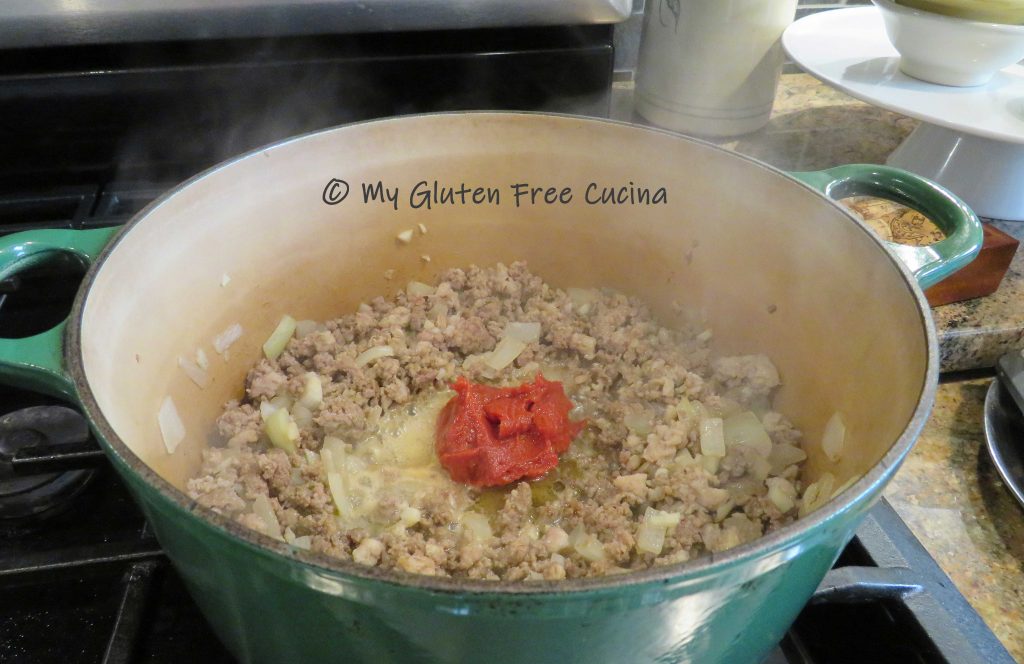
Whisk the tomato paste into the tomato sauce along with the remaining ingredients, through brown sugar. Add to the crock-pot and cook on low for 9 hours. Give it a stir about halfway through. You can serve it immediately, but my personal preference is to refrigerate it overnight. The flavors will continue to meld, and the sauce will thicken.
The next day, reheat the roast on the stovetop over low heat. You can see that mine was so tender that it had broken into two pieces.
 Most of the onions will have melted into the sauce at this point, but if you want an extra smooth sauce (or have picky eaters) you can puree it with a stick blender.

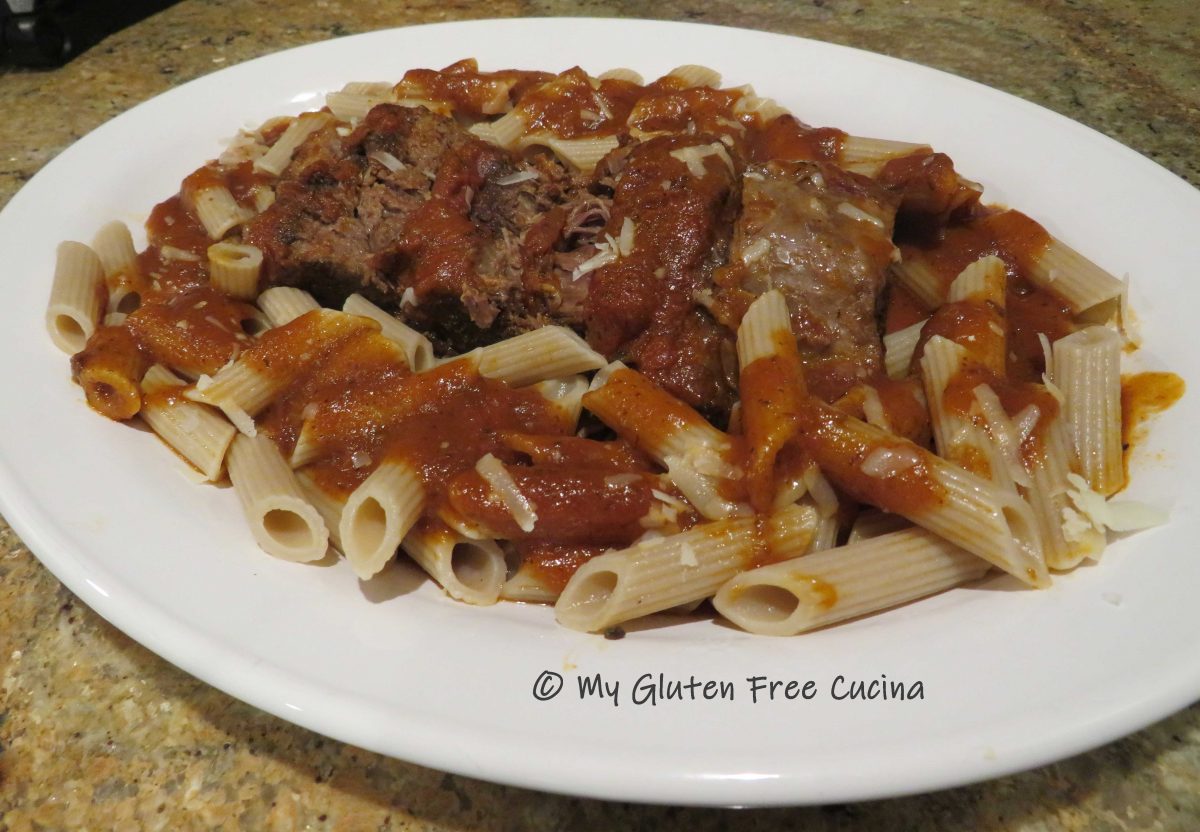
Slice the roast and arrange on a serving platter.
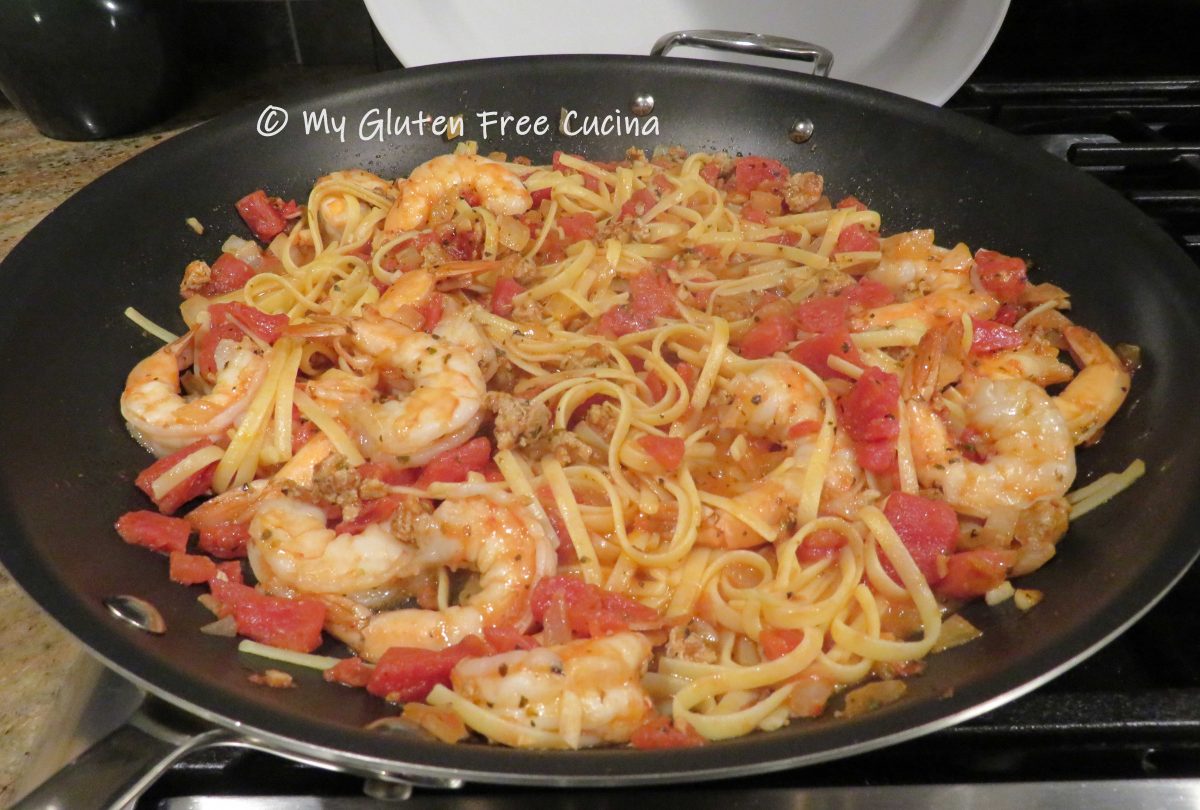
Serve with your favorite gluten free pasta. Jovial gluten free penne is one of mine.
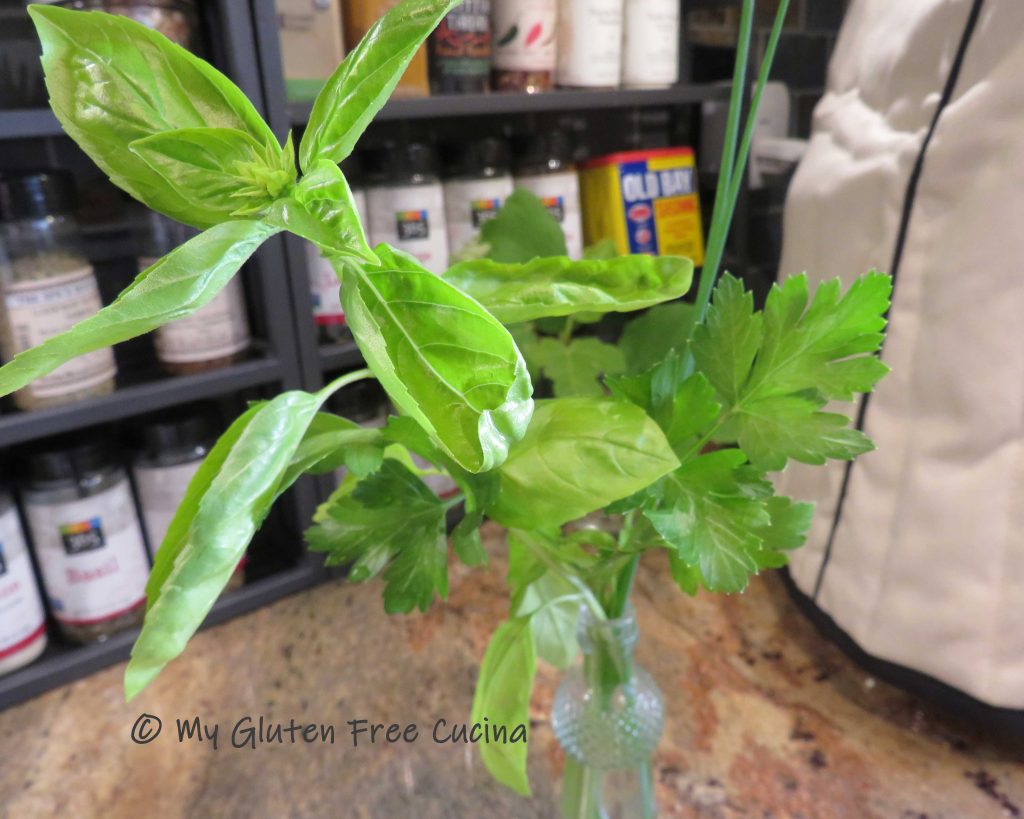
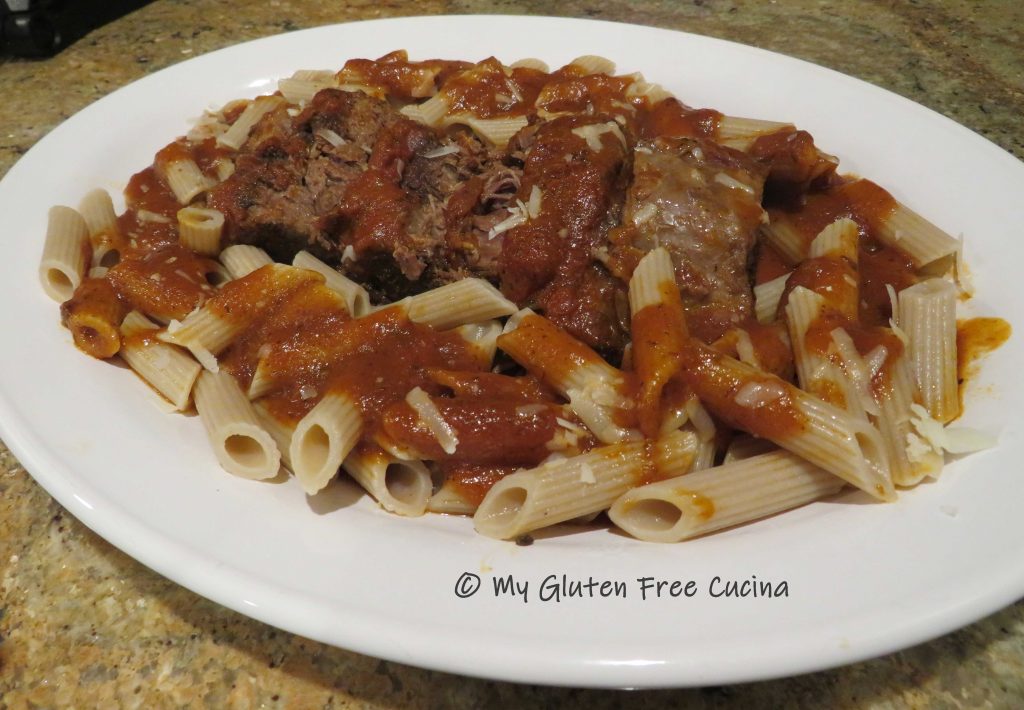 Bring to the table with extra sauce and grated cheese. The only thing missing here is fresh parsley from my herb garden. I guess I’ll have to wait for summer and make this again!
Notes ♪♫ When starting the gluten free diet, you may feel like you will never enjoy your old family recipes again. The truth is many recipes like this one are naturally gluten free. The only thing I changed was the pasta. With a little patience and experimentation, I have learned that many of my childhood favorites can be recreated and enjoyed!


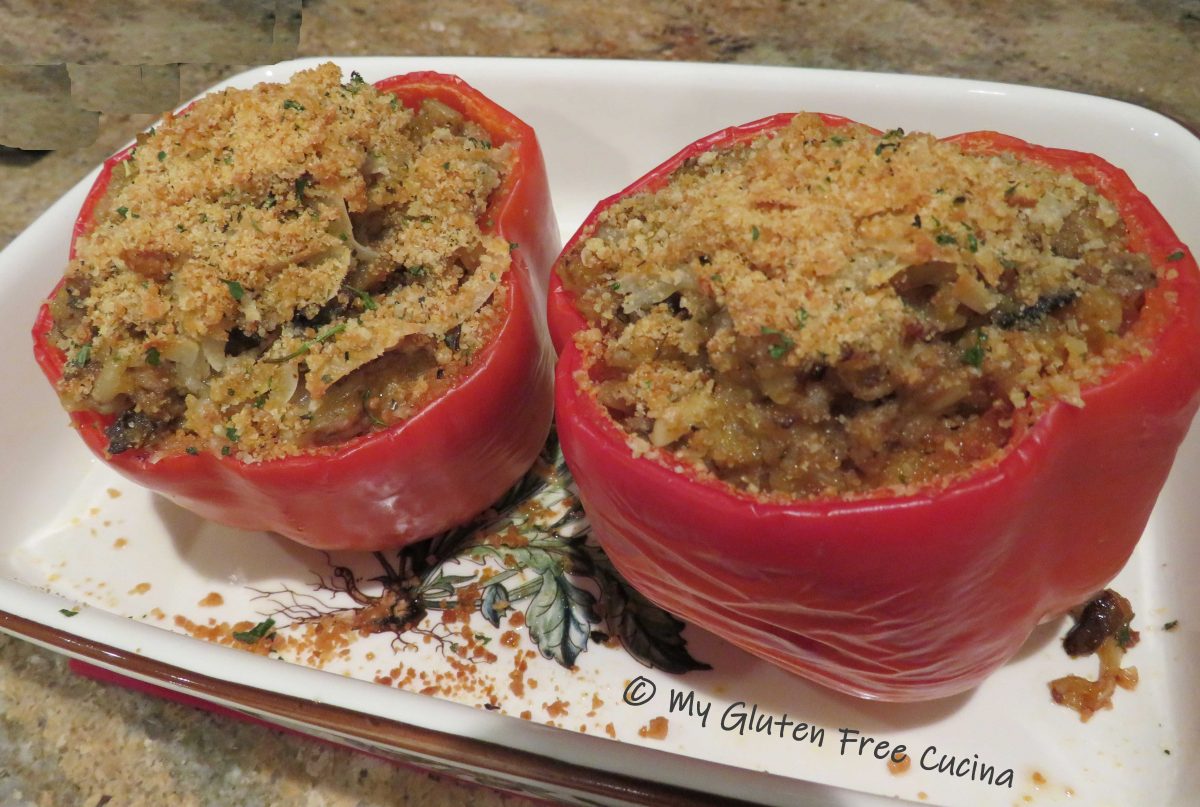
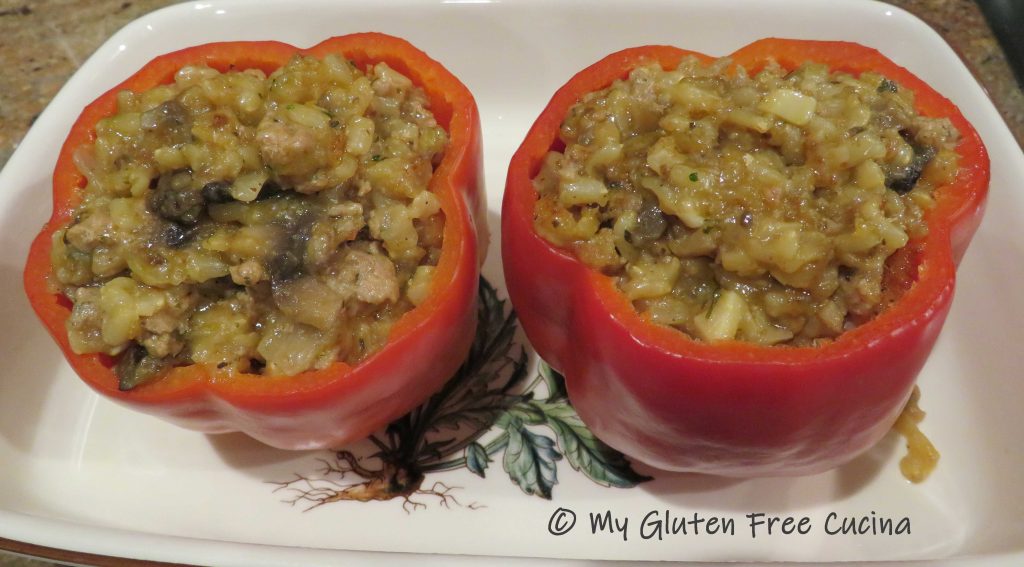
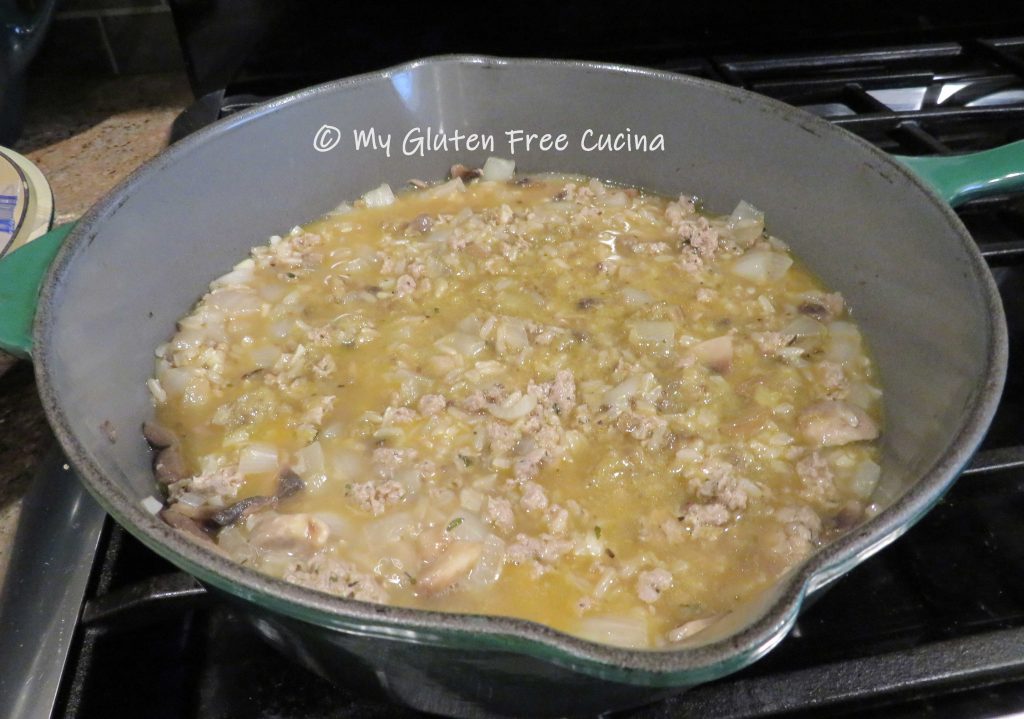
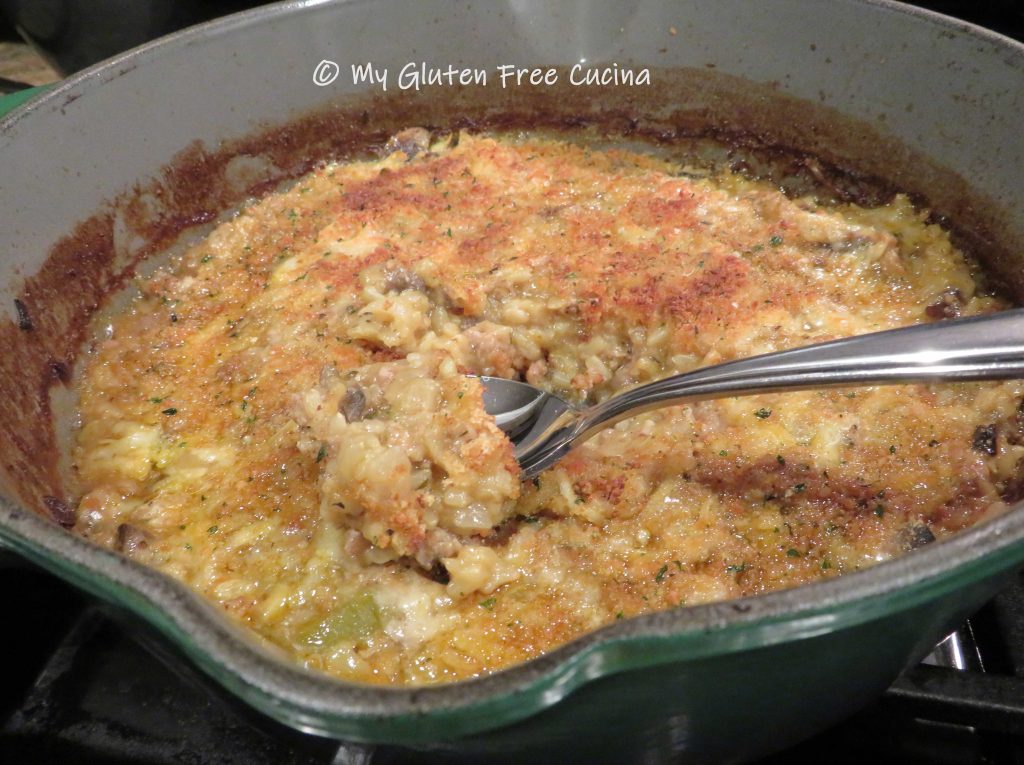
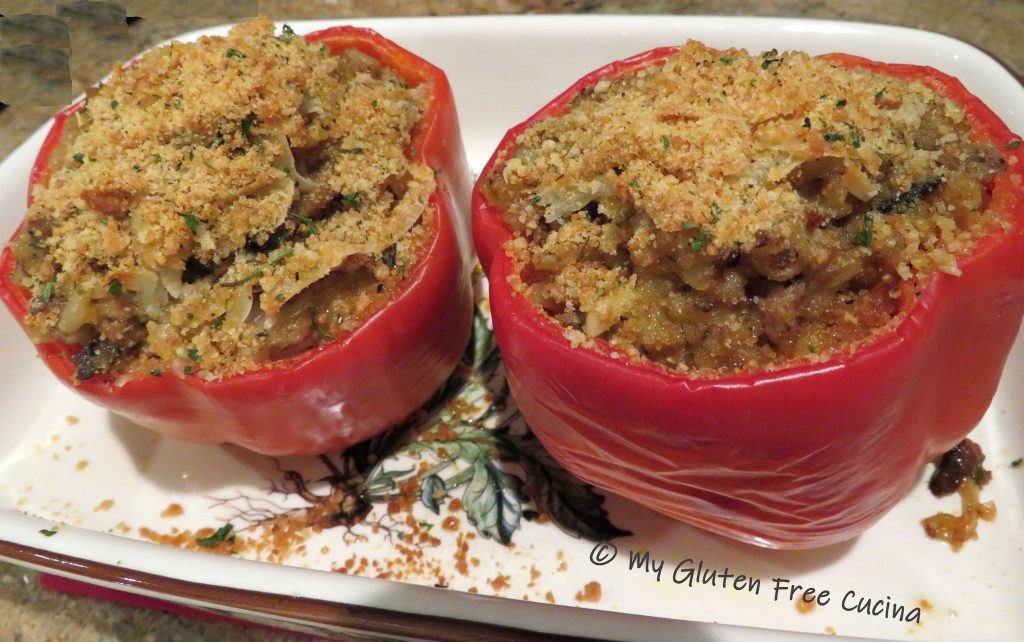
 The sausage and rice stuffing is so delicious and can stand on its own as a casserole!
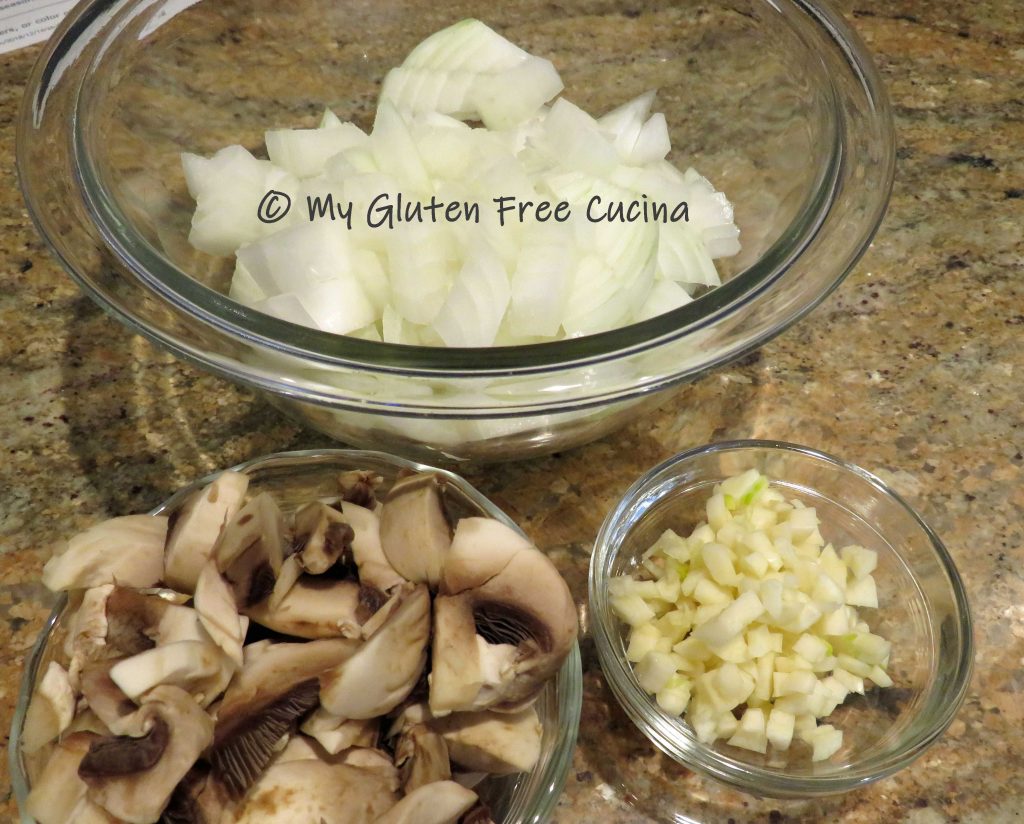


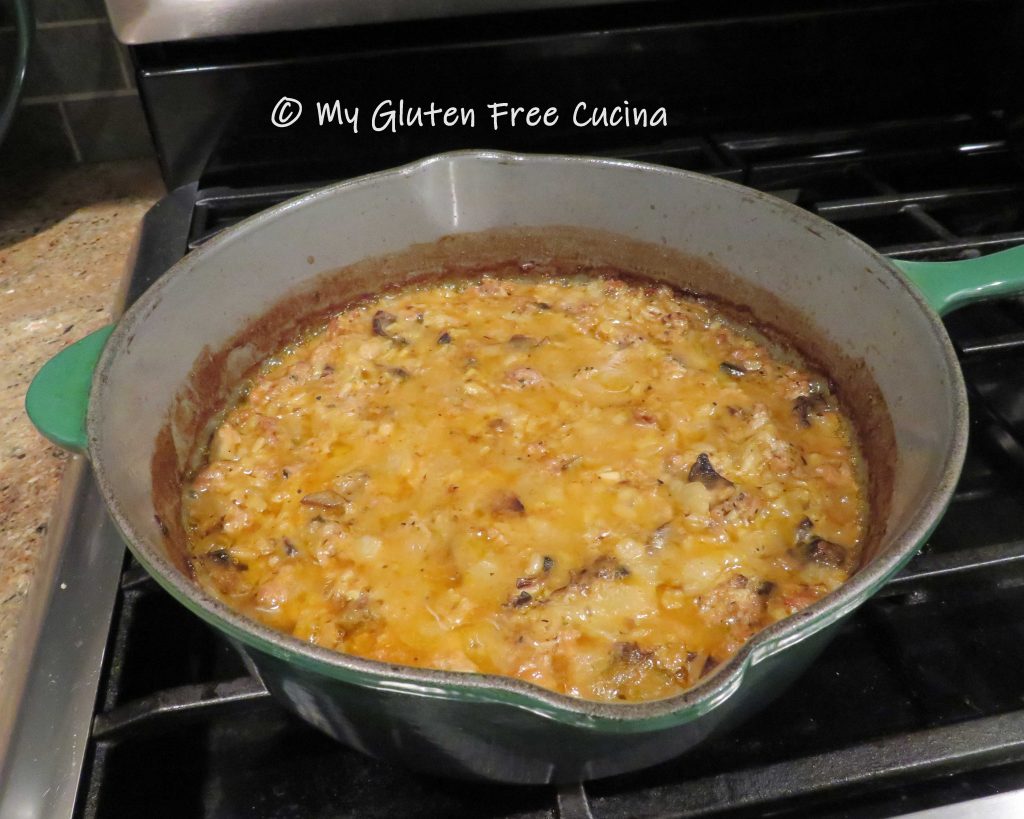
 Sprinkle the top with paprika and place the skillet in a 350° oven. Bake for 30 minutes uncovered.


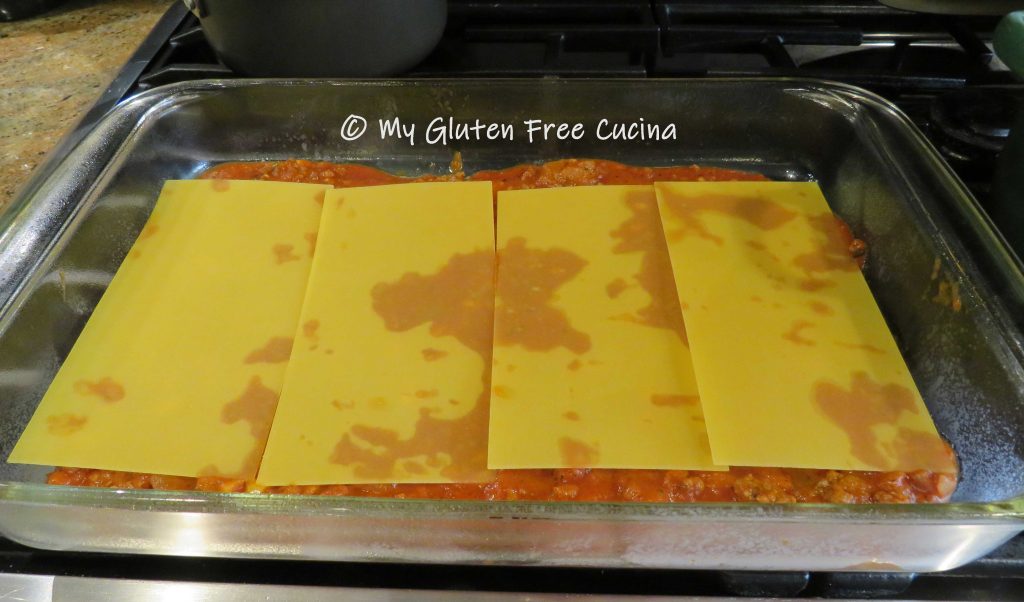
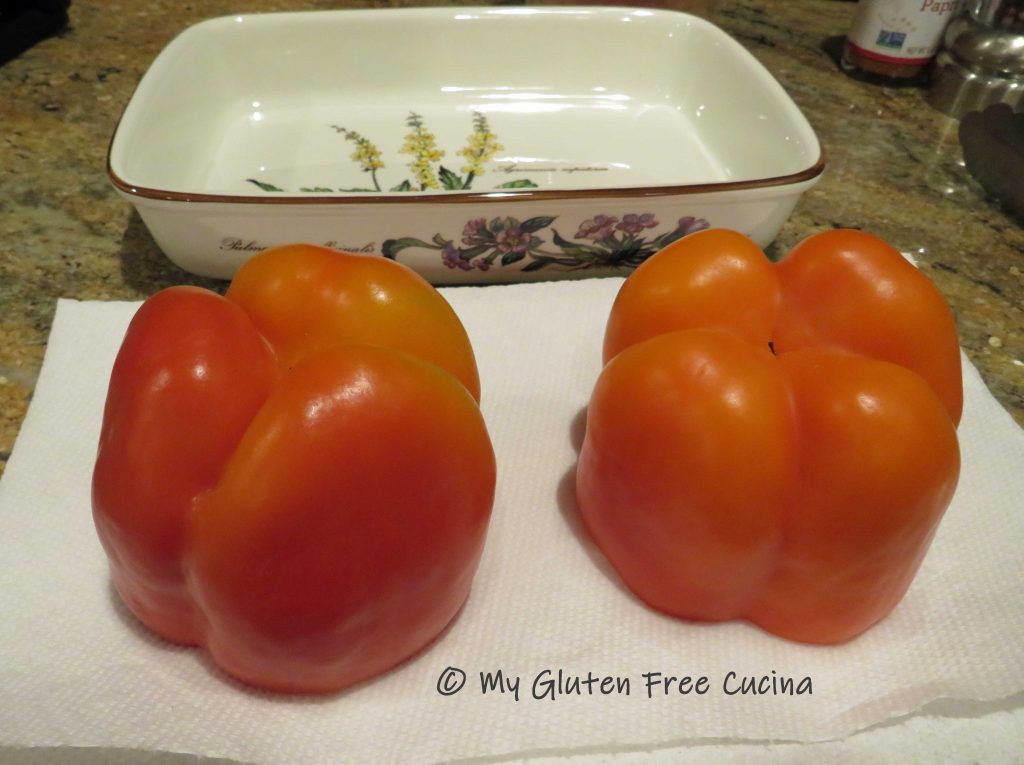 Arrange the cooled peppers in a baking dish coated with cooking spray and spoon in the stuffing.
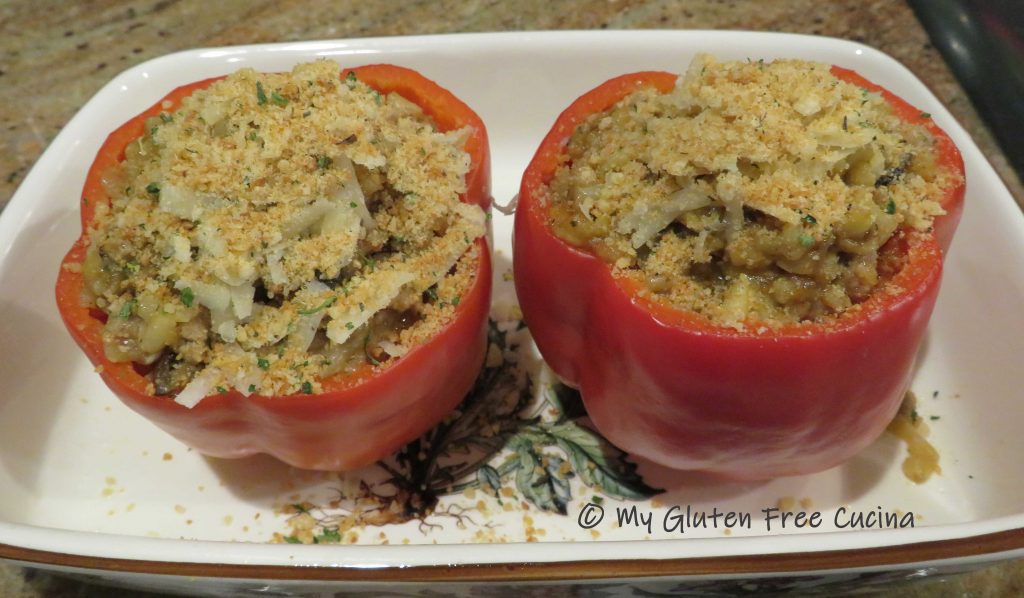
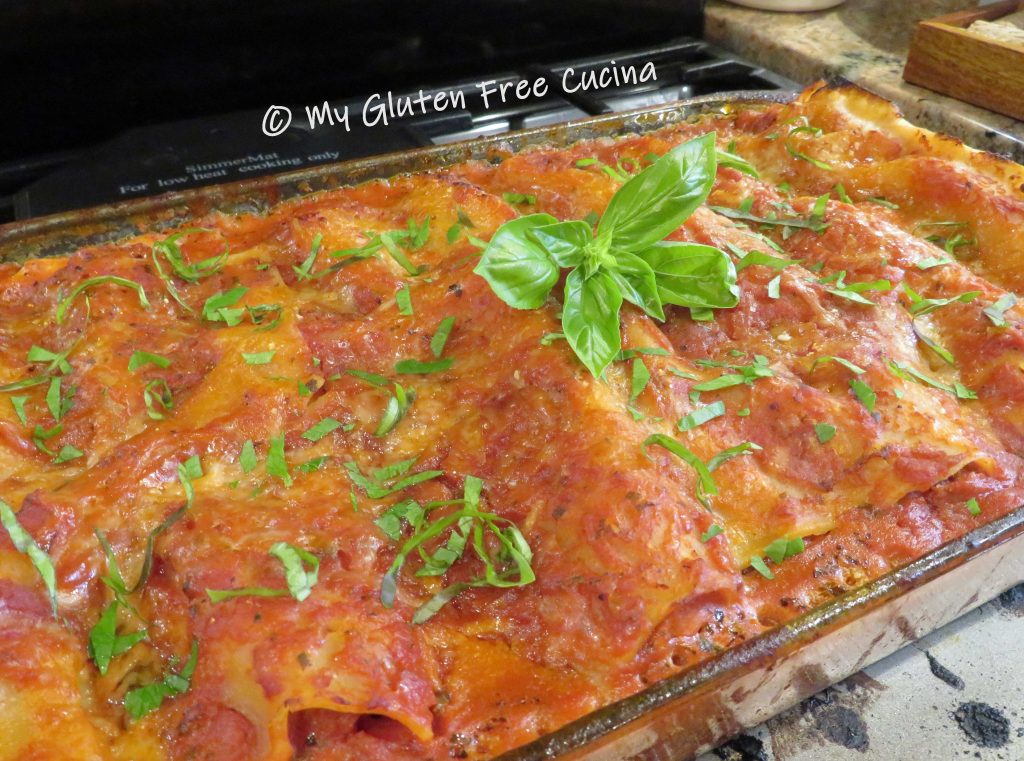
 Finish under the broiler for 1-2 minutes, just until the tops are browned.
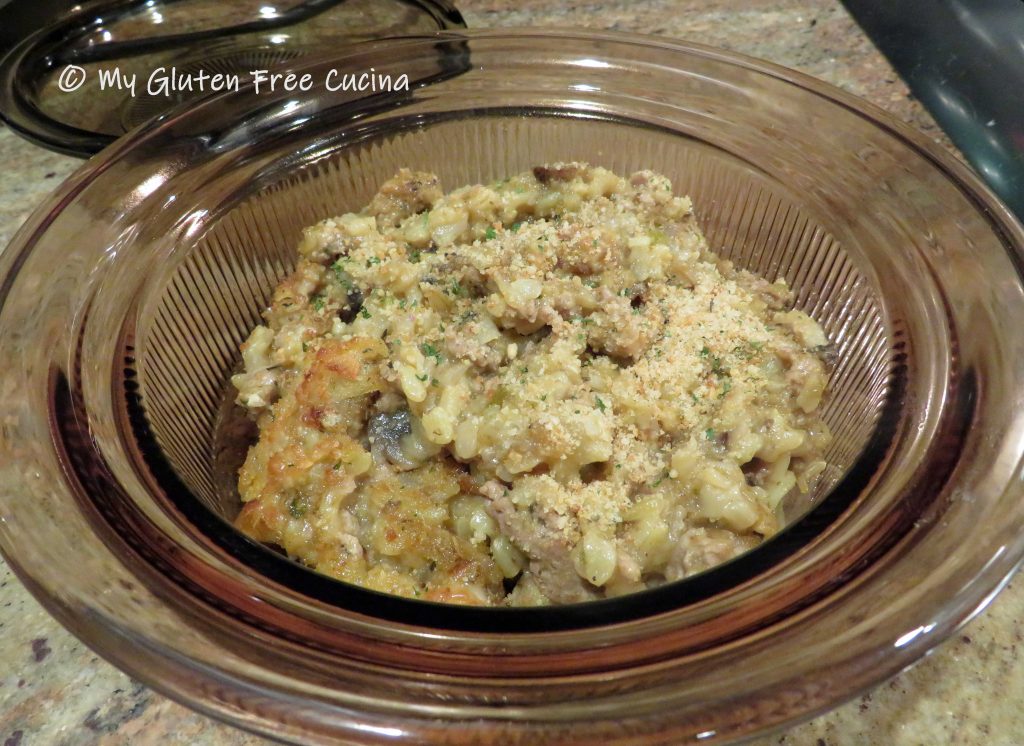


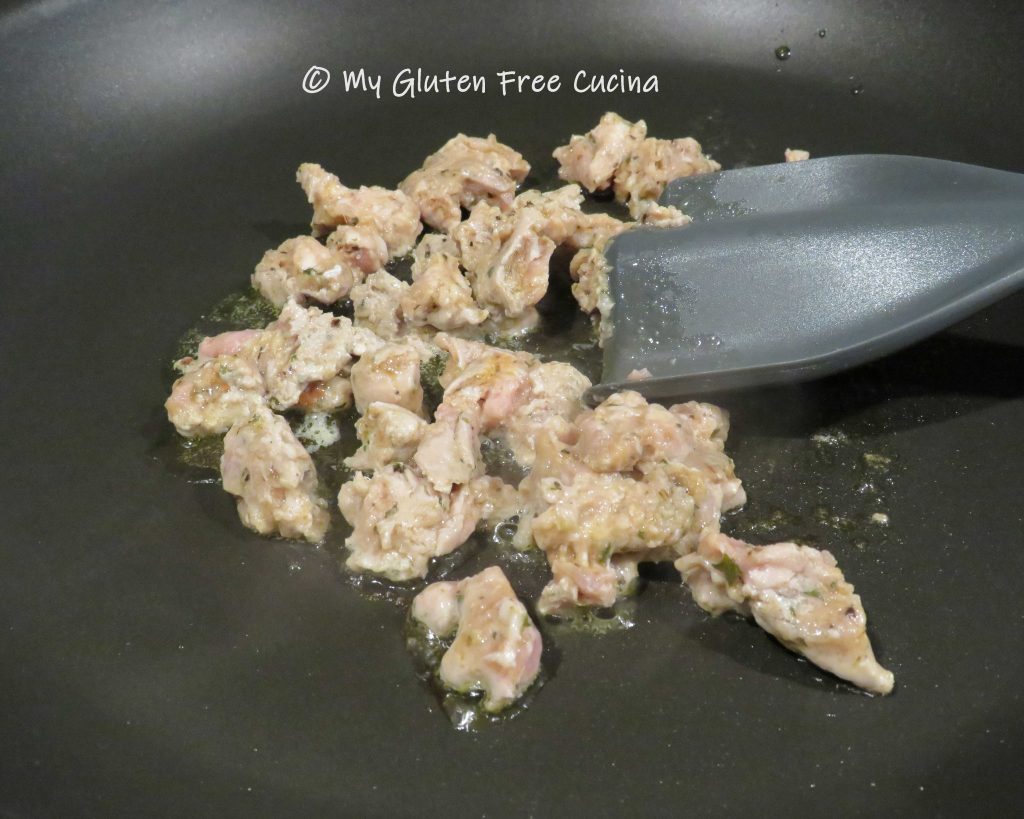


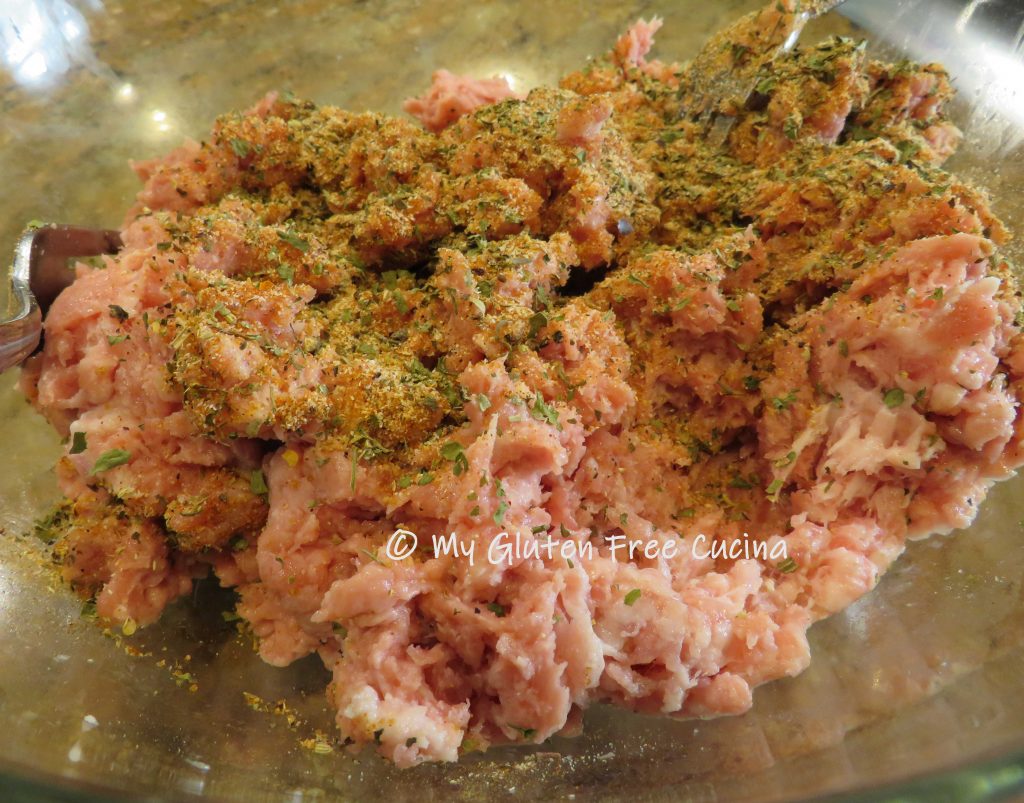
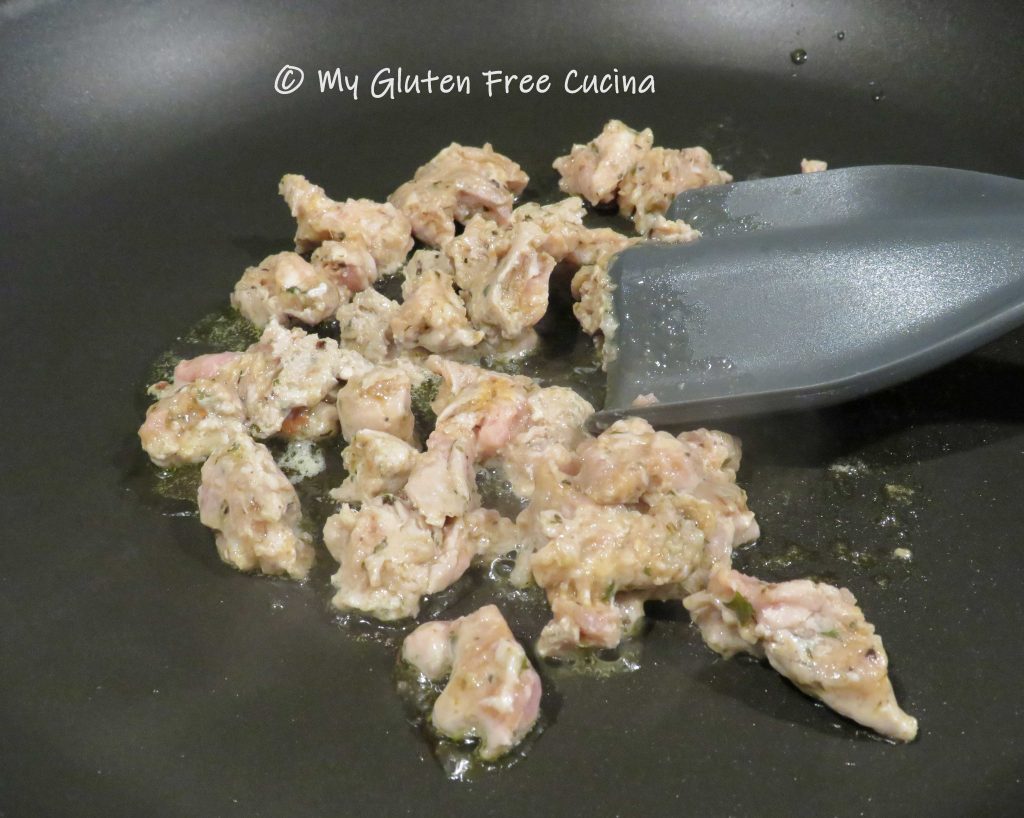
 Use 2 forks to break apart the meat and mix it together. This will take some time and patience, as you want it well mixed but not compressed.


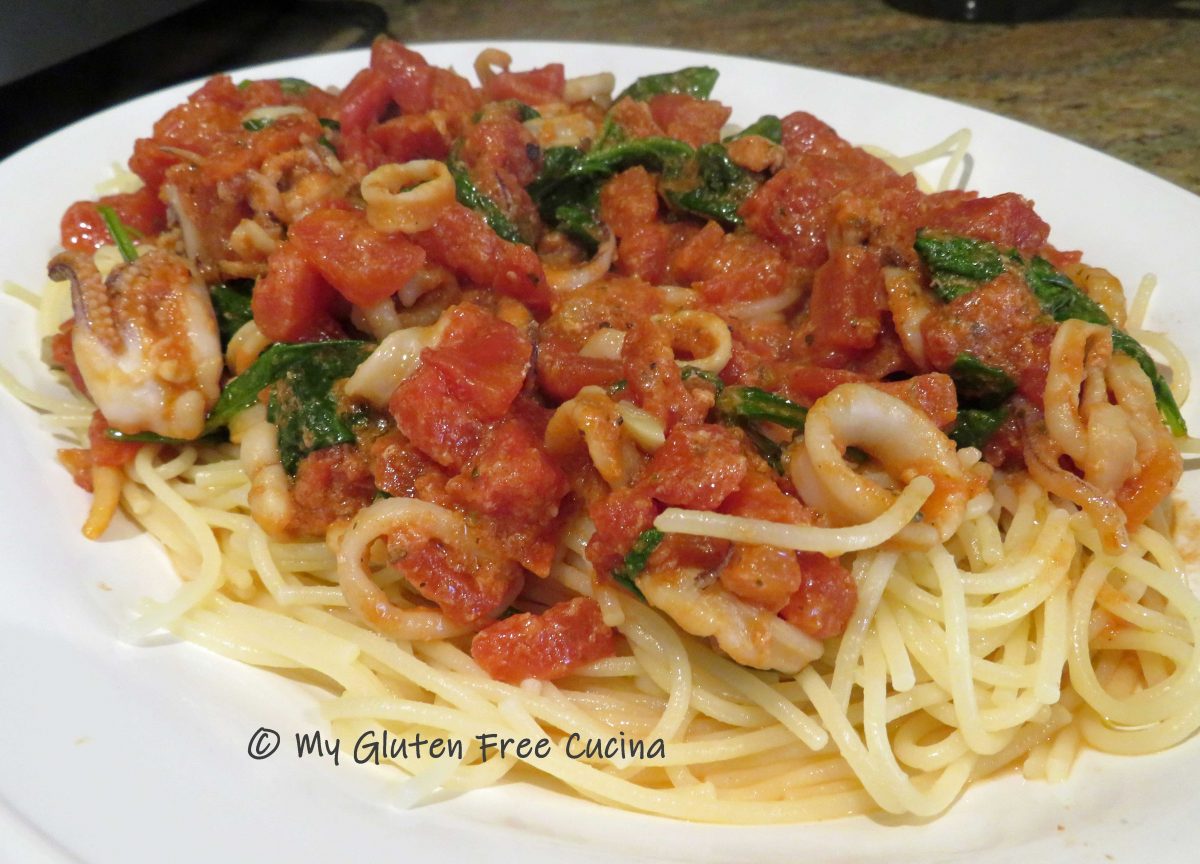
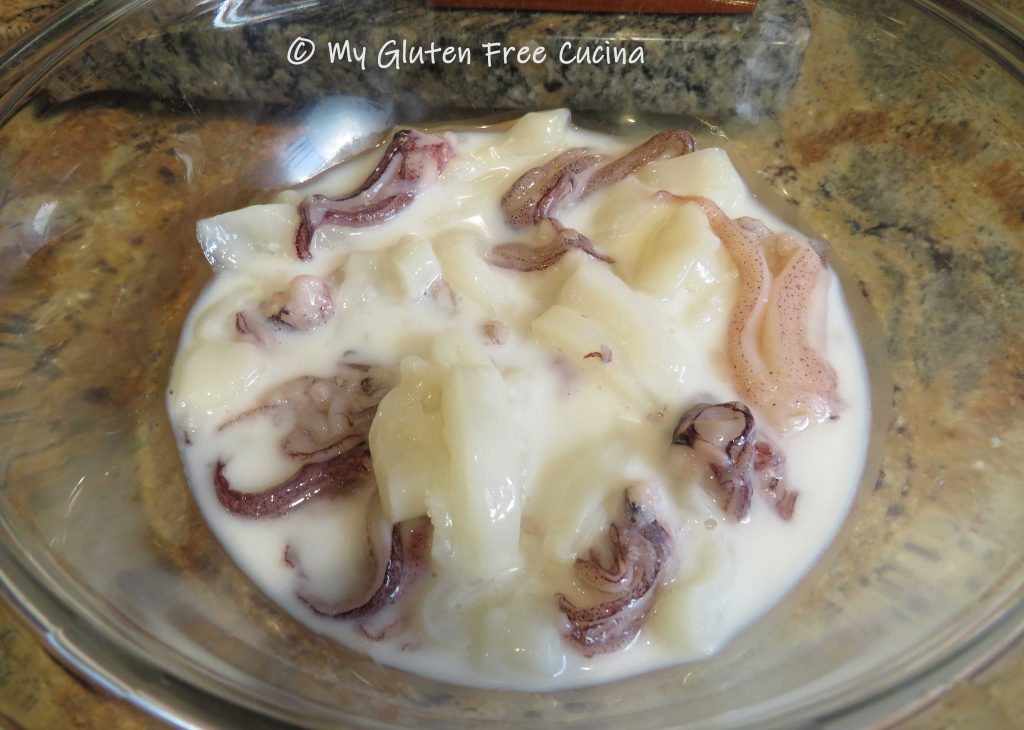
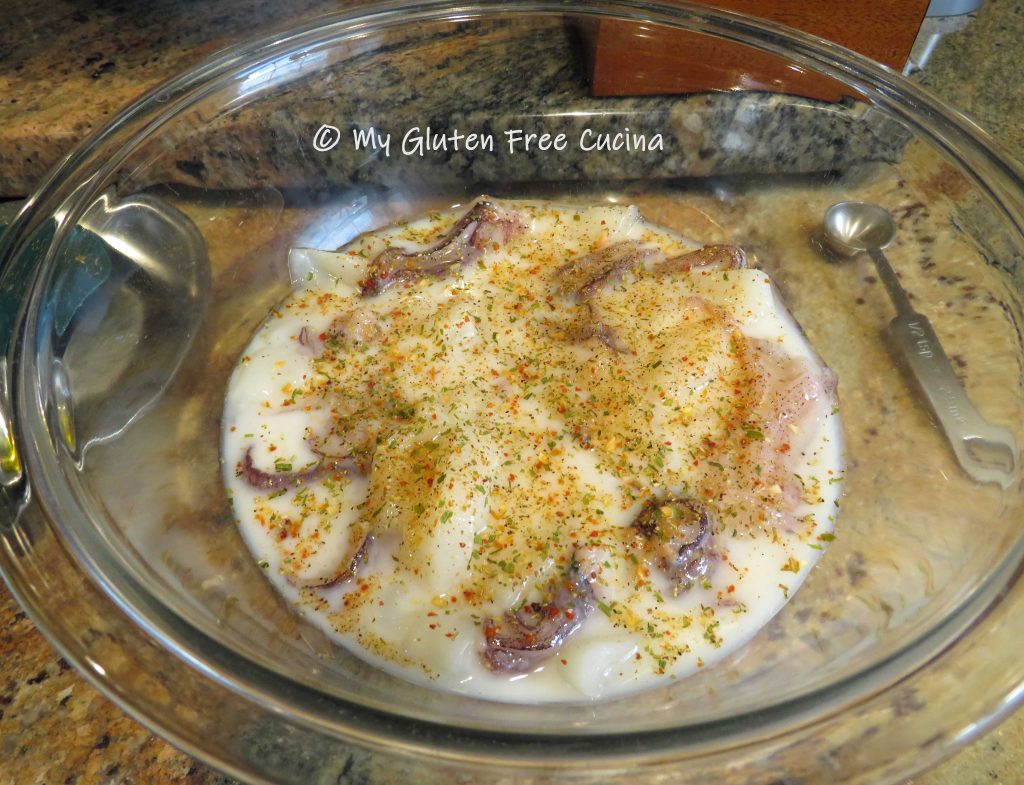
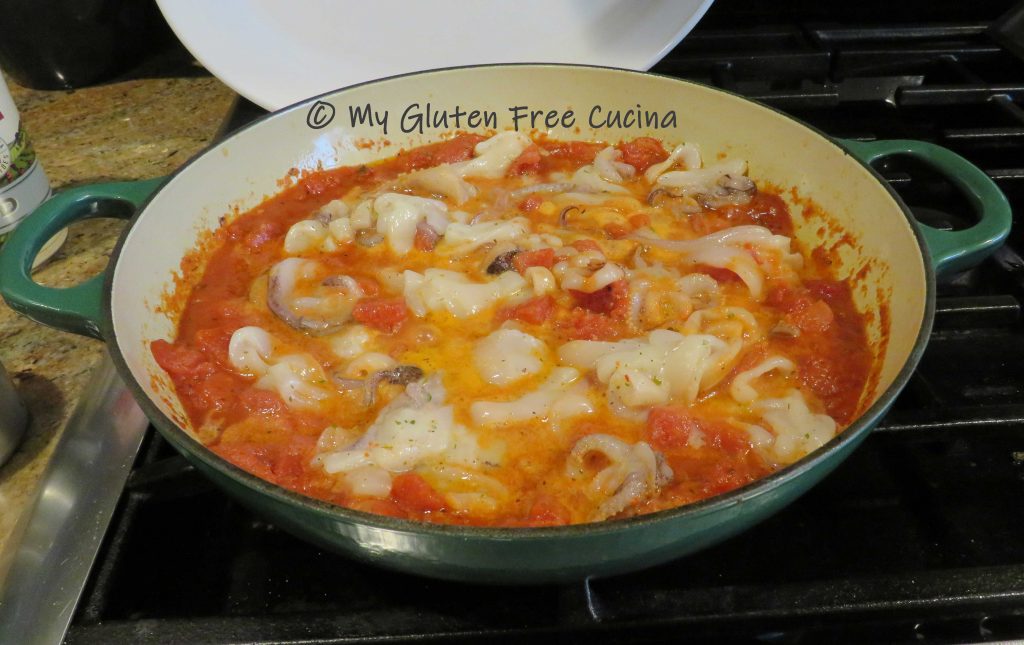
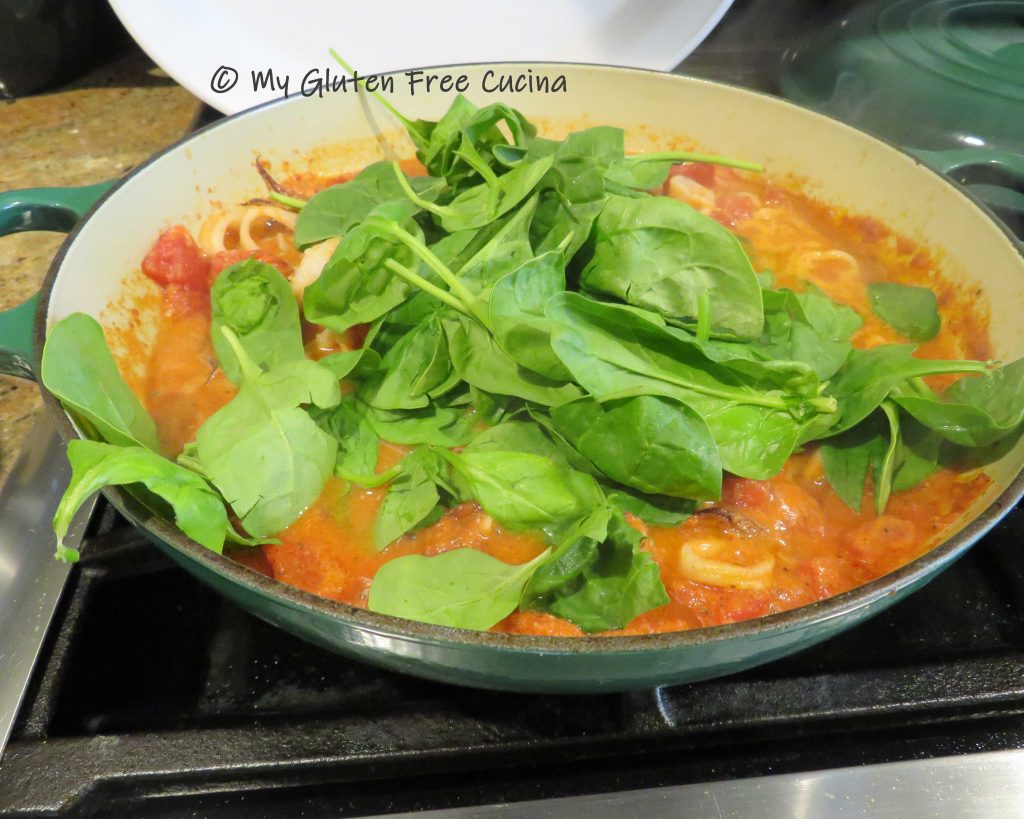
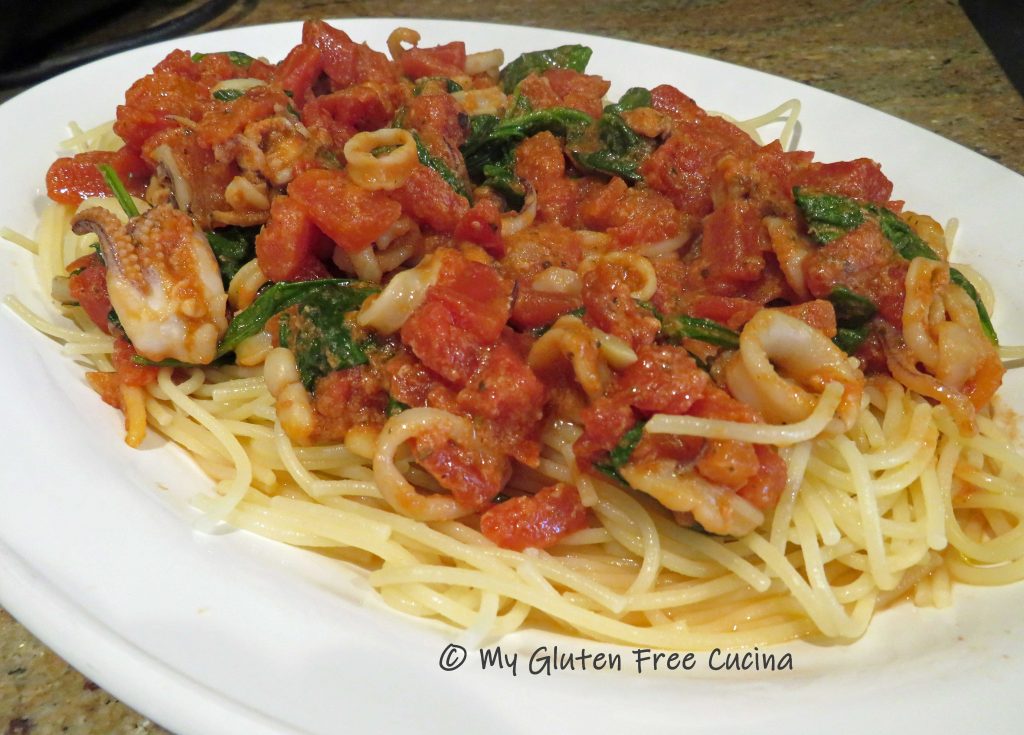
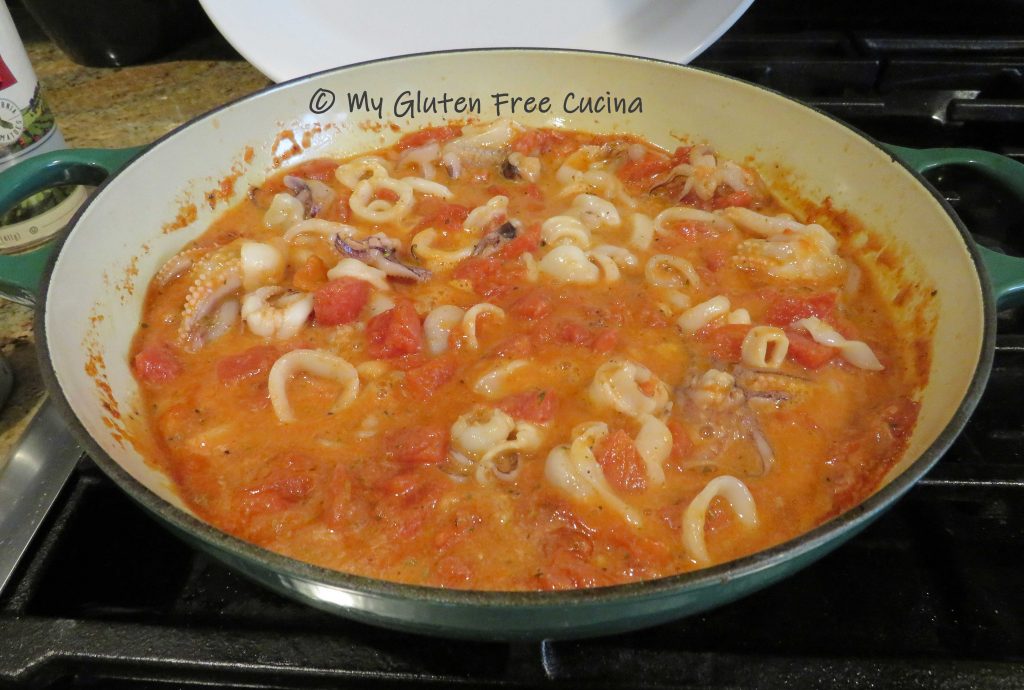 Did you know that there’s a trick to cooking squid? It can be tough and rubbery if not prepared correctly, but if you soak it in milk and don’t overcook, it will be delicious and tender. Soak squid in milk for 30 minutes before cooking.