Why make your own sausage?
Today we have so many brands of gluten free sausage that are widely available. So why would you go through the trouble of making it from scratch?
The short answer, because you control the ingredients. Want less fat? Instead of all pork use a combination of pork and turkey or use all turkey or chicken. Don’t like fennel? Leave it out. Like it spicy? Add more hot pepper flakes. Limiting sodium? Leave out the salt. You get the idea.
This post contains affiliate links.
I also make my own spice blend, and it is better, and fresher than store bought plus you probably have most of the individual spices in your pantry already.

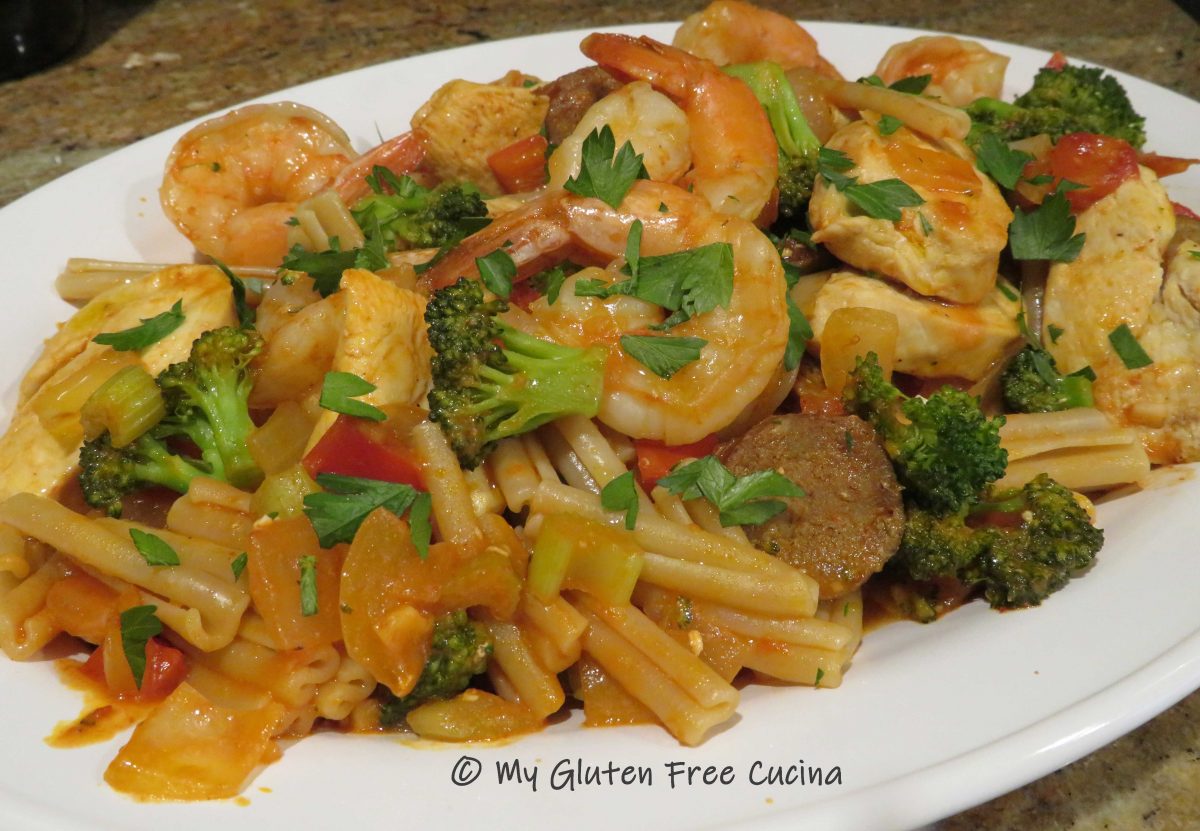
Did you know that I love using Italian sausage in my recipes? I add a little to my Meatloaf, Meatballs, Pizza, even my Shepherd’s Pie! These sausage patties are perfect for adding a little extra flavor to ground beef recipes!

Note- I am not grinding my own meat nor am I using casings. This is meant to be an easy recipe that anyone can put together at home!
This post contains affiliate links.
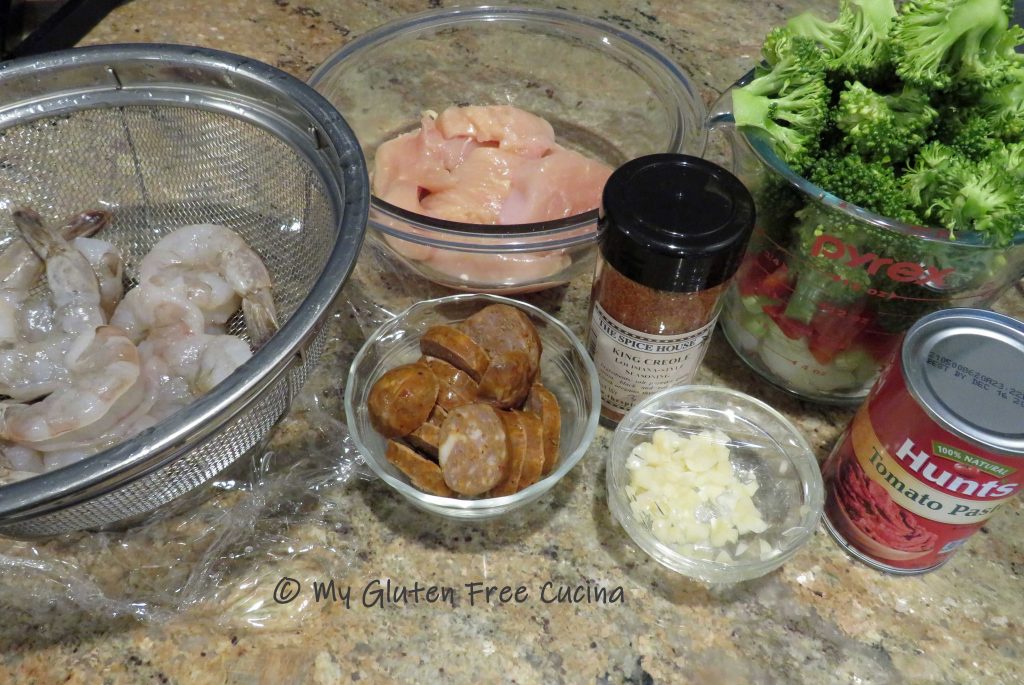
Ingredients:
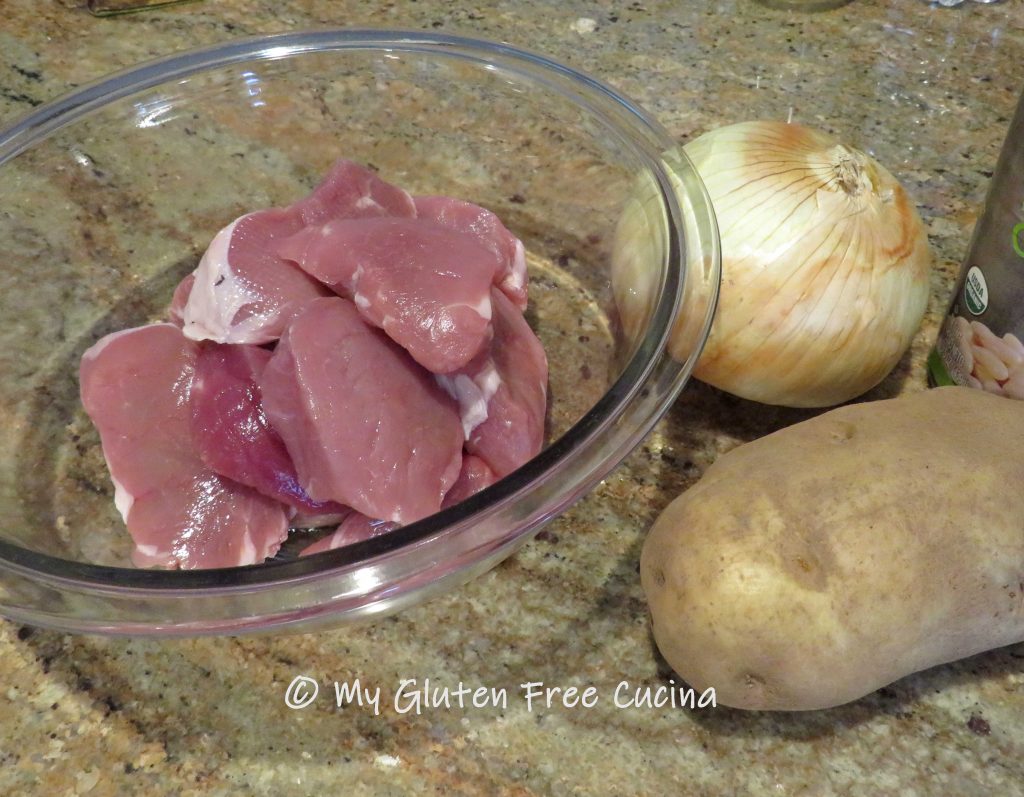
- 1 lb. ground pork
- 1 lb. ground turkey (optional, you can use 2 lbs. pork)
- 2 tbsp. red wine vinegar
- 1-1/2 tsp. peppercorns, ground
- 2 tsp. parsley
- 2 tsp. garlic granules
- 2 tsp. onion granules
- 2 tsp. basil
- 1 tsp paprika
- 1/4 tsp. red pepper flakes, ground
- 1/2 tsp. ground fennel seed
- 1/4 tsp. oregano
- 1/4 tsp. thyme
- 1 tsp. brown sugar
- salt, to taste
Preparation:
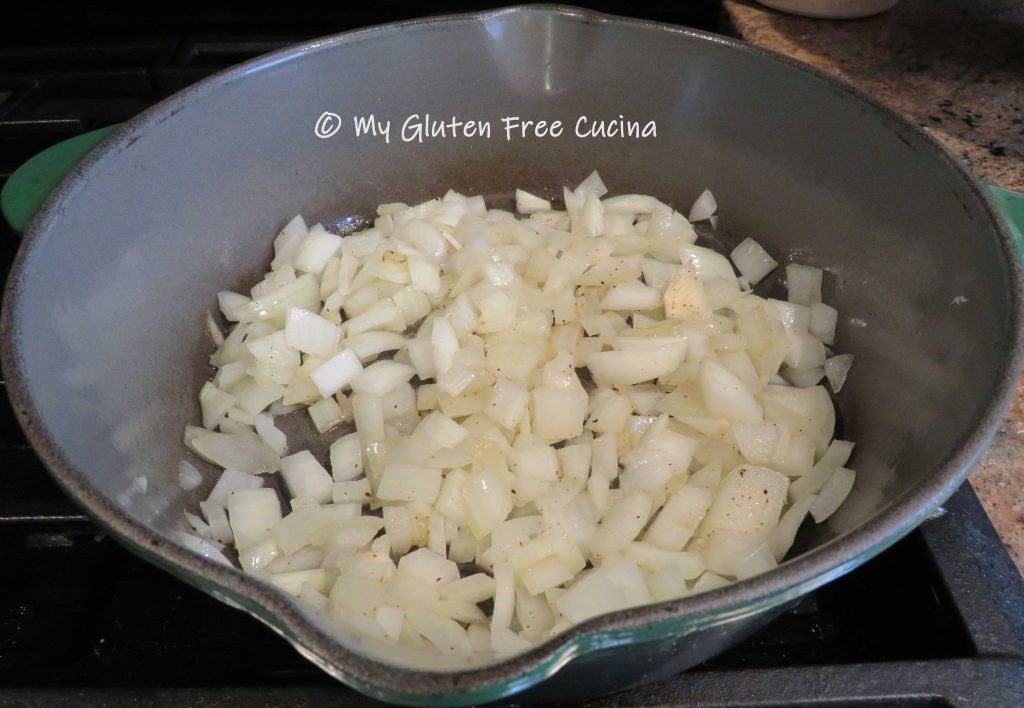
Measure the spices before you begin. I used a coffee grinder to break up my peppercorns, fennel seed and red pepper flakes.

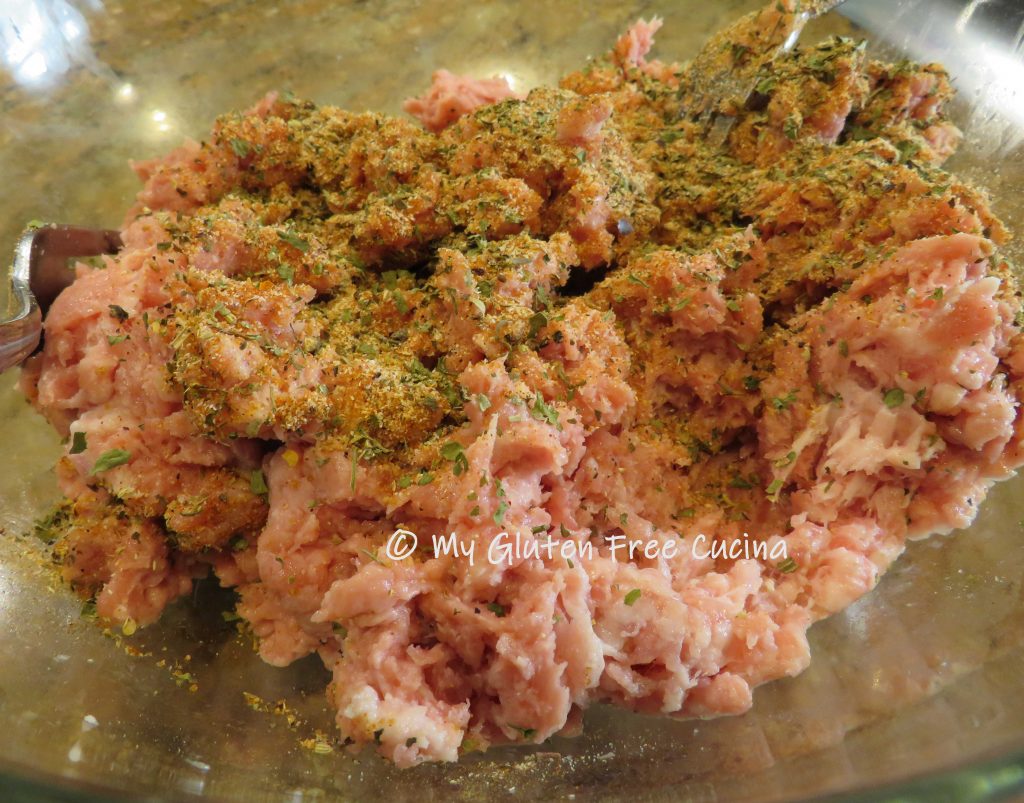
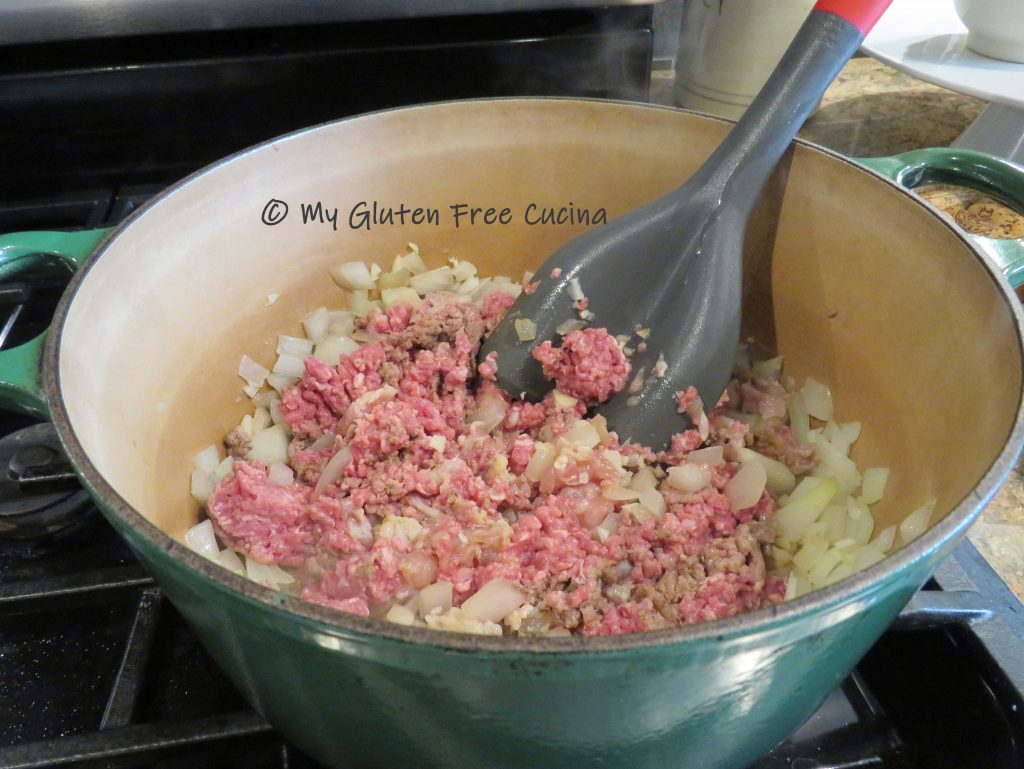
Add the pork and turkey to a large bowl.
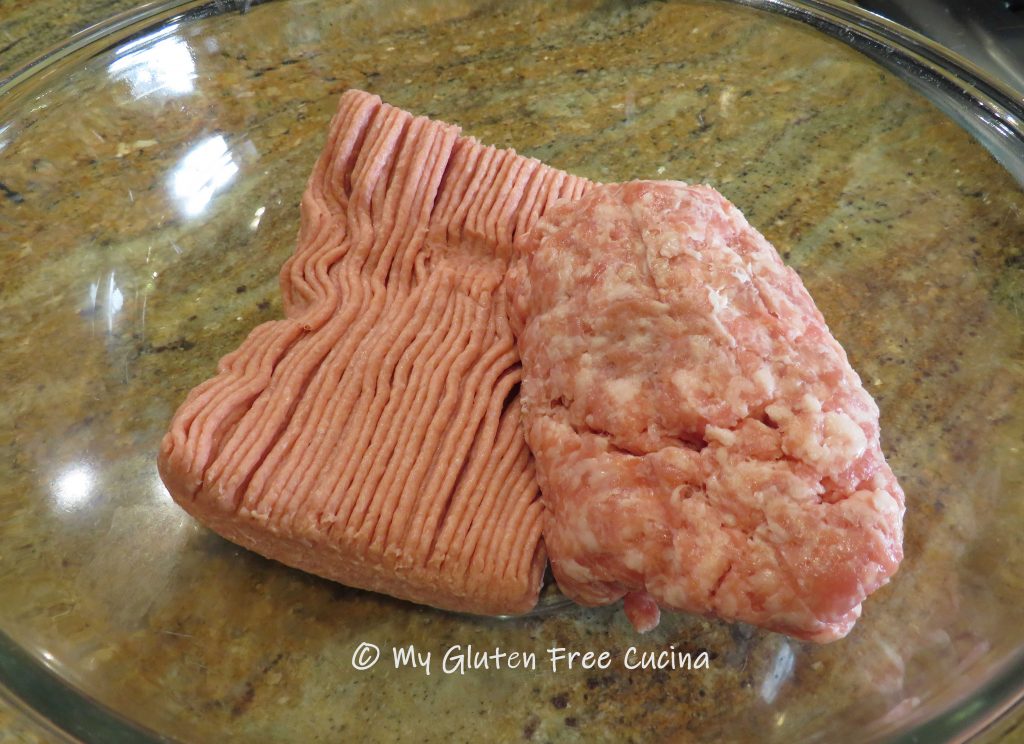 Use 2 forks to break apart the meat and mix it together. This will take some time and patience, as you want it well mixed but not compressed.

Add the vinegar one tbsp. at a time, mixing well after each addition. Whisk the spices together and sprinkle over the meat, using the forks to incorporate the spices throughout the mixture. If you’re not watching salt go ahead and add some here.
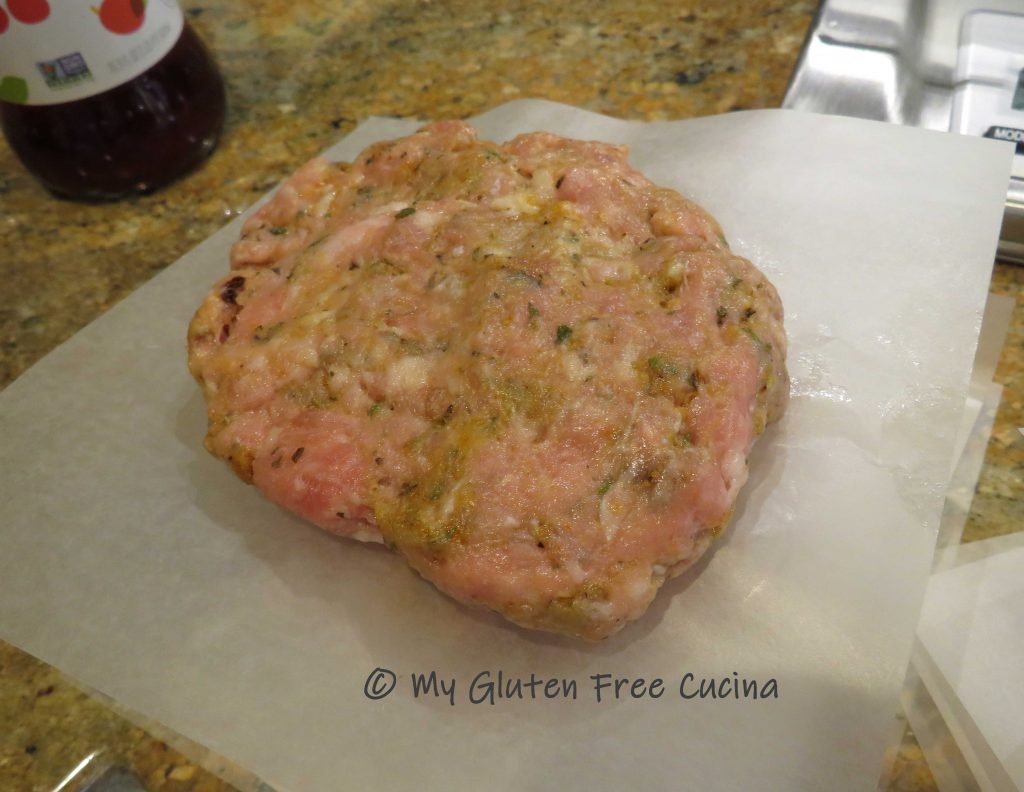
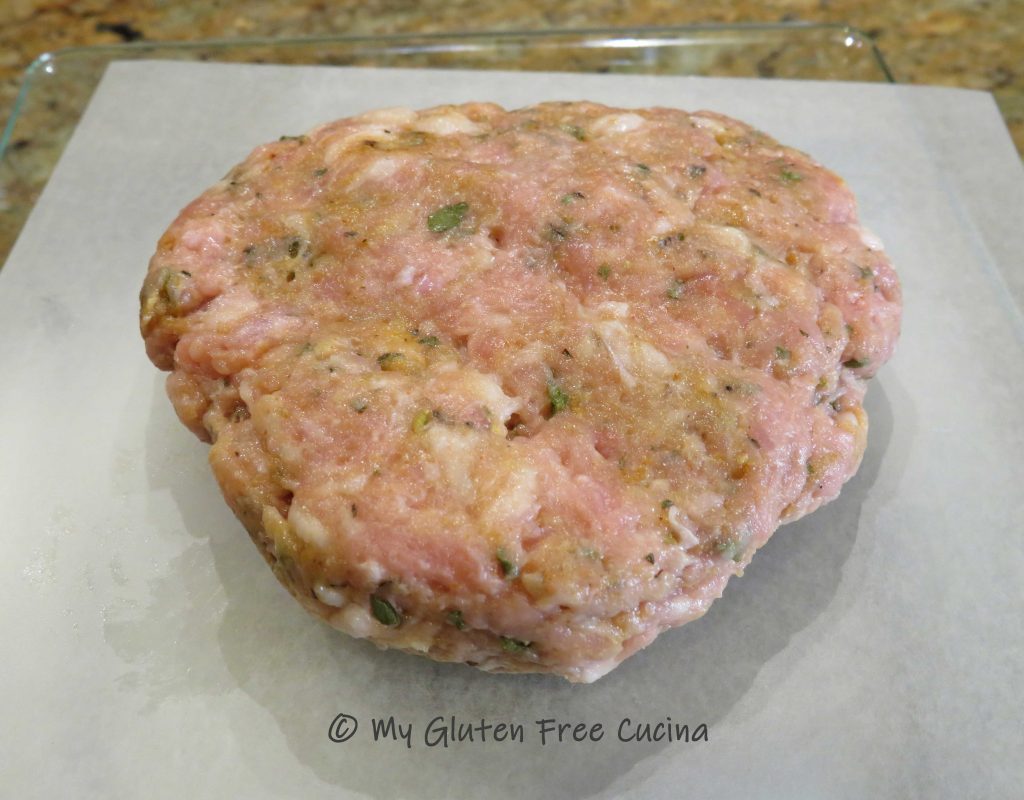
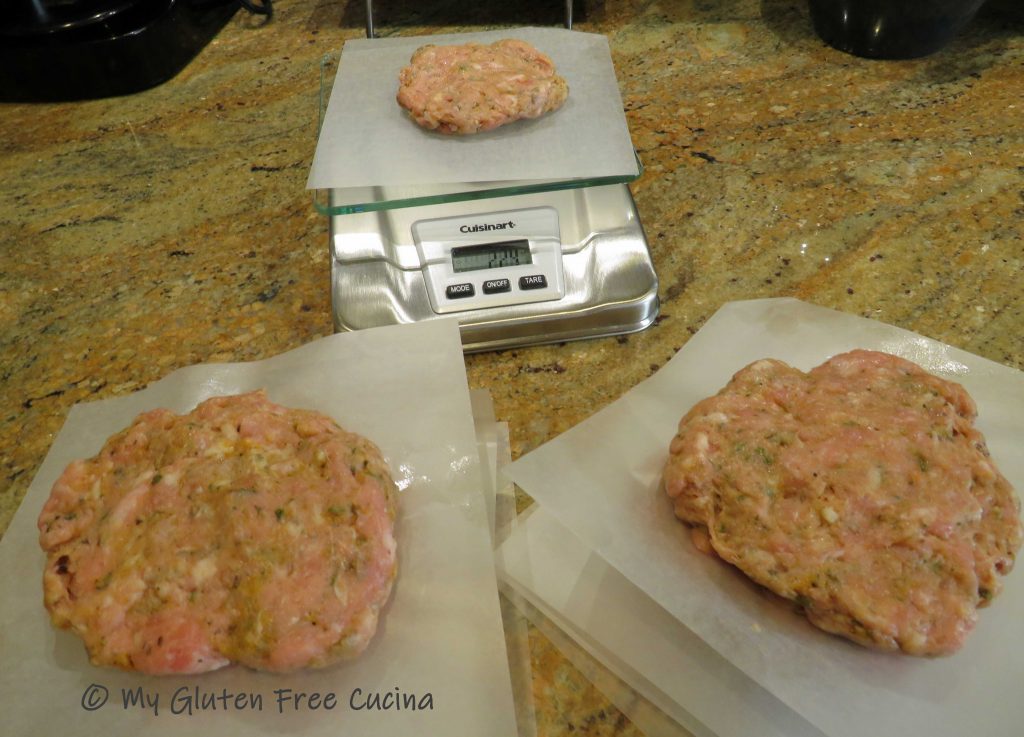
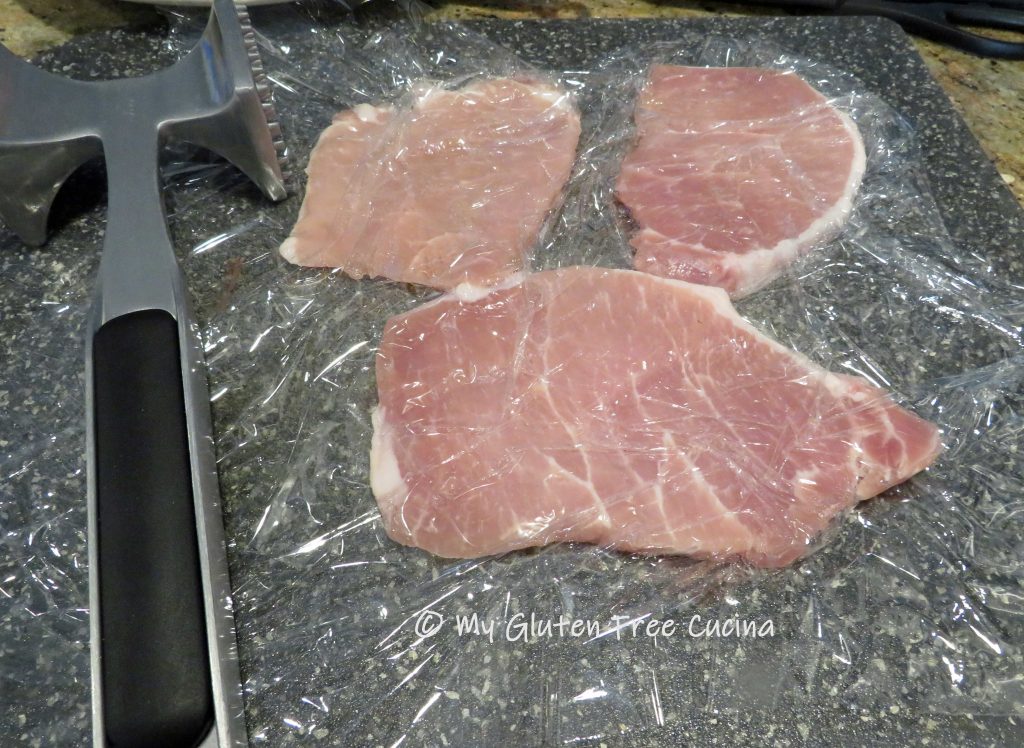
I used a scale to measure out 4 oz. patties. I pressed them between wax paper squares. This recipe yields 8 patties.
The patties need to rest for 12 hours in the refrigerator prior to cooking, this allows the flavors to meld, and the vinegar tenderizes the meat.
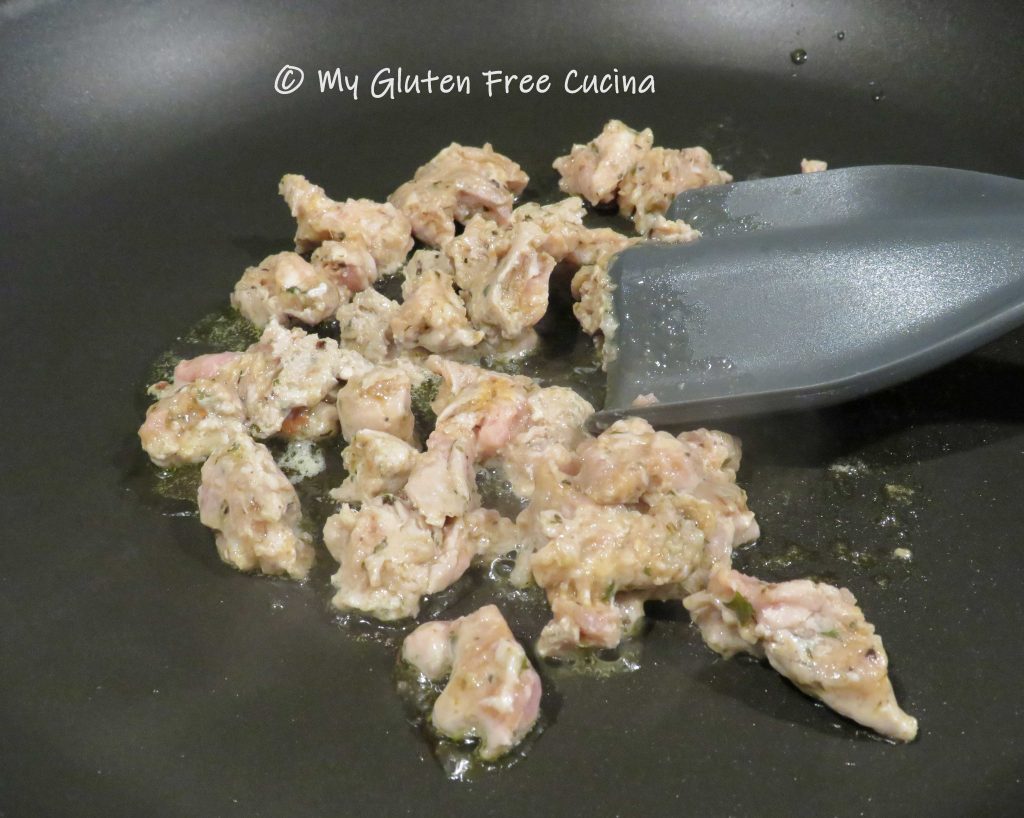
After 12 hours in the fridge the sausage patties are ready to be cooked or frozen. They are great for breakfast or in a sandwich.

Use them in meat sauce, casseroles and stuffing.
Notes ♪♫ In most of my recipes I will recommend that you add salt or seasoning to taste. If you need to limit salt for medical reasons or just a personal preference, you can leave it out completely. When you cook from scratch you are always in control!


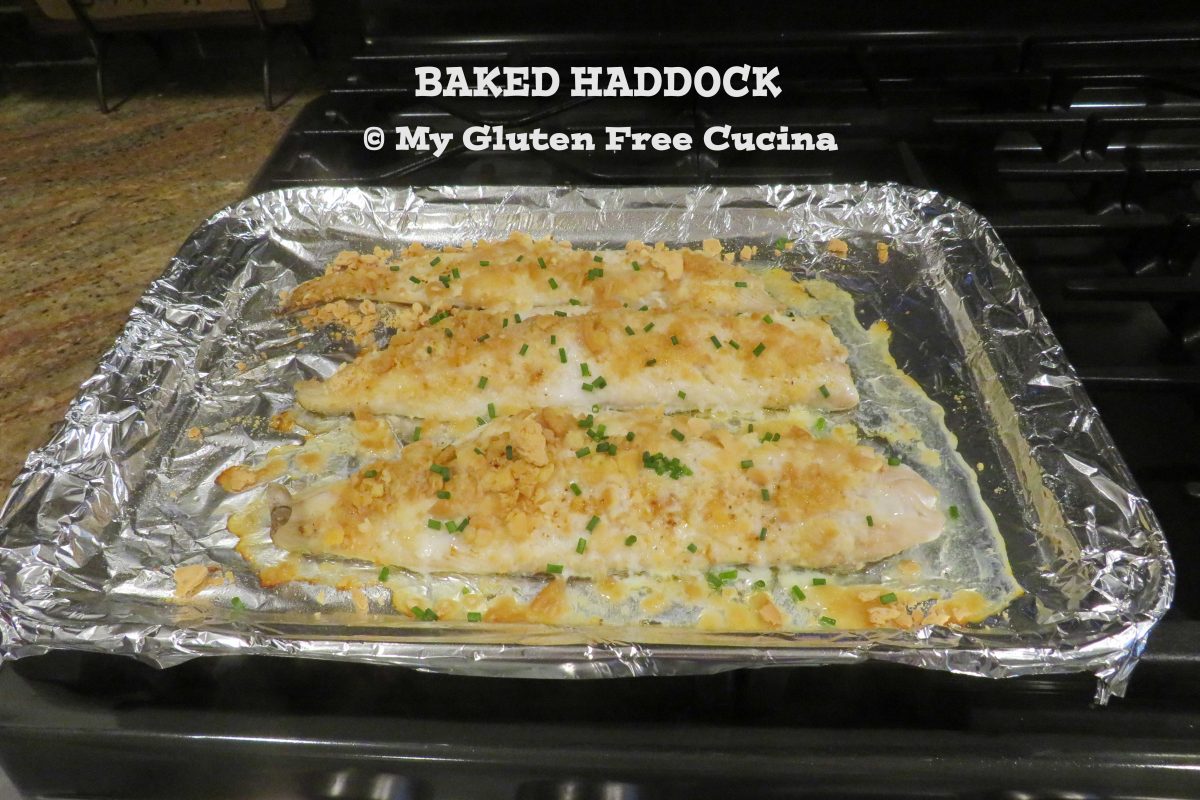
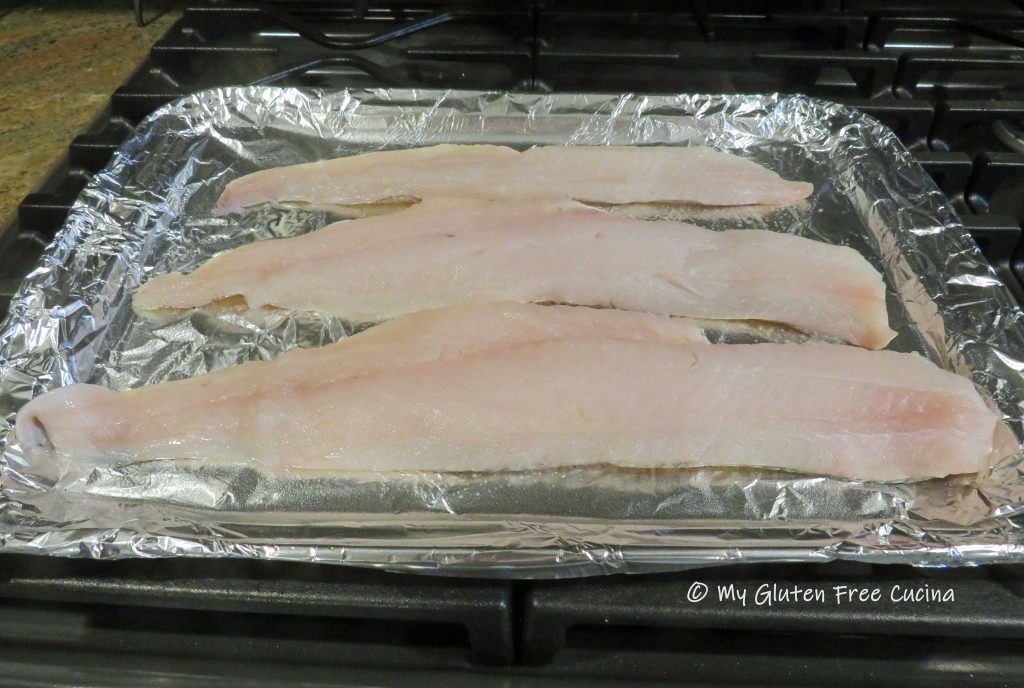
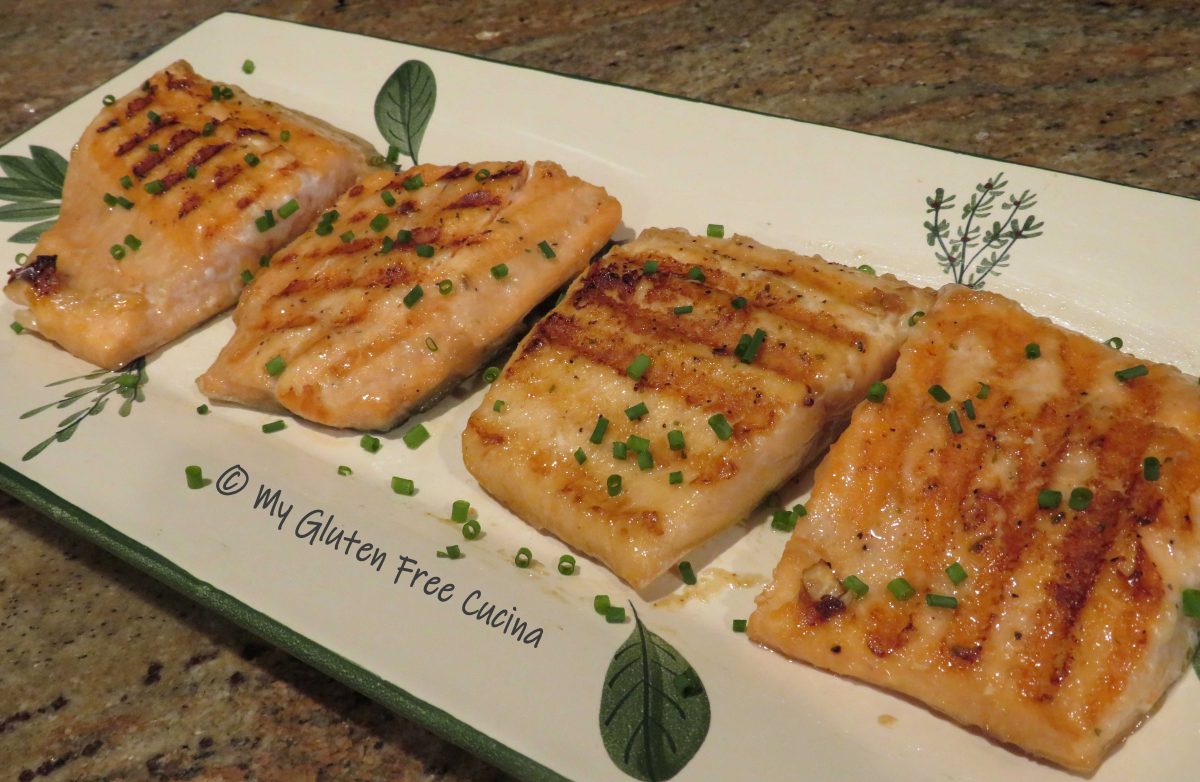
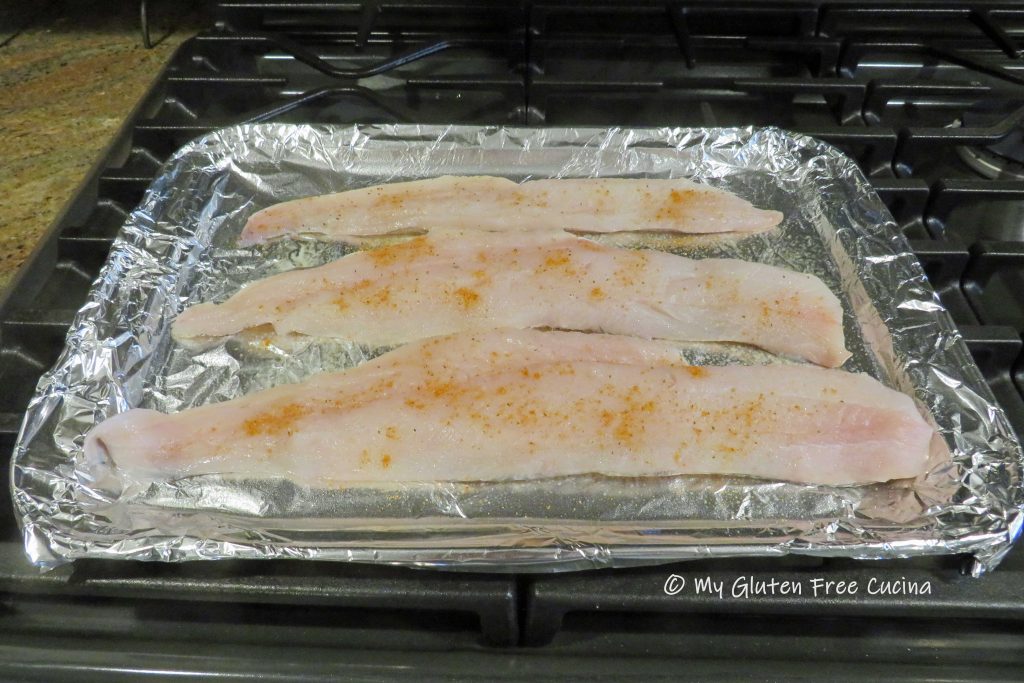 Pulse the crackers in an electric chopper or place them in a bag and pound into crumbs. Spread the crumbs evenly over the fish. Cut the butter into small pieces and dot the top of the fish.
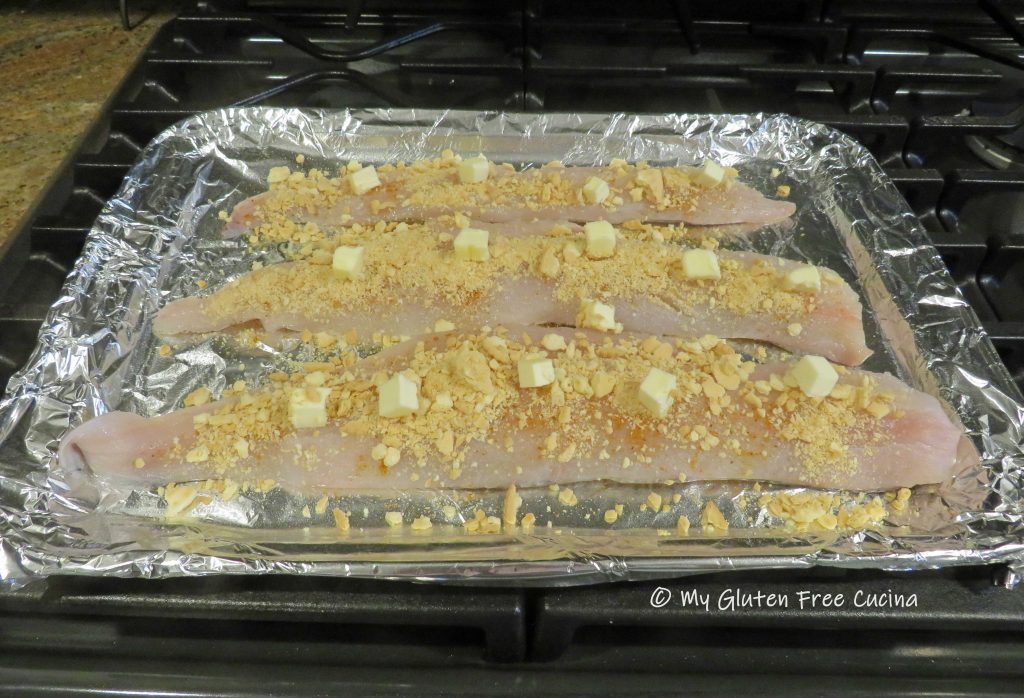
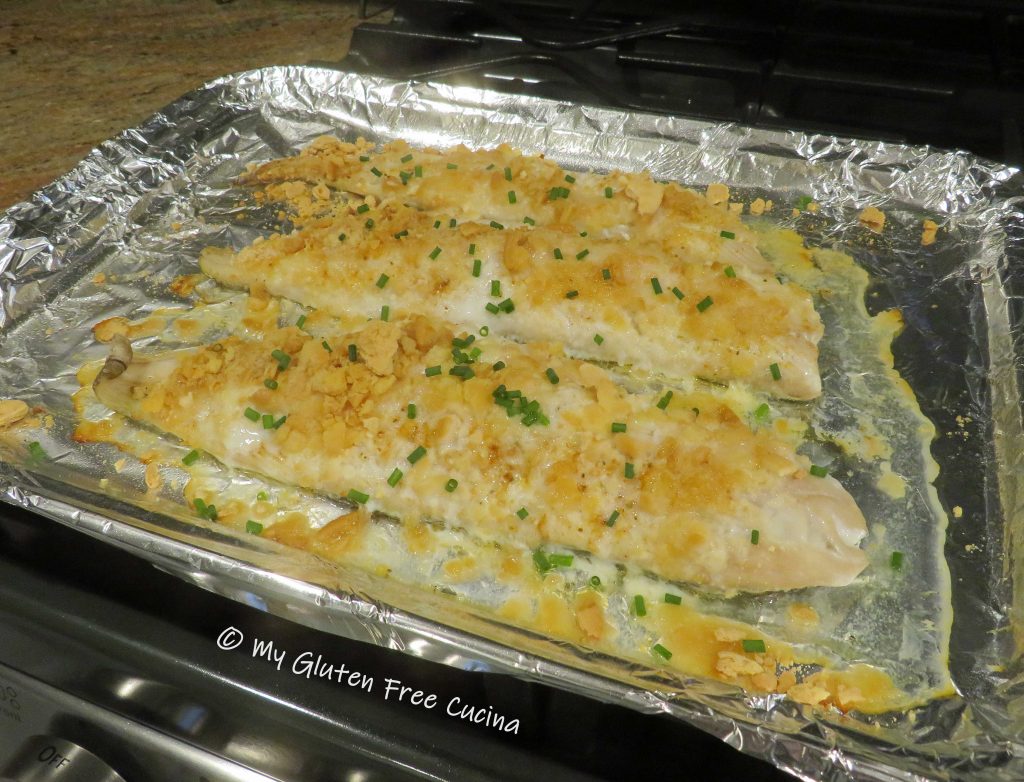
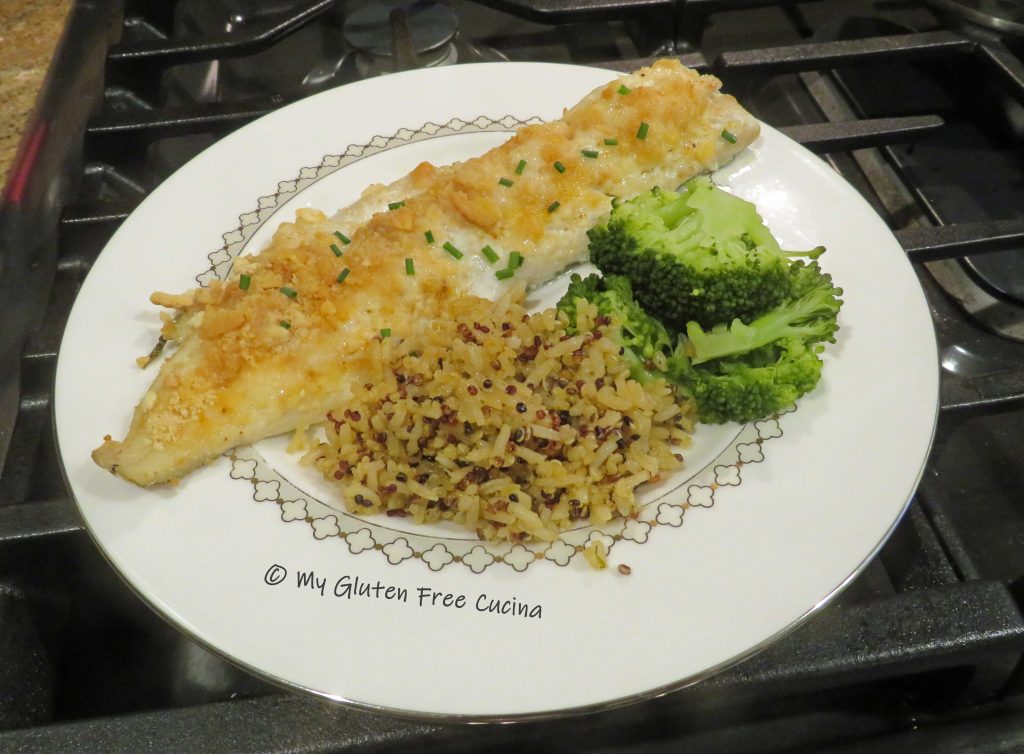
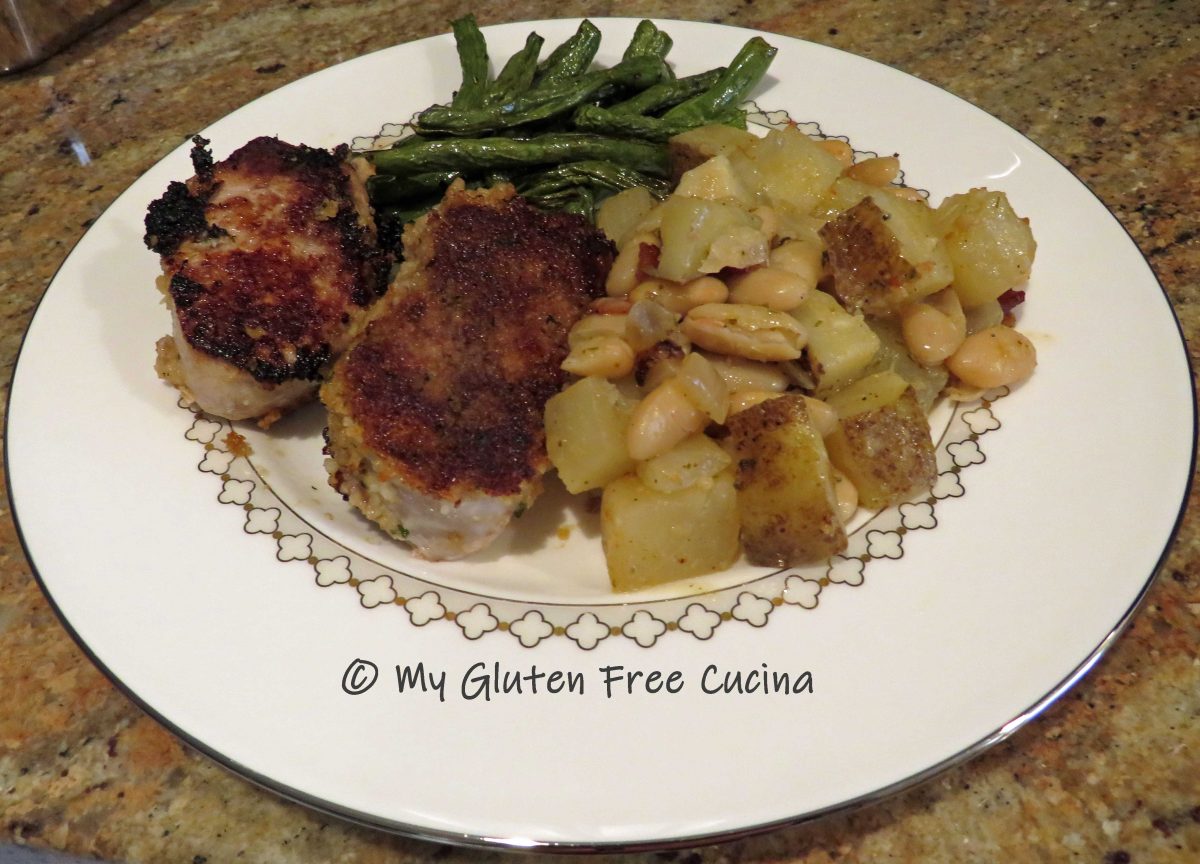

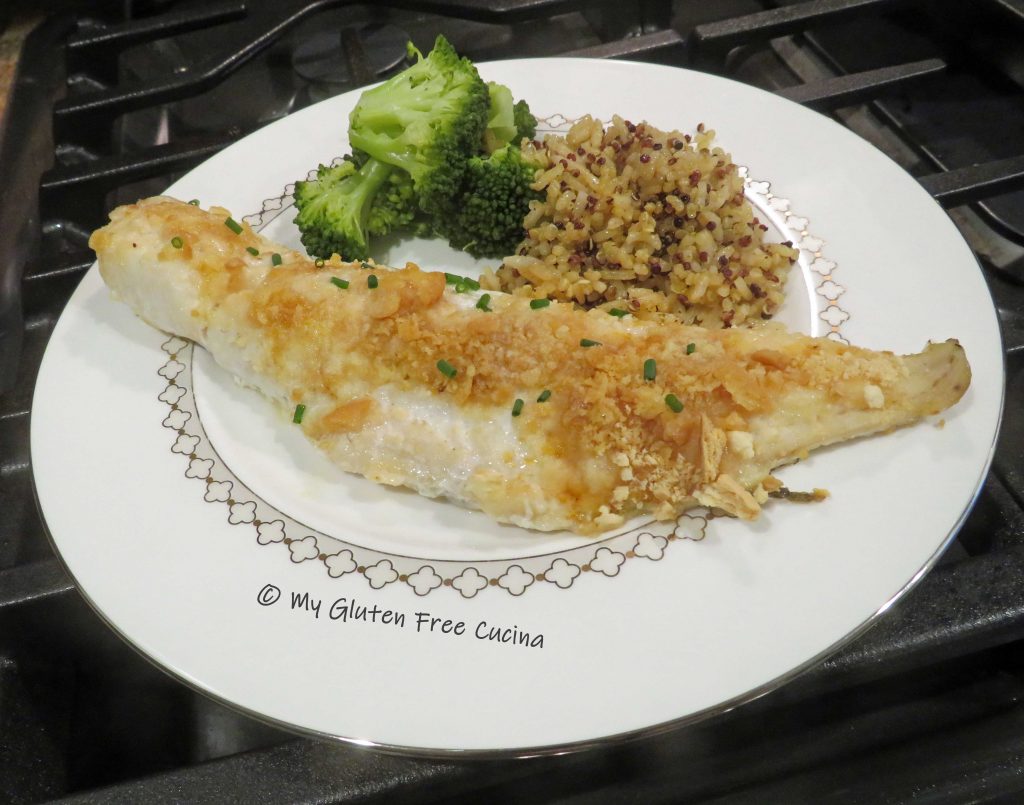
 I added a side of roasted green beans.

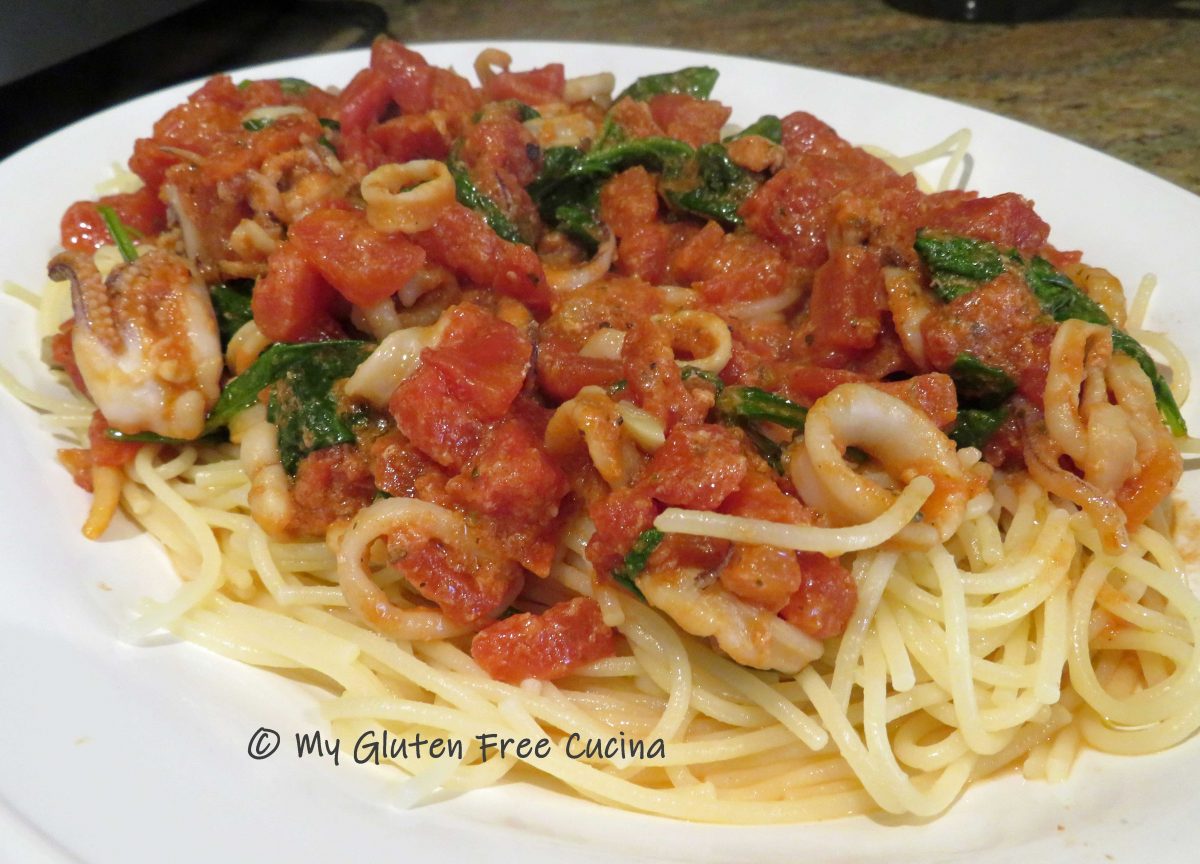
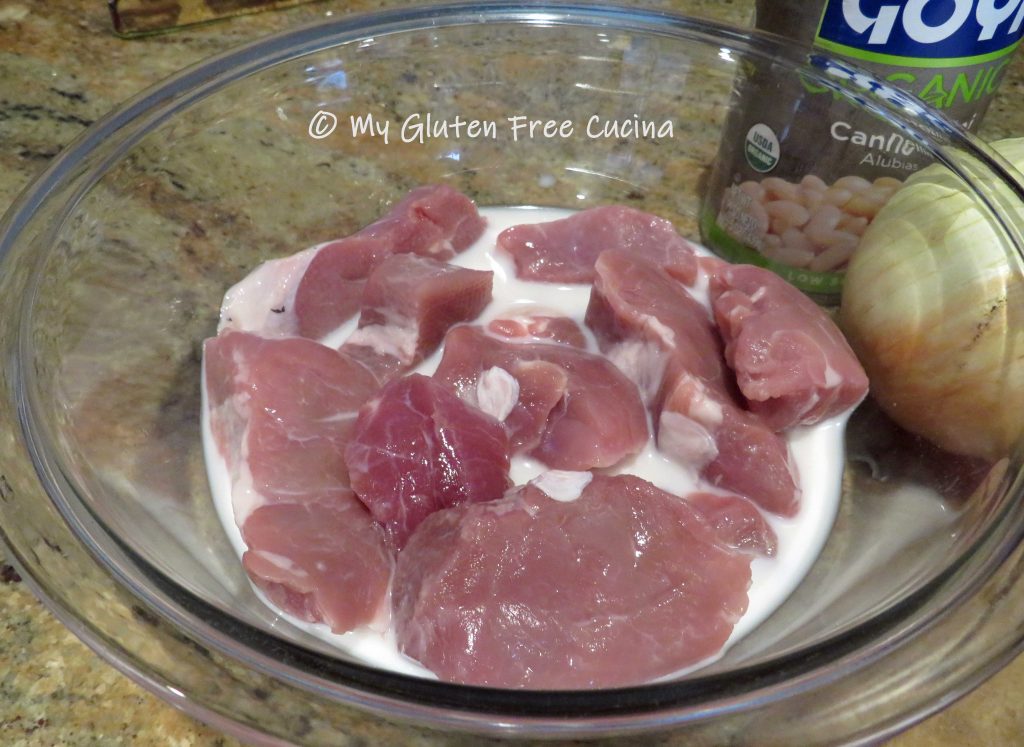
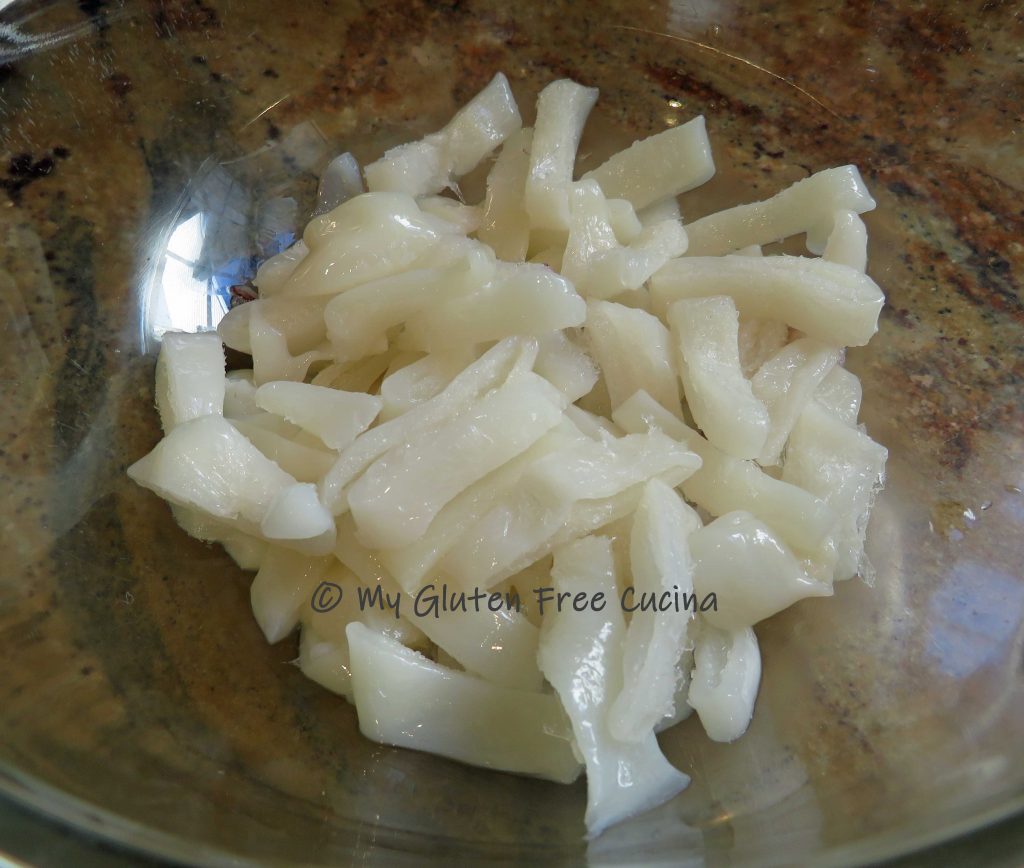
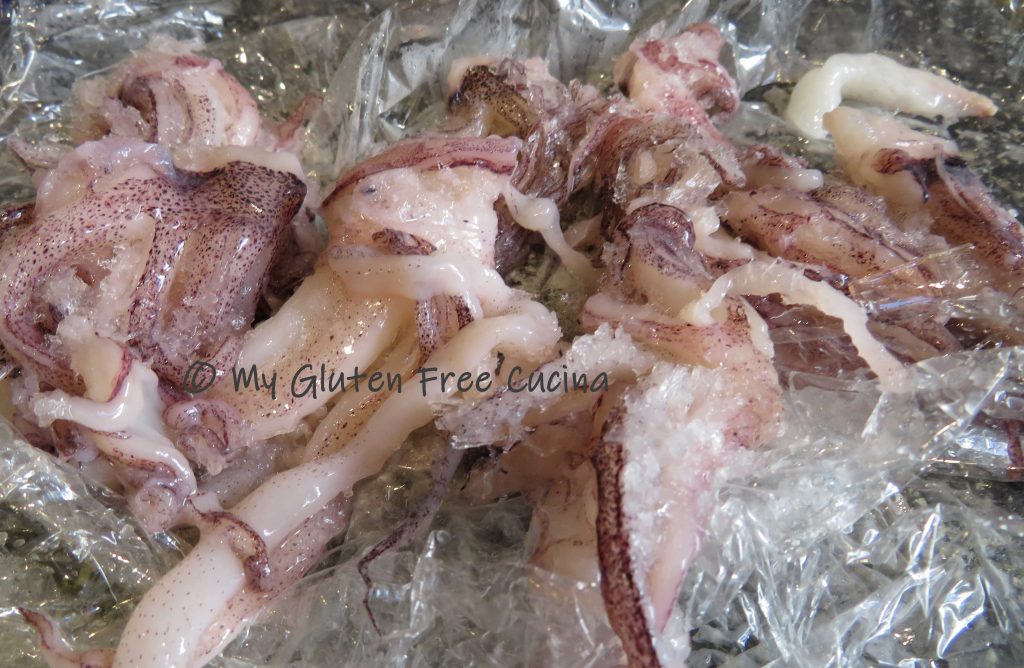
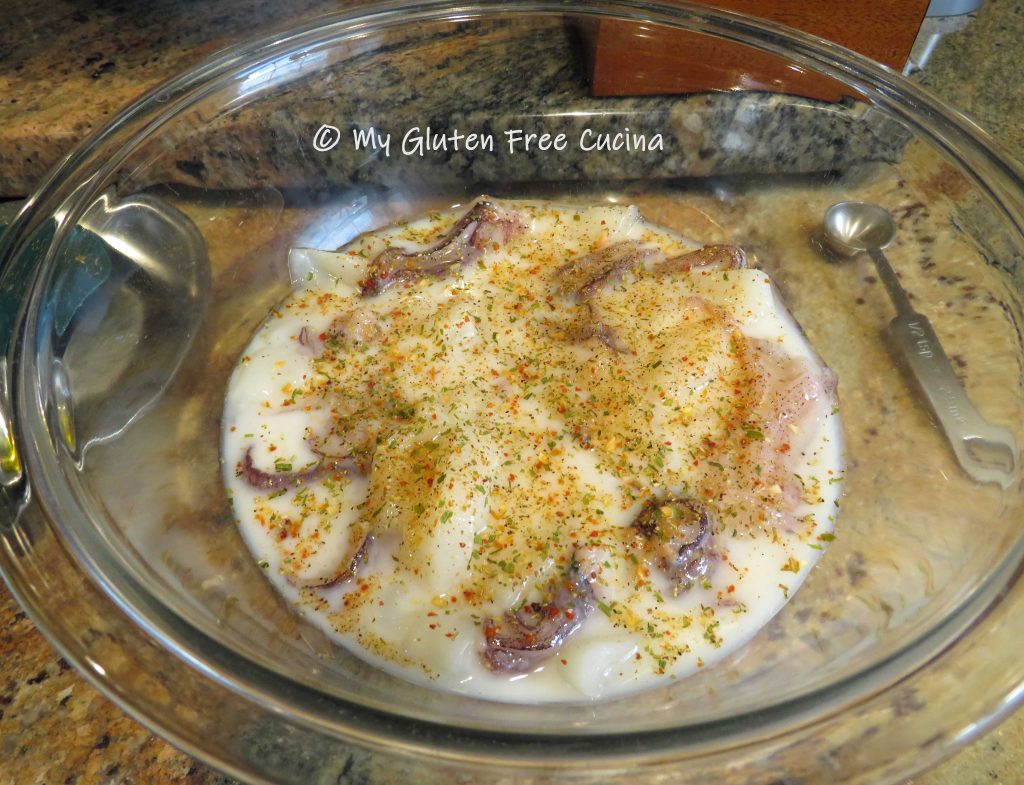
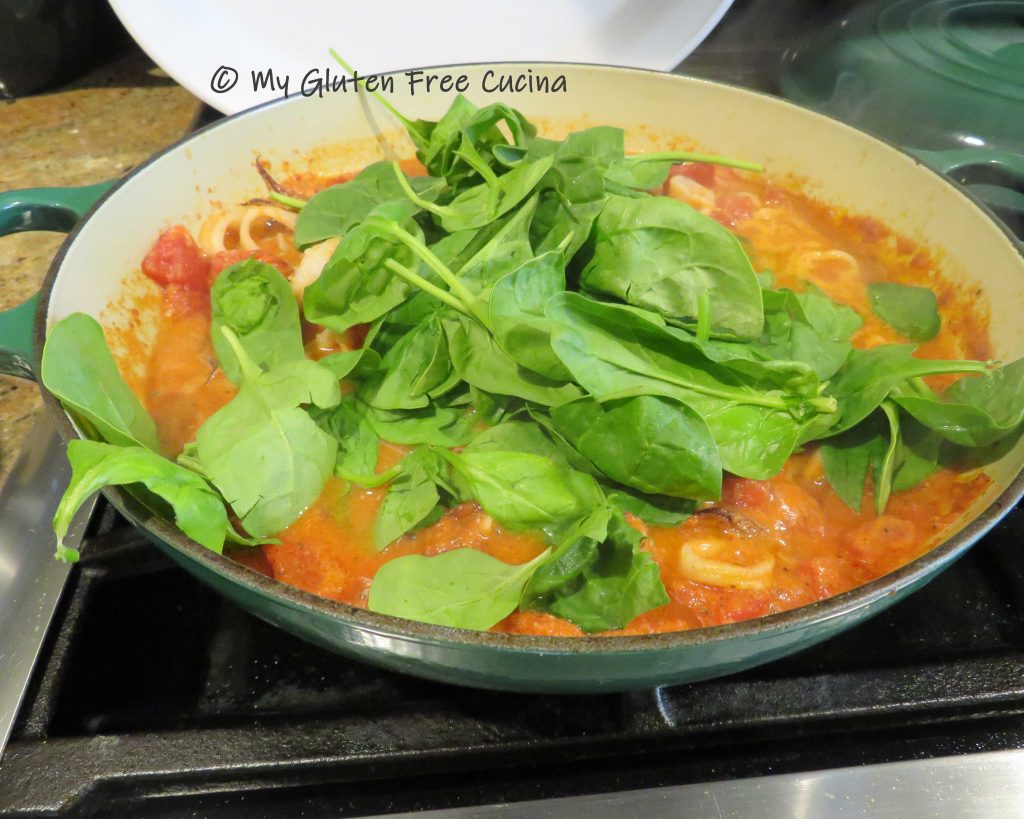
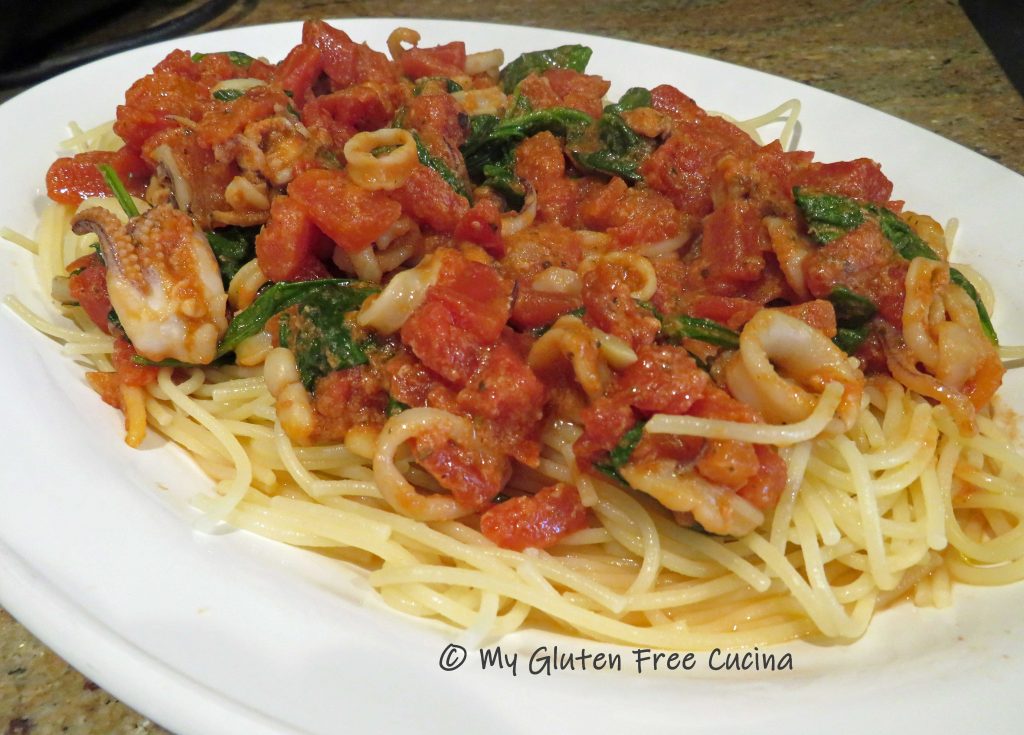
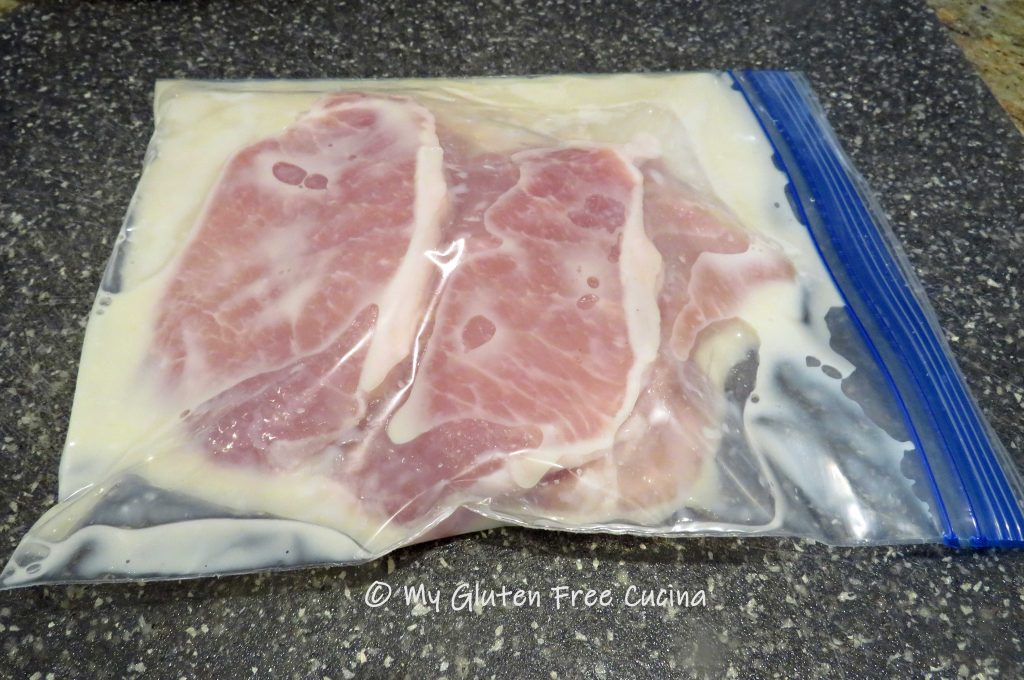
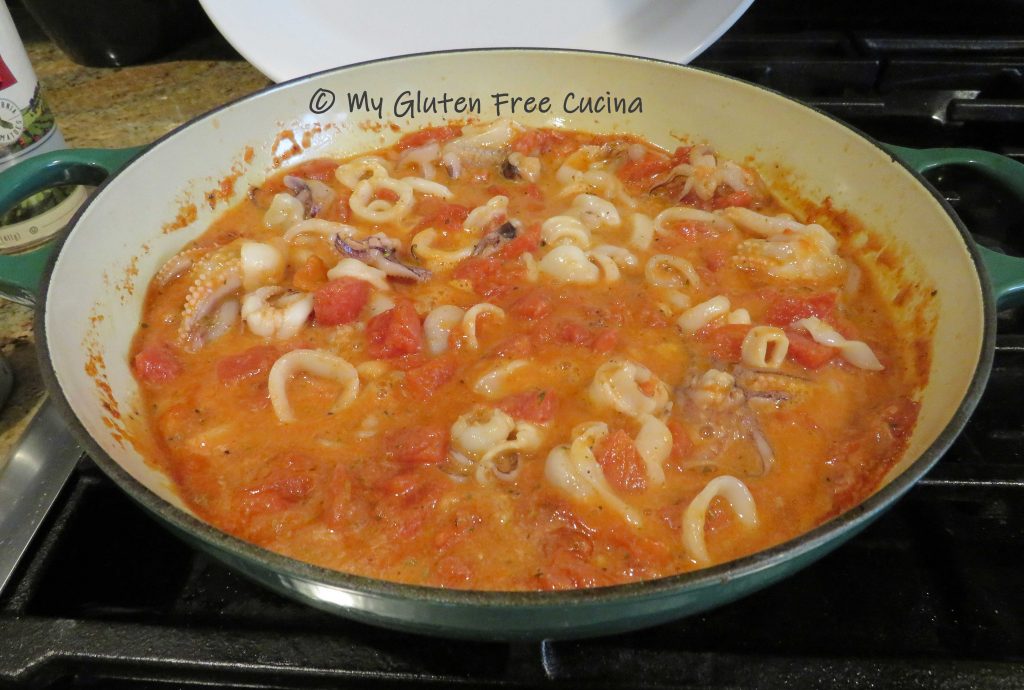 Did you know that there’s a trick to cooking squid? It can be tough and rubbery if not prepared correctly, but if you soak it in milk and don’t overcook, it will be delicious and tender. Soak squid in milk for 30 minutes before cooking.
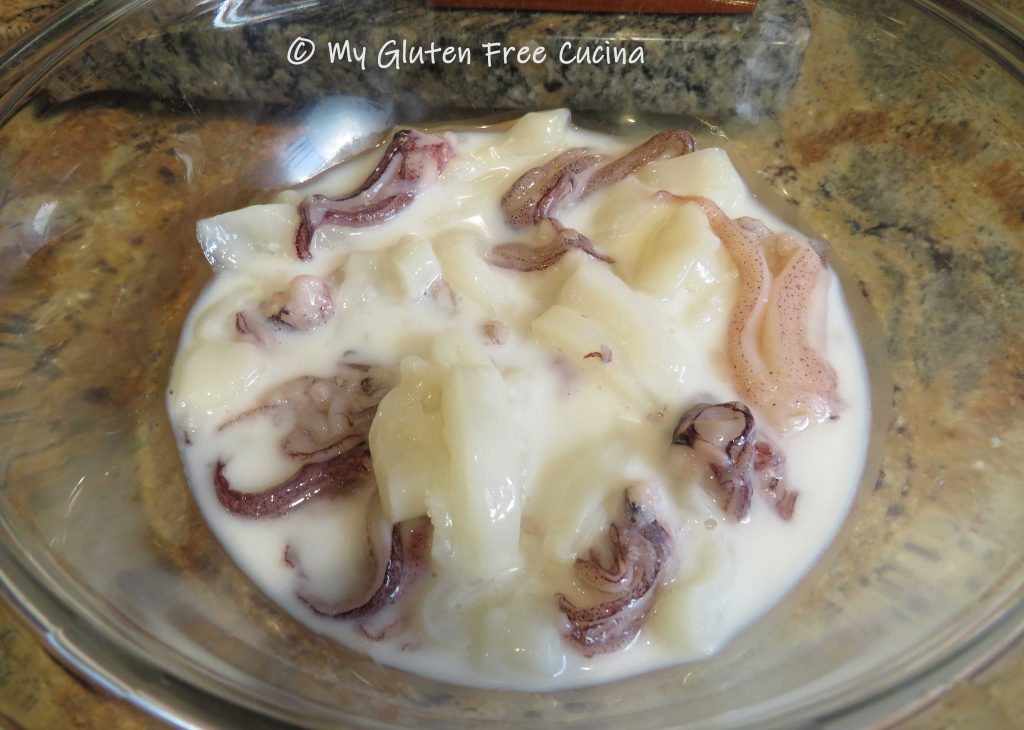


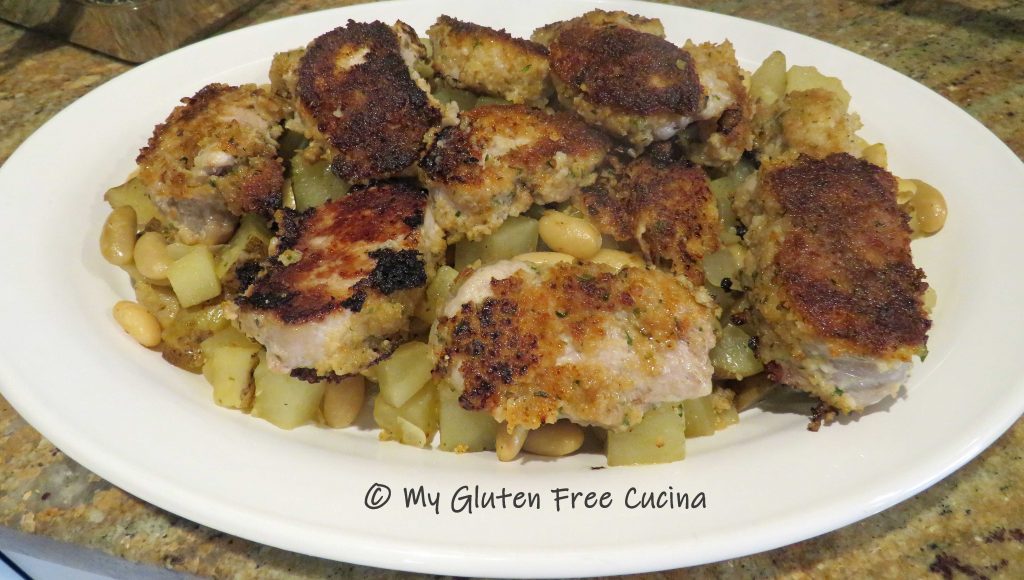
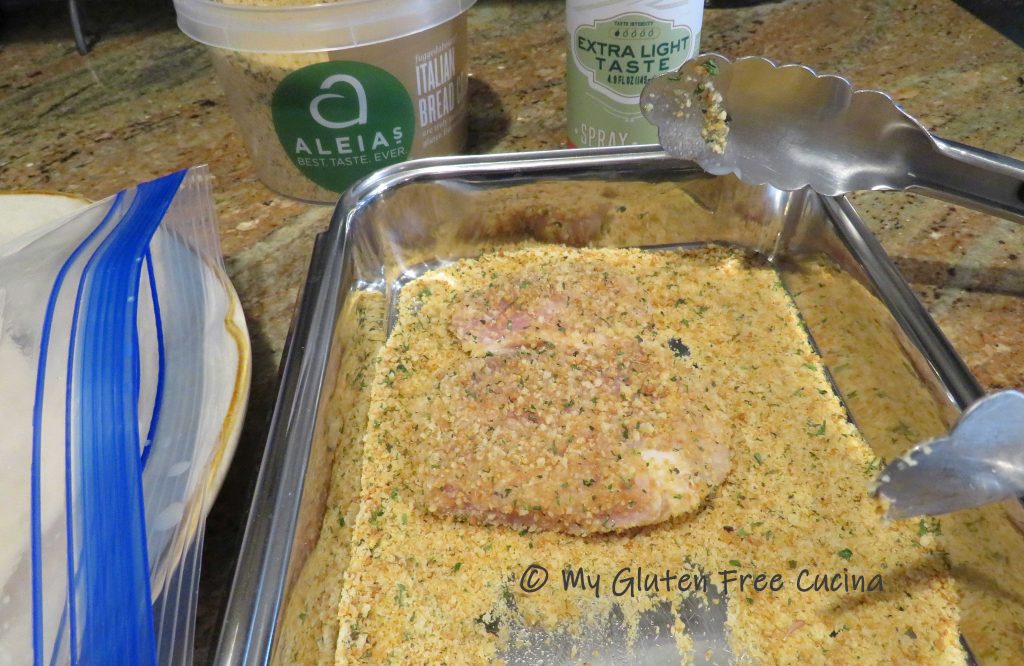 Place the chops in a single layer and cook 2 minutes per side, turning once.