Sausage Stuffed Turkey Rolls

Italian sausage, crumbled with celery and panko, all rolled up in thin sliced turkey cutlets.  This was one of my favorite meals of late.  A bit reminiscent of Thanksgiving dinner, minus the 20 side dishes but still nice enough to serve to guests!

For this recipe, you only need a handful of ingredients, and buying thin sliced turkey cutlets makes the prep easy.  I like the 4-pack from Shady Brook Farms, available at local grocers like Stop & Shop, and Perdue also has a similar product available at Walmart.

This post contains affiliate links.

Ingredients

  • 1 lb. thin sliced turkey breast cutlets (4 cutlets)
  • 6 oz. Italian Sausage (2 links)
  • 1 small celery stalk, minced
  • 1/4 cup gluten free panko breadcrumbs
  • 1 tbsp. olive oil
  • salt and pepper, to taste

Preparation:

Heat olive in a stainless-steel skillet and begin cooking the sausage and celery, breaking up the meat with a spatula.

Brown the meat (it does not have to be cooked through), then transfer to an electric chopper and pulse a few times to further break down the meat into small crumbles.

Return to the skillet to finish cooking.  Stir in the panko breadcrumbs and set aside to cool.

Lay the turkey cutlets on a baking sheet or flat work surface.

Spread the sausage mixture over the turkey cutlets and roll them up, securing with toothpicks.  Wipe the skillet clean.  Add a little more olive oil and begin browning the cutlets starting with the seam side down.

Continue turning to quickly brown on all sides.  Do not cook through, they will finish in the oven.

Mist a baking dish with cooking spray and preheat the oven to 375º.  If you had any extra sausage stuffing, spread it in the bottom of the dish.  Add the turkey rolls.

Cover with foil and bake 25 minutes or until the internal temperature reaches 160º (check with a thermometer).

Serve with a side of wild rice and Mushroom Sauce or Turkey Gravy.

Notes ♪♫ The mushroom sauce that I spooned over the turkey rolls came out so good that I thought it deserved its own post.  Who knew?  Get the recipe here!

Print This Post Print This Post

Gluten Free Mushroom Sauce

This sauce was something I threw together to accompany a weeknight meal, almost an afterthought.  I am usually not one for sauces and gravies, but Mr. Cucina loved this Mushroom Sauce so much, that I thought it deserved a post of its own.

The first time I made it we were having pork chops.  Since then, my husband has declared it to be wonderful ladled over poultry, steaks and meatloaf as well.

Using Greek yogurt instead of heavy cream was unexpectedly good.  At first, you really taste the yogurt tang, but as the sauce rests it becomes less pronounced.  It gives the sauce a smooth, velvety texture.

This post contains affiliate links.

Ingredients:

  • 4 oz. button mushrooms, sliced thin
  • 4 oz. sweet onion, small dice
  • 1 tbsp. olive oil
  • 1 tsp. butter
  • 1/4 cup white wine
  • 3/4 cup chicken broth
  • 1 tbsp. arrowroot starch/flour
  • 1 tbsp. butter
  • 3 oz. plain Greek yogurt
  • salt and pepper to taste

Preparation:

Add 1 tbsp. olive oil and 1 tsp. butter to a small skillet.  Add the onion and cook until translucent.

Add the mushrooms and stir, cooking several minutes longer or until they release their liquid.  Set aside to cool.

In a separate saucepan, melt 1 tbsp. butter.  Add the arrowroot flour and whisk, whisk, whisk!

Lower heat and continue cooking (don’t stop whisking!) until the roux has some color, like this.

Stream in the wine and broth, whisking constantly to keep lumps from forming.  There’s our sauce taking shape!

Next stir in the mushrooms and onions.

Remove from the heat and whisk in the yogurt.

This sauce goes well with so many things.  Beef, poultry, pork…  I am especially proud of this next recipe for Sausage Stuffed Turkey Rolls.  Paired with the Mushroom Sauce and a side of wild rice, this was a great meal.  Check it out here!

Notes ♪♫ Don’t shy away from making a roux!  I used to be so intimidated about doing this, but it’s easy when you use arrowroot.  A beautiful, smooth roux every time!

Print This Post Print This Post

Gluten Free Meatloaf Ramekins

Look at these cute little ramekins!  They can elevate the humblest of meals to dinner party status!  Gluten Free Meatloaf Ramekins are fun to make and perfectly portioned for kids, small plates and small appetites.

You can vary the veggies in this meatloaf to suit your taste.  I used onion, zucchini and bell pepper.  Unlike my other meatloaf recipes, this one contains no oats.  So, if you can’t have oats or are avoiding them for the time being, this one is for you!

This post contains affiliate links.

Servings: 4 ramekins

Ingredients:

Preparation:

Heat olive oil in a small skillet and sauté the veggies until they have released their liquid and reduced to about 1/3 cup.  Season to taste.

Transfer to a bowl to cool (so you don’t cook the egg).

When cooled, whisk in the ketchup followed by the egg and more seasoning.

Next add the beef, working it in with your hands.  Gradually add the potato flakes and breadcrumbs and combine well.

Mist the ramekins with cooking spray and place them in a square baking dish.  This will make them easier to handle when going in and out of the oven.

Divide the meatloaf mixture between the 4 ramekins.  Top with ketchup and smooth the tops with a fork.

Bake at 375º for 20 minutes or until the internal temperature reaches 150º (check with a thermometer).

Serve with ketchup or your favorite BBQ sauce (my favorite is Stubbs Smokey Mesquite).

Notes ♪♫ Love ramekins?  Check out my Shepherd’s Pie Ramekins and Ramekin Stuffing cups!

Print This Post Print This Post

Gluten Free Apple Pie

There is nothing like a homemade pie for a special occasion.  Just look at that crust!  Apple pie was the first pie that I learned to make, and it is still my favorite!

Before my Celiac diagnosis, I used to buy the refrigerated pastry dough in the red box (remember those days?) for my pies.  Today I use this easy make ahead Gluten Free Pie Crust, and always keep it on hand in my freezer so I’m ready to make a dessert pie, meat pie or quiche.

The filling was adapted from Taste of Home, an old classic from back in the day.  I always use Honeycrisp apples for pie, they are excellent for cooking and baking.  You can use other firm apples like Braeburn, Cortland or Granny Smith.  My apples were quite large, so I only used 4 for this recipe.  For medium sized apples you will need 5-6.

This post contains affiliate links.

Ingredients:

  • gluten free pastry dough for double pie crust (recipe here)
  • 5-6 medium apples, peeled and diced
  • 1 tbsp. lemon juice
  • 1/2 cup sugar
  • 1/2 cup brown sugar
  • 3 tbsp. gluten free flour (I used Better Batter Original)
  • 1 tsp. cinnamon
  • 1/4 tsp. ginger
  • 1/4 tsp. nutmeg
  • 1 tbsp. butter
  • 1 tbsp. egg whites

This post contains affiliate links.

Preparation:

The first thing you’ll want to do is roll out that pie dough.  If you had it in the freezer, let it defrost in the refrigerator the day before then leave at room temperature for 20 minutes before rolling.

The easiest way to roll the dough is to lay it on a sheet of lightly floured parchment and cover with a sheet of plastic wrap.  Take your time rolling the dough, until it is large enough to fit your pie dish.  Place the rolled-out dough in the refrigerator while you make the filling.

Next, whisk together the sugars, flour, cinnamon, ginger and nutmeg in a small bowl.

Squeeze the lemon juice into a large bowl.  Peel and dice the apples and add to the bowl, tossing with the lemon juice after each addition.

Combine the sugar mixture with the apples and toss well to coat.

Now for the moment of truth.  Place one sheet of pastry dough in the pie dish.  The easiest way to do this is to remove the plastic wrap and flip the dough onto the pie dish.

Carefully peel away the parchment and ease the dough into the dish like this.

Whew, look at that it worked!  Now trim the edges and use the extra pieces to patch any cracks or holes.

Fill with the apple mixture and dot with the butter.

Use the same technique to place the top sheet of pastry dough.  Fold the edges over and crimp, it doesn’t have to be fancy.

Cut slits to allow steam to escape.  Whisk the egg white, and brush all over the top.

Place the pie on a sheet pan (in case it drips) and arrange strips of foil loosely around the edges.  Don’t press the foil into the dough (it may stick).

Bake for 25 minutes at 375º.  Use tongs to remove the foil then bake an additional 25 minutes.

Cool at least 2 hours before slicing.  It smells so good you will have a hard time waiting!

Notes ♪♫ Pie crust has always been my nemesis.  That is, until I learned to make this incredible Gluten Free Cream Cheese Pie Crust, then a whole new world of gluten free baking opened up.  Try it, I promise it is easy to prepare and rolls like a dream!

Apple Pie filling adapted from Taste of Home

Print This Post Print This Post

Gluten Free Peas and Elbows

Do you get bored with the same old side dishes?  I tend to always go with rice or potatoes for dinner, but it gets monotonous!  So, here’s a little something I made to change things up one weekend.  I served it with steak, but this nifty little side dish would go well with chicken or pork chops too!

This post contains affiliate links.

Ingredients:

  • 1 tbsp. olive oil
  • 1/4 cup minced onion
  • 1 cup gluten free chicken stock
  • 1 cup (3 oz.) gluten free elbow macaroni
  • 1/2 cup water
  • 1/2 cup frozen peas, defrosted
  • 1 tbsp. butter
  • 1 heaping tbsp. shredded parmesan
  • 1/2 tsp. seasoned salt
  • sea salt, to taste
  • fresh chives, for garnish

Preparation:

In a small nonstick saucepan, sauté the onion in 1 tbsp. olive oil until the onions are translucent.

Add 1 cup gluten free chicken broth, 1 cup water, salt to taste and seasoning of choice.  Bring to a simmer and add the elbows, cook to package directions.  With 5 minutes left on cook time, add the peas and simmer 5 minutes longer.

Stir in 1 tbsp. butter, a heaping tbsp. of cheese (or more if you like) and transfer to a serving bowl.

Garnish with fresh chives or parsley.  I love this easy side, so it will definitely be going into the dinner rotation!

Notes ♪♫ I used Jovial brown rice elbows in this recipe.  One of my favorite brands of gluten free pasta, I was thrilled to find elbows at the store.  If they aren’t available where you live, you can get them here on Amazon.

Print This Post Print This Post

Ginger Bok Choy Egg Drop Soup

This Asian inspired soup is just the thing for a light dinner or first course.  If you love Egg Drop Soup, you will love this adaptation that combines the best of Egg Drop and Ginger Bok Choy.  Only a few ingredients are needed, and since it does not require all day simmering you can throw it together after work.  Stir in a beaten egg and rice noodles just before serving and it’s ready to eat!

This was quite a bit different than my usual soups, but the recipe is a keeper!  So good for those chilly nights, or when you’re feeling under the weather.

This post contains affiliate links.

4 servings

Ingredients:

Preparation:

Heat 1 tsp. sesame oil and 1 tsp. olive oil in a soup pot or Dutch oven.  Mince the garlic and ginger (I used an electric chopper) and add to the pot.  Cook for 30 seconds then add the sliced mushrooms.

Stir until the mushrooms release their liquid, then add the bone broth, 2 tsp. of tamari and 1 tsp. sesame oil (or more, to taste).  Season with salt and pepper and bring to a simmer for 15 minutes.

Trim away the tough, lower part of the Bok choy, then rinse and halve the leaves.  Stir them into the soup to wilt and lower the heat to keep warm.

Cook the rice noodles in a separate pan according to package directions.  Just prior to serving, drizzle the beaten egg into the soup and swirl it around with a whisk.  Add the cooked rice noodles.

Ladle into bowls and serve with Chow Mein noodles for texture (optional), or a simple garnish of green onions if you want to keep it simple.

Notes ♪♫ I love these extra wide rice noodles from A Taste of Thai.  I was able to find them locally, but if not available in your area you can get them here at Amazon.  I use Coconut Aminos in my Asian recipes, but if you are not limiting salt, try Gluten Free Tamari.

Print This Post Print This Post


Hash Brown Muffin Cups

Aren’t these the cutest?  Hash Brown Muffin Cups are fun to make and eat, kid friendly and adult approved!  Using frozen hash browns really cuts down on the prep work.  This is a great brunch recipe because you can prepare it the night before and bake in the morning.

Are hash browns gluten free?

As long as you are buying plain hash brown potatoes, they should be fine.  I always look for the gluten free label as an extra measure of security, but as long as the only ingredient is “Potatoes” you are good to go.  If the potatoes are seasoned or include other ingredients, then investigate further before buying.  I used Ore-Ida frozen shredded Hash Browns in this recipe.

This post contains affiliate links.

Ingredients:

  • 20 oz. frozen shredded hash browns (for a standard 12-cup muffin tin)
  • 1/2 cup shredded parmesan cheese
  • 1/2 tsp. salt
  • fresh ground pepper, to taste
  • 1/2 tsp. garlic granules
  • 1/8 tsp. paprika
  • 2 tbsp. olive oil
  • cooking spray

Preparation:

Weigh 20 oz. hash browns and place in a zip top bag.  Defrost in the refrigerator.

I used a salad spinner to be sure the potatoes were as dry as possible (see notes).   After spinning the potatoes (or pressing them dry with paper towels) transfer to a clean bowl.

Toss the hash browns with the cheese and seasonings.  Drizzle with 2 tbsp. olive oil and toss again to coat thoroughly.

Mist the muffin tin with cooking spray and spoon the potatoes evenly into the 12 cups.

Cover with plastic wrap and refrigerate overnight.

The next morning, preheat the oven to 400º and spritz the tops of the muffin cups with olive oil spray.  Bake for 45 minutes.

The edges should be browned and crispy.  Use a spoon to slide them right out of the pan onto a serving dish!

Hash Brown Muffin Cups will be a great addition to your brunch menu, or a fun dinner side.  They reheat well, and ours stayed crispy even after microwaving.  You will want to keep a bag of hash browns in your freezer pantry, so you can make a batch any time you like!

Notes ♪♫ My salad spinner is over 20 years old.  We originally purchased ours when my husband used to plant a large garden and I needed an easy way to wash the veggies.  Today I still eat lots of salads and this is just a handy thing to have in your kitchen!  Here’s the current model.

Print This Post Print This Post

Gluten Free Apple French Toast Casserole

Did you see the Gluten Free Cinnamon Swirl Bread I posted a while back?  If not, check it out here!   I used that same recipe to make this overnight Apple French Toast for Easter.  The cinnamon swirl bread goes so well with apples!  This is a wonderful make ahead recipe for a brunch, get it ready the night before and bake in the morning!

Ingredients:

  • 1 loaf Gluten Free Cinnamon Swirl Bread
  • 1/2 cup dark brown sugar
  • 1/2 cup butter (1 stick)
  • 2 tbsp. maple syrup
  • 3 apples (I used Honey crisp)
  • 7 eggs
  • 1-3/4 cups milk (I used 2%)
  • 1 tsp. vanilla extract
  • 1/2 tsp. cinnamon
  • cooking spray

This post contains affiliate links.

Preparation:

Make the Cinnamon Swirl Bread 2 days before and store at room temperature.

The night before your brunch, melt the butter, brown sugar and maple sugar in a small saucepan.  Stir occasionally to dissolve the sugar.

Mist a 9 x 13″ glass baking dish with cooking spray and pour the butter mixture into the dish.

Peel and slice the apples and spread them over the butter mixture in a single layer.

Cut the bread into 3/4″ slices and arrange over the apples.

Whisk together the eggs, milk, vanilla and cinnamon.

Pour the egg mixture over the bread slices and press down with a spatula.

Mist a sheet of foil with cooking spray, cover the casserole and press down with your hands to be sure the bread slices are submerged in the egg mixture.  Refrigerate overnight.  Here’s what it should look like in the morning.

In the morning, take the baking dish out of the refrigerator and let it sit on the counter to warm up for at least 30 minutes before baking (going directly from refrigerator to oven may shatter a glass baking dish).  Bake uncovered for 40-50 minutes at 350º then broil for 2-3 minutes to finish.

You can dust with powdered sugar (optional) and serve with real maple syrup!

Notes ♪♫ There are many breads that will work well in this recipe.  Check out my Gluten Free Millet Bread that I often use for French Toast recipes.  Be sure to make the bread two days before assembling the casserole, a drier loaf will better absorb the eggs.

Print This Post Print This Post


Gluten Free Cinnamon Swirl Bread

Today I made a gluten free version of another old favorite.  This yeasted sweet bread with swirls of brown sugar and cinnamon was adapted from a recipe originally appearing in Better Homes and Gardens.  Before my Celiac diagnosis I used to make it all the time.

Both adults and kids loved it, even the picky eaters!  I can’t tell you how pleased I was to be making this bread again, it turned out great!

This post contains affiliate links.

When you work with the right gluten free flour, this Cinnamon Swirl Bread is so easy to make!  If you are a fan of Better Batter like me, you probably have all of the ingredients in your pantry!

If you haven’t tried Better Batter yet, I cannot recommend their flour blends enough.  Use my Promo Code MGFC30 for 30% off!  You will not be disappointed!

(When you shop Better Batter, be sure to use my code MGFC30 at checkout for 30% off your non-sale purchase)

Ingredients:

  • Dough:
  • 405g. Better Batter Artisan Blend flour *see notes
  • 1-1/4 tsp. instant yeast
  • 3/4 tsp. salt
  • 3 tbsp. unsalted butter, softened
  • 1-1/2 cups warm milk (I used 2%)
  • 1 egg room temperature
  • 3 tbsp. granulated sugar
  • Filling:
  • 1/3 cup packed brown sugar
  • 1-1/2 tsp. cinnamon
  • 1 tbsp. melted butter
  • Egg Wash:
  • 2 tbsp. egg whites
  • 1 tbsp. water
  • Finishing:
  • 1 tbsp. melted butter, for brushing

Preparation:

I used a 13 x 4″ pullman loaf pan for a long skinny loaf with smaller, diet friendly slices.  You can get the pan here.

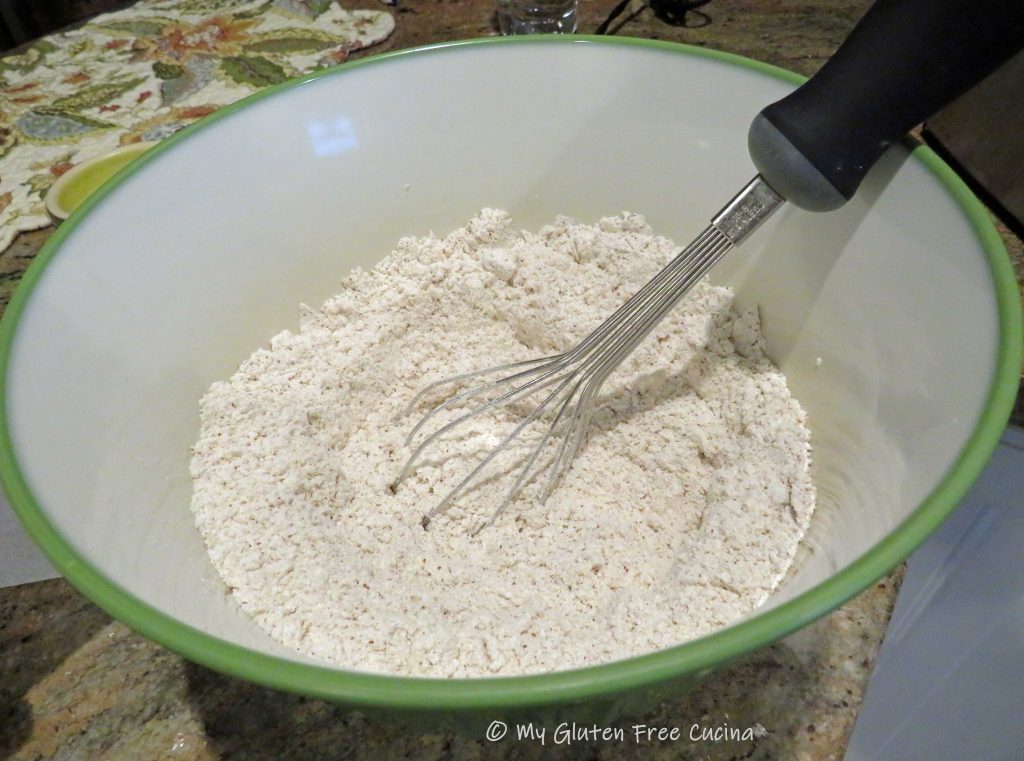
Whisk together the flour and salt.  Combine the warmed milk, sugar and yeast in a separate bowl or measuring cup and let it stand 15 minutes.

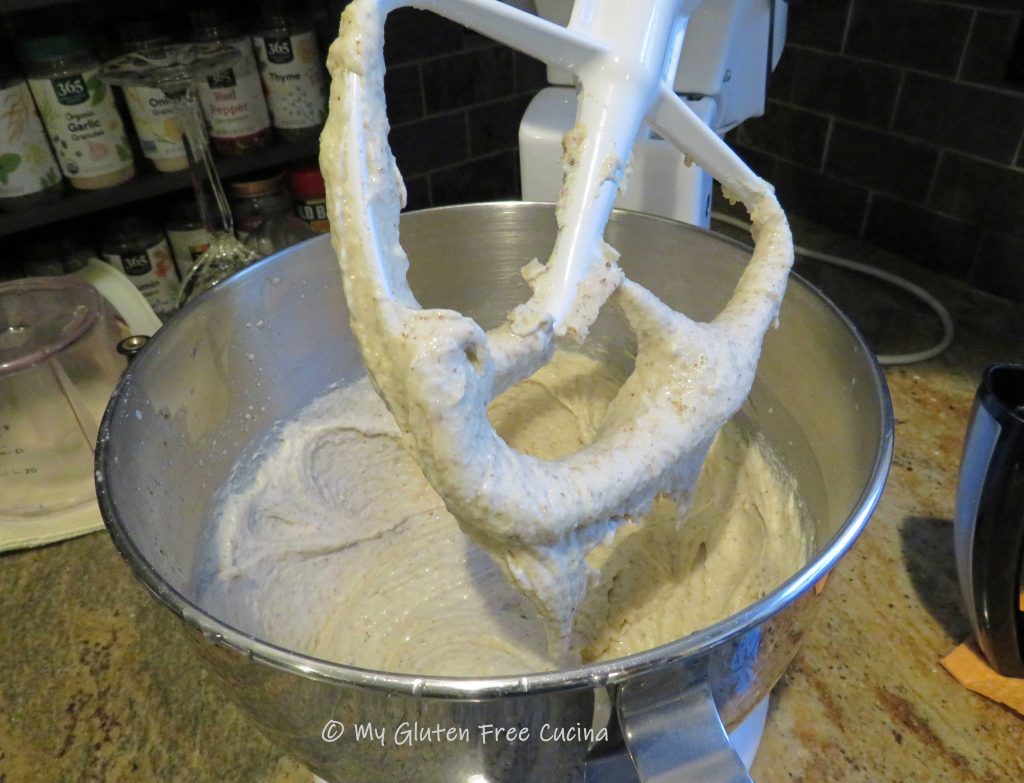
Add the egg and softened butter to the bowl of a stand mixer and whisk to combine.  Add the milk mixture and whisk until well blended.

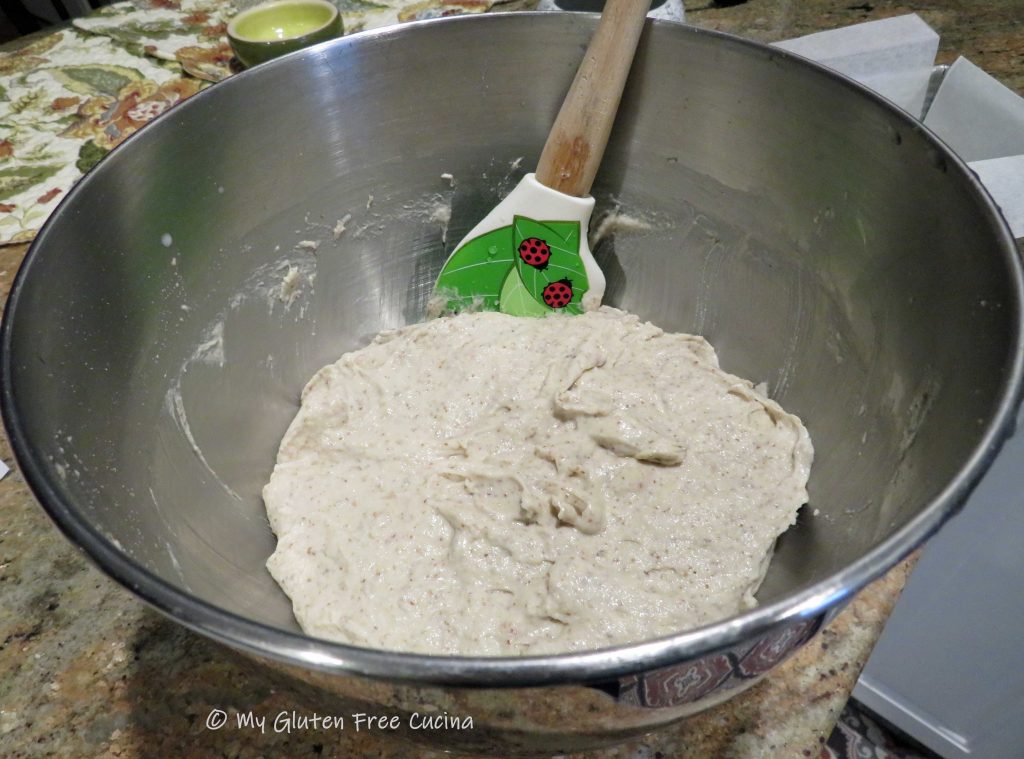
Switch to the paddle attachment and add the flour and salt to the bowl, mixing on low to combine.  Increase speed and beat for 5 minutes to form a dough, occasionally scraping down the sides with a spatula.  Dough will be sticky at this point.

Bring the dough together, cover with plastic wrap and let it rest for 20 minutes.

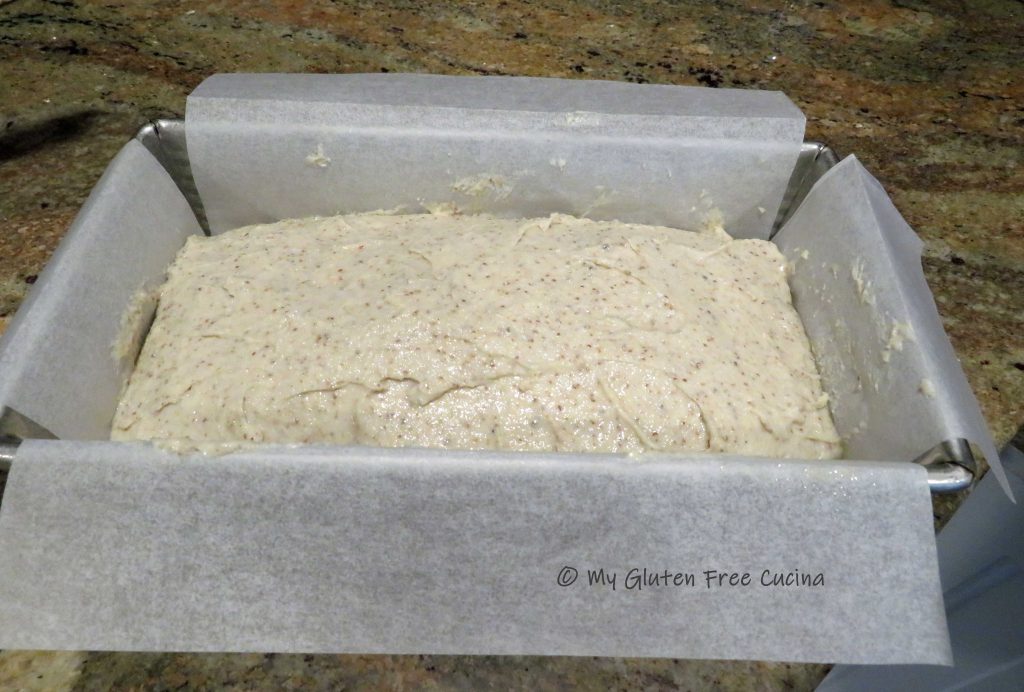
Cut a sheet of parchment to fit the length of the loaf pan (this will help with rolling and transferring the dough).  Mist the parchment lightly with cooking spray and transfer the dough.  Roll and pat the dough into a rectangle, about 14 x 10” and 1/2″ thick.  (Note- after a 20-minute rest, this dough rolls like a dream, but if you have any sticking just mist your rolling pin with cooking spray.)

Brush the dough with 1 tbsp. melted butter.

Spread the brown sugar and cinnamon mixture evenly over the dough, leaving a 1″ border all around.

Starting with the long side, use the parchment to lift the dough and begin rolling it up.

Continue rolling and pinch the seam to seal.

Tuck in the ends like this and turn the dough seam side down.

Lift the dough (with parchment) into the pan, cover with plastic wrap and let it rise in a warm place for 30 minutes.  Dough will be puffy but not doubled in size.

Preheat the oven to 350º and whisk together the egg whites and water.  Brush the loaf well with the egg wash.  Pierce the top of the loaf with a fork or docking tool to allow steam to escape.

Bake for 40 minutes or until the internal temperature reaches 200º.  Remove from the oven and brush the top with 1 tbsp. melted butter.

Grasp both sides of the parchment to lift the loaf out of the pan to a cooling rack.

Slide the parchment out and let the loaf cool completely before slicing.

If you like, you can drizzle the top with icing made of 3 tbsp. powdered sugar and 1 tbsp. milk.  I made this loaf for company, and we served it with coffee, just like this.  It was a hit!

Slice and toast, or just add to your breadbasket!  It freezes beautifully, so you can wrap up the extra slices in plastic wrap, store in a freezer safe bag and it will be good for several months.

Notes ♪♫ I used and recommend Better Batter Artisan Flour Blend for this recipe.  This flour requires twice the liquid of typical recipes, so if you use another flour, you will need to adjust the liquid to flour ratio.  Start with half the milk (3/4 cup) and only add more if needed, 1 tbsp. at a time.

Print This Post Print This Post


Gluten Free Zucchini and Prosciutto Quiche

Making a gluten free quiche has been on my recipe bucket list for a long time.  This week I finally did it!  The filling is a savory blend of zucchini, prosciutto, mushrooms and Gruyere cheese.  I still can’t believe how tasty it was.

Of course, the foundation of a good quiche is the pie crust.  If you missed my earlier post on how to make an easy, gluten free pie crust you can check it out here.

This post contains affiliate links.

Ingredients:

Preparation:

Preheat the oven to 350º.

Roll your pie dough into a circle, using your pie dish as a guide.  You want the dough to fit into the pie dish with a little extra to fold under and crimp.

Carefully lift the dough and place in your pie dish.

Trim the excess (can be used to patch any cracks or holes), fold the edges under and crimp.

Because the filling is made with heavy, wet ingredients, you will need to blind bake (pre-bake) the crust for 10 minutes to keep it from getting soggy.  Be sure to weigh down the crust down to keep the bottom from puffing up.  You can cover the crust with parchment and use beans or pie weights.  Or you can try this gadget, it works like a charm and it’s so easy to remove and clean!

While the crust is baking prepare the filling.  Cut the zucchini and mushrooms into thin slices and chop the whites of the scallions into 1/4″ pieces.  Grate the cheese and tear the prosciutto into small pieces.

Heat 1 tbsp. olive oil in a nonstick skillet, add all of the veggies and sprinkle with seasoning.

Cook the veggies until they have released their liquid and reduced to about 1 cup.  Transfer to a colander to cool and drain.

Take the partially cooked pie crust out of the oven after 10 minutes and remove the pie weight.

To finish the filling, beat the eggs and milk.  Stir in the drained veggies, 3/4 cup of cheese and the prosciutto.  Add about 8 grinds of fresh ground pepper.

Pour the filling into the prepared crust and top with the remaining 1/4 cup of cheese.

Place the quiche on the center rack of your oven.  I put a cookie sheet underneath, to keep the bottom from getting over cooked.  Bake for 45-50 minutes, until the top is set, and edges of the crust are well browned.

Let it rest for 15 minutes before slicing.

Notes ♪♫ We had this quiche for dinner, and reheated leftovers for lunch the next day.  Like any pie, the number of servings will depend on your appetite, somewhere between 4-8 wedges.  It was delicious and would be an amazing addition to your brunch menu!

Print This Post Print This Post