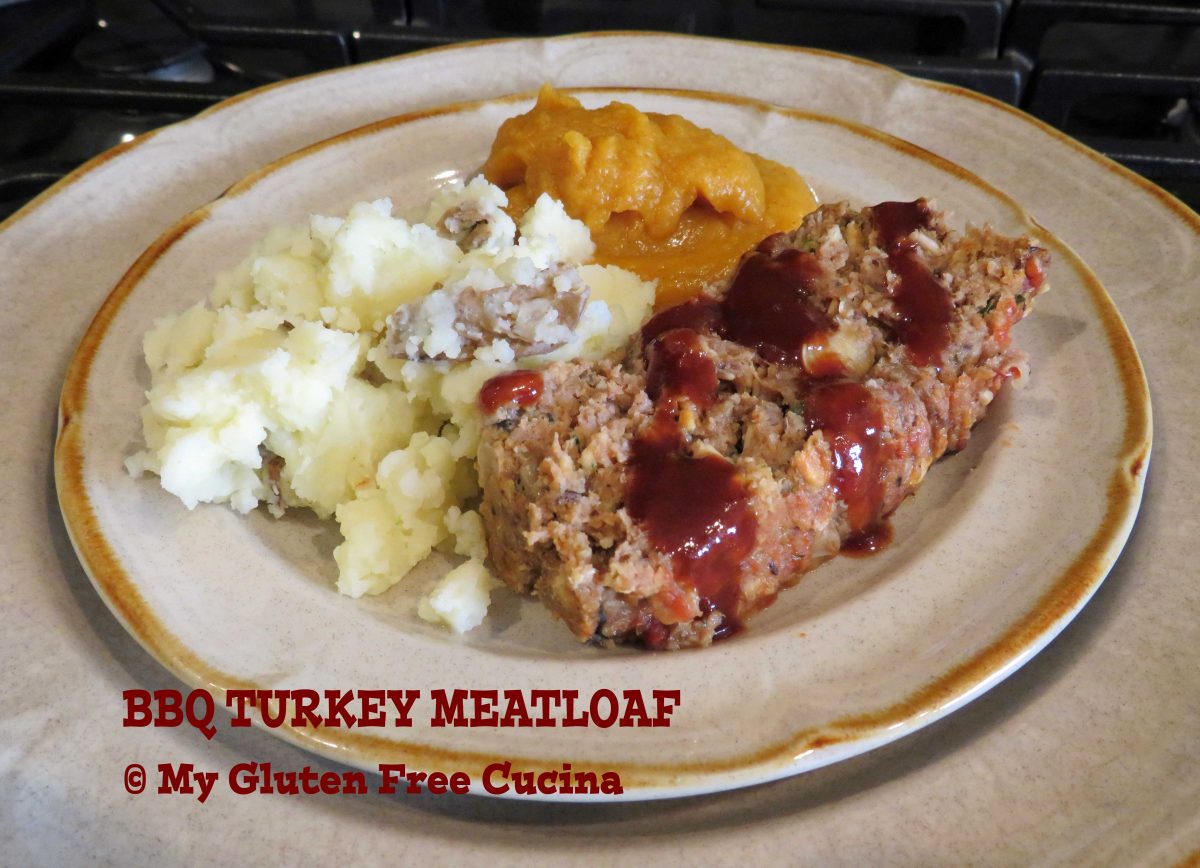
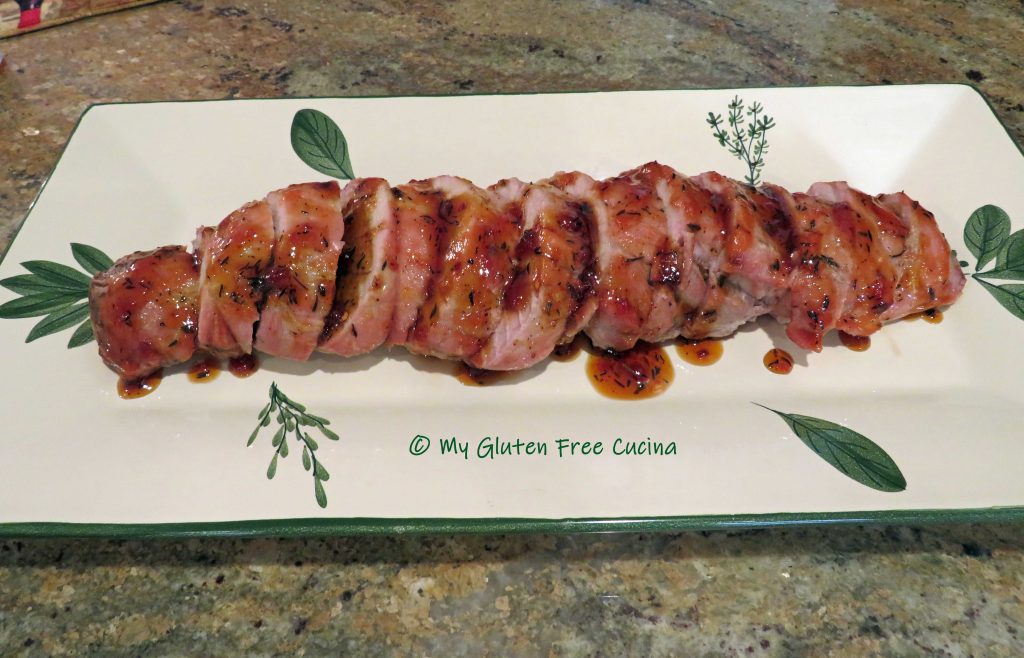
Who doesn’t love beef short ribs! Yes, they are pricey these days, but when they go on sale it’s time for a BBQ dinner. In this very easy recipe, boneless beef short ribs are baked slowly at a low temperature and basted with a simple homemade barbecue sauce that will rival your favorite store brand! It’s a meal that you can enjoy any time of year and with little effort.
 The beef will shrink considerably during cooking, so start with twice as much as you think you need. For two people I suggest 1.5 lbs. of boneless beef short ribs. It may look like a lot to begin with, but there will be no leftovers 😉
 Ingredients:
- 1.5 lbs. boneless beef short ribs
- salt and pepper
- cooking spray
- 1 batch homemade Gluten Free BBQ Sauce
- fresh chives for garnish
Preparation:
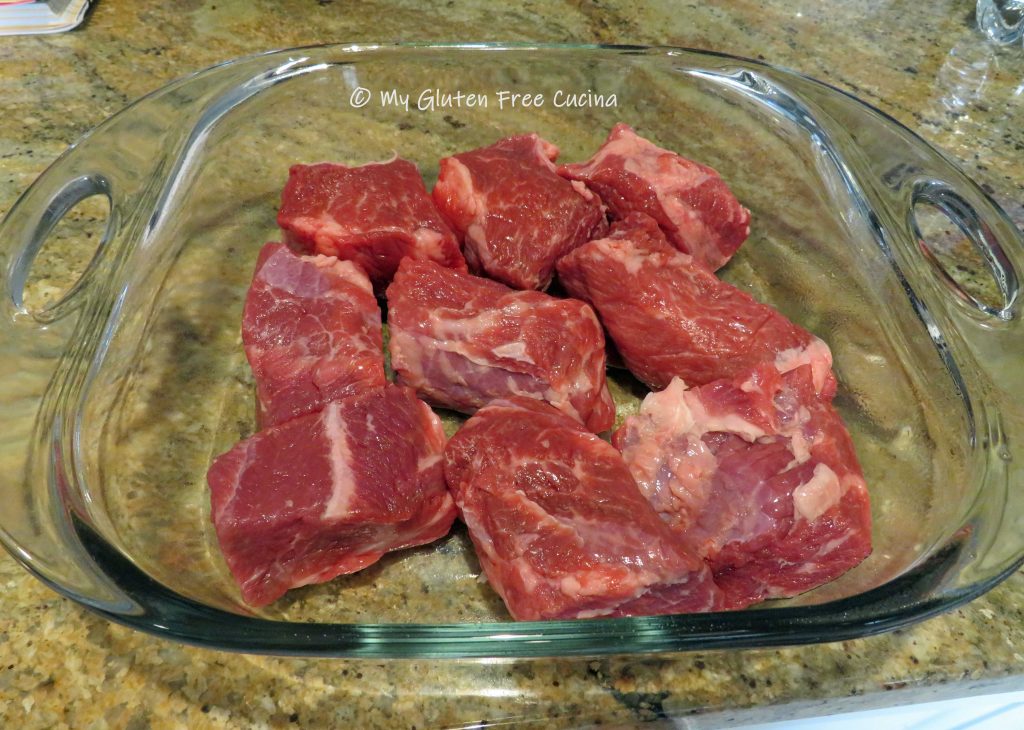
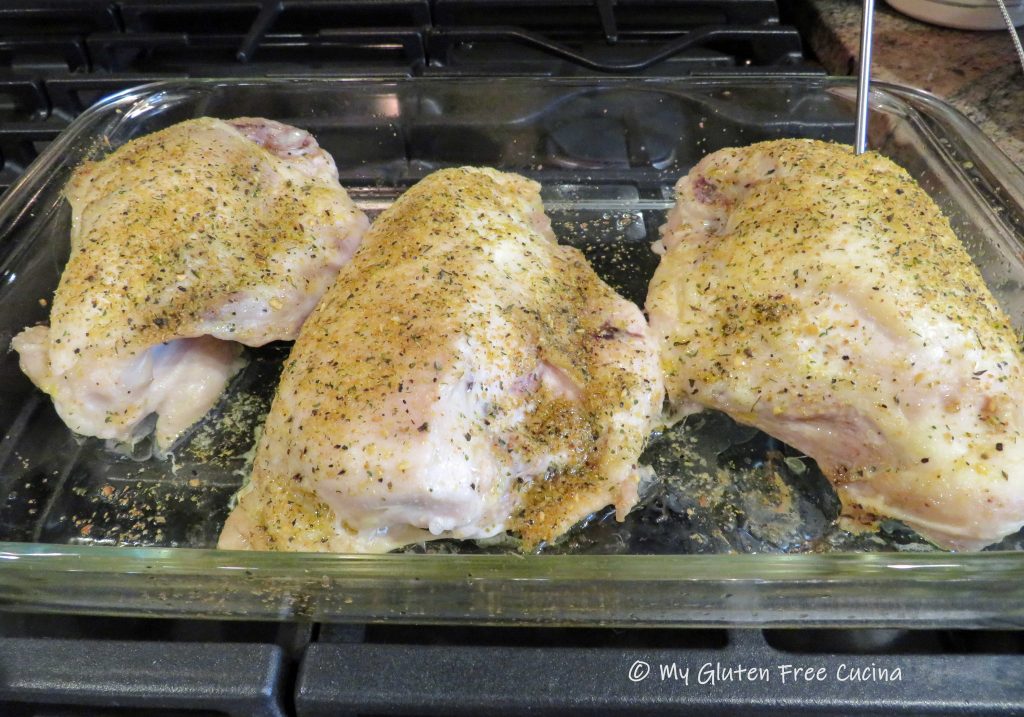
Preheat the oven to 300º. Cut each short rib into 3 pieces and place in a square baking dish coated with cooking spray. Season both sides with salt and pepper.
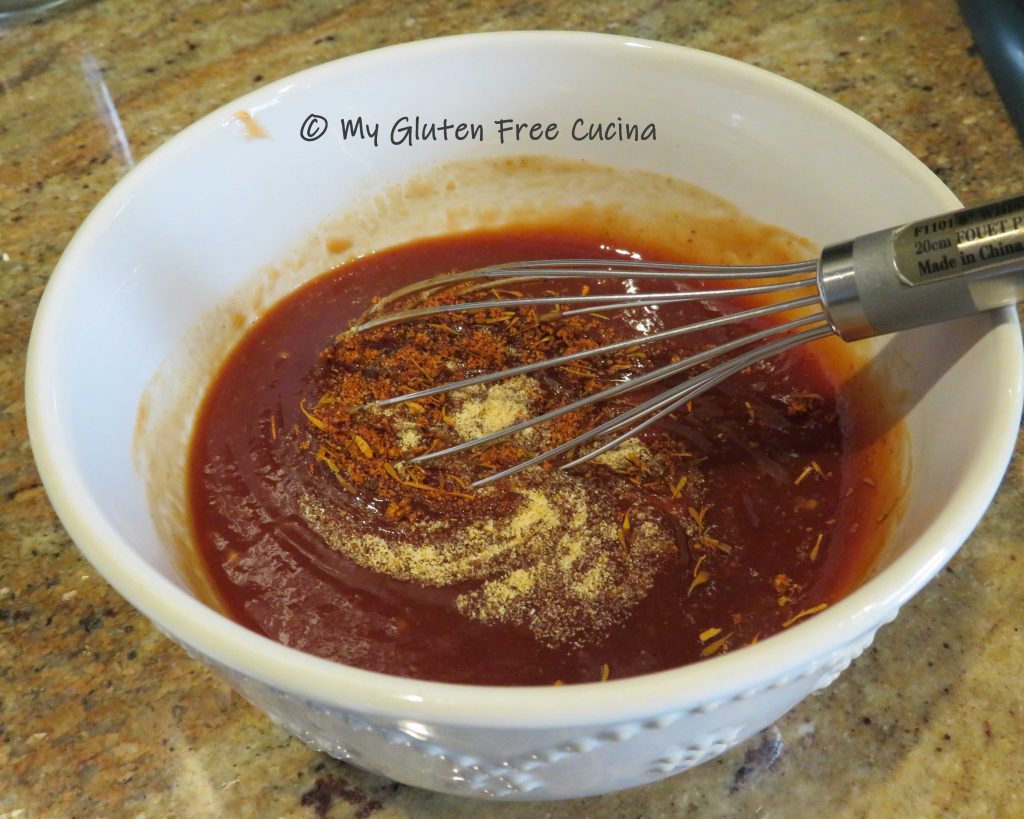
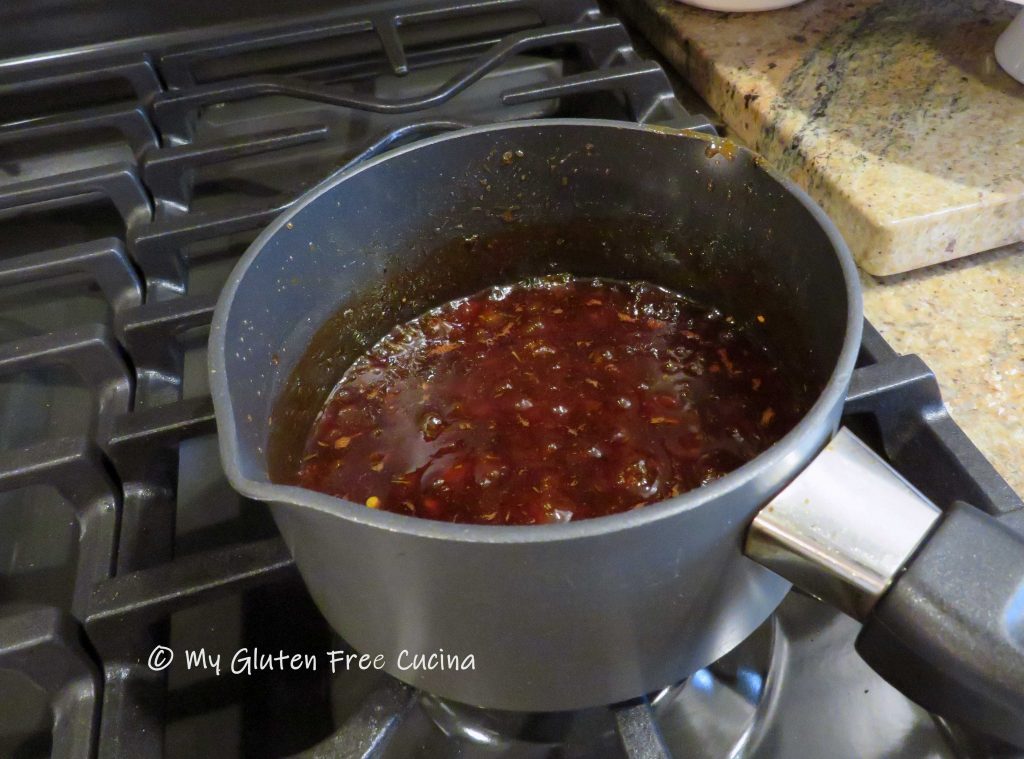
Whisk together the BBQ Sauce ingredients or use your favorite store brand (I won’t tell). Spoon 3 tbsp. of the sauce over the ribs.

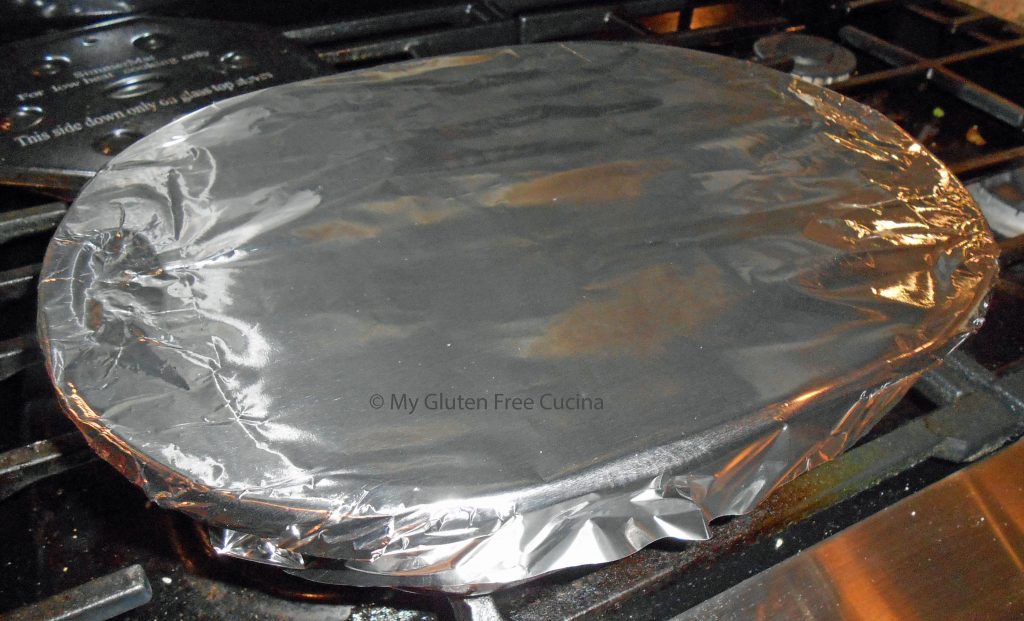
Turn them over and spoon another 3-tbsp. sauce to coat. Cover tightly with foil.
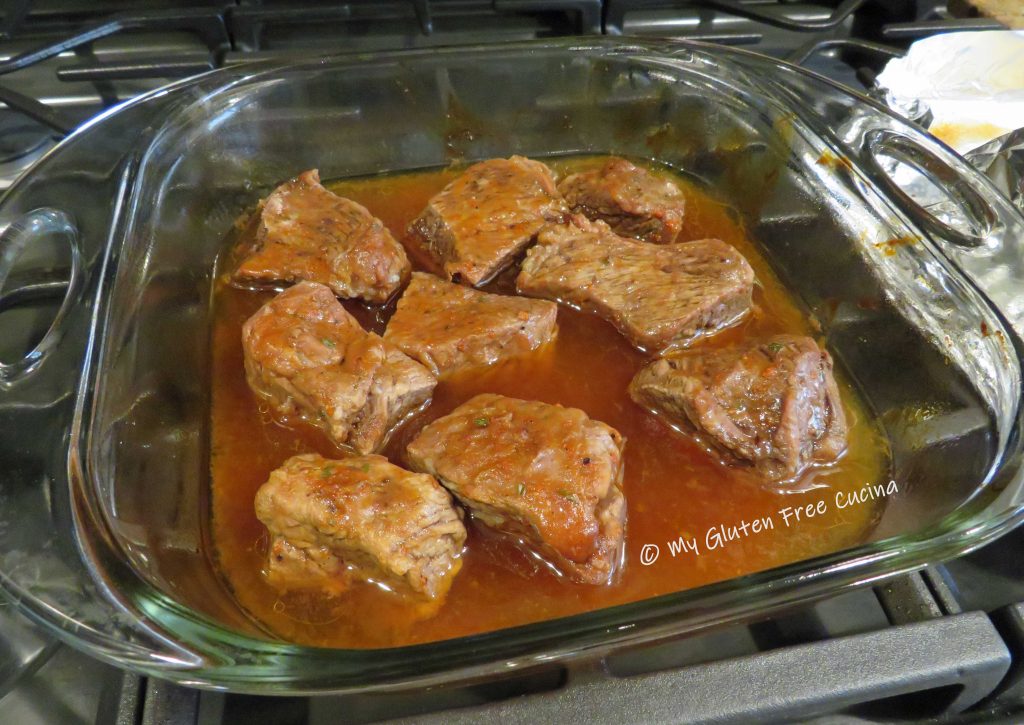
Roast for 2 hours at 300º, then use tongs to carefully remove the foil. If there is too much liquid, you can remove some of it with a ladle. Cook 30 minutes more, uncovered.
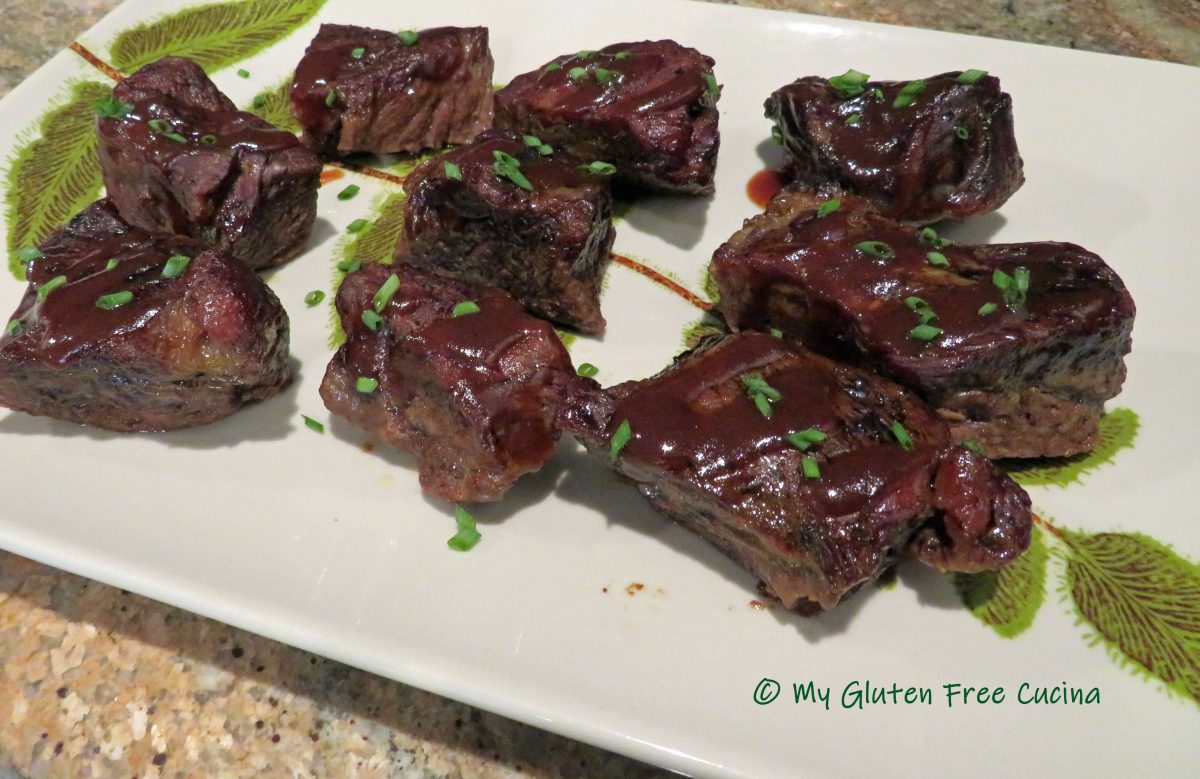
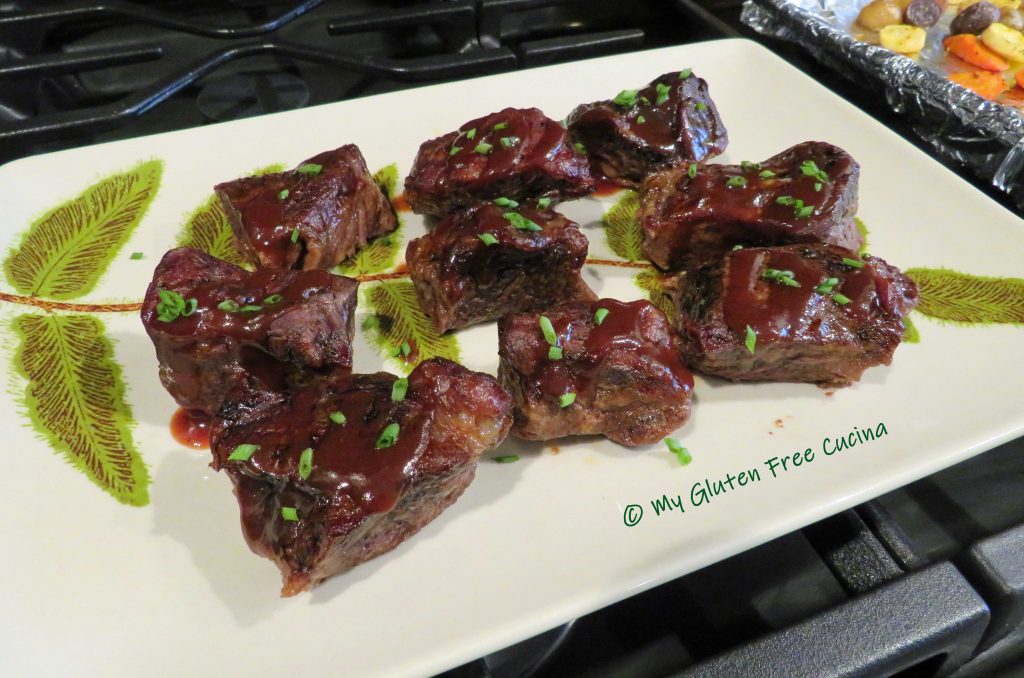
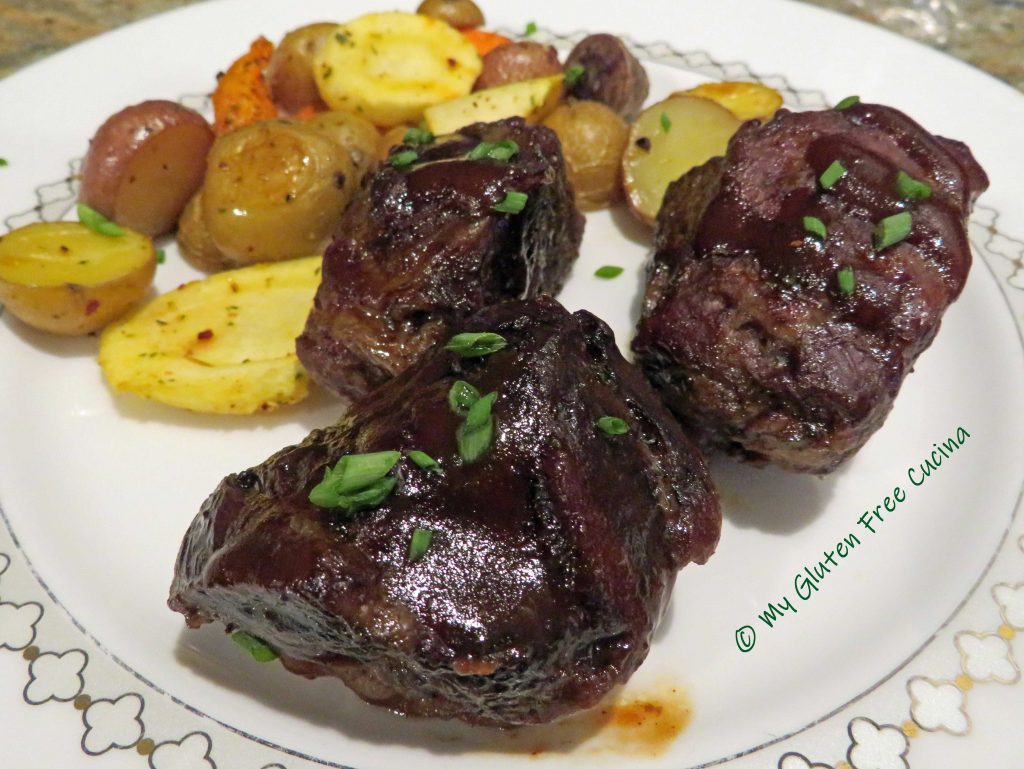
Warm the remaining sauce for serving. Remove the short ribs and arrange on a serving platter. Brush with the extra sauce and garnish with fresh chives.
This meal was so good! I served the ribs with roasted carrots, parsnips and baby potatoes. Use your favorite seasonal sides (sweet corn in summer for sure).
Notes ♪♫ If you prefer to buy the BBQ sauce, I recommend Stubbs. All of their BBQ sauce flavors are delicious and gluten free.
Originally posted 05.27.2018 Updated 08.06.2022


 Preparation:

 In a large bowl, whisk together 1 egg, 1/4 cup BBQ sauce and 1/2 tsp. BBQ seasoning. Add the ground meat along with the cooled veggies. Mix thoroughly with your hands. Be sure that everything is well combined.


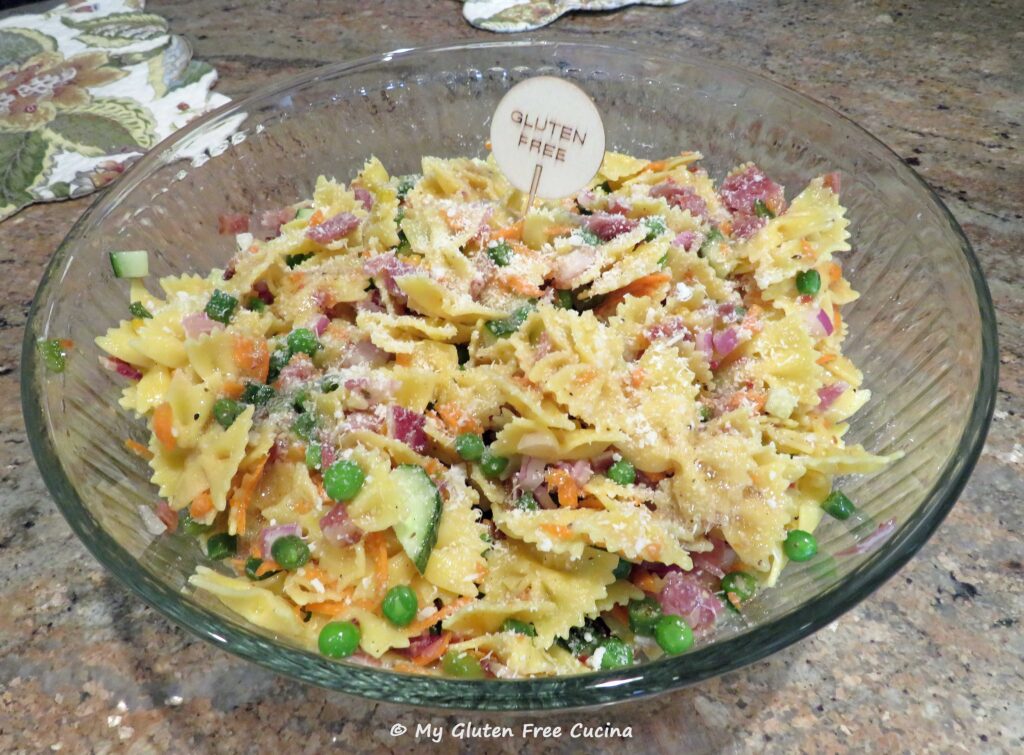

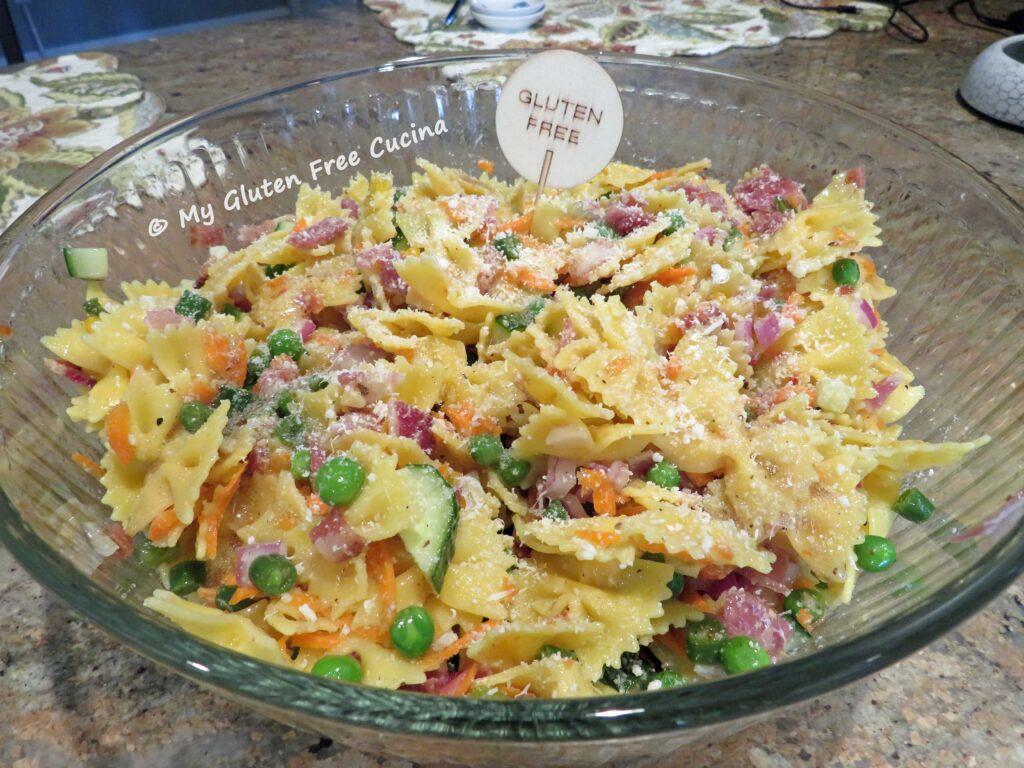
 As I mentioned above, I recommend that you wait until a few hours before serving to assemble the salad. Cook the pasta to al dente. This will likely be several minutes less than the package directions, so taste frequently. Drain the pasta and immediately rinse it under cold water to stop the cooking.
 Place the colander over a large bowl, toss with 1 tbsp. olive oil and chill in the fridge for 30 minutes.

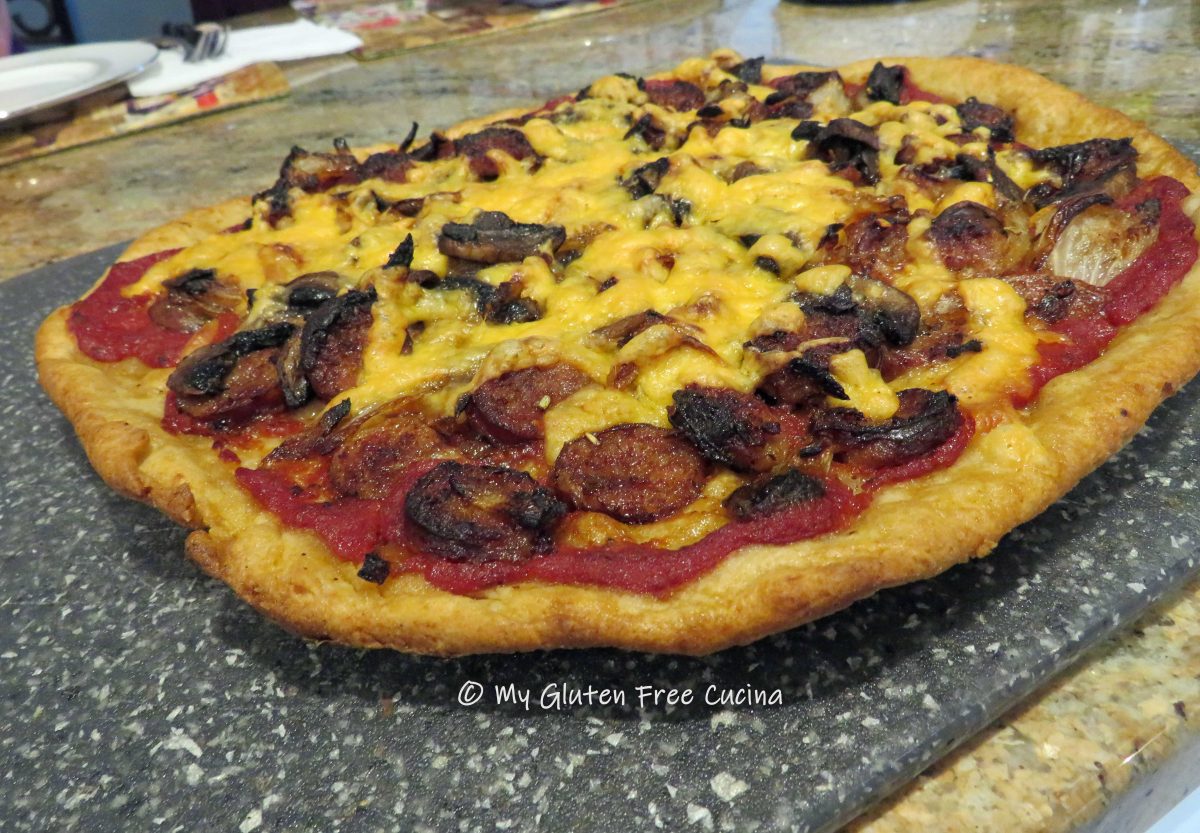
 Coincidentally we were also having our first heat wave of the summer. It was over 90 degrees in the shade, so what did I do? Yes, I cranked up the oven to 500º and made pizza! Just to be sure everything was working properly, right?

 Remove the proofed dough from the refrigerator, it will have doubled in size. Cut a sheet of parchment to fit your
  Brush with olive oil and season. Let it rest at room temperature for an additional 30 minutes while you preheat the oven to 500º. Place your pizza stone in the oven to preheat.
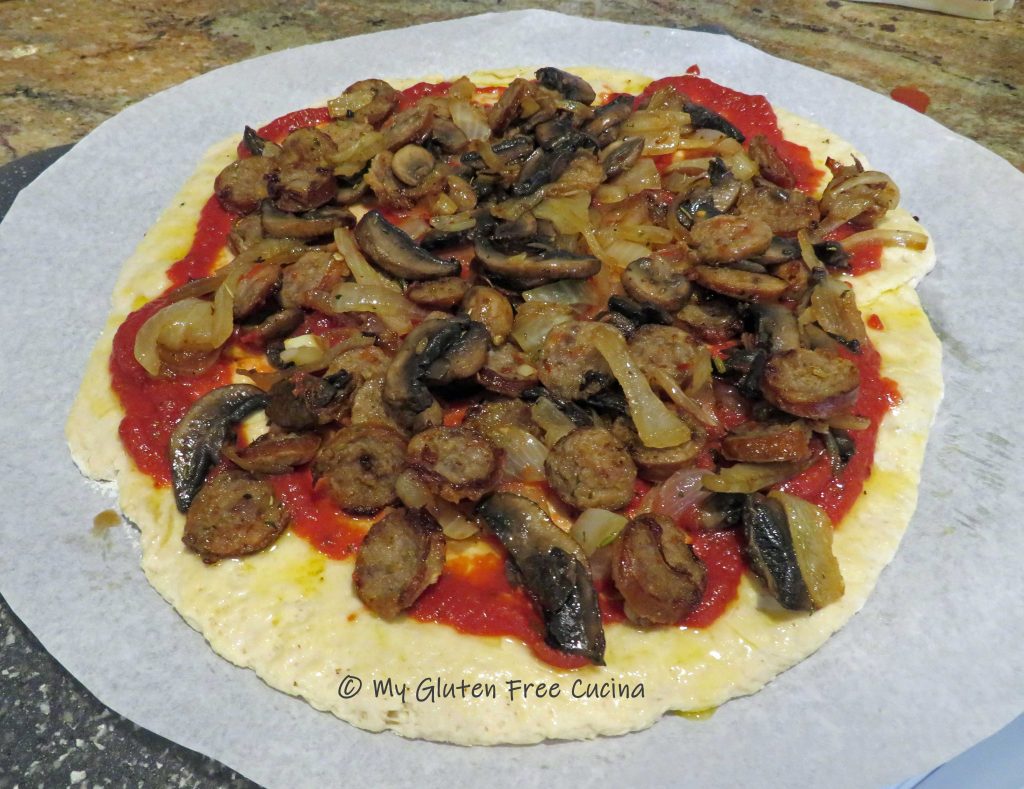 Top with grated cheese of your choice. I used cheddar, because we had some in the fridge left over from another recipe. Slide the pizza, with parchment onto your preheated pizza stone. After 5 minutes use


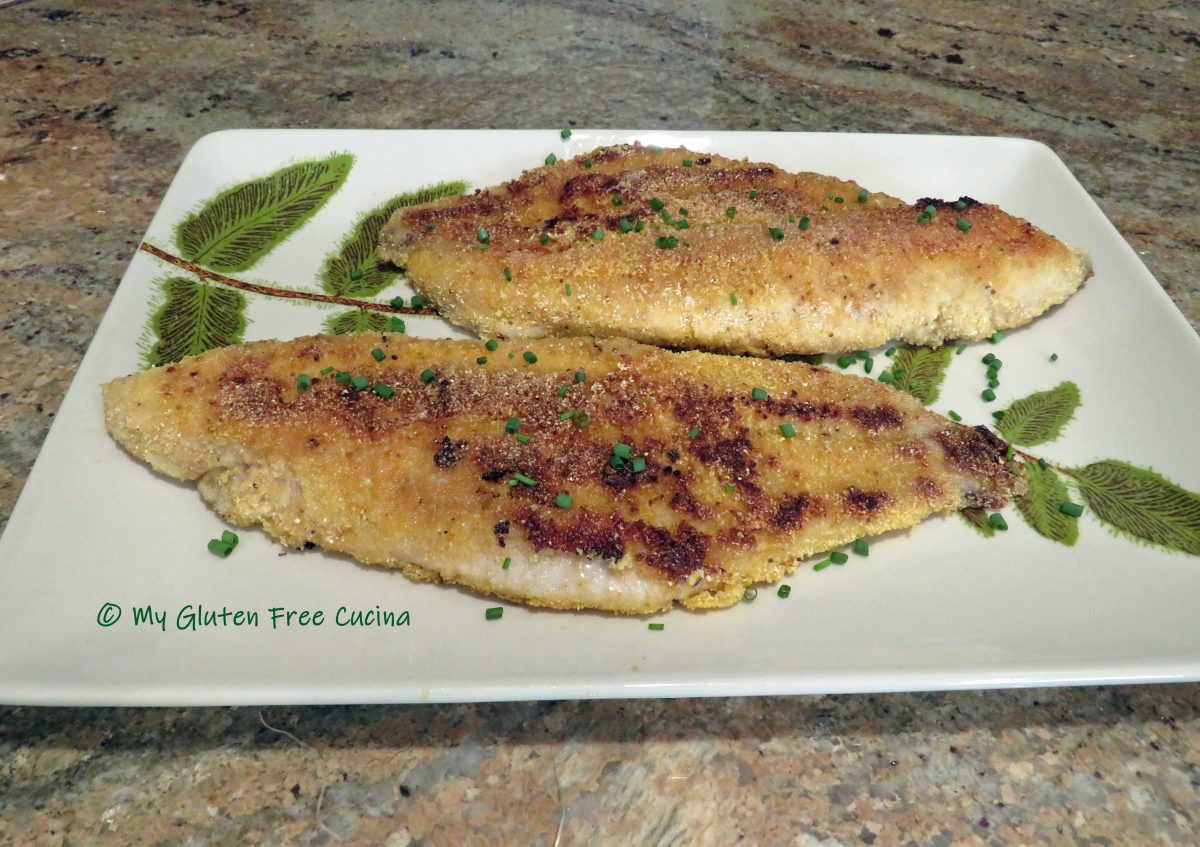
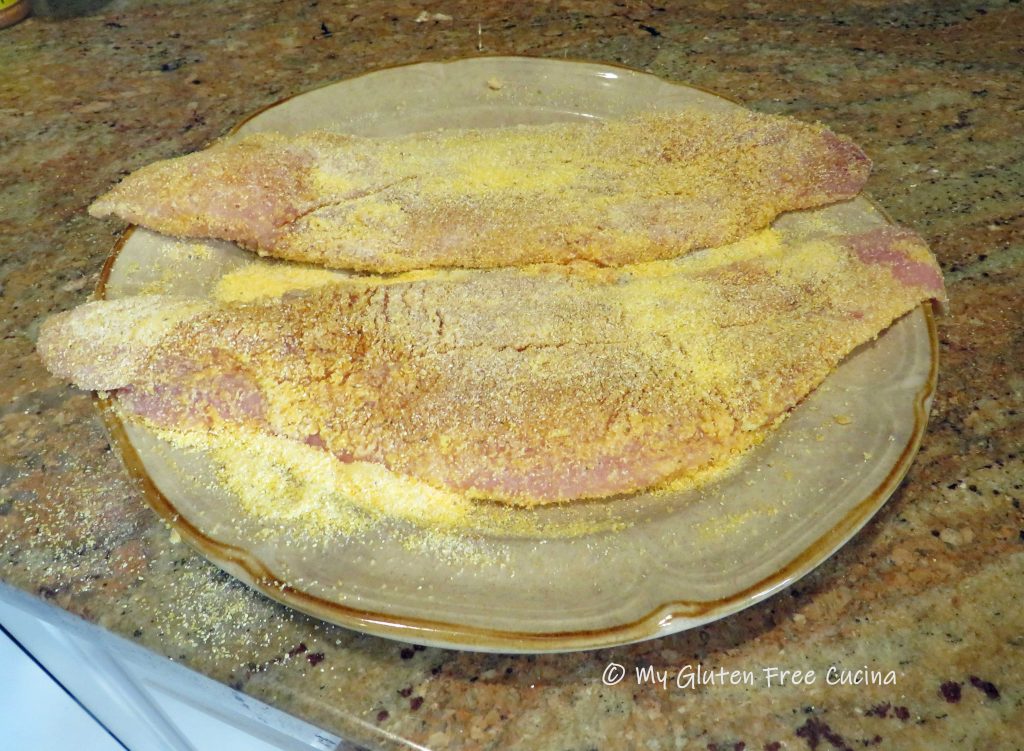
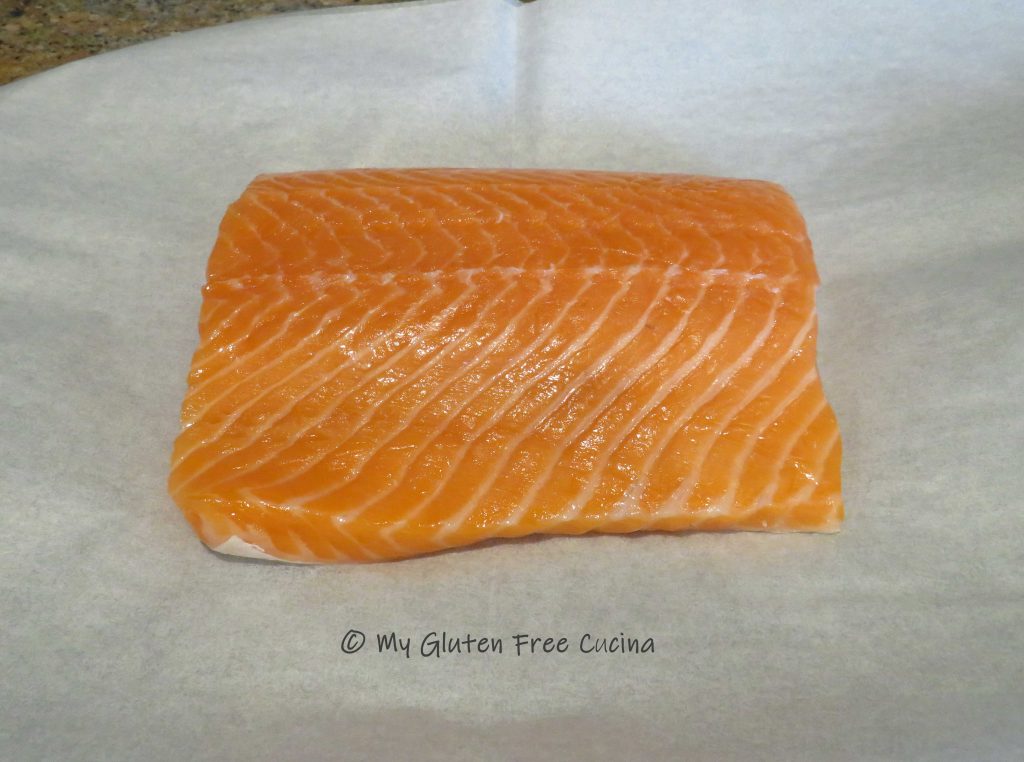
 Line a baking sheet with foil and mist with cooking spray. Remove the tenderloin from the packaging and pat it dry. Use a sharp knife or
 Insert a


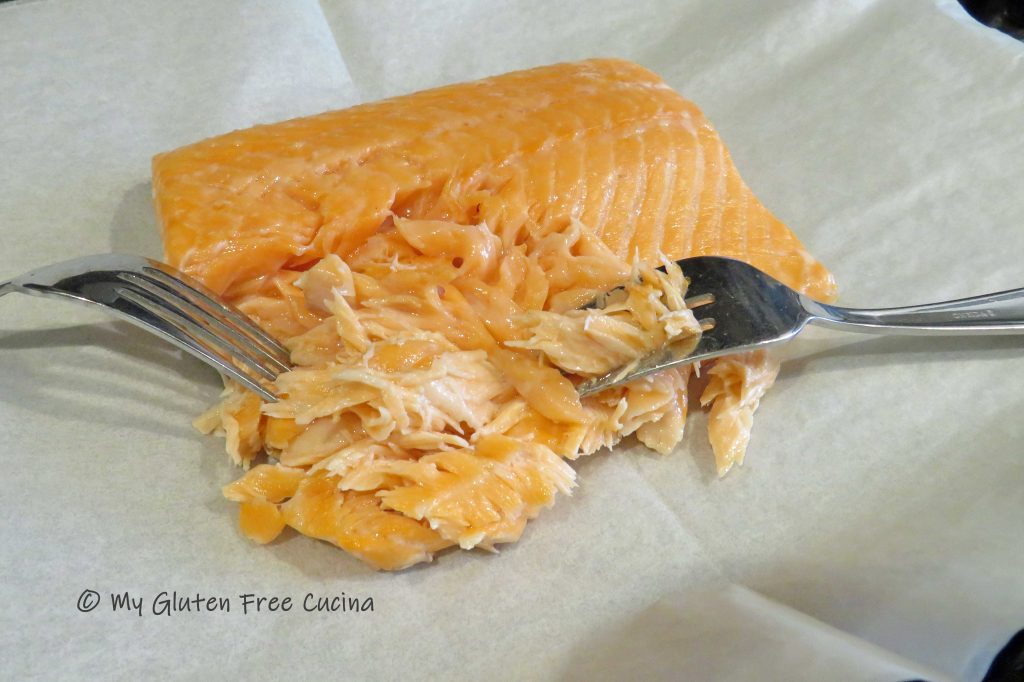


 Add your favorite
  I hope that you enjoyed this recipe. My gluten eating family also thought these Salmon Burgers were great, just like the restaurant version! So don’t feel deprived! Try the recipe at your house and let me know what you think!
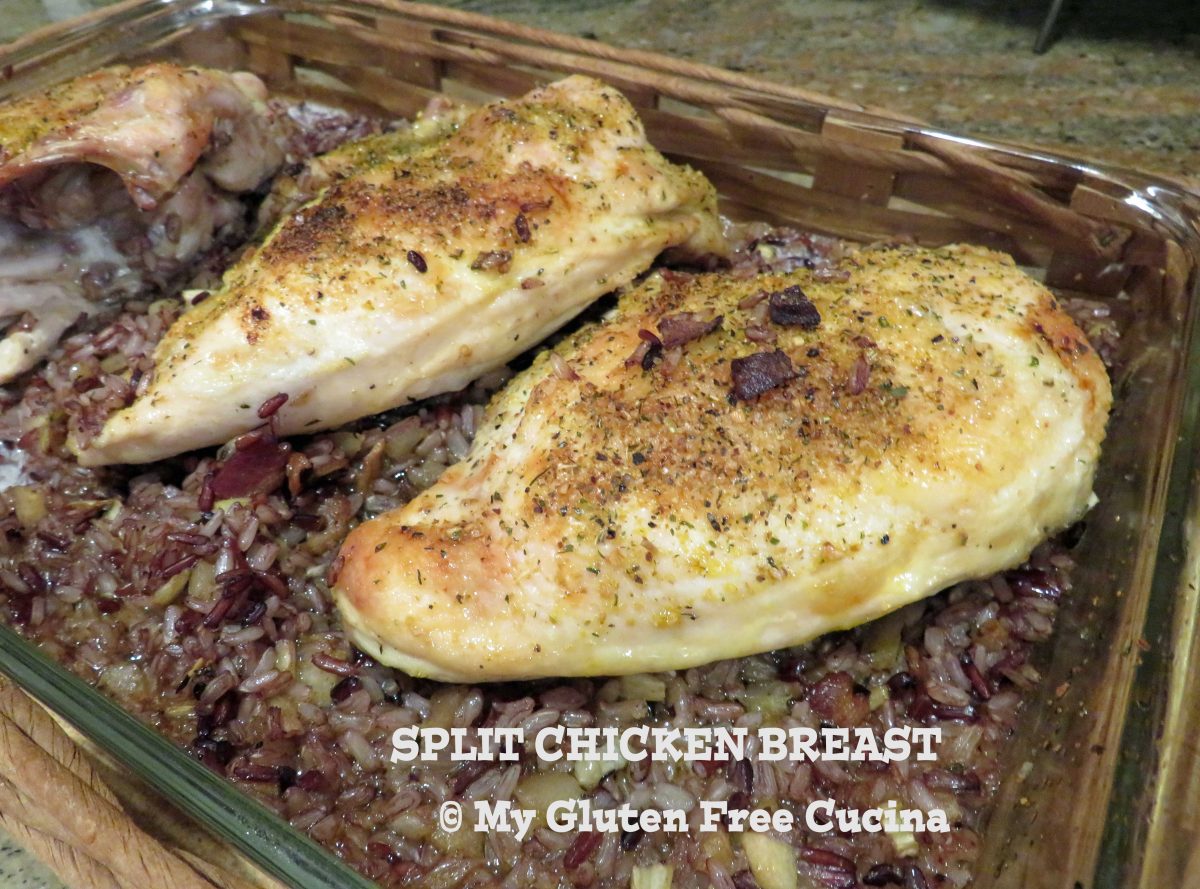

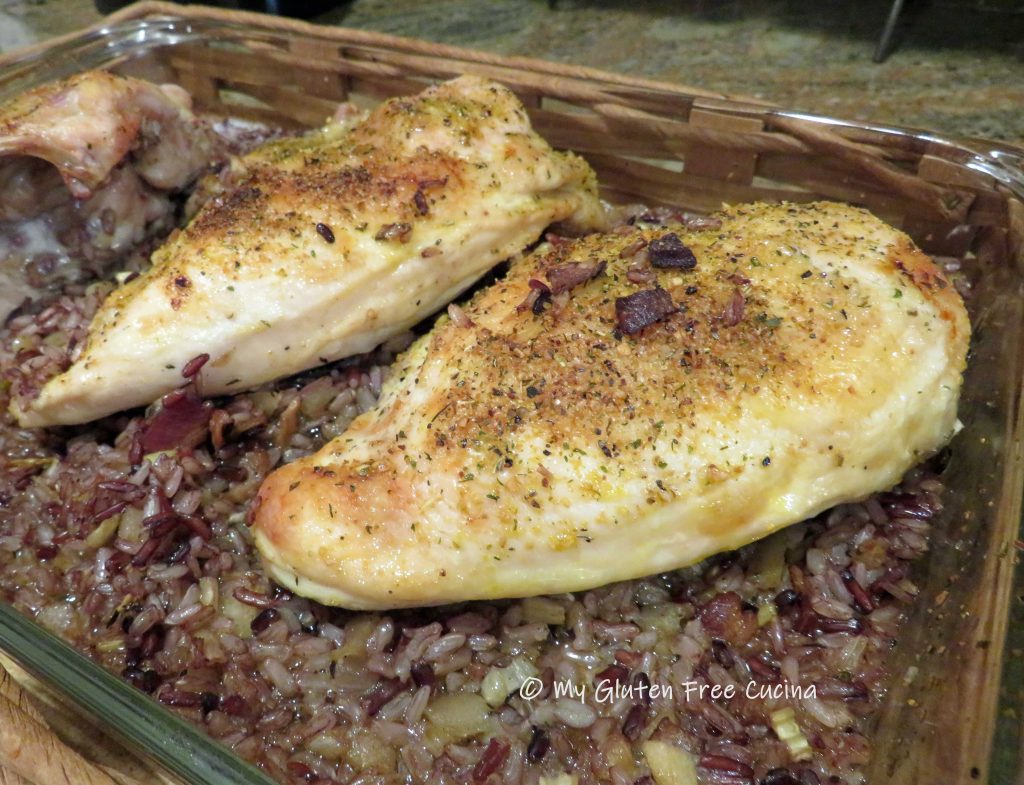
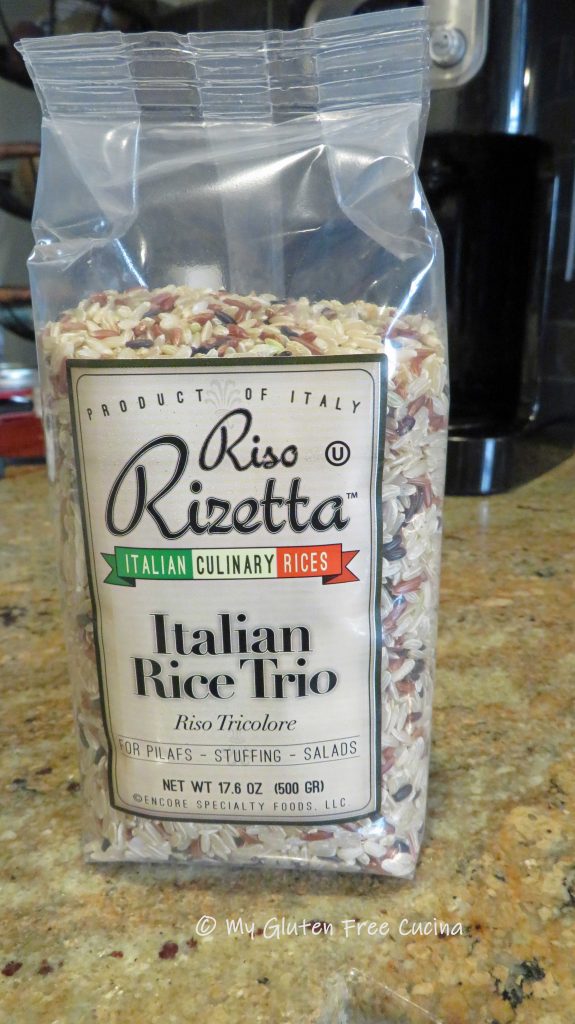
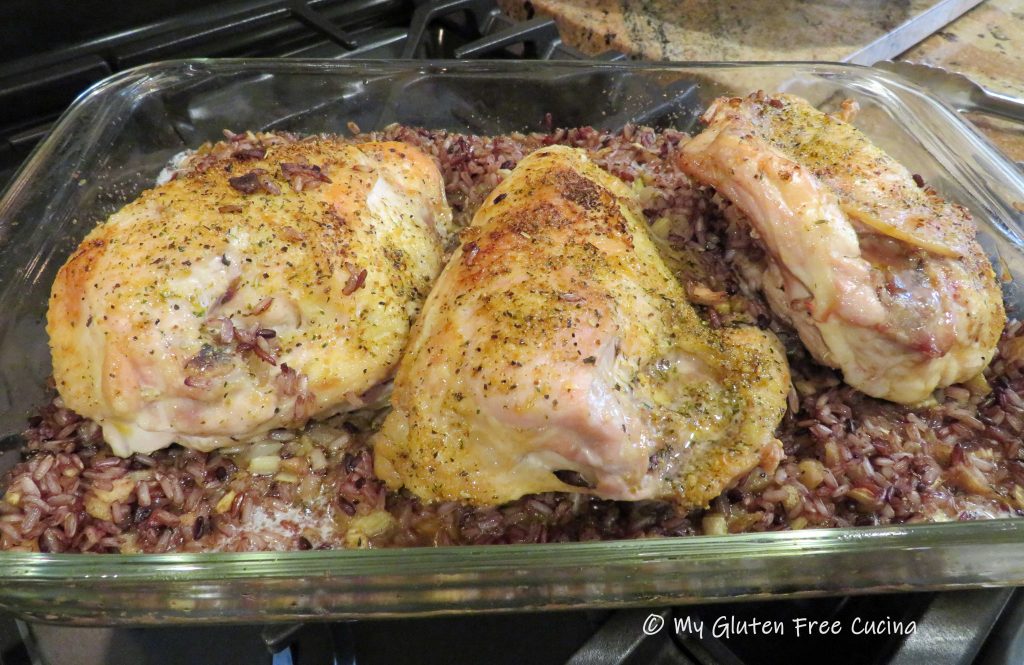
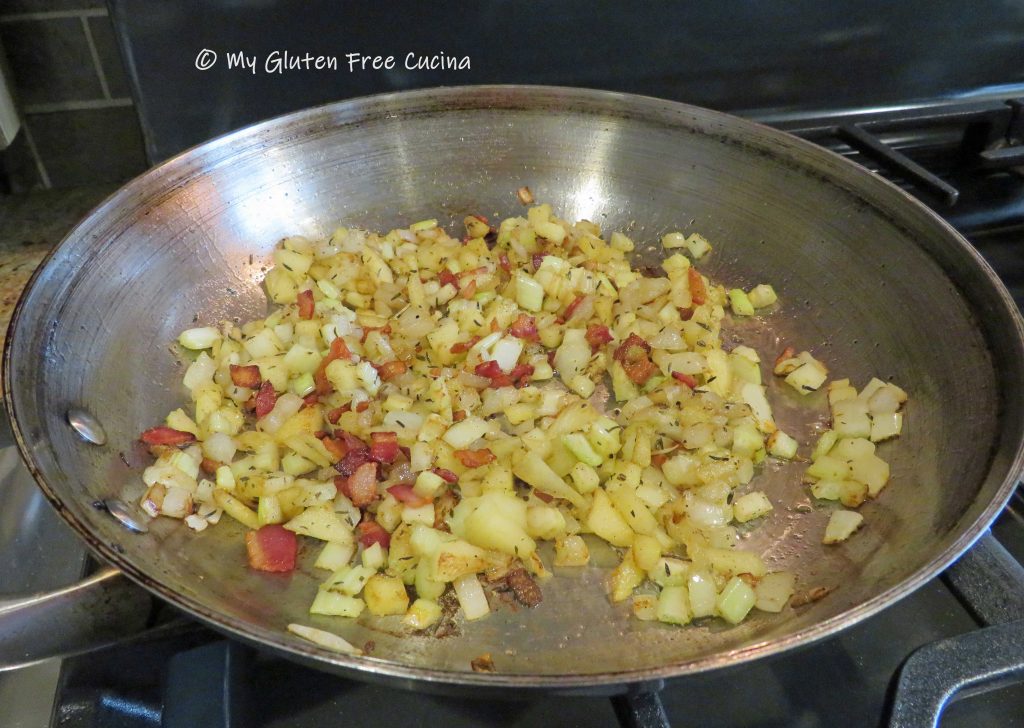 Add the cooked rice to the skillet with the stuffing and stir well to combine.

 Preparation:
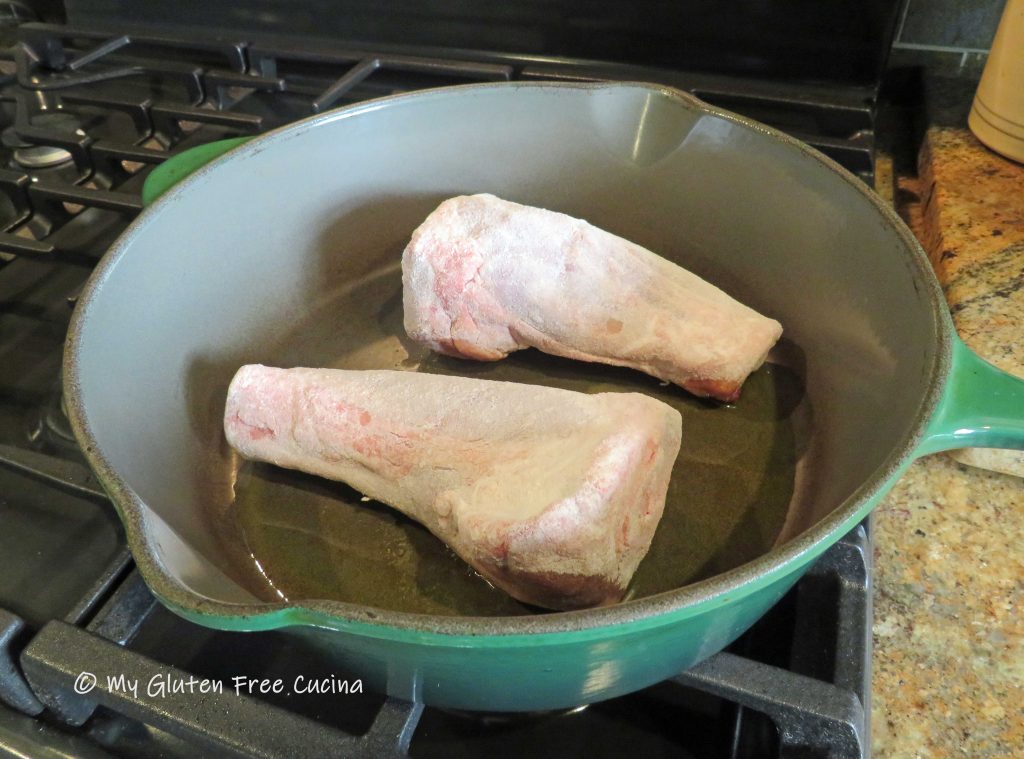

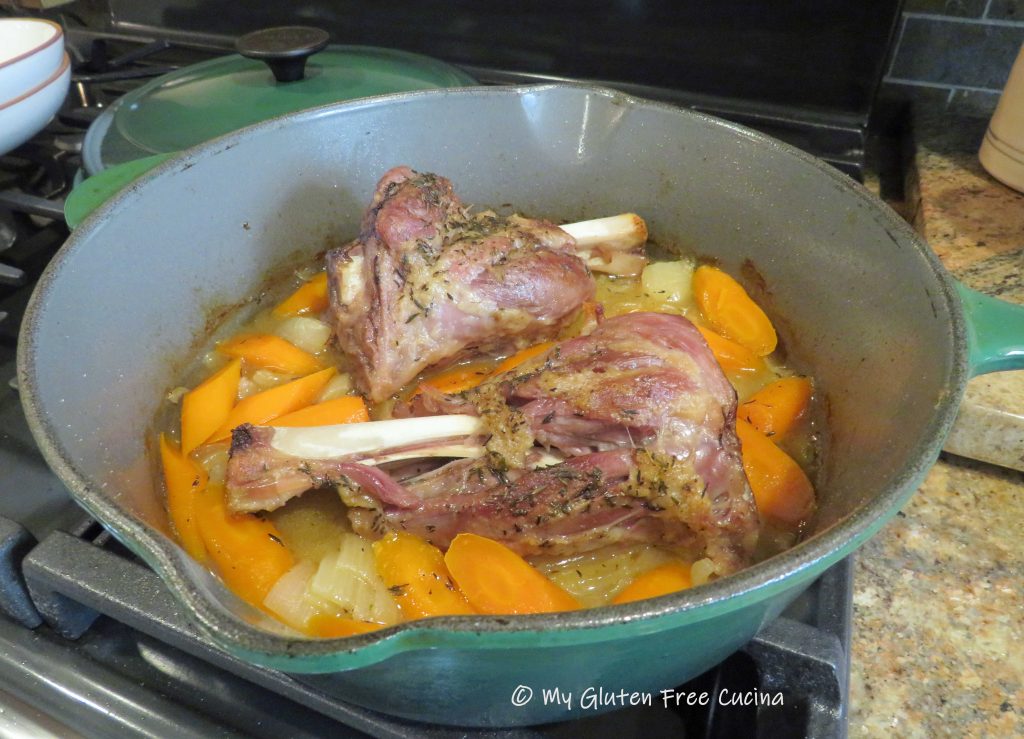
 Add 1/2 cup chicken broth, along with the onions and the carrots.


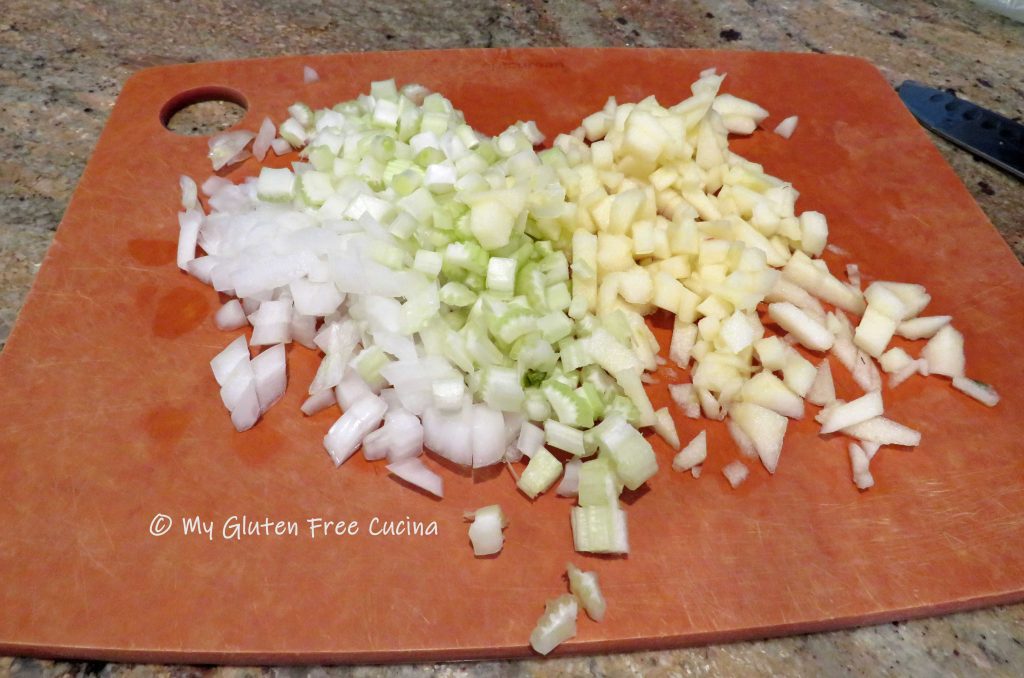
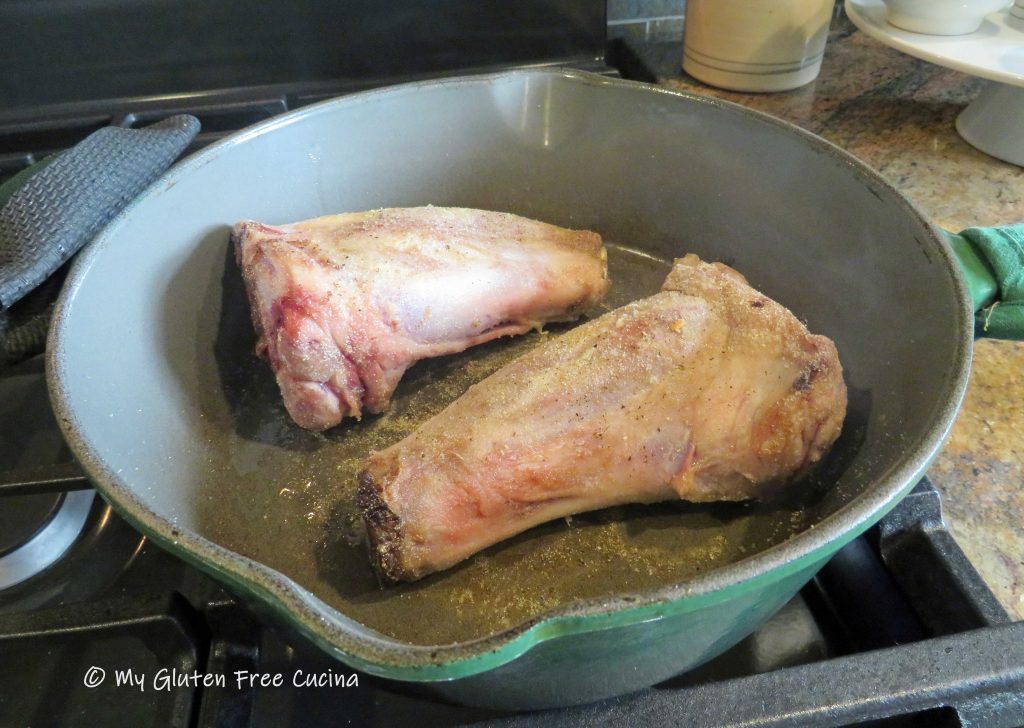
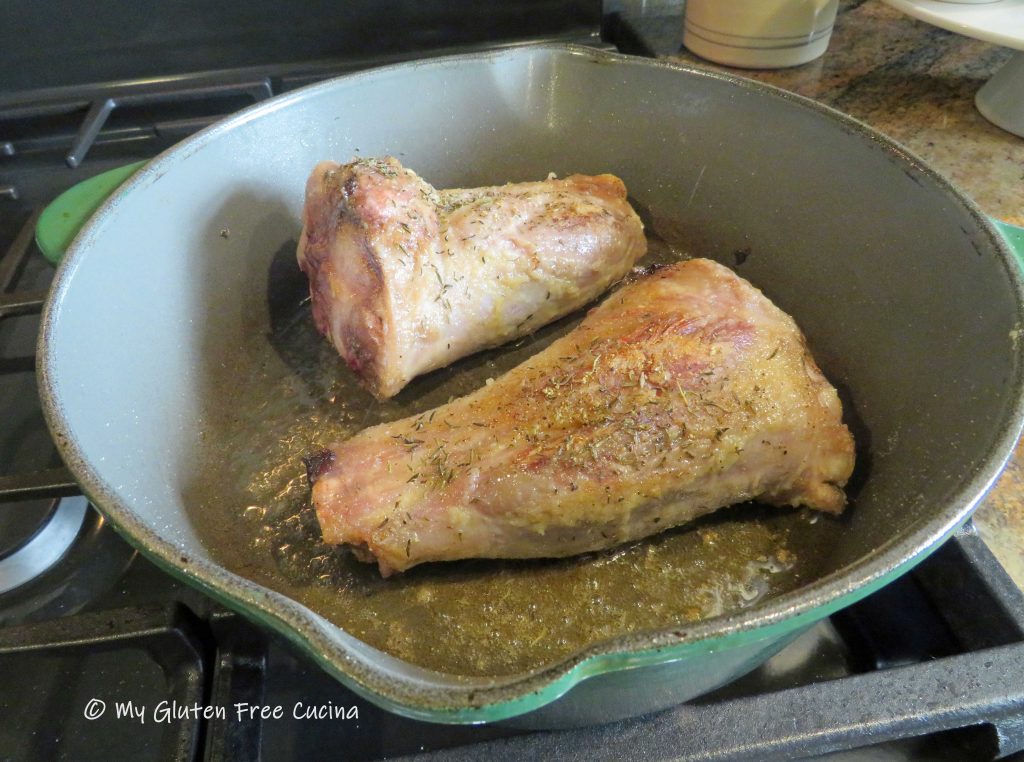
 Add more olive oil to the pan with the onion, carrot, and celery. Cook for several minutes, stirring frequently, then clear a space in the center for the tomato paste.
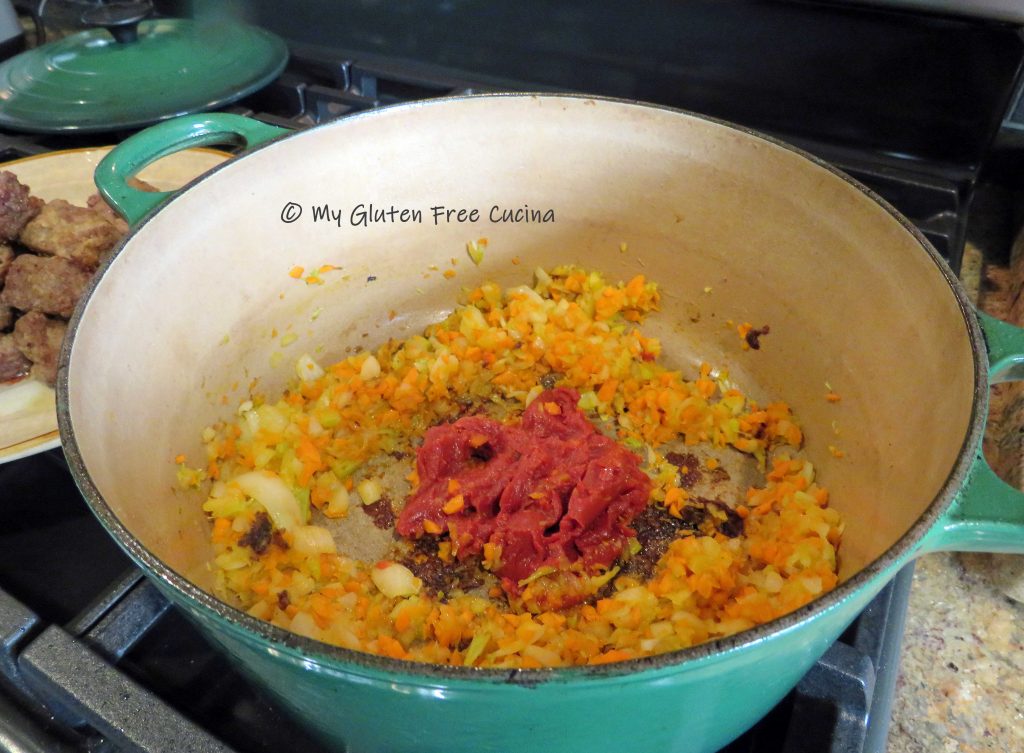 Toast the tomato paste for a minute, then stir it into the vegetables. Add the wine, using a spatula to scrape up those browned bits at the bottom of the pan. Reduce heat to a simmer and continue cooking until the wine is reduced by half.