Gluten Free Potato Gnocchi with Cassava Flour

Gluten Free Potato Gnocchi with Cassava Flour

This post contains affiliate links

This recipe combines two of my favorite new ingredients, Cassava flour and Hannah sweet potatoes.  Cassava Flour is made from the root of the yucca plant, and so far I have made some delicious things with it.  Check out my Cassava English Muffins, or this delicious Sweet Potato Flatbread.  As I experiment more with this gluten free dough, all I can think of is pasta!
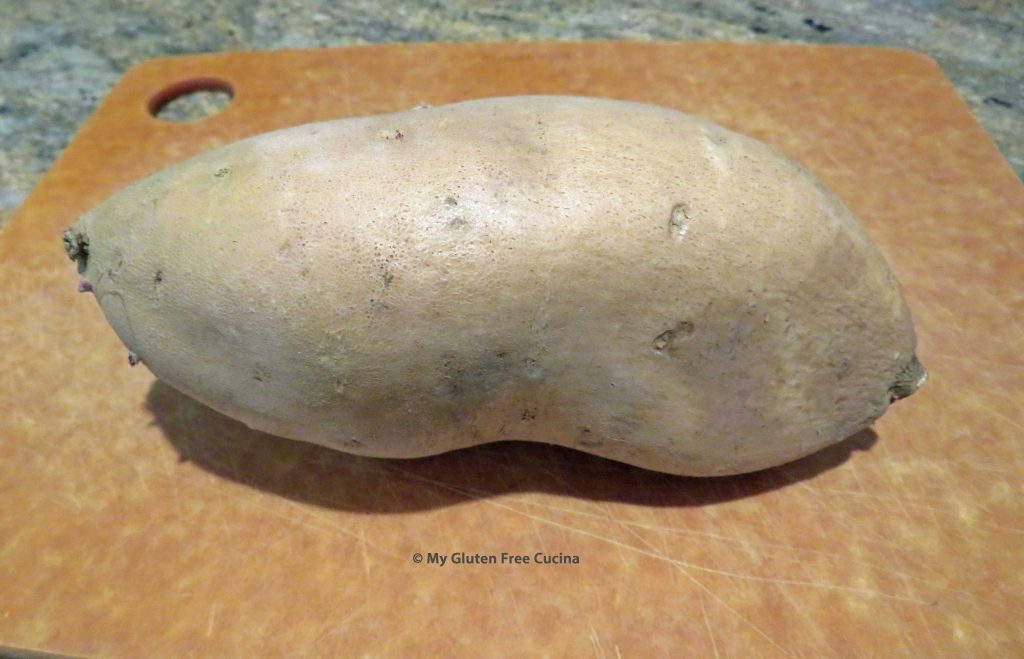
Hannah sweet potatoes are also new to my kitchen.  Have you seen this blond version of the sweet potato?  It has a thin pale skin and cream colored flesh that disappears into bread and pasta dough with ease.
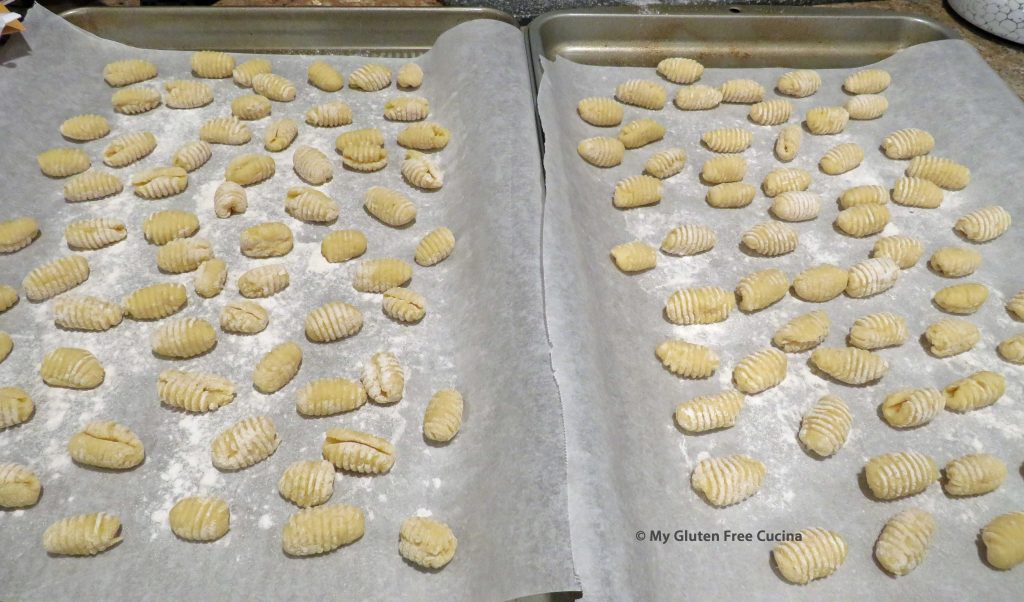
The amount of flour needed in this recipe will vary depending on the moisture in the potato, and size of your eggs.  It does require some judgement, knowing when you have the right amount of hydration.  I recommend weighing the sweet potato after it is peeled, and then gradually incorporating the flour by feel.  You can always add more flour, but you can’t take it out!

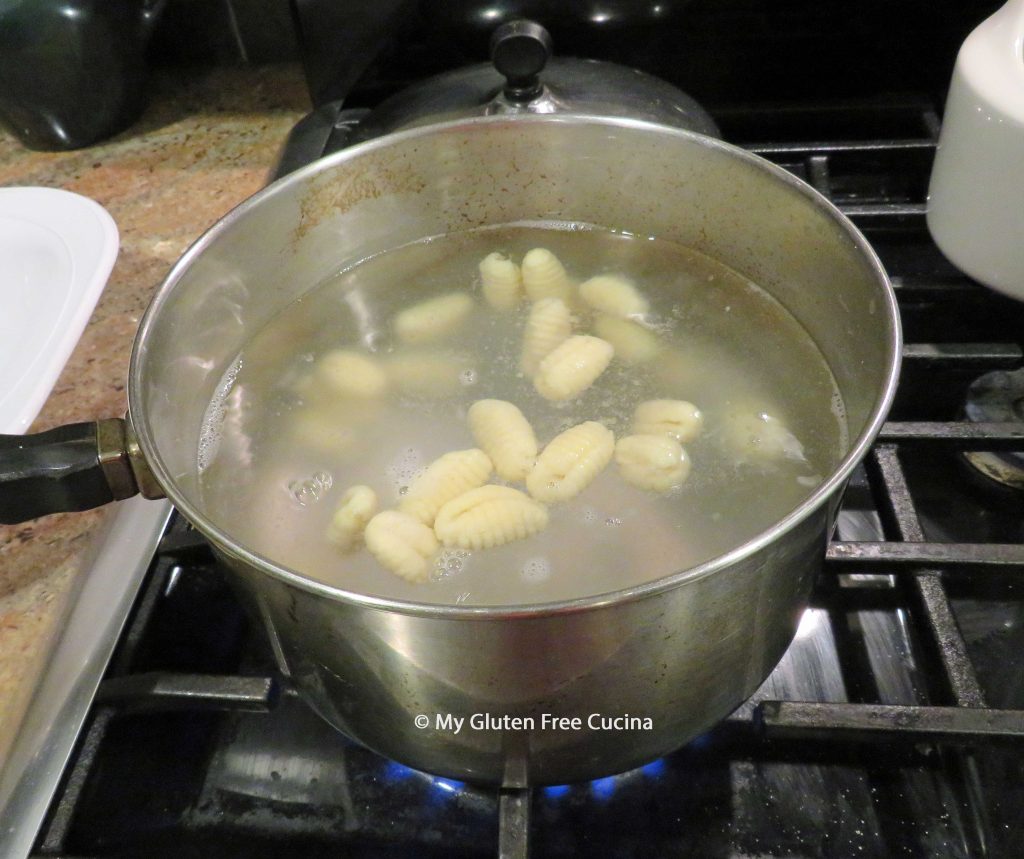
Tip: Keep a pot of boiling water going as you make the gnocchi, and throw a few in.  When they float to the top, taste them.  Are they too mushy?  Add more flour to the dough.
Ingredients:

  • 10 oz. white sweet potato, peeled and cubed
  • 2 large eggs
  • 5 tbsp. cassava flour
  • 2 tbsp. arrowroot starch
  • 1/4 tsp. salt
  • 1/2 tsp. xanthan gum
  • additional 1 cup cassava flour for kneading and rolling
Preparation:

Steam the peeled potato for 30 minutes or until very soft.  Cool to room temperature (important, so you don’t cook the eggs!).

In the bowl of a stand mixer, combine the cooled potato with the eggs.
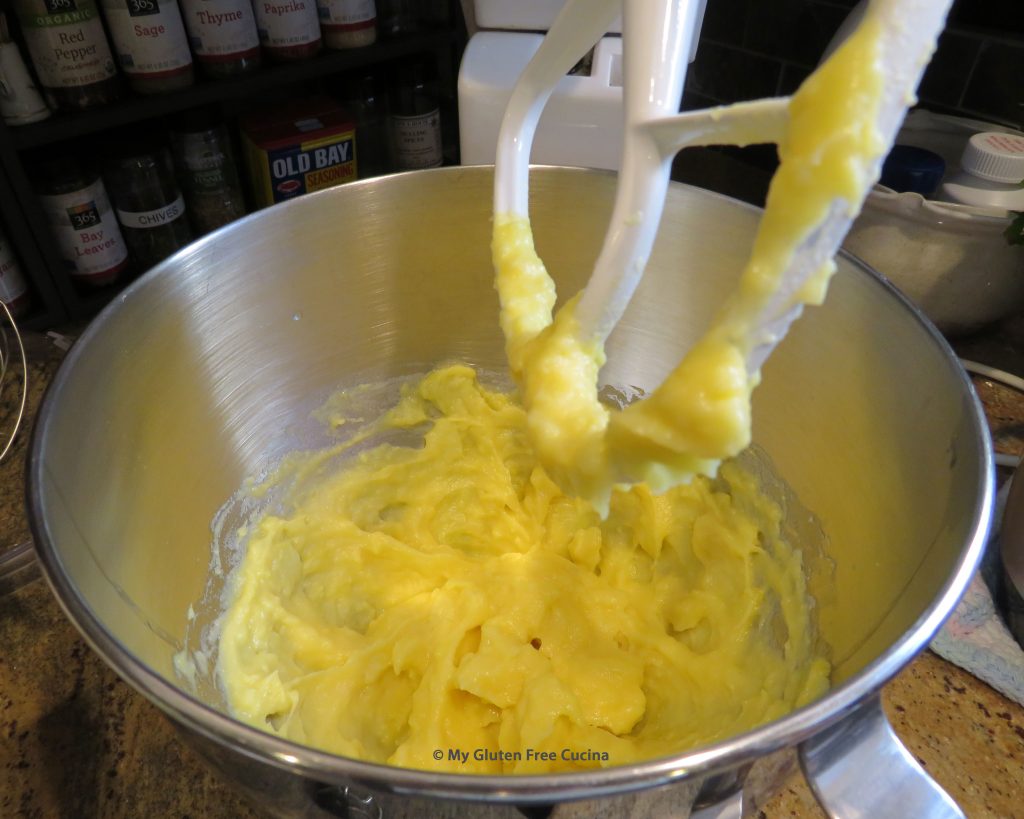
Add the remainder of ingredients through xanthan gum to form a sticky dough.
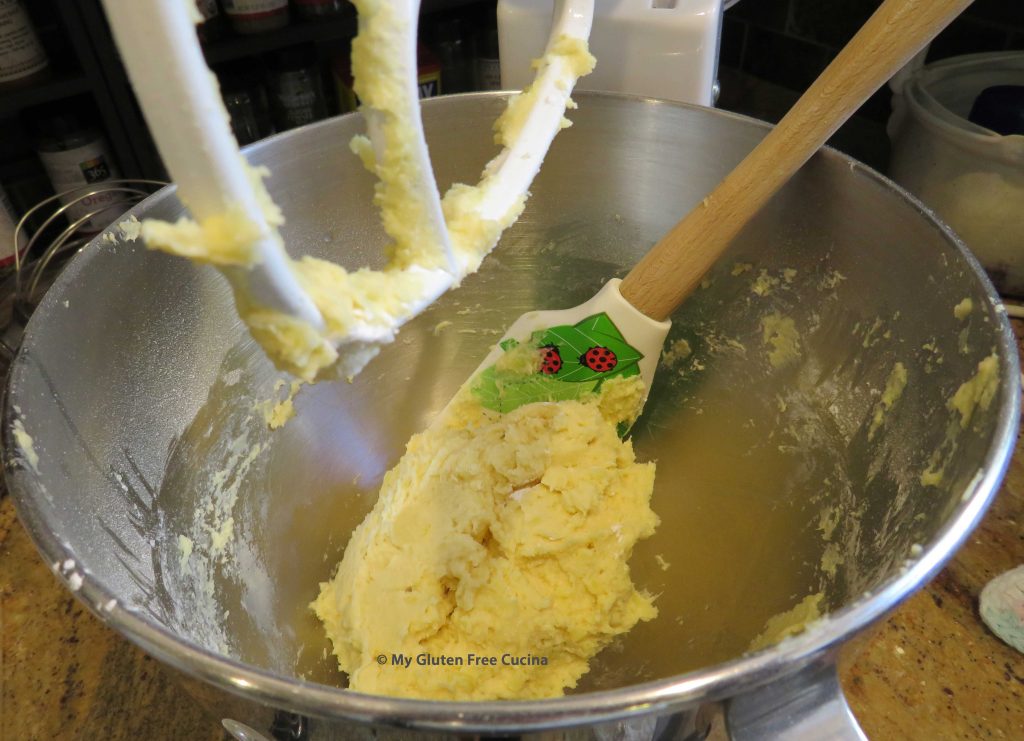
Generously flour a cutting board with cassava flour and knead the flour into the dough until you can easily handle it and it doesn’t feel tacky.  Reserve any extra flour for rolling.
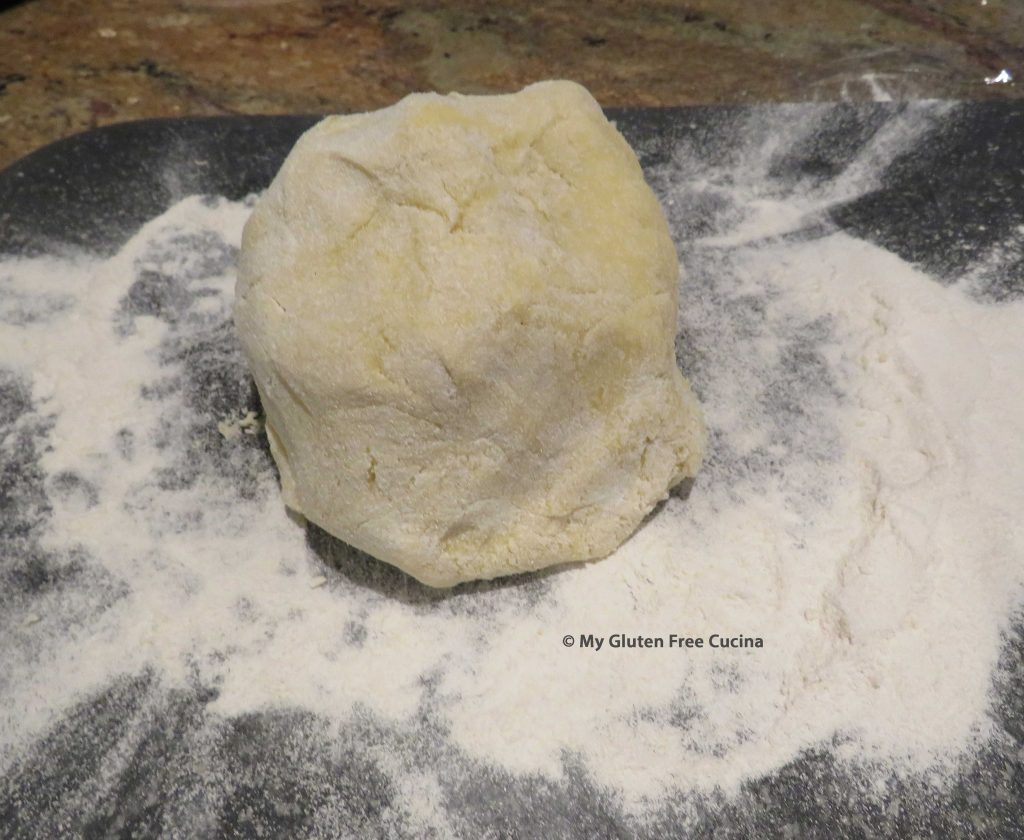
Wrap the dough in plastic wrap and rest for 10 minutes.  This allows the flour to absorb more of the moisture.
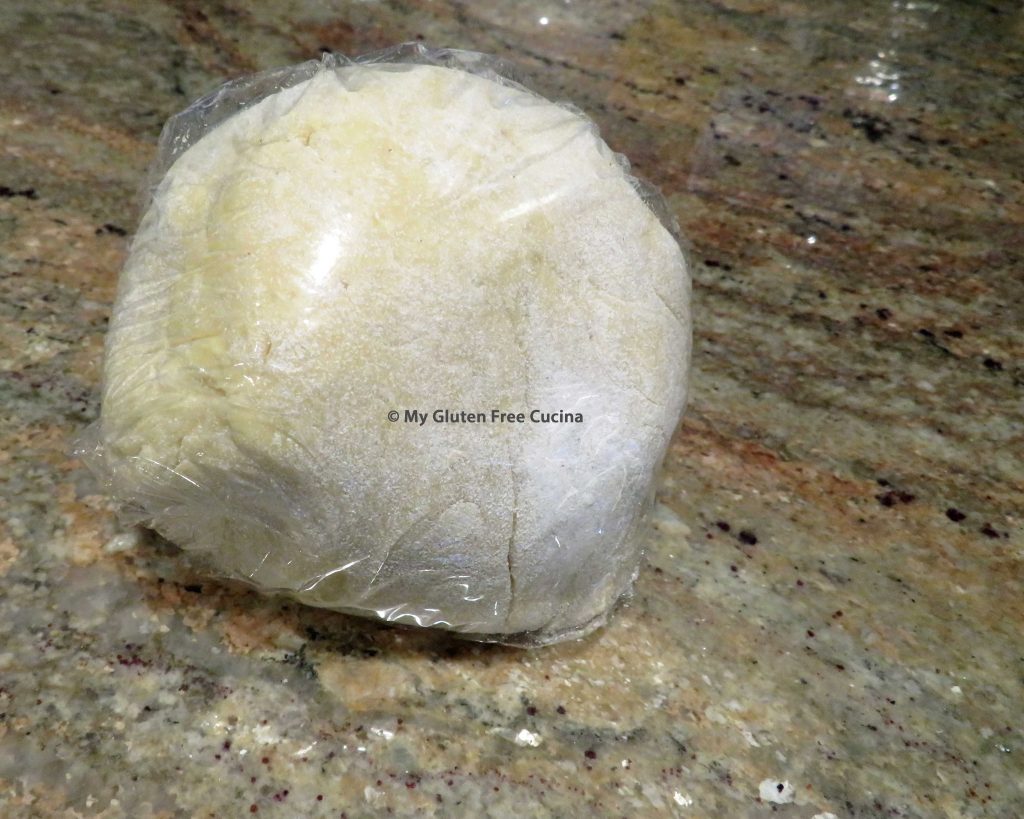
Divide the dough into 4 sections.  Work with one section at a time, keeping the rest covered so that it doesn’t dry out.

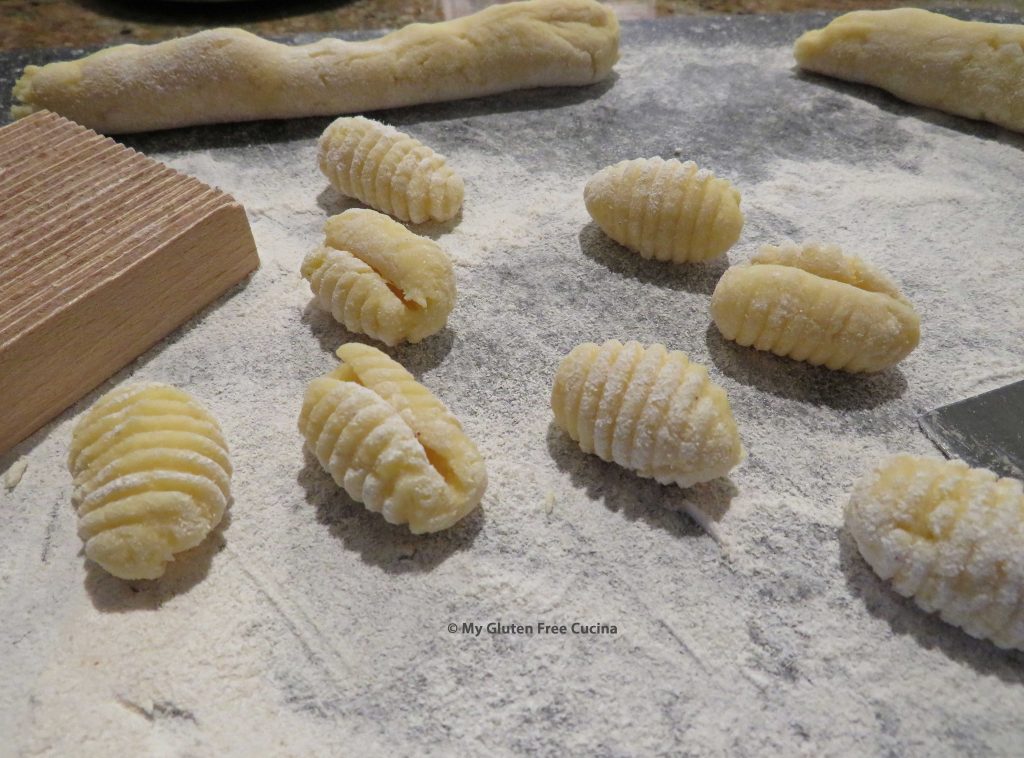
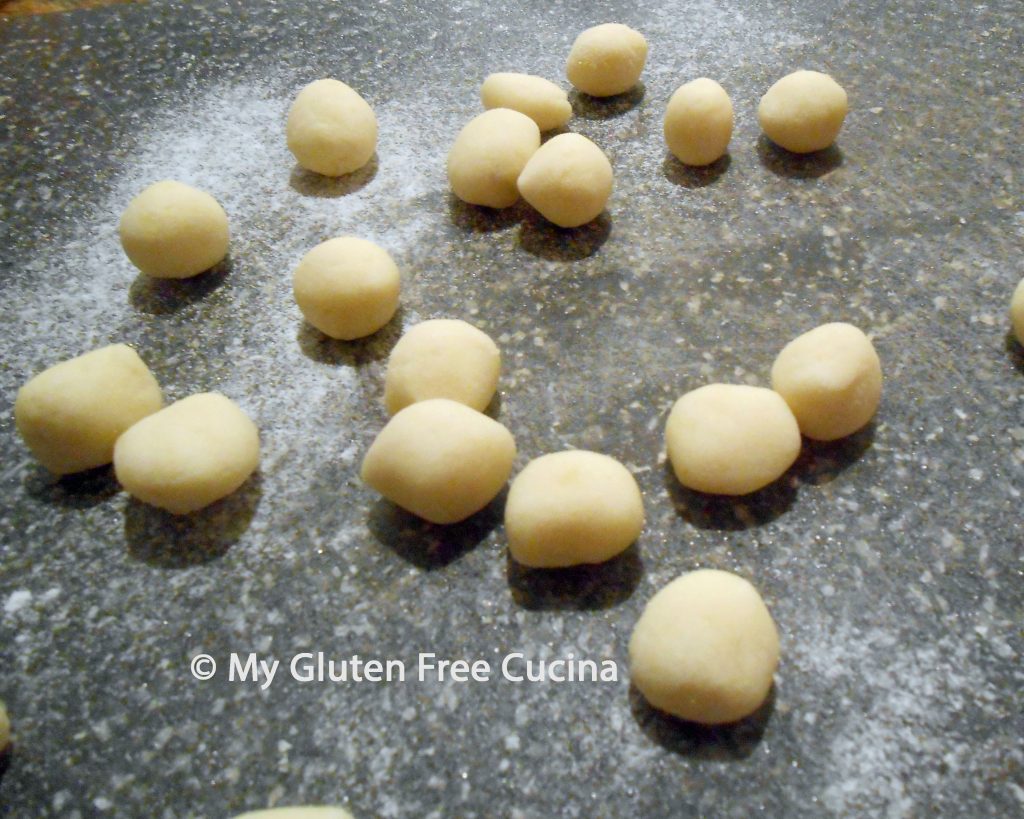
Roll the dough into a long rope, about 3/4″ thick.  Use a bench knife to cut the rope into 1/2″ pieces.
Flour your hands and roll each piece into a ball.
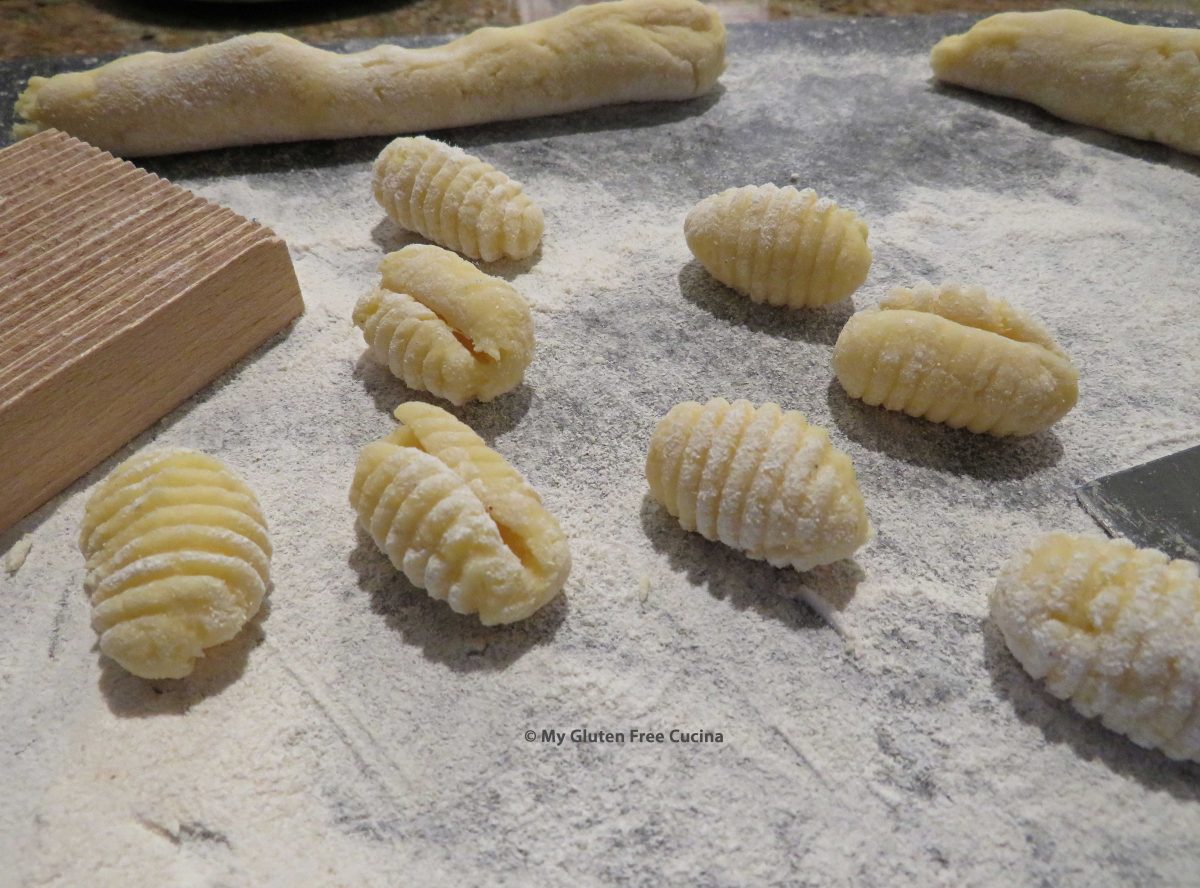
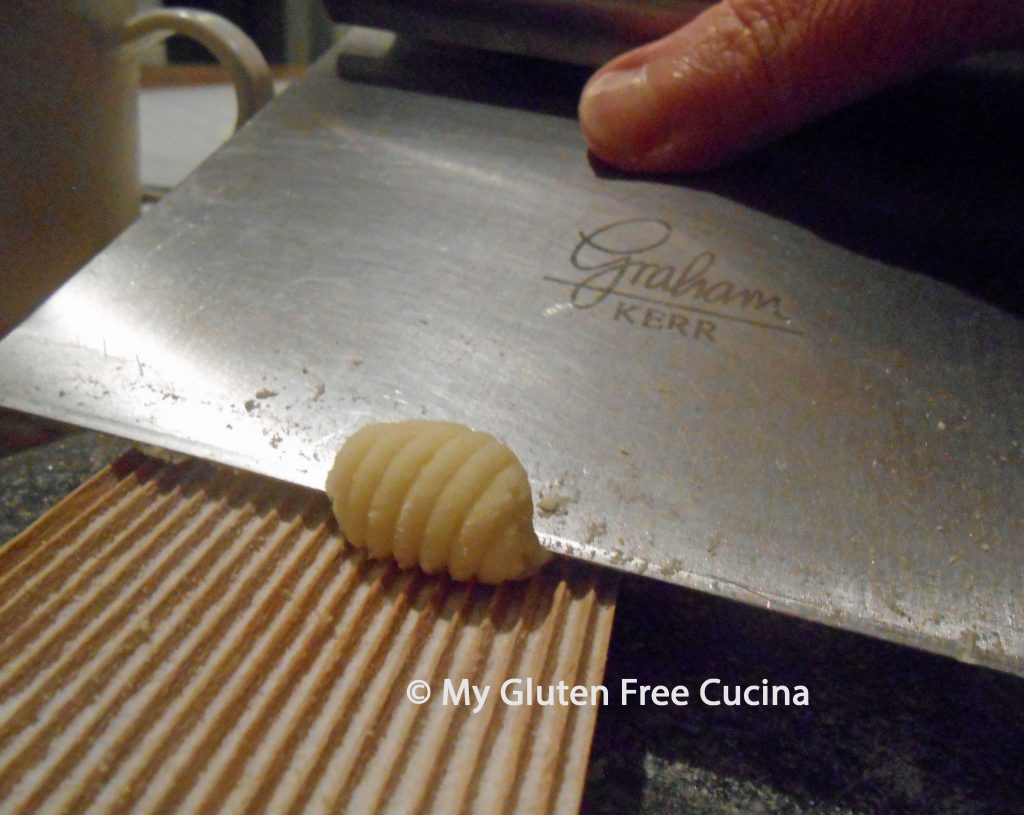
I used a bench knife to roll each piece over a gnocchi board.  You can also use a fork.
Always follow food safety guidelines!  Pasta made with eggs should be covered and refrigerated within one hour.

When ready to cook, boil a large pot of salted water.  Add the pasta and cook for about 3 minutes.  They are done when they float to the top.
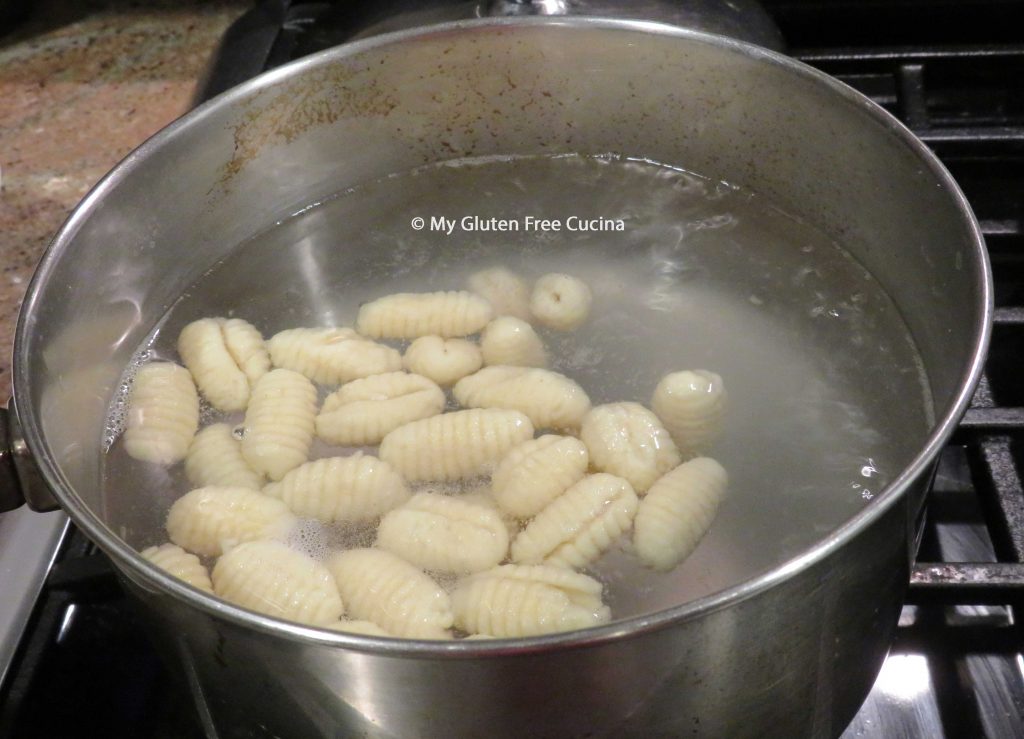
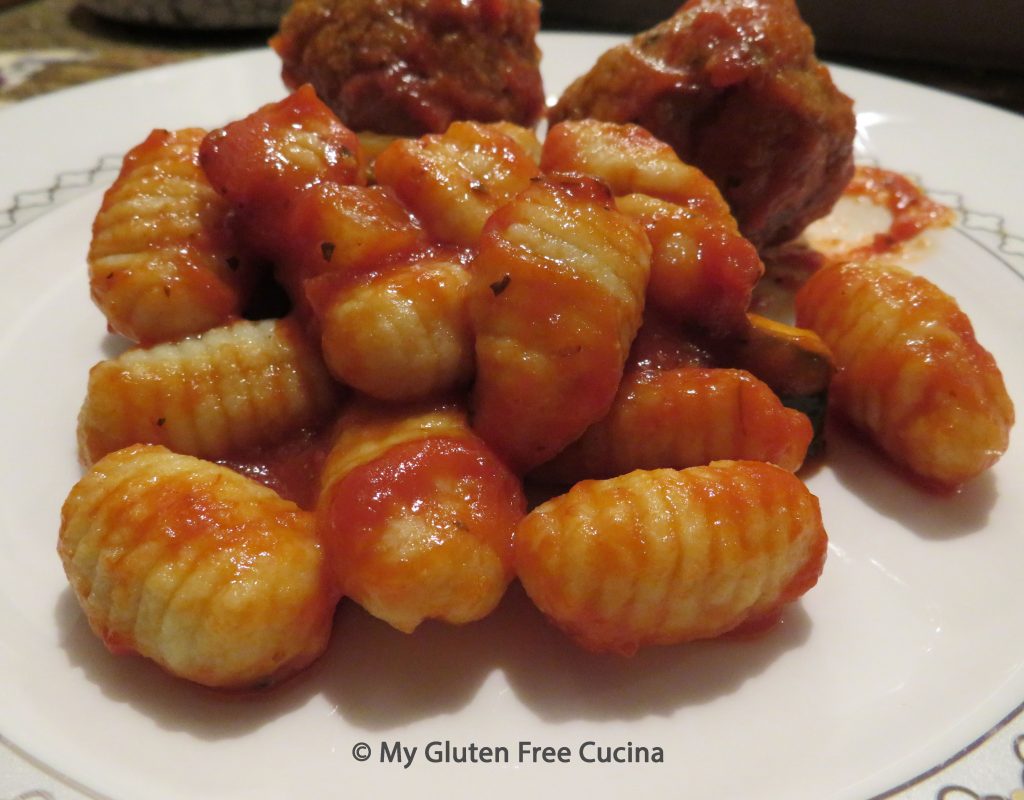
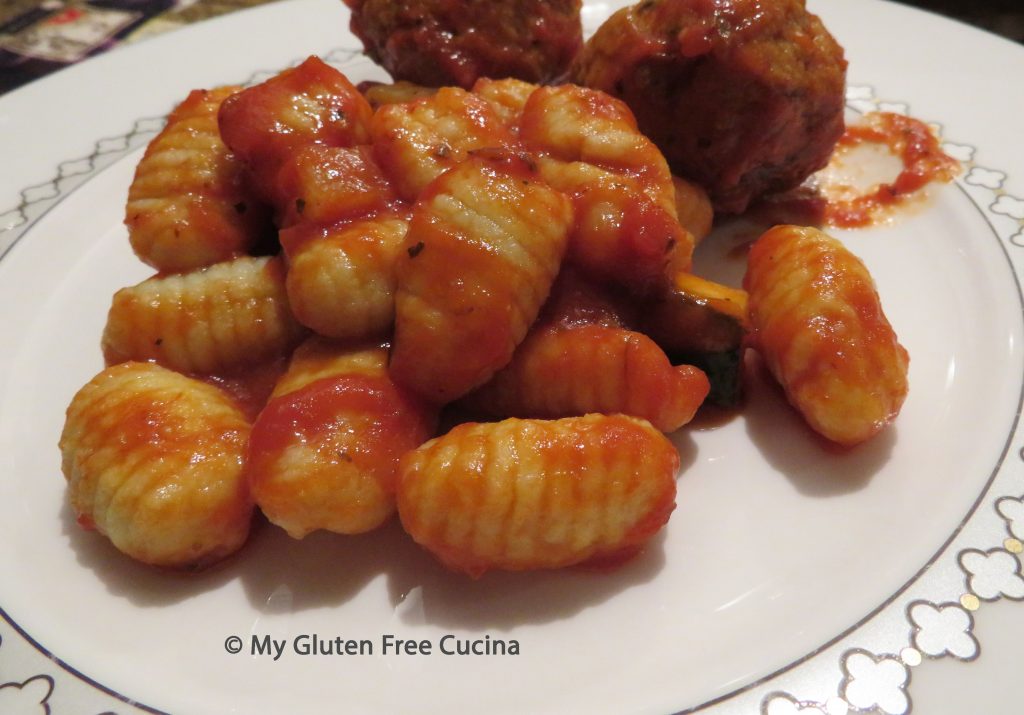
Skim them out gently with a spider strainer and top with sauce.
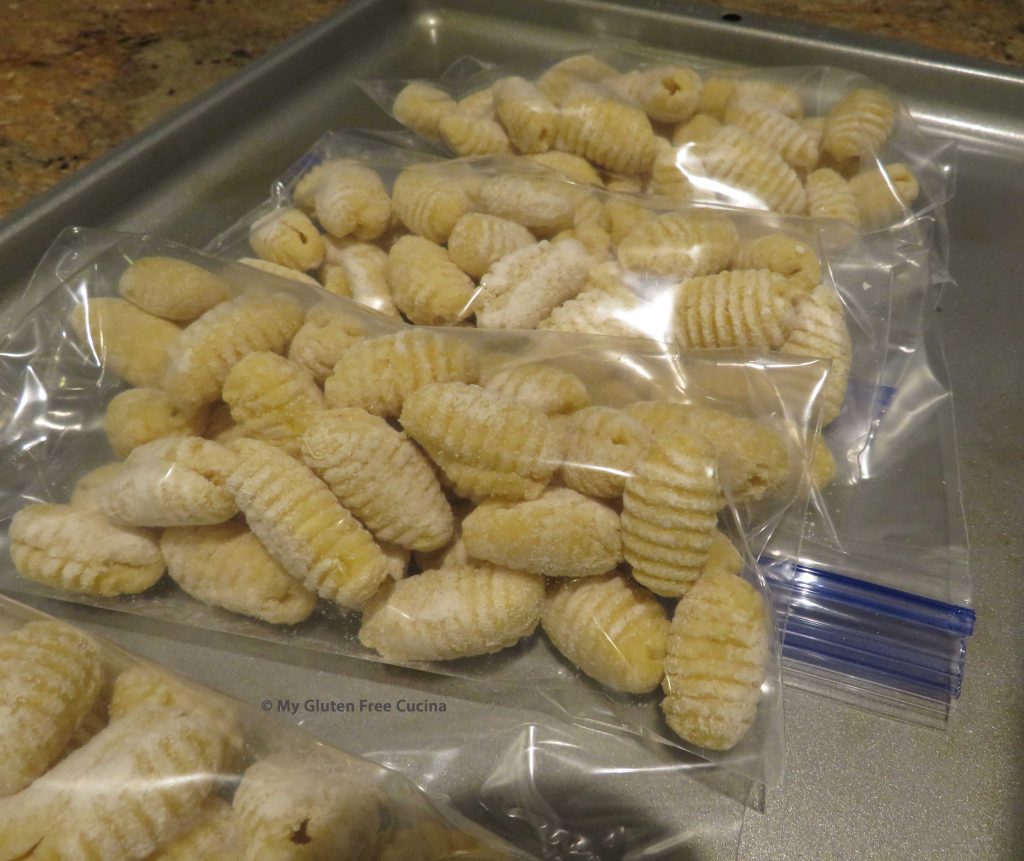
Notes: ♪♫ If you would like to freeze some for another meal, place the tray in the freezer for an hour then transfer to freezer safe bags.

[print_link]
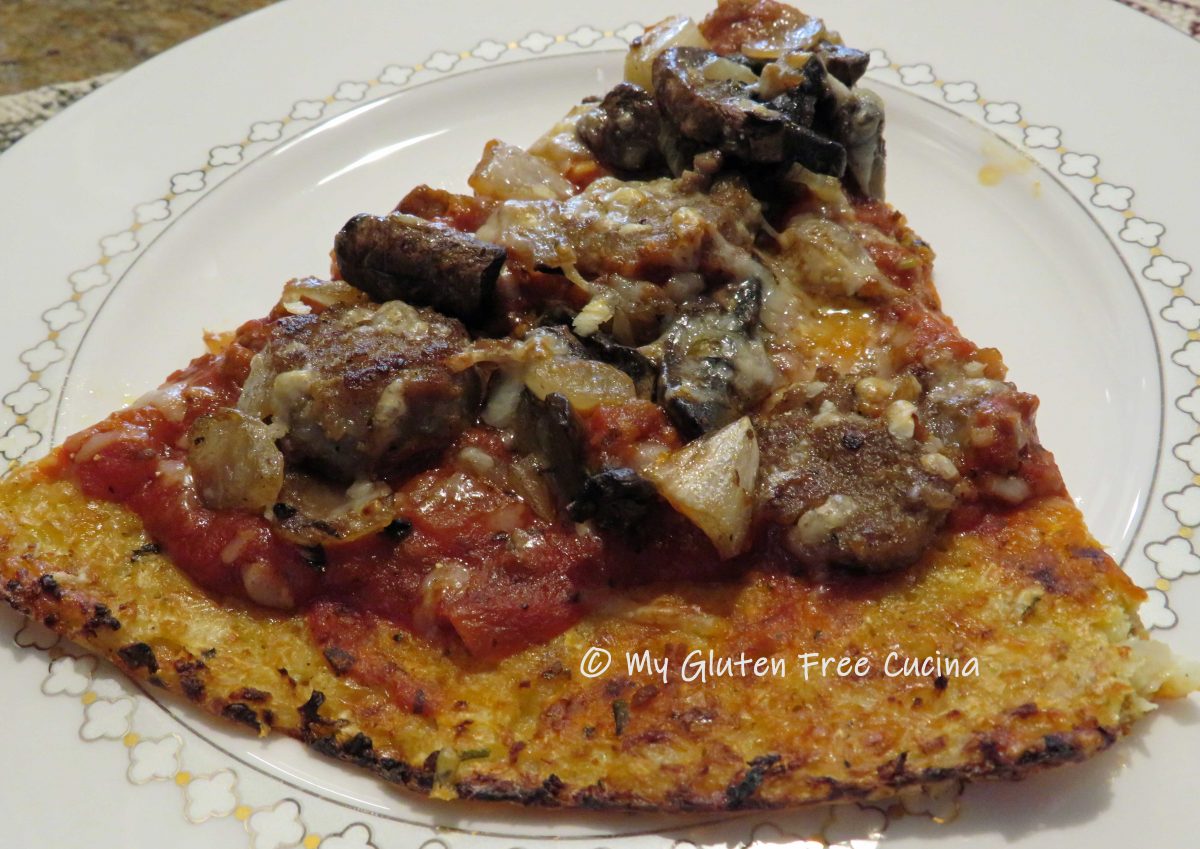
 

Sausage and Mushroom Pizza with a Cauliflower Crust

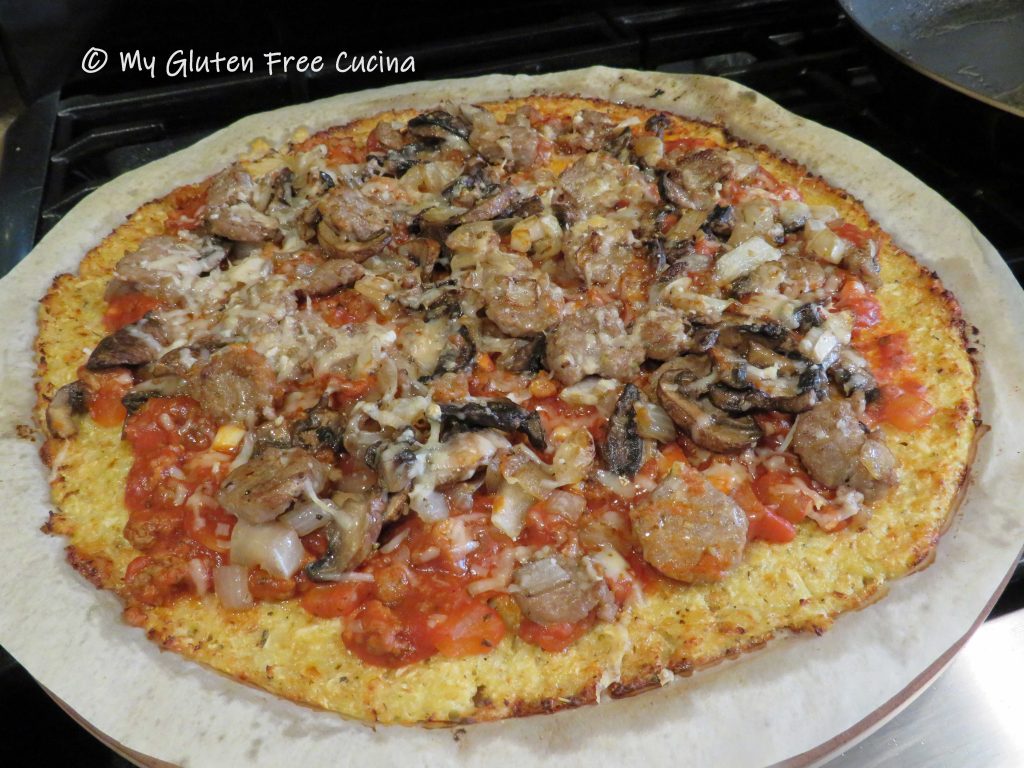
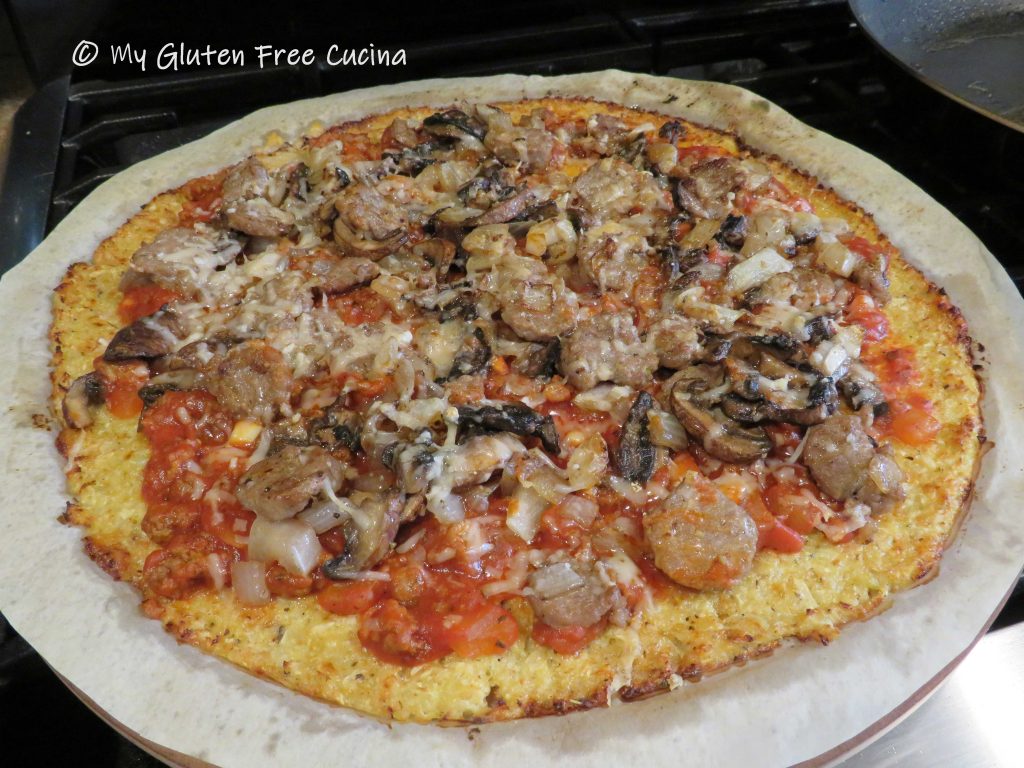
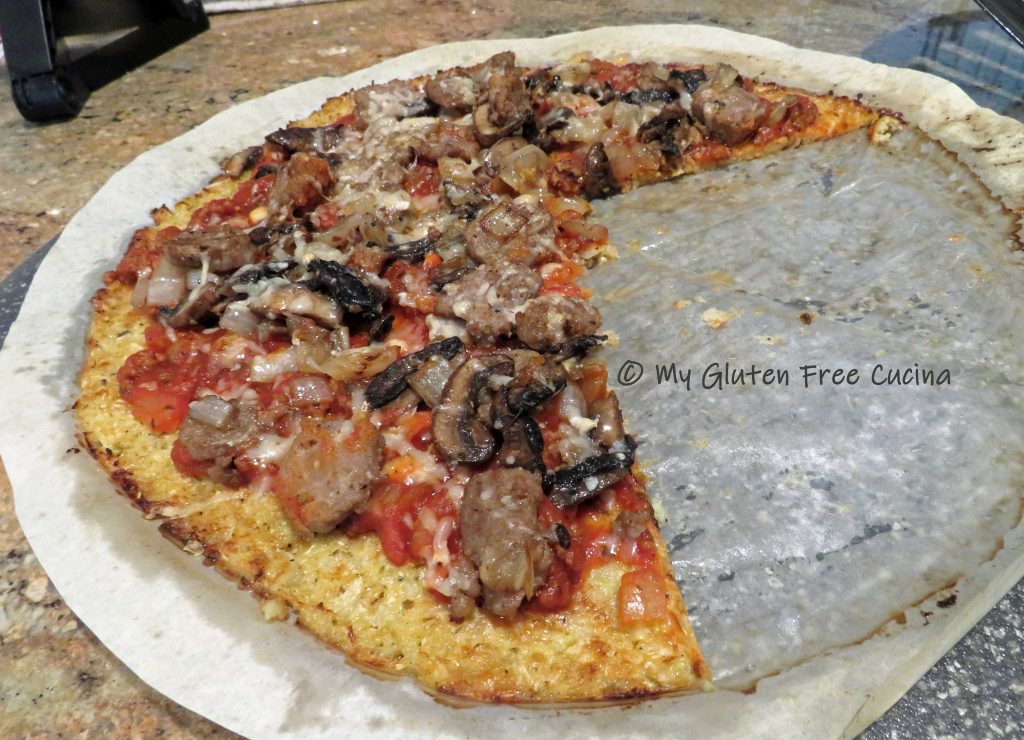
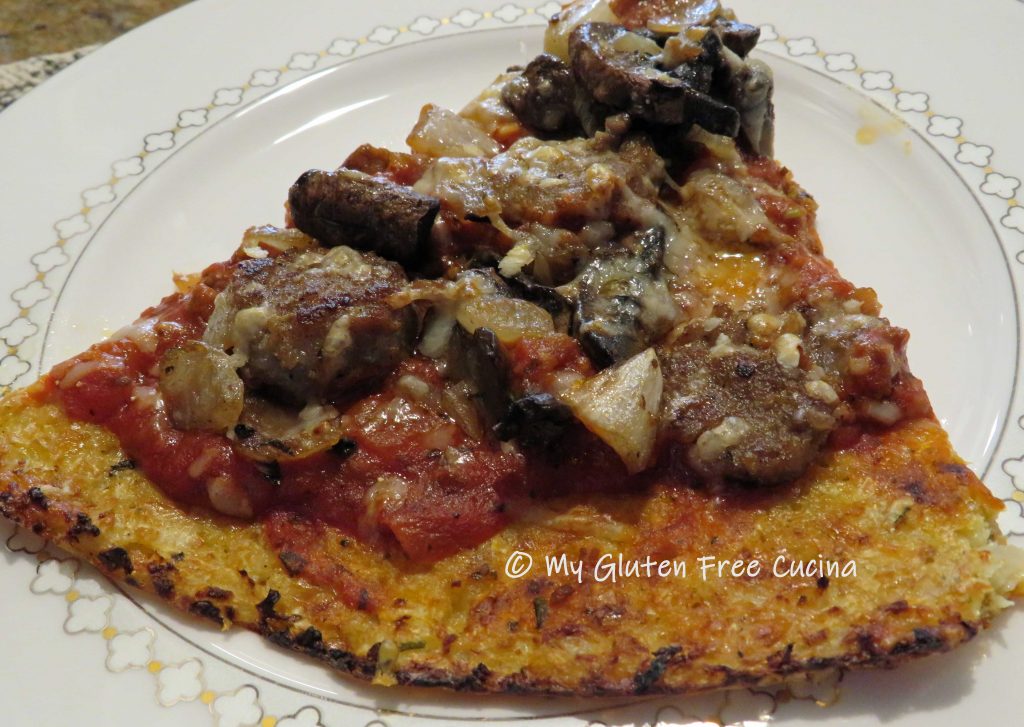
Tonight I made a gluten free and grain free pizza with a cauliflower crust.  If you have never had a cauliflower pizza crust you will be amazed at how tasty it is, and without the grain you won’t be left with that overly stuffed feeling!  The most important thing you need to know about this pizza is that the crust and the toppings are cooked separately.  Only at the end are they assembled and finished together.  This pizza features my favorite Italian style toppings, sausage and mushroom!

As a main course, one pizza will be enough to serve 3 (2 slices each).

Ingredients:

  • 4 cups grated cauliflower
  • 2 tbsp. olive oil
  • salt and pepper to taste
  • 1 tsp. gluten free Italian Seasoning, divided
  • 1 cup Gruyere cheese, grated
  • 1 large egg
  • 6 oz. gluten free sweet Italian sausage, cut into coins
  • 1/2 sweet onion, diced
  • 8 crimini (baby bella) mushrooms, sliced
  • 1/3 cup sauce (use leftover from another meal or jar sauce)
  • 1/3 cup Parmesan cheese, grated
The Lazy Gastronome

Preparation:

Pulse the cauliflower in a food processor or mini chopper and measure 4 cups.  Do the same with the Gruyere cheese, you will need 1 cup.

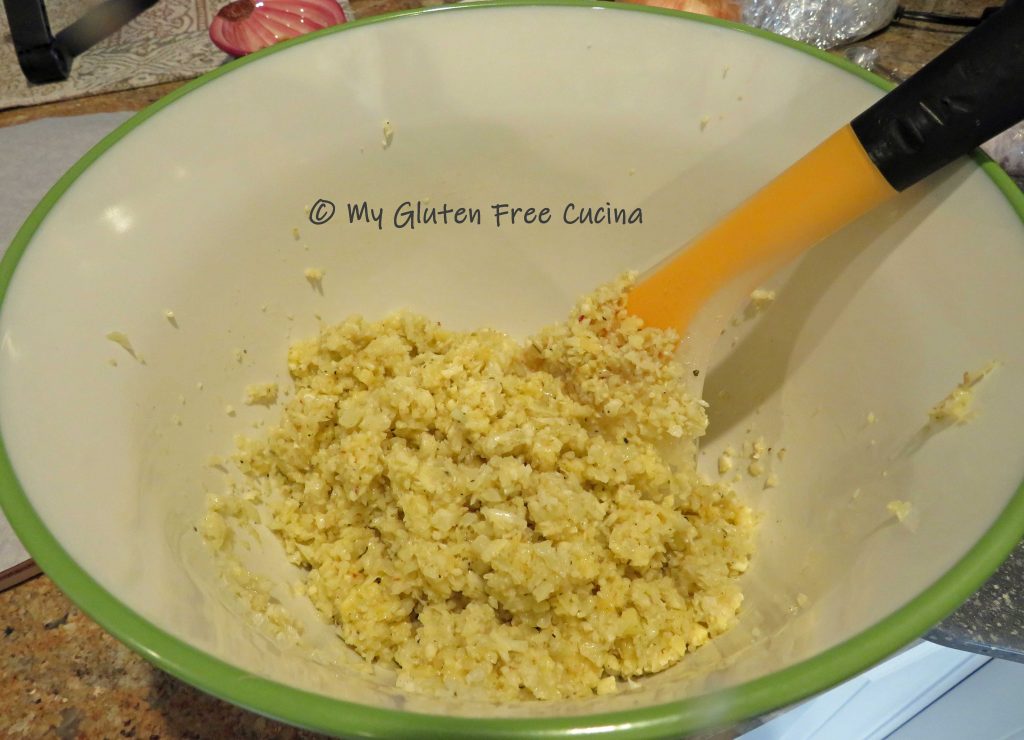
Heat 2 tbsp. olive oil in a large nonstick skillet, and cook the cauliflower for about 3 minutes, stirring frequently.  Season with salt, pepper and 1/2 tsp. Italian seasoning.  When finished, transfer the cauliflower to a bowl and cool to room temperature (you don’t want the egg to cook).  To speed things up you can place it in the fridge for 20 minutes.

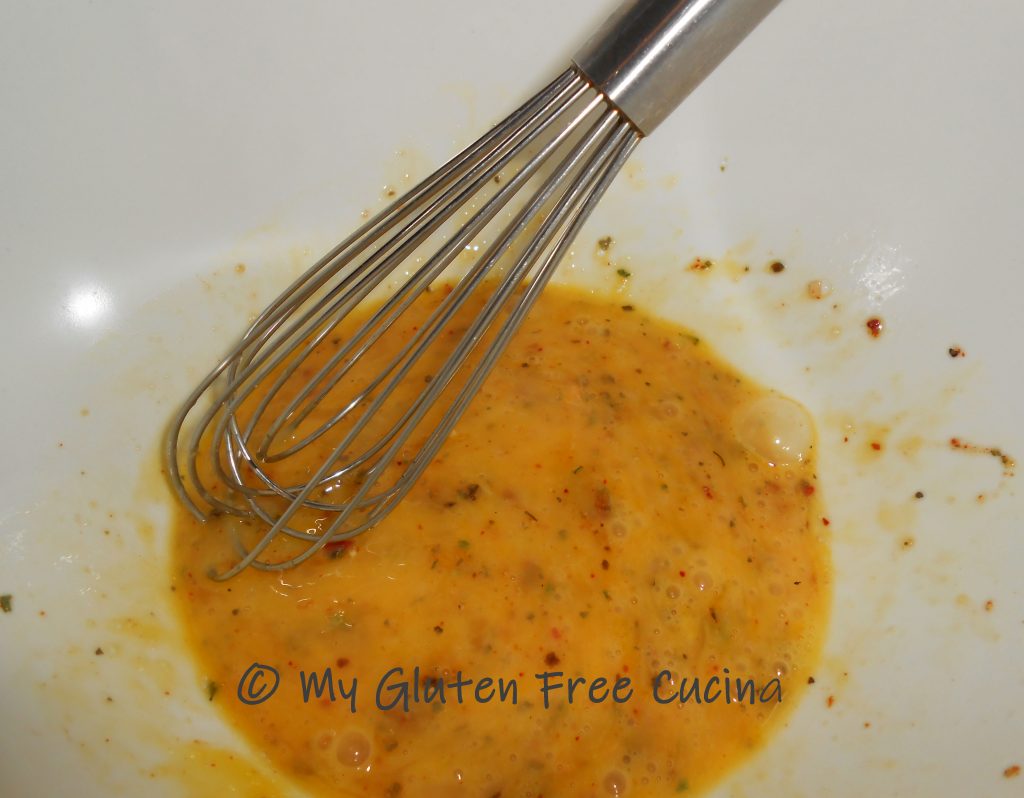
When the cauliflower has cooled, beat the egg, 1/2 tsp. Italian seasoning and the grated Gruyere cheese.  Stir in the cooled cauliflower until thoroughly combined.

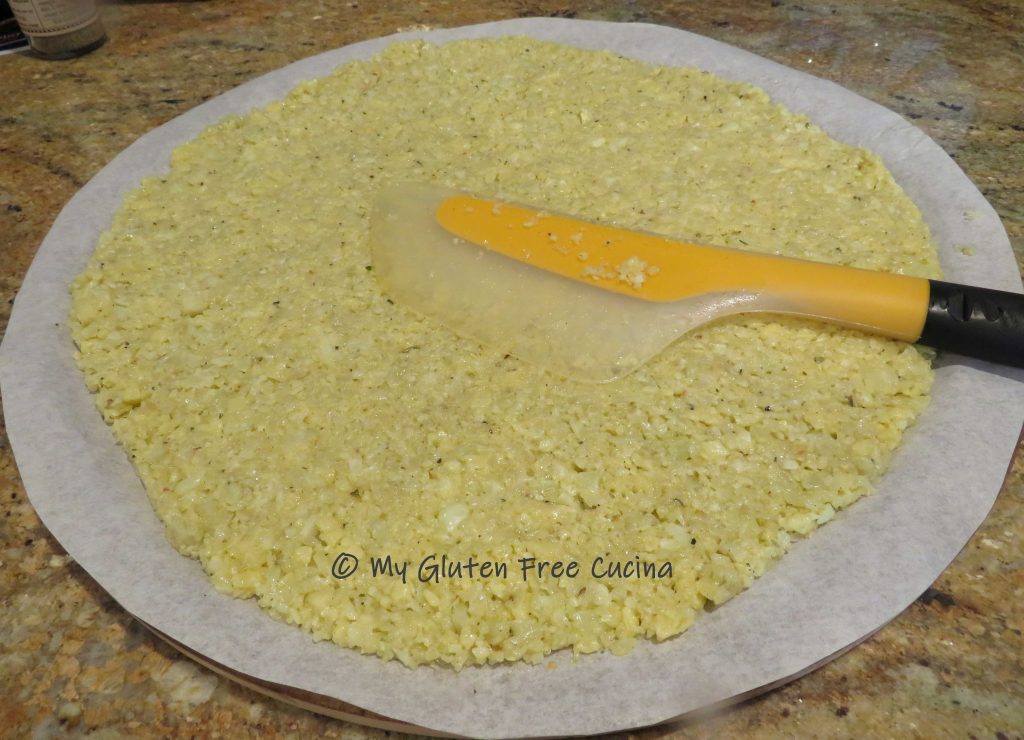
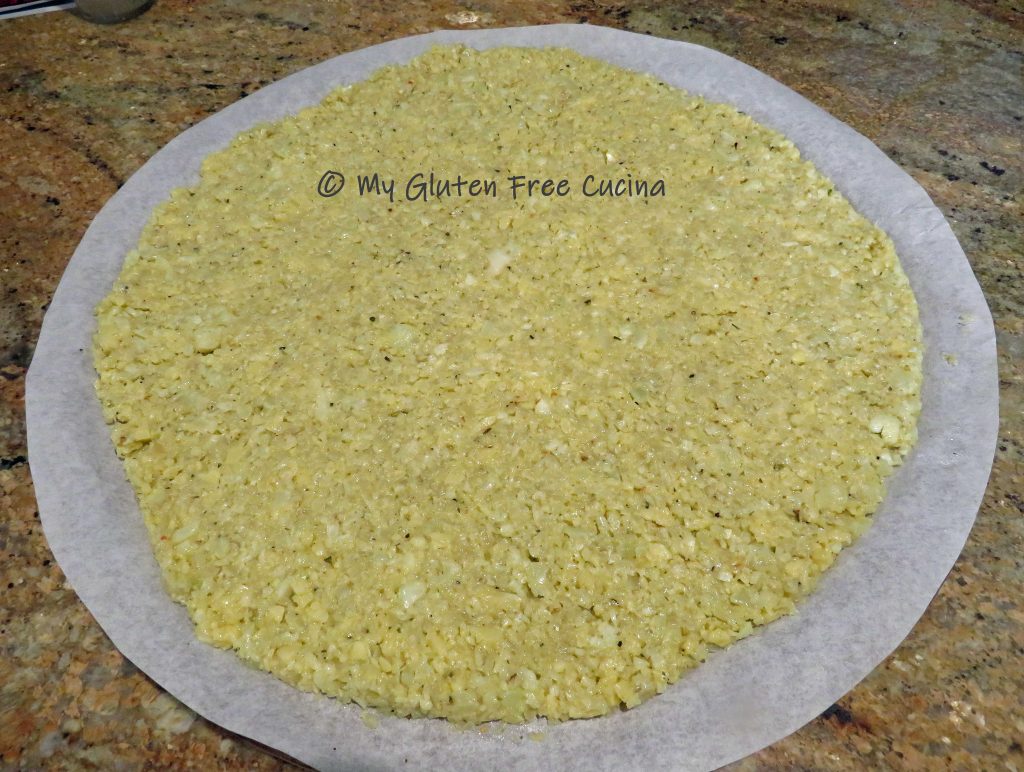
Trace a large sheet of parchment to fit a pizza stone, and turn out the cauliflower mixture onto the parchment.

Use a wide spatula to spread the cauliflower in an even 1/2″ layer and neaten up the edges.  This spatula from Oxo was designed for flipping eggs, but I find it is the perfect tool for smoothing out the cauliflower.

Bake the crust for 20 minutes at 400º, then finish under the broiler for 3 minutes on high.  Here is the baked crust, golden and crisp around the edges.  Brush it lightly with olive oil.

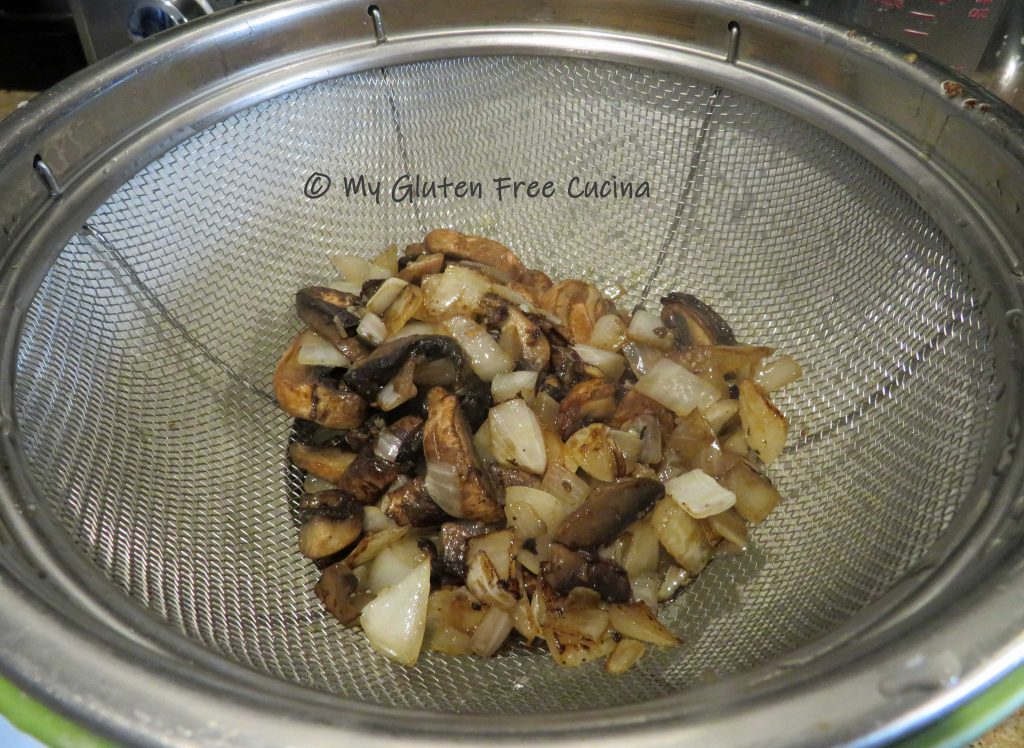
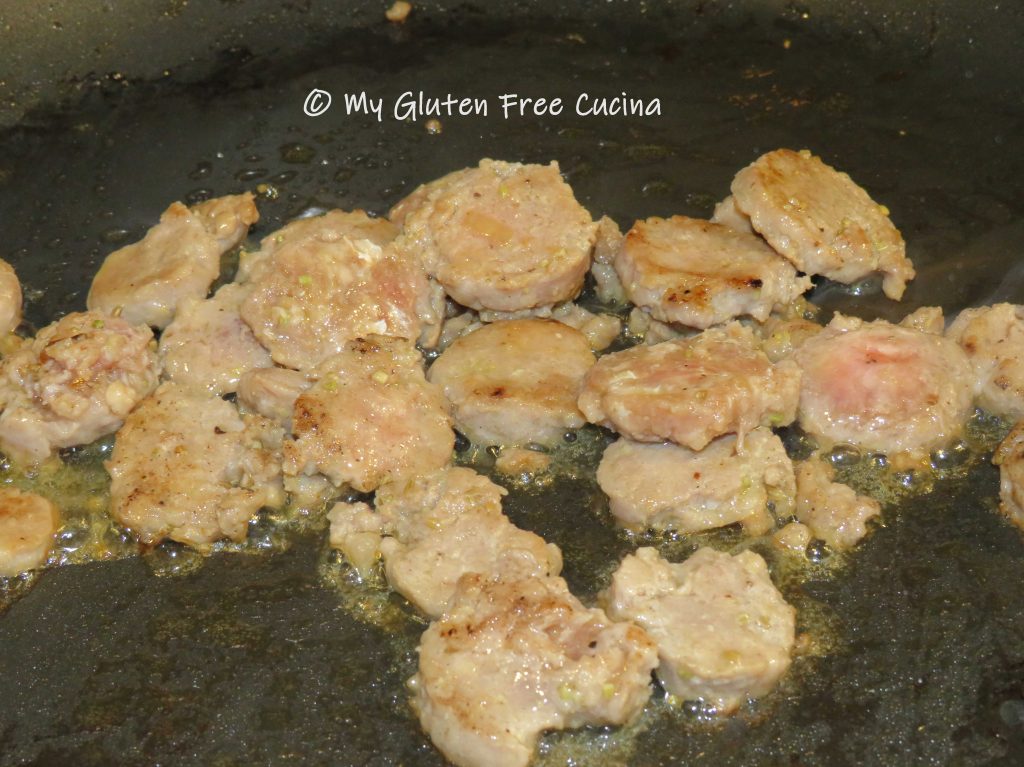
While the crust is baking, cook the toppings in the same skillet with a little olive oil and remaining 1/2 tsp. Italian seasoning.  Remember, all toppings must be cooked through completely.  Drain the toppings after cooking, so they don’t weigh down the crust or make it soggy.

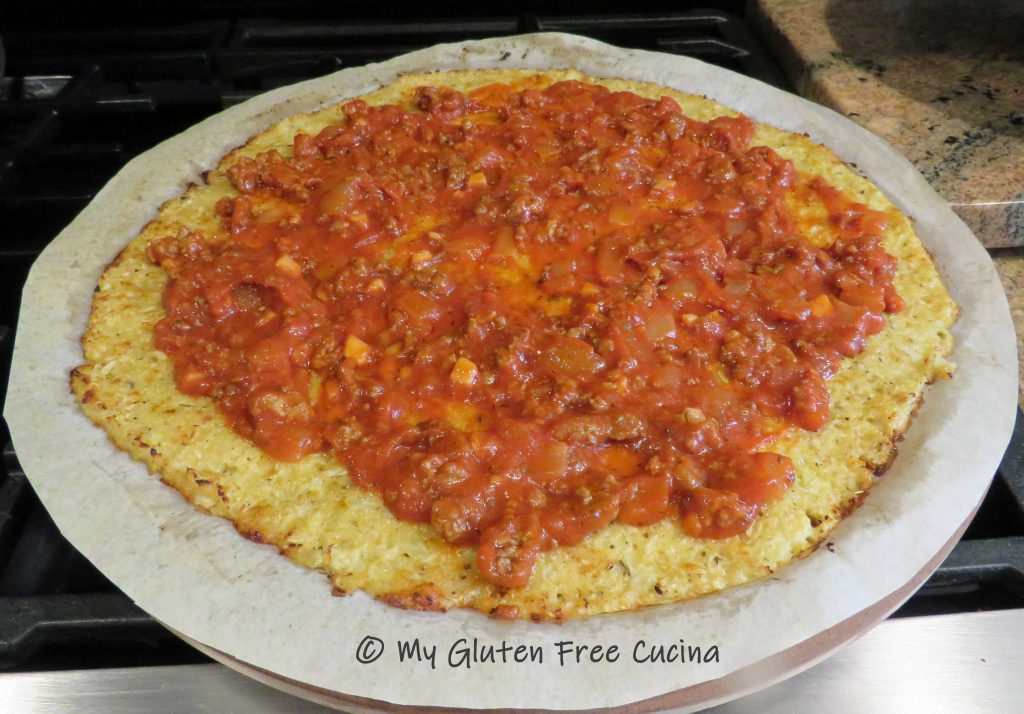
Spread the crust lightly with sauce, and add toppings in an even layer.

Finish with Parmesan cheese and broil for 3 minutes on high.

Grab the edge of the parchment and carefully slide the pizza onto a cutting board.  Slice into wedges and use a thin spatula to lift and serve.

Notes: ♪♫  If you enjoyed this post, be sure to check out my Cauliflower Pizza with BBQ Chicken, another gluten free and grain free favorite!

[print_link]


Gluten Free Spaghetti and Meatballs

Growing up in an Italian family I have fond memories of our Sunday dinners with my parents, grandparents, my sister and I.  There was always a huge pot of sauce on the stove with meatballs, sausage, sometimes a roast or even bracciole.  My mother made her “gravy” in a huge Farberware pot, and froze the leftovers, enough for several more meals.  Then, on Wednesday we would have spaghetti with leftover meatballs and sauce for an easy weeknight meal.

Today, over 50 years later I still love a Spaghetti and Meatball dinner.  At first it was a struggle to make my meatballs gluten free.  I had a foolproof recipe my entire adult life and thought that I could just swap out the breadcrumbs.  The result was a mushy mess.  So, I had to reinvent my Italian meatballs to a new and improved gluten free version.

If your gluten free meatballs are too mushy and fall apart in the sauce, try this recipe.  You will have perfect meatballs every time and no one will know they are gluten free!  Double or triple the recipe for a large family.

*This recipe contains oats (see notes)

4 Servings

This post contains affiliate links.

Ingredients:

Preparation:

Whisk together the egg and the Italian seasoning.

Add 1/4 cup tomato sauce, the ground beef and sausage followed by the breadcrumbs, potato flakes and rolled oats.  Mix thoroughly (use your hands).

Line a baking sheet with aluminum foil and coat lightly with cooking spray.  Form 9 meatballs and arrange them on the baking sheet, leaving space in between.  Broil on high for 4-5 minutes on each side, turning once.  Remove from the oven and let them rest at room temperature while you make the sauce.  This will allow the meatballs to set up and hold together.

Heat the marinara sauce in a deep skillet or braising pan.  Add the meatballs to the sauce 15-20 minutes before serving.  Keep warm but do not allow the sauce to come to a boil.

Serve with your favorite gluten free pasta and grated cheese.  With so many brands of gluten free pasta, you have quite a few options to choose from.  Rumo and Jovial are two of my favorites.

Notes ♪♫ A word about oats- as you are undoubtedly aware, oats continue to be controversial as far as being safe for those with Celiac disease.  Whether or not you consume oats is a personal choice.  I personally still include oats in my diet, provided they are certified gluten free and purity protocol.  Uncle Crumbles (formerly Bakery on Main) is the brand that I currently use.   


[print_link]
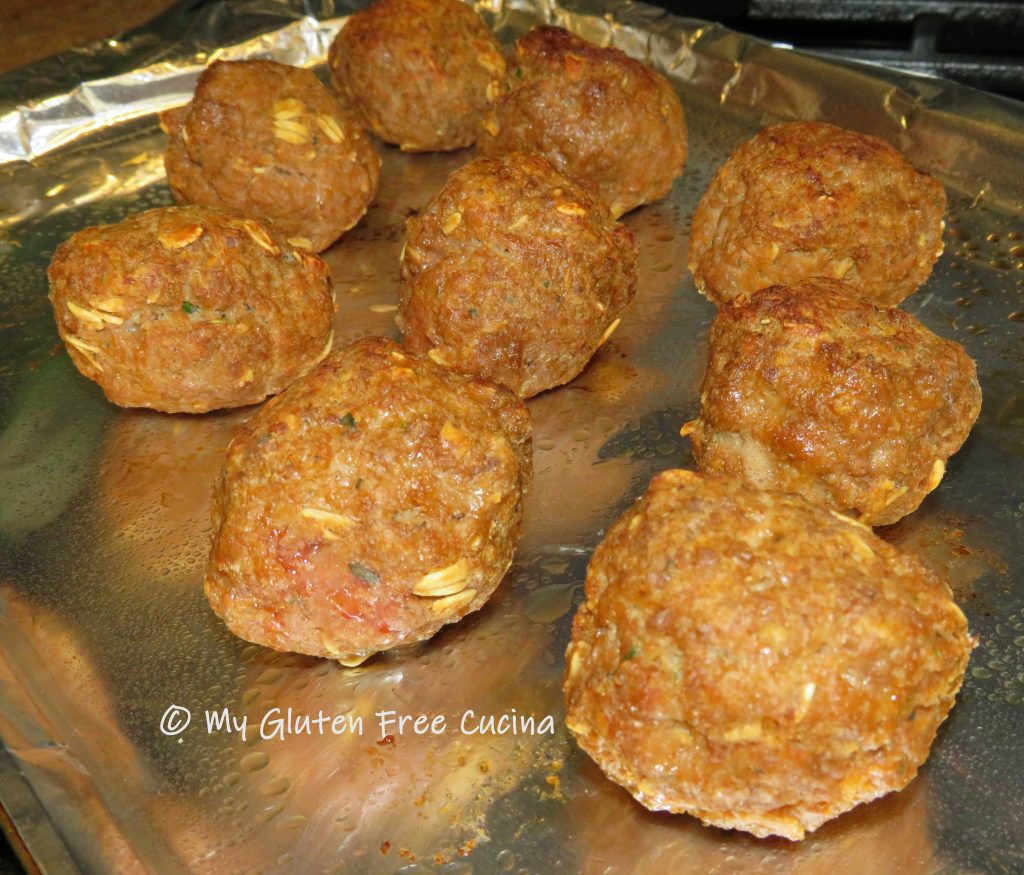
 

Paella

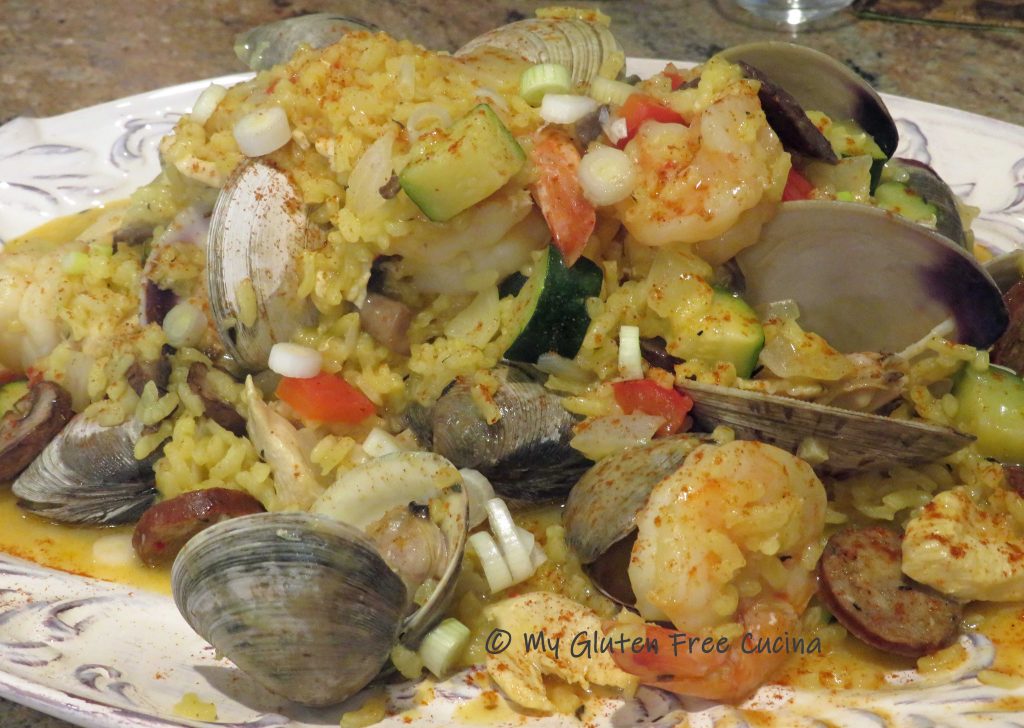
Paella is a restaurant favorite of mine.  The blend of color, flavor and aroma in this Valencian rice dish is wonderful!  You may be thinking it would be difficult to recreate this magnificent meal at home, but it really isn’t.

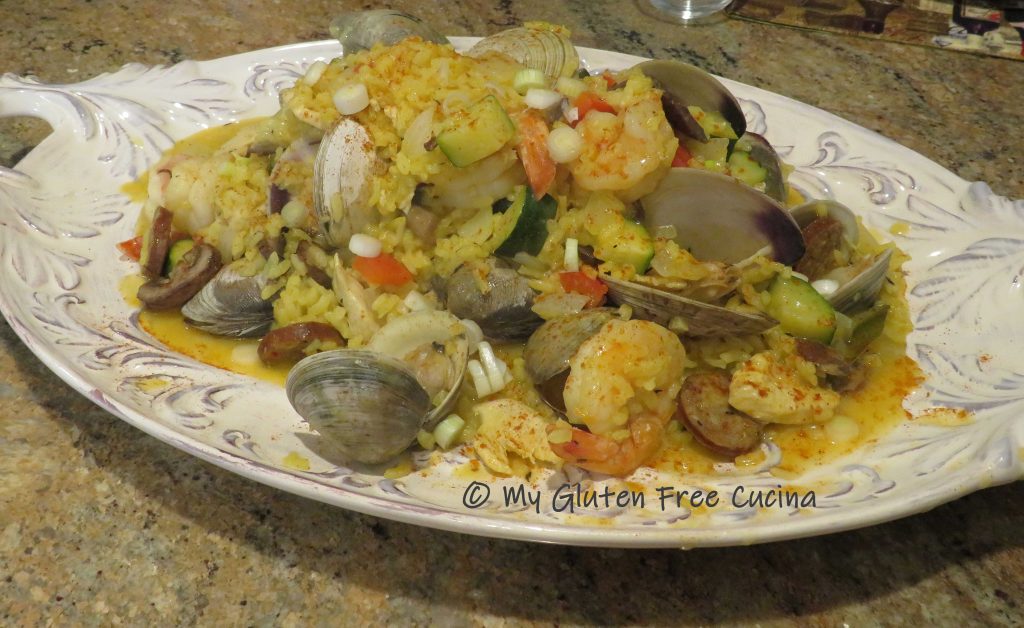
Today I made Paella for the first time since my Celiac diagnosis, almost 3 years ago!  Afterward I thought, what have I been waiting for?  Most of the ingredients are naturally gluten free!  Follow my step by step instructions and serve this up for your family tonight.  You do not need a paella pan, a large nonstick skillet will do the trick!  The most time consuming part of this meal is the prep.  Once you start cooking it will come together in about 30 minutes.

4 servings

Ingredients:

  • 1 tbsp. butter
  • 1 tbsp. olive oil
  • 1 cup Arborio rice
  • 1/2 cup white wine
  • 32 oz. carton gluten free, low sodium chicken broth
  • salt
  • red pepper flakes
  • 1/2 tsp. thyme
  • 2 bay leaves
  • paprika
  • big pinch of saffron
  • 2 garlic cloves, minced
  • 4 oz. gluten free Andouille sausage, sliced into coins
  • 6 oz. chicken breast, sliced into thin medallions
  • 1 cup baby bella mushrooms
  • 1 cup zucchini
  • 1/2 cup sweet onion, diced
  • 1/2 cup red bell pepper, diced
  • 8 jumbo shrimp
  • 15 small to medium clams
  • butter
  • 2 tbsp. scallions (for garnish)

Preparation:

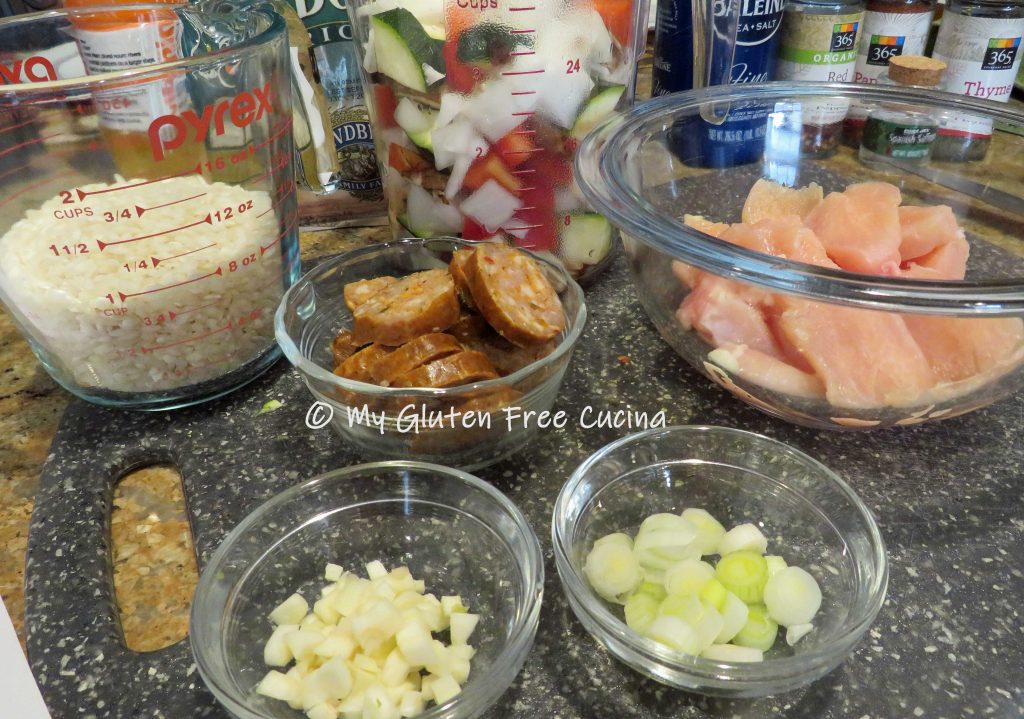
Mise en place is a French culinary phrase which means “putting in place” or “everything in its place”.  This simple process of gathering and arranging ingredients, cookware and tools before you begin is the secret to preparing recipes like Paella.  So line up your pantry ingredients, dice the veggies, slice the meat and clean the fish before you start cooking!

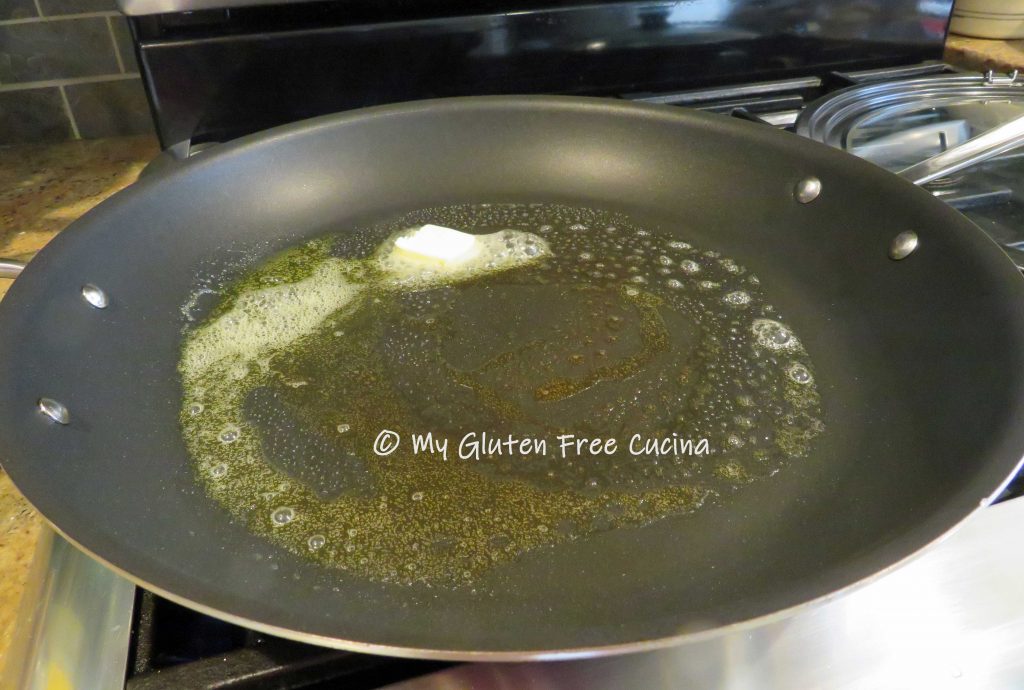
The rice goes in first, to allow for the necessary cook time.  Add butter and oil to a large nonstick skillet (mine is 14″) over medium low heat.  Brush or swirl it around to coat.

Add the rice, bay leaf, thyme, garlic and pinch of red pepper flakes.  Stir to coat the rice with butter then add 1/2 cup of white wine.  Stir frequently until the wine is almost evaporated.

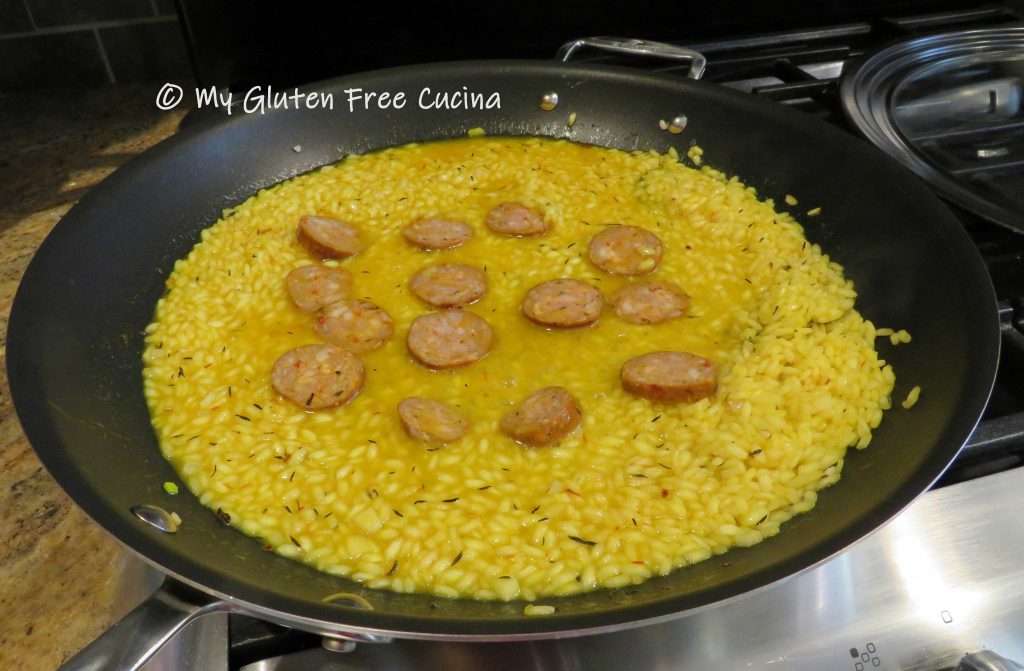
Begin ladling in the chicken broth, 1/2 cup at a time, stirring constantly.  Add a big pinch of saffron with the first ladle of broth.  Saffron is a key ingredient in Paella and will give the rice a rich flavor and golden color.

As each ladle of broth is almost absorbed, add another.  Continue doing this for about 20-25 minutes, then begin adding the other ingredients, one at a time.  First the Andouille sausage, followed by the chicken.

Next comes the zucchini, onion, pepper, and mushrooms and cook for 5-10 minutes.  Be careful not to add too much broth from this point, as the vegetables and fish will release their own liquid.

The shrimp and clams will go in last as they will only take about 6 minutes to cook.

Toss the shrimp with the rice and veggies then nestle in the clams.  Immediately close the cover and cook for about 6 minutes, or until the clams have opened (clams that don’t open should be discarded).

Finish with a pat or two of butter and don’t forget to pull out the bay leaves!

Transfer to a serving platter and garnish with scallions and more paprika.  This 5-star dinner will be a hit with the whole family, if you need to make a delicious gluten free meal that everyone will enjoy this is the one!

Notes: ♪♫  For best results, make sure your chicken broth is warm or at room temperature.  As you add each ladle of broth to the pan, you want it to heat up quickly so that the rice continues to cook evenly.  Tip, always start with a new carton of room temperature chicken broth, you won’t need the whole thing and leftovers can be saved for another recipe.


[print_link]

Oven Baked Salmon with Almonds and Pecans

When it comes to seafood, salmon is definitely one of my favorites.  Heart healthy and mild tasting, salmon can be grilled, pan cooked or baked.  This simple preparation comes together quickly, and the ingredients complement the mild sweetness of the salmon without overpowering it.  You will love it!

2 Servings

This post contains affiliate links.

Ingredients:

  • 1 lb. salmon
  • salt, to taste
  • 2 tsp. brown sugar
  • maple seasoning
  • 1 tbsp. chopped almonds
  • 1 tbsp. chopped pecans
  • 2 tbsp. butter
  • cooking spray

Preparation:

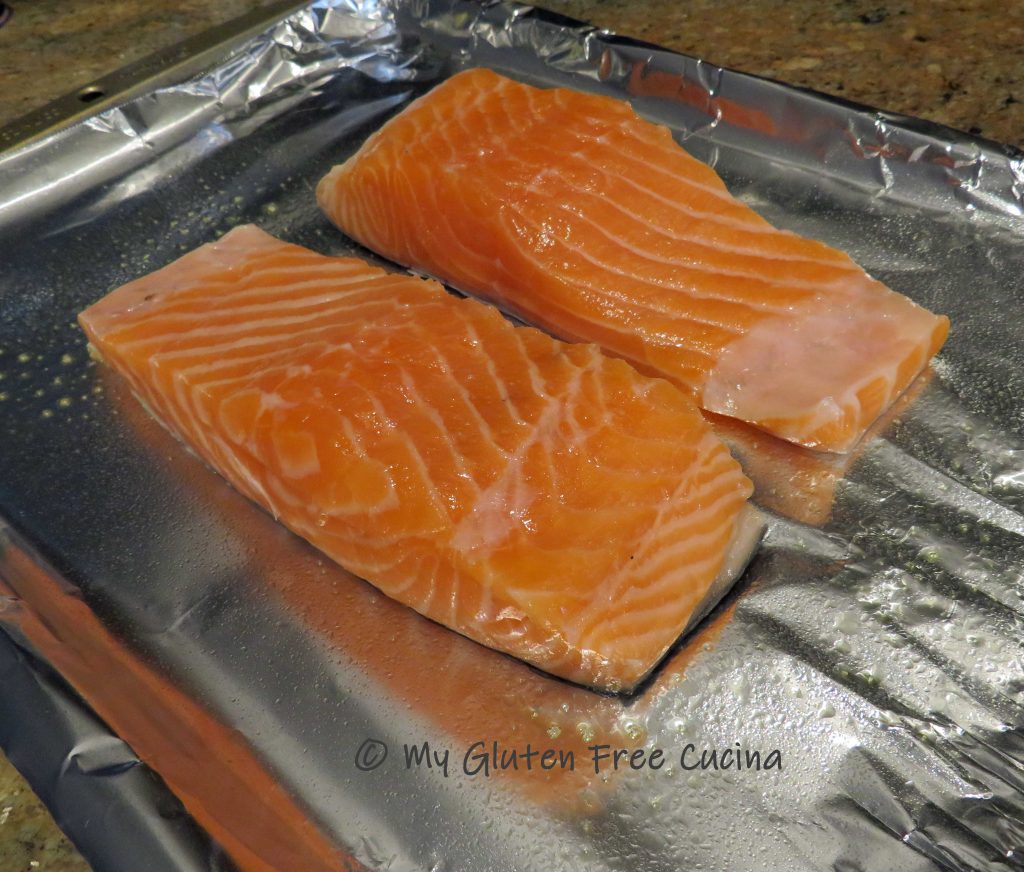
Line a sheet pan with foil or parchment and mist with cooking spray.  Preheat the oven to 350º.  Cut the salmon lengthwise into 2 pieces and arrange in the pan skin side down.

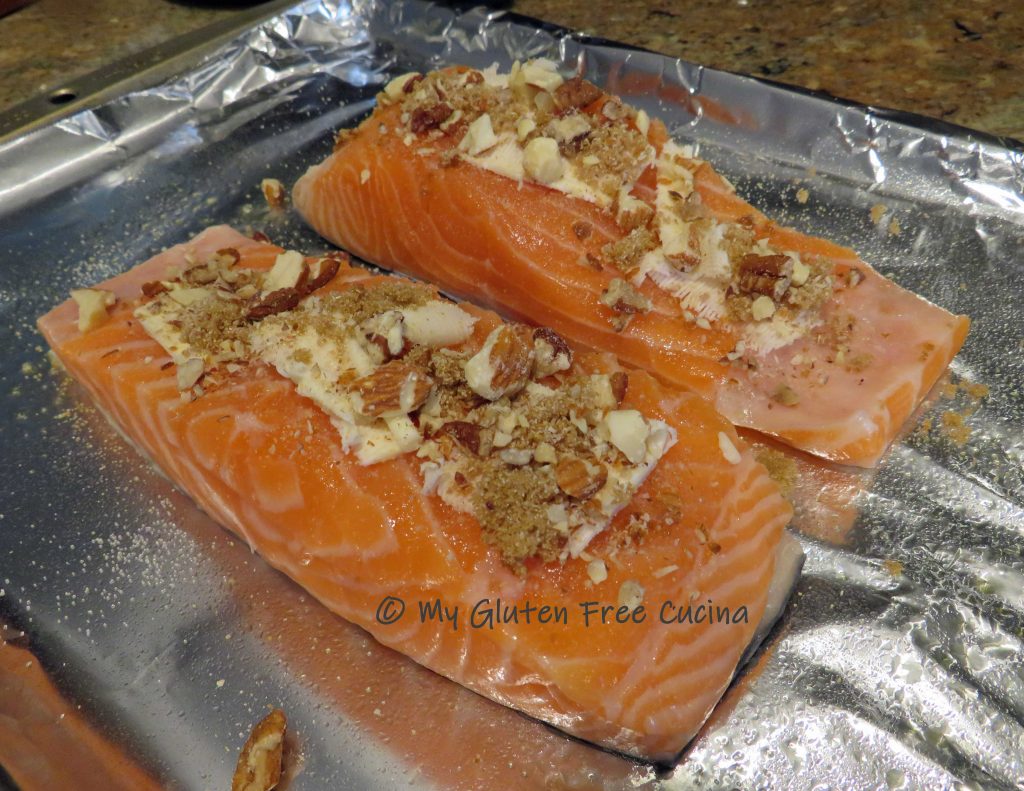
Season lightly with salt.  Cut the butter into fine slivers and arrange over the fish.  Sprinkle each piece of fish with 1 tsp. brown sugar, maple seasoning, and 1 tbsp. of chopped nuts.

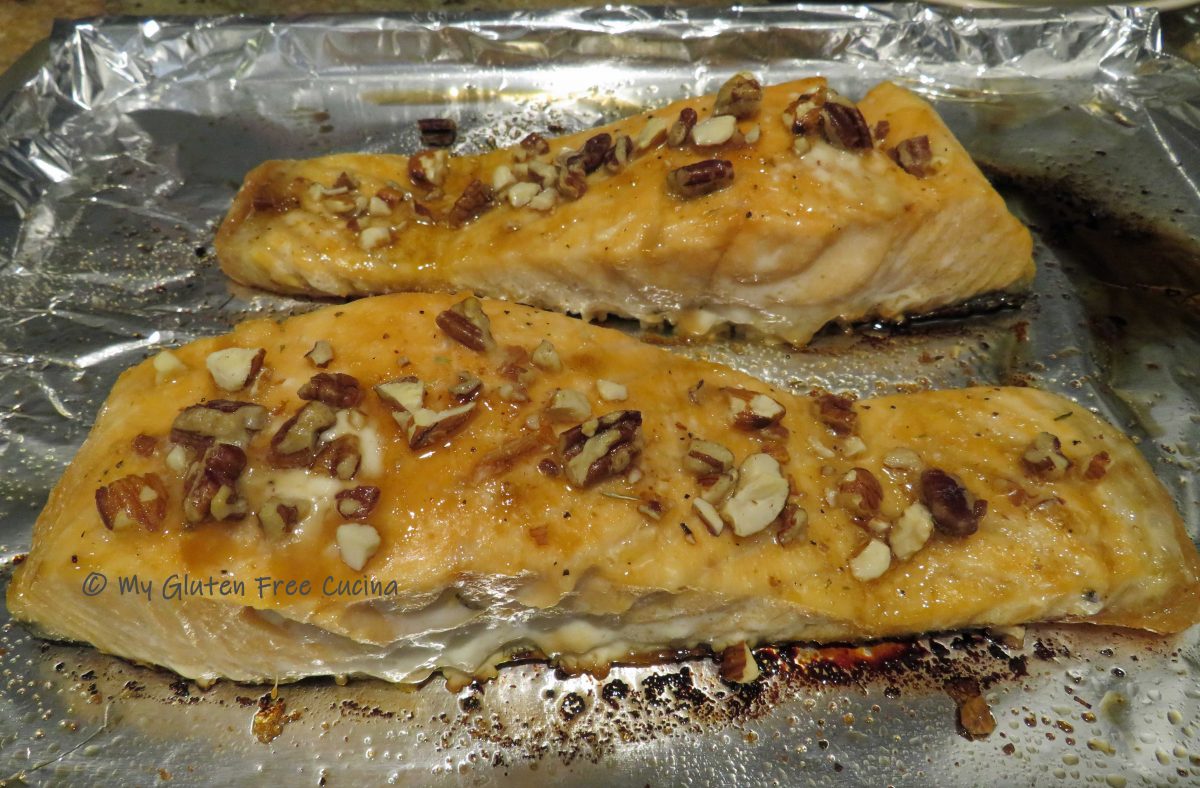
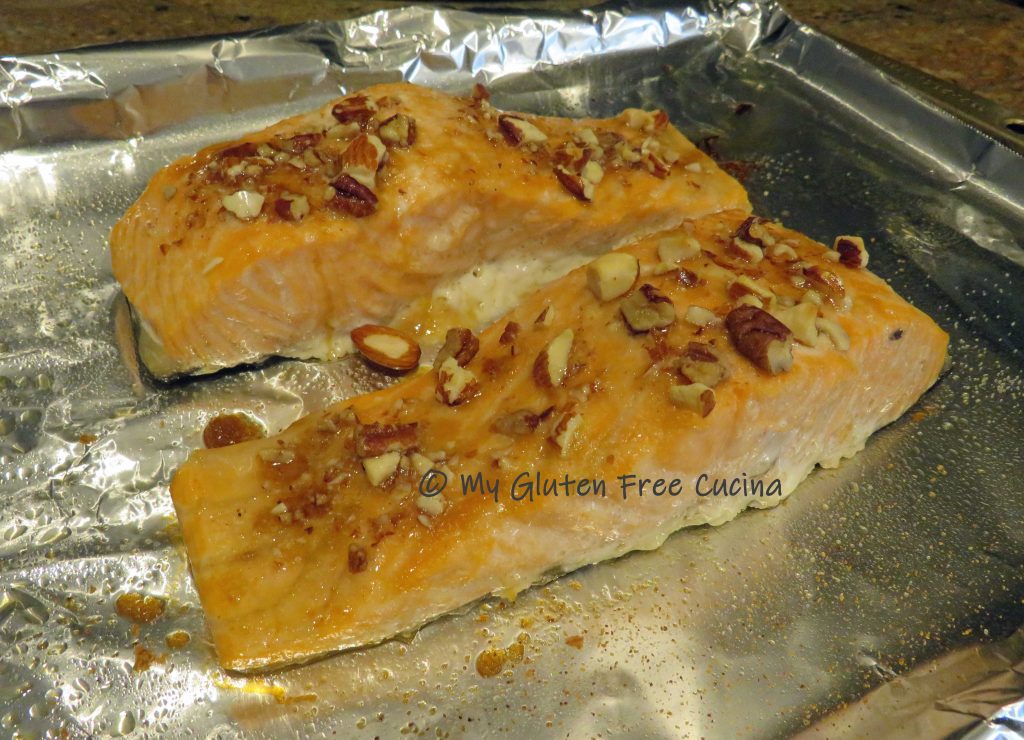
Bake for 25 minutes at 350º.  The fish is done when it flakes easily with a fork.

Dinner is served, with a side of broccoli and Homemade Potato Chips!

Notes ♪♫ Salmon is usually available year-round where we live, but if you can’t find fresh caught then it’s perfectly fine to buy frozen.  The maple seasoning used in this recipe goes really well with salmon and is gluten free!


Print
clock clock iconcutlery cutlery iconflag flag iconfolder folder iconinstagram instagram iconpinterest pinterest iconfacebook facebook iconprint print iconsquares squares iconheart heart iconheart solid heart solid icon

Oven Baked Salmon with Almonds and Pecans

5 Stars 4 Stars 3 Stars 2 Stars 1 Star No reviews
  • Author: © My Gluten Free Cucina
  • Method: Baking
  • Diet: Gluten-Free

Description

This simple preparation comes together quickly, and the ingredients complement the mild sweetness of the salmon without overpowering it.


Ingredients

Units Scale
  • 1 lb. salmon
  • salt, to taste
  • 2 tsp. brown sugar
  • maple seasoning
  • 1 tbsp. chopped almonds
  • 1 tbsp. chopped pecans
  • 2 tbsp. butter
  • cooking spray

Instructions

Line a sheet pan with foil or parchment and mist with cooking spray.

Preheat the oven to350º.  Cut the salmon lengthwise into 2 pieces and arrange in the pan skin side down.

Season lightly with salt.  Cut the butter into fine slivers and arrange over the fish.  Sprinkle eachpiece of fish with 1 tsp. brown sugar, maple seasoning, and 1 tbsp. of chopped nuts.

Bake for 25 minutes at 350º.  The fish is done when it flakes easily with a fork.


Notes

If you can’t find fresh caught salmon, it’s perfectly fine to buy frozen.


Gluten Free Millet Bread

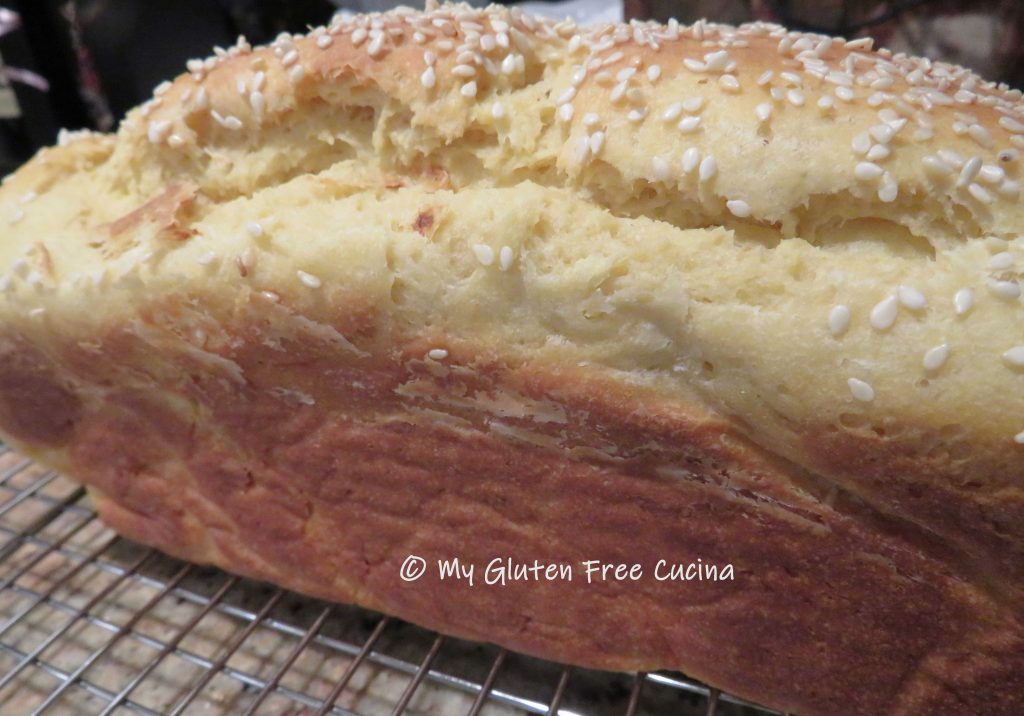
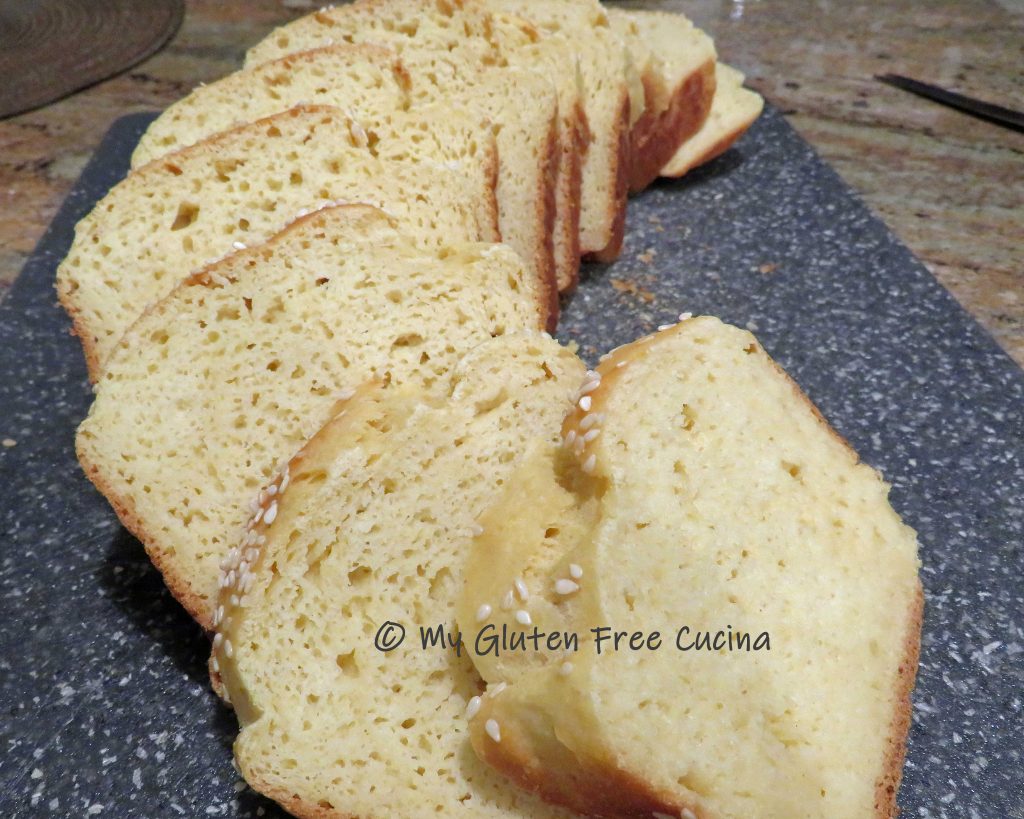
I have my favorite toasting breads for breakfast.  They are dense, hearty seeded loaves that hold up well in the toaster like Mighty Tasty Toasting Bread and Millet and Buckwheat Toasting Bread.  But as much as I love their texture, sometimes I’m craving a soft, enriched bread to make sandwiches, or French Toast.  This Gluten Free Millet Bread fits the bill.  It has a soft, cake-like crumb with just a hint of sweetness.

I used Bobs Red Mill products in this recipe.  They are widely available online and in stores.  The loaf pan is from USA Pan, made in the USA!

This post contains affiliate links.

Millet flour is what gives this bread that light yellow color.

Ingredients:

Preparation:

Whisk together the dry ingredients, millet flour through salt and add them to the bowl of your stand mixer.  In a separate bowl, microwave 1 cup of milk for 30 seconds.  Whisk in the yeast and honey and let it stand for 10 minutes until bubbly.

Whisk the eggs, canola oil and cider vinegar into the yeast mixture.

With the mixer on low speed, gradually pour in the wet ingredients.  Once incorporated, increase speed and beat 3 minutes with the paddle attachment.  The dough will be heavy and clinging to the paddle.

I baked this loaf in a 9″ x 4″ x 4″ pullman pan, the higher sides support the loaf as it rises.  I always line my loaf pans with parchment paper, to easily remove the finished loaf.

Scrape the dough into the pan and use a wet spatula to smooth it out evenly.  Sprinkle with sesame seeds (optional) and cover loosely with plastic wrap.  Let it rise for 1 hour.  I set my pan on top of some padding, so that it wasn’t resting directly on the cold counter surface.

Preheat the oven to 350º.  Just before placing in the oven, mist the top of the loaf with water and quickly mist the sides of the oven.  Bake for 45-50 minutes.  The internal temperature should be between 195-200º.

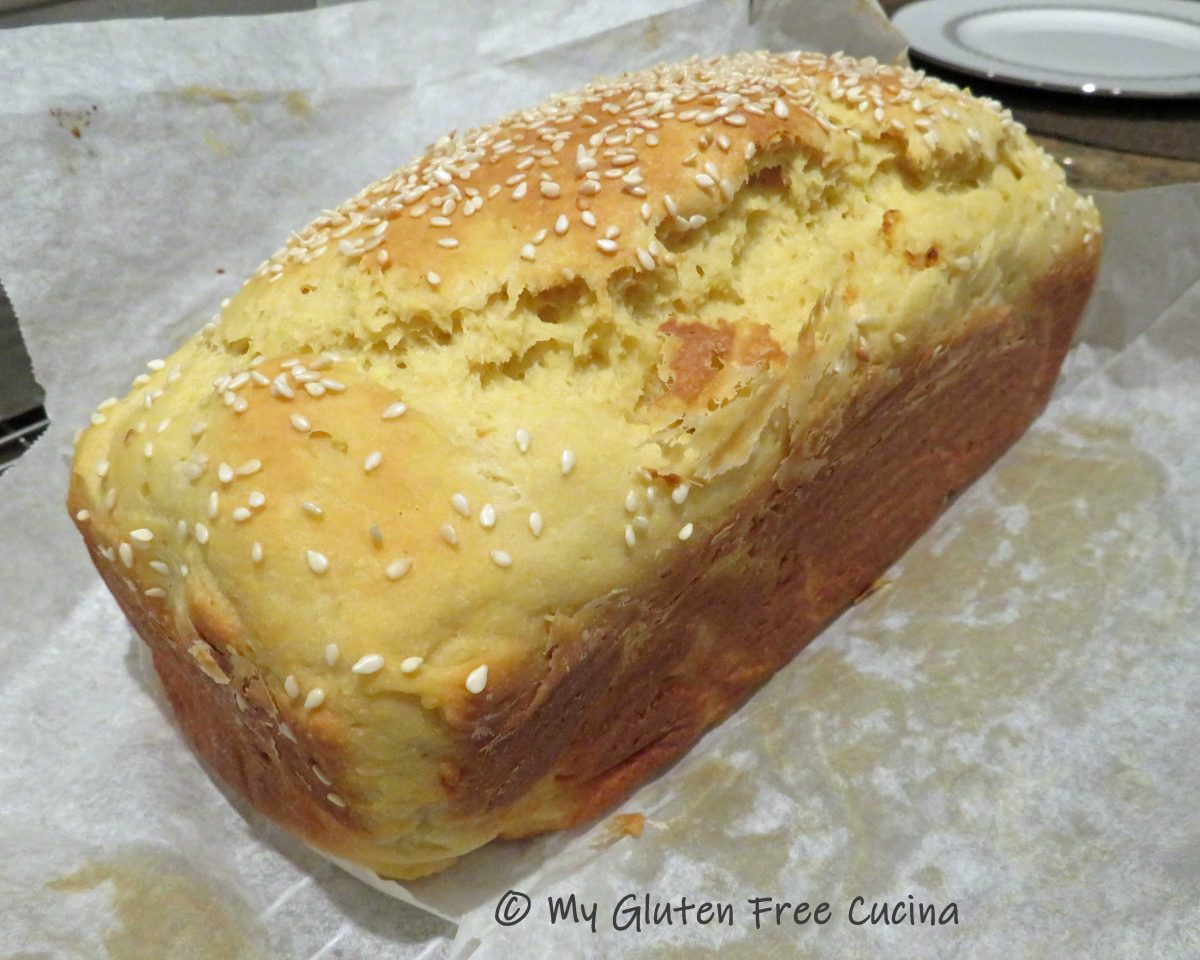
Look at that beautiful loaf!  I was worried that the dough hadn’t risen much but look at the oven spring!  The high sided pullman pan definitely helped with that!

Cool completely on a rack before slicing.

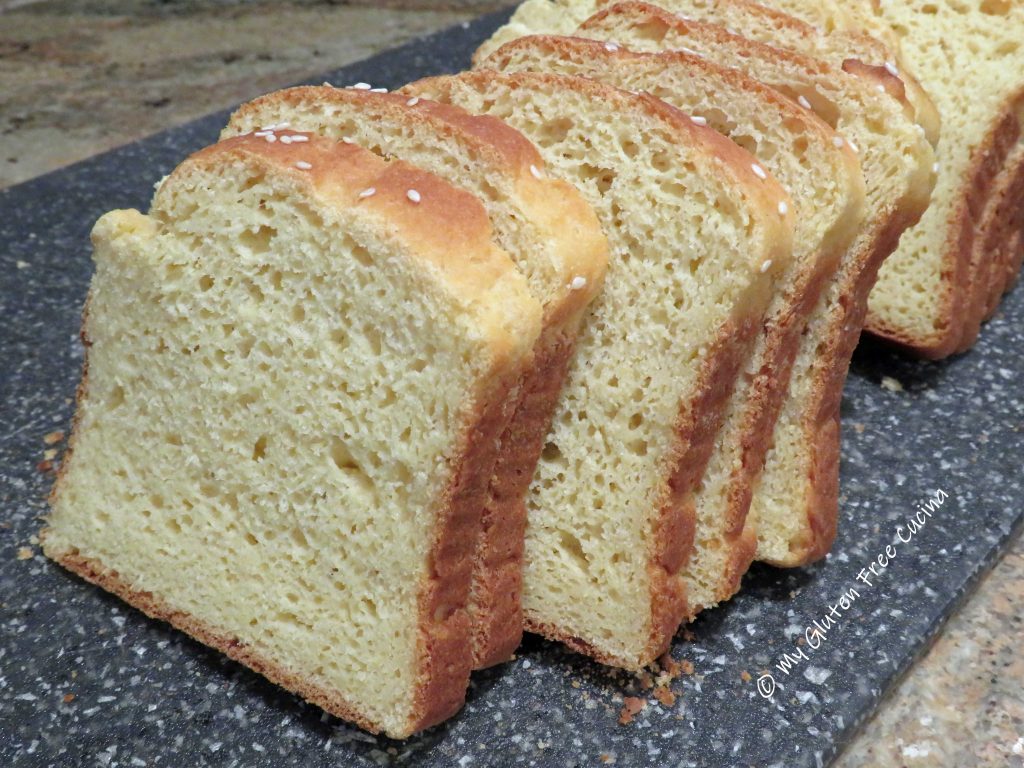
This is exactly what I was hoping for.  It looks like French Toast is back in the breakfast rotation!

Notes ♪♫ Need more inspiration?  Check out this French Toast Casserole with Blueberries and Cream Cheese, or this delectable Tiramisu French Toast!  Both were made with this Gluten Free Millet Bread!


Print
clock clock iconcutlery cutlery iconflag flag iconfolder folder iconinstagram instagram iconpinterest pinterest iconfacebook facebook iconprint print iconsquares squares iconheart heart iconheart solid heart solid icon

Gluten Free Millet Bread

5 Stars 4 Stars 3 Stars 2 Stars 1 Star No reviews
  • Author: © My Gluten Free Cucina
  • Category: Gluten Free Bread
  • Diet: Gluten-Free

Description

This Gluten Free Millet Bread fits the bill.  It has a soft, cake-like crumb with just a hint of sweetness.


Ingredients

Units Scale

Instructions

Whisk together the dry ingredients, millet flour through salt and add them to the bowl of your stand mixer.  In a separate bowl, microwave 1 cup of milk for 30 seconds.  Whisk in the yeast and honey and let it stand for 10 minutes until bubbly.

Whisk the eggs, canola oil and cider vinegar into the yeast mixture.

With the mixer on low speed, gradually pour in the wet ingredients.  Once incorporated, increase speed and beat 3 minutes with the paddle attachment.  The dough will be heavy and clinging to the paddle.

Bake in a 9″ x 4″ x 4″ pullman pan, the higher sides support the loaf as it rises.  I always line my loaf pans with parchment paper, to easily remove the finished loaf.

Scrape the dough into the pan and use a wet spatula to smooth it out evenly.  Sprinkle with sesame seeds (optional) and cover loosely with plastic wrap.  Let it rise for 1 hour.  I set my pan on top of some padding, so that it wasn’t resting directly on the cold counter surface.

Preheat the oven to 350º.  Just before placing in the oven, mist the top of the loaf with water and quickly mist the sides of the oven.  Bake for 45-50 minutes.  The internal temperature should be between 195-200º.

Cool completely on a rack before slicing.


Notes

Need more inspiration?  Check out this French Toast Casserole with Blueberries and Cream Cheese, or this delectable Tiramisu French Toast!  Both were made with this Gluten Free Millet Bread!


© My Gluten Free Cucina * All Rights Reserved

Unauthorized use and/or duplication of this material without express and written permission from this blog’s author and/or owner is strictly prohibited.

Gluten Free Baking – Using a Grain Mill

5 Reasons Why You Should Own a Grain Mill

A grain mill can be one of the most healthful and economical investments you can make for your home kitchen.  For me, this was never more true than when I had to learn about gluten free baking.  The right tools can make all the difference to those of us who must adhere to a strict gluten free diet.

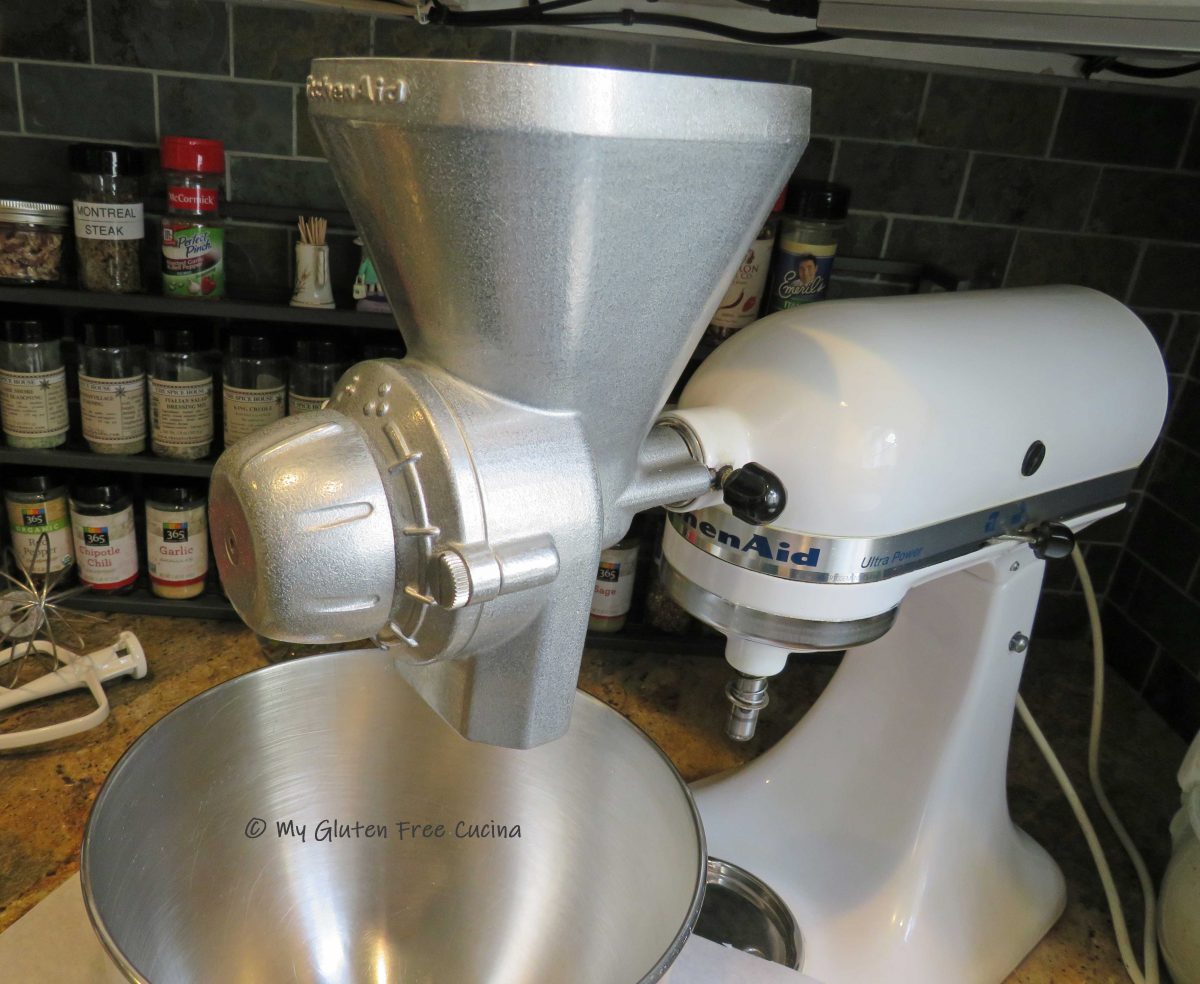
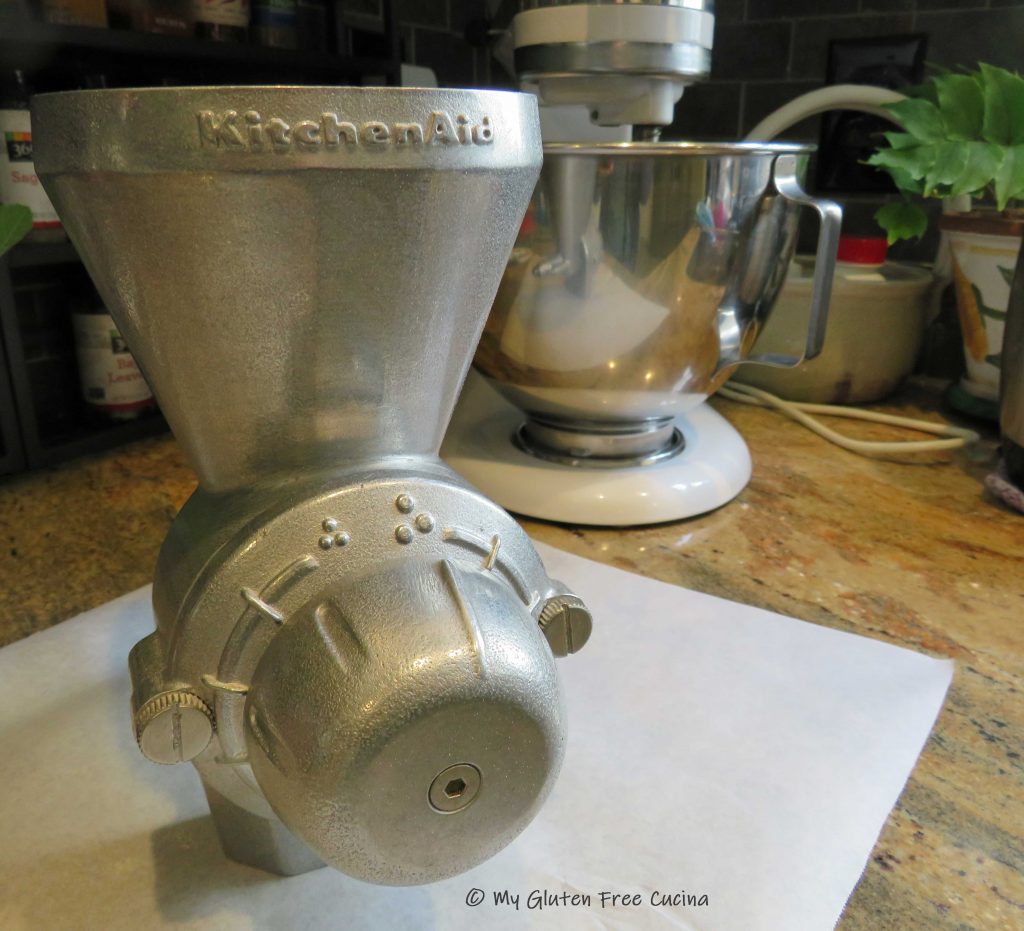
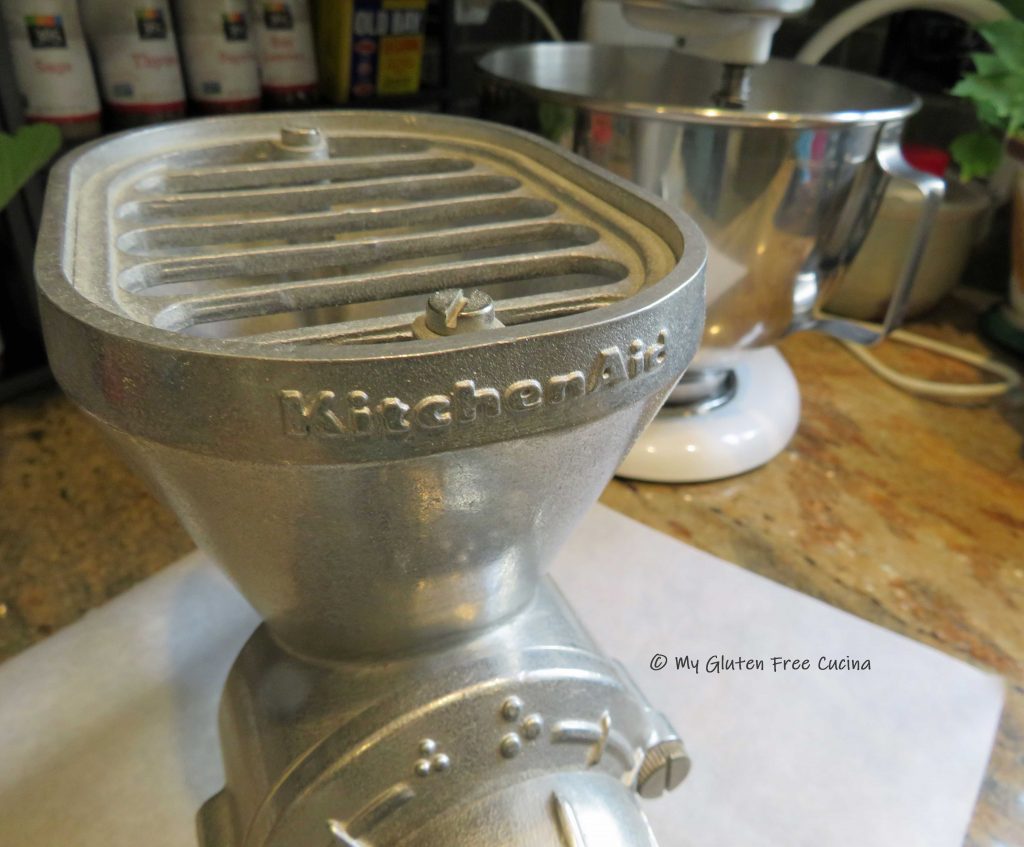
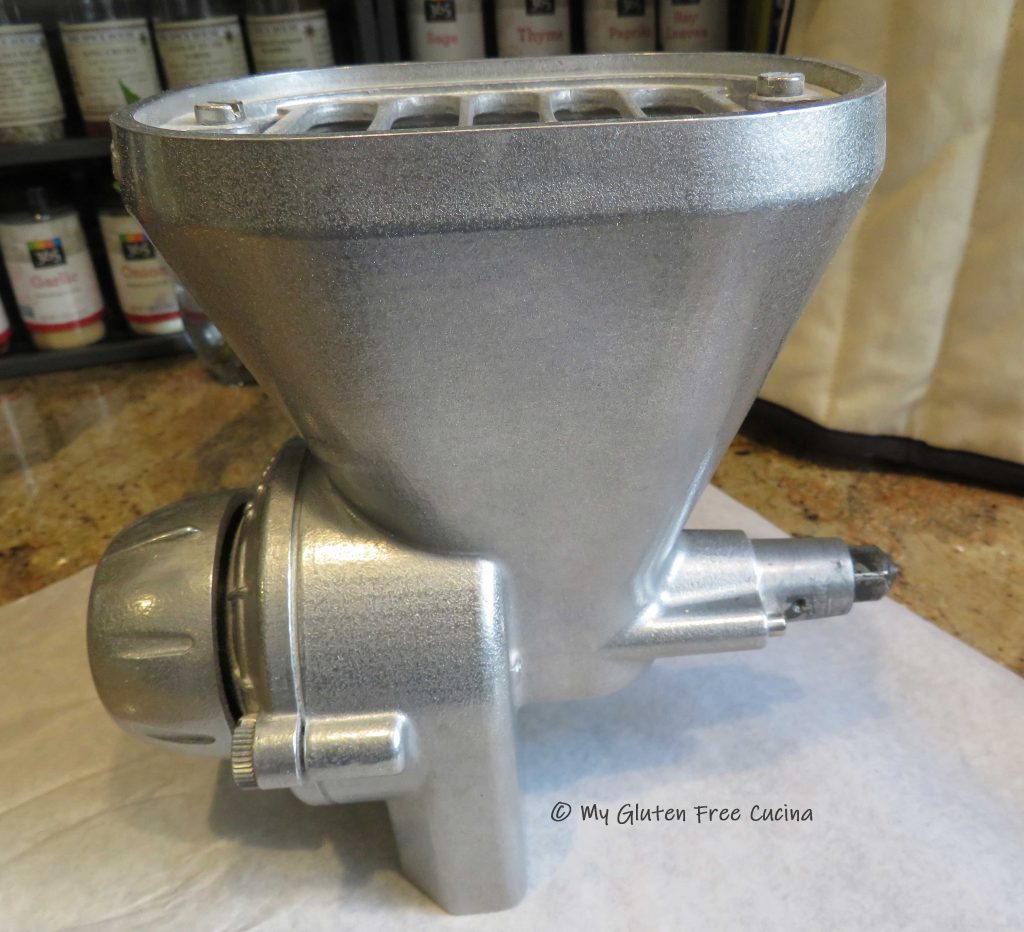
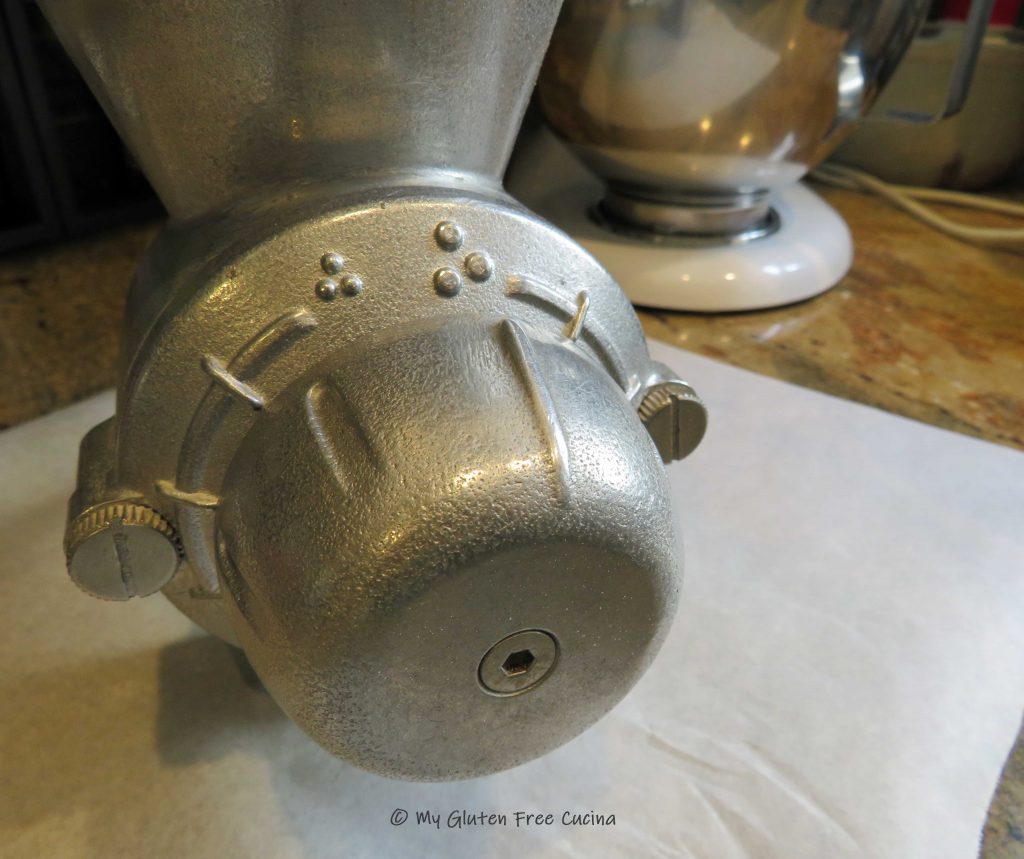
I have always been a home bread baker (long before Celiac) and have owned a KitchenAid stand mixer for decades.  If you already have the mixer, just imagine what you can do with the grain mill attachment!

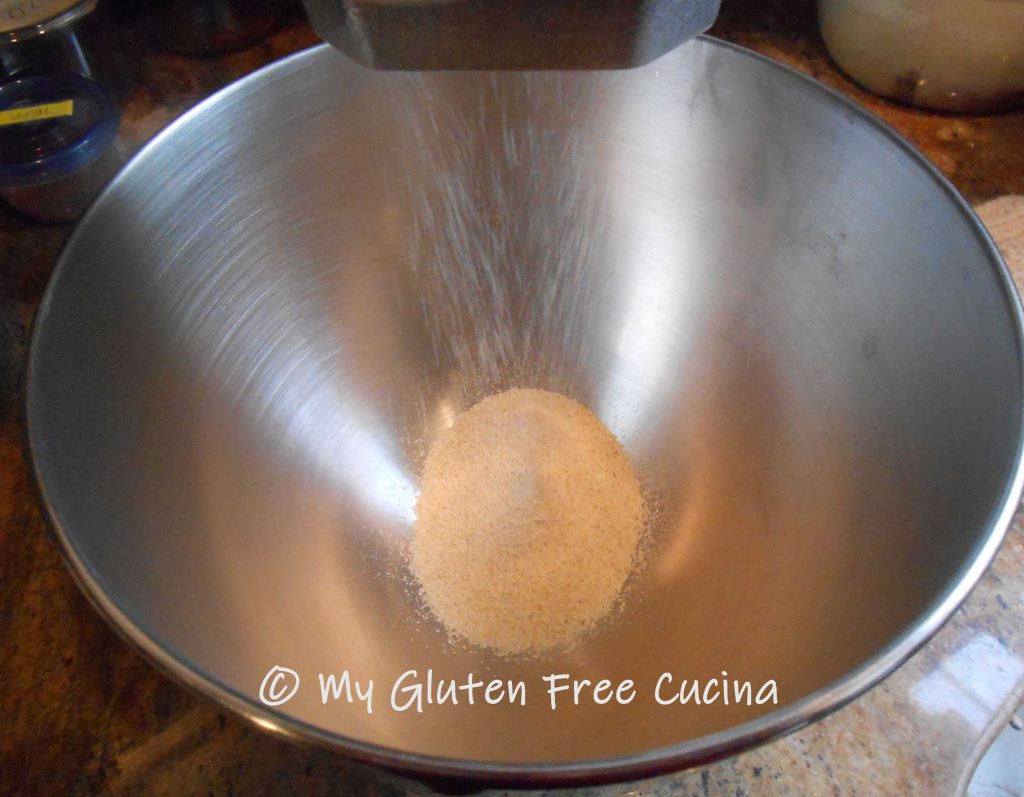
This is not a novelty item, it is a workhorse in my kitchen and has helped me immensely in my commitment to make tasty, gluten free bread from scratch.  Watch!

Consider adding it to your collection.  It will last a lifetime and change the way you bake forever.  Check out the 5 reasons why you should own and use a grain mill.

This post contains affiliate links.

  1. Eat Healthy

Improve your diet by consuming more whole grains.  When you mill the entire grain into flour, you get all of the nutrients from the germ and the bran.  We all know that so many gluten free breads and snacks are made with refined flour and contain almost no fiber.  Milling your own flour and baking from scratch is healthier by far and gives your body those much-needed nutrients and fiber grams!

  1. Stay Fresh

Once a whole grain is milled into flour you will need to pay careful attention to its expiration date.  This is because oils present in the bran and the germ can become rancid over time, giving your flour an off taste and smell.  (Refined grains have the bran and germ removed, giving them a longer shelf life.)  Stored in its grain state, your pantry inventory will remain fresh for much longer.  Milling your grain just before baking ensures that it will always be fresh and delicious.

  1. Save Money

Gluten free flour is expensive!  Oh my, did I have sticker shock the first time I went shopping.  Purchasing the grain in its whole form can be less expensive, and it will last longer than milled flour.  Mill only the amount needed for a recipe (measure by weight).  Not only will you have the freshest tasting baked goods every time, but you will save money by not throwing away unused flour that has degraded over time.

  1. Be Versatile

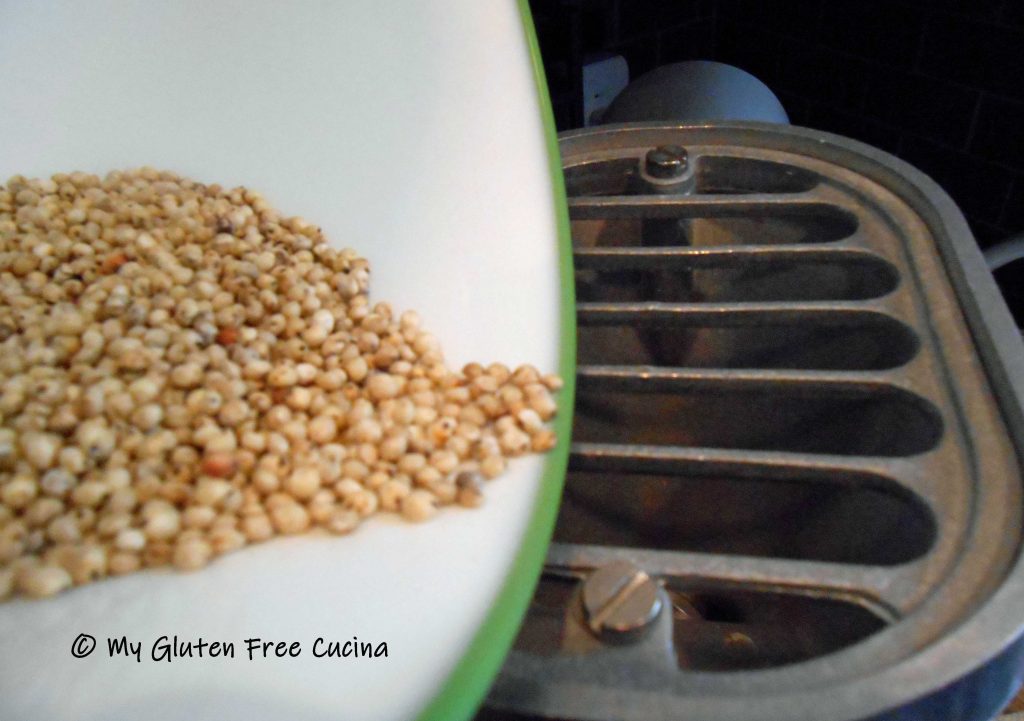
Buy a single grain that you can use in both whole and flour form.  Buy a big bag of brown rice and use it for cooking, as well as milling into brown rice flour for baking.  Some of my other favorites are sorghum, millet and buckwheat.  All are sold in their less expensive whole form and can be processed into flour or enjoyed as a side dish.

  1. Have Fun

Baking is fun!  Experiment with different grain combinations without investing in an array of flours that you may only use one time.  You may never make that quinoa bread again, but you will probably use up the quinoa grain as a tasty side dish.  I am a big believer in this D-I-Y, from scratch approach and I always have my pantry stocked with my favorites.

If you enjoy my bread recipes, I hope you will consider adding this wonderful tool to your kitchen!

Baby Back Ribs

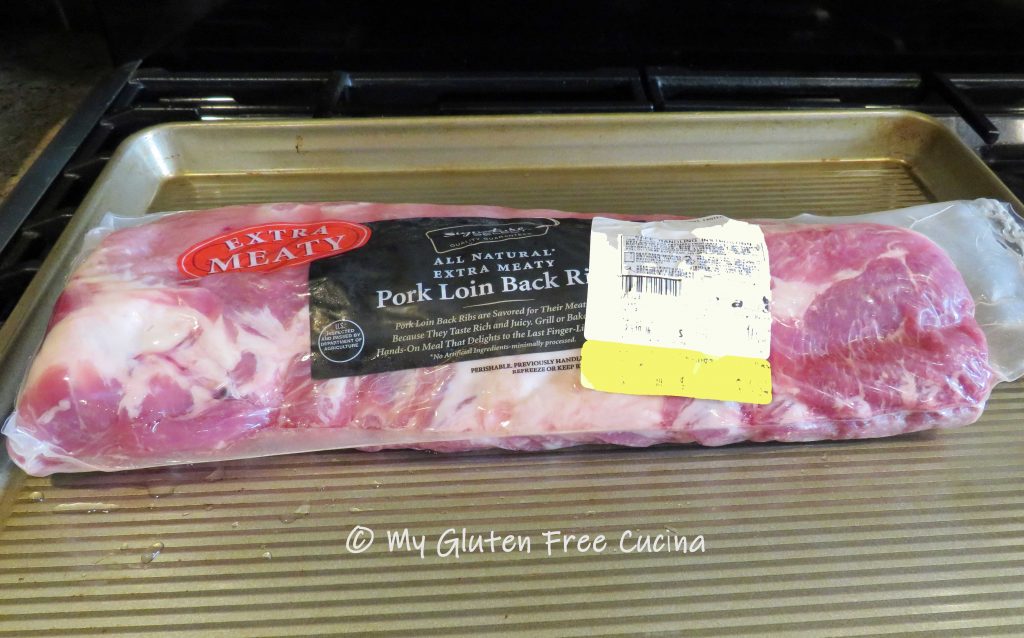
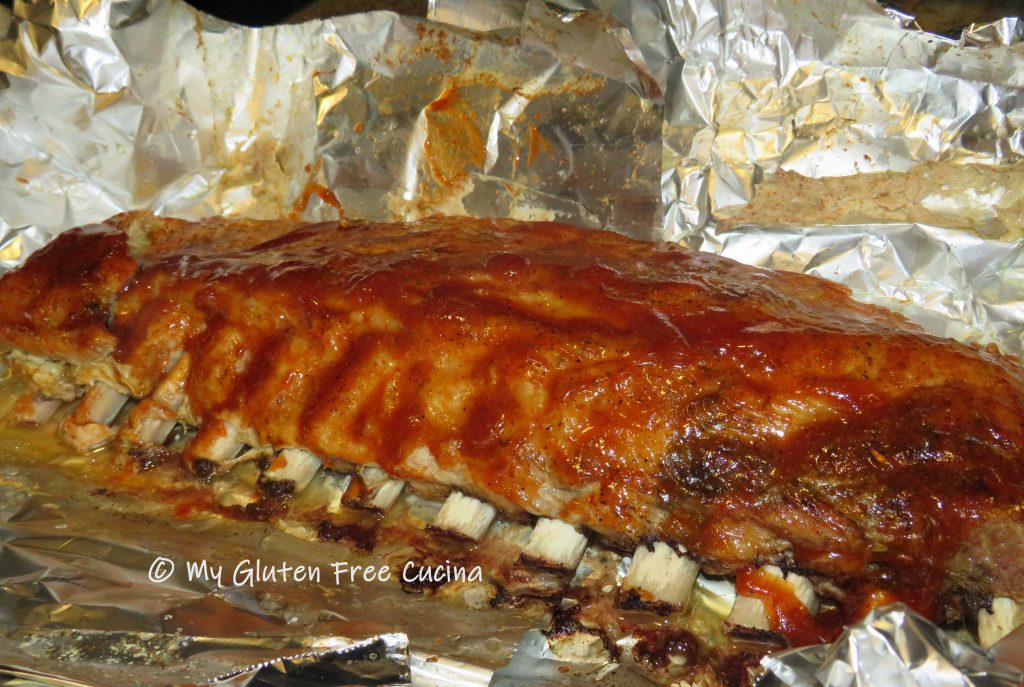
I have been making Country Style Pork Ribs for years, and they are a family favorite.  For some reason though, I thought that really good Baby Back Ribs would require expensive BBQ equipment and complicated cooking techniques.  So even though I have always loved Baby Back Ribs, I’d never made them at home.

As it turns out, I couldn’t have been more wrong!  In fact, I would say this was one of the easiest meals that I have made.  Since the preparation was mostly hands off, I had plenty of time to whip up a batch of my Homemade Gluten Free BBQ Sauce.  Of course that is optional, but when I make it, I always get rave reviews.

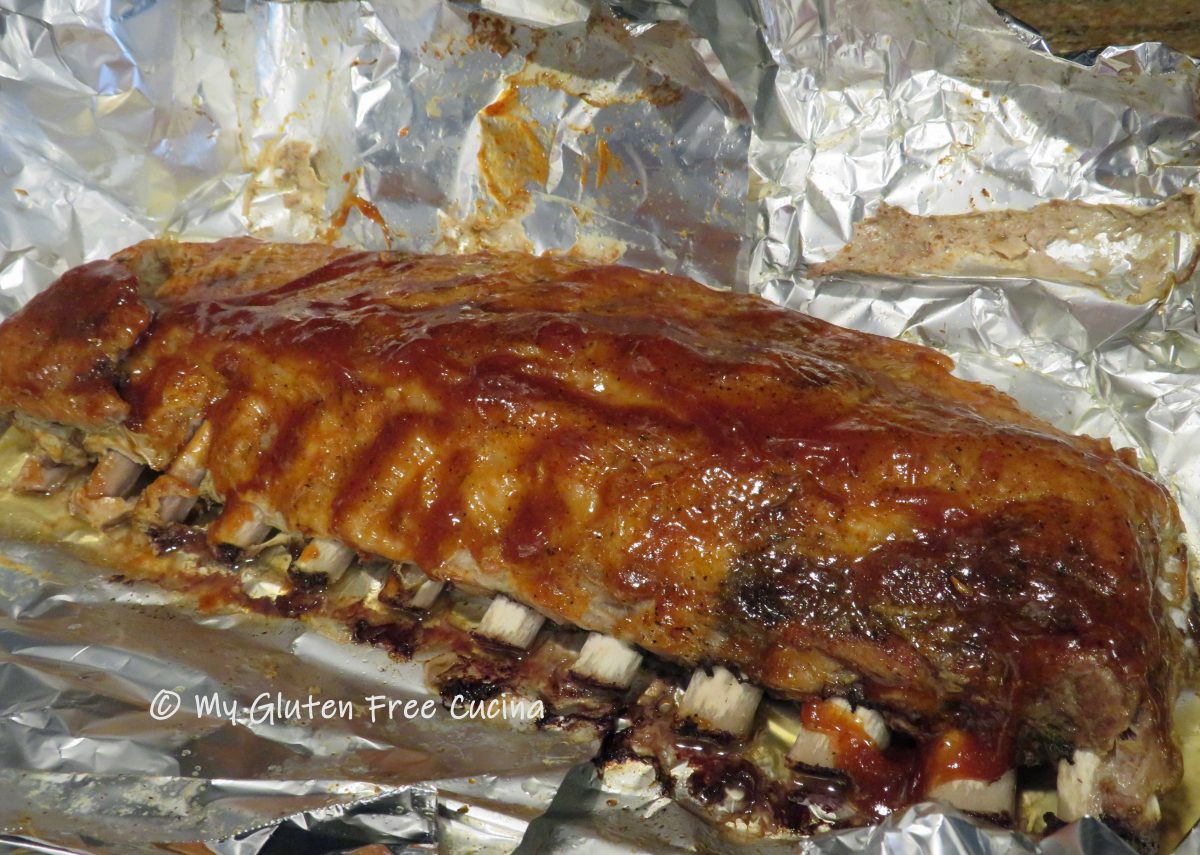
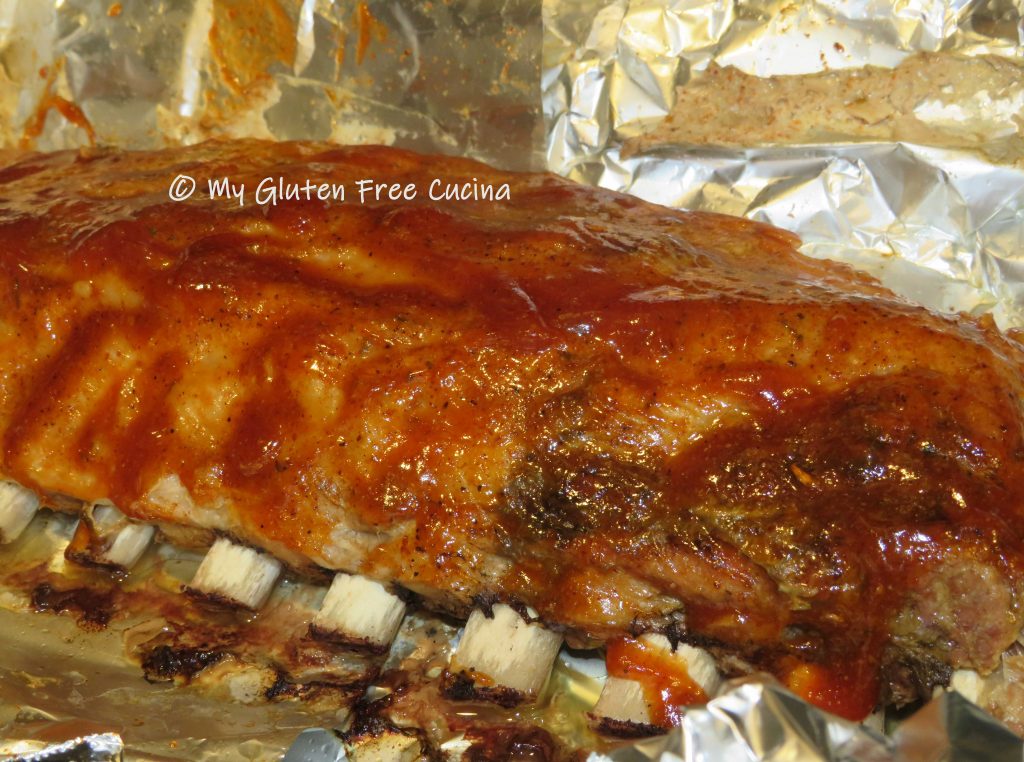
The verdict on the ribs, amazing!  I now make these year-round.

This post contains affiliate links.

Ingredients:

Preparation:

Preheat the oven to 275º.  That may sound low, but the secret to tender ribs is to cook them slowly on very low heat.

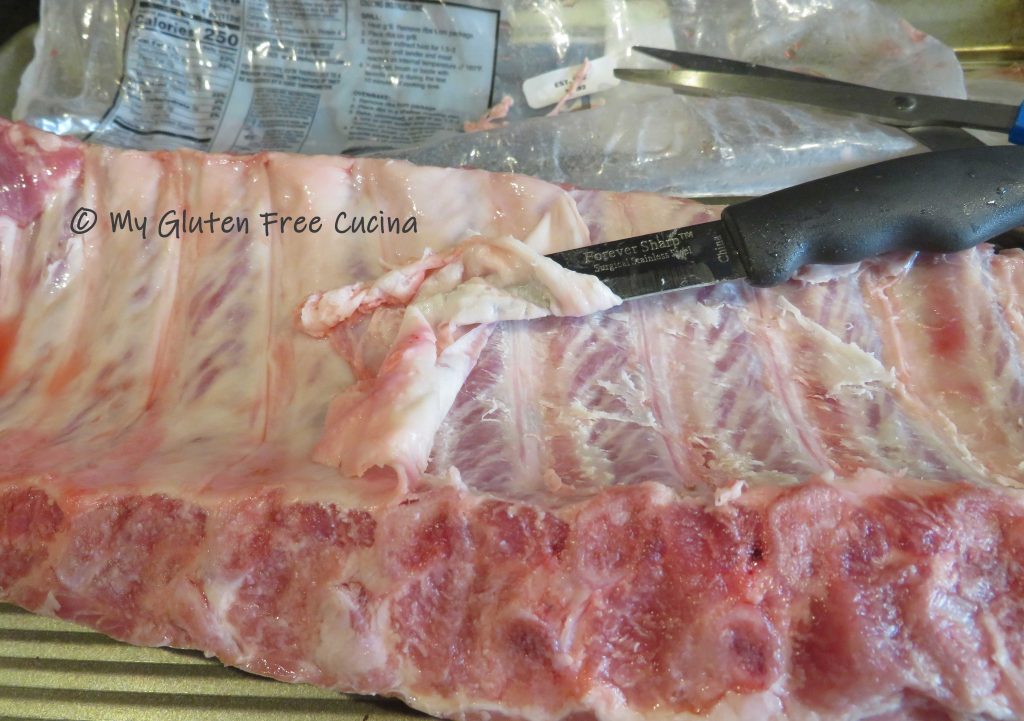
Remove the packaging and pat the ribs dry.  Turn the ribs meat side down and use a sharp paring knife to loosen the white membrane.  Once you have it started, use a paper towel to grasp the membrane and pull it off.  While not absolutely necessary, removing the tough membrane will result in the most tender ribs.  If you would rather not do this, be sure to pierce the membrane all over with a knife.

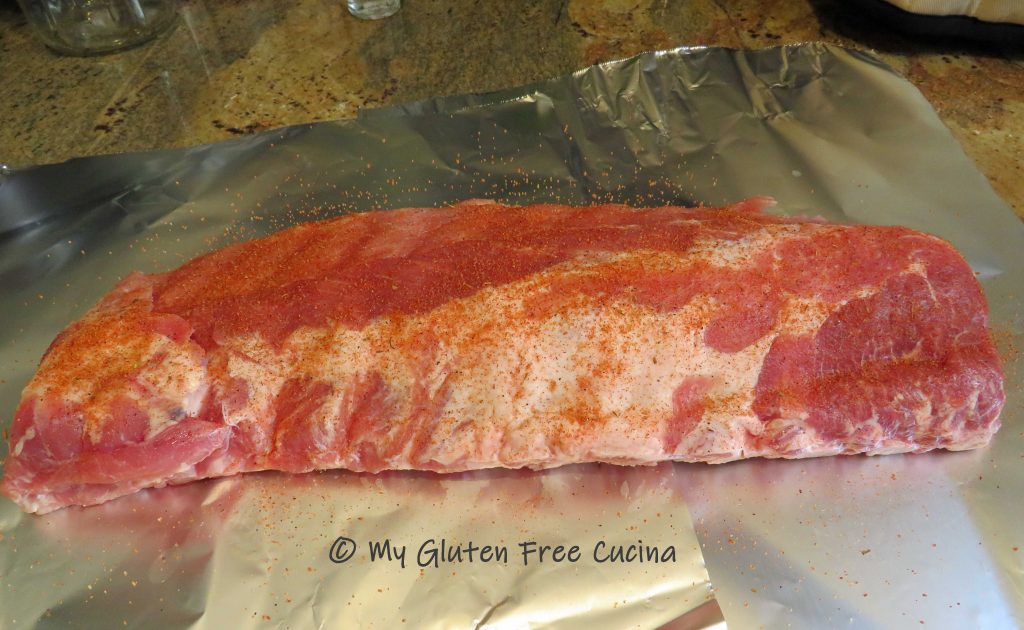
Season the rack with salt, pepper and creole seasoning.

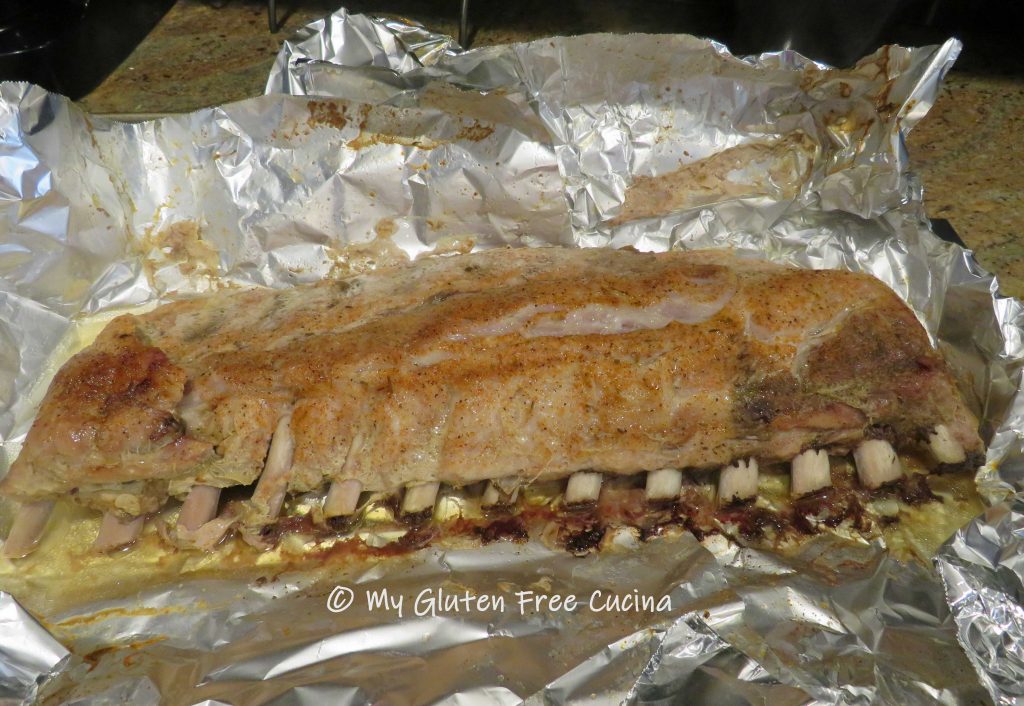
Wrap the ribs in foil and place on a large baking sheet (to catch any drips).  Bake at 275º for at least 3 hours and up to 4 hours.

When the ribs are done, use tongs to carefully open the foil.

Brush with your favorite BBQ sauce and serve.  For other serving suggestions see my homemade Potato Chips and Gluten Free Corn Bread!

Notes ♪♫ Always watch for hidden gluten in sauces and seasonings.  The BBQ sauce is my own from scratch recipe which I make for special occasions.  If using store bought, I recommend Stubbs’s brand which is gluten free.

[print_link]

Chicken Thighs with Andouille Sausage

Sometimes the addition of one or two ingredients can take a simple dish from ordinary to WOW!  In this recipe, the most basic of chicken dinners gets a spicy kick from Andouille sausage.  Made with smoked pork and cajun spices, just one link of Andouille sausage is enough to flavor the cooking oil that we use to brown the chicken and veggies.

This post contains affiliate links.

Ingredients:

Preparation:

Remove skin from chicken thighs (optional).  Place the thighs in a plastic bag with 1/4 cup cornstarch and shake to coat.  Heat an oven proof skillet over medium and add about 3 tbsp. olive oil.  Add the sausage and cook 1 minute to flavor the oil, then begin browning the chicken on all sides and sprinkle with creole seasoning.  Don’t crowd the pan.  If necessary, brown the chicken and sausage in 2 batches as I did.

Preheat the oven to 375º and mist a 9″ x 13″ baking dish with cooking spray.  Transfer the browned chicken and sausage to the baking dish and place in the oven.  Reserve the fat in the skillet.

Add the carrots, onion and potato to the skillet with the reserved fat.  Stir and toss to coat then sprinkle with creole seasoning.  Place the skillet in the oven.

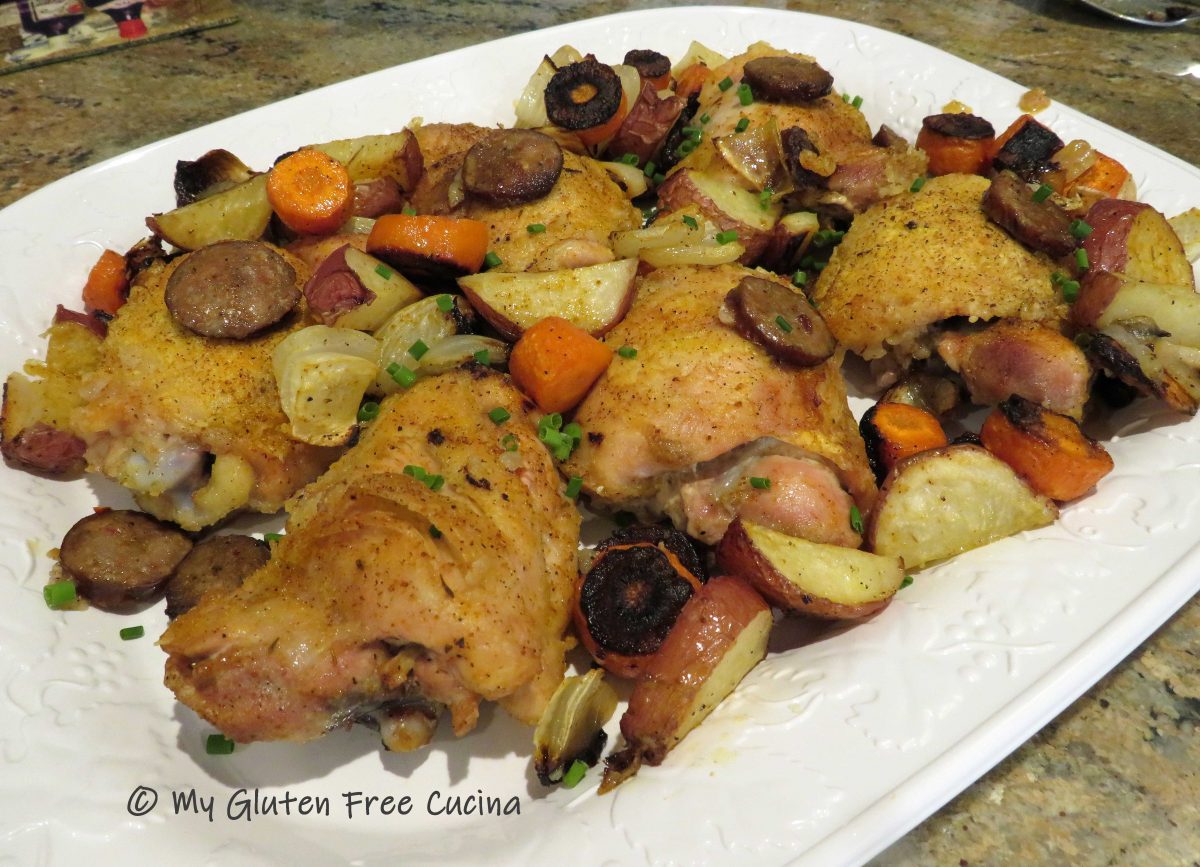
Bake the chicken and veggies for 1 hour at 375º.  About halfway through, remove any excess liquid from the chicken and reserve it for another dish (it makes a wonderful soup stock).  To serve, arrange the chicken and veggies on a platter and garnish with fresh chives.

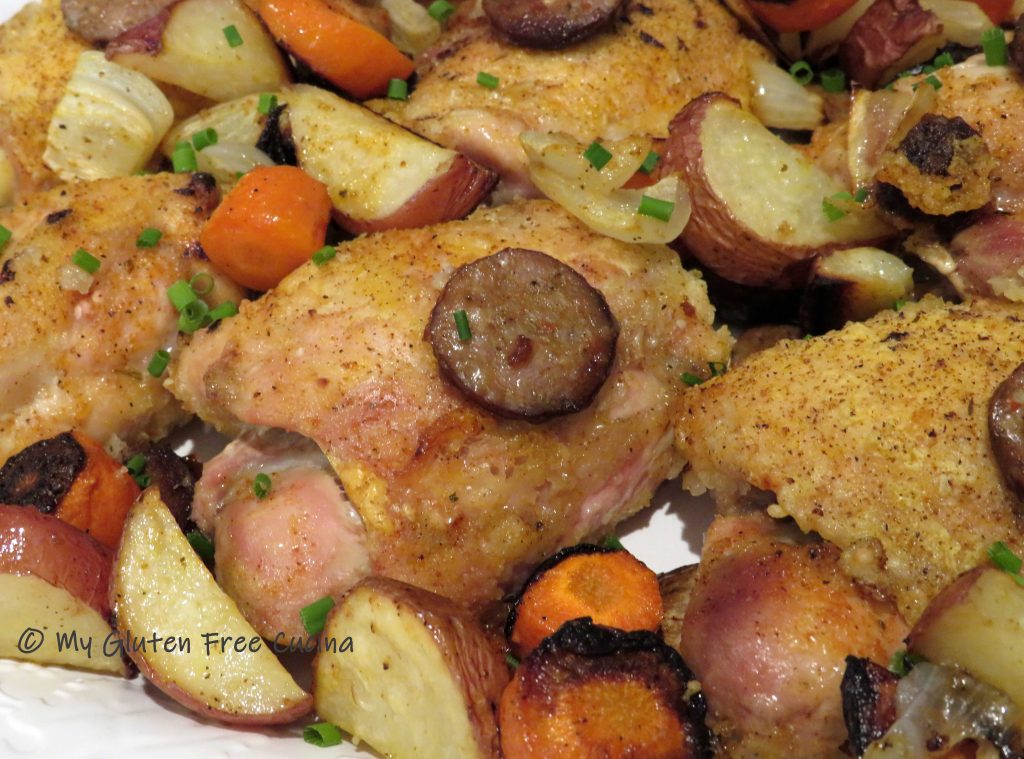
What a meal!  The chicken was moist and delicious with an unexpected pop of flavor from the Andouille!

Notes ♪♫ Look for sausage made with all natural ingredients, no preservatives, and no nitrites.  Today many brands of sausage are labeled gluten free.  If not, be your own advocate.  Check the ingredients and if you’re not sure, go to the manufacturer’s website and don’t hesitate to call or email them for more information.

[print_link]
Roasted Delicata Squash

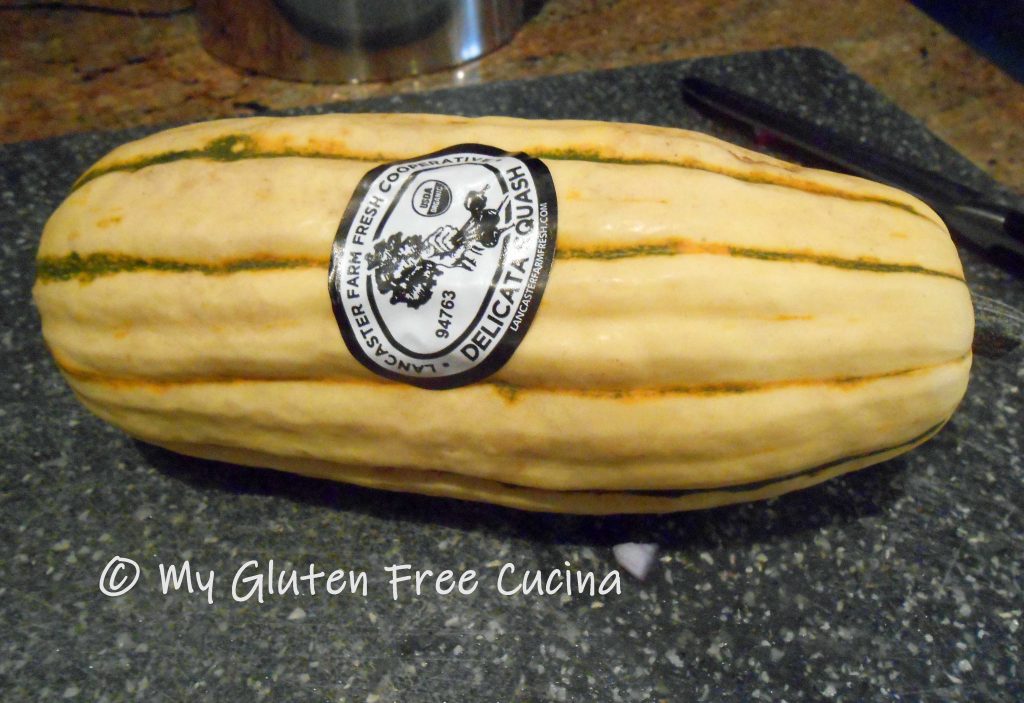
Delicata Squash is one of my favorite fall vegetables.  It is aptly named – sweet tasting, easy to slice and you can eat the skin!  My favorite preparation is a simple toss with olive oil, salt and pepper and oven roasted.

Until recently Delicata Squash has only been available for a short time in early autumn, but now that it’s becoming more popular, you can find it at the market from fall to spring.  You definitely won’t want to miss out on this treat, so if you see one be sure to snap it up!

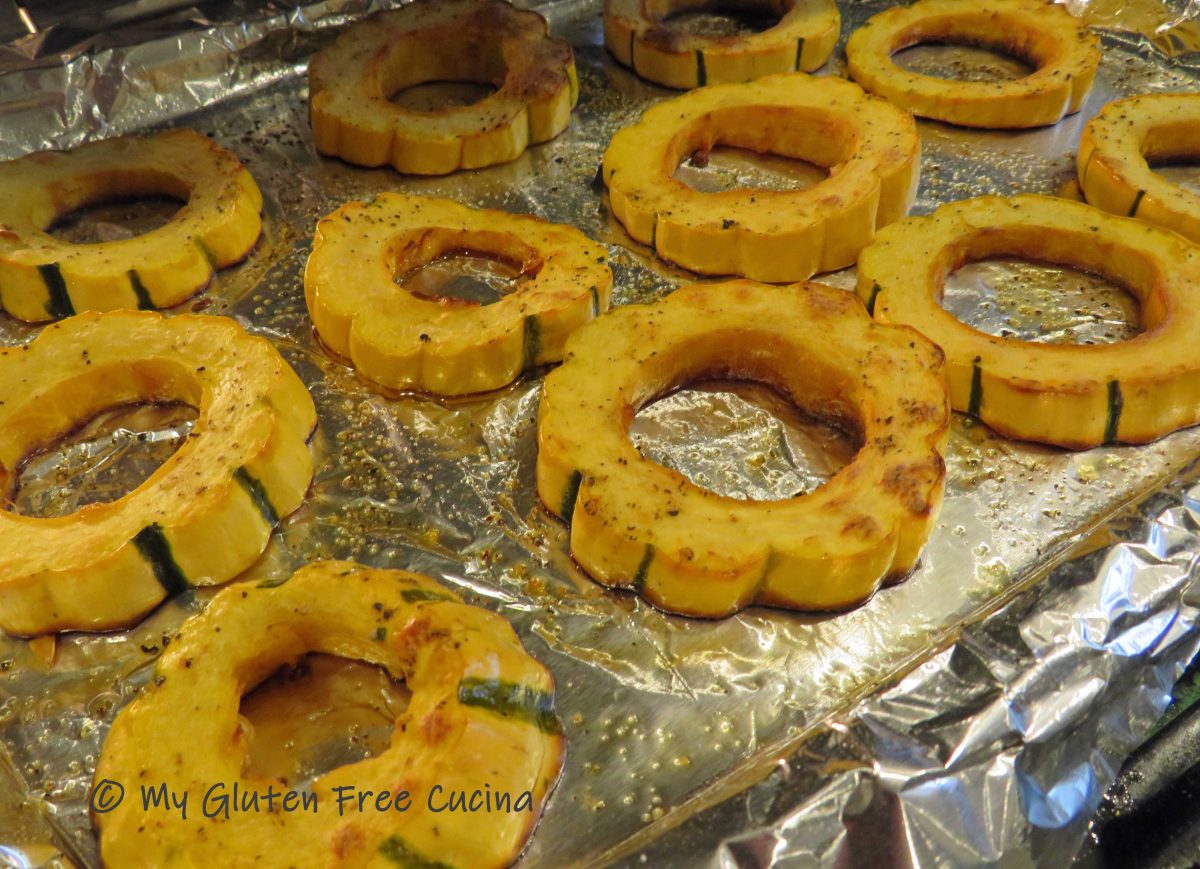
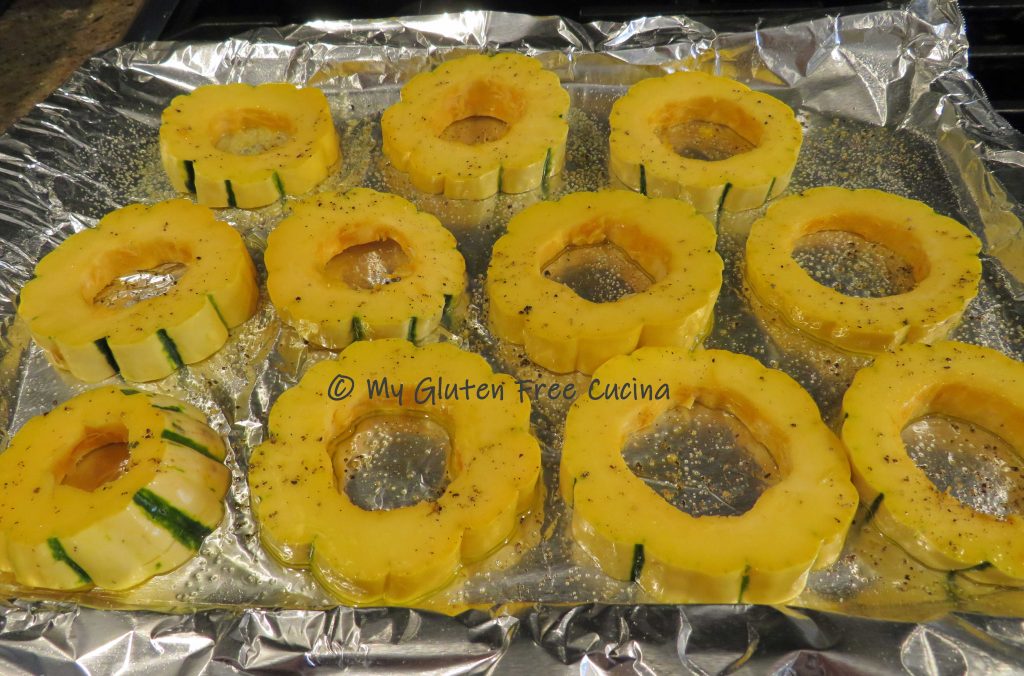
It was a little extra work to make the pretty medallions.  After cutting the squash into rounds I ran a paring knife around the center of each slice to remove the seeds.  So worth it for the beautiful presentation.  If pressed for time and you want to get it done quickly, just cut the squash in half lengthwise and scrape the seeds out with a spoon.  Then slice it into half-moons.

Ingredients:

  • 1 Delicata squash
  • olive oil
  • salt and pepper
  • cooking spray

Preparation:

Line a baking sheet with foil and mist with cooking spray.  Slice the squash into 1/2″ thick medallions and remove the seeds and pulp from the center.  Lay the slices on the baking sheet and drizzle with olive oil.  Turn to coat both sides and season with salt and pepper.

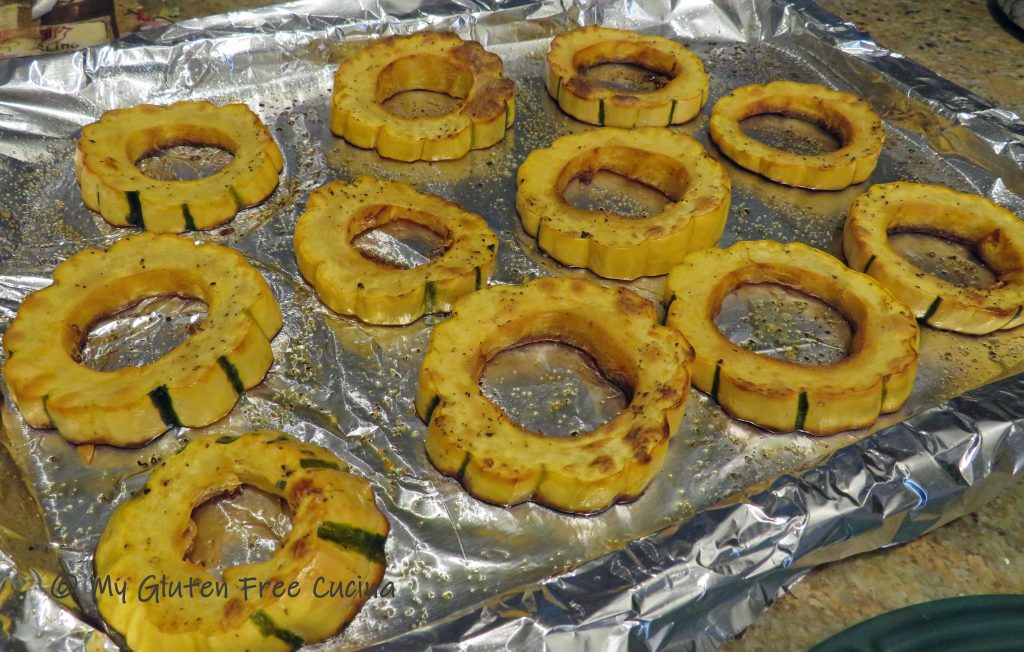
Roast for 30 minutes at 400º.  It’s as simple as that!

Such a pretty addition to your dinner plate, the slices remind me of sunflowers!  It was a nice change from our usual veggie sides and I’m sure your family will love it as much as mine did!

[print_link]