If you are a seafood lover like me, you’re going to want to try this light and easy dish. Great for Seafood Friday and fast enough to prepare when you get home from work.
For those who celebrate La Vigilia (The Feast of Seven Fishes) for Christmas Eve, this would be a great addition to your menu.
This post contains affiliate links.
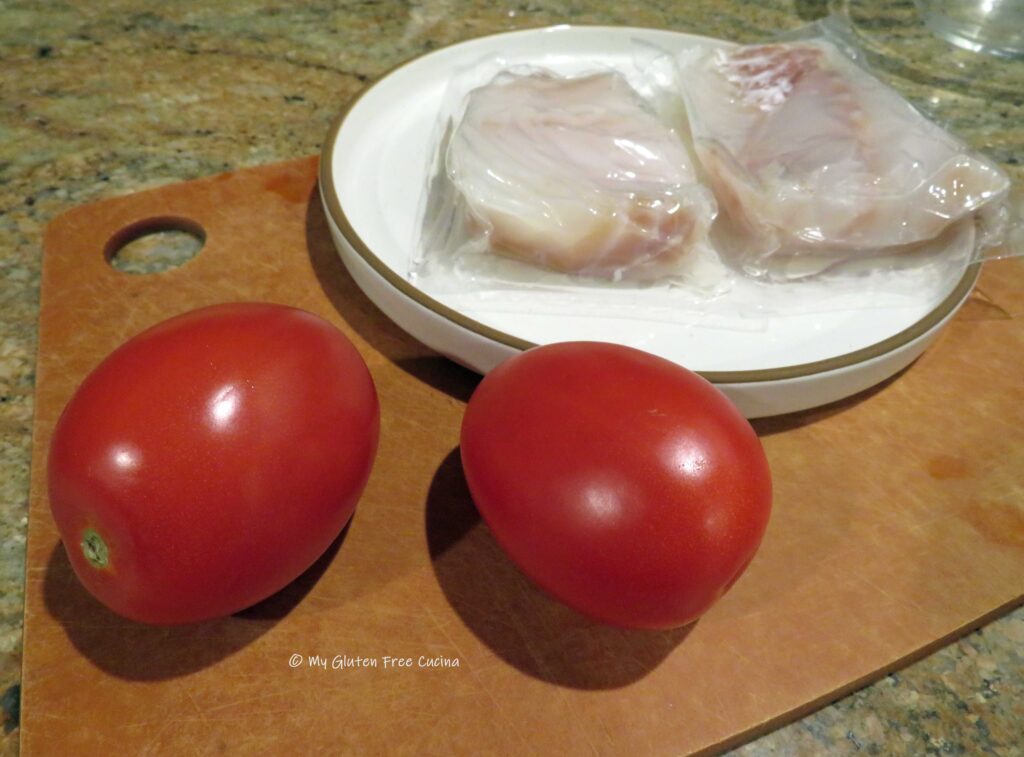
 The recipe is easy and straightforward; made with common ingredients. Fresh tomatoes and basil are a must here (don’t use canned!). If you grow your own or can get them from a farmer’s market that would be great. But for everyone else, plum tomatoes from the grocery store are the best choice.
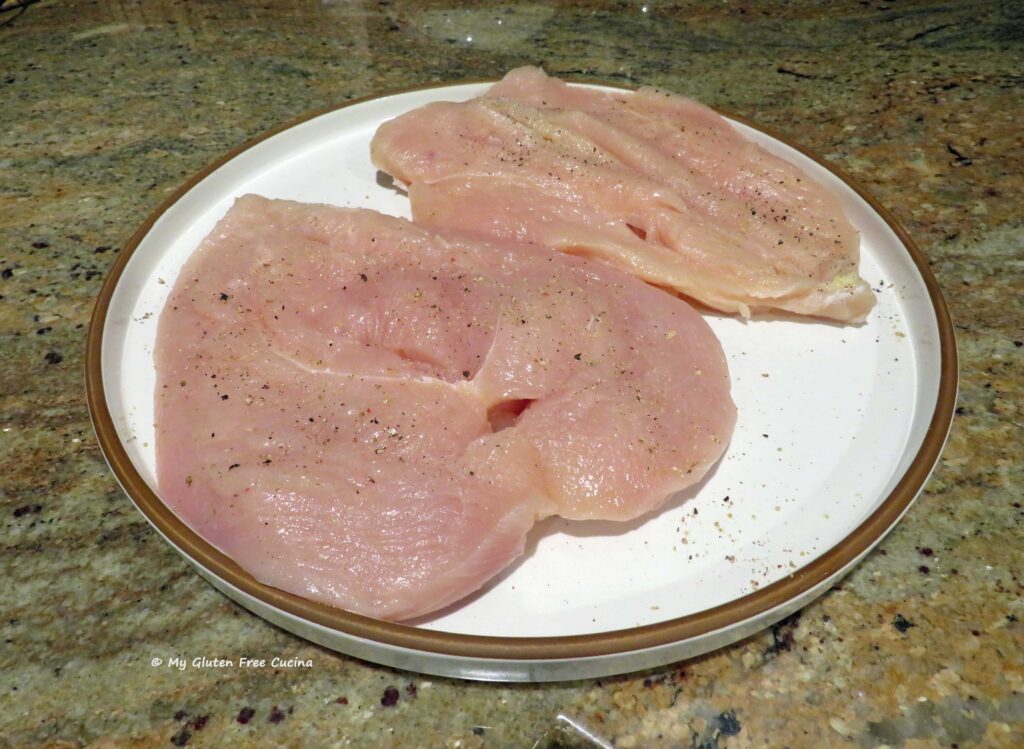
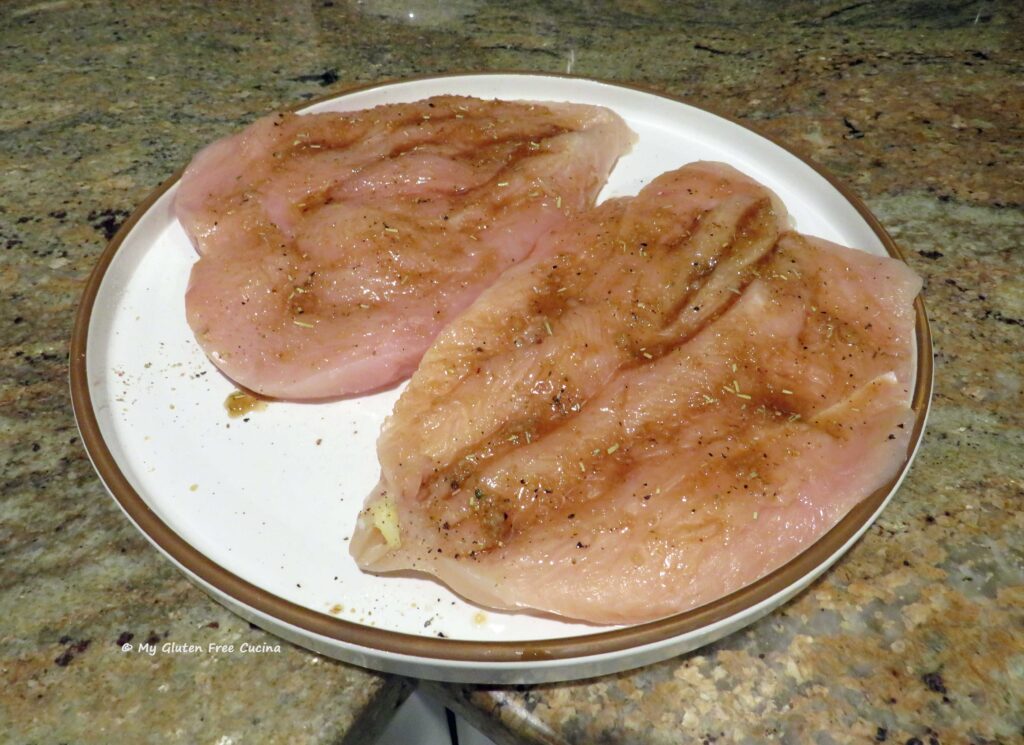
Try to choose portions of fish that are all the same size and thickness, so that they all finish cooking at the same. For end pieces, tuck the thin side underneath to keep it moist.
Dinner for two (recipe can be doubled or tripled)
Ingredients:
- 2 thick cut pieces of cod (about 6 oz. each)
- 2 plum tomatoes
- 2 tbsp. olive oil, divided
- 1/2 tbsp. balsamic vinegar
- fresh ground pepper
- pinch of sea salt
- 2 tbsp. gluten free Italian breadcrumbs
- fresh basil leaves 🍃
 Preparation:
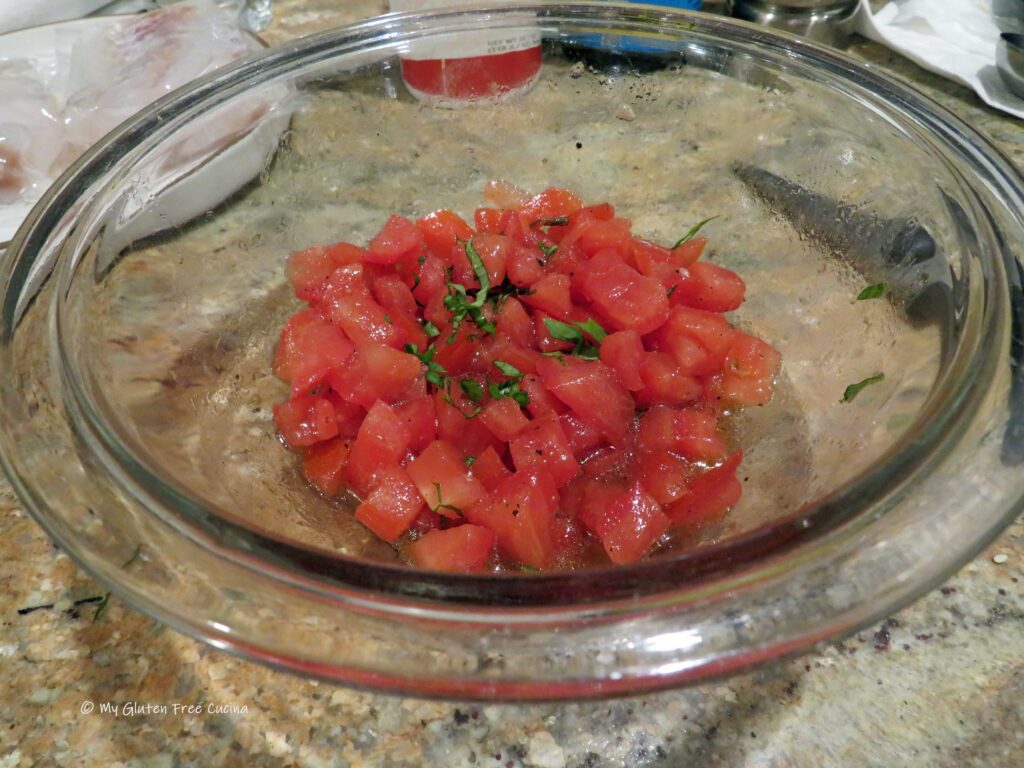
Cut the tomatoes into small dice, discarding the core and as many seeds as possible.
 Place the diced tomatoes in a small bowl, and toss with 1 tbsp. olive oil, the balsamic vinegar, sea salt and ground pepper. Cut one large basil leaf into thin strips (chiffonade) and stir into the tomatoes. Let the mixture stand for about 30 minutes at room temperature.
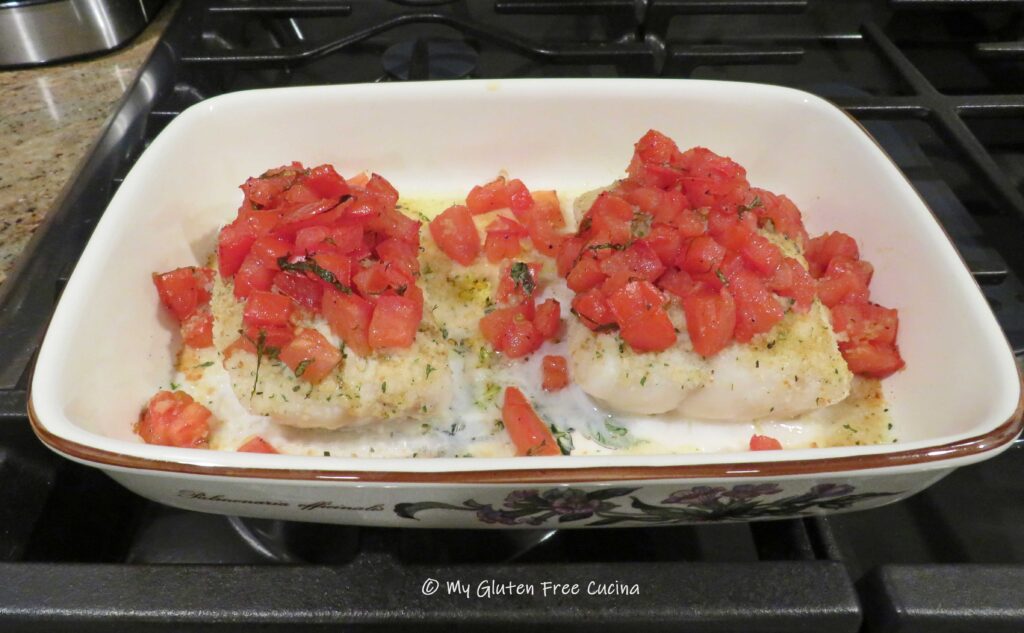
 Preheat the oven to 350º. Coat a baking dish with cooking spray and arrange the cod with space in between. Drizzle with the remaining olive oil and a pinch of sea salt.
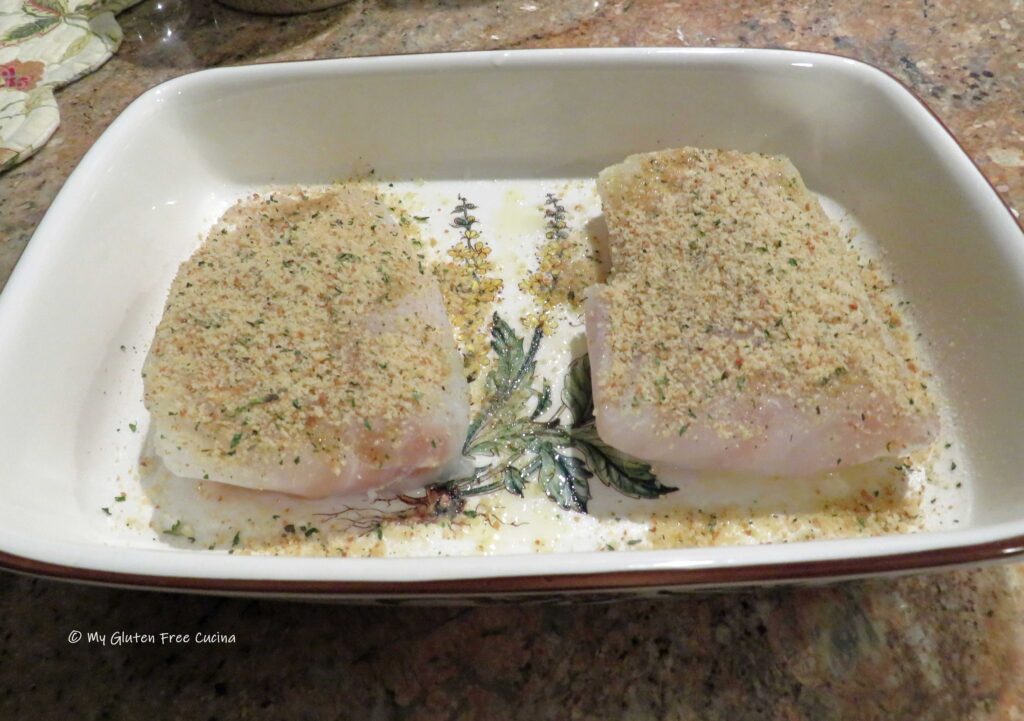 Top each piece of fish with 1 tbsp. of breadcrumbs, then divide the diced tomatoes evenly over each piece.
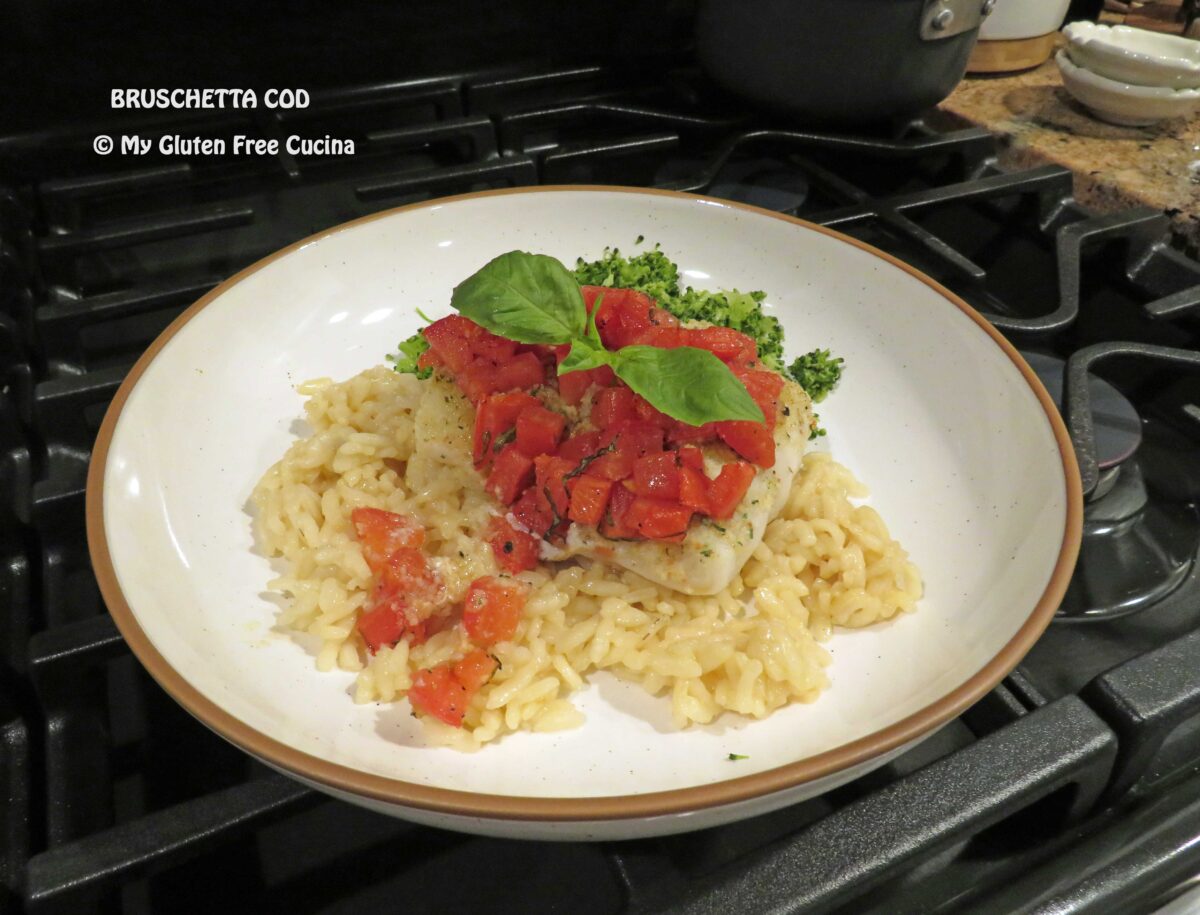
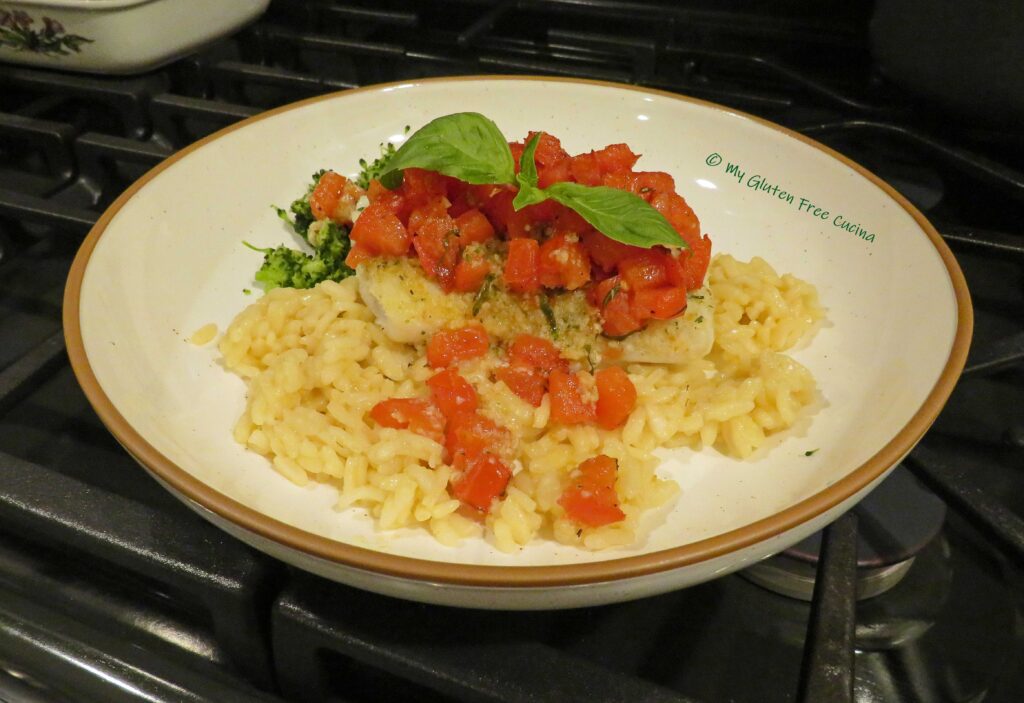
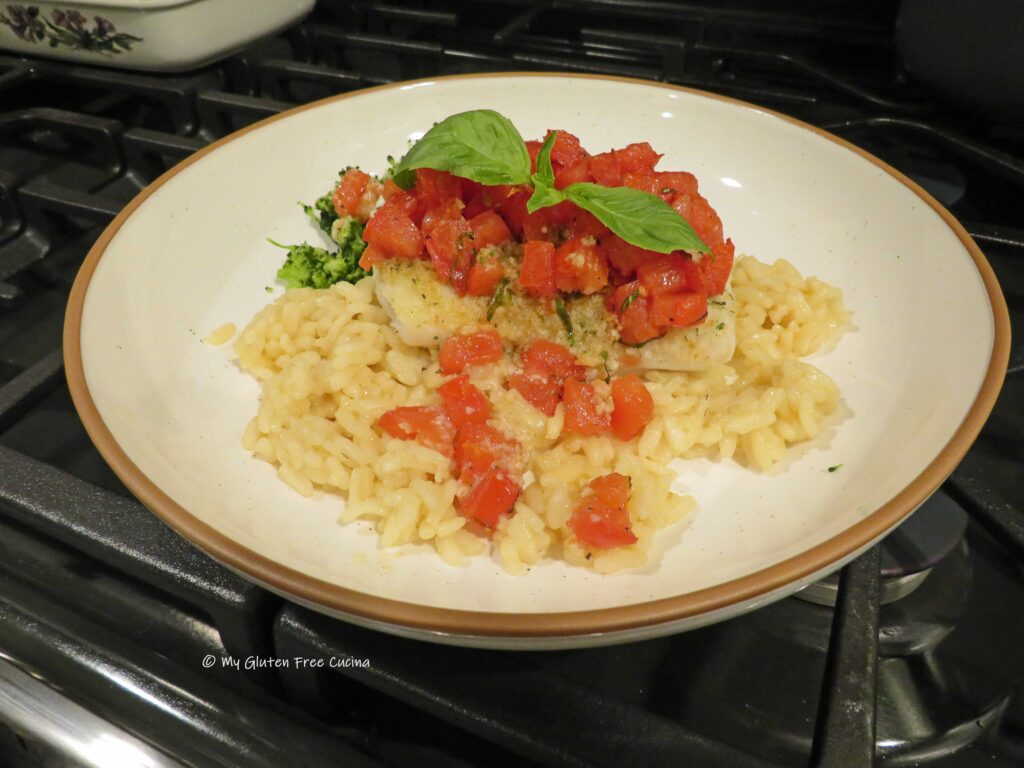
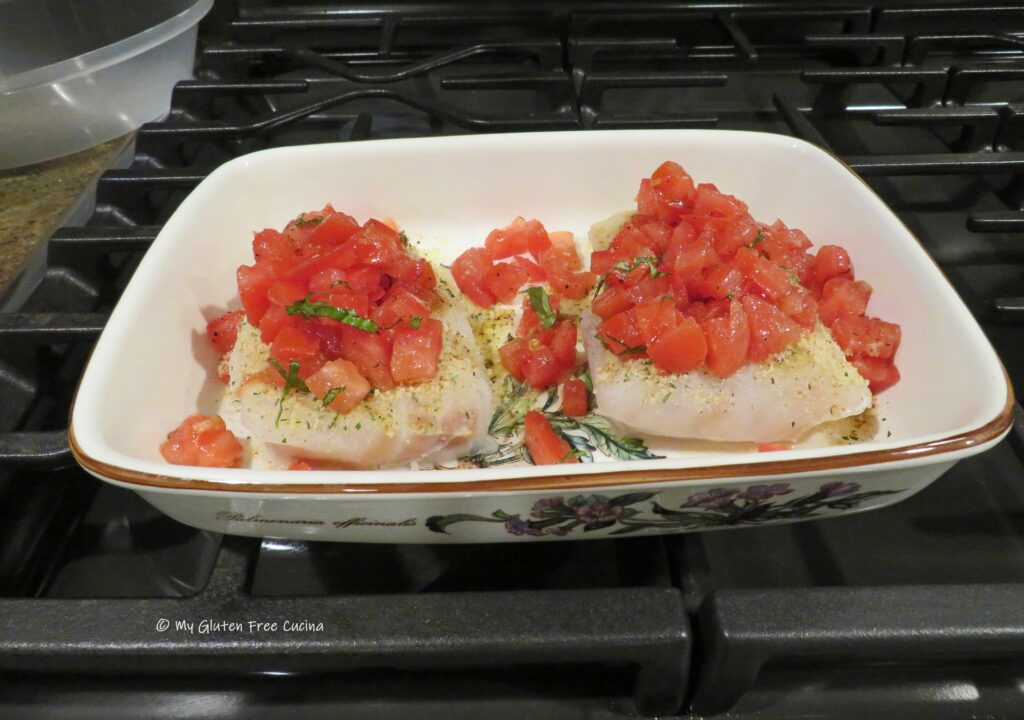 Bake for 25 minutes. That’s it! Plate with a garnish of fresh basil leaves.
 I served my Bruschetta Cod over risotto, and it was SO delicious. If you don’t know how to make risotto, jump over to this post where I explain it step-by-step.
 Notes ♪♫ Bruschetta Cod is not only healthy, but you can be assured the fish will be moist and juicy when prepared this way. I hope you try this extra special dinner!


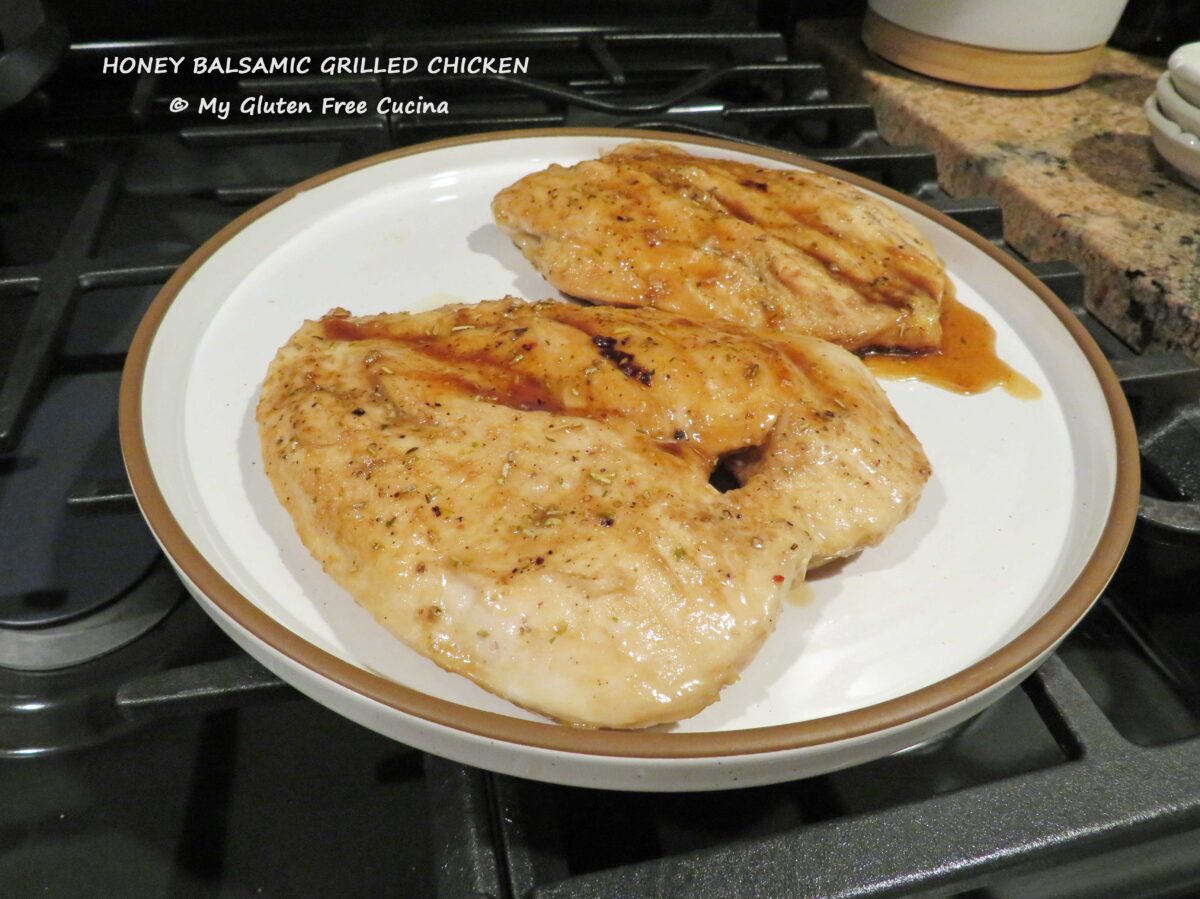
 Continue cooking with the cover off, allowing the liquid to bubble up and thicken.
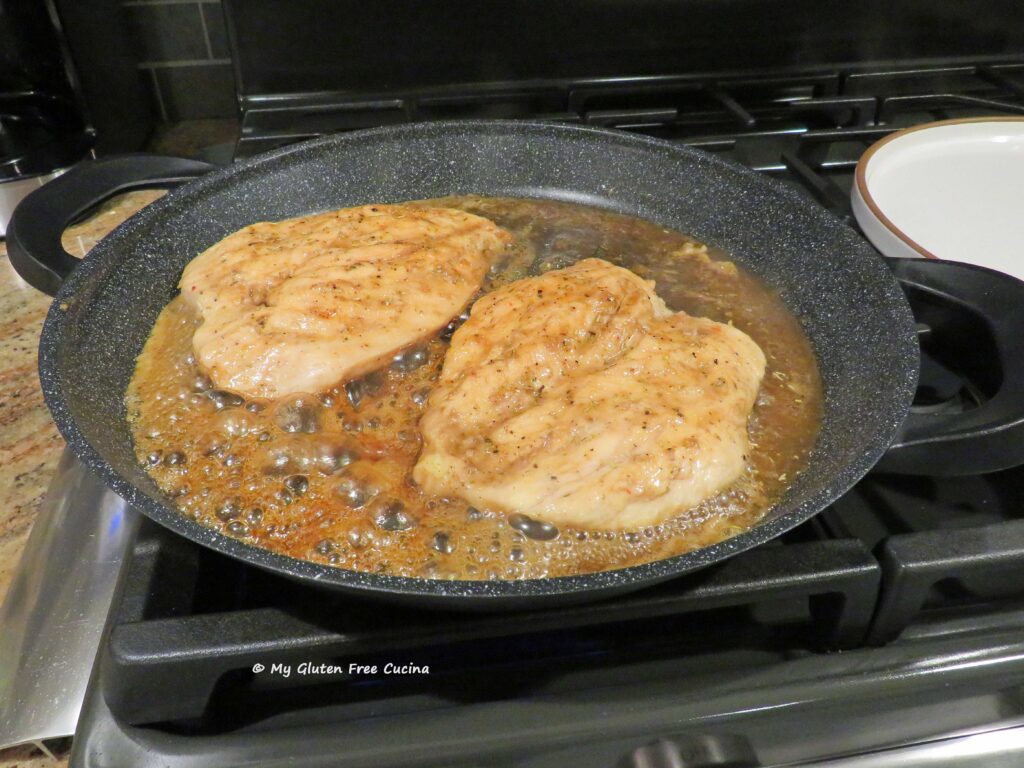 Chicken is finished when it reaches an internal temperature of 165º. Transfer to a serving dish and drizzle some of the pan juices over the top.
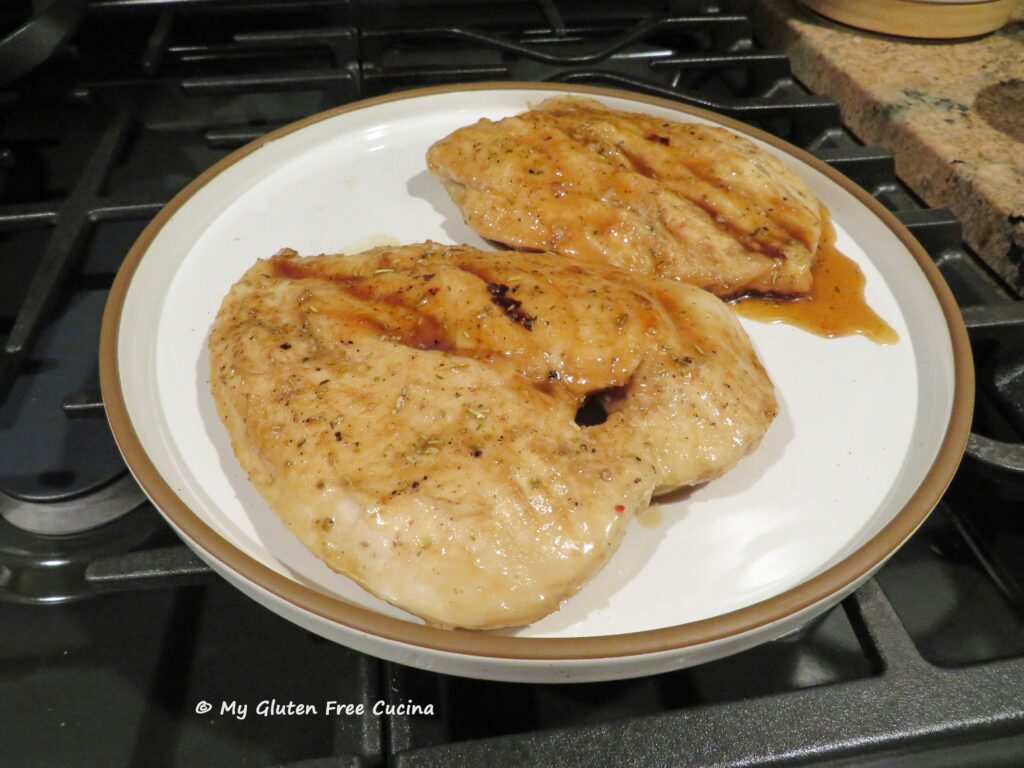


 This post contains affiliate links.
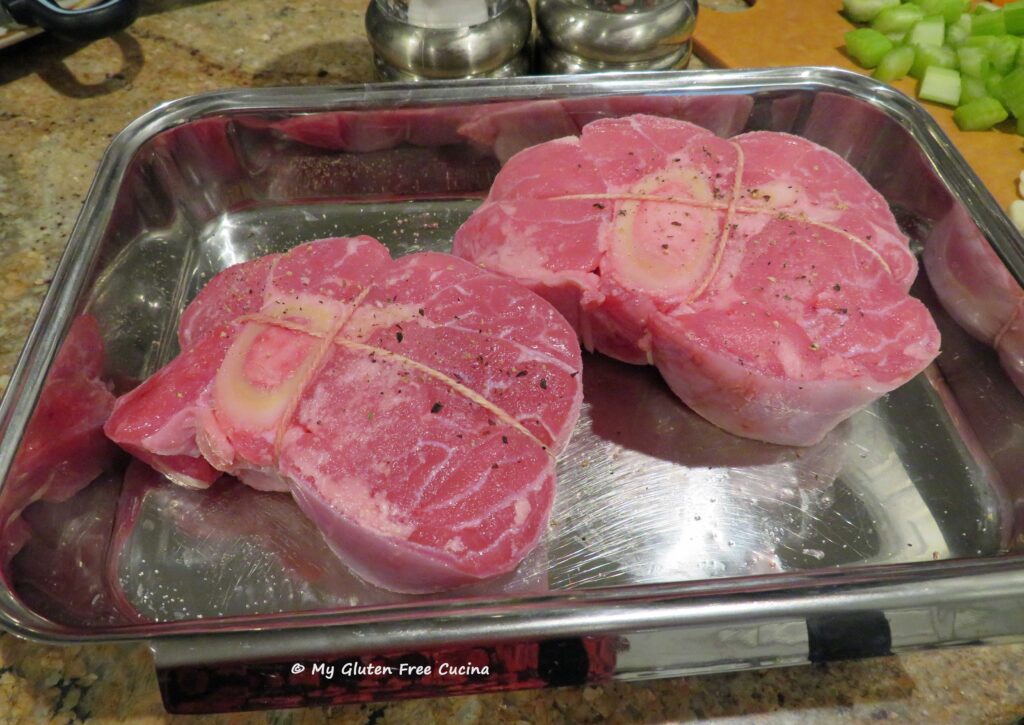

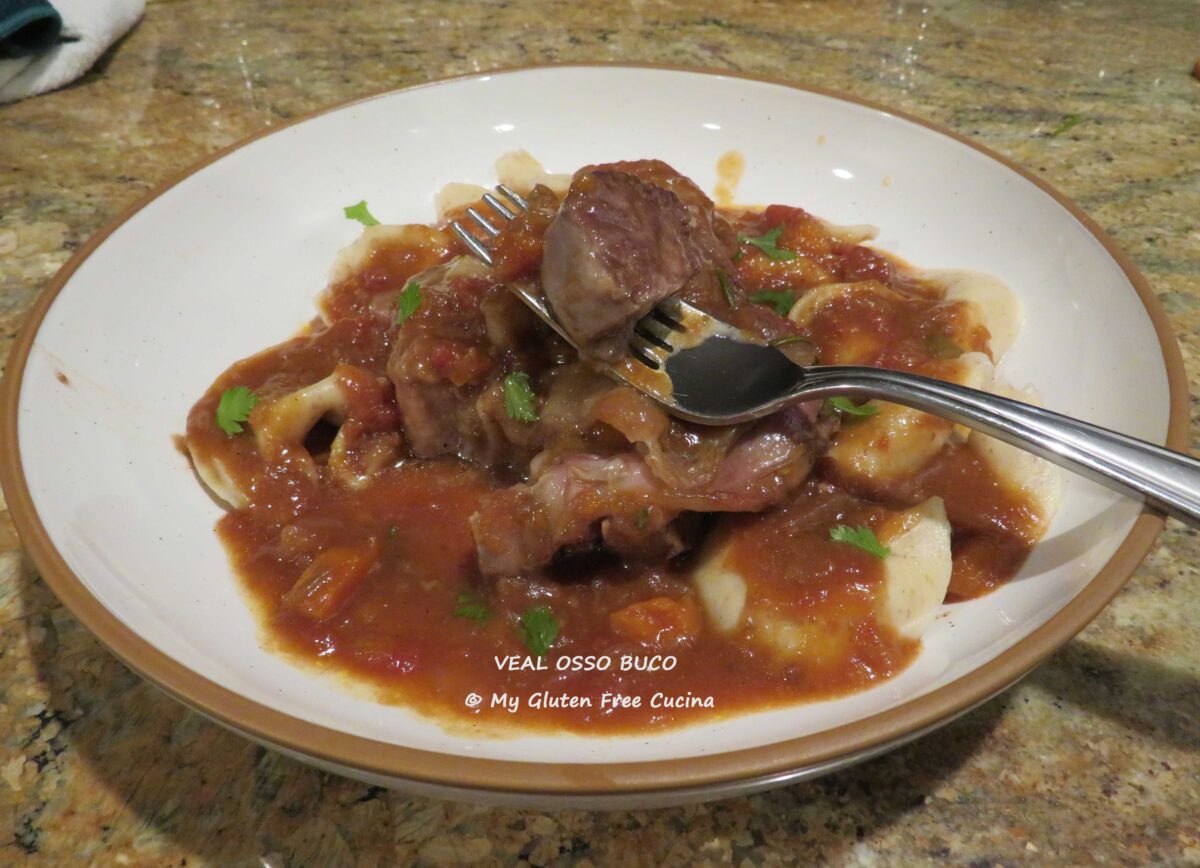
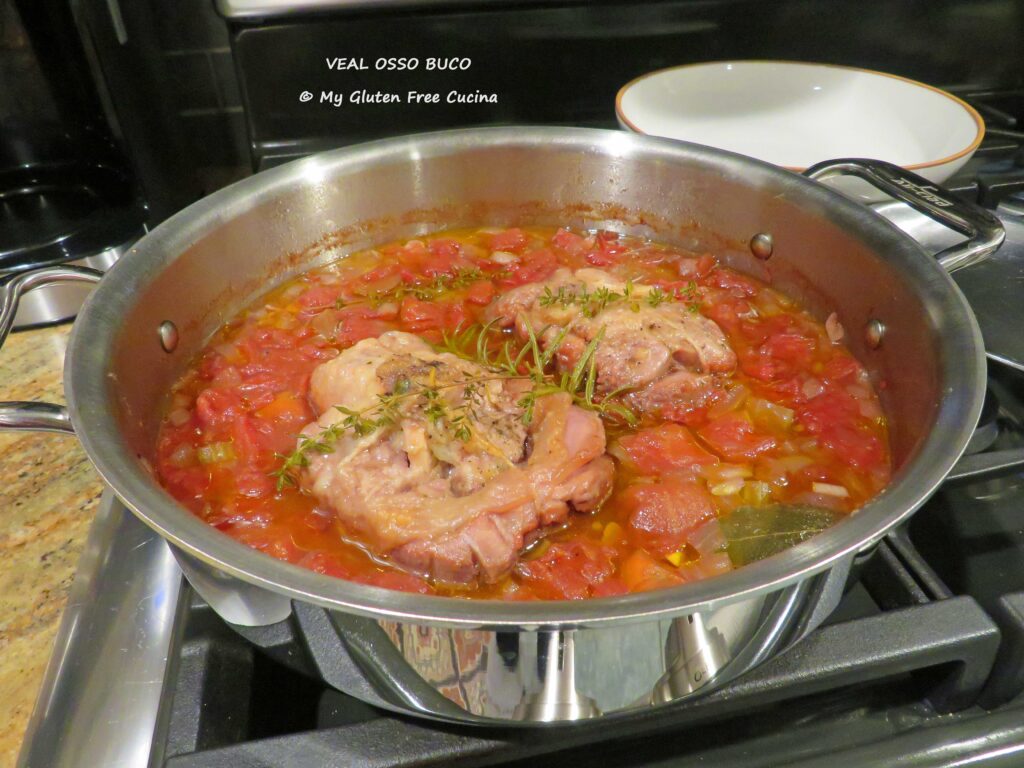
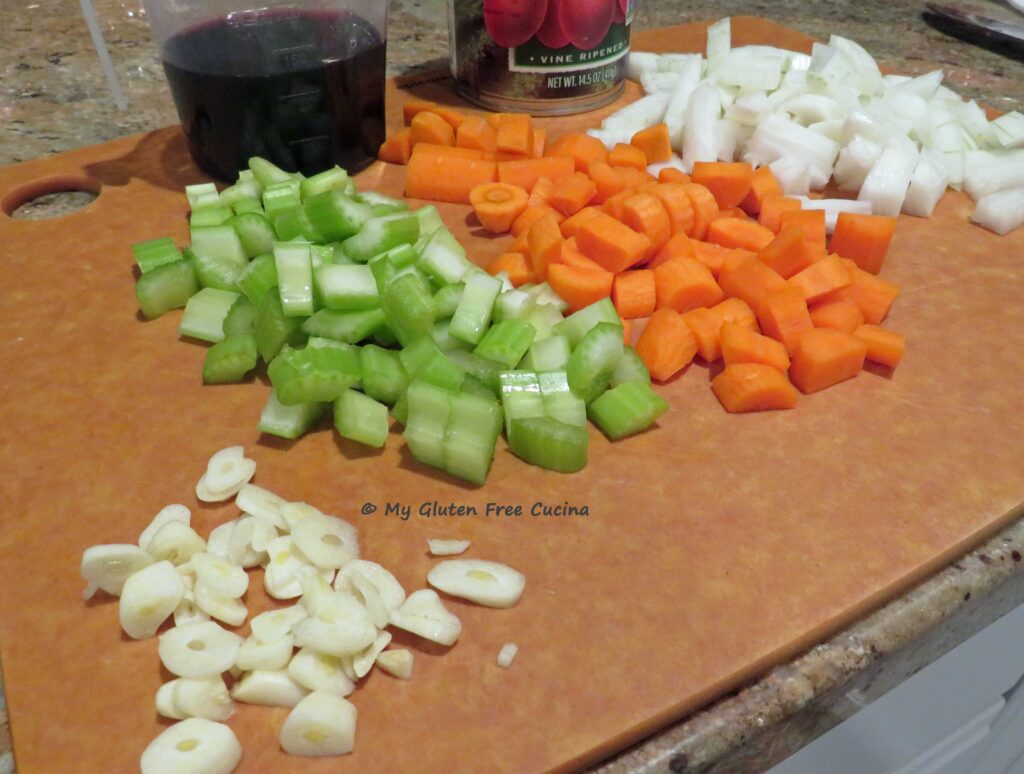
 Spoon sauce over the veal shanks and garnish with Italian parsley.
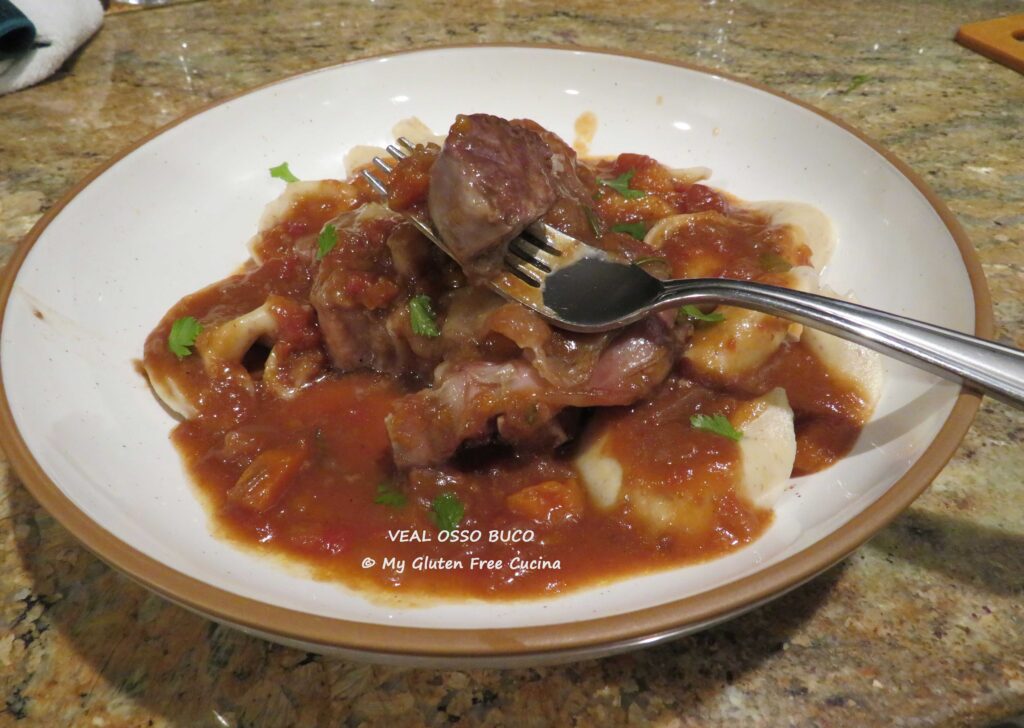


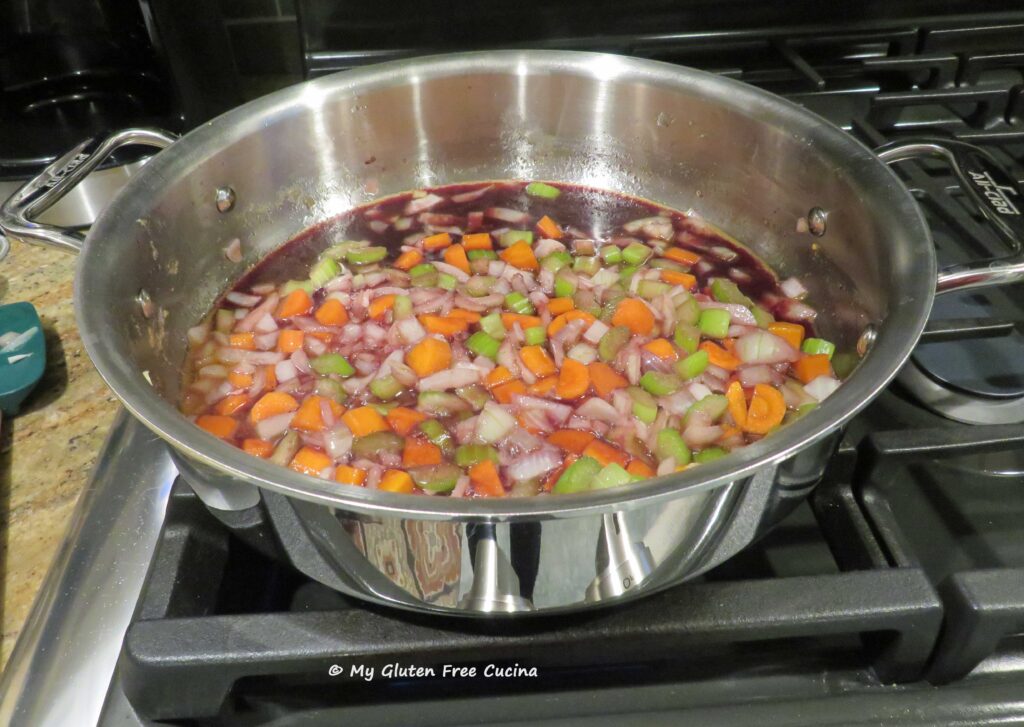
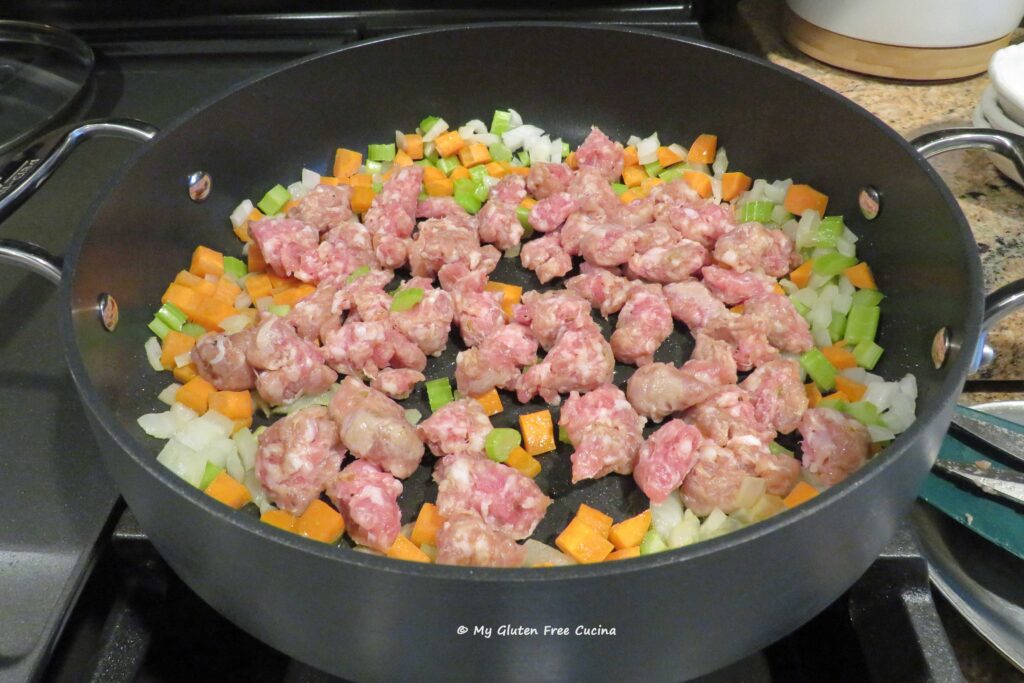
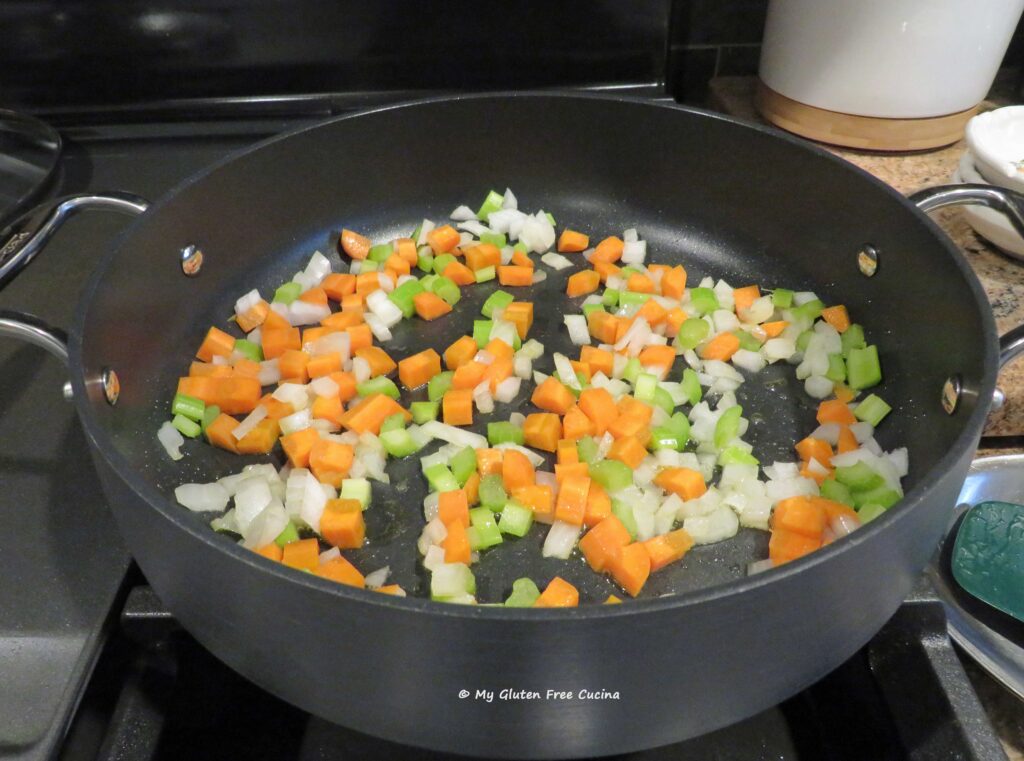 Remove the sausage casings and cut the sausage into small pieces. Add to the skillet with the veggies.
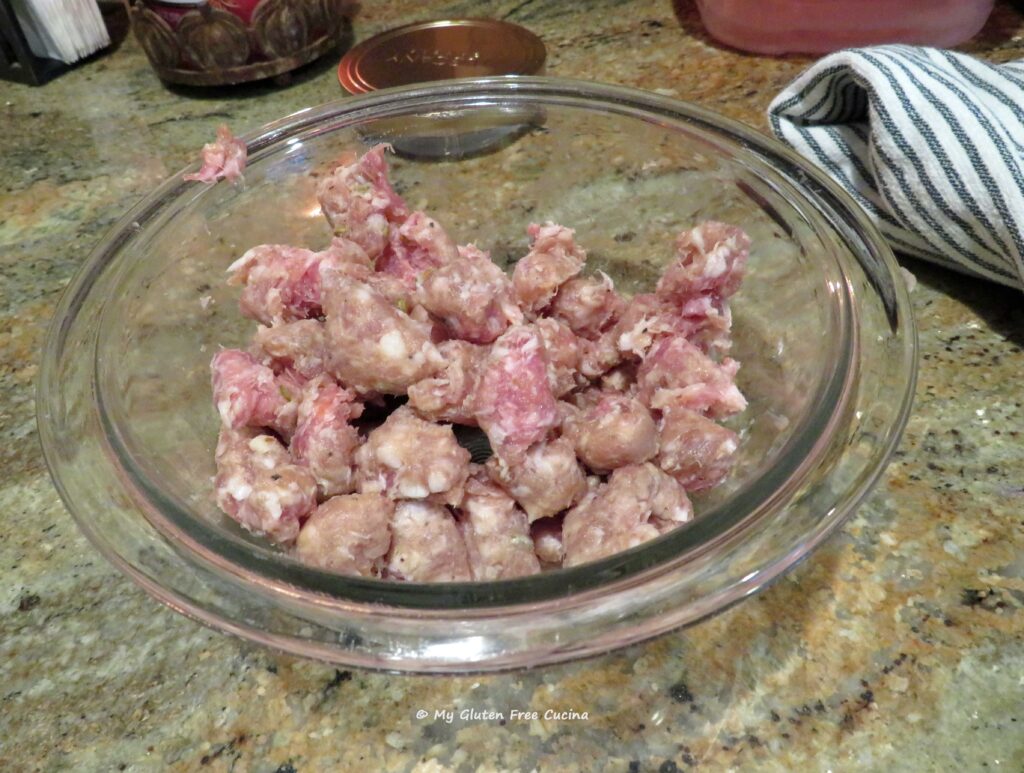
 When the sausage starts to brown, push the meat and veggies to the sides of the pan and add the tomato paste in the center.
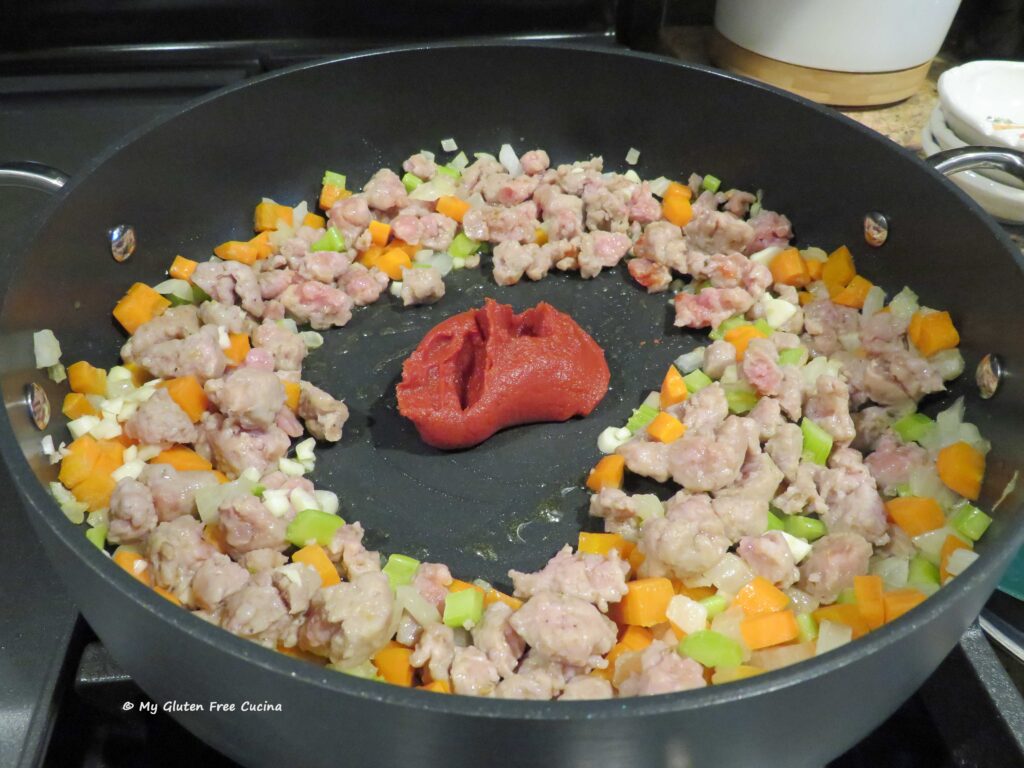 Let it toast for a few minutes, then stir it into the sausage and veggies.
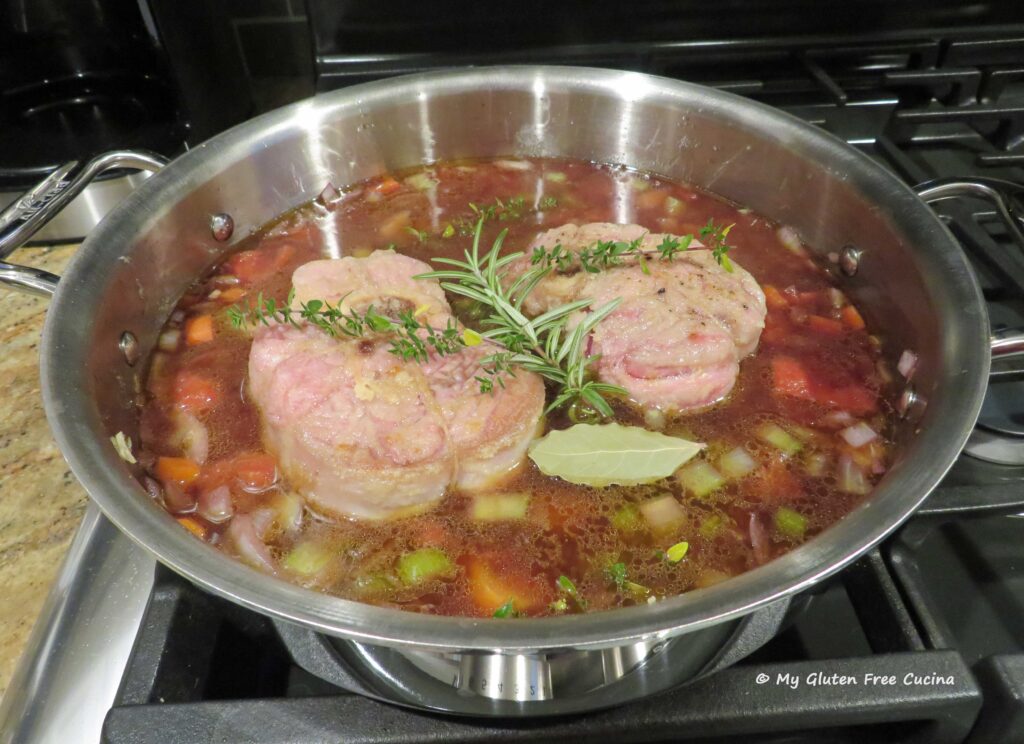
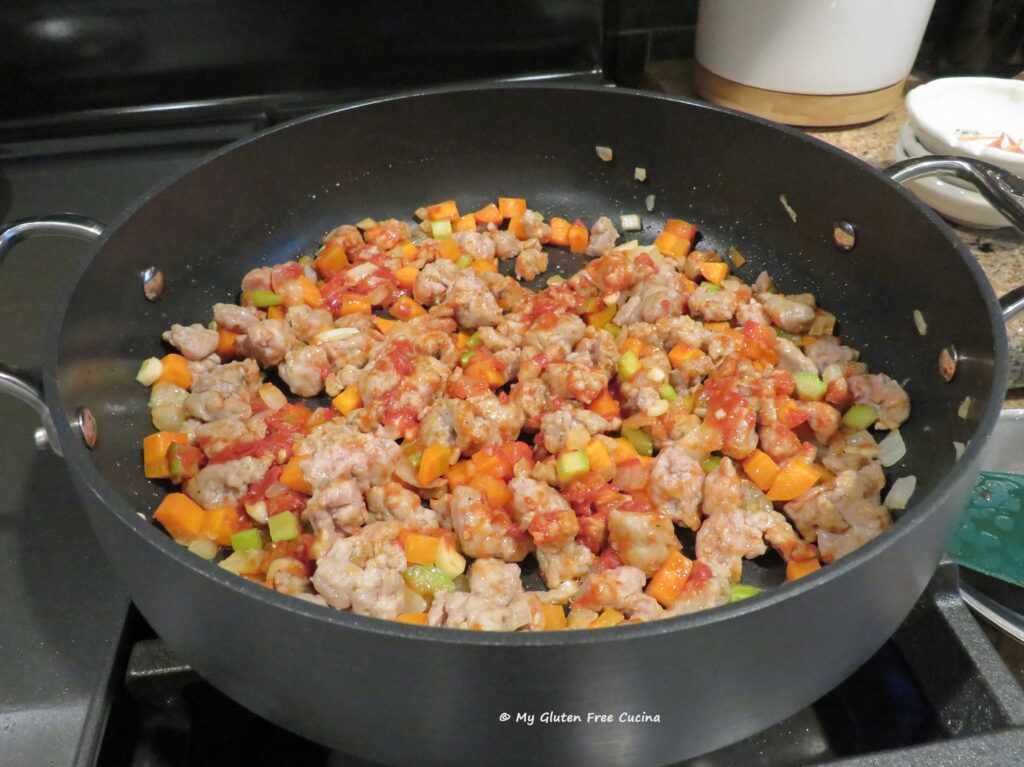 Add the wine, and saffron water, garlic, basil, oregano and bay leaf.
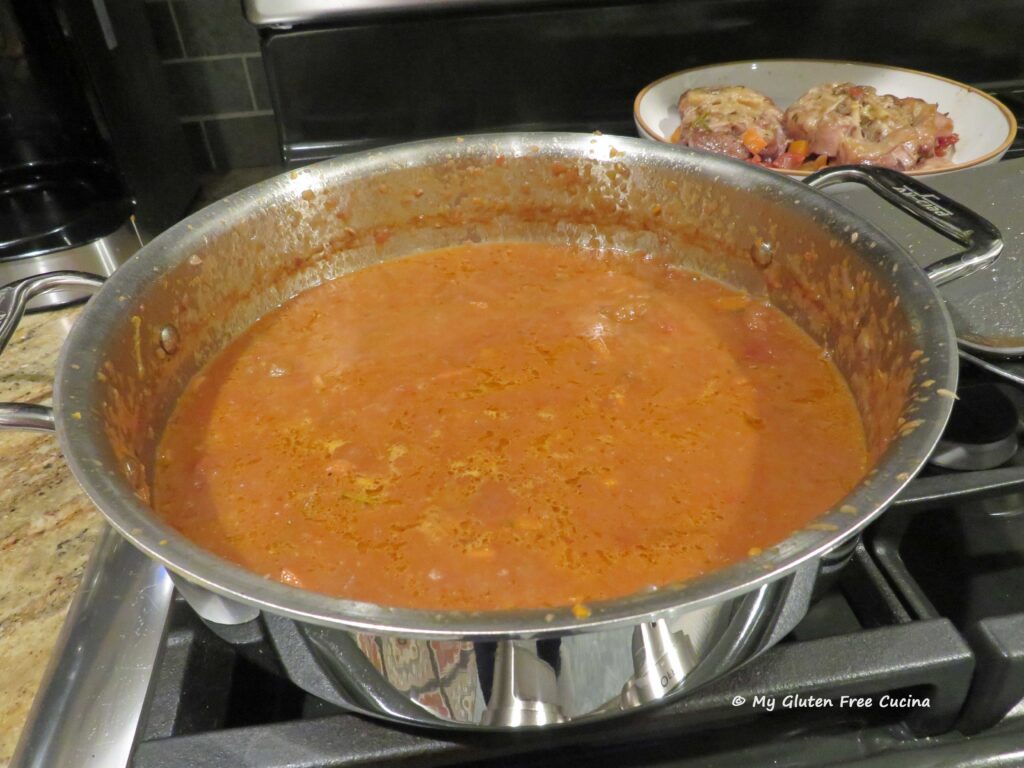
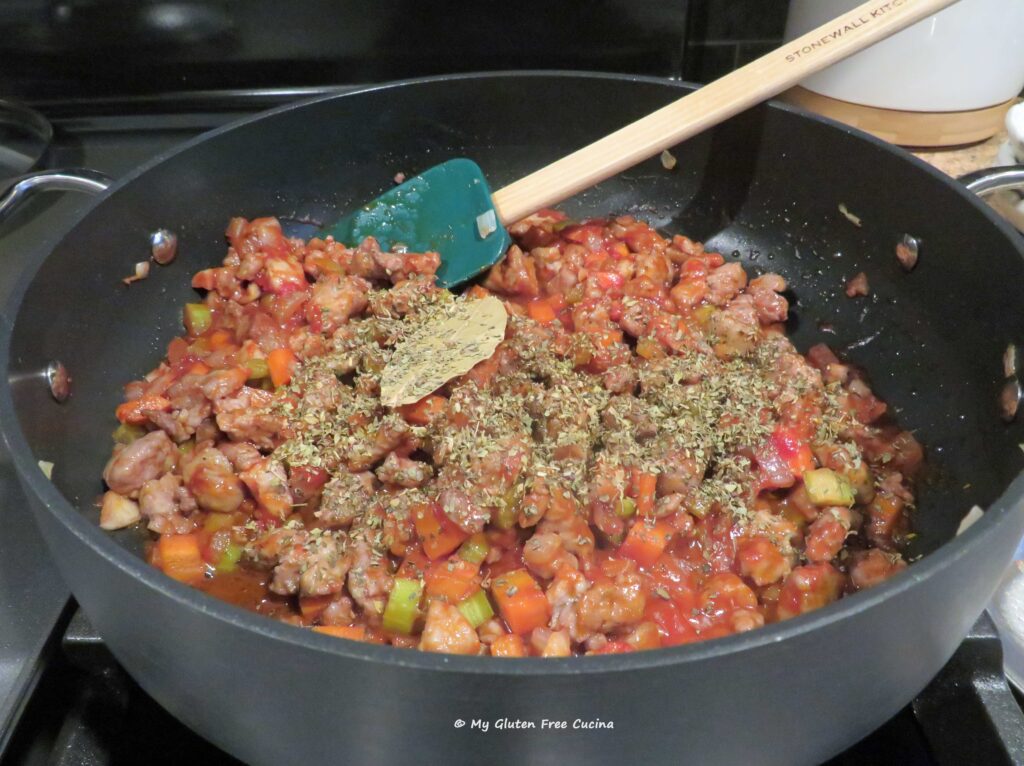 Let the wine cook off for a few minutes, then add the crushed tomatoes and the tomato sauce. Stir well, and simmer 30-45 minutes with the lid slightly ajar to allow the sauce to thicken as it cooks. Stir the sauce every 10 minutes while it simmers.
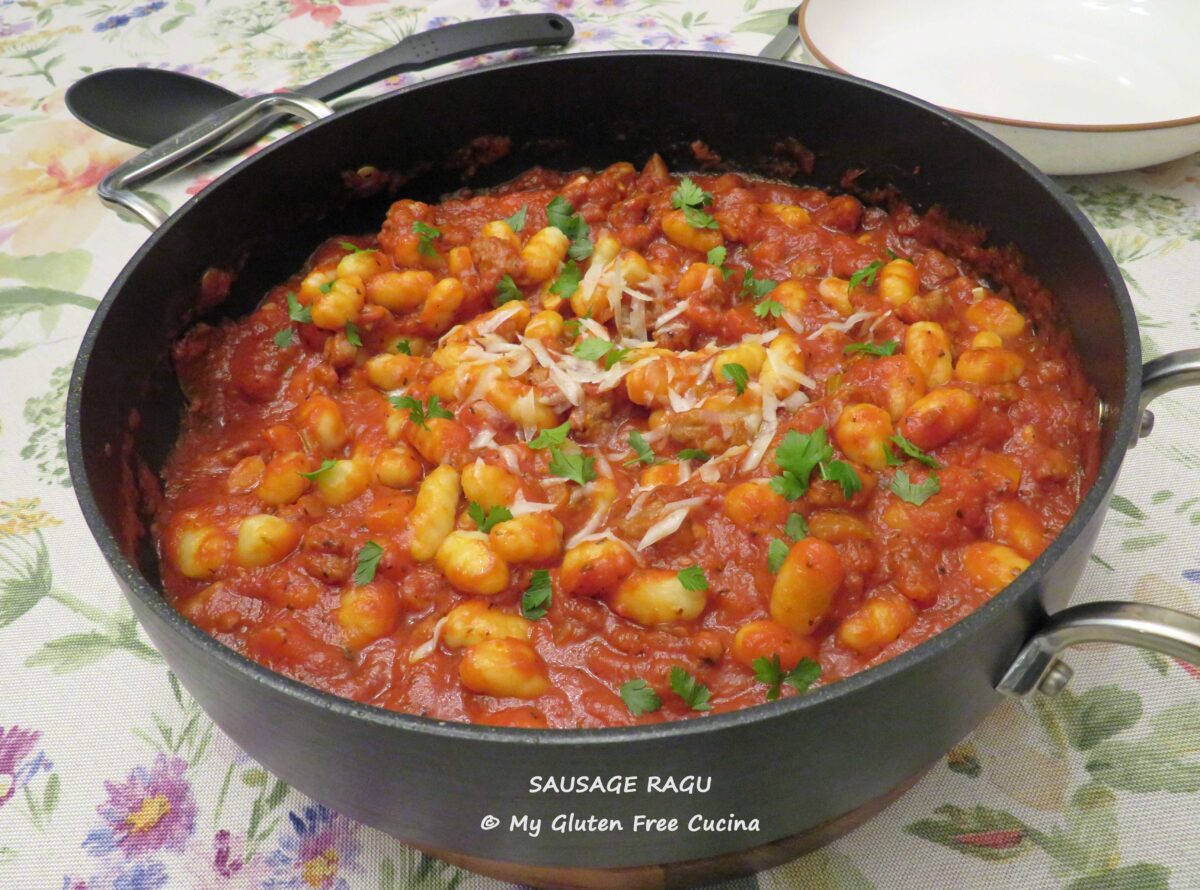
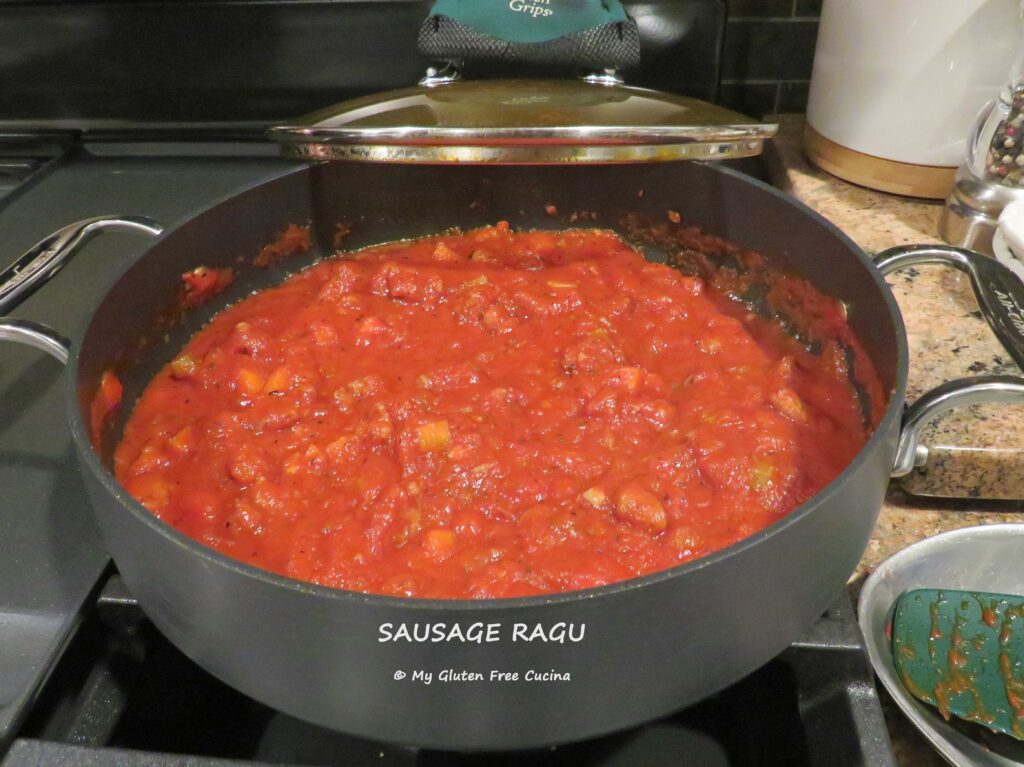 Serve this wonderful sauce over your favorite pasta and finish with grated cheese. Pecorino Romano is traditional with this dish, but you can use Parmigiano Reggiano.
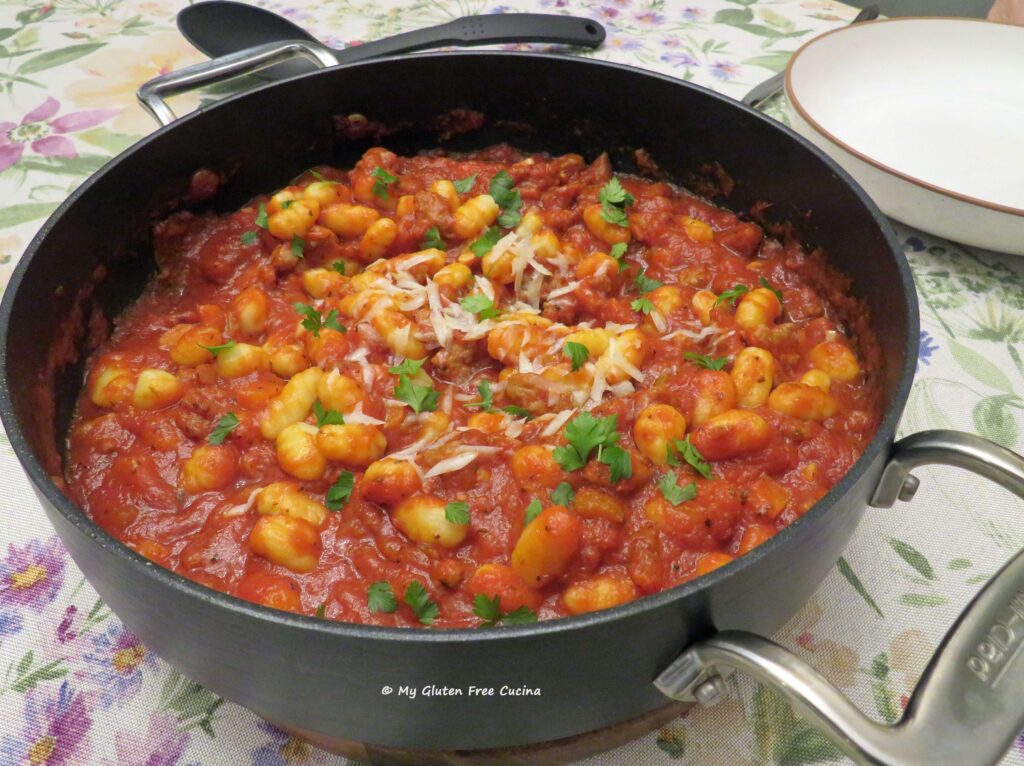 Notes ♪
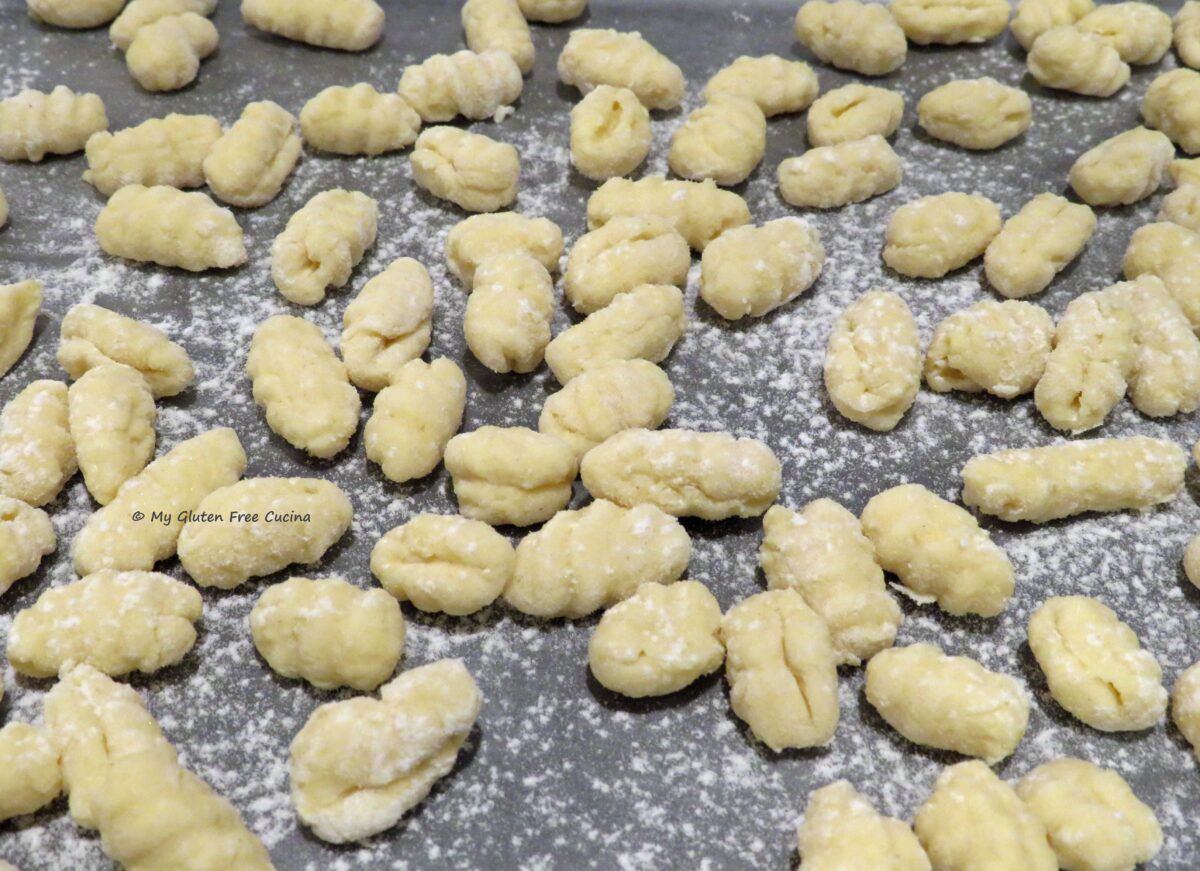
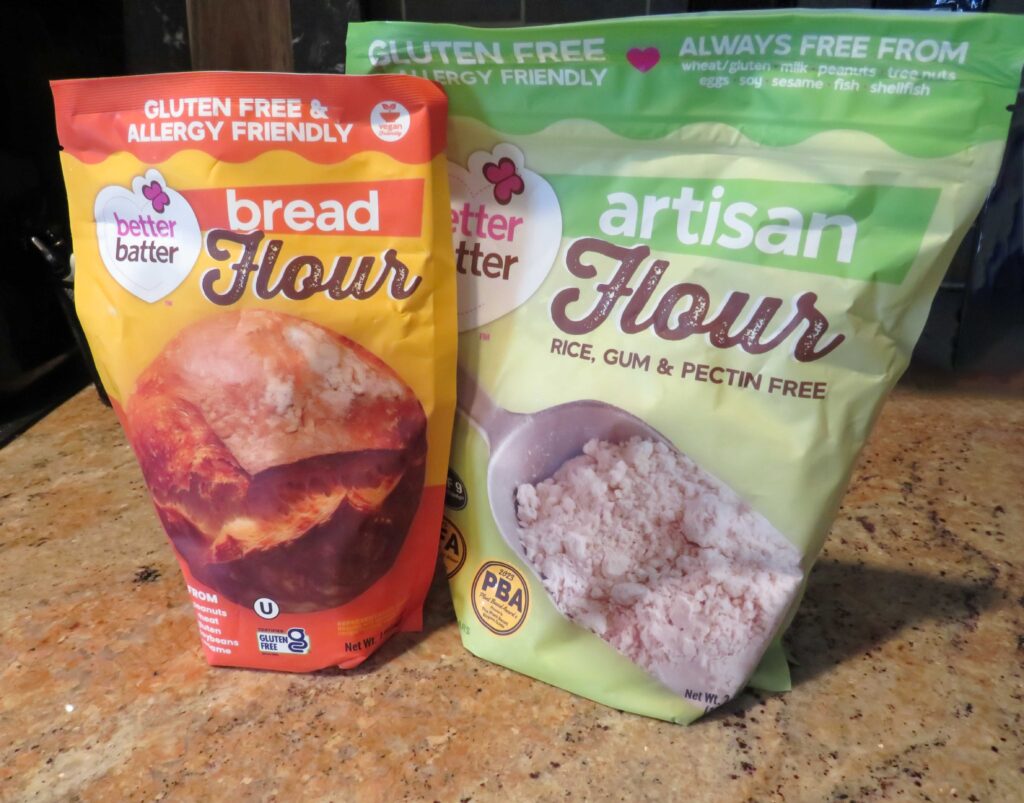
 What about gluten?
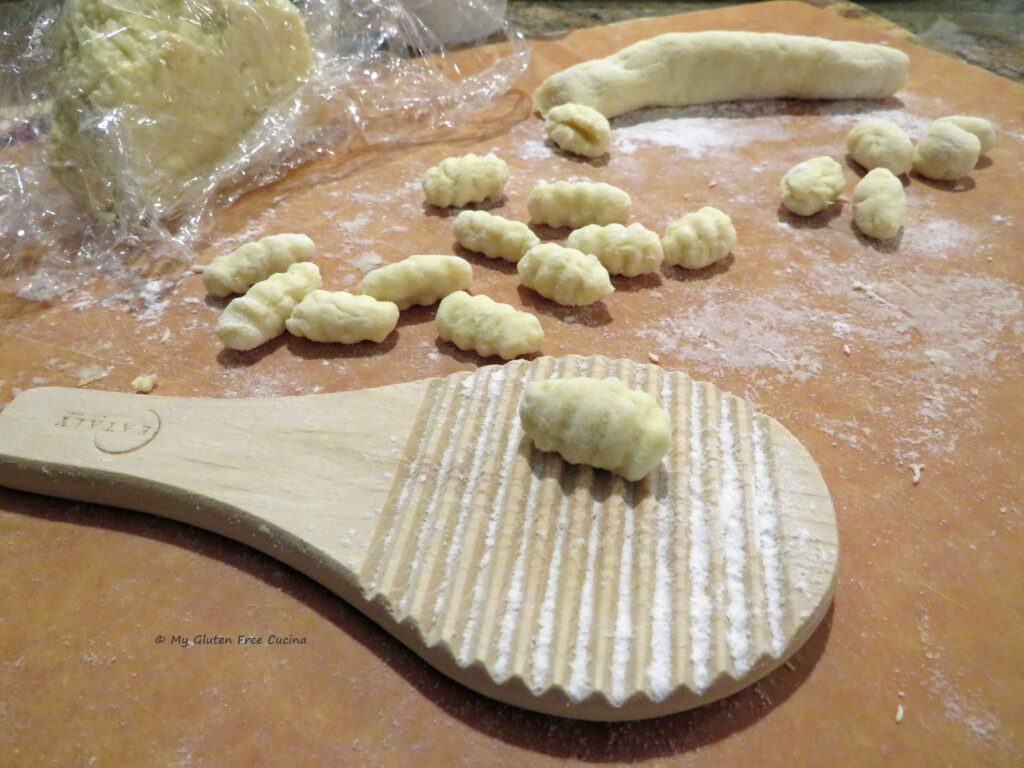 Wait, no eggs?
 Another unique feature.
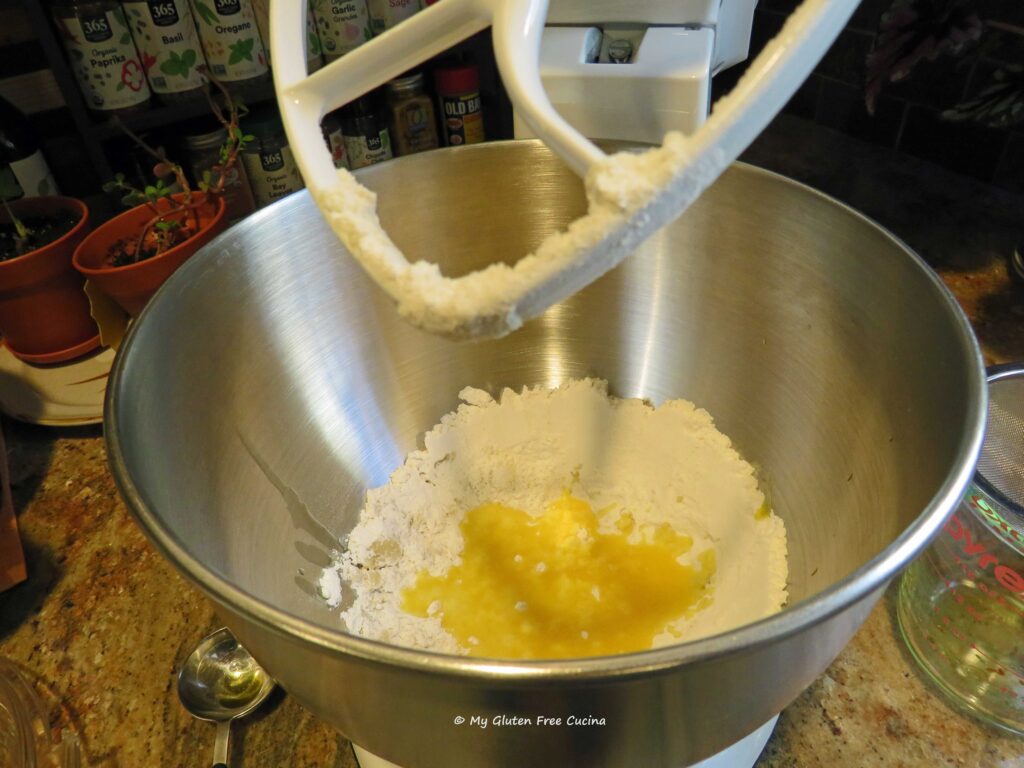 This post contains affiliate links.
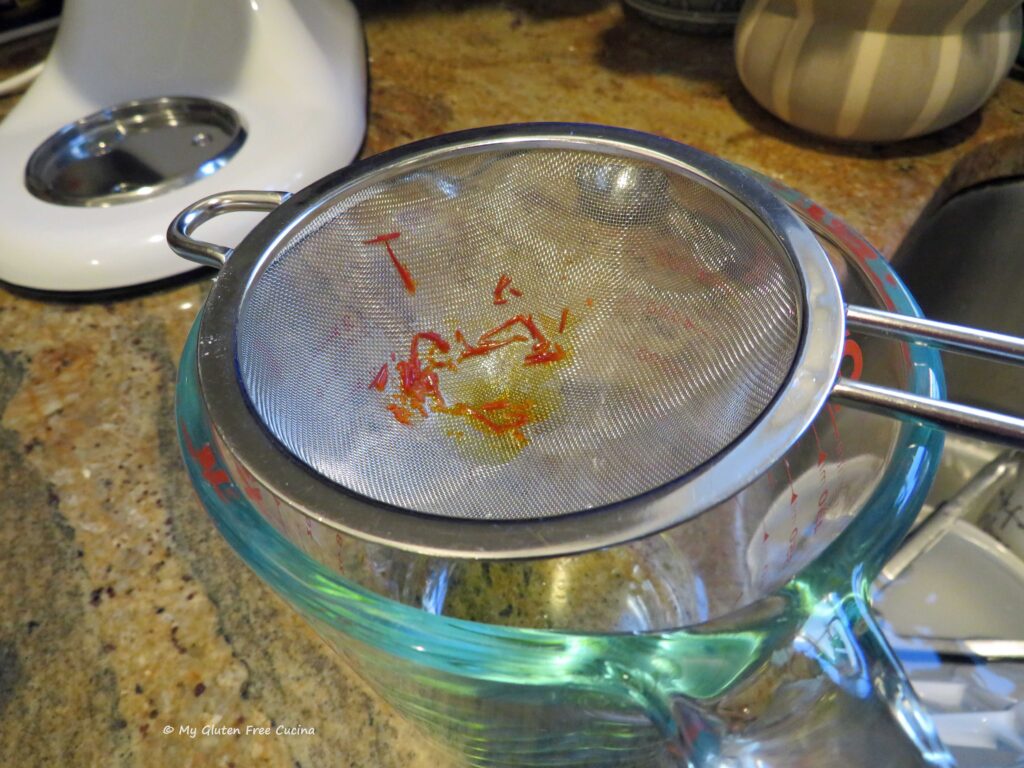
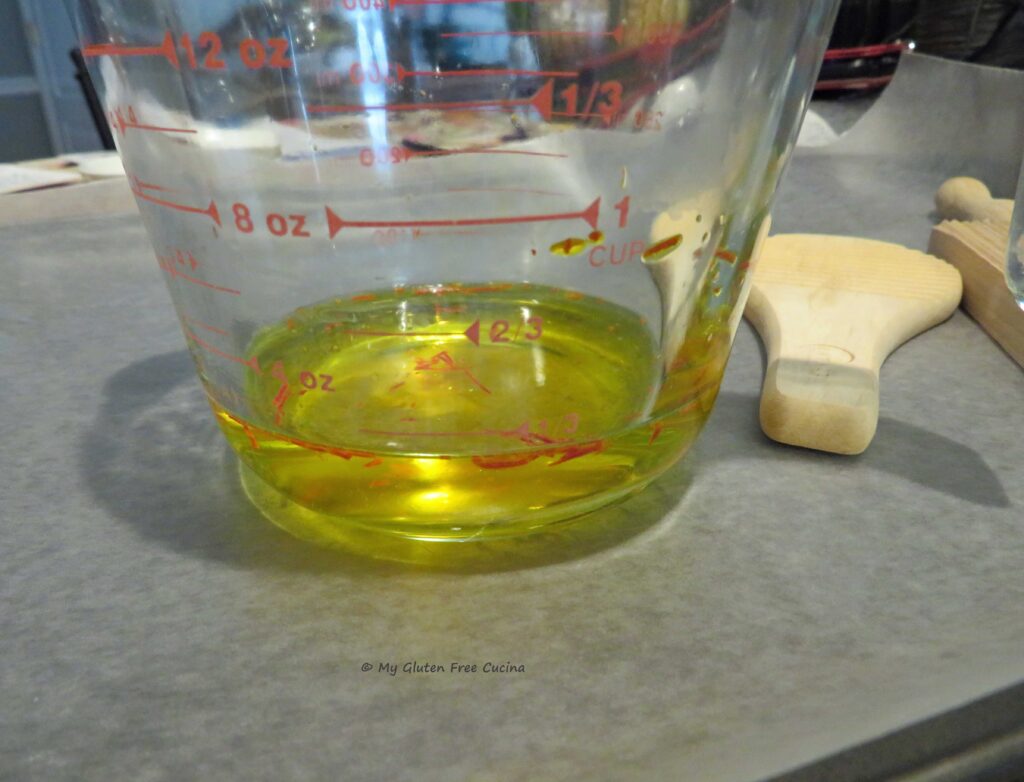 Whisk together the flour and salt in the bowl of a stand mixer. Pour in the infused liquid through a sieve, reserving the saffron threads.
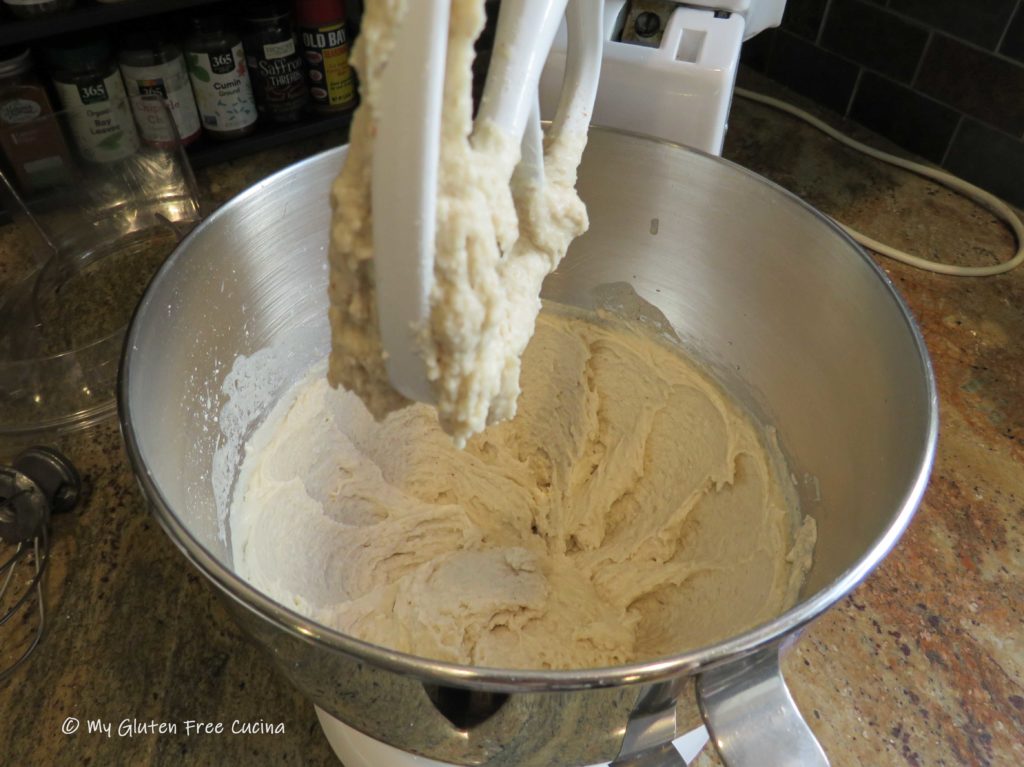
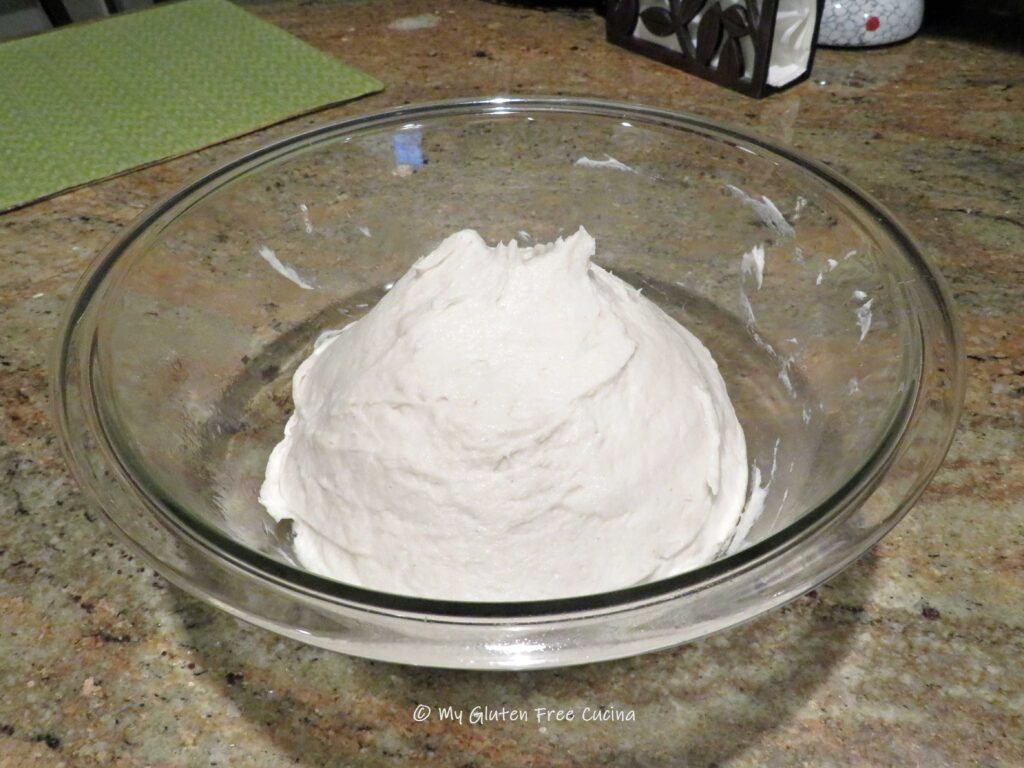
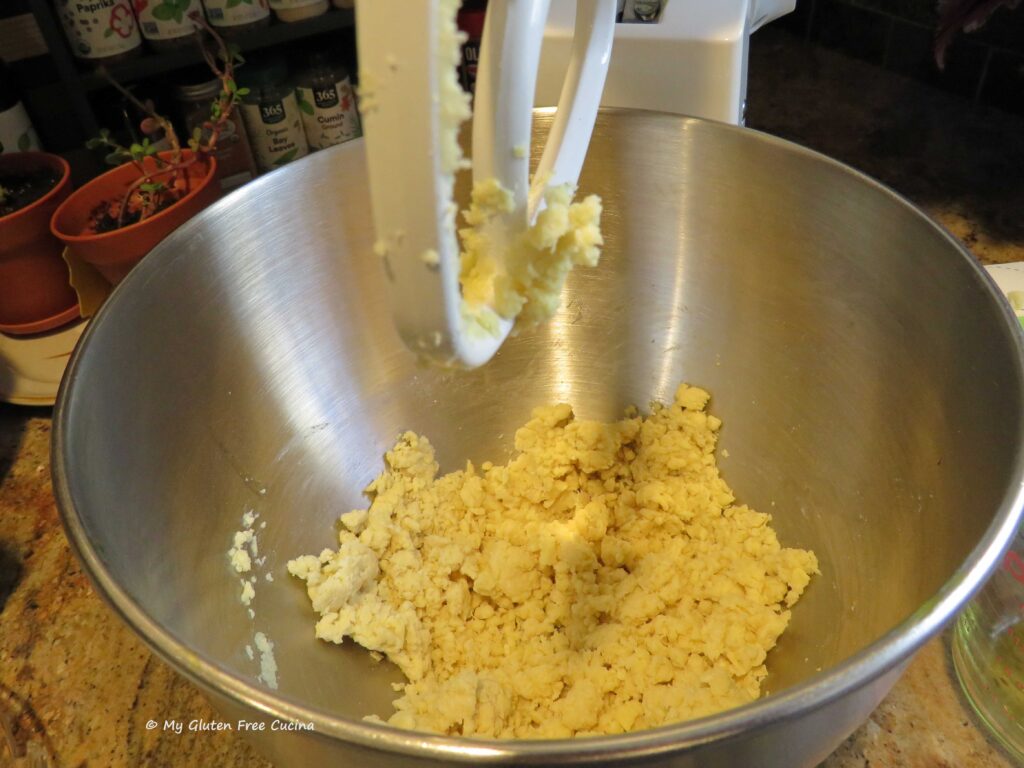 Add the remaining water 1 tbsp. at a time until you have a very soft, smooth dough, like this.
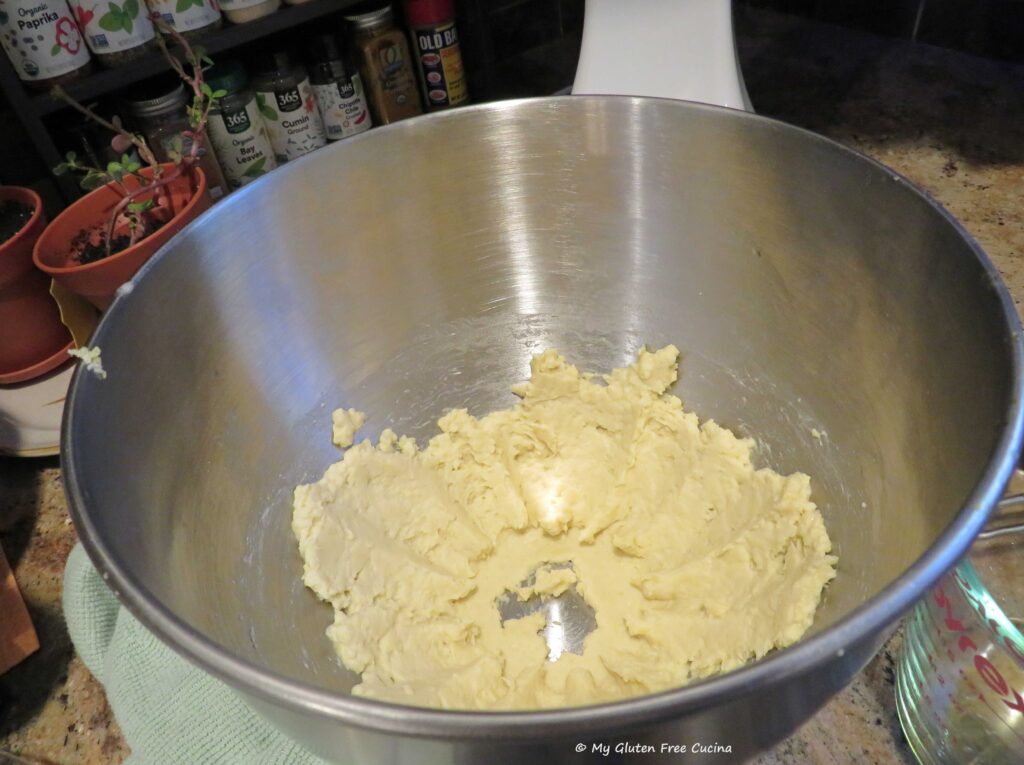
 Use a spatula to gather the dough into a ball, then cover and let it rest at room temperature for about 20 minutes.
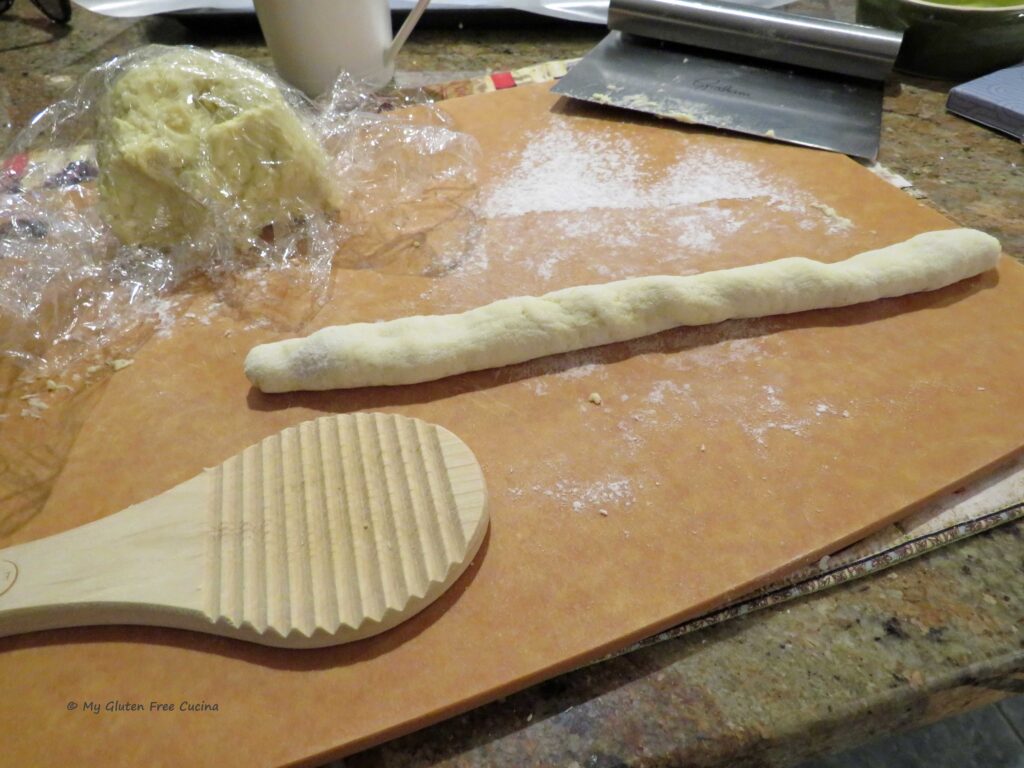
 Now roll each piece over the Malloreddus paddle, you can use your fingers or a bench knife. Be sure to keep the paddle generously floured as you work. A
 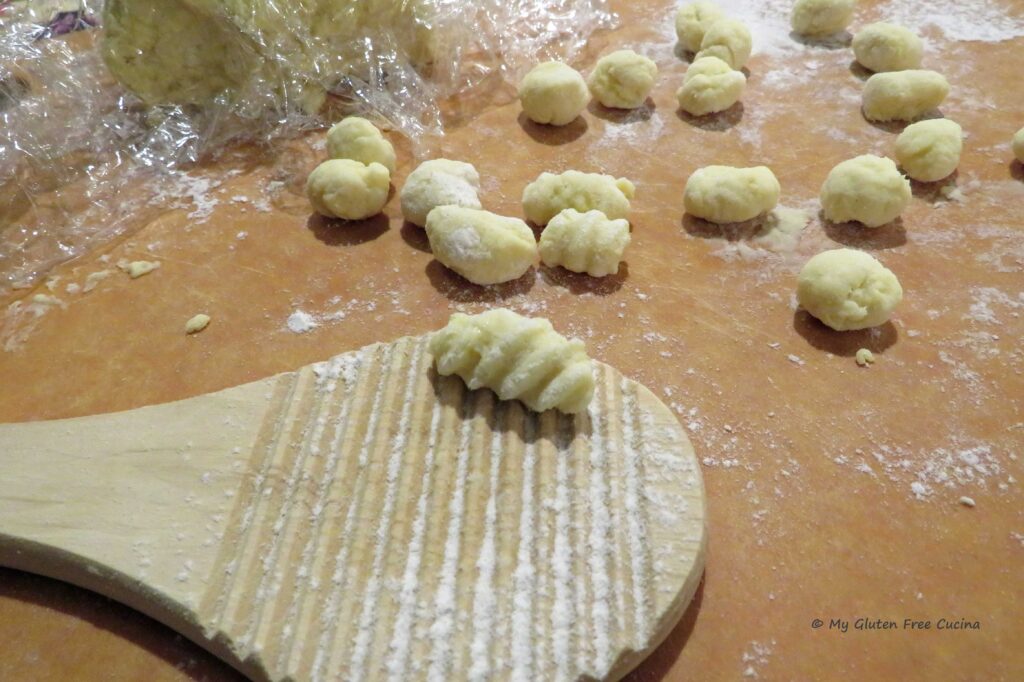 Arrange the pasta on a lightly floured baking pan in a single layer. I lined mine with wax paper. At this point, you can cover the pasta with plastic wrap and refrigerate it until you are ready to start cooking.
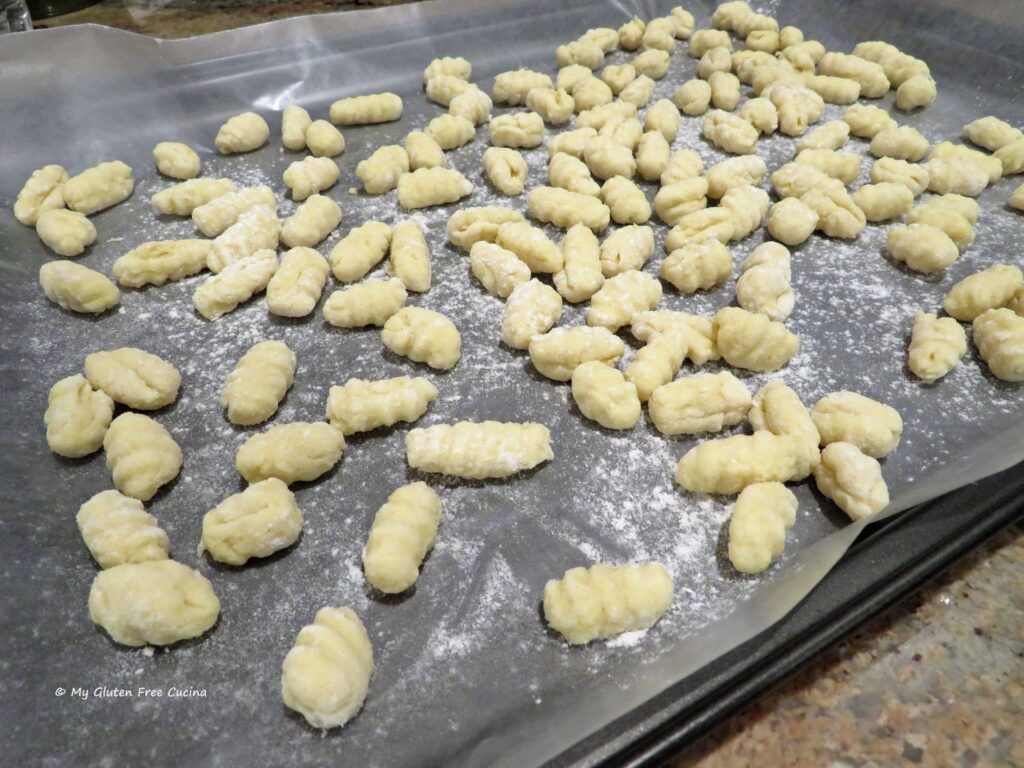 For longer term storage, place the pan in the freezer for a few hours, then transfer the pasta to a freezer safe bag.


 Ingredients:
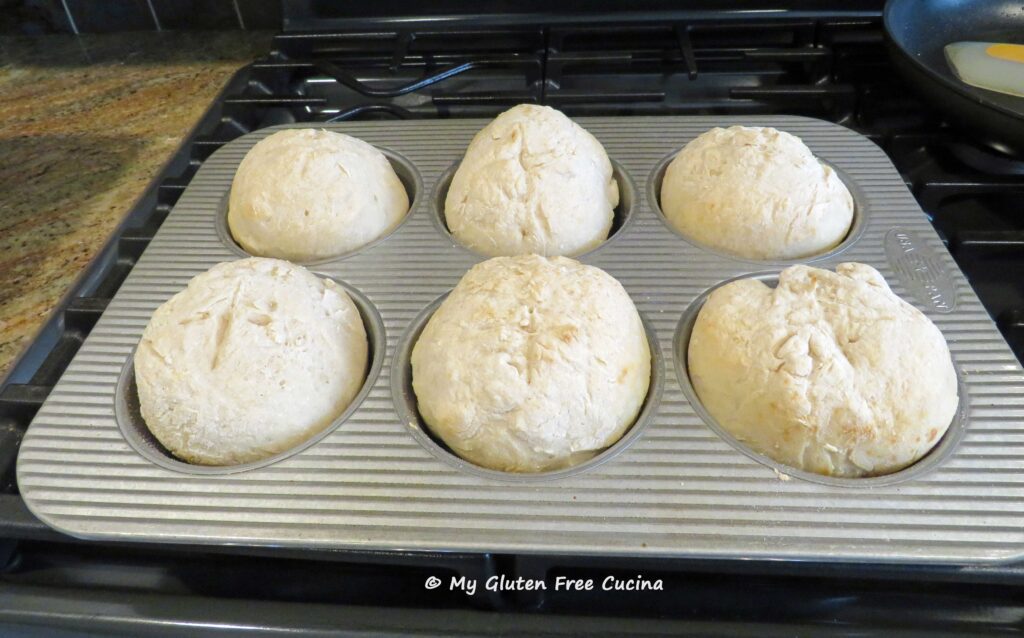
 Mist a muffin tin with cooking spray.
  Bake for 15 minutes. Check the center with a toothpick, and if it comes out dry, they are done.
 Brush the tops with melted butter, then transfer to a rack to cool.
 Muffins can be stored at room temperature for one day, and any leftover after that can be frozen.
 Yes, they are gluten free!
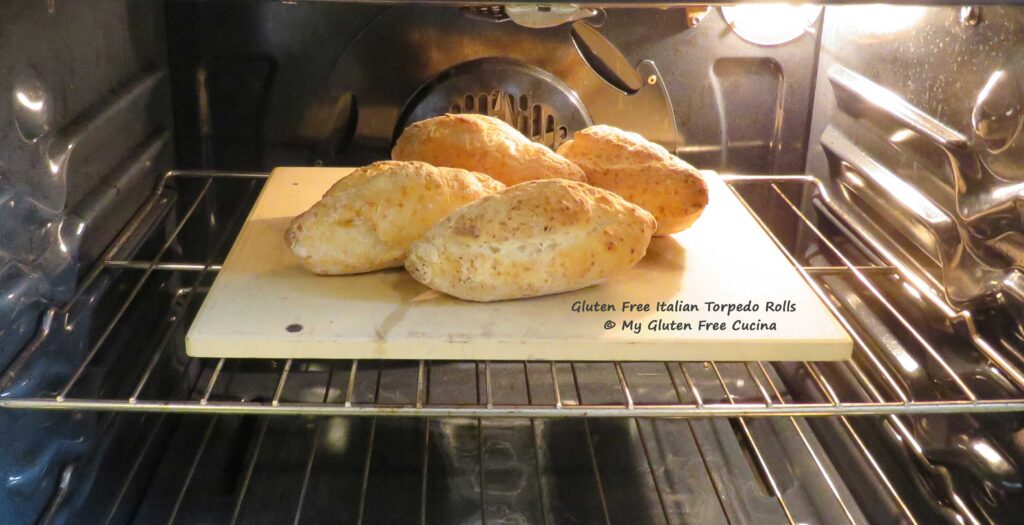 You are going to love this recipe!
 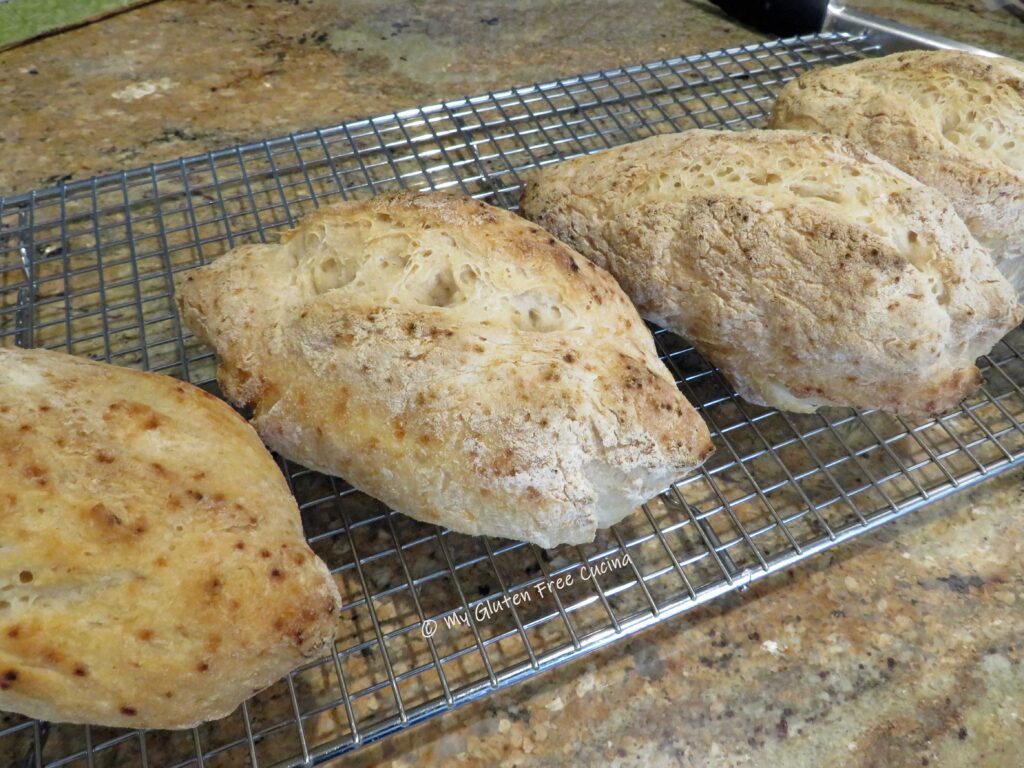 Ingredients:
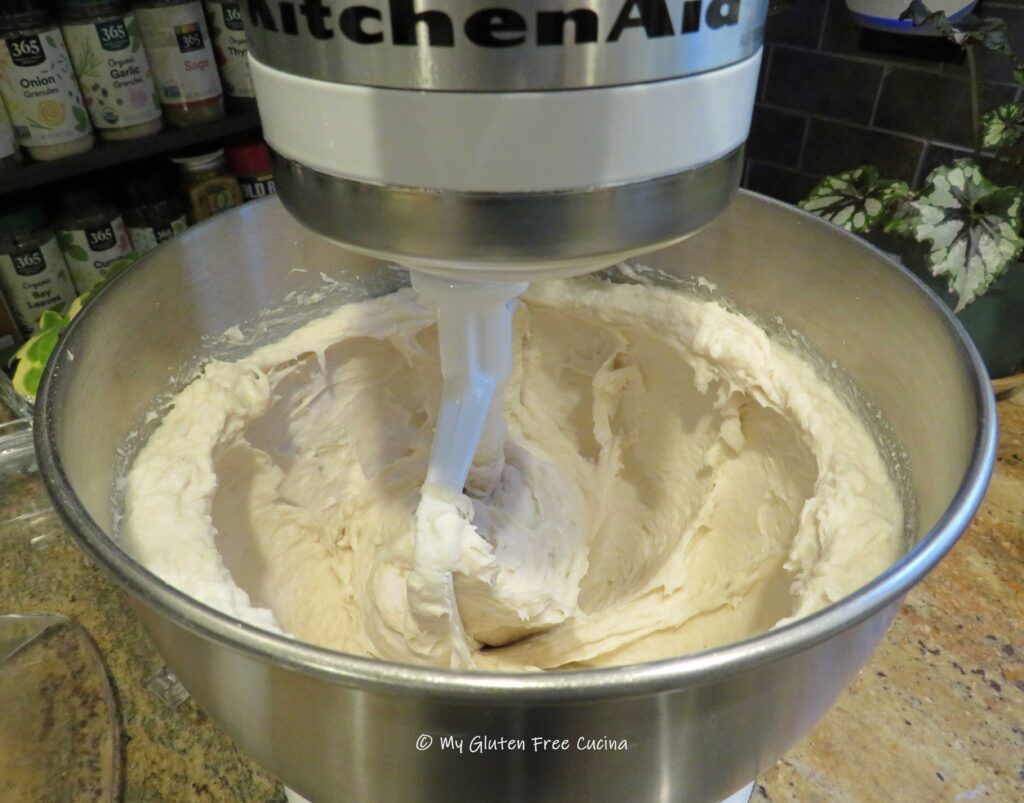 No stand mixer? You can combine everything in a large bowl with a
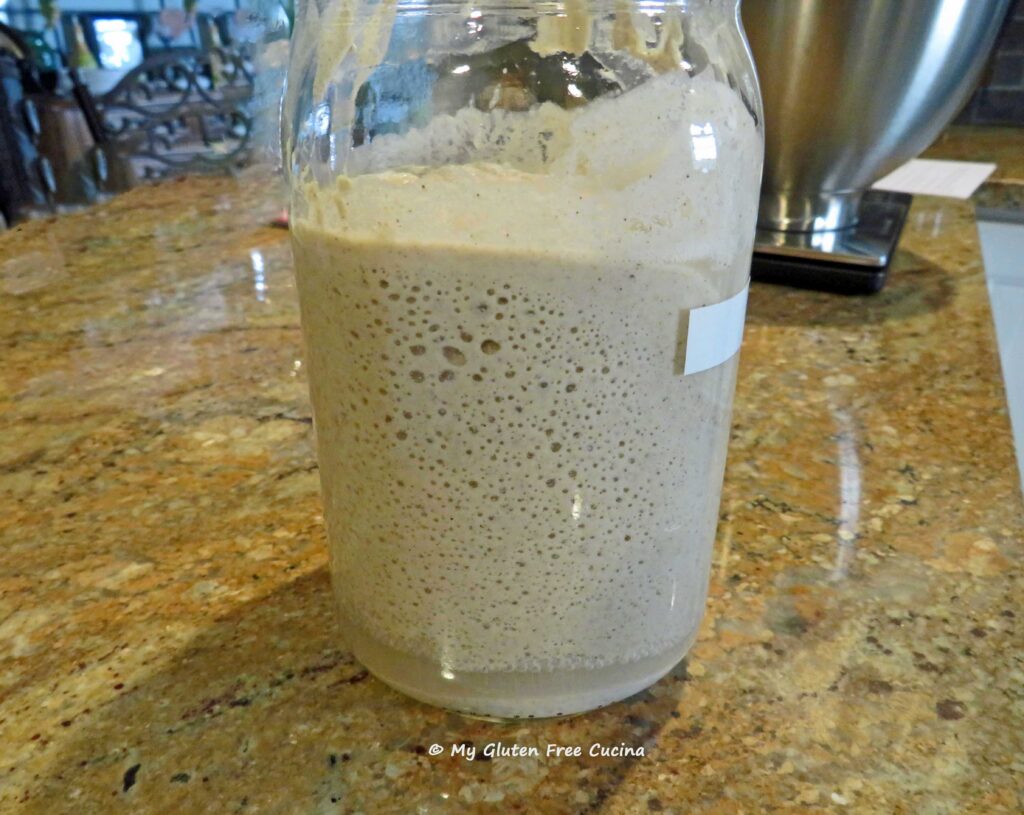
 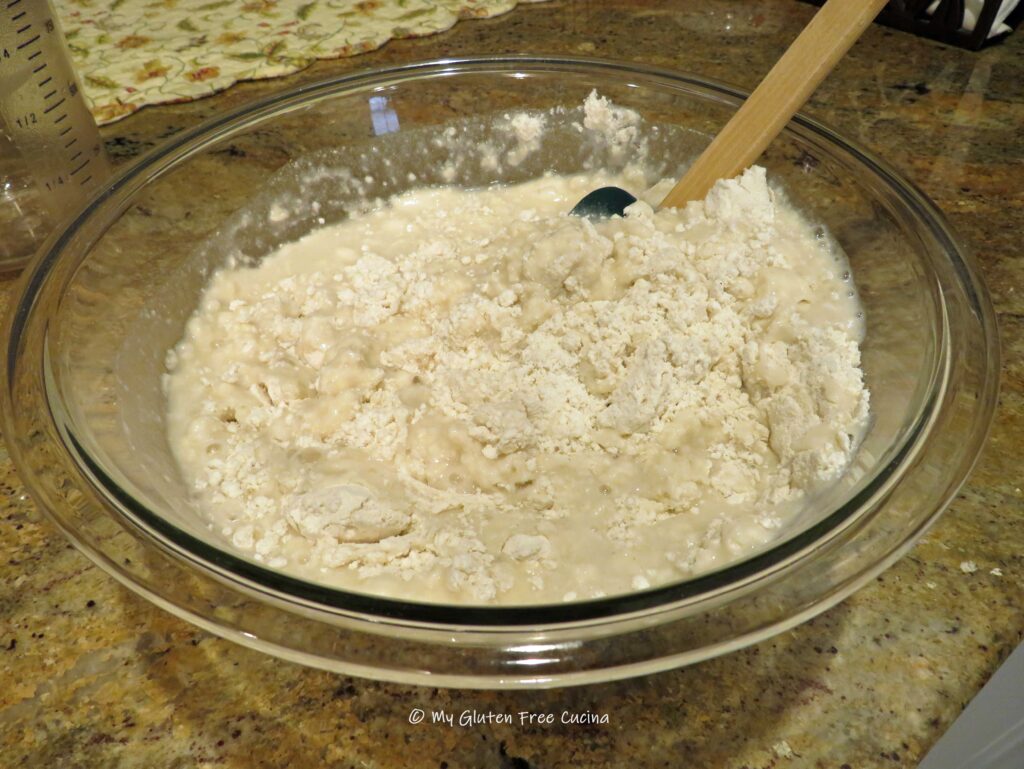 Now cover the bowl with plastic wrap and leave it on the counter (room temperature) overnight for 12-13 hours. I like to make my dough around 8pm, then shape the rolls while I’m having coffee the next morning, around 9am.
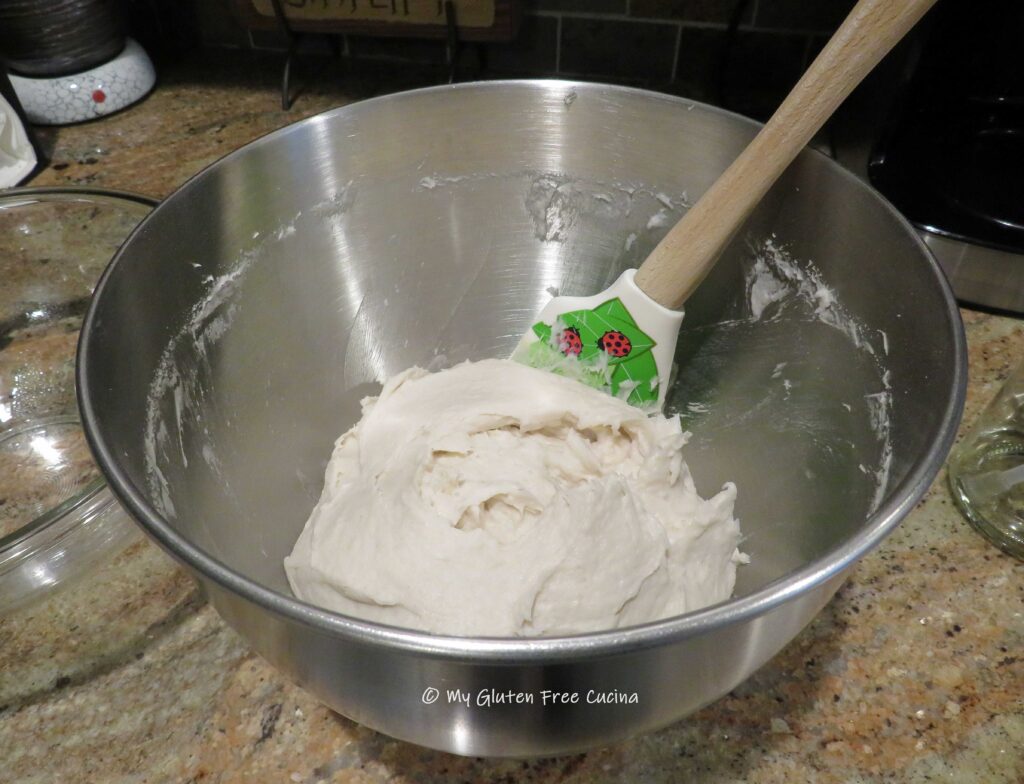
 In the morning, preheat the oven to 475º with a
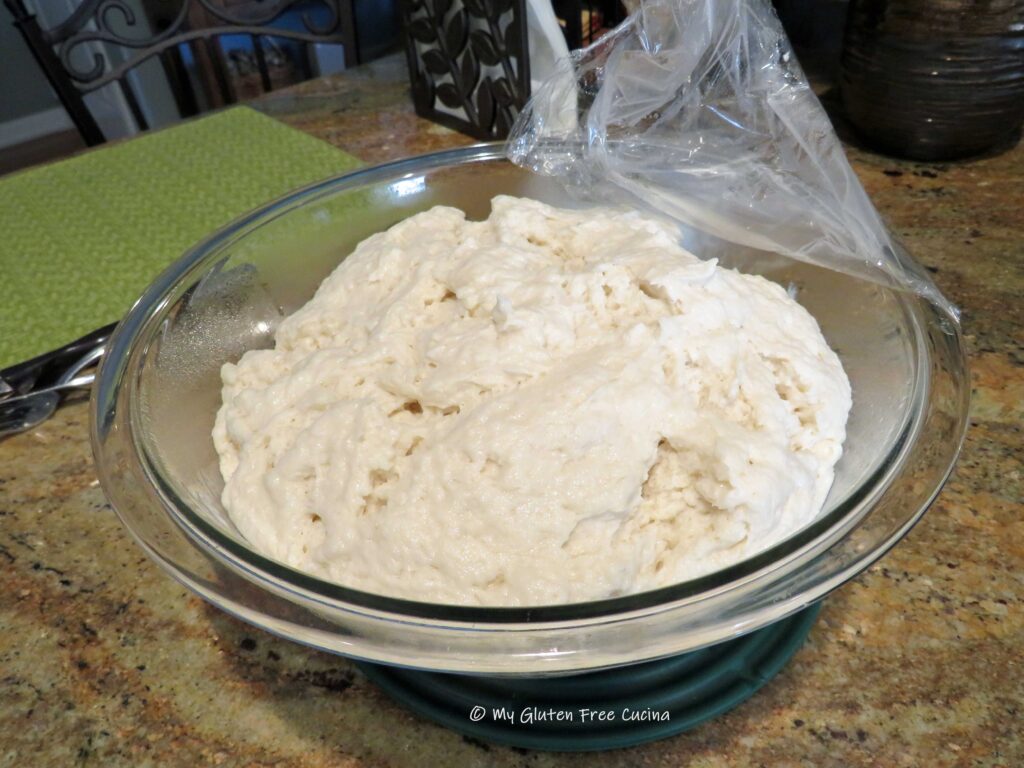
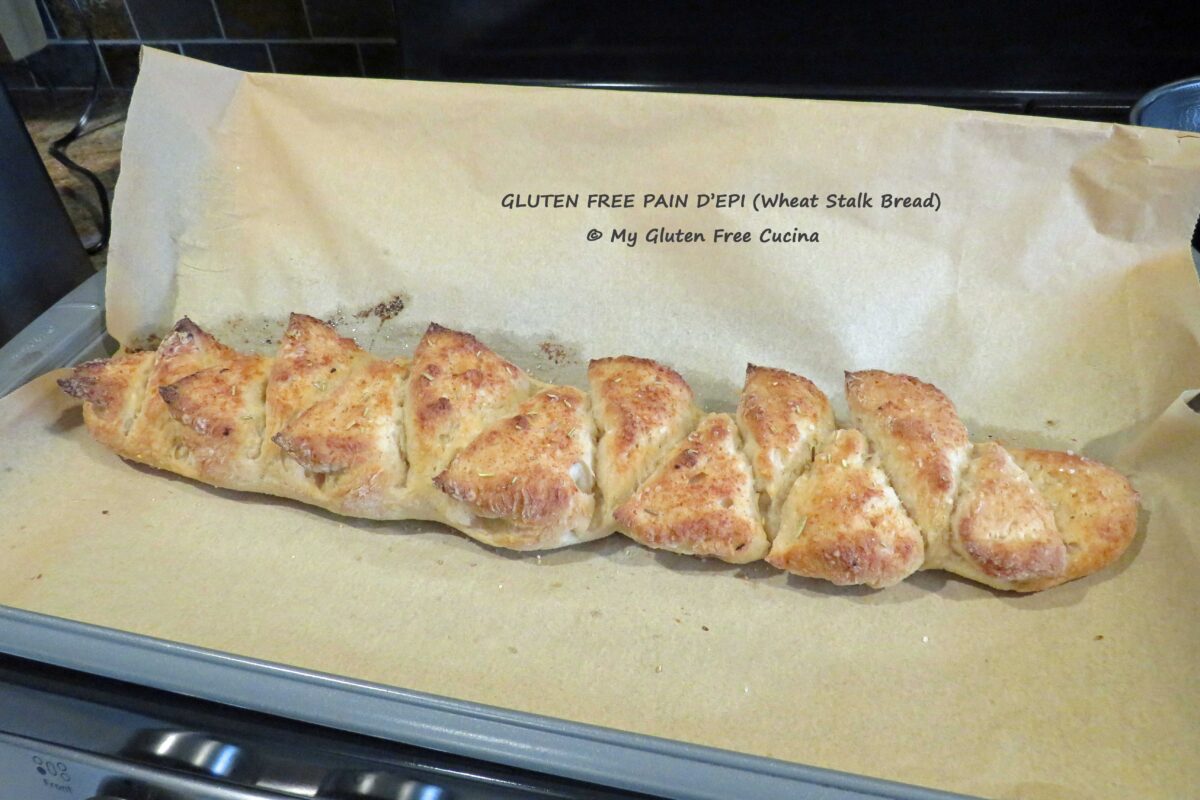
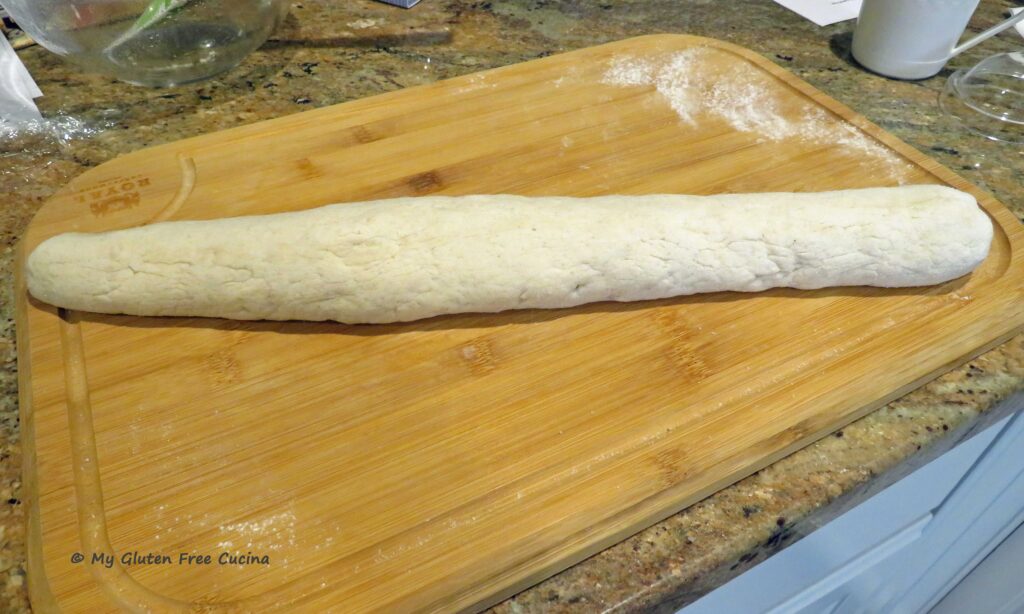
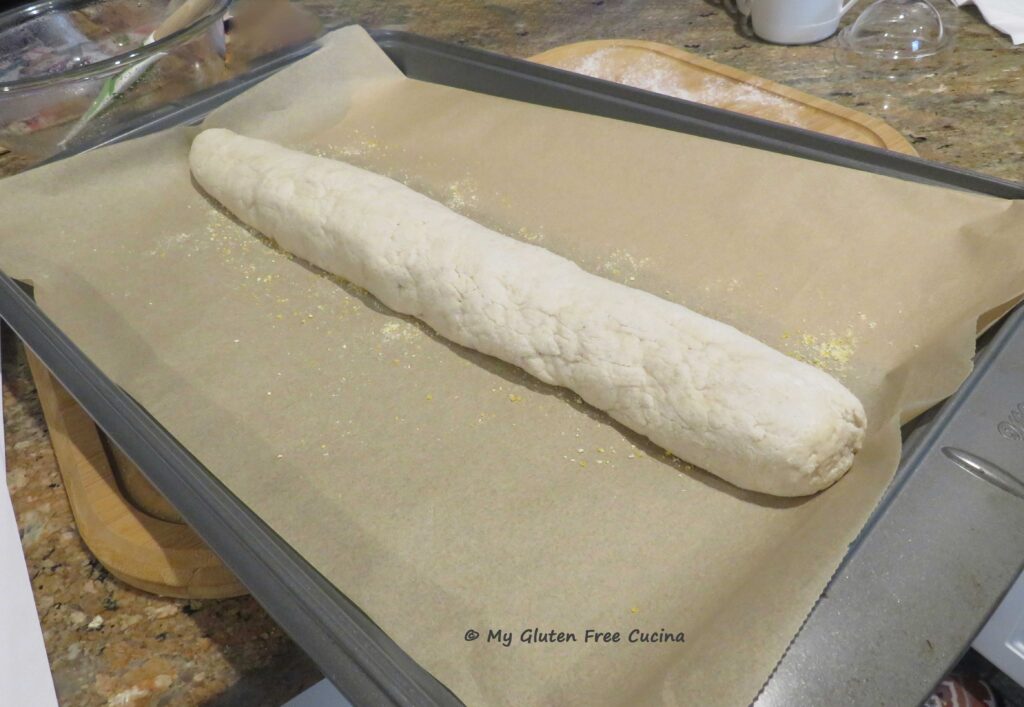
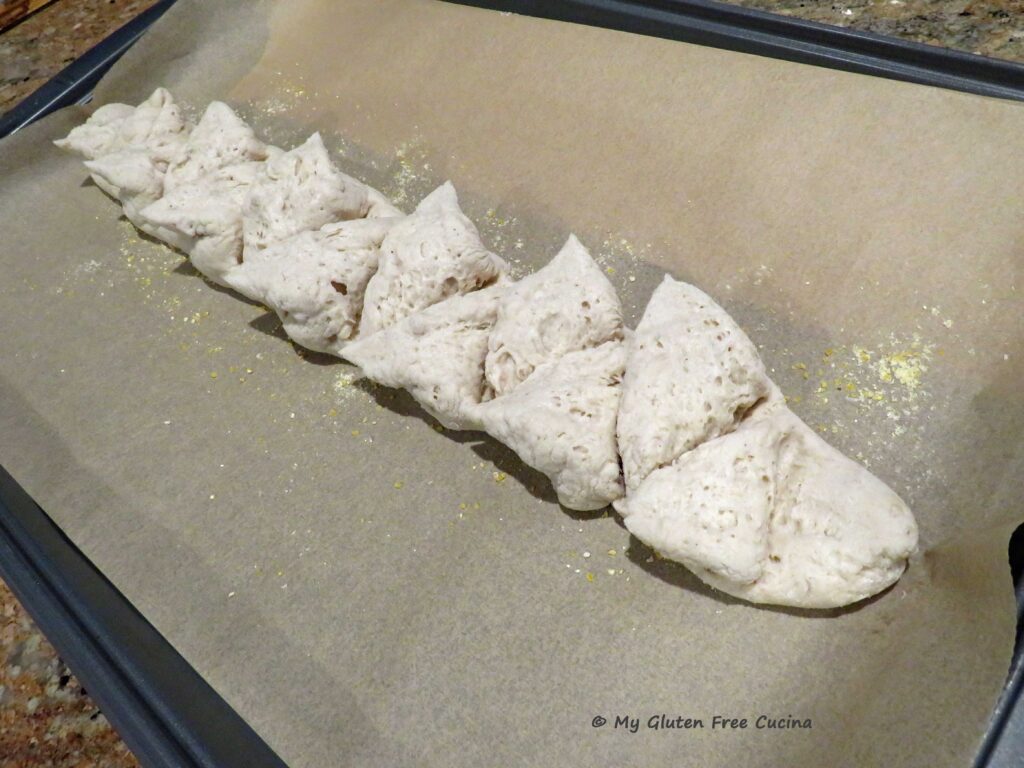
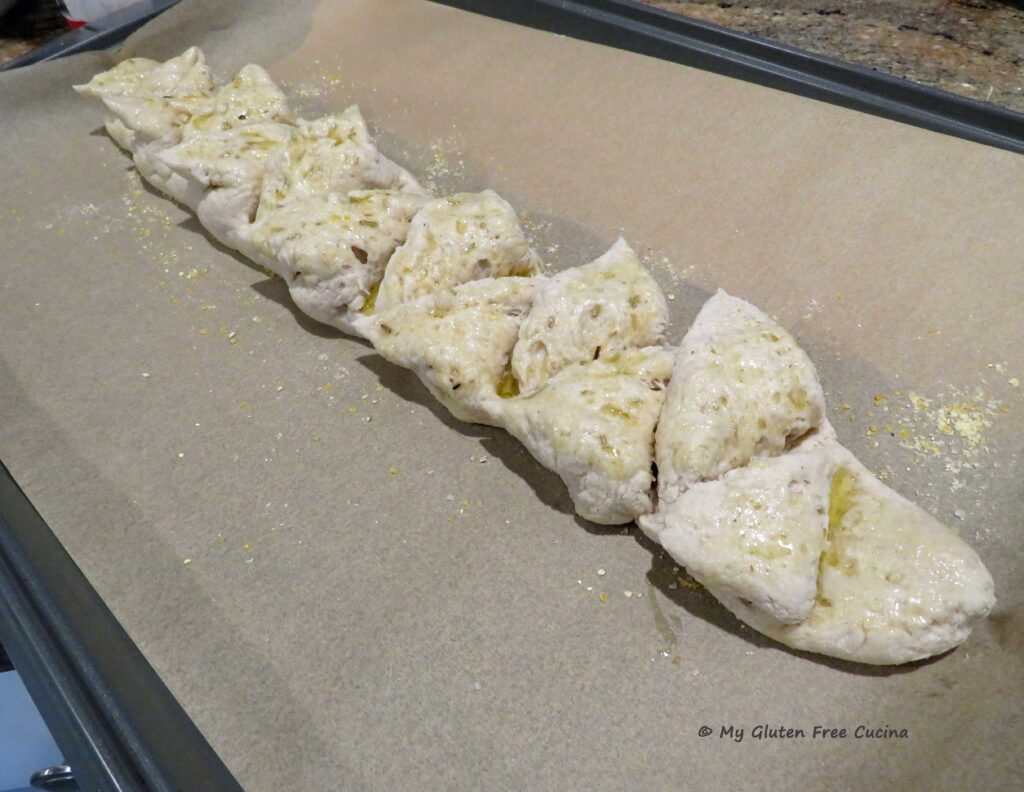
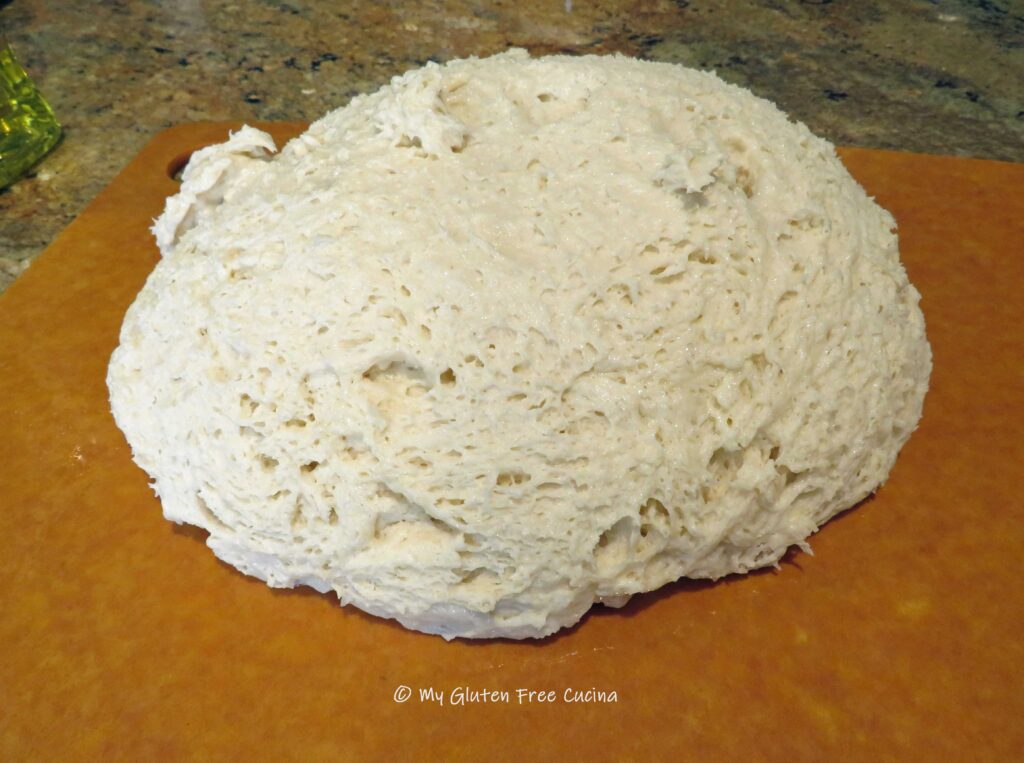 Flour your work surface and gently roll each section into a torpedo shape (oval with tapered ends). Arrange them on a lightly floured baking sheet lined with parchment or use a
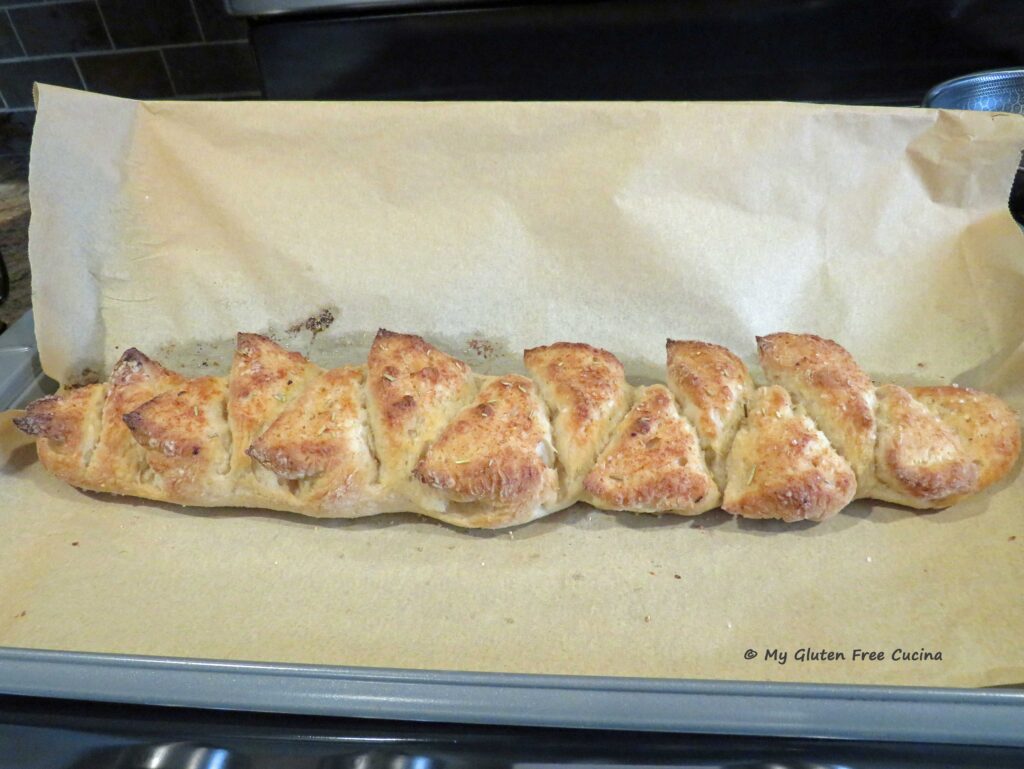
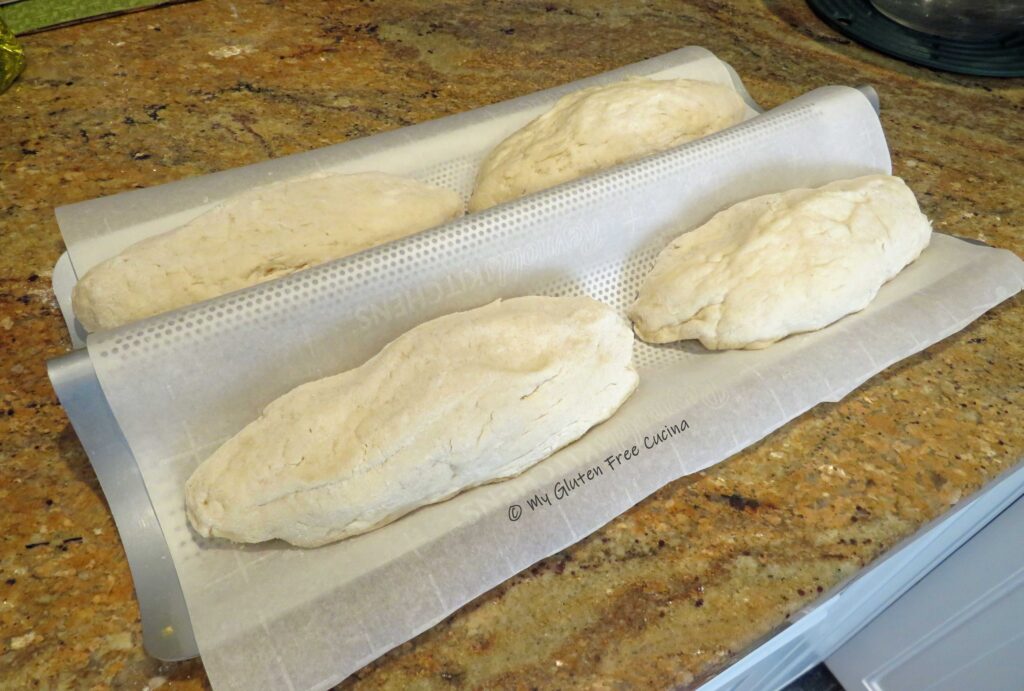 Place in the oven and spray the rolls and sides of the oven with water to create steam. Bake for 35 minutes at 475º, then remove from the pan and bake directly on the stone during the last 10 minutes.
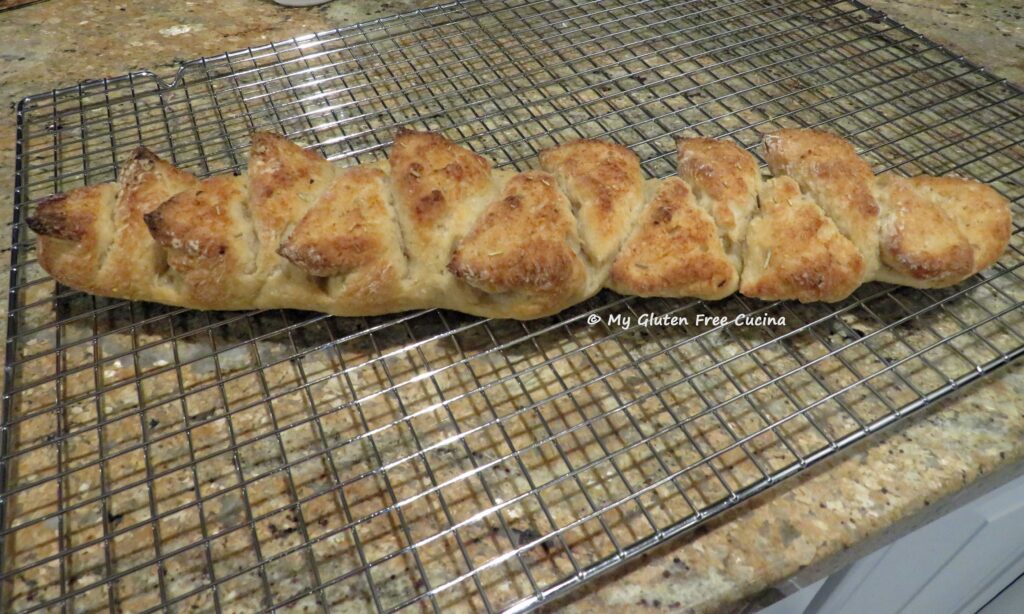
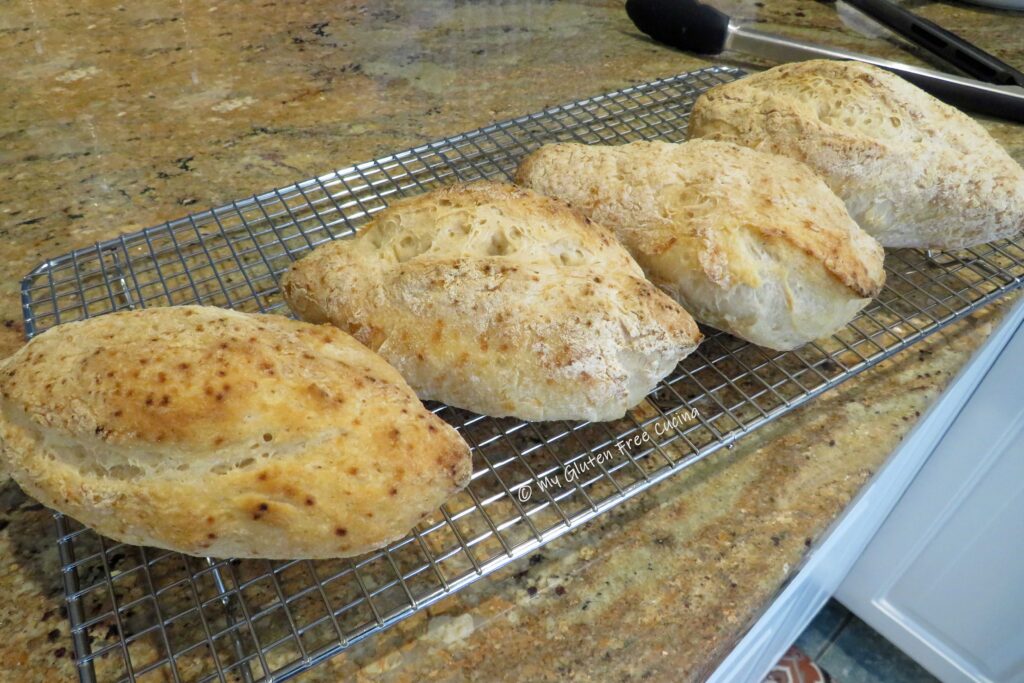
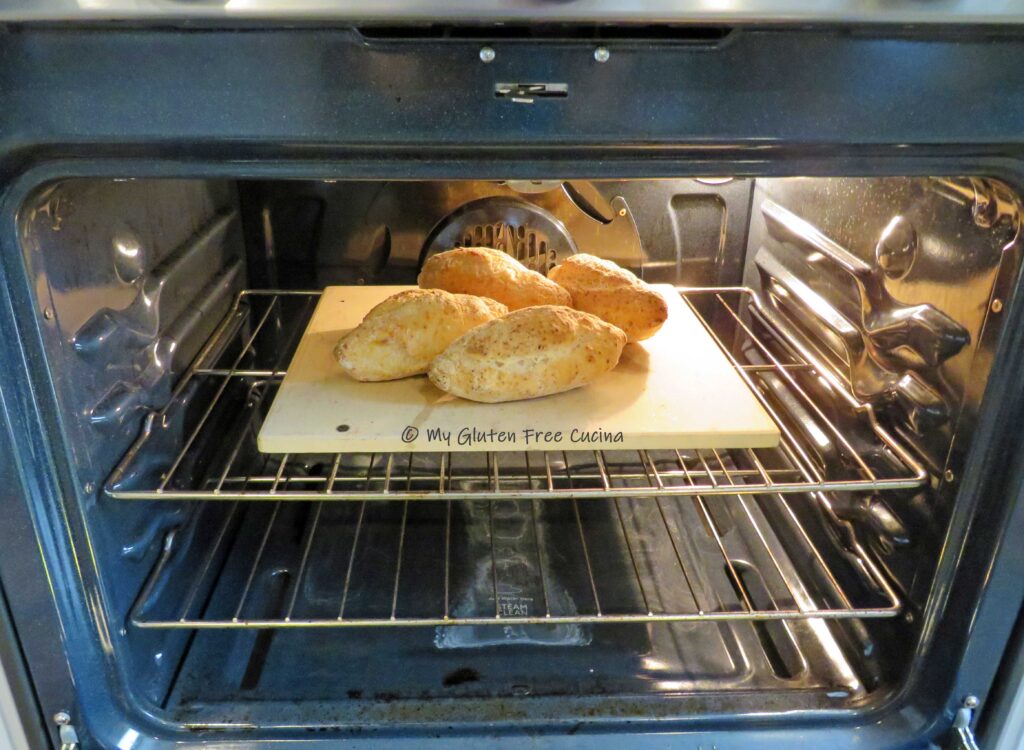 Rolls are done baking when the internal temperature reaches 210º. The crust should be firm and dry, and you will get that hollow sound when you give the rolls a sharp tap. Remove from the oven and place on a rack to cool.
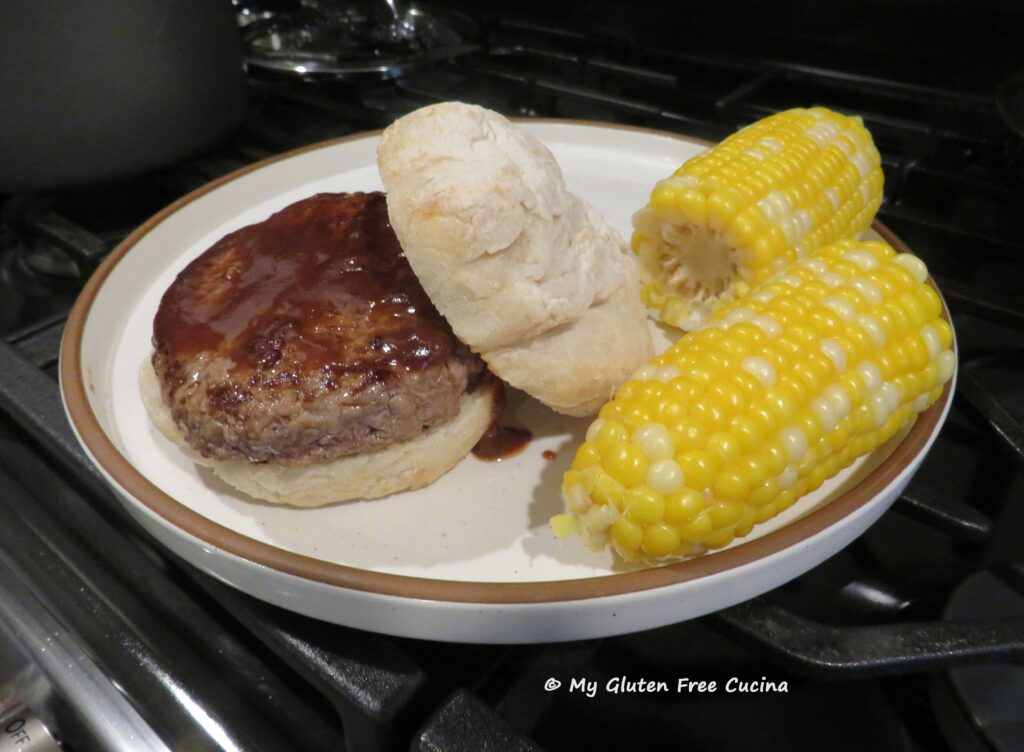
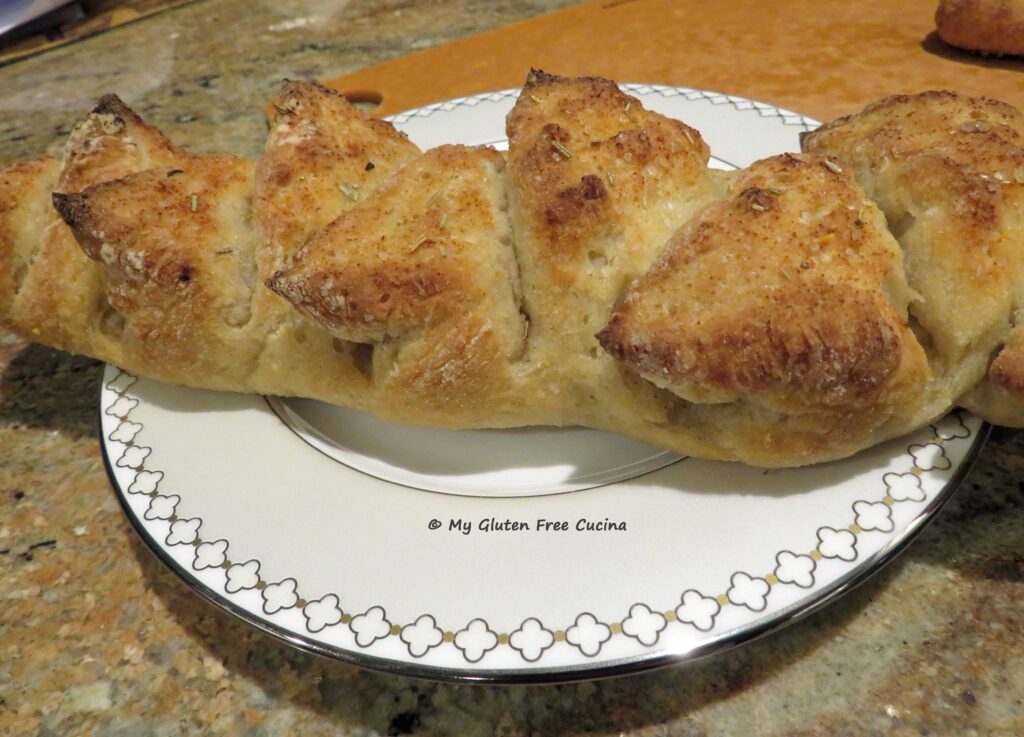
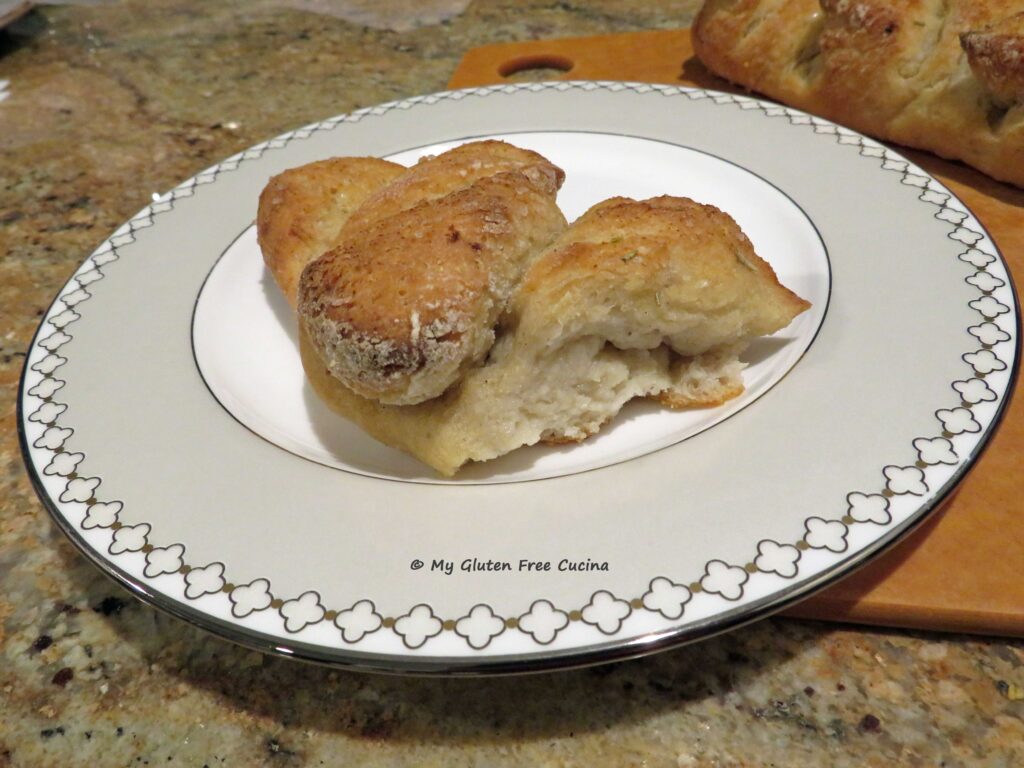
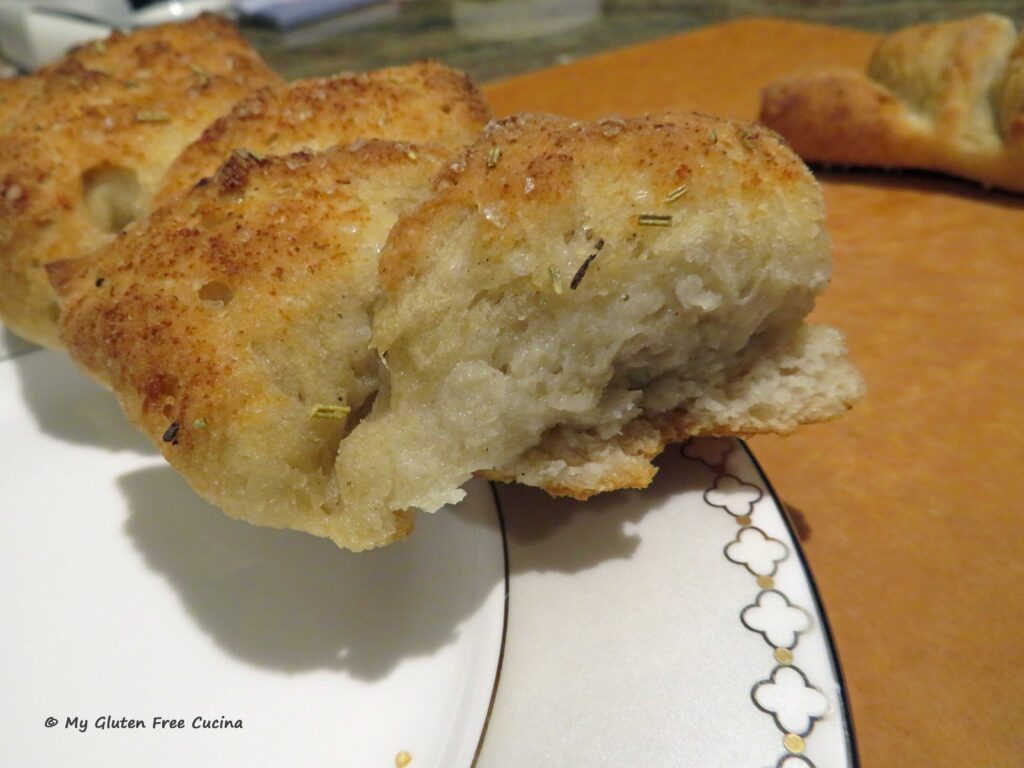
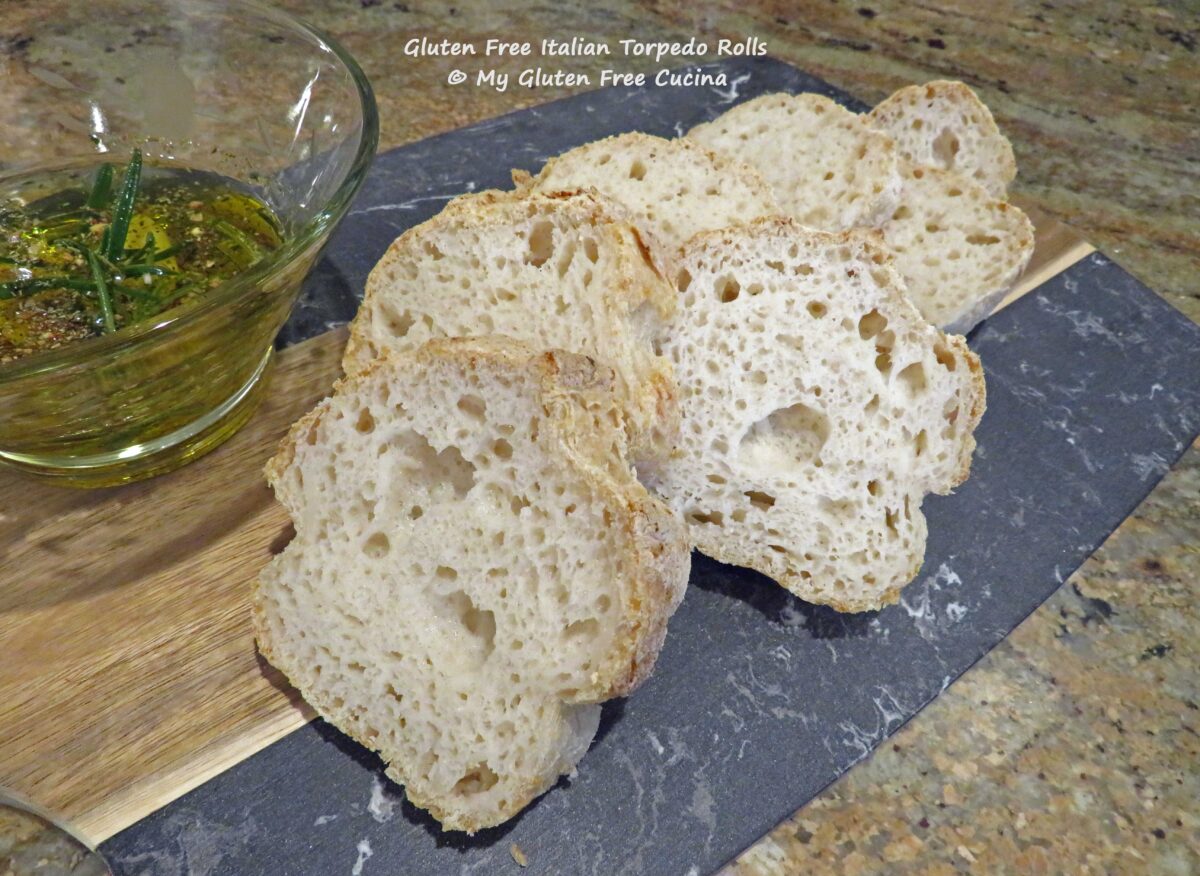
 What would you do with a homemade, hot out of the oven Italian roll like this? Dip it in olive oil, or slather with garlic butter and toast it? Slice it thin for bruschetta? Maybe load it up with veggies, cold cuts and cheese to make a panino (a/k/a sub, hoagie)! And for big appetites, you can serve them as dinner rolls (mop up that sauce!) or sandwich rolls.
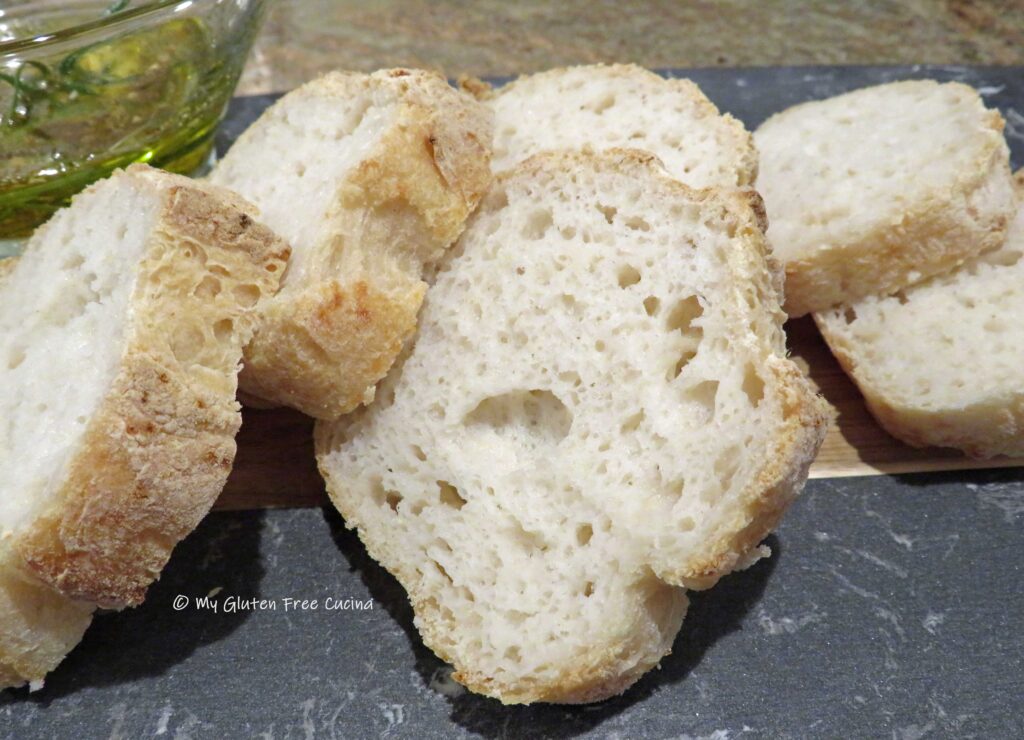 However you choose to enjoy them, these rolls are delicious!