Gluten Free Sourdough Pain d’Epi (Wheatstalk Bread)

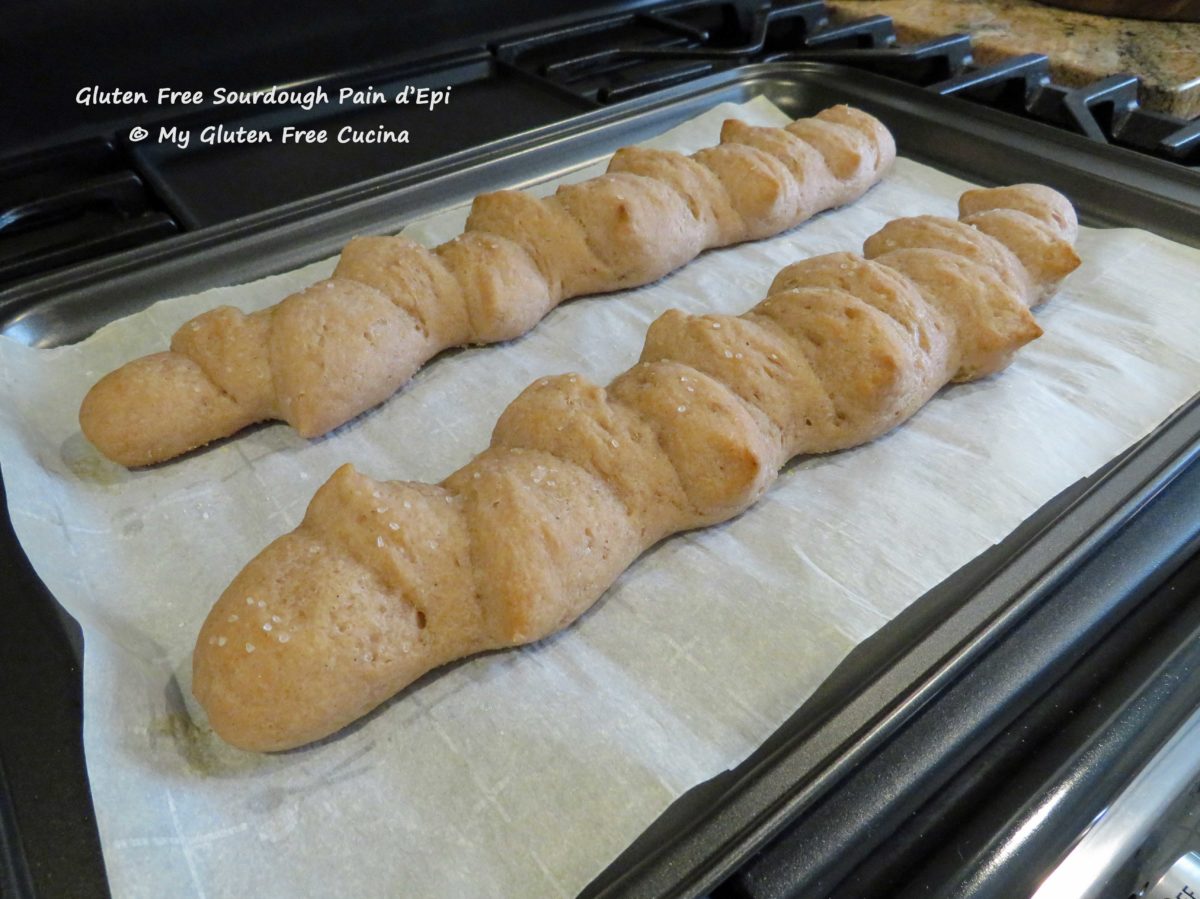
My sourdough starter “Sophie” is in good form, and I’ve been feeding her for a couple of days in anticipation of another bake.  Instead of my usual round or oval loaf though, I decided to step out of my comfort zone with this beautiful Gluten Free Pain d’Epi, also known as Wheat Stalk Bread (ah, the irony).

Ever since I got my gluten free sourdough starter established (read about it here), I’ve had a few bucket list recipes that I wanted to make.  This is one of them.

For the flour, I used the Artisan Flour Blend from Better Batter and as usual it did not disappoint.  The flavor was fantastic, and the bread was perfect for dipping.  This was my first time making a gluten free version of this style loaf and it was SO good.

This post contains affiliate links.

Ingredients:

Preparation:

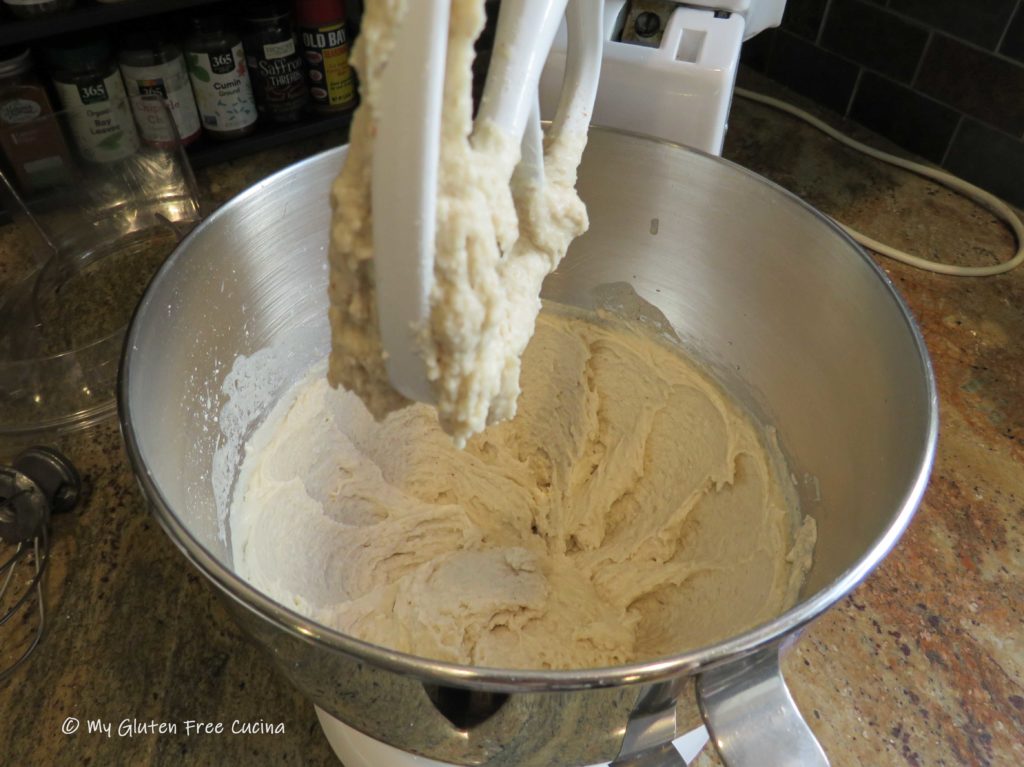
Combine the flour and salt and whisk well.  Add the starter, honey and olive oil to the bowl of a stand mixer with the paddle attachment. Gradually add the flour mixture, alternating with the warm water.  Note: Use all of the water, the Artisan Blend flour needs more liquid than usual to fully hydrate.  Increase the speed and knead for 5 minutes to form a soft, supple dough.

Transfer the dough to an oiled bowl, cover with plastic wrap and proof in a warm place for 4 hours.  I used my proofing box.

Here is the risen dough.  Place it in the refrigerator overnight to really develop that sour flavor.

The next morning, bring to room temperature.  You can see how nicely the dough has puffed up, and there are lots of happy air bubbles!

It smells so good already! Now transfer the dough onto an oiled cutting board and divide it in half.  You can use a scale or just eyeball it.

With oiled fingers, gently press each section into an oval shape.  Don’t use a rolling pin, you don’t want to deflate the air bubbles.

Use a bench knife to do a letter fold with each section.

Next, with oiled hands, roll each piece onto a log.  Cover with plastic wrap and rest for 15 minutes.

Preheat the oven to 425º.  Line a baking sheet with parchment paper and dust with cornmeal where you will lay out the loaves.

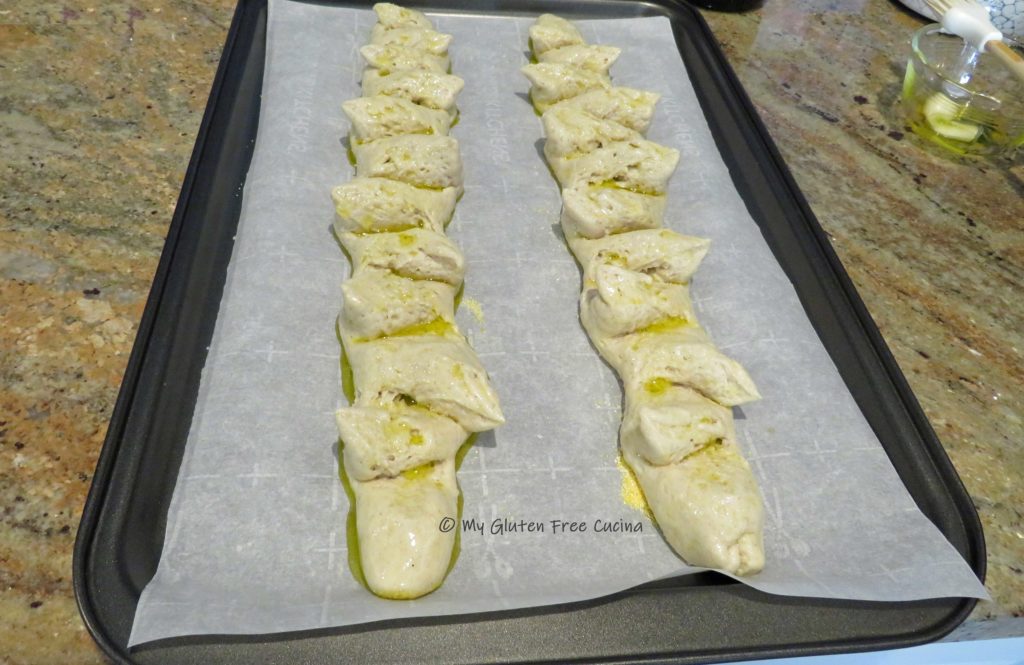
Once the dough has rested, you should easily (again, with oiled hands) be able to shape each log into a long thin baguette, about 15″ x 2″.  Lay them on the baking sheet, leaving space in between.

To create the wheat stalk pattern, use scissors to snip the loaves every few inches (don’t cut all the way through), and as you snip each section, pull it over to one side, alternating left and right.

Now brush the loaves with olive oil and sprinkle with coarse salt.  I infused my olive oil with garlic and rosemary, and the aroma as it baked was wonderful.

Bake for 30 minutes on the middle rack.  The internal temperature should read 210º.  Cool in the pan for 10 minutes.

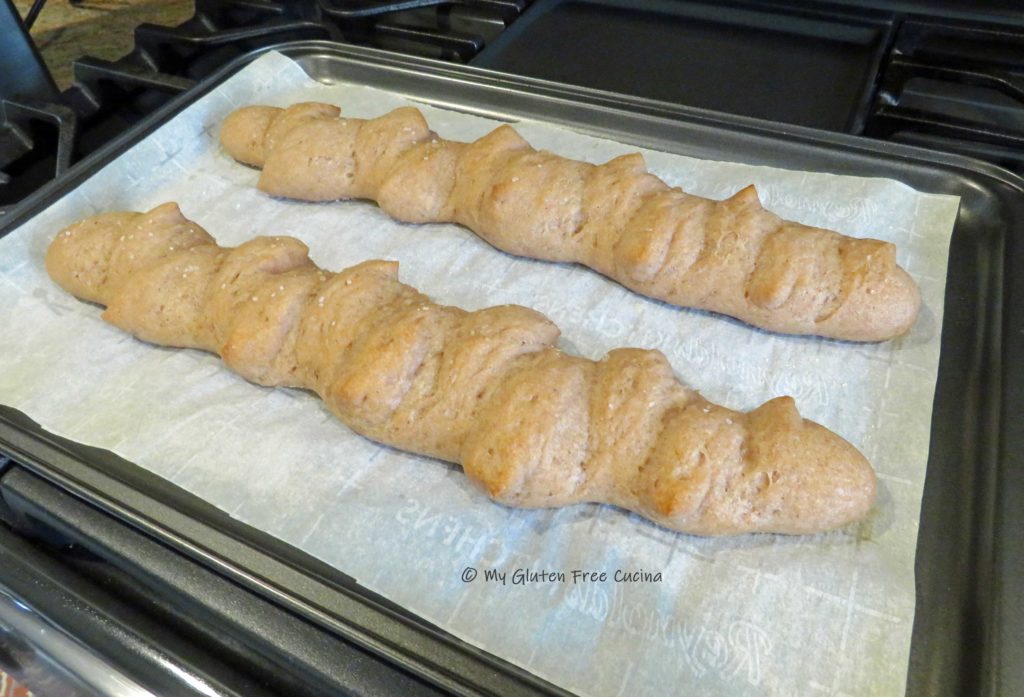
I was really pleased with how the loaves came out, especially with this being a first attempt.  The smell of freshly baked bread (REAL BREAD!) filled the entire house.

I recommend you allow the bread to cool for at least 4 hours before slicing, so the center won’t be gummy.  Trust me, you will have a hard time waiting!

And now for all my bread friends who have been patiently waiting, check out that crumb!  I made up some dipping oil with Tuscan seasoning, fresh garlic and rosemary.  My sister came over and we had a pasta dinner.  She said she couldn’t tell the bread was gluten free!

So, have you got your sourdough starter going yet?  It will take your gluten free baking to the next level with results you never dreamed possible.  Read about my sourdough starter Sophie here.

Notes ♪♫ This bread is best eaten the day it is baked.  Leftovers can be refreshed in the microwave or toasted.  Store at room temperature up to 2 days.

Print This Post Print This Post

Gluten Free Quiche Lorraine

Quiche Lorraine, the French classic.  What’s not to love about a yummy quiche filled with bacon, cheese and onions?  I think that a quiche is one of the easiest things to make for brunch, because you can prepare most of it a day ahead then just assemble and bake in the morning.

Is quiche gluten free?

The filling of a quiche, usually consisting of eggs, cream, meat and/or vegetables is gluten free.  Only the pie crust contains gluten.  Fortunately, this Gluten Free Cream Cheese Pie Crust is easy to make, and it is perfect to use with both sweet and savory pie recipes.  And of course, I just happened to have one in my freezer, waiting for a special occasion!

This post contains affiliate links.

Ingredients:

Preparation:

If your pie crust is frozen, take it out one day ahead to defrost in the refrigerator.  Then let it sit on the counter for about 15 minutes before rolling it out between two sheets of parchment.

If it breaks, you can put it back into the refrigerator for 15 minutes then try rolling it out again.  With a gluten free crust, you do not need to worry about overworking the dough, so you can roll it out as many times as you need to.

Gently place the rolled-out dough into a glass pie dish, trim the edges and crimp.  Use the scraps to patch any holes or cracks (you can see I had quite a few!).  Yes, pie crust does not always cooperate, but I got it to work.  Remember, even if it’s not the prettiest it will taste great!

Place the pie dish in the refrigerator while you prepare the rest of the ingredients.

Hint: you can prepare the pie crust to this point and refrigerate it overnight for baking in the morning.  Just cover it with plastic wrap so it doesn’t dry out.

You can also prep the bacon, cheese and onion the night before.  Cook the bacon (in batches if needed) and drain on paper towels.  Chop it into 1/2″ pieces.  Grate the cheese and mince the onion.

In the morning, when you are ready to assemble the quiche, preheat the oven to 425º.  Take the pie crust out of the refrigerator while the oven preheats, so you are not placing a cold plate directly into the hot oven.  Spread the bacon, onion and cheese into the pie shell.

In a bowl, beat the eggs together with the light cream, salt, sugar and cayenne pepper.  Don’t skip the cayenne, it’s just enough to brighten the flavor without adding heat.  Pour the egg mixture evenly into the pie shell.

Place on the middle rack of the oven and bake for 15 minutes.  Then, lower the heat to 300º and continue baking for 30 minutes longer.

The edges should be nicely browned, and the center golden.  To test, you can insert a knife or a toothpick into the quiche, it should come out clean.

The quiche can be served warm or at room temperature.  Leftovers can be refrigerated for several days (do not freeze) and reheated in the oven or microwave.  And if you’re ogling that bacon wrapped sausage, get the recipe here!

Notes ♪♫ I always have gluten free pie crust in the freezer for when I want to make sweet or savory pies and quiche.  It’s a real time saver, especially when we can’t always grab a ready-made gluten free pie crust at the grocery store.  Get the recipe for easy, Gluten Free Cream Cheese pie crust here.

Print This Post Print This Post


Split Pea Soup

Another Easter has come and gone, and I’ll bet you still have some leftover ham in the fridge!  And since the winter weather just won’t give up here in New England, I’m craving soup.

Everyone has their own traditions for using up the holiday ham.  I always ring in the New Year with a pot of Lentil Soup.  After Easter though, I like to make Split Pea, which is essentially made the same way.

The ham bone, of course is what you would use to make a stock.  But what if you didn’t make a ham for Easter?  Or maybe your ham was boneless.  Well fear not, you can still use your leftovers or even pick up a ham steak and use that in the soup.  This year I actually cooked a 2 lb. petite boneless spiral ham for myself after the holiday and that’s what I used.

This post contains affiliate links.

Ingredients:

  • 1 lb. split peas
  • 1 tbsp. olive oil
  • 2 carrots, peeled and diced
  • 2 celery stalks, diced
  • 1/2 sweet onion, diced
  • salt and pepper to taste
  • 48 oz. gluten free chicken stock or stock from ham bone
  • 2 bay leaves
  • 1 tsp. sage
  • 1 tsp. thyme
  • 1 packet beef bouillon
  • 2 cups diced ham
  • Schar Table Crackers, for serving

Preparation:

Rinse the split peas thoroughly in a colander and examine them for stray bits of barley or pebbles.  Place them in a stock pot and bring to a boil.  Cover, remove from the heat and let them soak while you prepare the rest of the recipe.

Chop ham leftovers into small dice.  Set aside and refrigerate.

Cut the onion, celery and carrots into even sized small dice.  Add a little olive oil to a 5 qt. stock pot or Dutch oven and begin cooking the carrots, onion and celery over medium low heat.

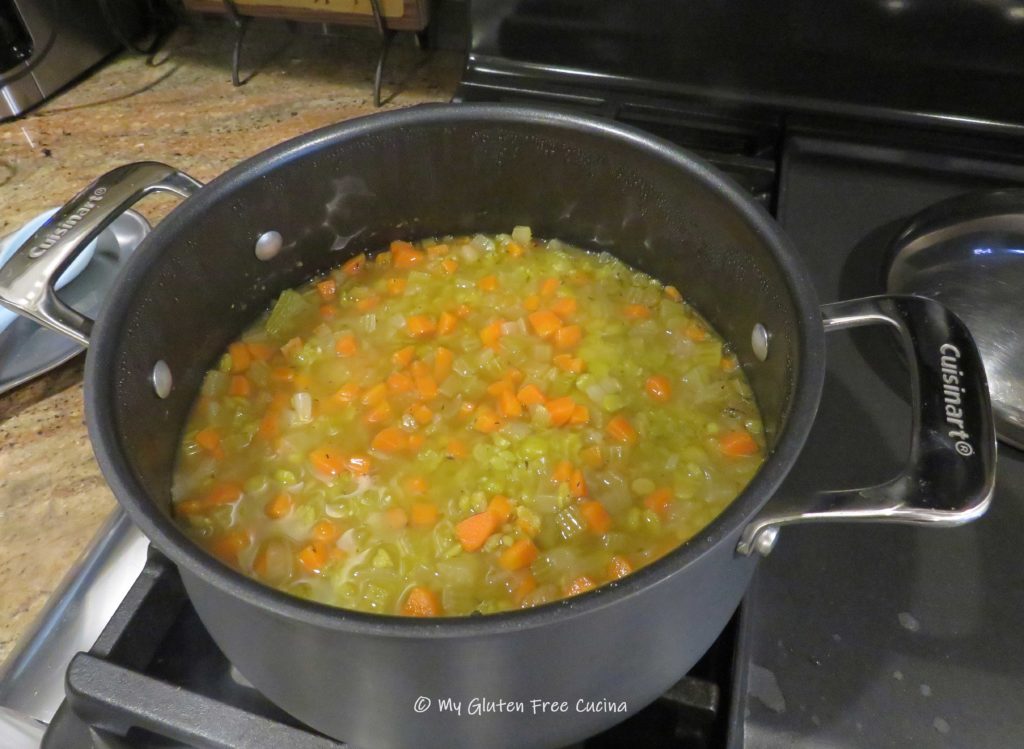
Season with sage, thyme, salt and pepper.  Add 32 oz. of the chicken stock, bay leaves, and bouillon.  Simmer 30 minutes.

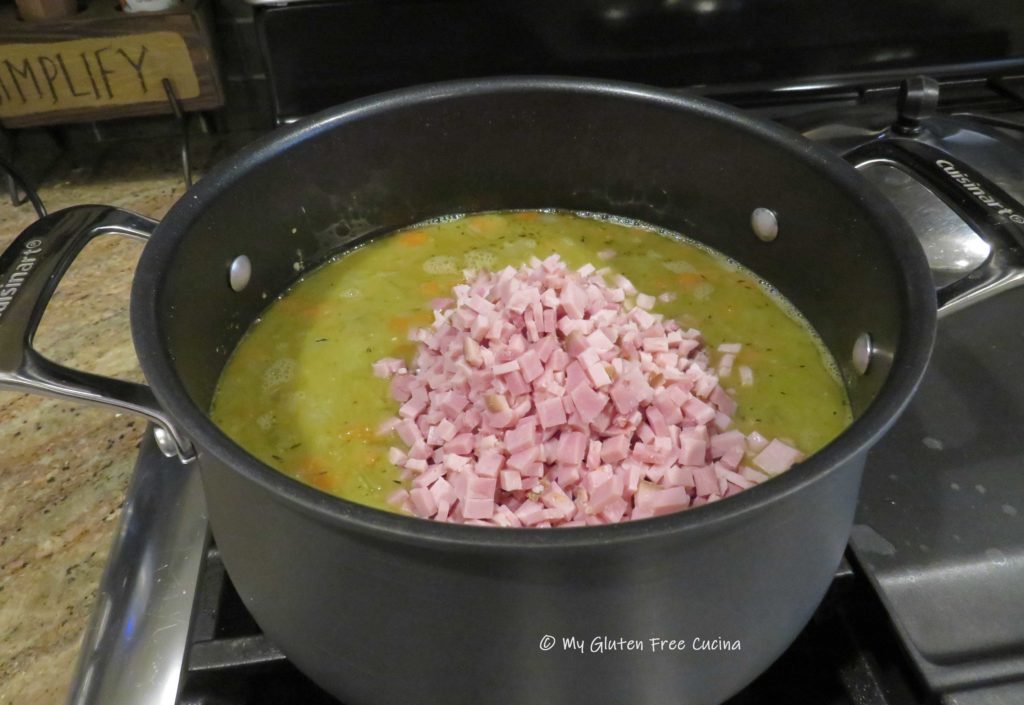
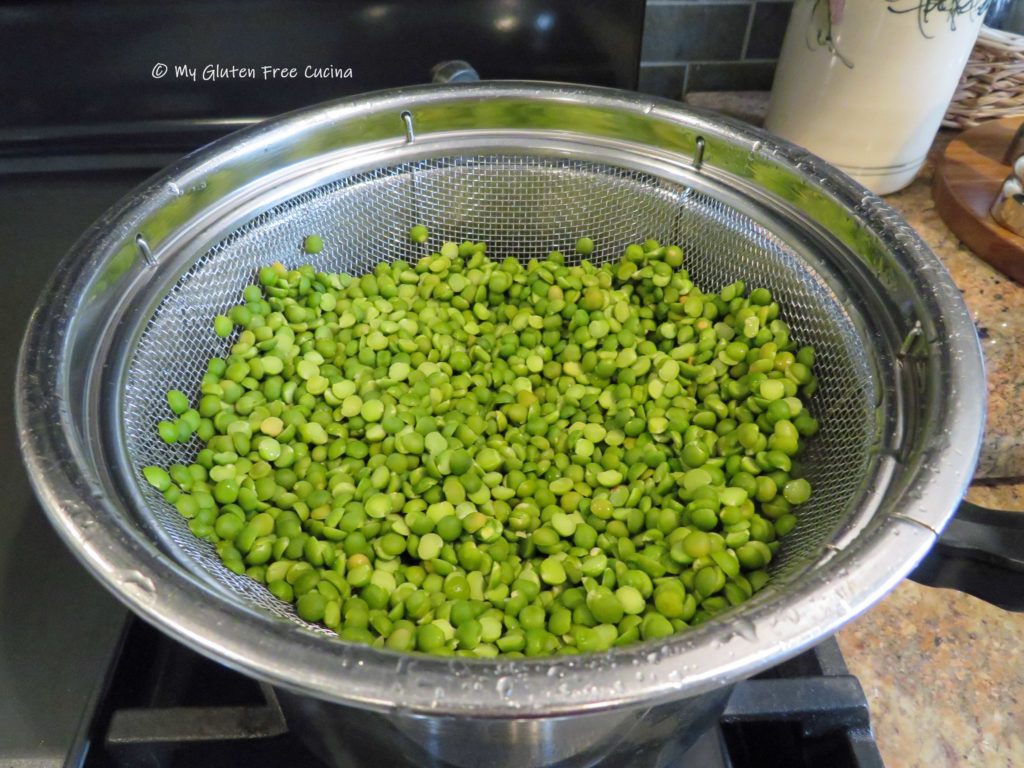
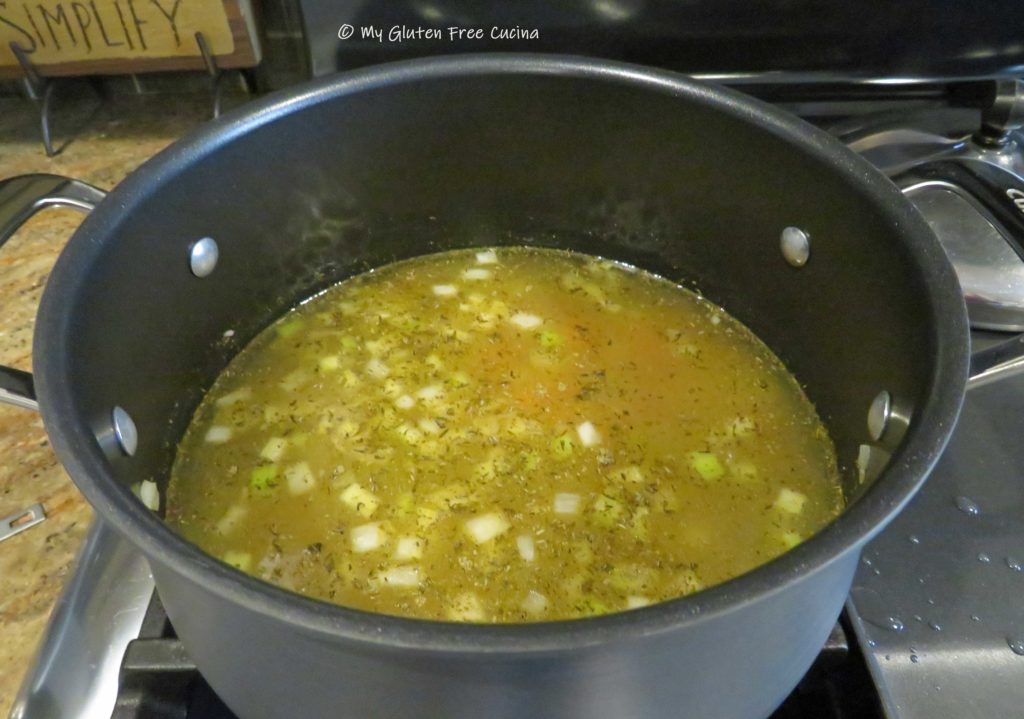
Drain and rinse the peas again.  Add them to the pot, stir well and continue cooking for another 45 minutes to an hour, or until the peas are tender.

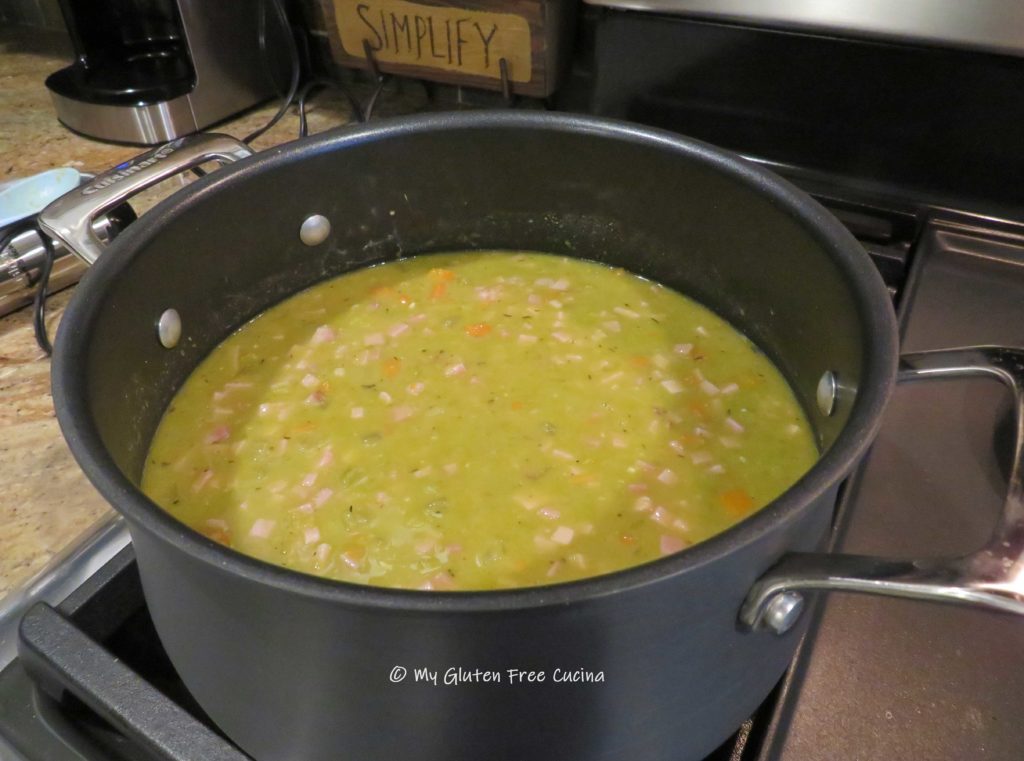
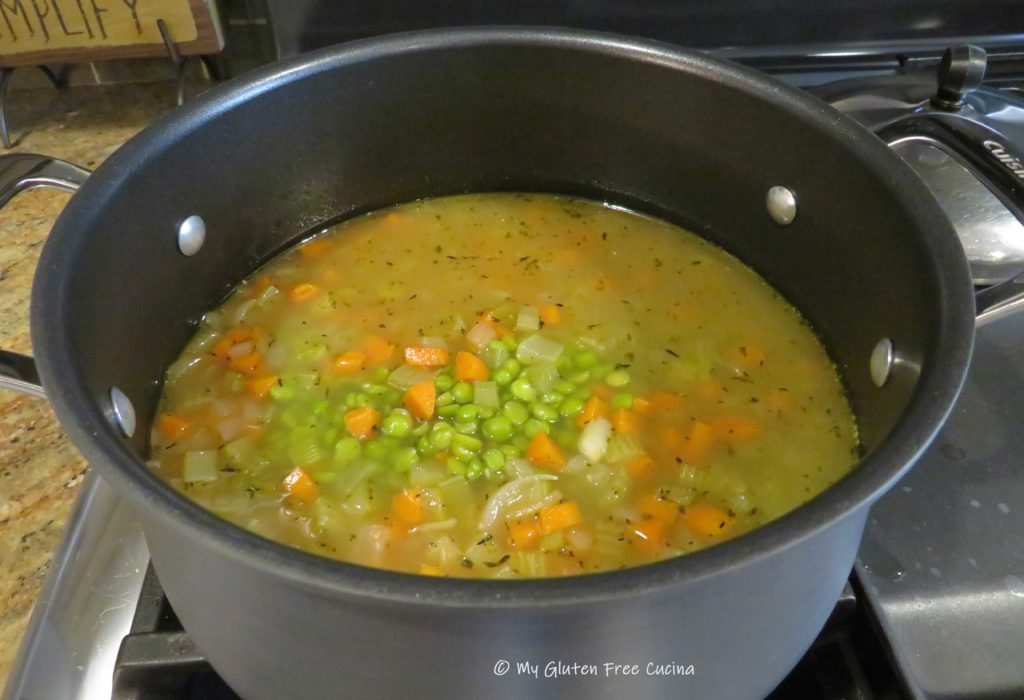
As they simmer, the peas will absorb quite a bit of liquid, so add more chicken broth as needed.

When the soup is ready, partially puree it with an immersion blender (don’t forget to remove the bay leaves first).  I like to leave some of the veggies whole, but you can make it as smooth or chunky as you like.  After pureeing, add back the diced ham and heat through.

Serve with Schar Table Crackers (similar to saltines).  Leftovers will keep well in the fridge for at least a week.

Notes: ♪♫ If you have a ham bone and don’t want to make soup right away, don’t throw it away!  You can wrap it in foil then place in a freezer safe bag and store in the freezer for quite a few months.  There have been times that I would find a ham bone in the back of the freezer just in time for fall soup season.

Print This Post Print This Post

Individual Gluten Free Lemon Cheesecakes

Look what my wonderful daughter-in-law made for our Easter dessert! Individual Lemon Cheesecakes and yes, they are gluten free. She used gluten free golden Oreo halves for the base, so clever! 💛🍋💛

Since some of you have asked, she has kindly agreed to share her recipe!

This post contains affiliate links.

Ingredients:

Bacon Wrapped Sausage

The name says it all, you don’t need a recipe for this do you?  Just put these little bites of happiness on the table for your next brunch or family breakfast and watch them disappear! (they are great leftover too 😉)

This post contains affiliate links.

Ingredients:

  • gluten free breakfast sausage
  • gluten free bacon

Preparation:

The best part of this recipe is that you can get it ready the night before to cook in the morning.  You can make them whole or half size.  Just wrap each sausage with 1/3 slice of bacon.  Optionally, secure with 4″ skewers.  Use the amount needed for your family.

Line a sheet pan with foil (keeps the mess down) and arrange the sausages on a rack, cover and refrigerate overnight.  Alternatively, you can freeze them on a sheet pan and then place in an airtight freezer container until the night before your brunch.

Half size, cut each sausage in half and wrap in 1/3 slice of bacon.

The next morning, preheat the oven to 350º.  Bake the sausage for 15 minutes, then finish them on a hot griddle, turning frequently until the bacon is nice and crispy, and the sausage is cooked to your liking, 15-20 minutes.  Place them back on the rack for a few minutes to drain before serving.

That’s it friends, what could be easier?  So, the next time you are pondering whether to make sausage or bacon for brunch, why not make both!

Notes ♪♫ Most bacon and sausage are gluten free, but I still like to see the gluten free label for extra peace of mind.  I used Johnsonville Vermont Maple Syrup Pork Breakfast Sausage Links and Oscar Mayer Naturally Hardwood Smoked Bacon.

Print This Post Print This Post