“Sauté and simmer, the flavor can’t be beat” ♪♫♪♫
You don’t even need a recipe, right? The jingle tells you how to make it! When was the last time you had “the San Francisco treat”? For me I think it’s been decades.
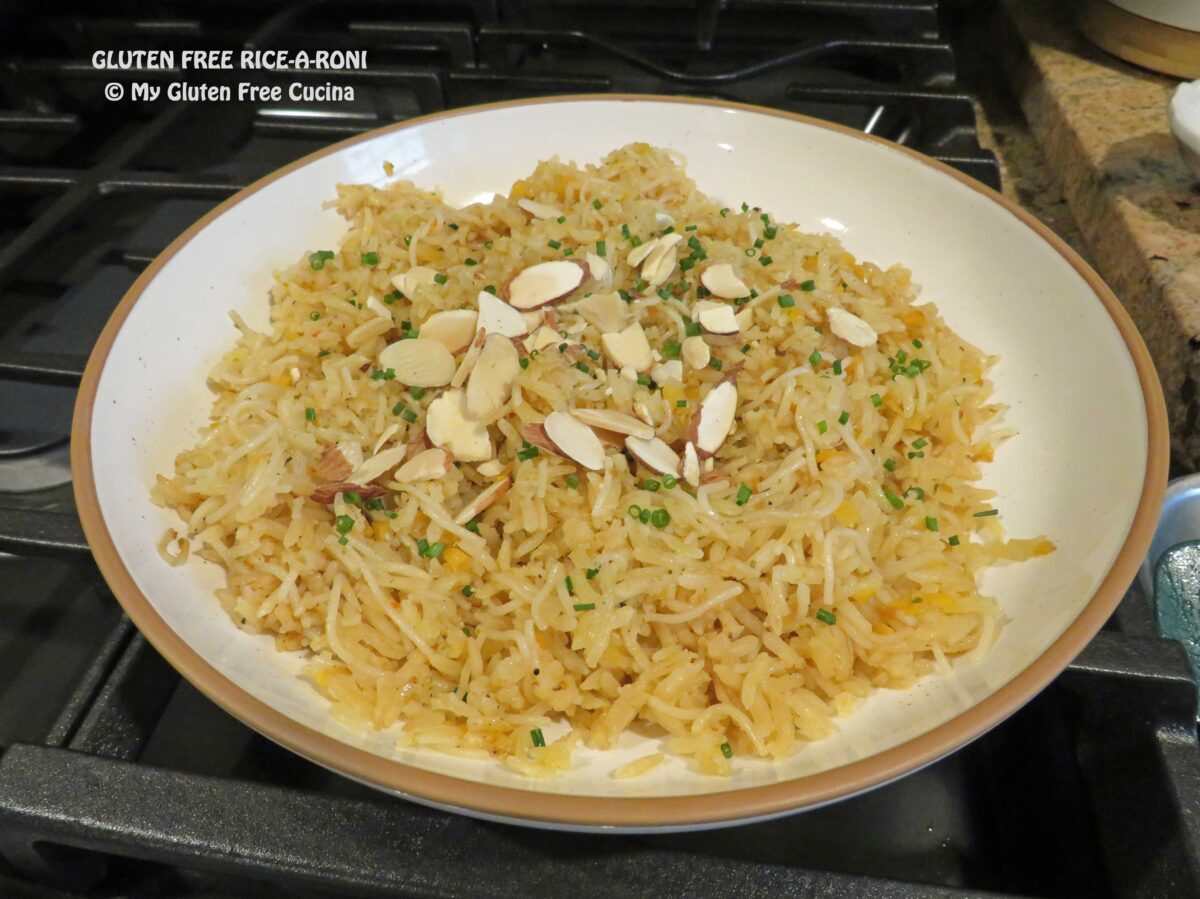
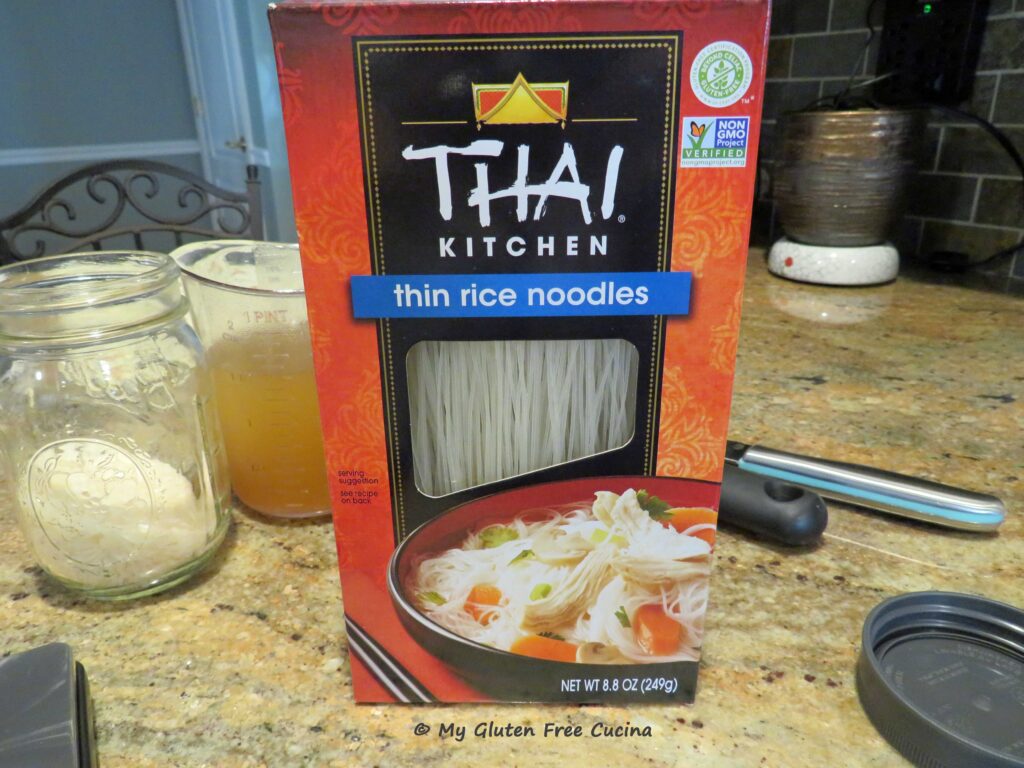
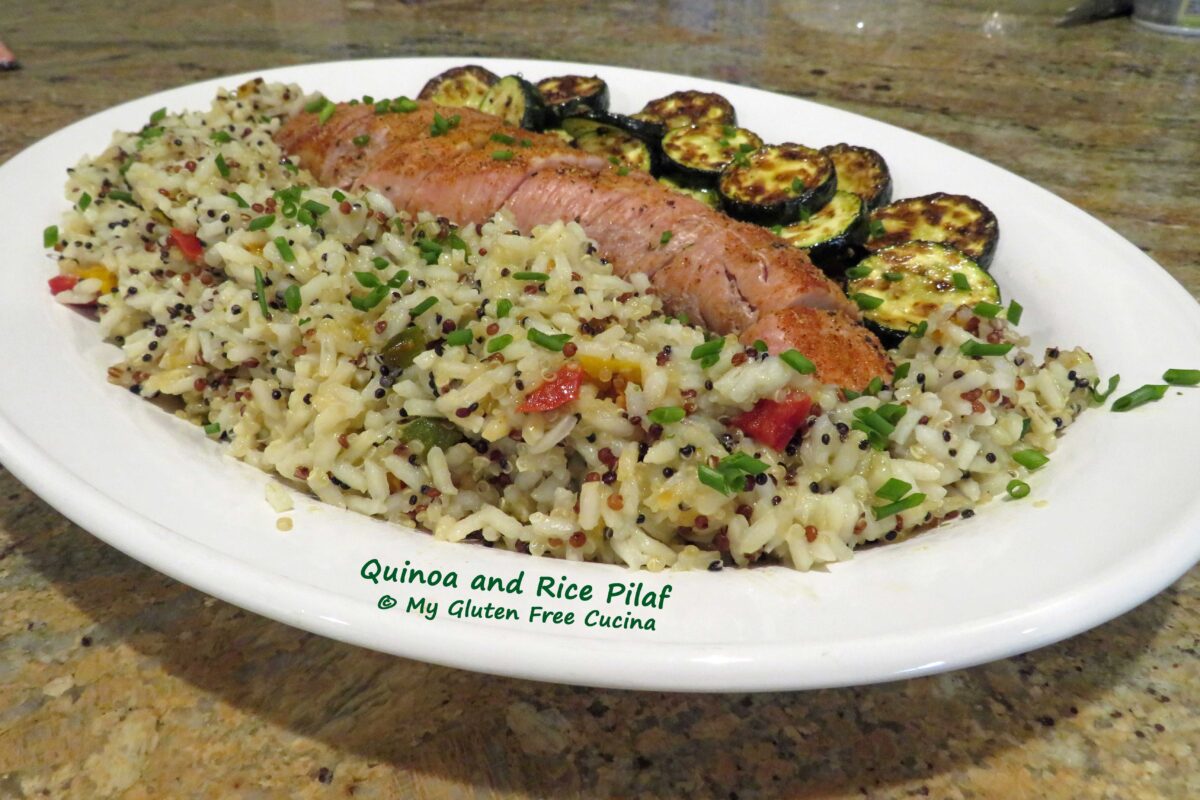
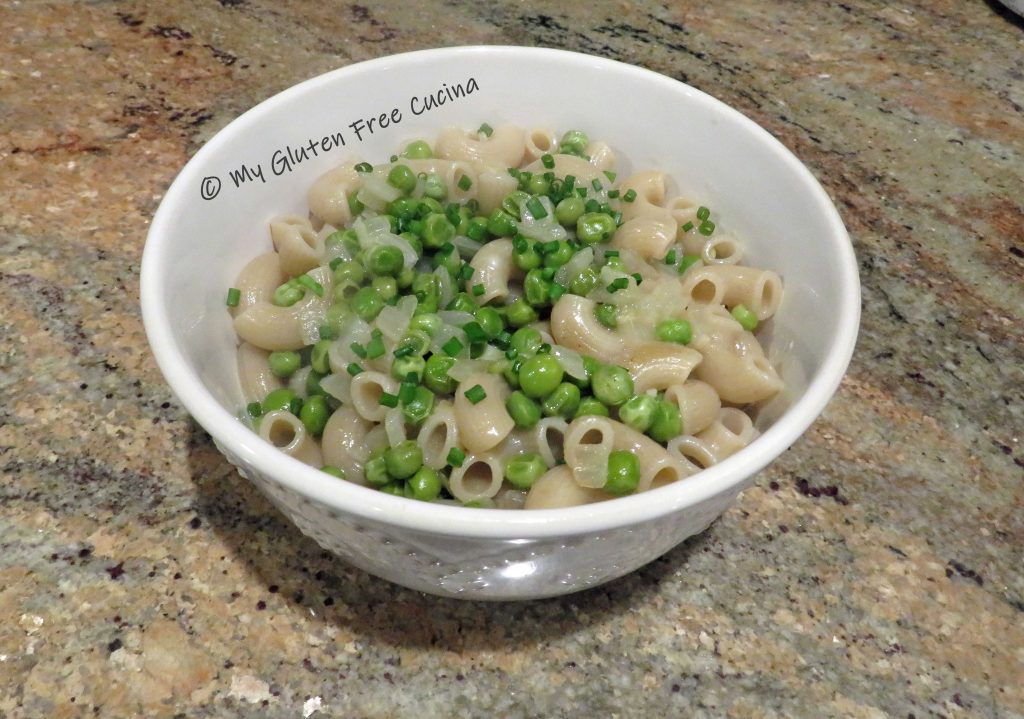
 If you miss boxed mixes like Rice-a-Roni® on the gluten free diet, step into the kitchen with me, and I’ll show you how I made this gluten free copycat version, all fancied up with a little bit of veggies and slivered almonds. Only one ingredient swap was needed to make this recipe gluten free. In place of the vermicelli, I used these thin rice noodles from Thai Kitchen.
This post contains affiliate links.
Servings: 3-4
Ingredients:
- 2 tbsp. butter
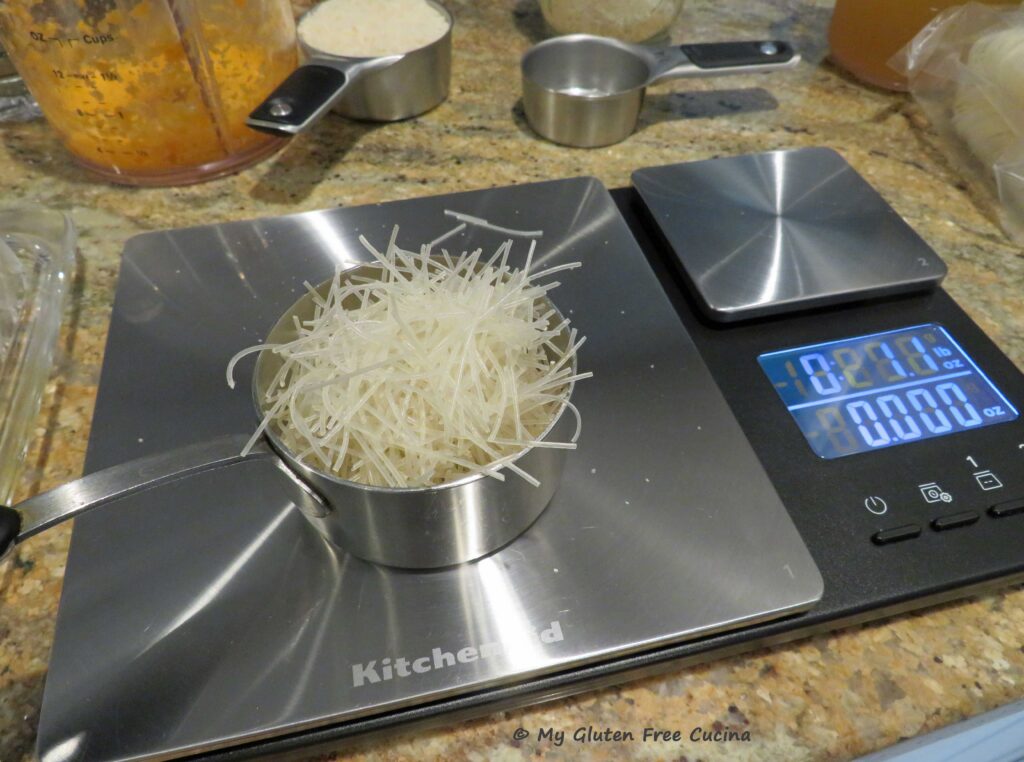
- 1/2 cup (about 3 oz.) long grain white rice
- 1/4 cup (about 1 oz.) thin rice noodles
- 1/4 cup minced carrot (optional but really good)
- 1-1/2 cups chicken broth
- 1/2 tsp. Tuscan seasoning
- 1/4 cup sliced almonds (optional)
- fresh chives for garnish
 Preparation:
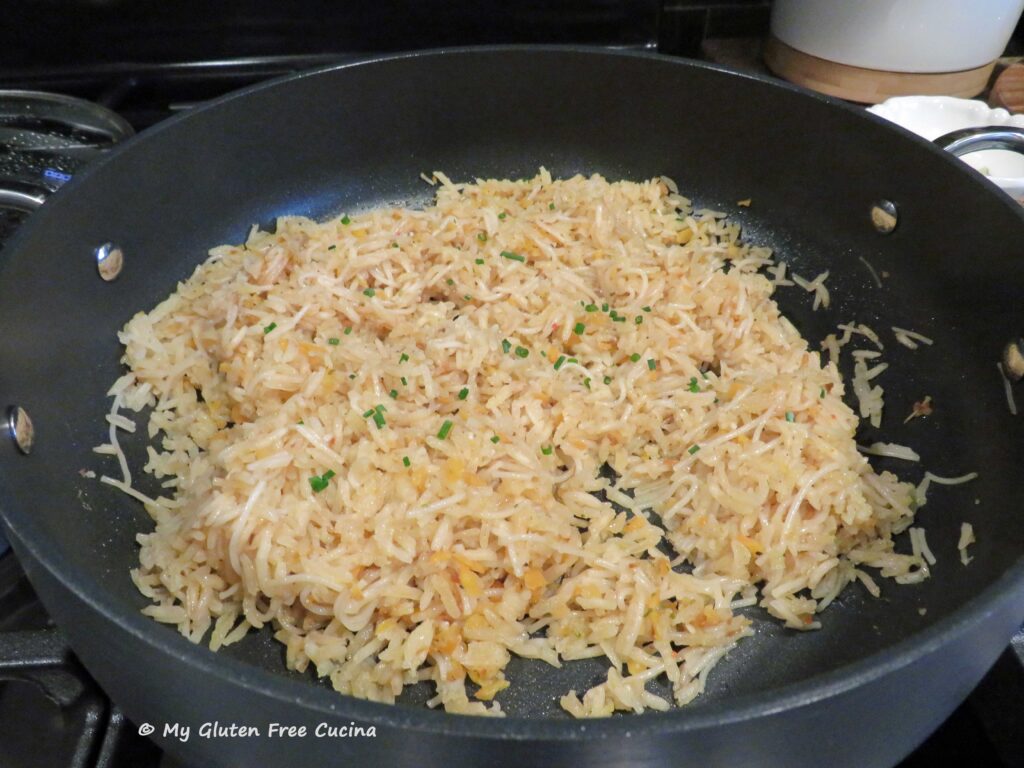
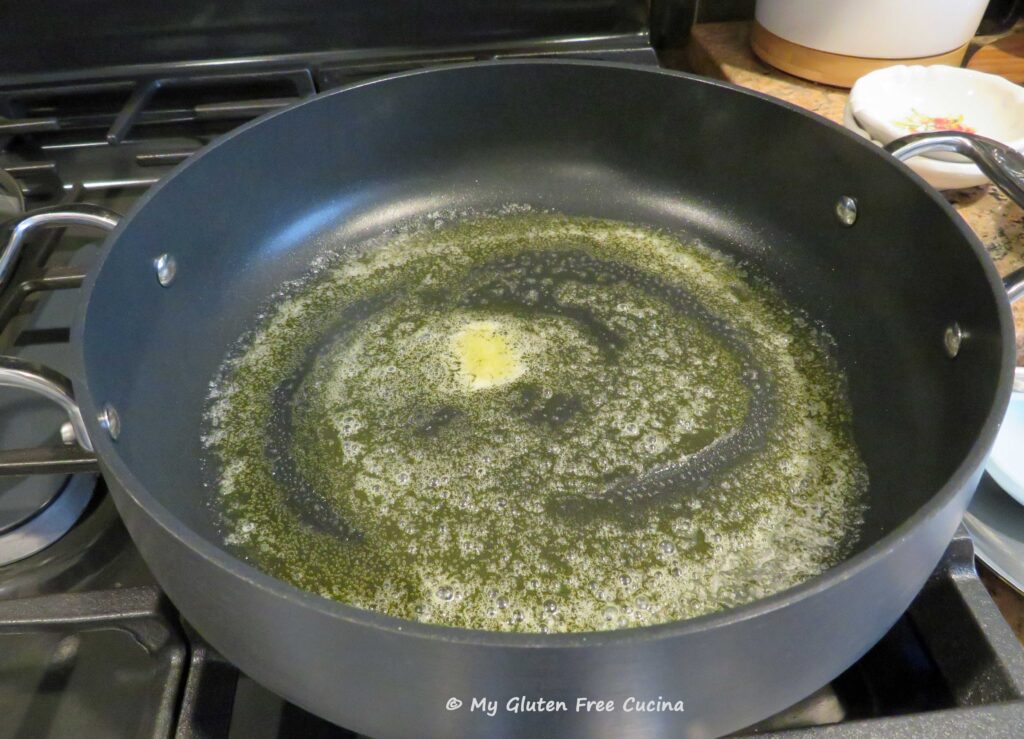
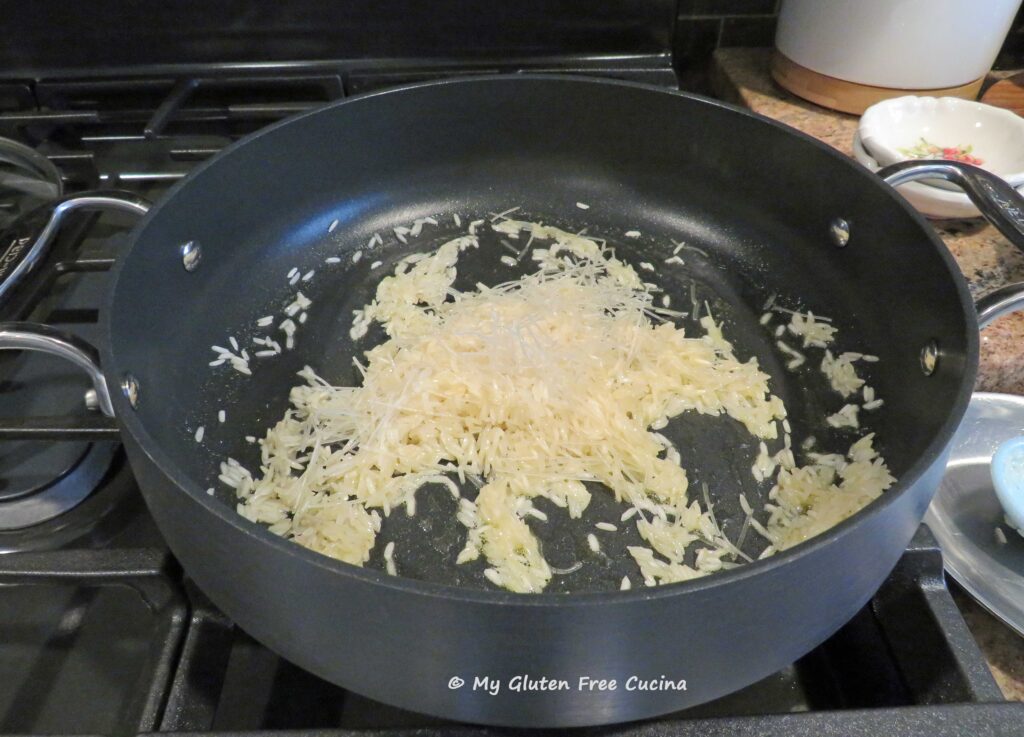
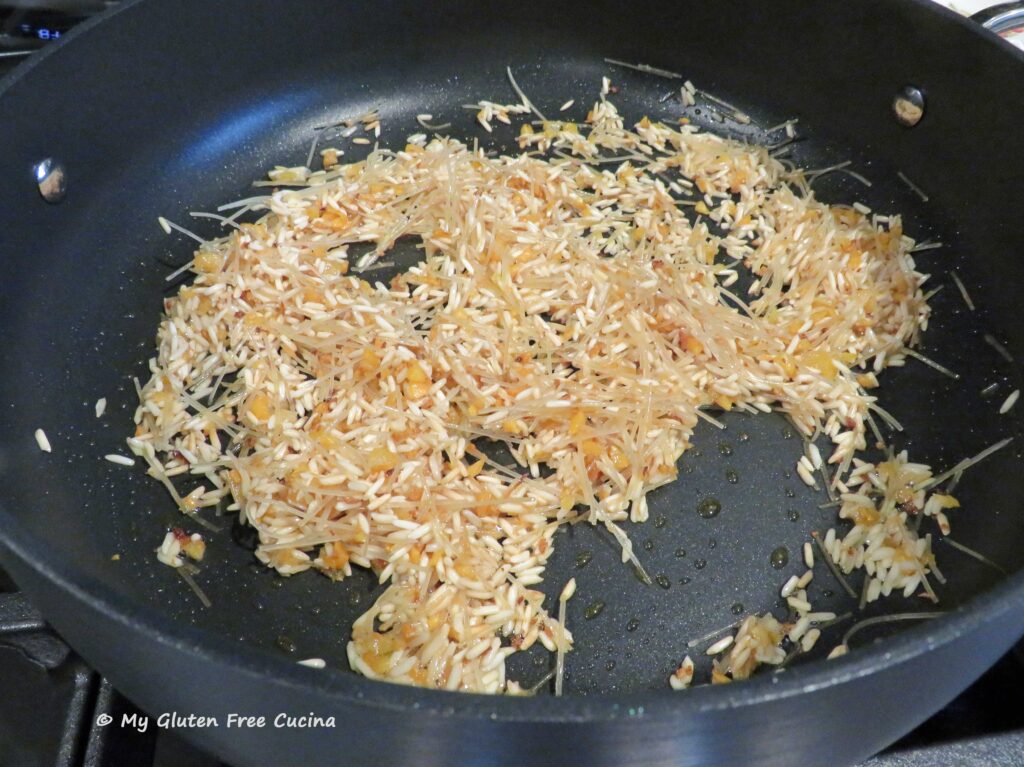
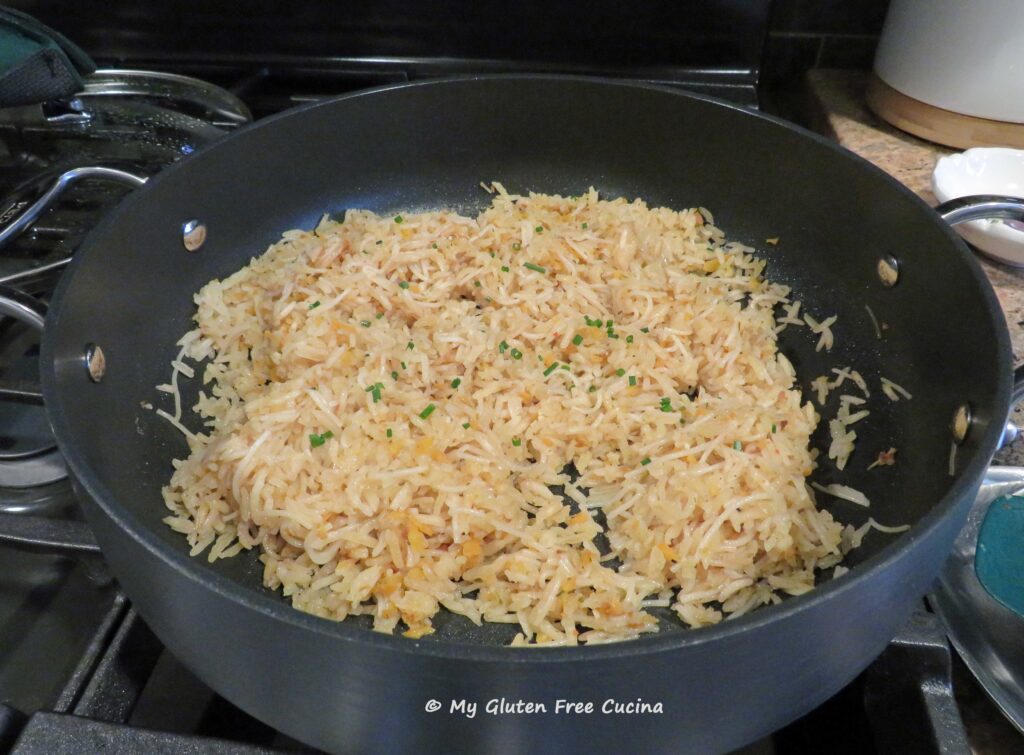
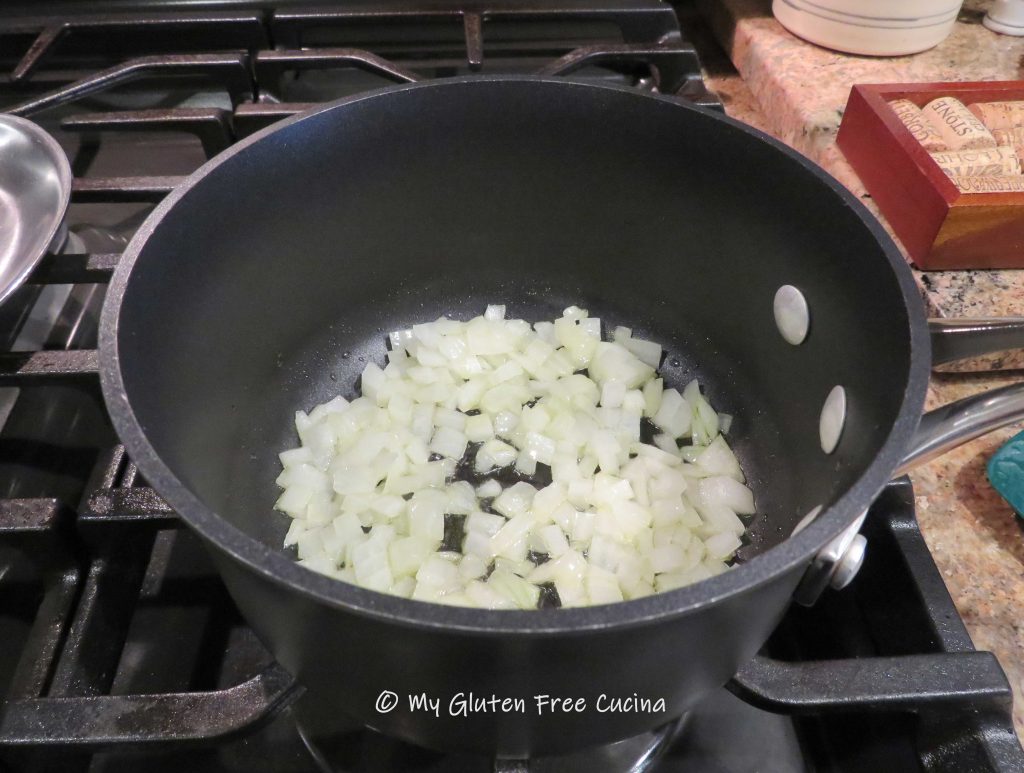
Break the rice noodles into small pieces. I placed mine inside a zip lock bag so they wouldn’t go all over the place. Heat the butter in a deep skillet with a cover. Add the rice and noodles and sauté over medium low heat, stirring frequently for about 10 minutes. Add the carrots and continue cooking for another 5 minutes.
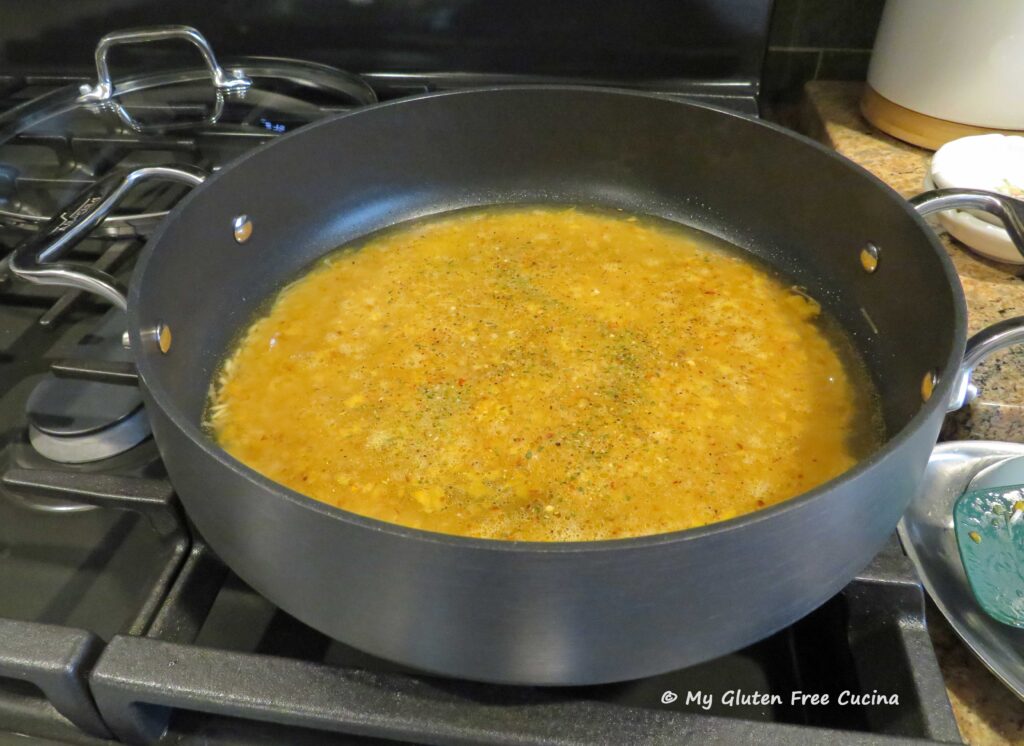
Pour in the chicken broth, sprinkle with seasoning and bring to a simmer. Cover, reduce heat to low and simmer for 15 minutes.
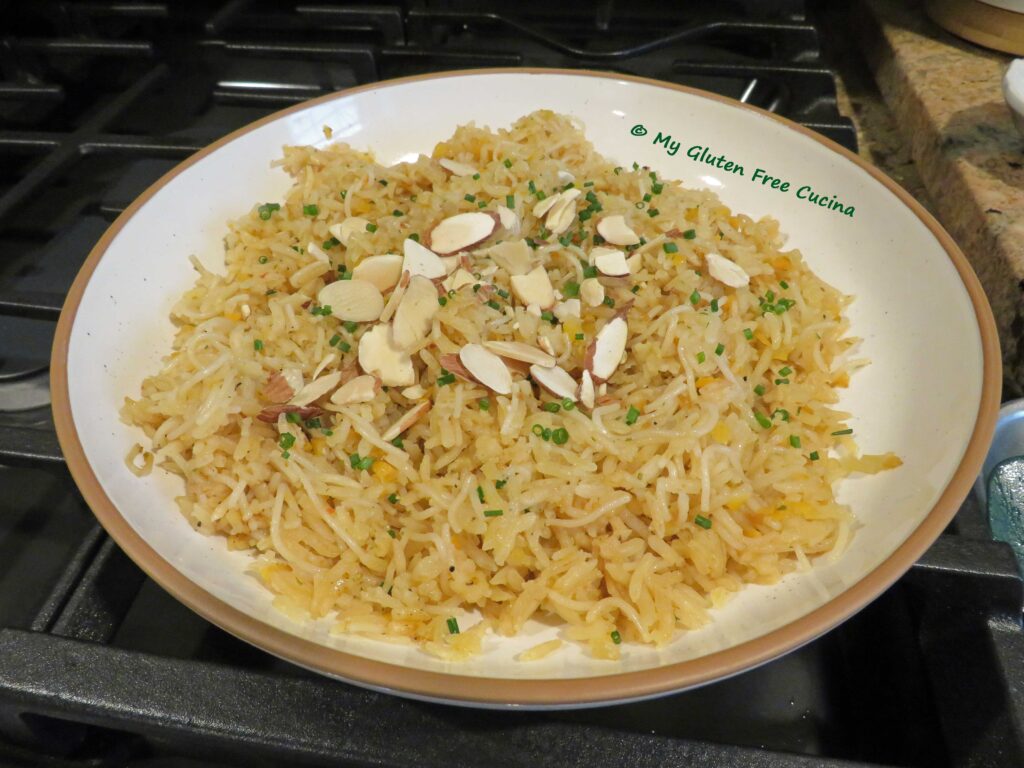
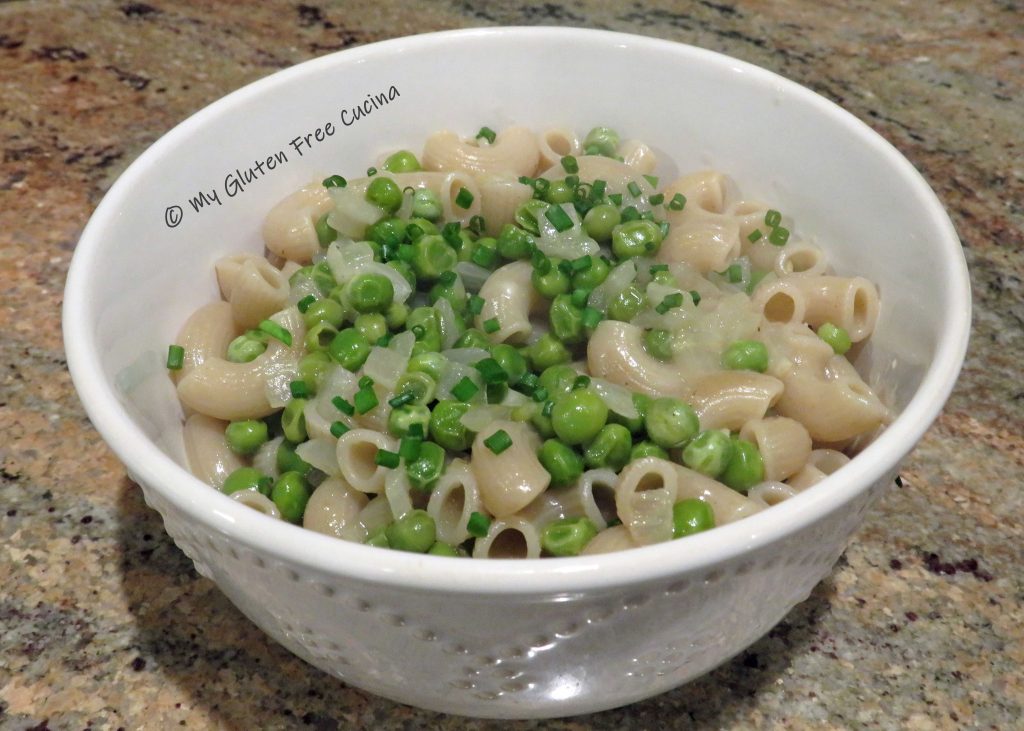
Remove from heat and keep covered until ready to serve. Transfer to a serving bowl, garnish with fresh chives and slivered almonds.
 Notes ♪♫ This was so easy to make, and it is such a versatile recipe. If you need a low sodium option, use unsalted or low sodium broth. For vegetarian, use vegetable broth. Change up the veggies, use what you like or what you have on hand. Vary the seasonings for a different flavor profile. Make it a complete meal by adding a protein. You get the idea!


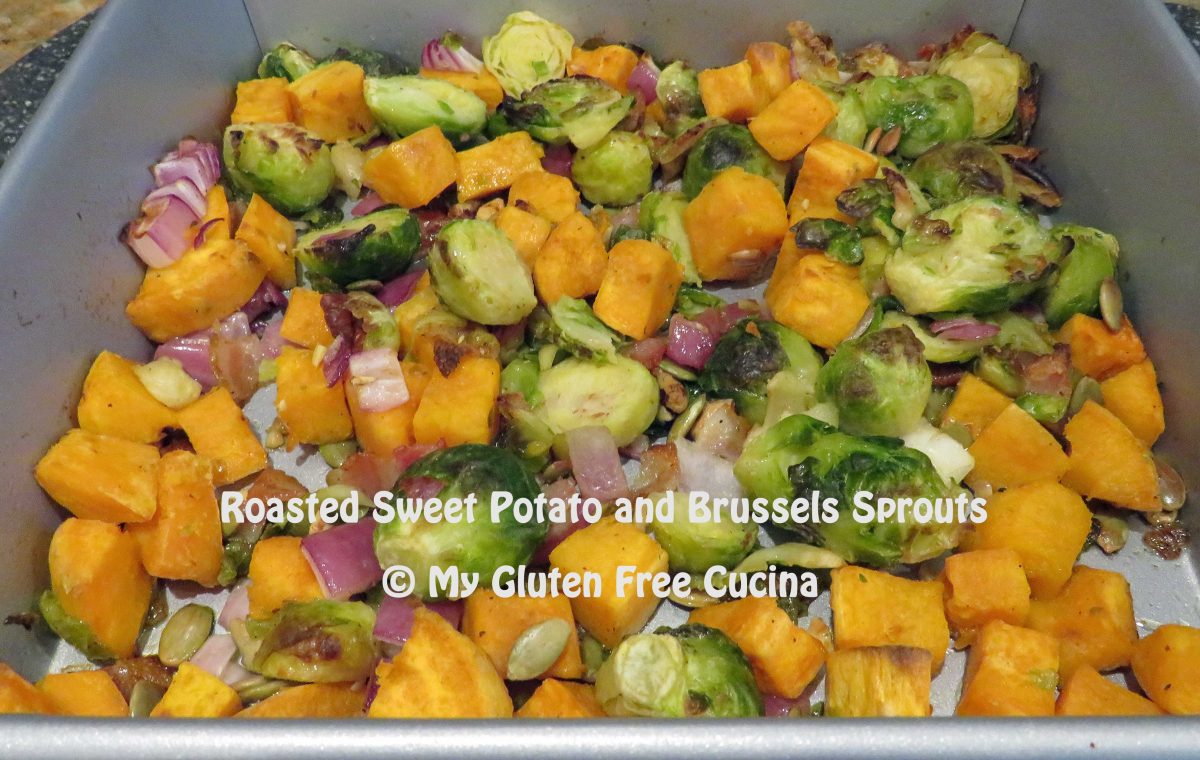
 Combine the brussels sprouts, red onion, and bacon in a
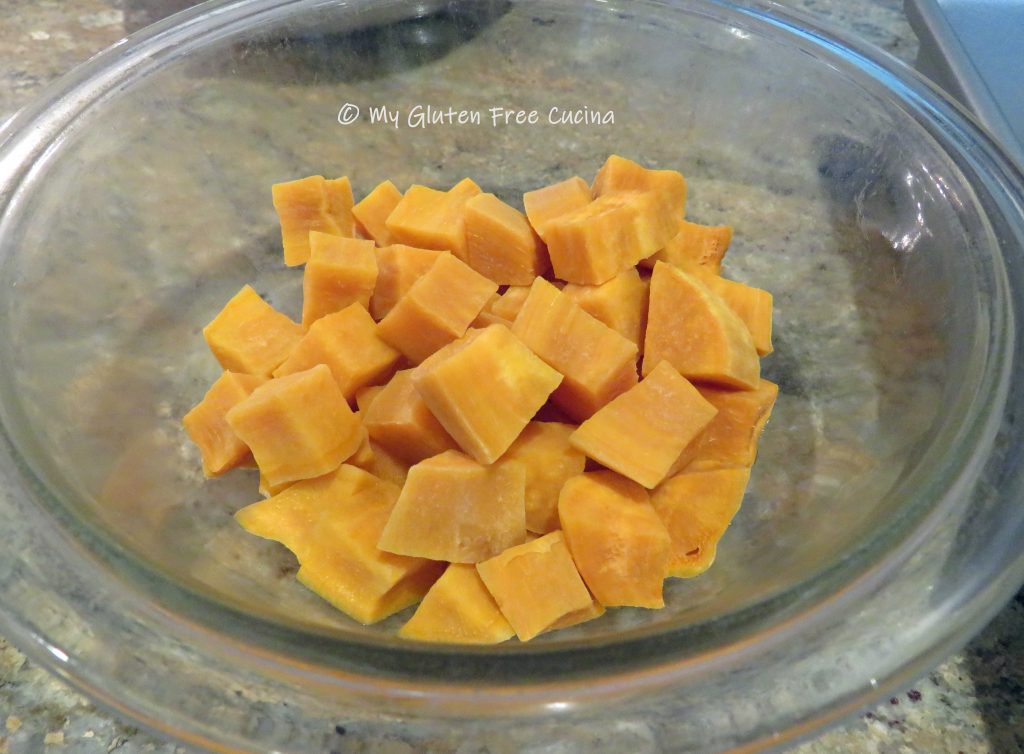
 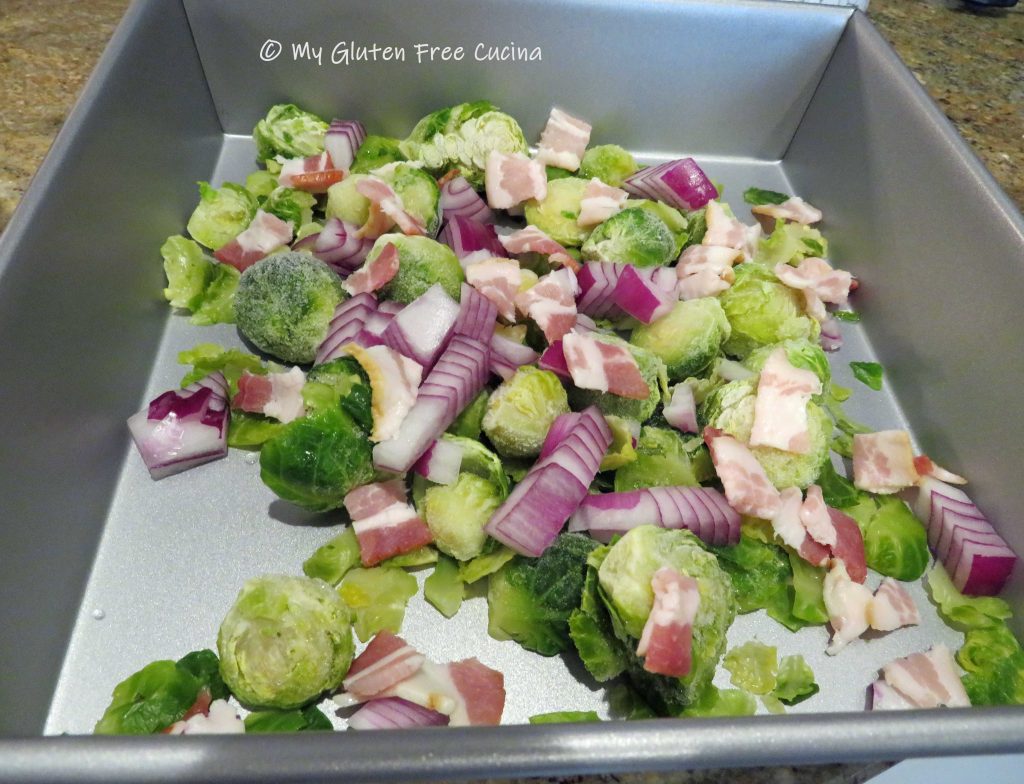 Stir in the cooled potatoes and toss with oil, salt and pepper. Top with the nuts and seeds and make sure everything is spread in an even layer.

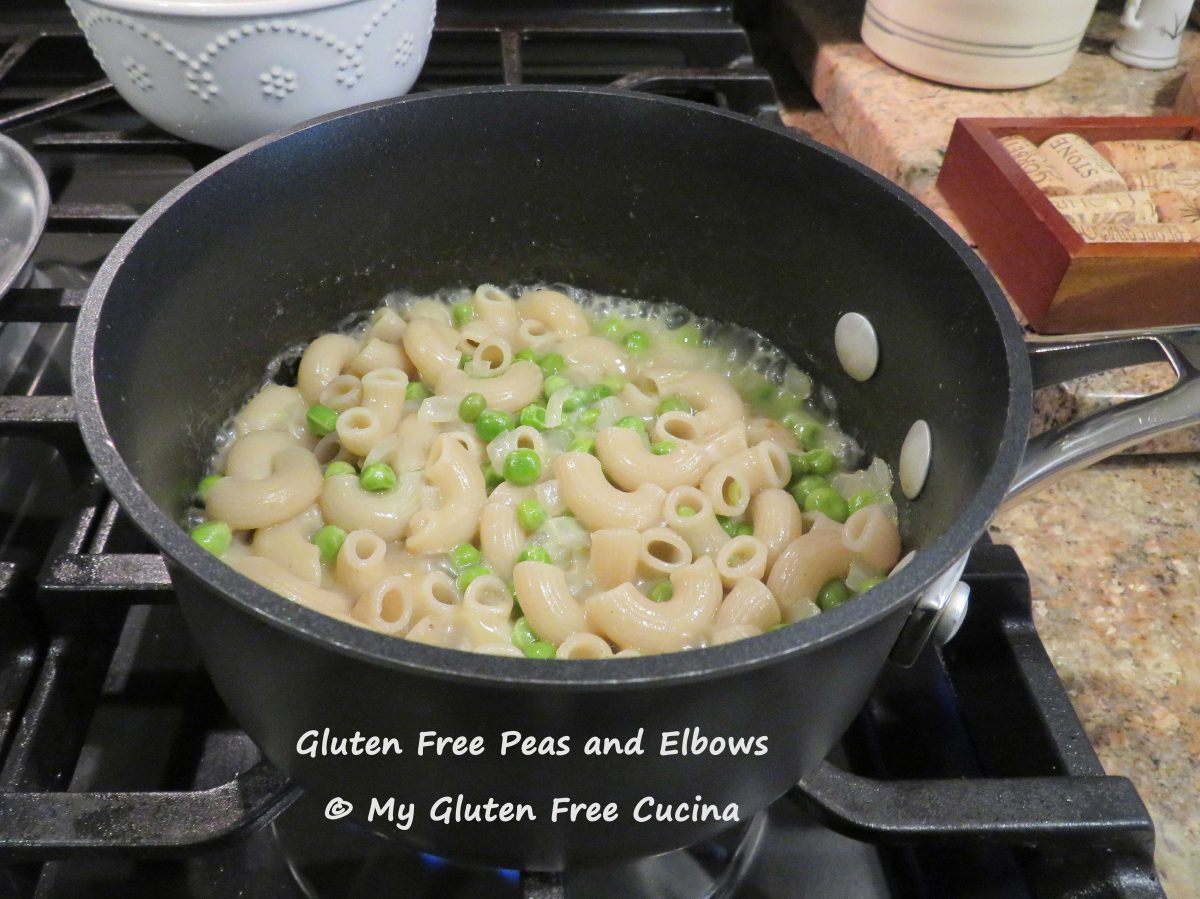
 Stir in 1 tbsp. butter, a heaping tbsp. of cheese (or more if you like) and transfer to a serving bowl.
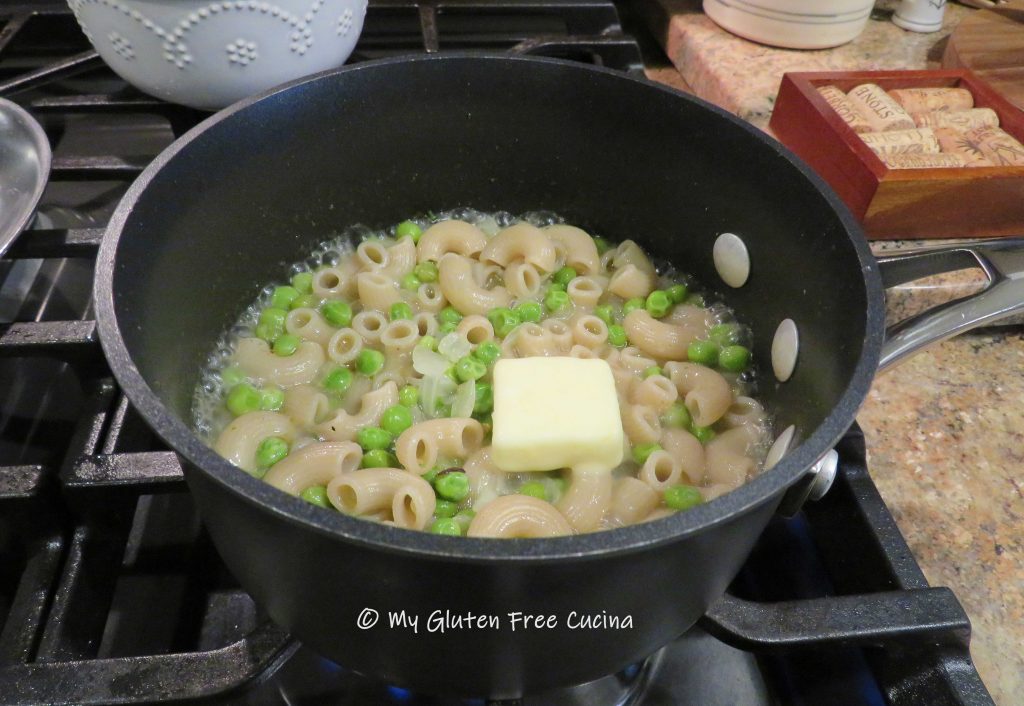
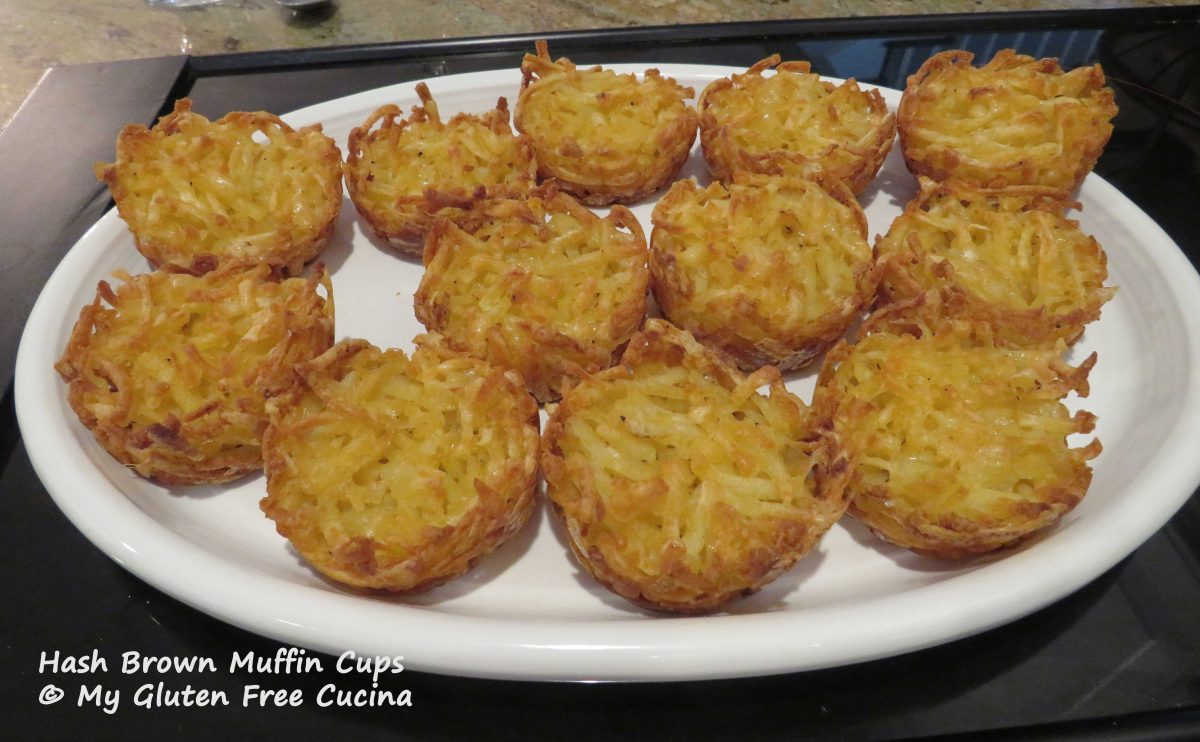
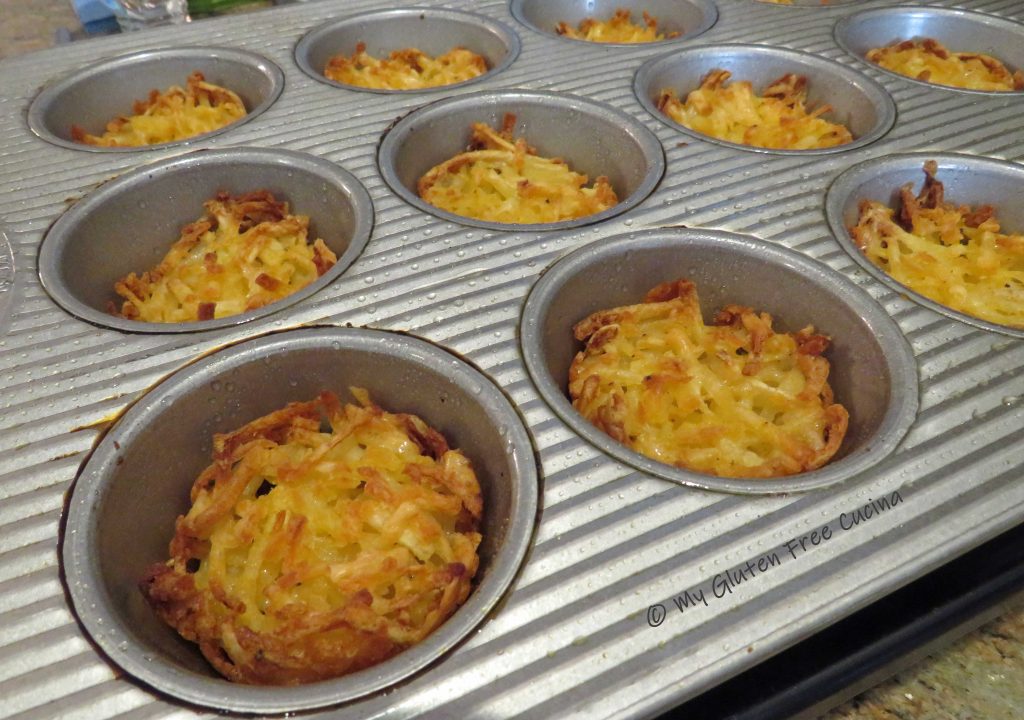

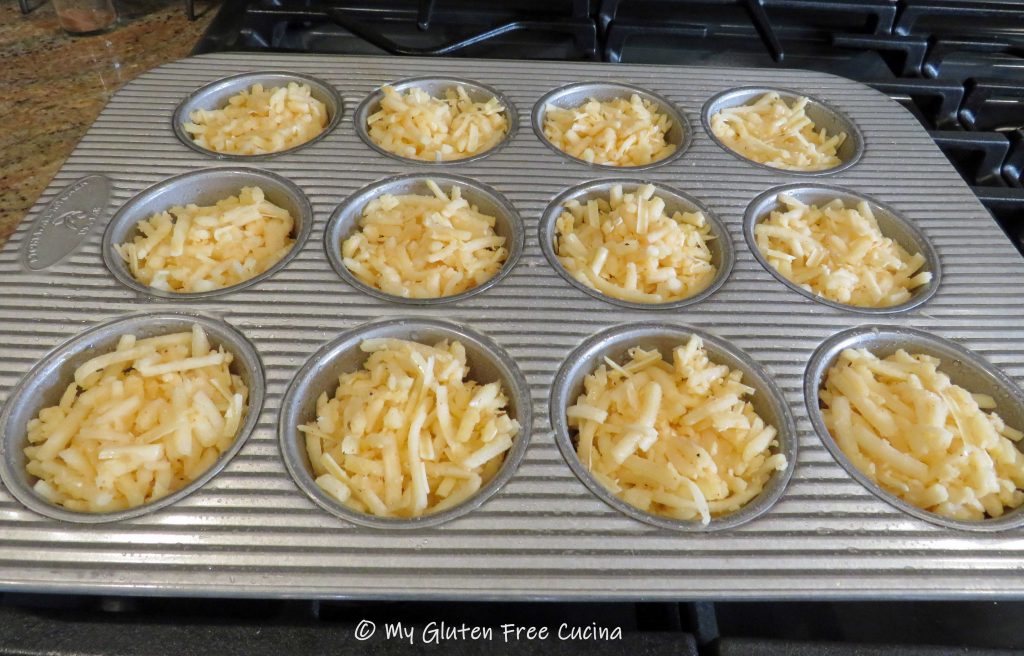
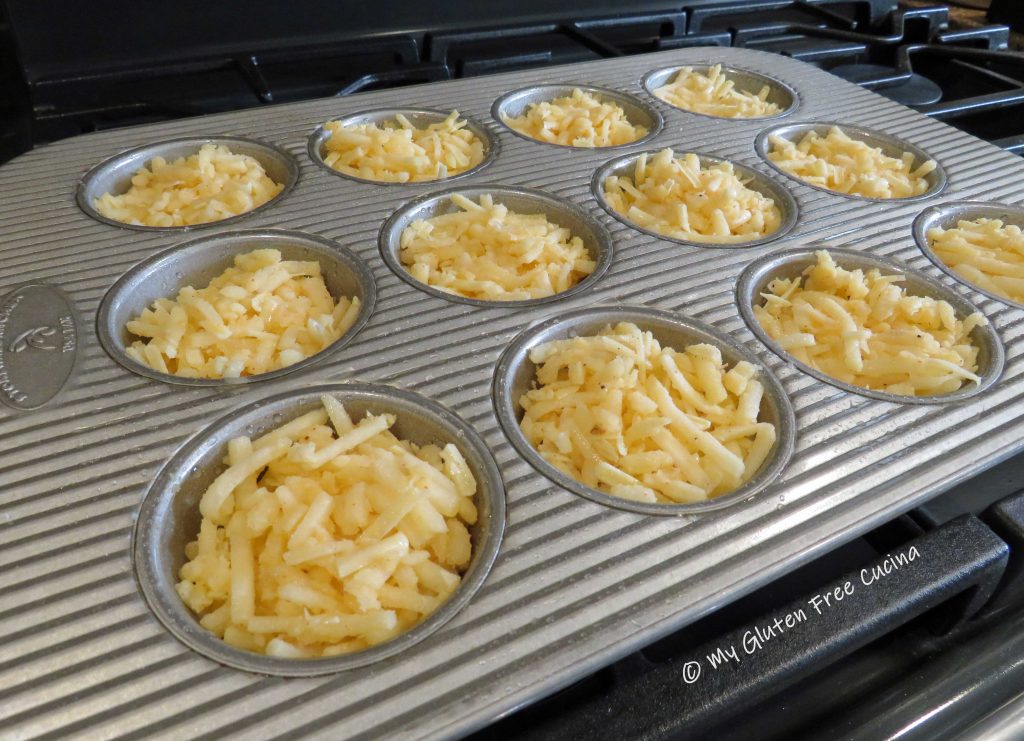

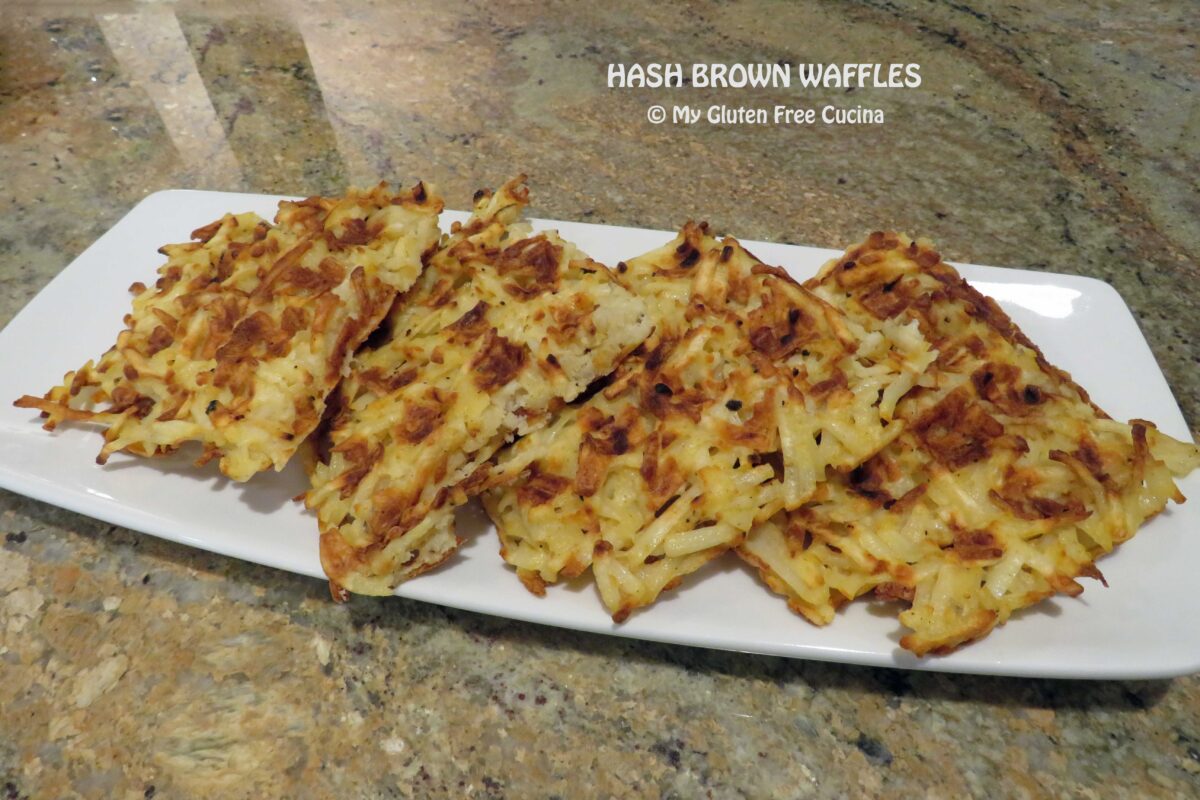
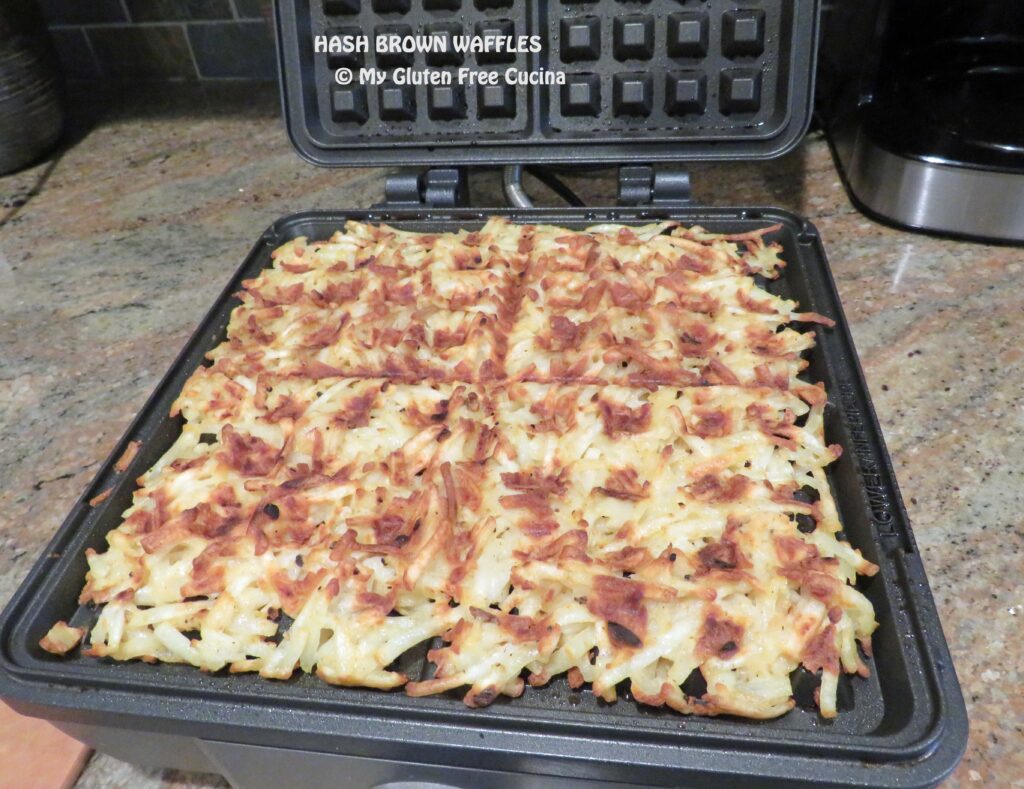
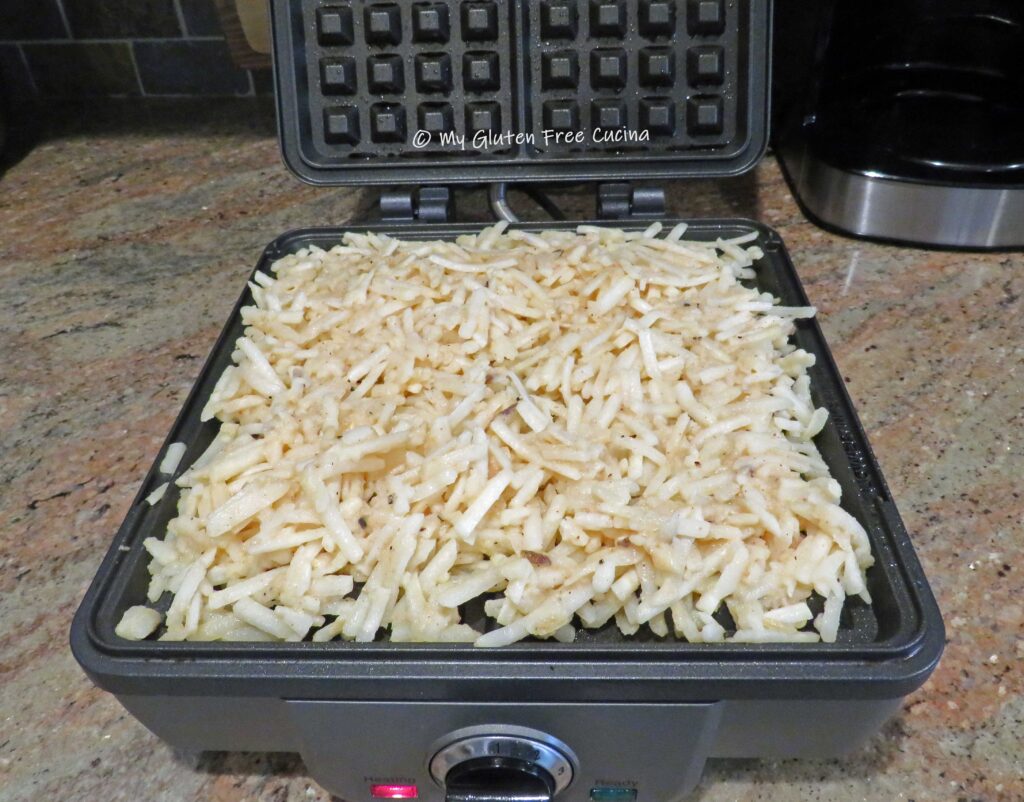
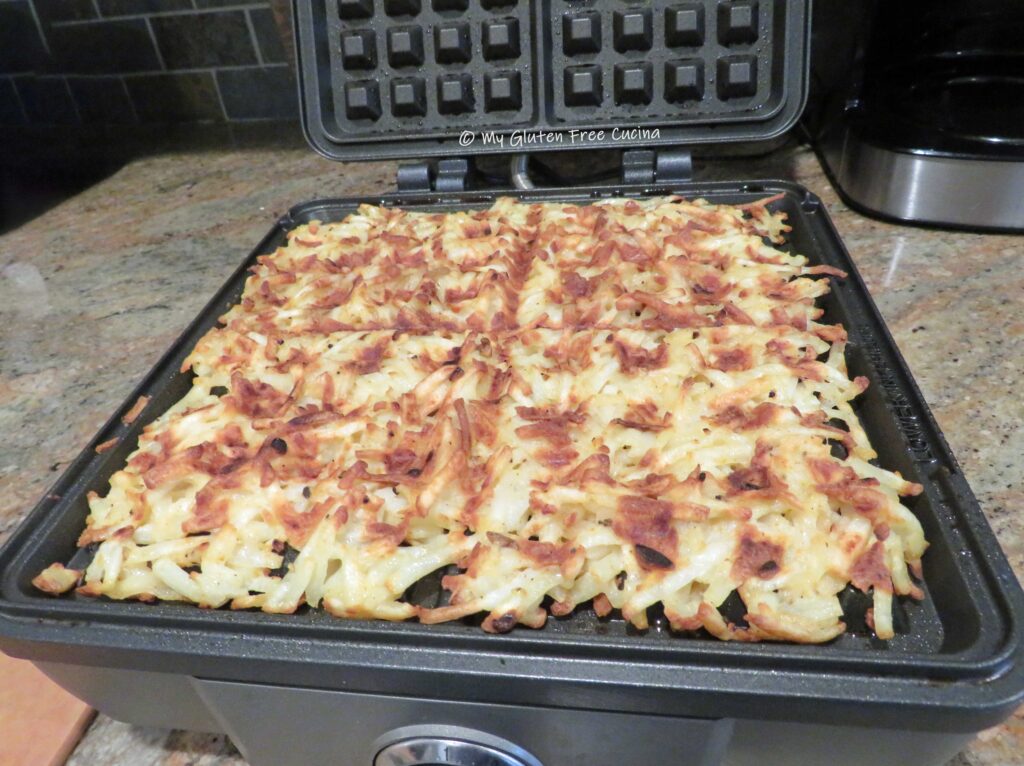
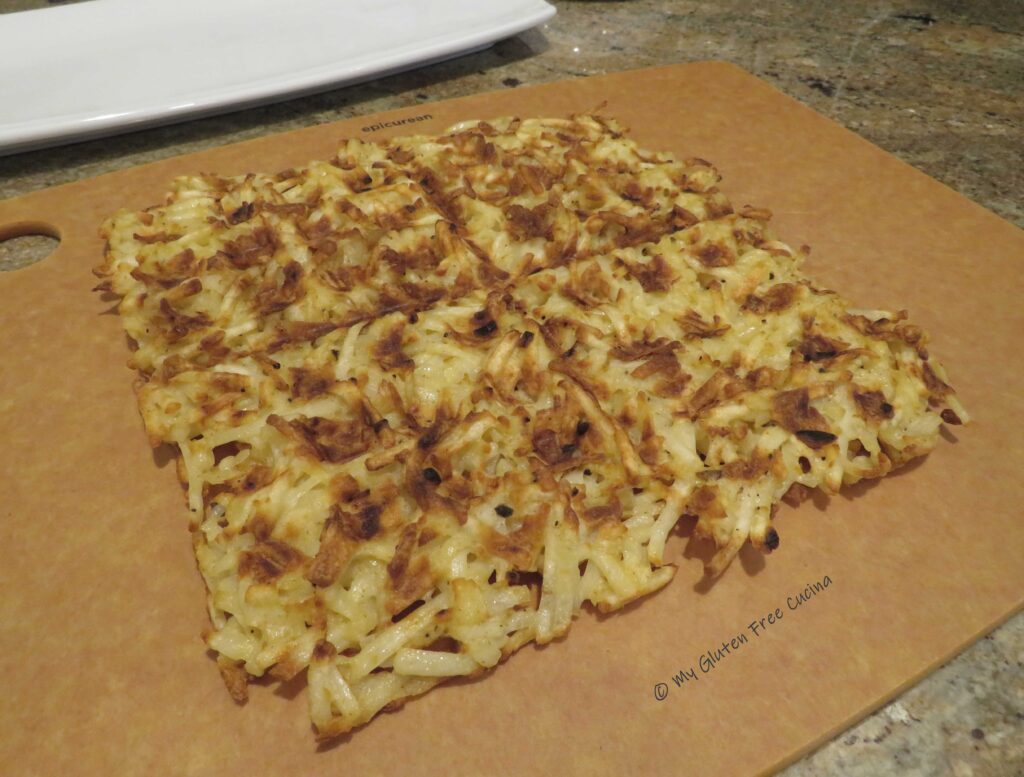
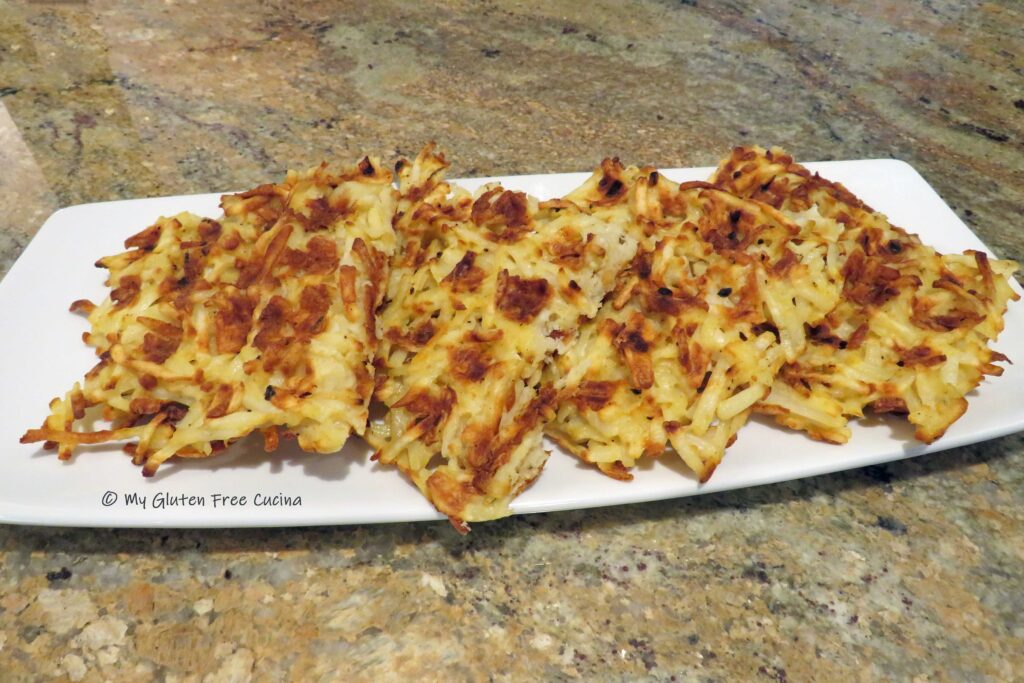
 Hash Brown Muffin Cups will be a great addition to your brunch menu, or a fun dinner side. They reheat well, and ours stayed crispy even after microwaving. You will want to keep a bag of hash browns in your freezer pantry, so you can make a batch any time you like!


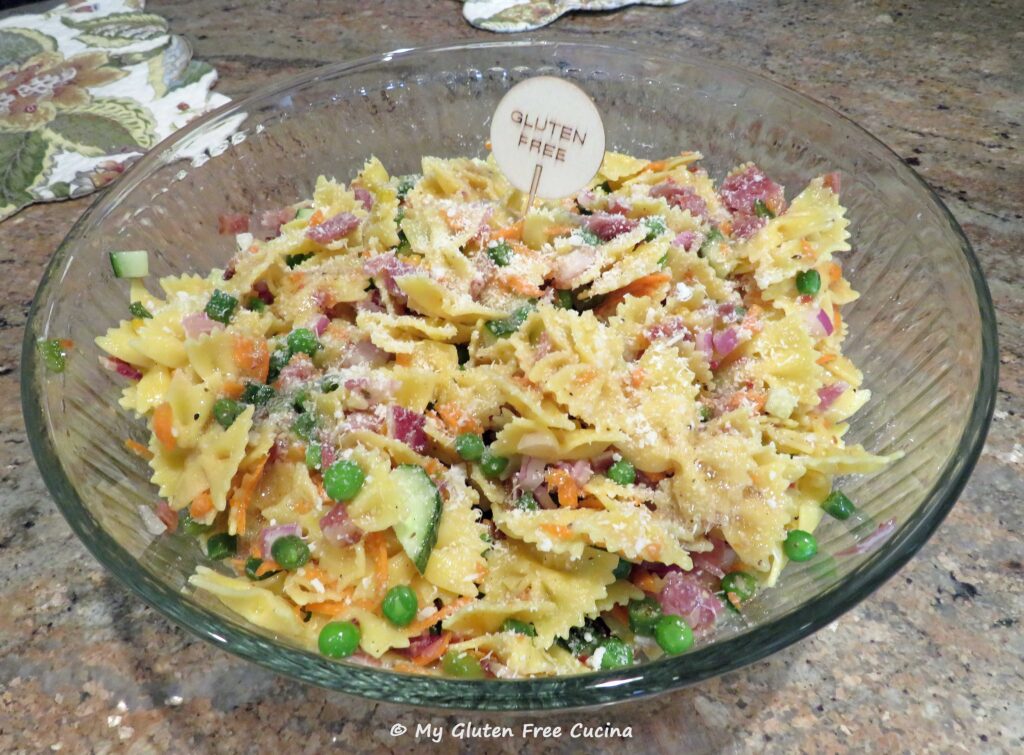

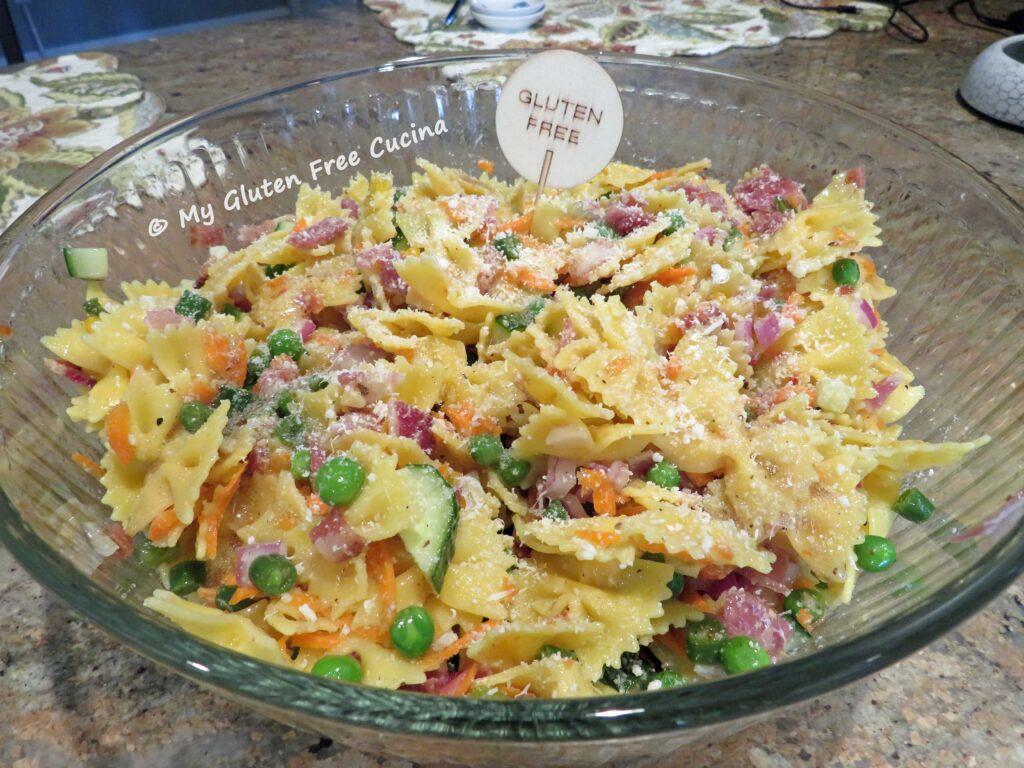
 As I mentioned above, I recommend that you wait until a few hours before serving to assemble the salad. Cook the pasta to al dente. This will likely be several minutes less than the package directions, so taste frequently. Drain the pasta and immediately rinse it under cold water to stop the cooking.
 Place the colander over a large bowl, toss with 1 tbsp. olive oil and chill in the fridge for 30 minutes.

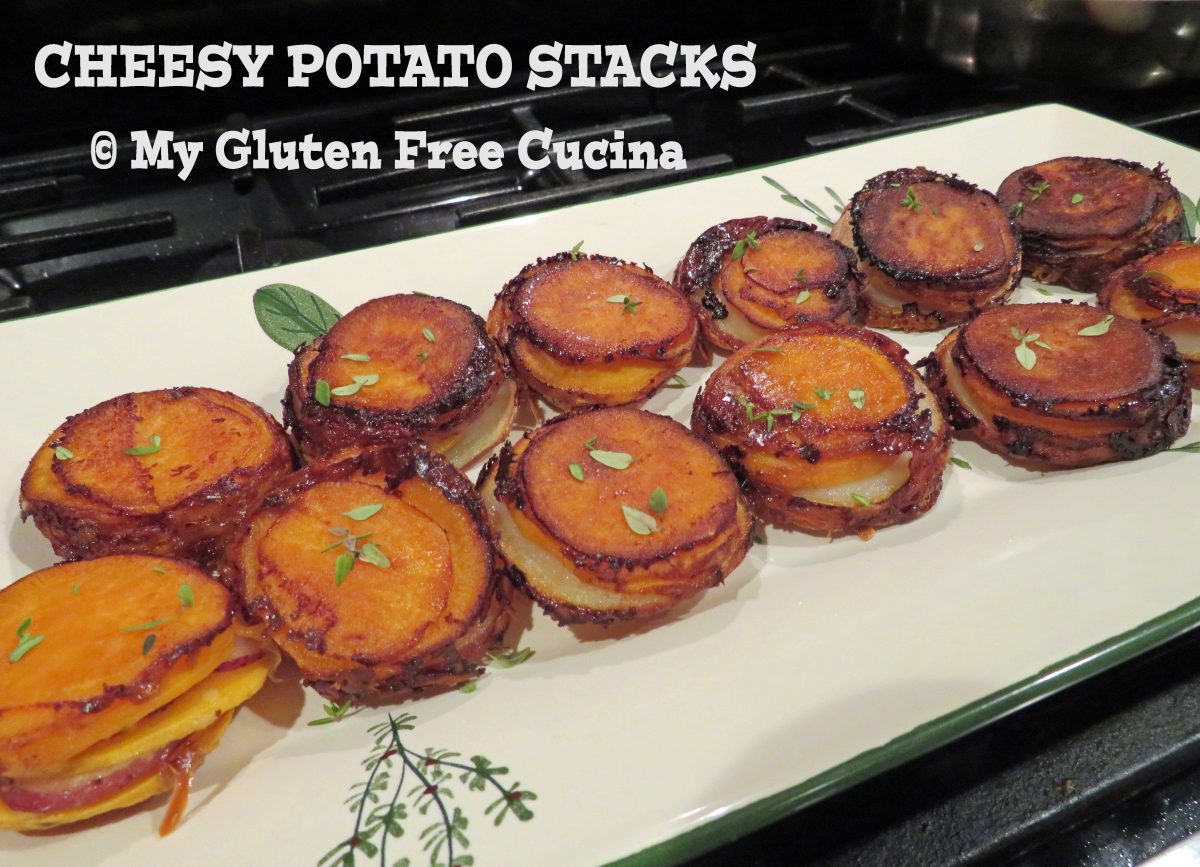
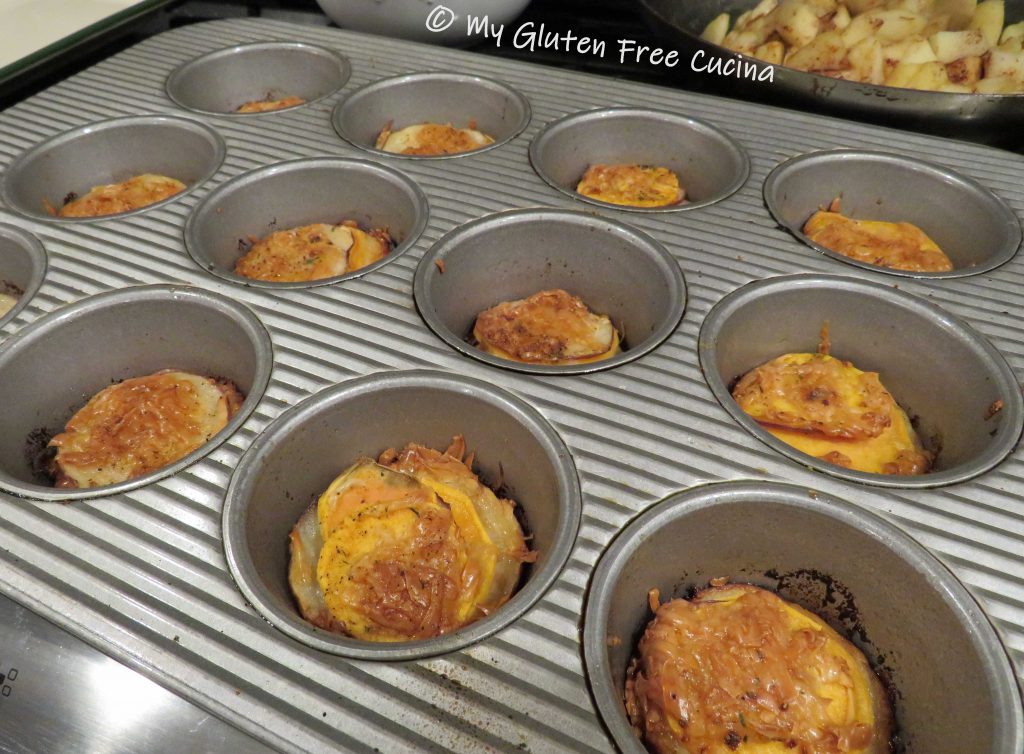


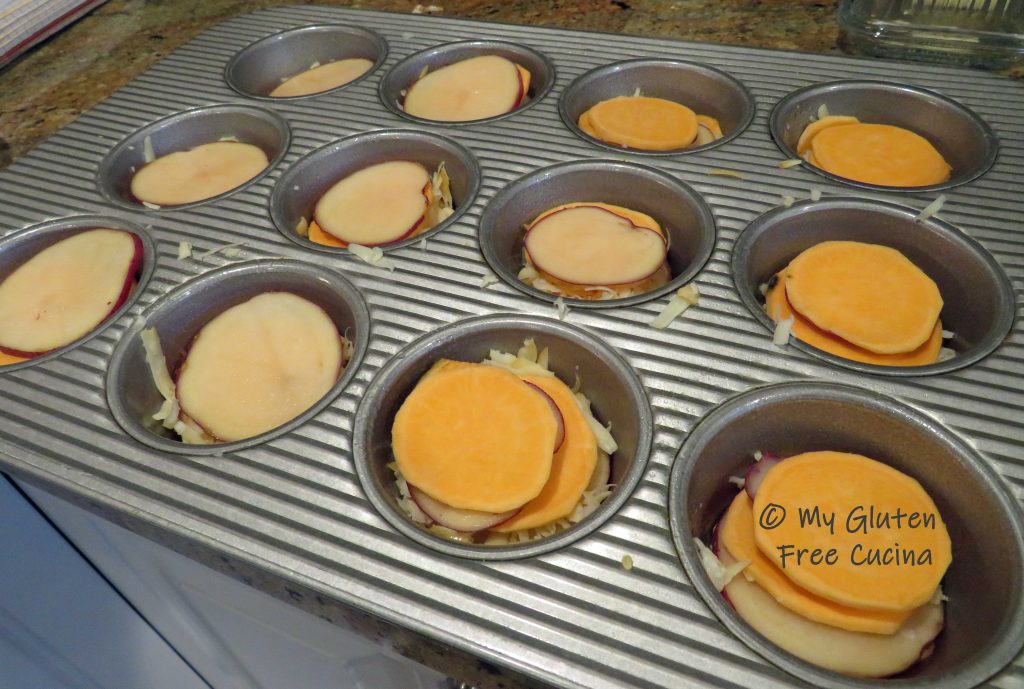 Use the smaller slices on the bottom for the best fit. Drizzle one tsp. of the butter mixture over each stack and top with half of the grated cheese.