Gluten Free Chicken Mushroom Ragu with Fusilli
Like many Italian recipes handed down from one generation to the next, this one has the magical ability to transform simple ingredients from the pantry into the perfect comfort food meal. I used boneless, skinless chicken thighs and pre-sliced mushrooms to simplify the prep. In fact, if you buy some diced onions in the produce section, you can put away the cutting board. How’s that for simple?
This post contains affiliate links.

4 Servings:
Ingredients:
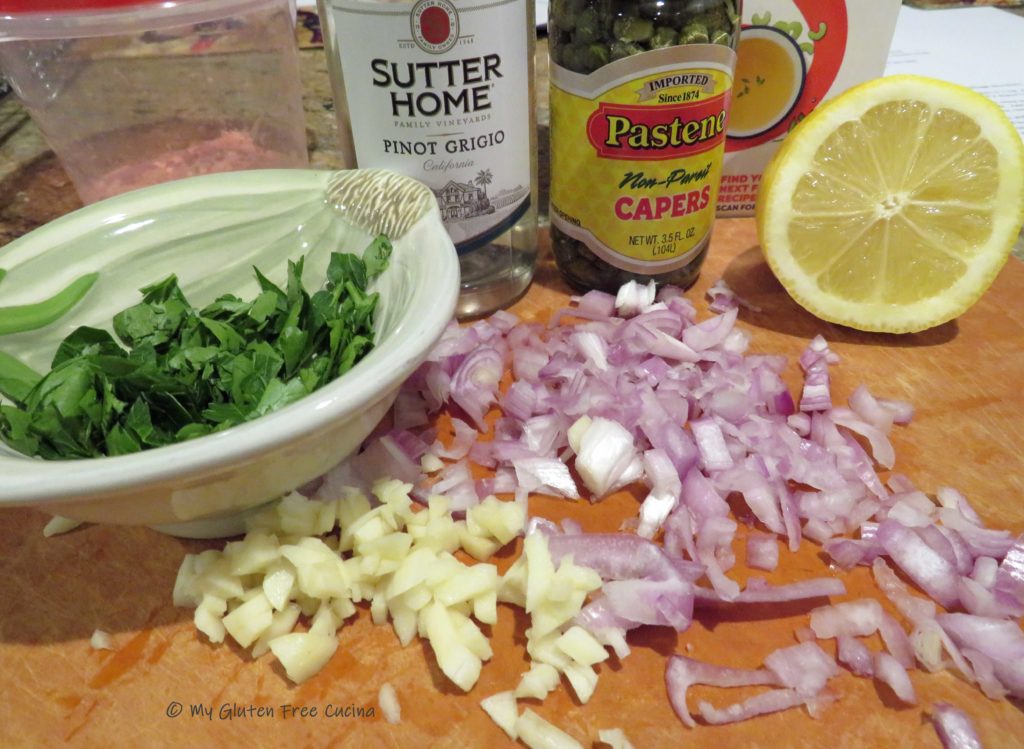
- 1 carton gluten free chicken broth (you won’t need the whole thing)
- 3 boneless skinless chicken thighs
- salt and pepper to taste
- olive oil
- 1/2 medium sweet onion, diced
- 2 tbsp. tomato paste
- 1/2 tsp. Tuscan seasoning
- 1 bay leaf
- 1 sprig of rosemary
- 1/8 tsp. ground cloves
- 1/2 cup white wine (not cooking wine)
- 8 oz. package white button mushrooms, sliced
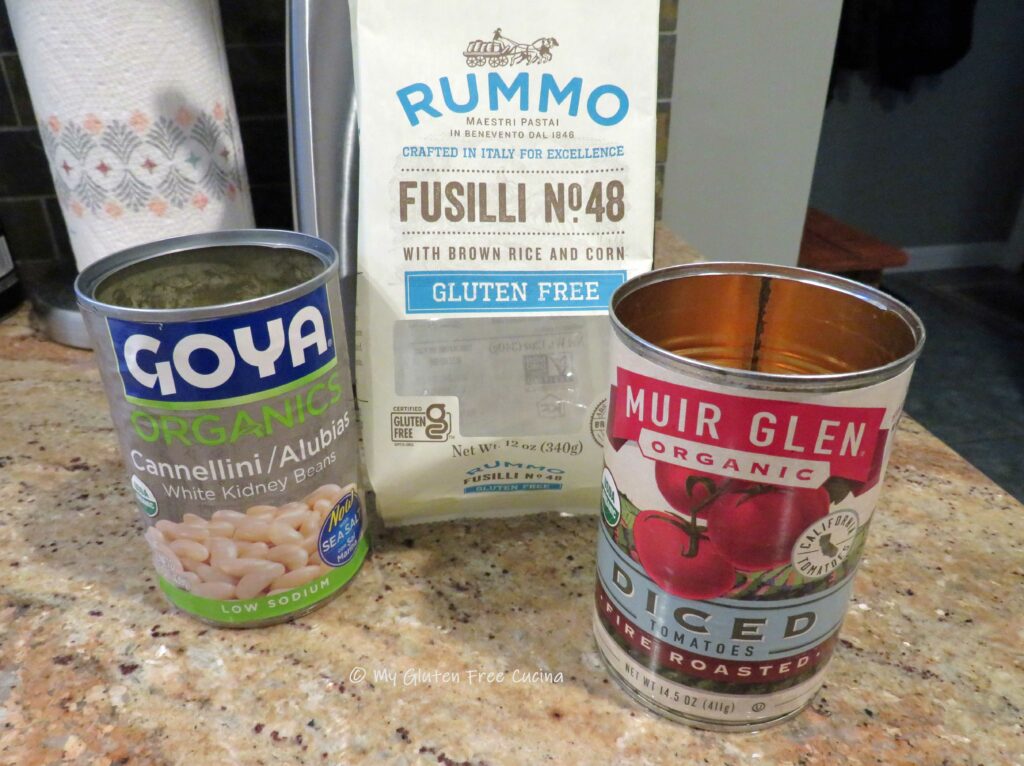
- 6 oz. gluten free fusilli pasta
- Italian parsley for garnish
- grated Parmigiano Reggiano for serving
Preparation:
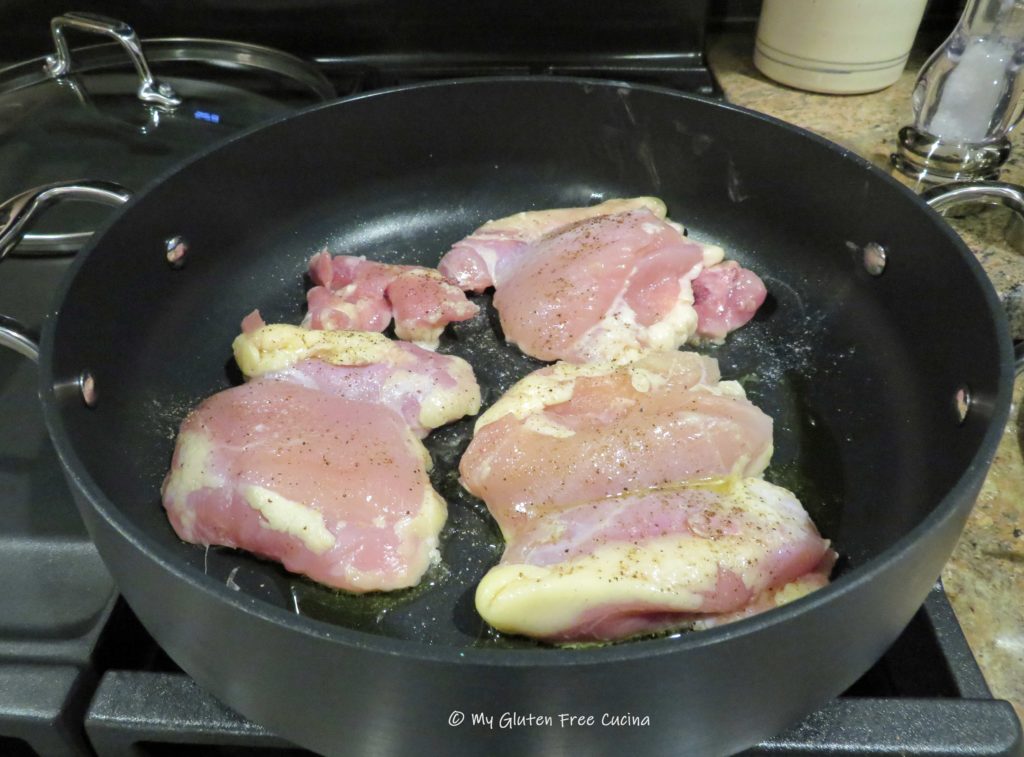
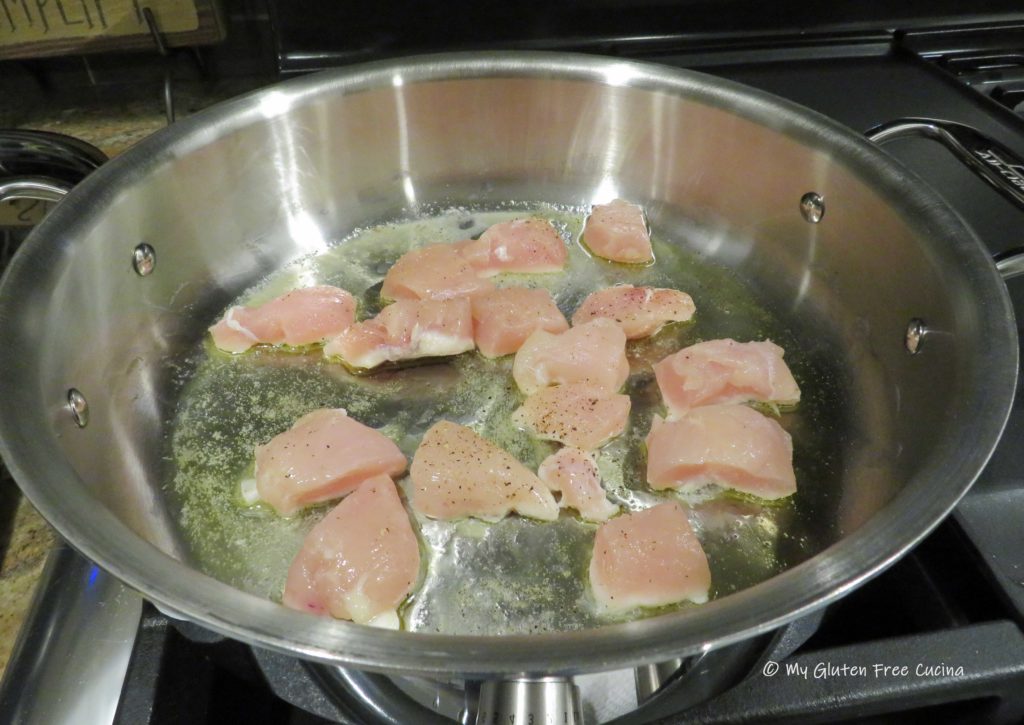
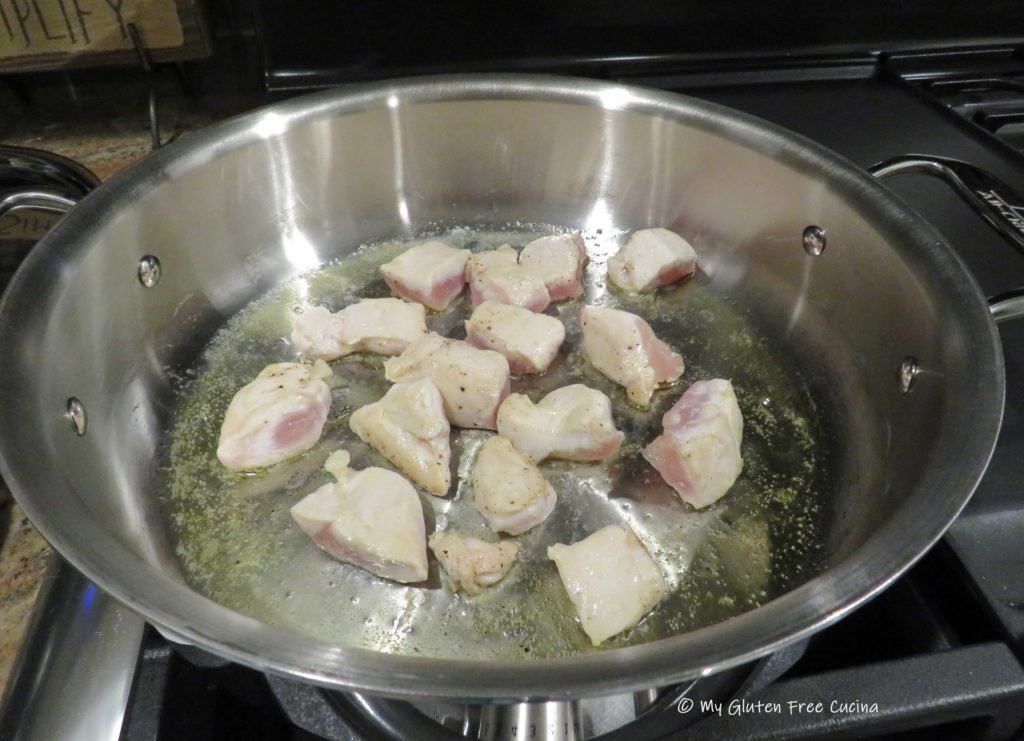
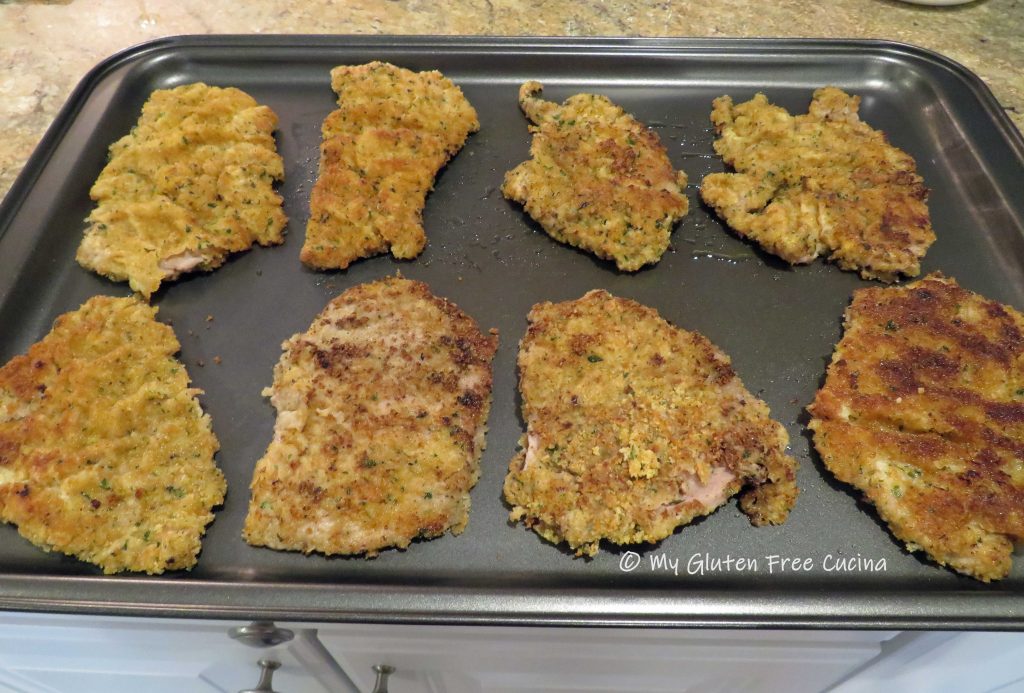
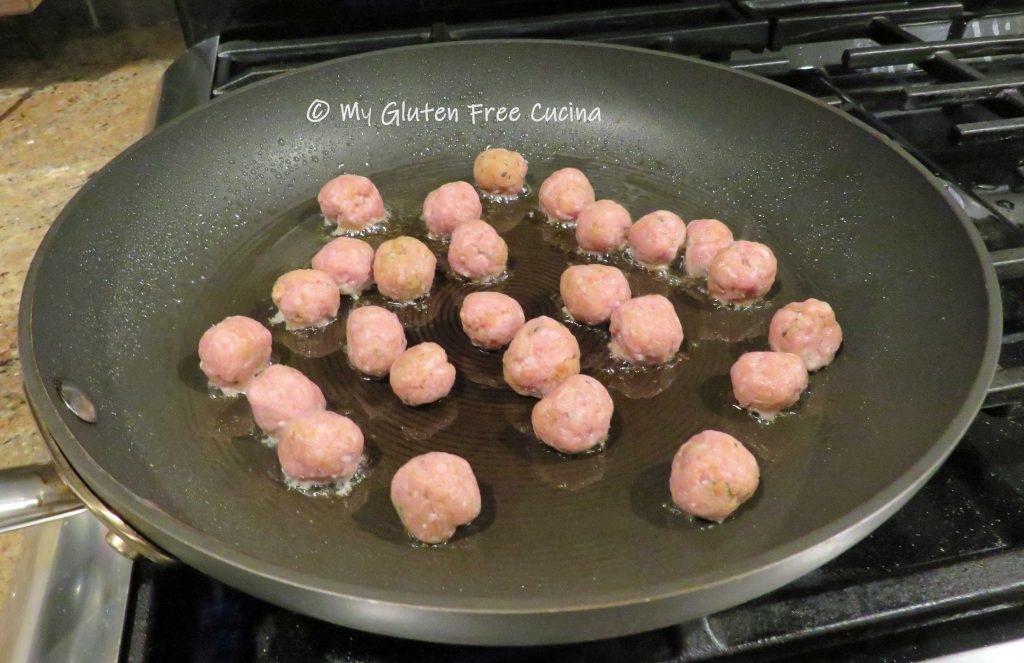
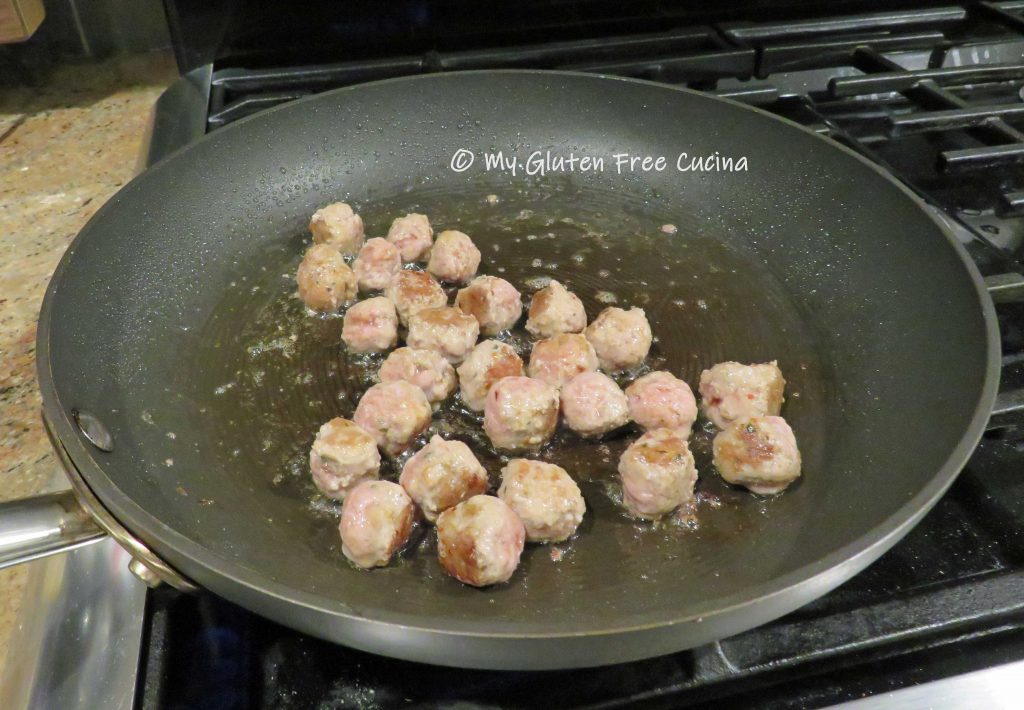
Add 1 tbsp. olive oil to a deep nonstick skillet over medium low heat. Add the chicken, season with salt and pepper and cook several minutes per side. It does not have to be cooked through at this point.
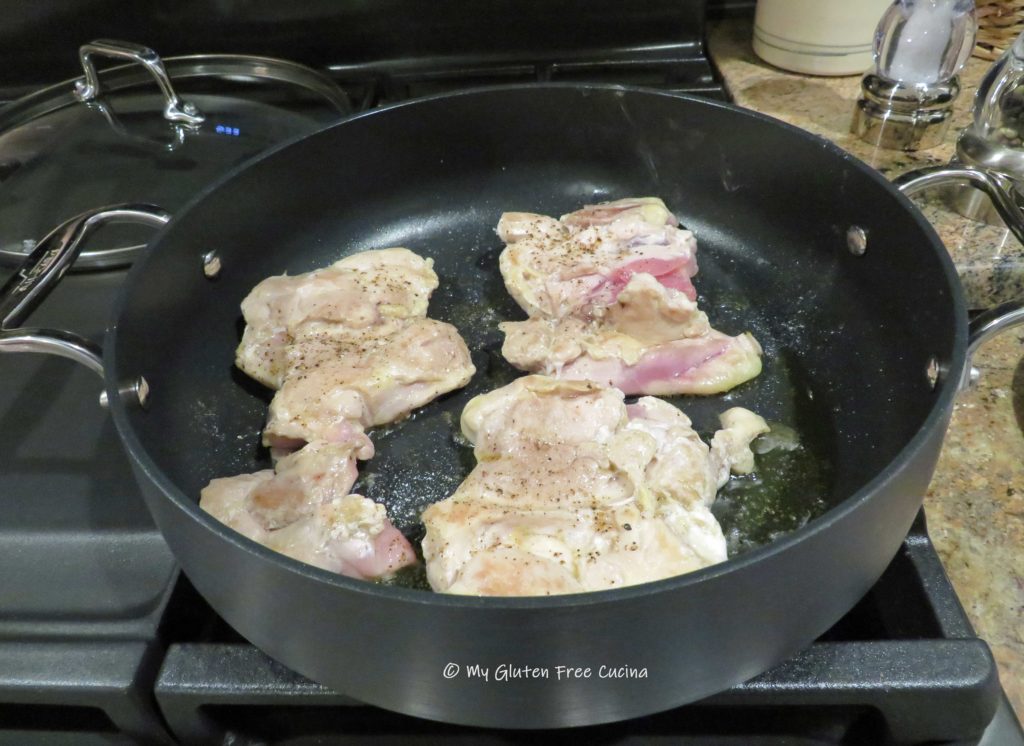
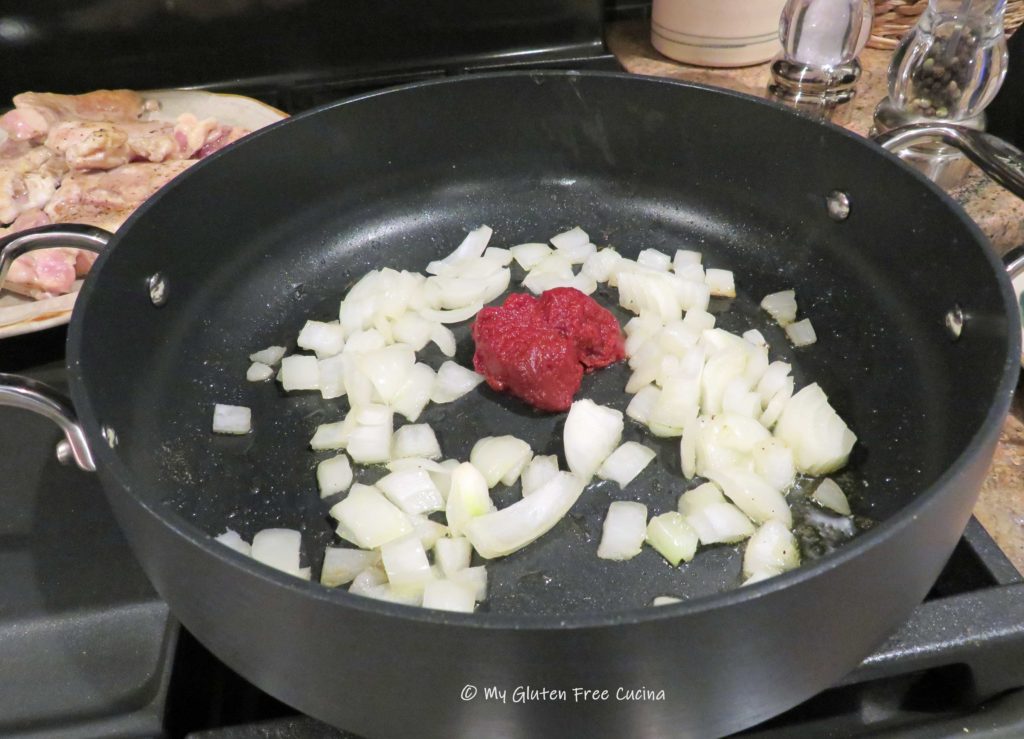
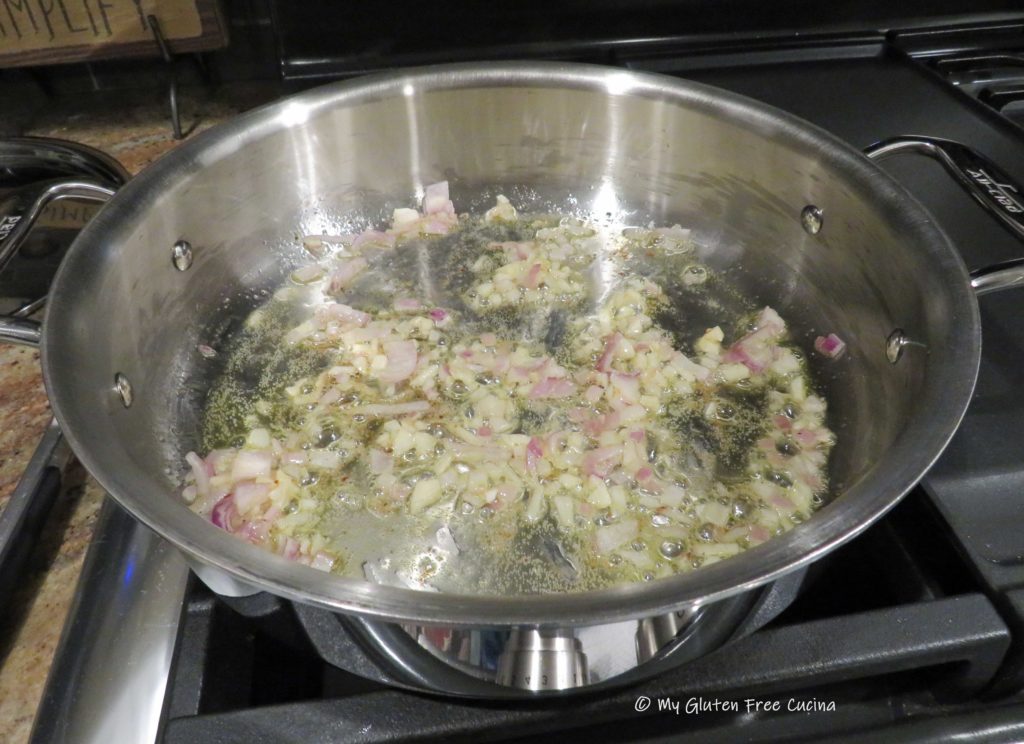
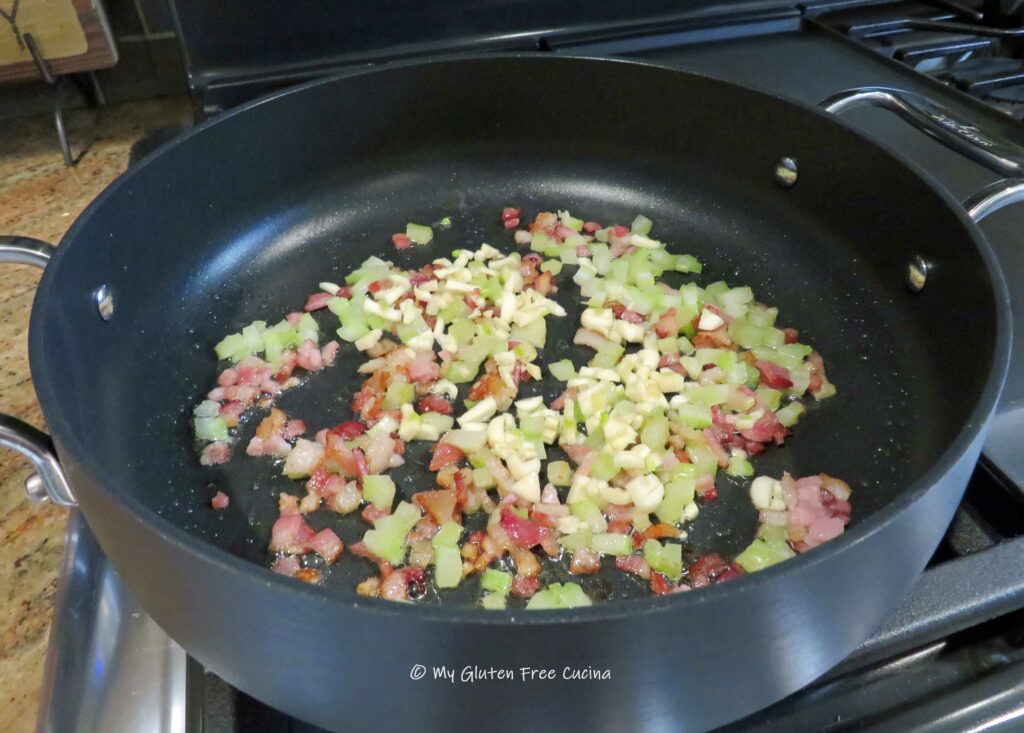
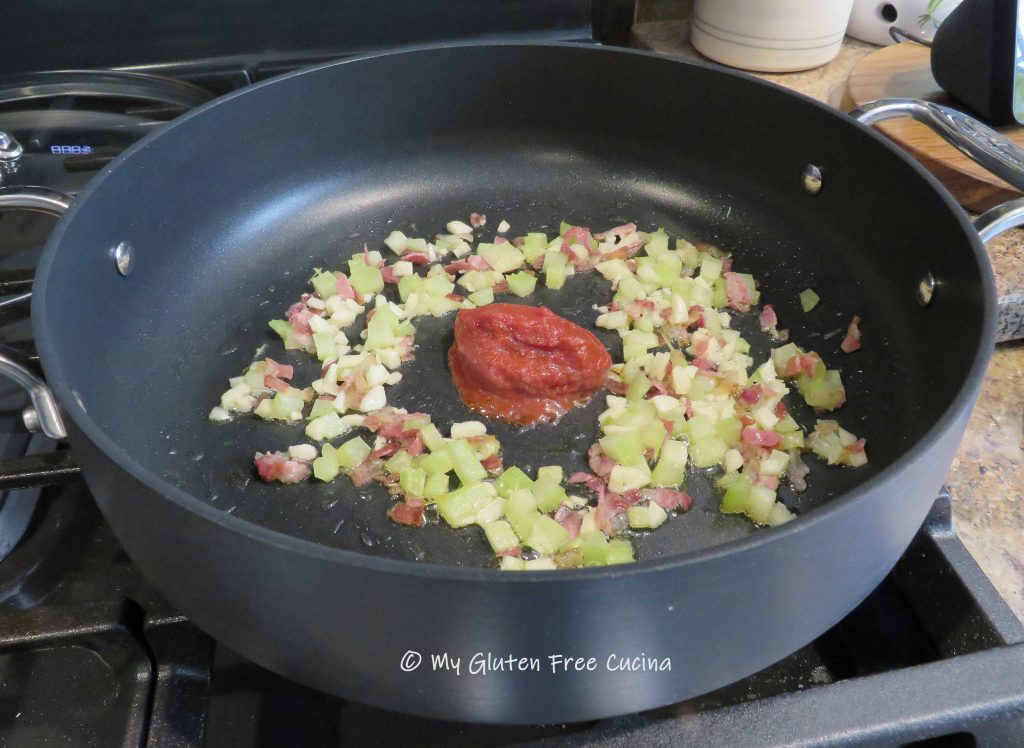
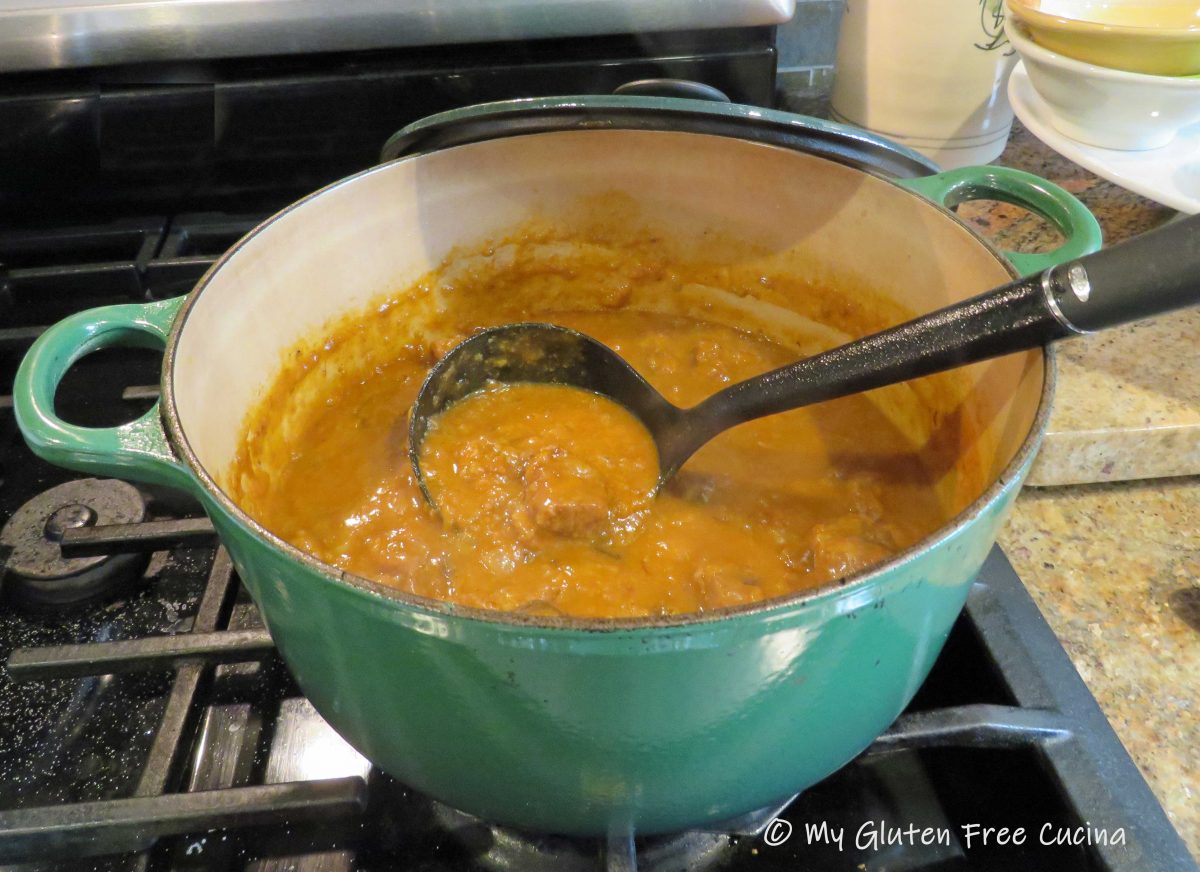
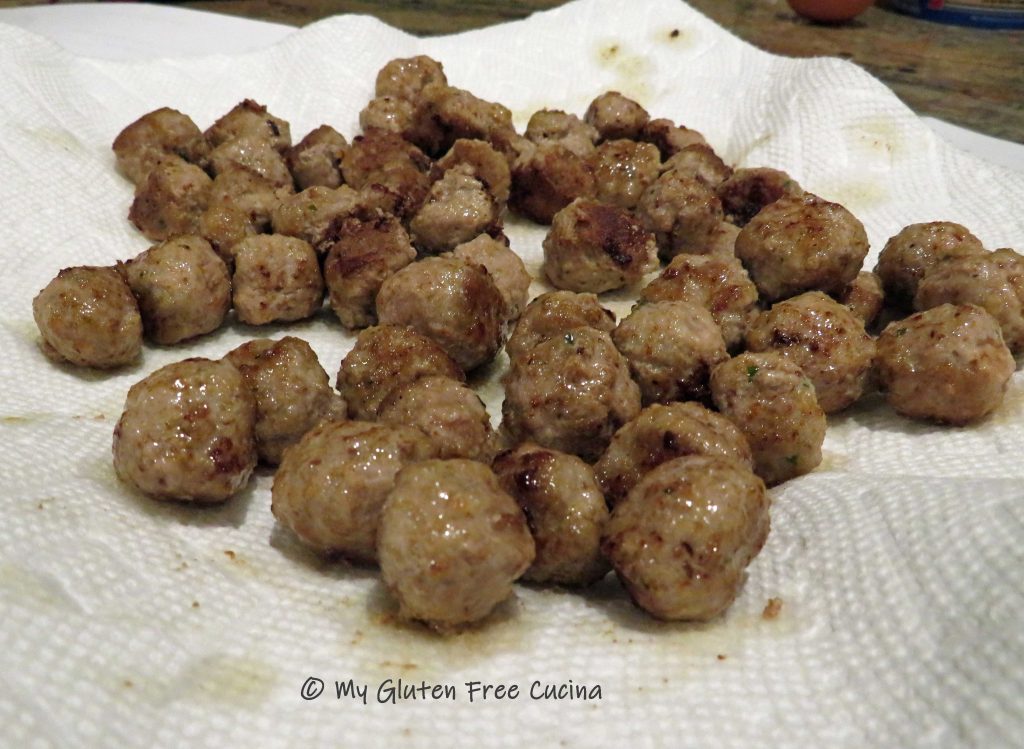
Remove the chicken to a plate and sprinkle with Tuscan seasoning. Add the onions to the pan. Cook for several minutes then add the tomato paste in the center. Let it toast for a minute then stir into the onions.
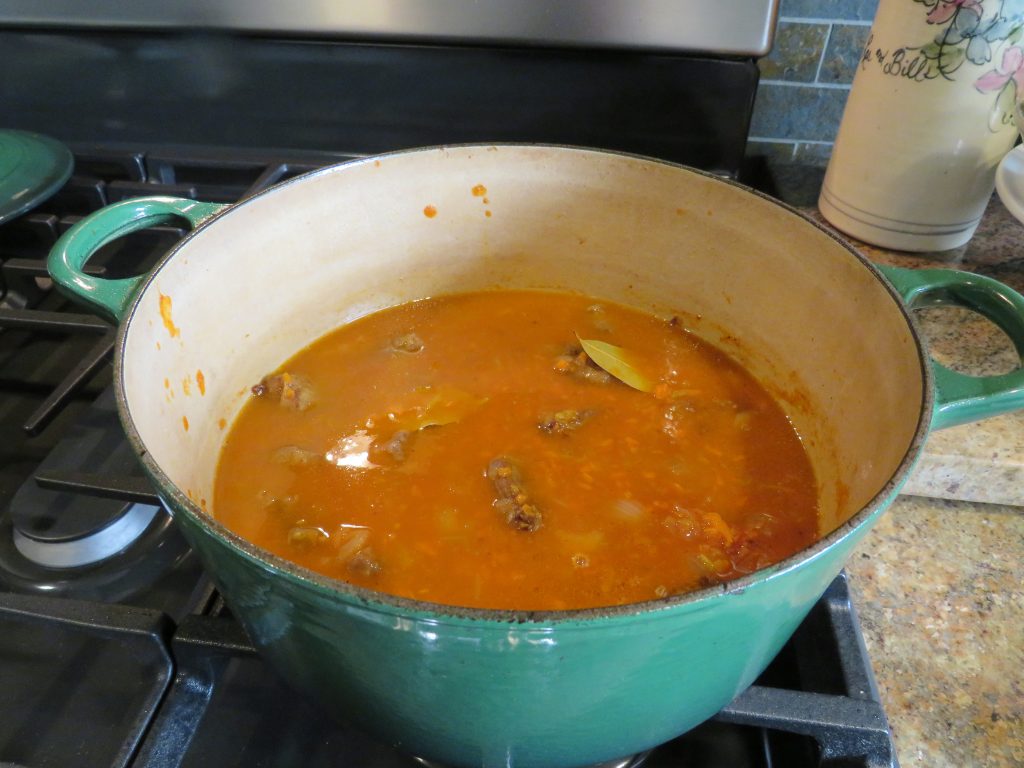
Stir in the white wine, bay leaf, rosemary and cloves. Simmer 5 minutes to reduce by half.

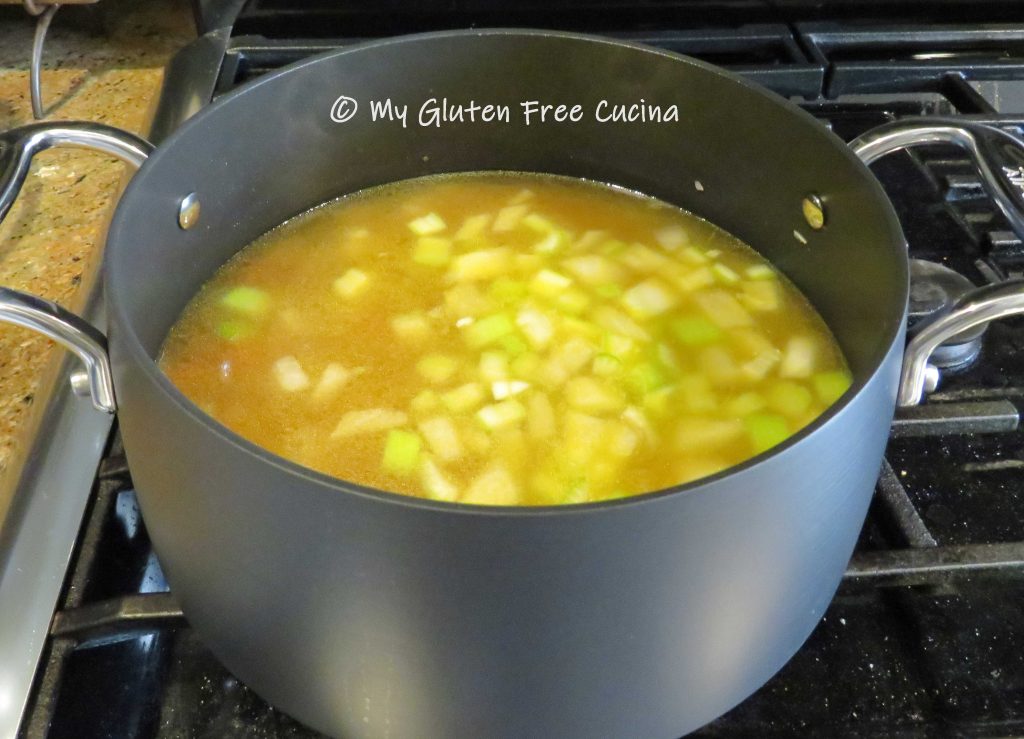
 Add the chicken back to the pan with about 1 cup of chicken broth. Cover and cook for 25 minutes.

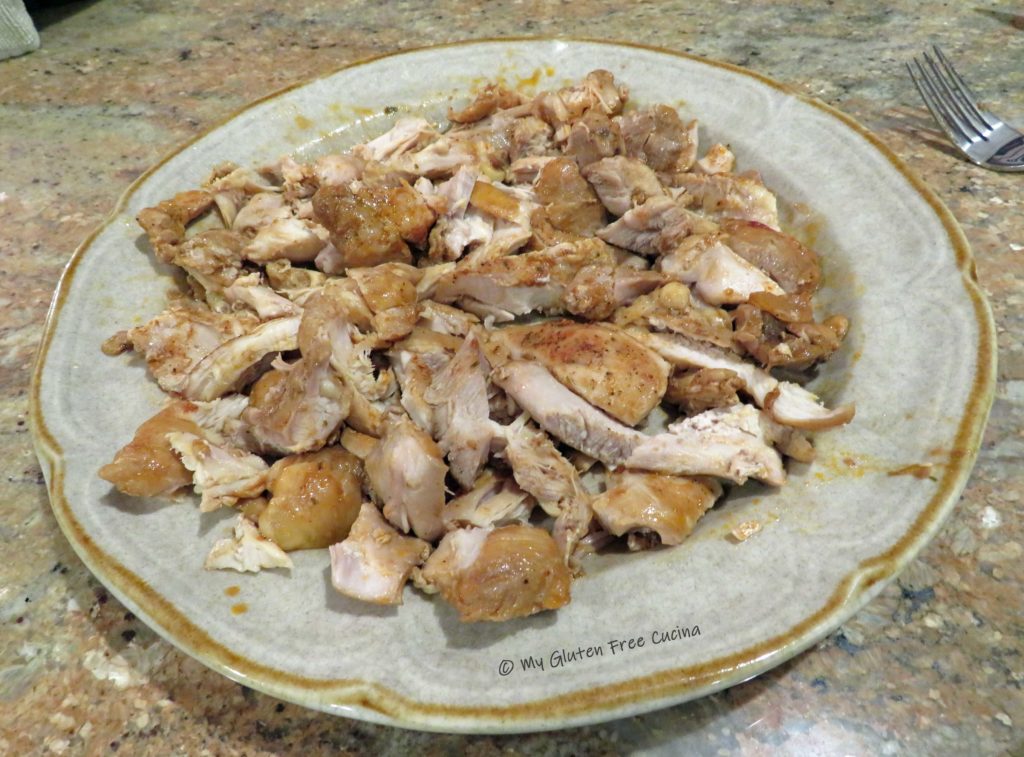
Remove the chicken from the pan and shred or cut into pieces. Add all of the mushrooms to the pan with about 3/4 cup more chicken broth.
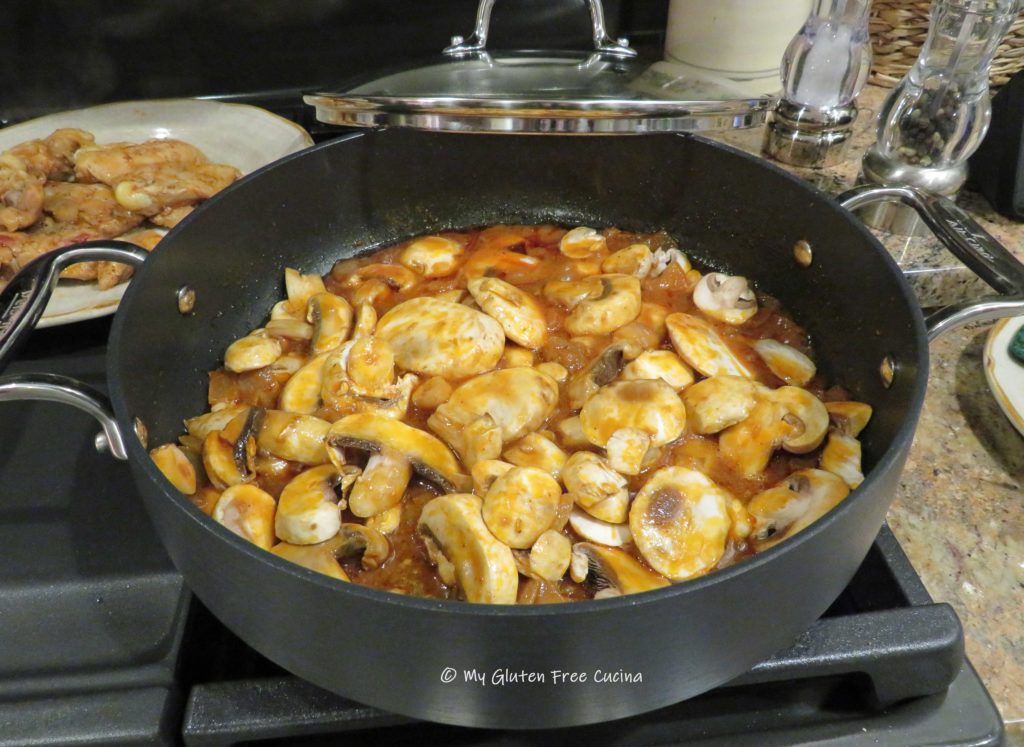 Bring to a simmer and add back the chicken. Cook for an additional 15 minutes. While the ragu finishes, boil water for pasta.

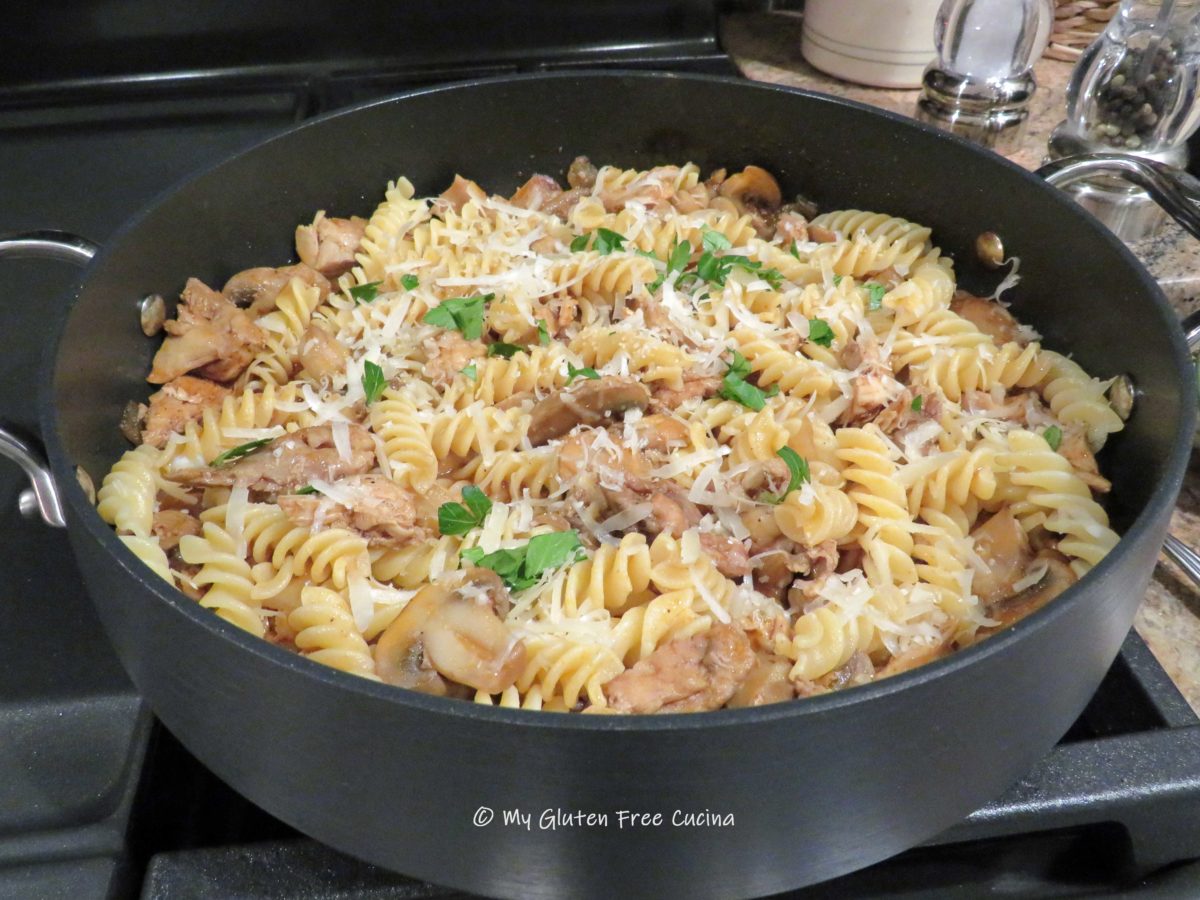
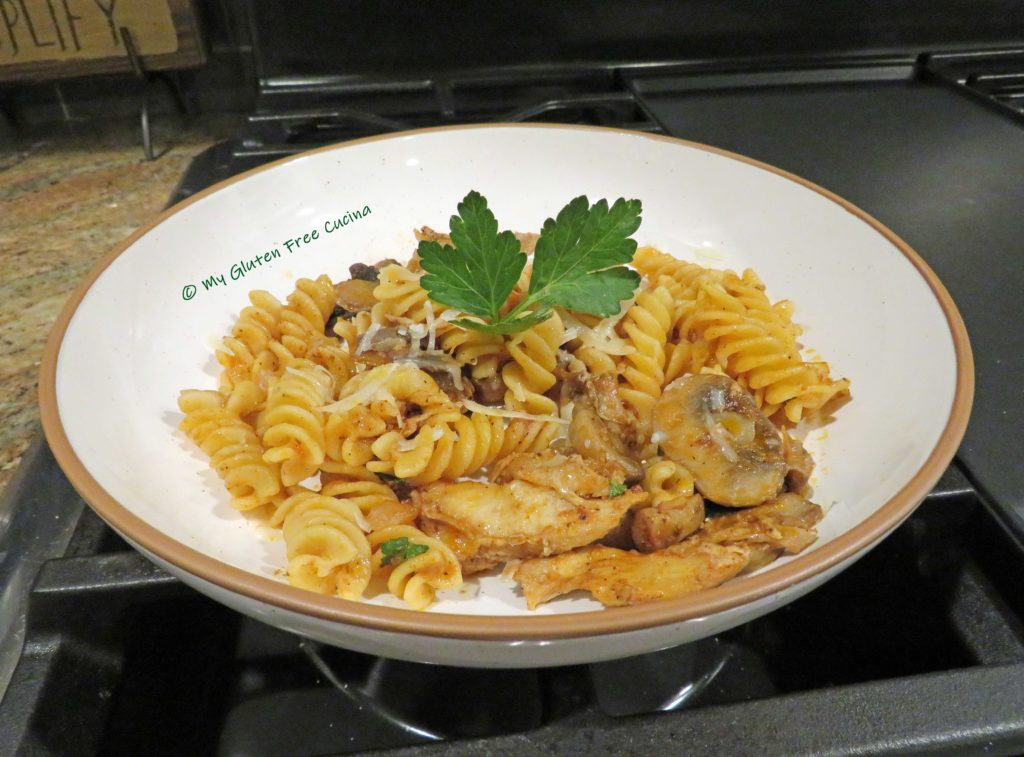
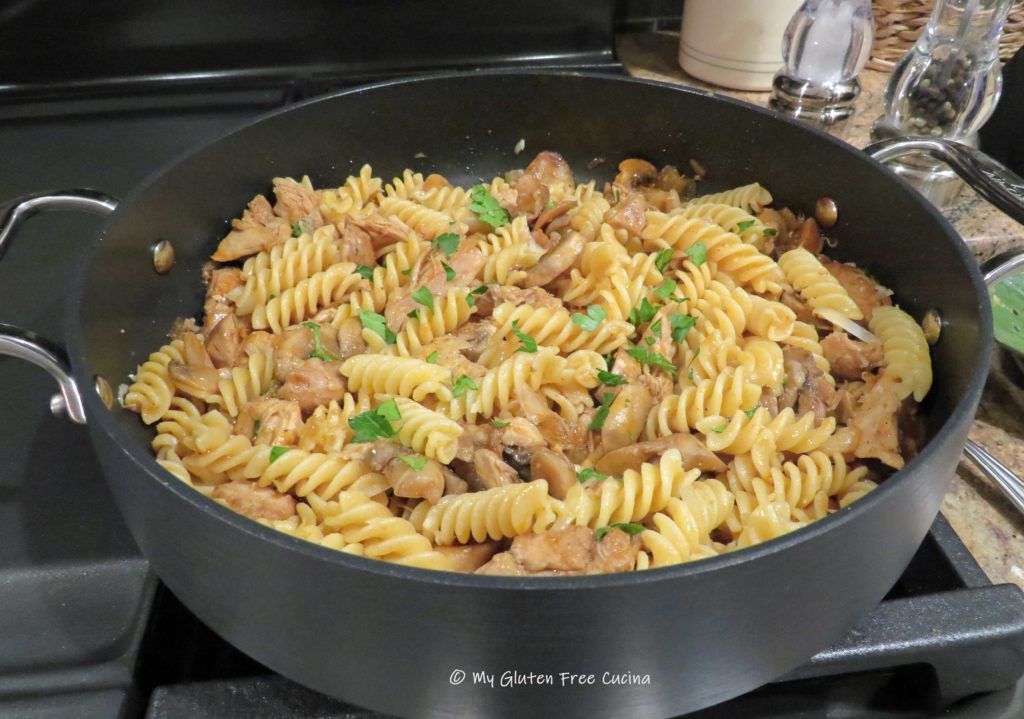
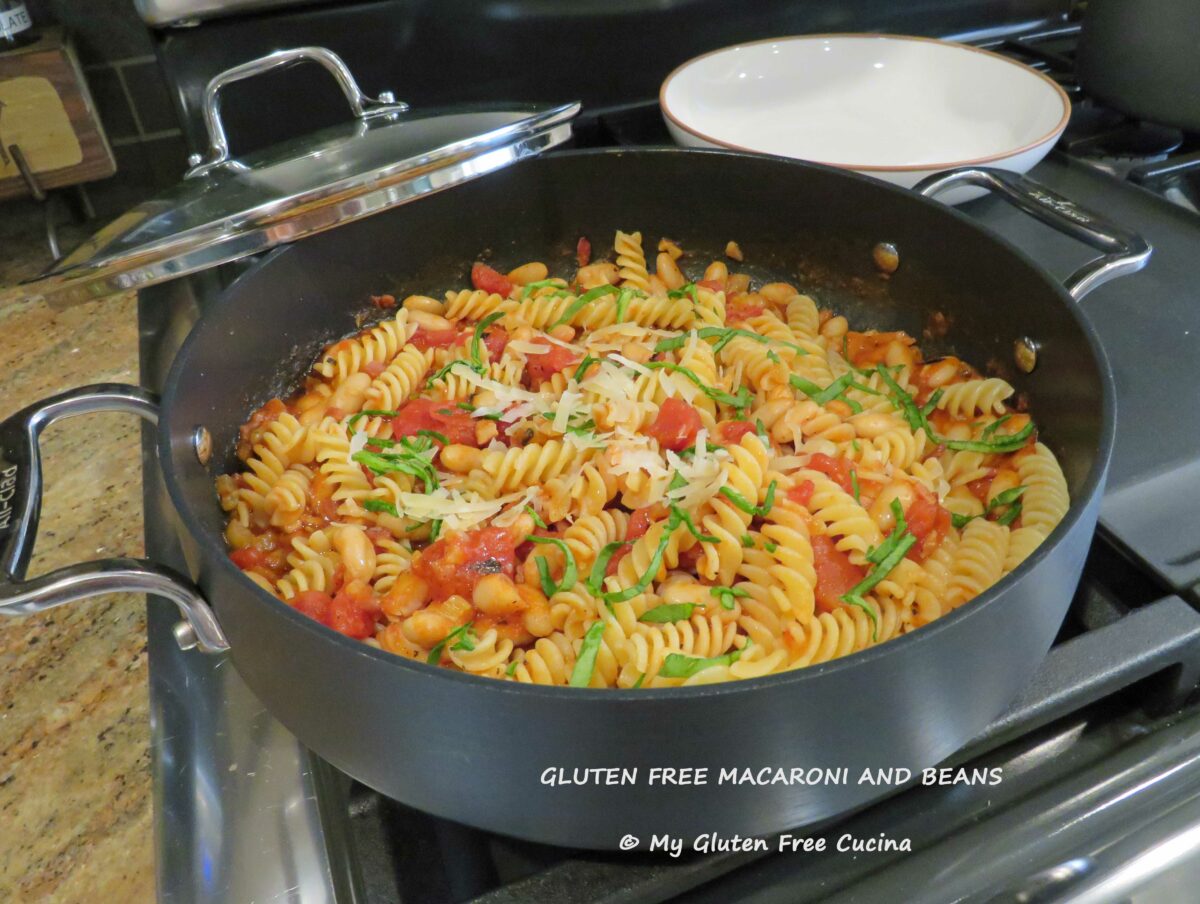
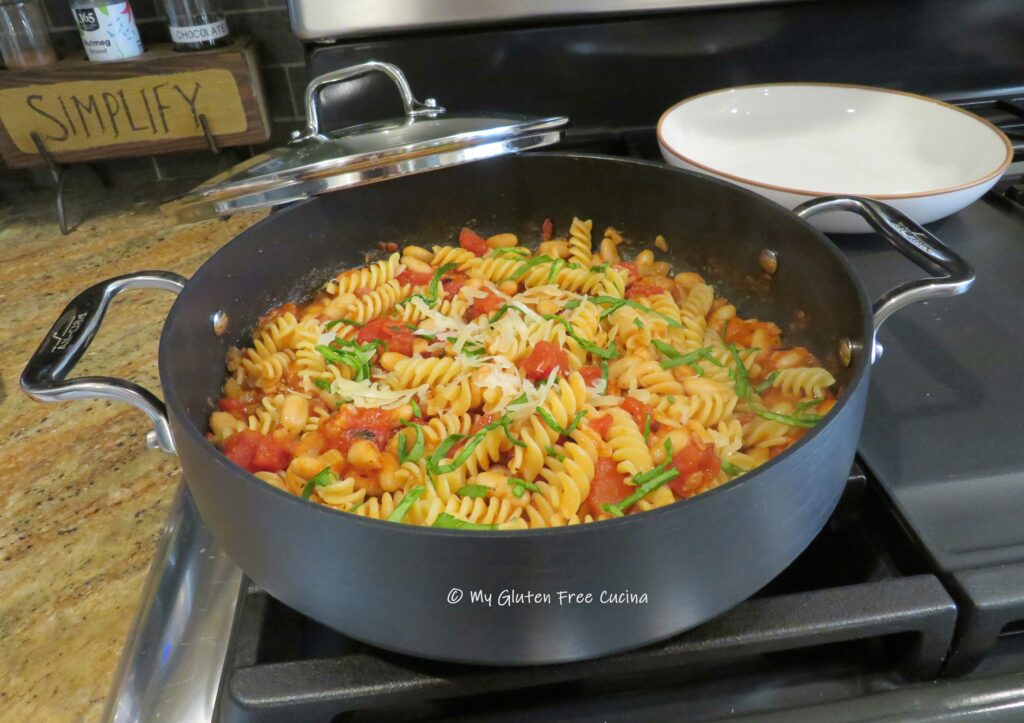
To serve, drain the cooked pasta and toss with the ragu. Sprinkle with cheese and Italian parsley. Serve it right in the pan, with extra cheese for the table.
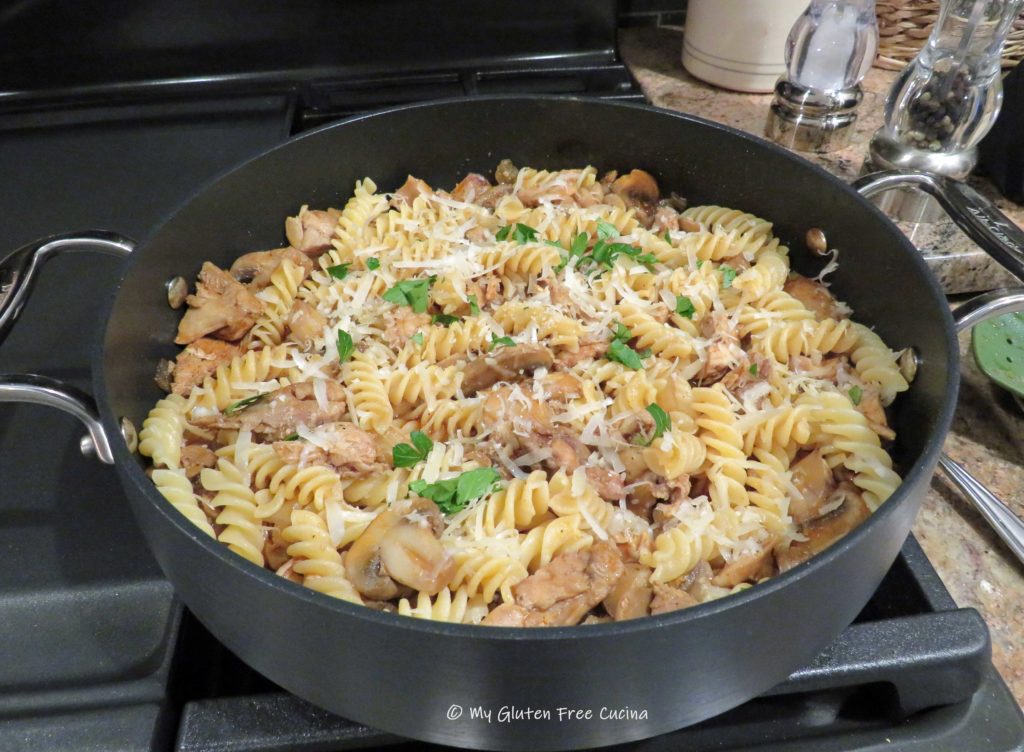
Notes ♪♫ I used Rummo Gluten Free Fusilli in this dish. I noticed it at Whole Foods and picked it up there but it’s available on Amazon as well. The corkscrew shape is perfect for this dish, and it cooked up perfectly to al dente.


 Drizzle the liquid into the pan as you continue whisking.


 Ladle marinara over each slice and top with grated cheese, as much as you like.
 Place in the oven for 15-20 minutes, just enough to melt the cheese.


 Now that you know how to make a good marinara sauce, what restaurant favorite will you have for dinner tonight? How about
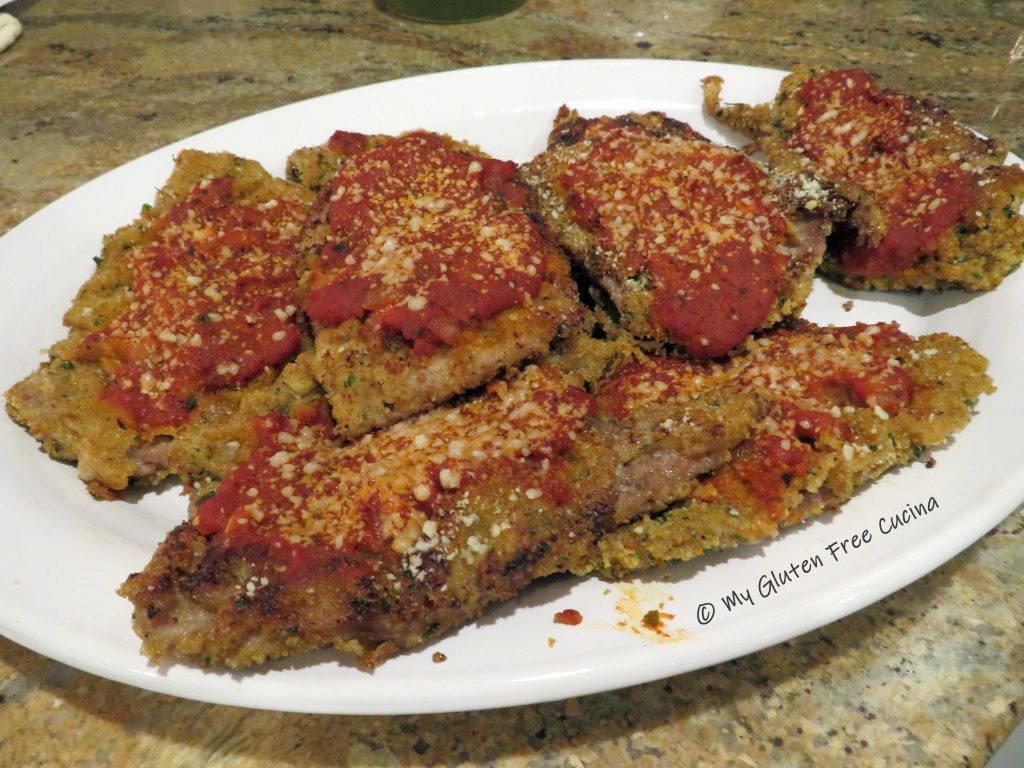

 Sprinkle with
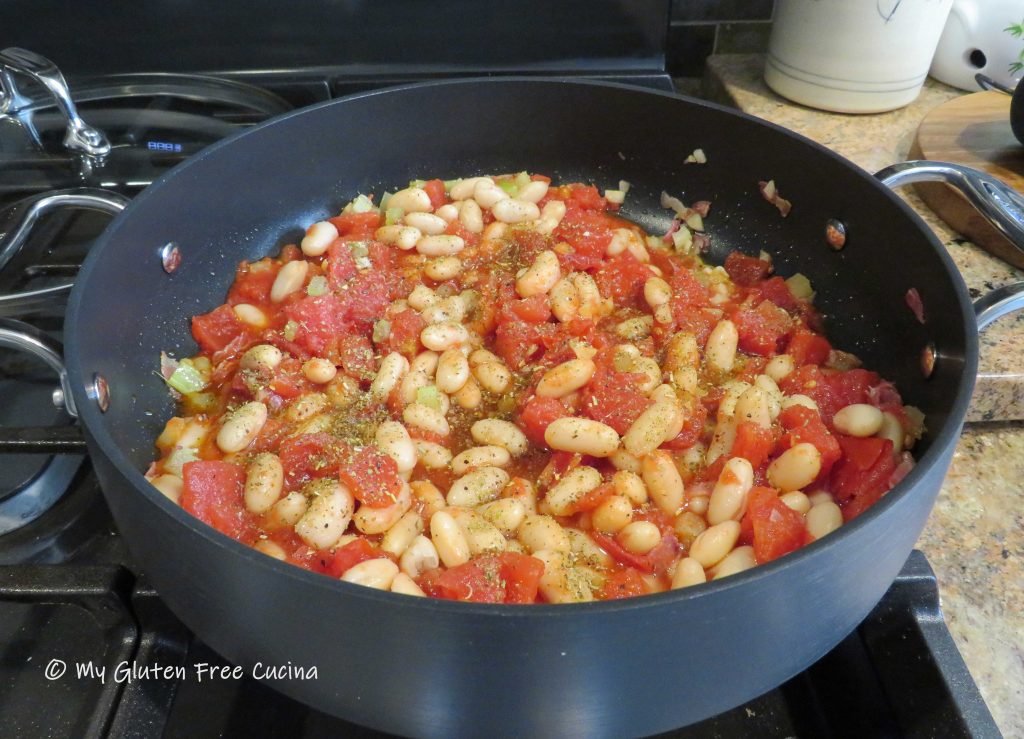


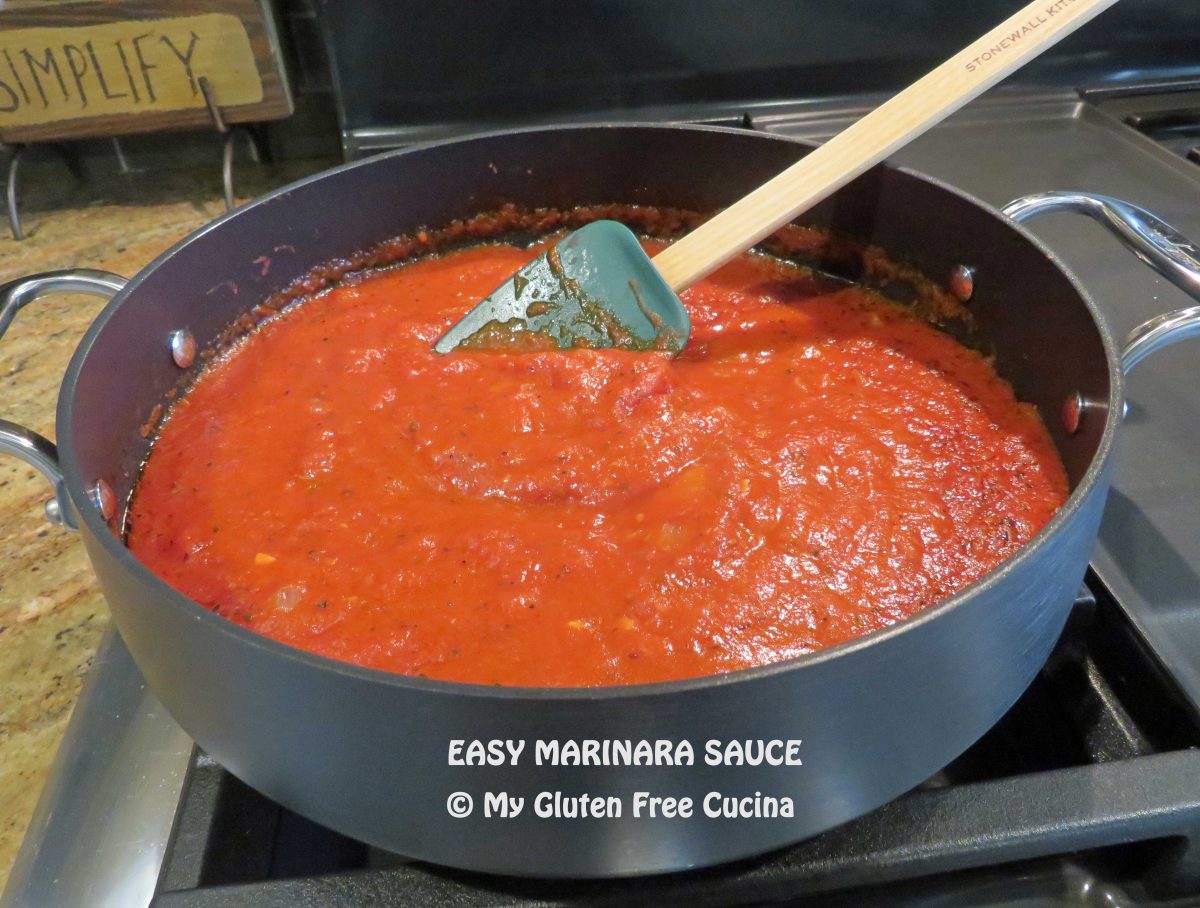
 Add more olive oil to the pan with the onion, carrot, and celery. Cook for several minutes, stirring frequently, then clear a space in the center for the tomato paste.
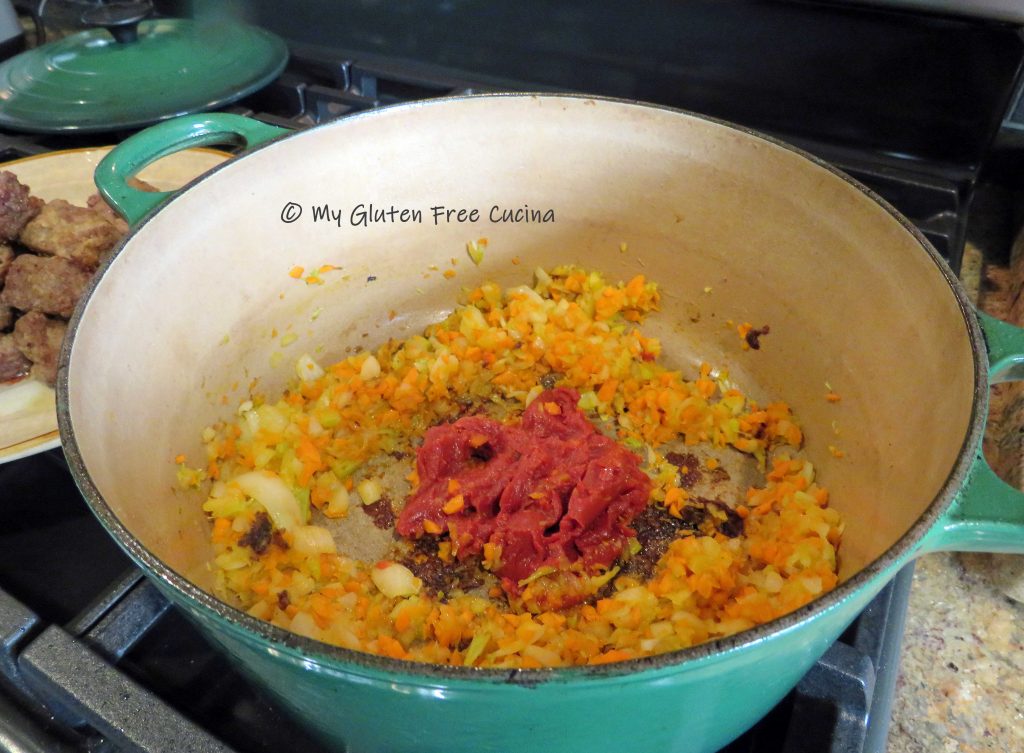 Toast the tomato paste for a minute, then stir it into the vegetables. Add the wine, using a spatula to scrape up those browned bits at the bottom of the pan. Reduce heat to a simmer and continue cooking until the wine is reduced by half.


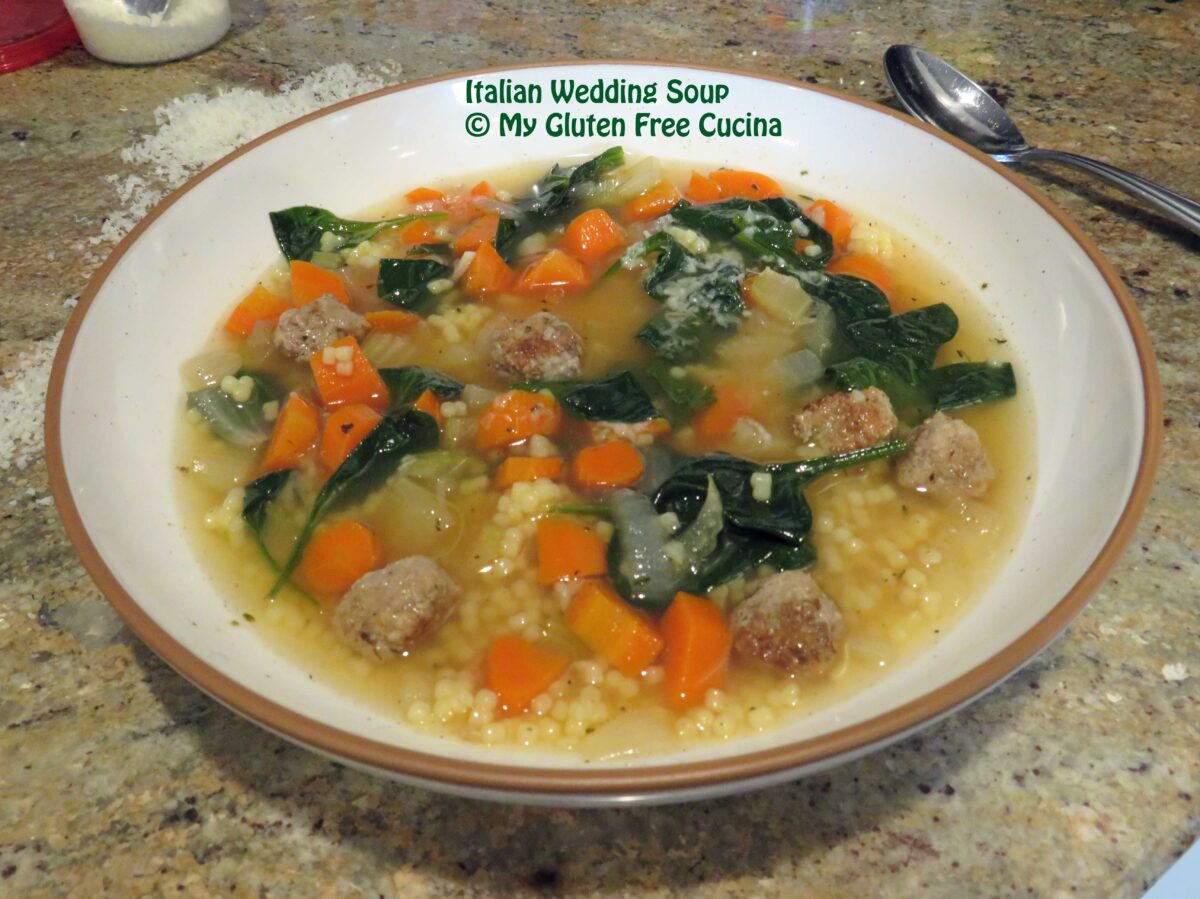
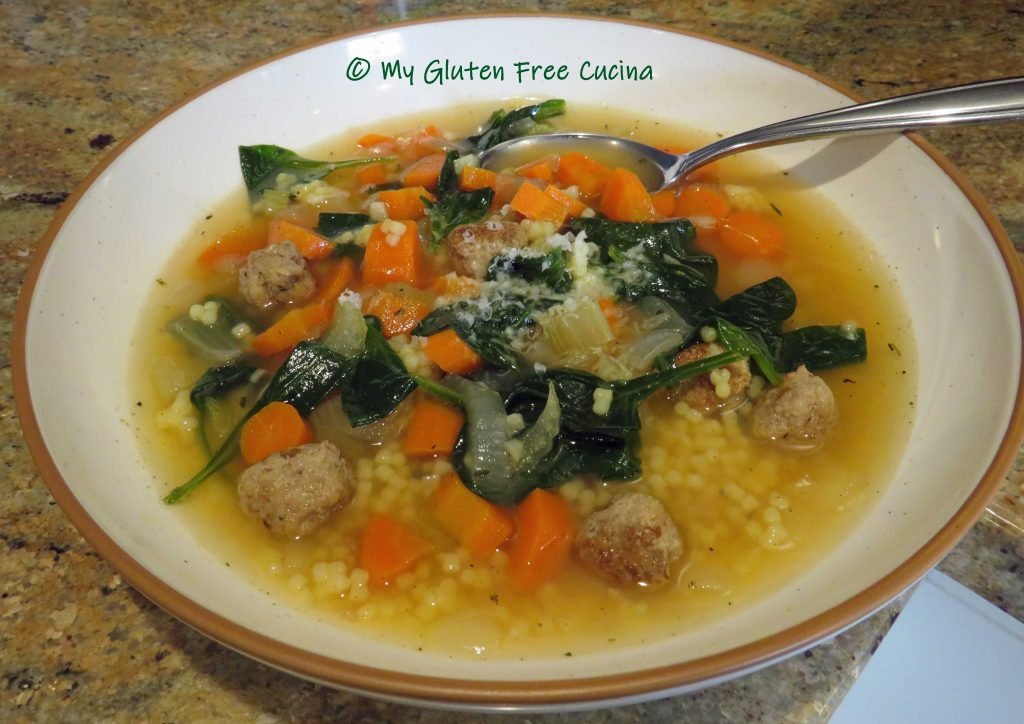


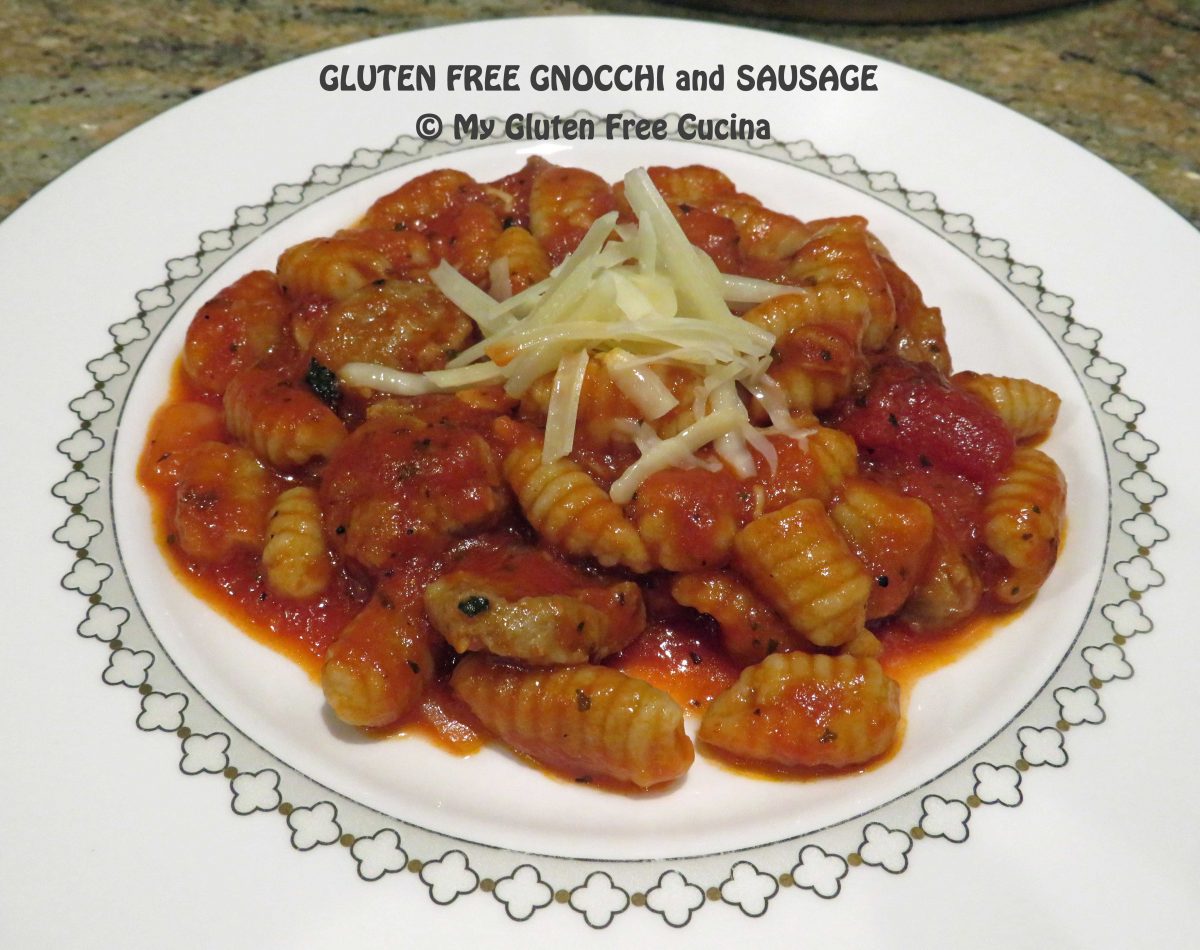
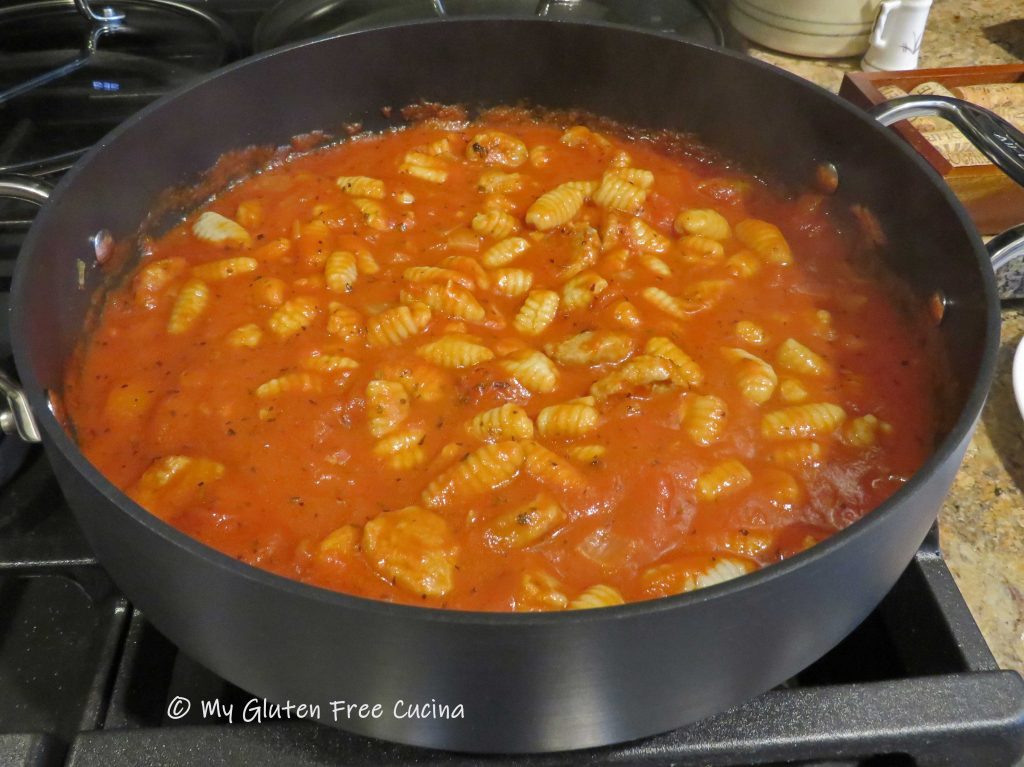
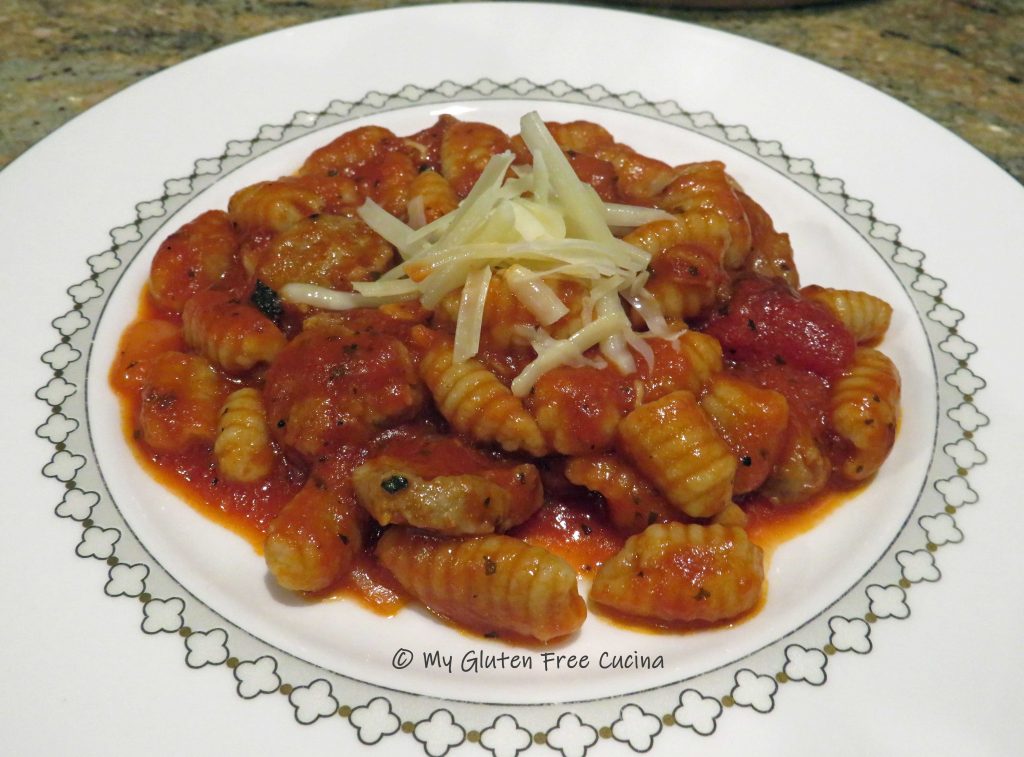
 Serve with finely grated cheese, use the good stuff!


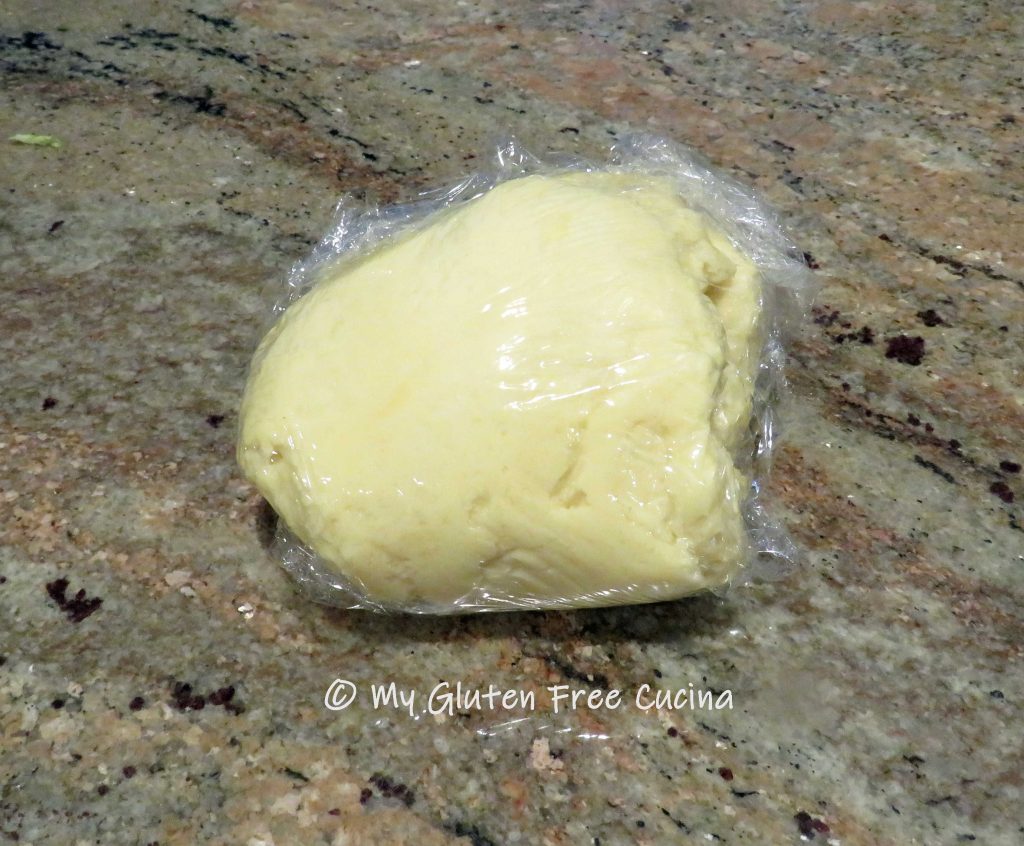

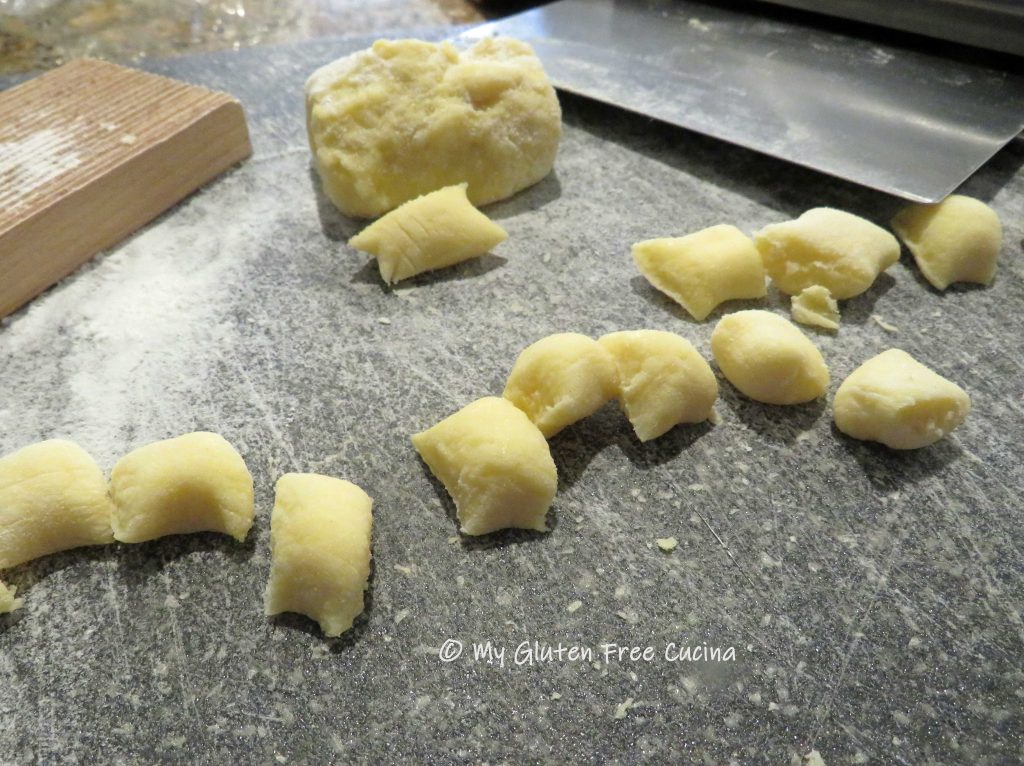
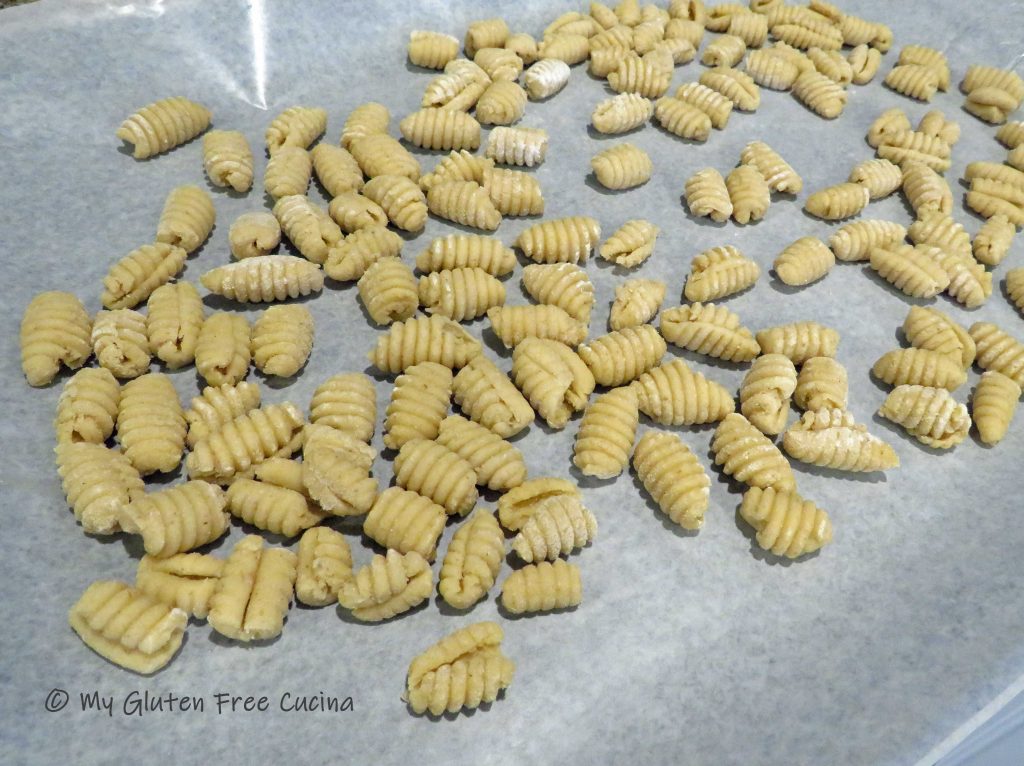
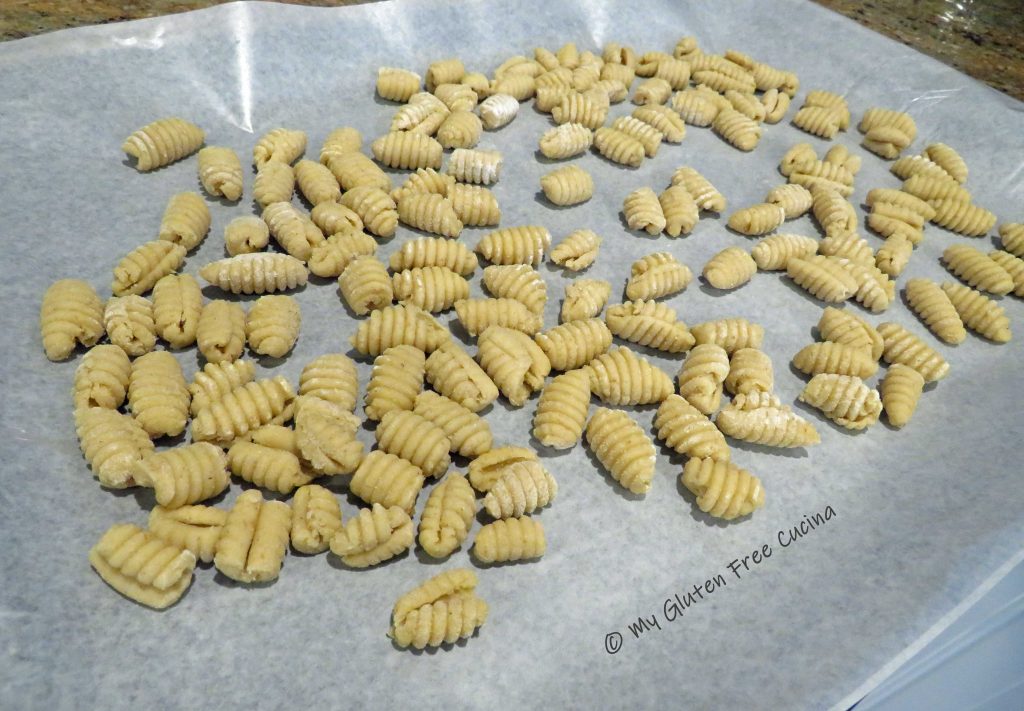
 Line a baking sheet with parchment or waxed paper and flour lightly. Place the finished gnocchi on the baking sheet. If not using right away, cover with plastic wrap and refrigerate.

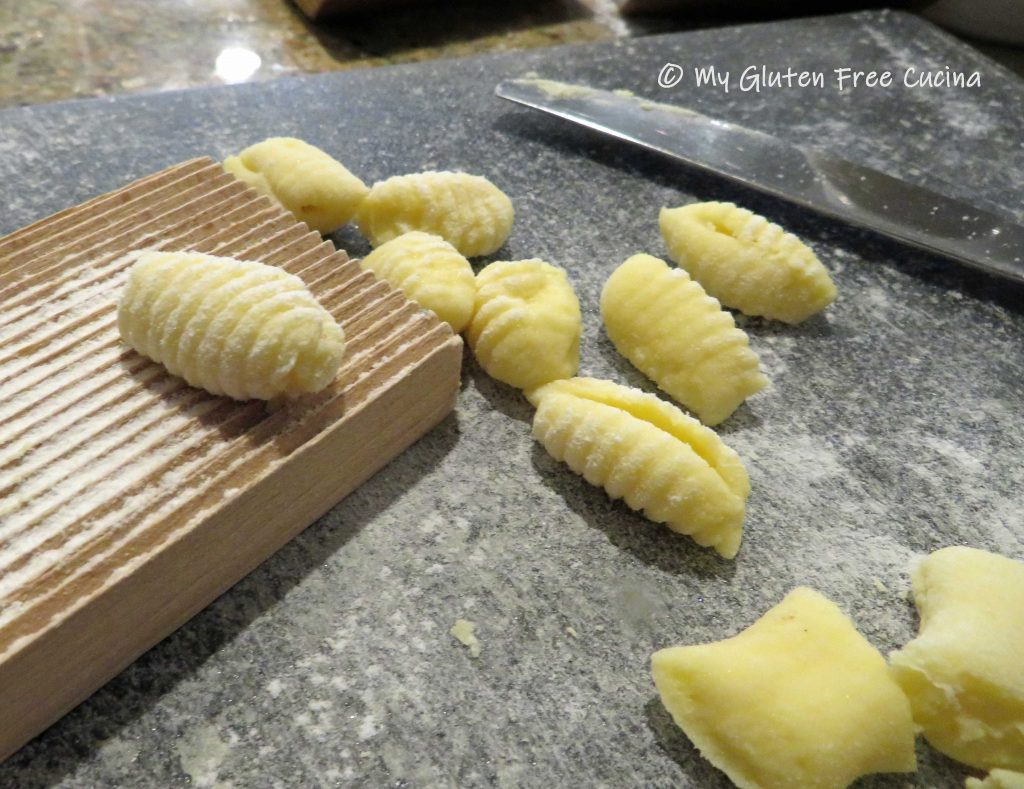
 Use a
Use a