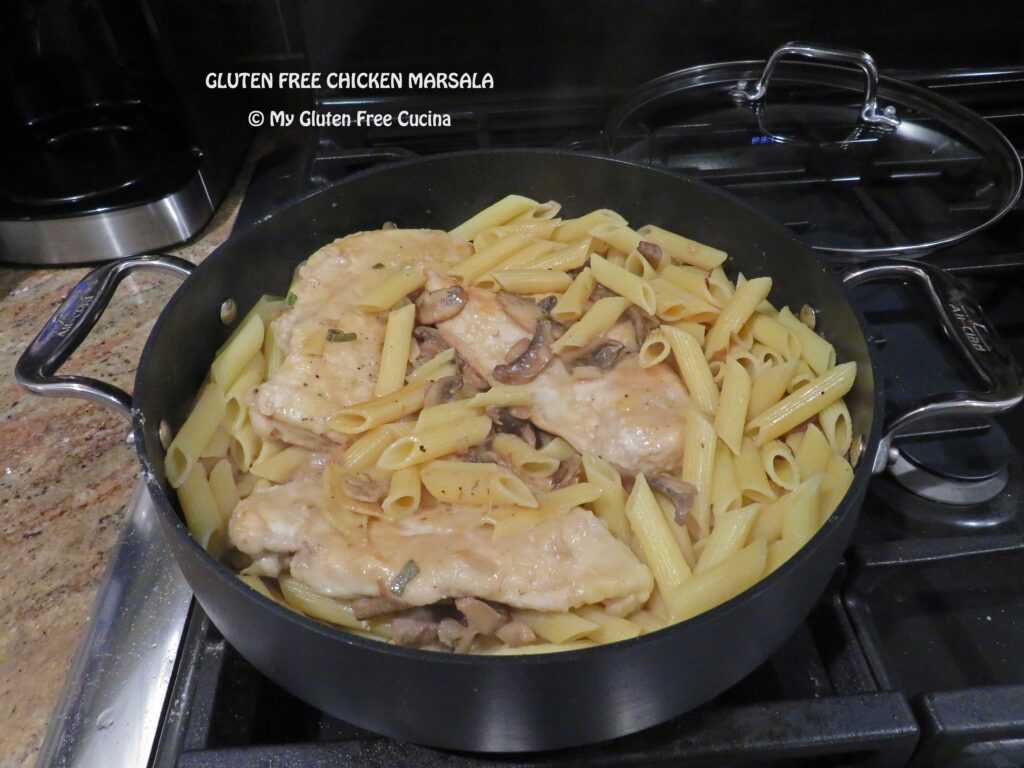
Gluten Free Chicken Marsala

This restaurant classic gets a gluten free makeover with just two ingredient swaps!  I can’t remember the last time I made Chicken Marsala.  It’s definitely been on my recipe bucket list though, so on my last trip to the liquor store I picked up a bottle of dry marsala wine.

I was able to get thin sliced chicken breast for this recipe, lucky me, a real time saver!  Each slice weighed about 6 oz.  If you can’t find this, just use a whole breast and cut into 1/2″ slices.

This post contains affiliate links.

Ingredients:

  • thin sliced chicken breast, about 6 oz. per serving
  • olive oil
  • white rice flour
  • 2 tbsp. butter
  • 1/4 cup shallots, sliced
  • 8 oz. package button mushrooms, cleaned and sliced
  • 1 tbsp. fresh minced sage leaves
  • 1/2 cup dry marsala wine (not cooking wine!)
  • 1/3 cup gluten free chicken broth
  • 1/2 cup heavy cream
  • salt and pepper to taste
  • 8 oz. gluten free penne (I used Barilla)
  • Italian parsley for garnish

Preparation:

Once you slice the mushrooms and shallots, this meal comes together quickly, so be sure to have all your ingredients laid out and at the ready.

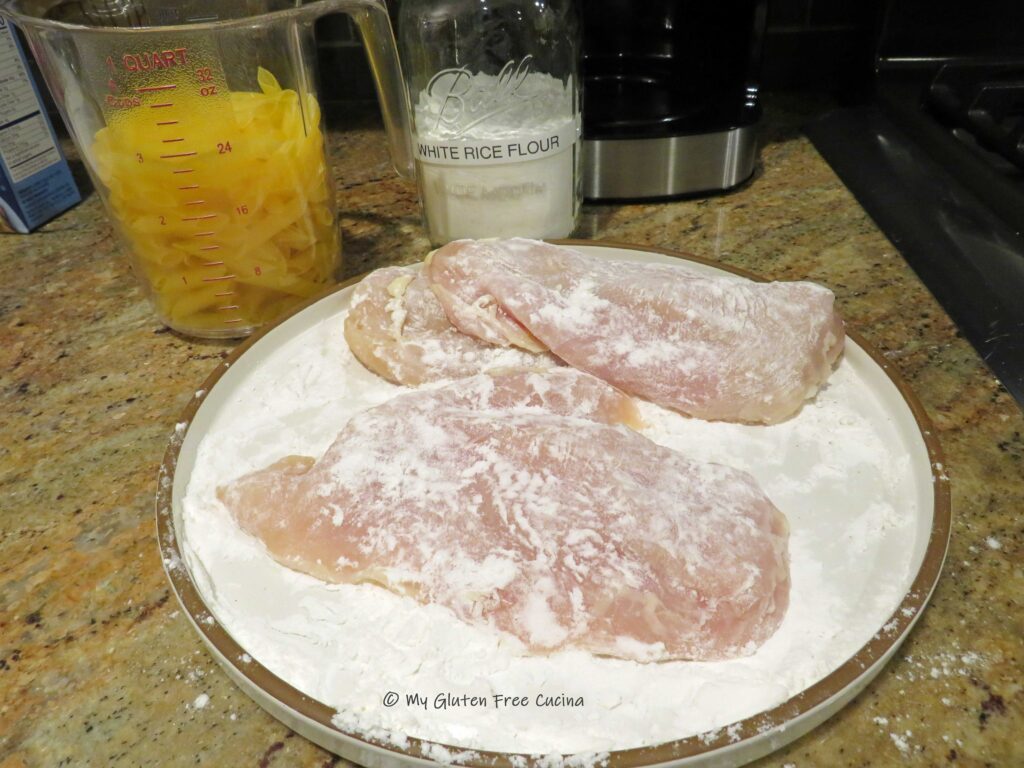
Heat a large pot of salted water for the pasta.  Dredge the chicken breast in the rice flour, shaking off the excess.

Coat a large nonstick skillet or sauteuse pan, with olive oil, and begin browning the chicken.  Season with salt and pepper.

When the chicken is cooked through (check with a thermometer), remove to a plate.  Cook the pasta to several minutes less than the package directions (it will finish cooking in the sauce.

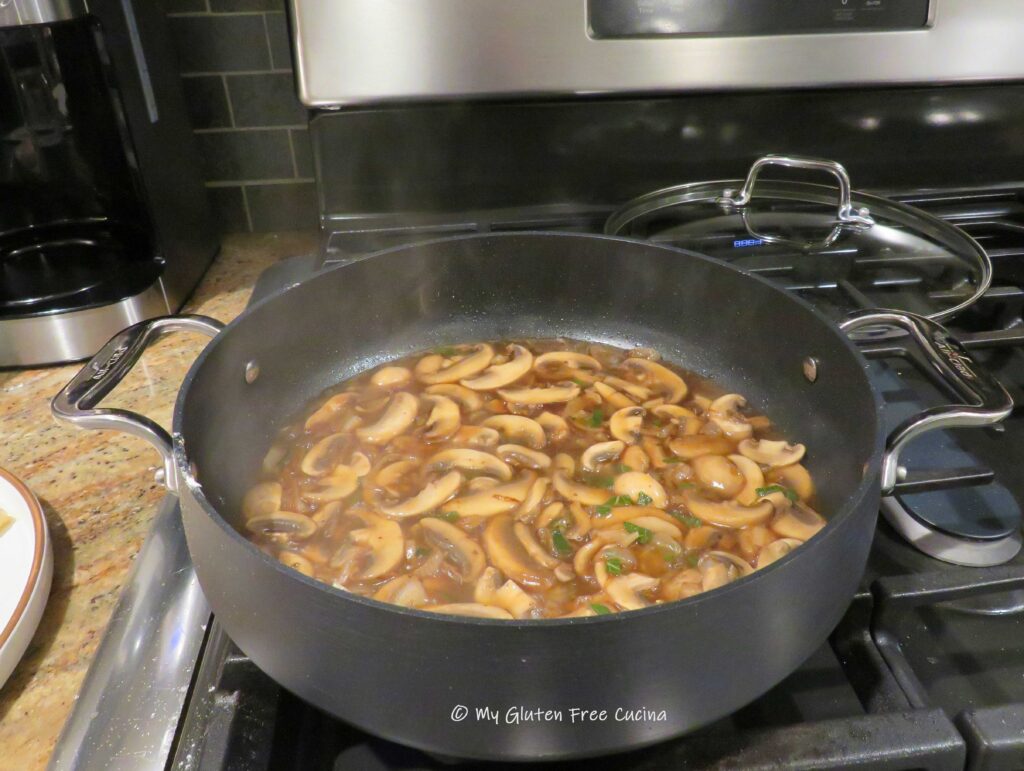
Add the butter to the pan and stir in the shallots.  Cook for 30 seconds then add the mushrooms and sage.  Season with salt and pepper.

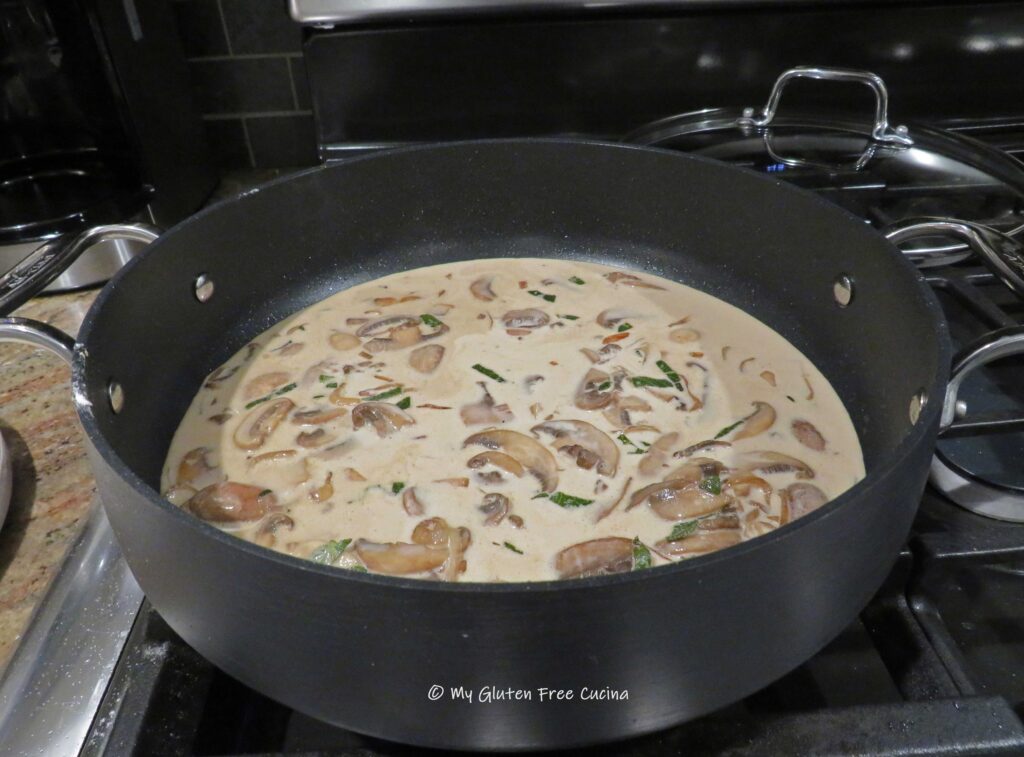
Add the marsala wine to the pan and simmer to reduce by half.

Add the chicken broth and heavy cream and return to a simmer.

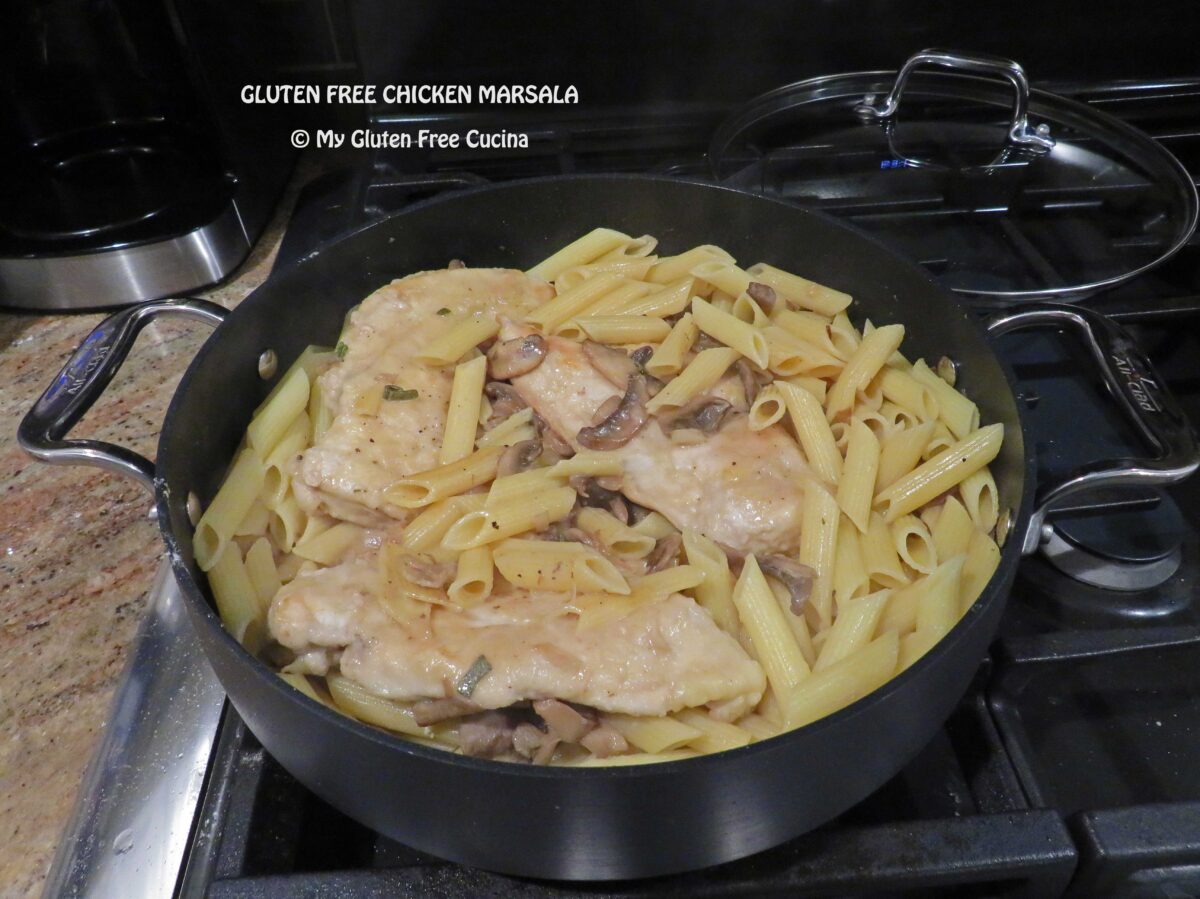
Add the chicken back to the pan, along with the pasta.  Toss well and continue cooking for several minutes to warm the chicken through and finish cooking the pasta.

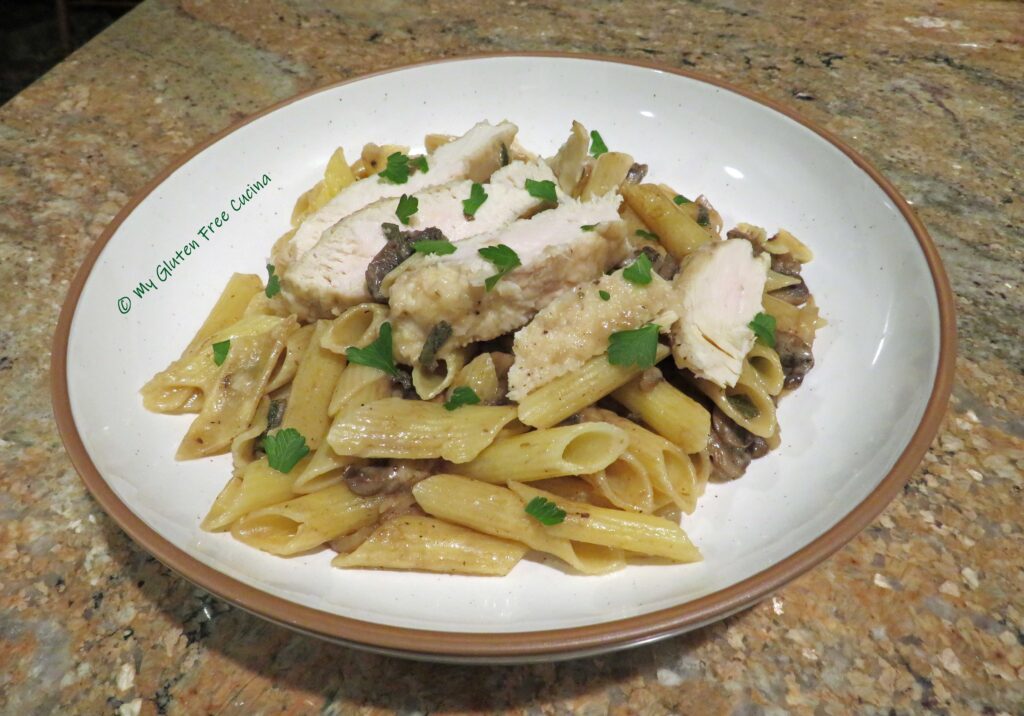
Serve in bowls and garnish with Italian parsley.

Notes ♪♫ Be sure to use REAL marsala wine, not cooking wine.  I picked up a bottle of Nando dry marsala for under $10 and it was excellent in this recipe.  I’m sure I’ll use the rest of it, because this meal was a definite do-over!

Print This Post Print This Post

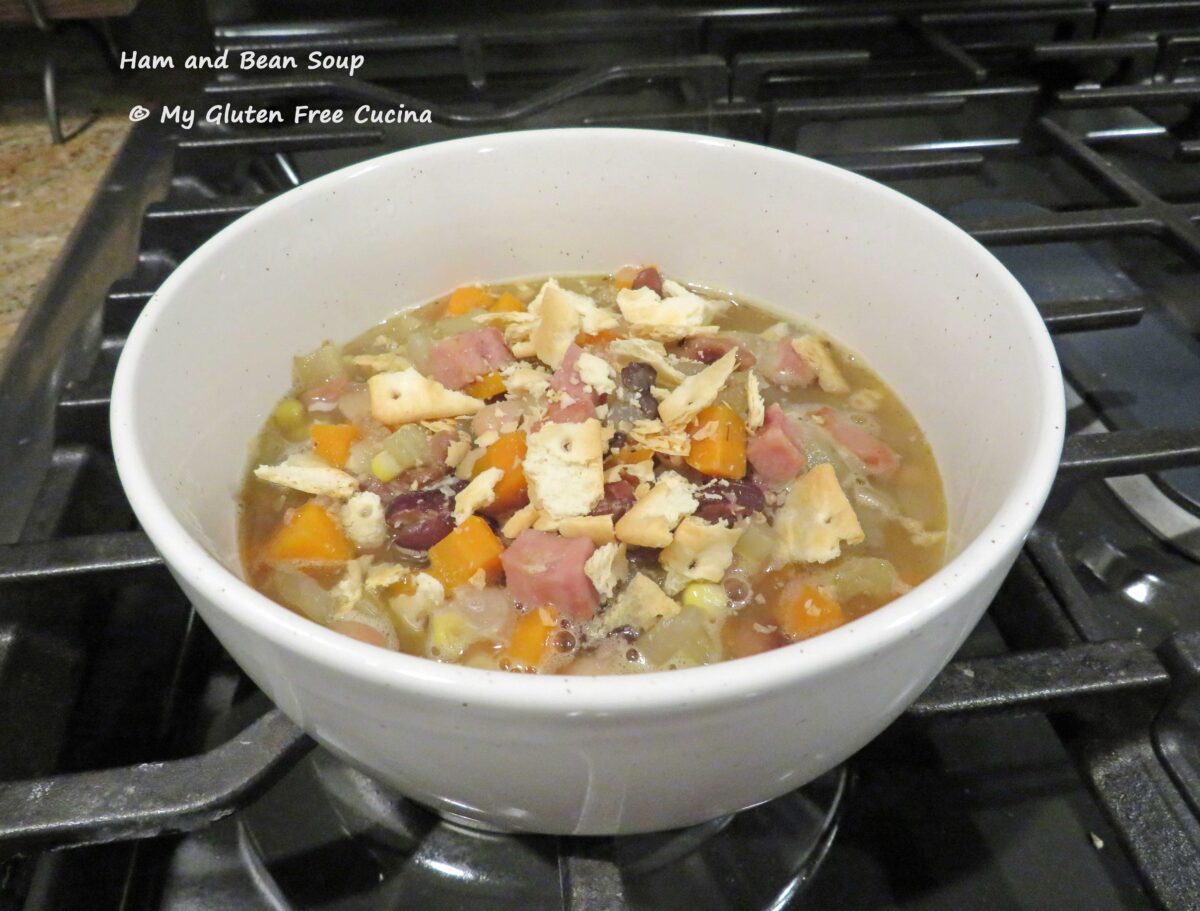
Gluten Free Ham and Bean Soup

This hearty soup will hit the spot on chilly fall nights.  It is one of the best soups I’ve made lately.  I shared with a neighbor, who said I outdid myself- high praise indeed.  You will be glad to know that most of the ingredients are pantry staples, and you can use canned beans for a short cut.  Here are the step-by-step instructions along with some notes on avoiding gluten!

This post contains affiliate links.

I was featured at the senior salon pit stop

Ingredients:

  • 1 large, sweet onion, diced
  • 4 carrots, peeled and diced
  • 6 celery stalks, washed and diced
  • olive oil
  • sea salt and fresh ground pepper
  • 8 oz. cubed ham (I used Smithfield)
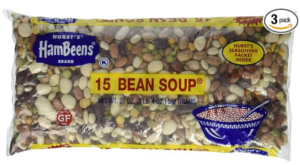
  • 10 oz. mixed beans (I used a half bag of Hambeens)
  • 1 carton gluten free low sodium chicken broth
  • 1 carton gluten free low sodium beef broth
  • salt free beef bouillon (I used Herb Ox)
  • 1/2 tsp. sage
  • 1/2 tsp. thyme
  • 1 cup cooked corn kernels
  • Schar Table Crackers, for serving

Note ♪ I used HamBeens 15 Bean Soup blend in this recipe.  The package is labeled gluten free.  Be aware though, that other brands of mixed beans may contain barley and should be avoided by anyone with Celiac disease.  I recommend that all beans, regardless of labeling be rinsed several times to minimize potential cross contact.

Preparation:

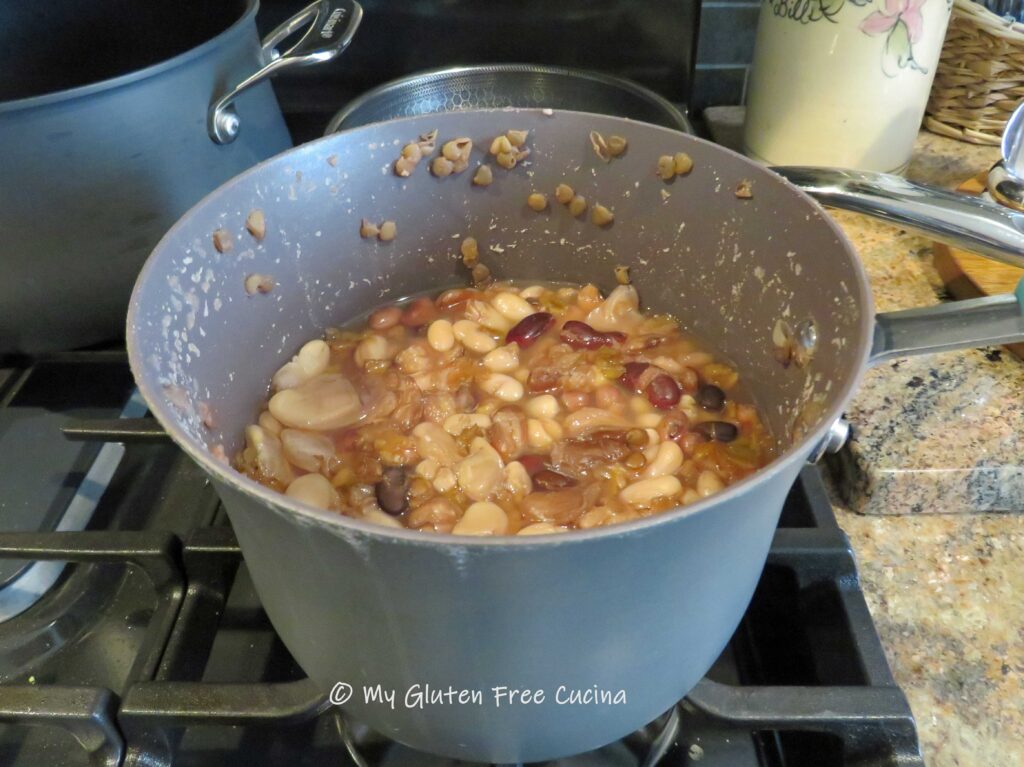
Rinse the beans under cold water and drain.  Place them in a saucepot and add cold water to cover.  Cover and let them soak overnight.

The next morning, drain and rinse again.  Add back to the saucepot with COLD water, cover and turn the heat on low.  Simmer gently for 2 hours.
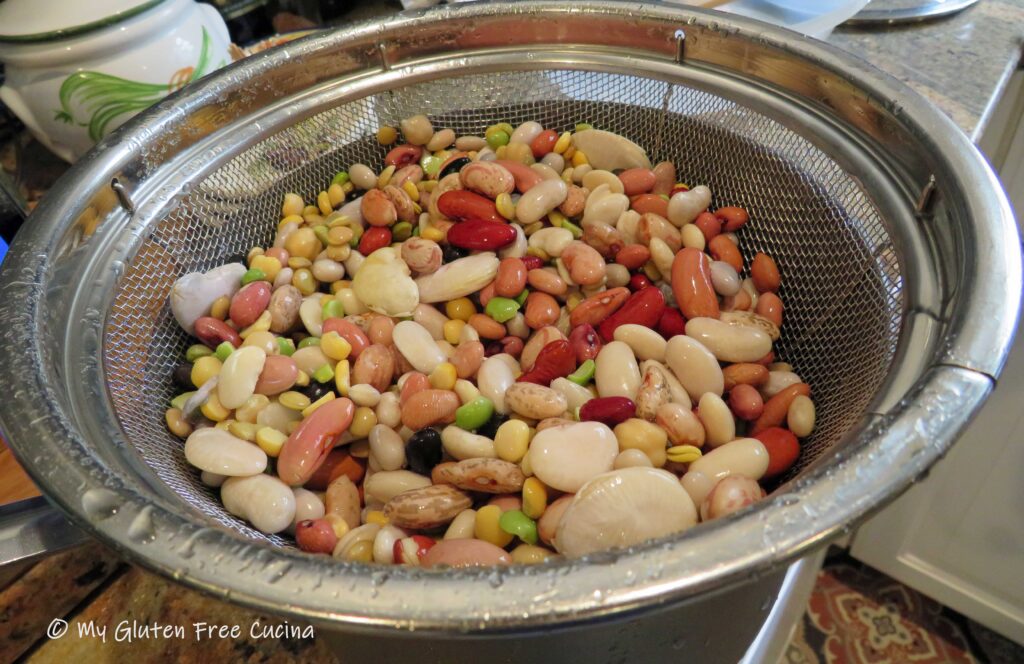
Drain and rinse again and set the beans aside.
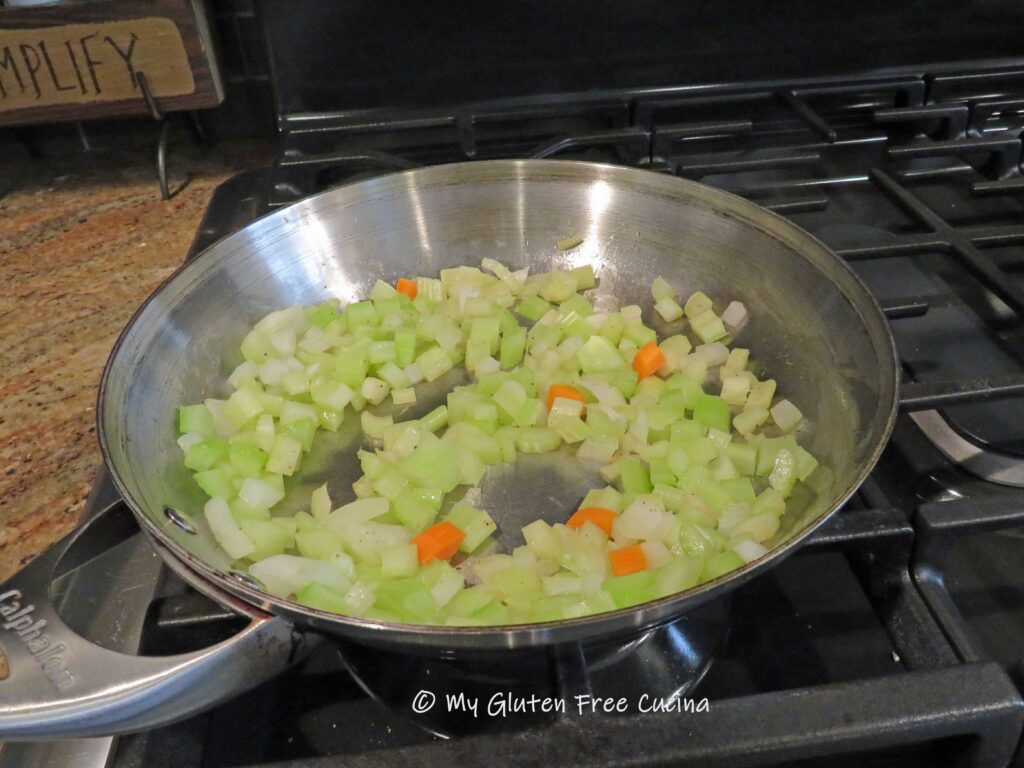
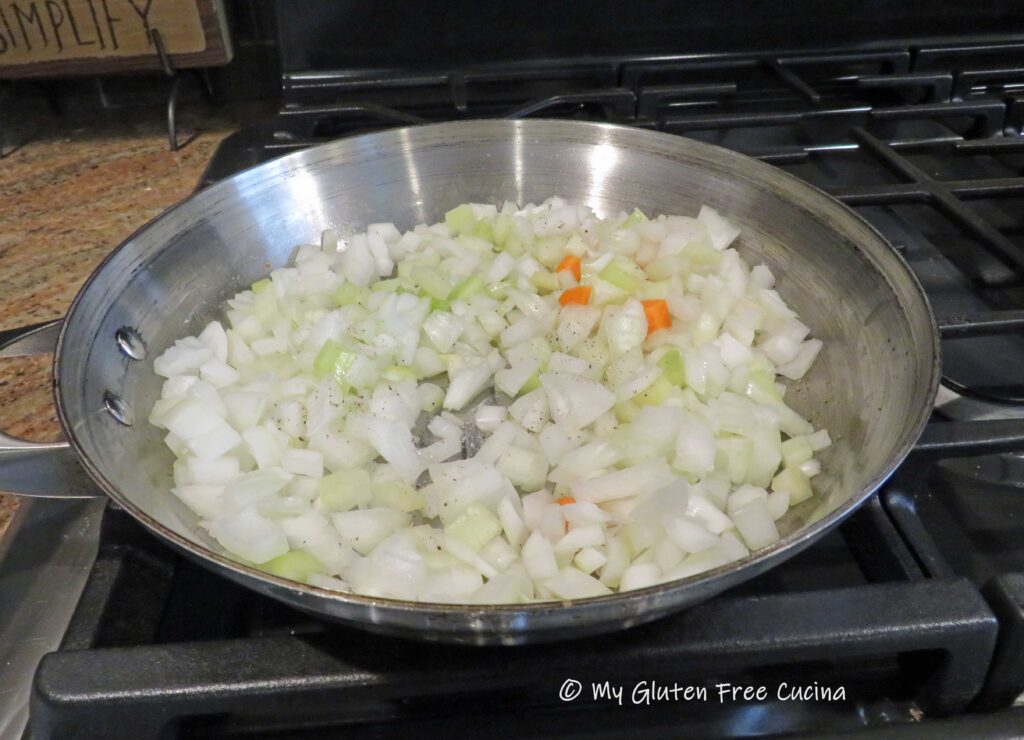
Heat olive oil in a stainless-steel skillet.  Begin sautéing the veggies, beginning with the carrots as they take the longest to cook.  Season with sea salt and fresh ground pepper and stir frequently for 3-4 minutes.  Transfer the carrots to a 5-quart stock pot and proceed to do the same with the celery and onions.
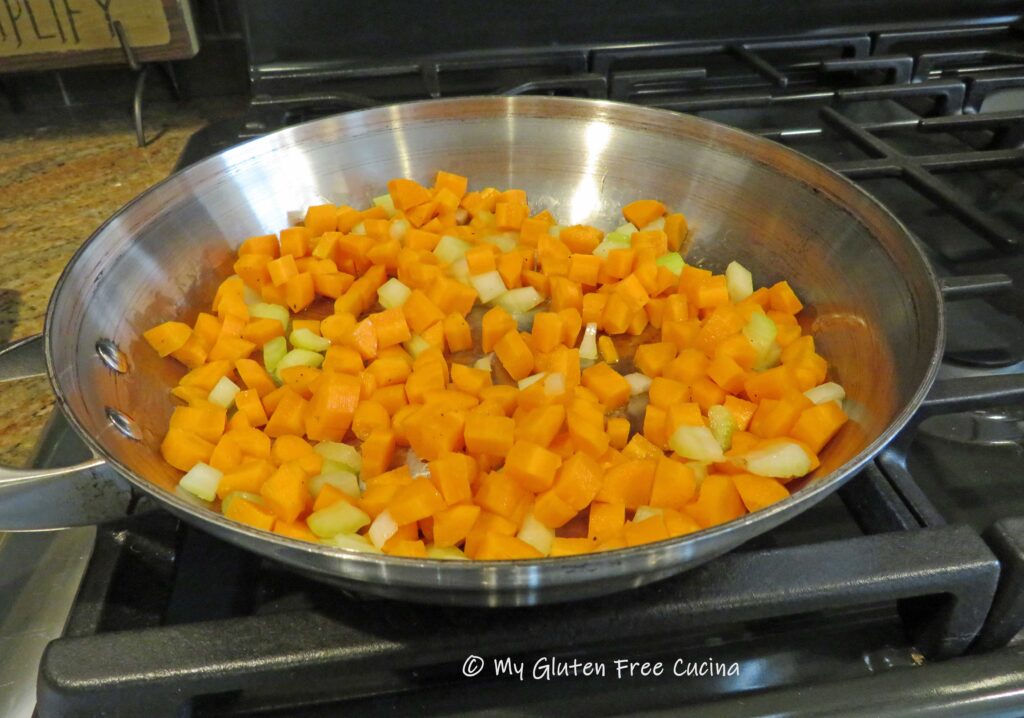
Hint: Sauté the veggies in olive oil before adding them to the soup for extra depth of flavor.

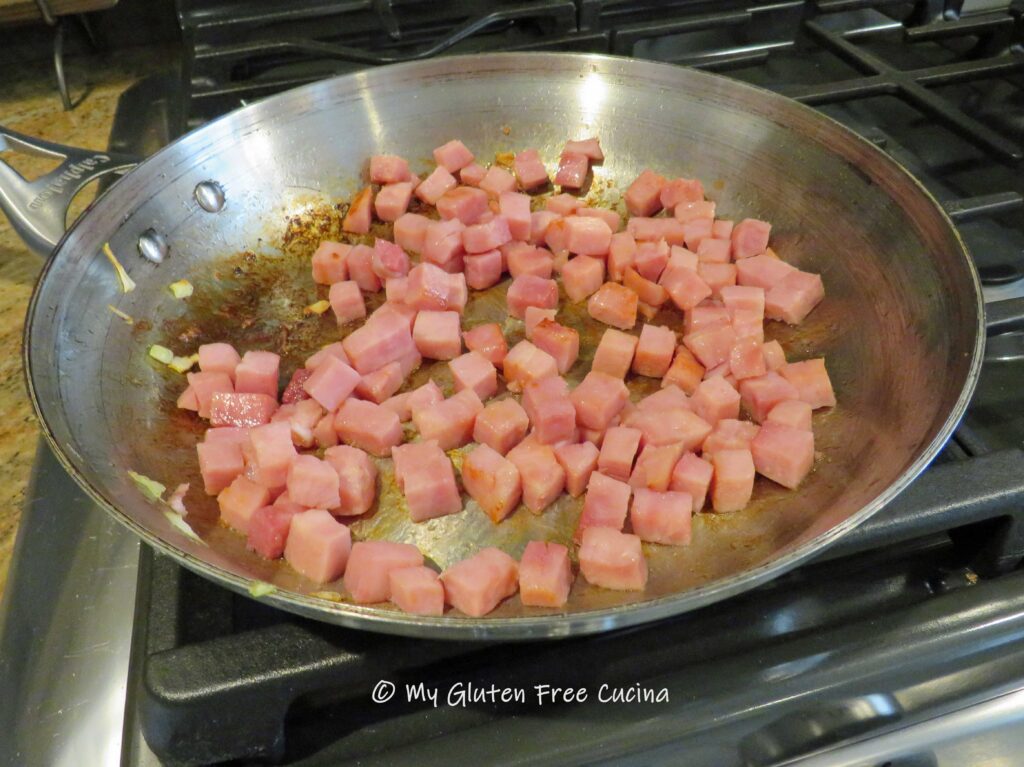
When the veggies are done, wipe the skillet clean and add the diced ham with a bit more olive oil.
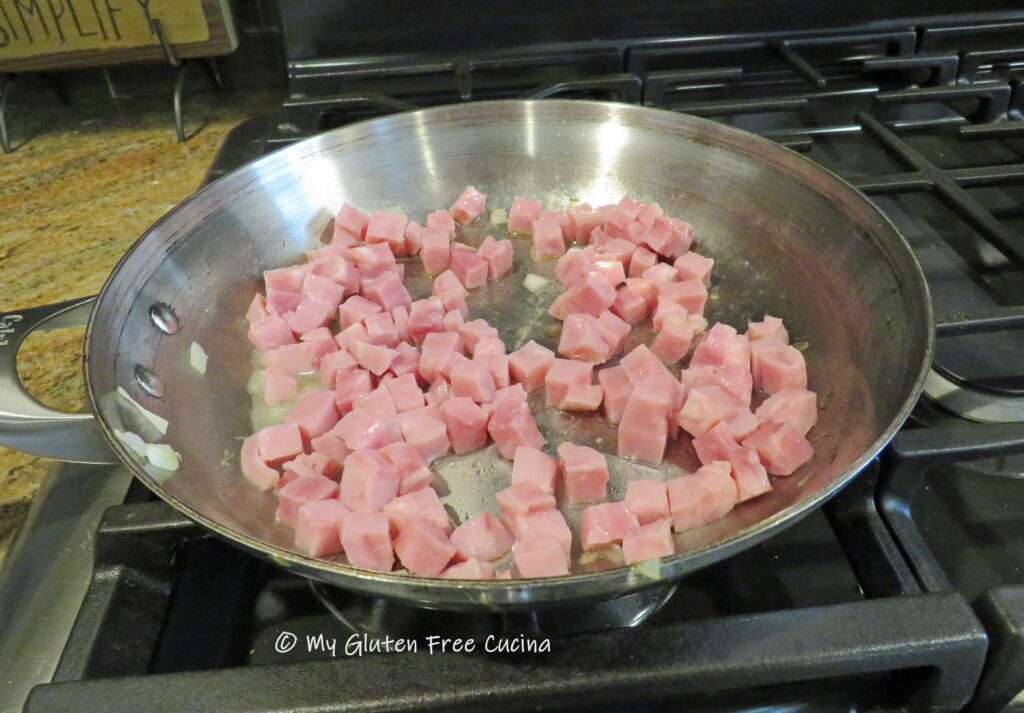
Note ♫ For extra convenience I used Smithfield Anytime Cubed Ham, it is labeled gluten free.  Always check ingredients on prepared foods like ham!

Cook the ham until the liquid reduces and you can see some caramelization on the bottom of the pan.

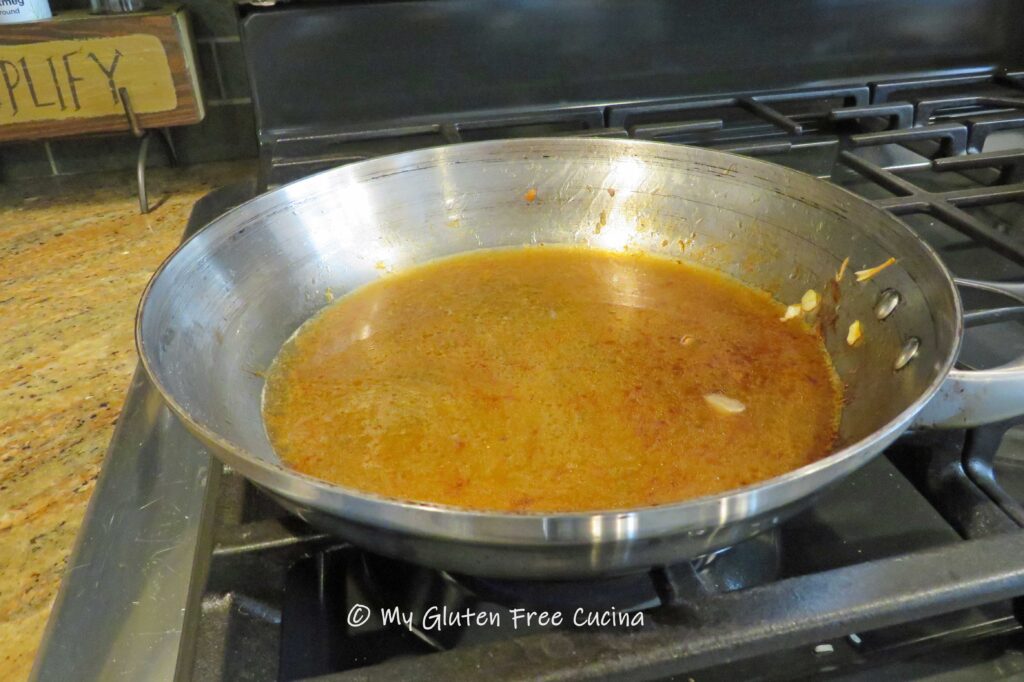
Add the ham to the stock pot, and deglaze the skillet with a little beef broth, scraping up the caramelized bits at the bottom.  Pour the liquid into the stock pot.
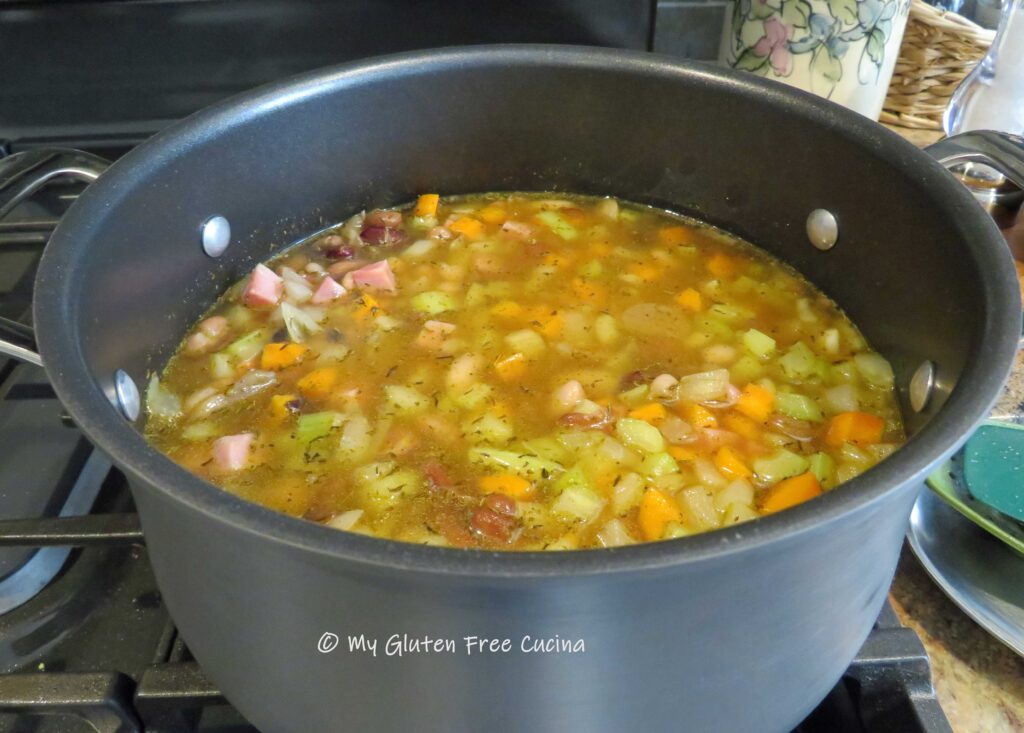
Next, add equal parts of chicken and beef broth, enough to cover the ham and veggies.  Return the cooked beans to the pot, along with the bouillon, sage and thyme.
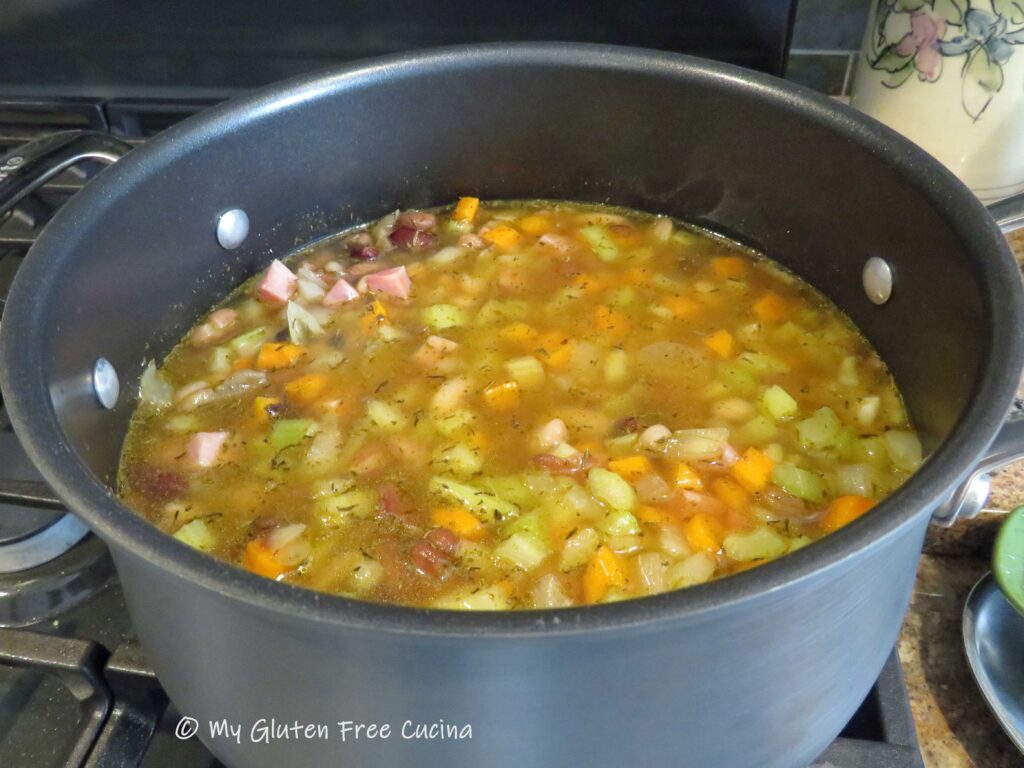
Simmer until the veggies are soft, then add the corn kernels in to heat through (adding the corn at the end of cooking gives the soup a little textural contrast to the soft beans and veggies).
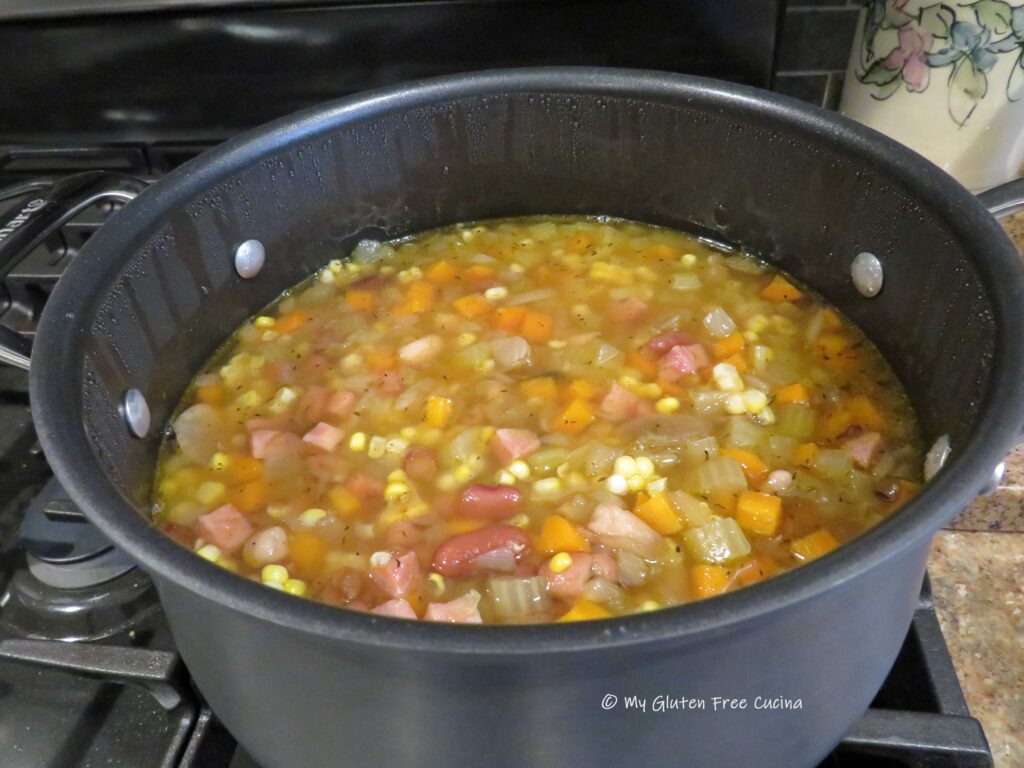
Soup is ready to enjoy with gluten free crackers or bread.  Leftovers (if you have any!) can be refrigerated for up to a week.  Don’t worry though, it won’t last that long!

Notes ♪♫ I used lower sodium broth and salt free bouillon in this recipe (got to watch that blood pressure 🙄).  I did lightly salt the veggies and of course the ham had plenty of salt, so that was enough for me.  If you follow a low sodium diet you can cut it down further by using unsalted broth, be sure it’s gluten free!

Print This Post Print This Post

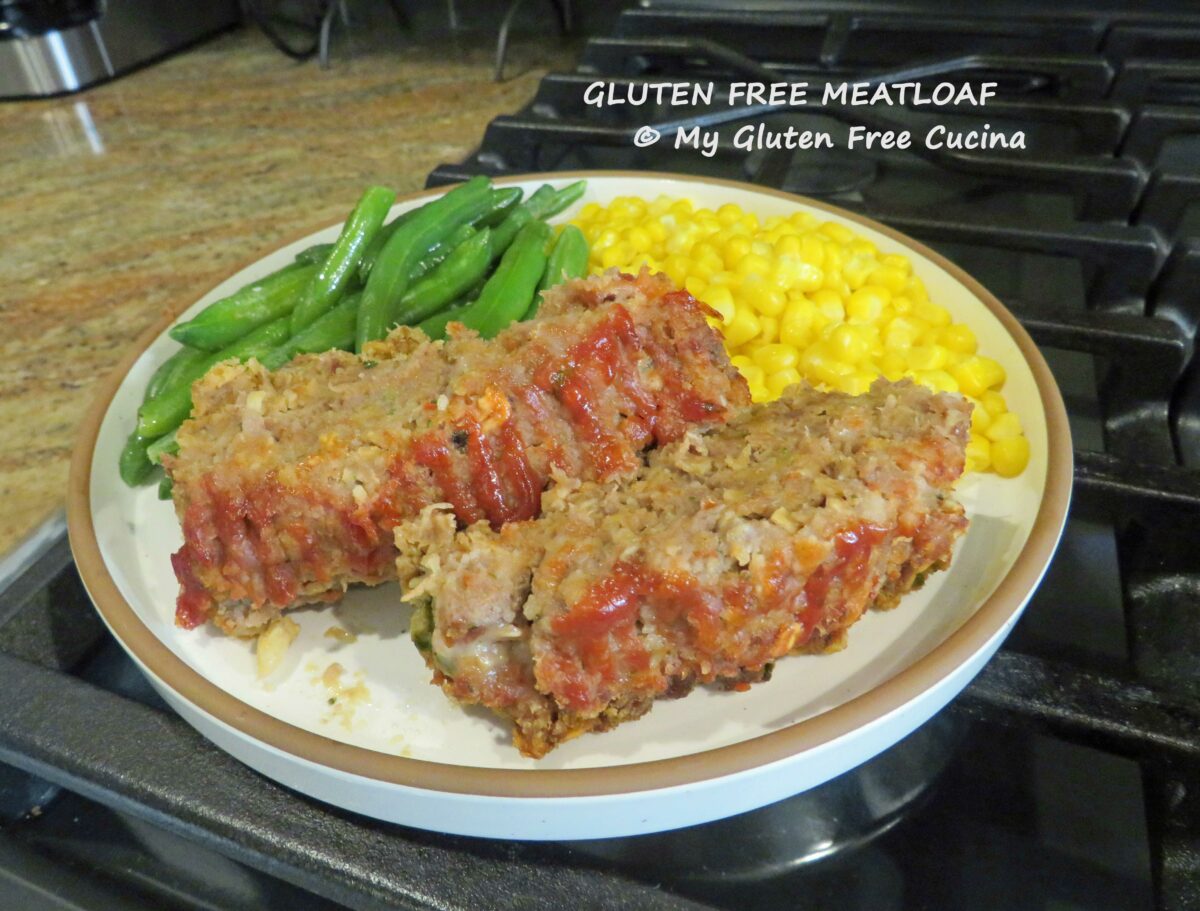
Gluten Free Meatloaf

Are you missing meatloaf on your gluten free diet?  Meatloaf made with gluten free breadcrumbs can be disappointing, a wet soggy mess that doesn’t hold together.  Today I’ll show you how to make a moist tasty meatloaf that won’t fall apart when you slice it.  By the way, this meatloaf is loaded with healthy veggies, but that can be our little secret!

4 Servings

This post contains affiliate links.

Ingredients:

Preparation:

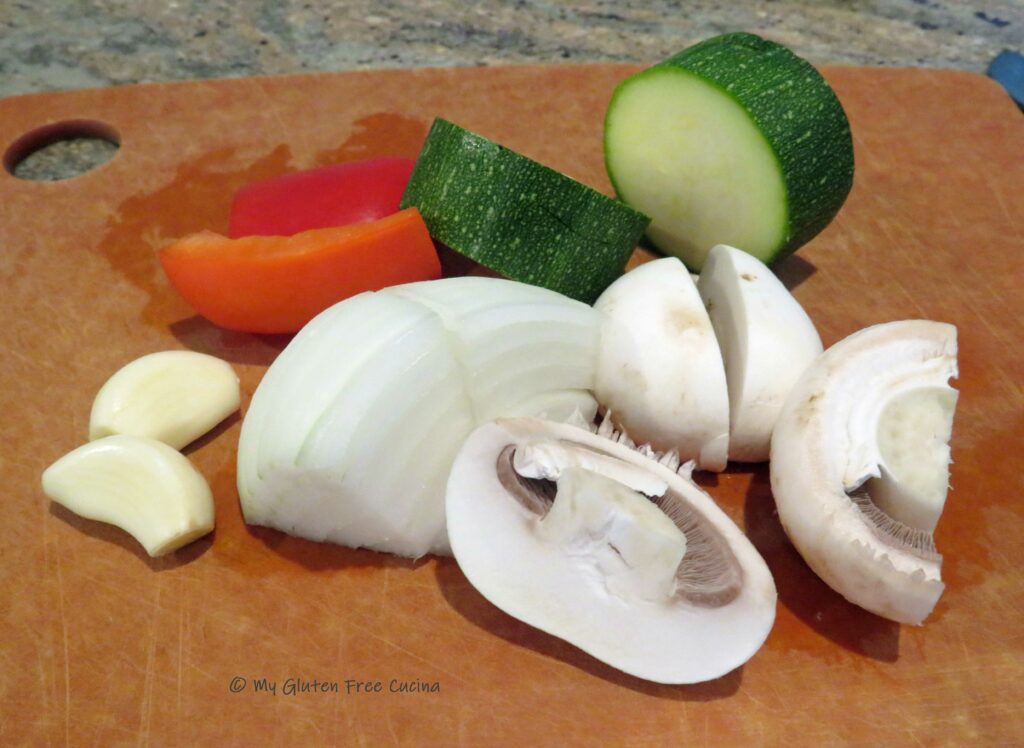
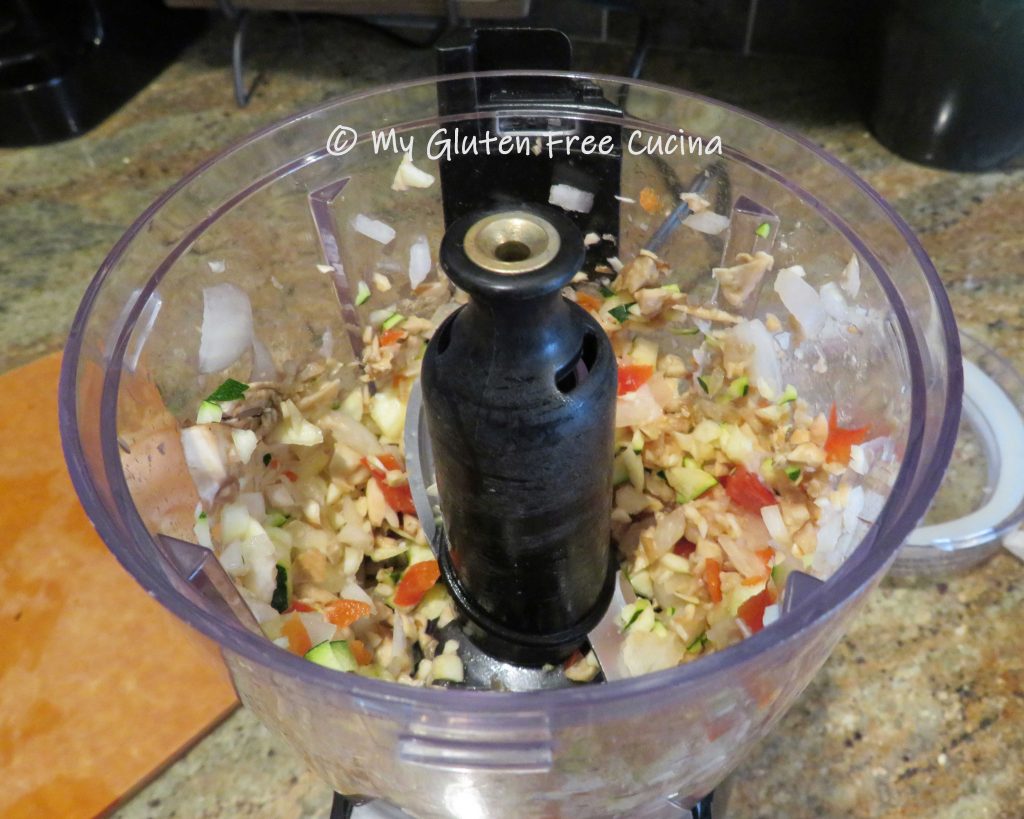
Finely mince the veggies, using a knife or electric chopper.

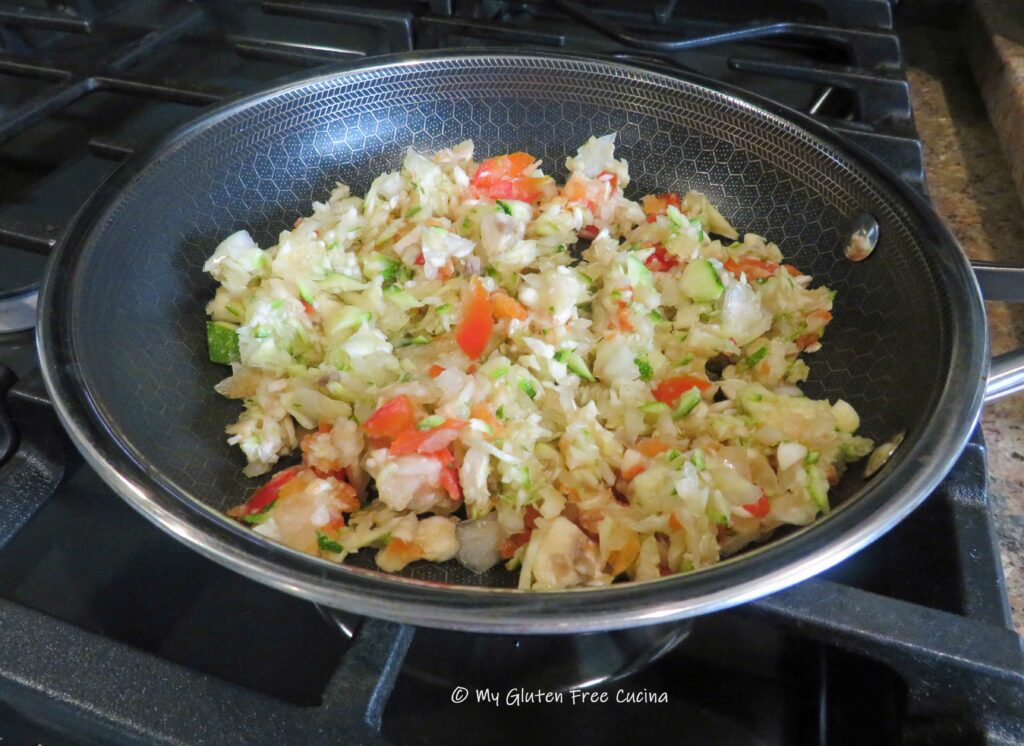
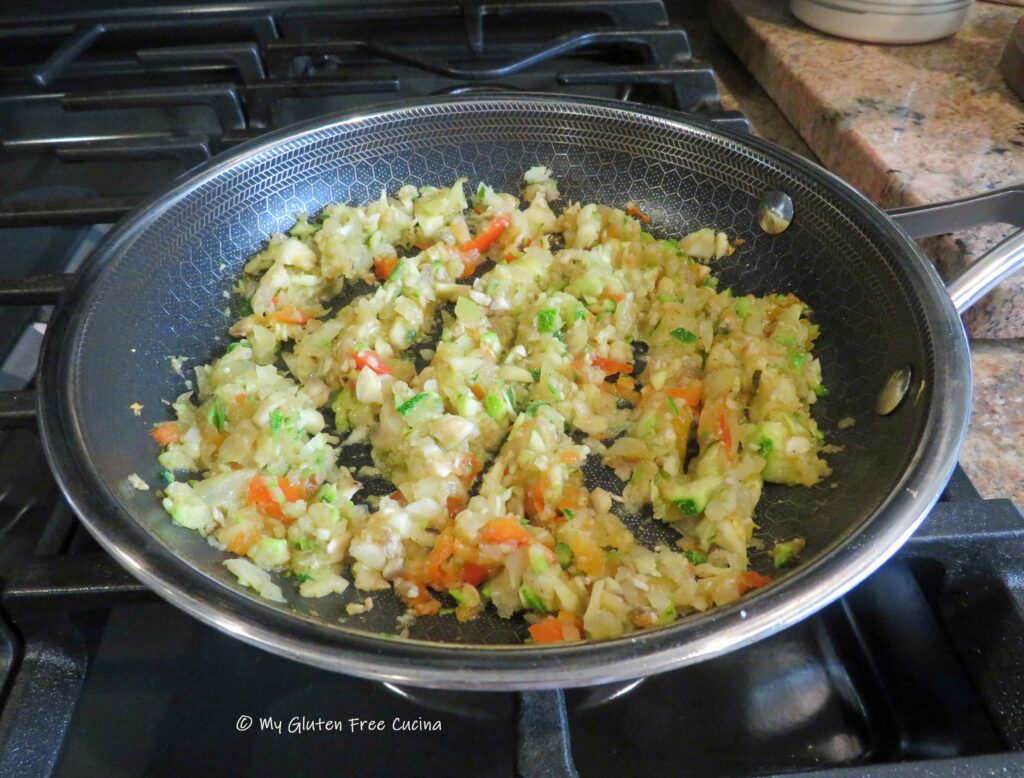
Season the veggies and garlic with salt and pepper, then sauté in a little olive oil.  I used onion, bell pepper, mushroom and zucchini.  They will almost disappear into the meatloaf (shhhh, don’t tell the kids)!

When the veggies have reduced by half and there is no visible liquid in the pan, set them aside to cool.

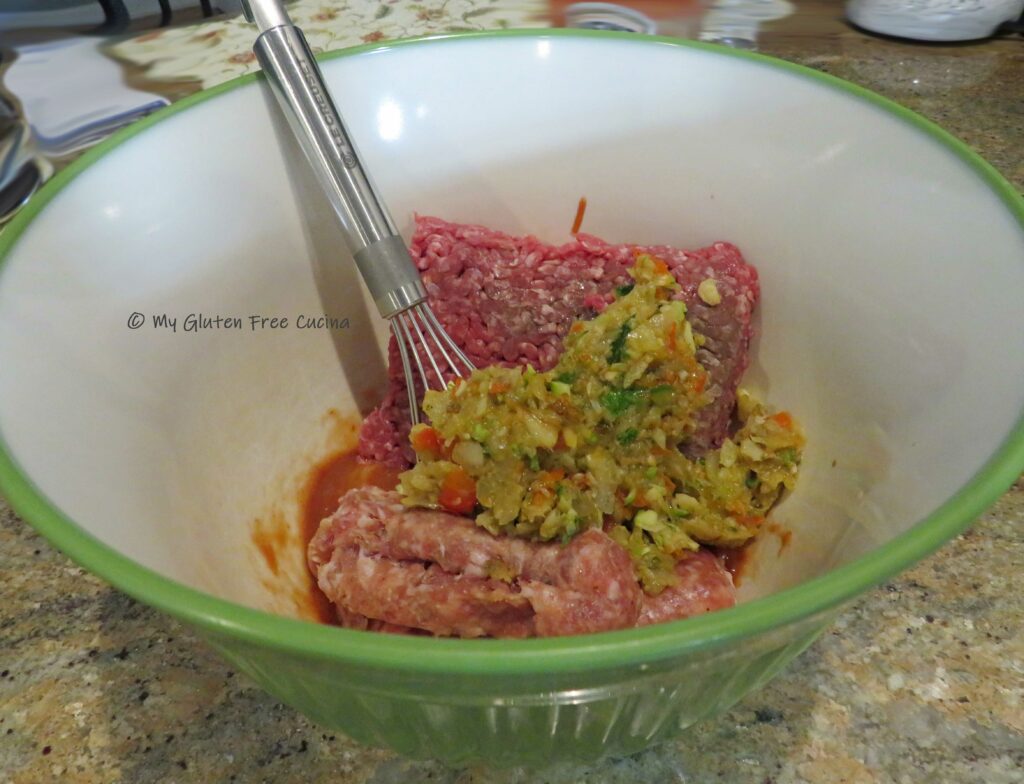
Whisk together the egg, ketchup, brown sugar, red pepper flakes and Worcestershire.  Be sure your Worcestershire sauce is gluten free, check labels and don’t hesitate to contact the manufacturer if needed.

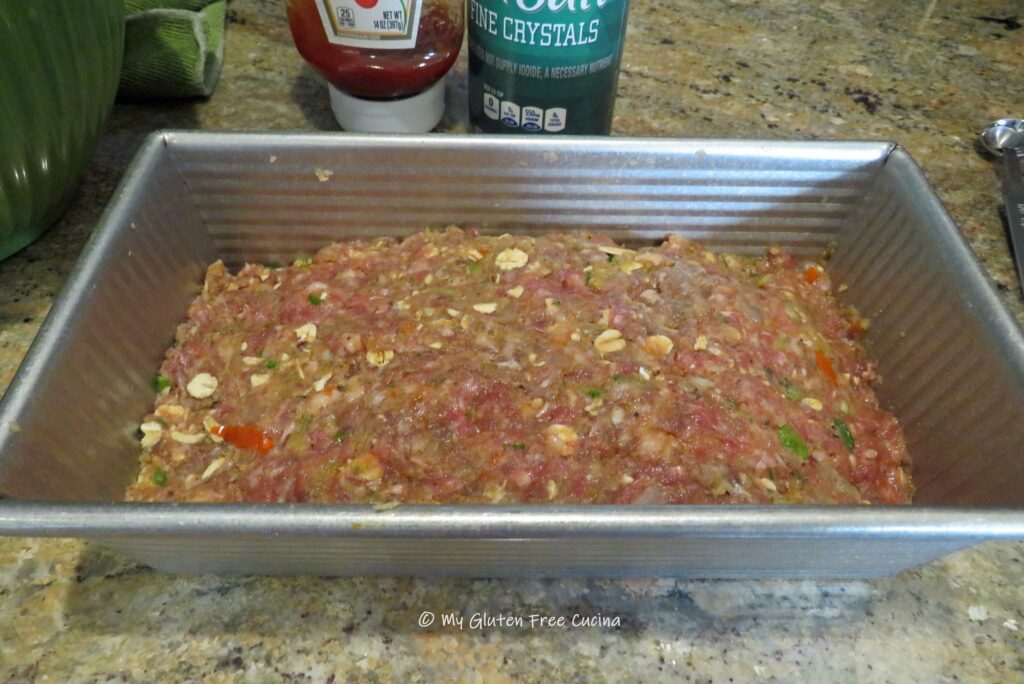
Now add the meat and the cooled vegetables, mixing it together with your hands.  I usually use pork sausage, but chicken or turkey sausage will work just as well.

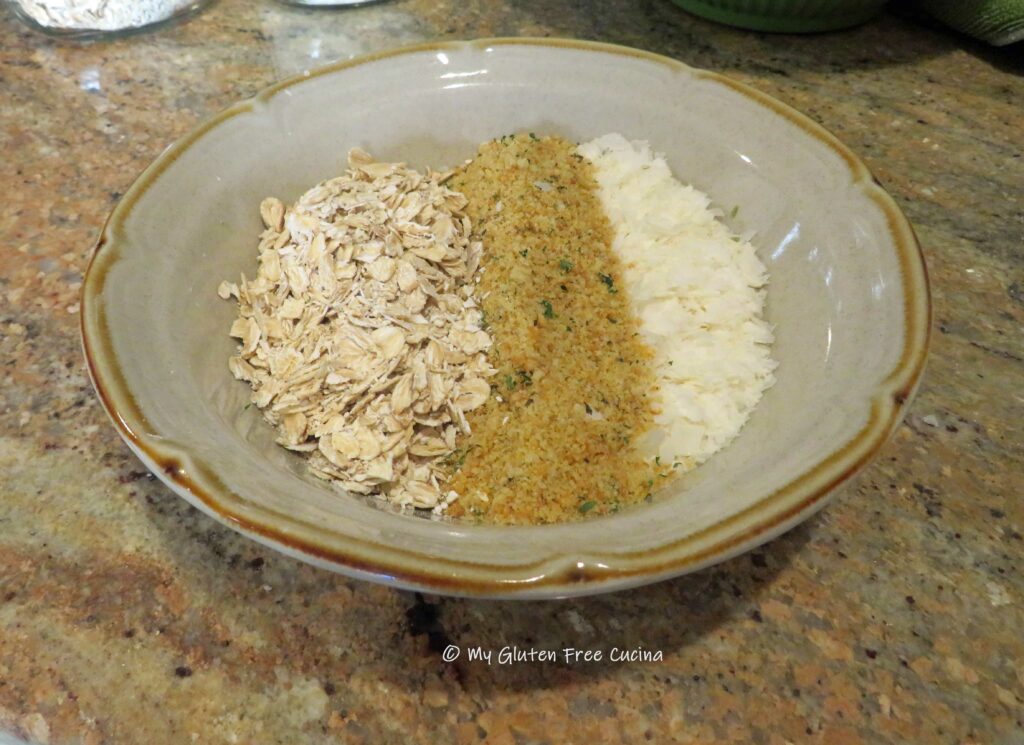
Next add the breadcrumbs, rolled oats and potato flakes, and work together until well combined.

Press the mixture into a standard, 1 lb. loaf pan.  I used a nonstick metal pan, but if you have a glass loaf pan be sure to mist it with cooking spray.

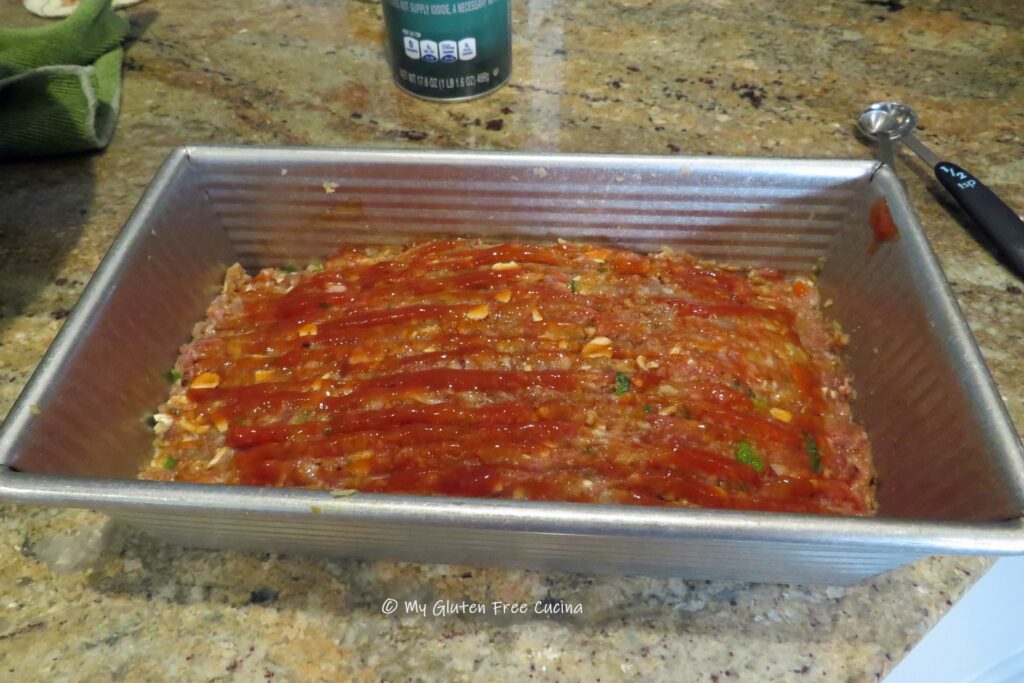
Now squeeze a little ketchup over the top and use a fork to spread it evenly to make a line pattern, like this.

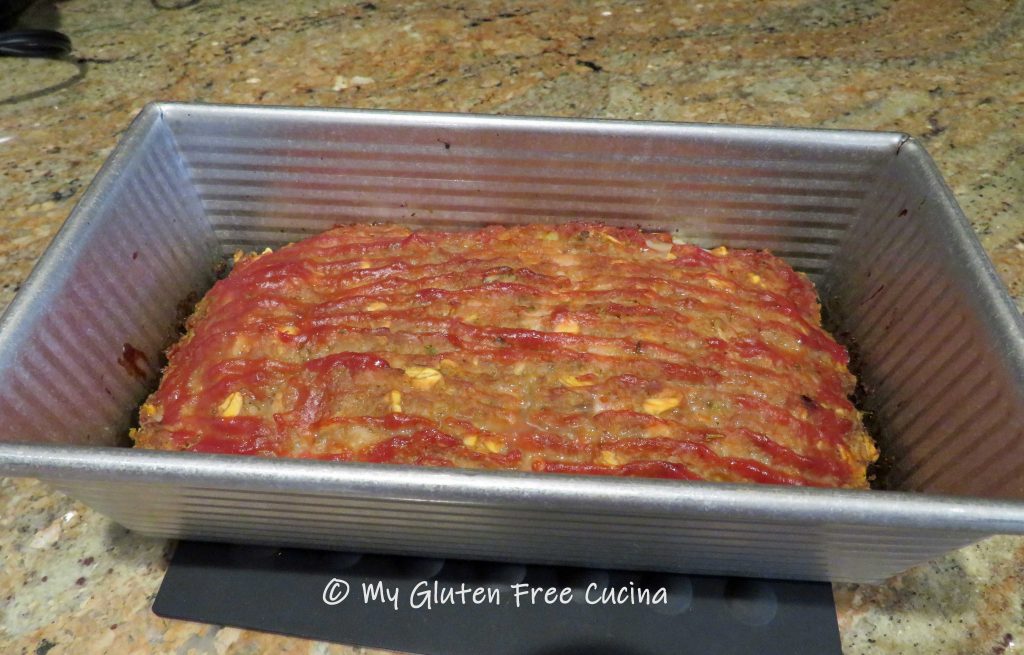
Bake for 30-35 minutes at 350º.  When it’s done, you should see a little browning around the edges, and the meatloaf will begin pulling away from the sides of the pan.  The internal temperature should reach 150-155º, if you’re not sure check with a thermometer.

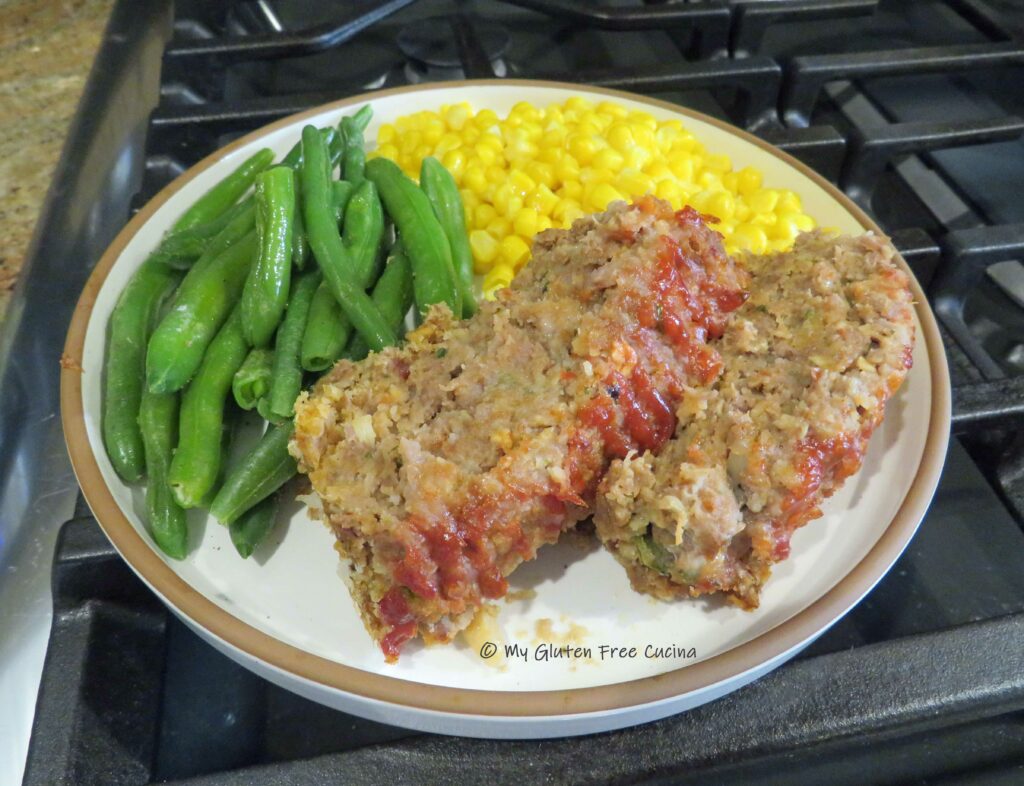
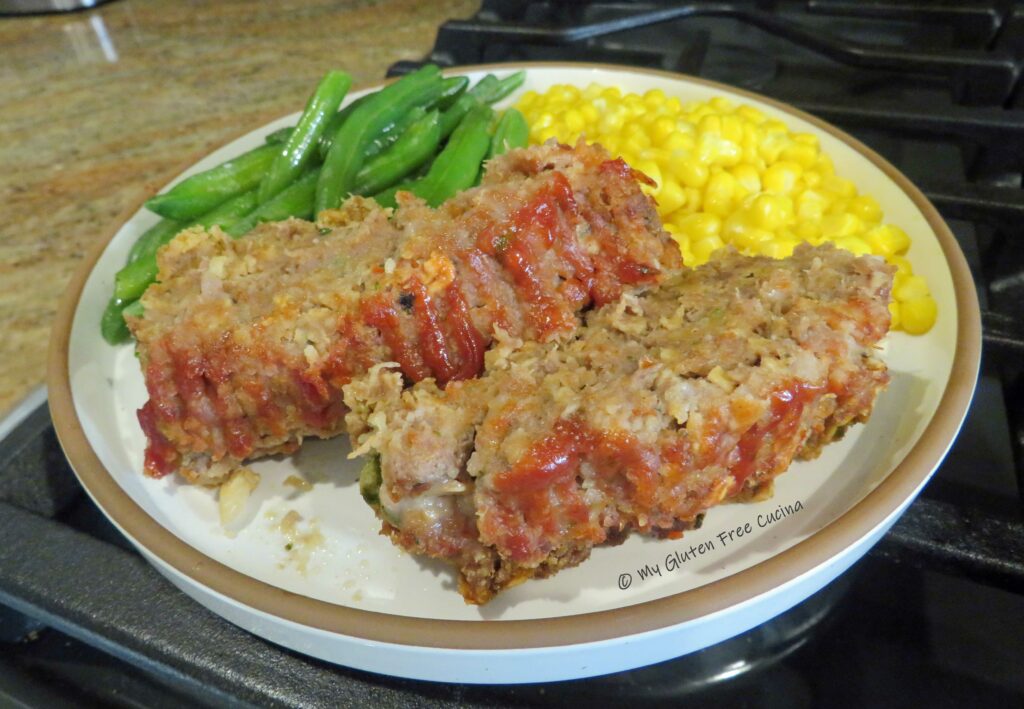
Ready to serve, this meatloaf is moist and juicy, definitely not falling apart.

Meatloaf is great leftover, and you can even freeze it.  It makes a great lunch sandwich too!

Notes: ♪♫ How are you feeling about oats these days?  A while back there was a very concerning report from Gluten Free Watchdog stating that they could not recommend ANY brand of gluten free oats due to gluten content.  For myself, I have decided to only use gluten free oats processed under a purity protocol, such as Bakery on Main.  As always, consult with your own medical team for advice.  Whether or not you continue to consume oats is a personal choice.  

Originally published 04/09/2018           Updated 07/02/2024

Print This Post Print This Post

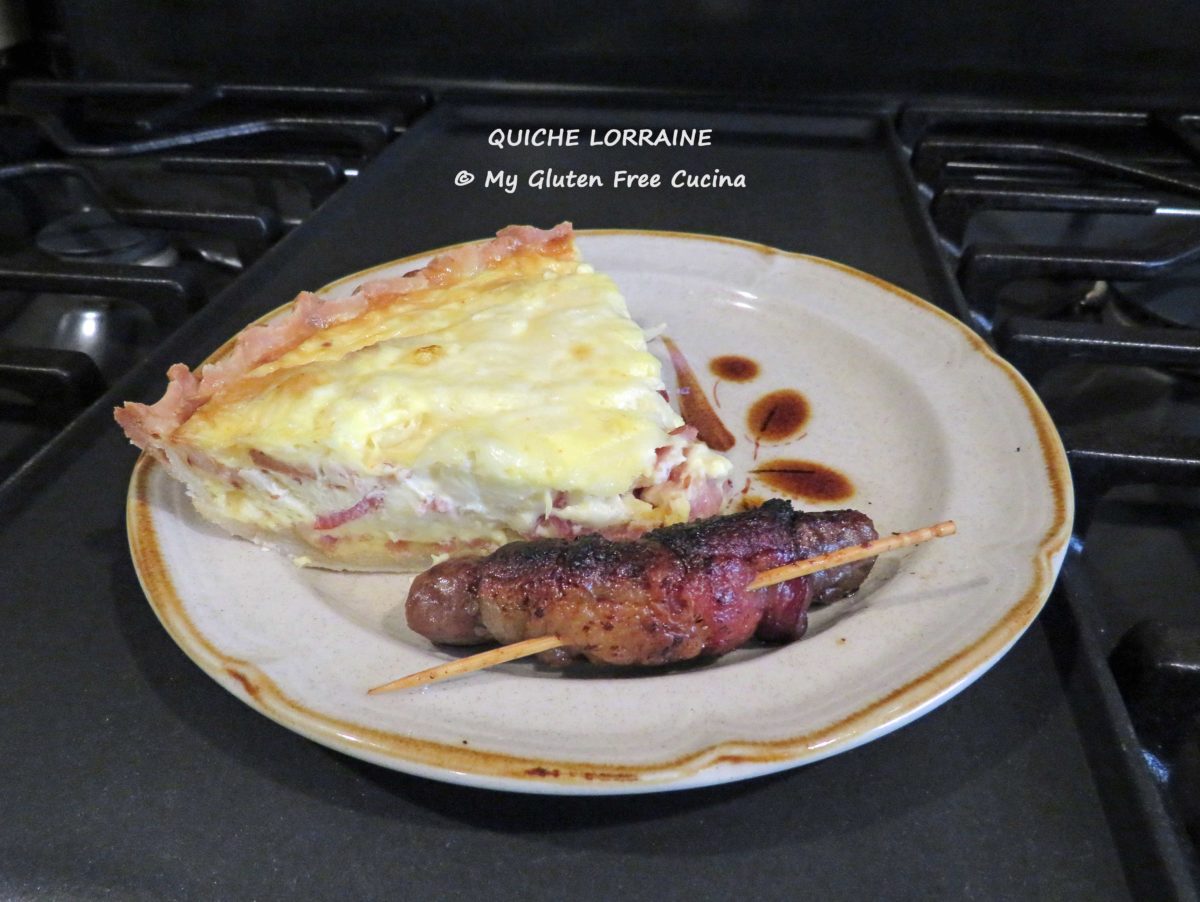
Gluten Free Quiche Lorraine

Quiche Lorraine, the French classic.  What’s not to love about a yummy quiche filled with bacon, cheese and onion?  I think that a quiche is one of the easiest things to make for brunch, because you can prepare most of it a day ahead then just assemble and bake in the morning.

Is quiche gluten free?

The filling of a quiche, usually consisting of eggs, cream, meat and/or vegetables is usually gluten free.  Only the pie crust contains gluten.  Fortunately, this Gluten Free Cream Cheese Pie Crust is easy to make, and it is perfect to use with both sweet and savory pie recipes.  And of course, I just happened to have one in my freezer, waiting for a special occasion!

This post contains affiliate links.

Ingredients:

Preparation:

If your pie crust is frozen, take it out one day ahead to defrost in the refrigerator.  Then let it sit on the counter for about 15 minutes before rolling it out between two sheets of parchment.

If it breaks, you can put it back into the refrigerator for 15 minutes then try rolling it out again.  With a gluten free crust, you do not need to worry about overworking the dough, so you can roll it out as many times as you need to.

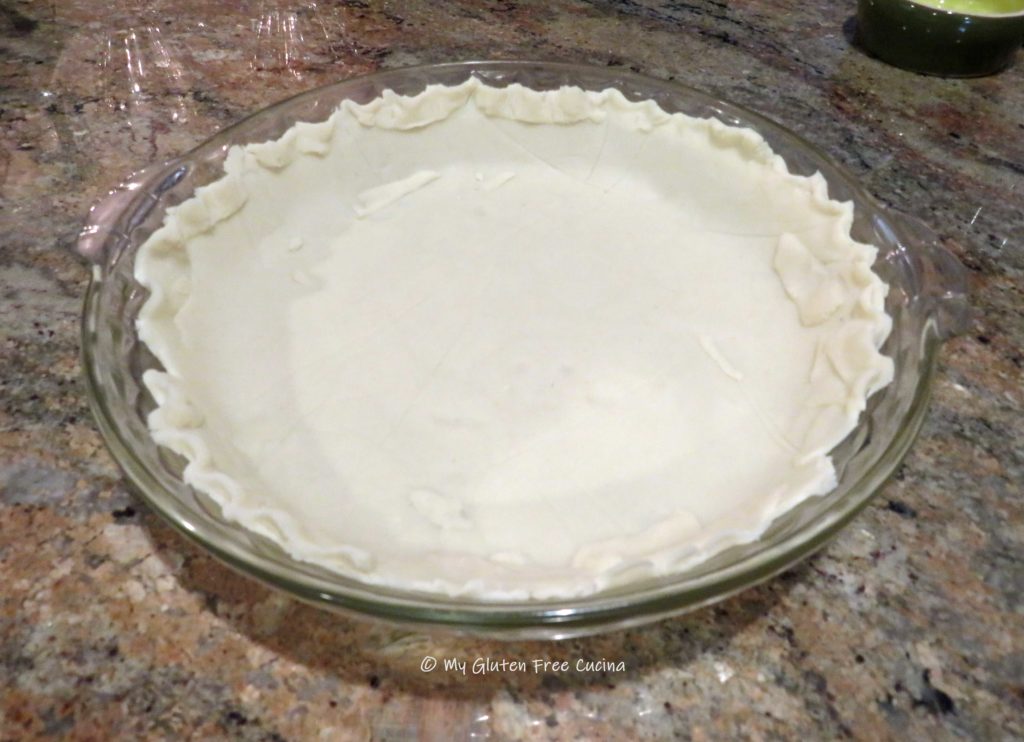
Gently place the rolled-out dough into a glass pie dish, trim the edges and crimp.  Use the scraps to patch any holes or cracks (you can see I had quite a few!).  Yes, pie crust does not always cooperate, but I got it to work.  Remember, even if it’s not the prettiest it will taste great!

Place the pie dish in the refrigerator while you prepare the rest of the ingredients.

Hint: you can prepare the pie crust to this point and refrigerate it overnight for baking in the morning.  Just cover it with plastic wrap so it doesn’t dry out.

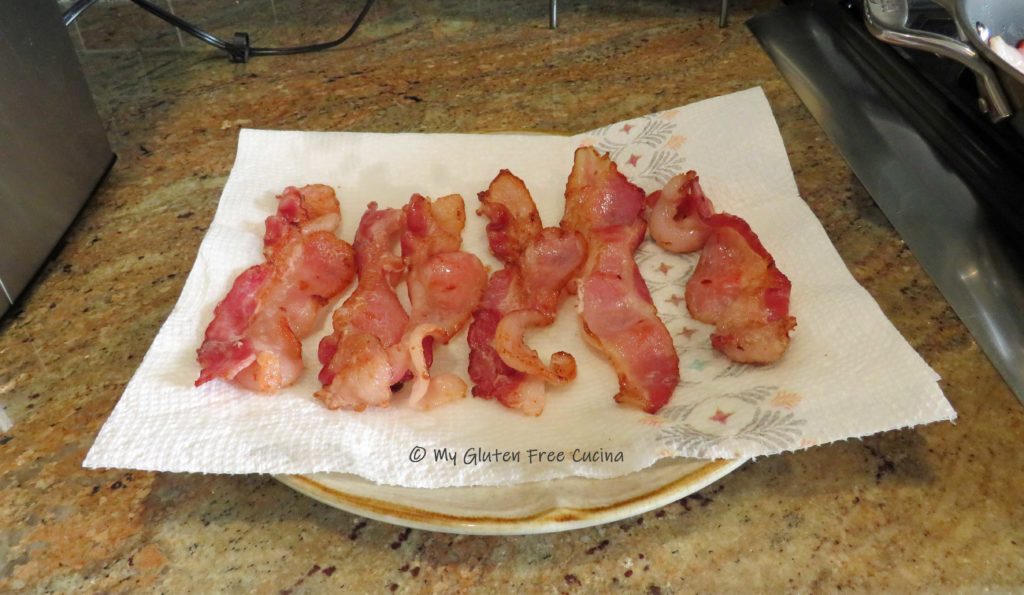
You can also prep the bacon, cheese and onion the night before.  Cook the bacon (in batches if needed) and drain on paper towels.  Chop it into 1/2″ pieces.  Grate the cheese and mince the onion.

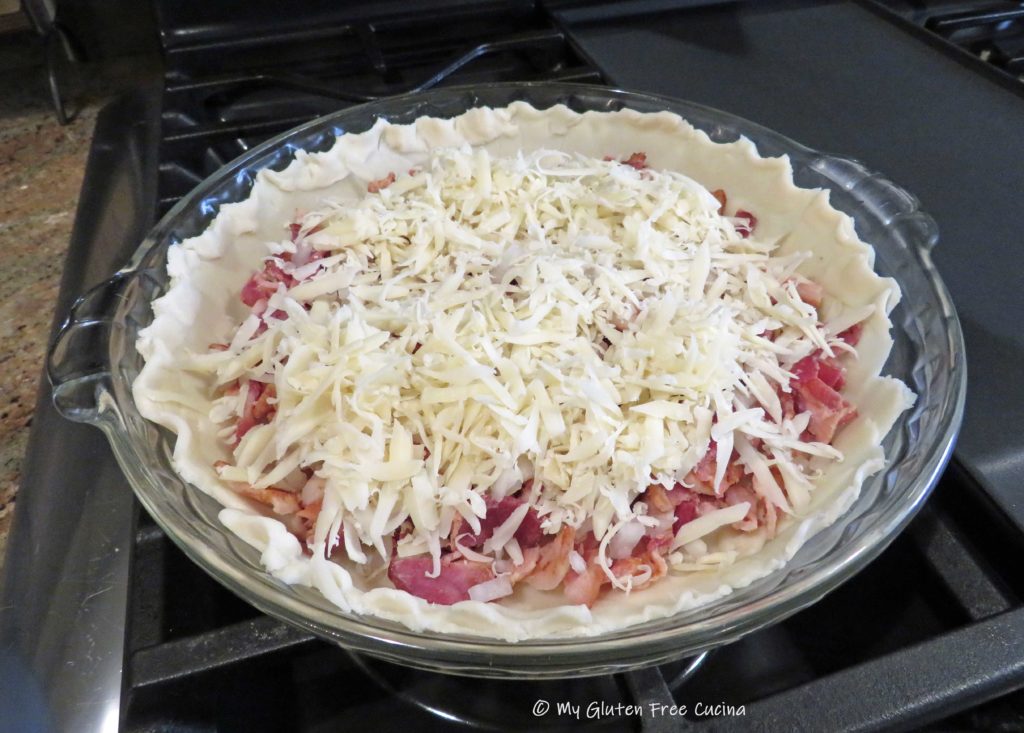
In the morning, when you are ready to assemble the quiche, preheat the oven to 425º.  Take the pie crust out of the refrigerator while the oven preheats, so you are not placing a cold plate directly into the hot oven.  Spread the bacon, onion and cheese into the pie shell.

In a bowl, beat the eggs together with the light cream, salt, sugar and cayenne pepper.  Don’t skip the cayenne, it’s just enough to brighten the flavor without adding heat.  Pour the egg mixture evenly into the pie shell.

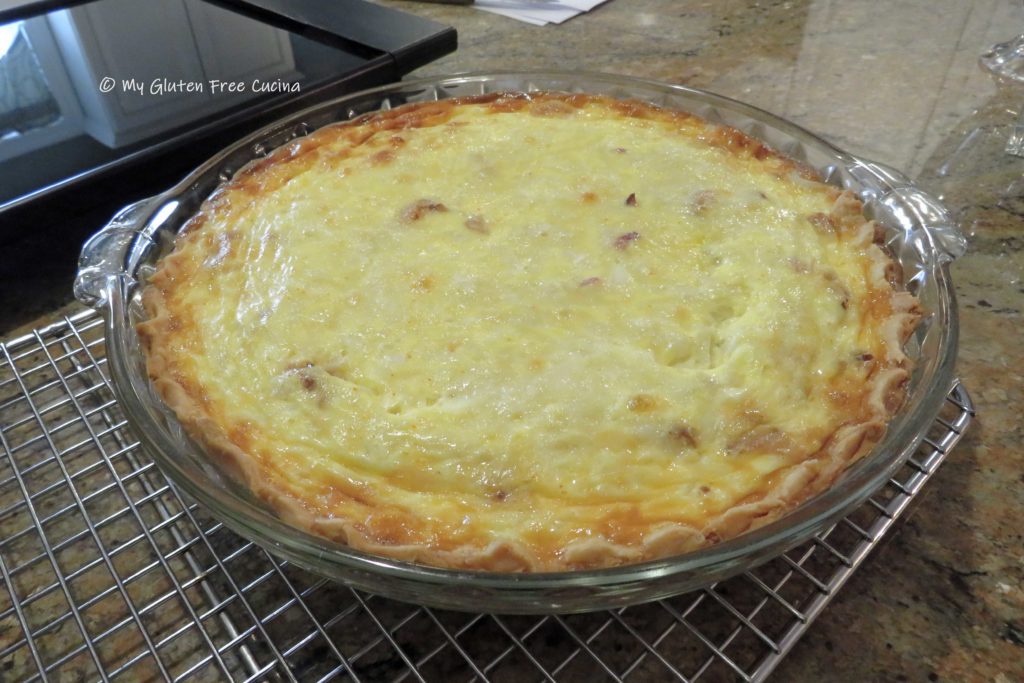
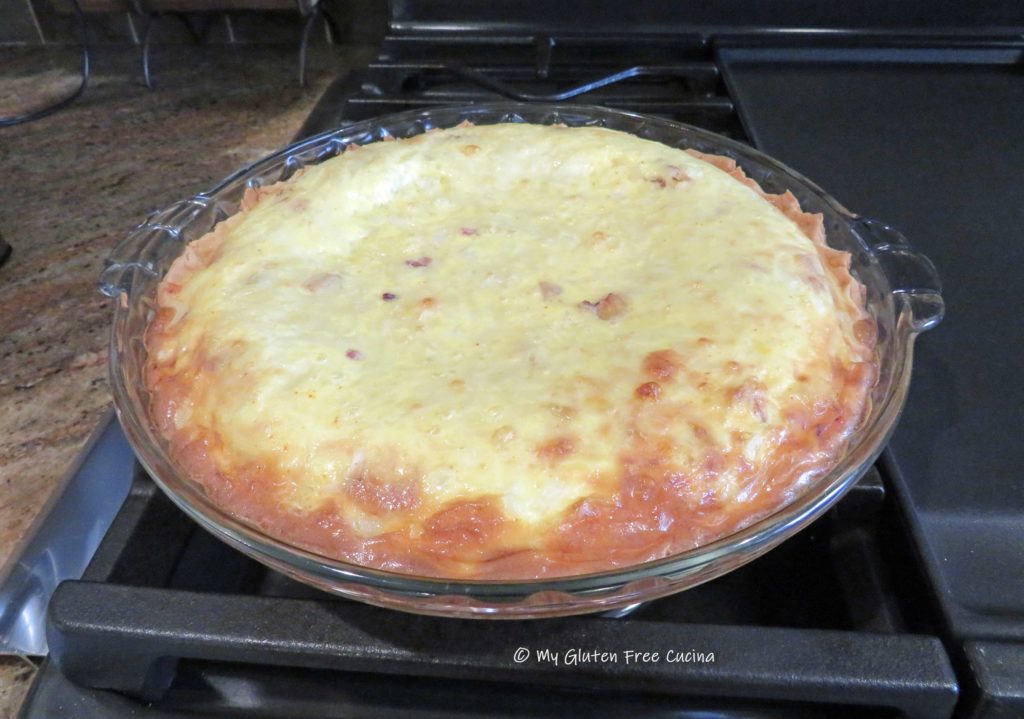
Place on the middle rack of the oven and bake for 15 minutes.  Then, lower the heat to 300º and continue baking for 30 minutes longer.

The edges should be nicely browned, and the center golden.  To test, you can insert a knife or a toothpick into the quiche, it should come out clean.

The quiche can be served warm or at room temperature.  Leftovers can be refrigerated for several days (do not freeze) and reheated in the oven or microwave.  And if you’re ogling that bacon wrapped sausage, get the recipe here!

Notes ♪♫ I always have gluten free pie crust in the freezer for when I want to make sweet or savory pies and quiche.  It’s a real time saver, especially when we can’t always grab a ready-made gluten free pie crust at the grocery store.  Get the recipe for easy, Gluten Free Cream Cheese pie crust here.

Print This Post Print This Post


Split Pea Soup

Another Easter has come and gone, and I’ll bet you still have some leftover ham in the fridge!  And since the winter weather just won’t give up here in New England, I’m craving soup.

Everyone has their own traditions for using up the holiday ham.  I always ring in the New Year with a pot of Lentil Soup.  After Easter though, I like to make Split Pea, which is essentially made the same way.

The ham bone, of course is what you would use to make a stock.  But what if you didn’t make a ham for Easter?  Or maybe your ham was boneless.  Well fear not, you can still use your leftovers or even pick up a ham steak and use that in the soup.  This year I actually cooked a 2 lb. petite boneless spiral ham for myself after the holiday and that’s what I used.

This post contains affiliate links.

Ingredients:

  • 1 lb. split peas
  • 1 tbsp. olive oil
  • 2 carrots, peeled and diced
  • 2 celery stalks, diced
  • 1/2 sweet onion, diced
  • salt and pepper to taste
  • 48 oz. gluten free chicken stock or stock from ham bone
  • 2 bay leaves
  • 1 tsp. sage
  • 1 tsp. thyme
  • 1 packet beef bouillon
  • 2 cups diced ham
  • Schar Table Crackers, for serving

Preparation:

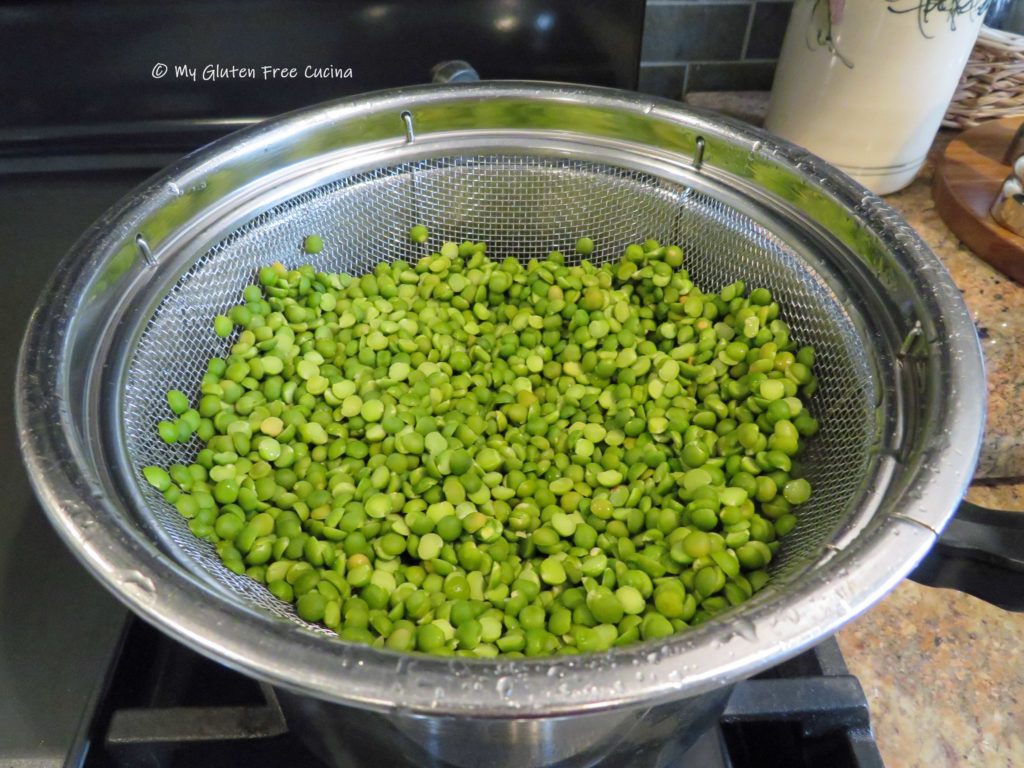
Rinse the split peas thoroughly in a colander and examine them for stray bits of barley or pebbles.  Place them in a stock pot and bring to a boil.  Cover, remove from the heat and let them soak while you prepare the rest of the recipe.

Chop ham leftovers into small dice.  Set aside and refrigerate.

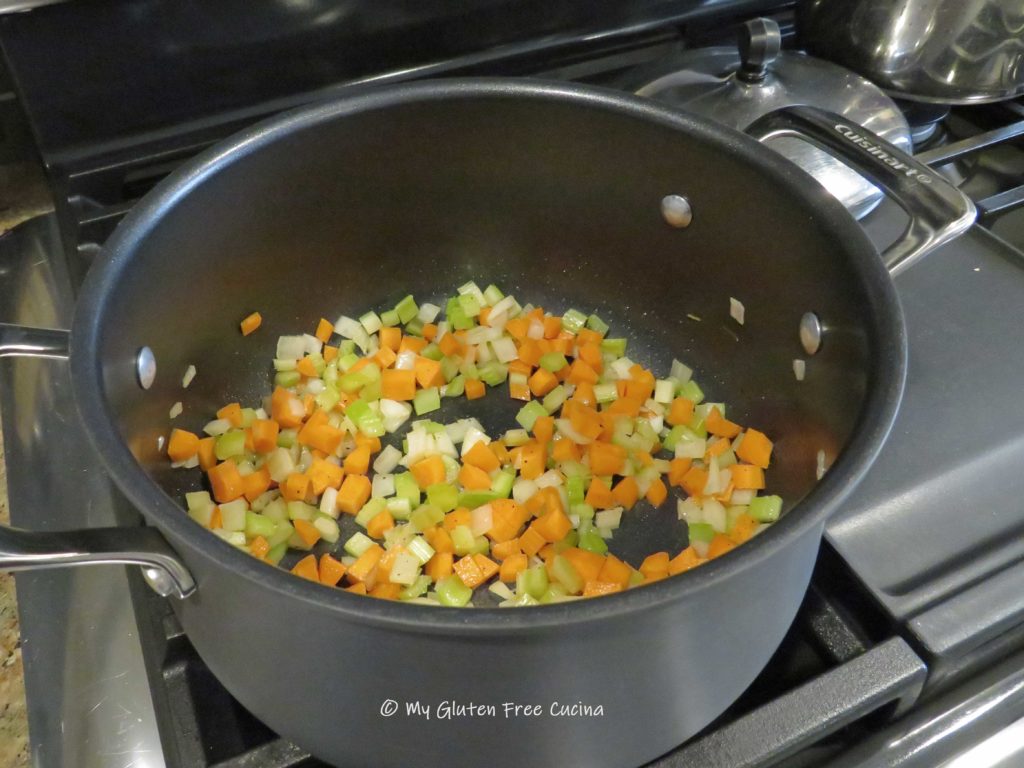
Cut the onion, celery and carrots into even sized small dice.  Add a little olive oil to a 5 qt. stock pot or Dutch oven and begin cooking the carrots, onion and celery over medium low heat.

Season with sage, thyme, salt and pepper.  Add 32 oz. of the chicken stock, bay leaves, and bouillon.  Simmer 30 minutes.
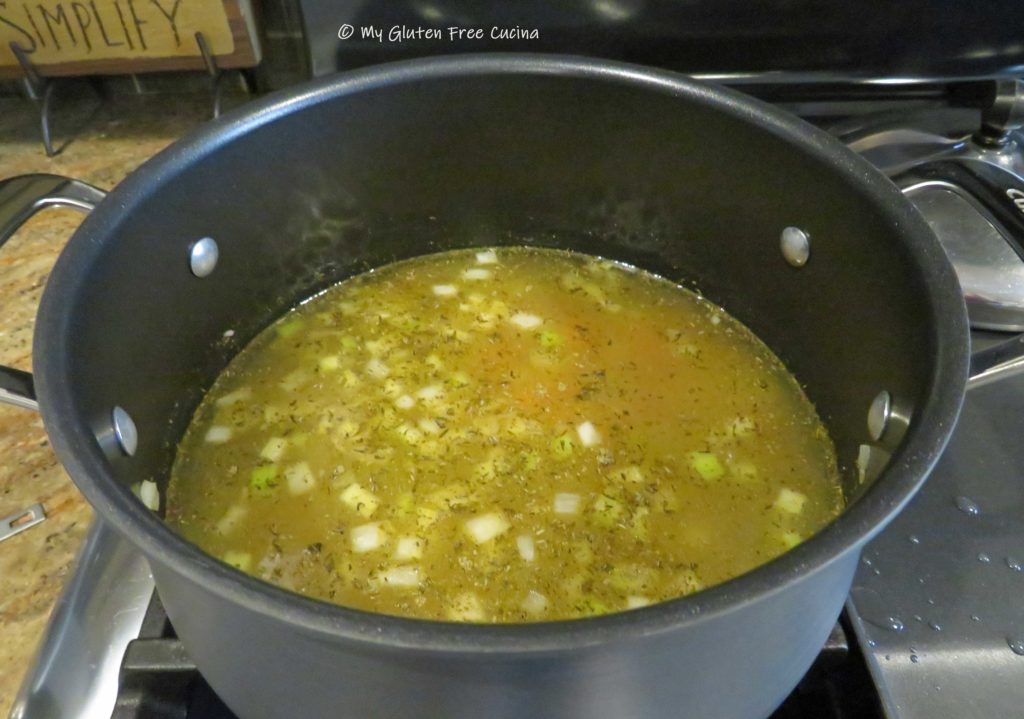
Drain and rinse the peas again.  Add them to the pot, stir well and continue cooking for another 45 minutes to an hour, or until the peas are tender.
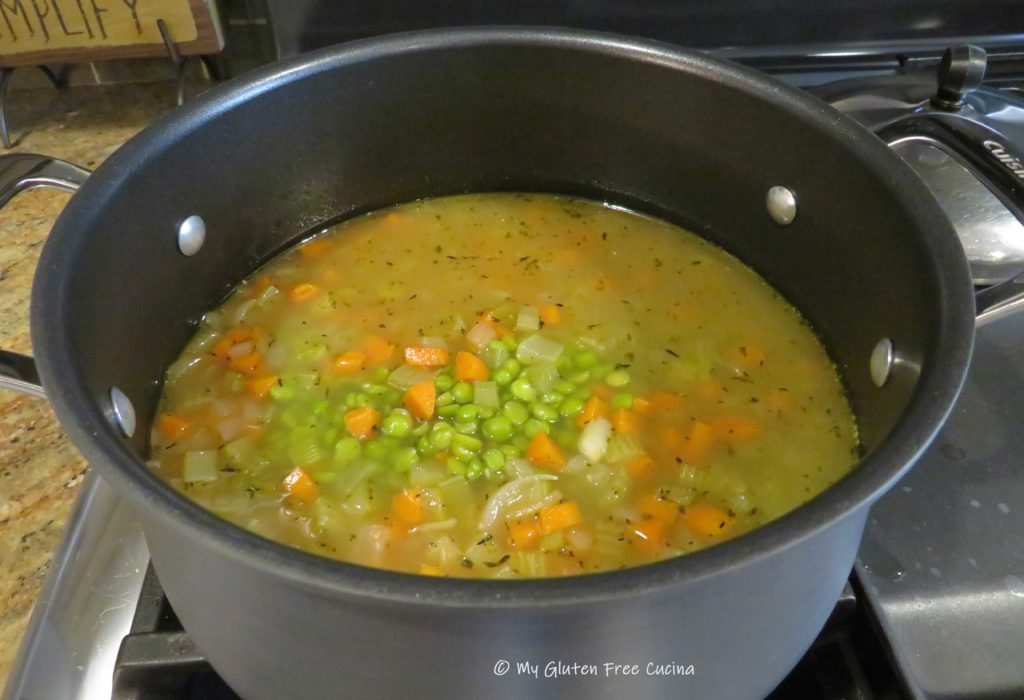
As they simmer, the peas will absorb quite a bit of liquid, so add more chicken broth as needed.
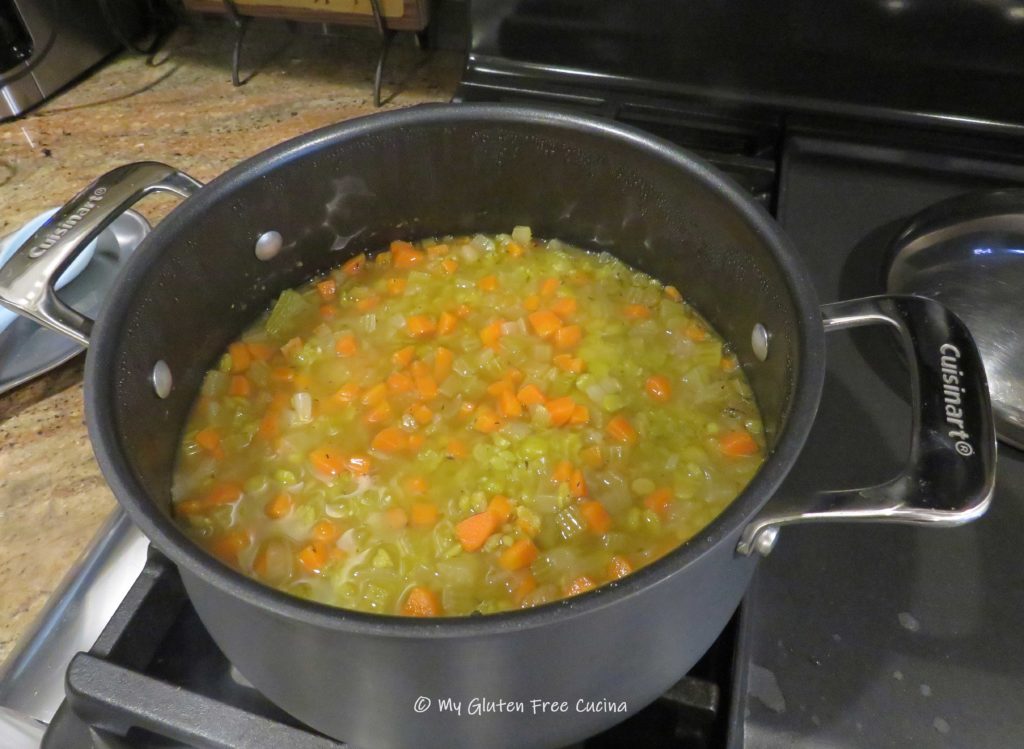
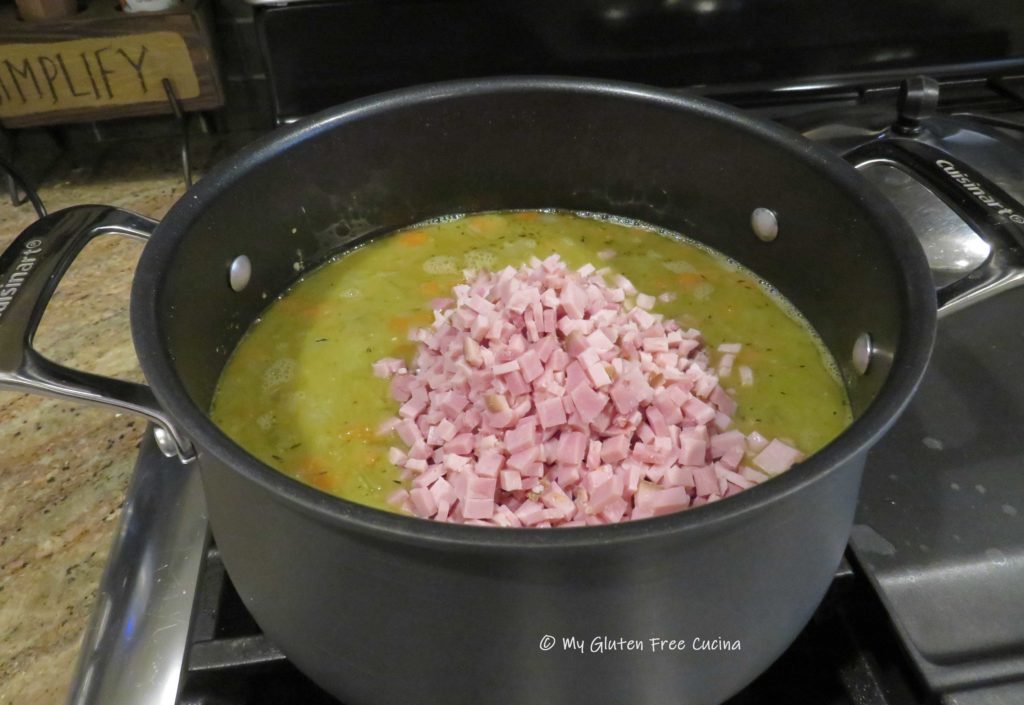
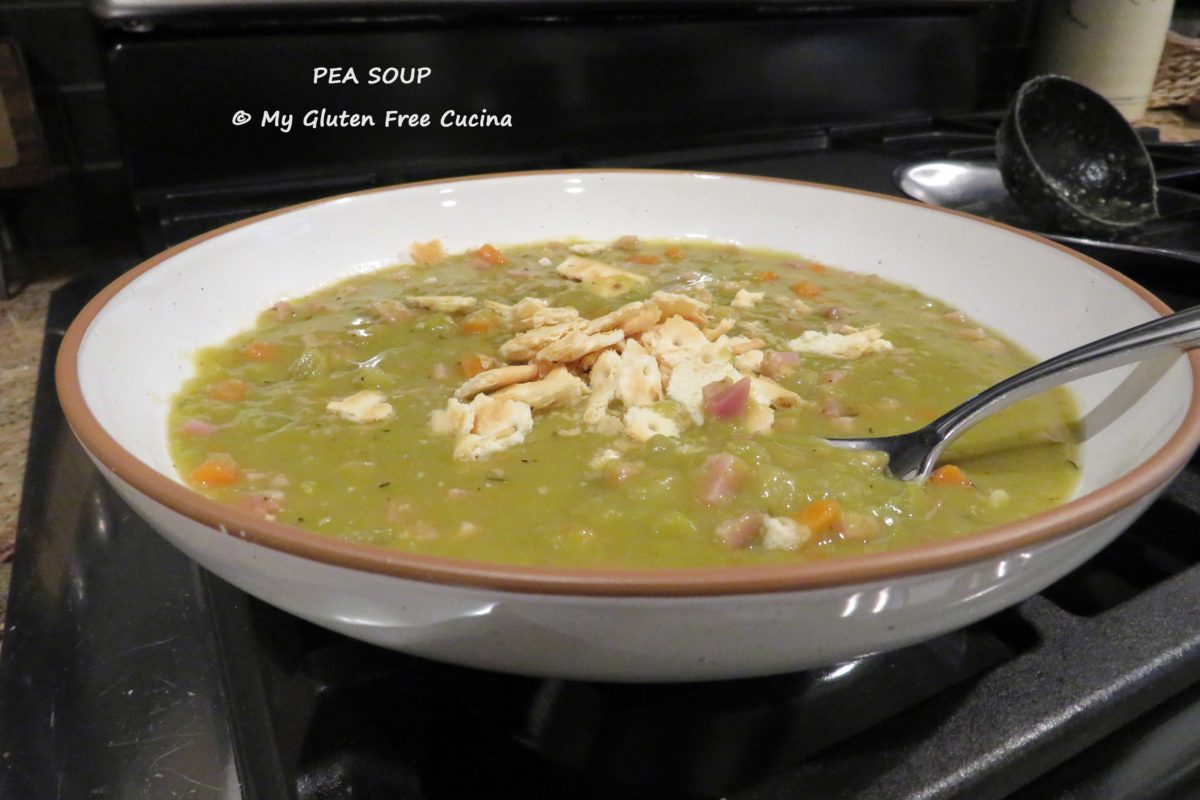
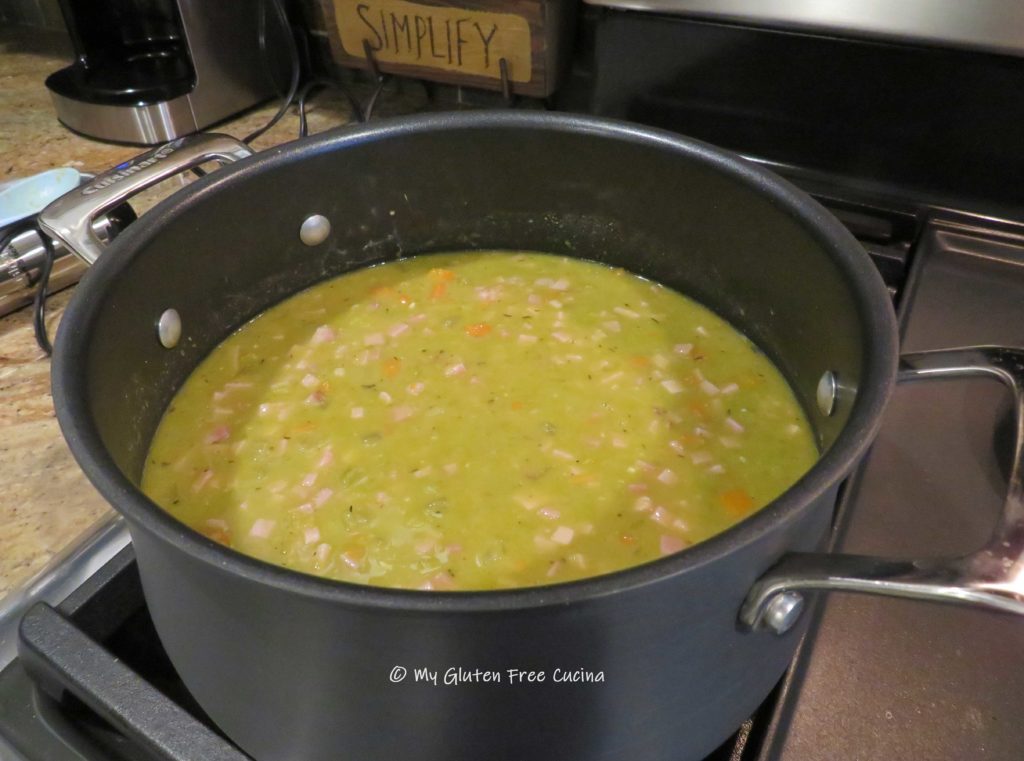
When the soup is ready, partially puree it with an immersion blender (don’t forget to remove the bay leaves first).  I like to leave some of the veggies whole, but you can make it as smooth or chunky as you like.  After pureeing, add back the diced ham and heat through.

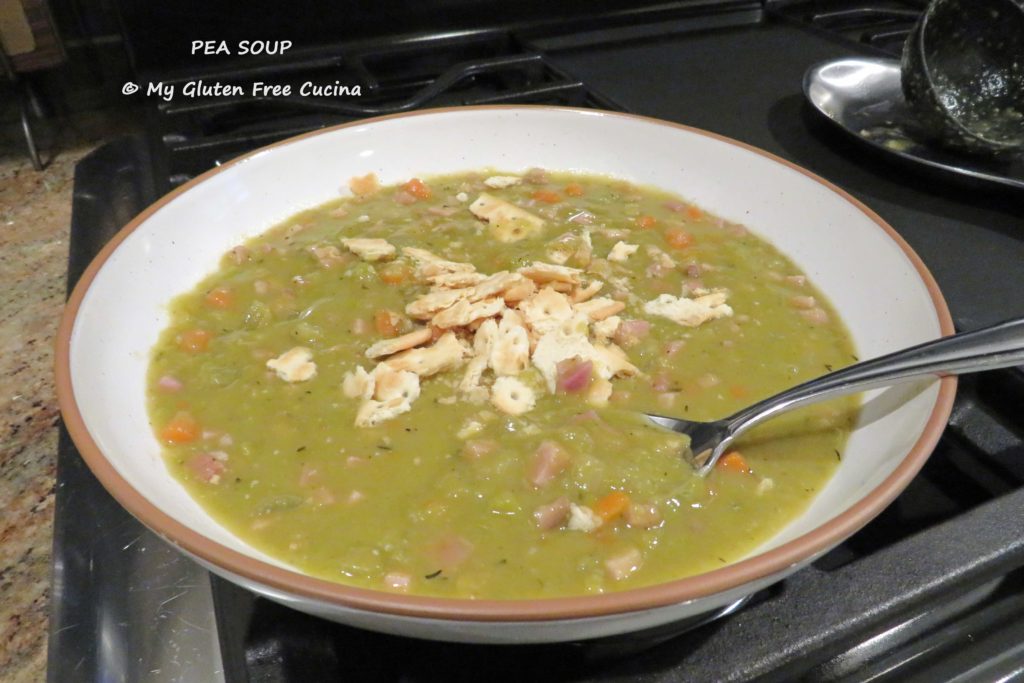
Serve with Schar Table Crackers (similar to saltines).  Leftovers will keep well in the fridge for at least a week.

Notes: ♪♫ If you have a ham bone and don’t want to make soup right away, don’t throw it away!  You can wrap it in foil then place in a freezer safe bag and store in the freezer for quite a few months.  There have been times that I would find a ham bone in the back of the freezer just in time for fall soup season.

Print This Post Print This Post

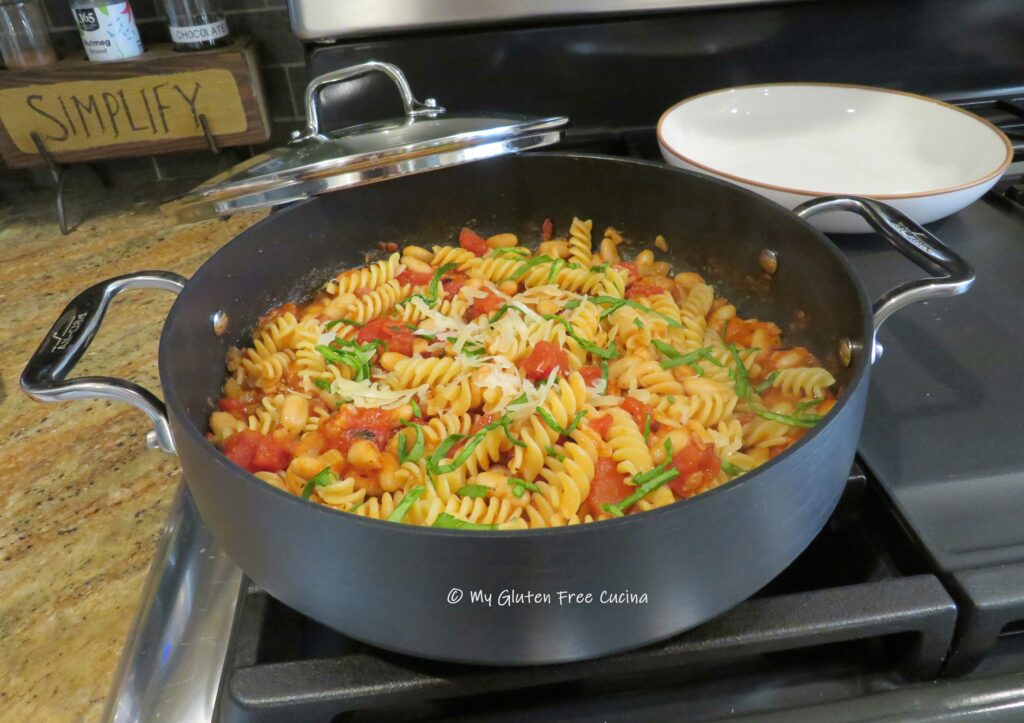
Gluten Free Macaroni and Beans

I’ve been making this fast and easy peasant dish for over 30 years.  Long before I knew I had Celiac!  After my diagnosis, I quickly realized that the pasta was the only ingredient that had to be changed to make this meal gluten free!

This meal satisfies my craving for comfort food with a minimal amount of fuss.  I serve it right in the pan for easy cleanup.

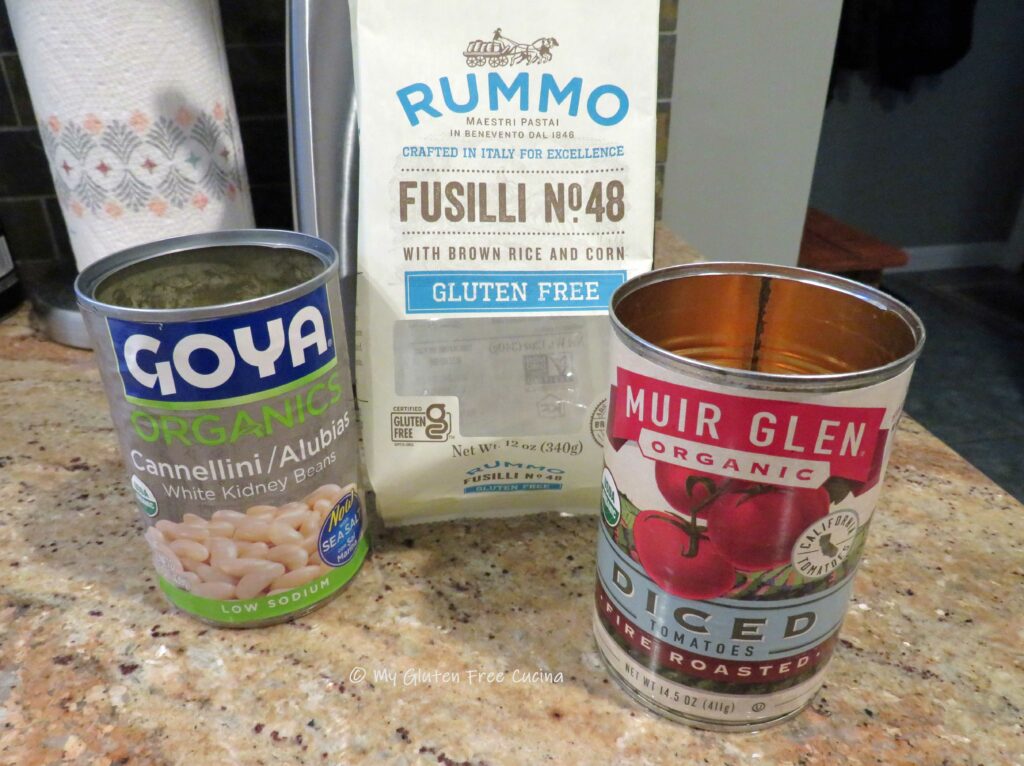
The recipe is not difficult, and you probably have most of the ingredients in your pantry!  Here’s what you will need…

This post contains affiliate links.

Ingredients:

  • 1 can diced tomatoes
  • 1 can cannellini beans, drained and rinsed
  • 4 cloves garlic, minced
  • 1 stalk celery, small dice
  • 2 oz. pancetta or bacon, diced
  • 2 tbsp. tomato paste
  • olive oil
  • 3/4 tsp. Italian seasoning
  • fresh ground pepper
  • 8 oz. gluten free pasta
  • fresh basil
  • fresh Italian parsley
  • parmesan cheese

Preparation:

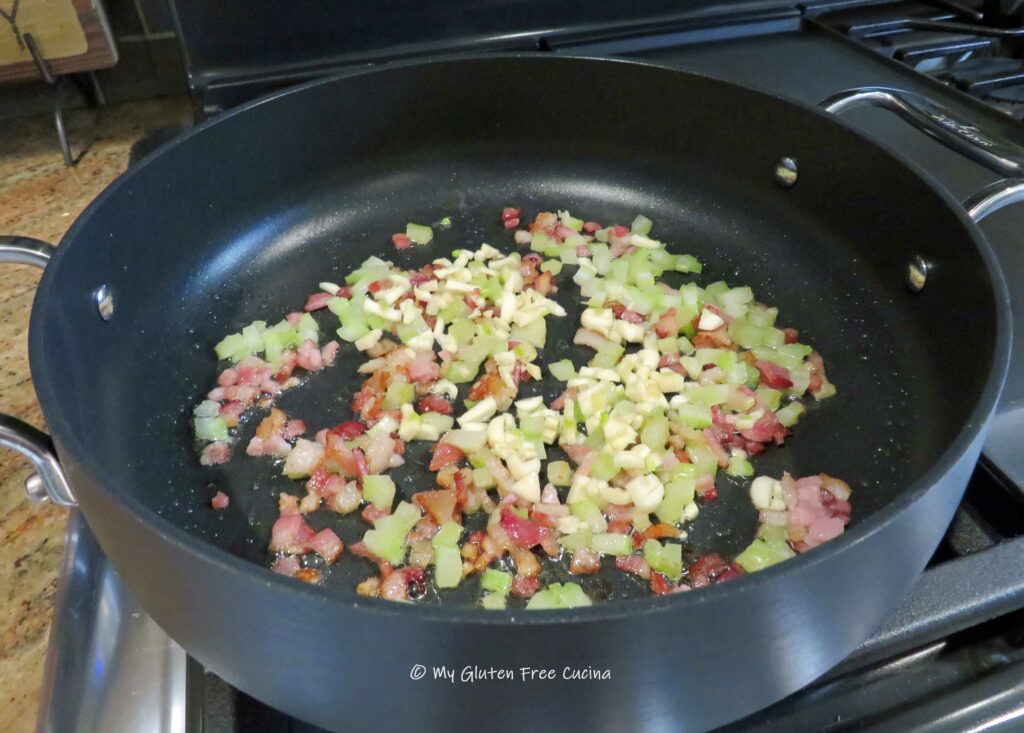
Render the pancetta or bacon in a deep skillet.  Add a little olive oil, along with the celery.  Cook for 3 minutes then add the garlic.  Cook for 1 minute more, stirring frequently.

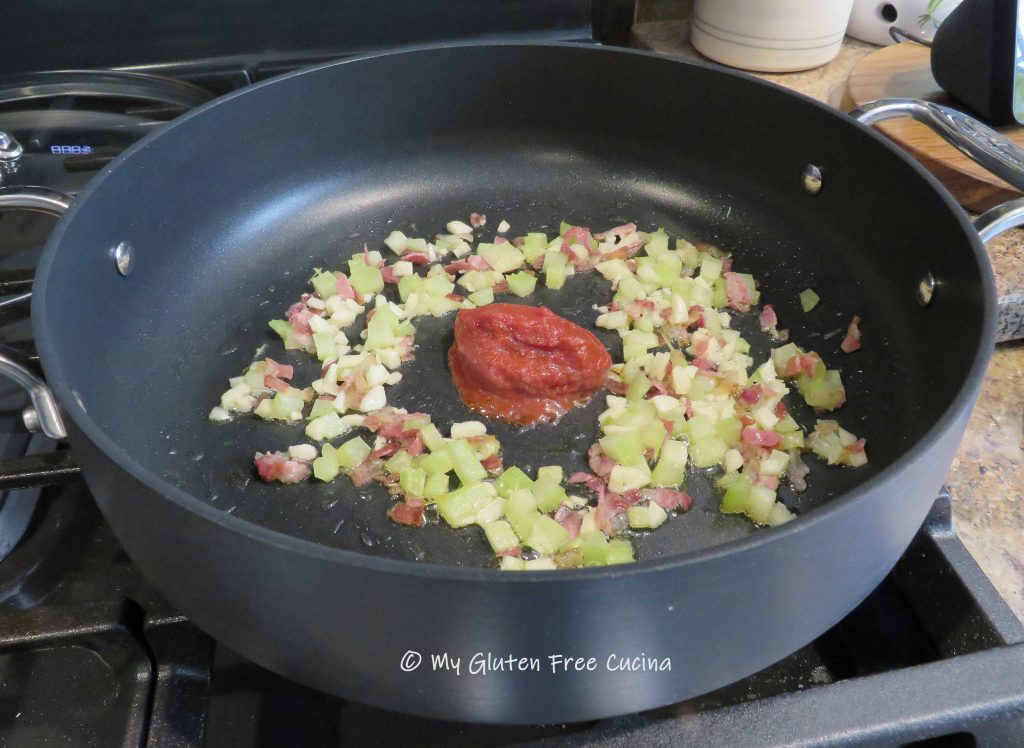
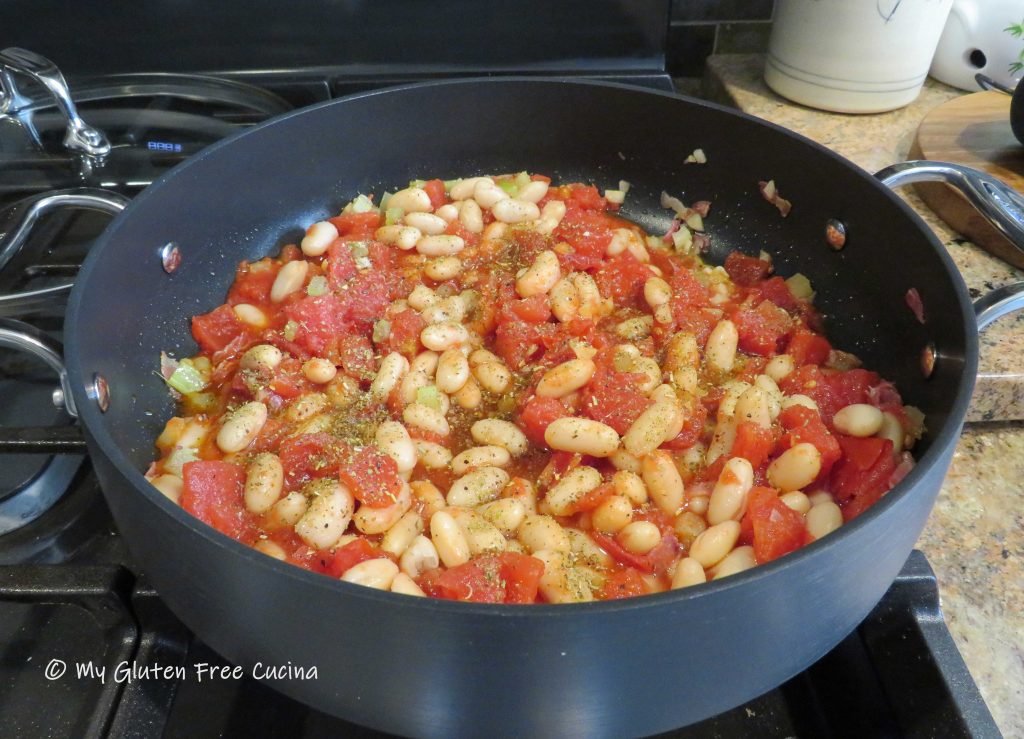
Make a space in the center of the skillet and drop in the tomato paste.  Toast it for just a minute, then stir in the drained beans and diced tomatoes, with all of their juices.

Sprinkle with Italian seasoning and fresh ground pepper to taste, then cover and simmer on low for 15 minutes.

Cook pasta according to package directions.

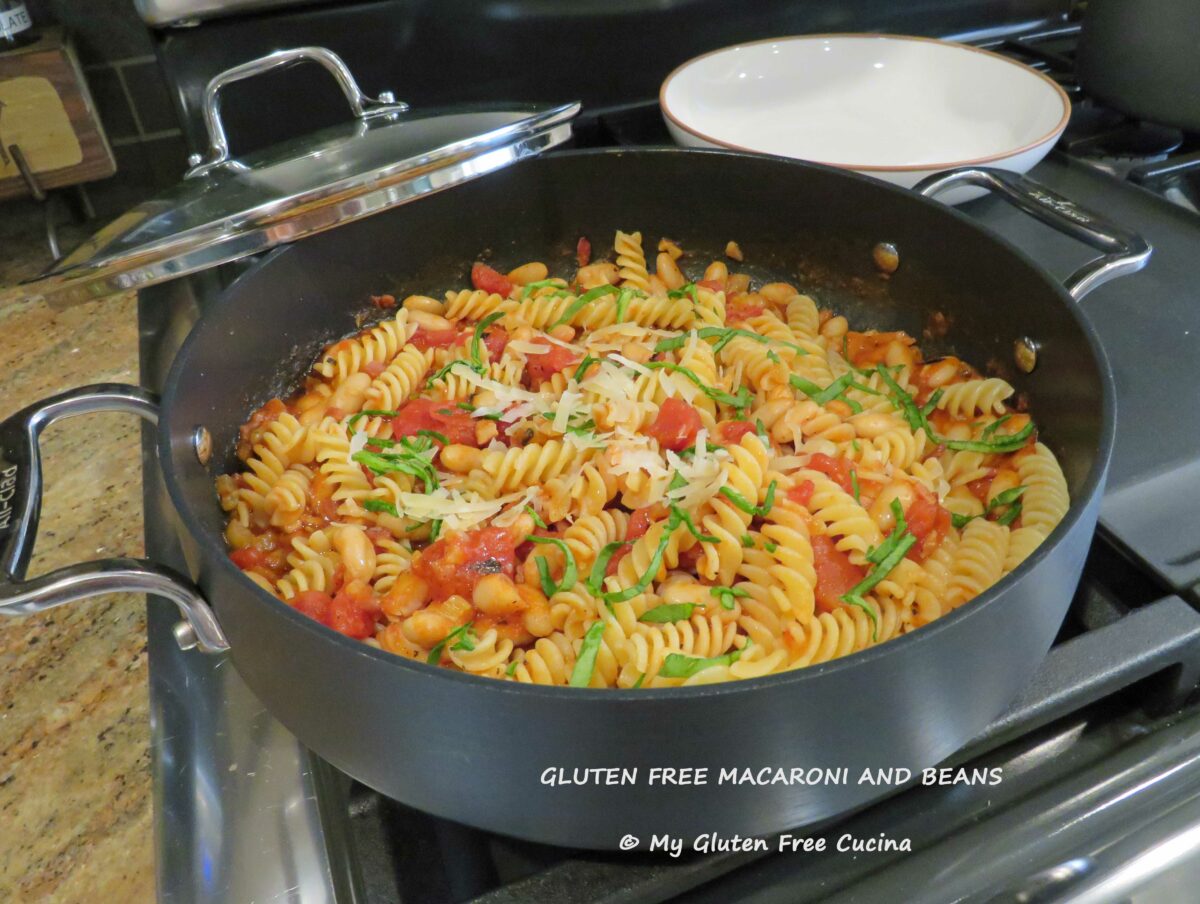
Drain the pasta and add it right into the skillet.  It’s peasant food, you don’t need a serving dish!  Toss well and garnish with a drizzle of olive oil and some chopped fresh herbs.

Serve with grated cheese and a glass of wine.

Notes ♪♫ Is pancetta a part of your gluten free pantry?  I buy the 4 oz. packages of diced uncured pancetta and store them in the freezer.  It adds just the right amount of salt and flavor to dishes like this one!

Originally published July 19, 2022                      Updated August 8, 2023

Print This Post Print This Post

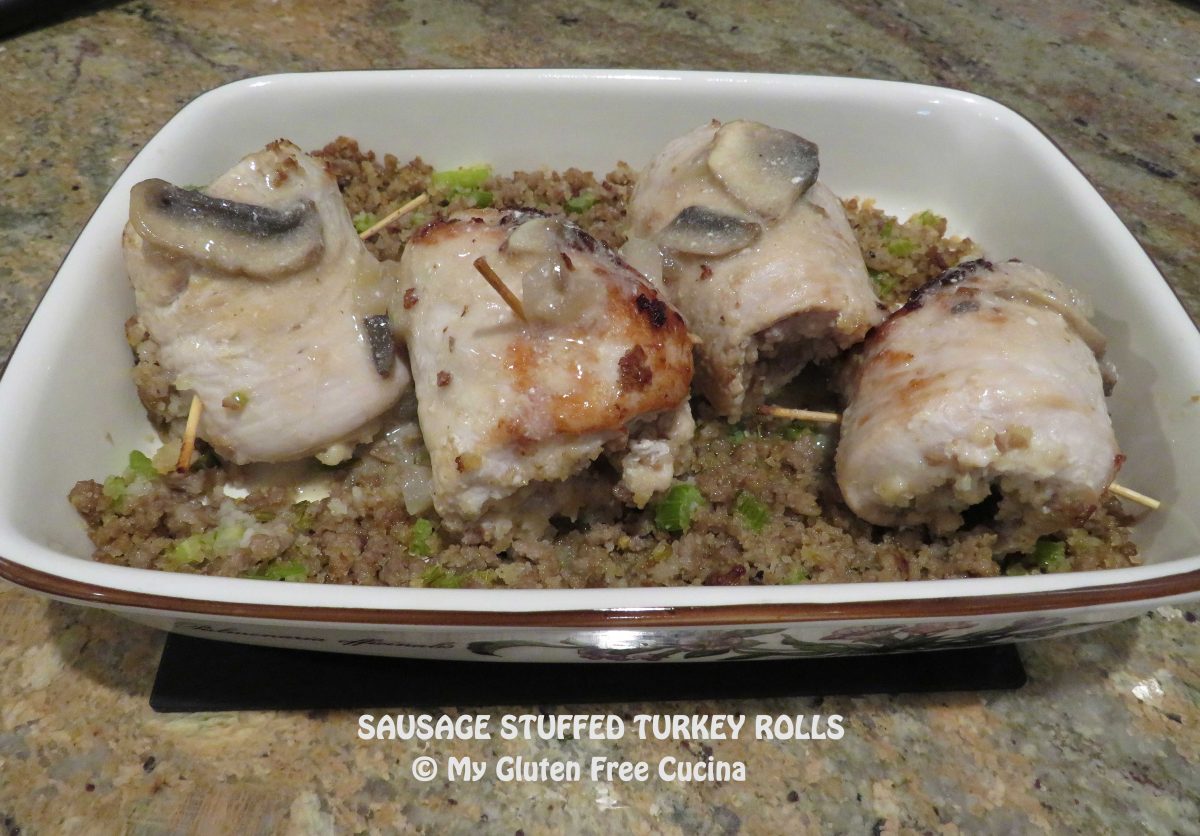
Sausage Stuffed Turkey Rolls

Italian sausage, crumbled with celery and panko, all rolled up in thin sliced turkey cutlets.  This was one of my favorite meals of late.  A bit reminiscent of Thanksgiving dinner, minus the 20 side dishes but still nice enough to serve to guests!

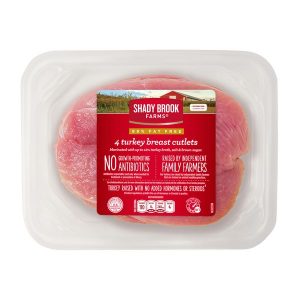
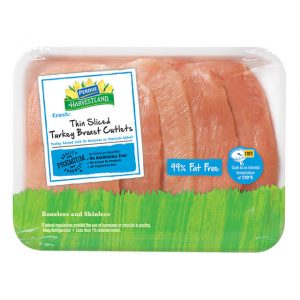
For this recipe, you only need a handful of ingredients, and buying thin sliced turkey cutlets makes the prep easy.  I like the 4-pack from Shady Brook Farms, available at local grocers like Stop & Shop, and Perdue also has a similar product available at Walmart.

This post contains affiliate links.

Ingredients

  • 1 lb. thin sliced turkey breast cutlets (4 cutlets)
  • 6 oz. Italian Sausage (2 links)
  • 1 small celery stalk, minced
  • 1/4 cup gluten free panko breadcrumbs
  • 1 tbsp. olive oil
  • salt and pepper, to taste

Preparation:

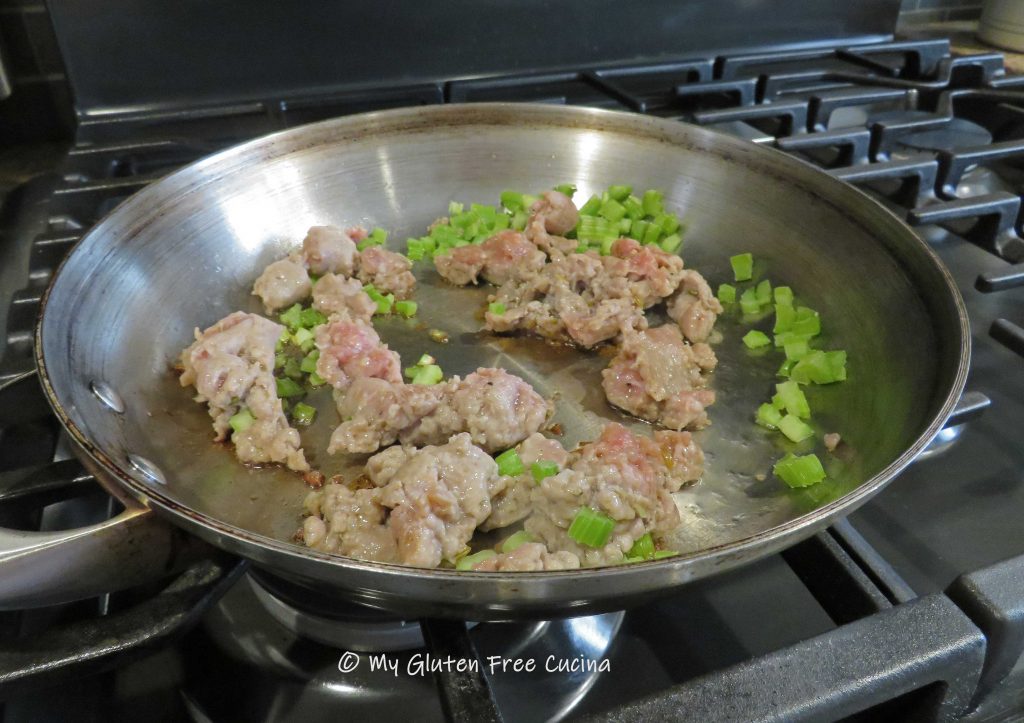
Heat olive in a stainless-steel skillet and begin cooking the sausage and celery, breaking up the meat with a spatula.

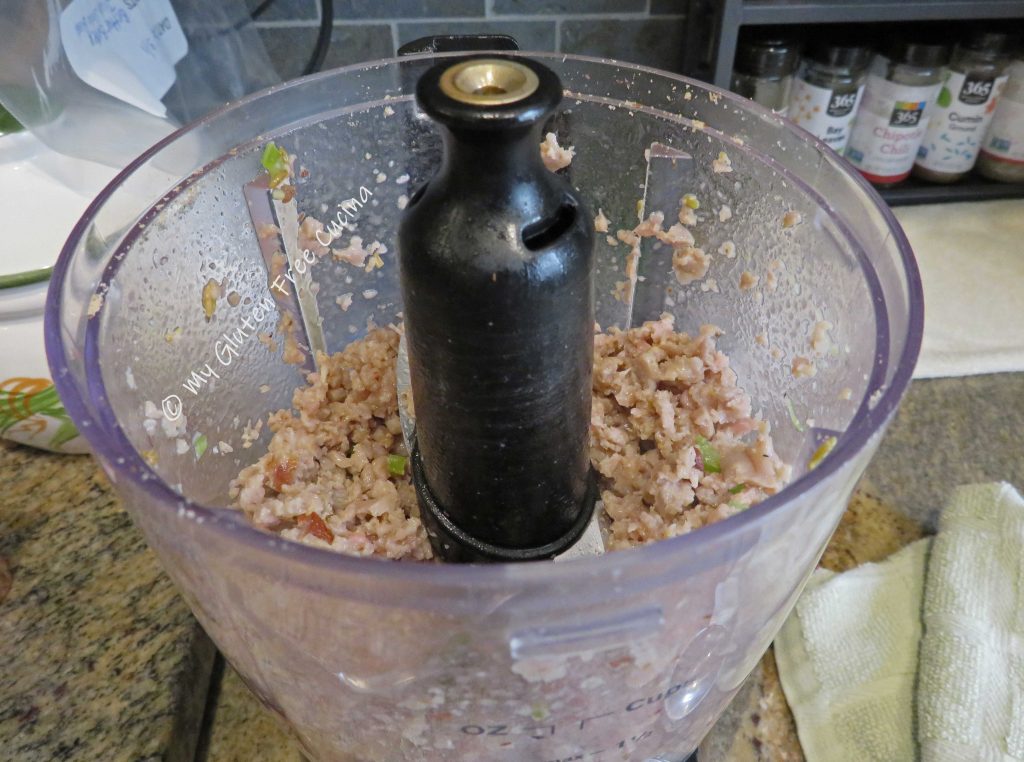
Brown the meat (it does not have to be cooked through), then transfer to an electric chopper and pulse a few times to further break down the meat into small crumbles.

Return to the skillet to finish cooking.  Stir in the panko breadcrumbs and set aside to cool.

Lay the turkey cutlets on a baking sheet or flat work surface.

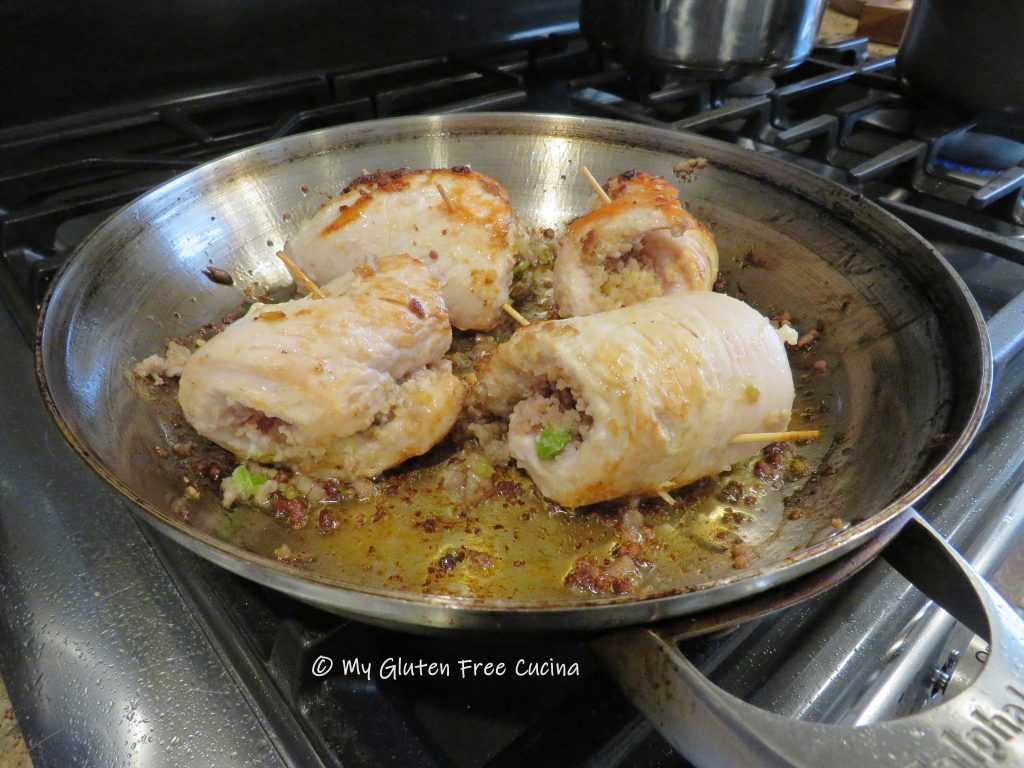
Spread the sausage mixture over the turkey cutlets and roll them up, securing with toothpicks.  Wipe the skillet clean.  Add a little more olive oil and begin browning the cutlets starting with the seam side down.

Continue turning to quickly brown on all sides.  Do not cook through, they will finish in the oven.

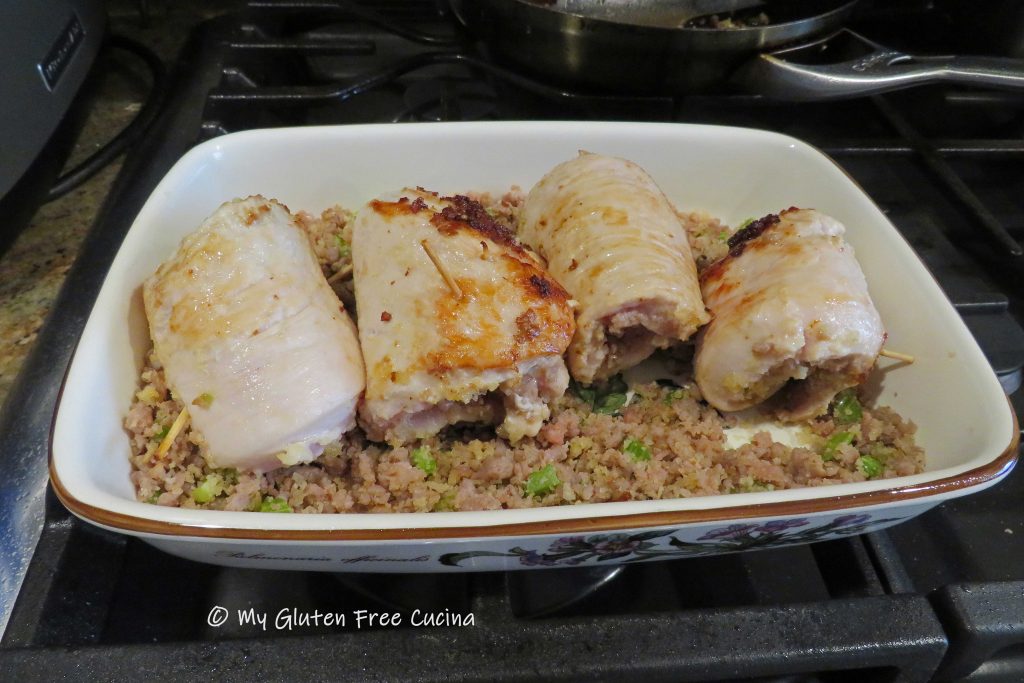
Mist a baking dish with cooking spray and preheat the oven to 375º.  If you had any extra sausage stuffing, spread it in the bottom of the dish.  Add the turkey rolls.

Cover with foil and bake 25 minutes or until the internal temperature reaches 160º (check with a thermometer).

Serve with a side of wild rice and Mushroom Sauce or Turkey Gravy.

Notes ♪♫ The mushroom sauce that I spooned over the turkey rolls came out so good that I thought it deserved its own post.  Who knew?  Get the recipe here!

Print This Post Print This Post

Gluten Free Meatloaf Ramekins

Look at these cute little ramekins!  They can elevate the humblest of meals to dinner party status!  Gluten Free Meatloaf Ramekins are fun to make and perfectly portioned for kids, small plates and small appetites.

You can vary the veggies in this meatloaf to suit your taste.  I used onion, zucchini and bell pepper.  Unlike my other meatloaf recipes, this one contains no oats.  So, if you can’t have oats or are avoiding them for the time being, this one is for you!

This post contains affiliate links.

Servings: 4 ramekins

Ingredients:

Preparation:

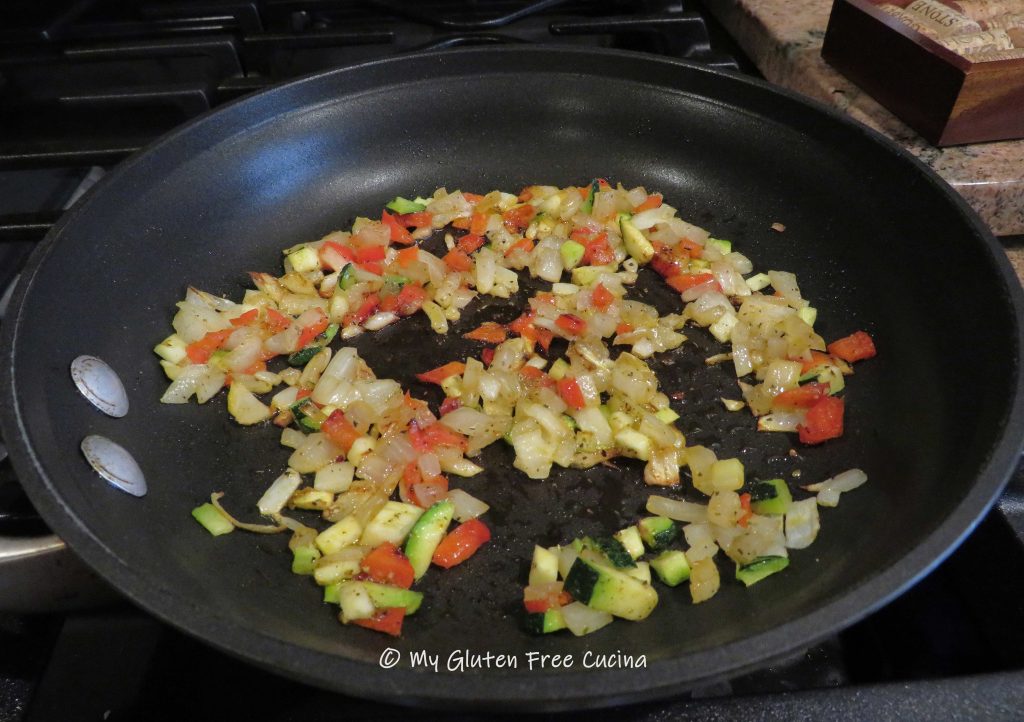
Heat olive oil in a small skillet and sauté the veggies until they have released their liquid and reduced to about 1/3 cup.  Season to taste.

Transfer to a bowl to cool (so you don’t cook the egg).

When cooled, whisk in the ketchup followed by the egg and more seasoning.
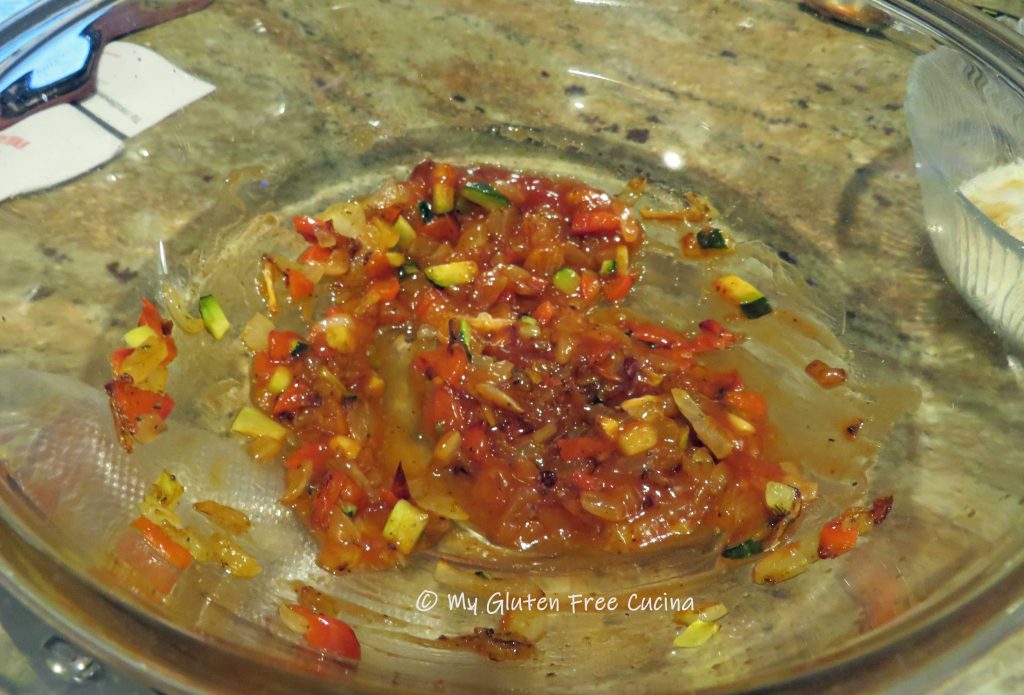
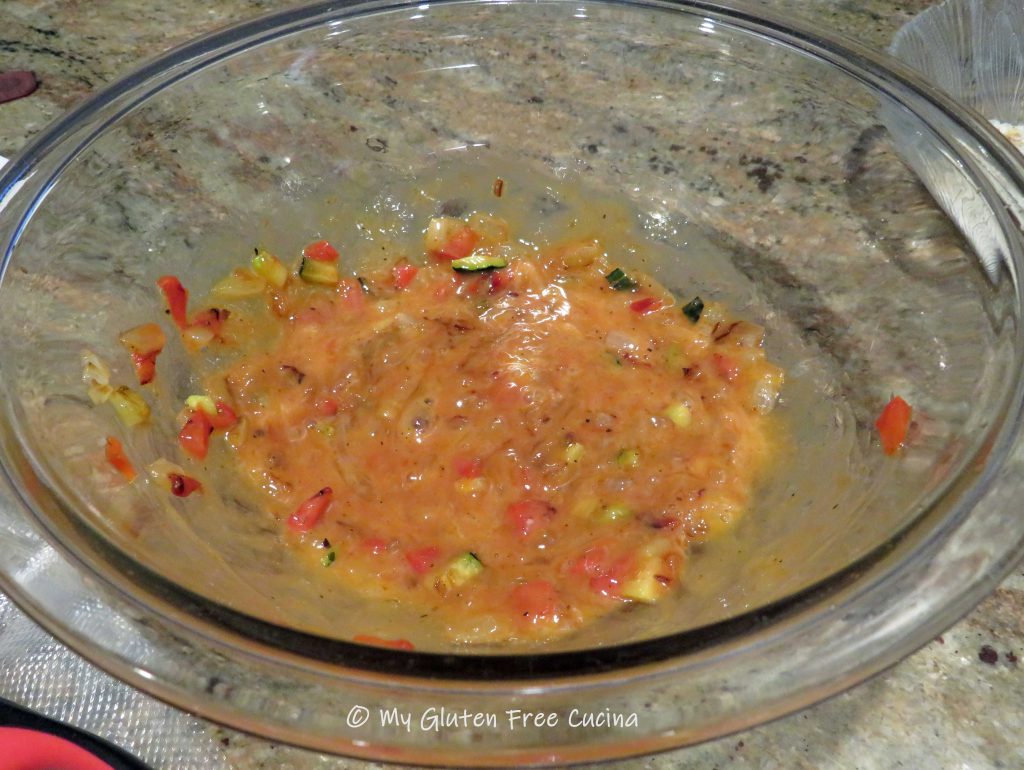
Next add the beef, working it in with your hands.  Gradually add the potato flakes and breadcrumbs and combine well.

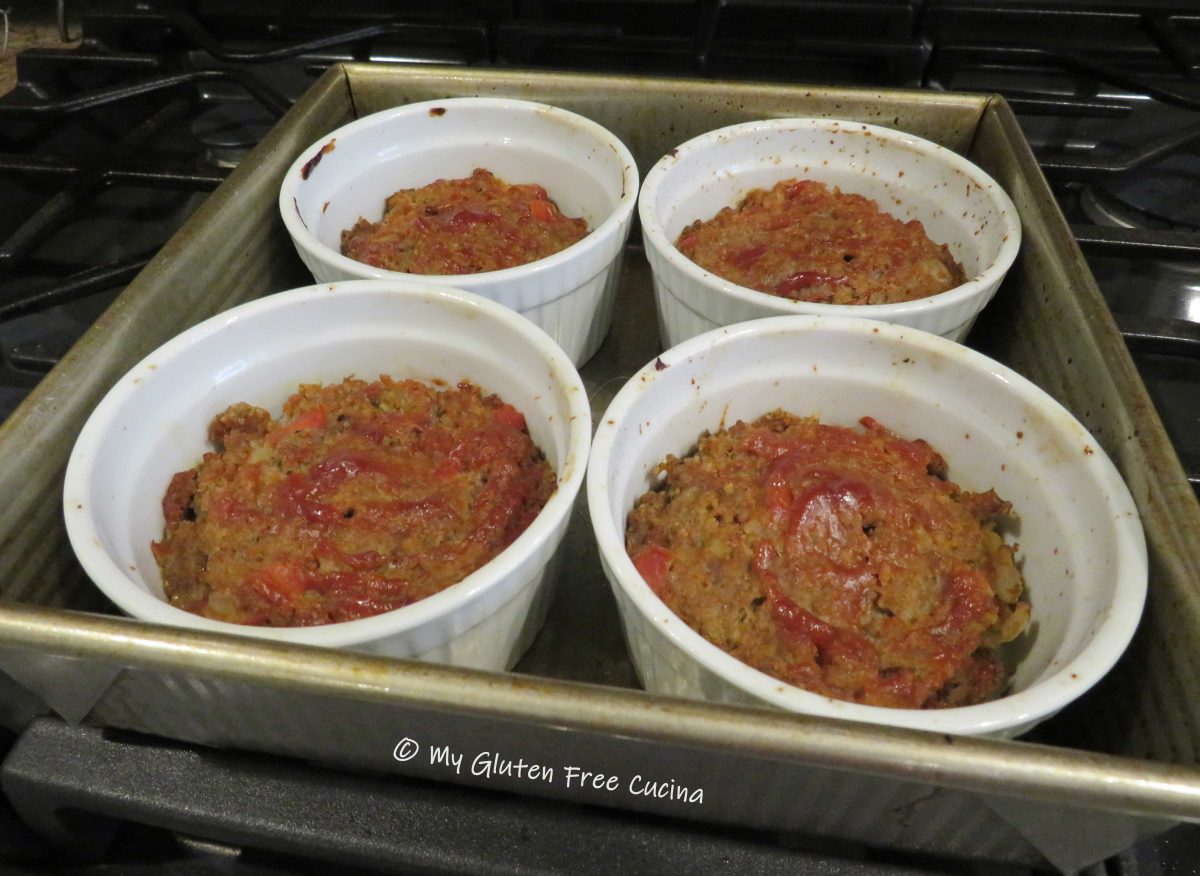
Mist the ramekins with cooking spray and place them in a square baking dish.  This will make them easier to handle when going in and out of the oven.

Divide the meatloaf mixture between the 4 ramekins.  Top with ketchup and smooth the tops with a fork.
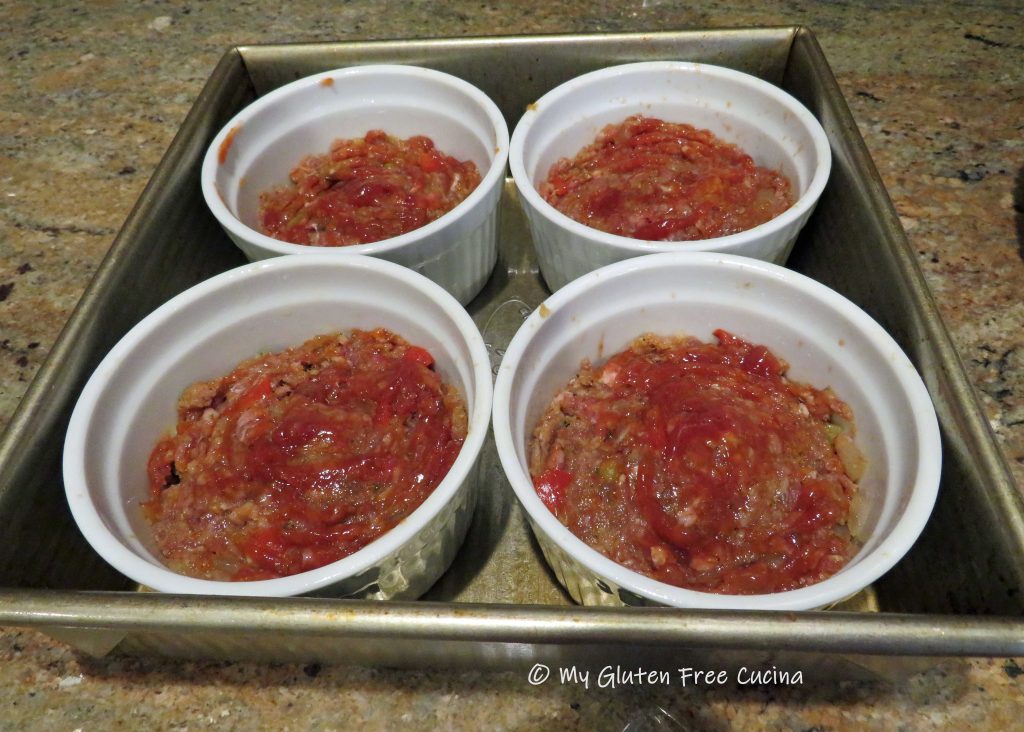
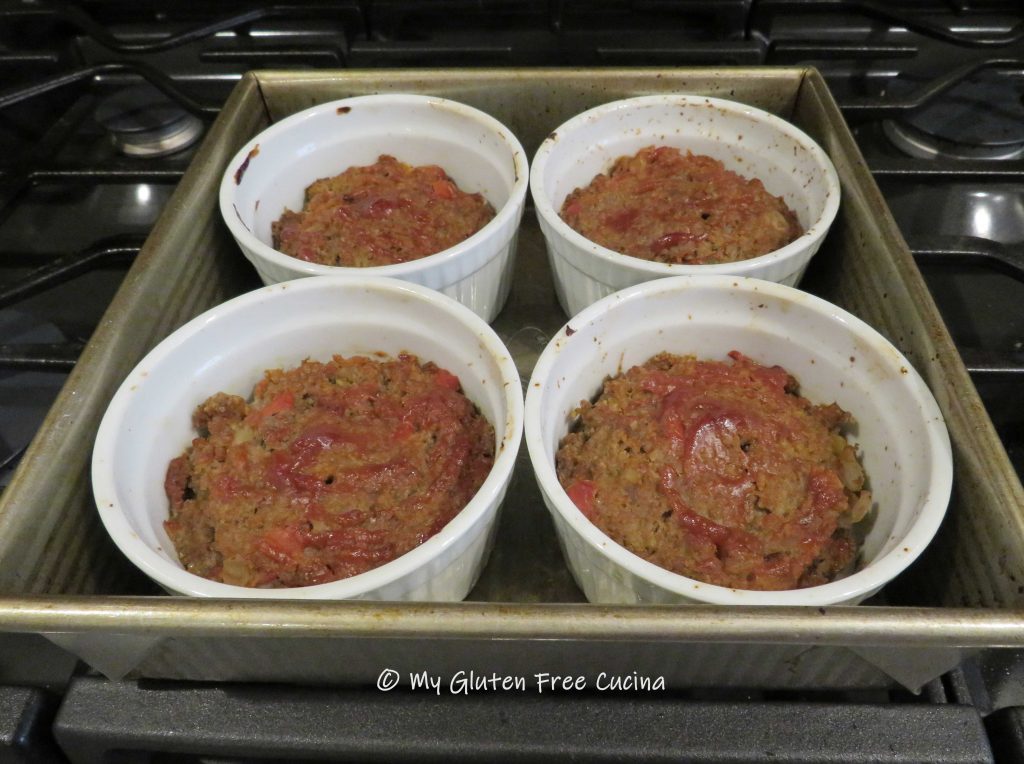
Bake at 375º for 20 minutes or until the internal temperature reaches 150º (check with a thermometer).
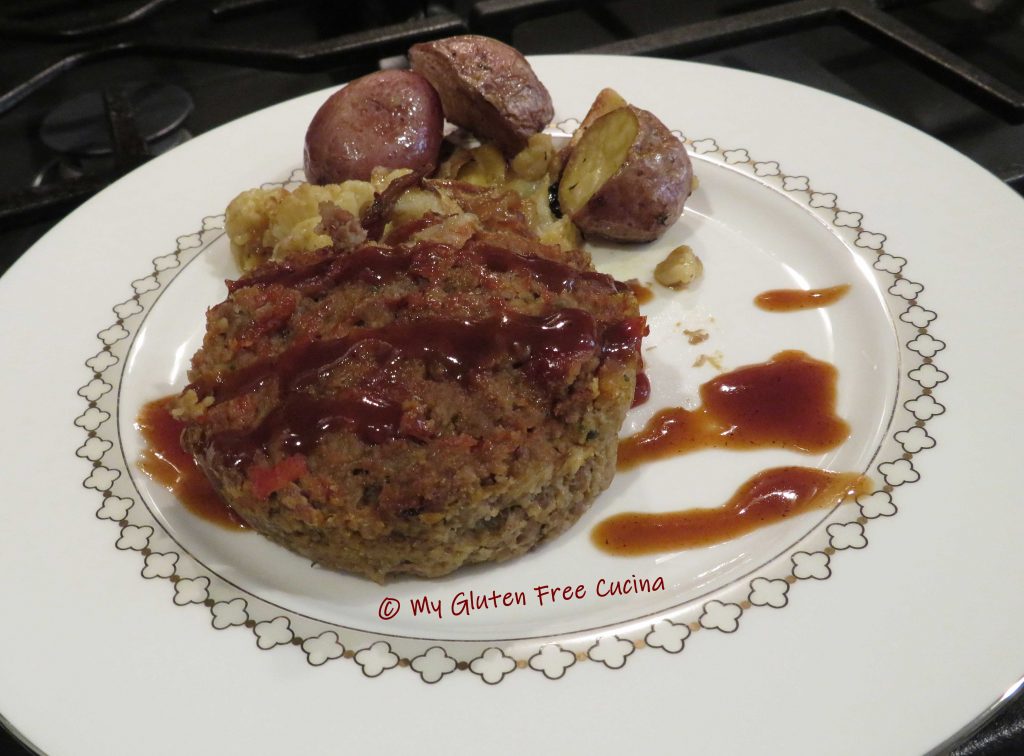
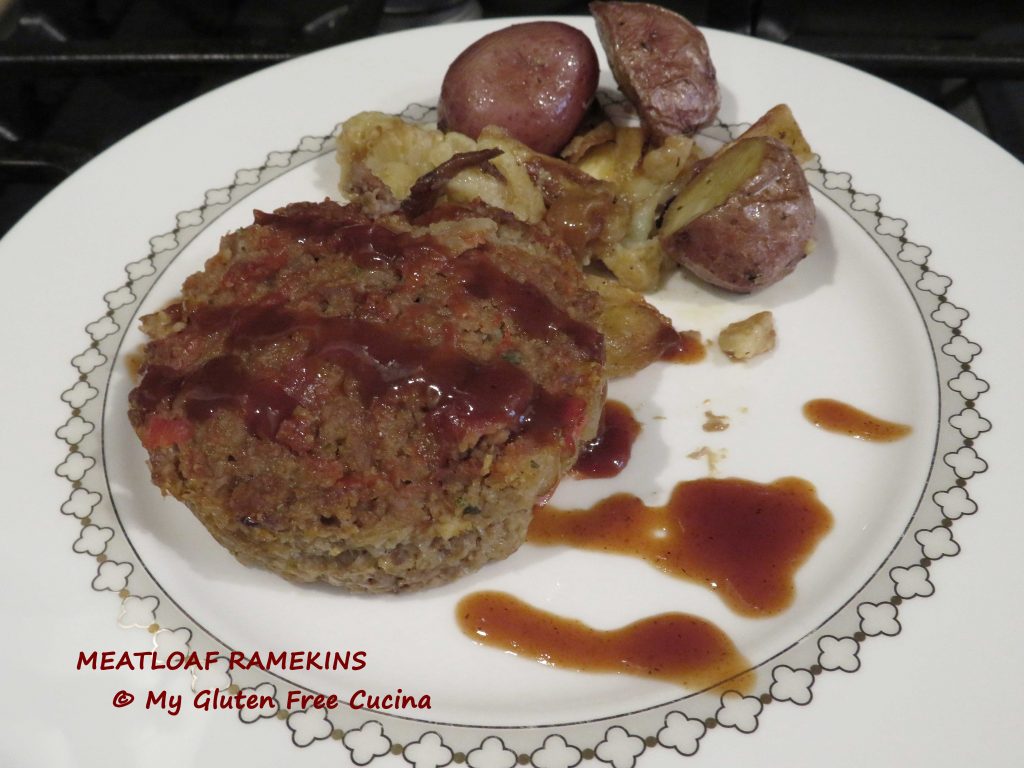
Serve with ketchup or your favorite BBQ sauce (my favorite is Stubbs Smokey Mesquite).
Notes ♪♫ Love ramekins?  Check out my Shepherd’s Pie Ramekins and Ramekin Stuffing cups!

Print This Post Print This Post

Gluten Free Veal Stew with Peas (Spezzatino con Piselli)

This Italian classic is comfort on a plate!  A rich tender veal stew, slowly braised with mushrooms and peas in a light wine sauce.  It pairs beautifully with rice or pasta.

While veal can be quite expensive, veal stew meat is an economical cut that when cooked slowly over low heat becomes melt in your mouth tender.  No wonder this “peasant food” dish is so popular.

This post contains affiliate links. 

I used a 4-quart nonstick sauté pan for this one dish meal.  It was a gift (thank you Santa), but you can get one here!

4 Servings

Ingredients:

  • 3/4 lb. veal stew meat
  • 1/4 cup superfine rice flour
  • salt to taste
  • 4 tbsp. olive oil
  • 1 shallot, minced
  • 1/4 cup white wine (not cooking wine)
  • 1-1/2 cups gluten free broth (chicken or vegetable)
  • 2 tbsp. tomato paste
  • 1 cup sliced mushrooms
  • 1 cup frozen peas

Preparation:

Season the meat and coat with flour.  You can use any gluten free flour, but for browning meat I like superfine white rice flour, (the finer grind assures your dish won’t taste gritty).  Save your expensive gluten free blends for baking.

Heat olive oil in a large nonstick sauté pan and begin cooking the shallots.  Add the meat, leaving space in between.  Brown the meat about 5 minutes per side.

Add 1/4 cup of wine to the pan.  When it has almost evaporated stir in 1-1/2 cups of broth and 2 tbsp. tomato paste.  Cover and simmer on low for 90 minutes.

During the last 20 minutes of cooking add the sliced mushrooms, cover and continue simmering.

During the last 10 minutes of cooking add the peas, and finish cooking uncovered to thicken.

How to serve

This stew is great served over rice, pasta or polenta.  Here’s mine served over white rice.

Notes ♪♫ Like many of my recipes, this classic Italian dish required only one ingredient change to make it gluten free.  You don’t have to reinvent the wheel to follow a gluten free diet and still enjoy healthy, delicious food.

Print This Post Print This Post

Gluten Free Chicken Orzo Casserole

Look at the beautiful colors in this casserole!  Would you believe it’s gluten free?  It absolutely is!  I love that we can enjoy popular orzo dishes like this one, made with gluten free Orzo pasta from DeLallo.

But what I especially love about this recipe is that it uses healthy fresh ingredients, like boneless, skinless chicken thighs, peeled and seeded butternut squash, and bagged baby spinach.  The prep work is a snap!

This post contains affiliate links.

Ingredients:

  • 2 cups butternut squash, cut into small cubes
  • 1 lb. boneless skinless chicken thighs, about 5
  • 1 cup uncooked gluten free Orzo pasta, (I used DeLallo)
  • 3 cloves garlic, minced
  • pinch of red pepper flakes
  • 5 oz. bag baby spinach
  • 1/2 cup white wine, divided use
  • 2 cups gluten free chicken broth, divided use
  • 2 tbsp. heavy cream
  • olive oil
  • Italian seasoning (I like this one)
  • paprika
  • salt and pepper, to taste
  • cooking spray
  • fresh Italian parsley for garnish

Preparation:

Cut the butternut squash into small cubes.  Toss with olive oil, salt, pepper and Italian seasoning.  Line a baking sheet with foil and mist with cooking spray.  Spread the squash cubes in an even layer, bake at 425º for 20 minutes, then set aside to cool.

Season the chicken thighs with salt, pepper, Italian seasoning and paprika.

Heat a nonstick skillet with olive oil and add the chicken.  Cook 7 minutes per side, turning once.  Toward the end of cooking add 1/4 cup white wine to the pan and cook several minutes more until mostly evaporated.

Transfer the chicken to a plate and wipe the skillet clean.  Set up a pot of salted water for the gluten free orzo and cook according to package directions.

In the skillet, add 1 tbsp. of olive oil, the minced garlic and pinch of red pepper flakes.  Cook just until fragrant (30 seconds) then add 1/4 cup of white wine.  Add the baby spinach and simmer until wilted.  (It looks like a lot of spinach, but don’t be afraid to add it all, it will cook down to nothing!)

Add the roasted butternut squash back to the pan.

When cooked, drain and rinse the orzo under warm water to remove some of the starch.  Use a fork to break up the orzo if it seems to be sticking together.  Gradually add it to the skillet with the spinach mixture.  Add a pinch of salt, or to taste.

Stir in 1 cup gluten free chicken broth and 2 tbsp. heavy cream.

Simmer several minutes to reduce the liquid slightly, then transfer the mixture to a casserole dish that has been coated with cooking spray.  Arrange the chicken thighs in the casserole, cover with foil and bake 20 minutes at 350º.

Remove from the oven and garnish with fresh Italian parsley.

Notes ♪♫ Some recipes add the uncooked orzo pasta right into a casserole, but for gluten free pasta I always recommend cooking it separately.  Since some gluten free pasta can be quite gummy, you are able to rinse off some of the starch before adding to your dish.

Print This Post Print This Post