In an homage to the great Julia Child who I still love to watch on old reruns, I decided one day to challenge myself to make her iconic dish, Coq au Vin.
I learned by watching the master herself prepare this dish on her show The French Chef. After watching this episode a few times, I felt confident enough to head to the kitchen.
I learned a few things from Julia in addition to her recipe. First, this fancy-pants sounding dish is actually a stew. More comfort food than gourmet. Second, Julia is a good teacher, and you will not need a culinary degree to recreate this French dish at home.
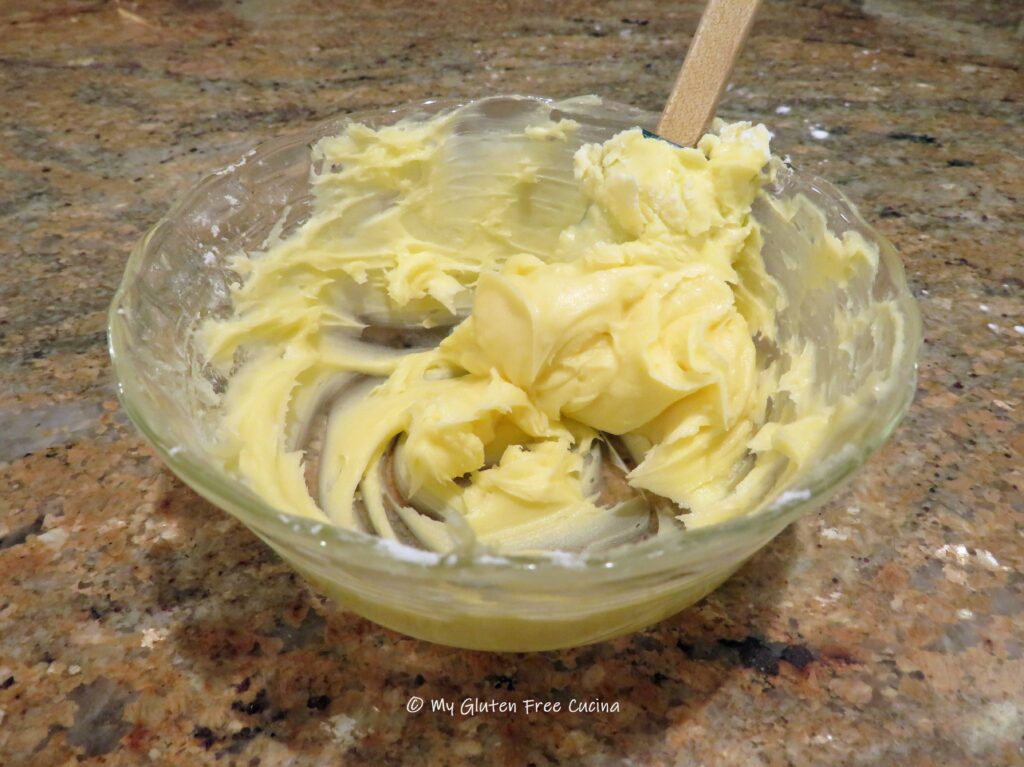
I even made a gluten free beurre manié! Check it out!
Is Coq au Vin gluten free?
Except for the flour used to thicken the sauce, the ingredients are naturally gluten free!
This post contains affiliate links.
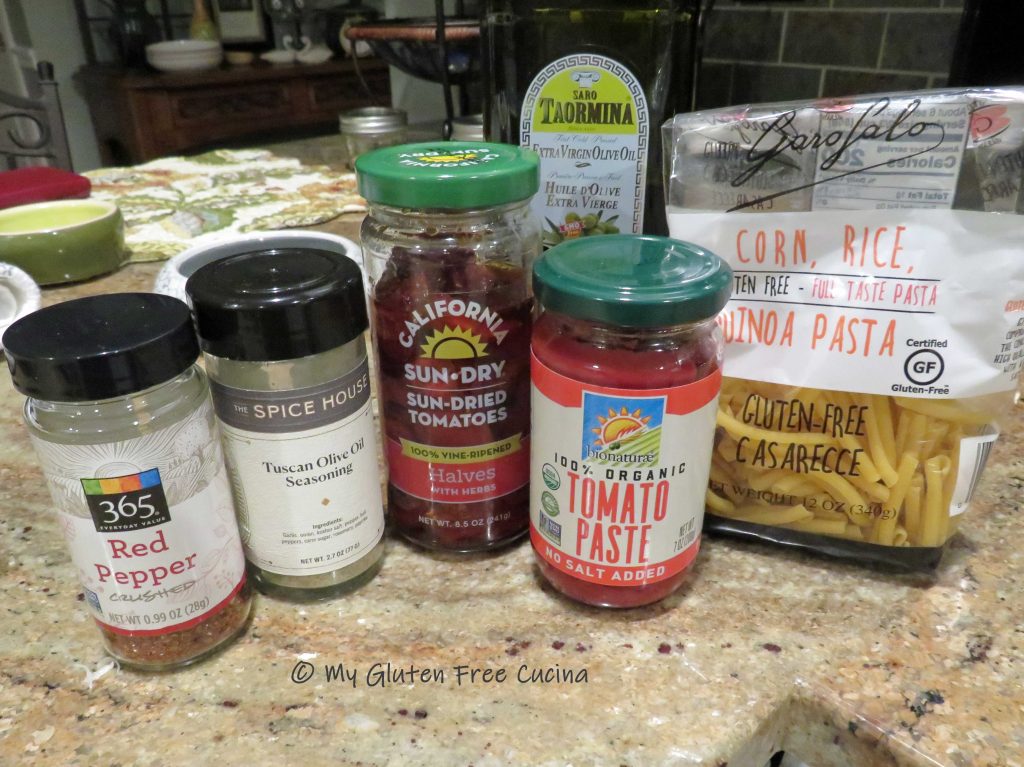
 Ingredients:
- 6 bone-in, skin on chicken thighs
- 3 slices of bacon, diced
- 1 carton (6 oz.) pearl onions, peeled and trimmed
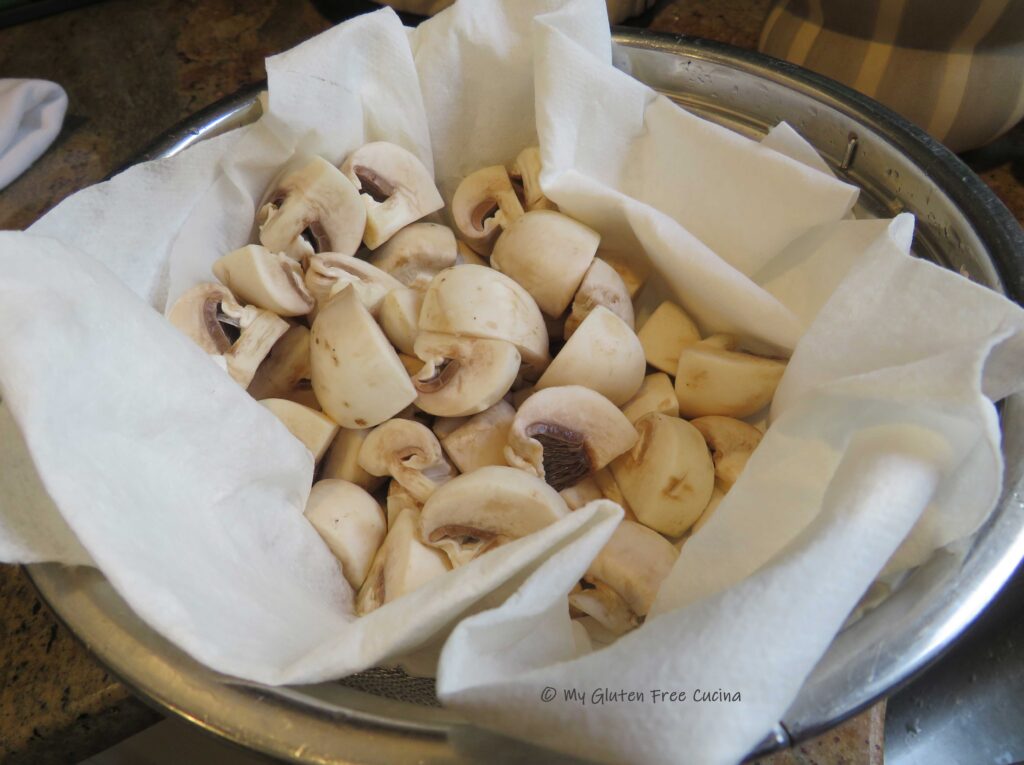
- 1 carton (8 oz.) white button mushrooms, rinsed and quartered
- 2 large carrots, peeled and diced
- 2 garlic cloves, minced
- 2 cups red wine (use a wine to drink with dinner)
- 1 cup beef stock
- 2 tbsp. tomato paste
- 1/2 tsp. thyme
- 1 bay leaf
- 1 tbsp. olive oil
- 3 tbsp. butter
- 3 tbsp. arrowroot flour
Preparation:
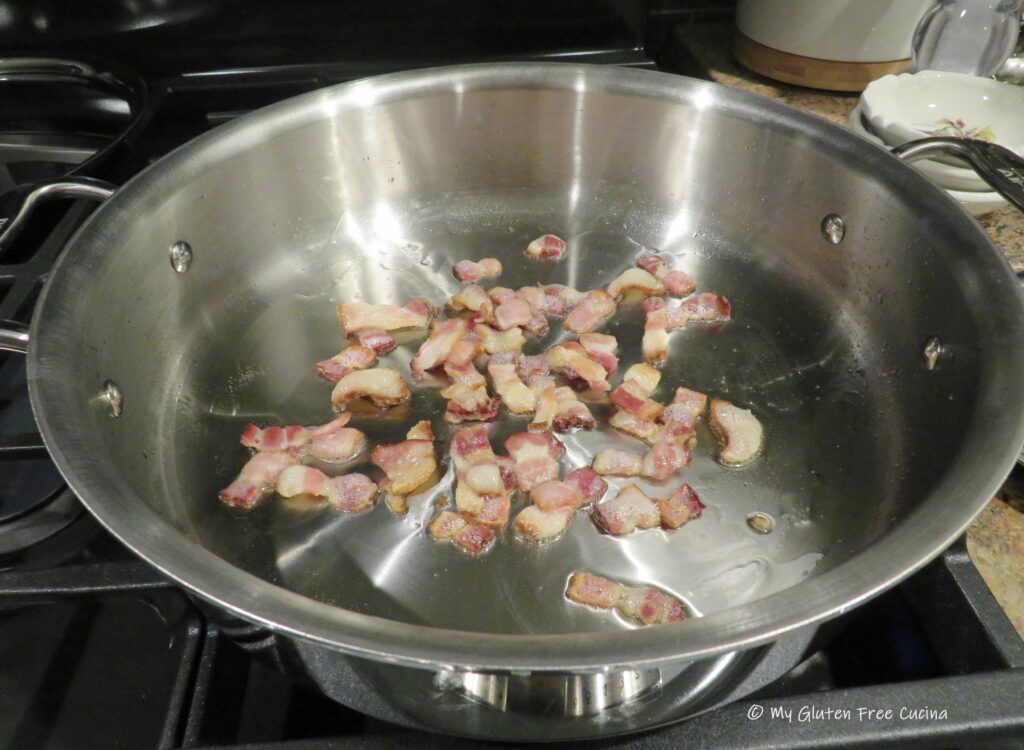
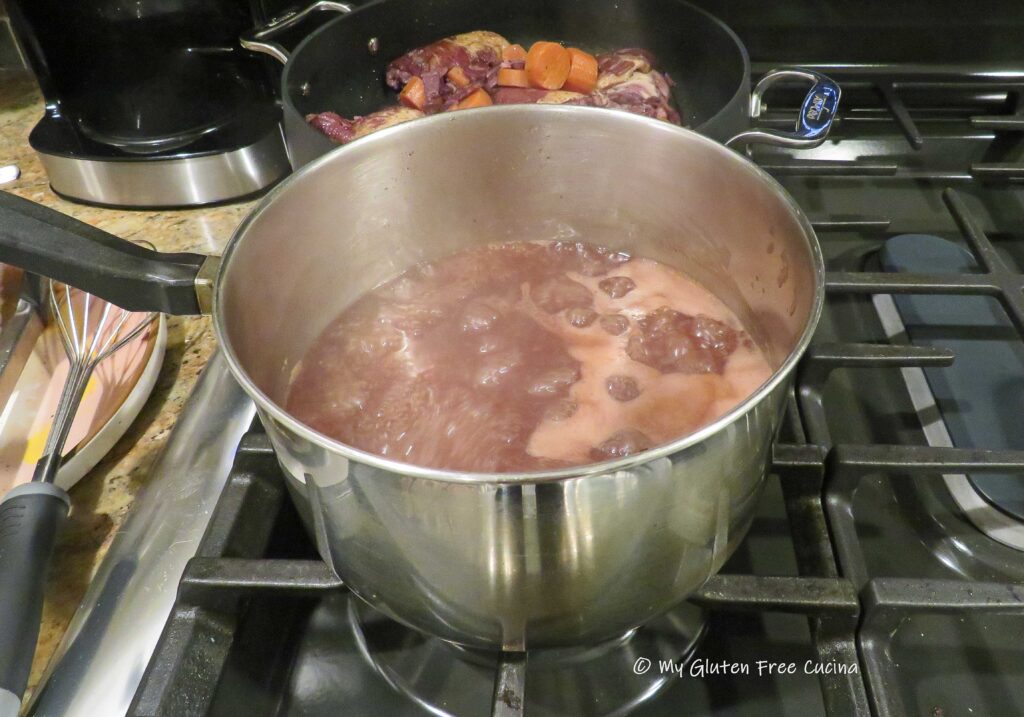
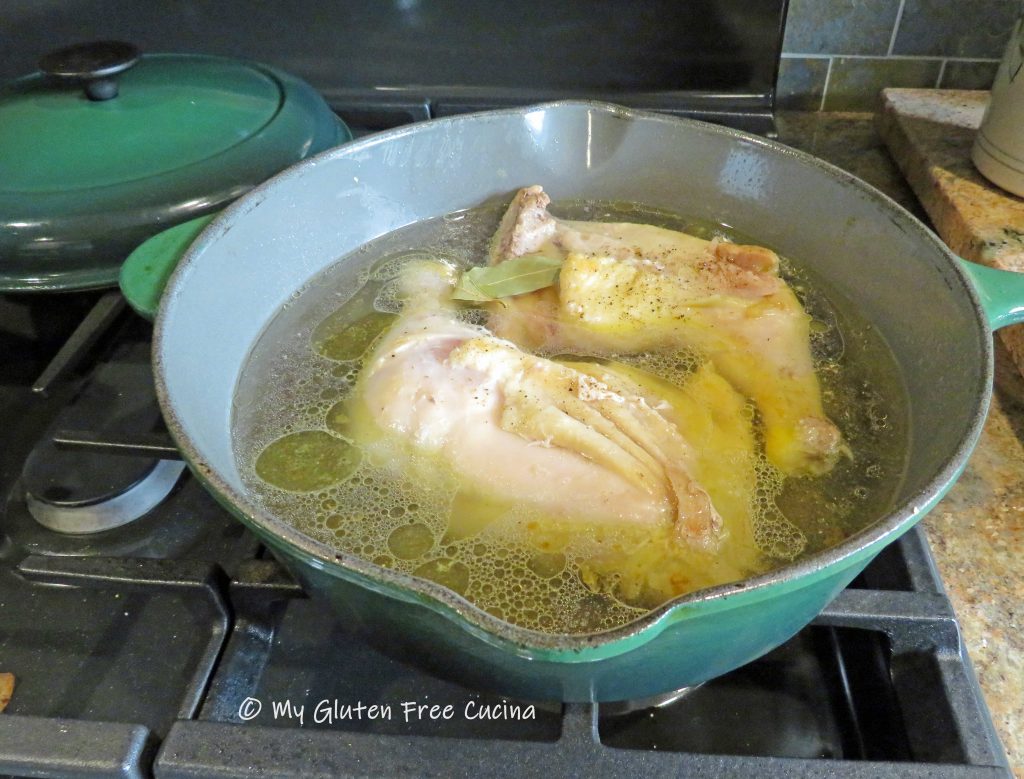
Per the master herself, I started by poaching the bacon. According to Julia this step keeps the bacon flavor from overwhelming the entire dish. I don’t know if I would necessarily do this again other than for the sake of authenticity.
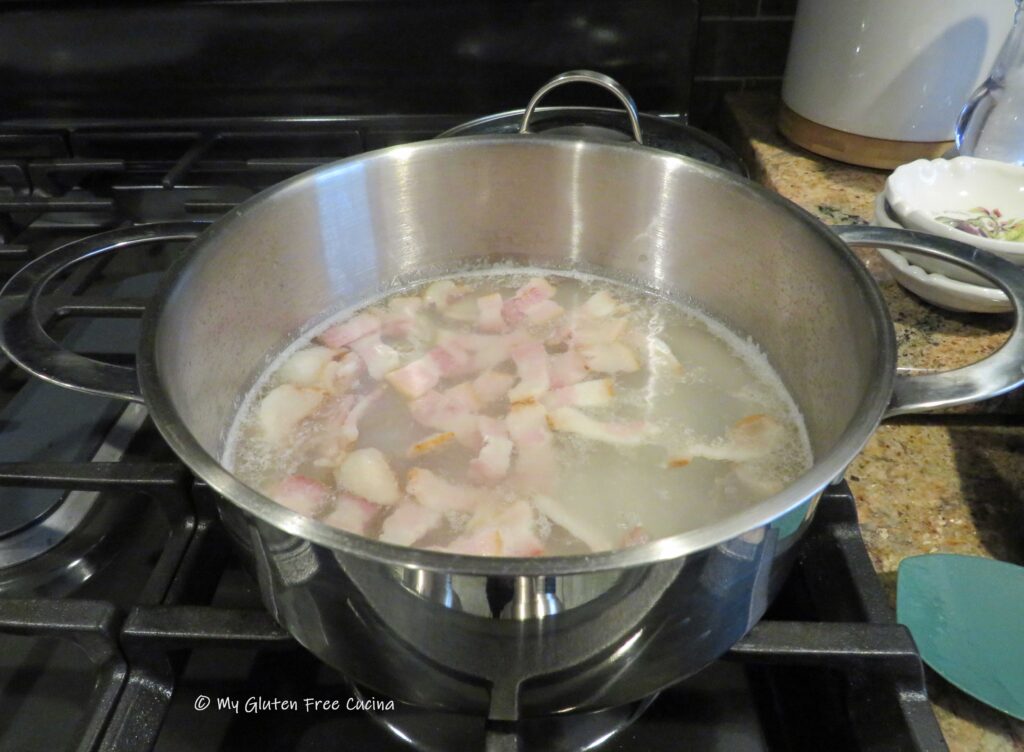
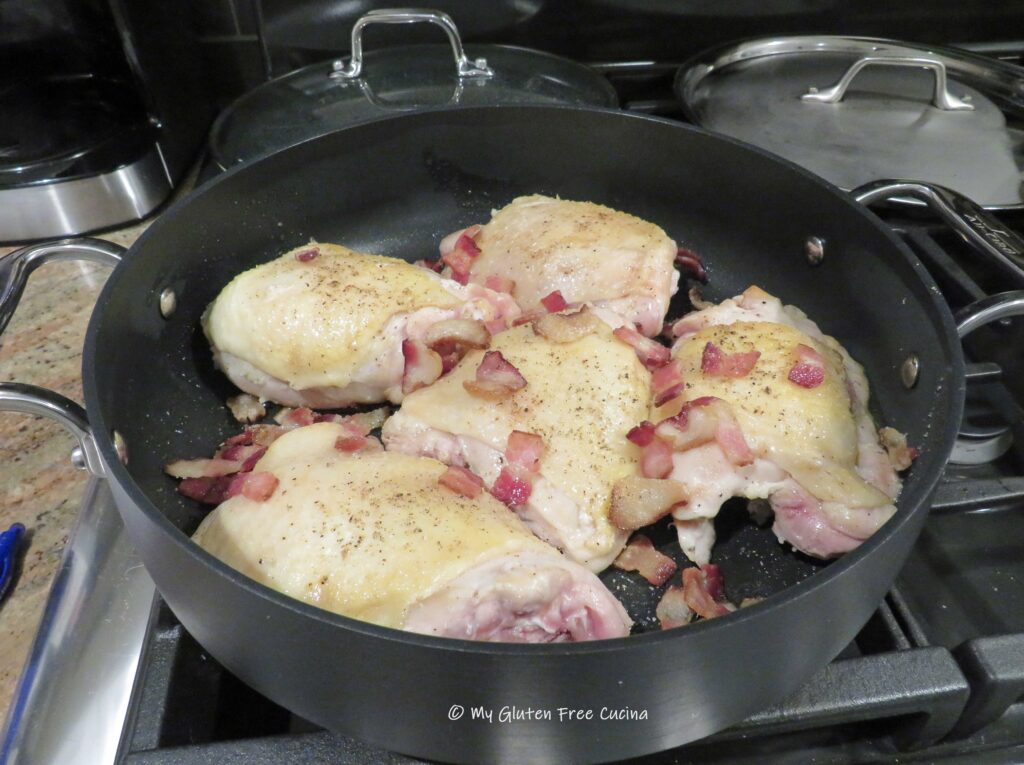
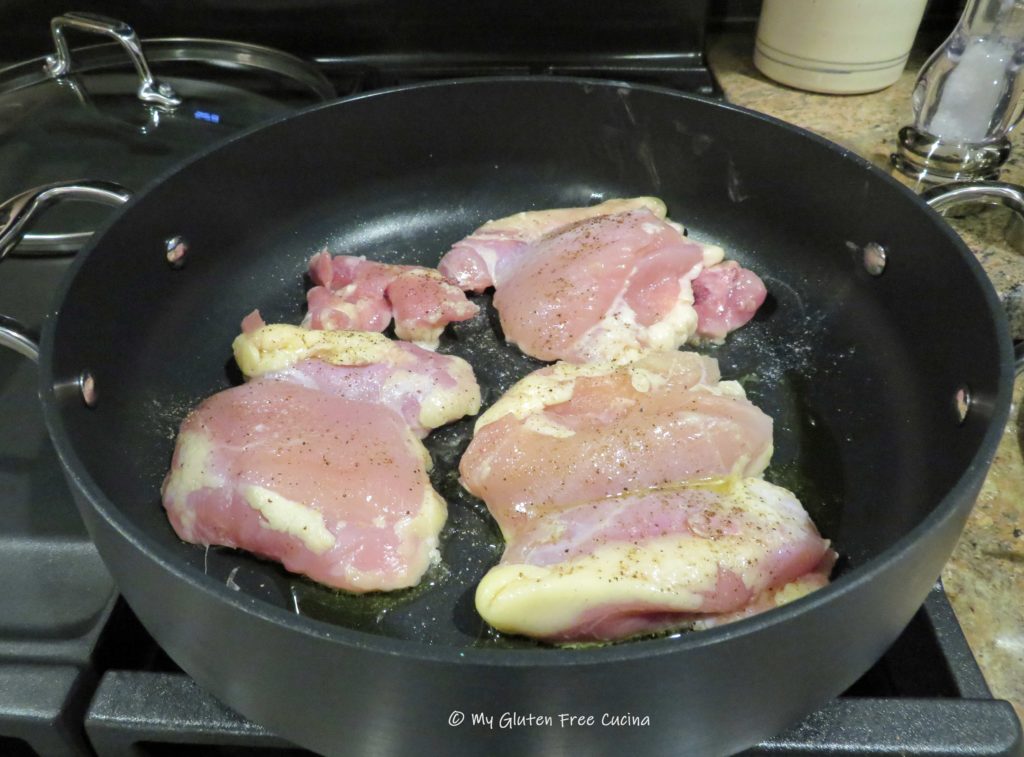
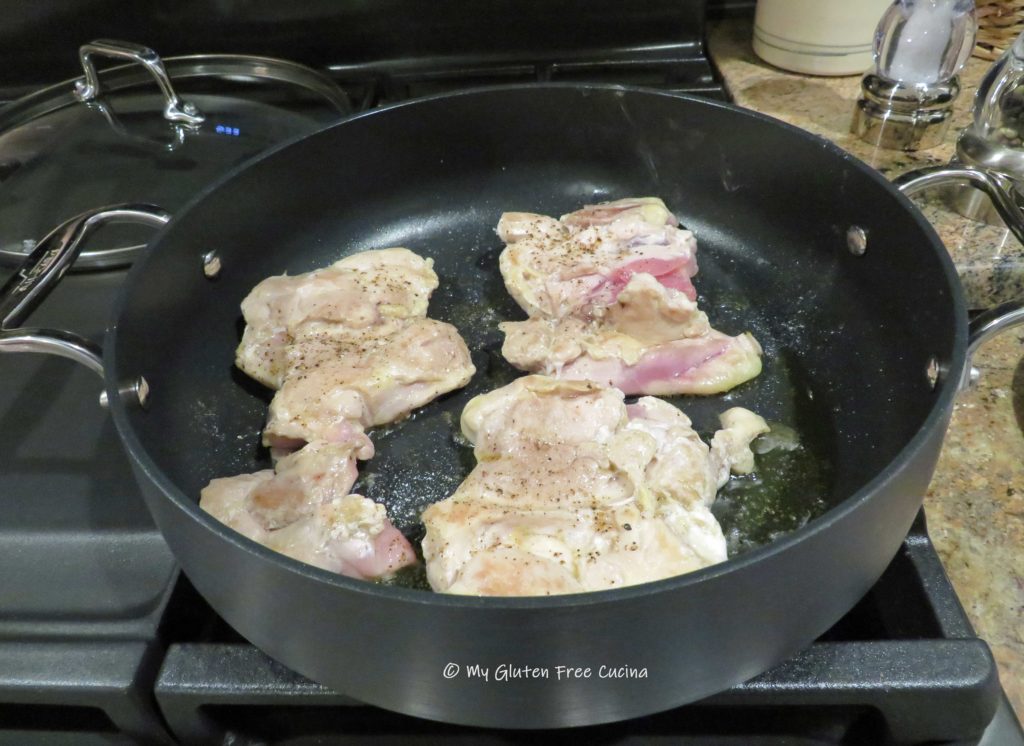
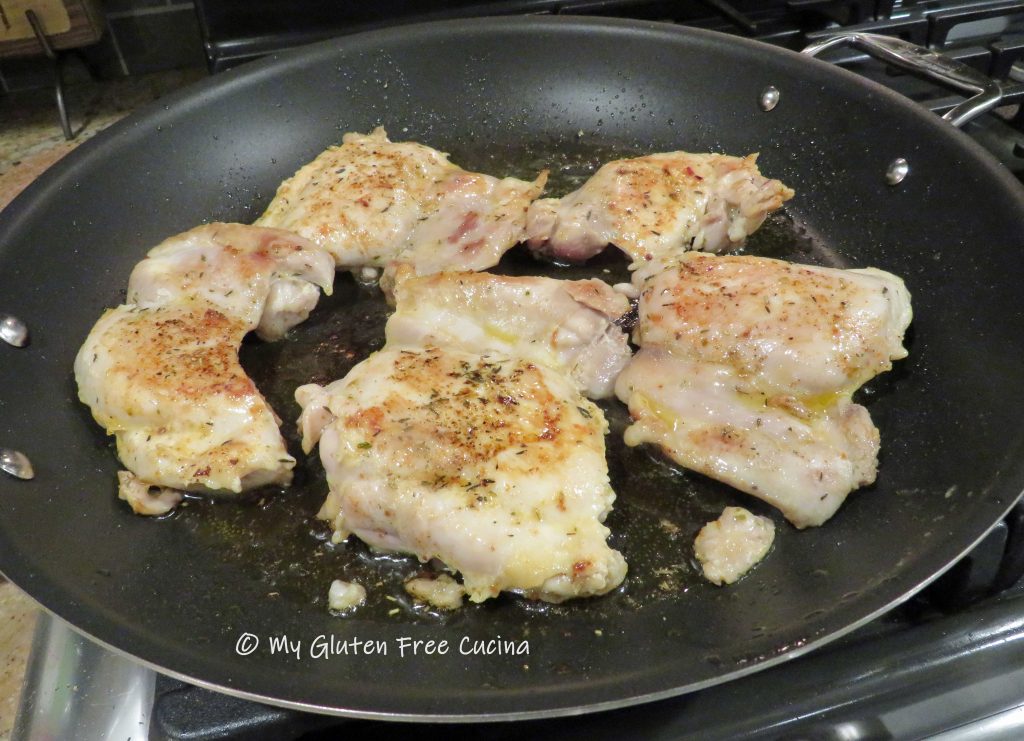
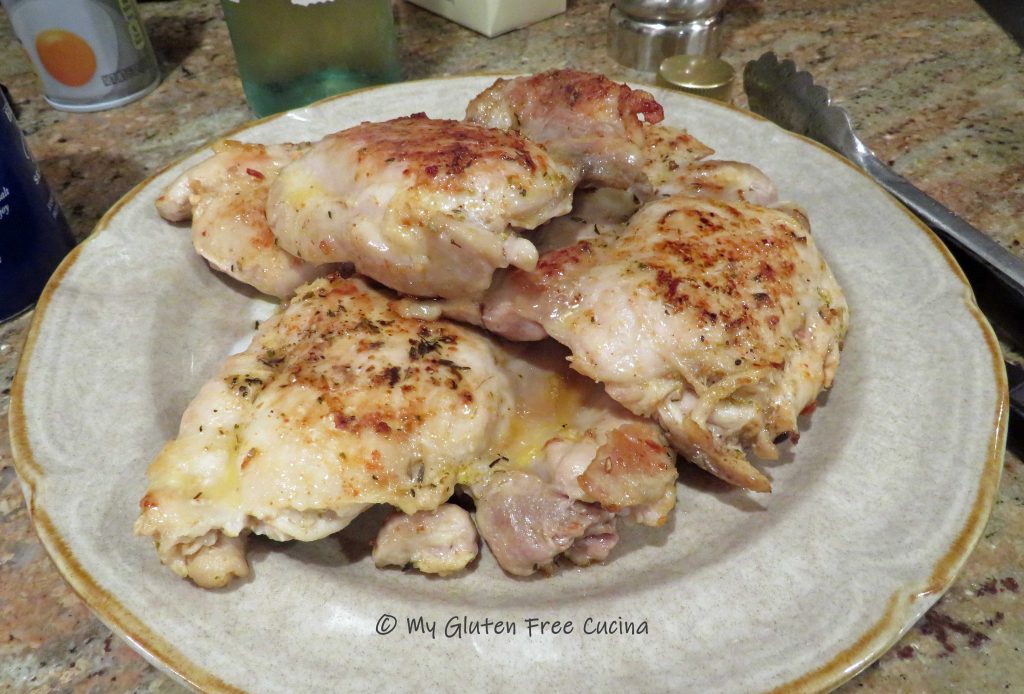
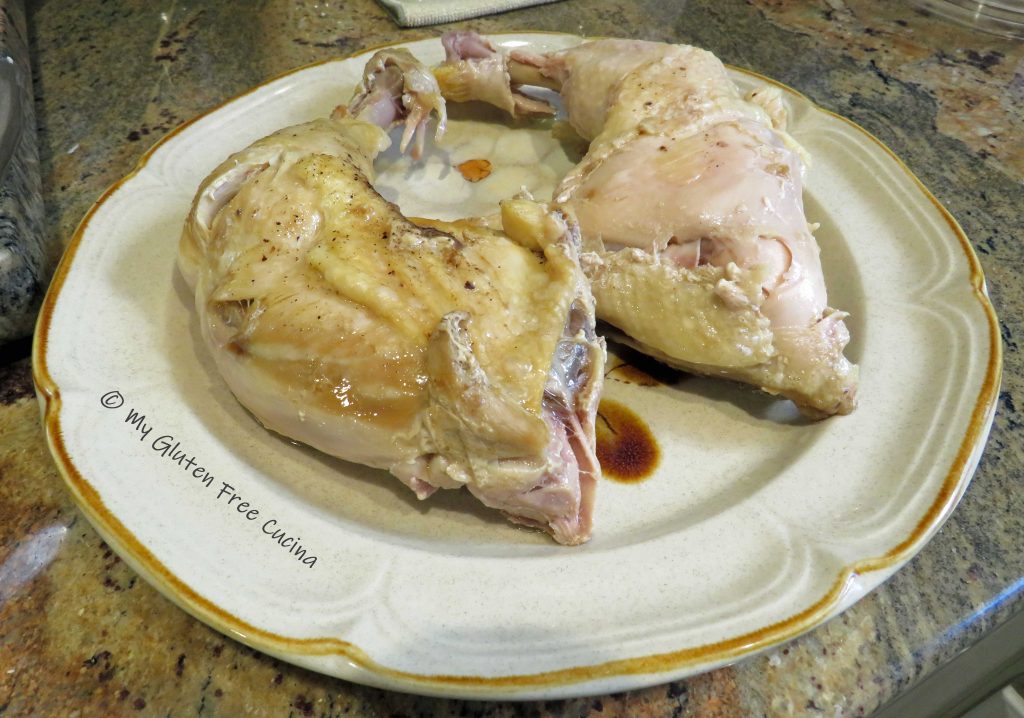
 After the bacon was poached and drained, I browned it in a stainless-steel skillet and set it aside to drain on paper towels. The chicken was browned in the same pan, to take advantage of the bacon grease left behind.
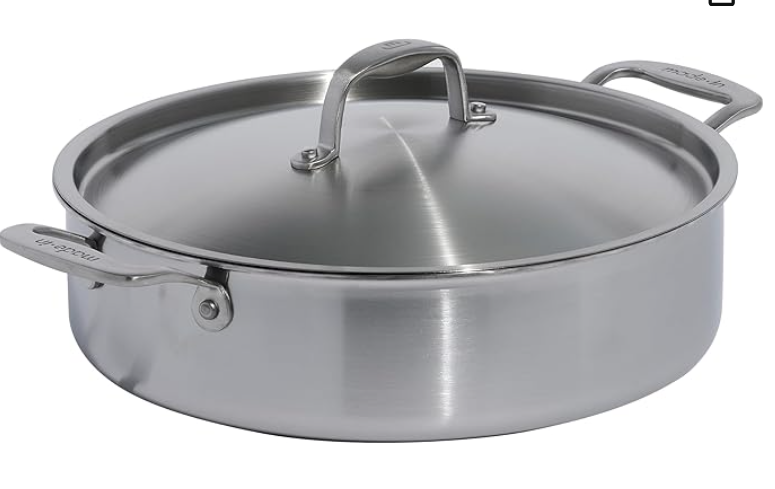
For the next step, I moved the browned chicken and bacon to a nonstick sauté pan (you will need a pan with a lid), leaving the stainless-steel pan available for cooking the onions and mushrooms.
Here is where Julia adds the cognac and flambés the chicken. That’s not something I would be eager to try (imagining the smoke alarm going off!)
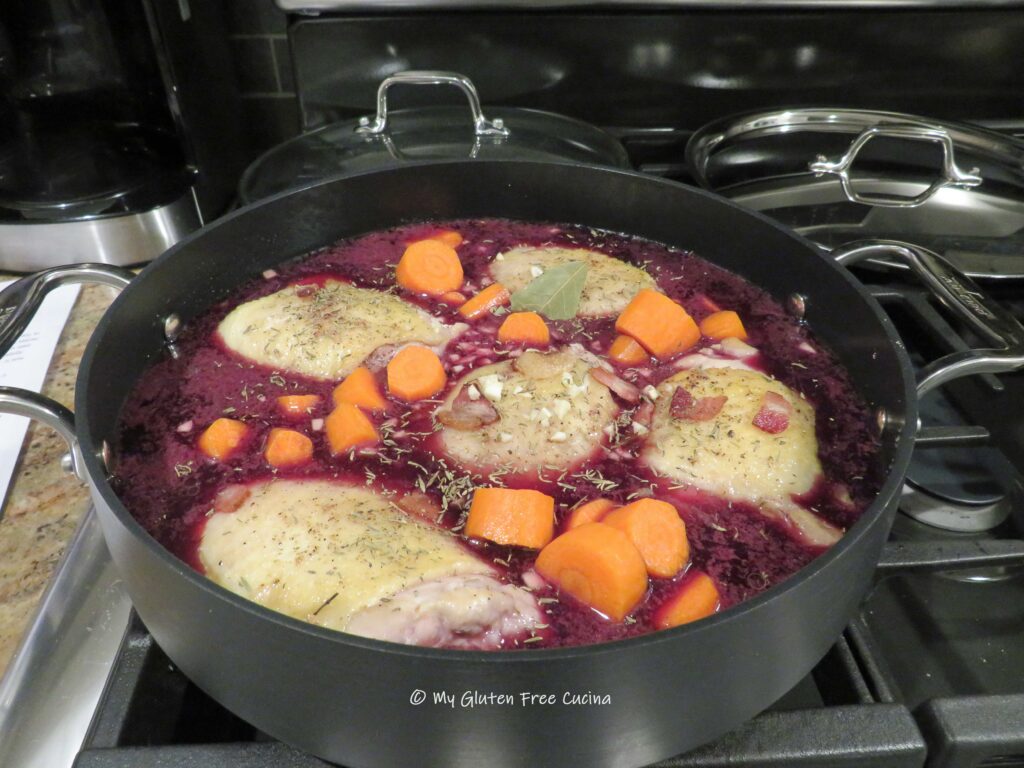
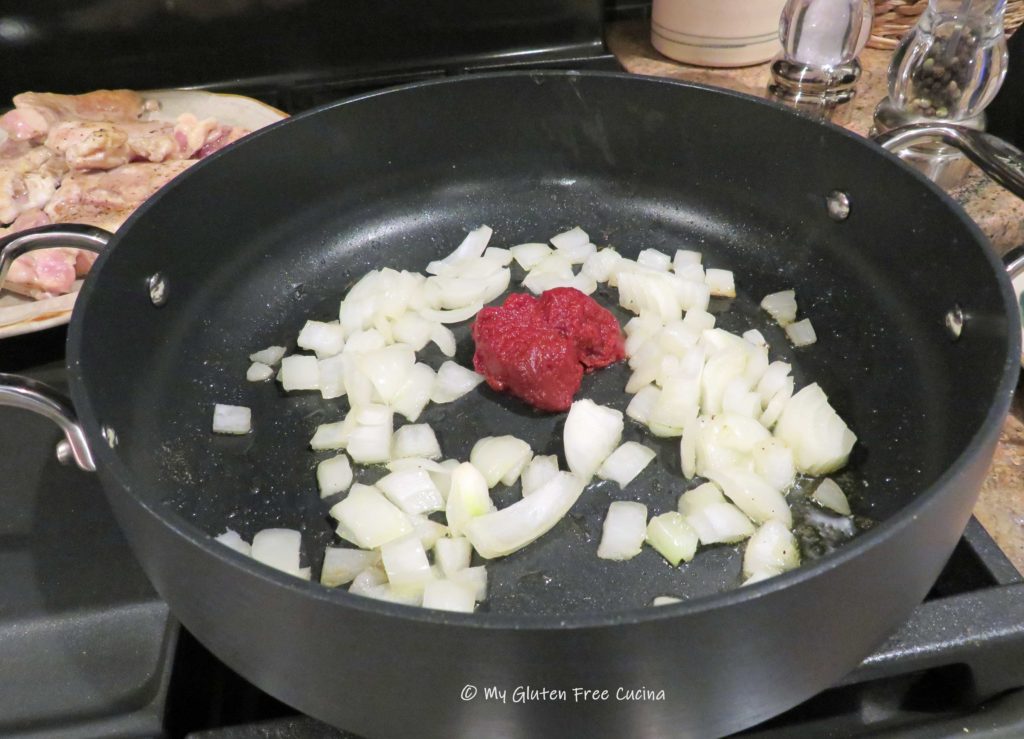
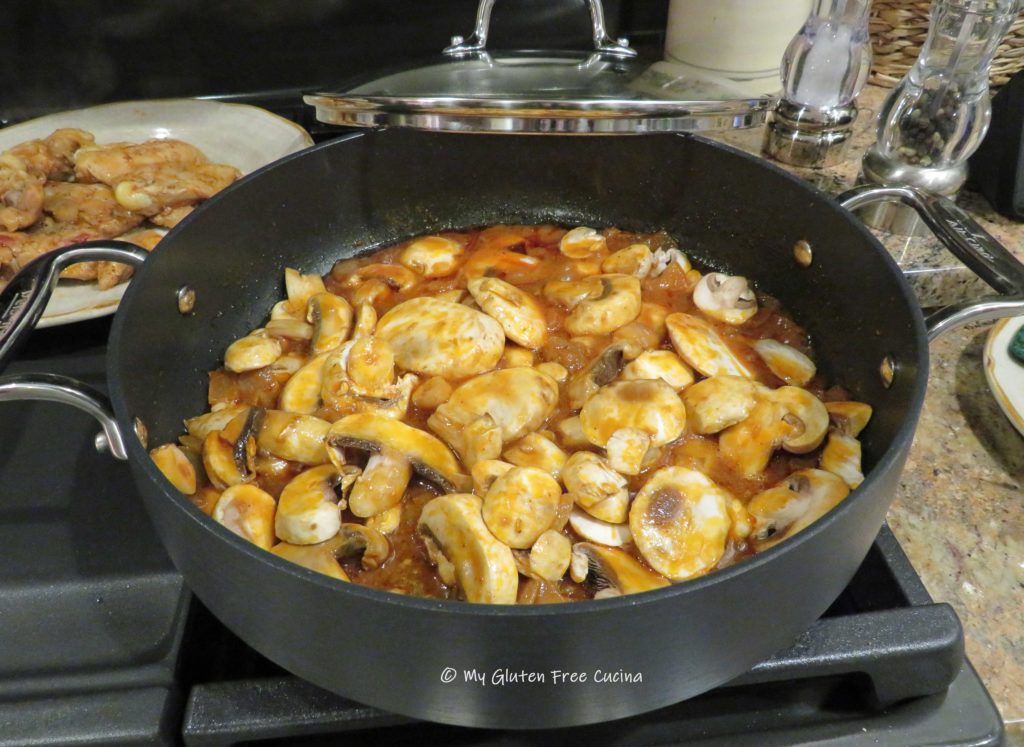
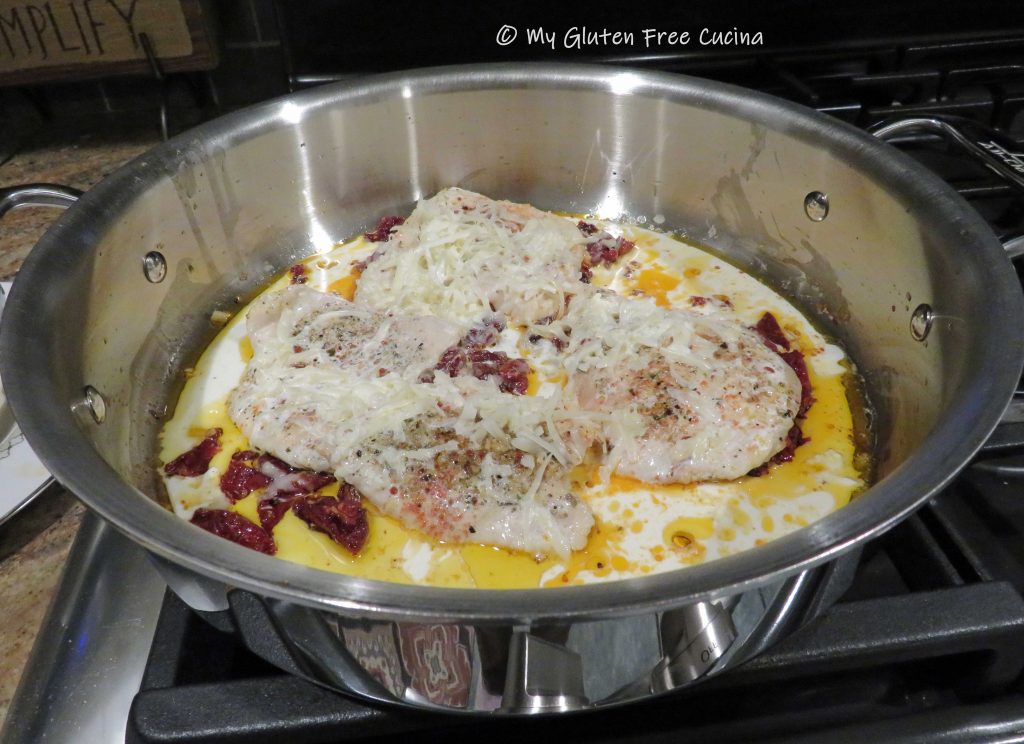
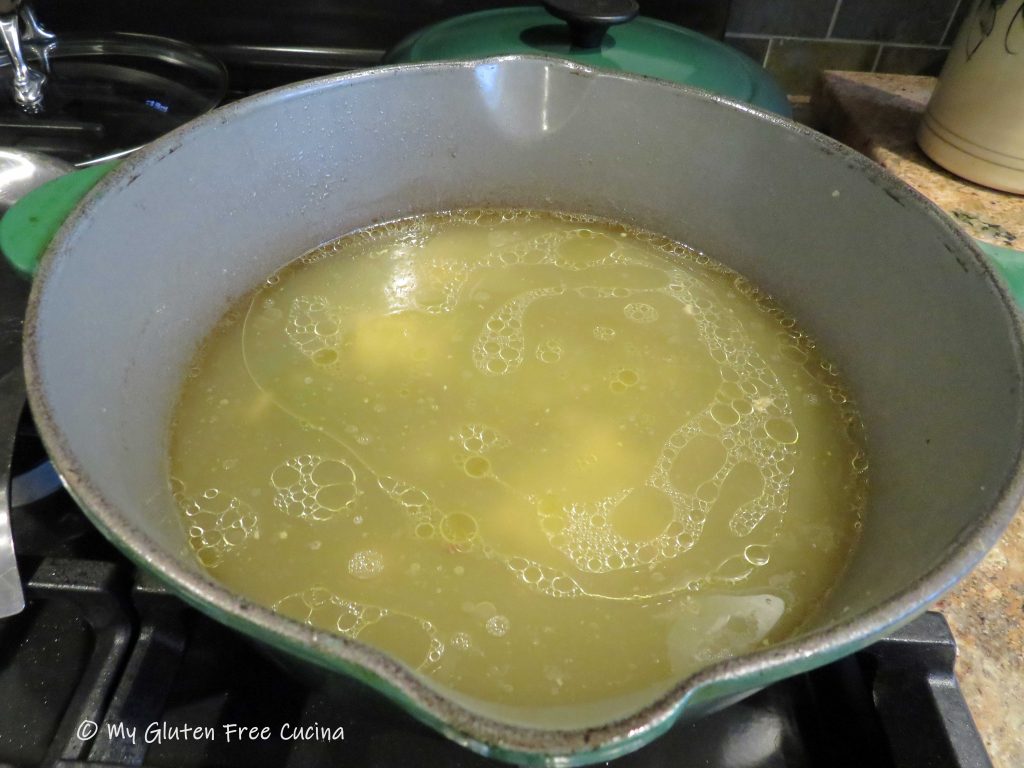
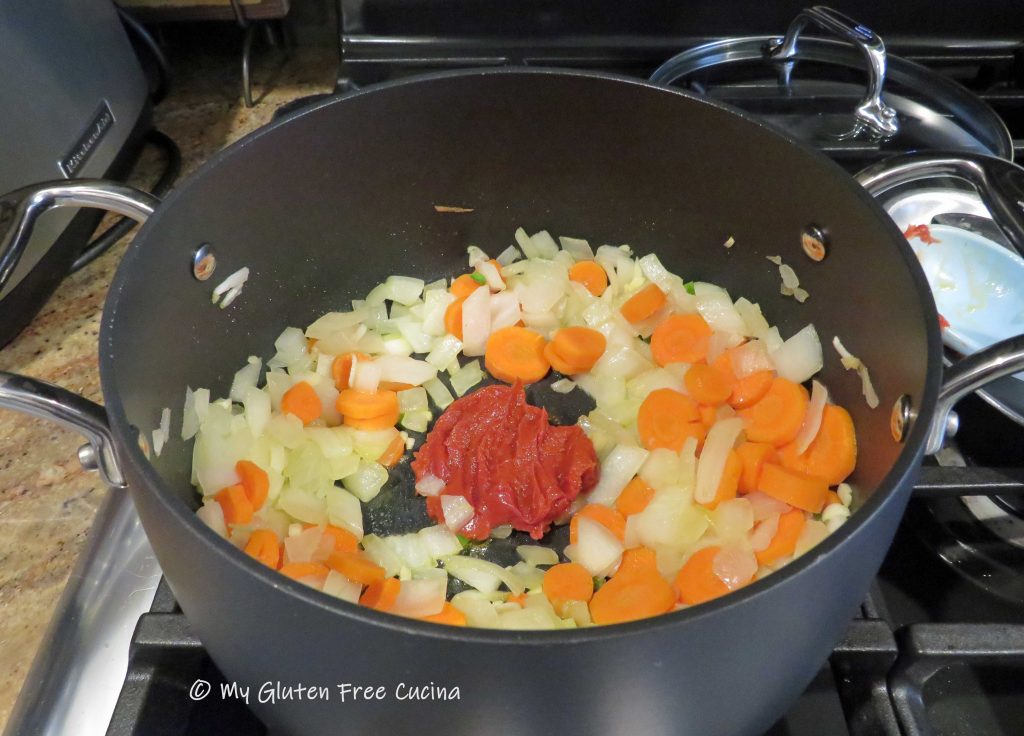
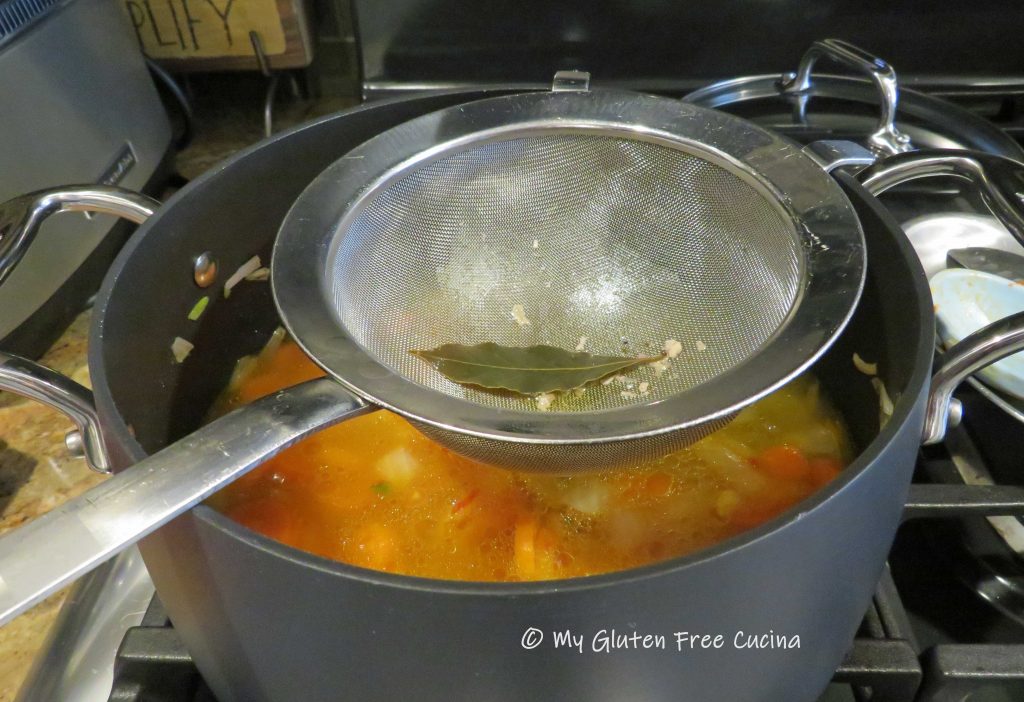
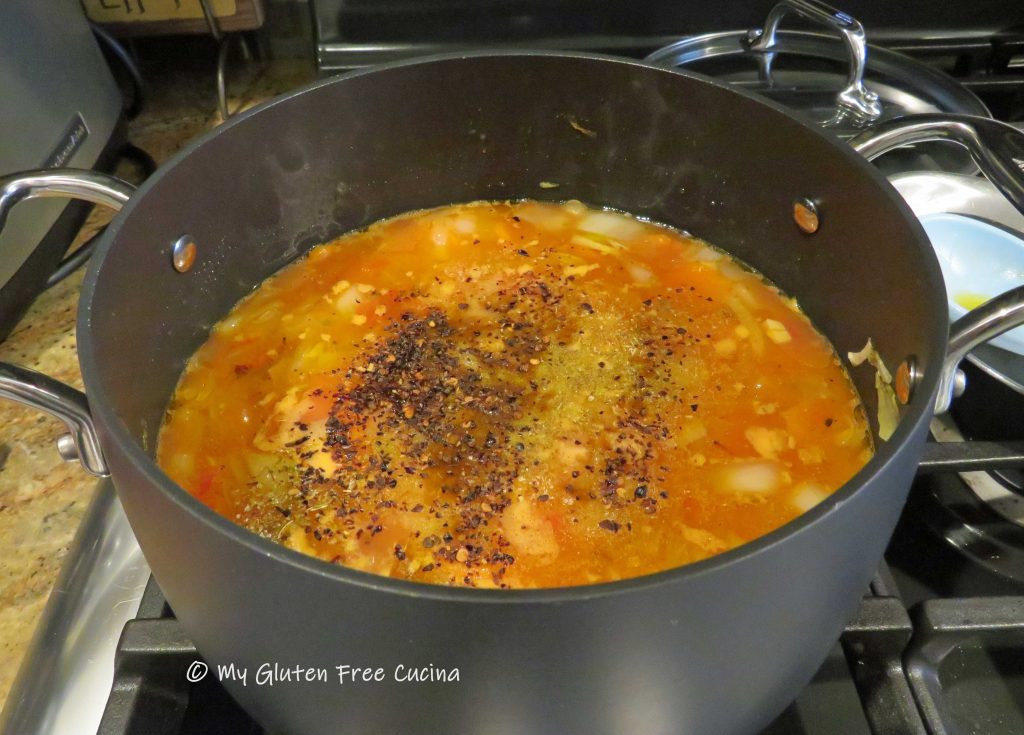
 I added all of the wine, stock, tomato paste and seasonings. Honestly, there was a bit too much liquid and I would cut back next time. Julia did not add carrots in her recipe, but I went rogue and put a few in. Lid on, time to simmer!
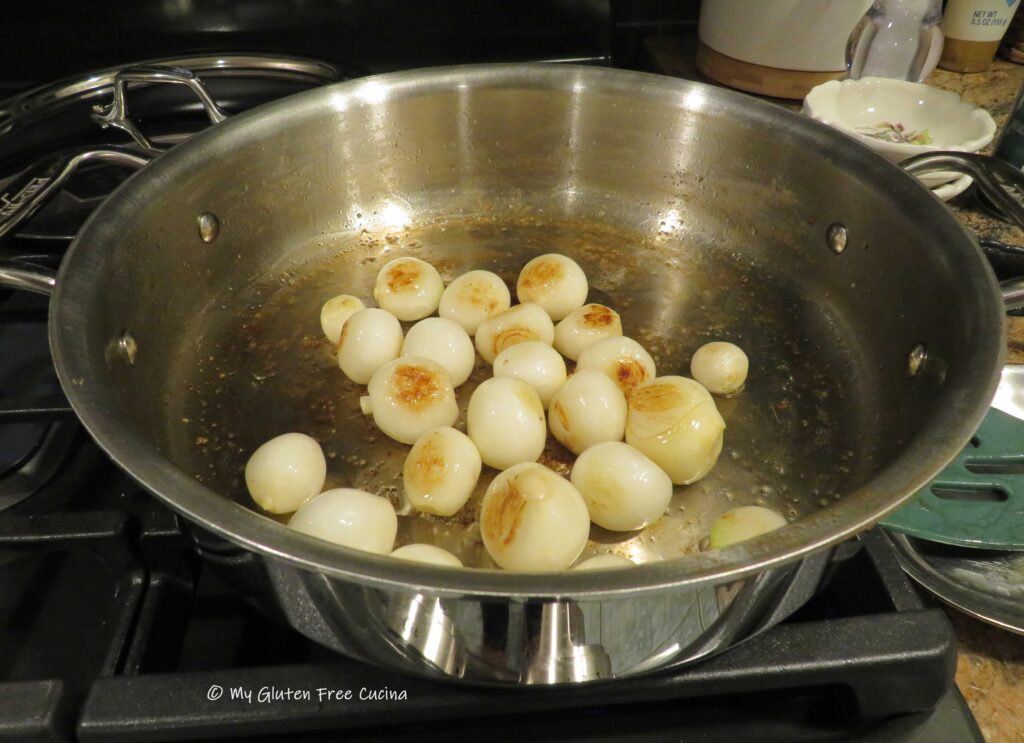
Since my pearl onions were already peeled and trimmed, I was able to begin browning them in oil without all the prep work. After this step, I added water to the pan and simmered the onions for 30 minutes, after which they were removed and set aside.
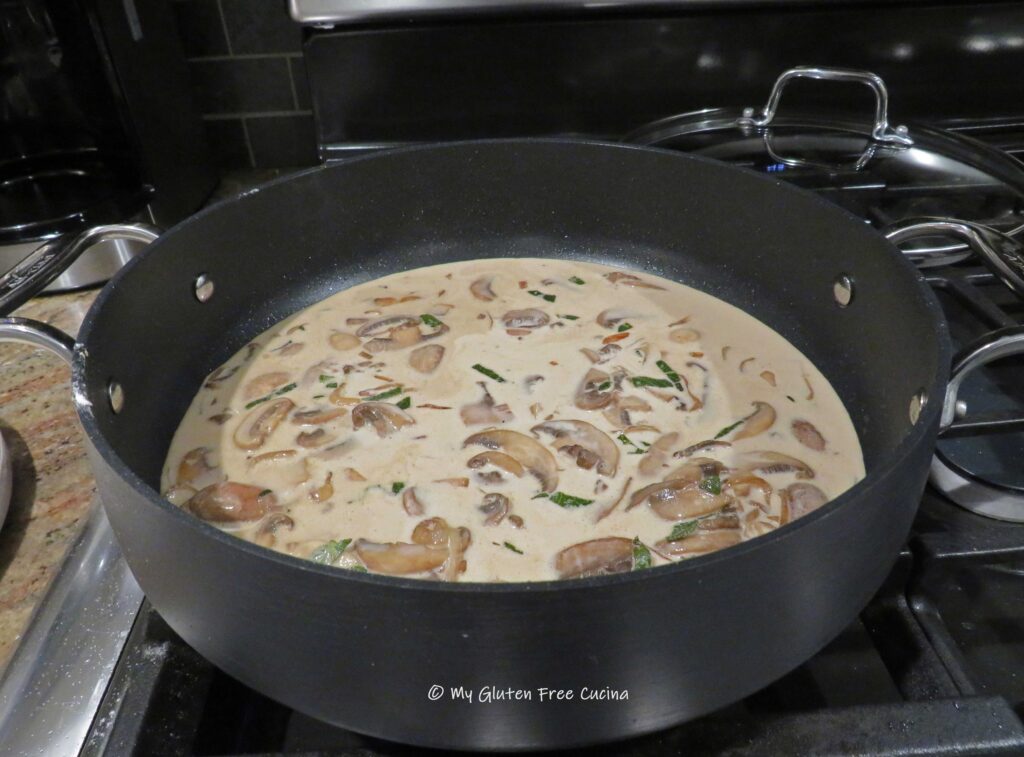
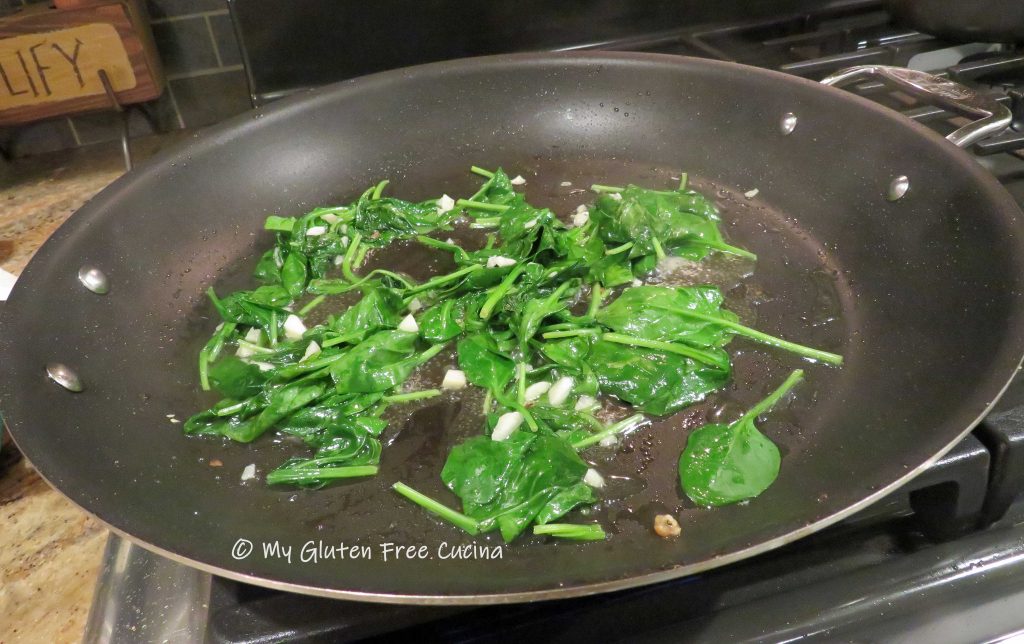
For the next addition, I rinsed and quartered one 8 oz. carton of button mushrooms, cooking them in olive oil and butter.
Now, for the finale. To put it all together, I made the beurre manié (a/k/a kneaded butter). This was as easy as stirring together soft, room temperature butter with arrowroot flour until well incorporated.
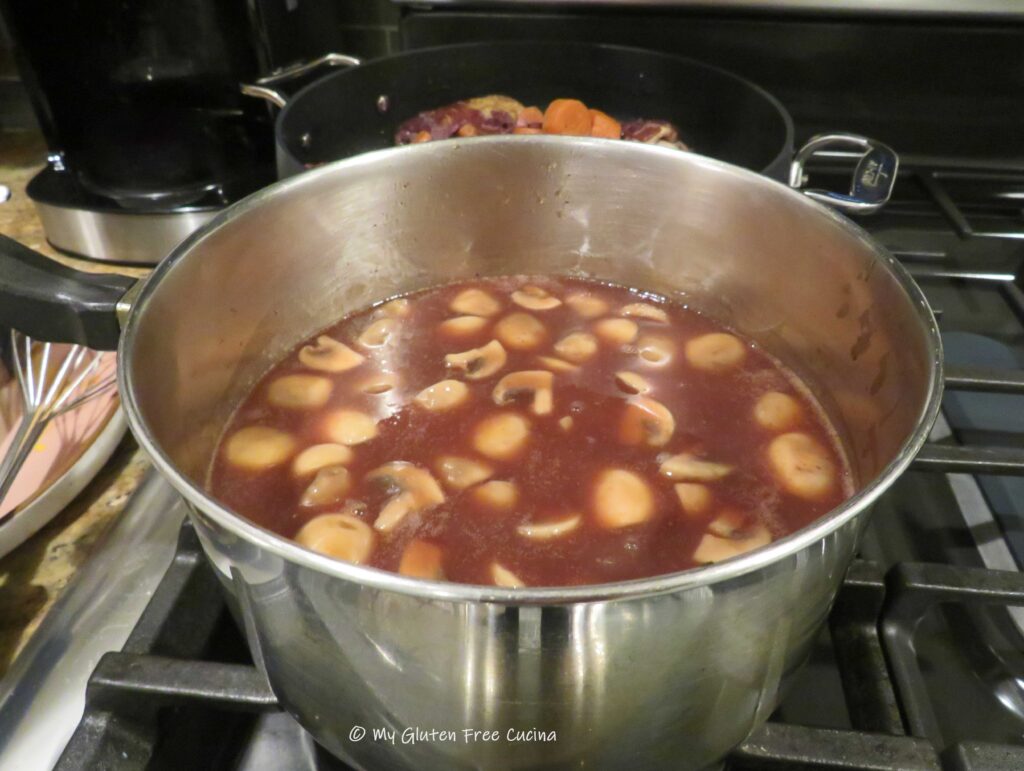
 I transferred all of the liquid from the sauté pan into a stock pot and whisked in the beurre manié until it was smooth and silky.
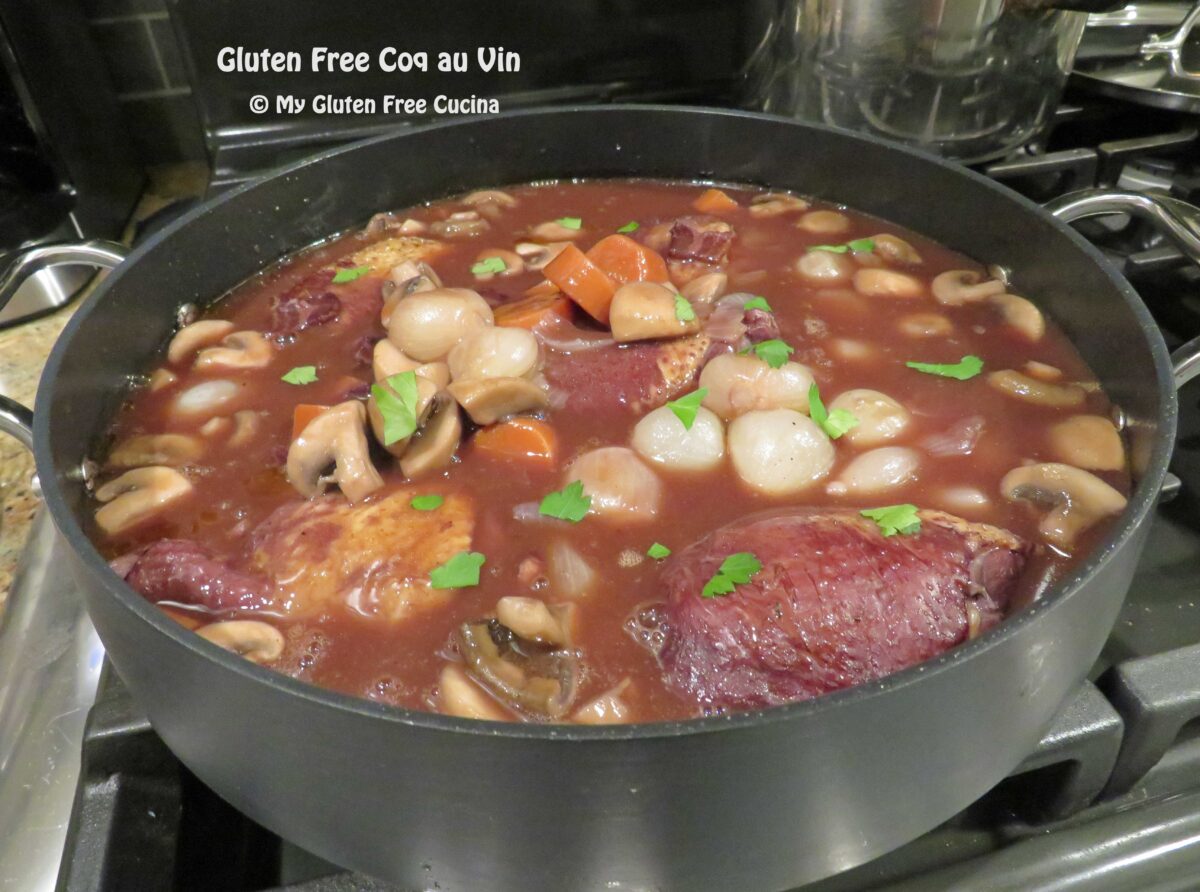
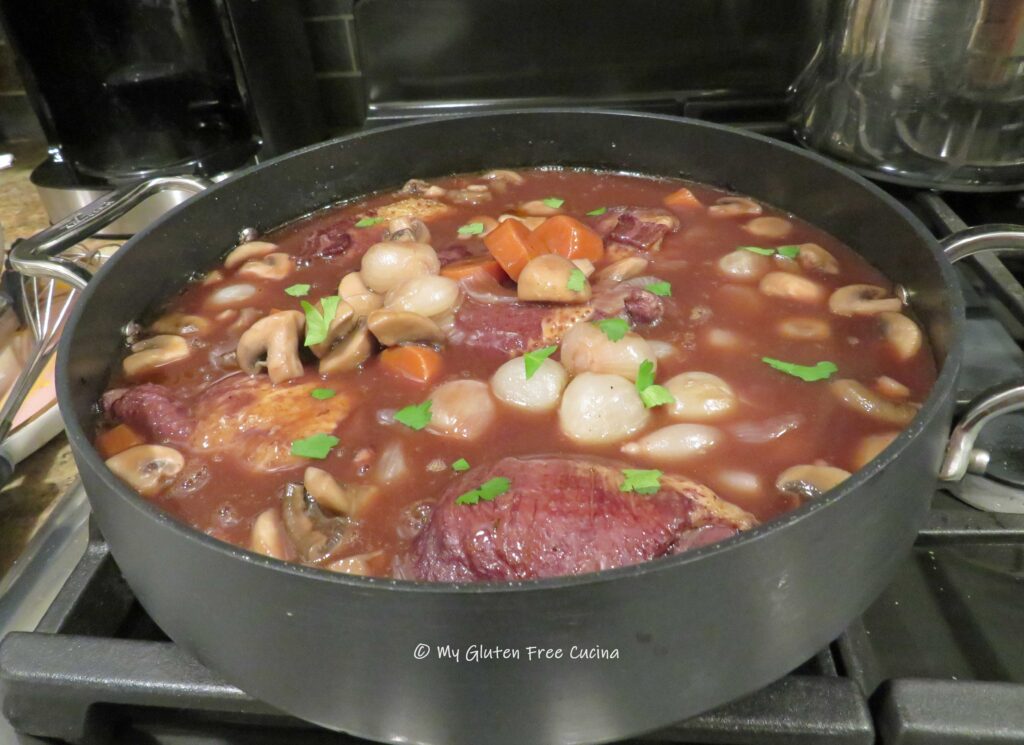
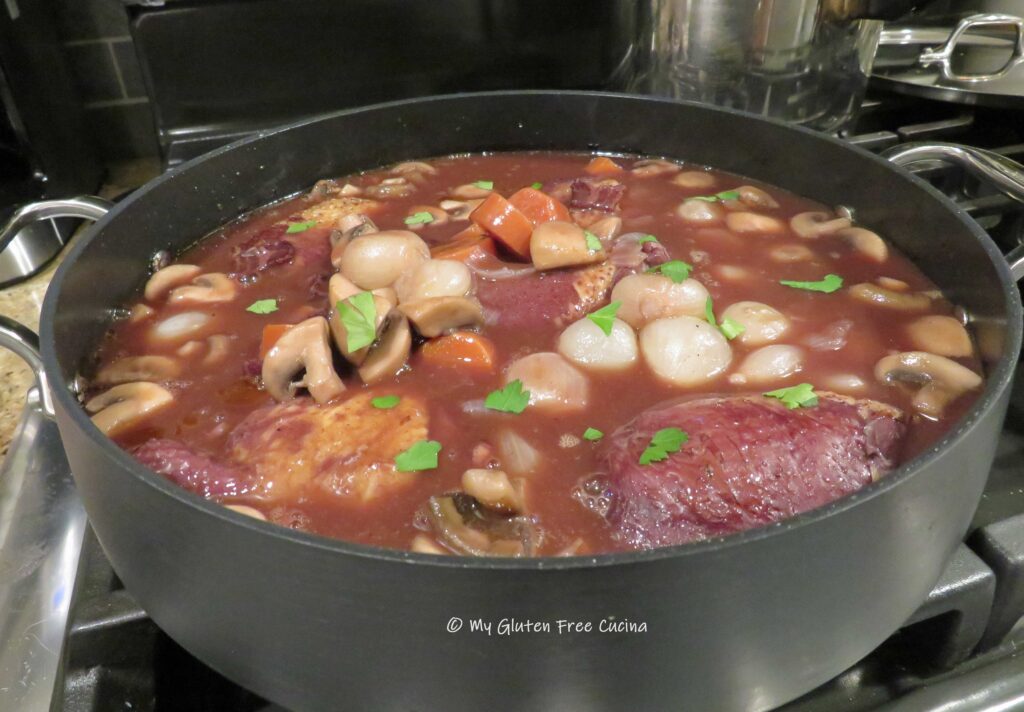
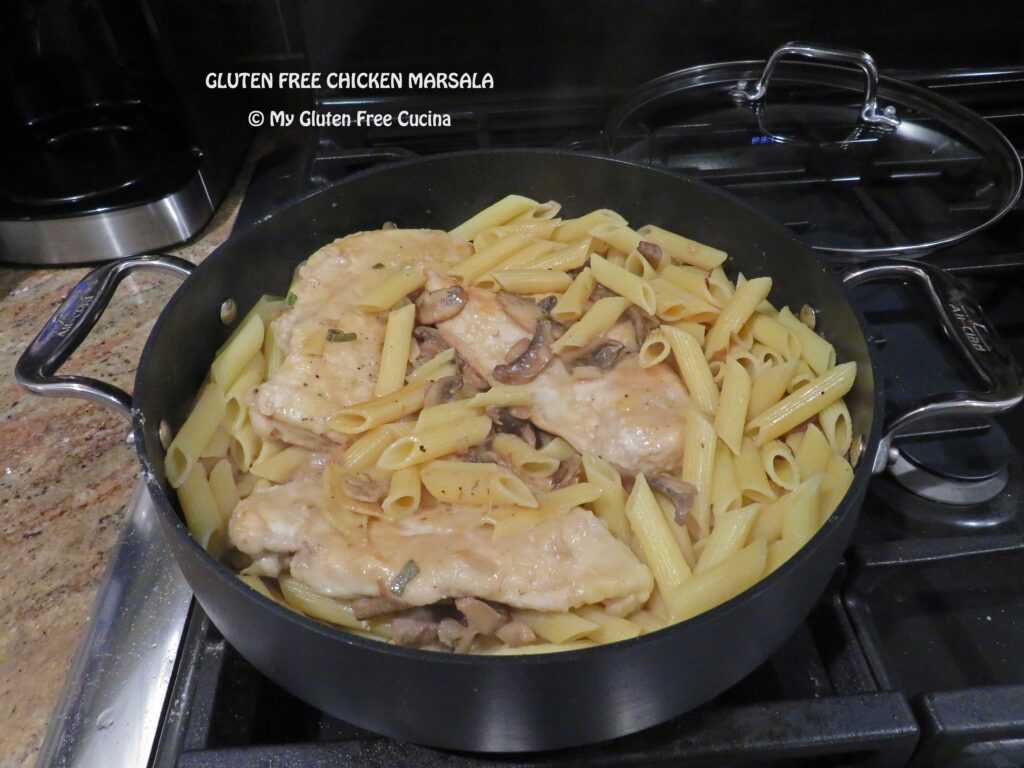
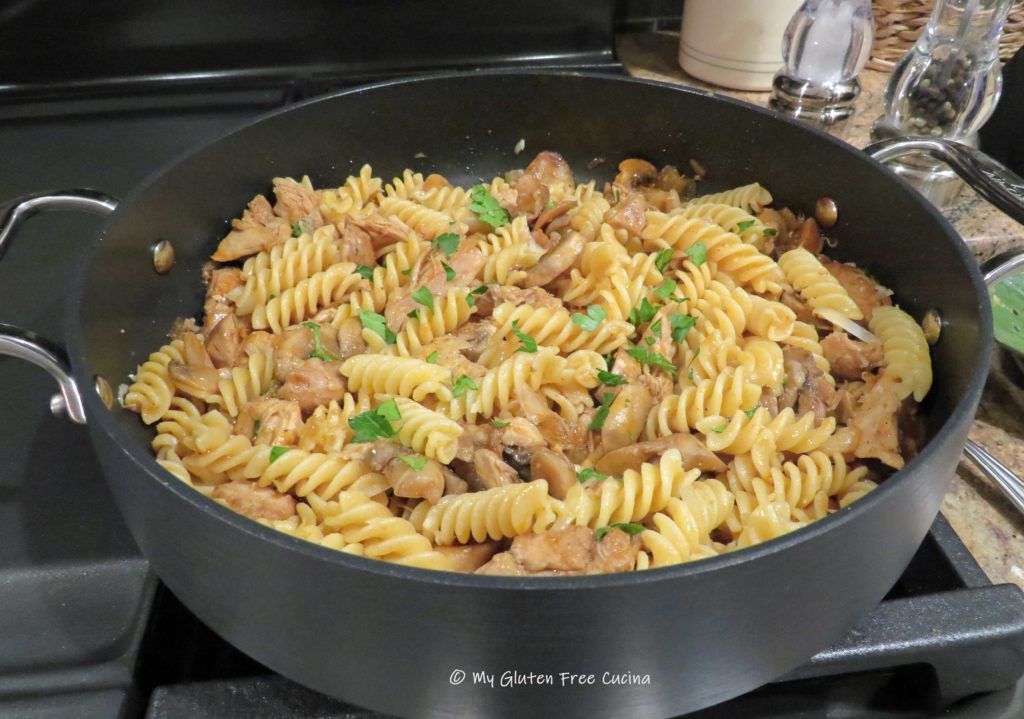
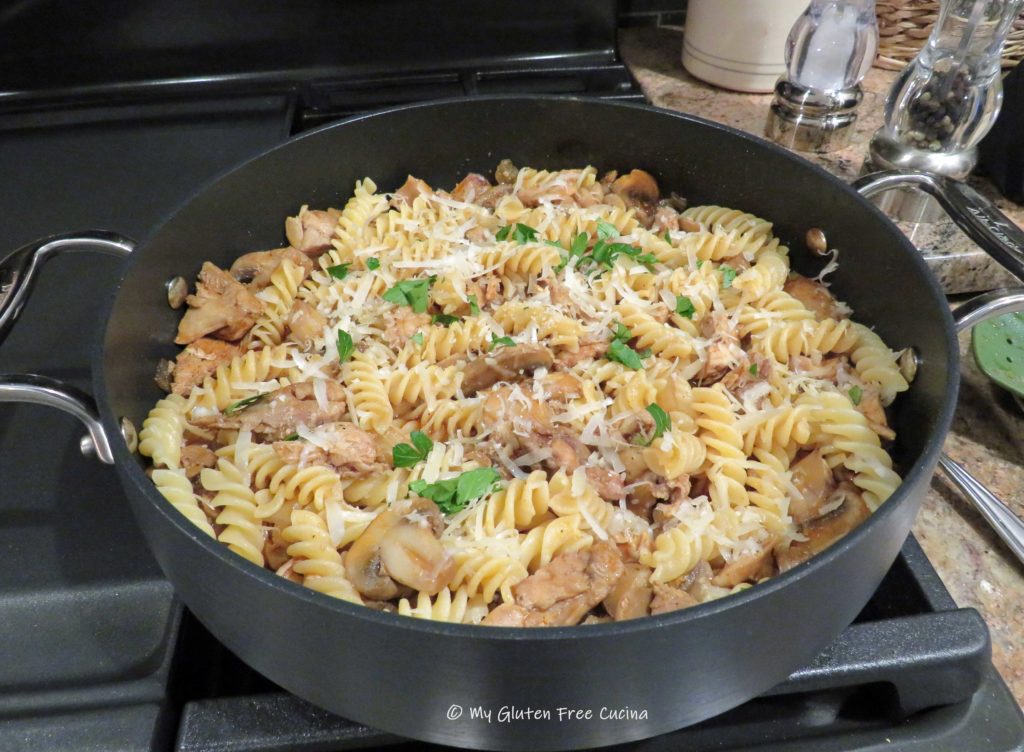
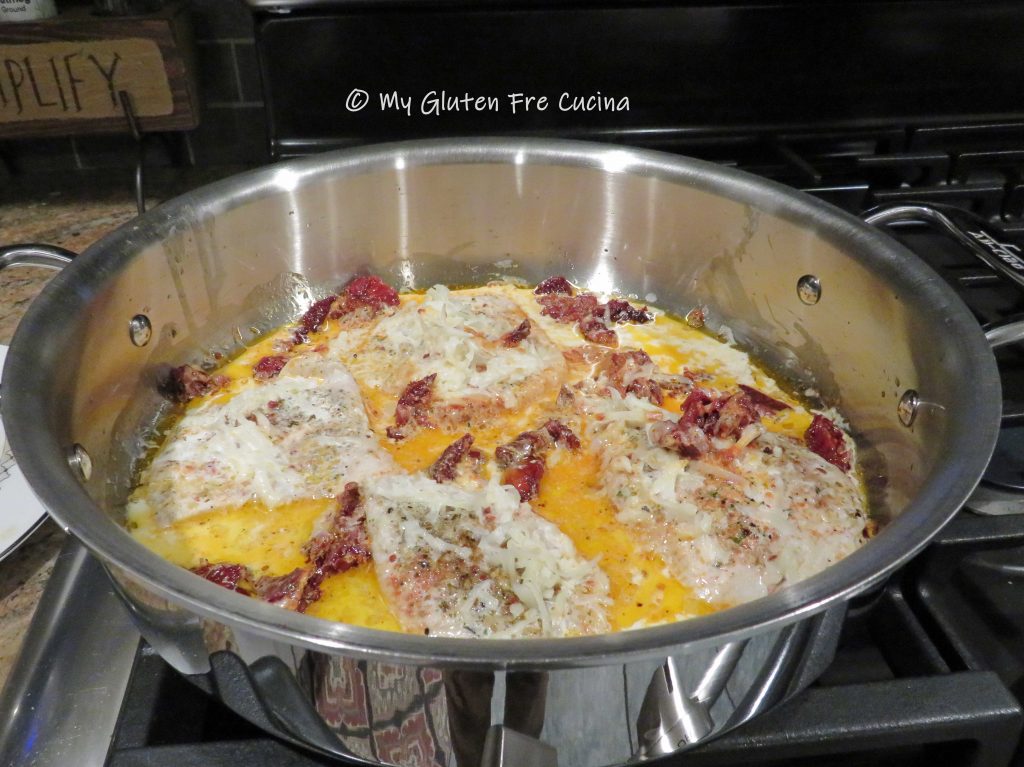
 I added the onions and mushrooms to the sauce, then poured it over the chicken, bringing to a simmer one last time before serving.
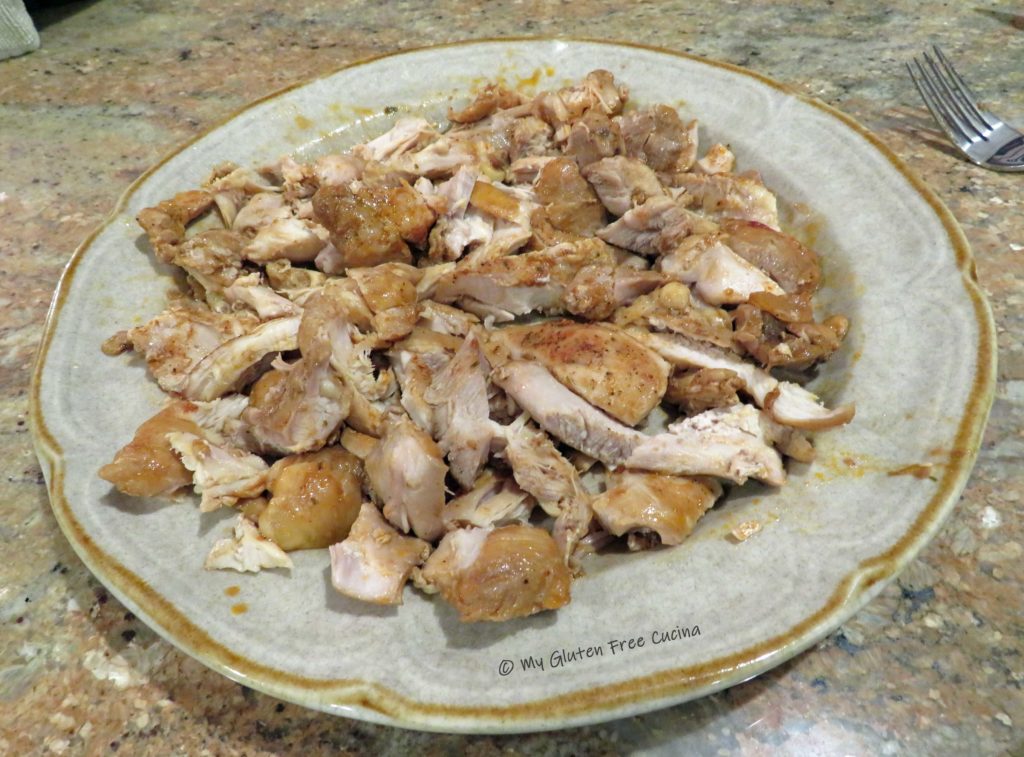
 There it is. So many little steps to develop the flavor profile of this famous dish. Yes, it was delicious. Yes, I will take a few shortcuts next time, but I do intend to make this again.
Notes ♪♫ I took a few (but not many) liberties with Julia’s recipe. I omitted the cognac, so no flambéing! 🔥While Julia used a whole fryer chicken and took great pains to explain how to cut it up, I opted for bone-in, skin-on chicken thighs. My grocer had pearl onions, already peeled and ready to cook (thank you!) so that was another tedious step that I was able to skip. Finally, I substituted arrowroot for the flour to make the beurre manié. With that, the recipe is gluten free!


 Peel the garlic cloves and slowly warm them in the olive oil over lowest possible heat. A
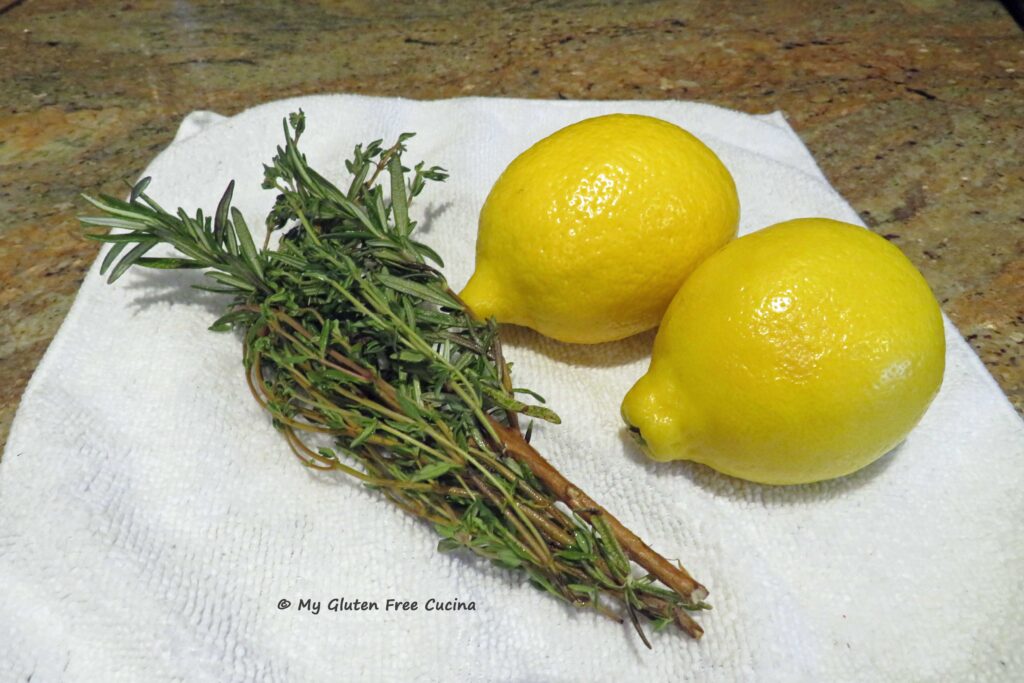
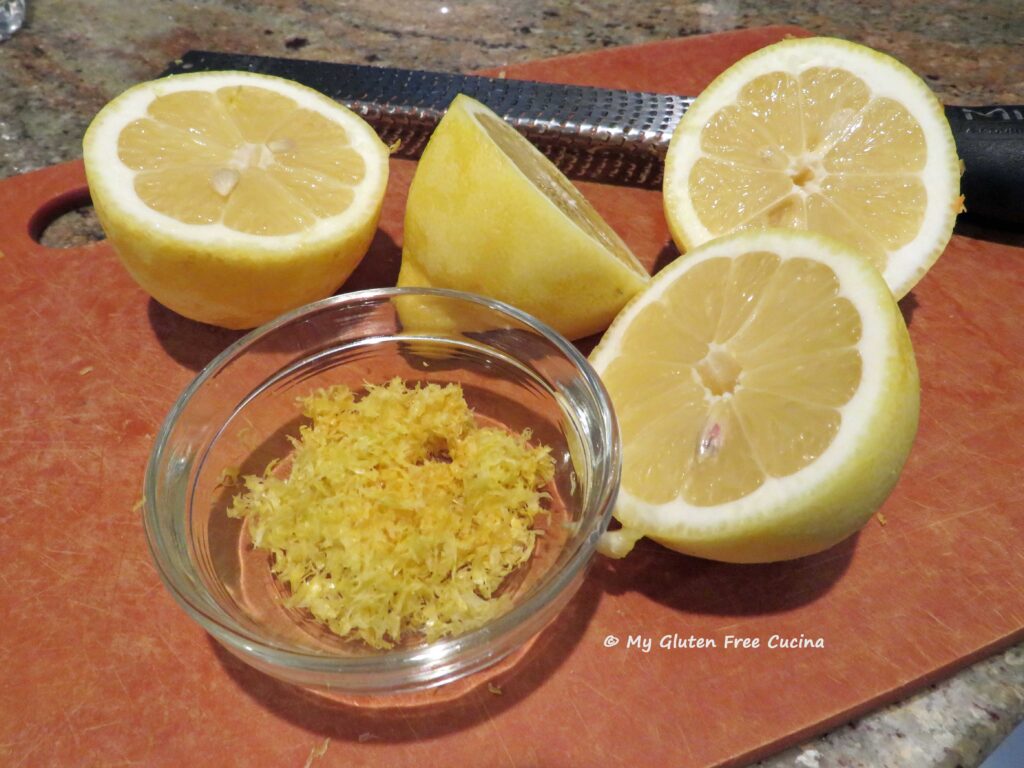
 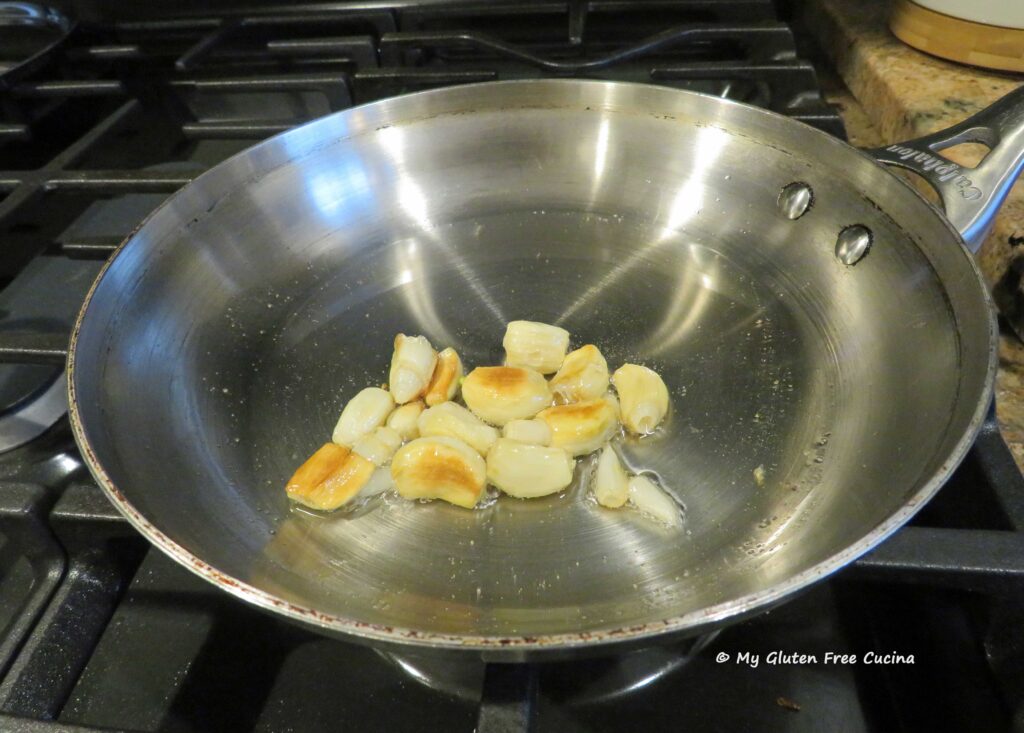 Mince half of the rosemary and thyme and add to the butter along with the lemon zest. Mash it together with a fork.
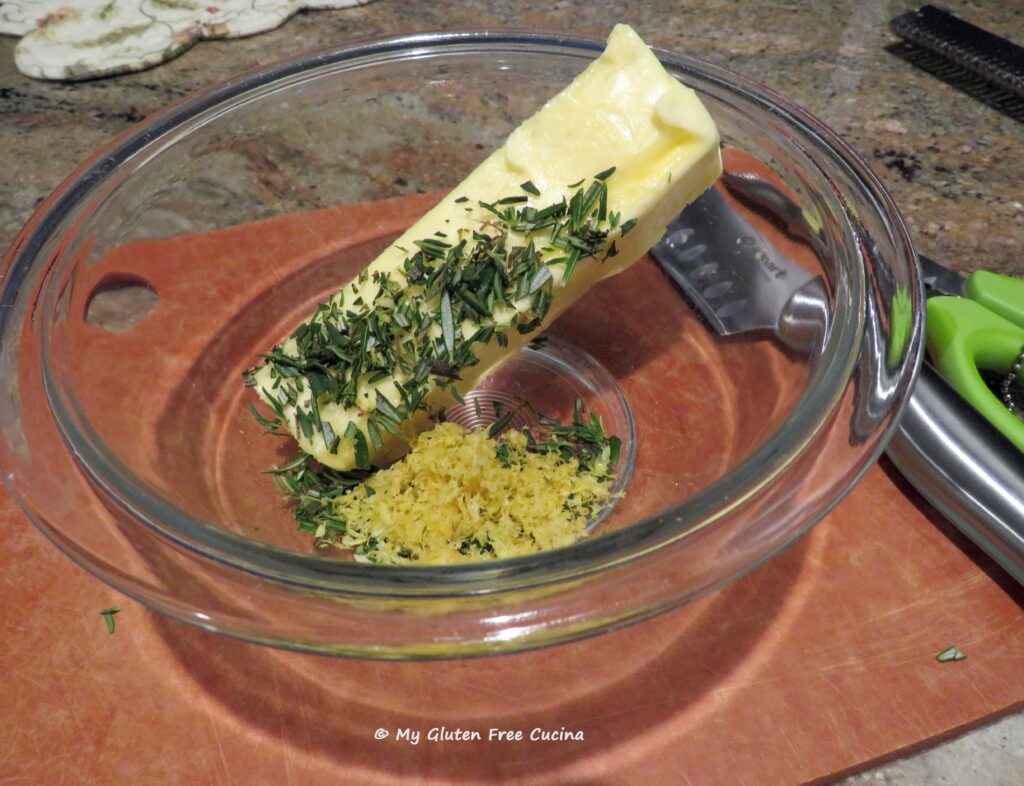
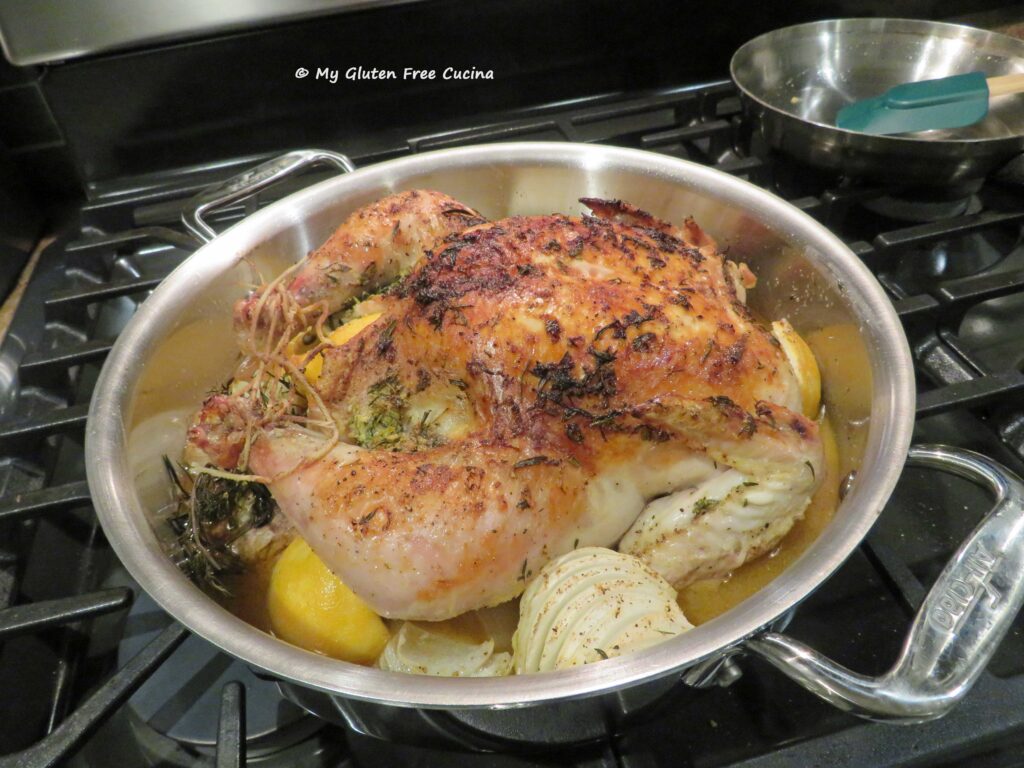
 -Preheat the oven to 425º. Remove the giblets packet from the chicken.
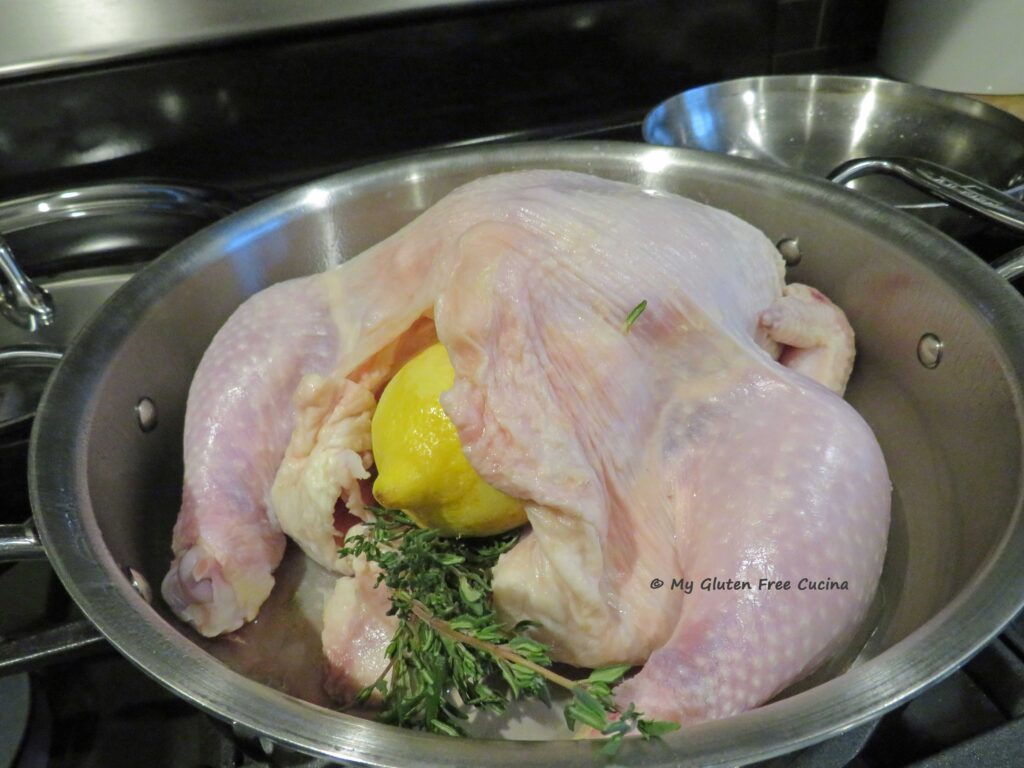 -Rub the butter mixture all over the chicken, be sure to coat the wings and legs. Season with salt and pepper.
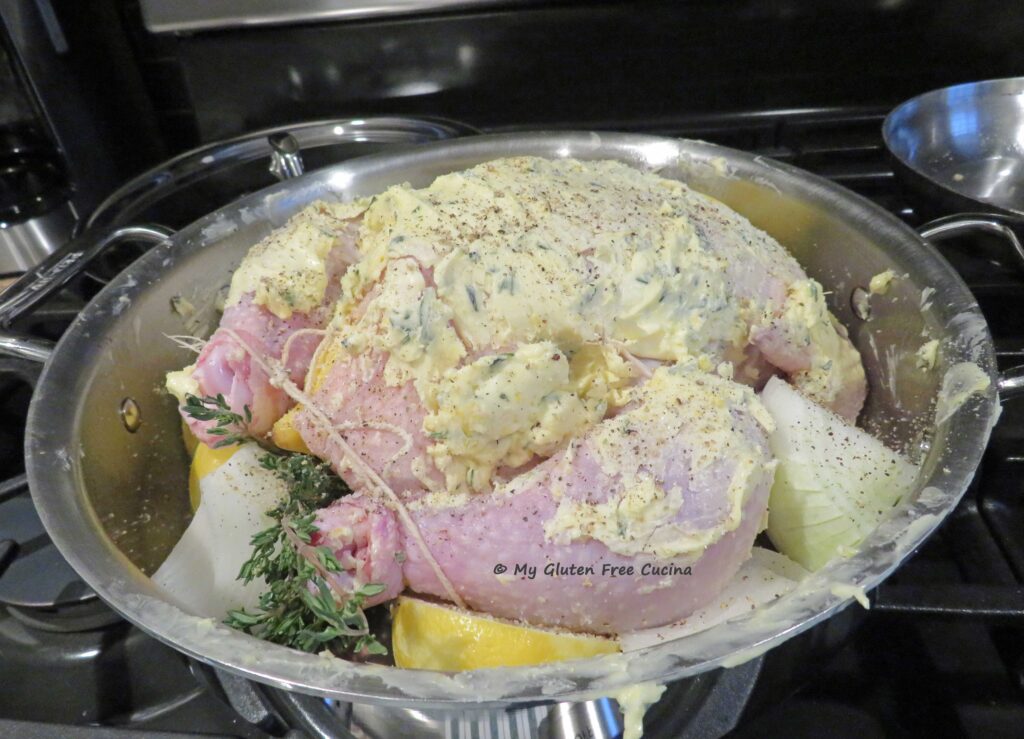 Roast uncovered for 1 to 1-1/2 hours, or until a
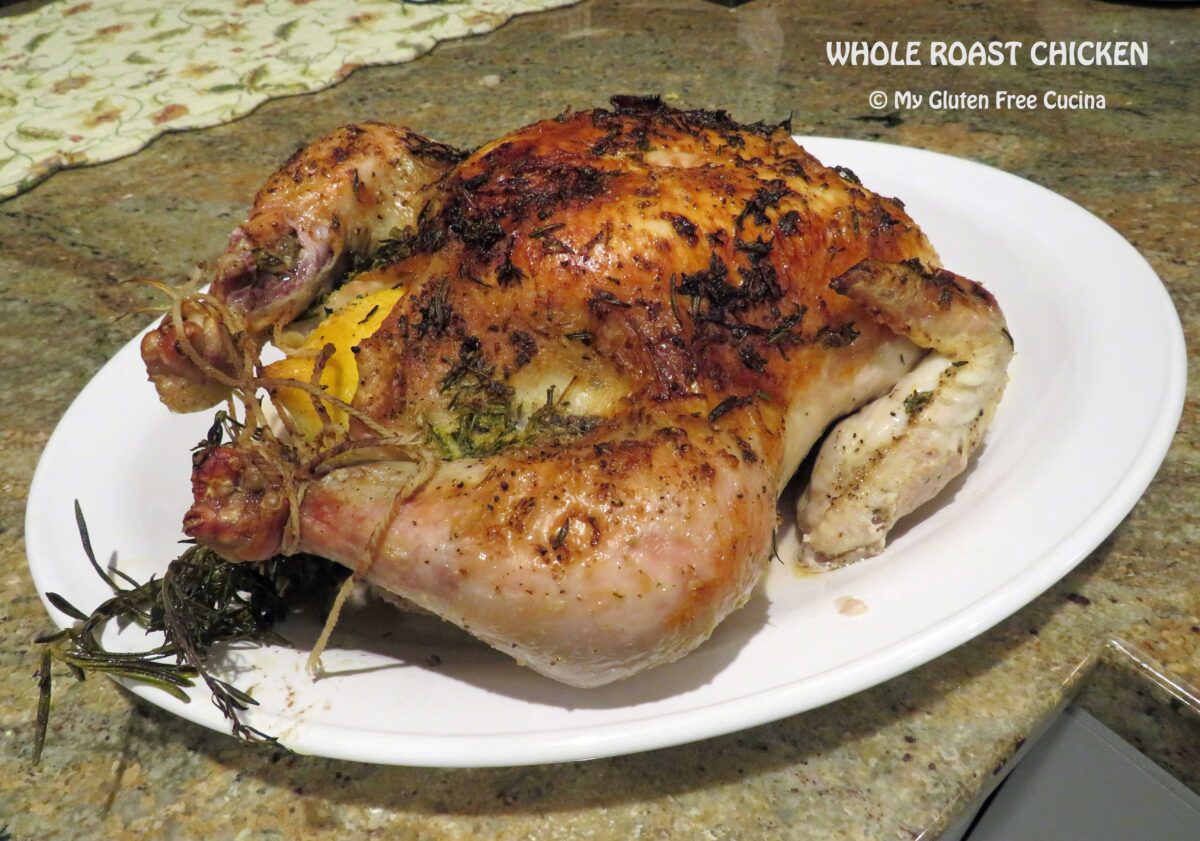
 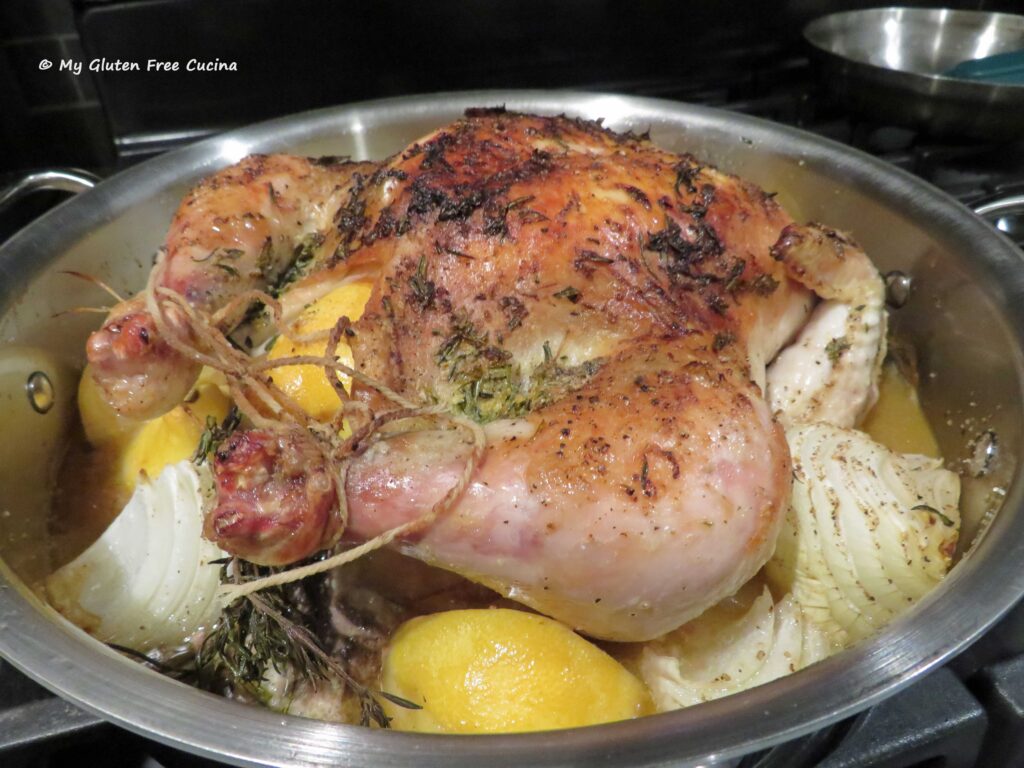 The skin should be nicely browned. Be sure to let it rest for 10 minutes before carving.
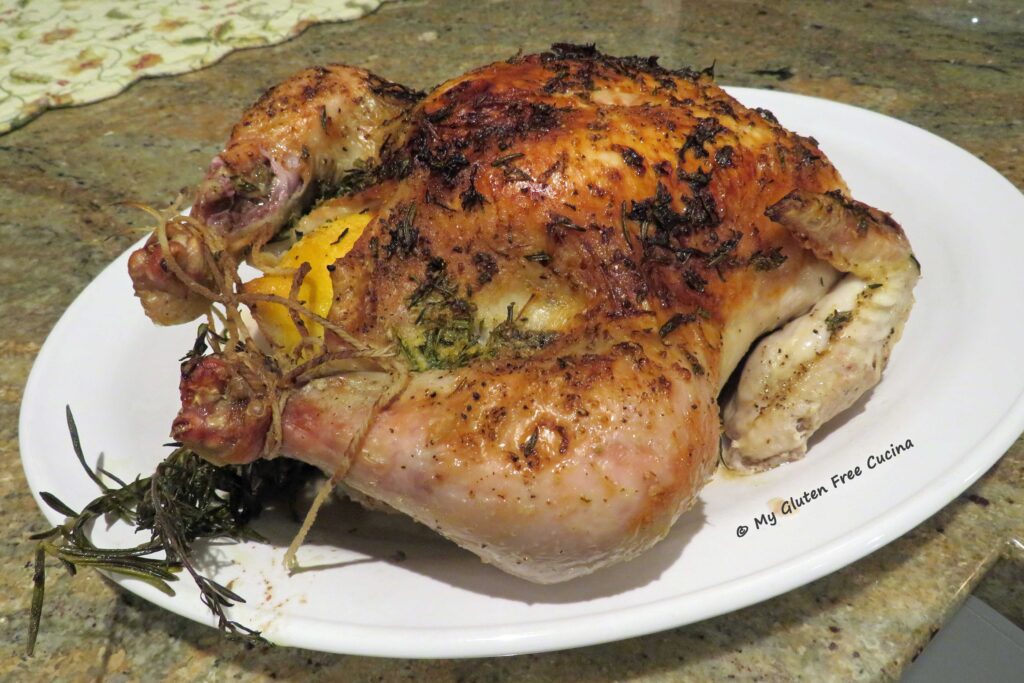 Notes ♪♫
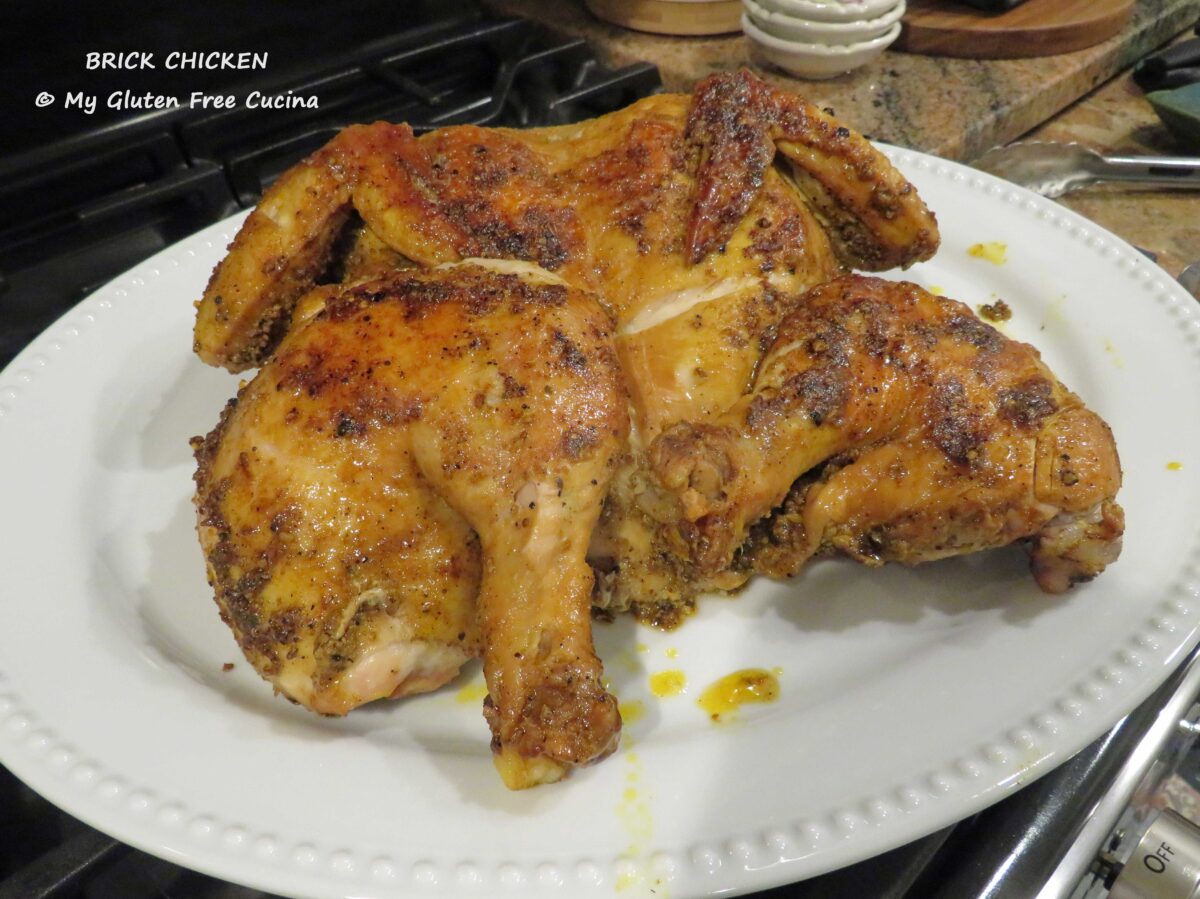
 Rinse the chicken thoroughly and pat dry. Place it in a
 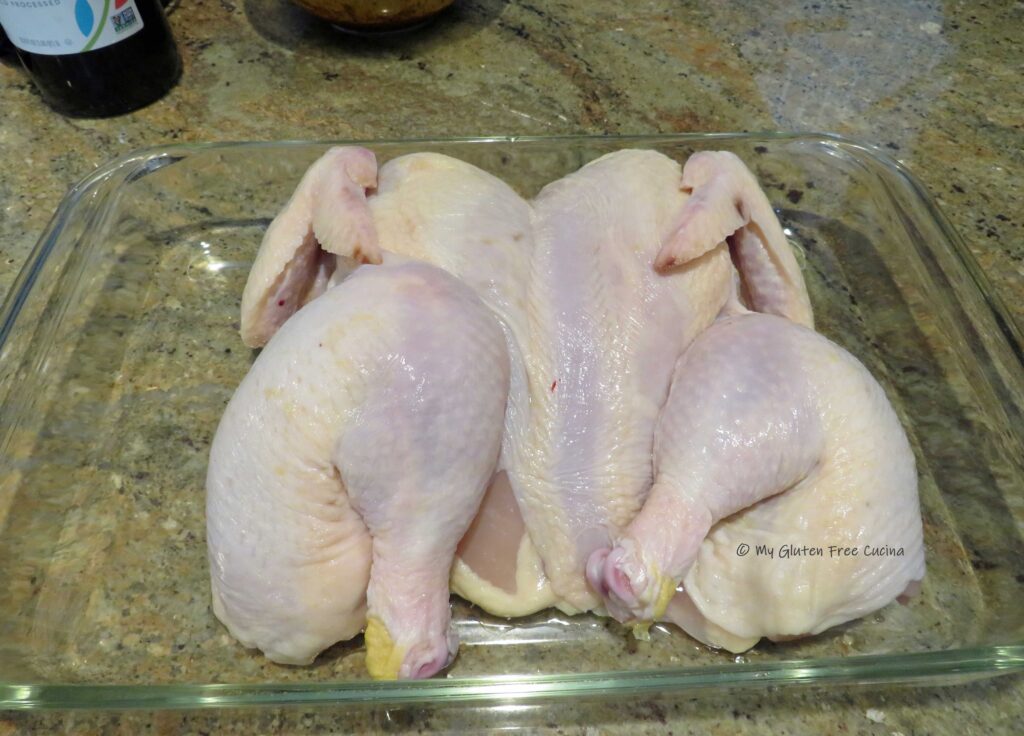 To make the marinade, toast the whole peppercorns, coriander seed and fennel seed in a hot skillet for 2 minutes, just until fragrant. Grind in a
 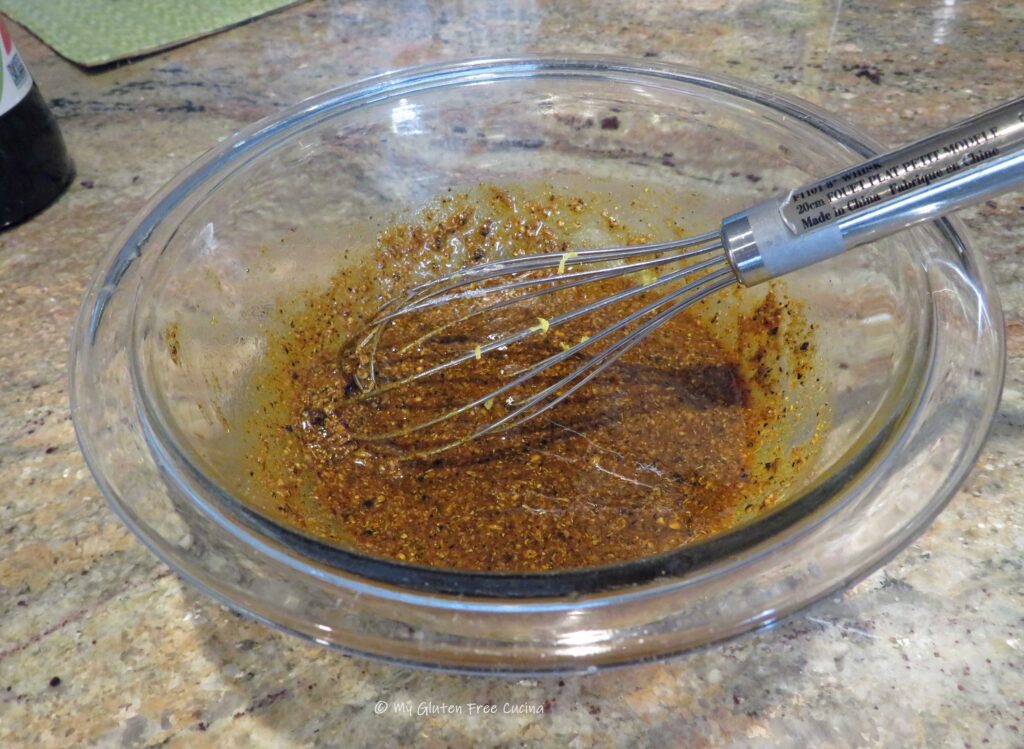 Now rub the chicken all over with the spice mixture. Cover and refrigerate for 4 hours.
 Wrap the brick in aluminum foil.
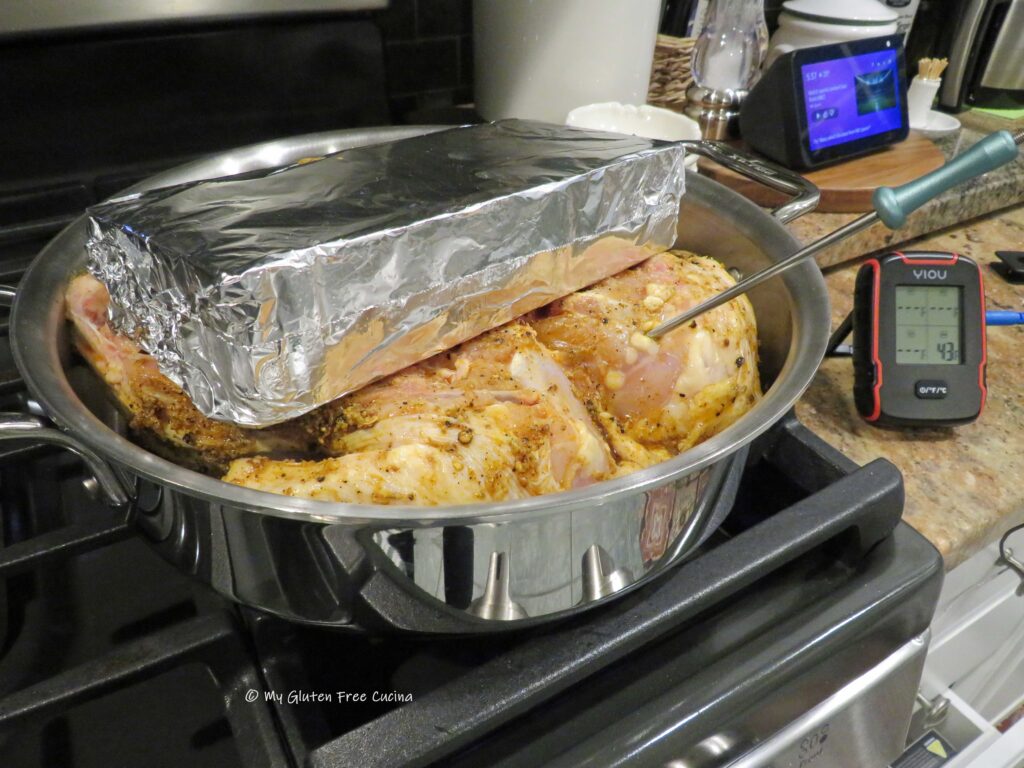 Transfer to the oven and continue cooking for 45 minutes to an hour or more, depending on the size of the chicken. Use a
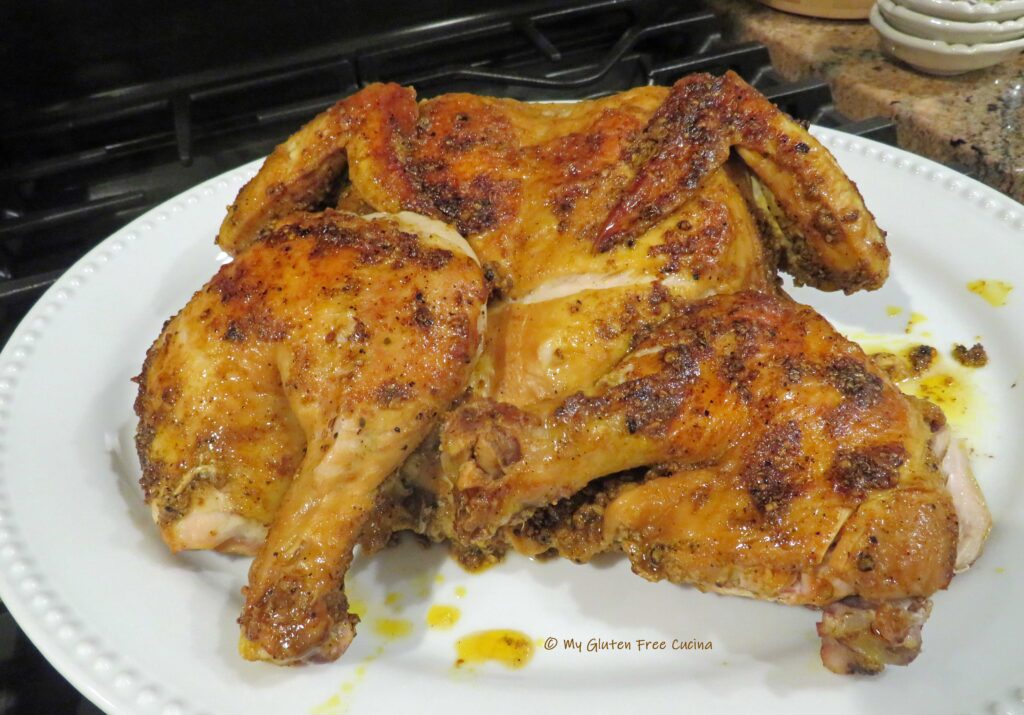
 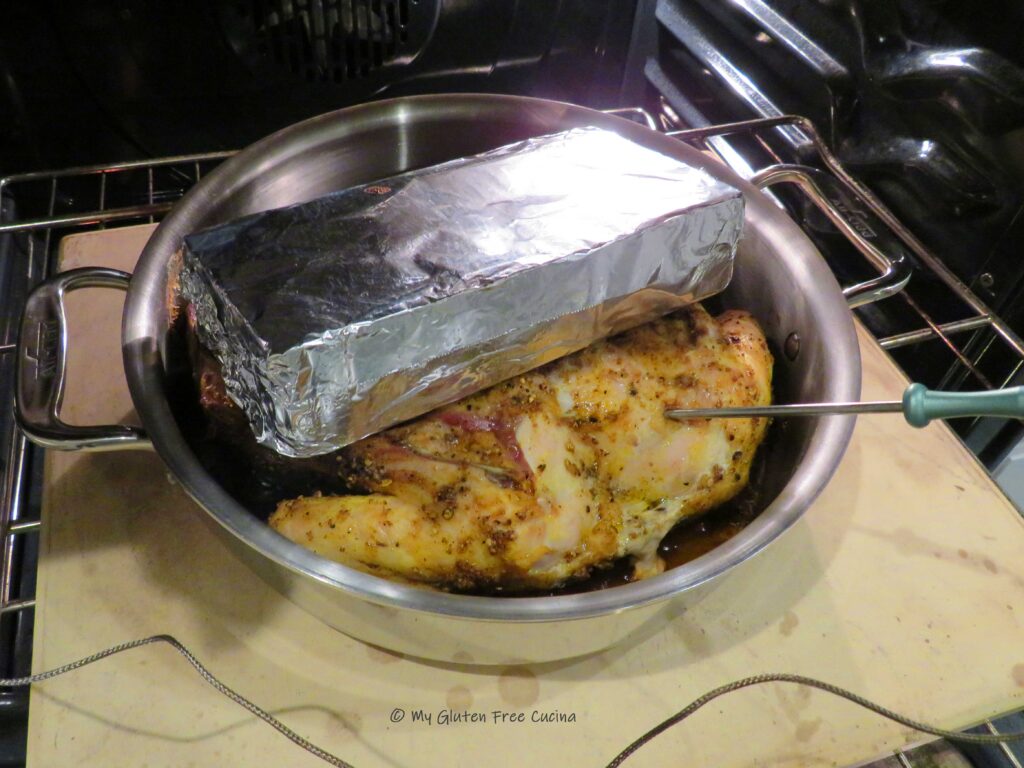 Carefully remove the brick, turn the chicken, skin side up onto a serving platter and bring it to the table for a gorgeous presentation!
 Look at the color! Beautifully browned and the meat is so moist! The marinade is so aromatic, and I know you are going to love the flavor.


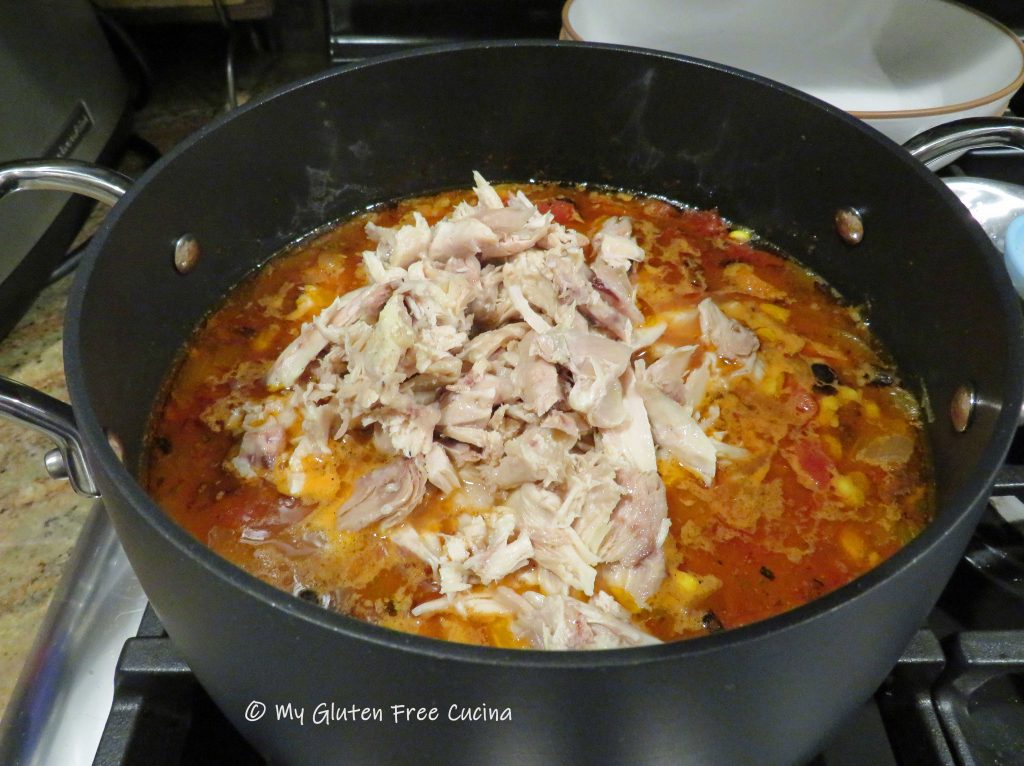
 Add the chicken back to the pan with about 1 cup of chicken broth. Cover and cook for 25 minutes.
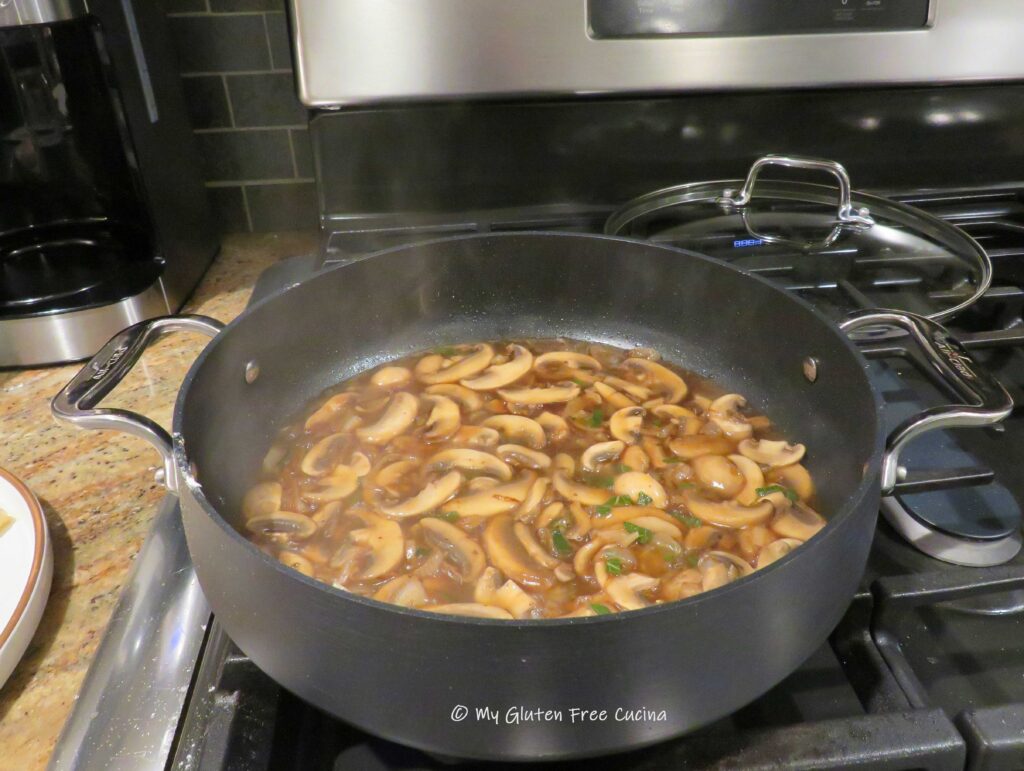
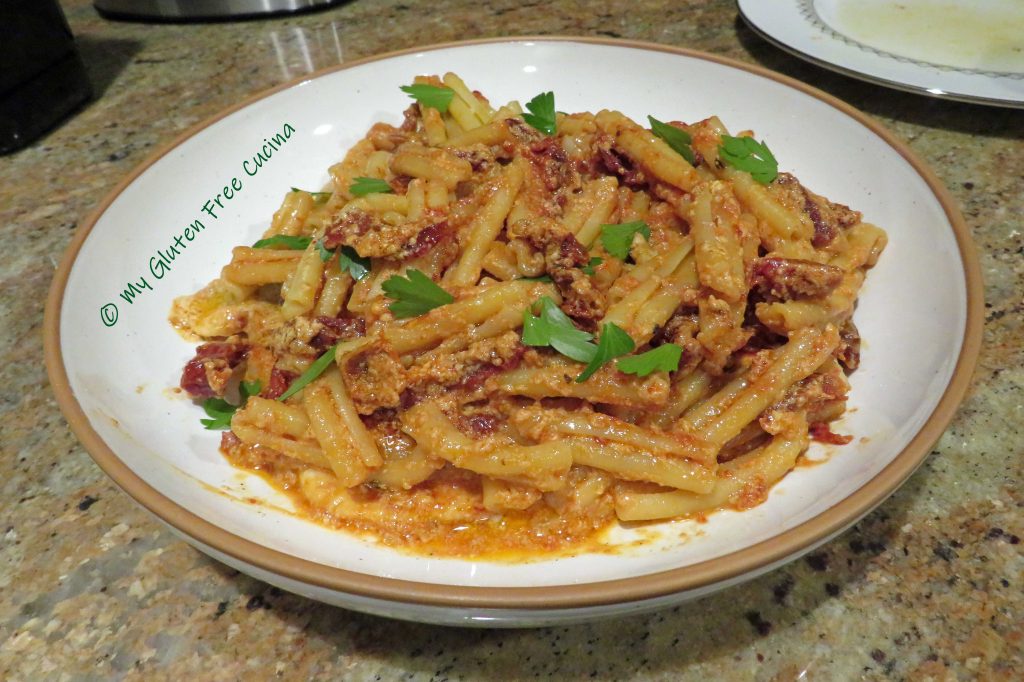
 Bring to a simmer and add back the chicken. Cook for an additional 15 minutes. While the ragu finishes, boil water for pasta.

 Preparation:
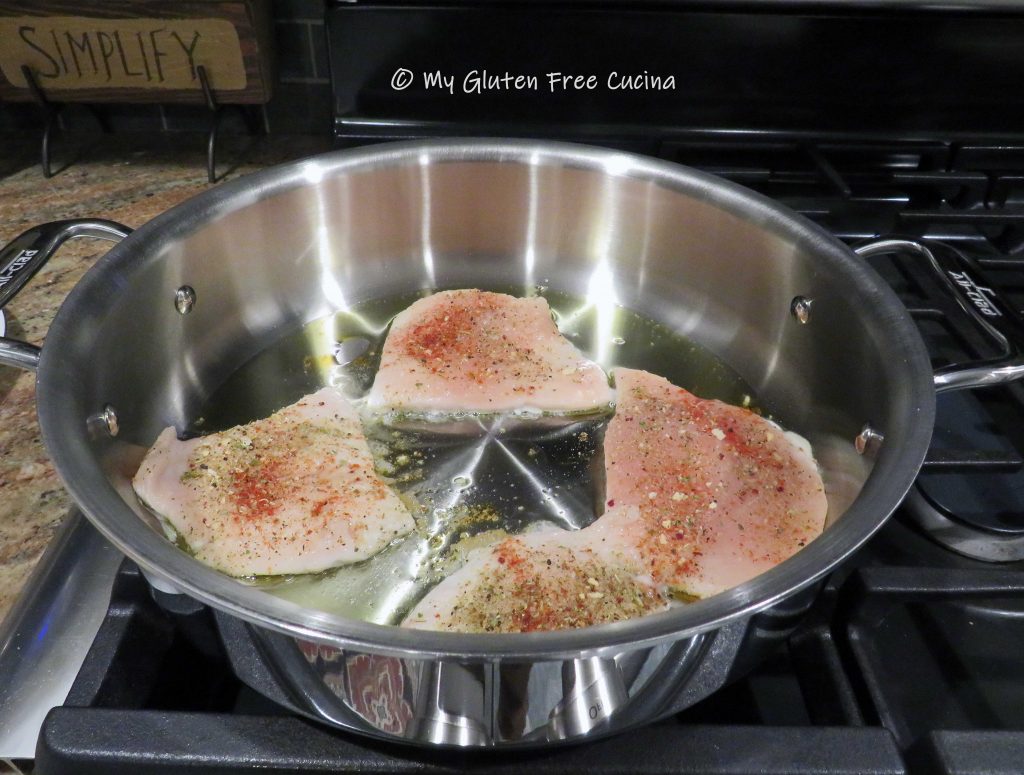
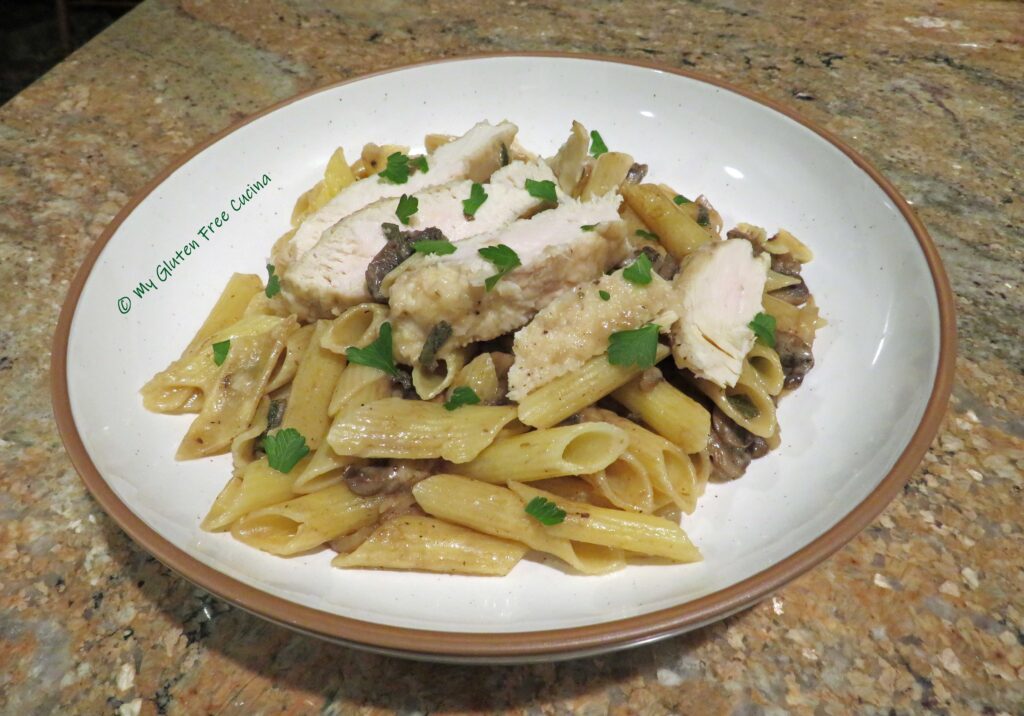
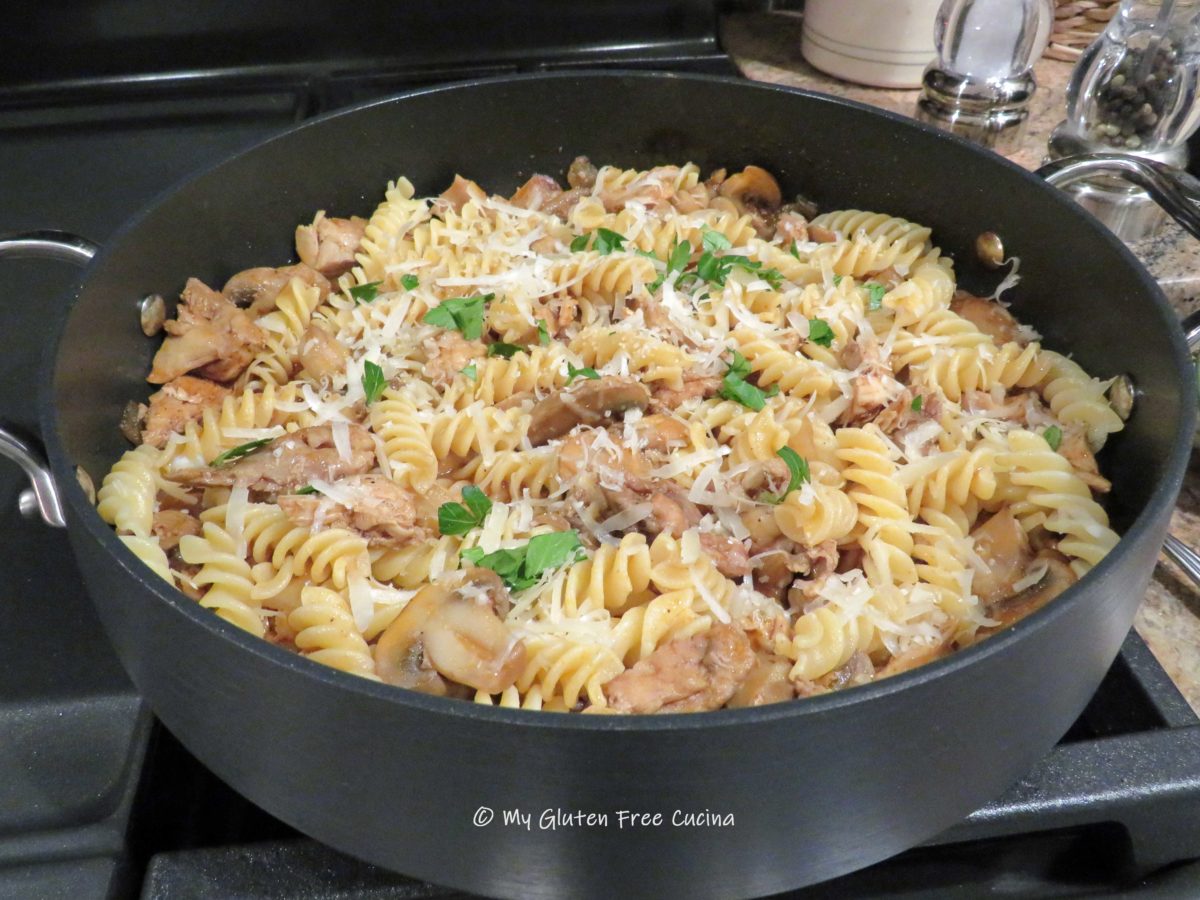
 By now the pasta water should be ready, cook the pasta to a few minutes less than the package directions, it will finish cooking in the sauce.
 Cook for 1 minute, stir it all together and return the chicken to the pan.
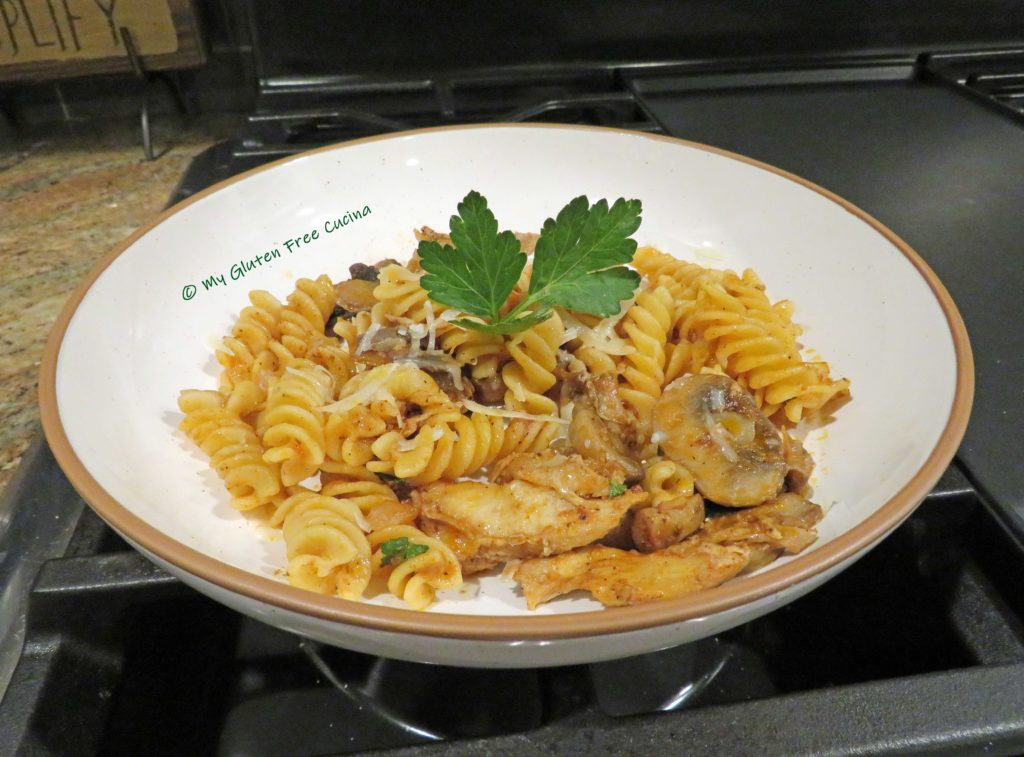
 Drain the pasta and add to the pan, toss well and cook for one more minute.
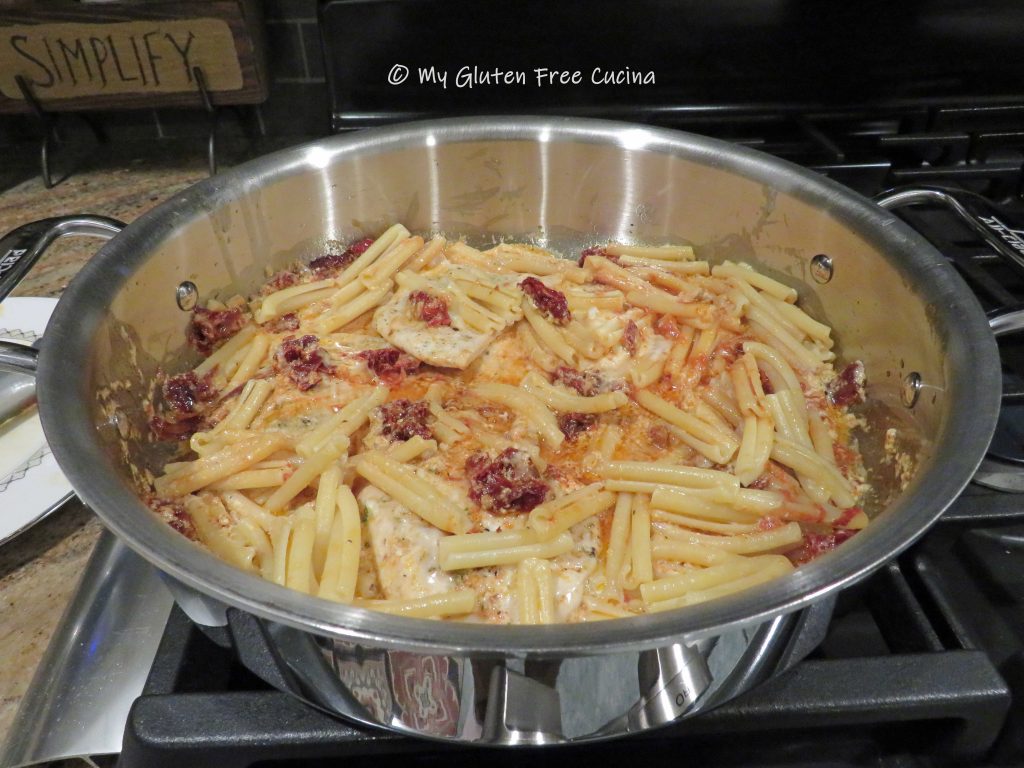


 Stir in 1 cup
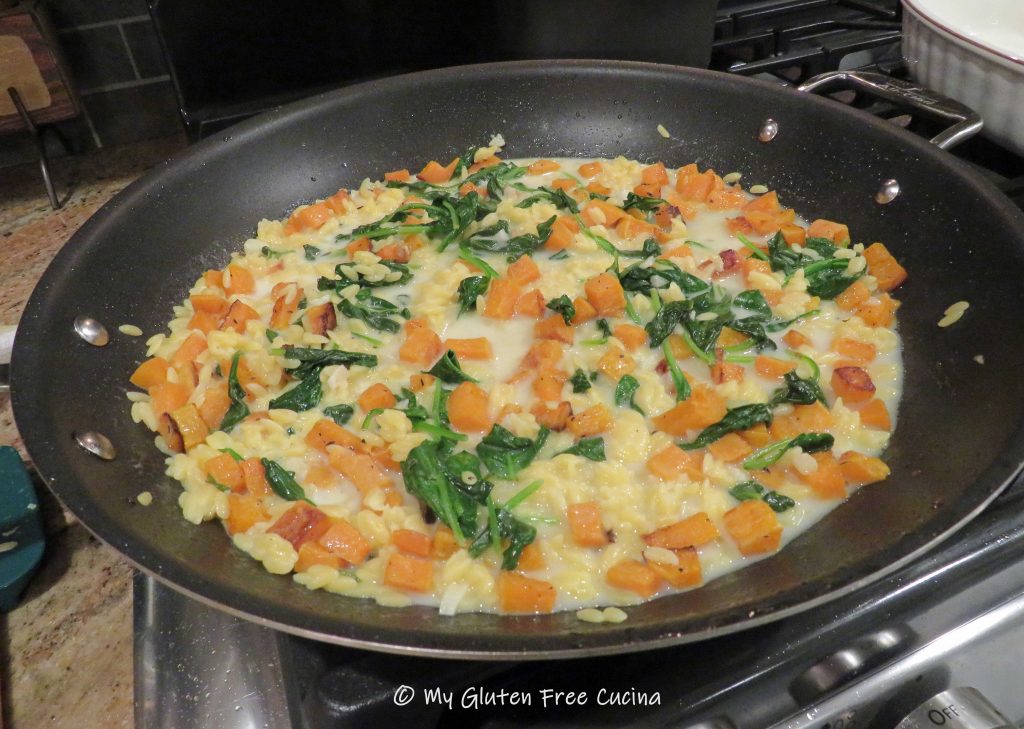

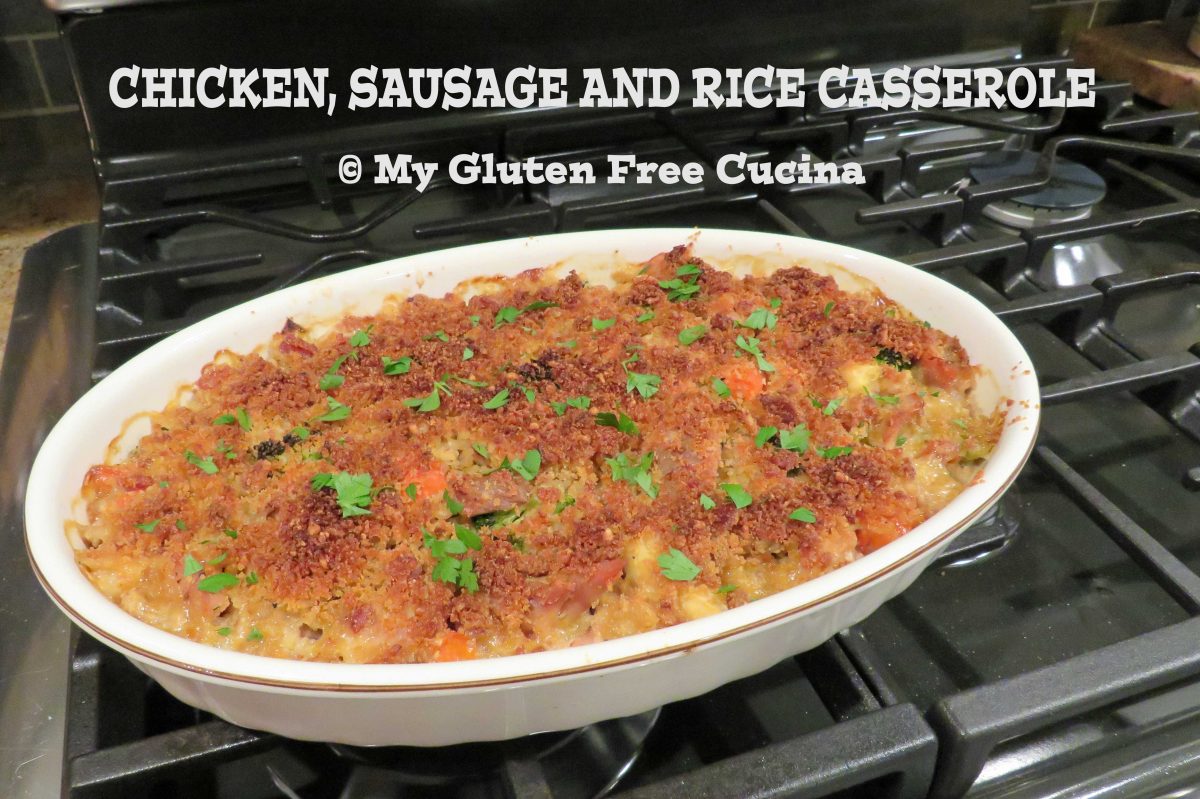
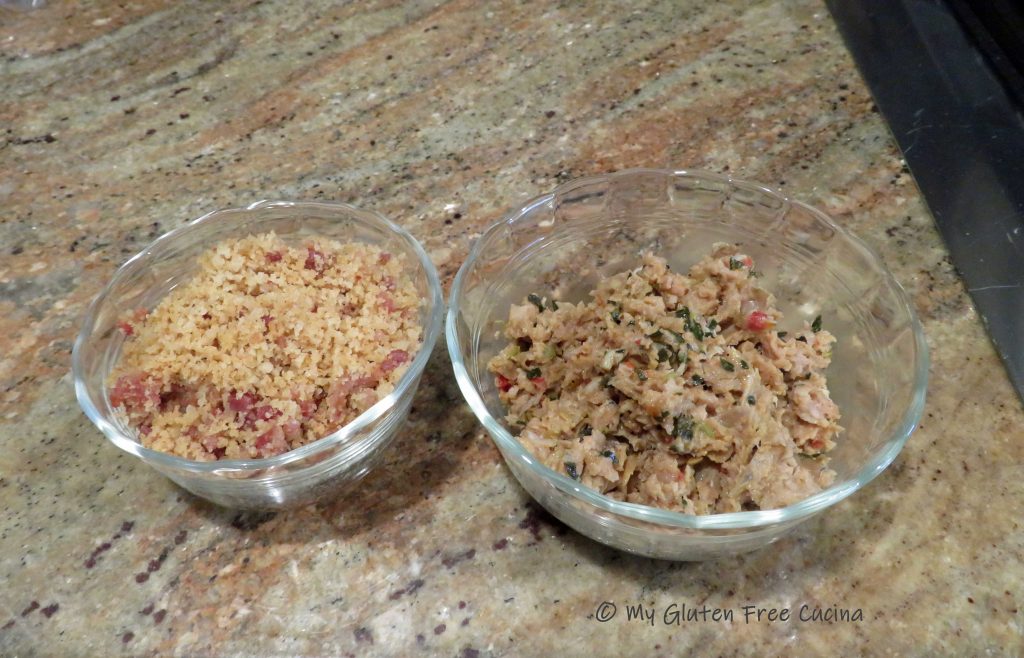
 Crumble the bacon, or place in an
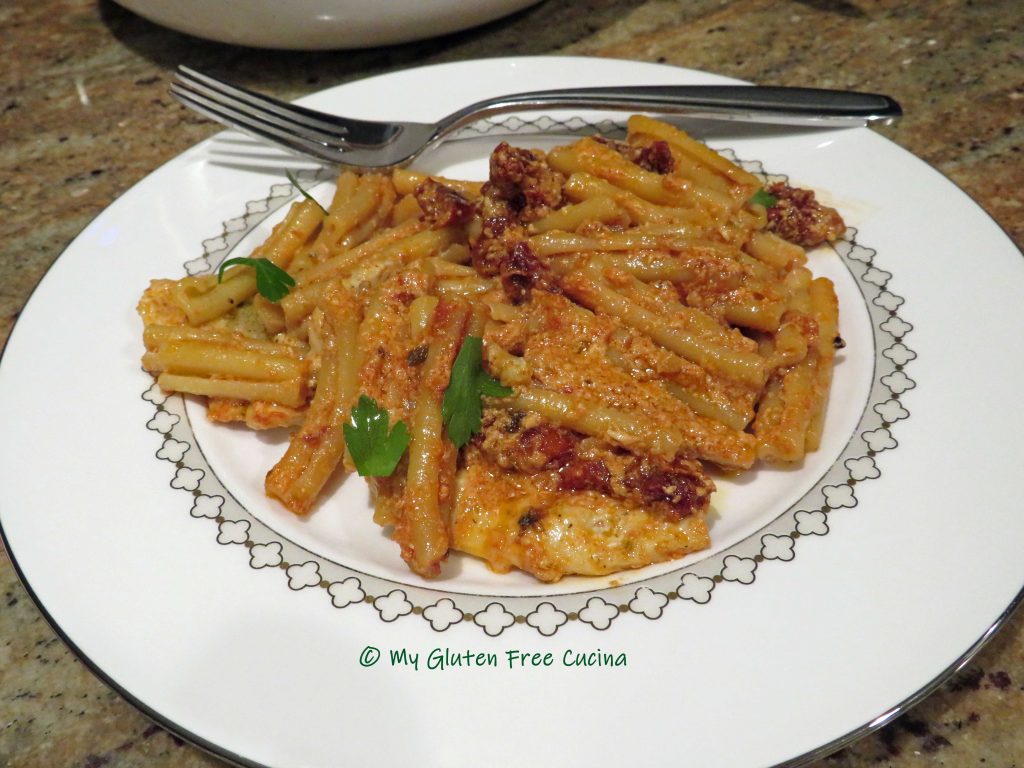
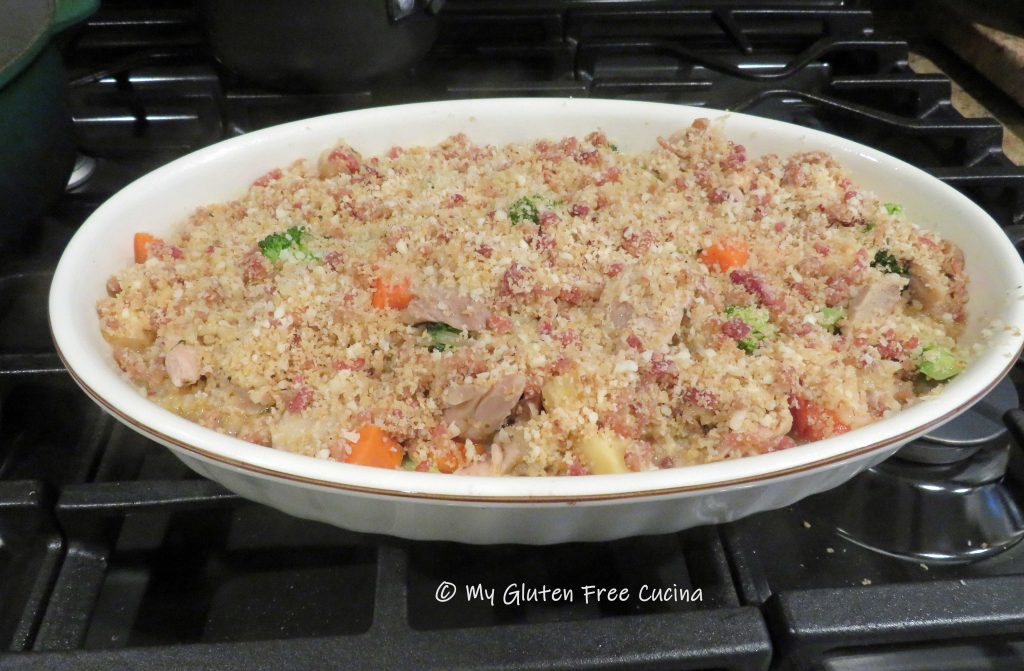
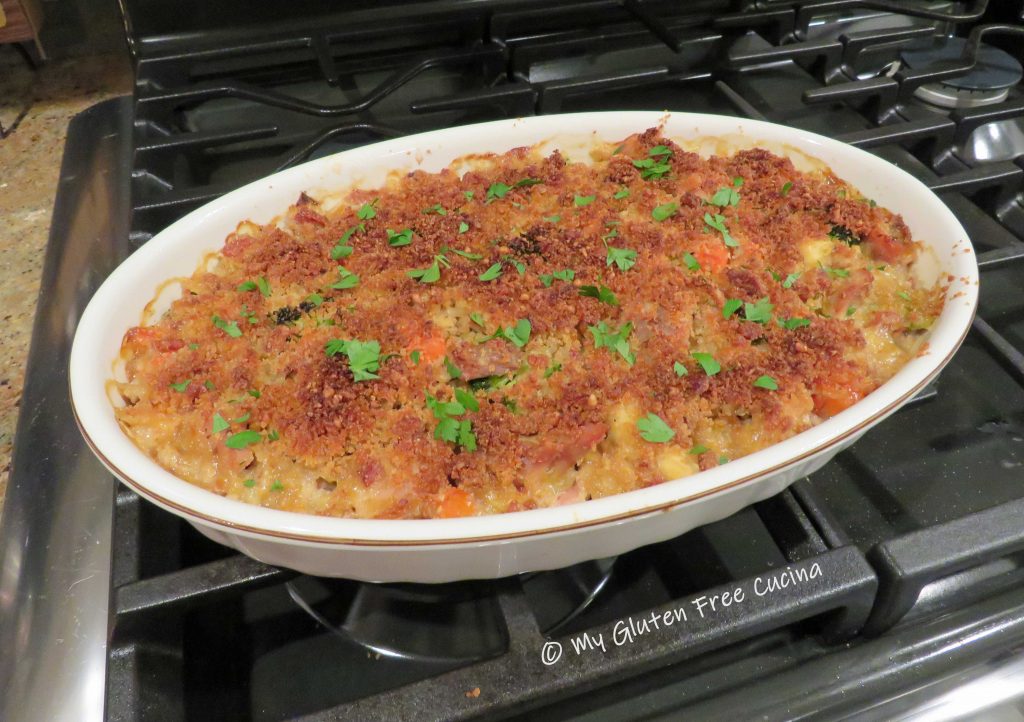
 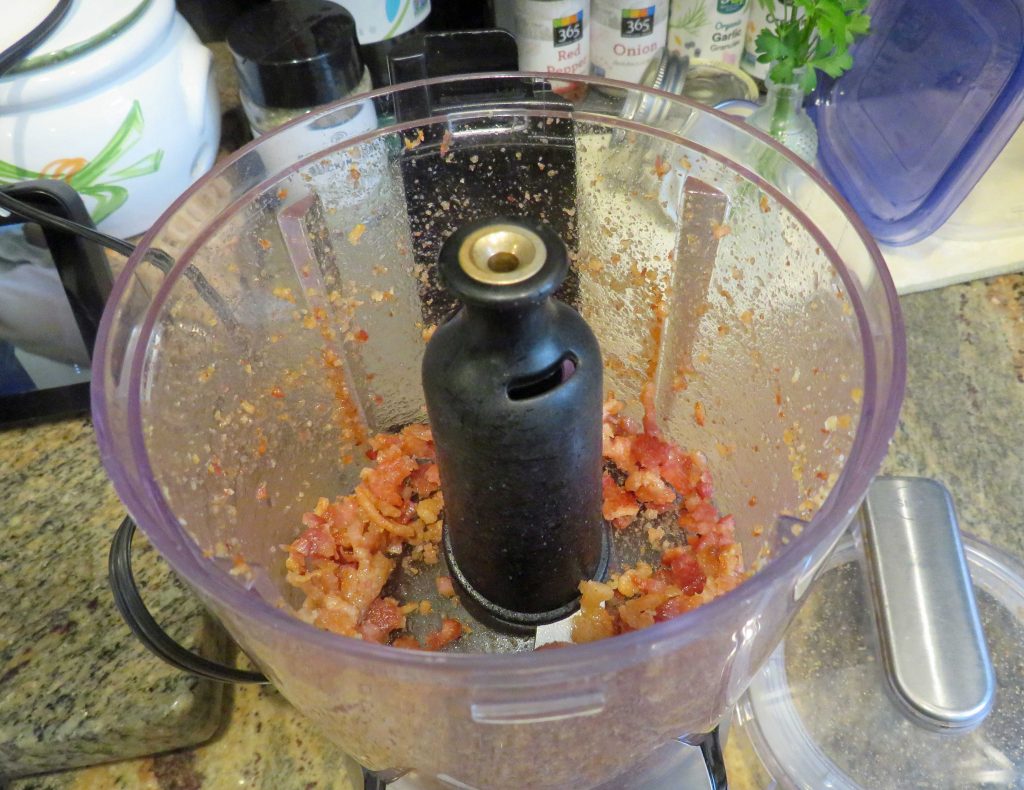 Add 1/3 cup of gluten free breadcrumbs to the skillet with the bacon fat and stir over low heat. Add back the crumbled bacon and stir well to combine. Set aside to cool, then mix with 1/4 cup grated parmesan cheese for topping.
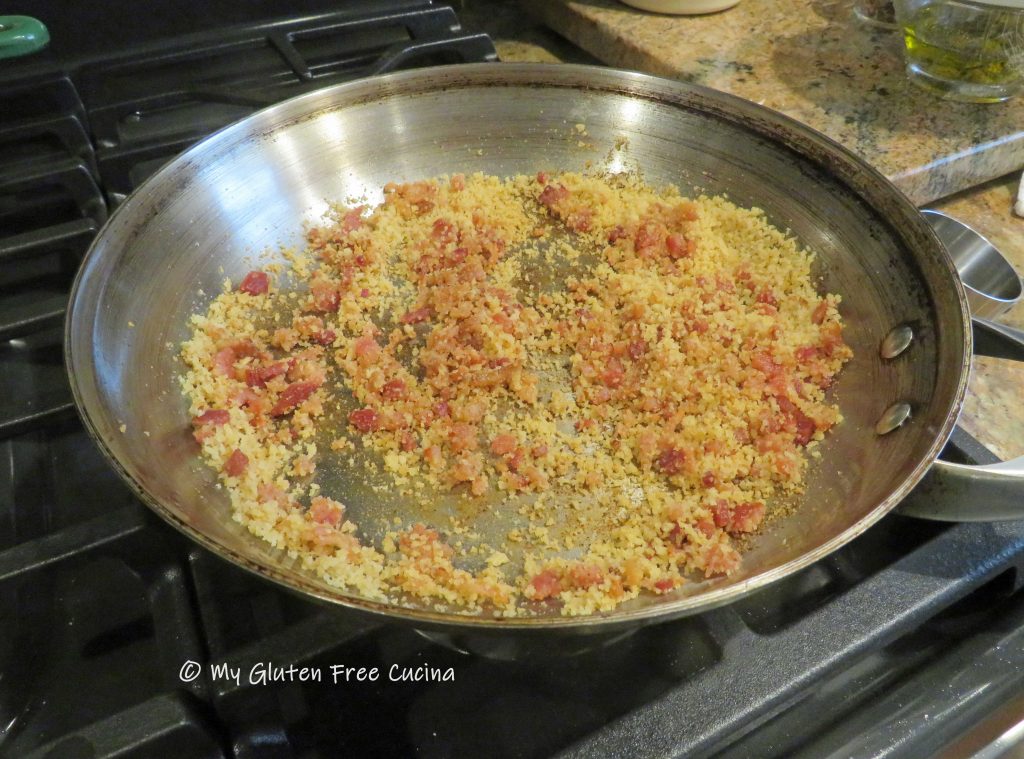

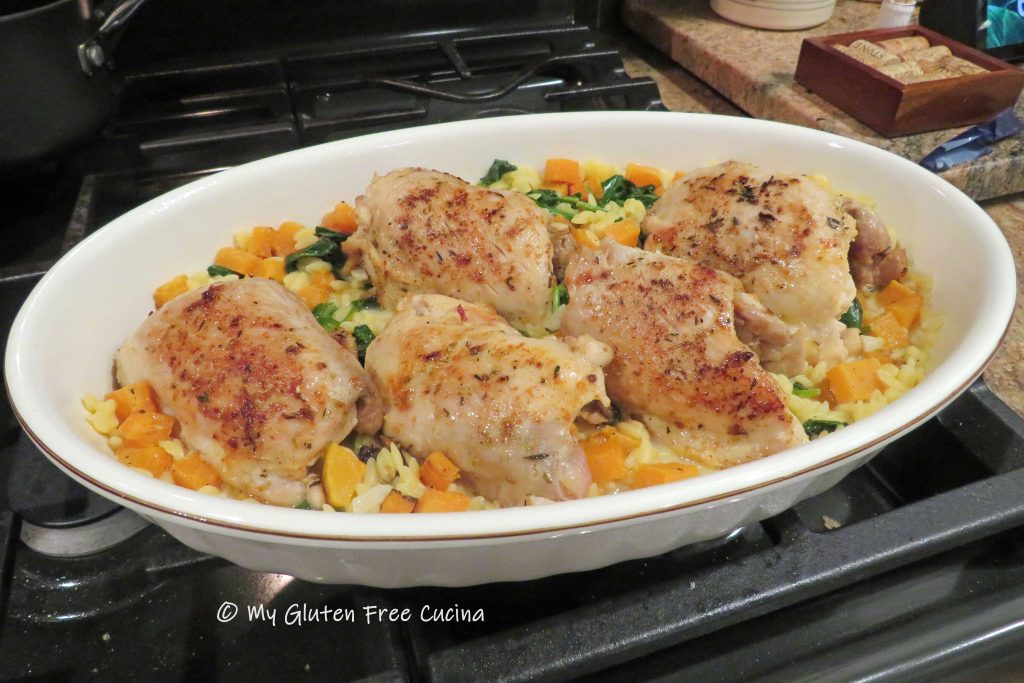
 Place browned chicken in a


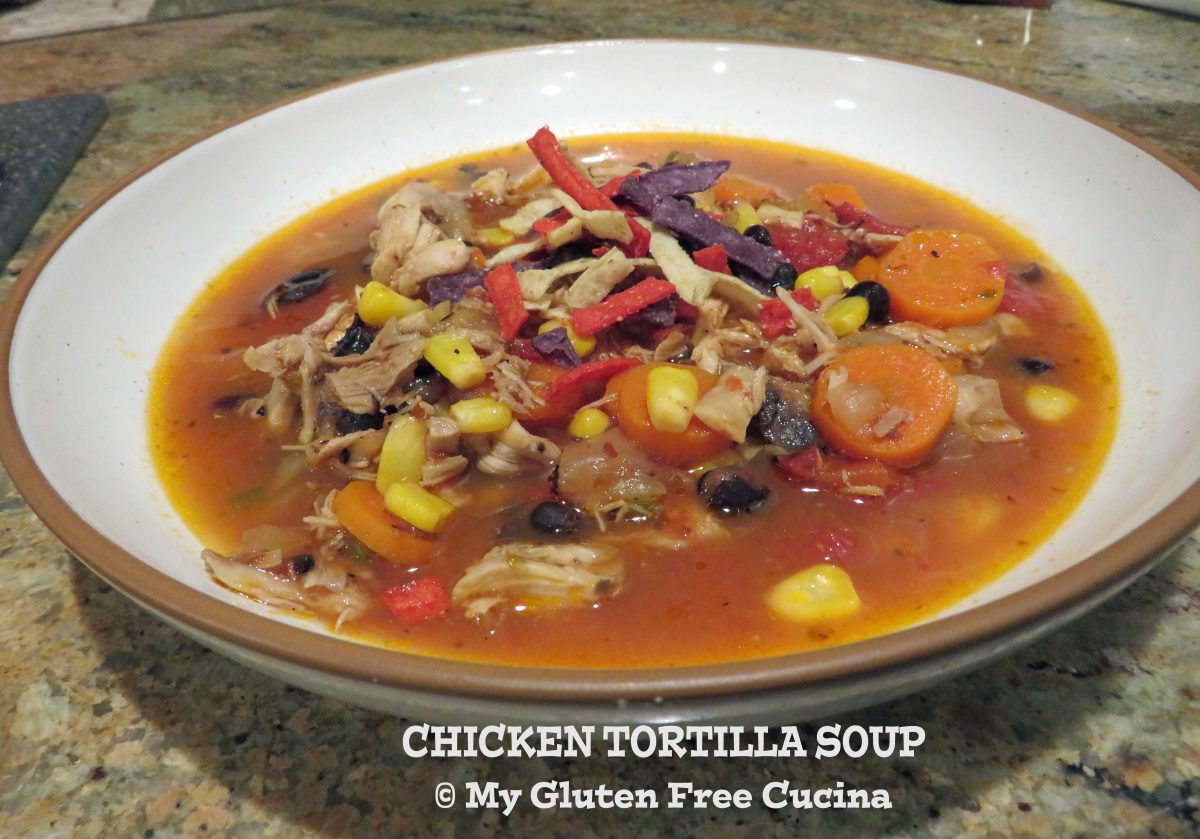


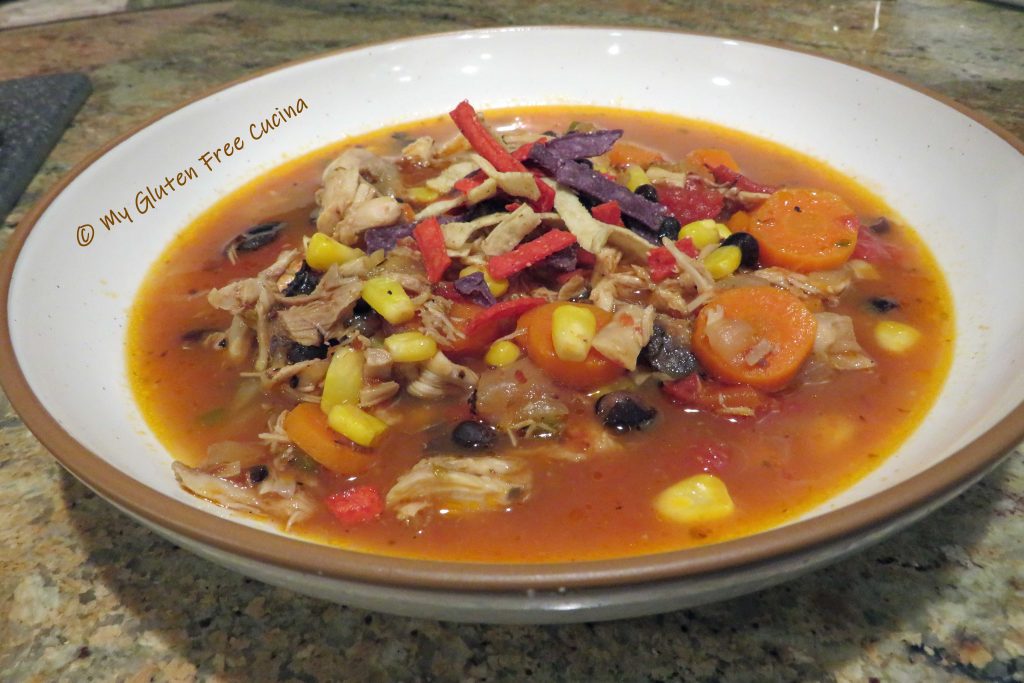
 Garnish each bowl with tortilla strips.