
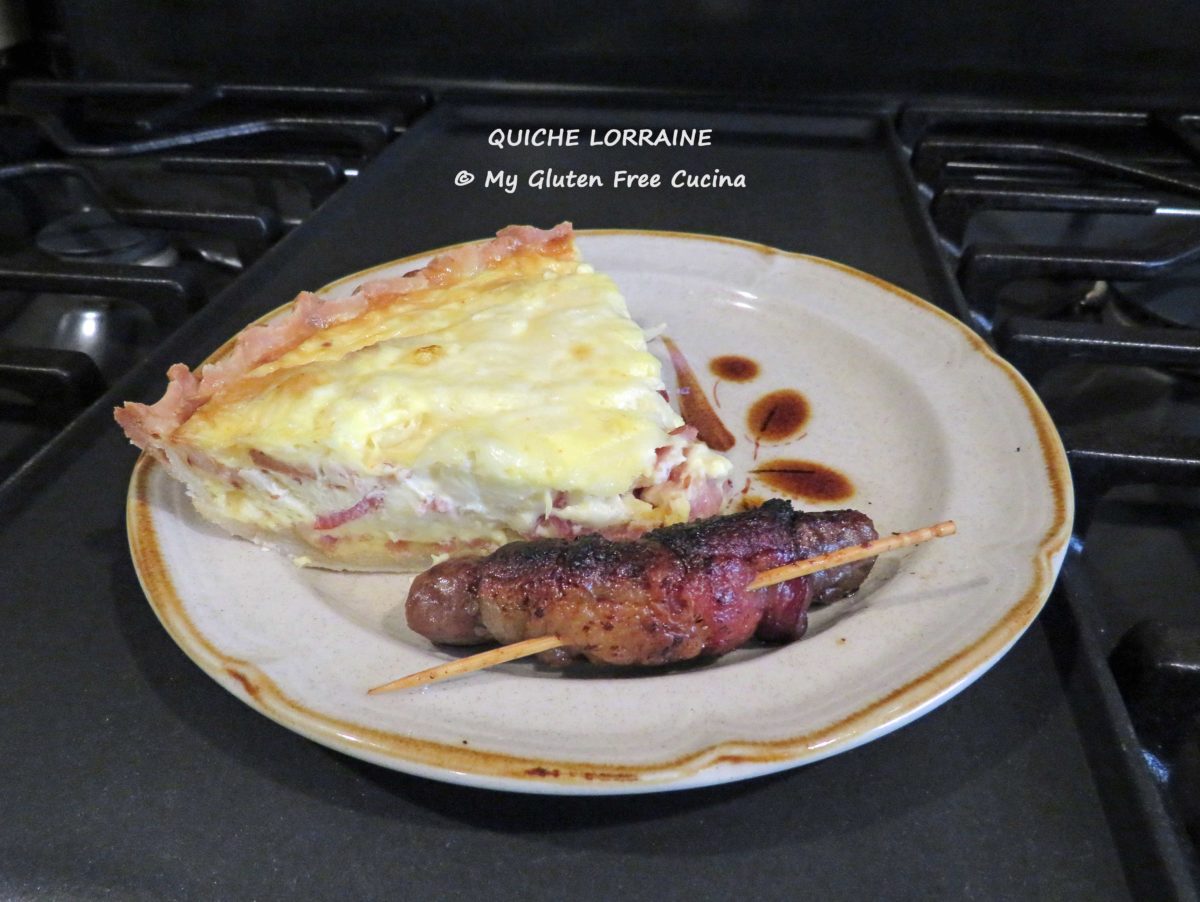
Quiche Lorraine, the French classic. What’s not to love about a yummy quiche filled with bacon, cheese and onions? I think that a quiche is one of the easiest things to make for brunch, because you can prepare most of it a day ahead then just assemble and bake in the morning.
Is quiche gluten free?
The filling of a quiche, usually consisting of eggs, cream, meat and/or vegetables is gluten free. Only the pie crust contains gluten. Fortunately, this Gluten Free Cream Cheese Pie Crust is easy to make, and it is perfect to use with both sweet and savory pie recipes. And of course, I just happened to have one in my freezer, waiting for a special occasion!
This post contains affiliate links.
Ingredients:
- 1 Gluten Free Pie Crust
- 12 slices of bacon
- 1 cup grated Gruyere cheese
- 1/3 cup sweet onion, fine dice
- 2 cups light cream
- 4 large eggs
- 3/4 tsp. salt
- 1/4 tsp. sugar
- 1/8 tsp. cayenne pepper
Preparation:
If your pie crust is frozen, take it out one day ahead to defrost in the refrigerator. Then let it sit on the counter for about 15 minutes before rolling it out between two sheets of parchment.

If it breaks, you can put it back into the refrigerator for 15 minutes then try rolling it out again. With a gluten free crust, you do not need to worry about overworking the dough, so you can roll it out as many times as you need to.
Gently place the rolled-out dough into a glass pie dish, trim the edges and crimp. Use the scraps to patch any holes or cracks (you can see I had quite a few!). Yes, pie crust does not always cooperate, but I got it to work. Remember, even if it’s not the prettiest it will taste great!
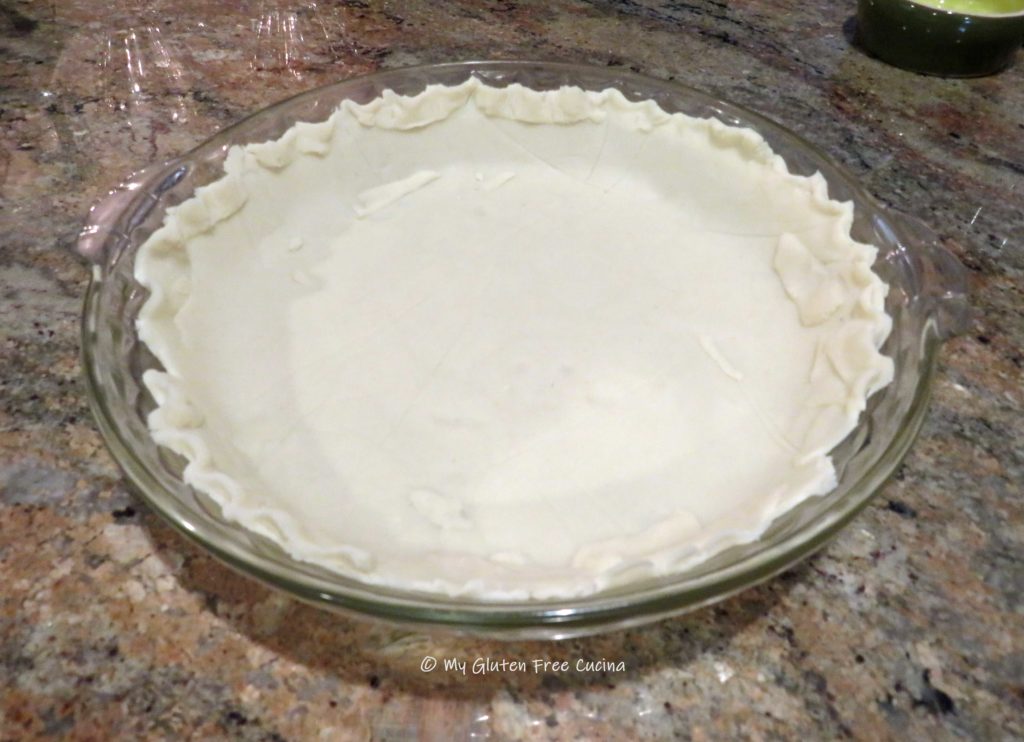
Place the pie dish in the refrigerator while you prepare the rest of the ingredients.
Hint: you can prepare the pie crust to this point and refrigerate it overnight for baking in the morning. Just cover it with plastic wrap so it doesn’t dry out.
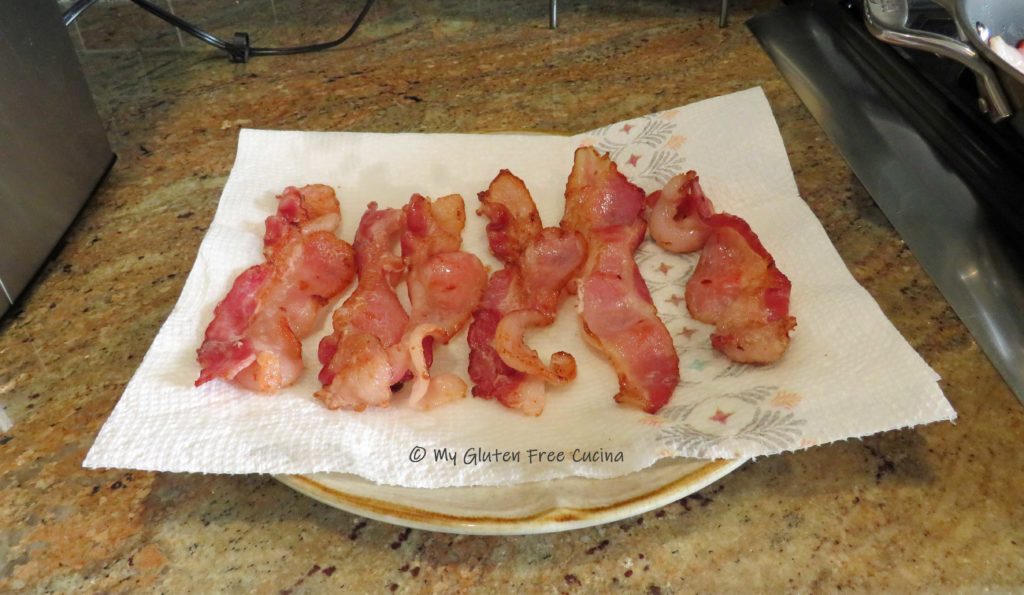
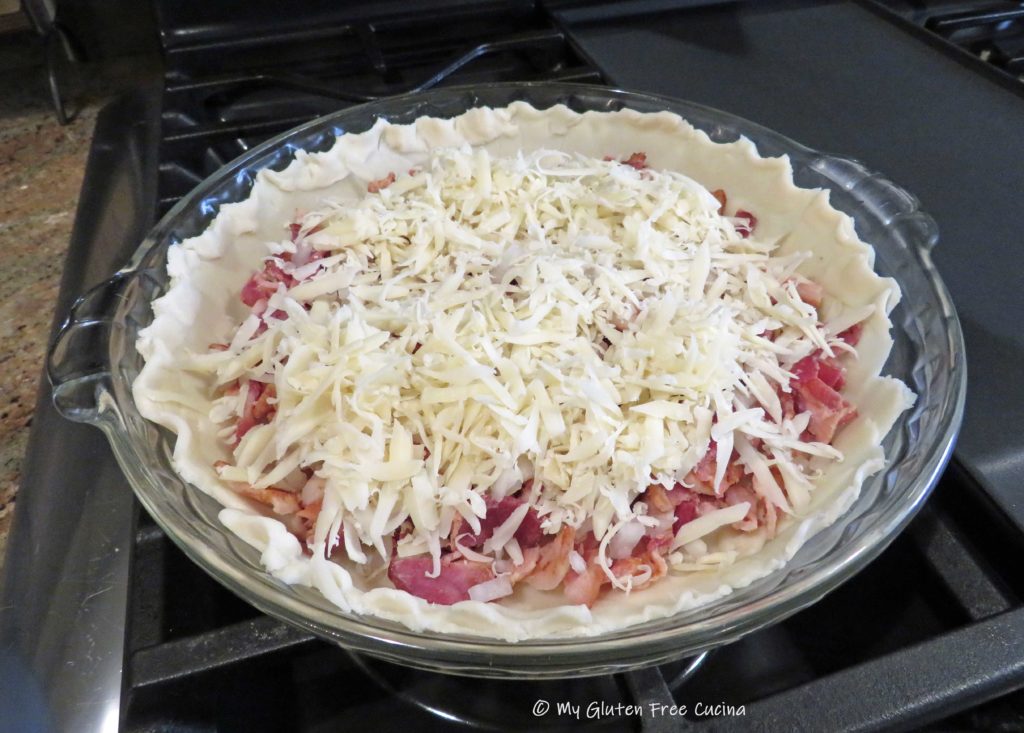
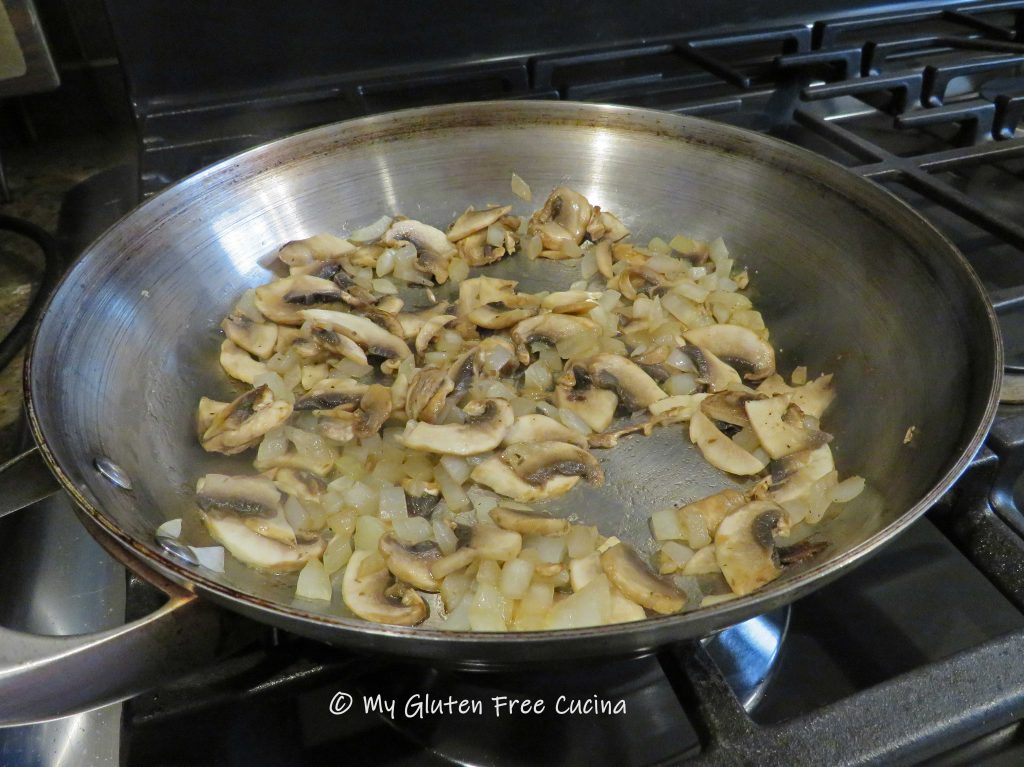
You can also prep the bacon, cheese and onion the night before. Cook the bacon (in batches if needed) and drain on paper towels. Chop it into 1/2″ pieces. Grate the cheese and mince the onion.
In the morning, when you are ready to assemble the quiche, preheat the oven to 425º. Take the pie crust out of the refrigerator while the oven preheats, so you are not placing a cold plate directly into the hot oven. Spread the bacon, onion and cheese into the pie shell.
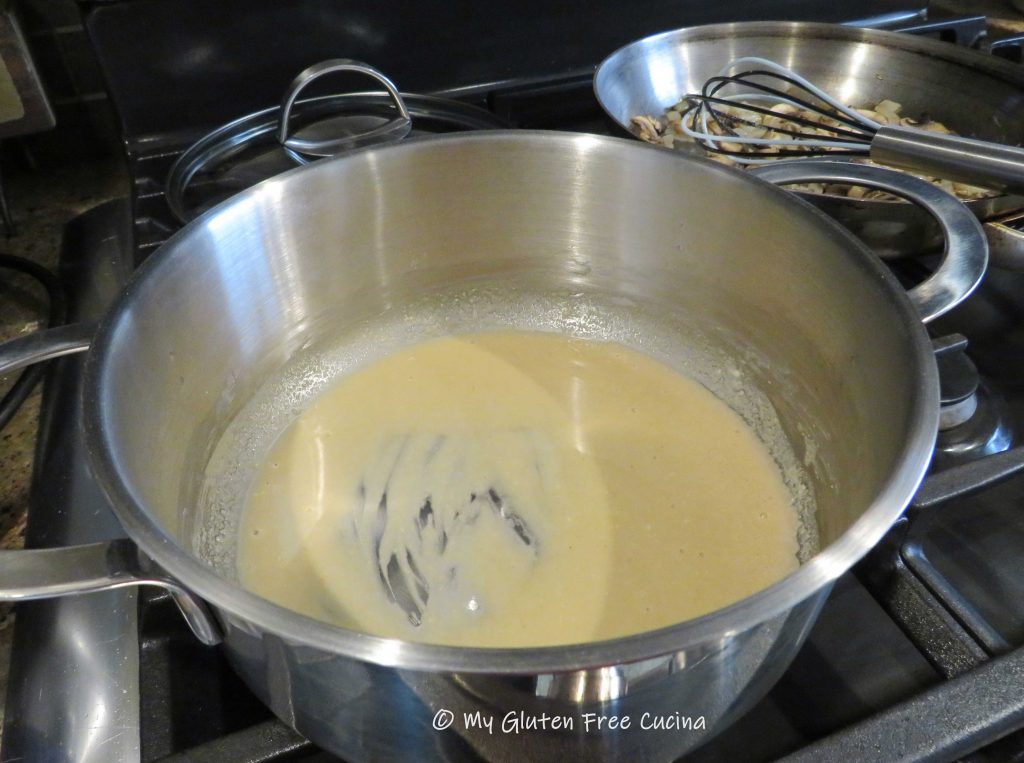
In a bowl, beat the eggs together with the light cream, salt, sugar and cayenne pepper. Don’t skip the cayenne, it’s just enough to brighten the flavor without adding heat. Pour the egg mixture evenly into the pie shell.

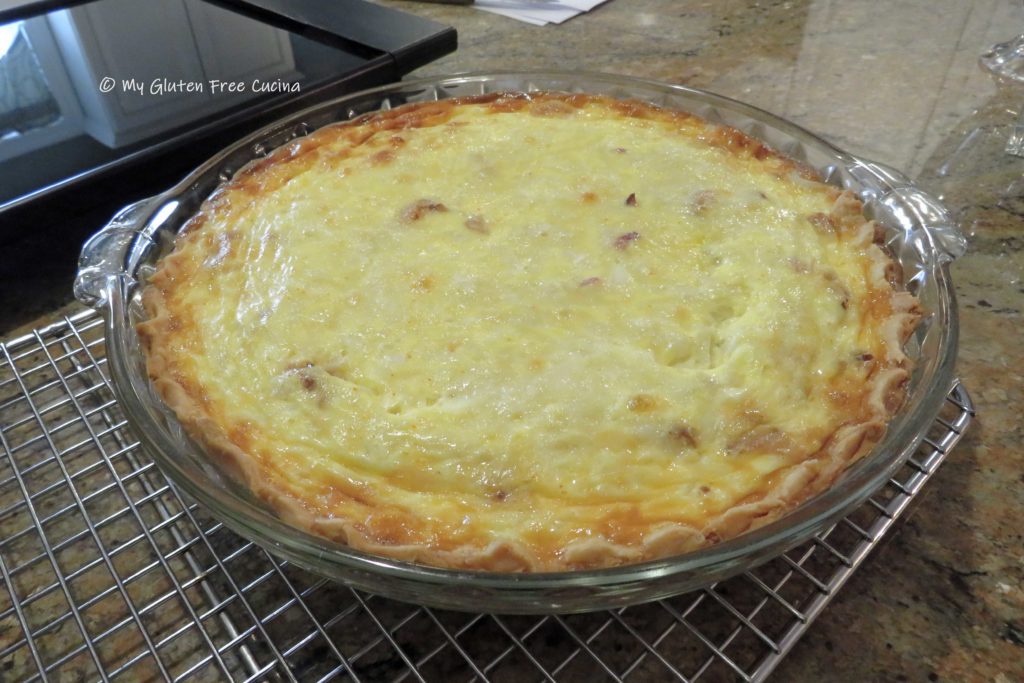
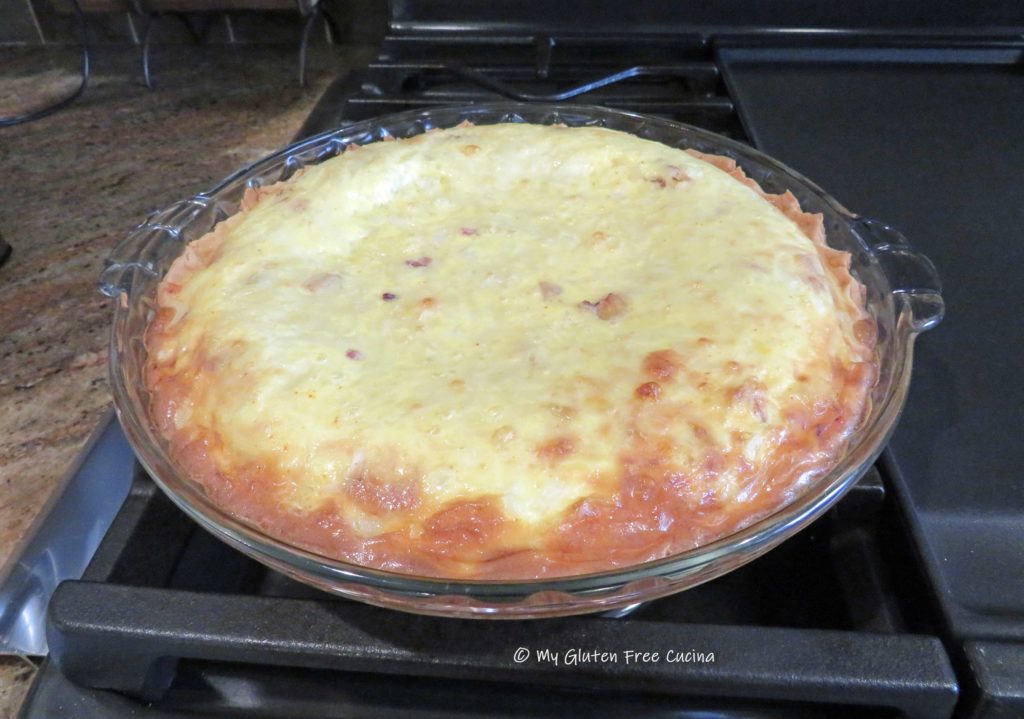
Place on the middle rack of the oven and bake for 15 minutes. Then, lower the heat to 300º and continue baking for 30 minutes longer.
The edges should be nicely browned, and the center golden. To test, you can insert a knife or a toothpick into the quiche, it should come out clean.
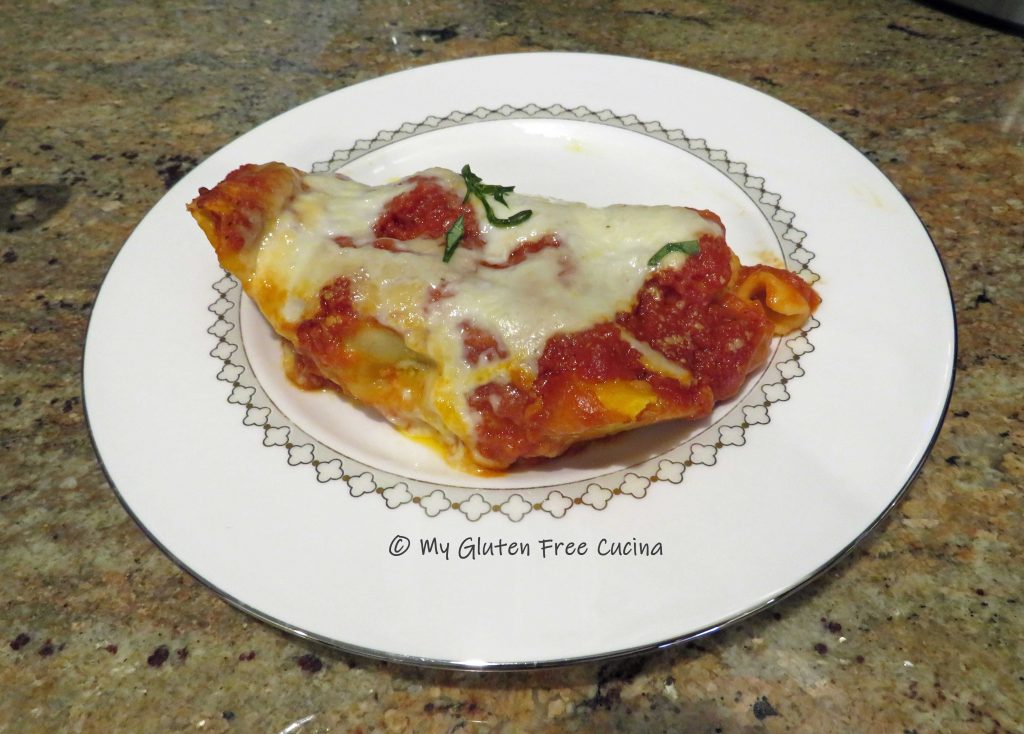
The quiche can be served warm or at room temperature. Leftovers can be refrigerated for several days (do not freeze) and reheated in the oven or microwave. And if you’re ogling that bacon wrapped sausage, get the recipe here!

Notes ♪♫ I always have gluten free pie crust in the freezer for when I want to make sweet or savory pies and quiche. It’s a real time saver, especially when we can’t always grab a ready-made gluten free pie crust at the grocery store. Get the recipe for easy, Gluten Free Cream Cheese pie crust here.


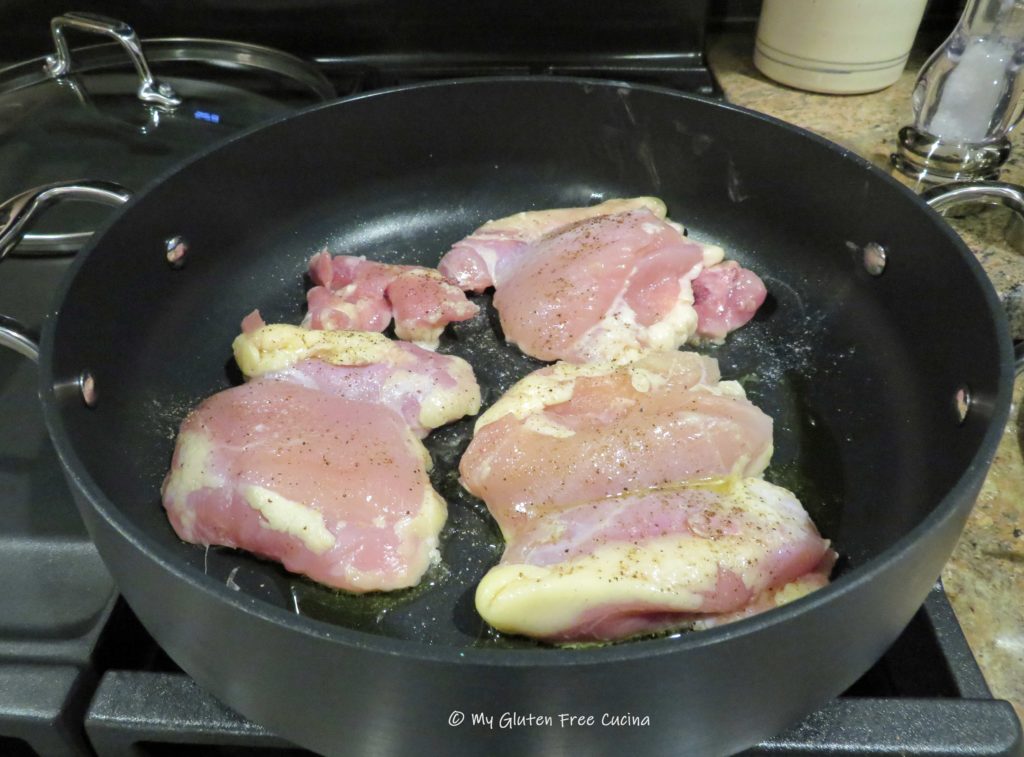
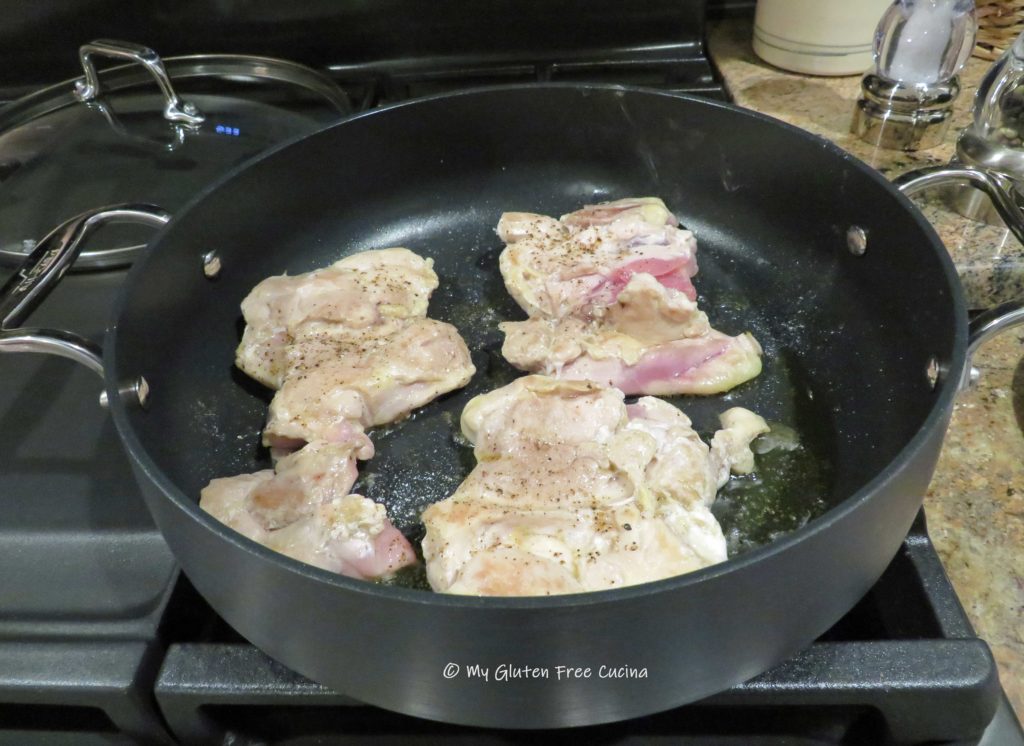

 Add the chicken back to the pan with about 1 cup of chicken broth. Cover and cook for 25 minutes.
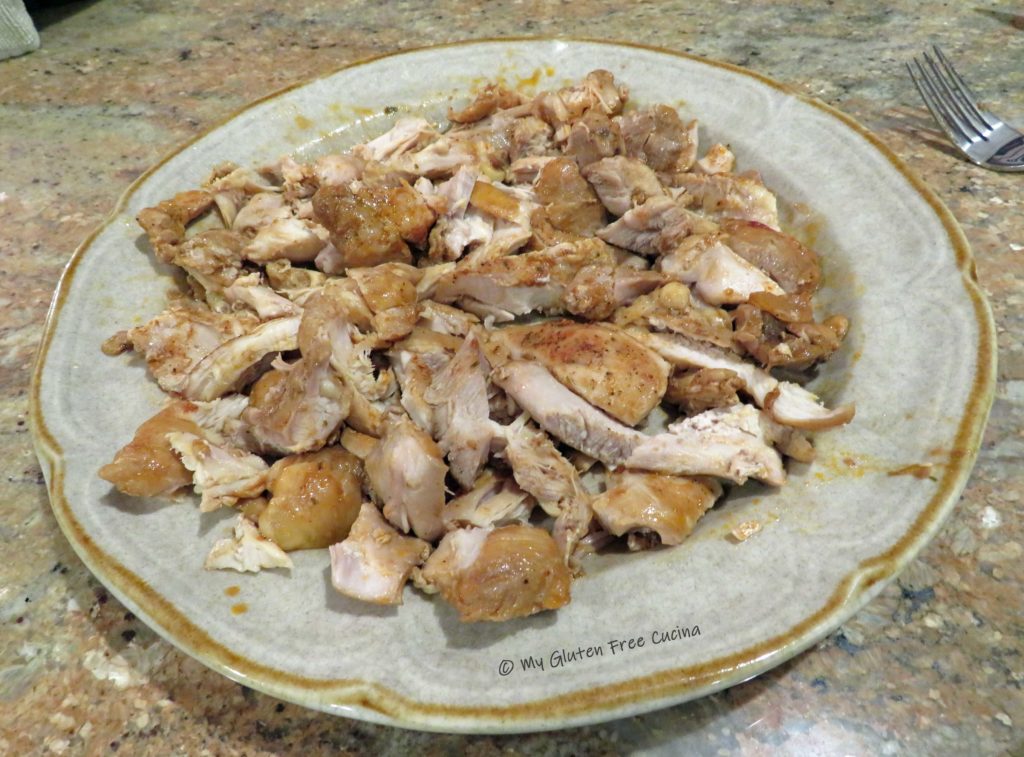
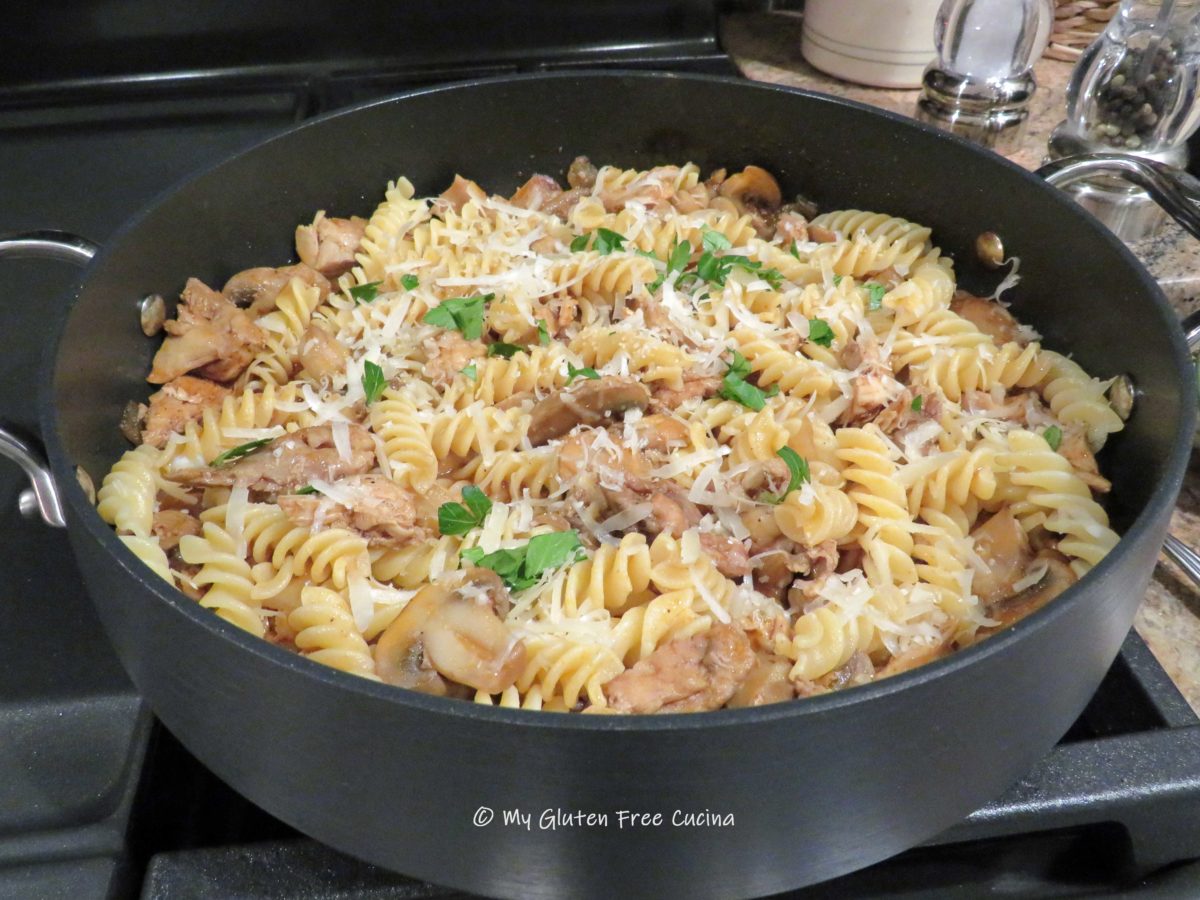
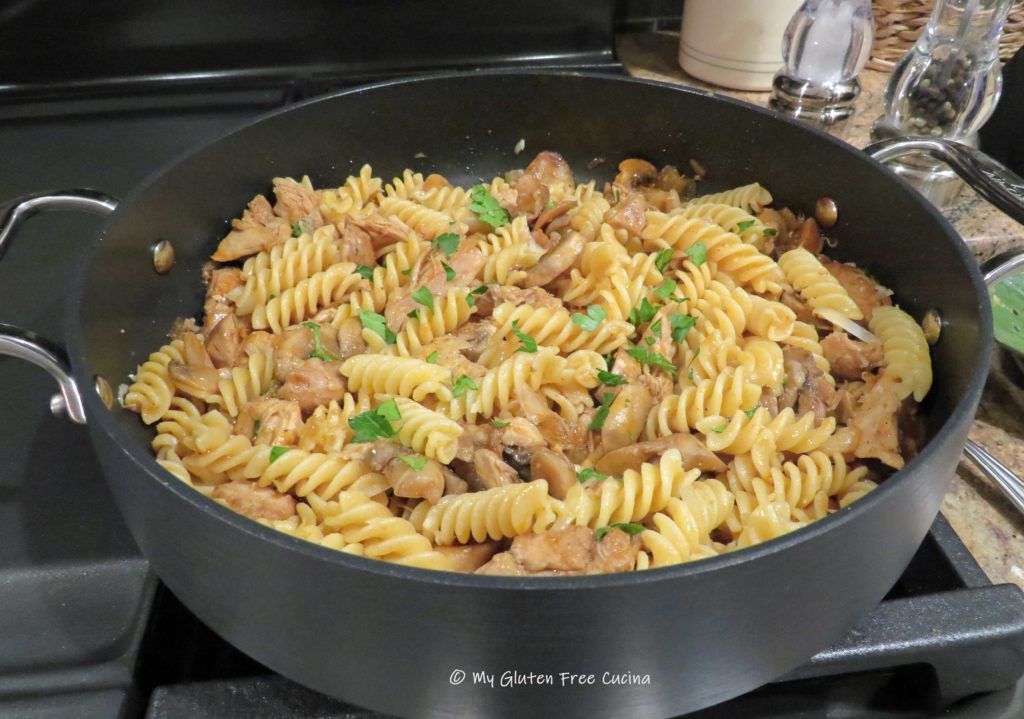
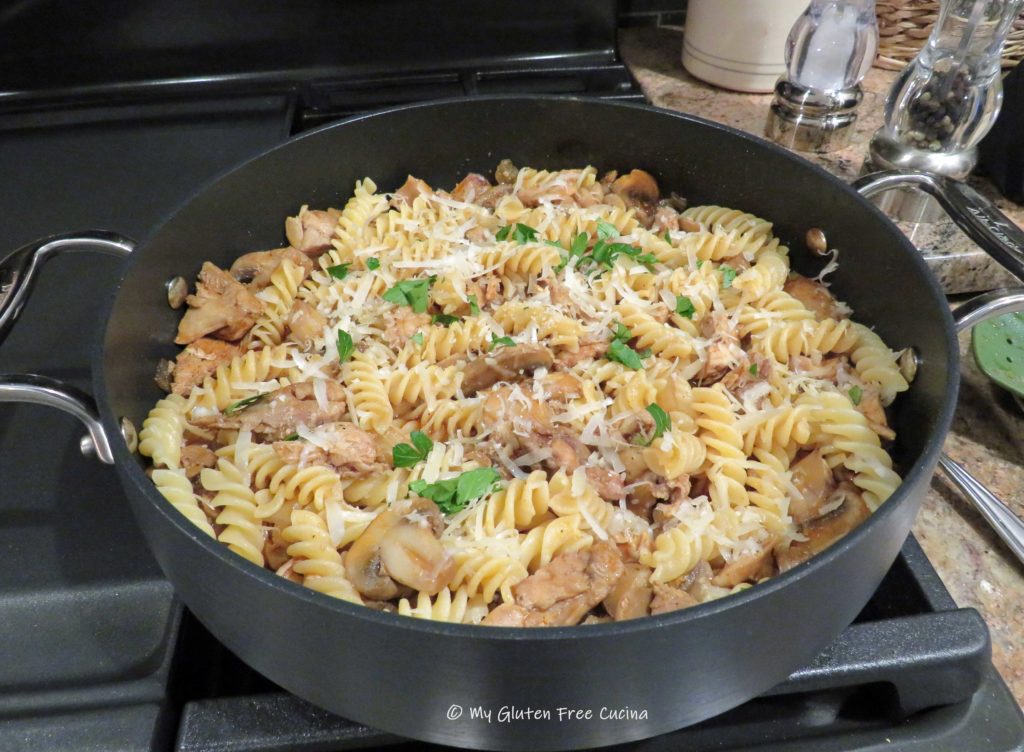
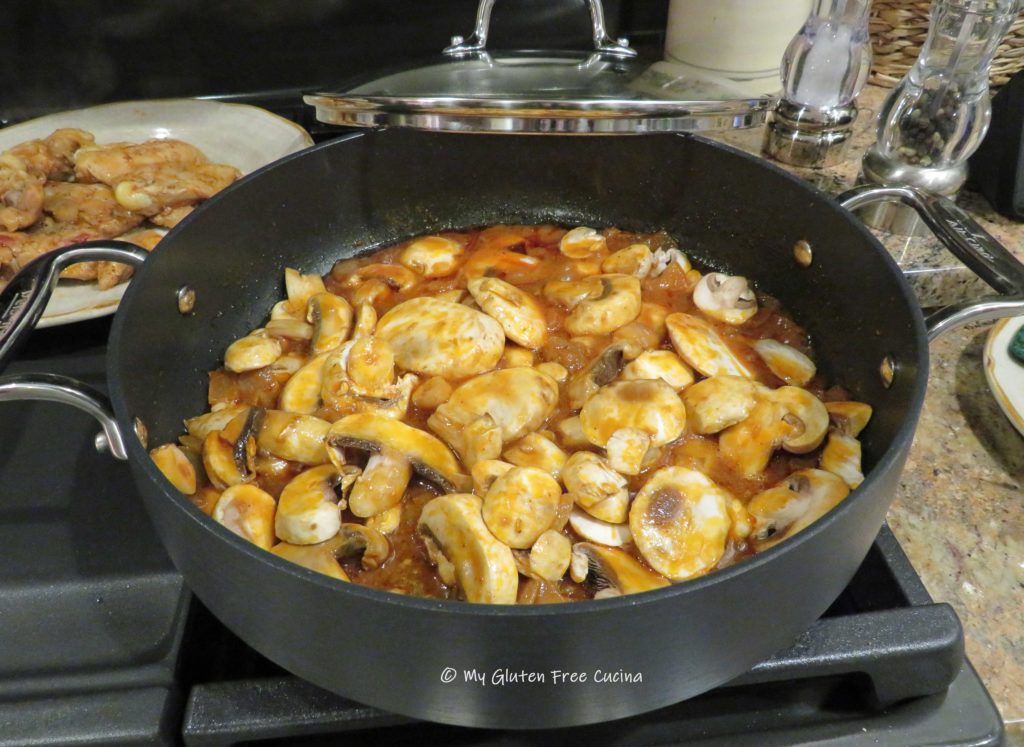 Bring to a simmer and add back the chicken. Cook for an additional 15 minutes. While the ragu finishes, boil water for pasta.

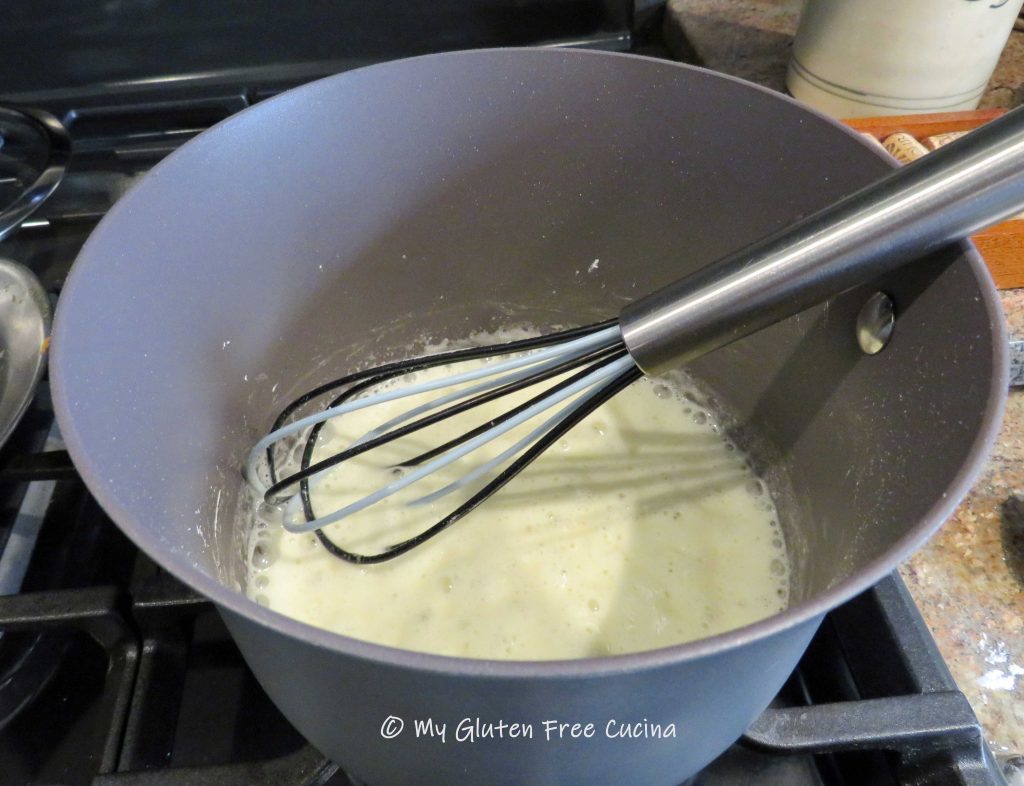
 Drizzle the liquid into the pan as you continue whisking.


 Preparation:


 Combine the yeast, ground chia seeds, sugar and 1/2 cup water in a small bowl or measuring cup. Let the mixture rest for 10 minutes.
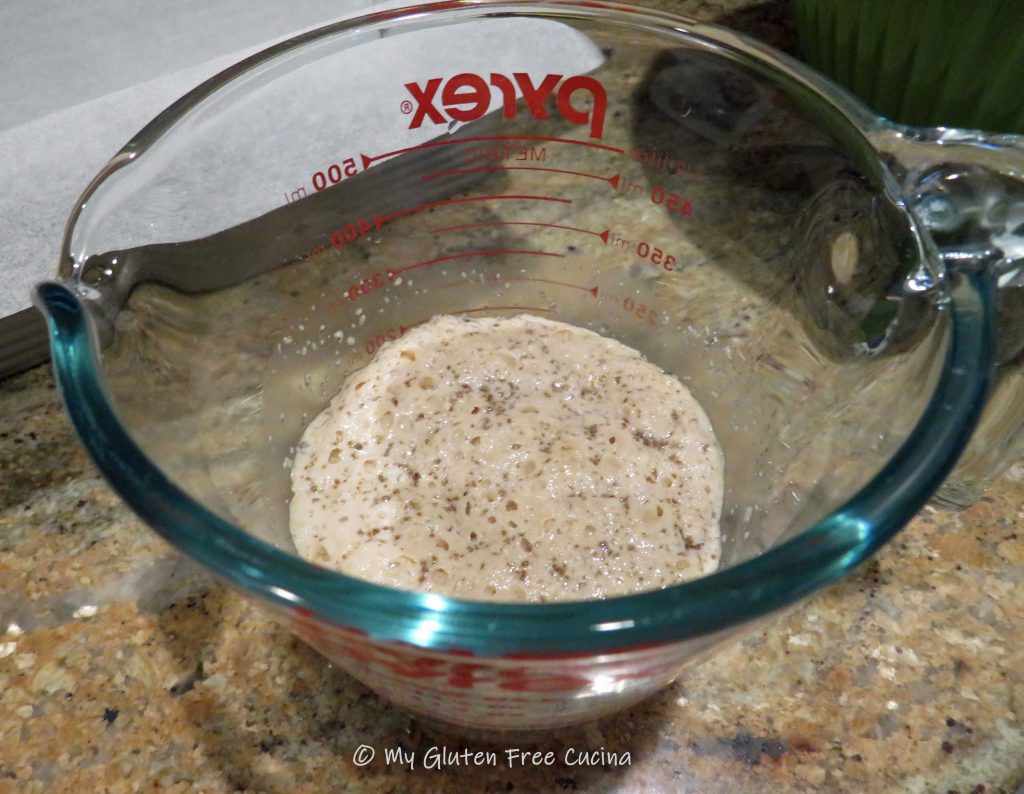
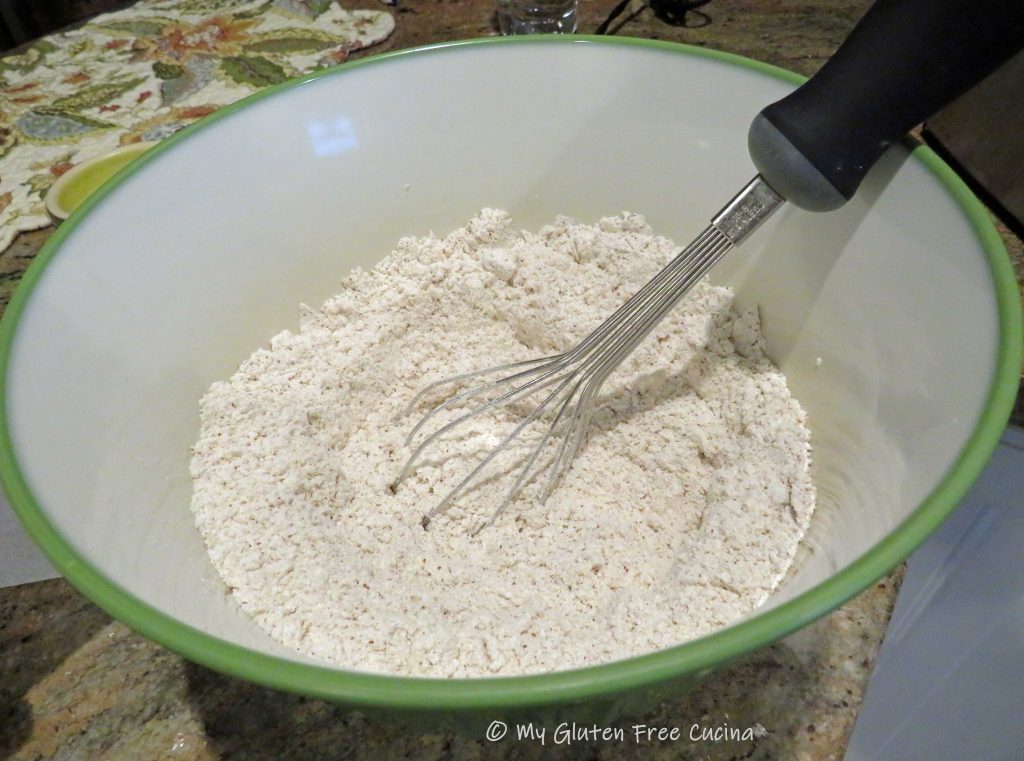
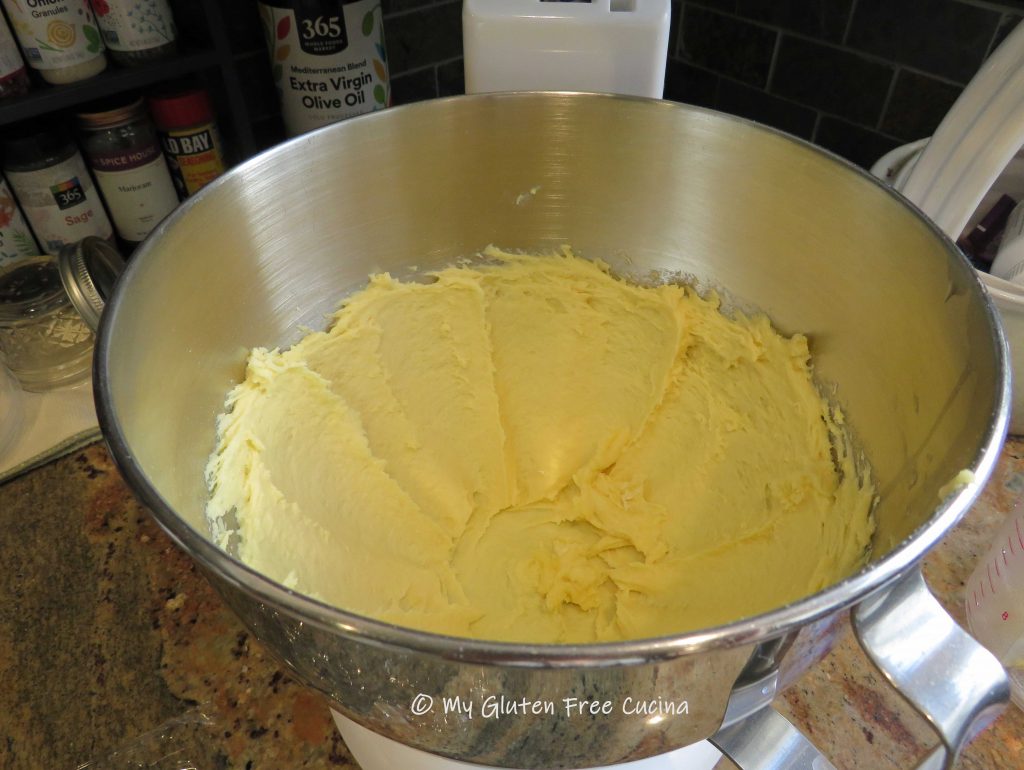
 Whisk it all together, and then add the dry ingredients into the wet. Mix for 5 minutes with the paddle attachment. The dough will be heavy and wet.
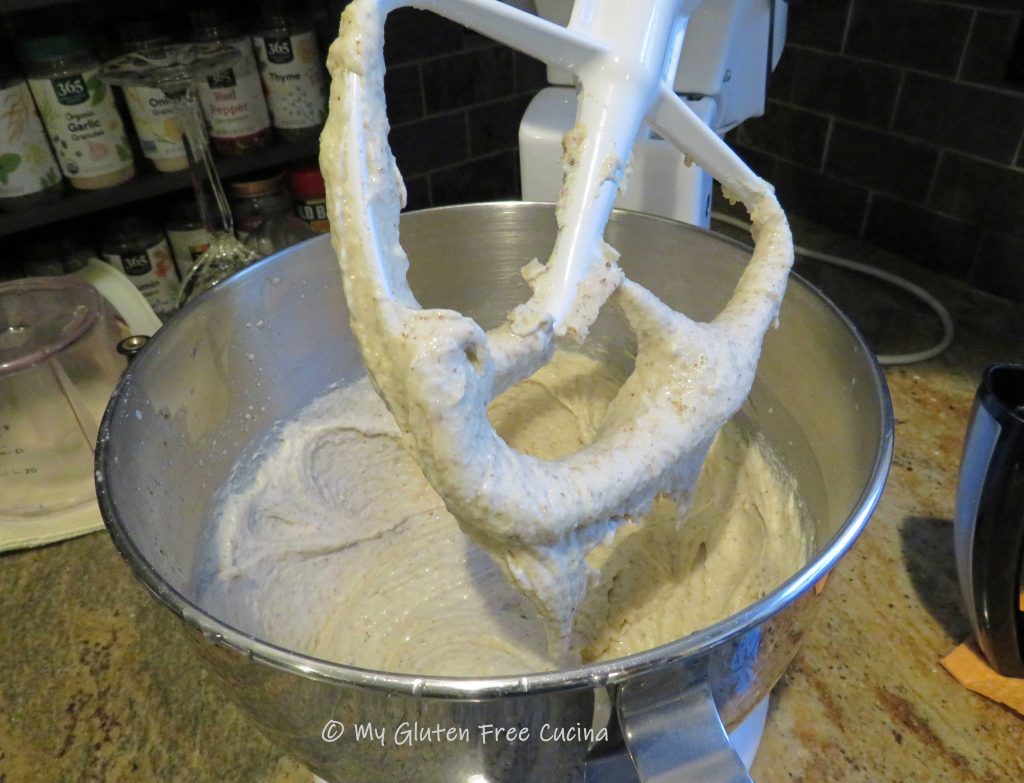
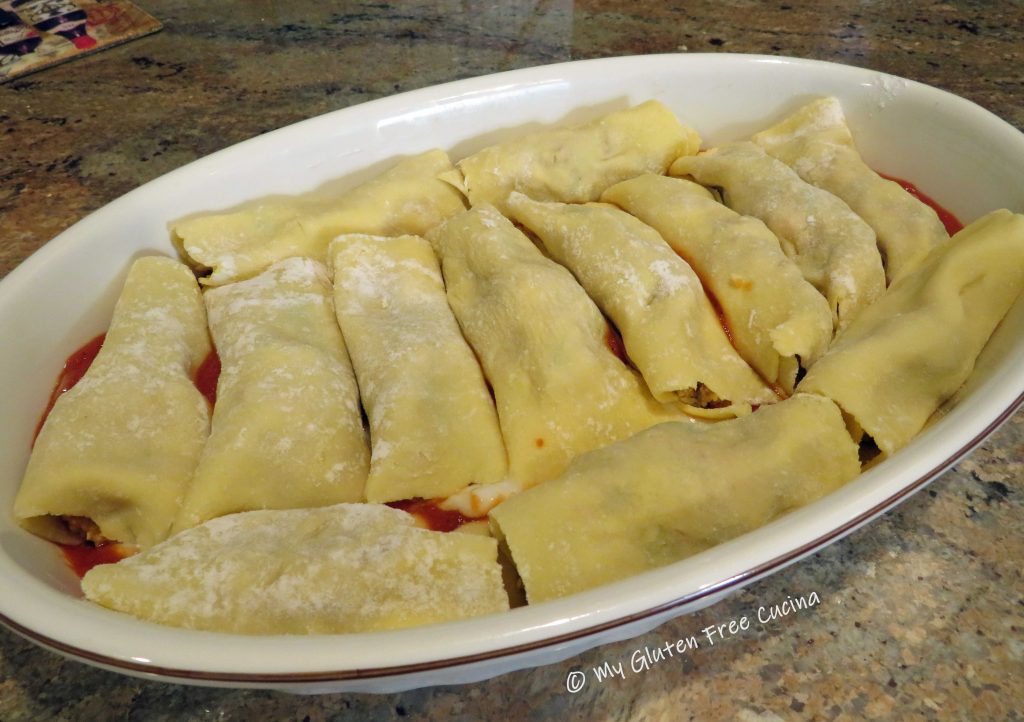
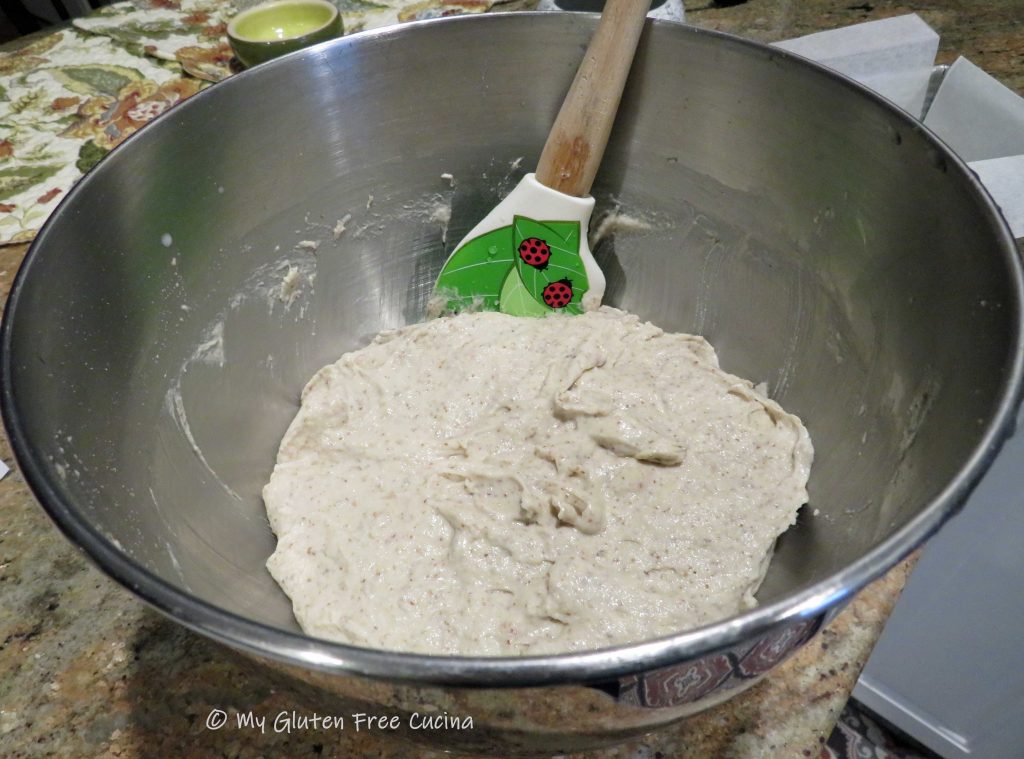 Scrape the dough into the prepared pan, smoothing out the top with a spatula dipped in water.
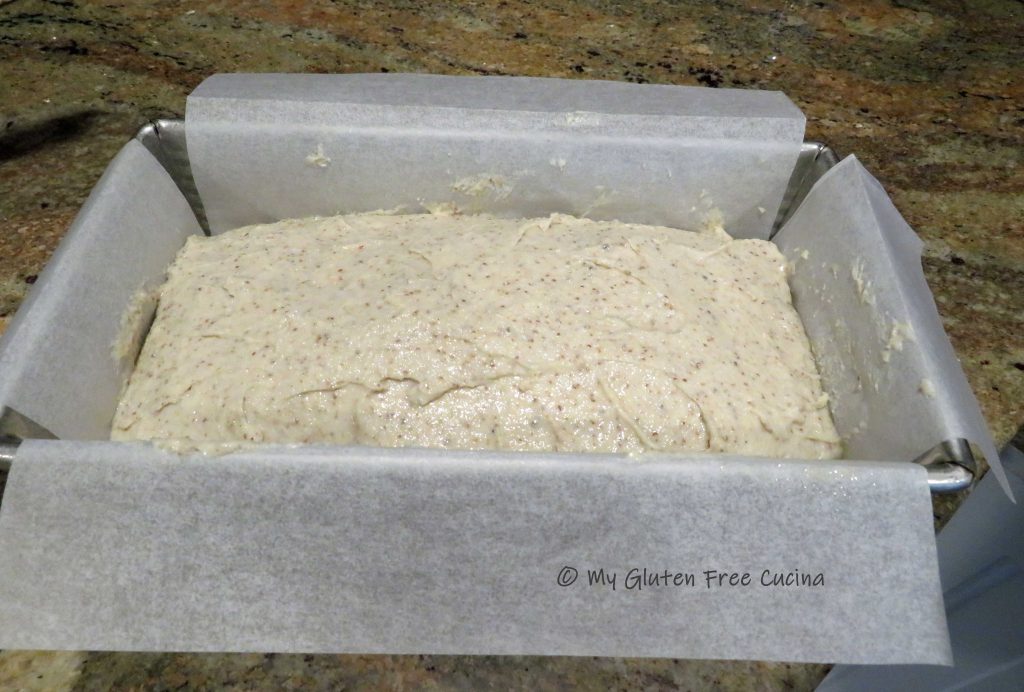
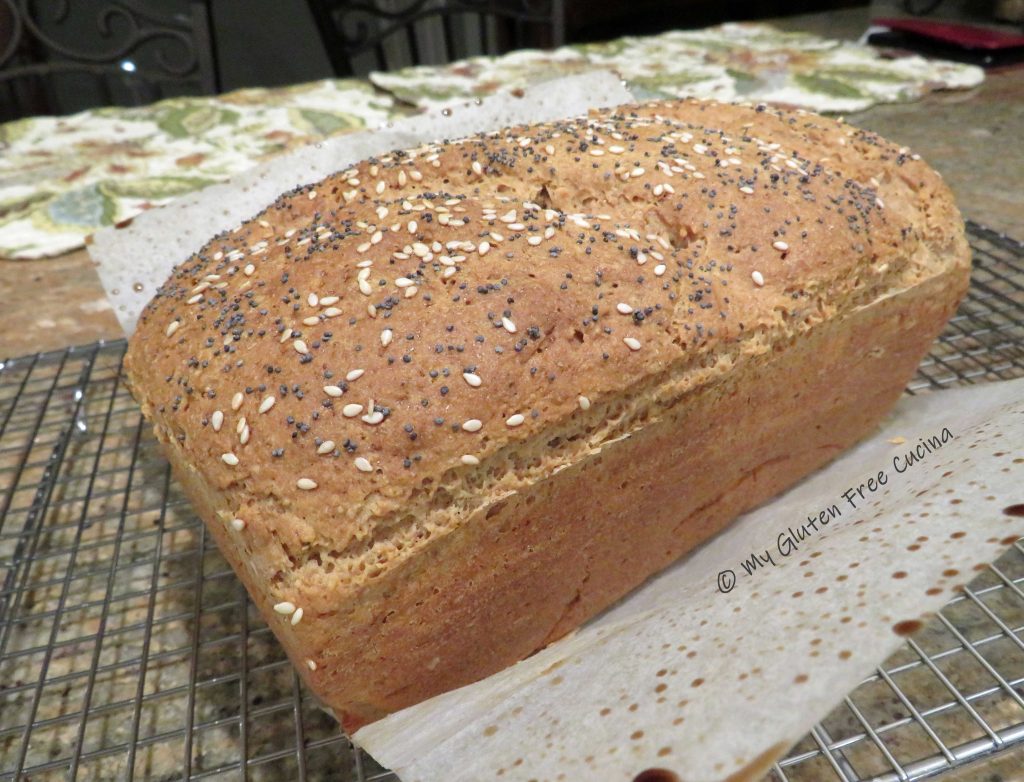
 Quickly make 2 diagonal slashes across the top of the loaf with a sharp knife.

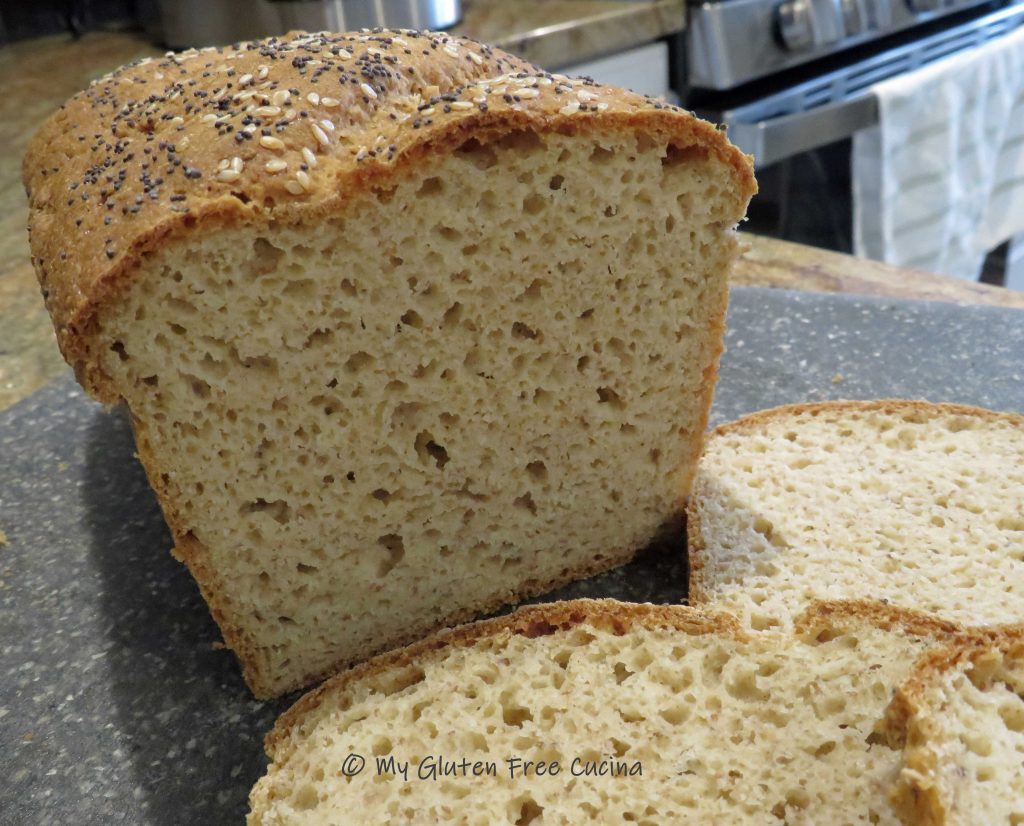
 Cool to room temperature, then
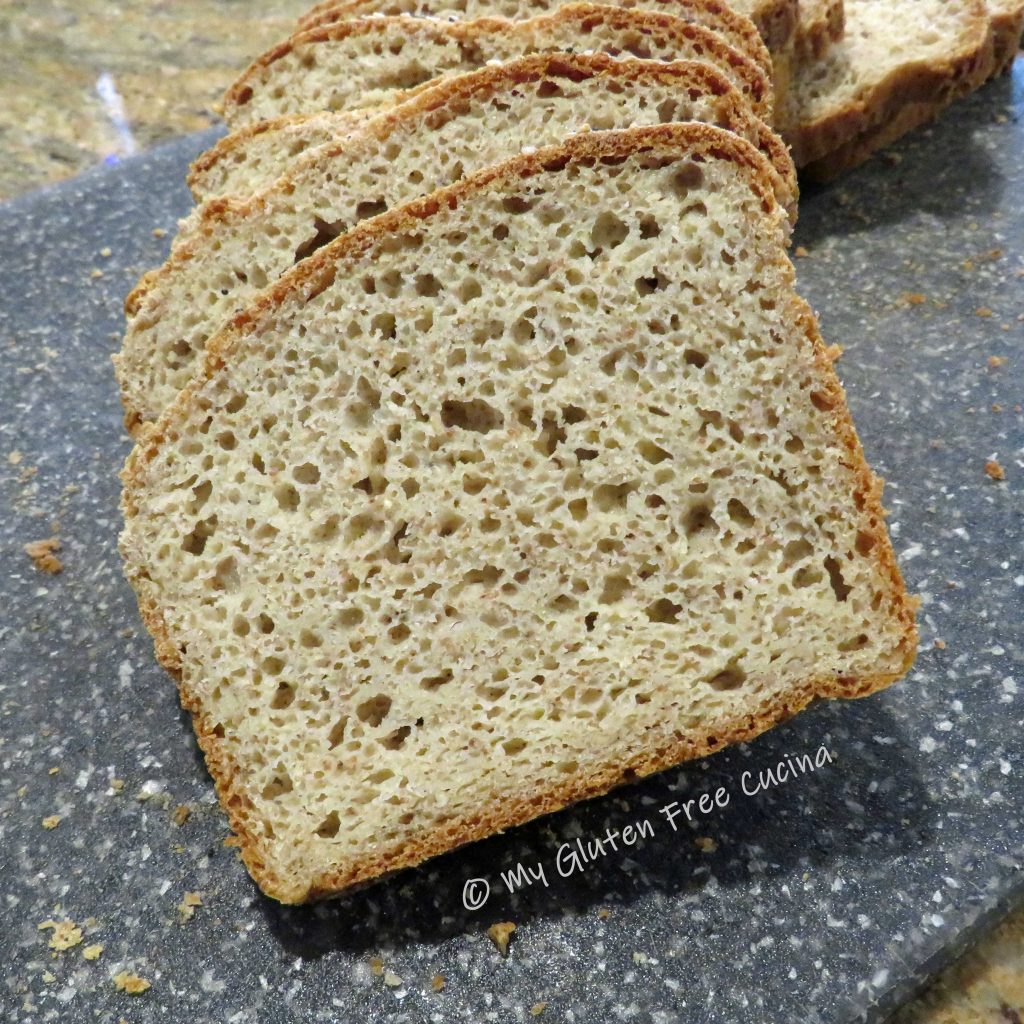

 Sprinkle with


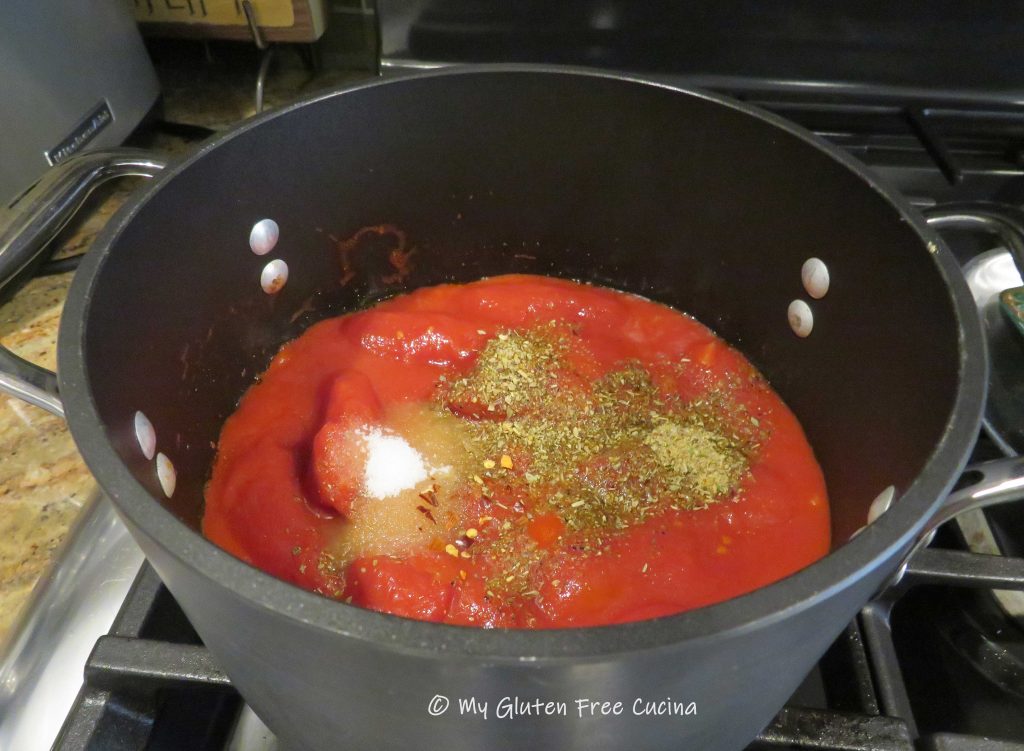 Cover and simmer on low for 2 hours, stirring occasionally. I like to use a
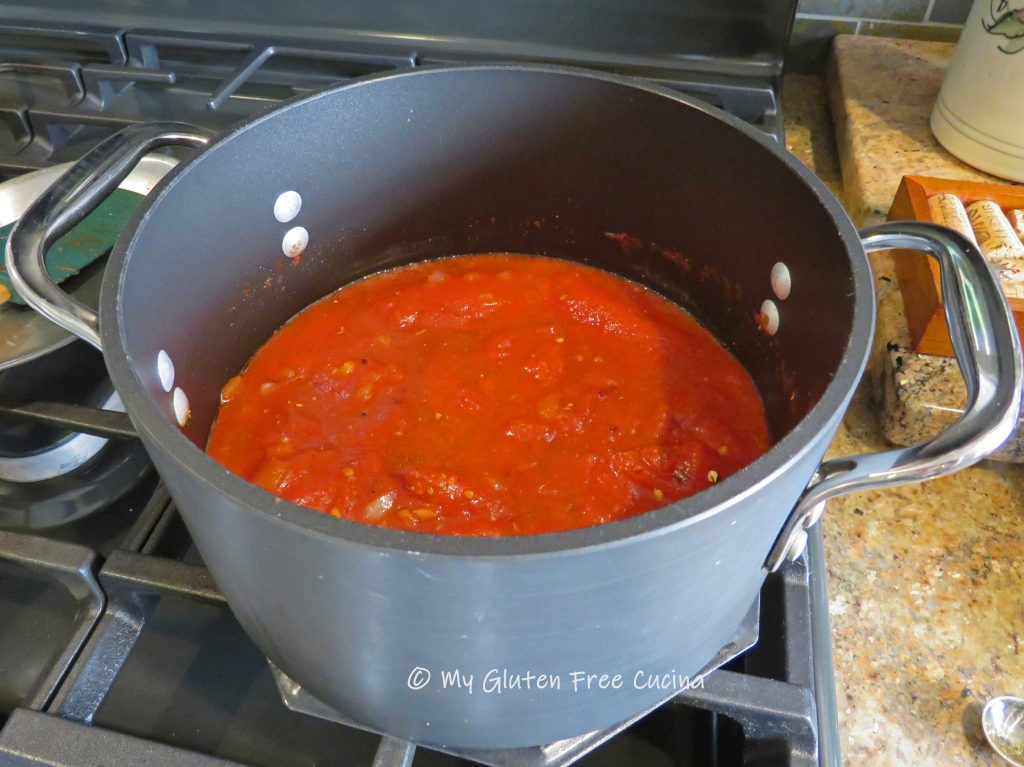
 Add the wine and continue cooking slowly, stirring frequently until most of the liquid evaporates.
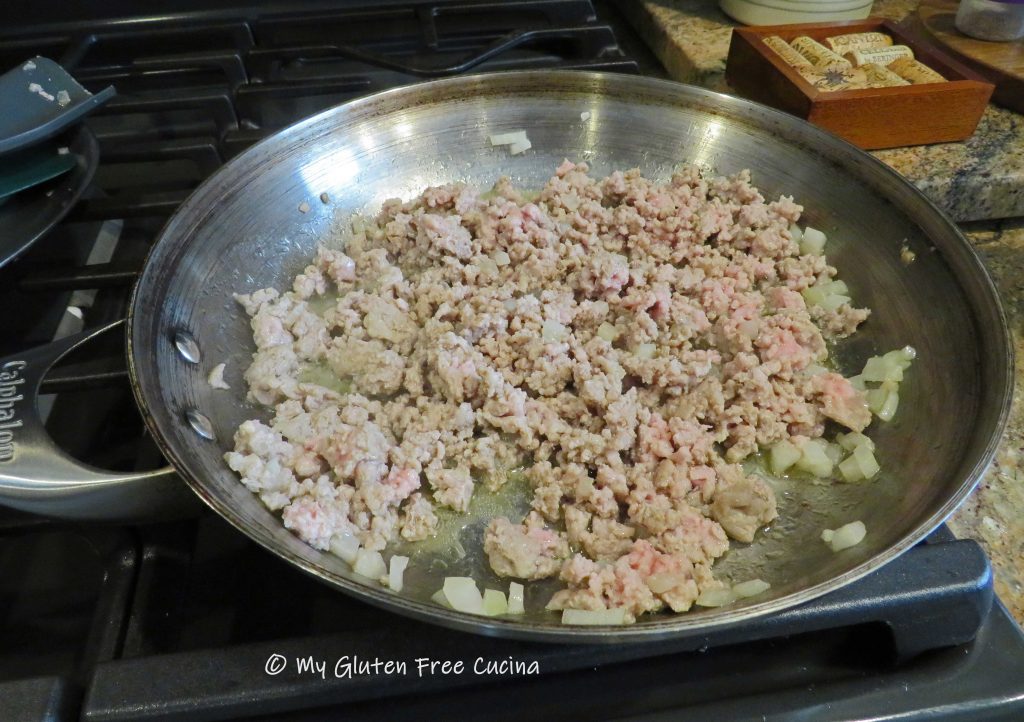
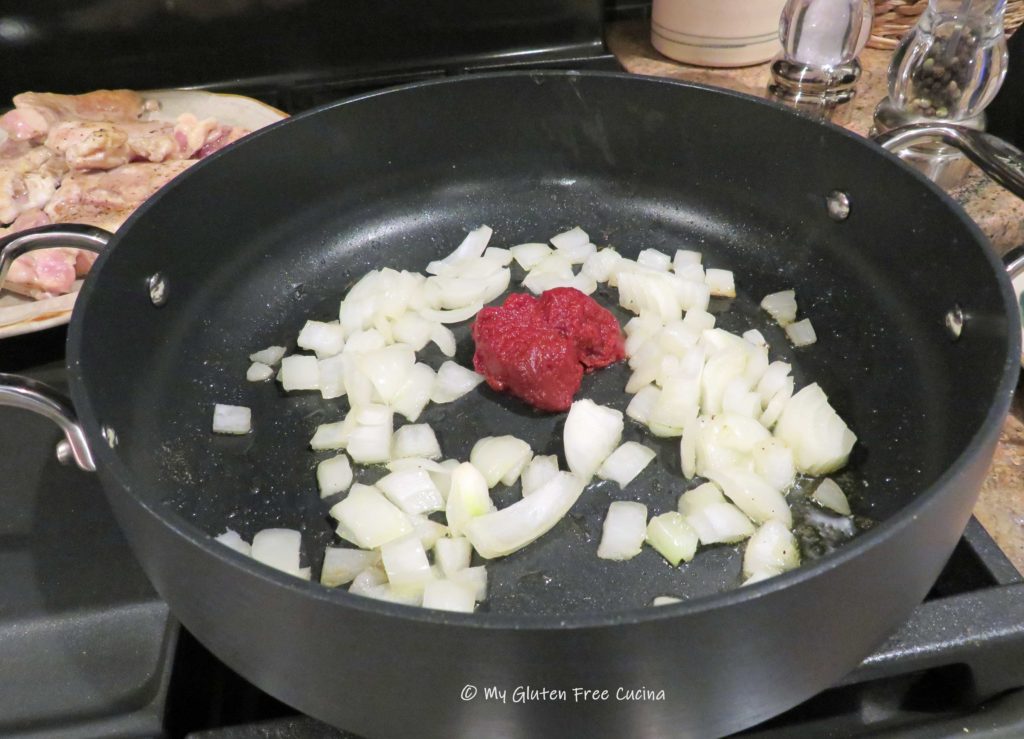
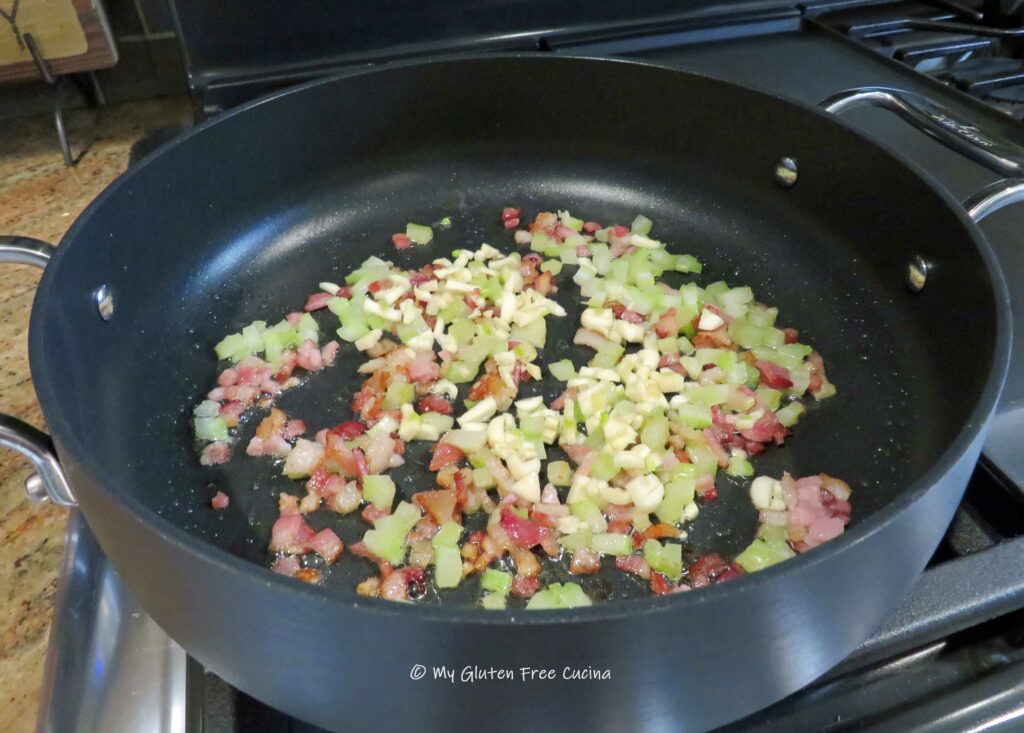
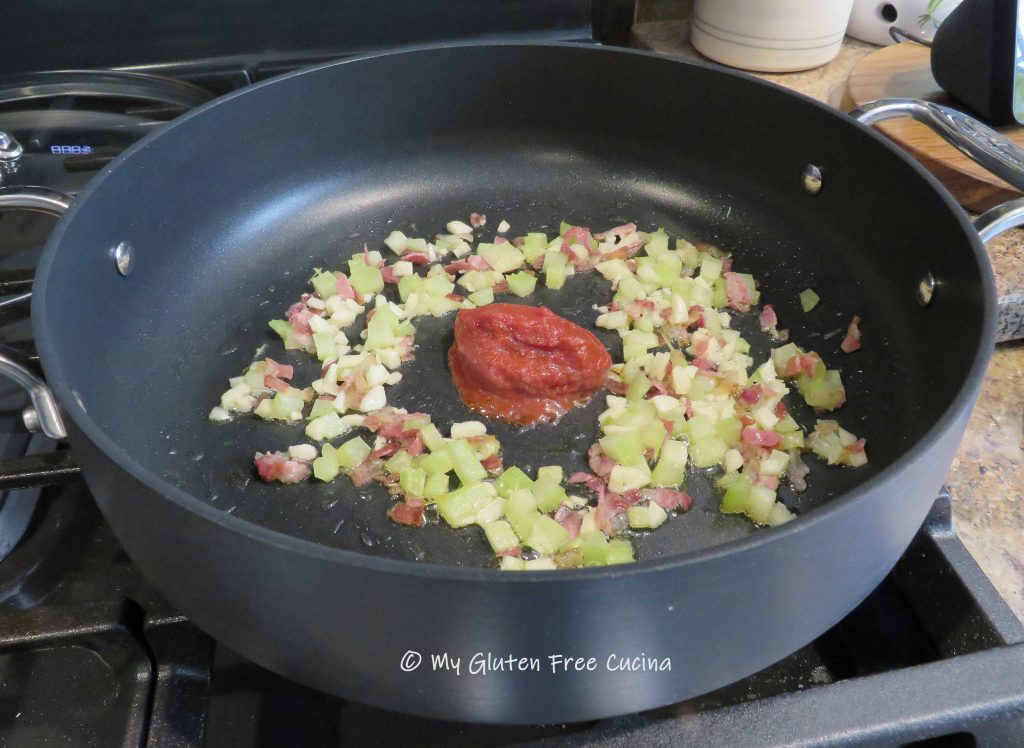
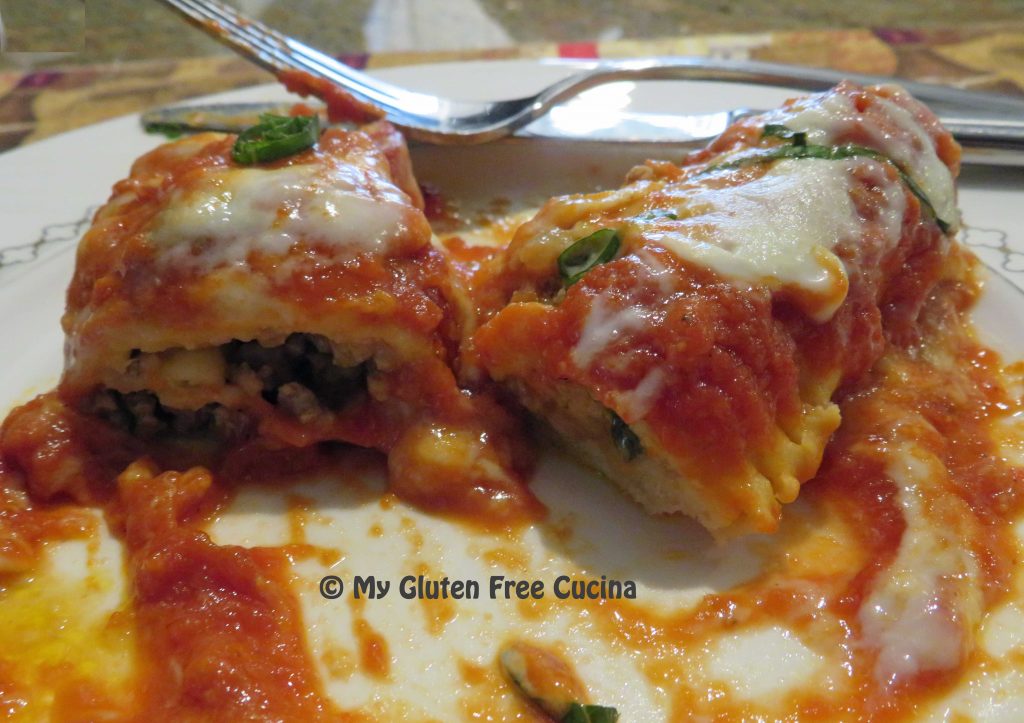
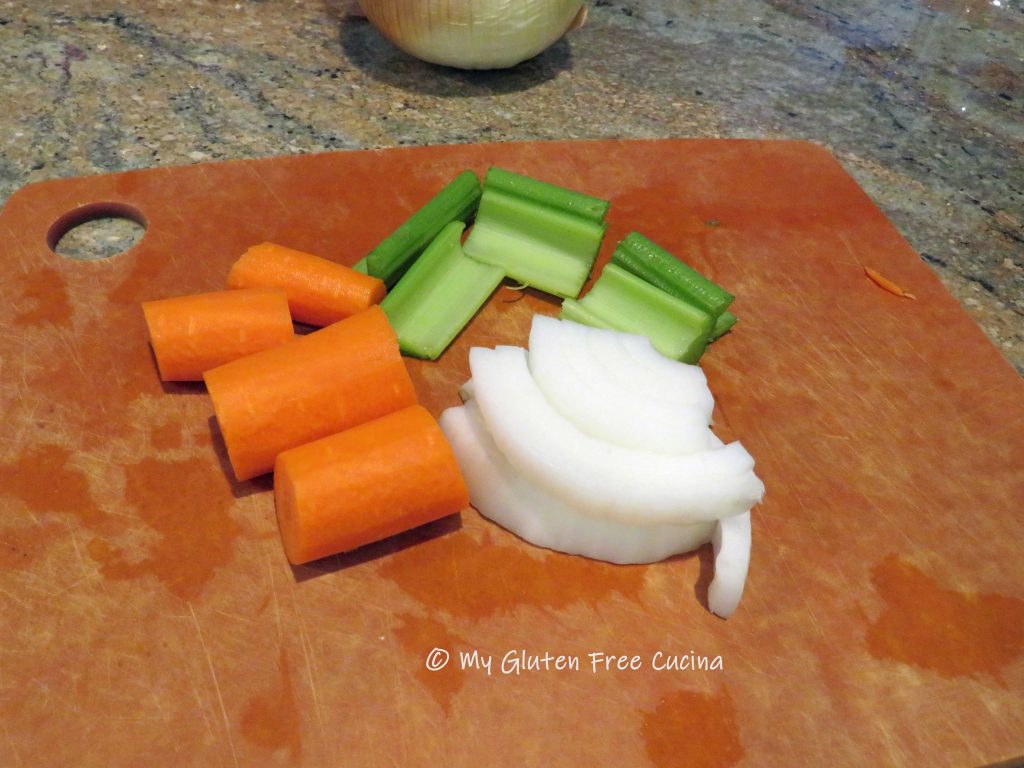
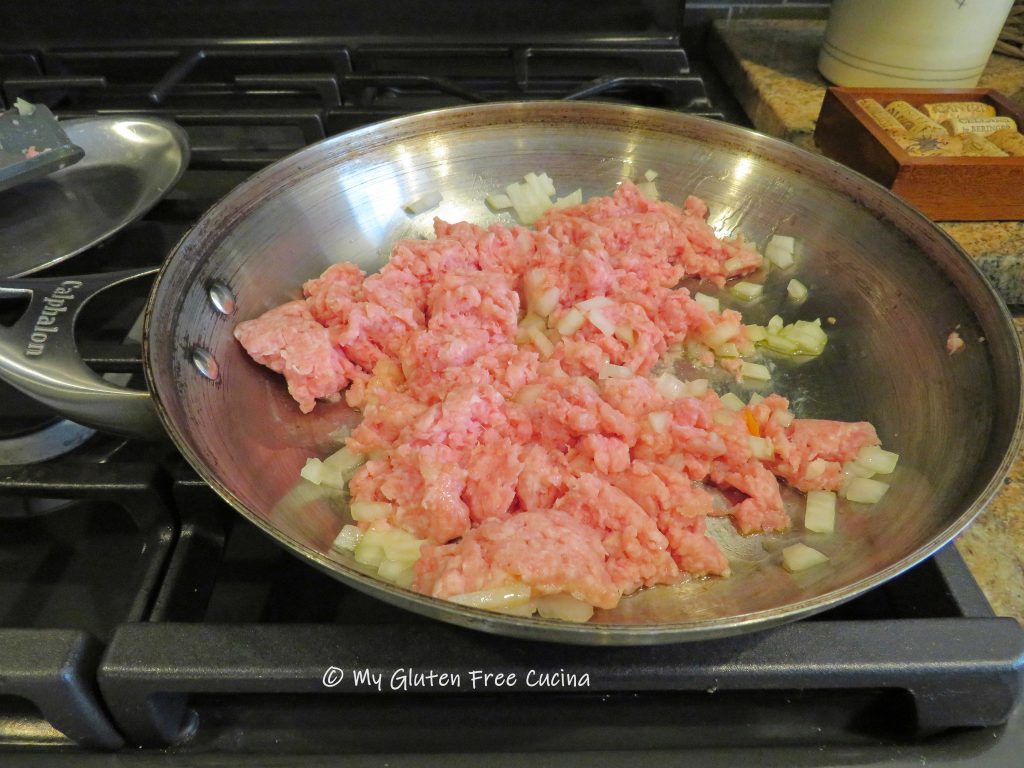
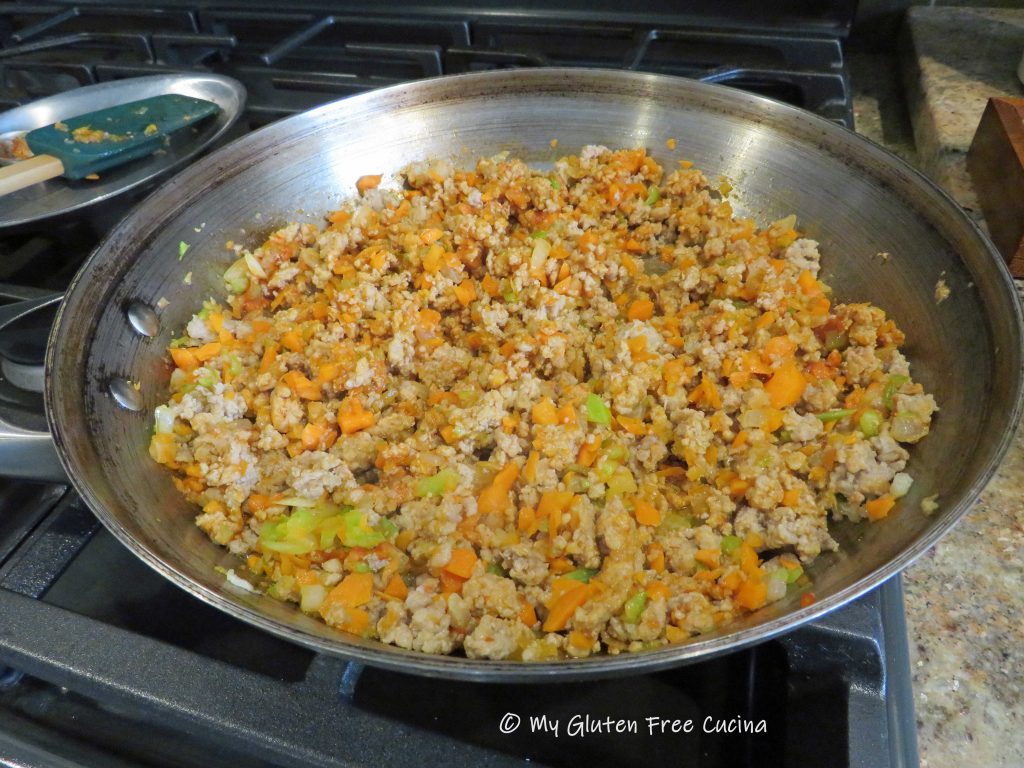
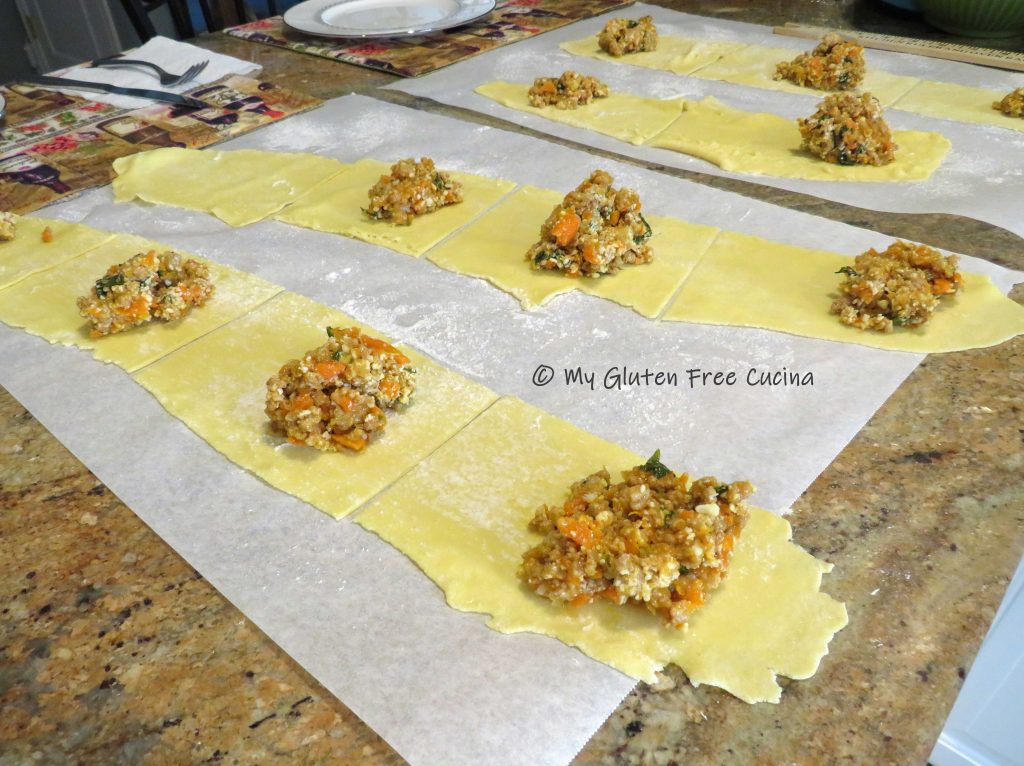
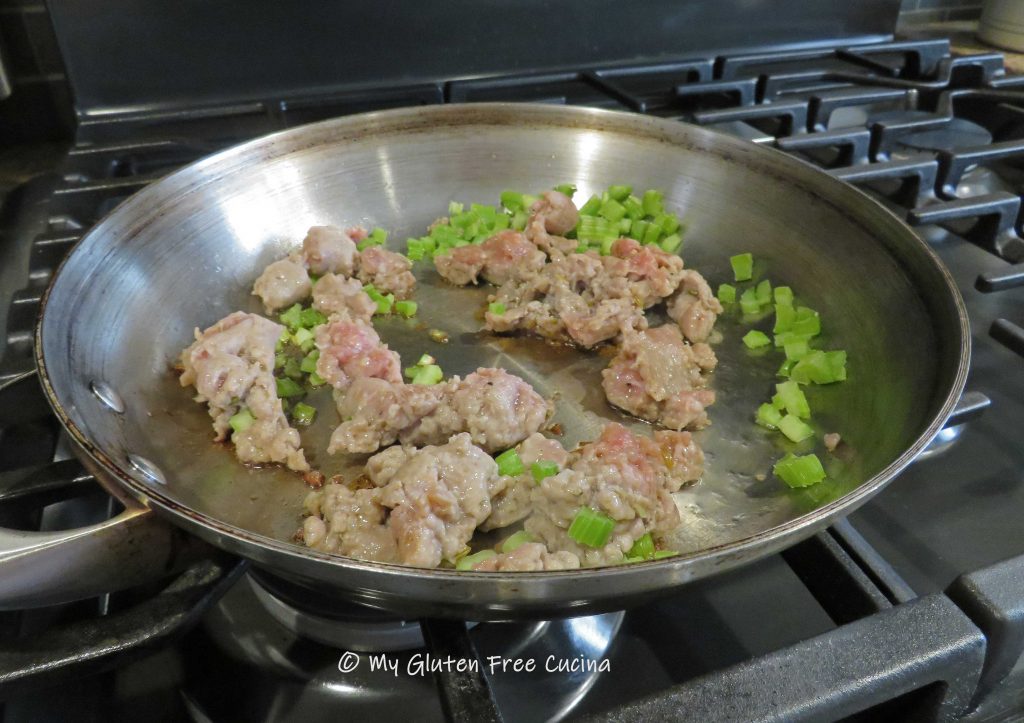
 Add the minced veggies to the pork and stir well.
 Make a spot in the center of the pan and add the tomato paste. Let it toast for a minute before stirring it into the pork and veggies.
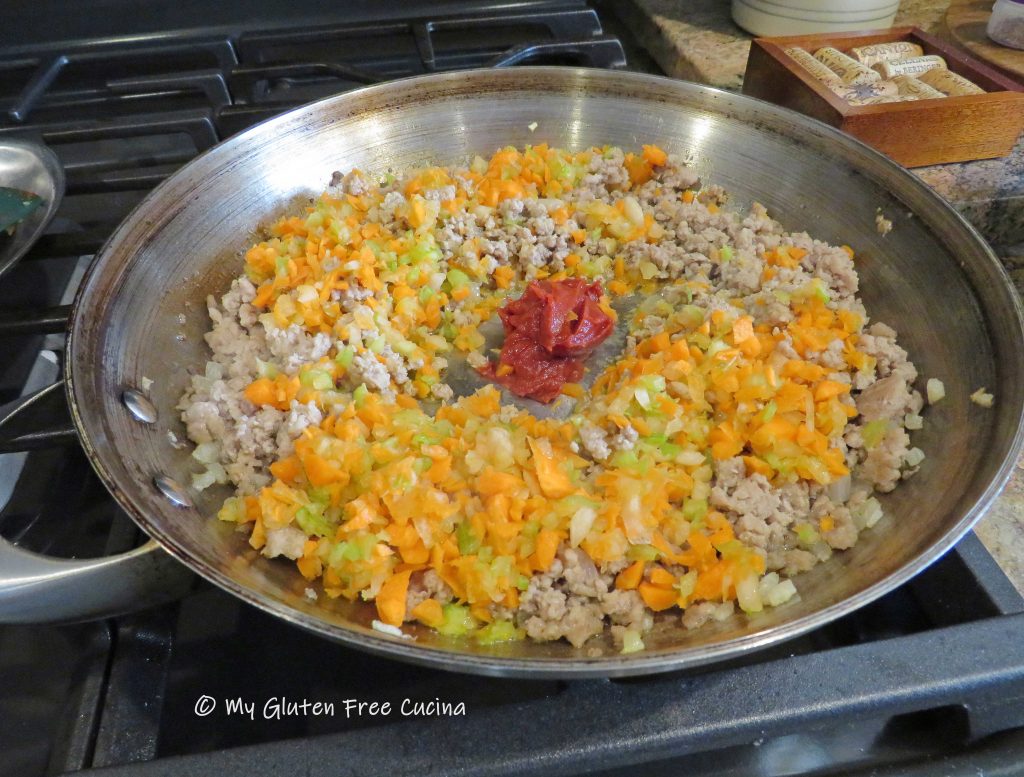
 Add the broth with salt to taste.
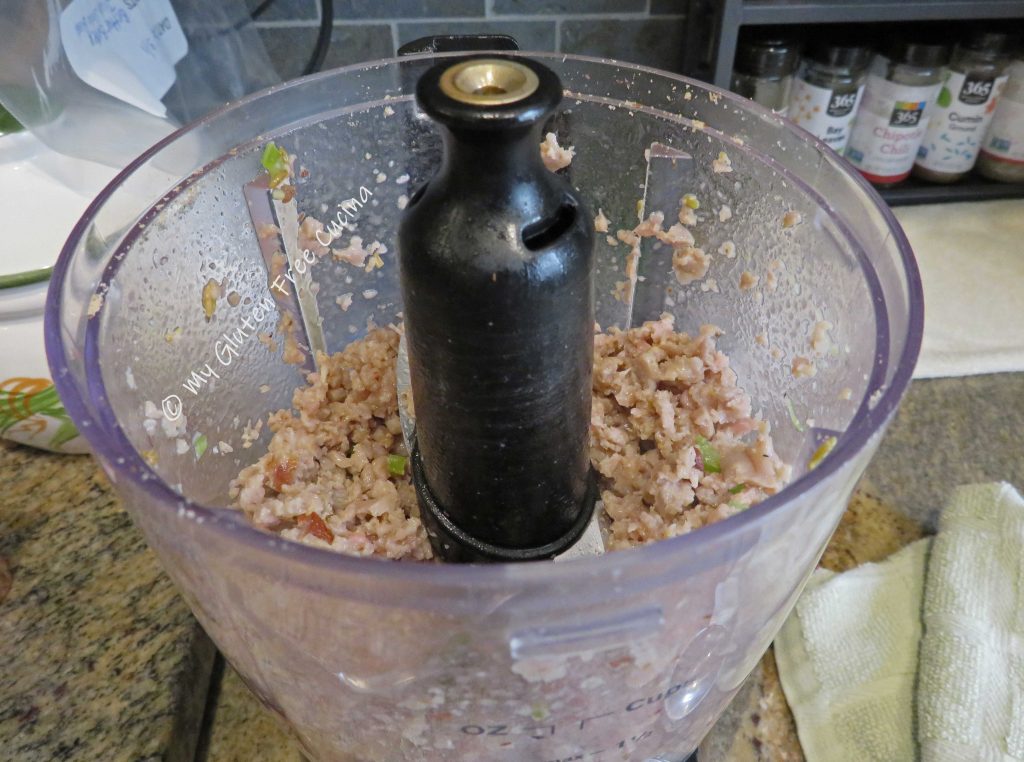
 Sprinkle the arrowroot evenly over the mixture and stir it in. Simmer on low until the filling has thickened. Stir in the baby spinach. The filling should be moist, but not watery.


 For this recipe, setting 3 on a


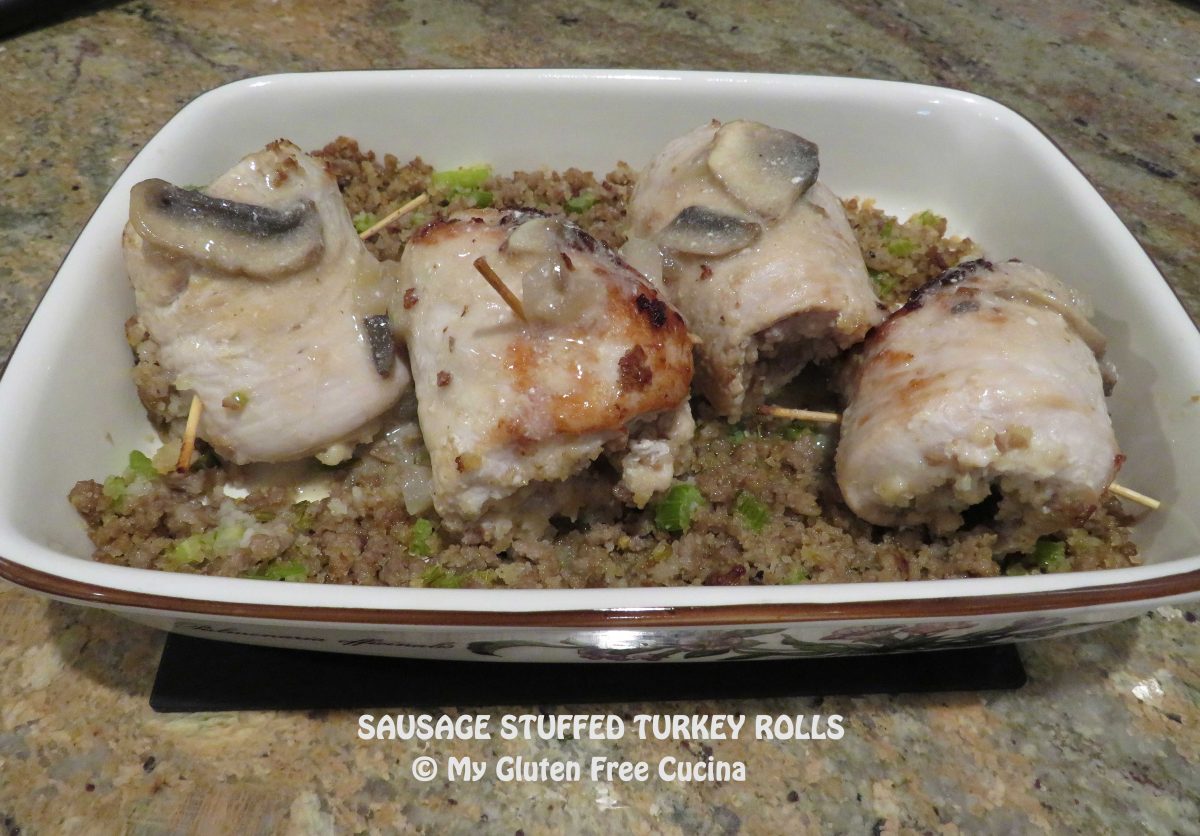


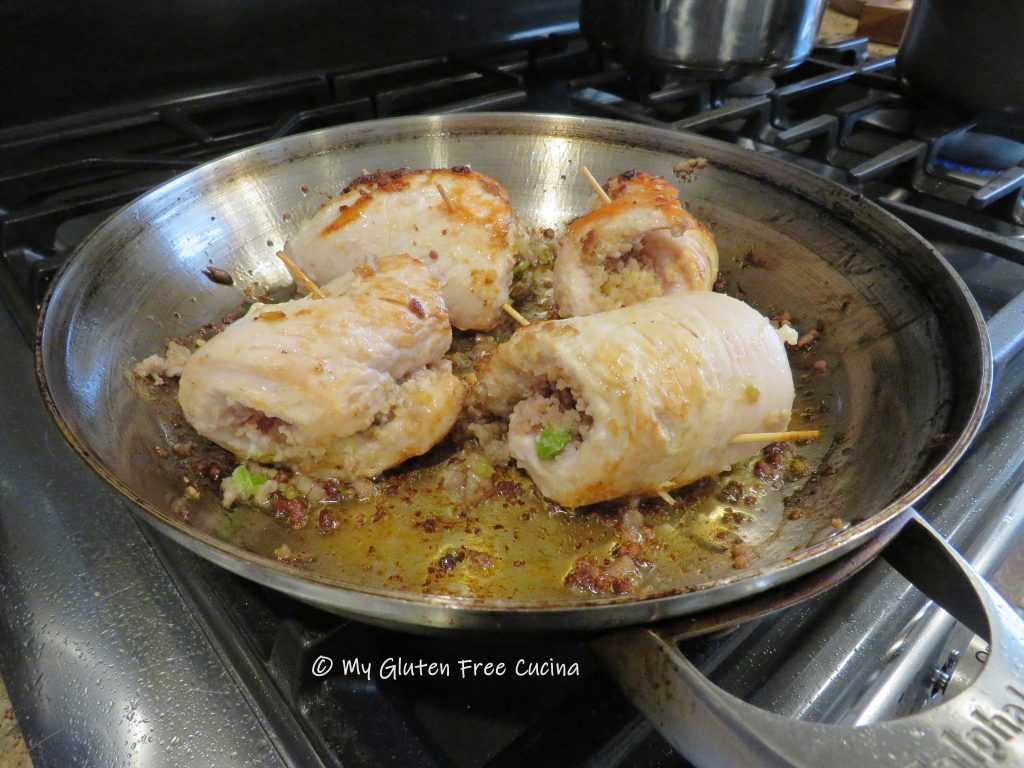


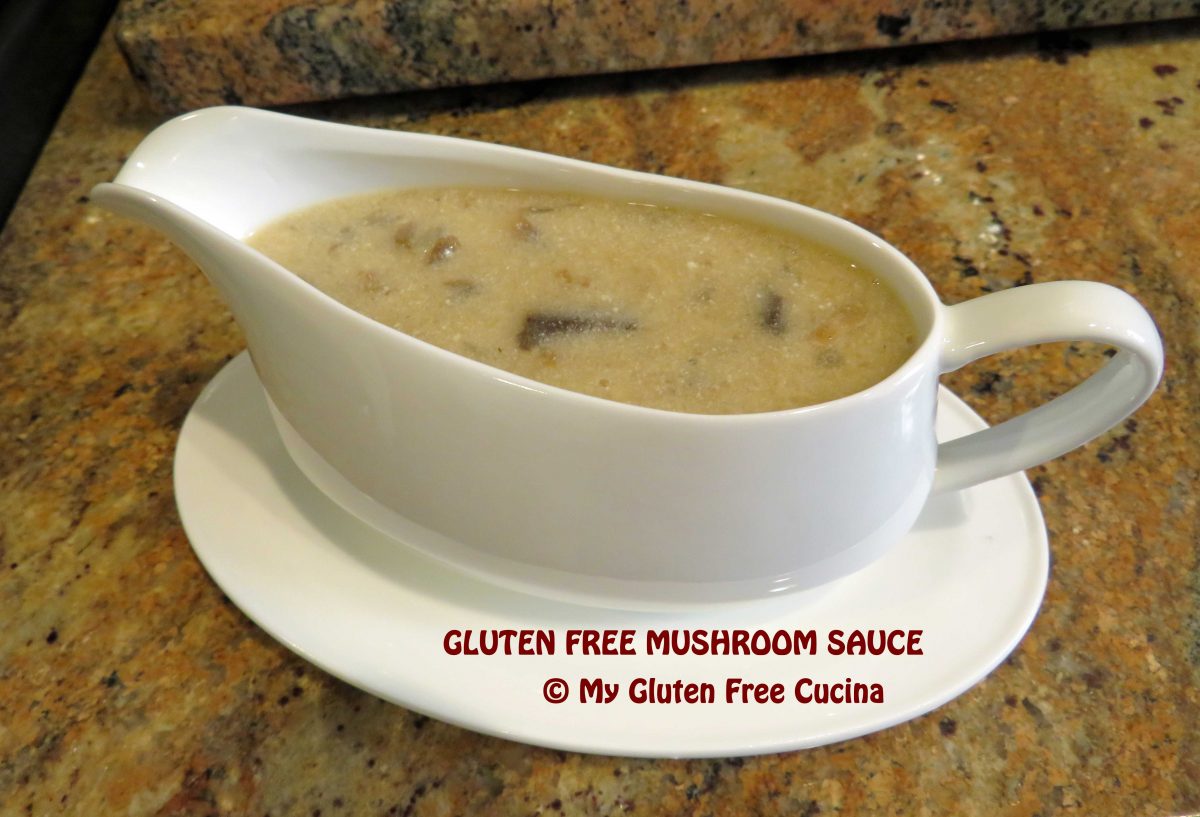


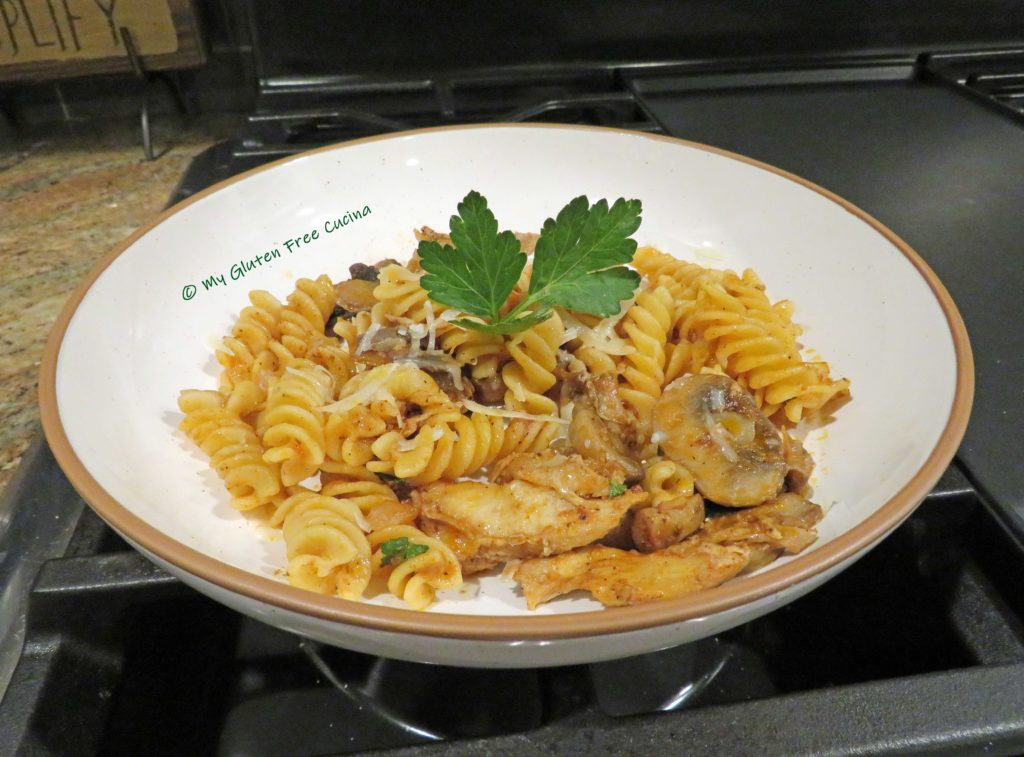
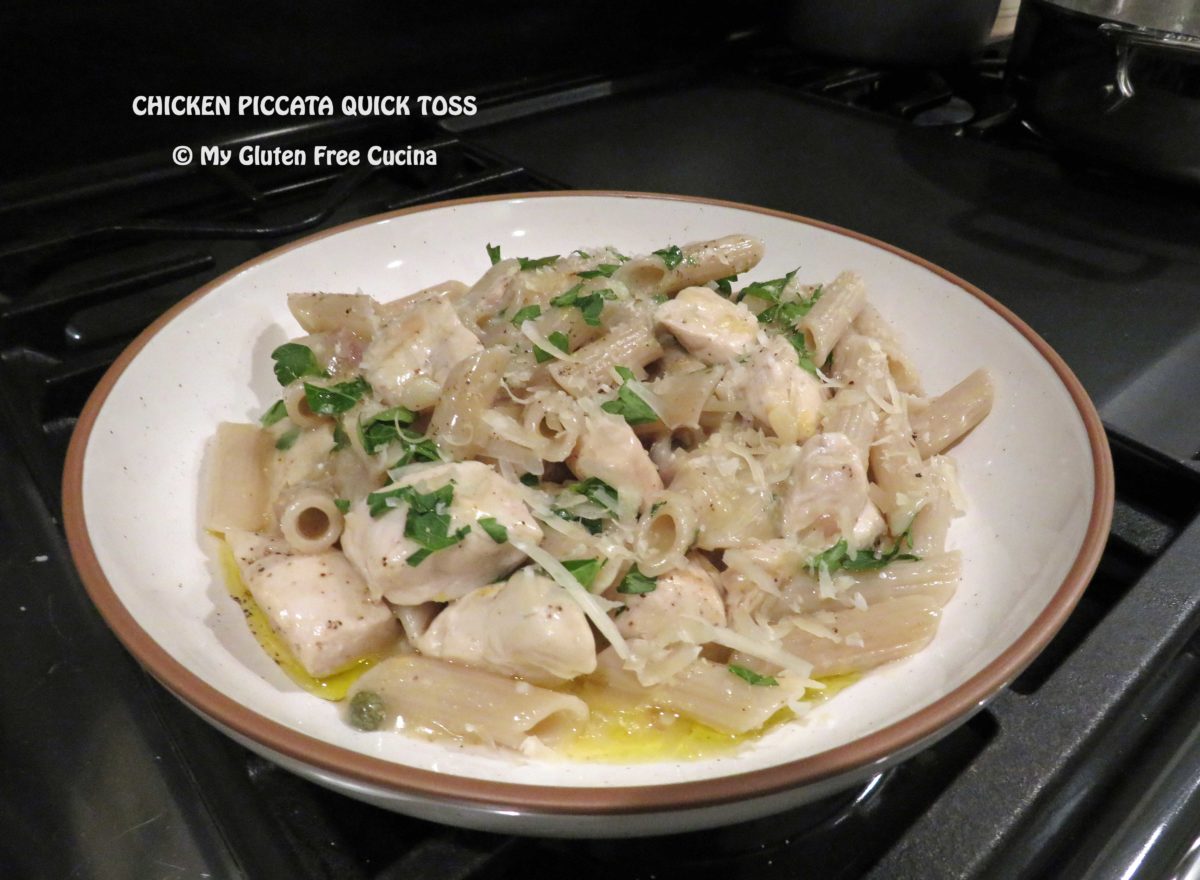
 This sauce goes well with so many things. Beef, poultry, pork… I am especially proud of this next recipe for Sausage Stuffed Turkey Rolls. Paired with the Mushroom Sauce and a side of wild rice, this was a great meal.