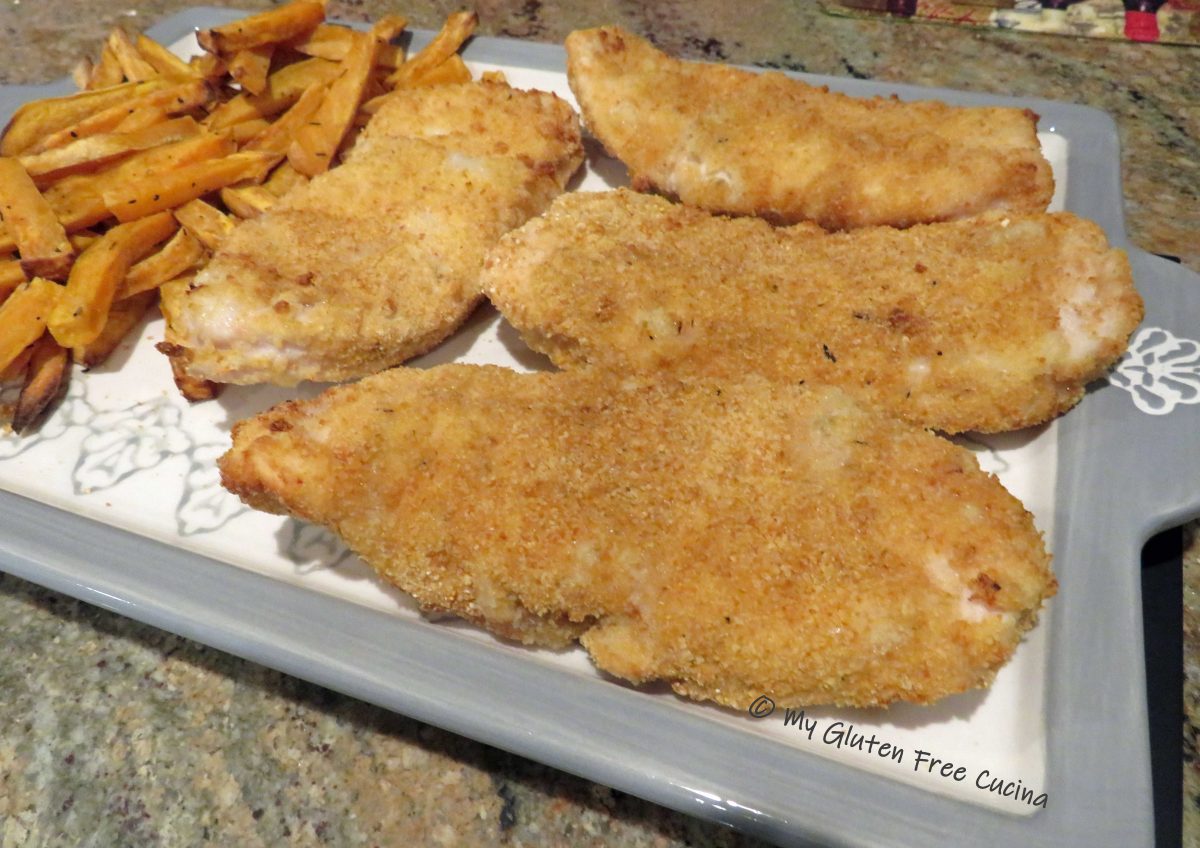
Another win for the air fryer, I made these gluten free breaded turkey cutlets (schnitzel) for dinner, and they were so good! I loved how crispy the breading came out in the air fryer. Since deep fried food does not agree with me, the air fryer has been a great way to enjoy “fried” food without the tummy aches!
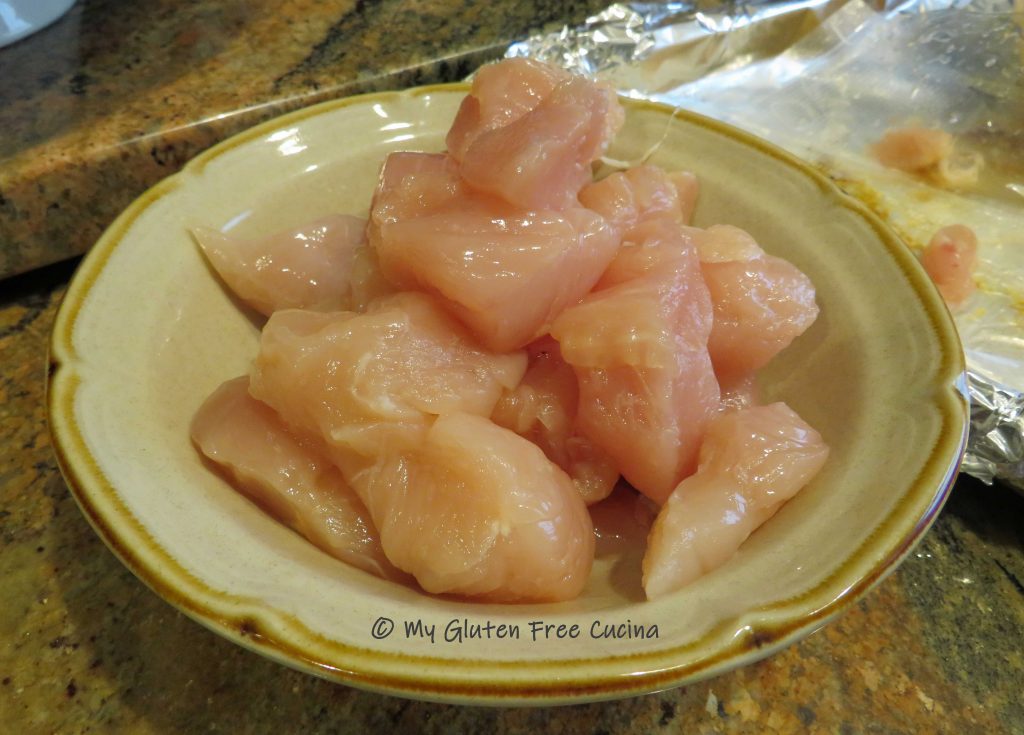
Thin sliced turkey breast cutlets make this recipe fast and easy to prepare. They are commonly available where we live, but if you can’t find them chicken cutlets would work just as well. I made sweet potato fries to go with the cutlets for an easy dinner that cooks in 30 minutes!
This post contains affiliate links.

4 Servings
Ingredients:
- 1 sweet potato, large
- 2 tsp. canola oil
- 1/2 tsp. maple seasoning
- cooking spray
……………………………………………………………..
- 1 lb. turkey breast cutlet sliced thin (4 cutlets, 1/4 lb. each)
- 1/4 cup white rice flour
- 1 egg, beaten with 1 tbsp. water
- 1/2 cup gluten free breadcrumbs
- seasoned salt, to taste
- cooking spray
 Preparation:
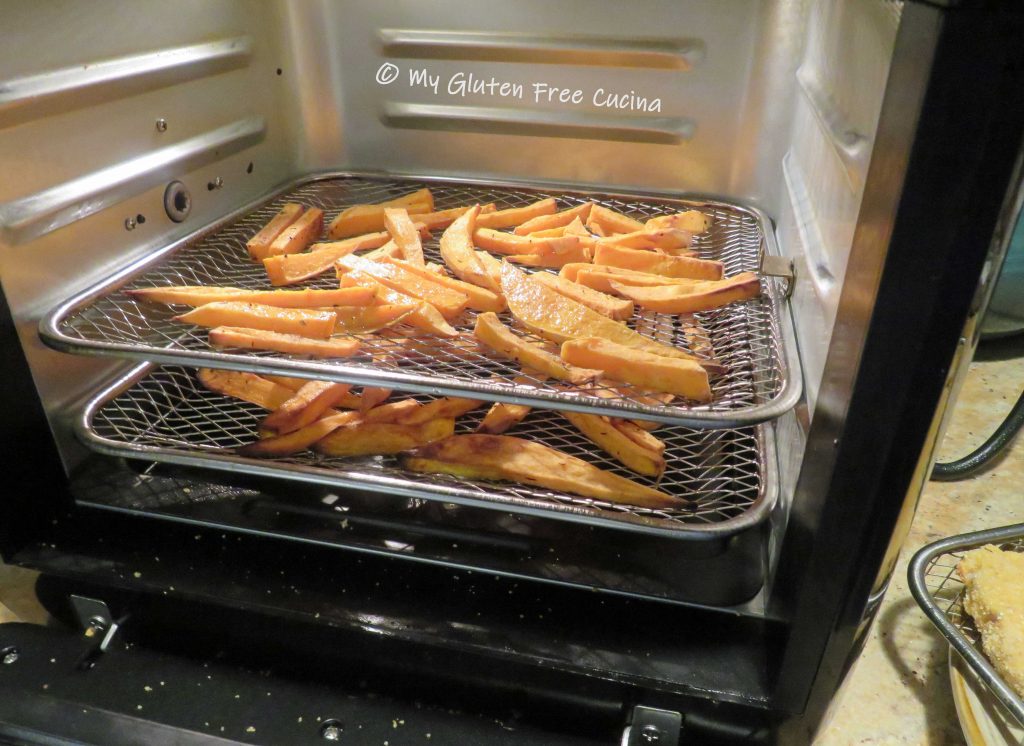
Peel the sweet potato and cut into uniform size pieces, about 4″ x 1/2″. Toss with canola or other neutral oil and season to taste.

Spray 2 trays with cooking spray and divide the potatoes between them. Start them in a 400º air fryer on the top 2 racks. They will need to cook 25-30 minutes, and the turkey cutlets will be added during the last 15 minutes of cook time.

While the potatoes cook, prep the turkey. Set up 3 breading trays with the rice flour, beaten egg and gluten free breadcrumbs. Season each tray.

Work with one cutlet at a time. Dredge in the flour then dip in the egg, shaking off the excess.
 Finally coat with breadcrumbs. Spray a rack with cooking spray and arrange the breaded cutlets in a single layer.


When the potatoes have 15 minutes left to cook, spray the cutlets with cooking spray and place them on the top shelf of the air fryer. Move the potatoes to the bottom 2 shelves, use tongs to give them a toss.
 After 8 minutes turn the cutlets over and spray the tops with cooking spray.

Finish cooking 7 minutes longer, and everything should be done at the same time.

Dinner was delicious! The sweet potato fries took a little longer than russet potato, but they were perfectly done at 400º for 30 minutes.
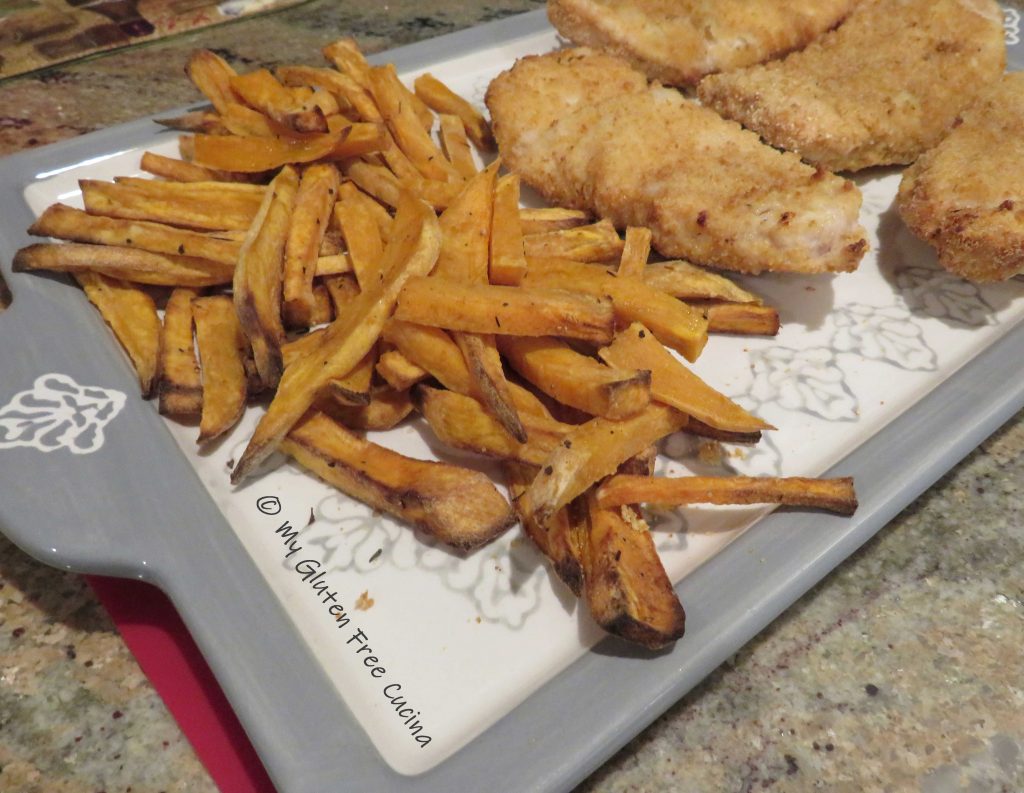
The cutlets are best eaten crispy hot out of the air fryer. Leftovers can be reheated in the air fryer or enjoyed cold. They make great sandwiches!
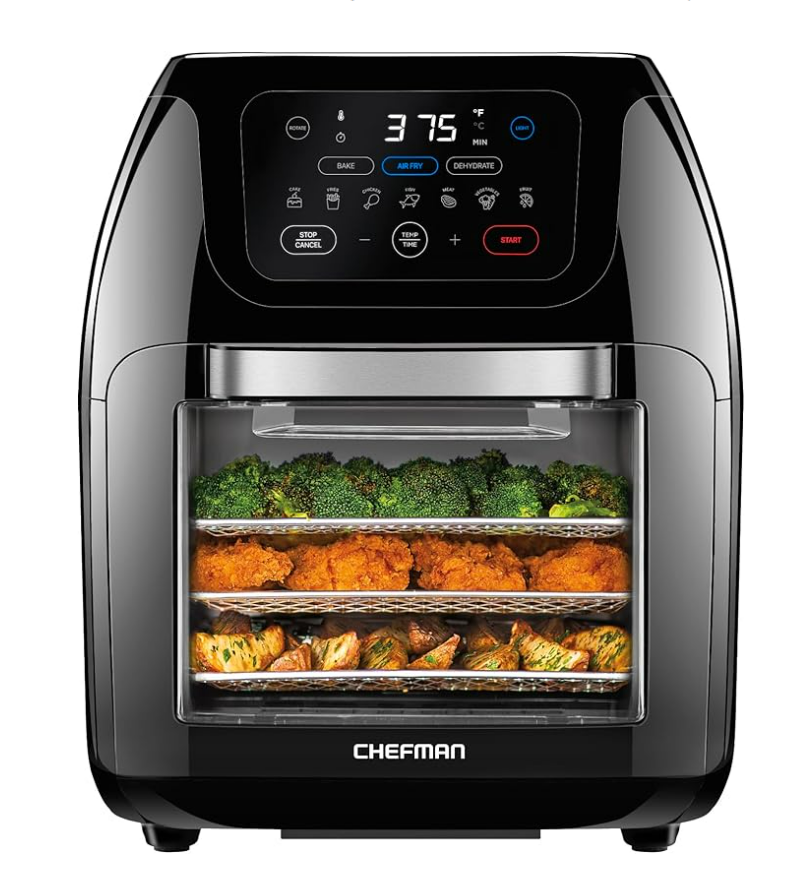
Notes ♪♫ I have a shelf style air fryer and was able to fit both the turkey and the fries onto 3 shelves. If you have a basket style fryer you may have to cook them separately.


 Bake for 22-25 minutes. Cool in the pan 10 minutes then transfer to a rack. Enjoy them warm or at room temperature.

 Heat the butter and olive oil in a

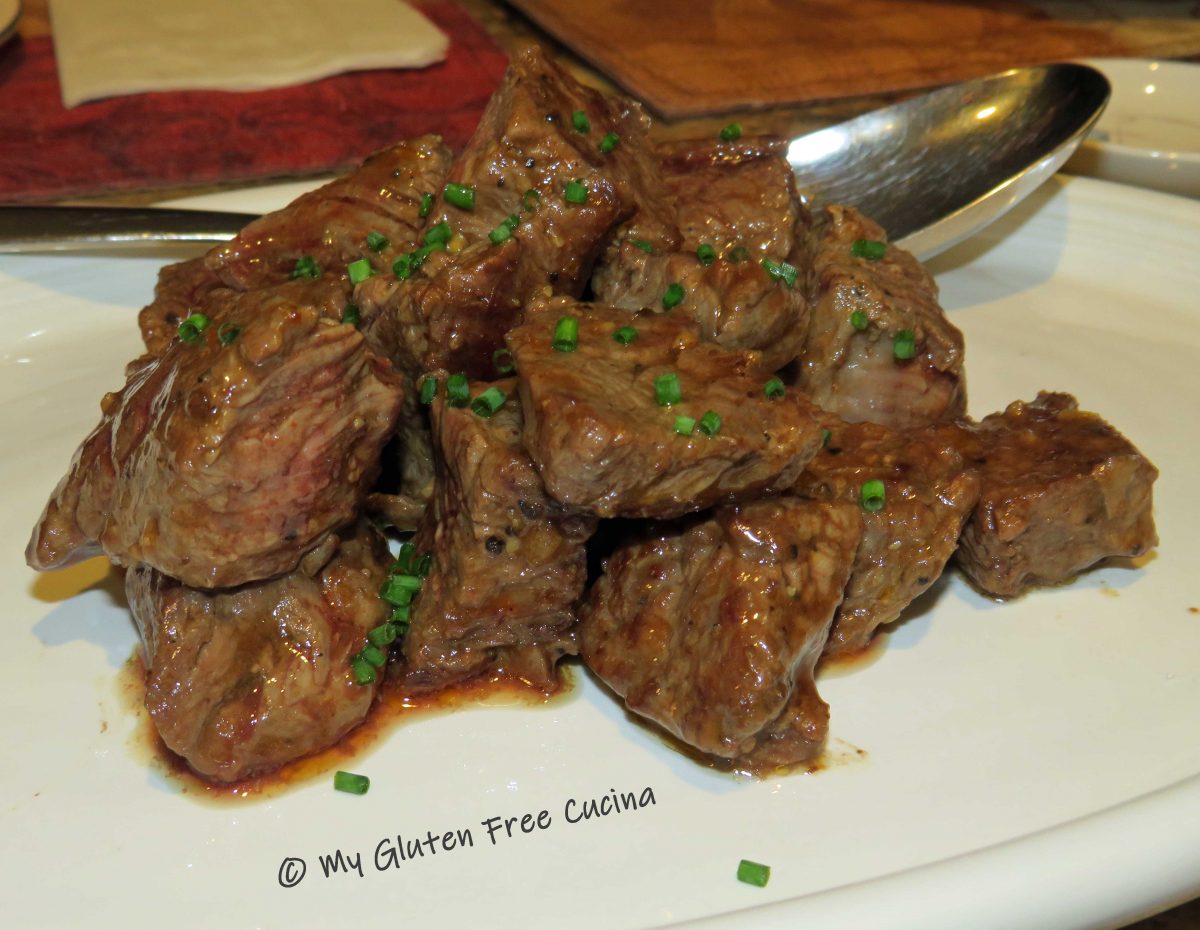


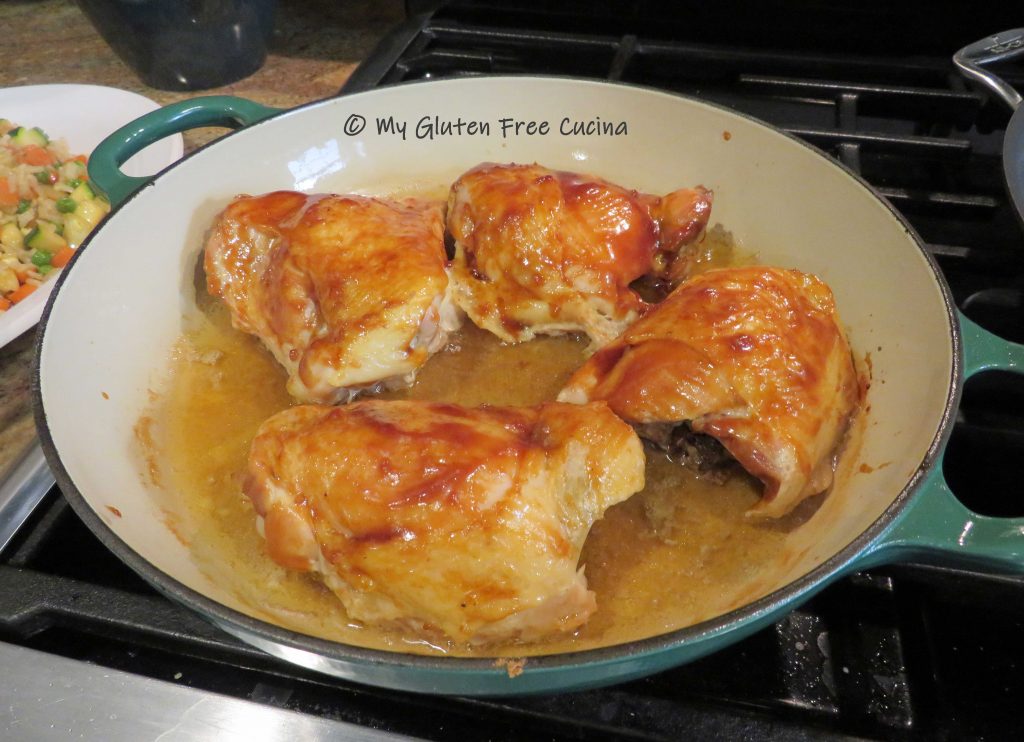
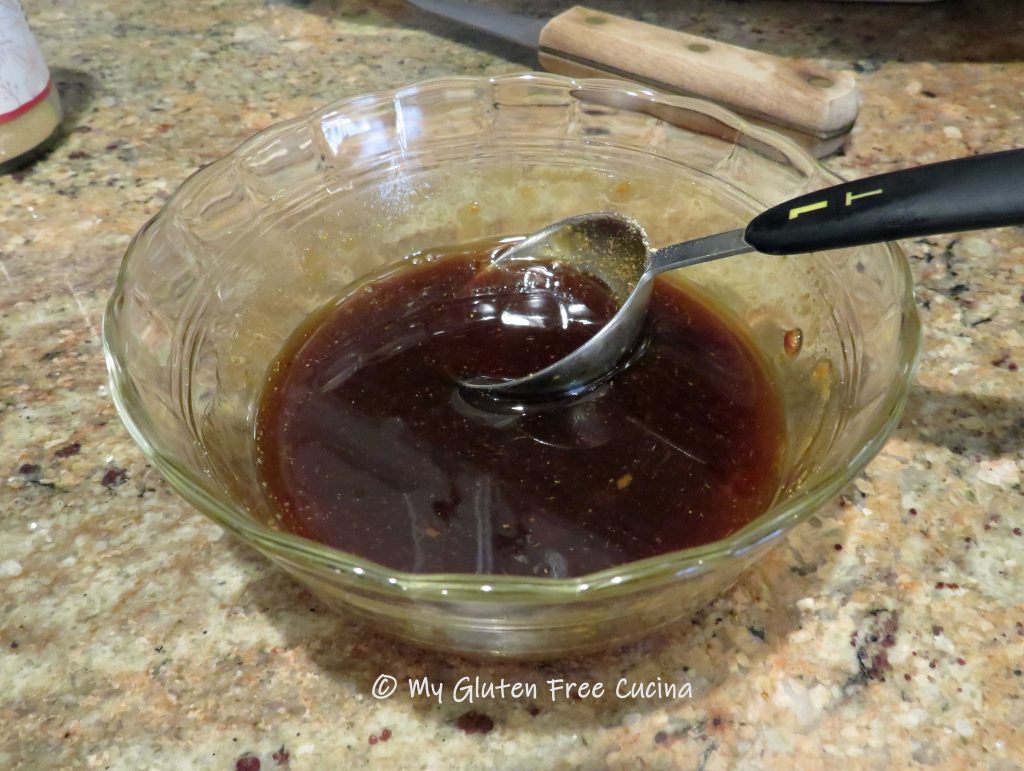
 To finish, add 2 tbsp. gluten free BBQ sauce and toss to coat.


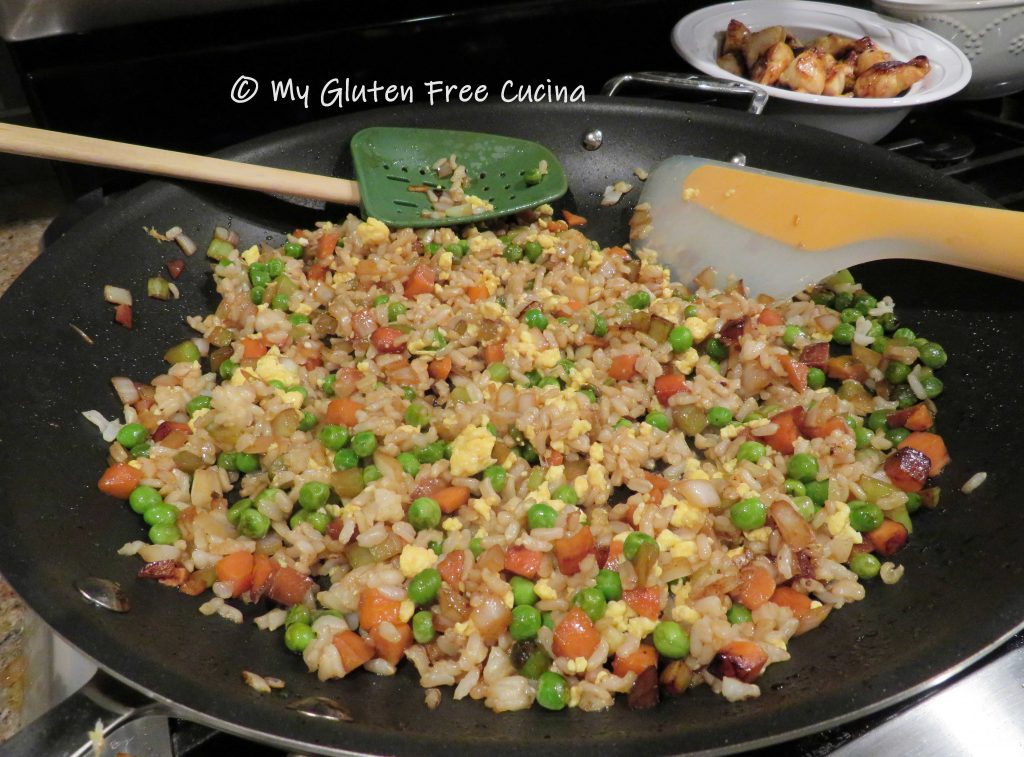
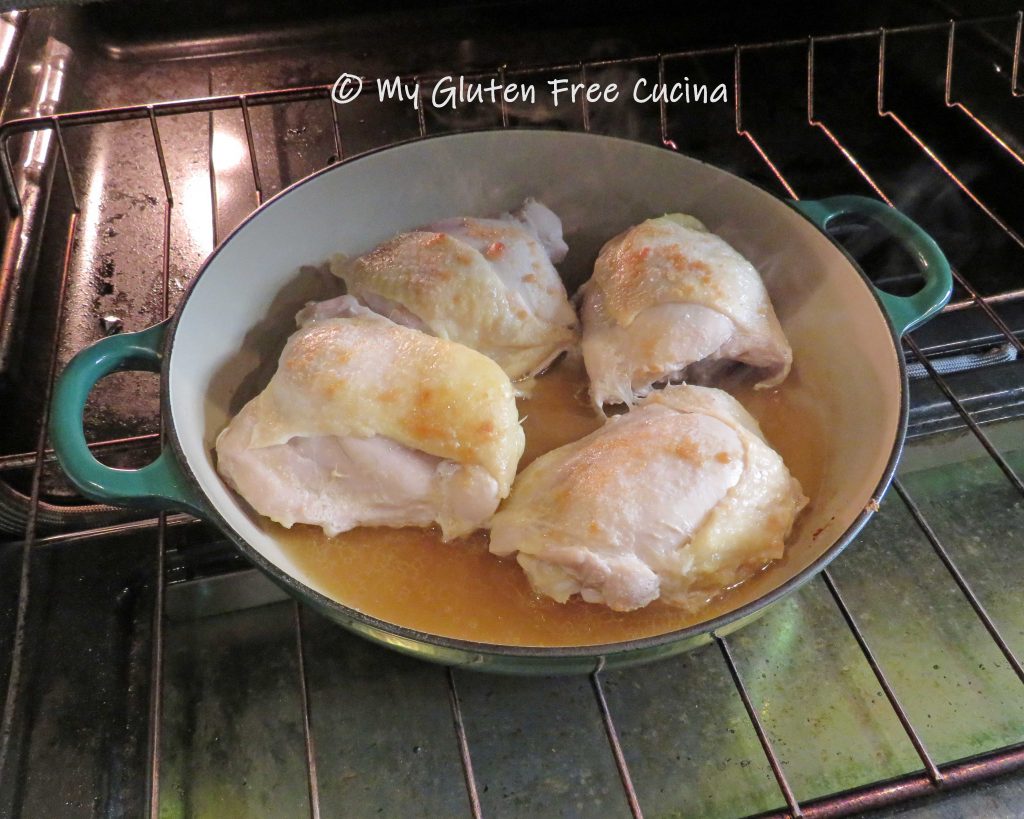
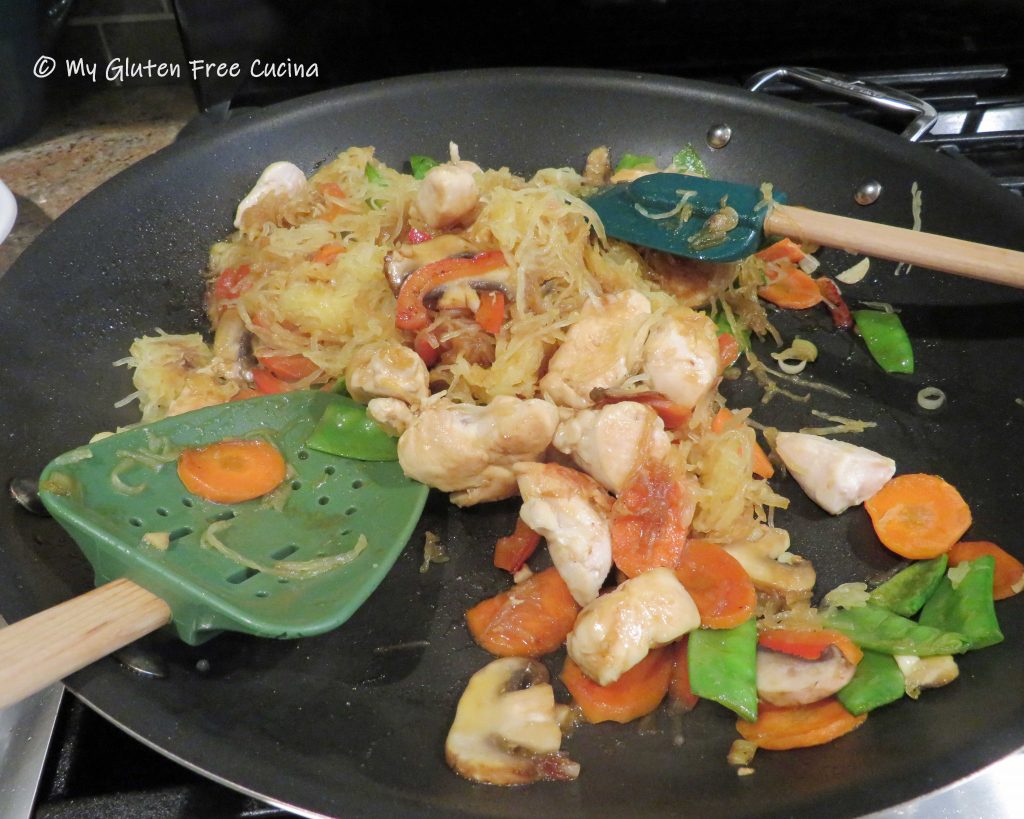
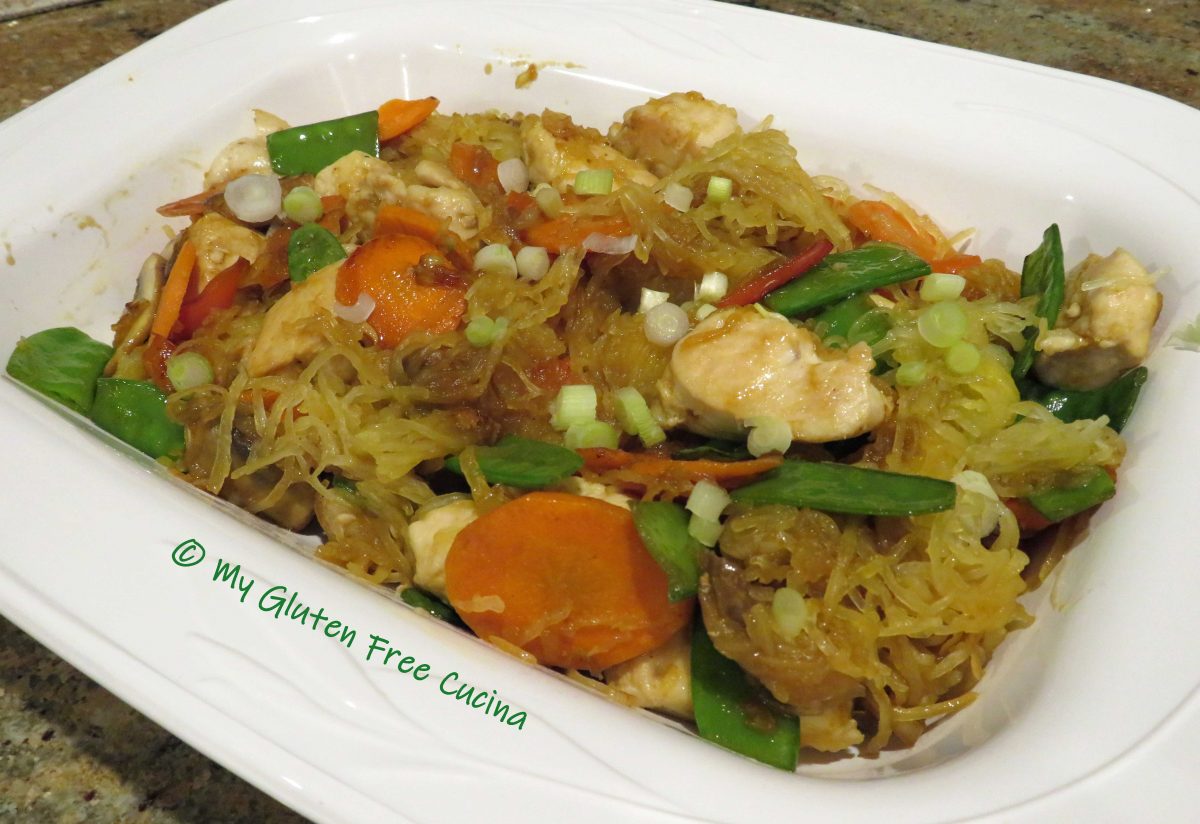
 While the chicken was cooking, I made my fried rice.
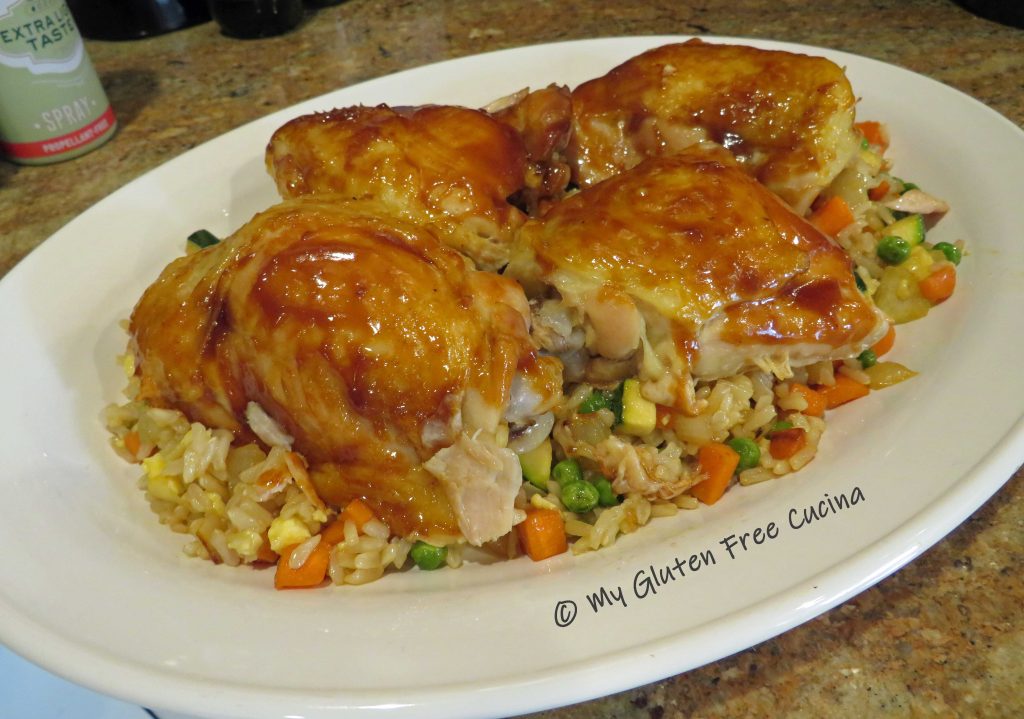
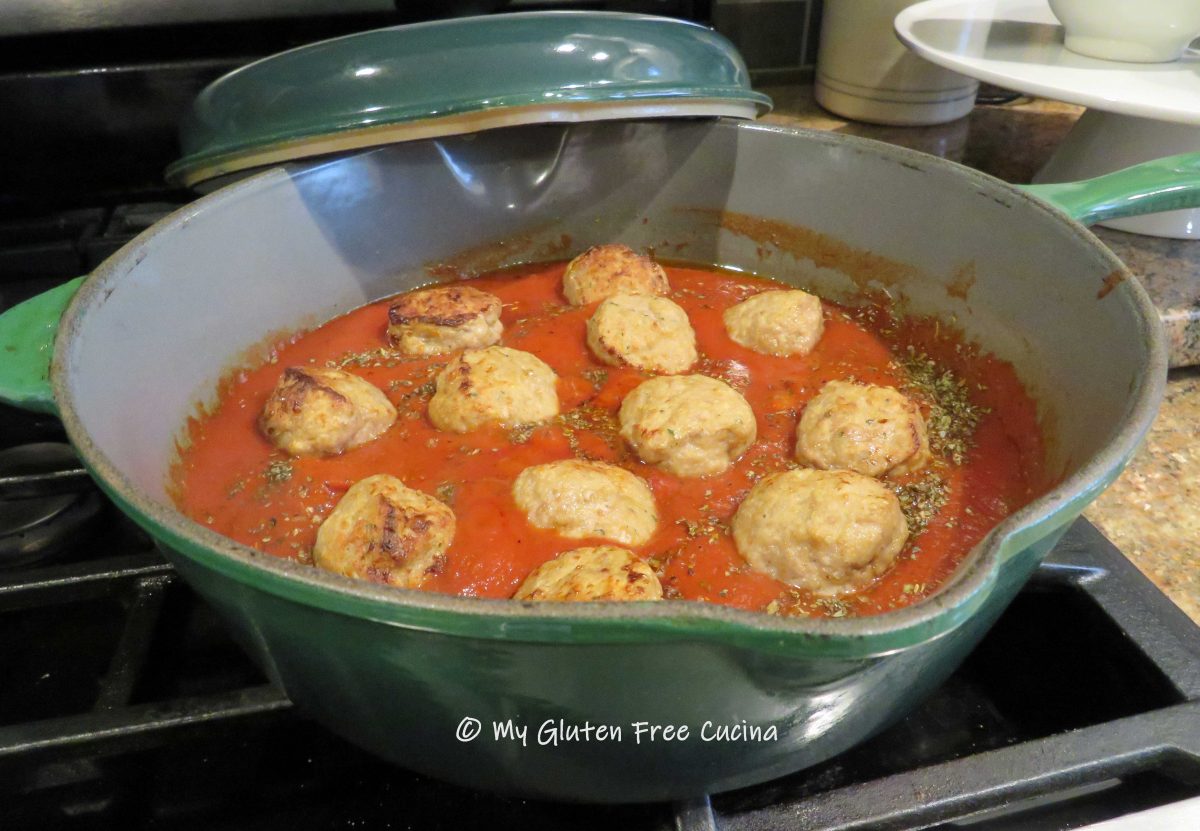
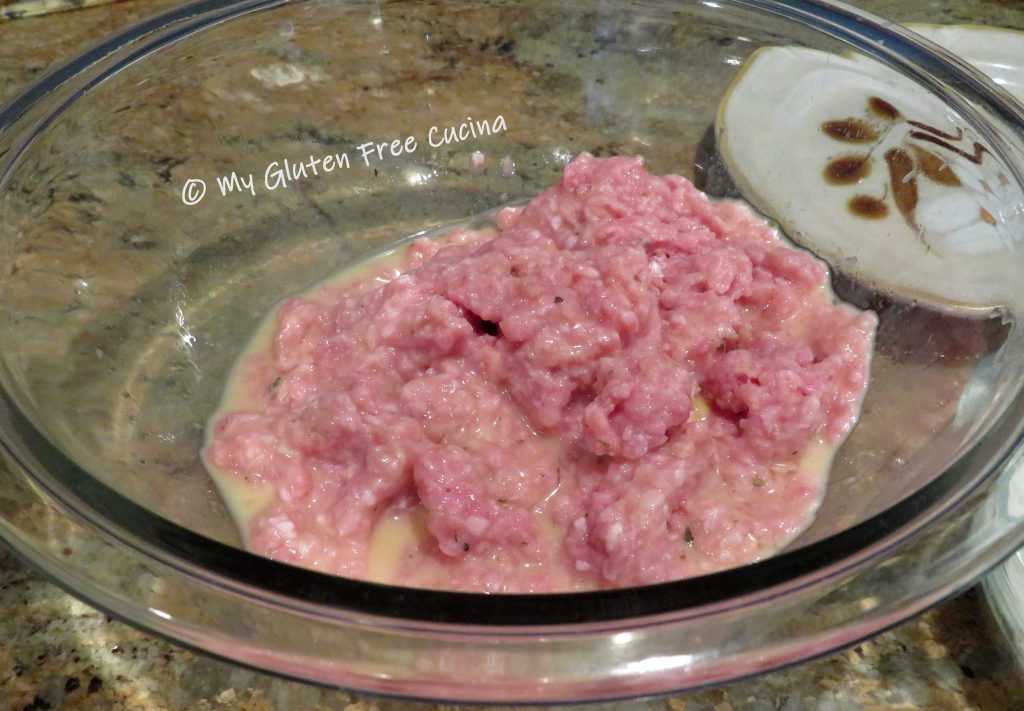
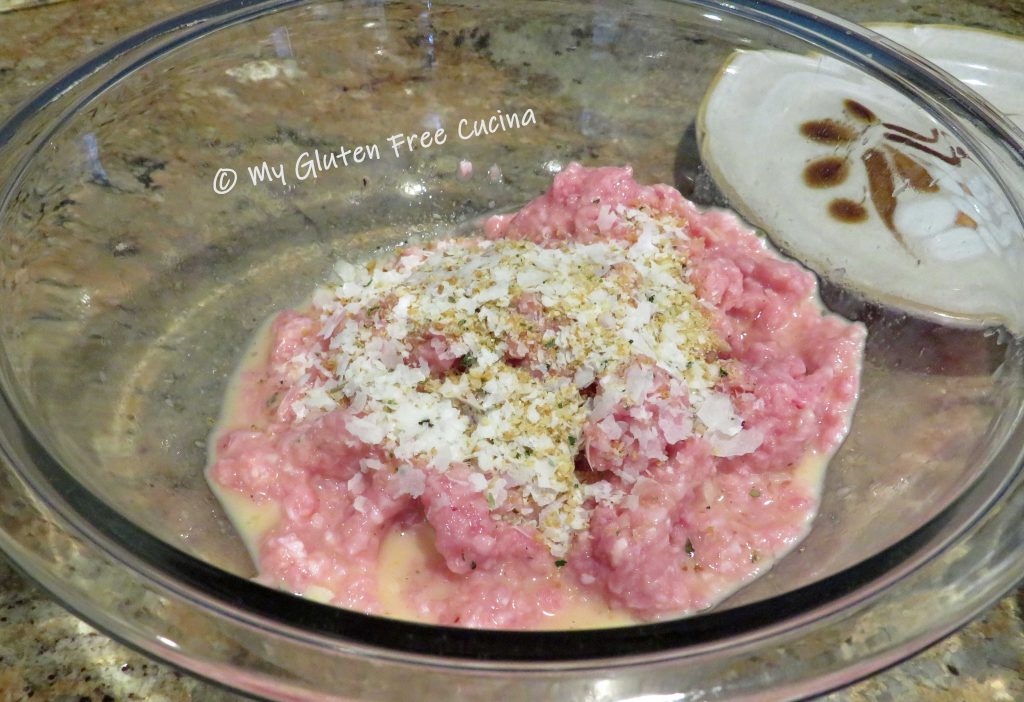
 Next we’ll make the meatballs. Combine the beaten egg and Italian seasoning. In another bowl combine the bread crumbs and potato flakes.
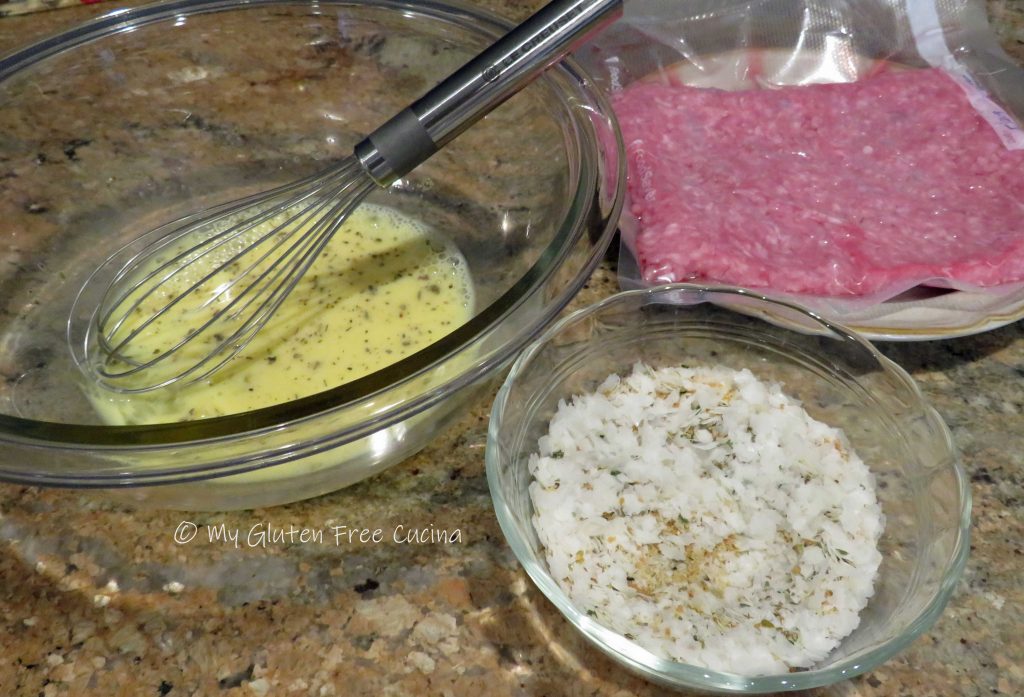

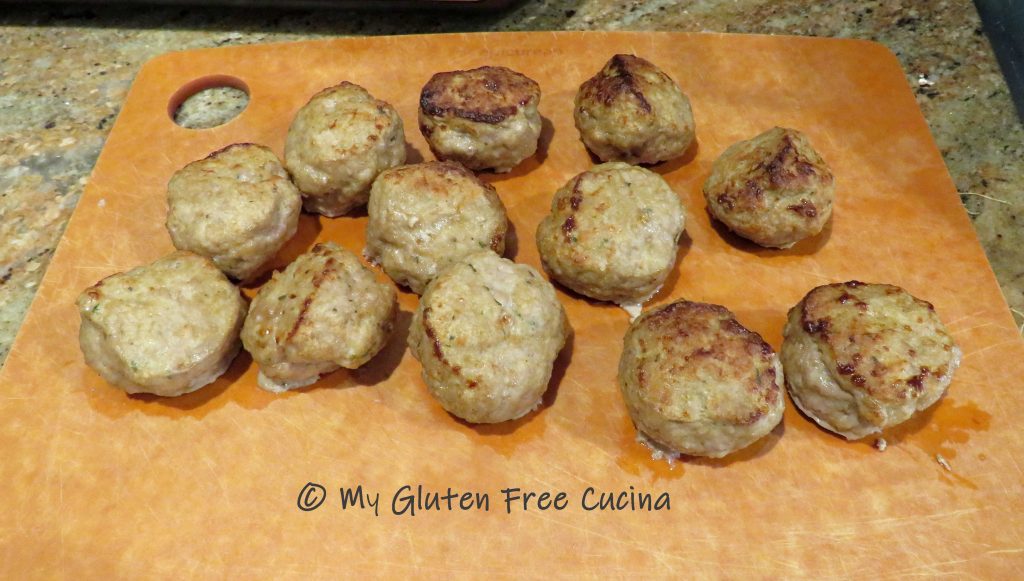


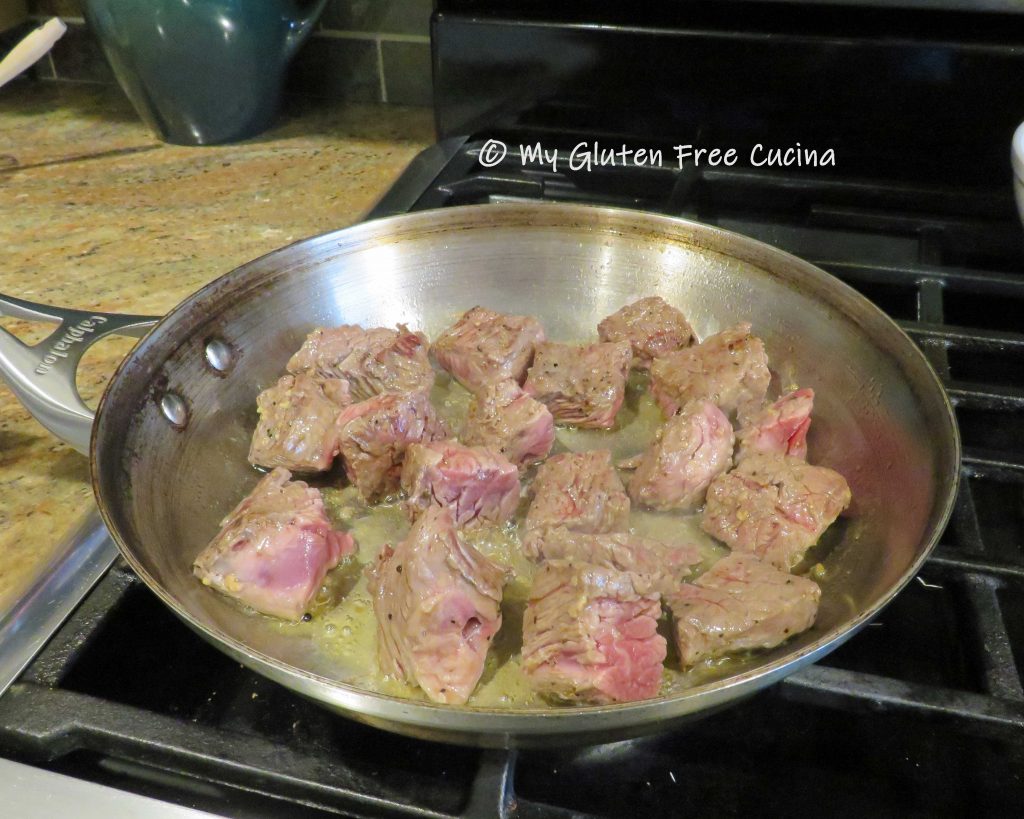
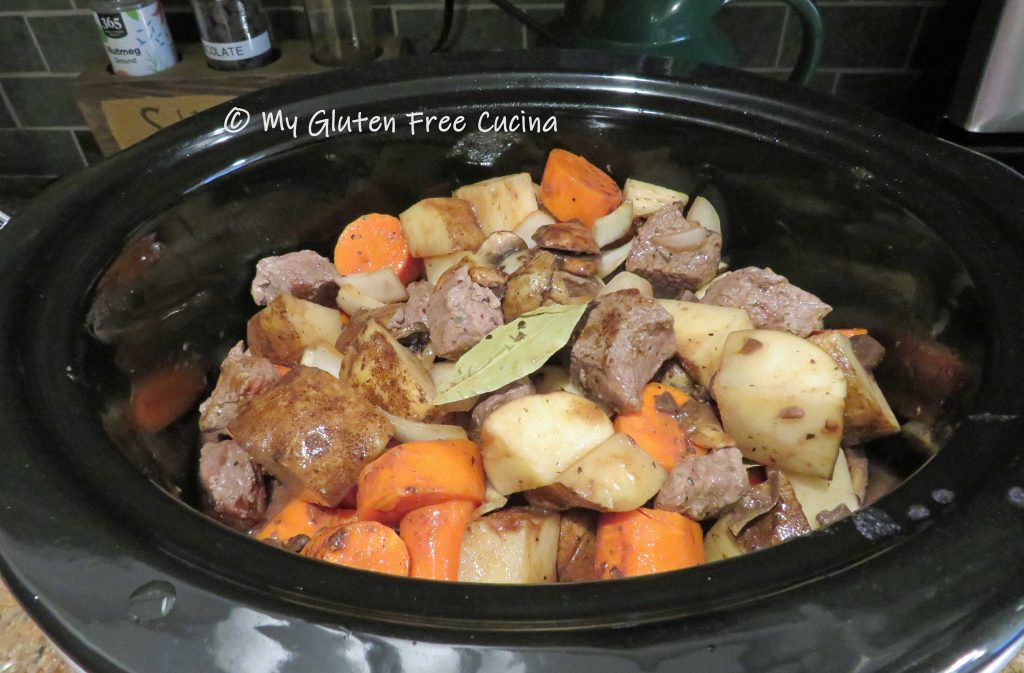
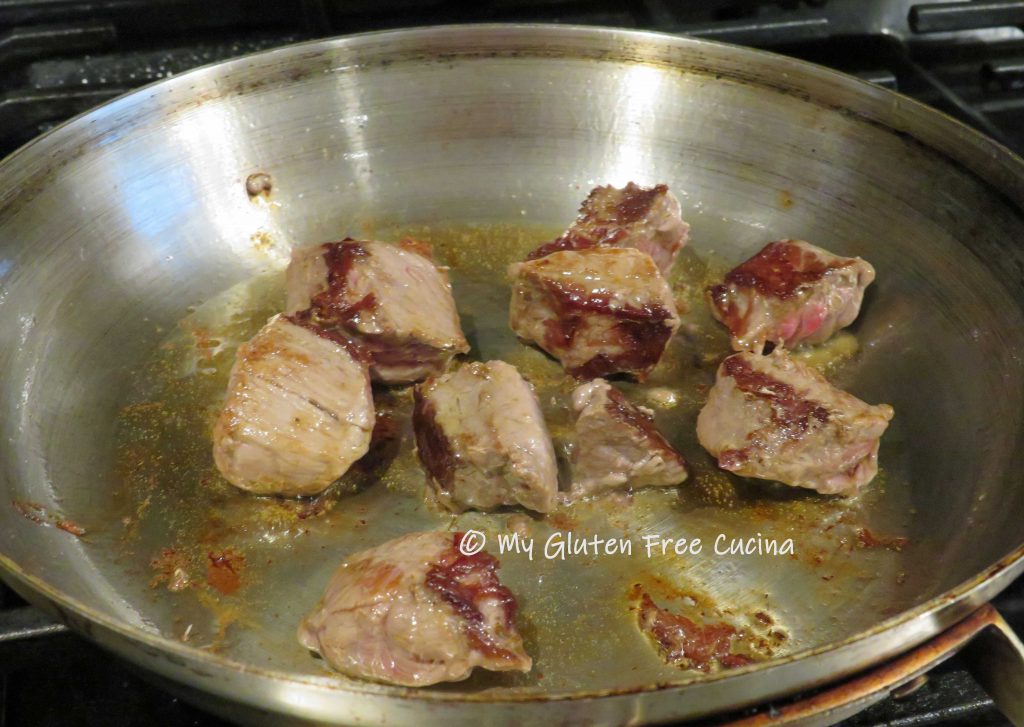 Don’t crowd the pan, you want to get some good color on the outside (if the pieces are too close together the meat will steam in its own liquid). I did my beef in 2 batches.
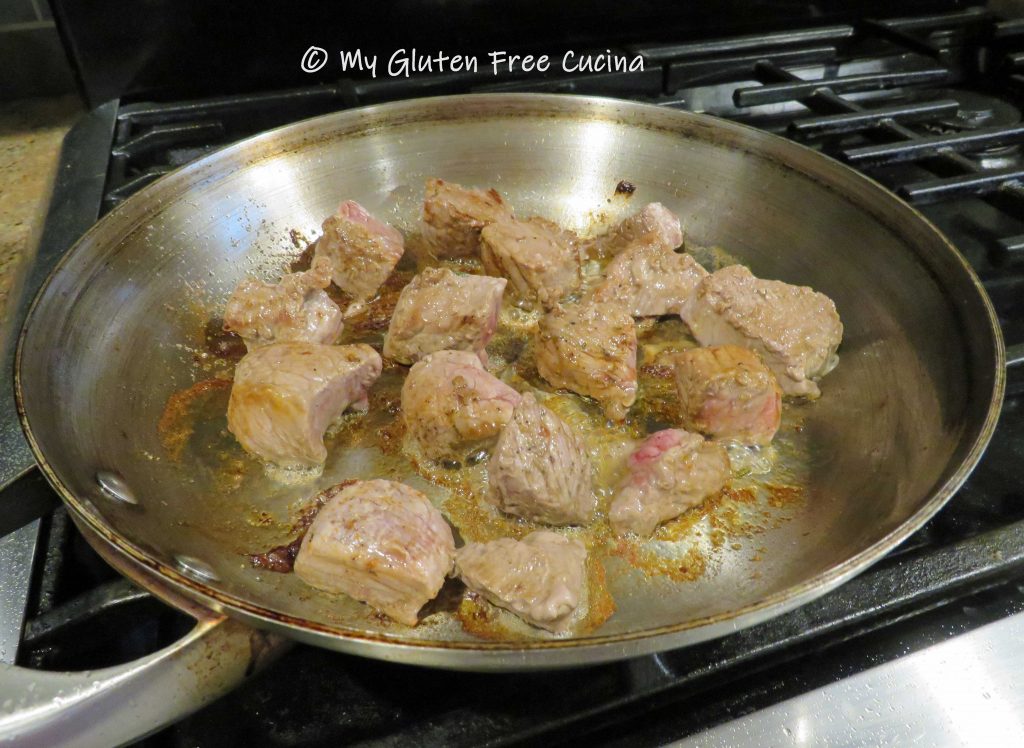 Once the beef goes into the crock-pot, you will see some nice browned bits on the bottom of your skillet.
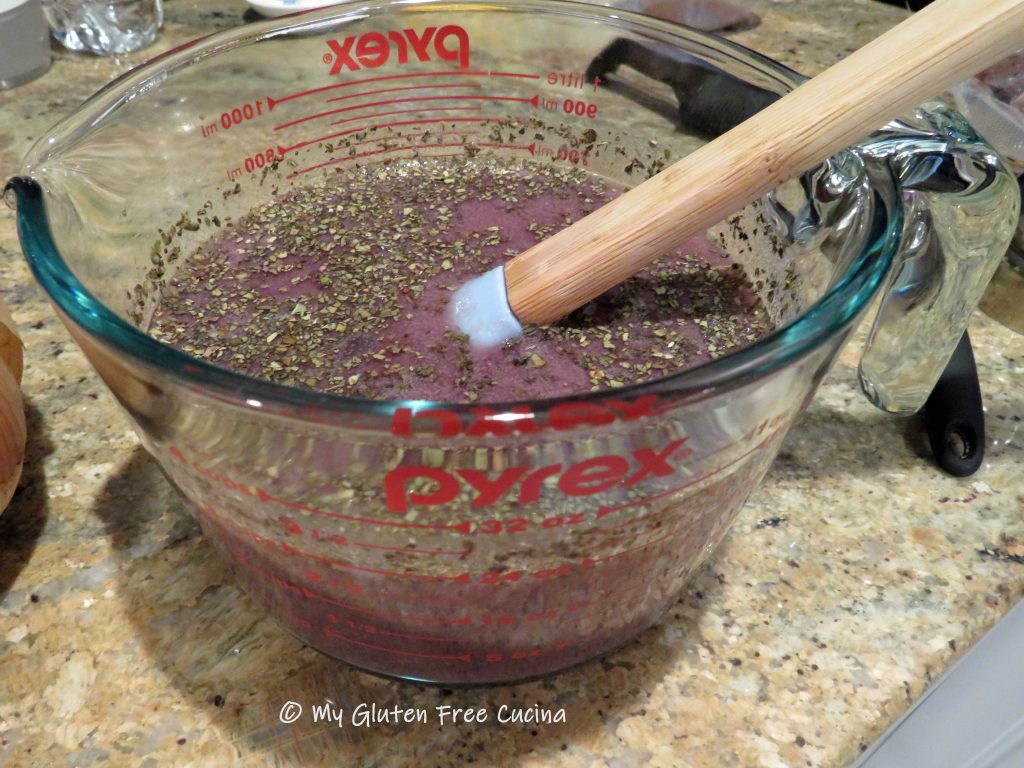
 Pour 1/3 cup of the wine mixture into the hot pan to deglaze, using a spatula to scrape up all of the browned bits, they are full of flavor!
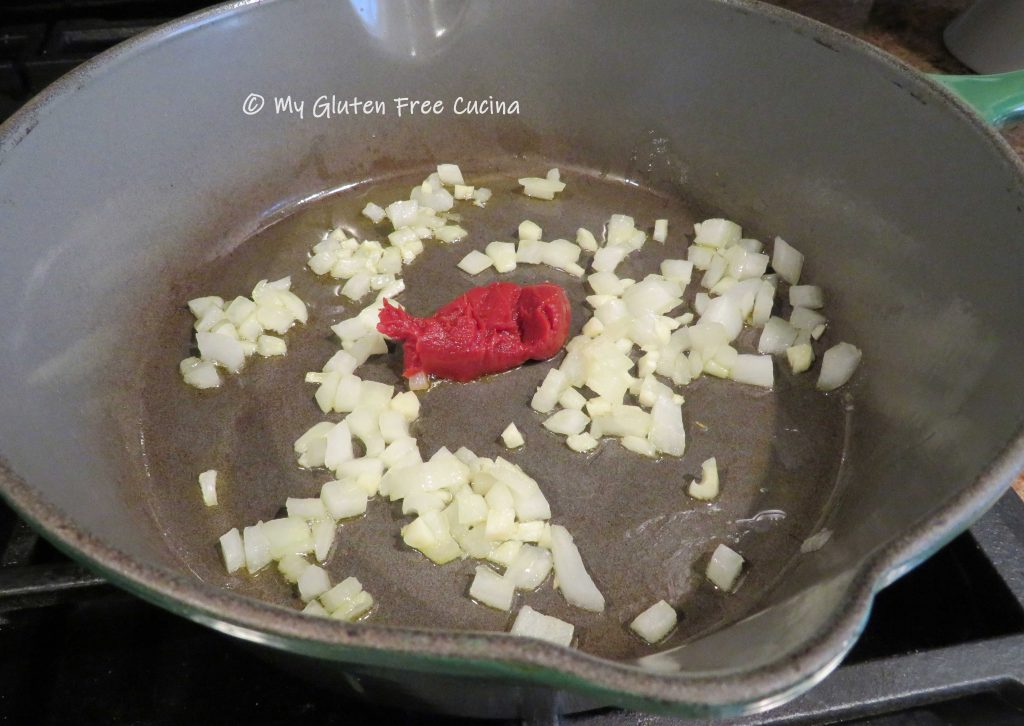
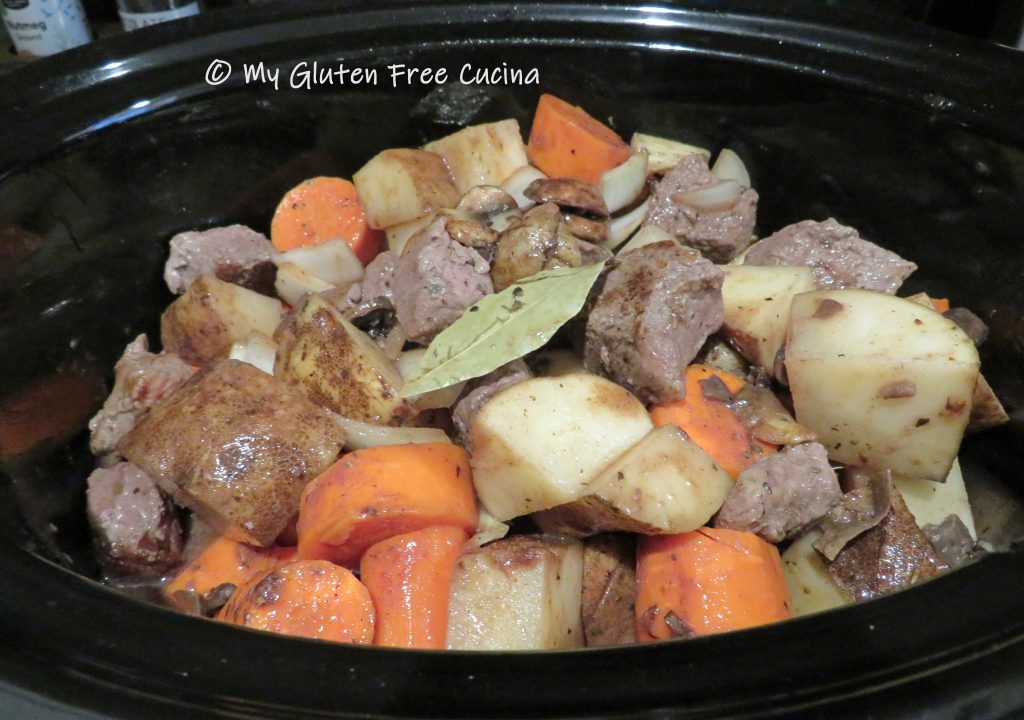
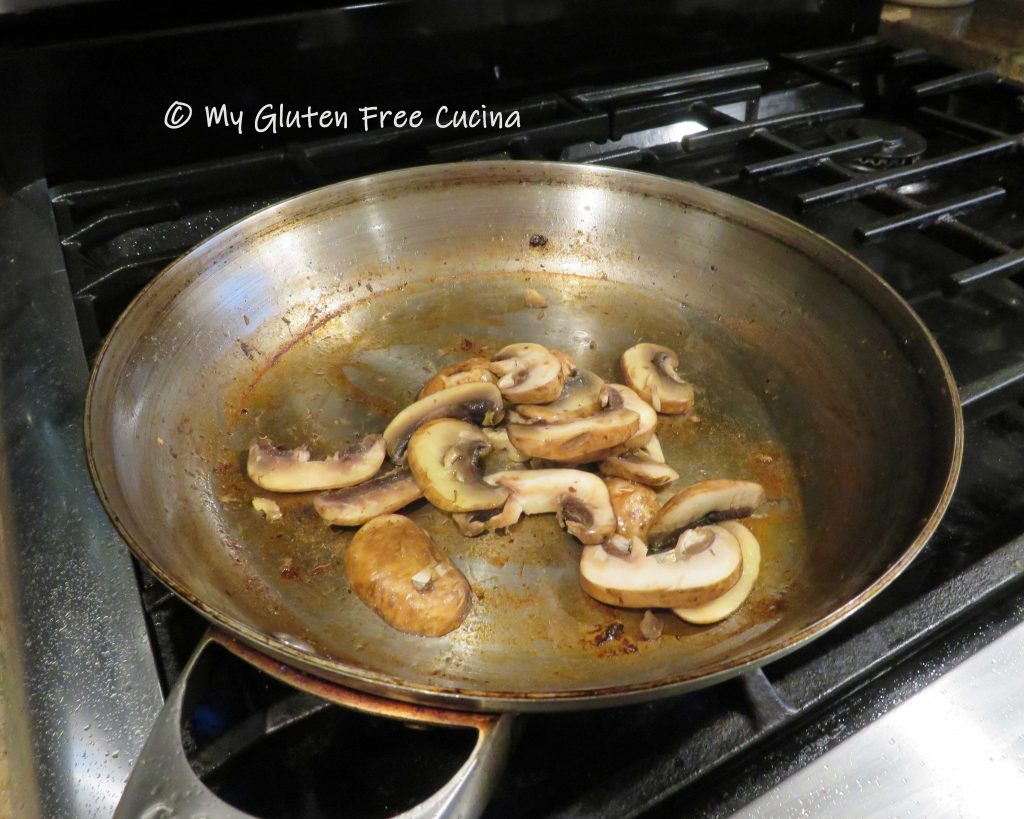
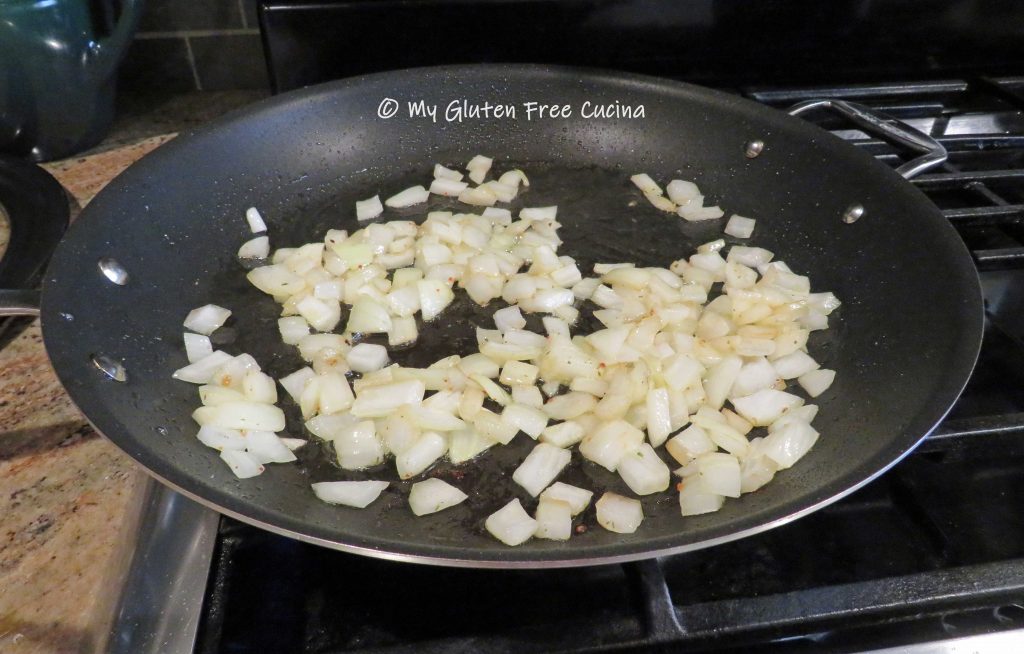
 Pour the liquid into the crock-pot and add more olive oil to the skillet. Begin browning the veggies, a few minutes each starting with the onions.
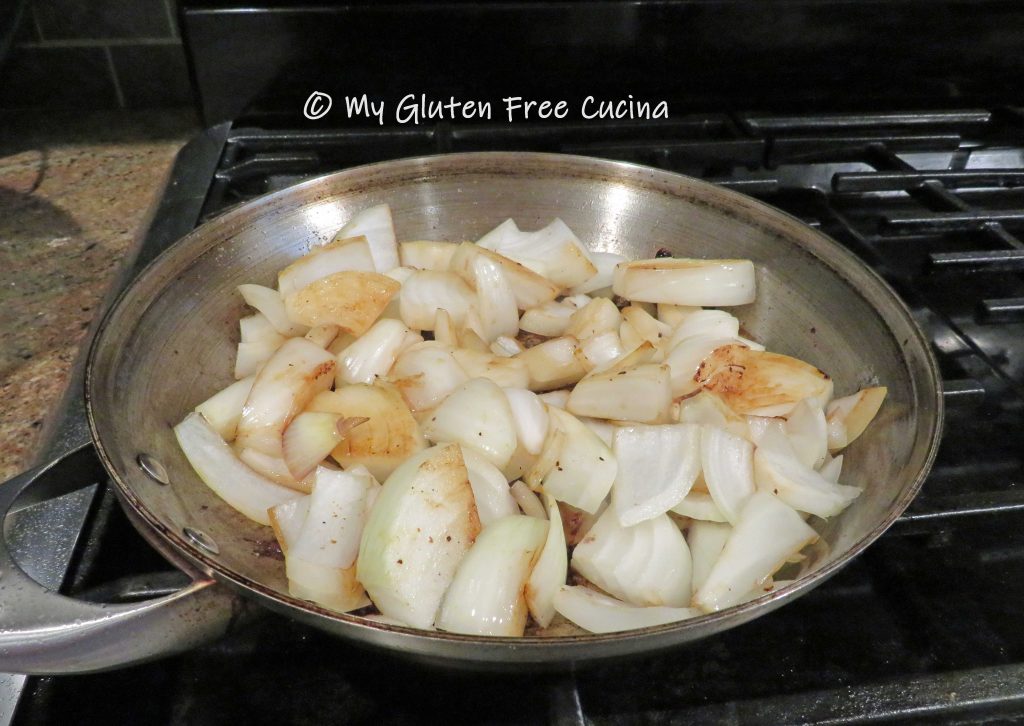


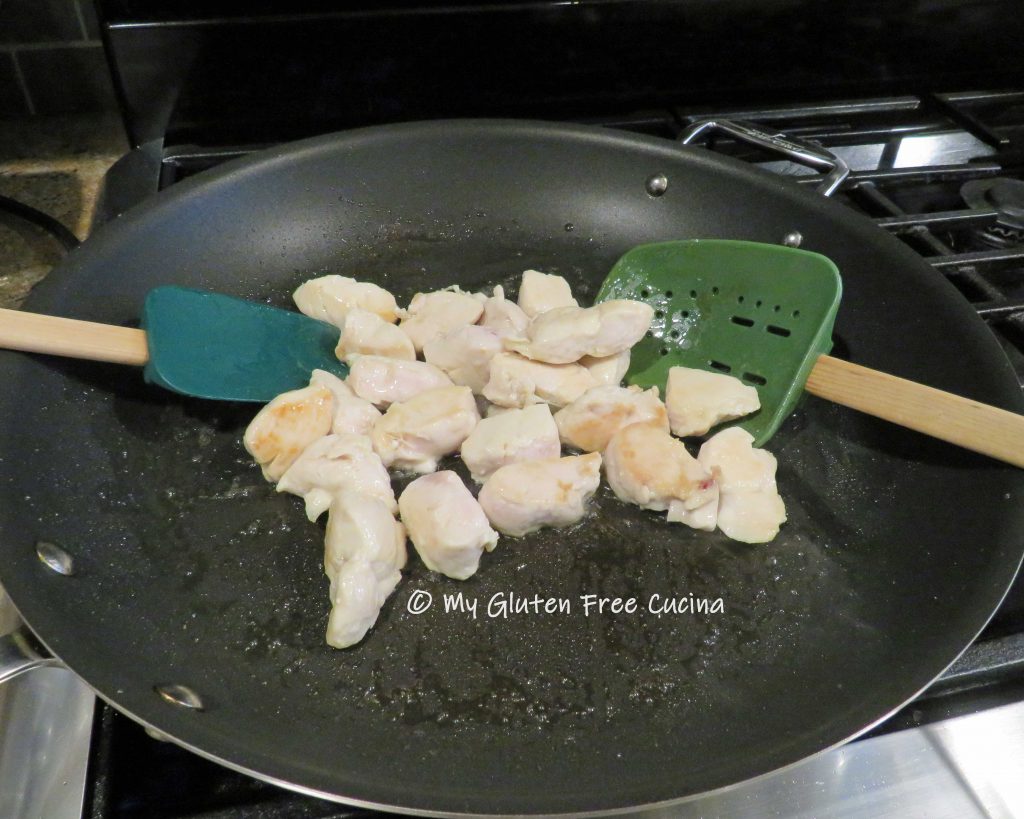
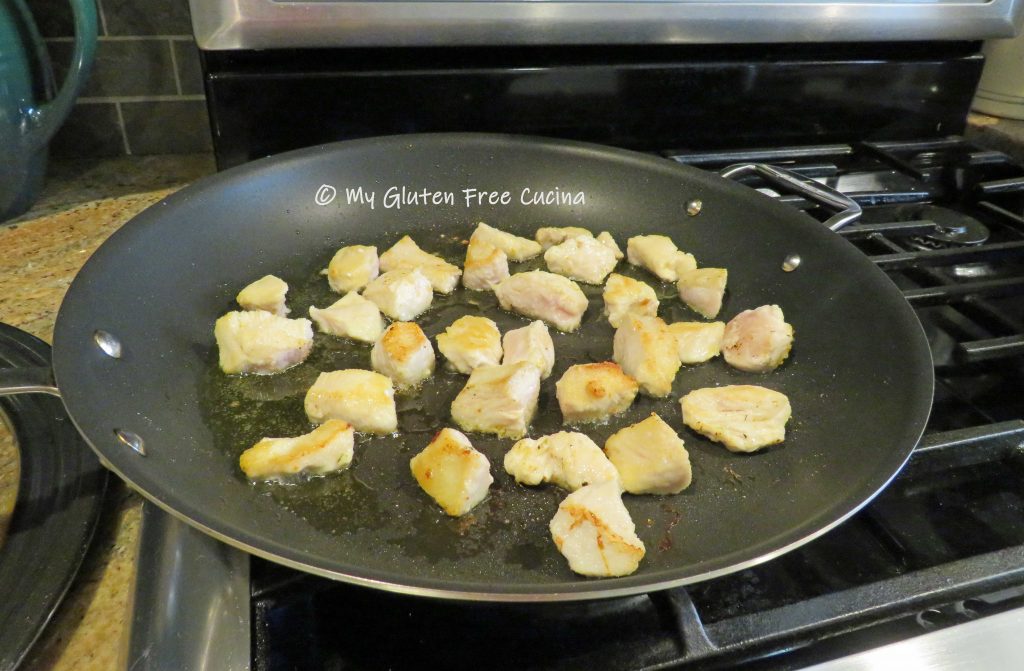 When the chicken has browned on all sides, add a splash (1/4 cup) of white wine to the pan and toss until the liquid evaporates. Remove from the pan and set aside.
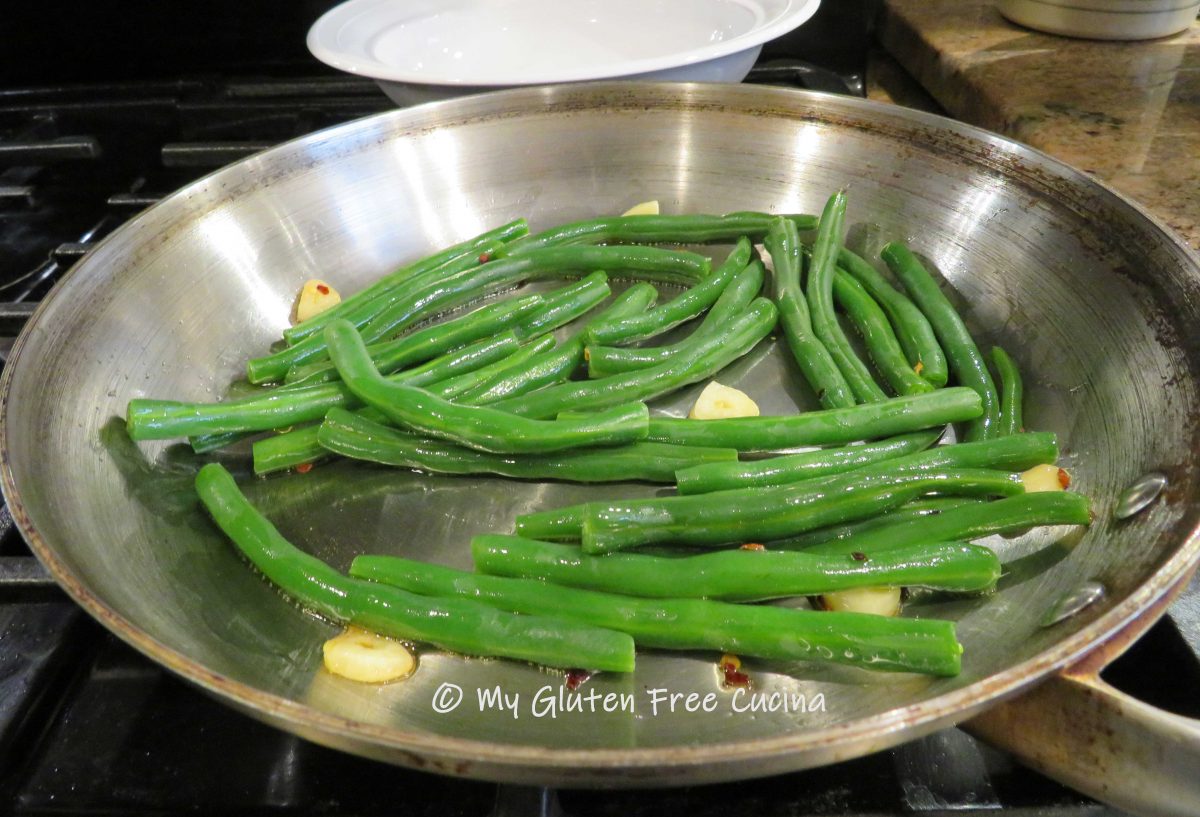
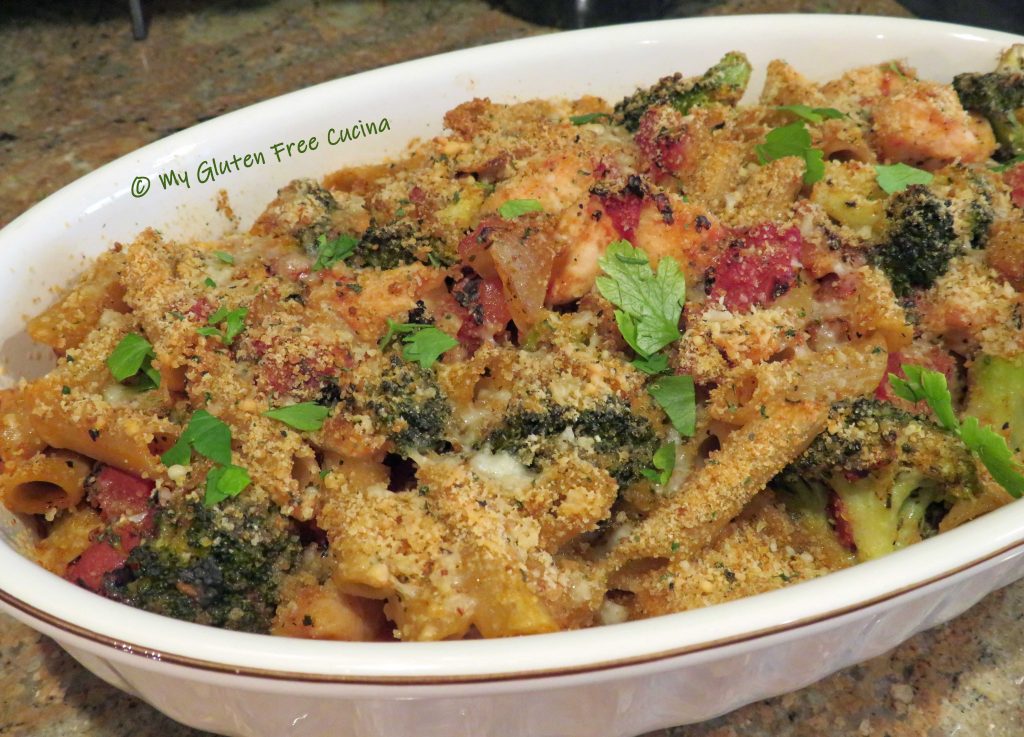
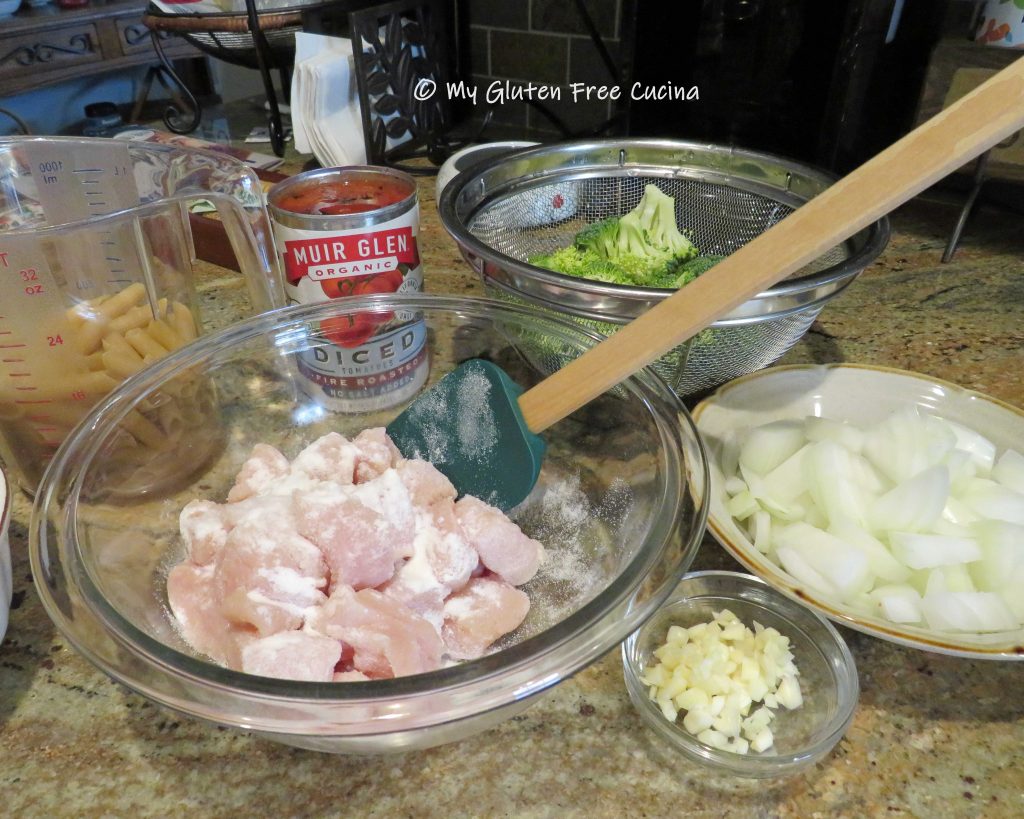
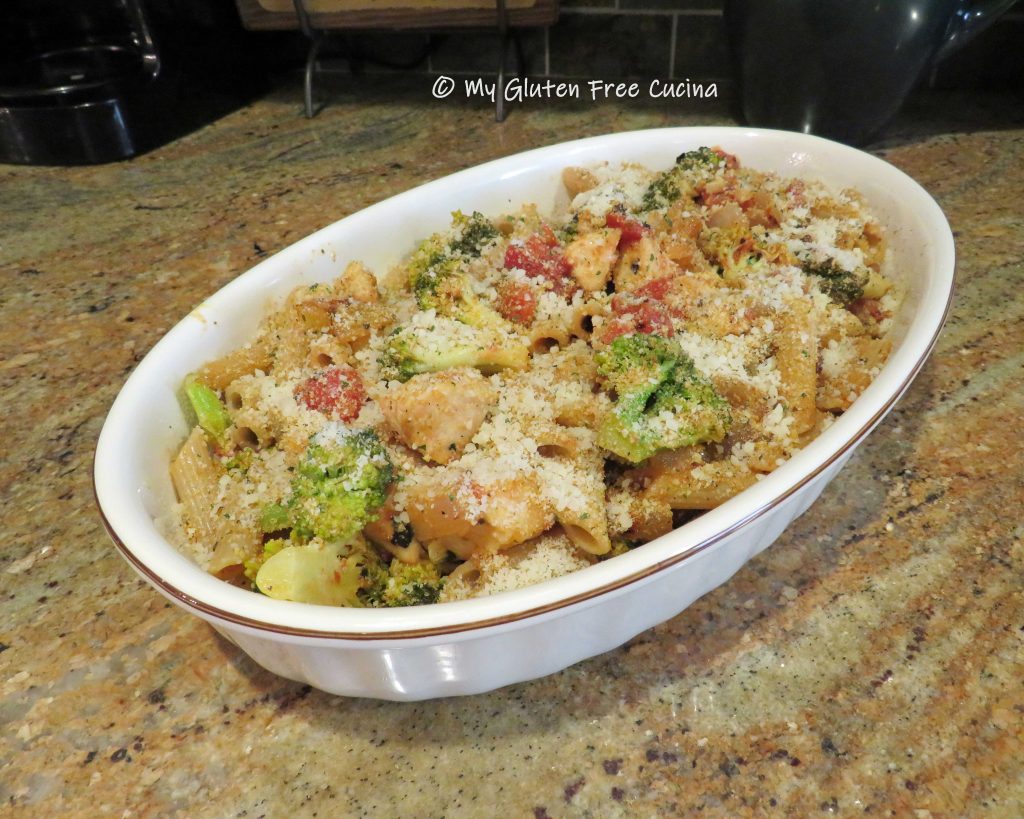
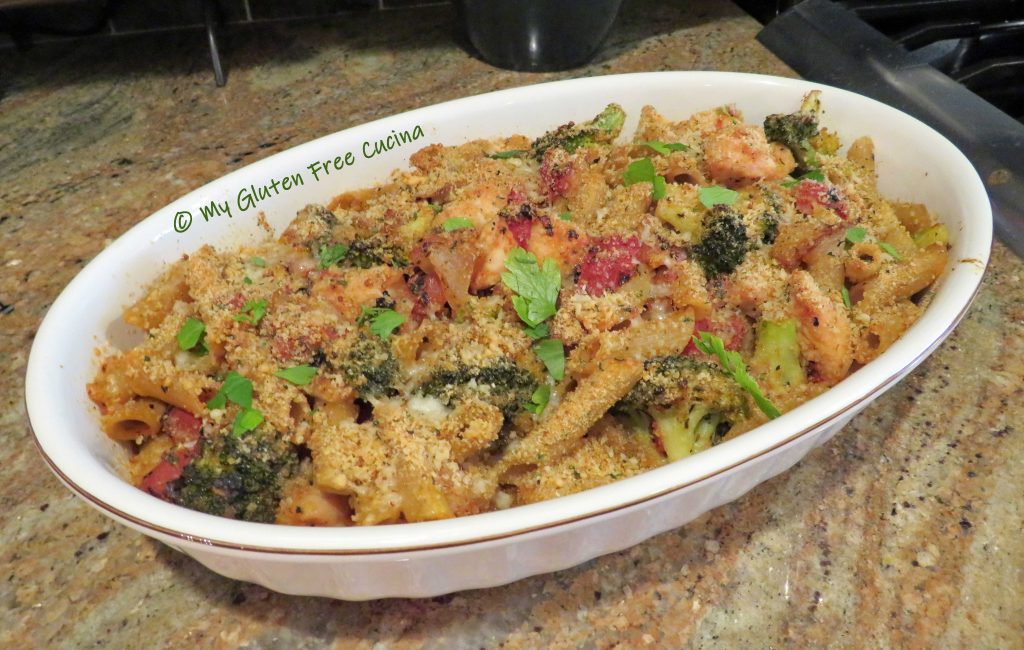
 When they have a little color, add the broccoli, garlic and diced tomatoes. Add another splash of white wine, then season with salt and pepper, basil and Italian seasoning. Cover and cook 10 minutes, until the broccoli is crisp tender.
 While the vegetables are cooking, add the pasta to the boiling water. Use your favorite (
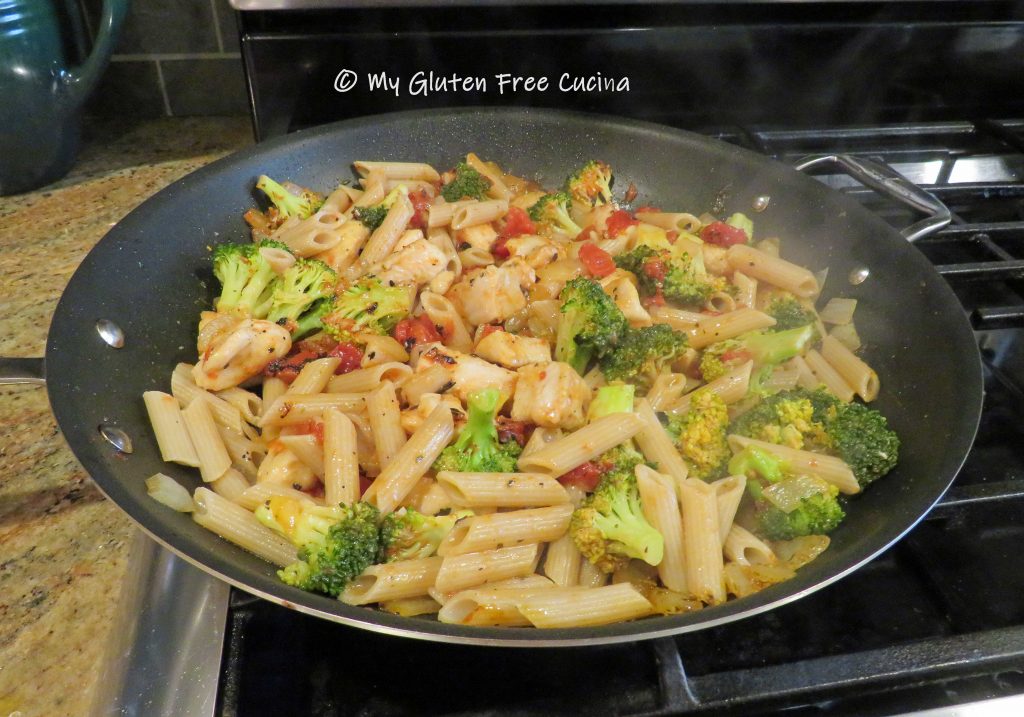


 Coat a