
A word of Caution- This recipe contains oats.
Whether or not you continue to consume oats is a personal choice. As we await more information, I will preface any recipes that include oats with a link to this important statement from Gluten Free Watchdog, an independent, subscriber-driven gluten-testing organization. About | Gluten Free Watchdog
***
I’m always looking for ways to add more fiber to my meals. If you are on a gluten free diet, you know that many processed foods are sadly lacking in fiber, not to mention nutritional value.
 This week I have been experimenting with my waffle recipe, to see if I could incorporate more fruits and fiber into breakfast. These hearty, dense waffles will stick to your ribs and start your morning off right!

This post contains affiliate links.
Yield: 8 Waffles
Ingredients:
- 250 g. gluten free all purpose flour
- 1 tbsp. sugar
- 3 tbsp. reduced sodium baking powder
- 1/2 tsp. salt
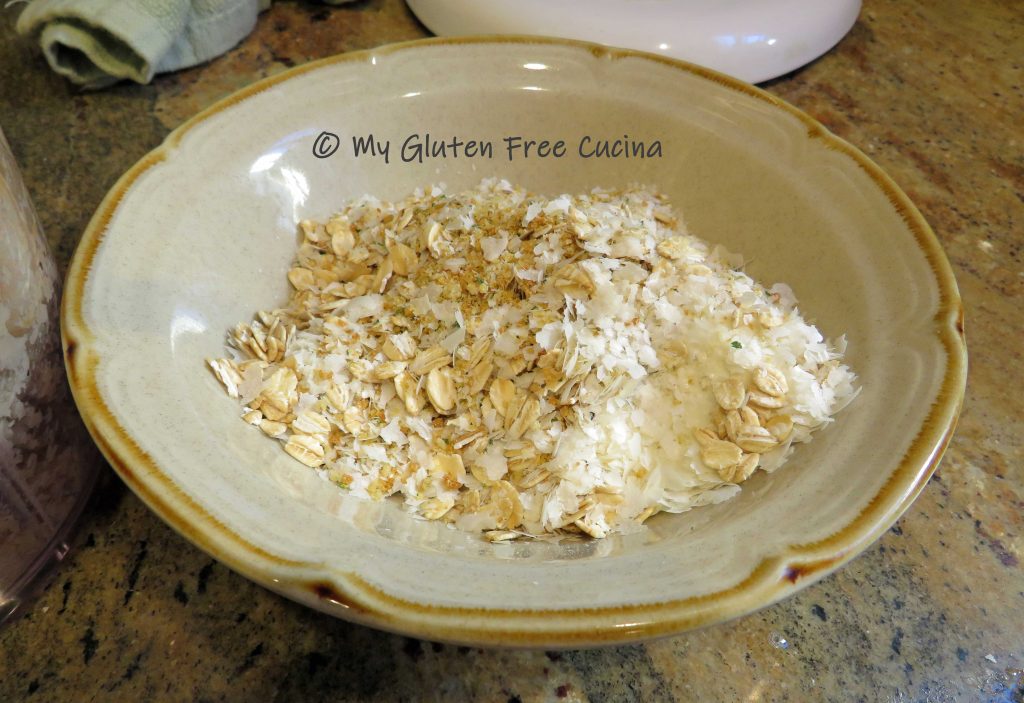
- 1/4 cup gluten free oat bran
- 1/4 cup coconut flour
- 1/4 cup arrowroot starch
- 1 tsp. cinnamon
- 1/4 tsp. nutmeg
- 1/8 tsp. cardamom
- 1 tbsp. brown sugar
- 1 medium apple, minced
- 1/2 ripe banana, mashed
- 1/2 cup pumpkin puree
- 1 egg
- 2 tbsp. canola oil
- 1 tsp. vanilla
- 1-1/2 cups 1% milk
- cooking spray
Preparation:
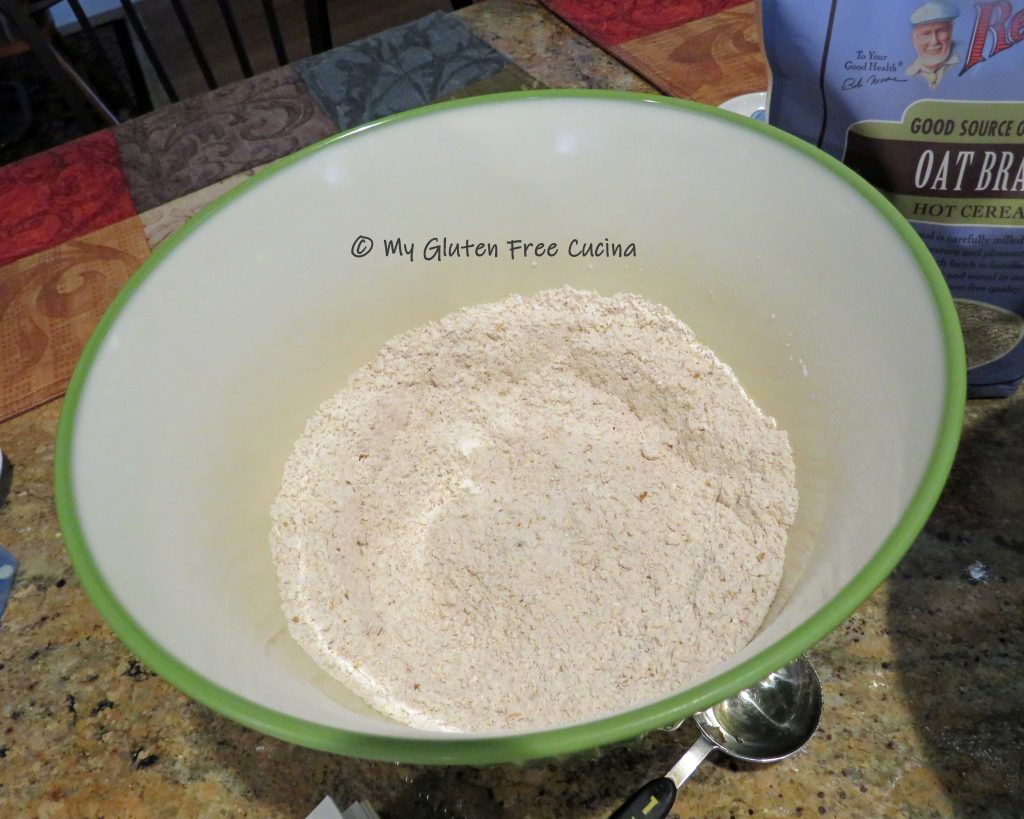
Whisk together the dry ingredients, flour through brown sugar.
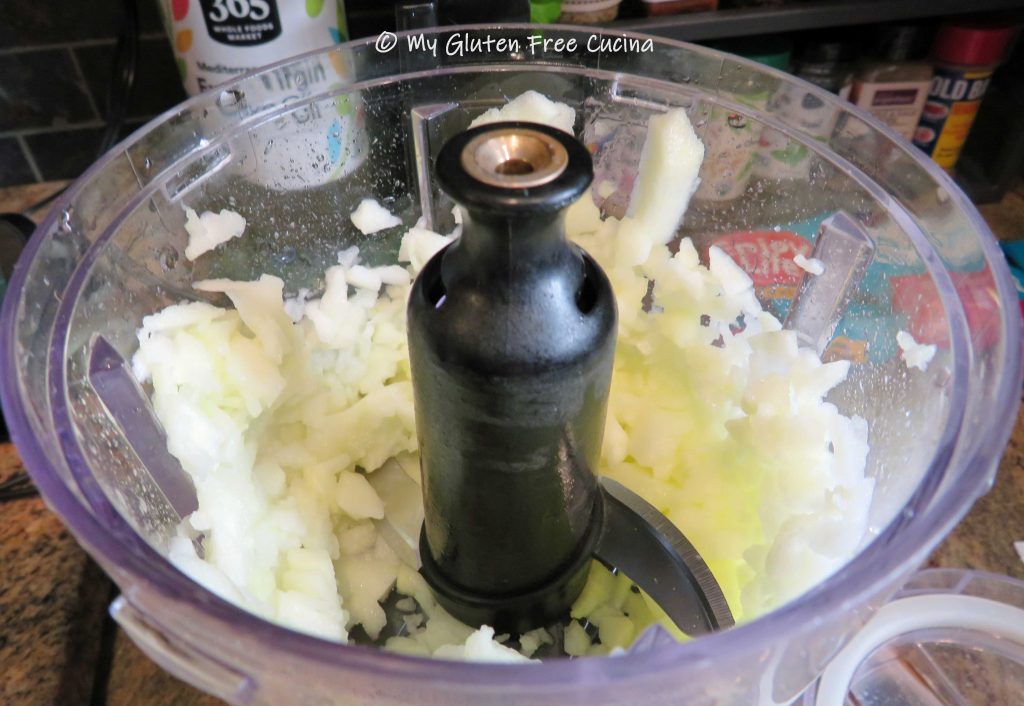
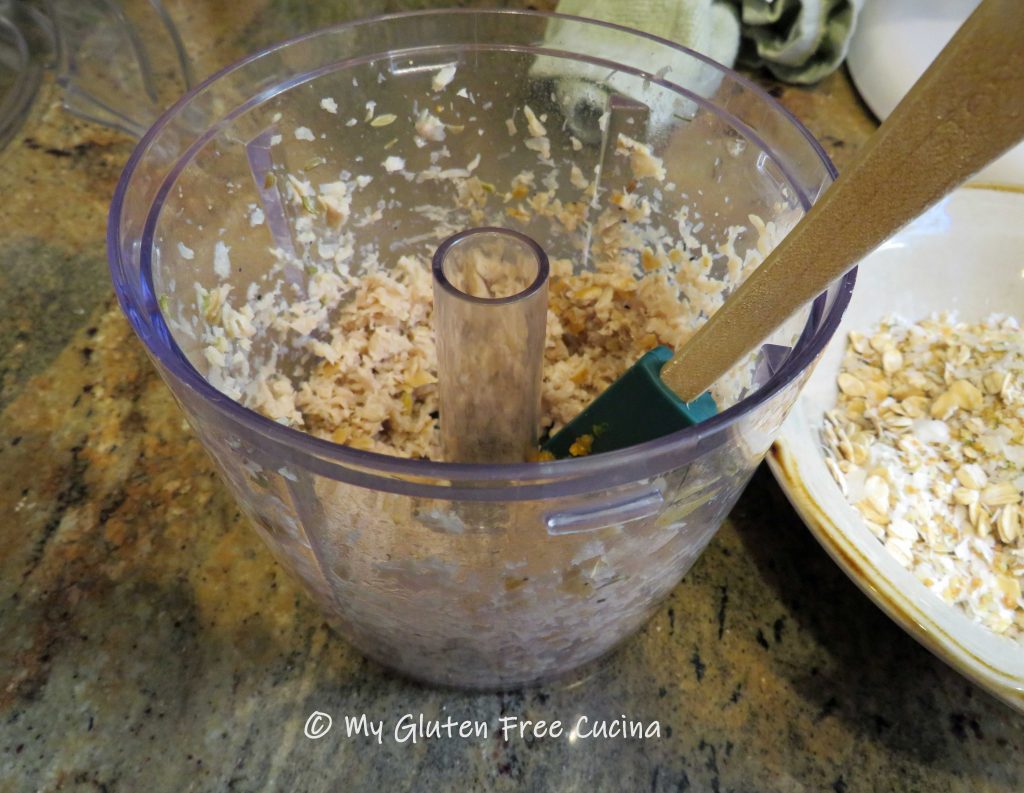
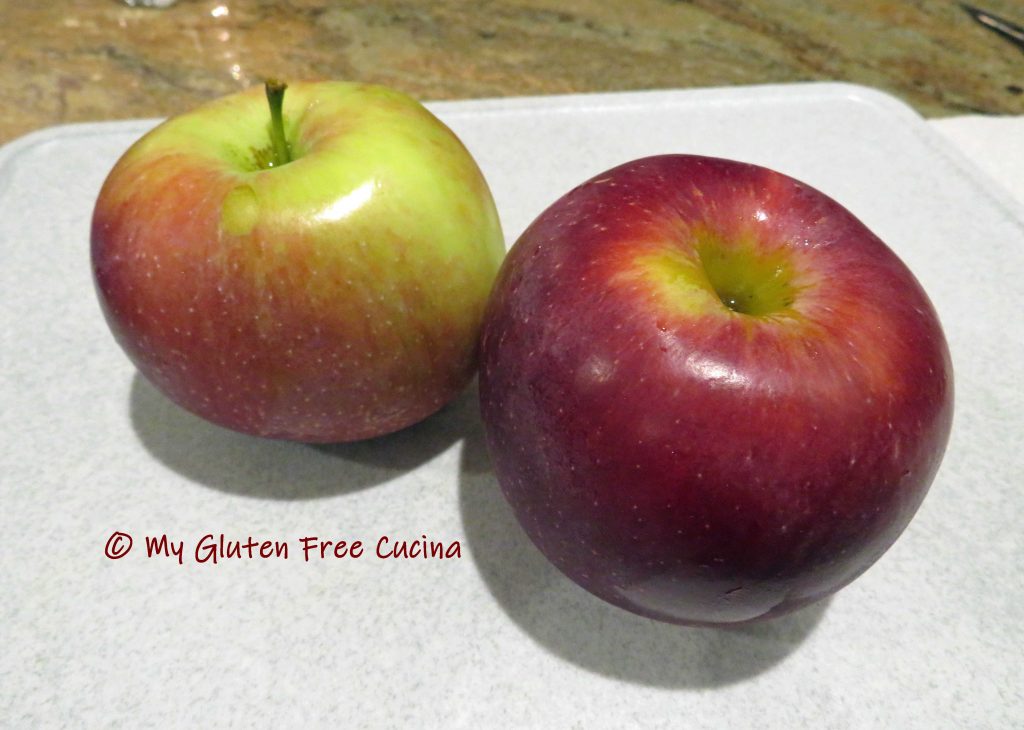
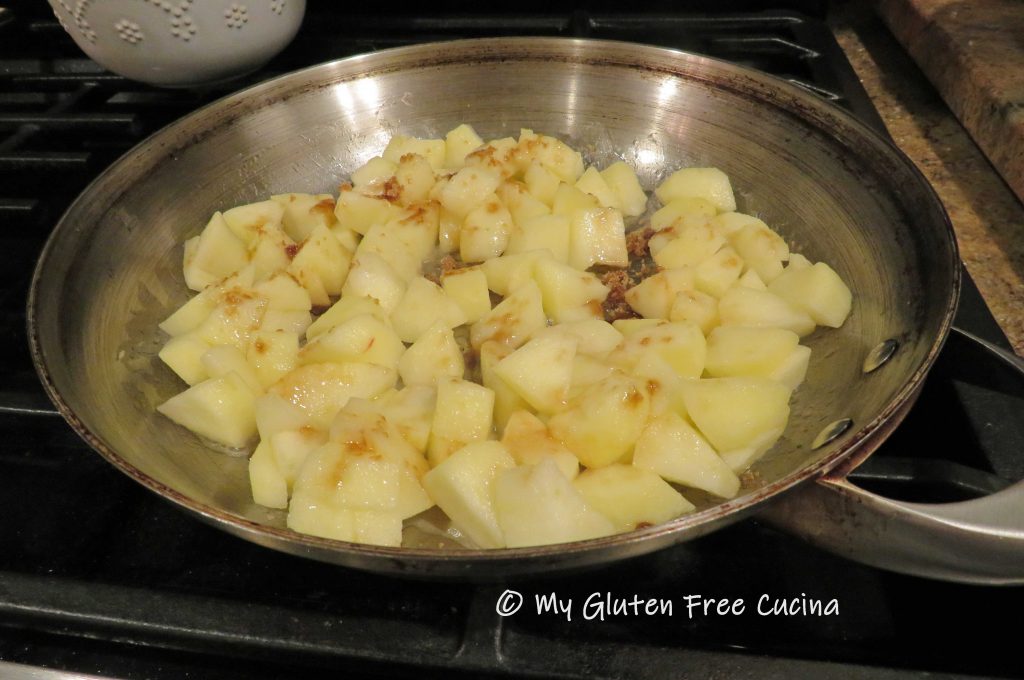
Peel and core the apple and process it to a fine mince in an electric chopper.
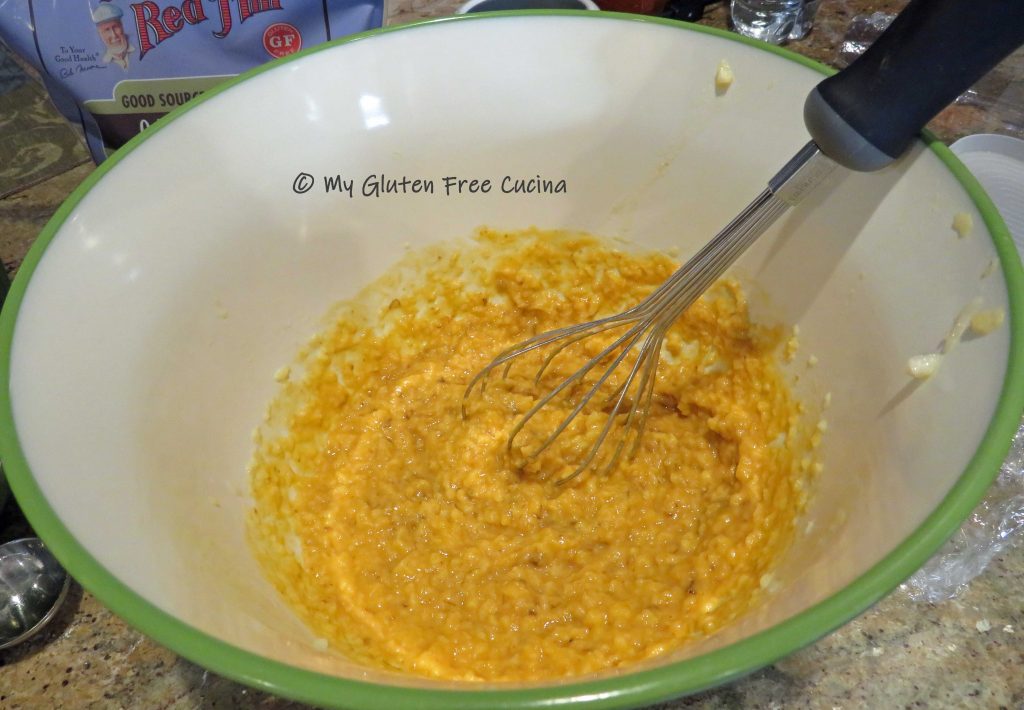
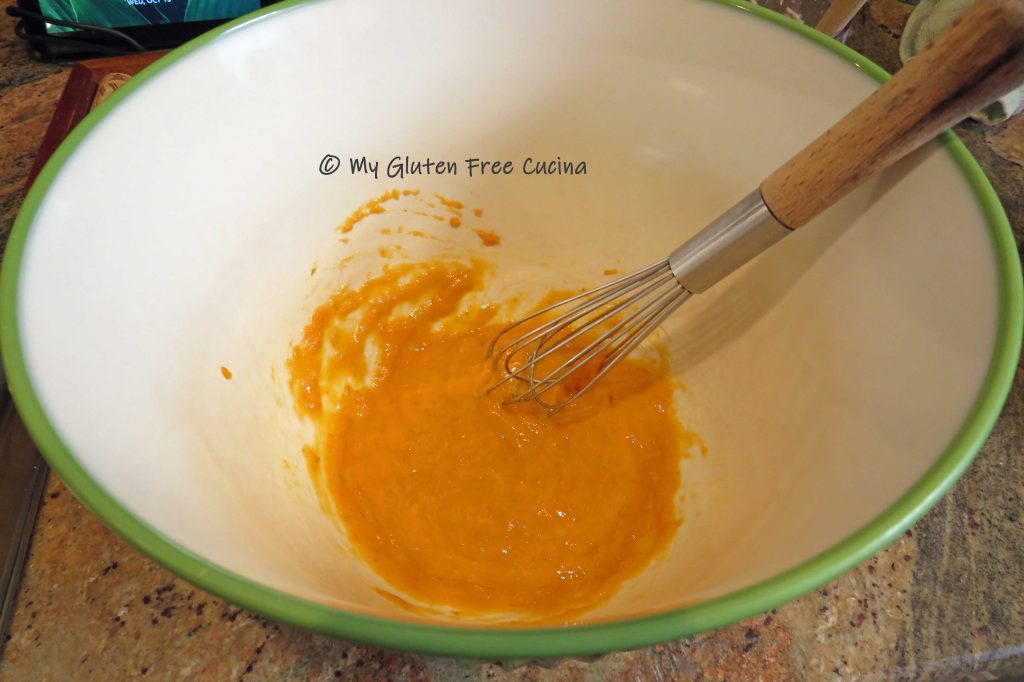
In a separate bowl, combine the minced apples with the other wet ingredients, through vanilla.
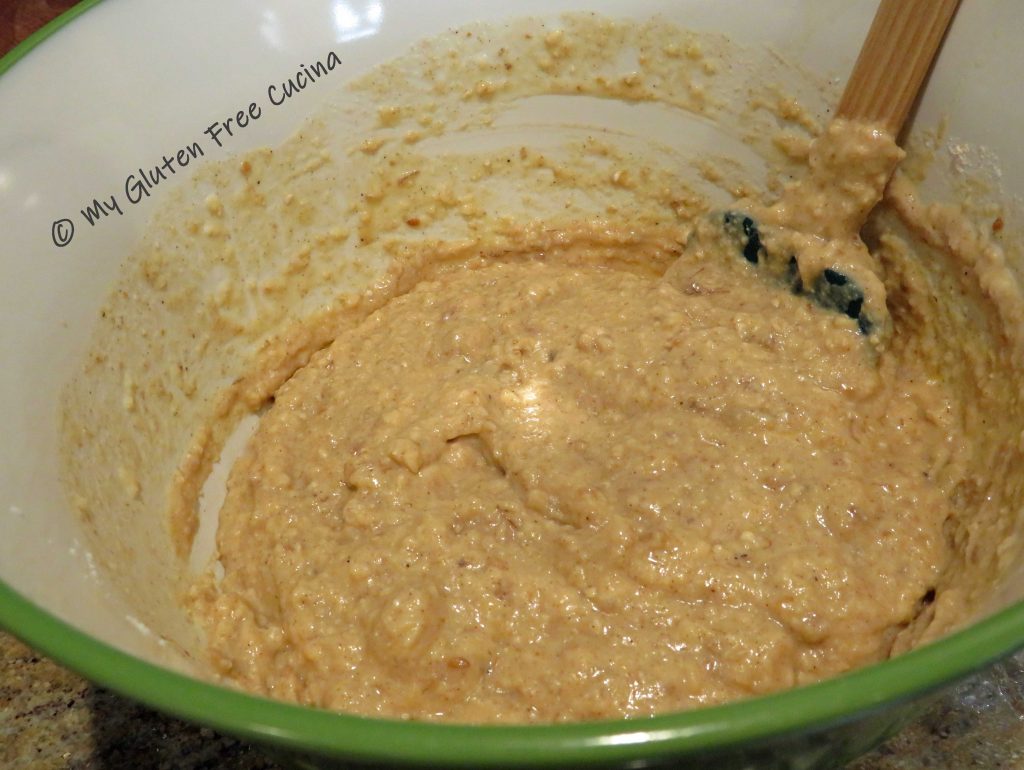
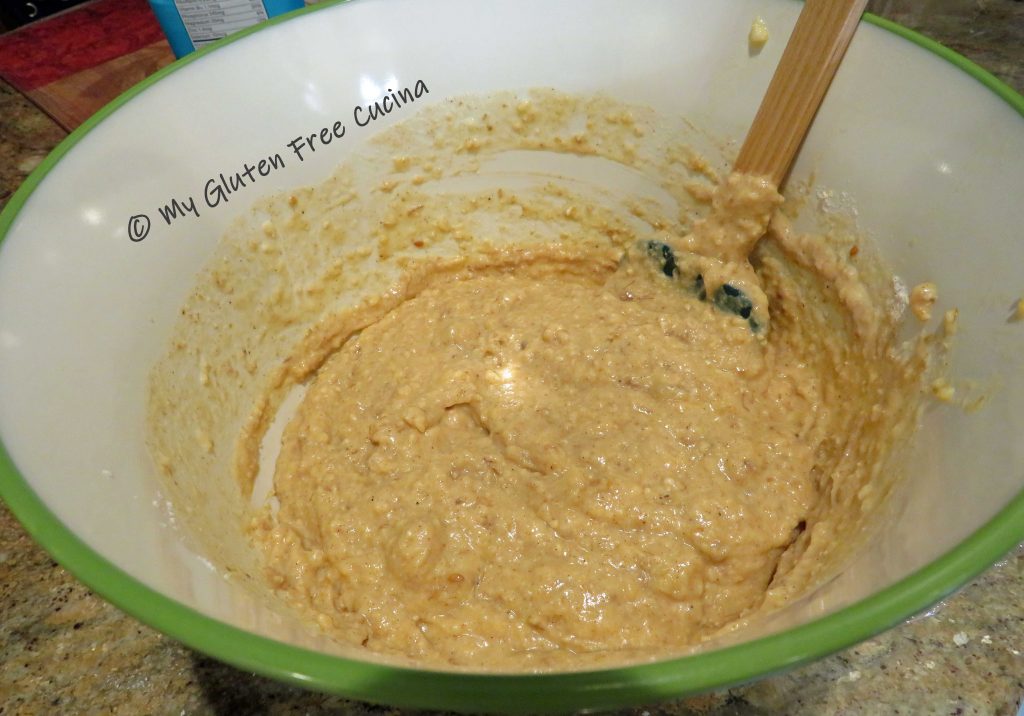
Whisk in the milk, then stir the dry ingredients into the wet. Let the batter hydrate while you preheat the waffle iron to 350º.
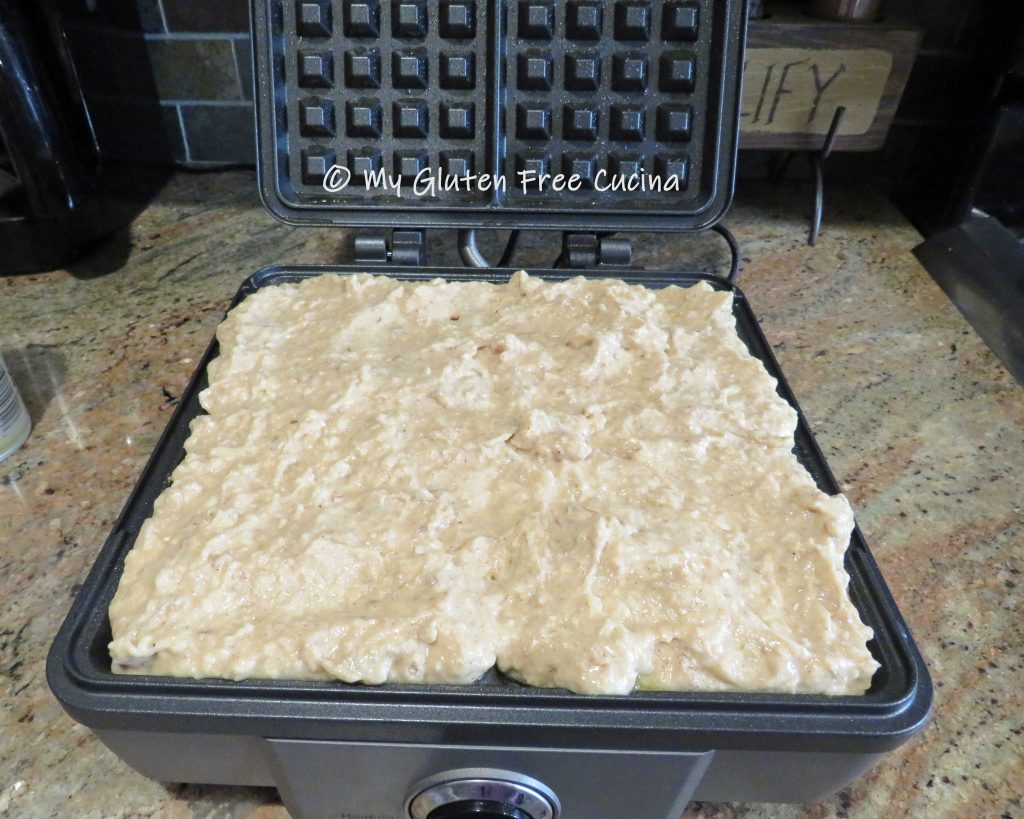
Coat both sides of the waffle iron with cooking spray and add half the batter. Use a spatula to spread it into the corners.
 Gluten free waffles always take a bit longer to cook, and because this is an extra dense batter it will need even more time. Allow a full six minutes, or a bit longer if you like them crispy.

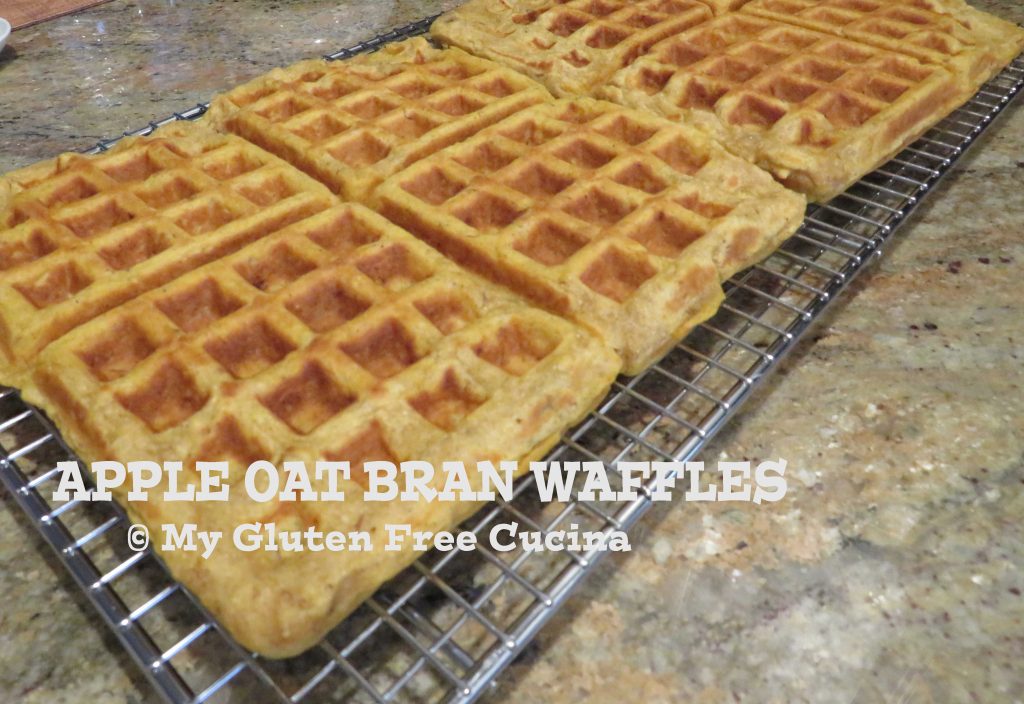
If not serving immediately you can cool them on a rack and freeze. This is what I do, and they are great toasted.

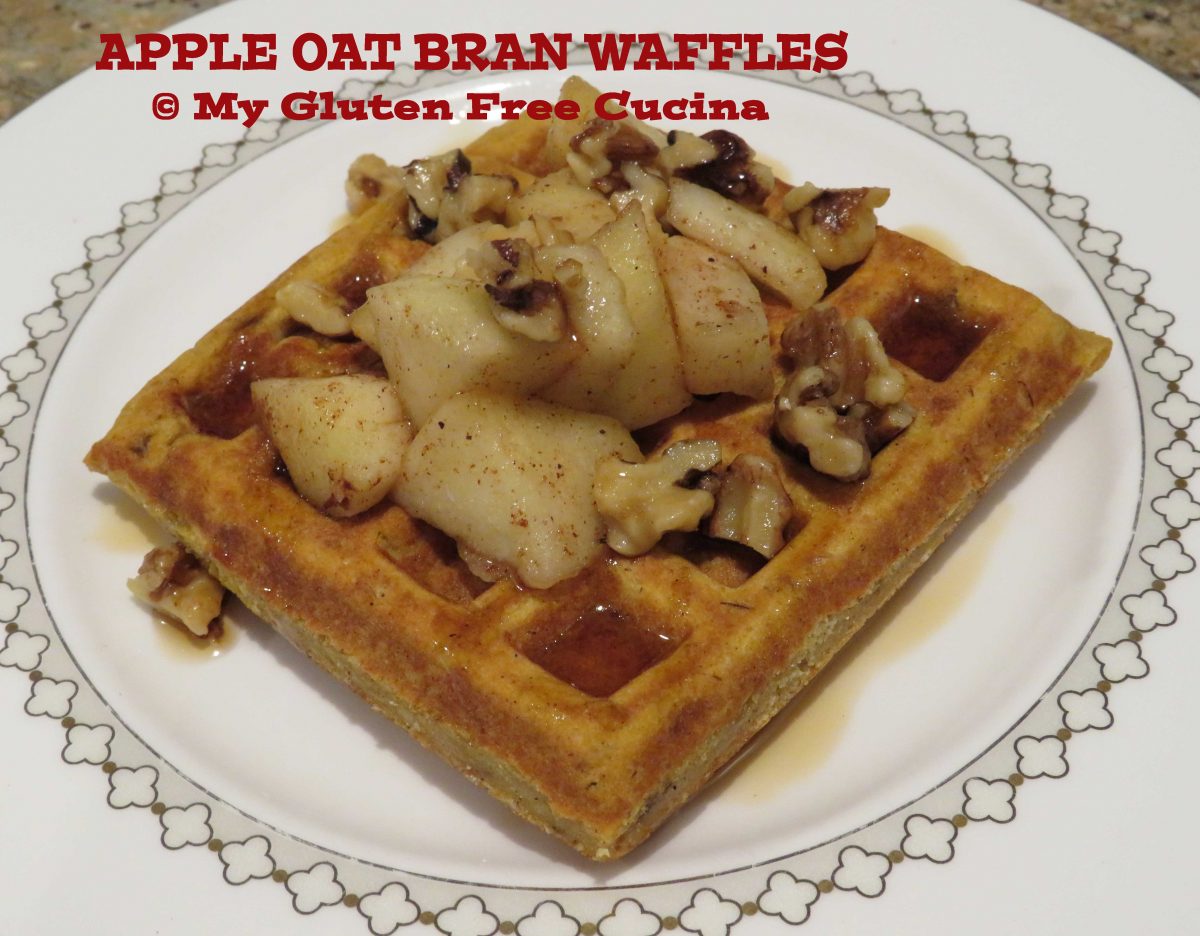
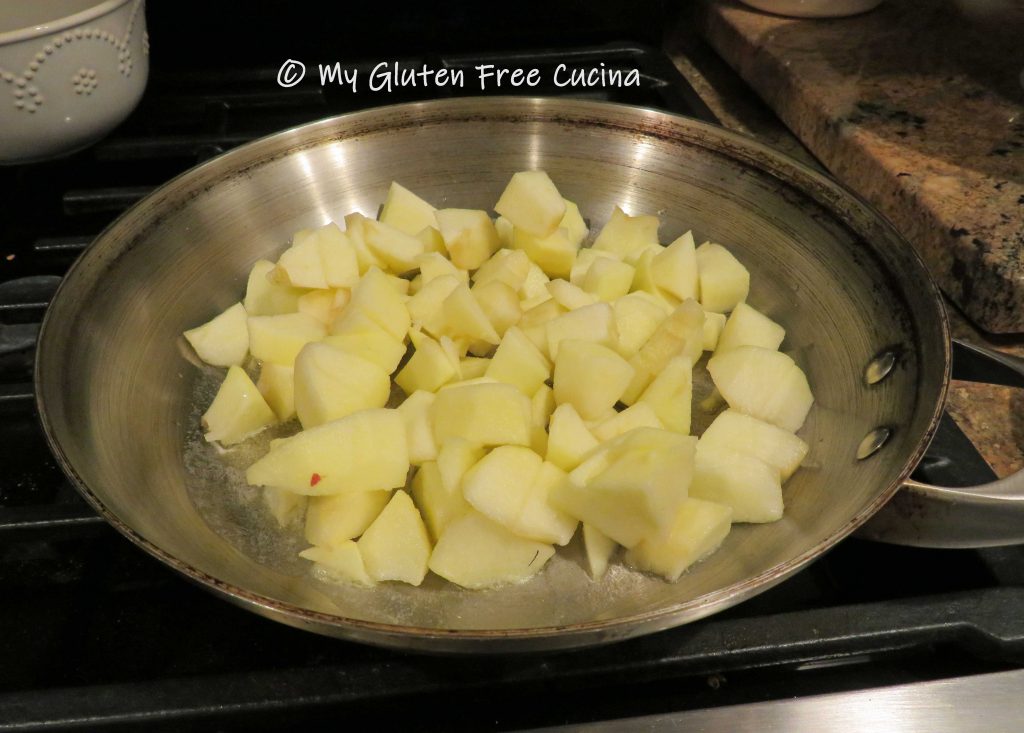
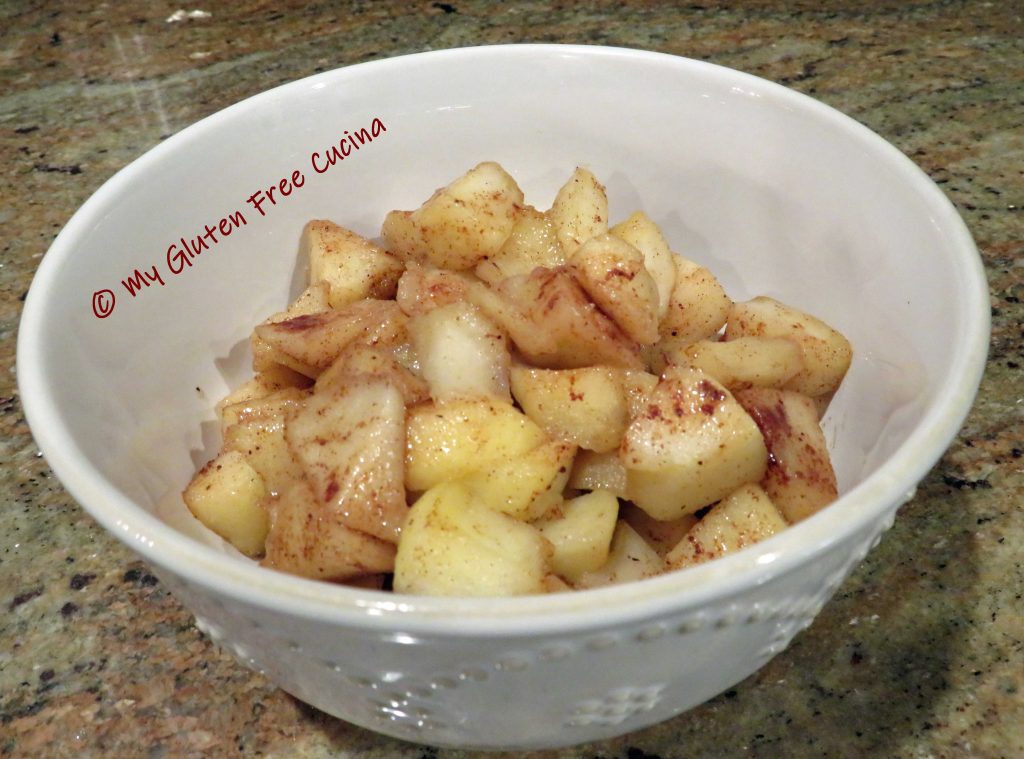
Serving suggestion: Try topping these waffles with sautéed apples and a sprinkle of candied walnuts. The flavors are perfect together. Always use real maple syrup!
Notes ♪♫ Bobs Red Mill sells both regular and gluten free oat bran. For those with Celiac, be sure to order the Gluten Free Oat Bran. Or, for extra peace of mind, check out Montana Gluten Free Oat Bran, made with purity protocol oats. If you are one of the few who cannot have oats at all, try substituting ground flax seeds. You can pop them in a coffee grinder to make flax meal.


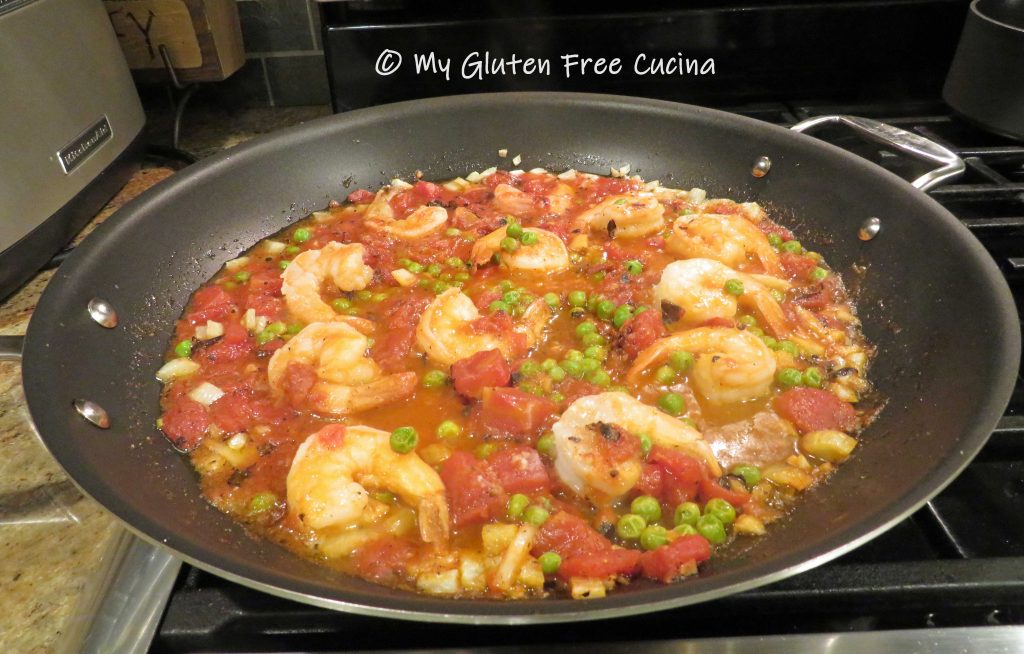


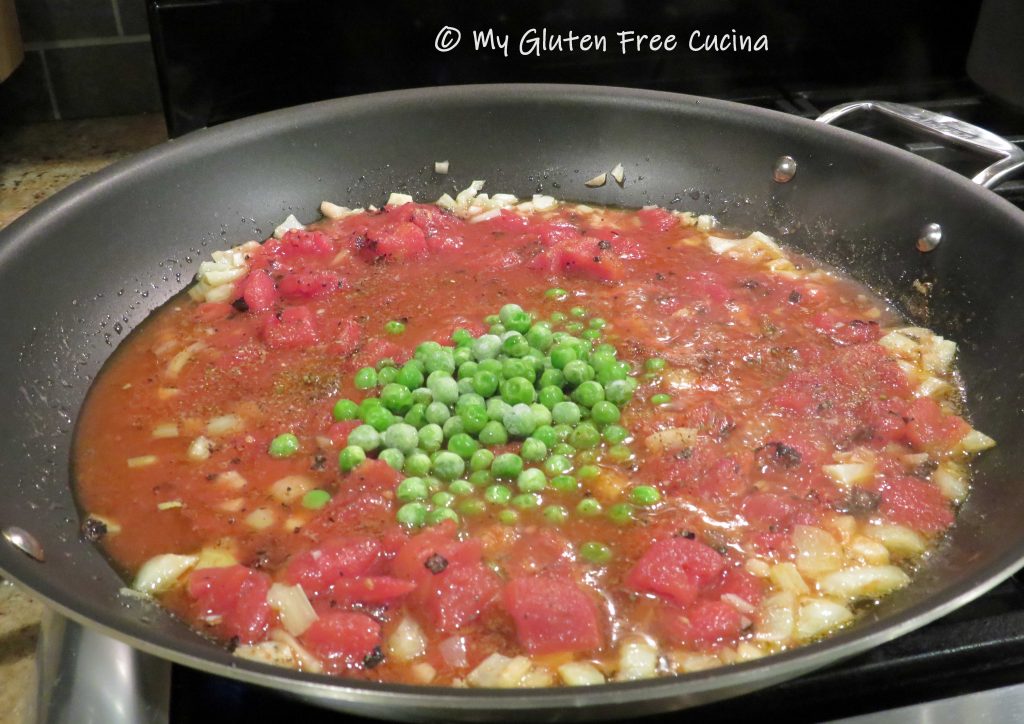
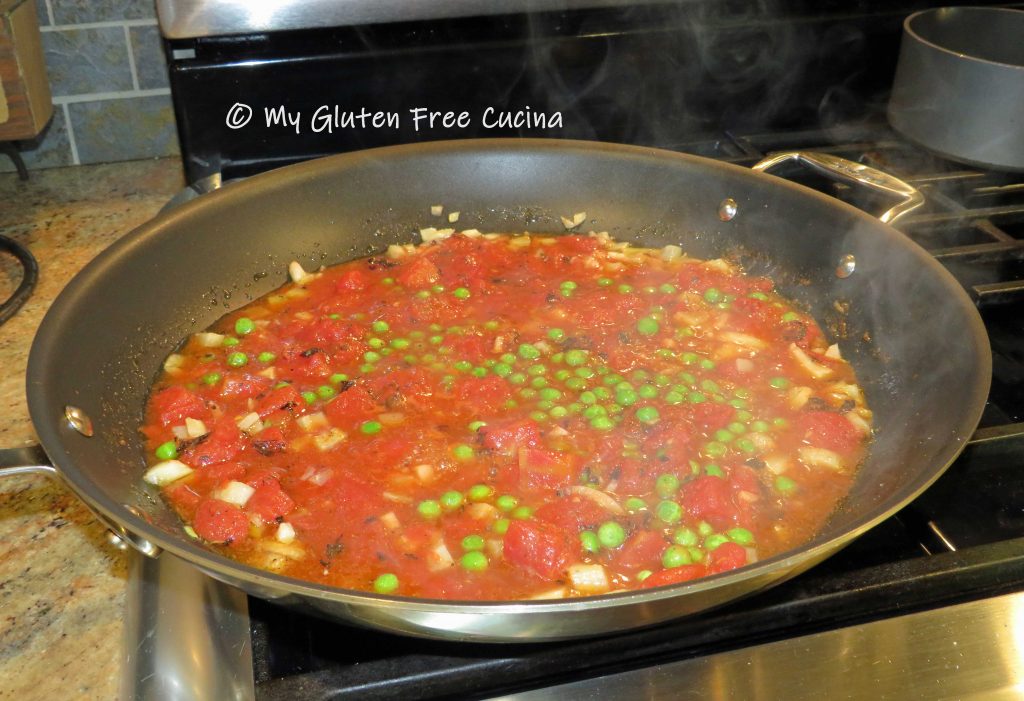
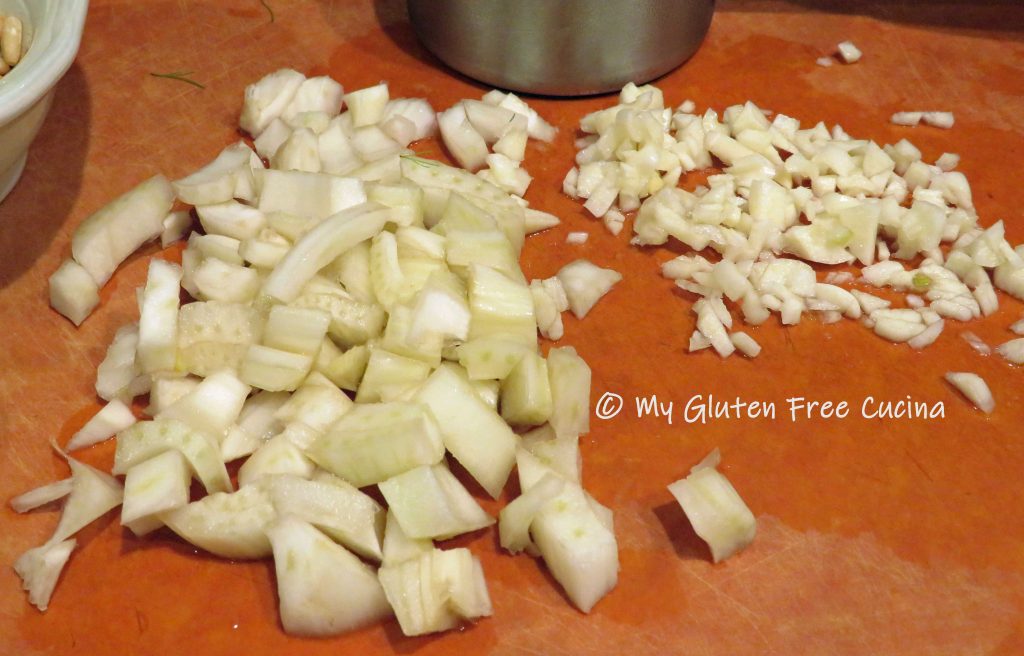 Add the diced fennel and cook for one minute, then add the garlic and cook for 30 seconds. Stir in the diced tomatoes, peas, wine and seasoning. Simmer for 10 minutes to reduce the liquid.
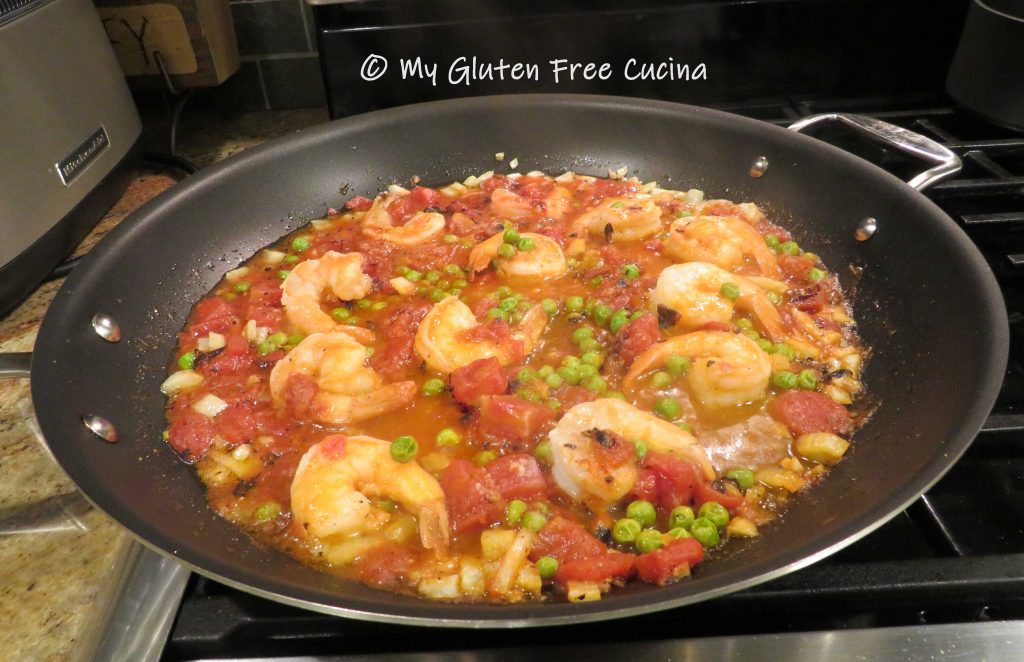
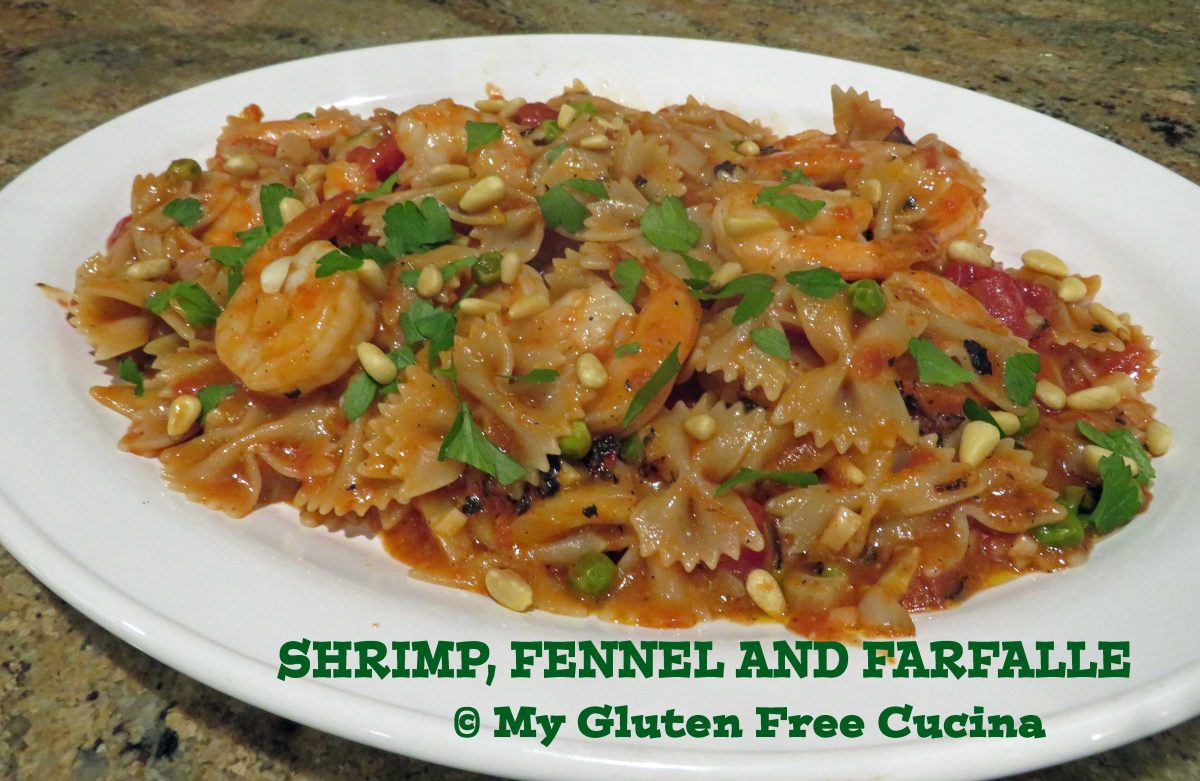
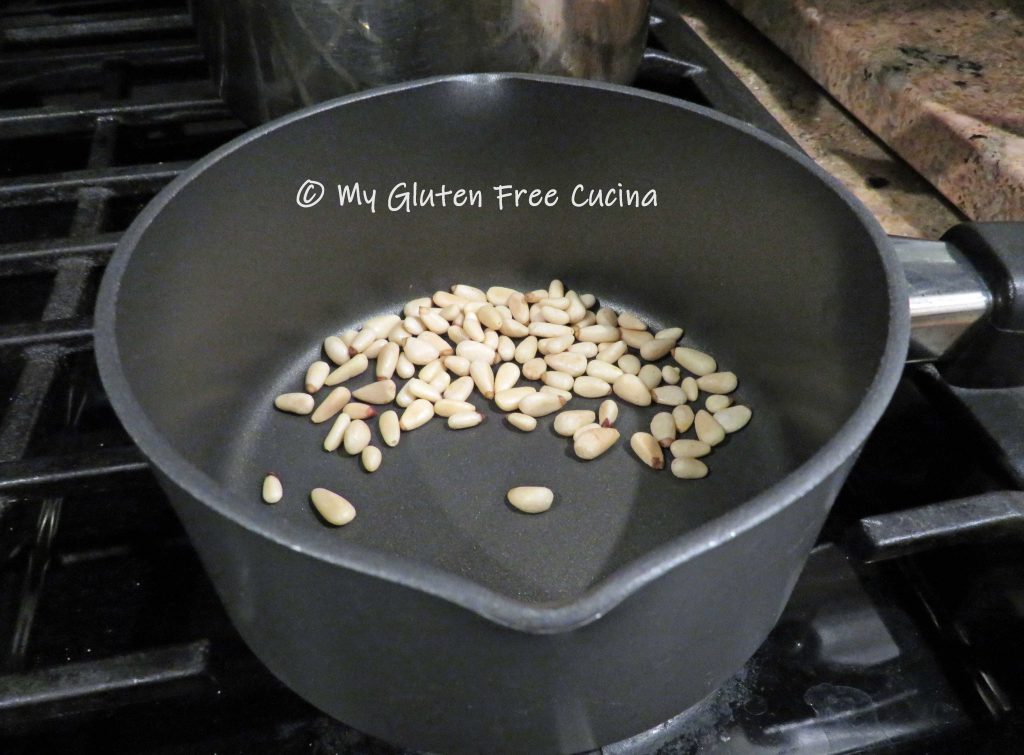
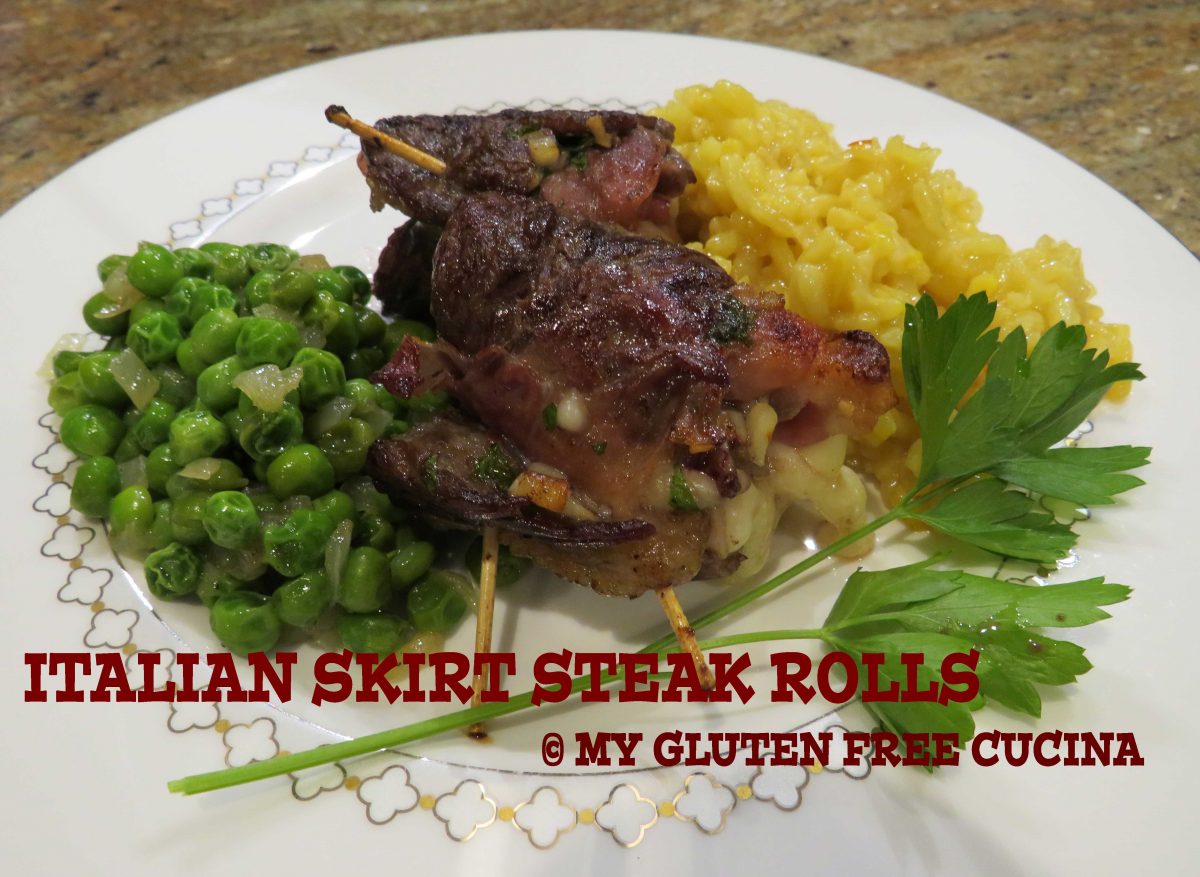
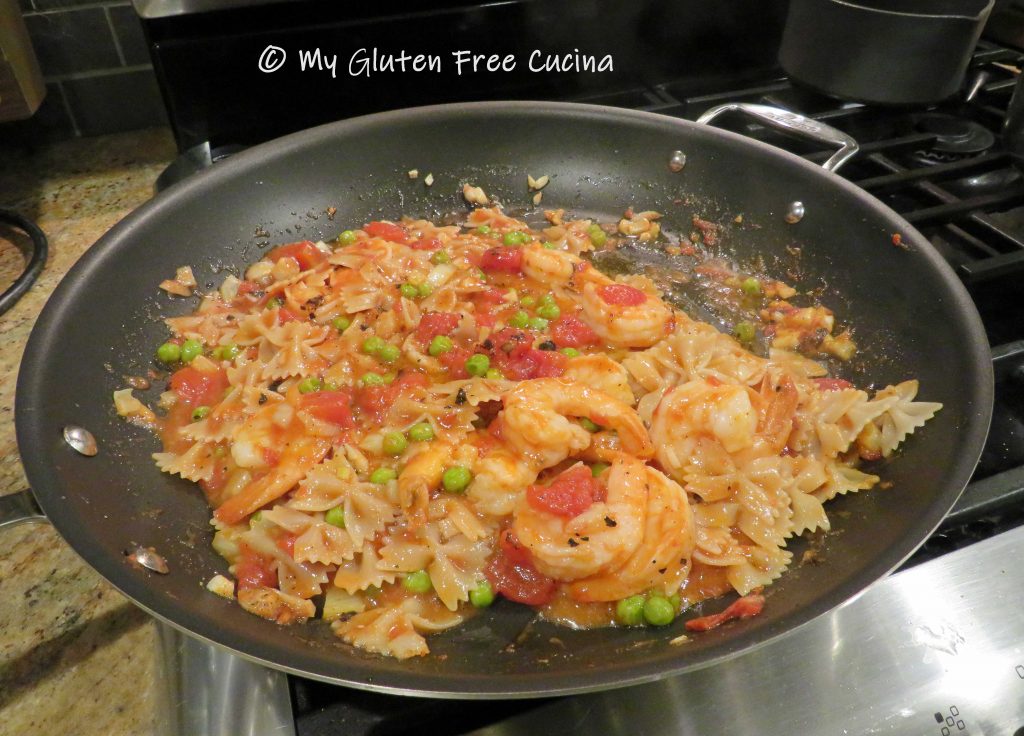 Transfer to a serving platter and finish with a drizzle of olive oil. Garnish with fresh parsley and toasted pignoli.


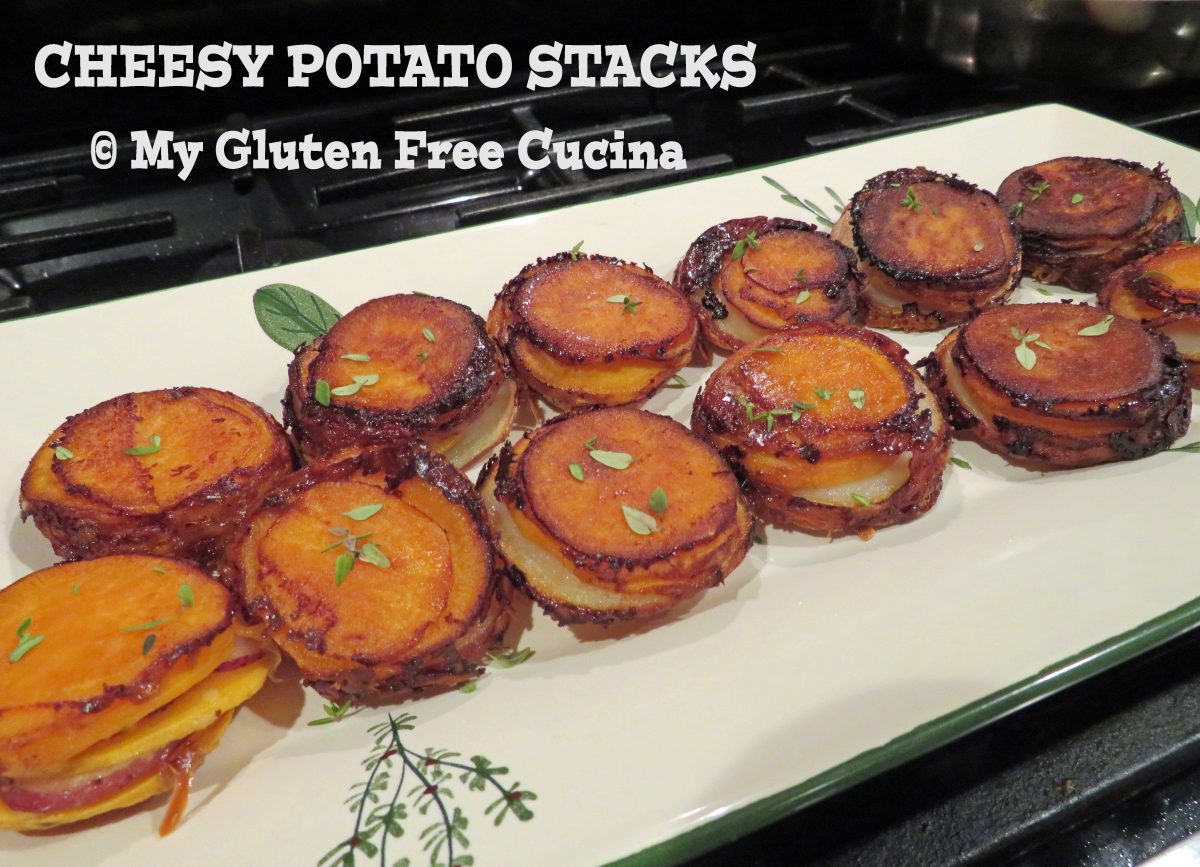


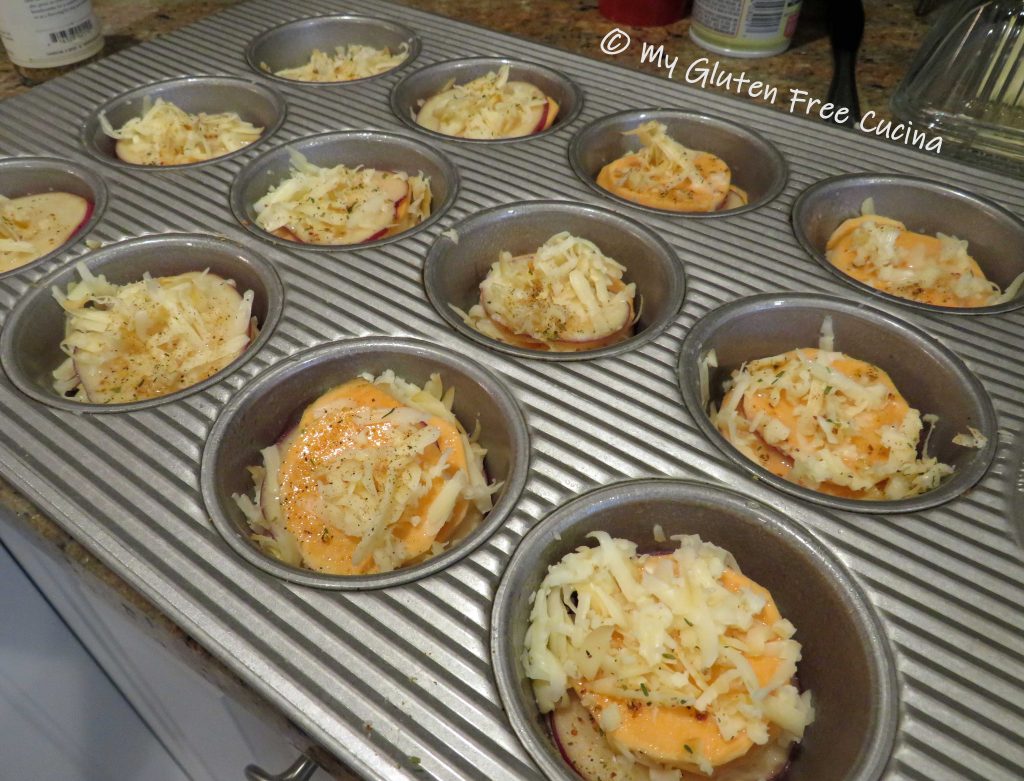
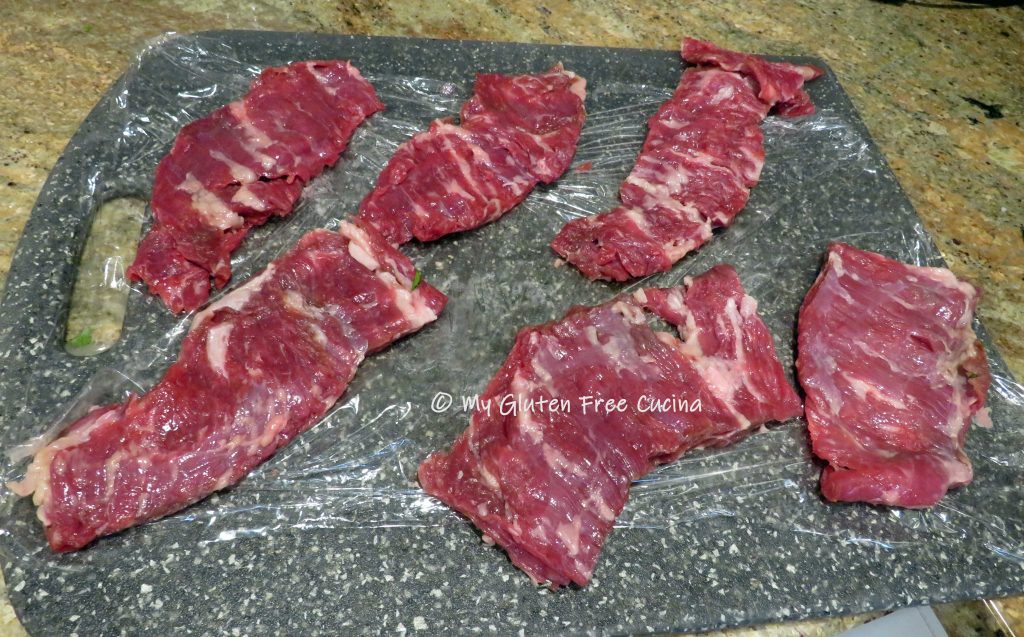
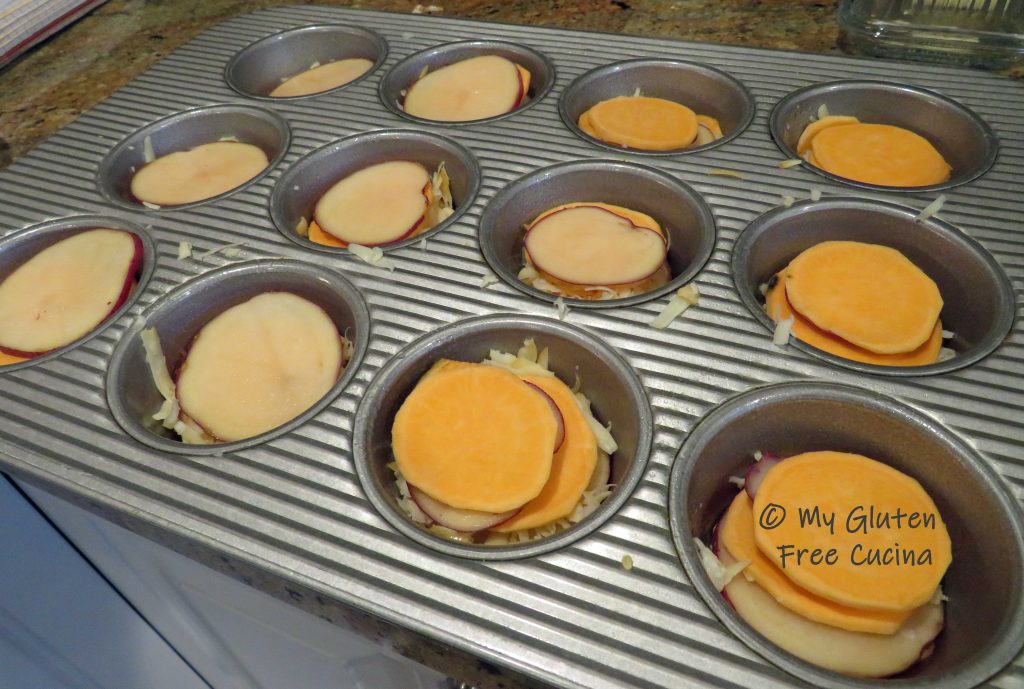 Use the smaller slices on the bottom for the best fit. Drizzle one tsp. of the butter mixture over each stack and top with half of the grated cheese.


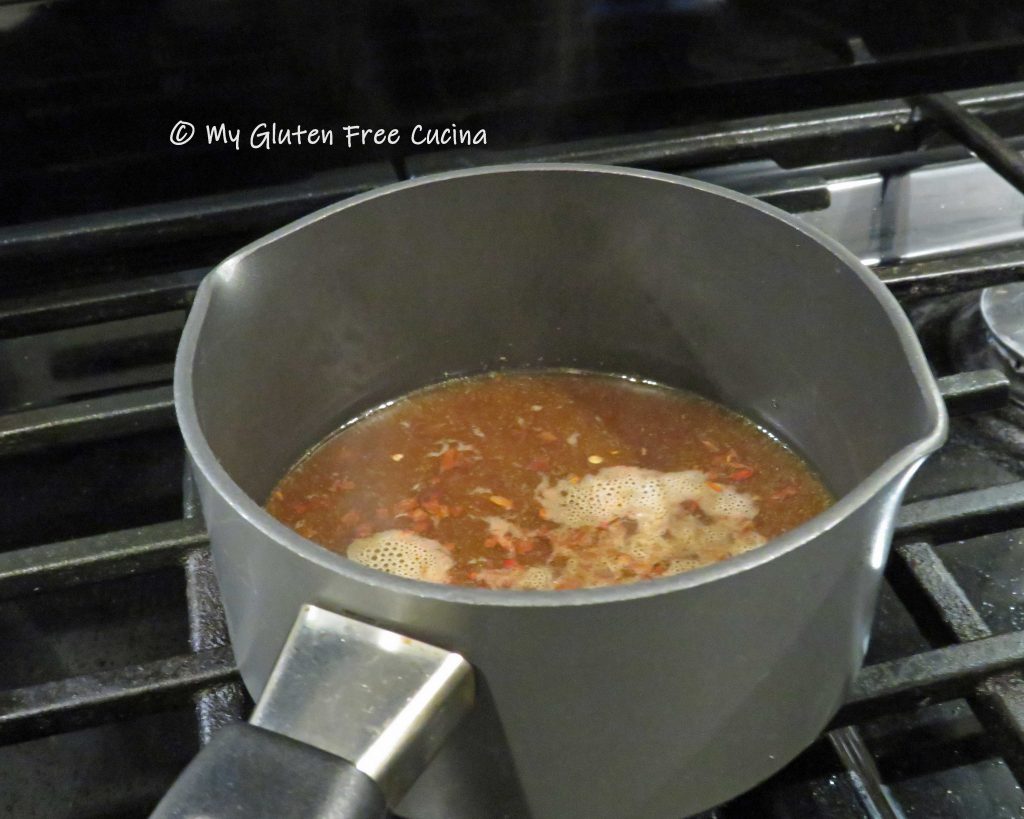
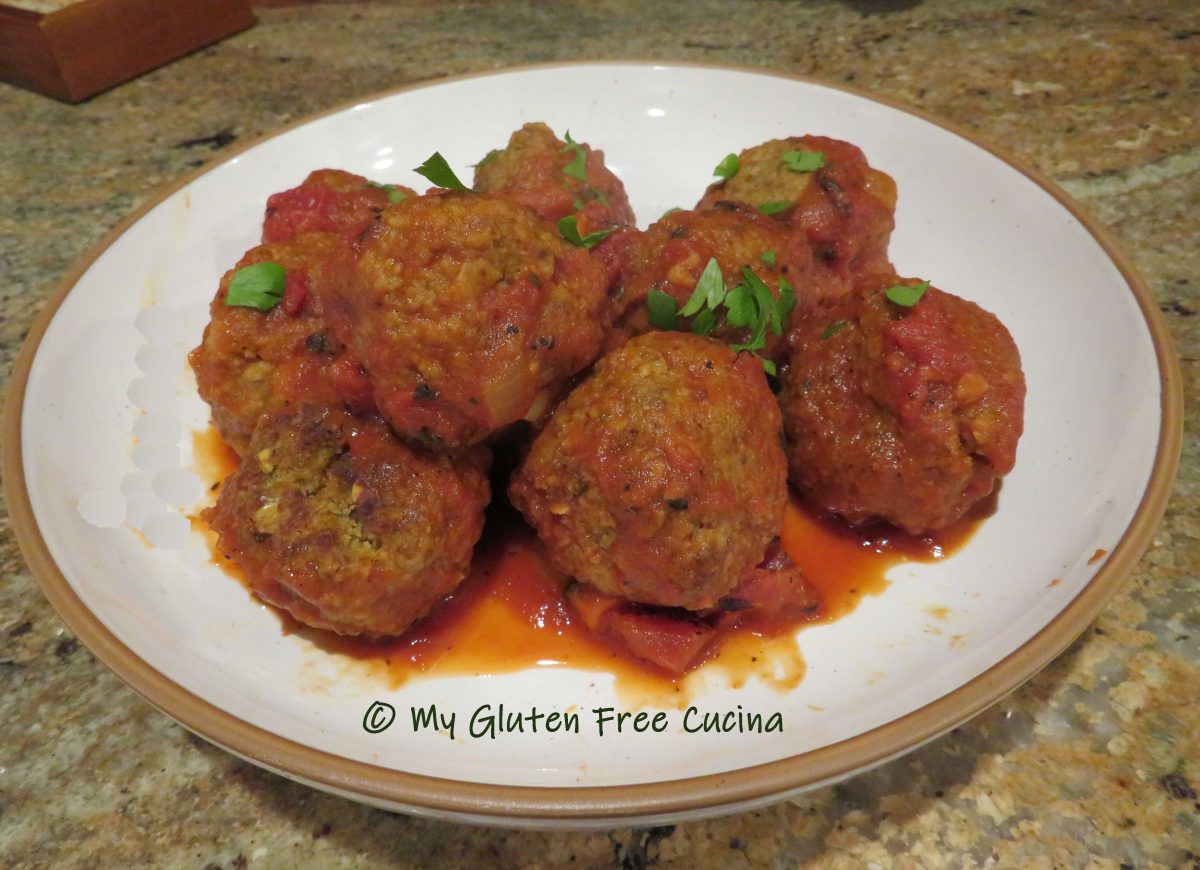
 It should be falling apart tender. Spoon a little of the reserved sauce over the top. You can strain out the pepper flakes if you like.


 When ready, set up a large pot of salted water for the pasta. Bring the water to a boil while you make the sauce. Melt the butter in a


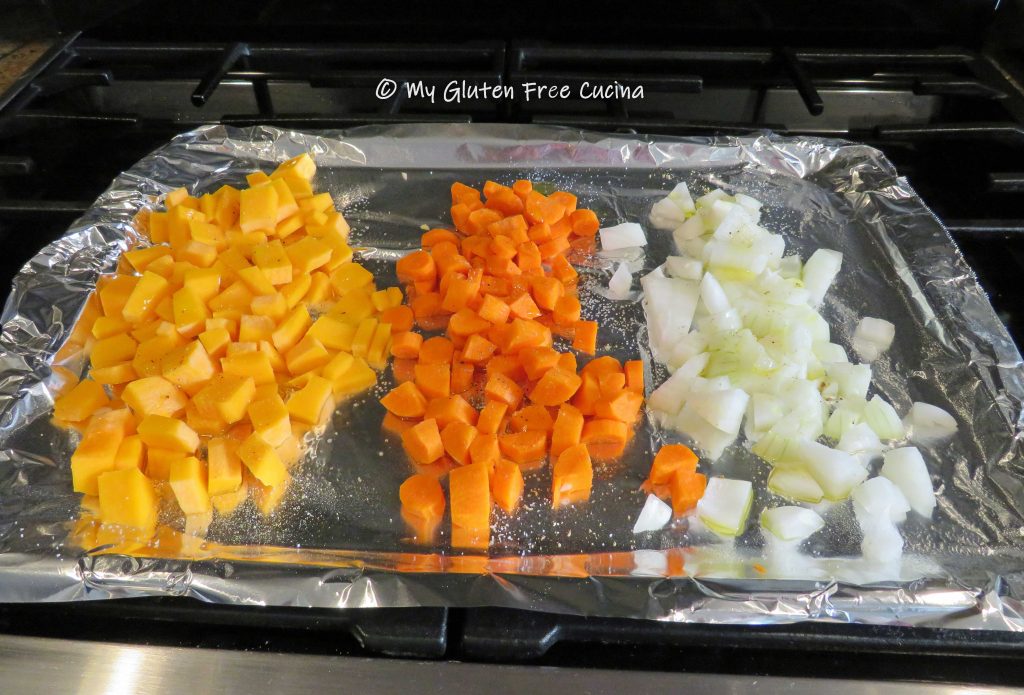 While the veggies are roasting, heat 2 tbsp. olive oil in a
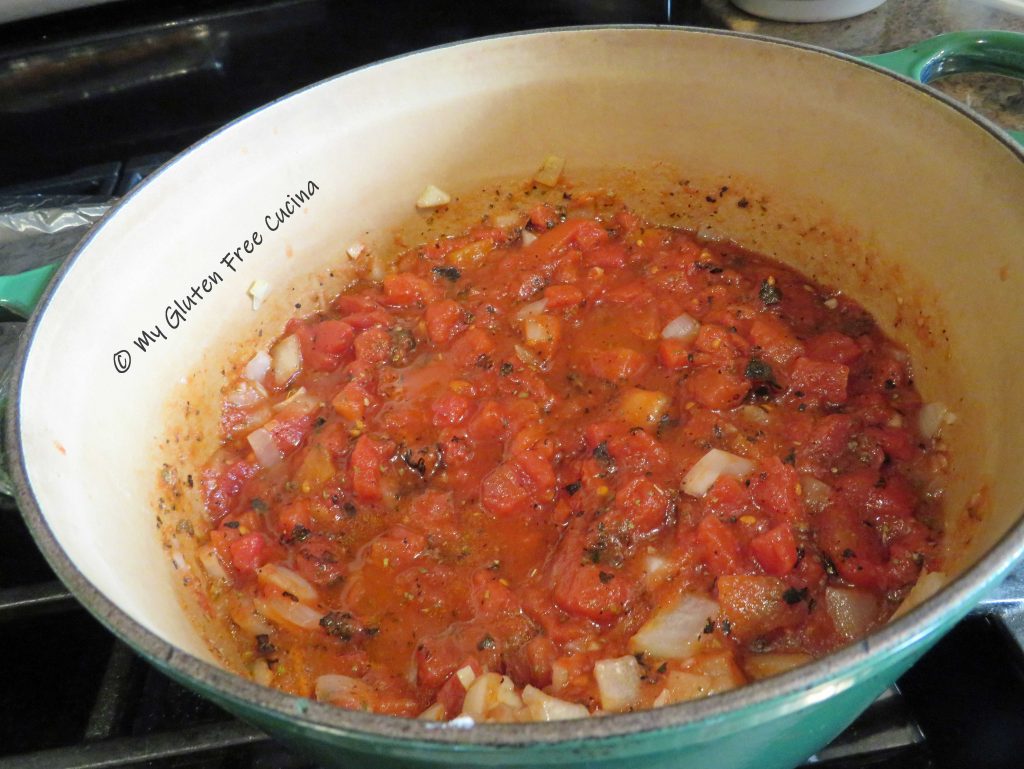
 Cover and simmer 2 hours. I used a


 Lay the steak out on a
 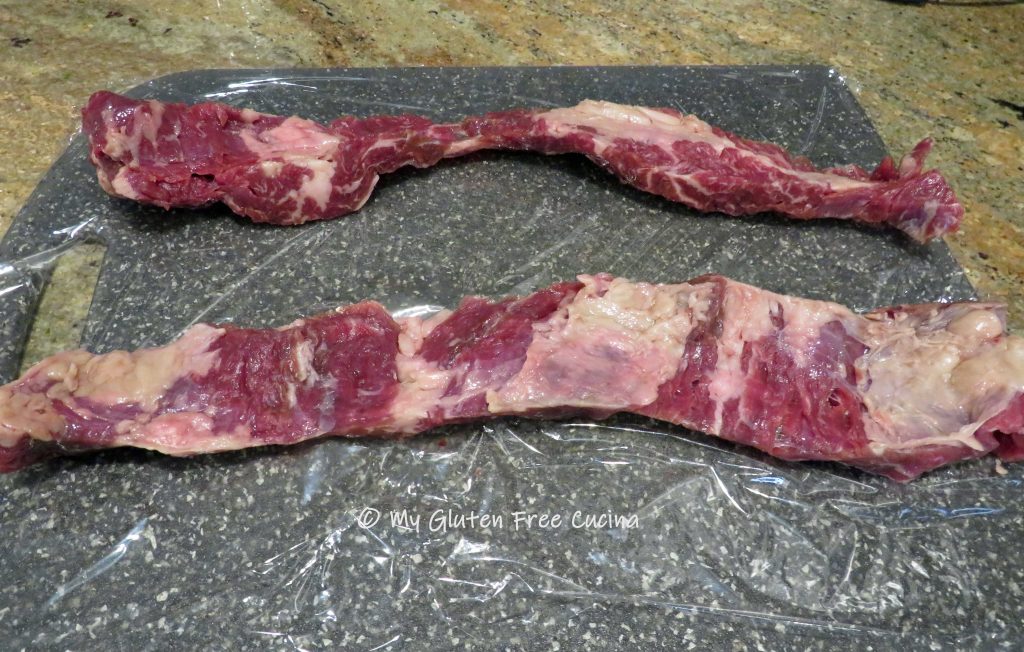 Cover the meat with another sheet of plastic wrap and
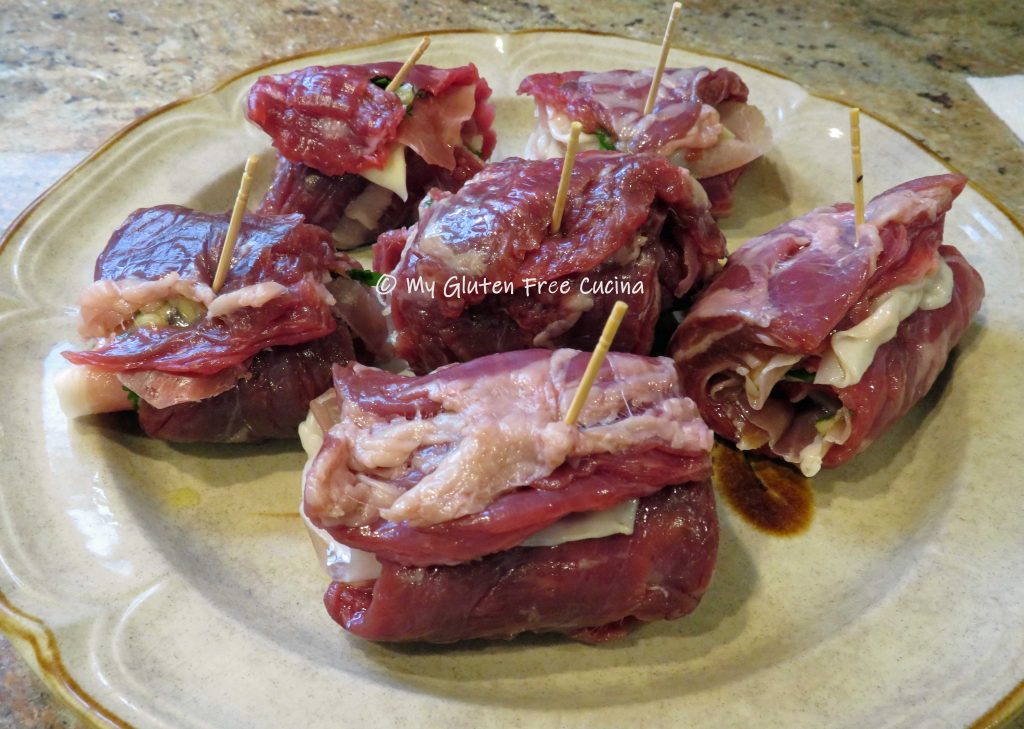
 Spread the garlic mixture evenly over the steak.


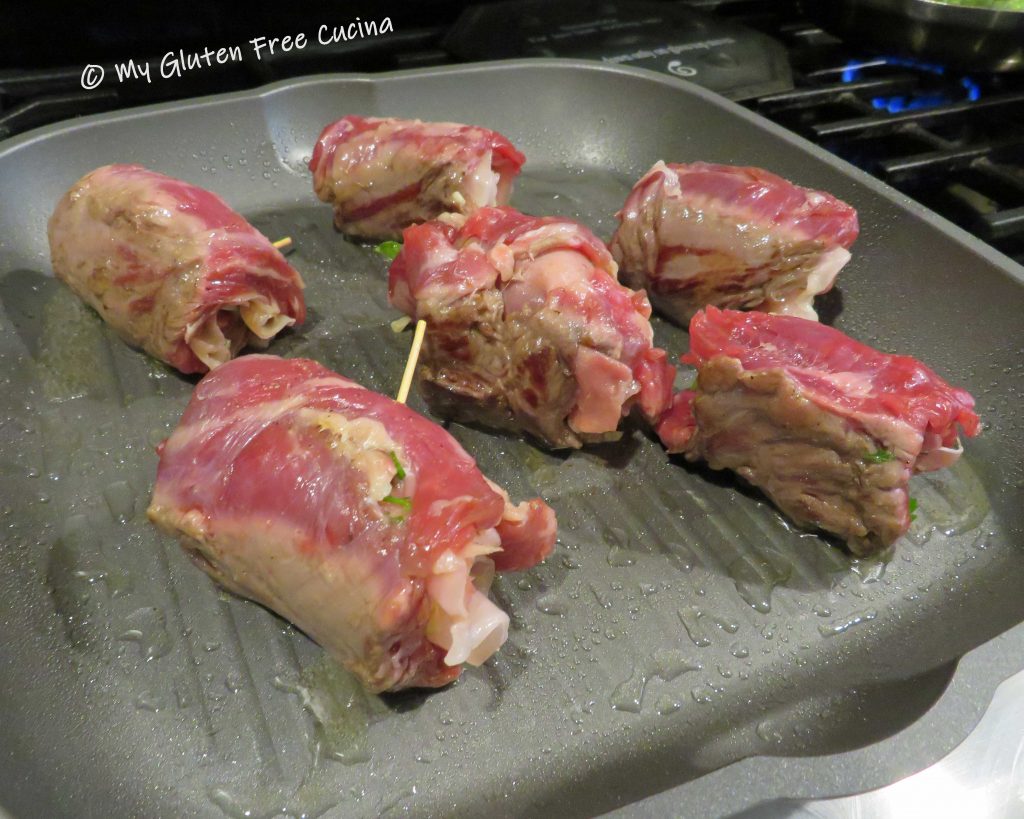
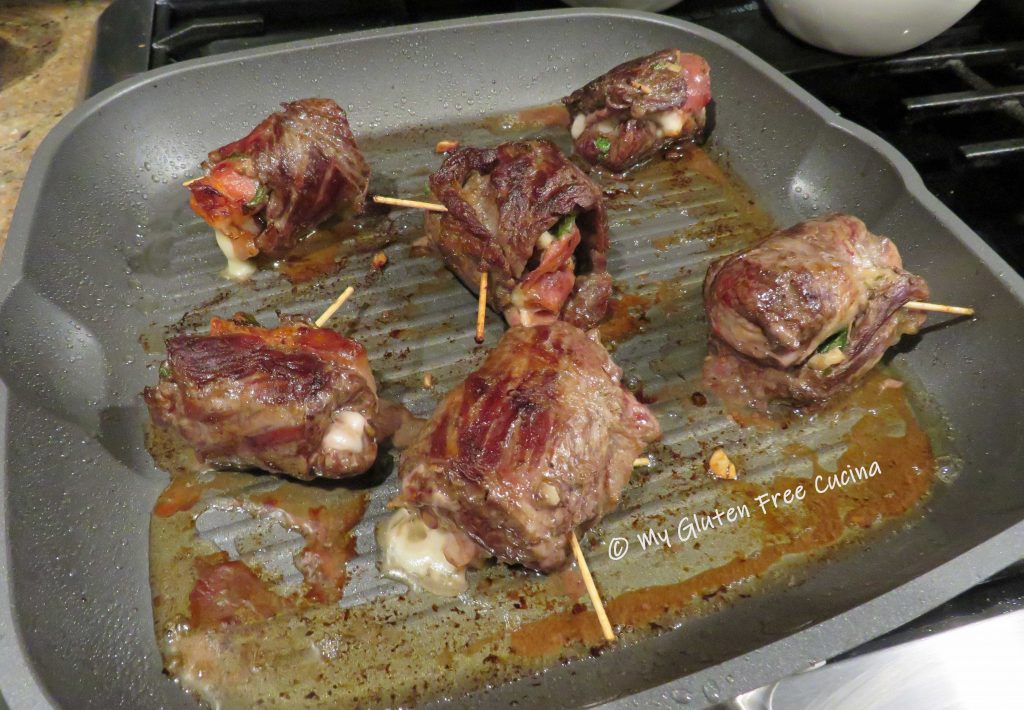
 Remove them when the internal temperature reaches 135º for medium (


 Remove from heat and puree with a

