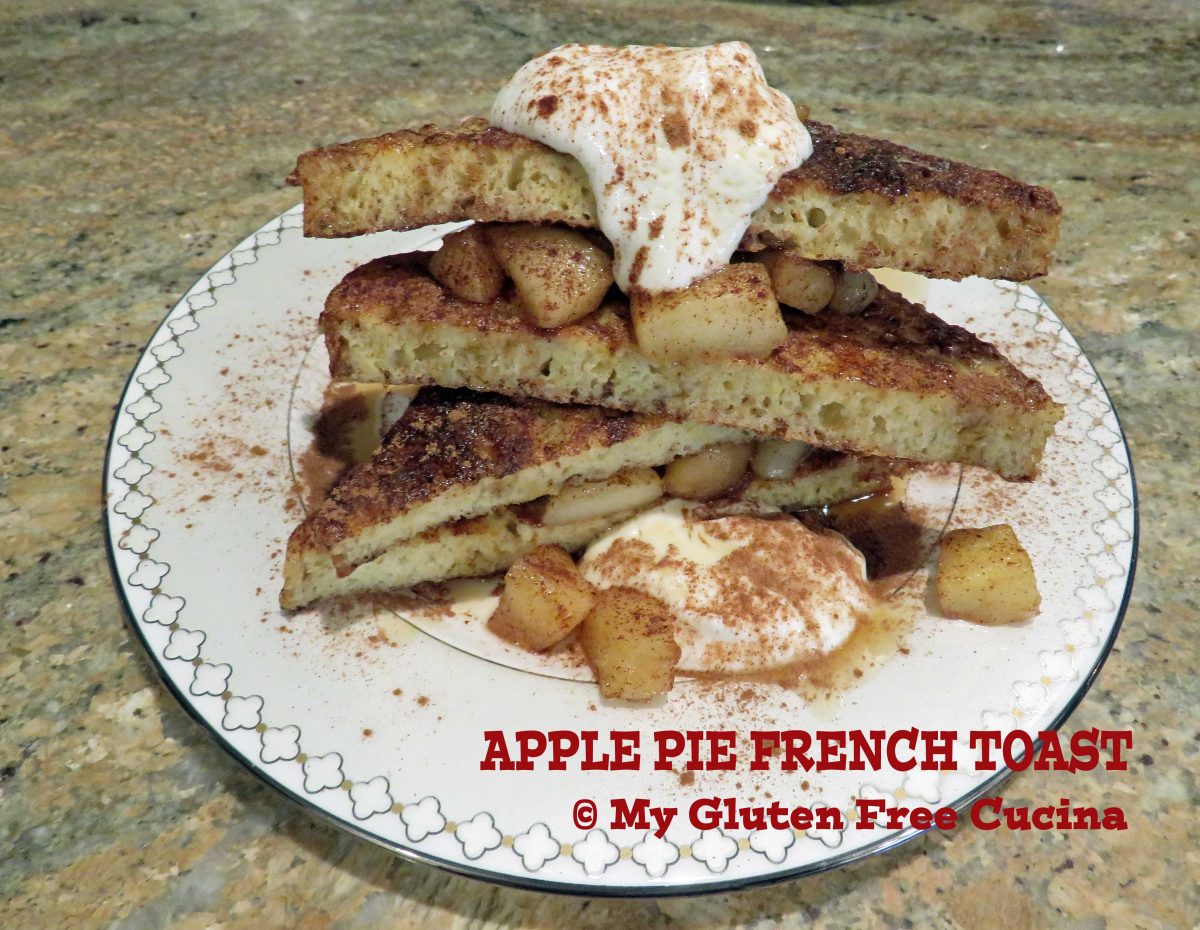
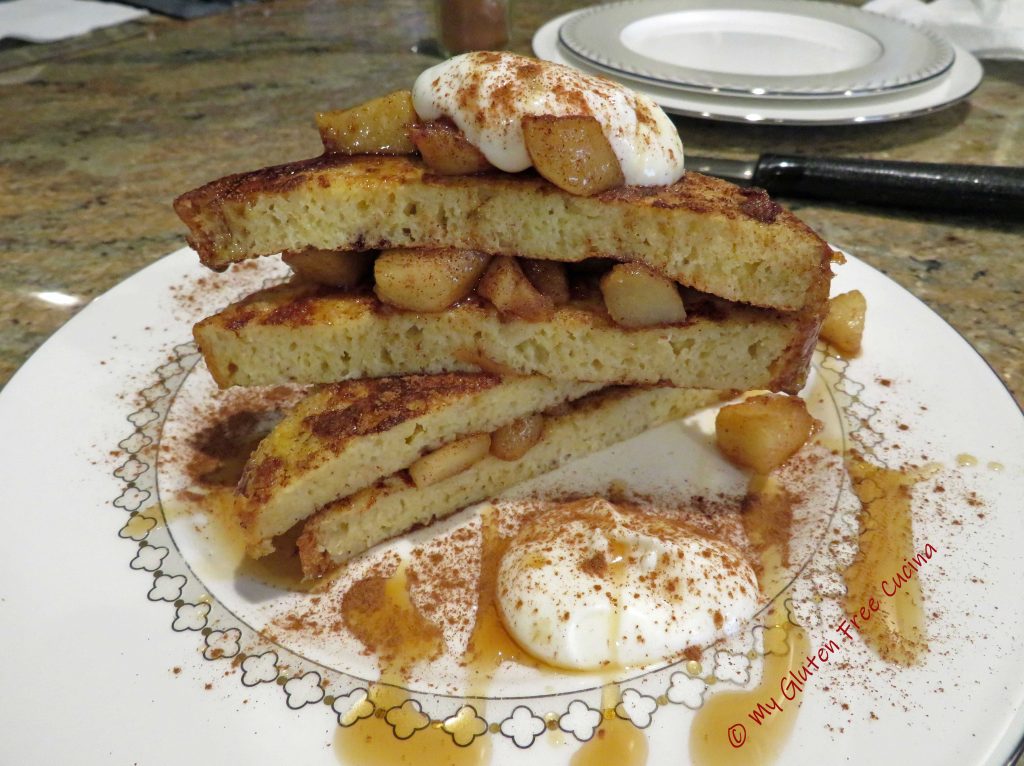
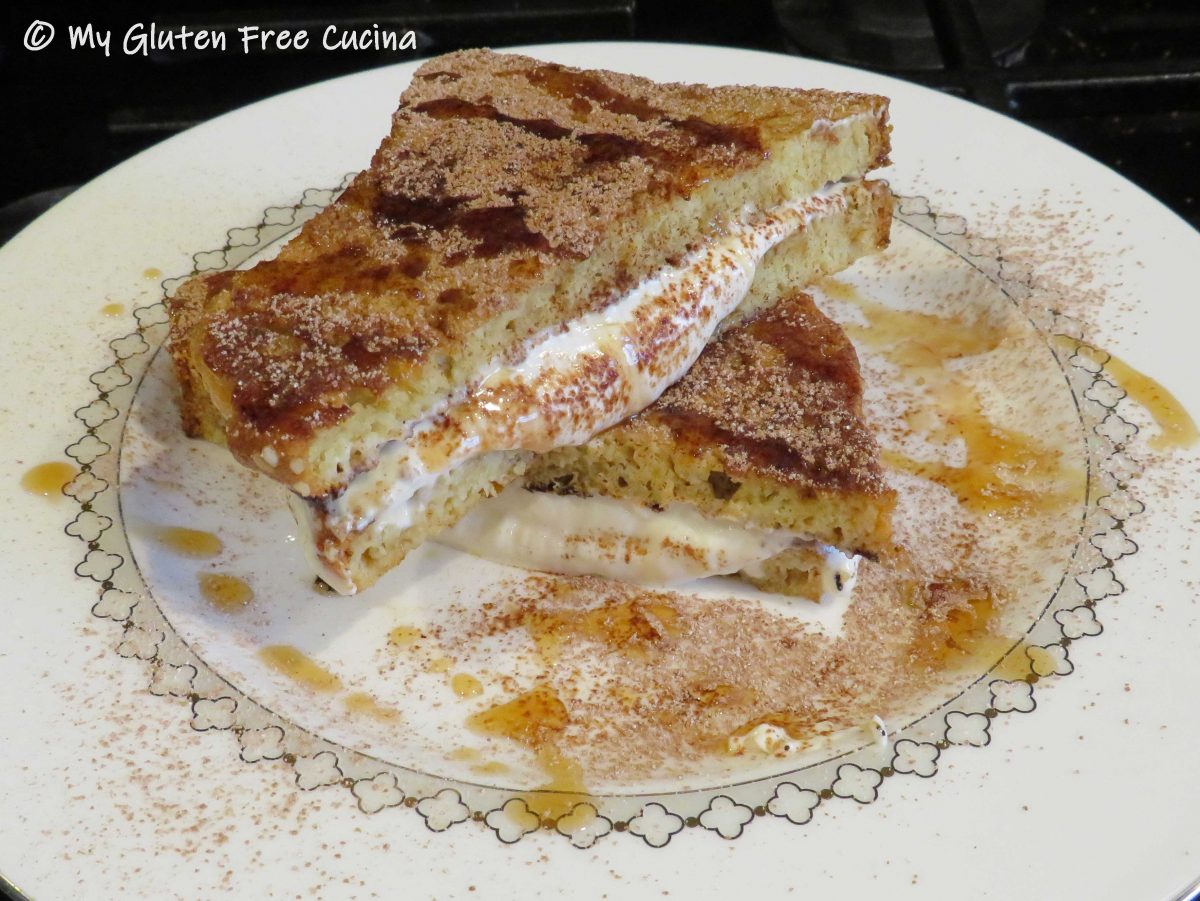
My Apple Pie French Toast features warm spiced apples layered between slices of French Toast, topped with vanilla Greek yogurt, maple syrup and a dusting of cinnamon. Breakfast or dessert? You decide!
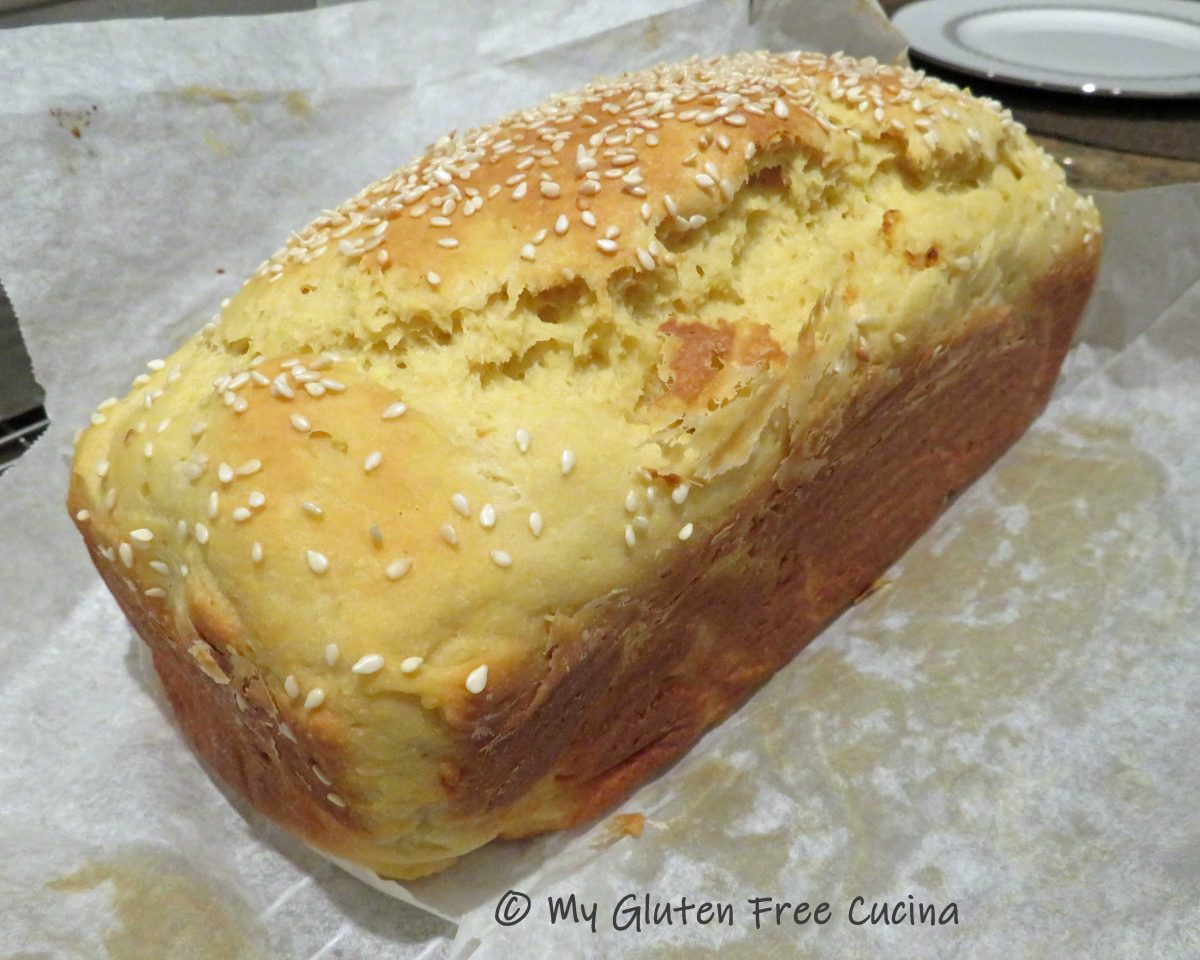
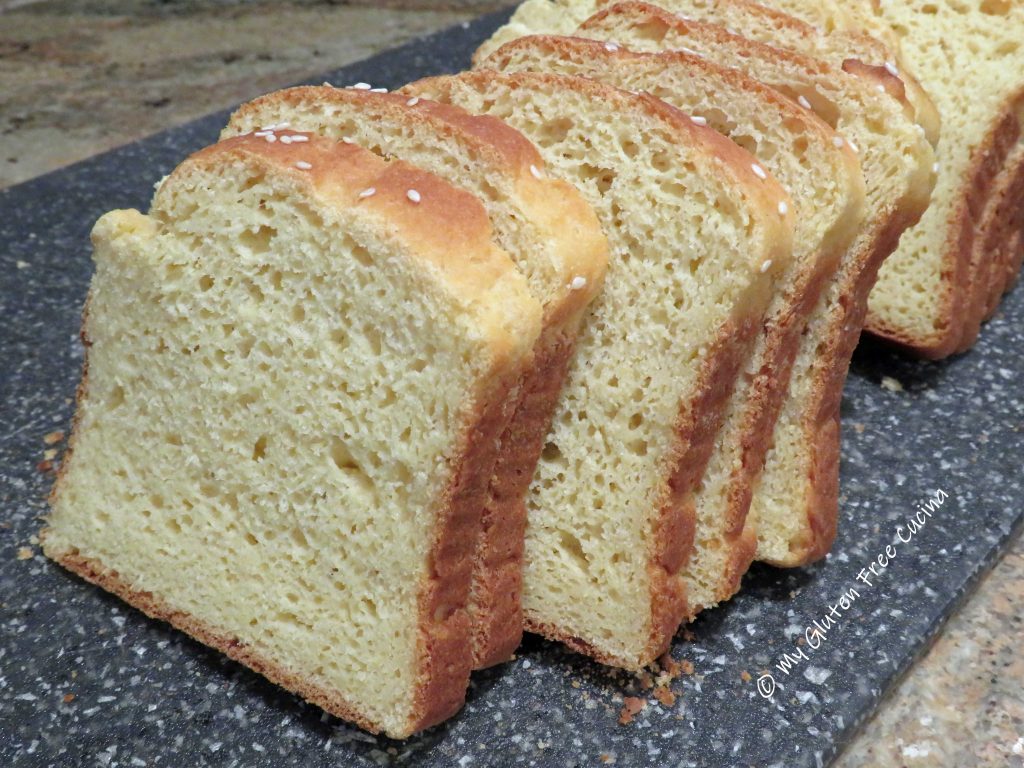
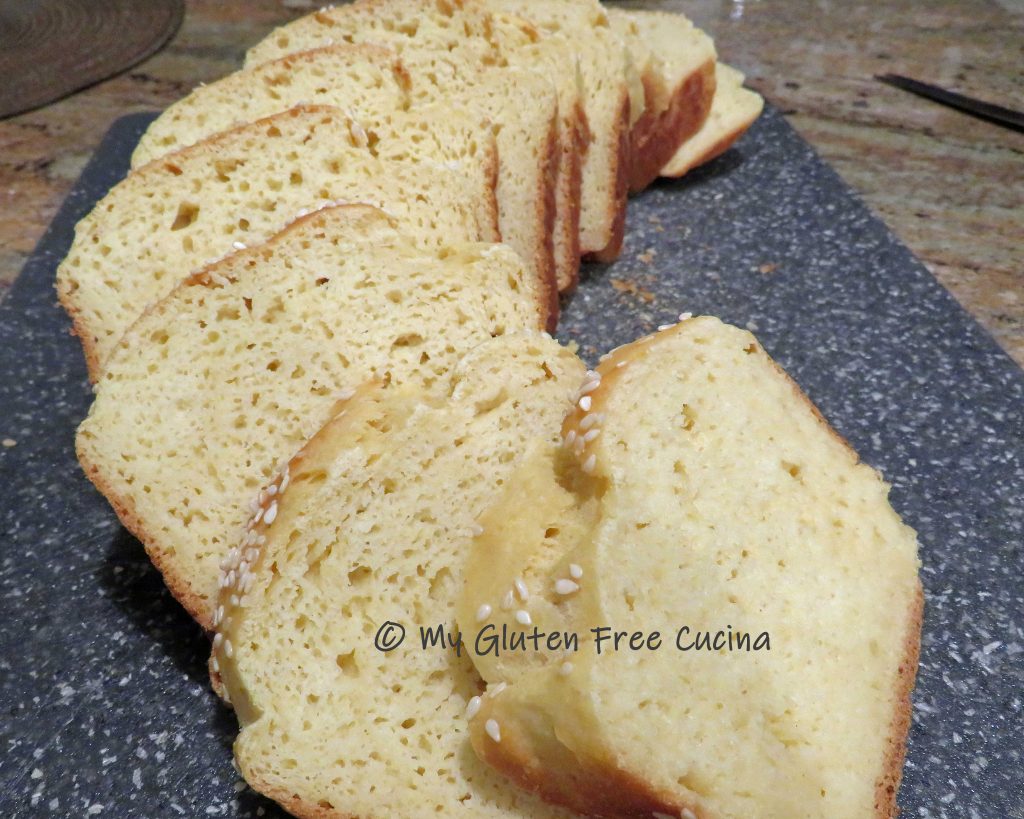
I used my Gluten Free Millet Bread in this recipe, it is an extra special cakelike bread that is perfect for making French Toast. Of course, you can use store bought gluten free bread (I won’t tell!).
This post contains affiliate links.

2 servings
Ingredients:
- 4 slices of gluten free bread
- 2 eggs
- 4 tbsp. milk
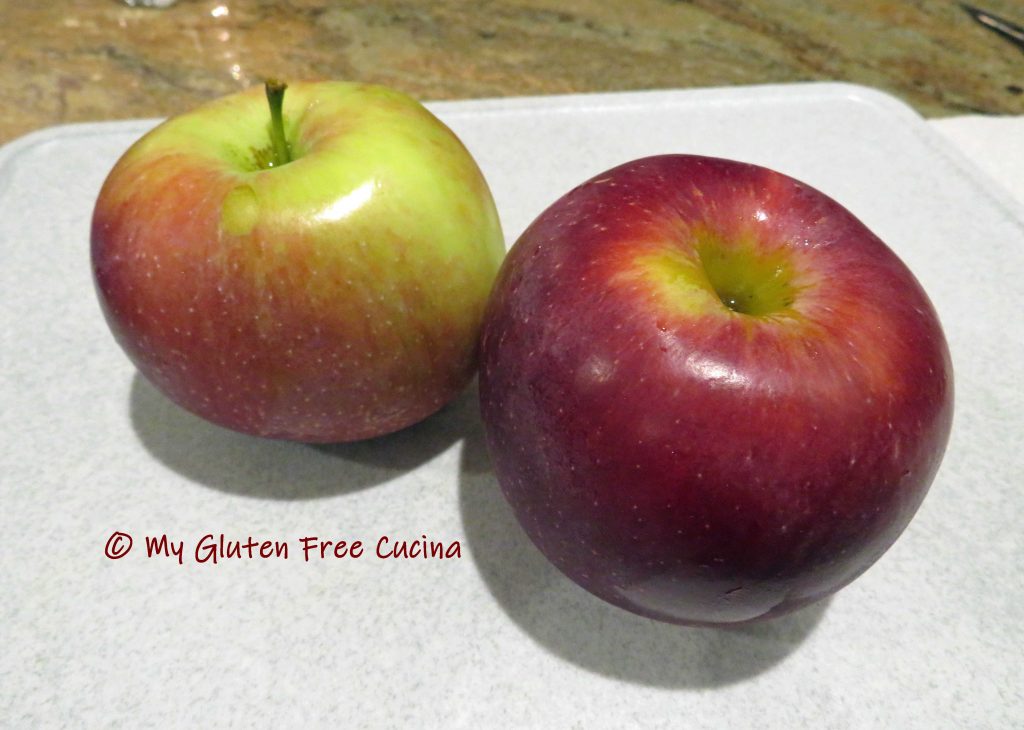
- 1 small apple
- 3 tbsp. butter, divided
- 1 tbsp. brown sugar
- vanilla Greek yogurt
- maple syrup
- cinnamon
Preparation:
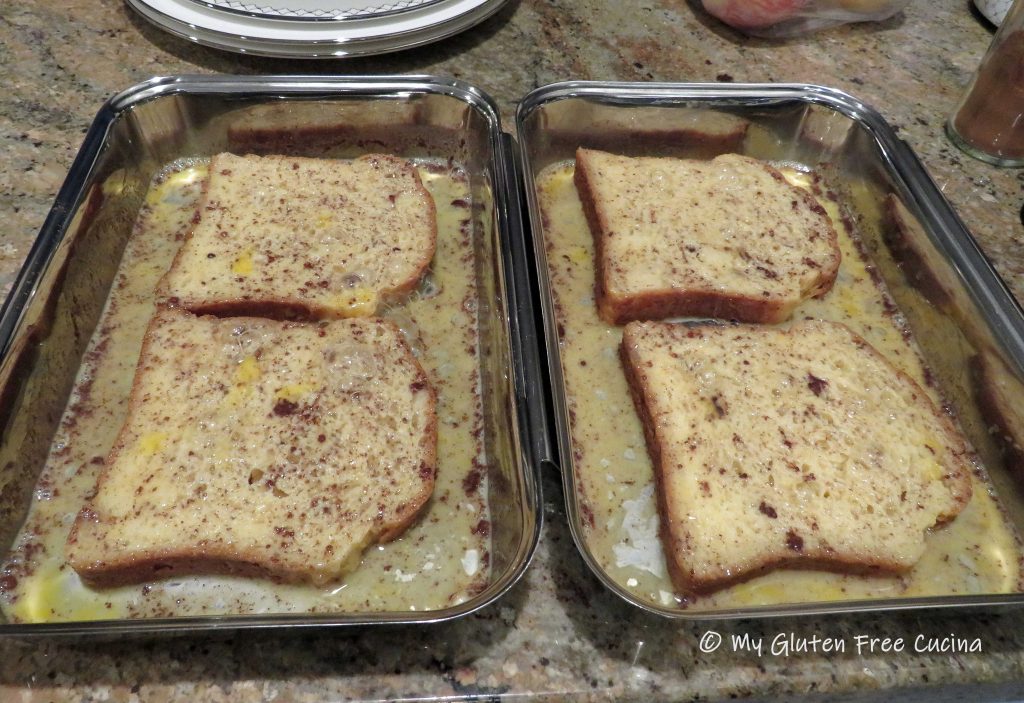
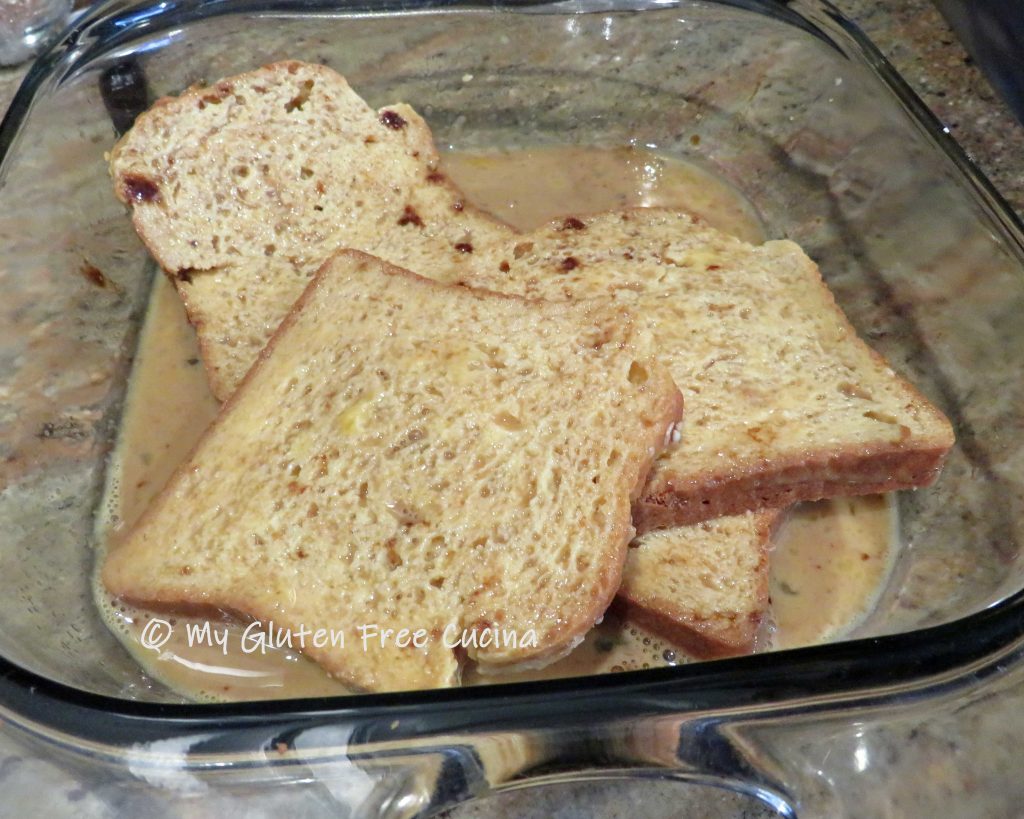
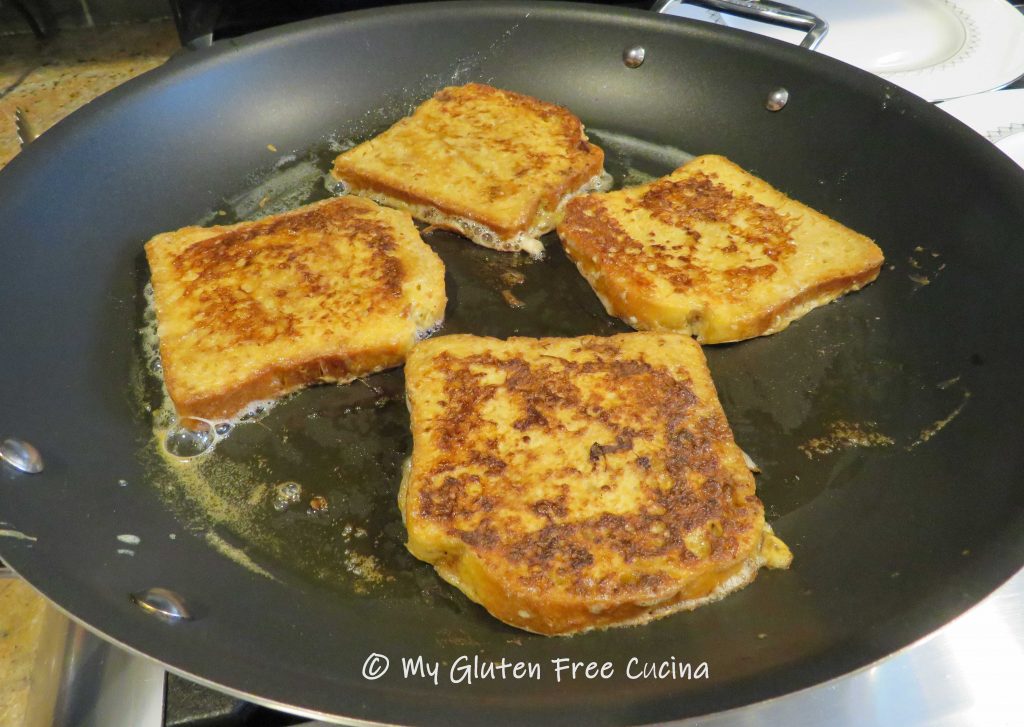
Whisk together the eggs and milk, and sprinkle with cinnamon. Soak the bread slices in the egg mixture for 15 minutes, turning occasionally. Use 2 pans if needed to fit all of the slices.
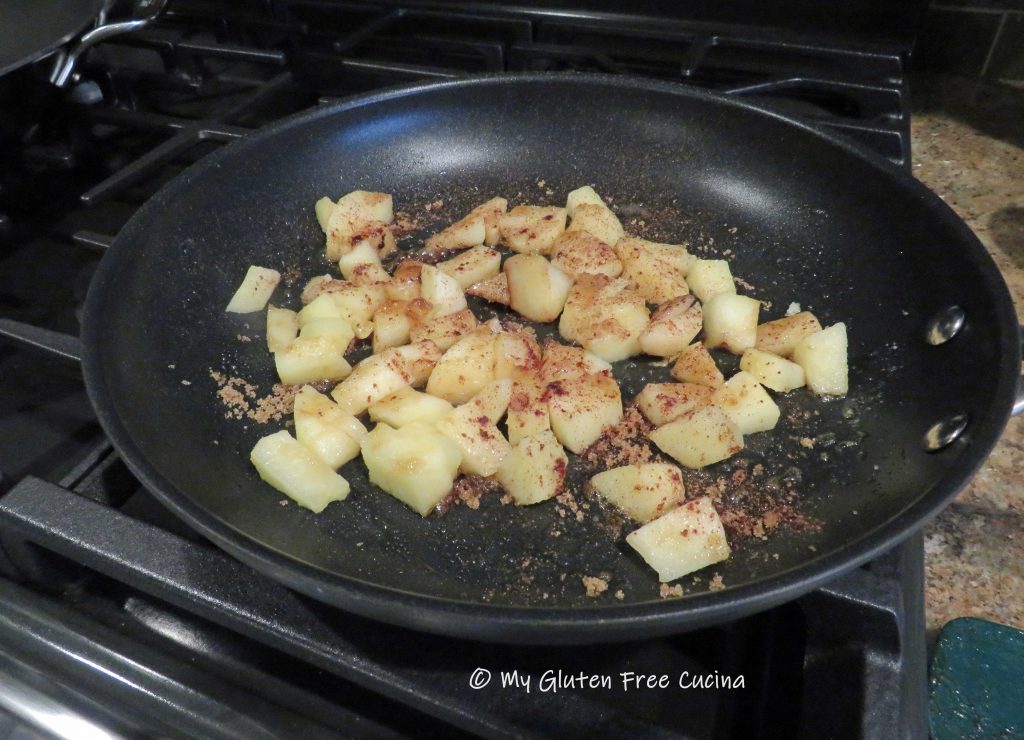
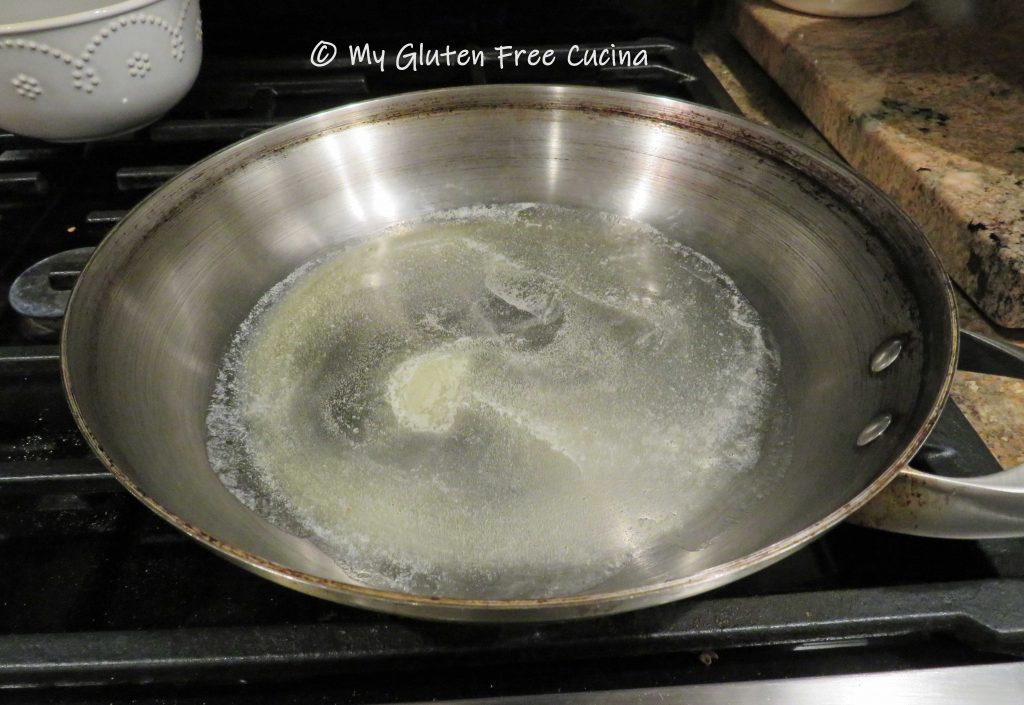
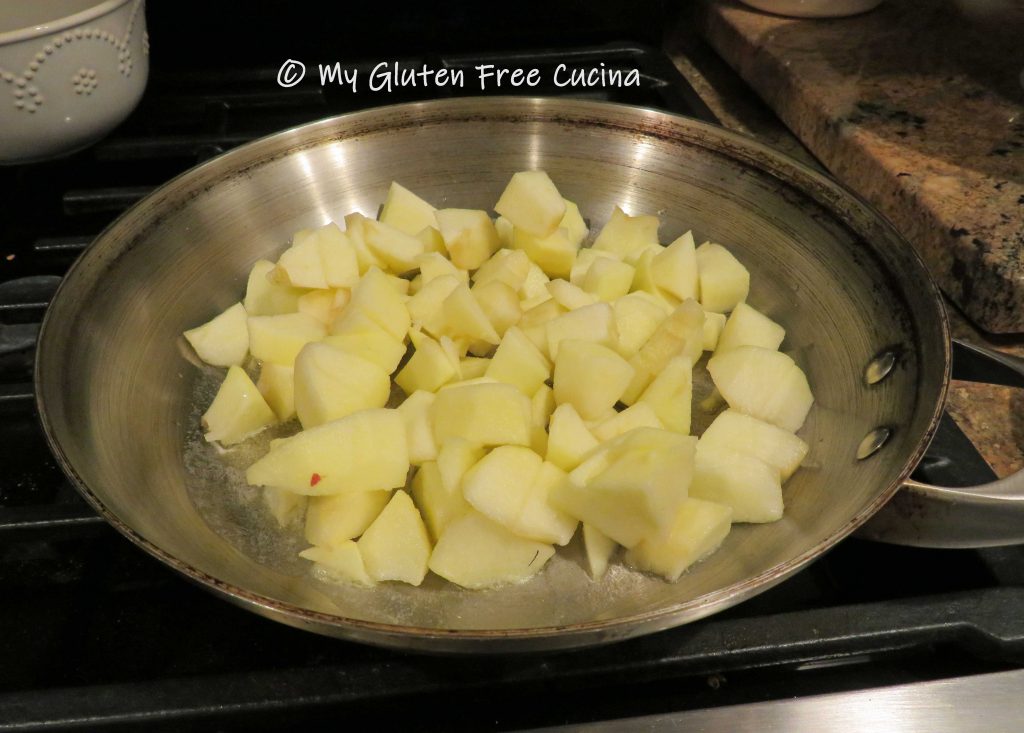
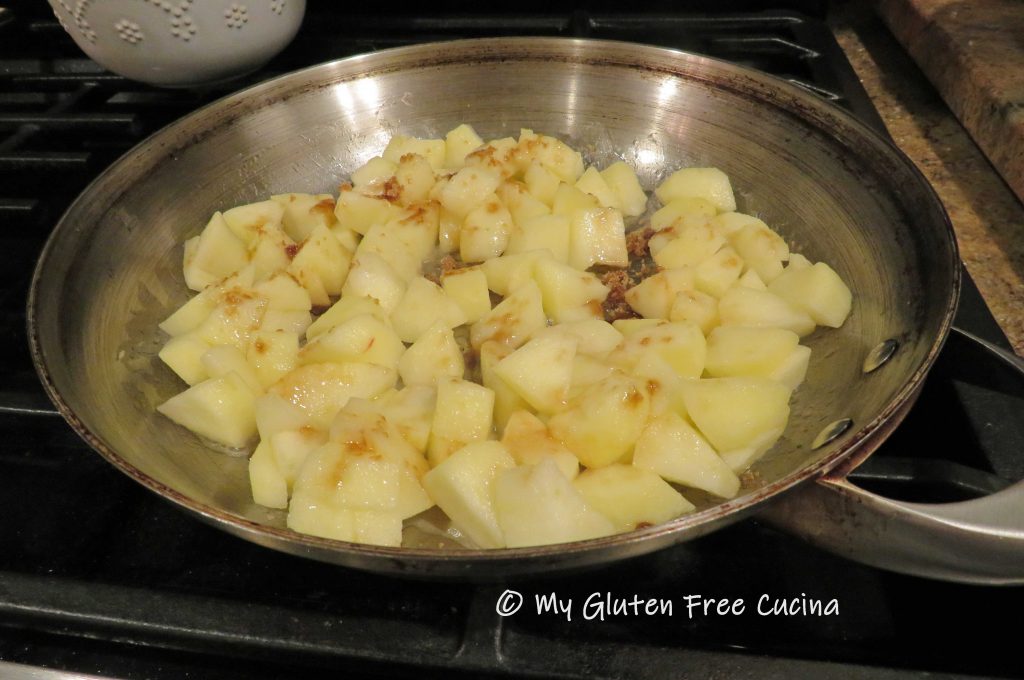
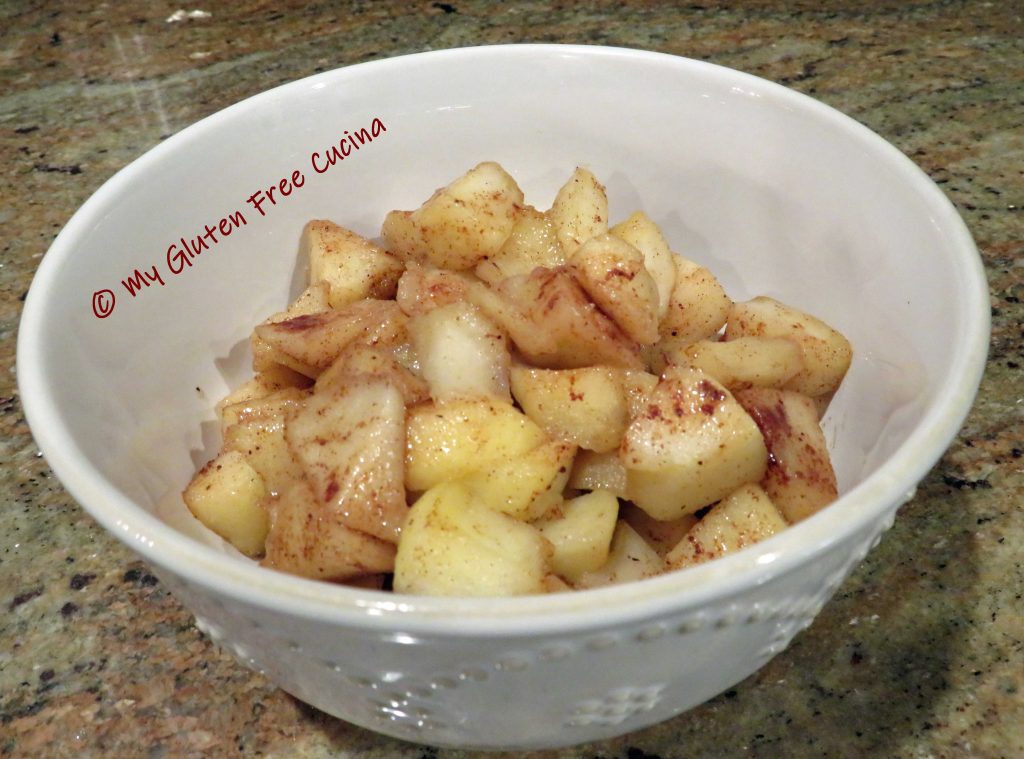
 Peel and dice the apples. In a nonstick skillet, melt one tbsp. butter. Add the apples and cook for several minutes, stirring frequently. Sprinkle with cinnamon and 1 tbsp. brown sugar. Continue cooking 2 more minutes, then keep warm.
In a larger nonstick skillet or griddle, melt 2 tbsp. butter. Add the bread slices and cook 3 minutes per side.

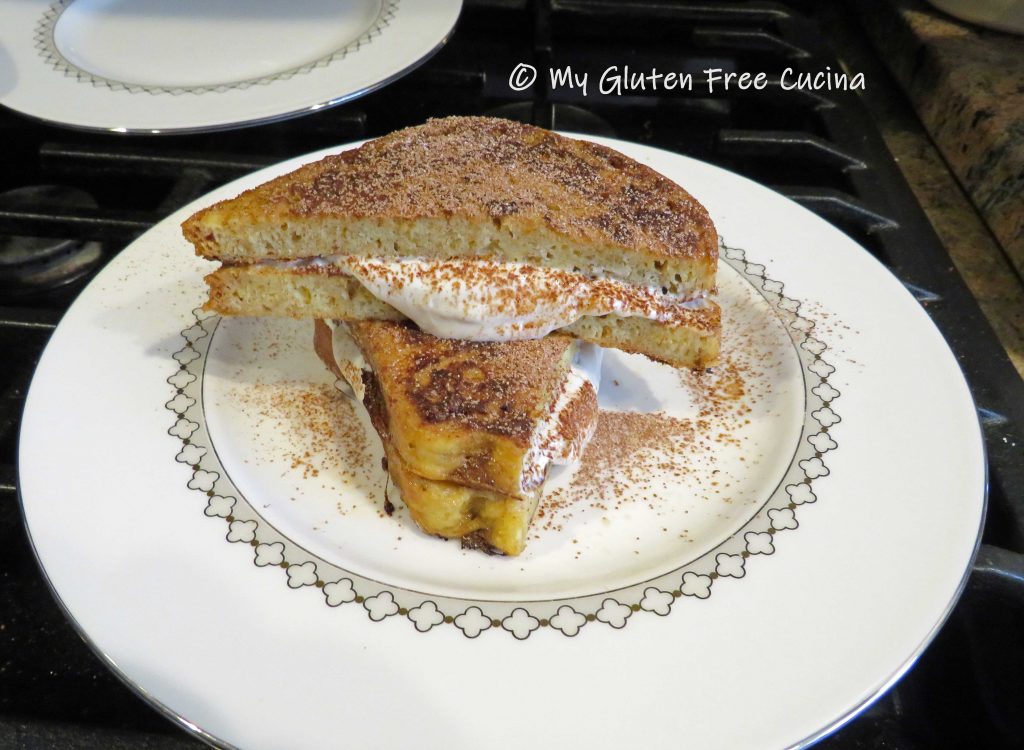
To plate, layer one slice of French toast with apples, then top with a second slice. Cut in half diagonally and stack one half over the other. Top with more apples, and a scoop of vanilla yogurt. Drizzle with maple syrup and sprinkle with cinnamon.
 Look at that plate, breakfast fit for a king and queen! Definitely a wonderful way to start your day!
Notes ♪♫ If you enjoyed this post, be sure to check out my Tiramisu Stuffed French Toast. And I hope you will try my Gluten Free Millet Bread, you will love the soft, mildly sweet texture of this loaf for French Toast and sandwiches!


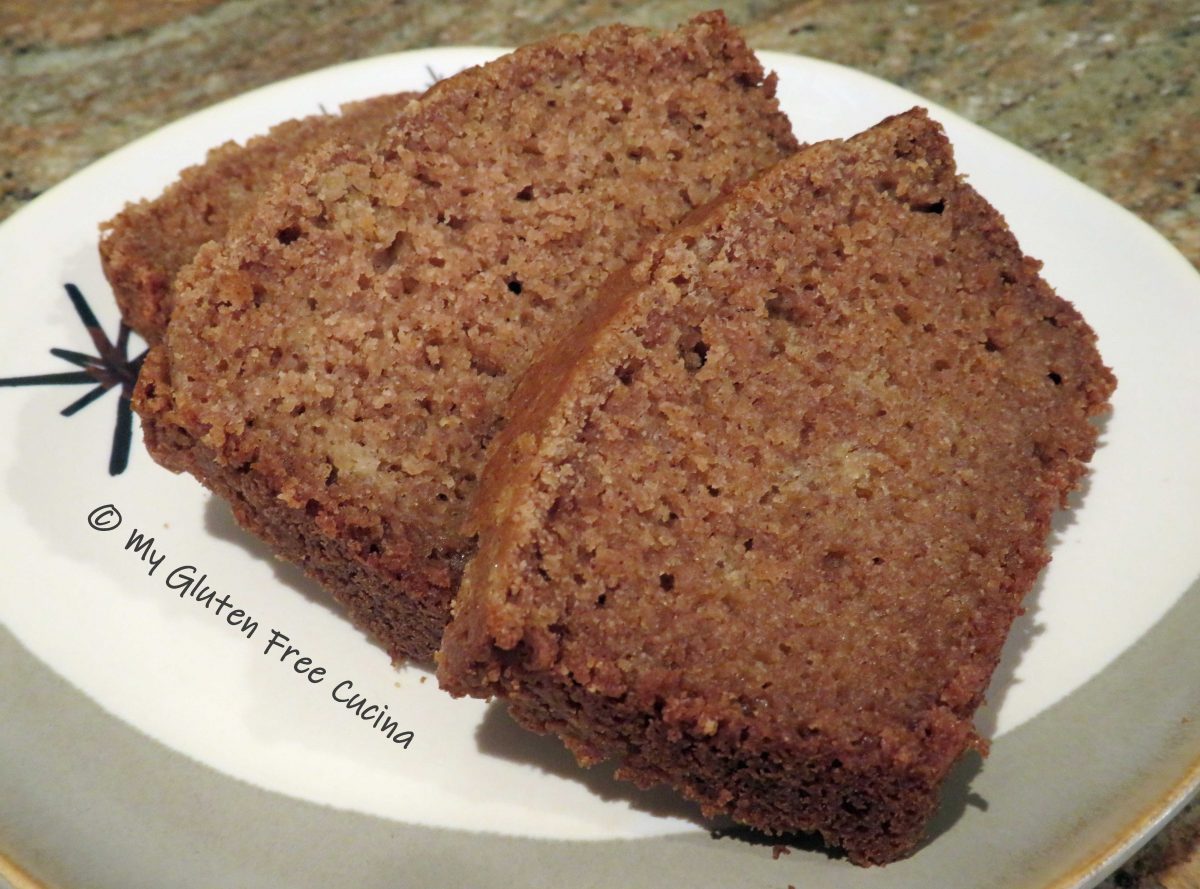
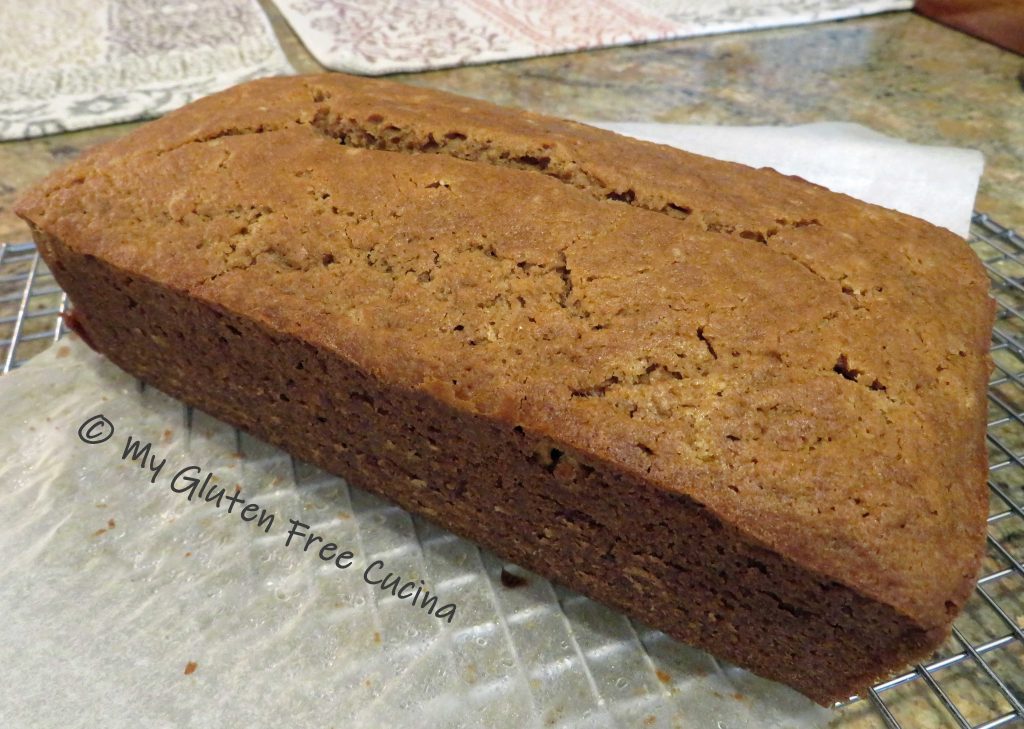
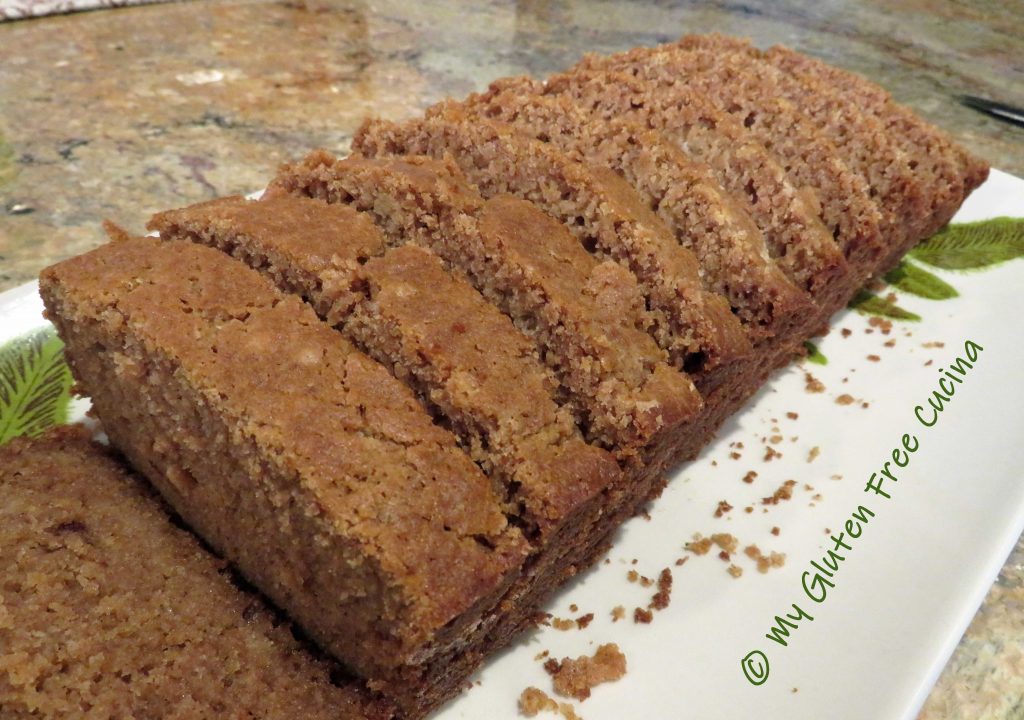
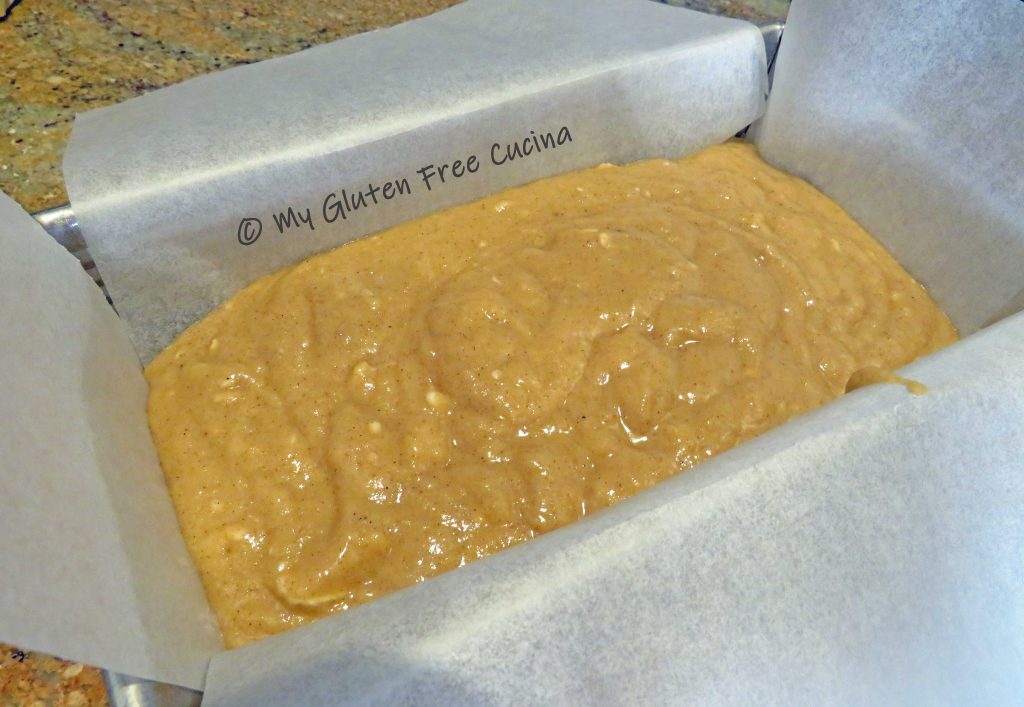
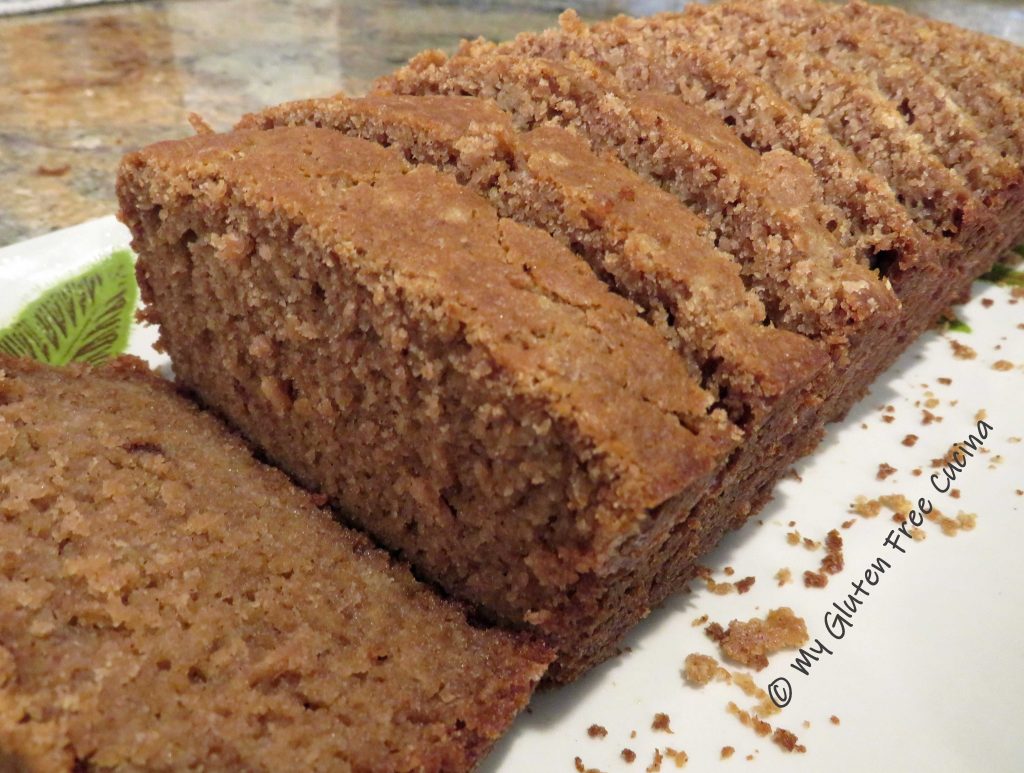
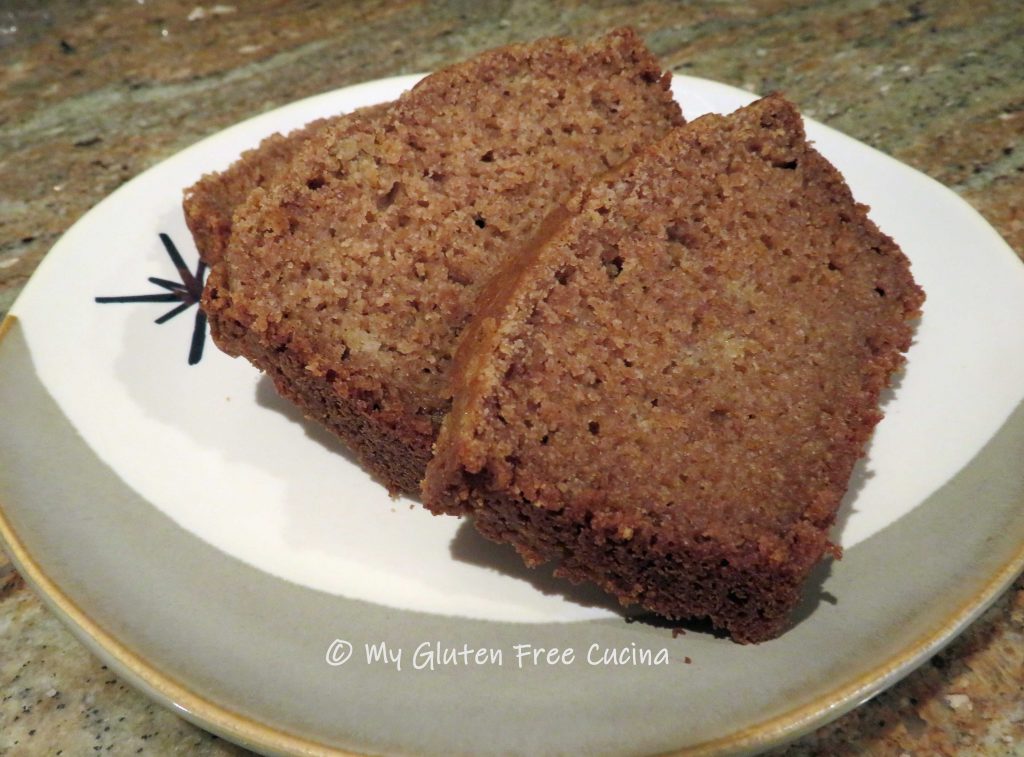
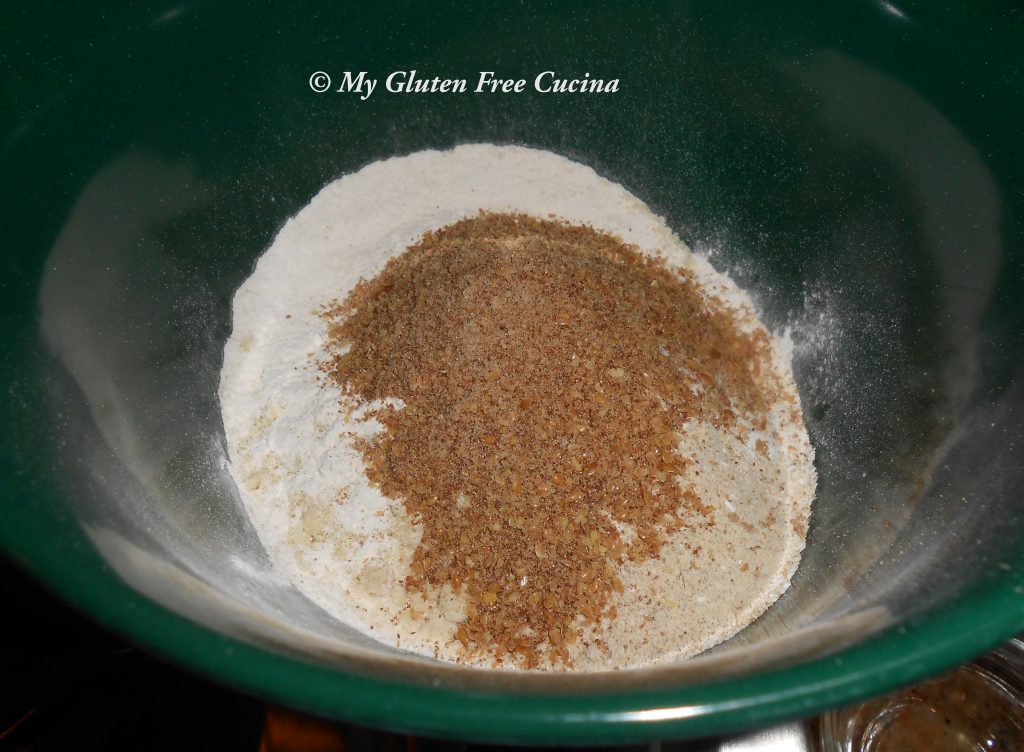
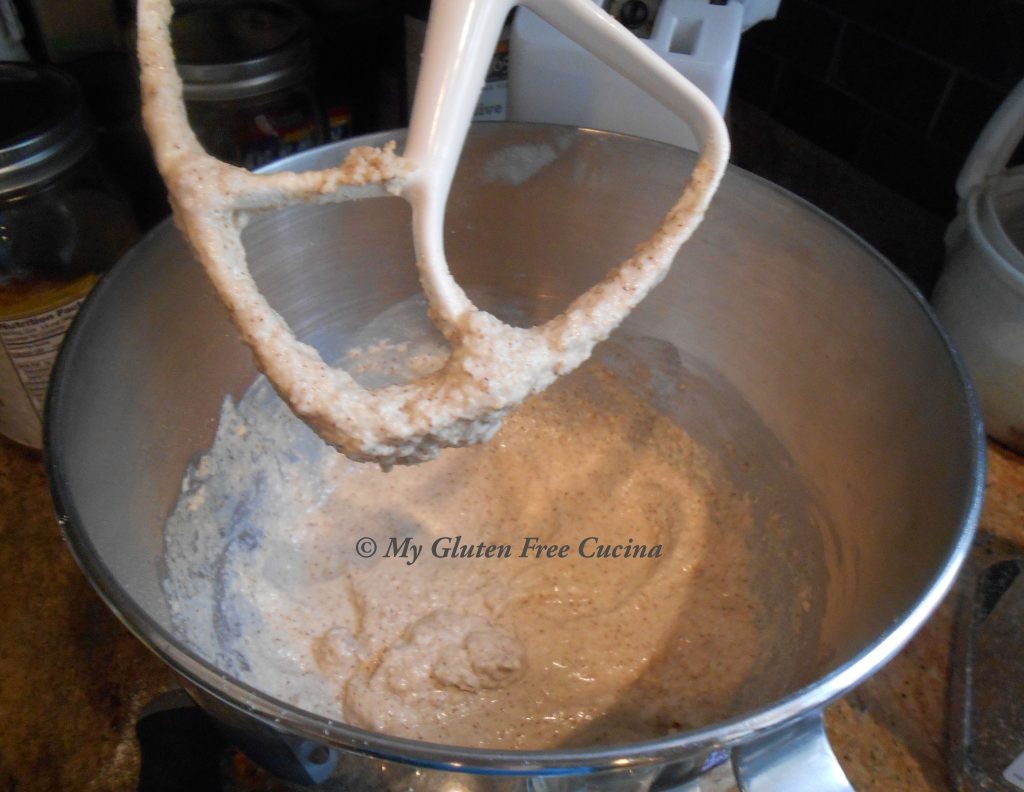
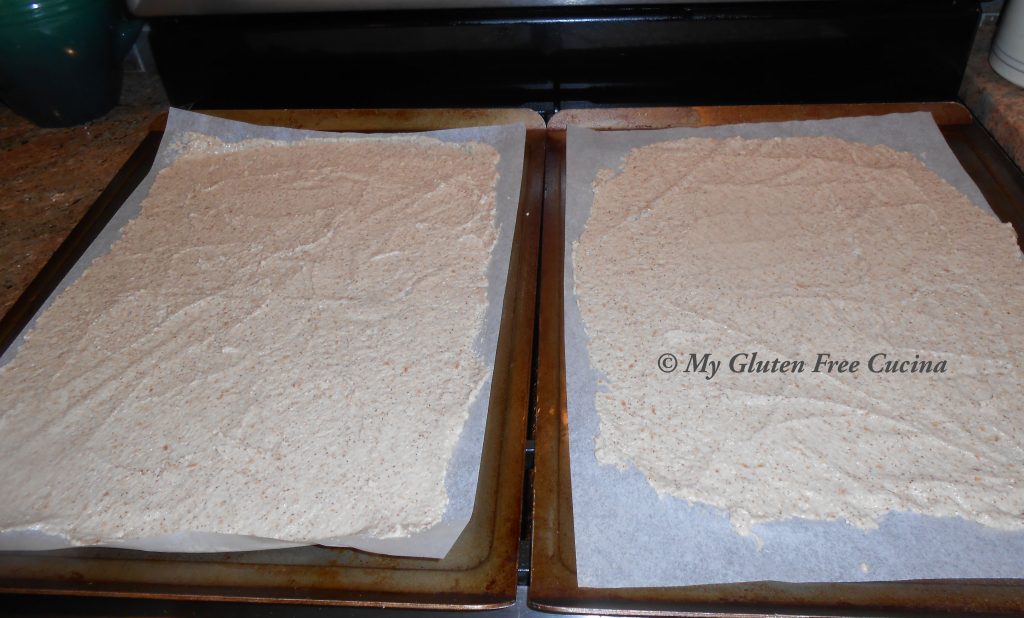
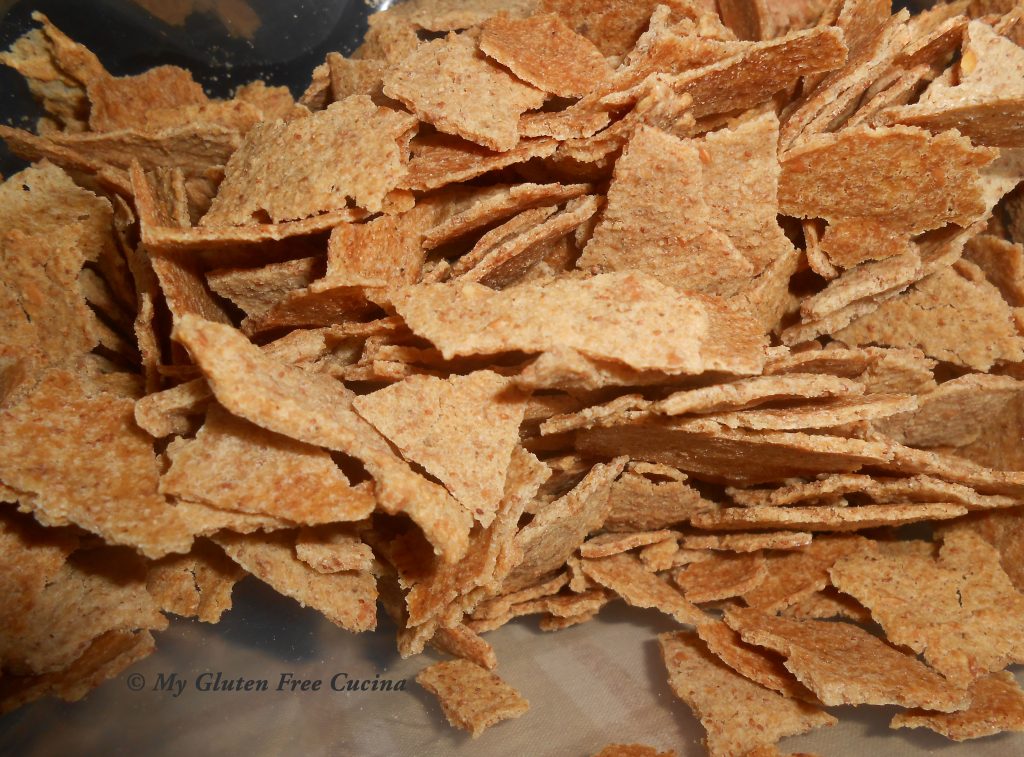
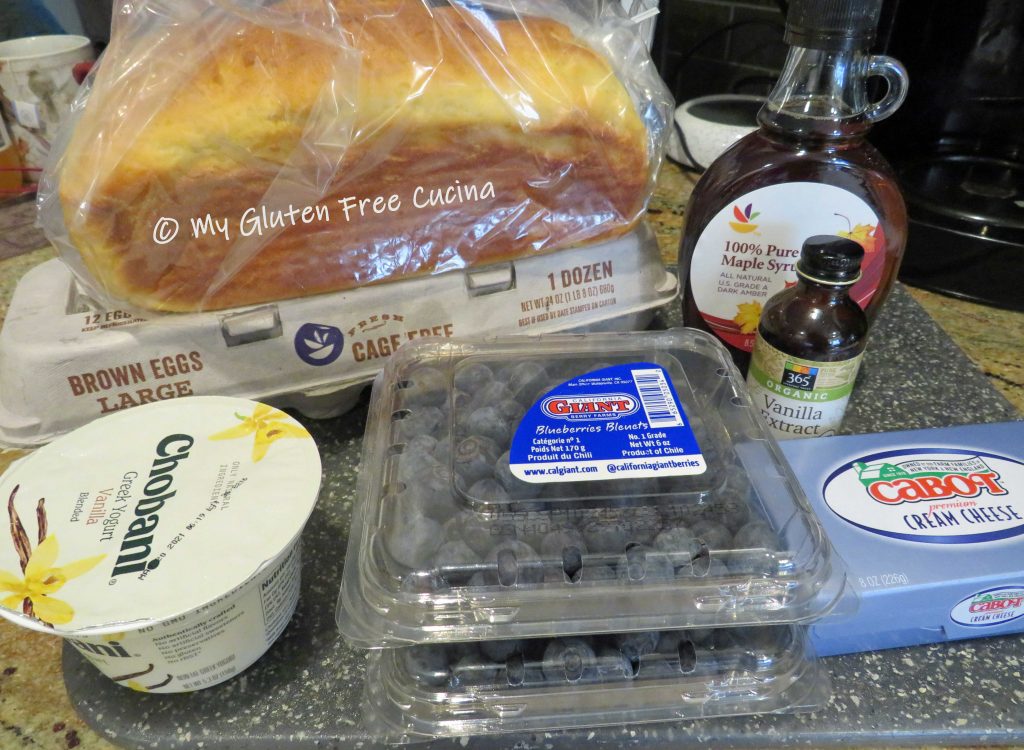
 A recipe within a recipe, I started with a loaf of my homemade Gluten Free Millet Bread.
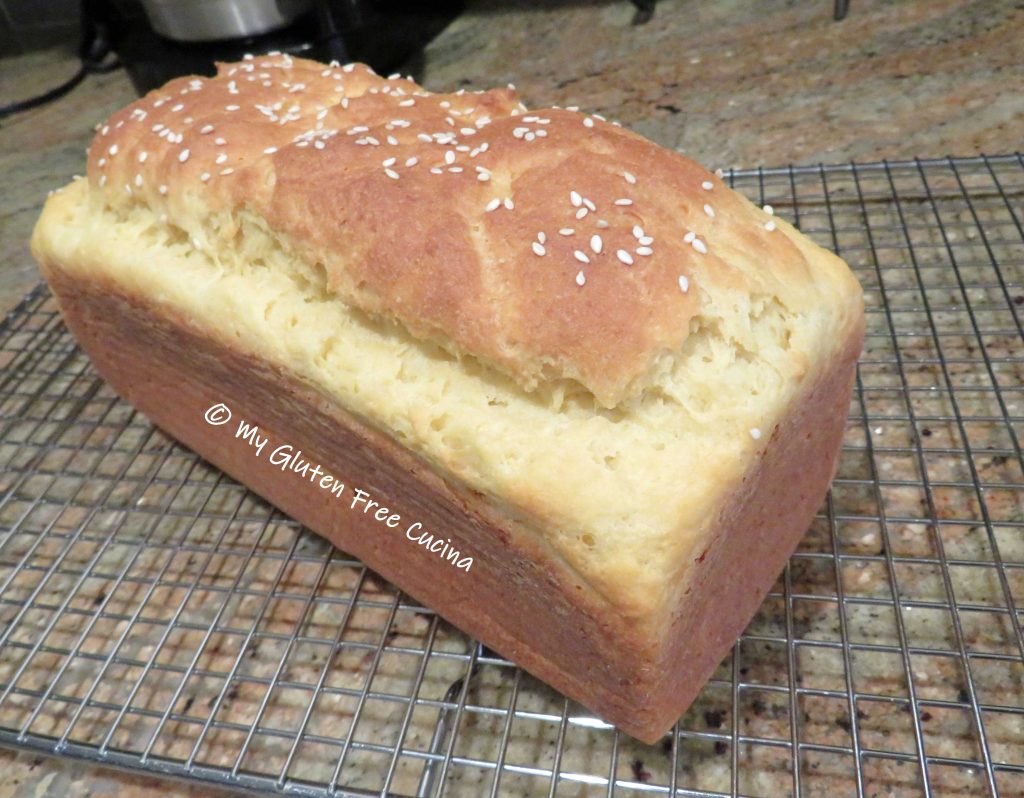
 Preparation:

 Drizzle with
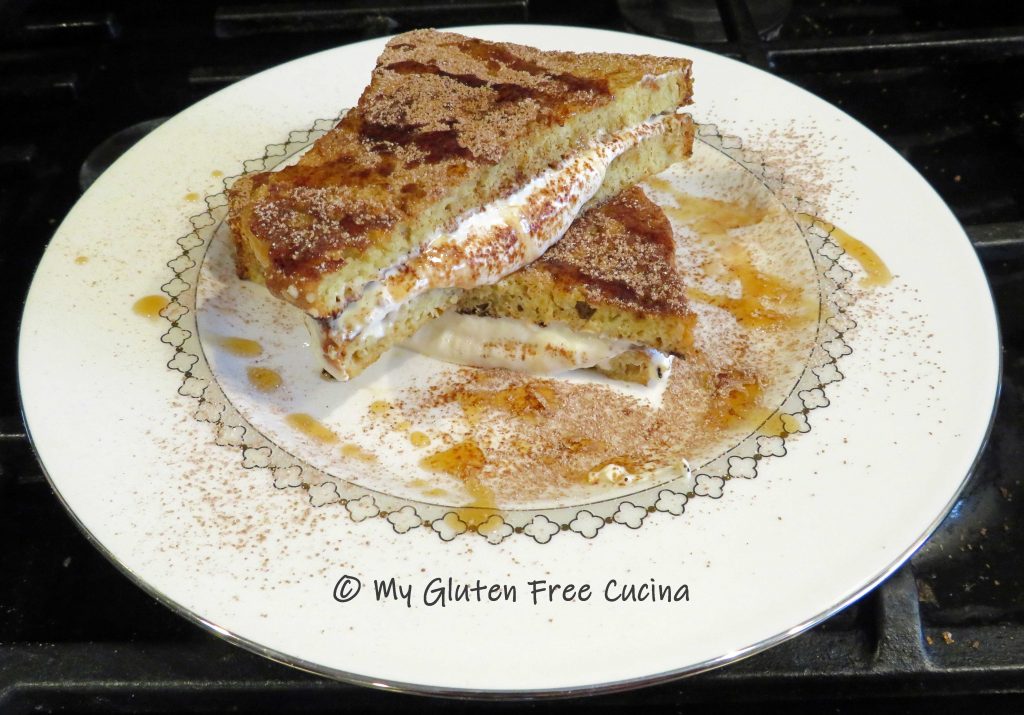
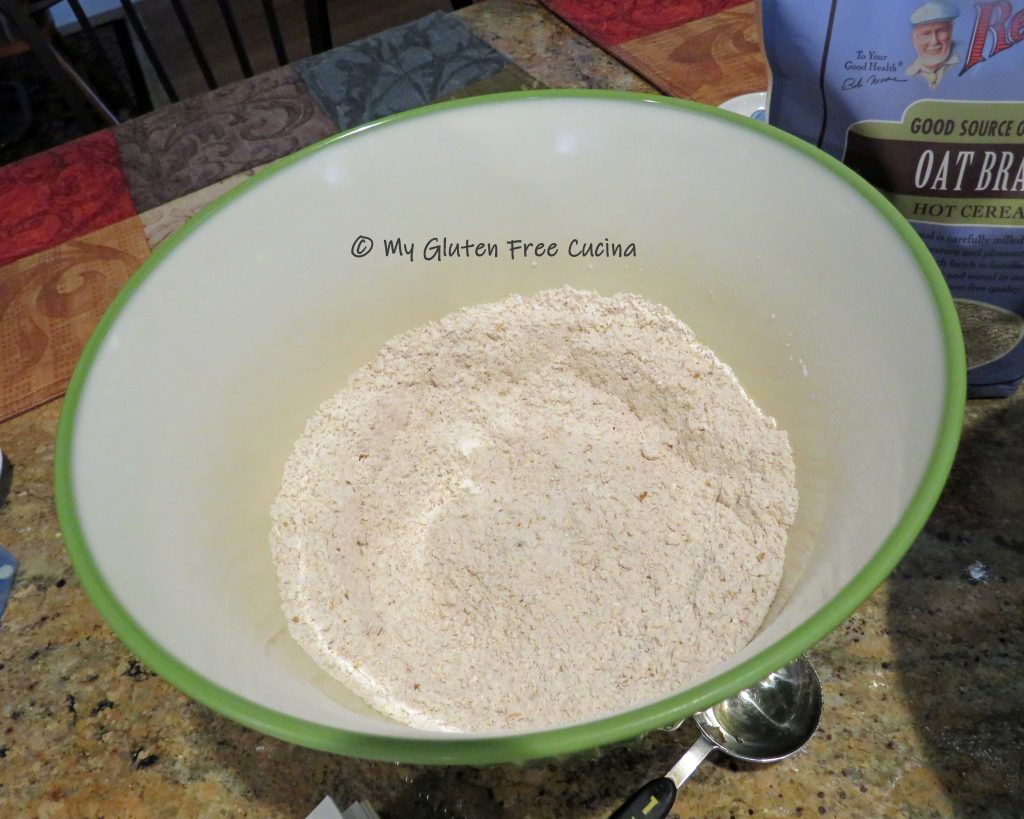
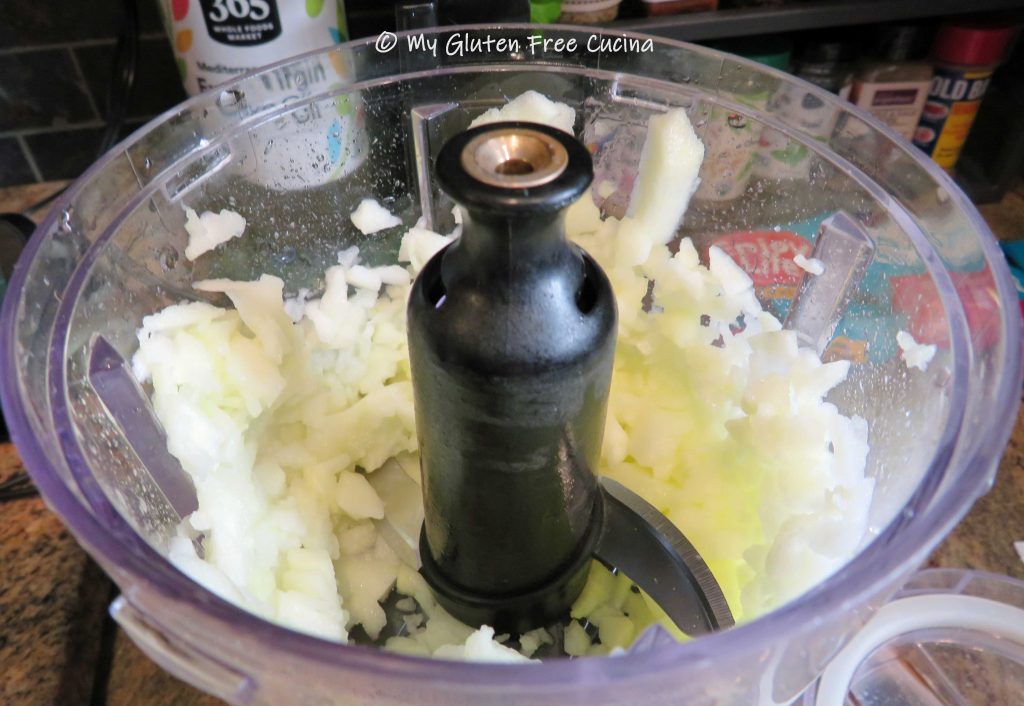
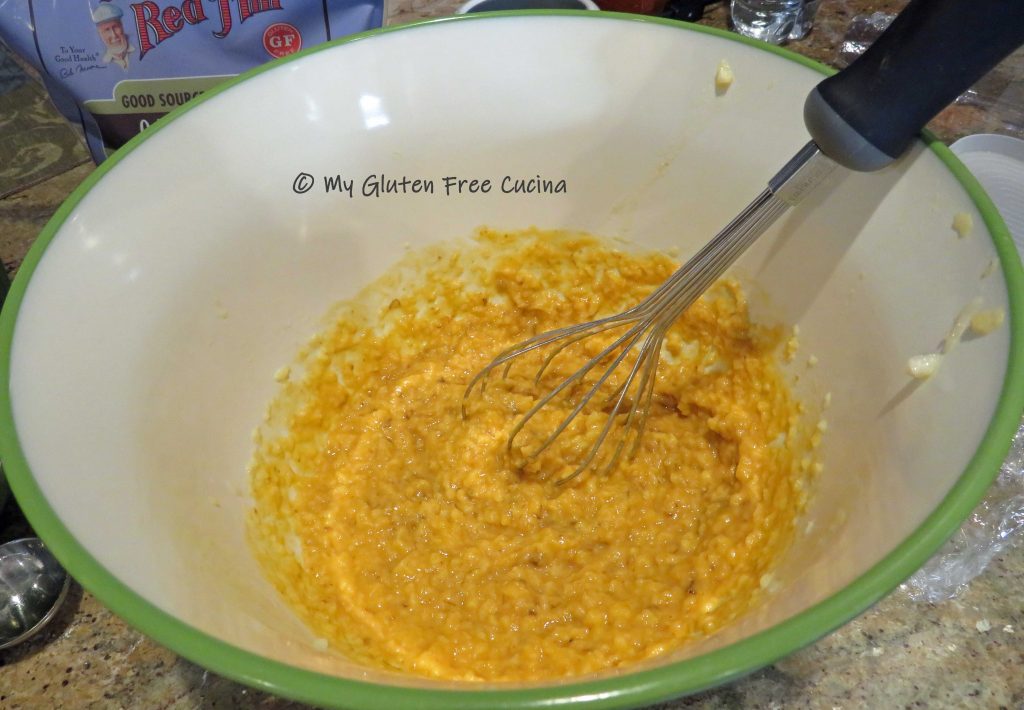
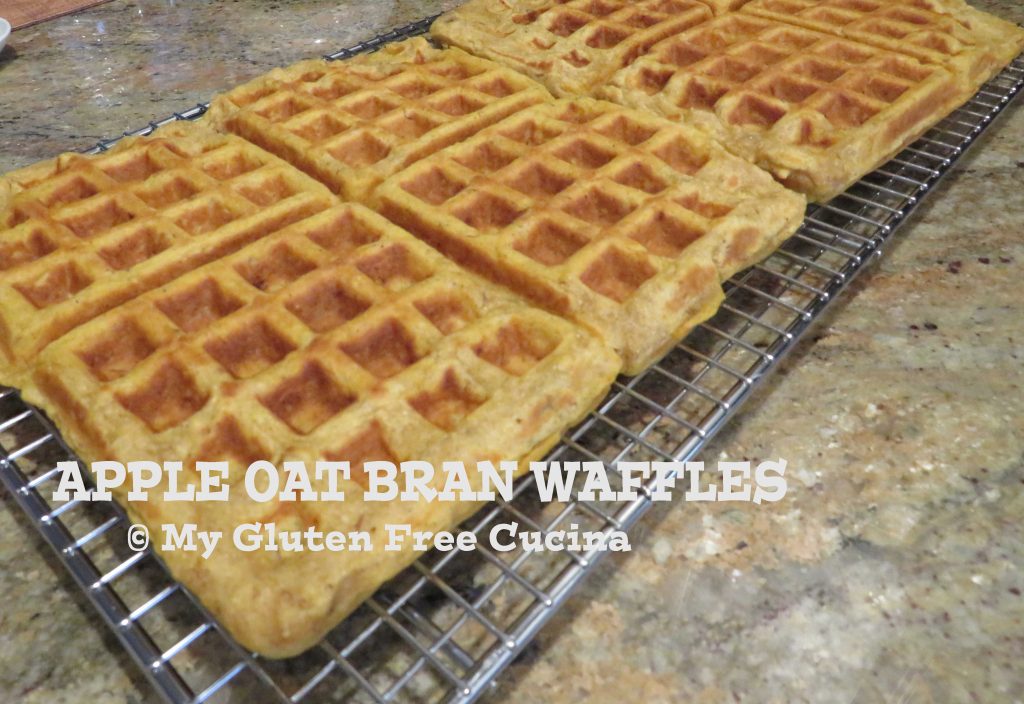 This week I have been experimenting with my waffle recipe, to see if I could incorporate more fruits and fiber into breakfast. These hearty, dense waffles will stick to your ribs and start your morning off right!
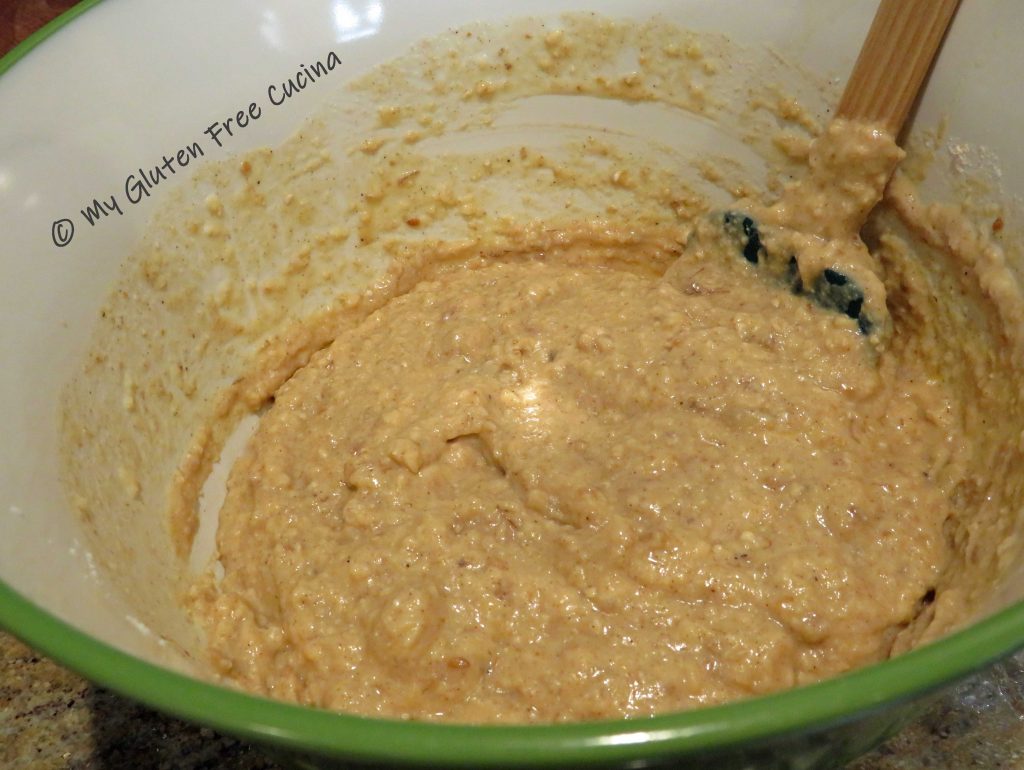
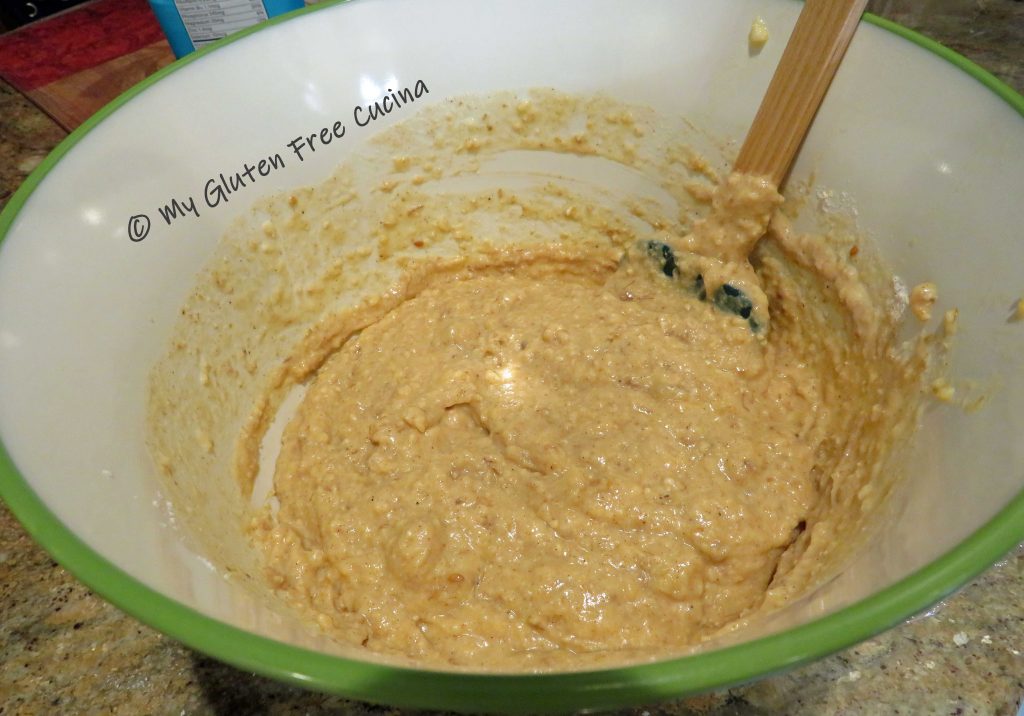
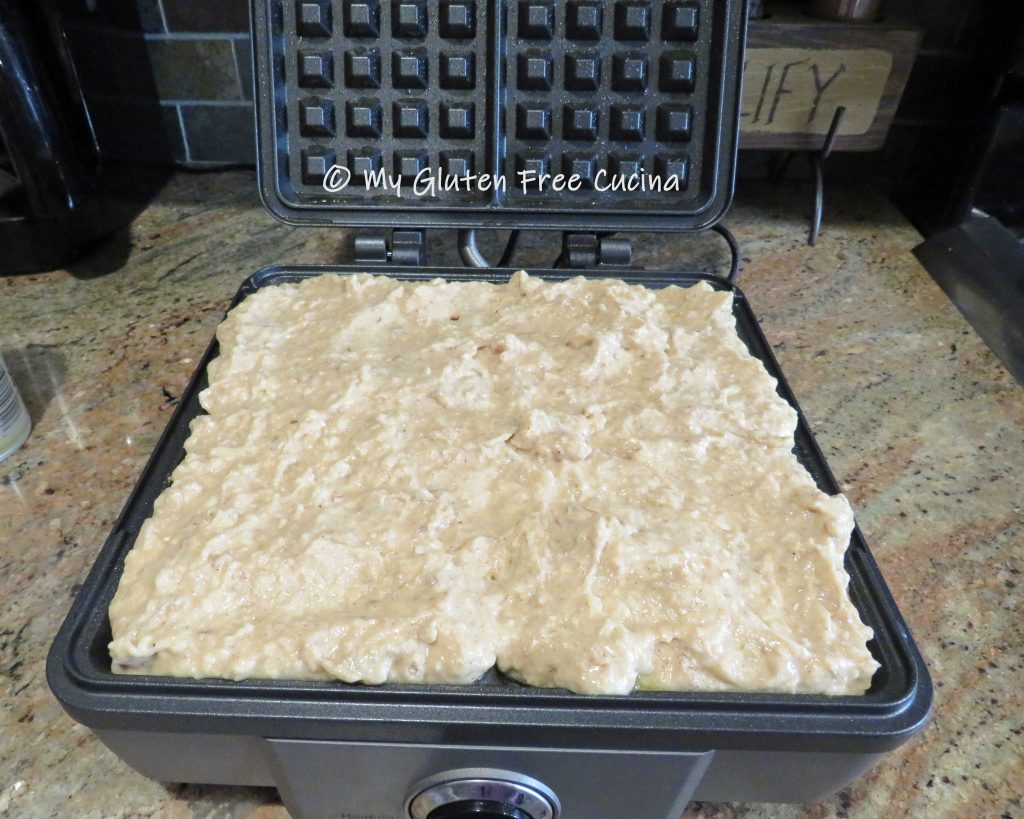 Gluten free waffles always take a bit longer to cook, and because this is an extra dense batter it will need even more time. Allow a full six minutes, or a bit longer if you like them crispy.


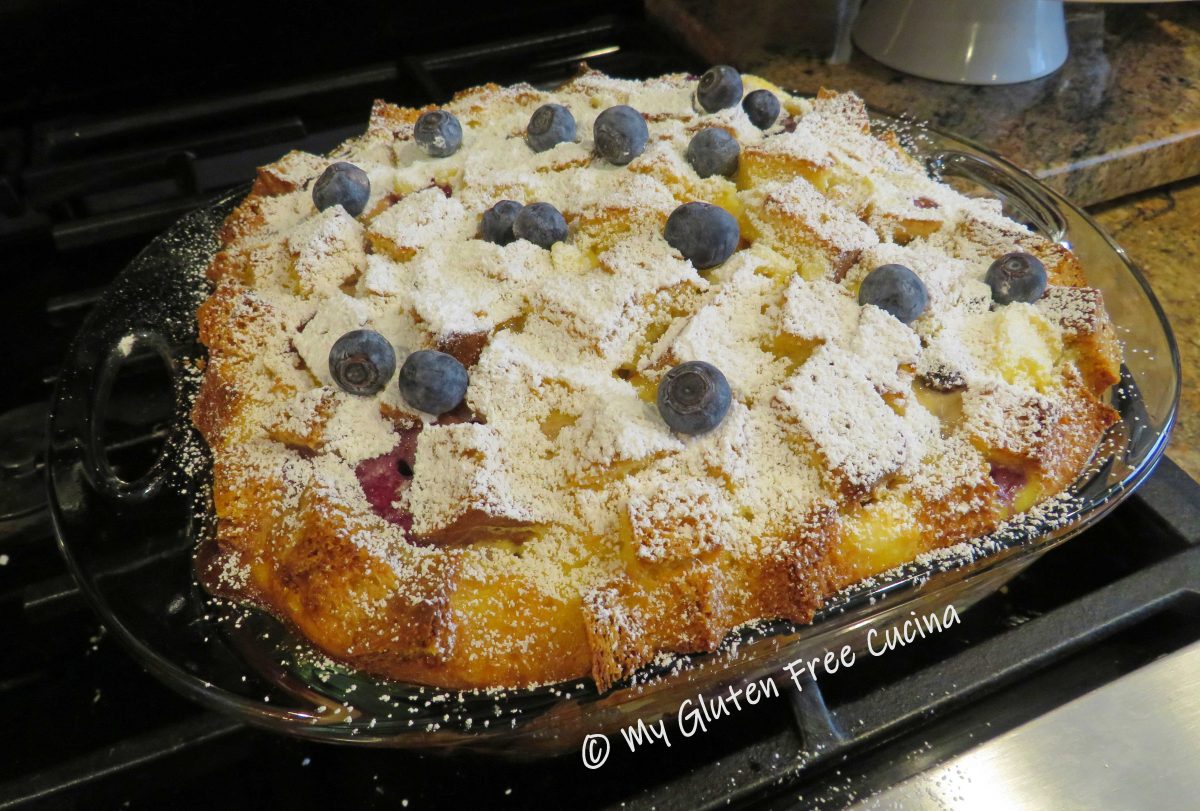


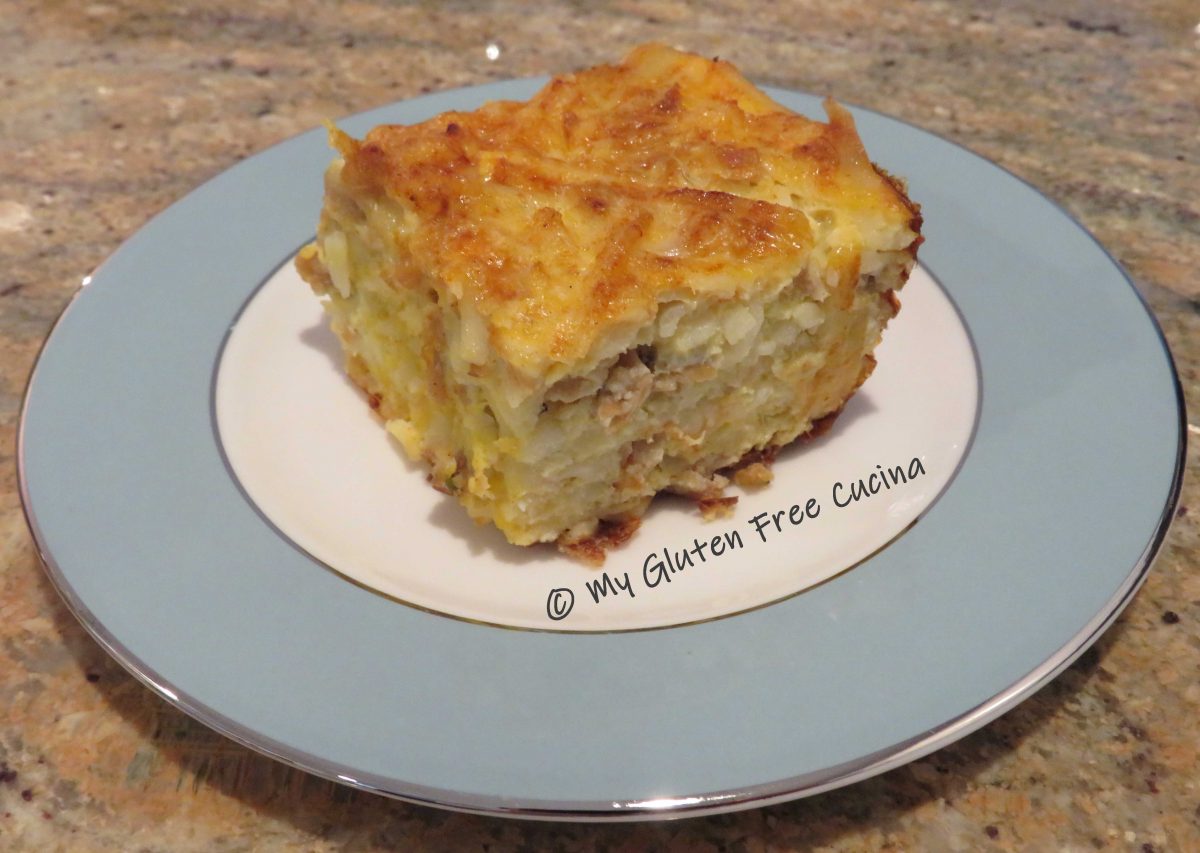
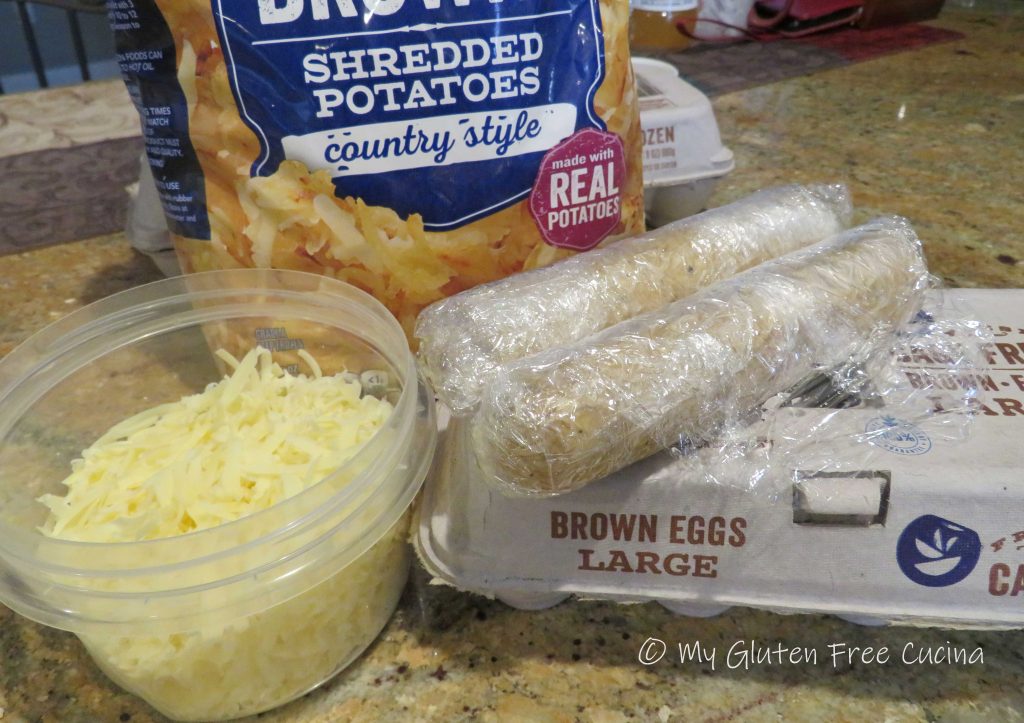


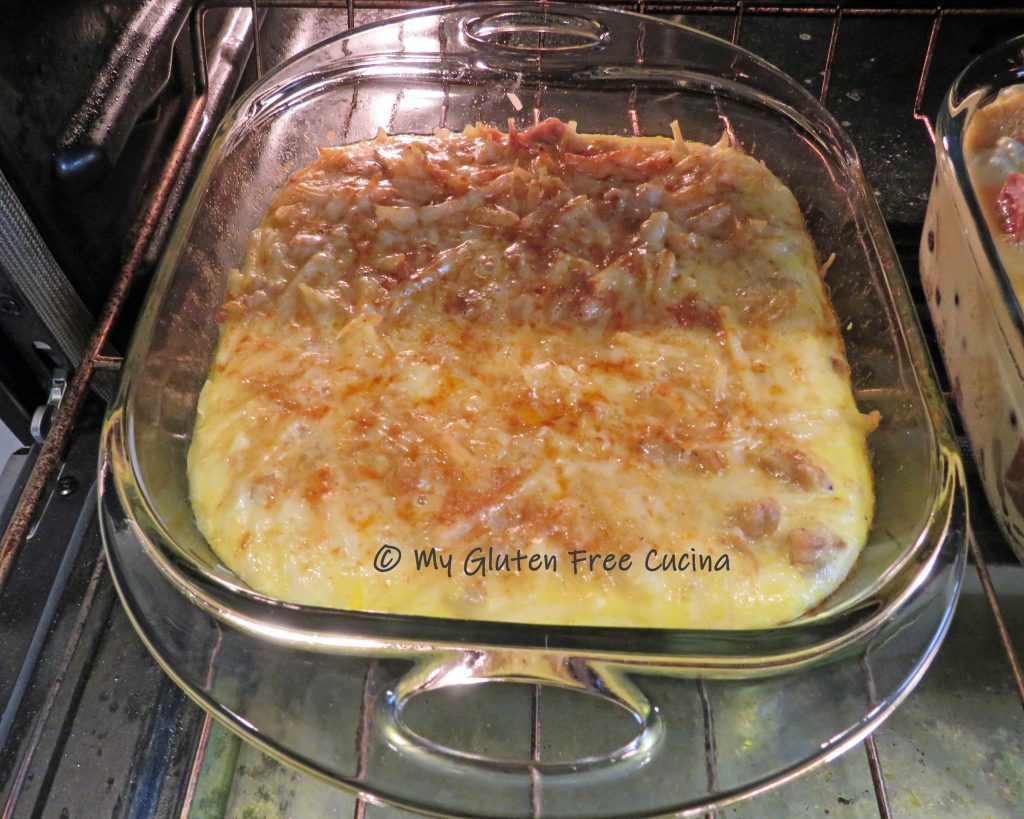
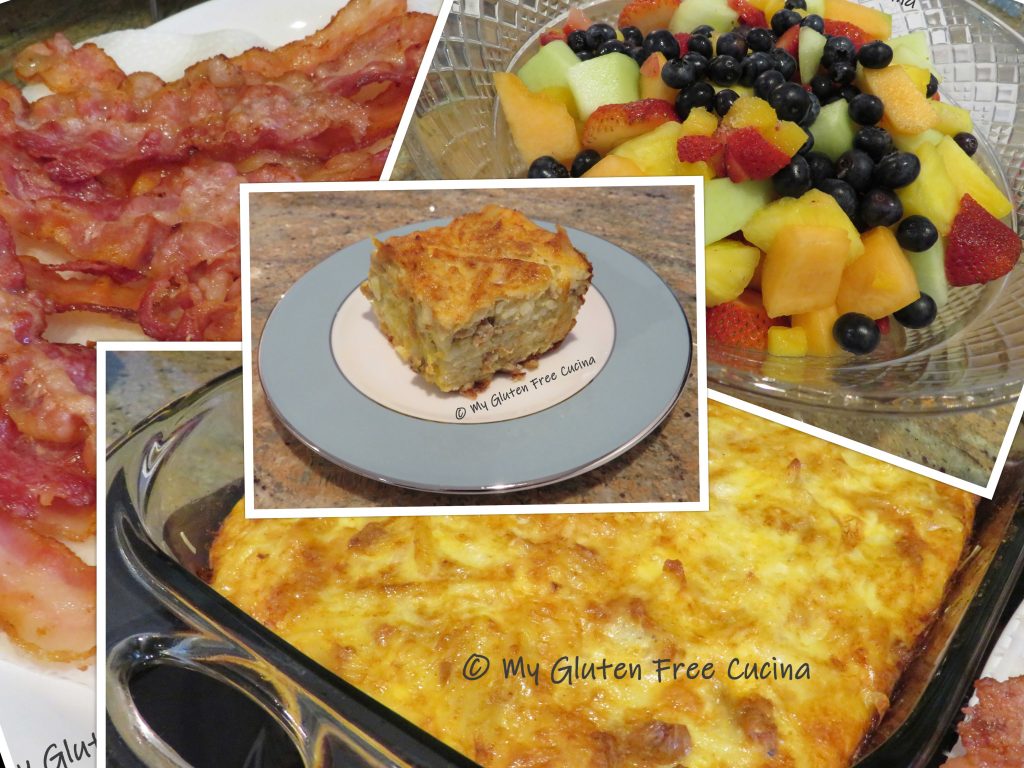
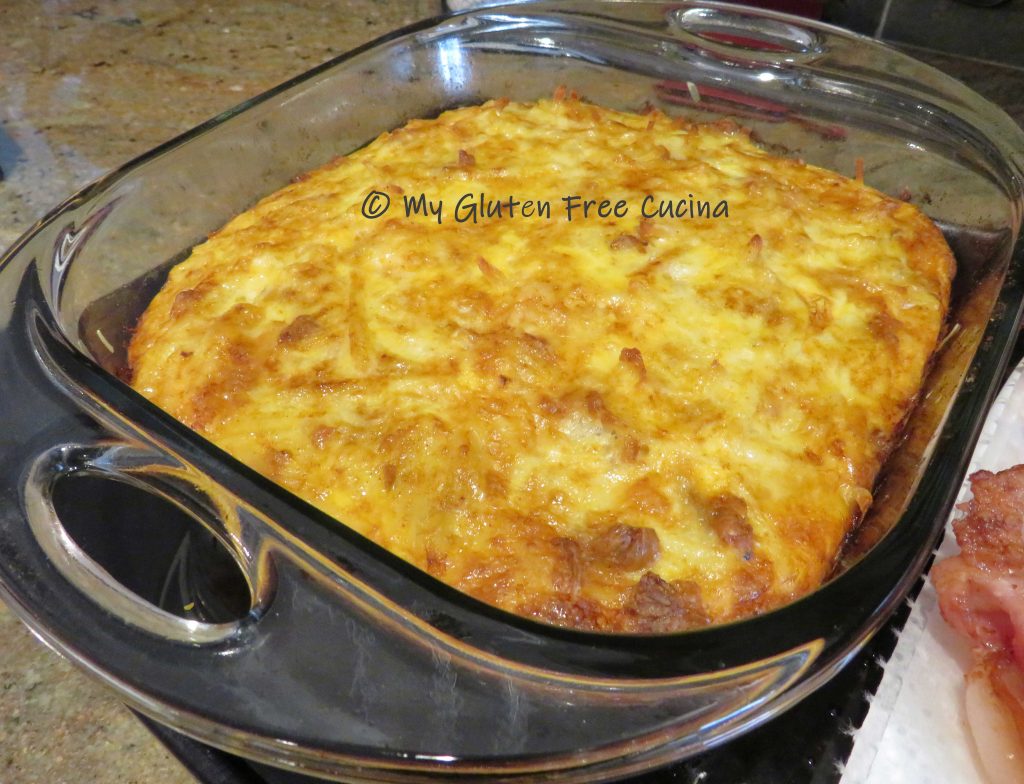 This casserole is a complete meal, but you can serve it with a nice fruit salad, bacon or ham. Don’t fight over the corners!