Gluten Free Pappardelle with Mushroom Cream Sauce and Veal Meatballs

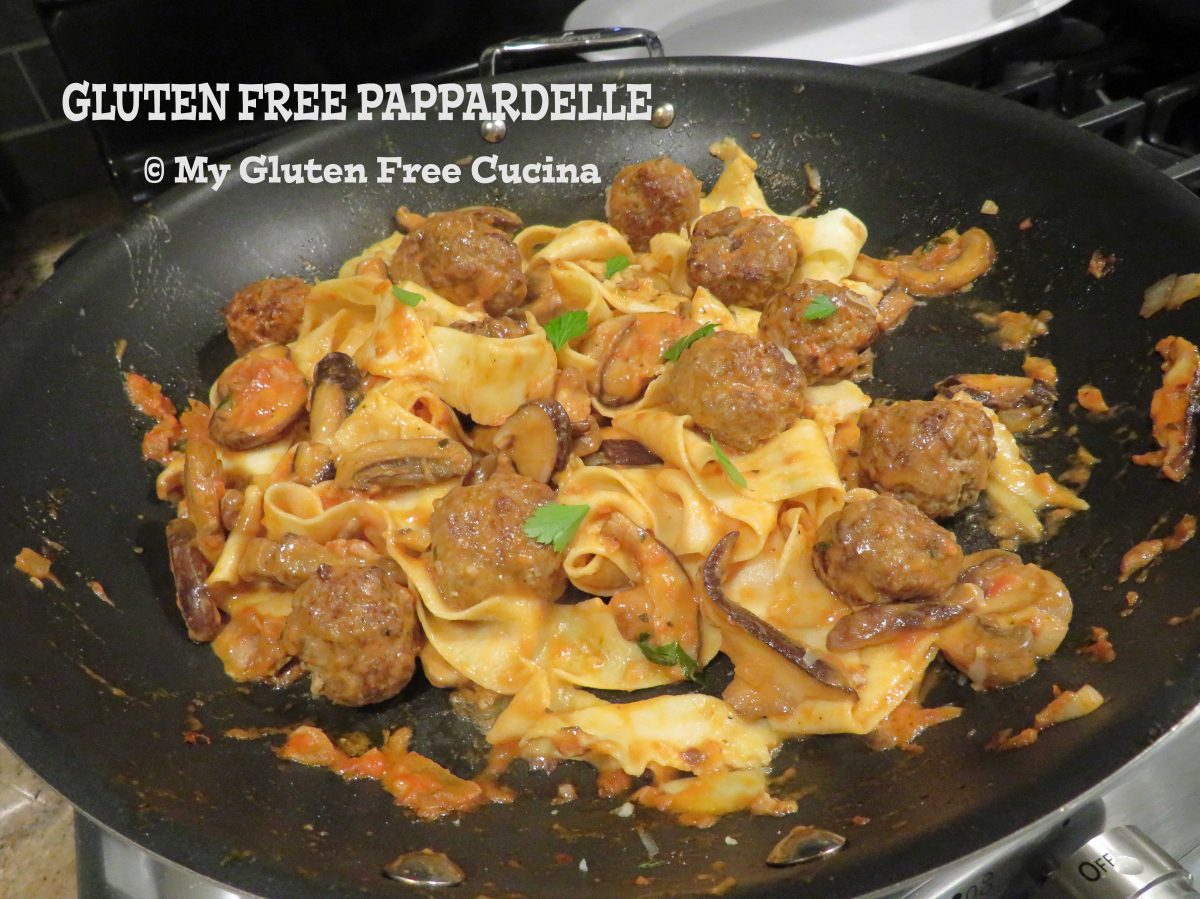
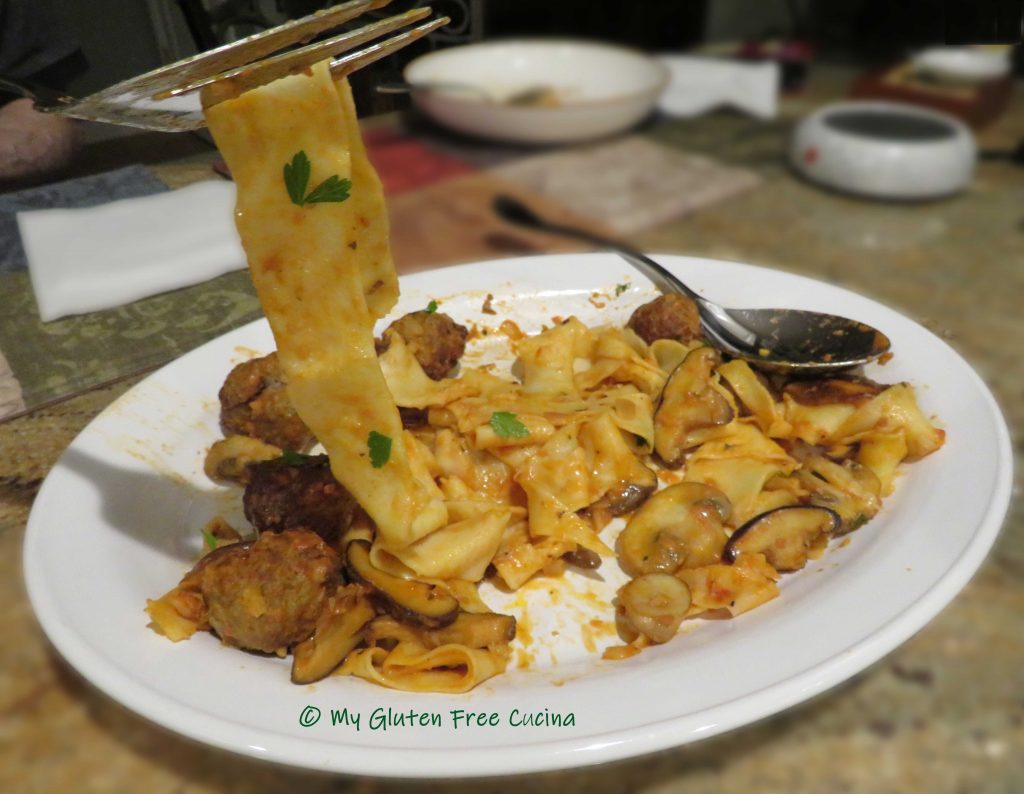
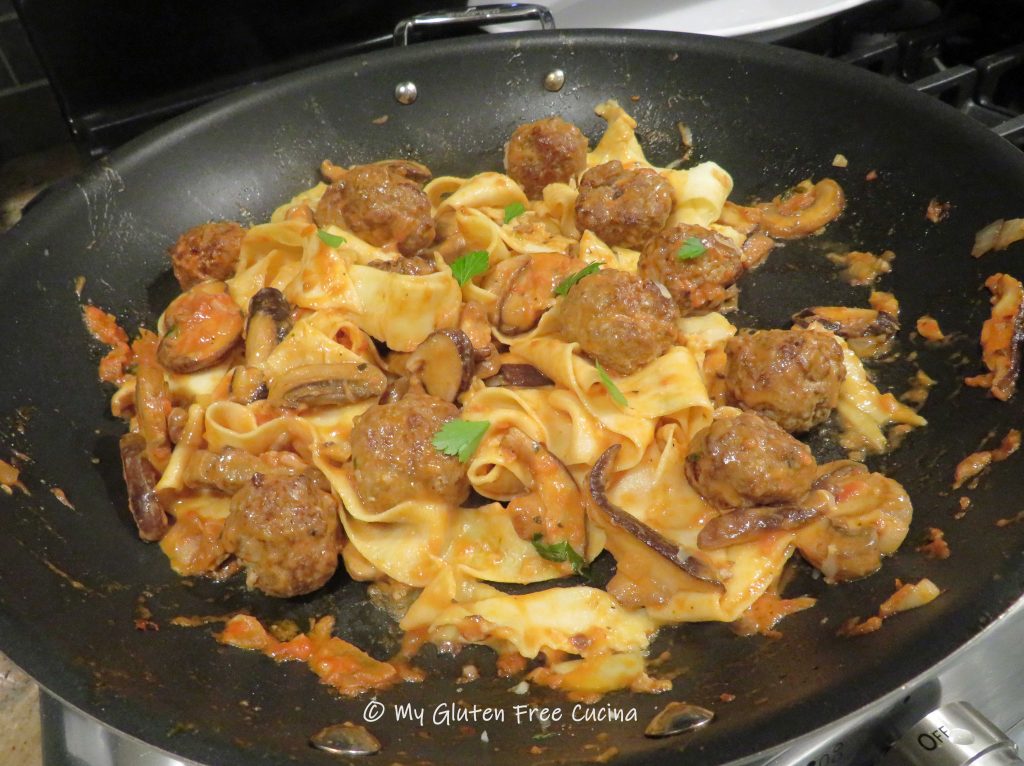
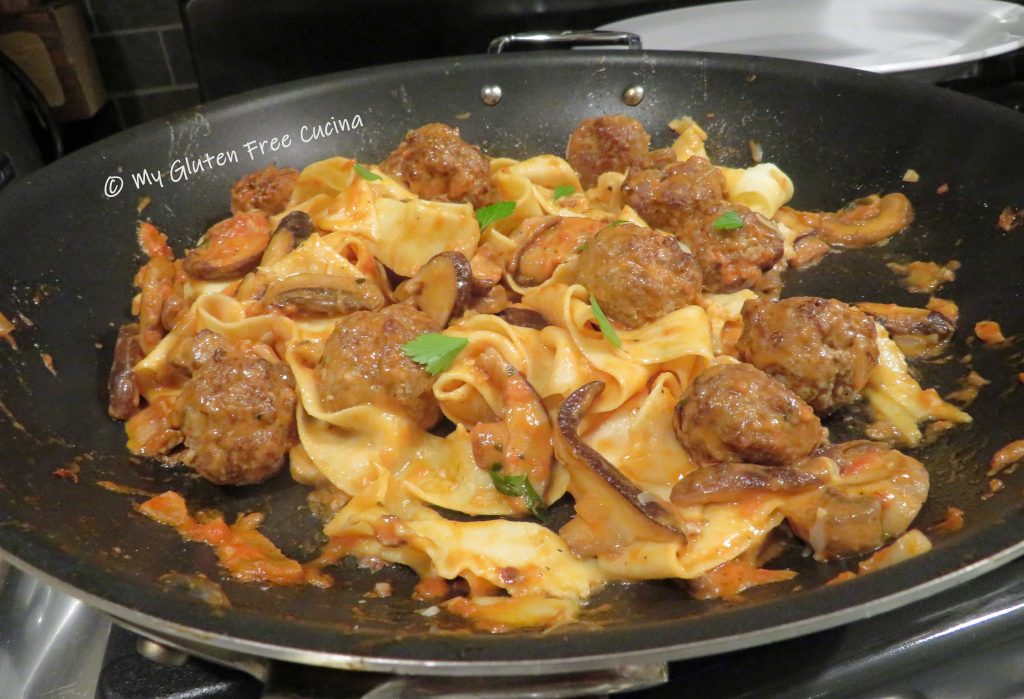
This plate full of happiness features beautiful ribbons of homemade pappardelle pasta prepared with a tomato mushroom cream sauce.  Tiny veal meatballs complement the dish.

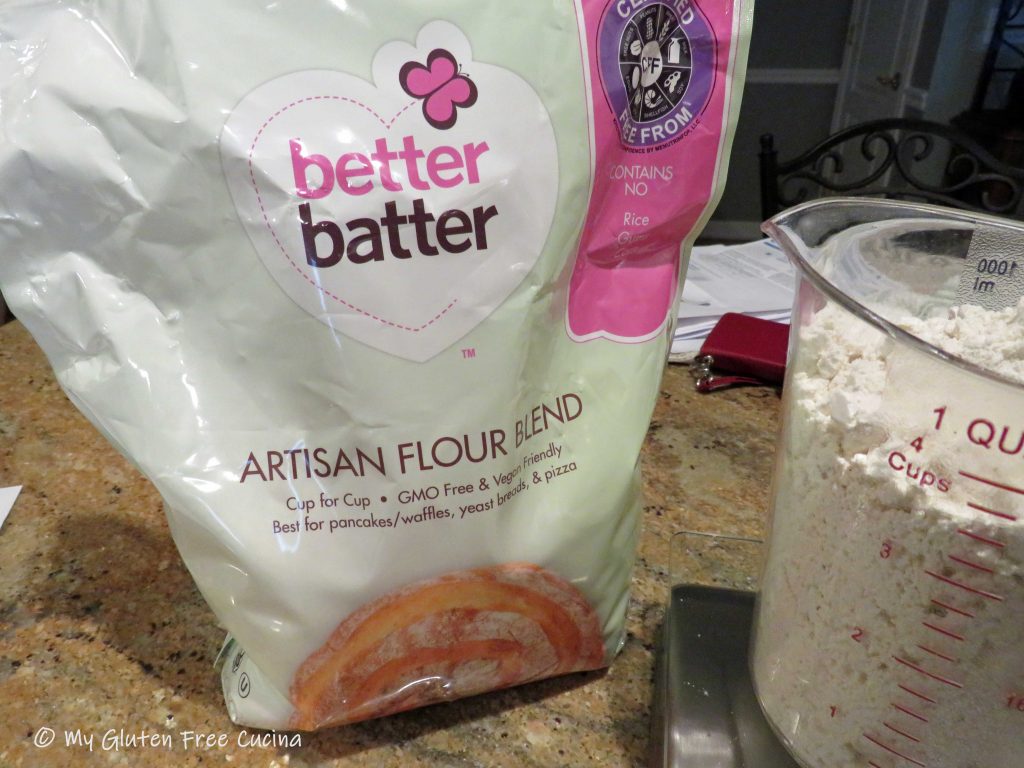
Completely gluten free, I used my favorite, Better Batter Original All Purpose Flour to make the pasta noodles and they were just perfect!  I used my KitchenAid® to roll out the pasta dough and that definitely made the job easier.  You can do it with a rolling pin if you have patience!

This post contains affiliate links.

Dinner for 2

Ingredients:

For the pappardelle

For the Veal Meatballs

  • 1/2 lb. ground veal
  • 1 egg, beaten
  • 1 tsp. minced garlic
  • 2 tbsp. minced shallots
  • 1 tsp. fresh parsley
  • salt and pepper to taste
  • 2 tbsp. gluten free seasoned breadcrumbs
  • 2 tbsp. potato flakes
  • cooking spray

For the Sauce

  • 1 tbsp. olive oil
  • 1/8 tsp. red pepper flakes
  • 3 oz. shitake mushrooms, sliced
  • 5 oz. baby bella mushrooms, sliced
  • 2 tbsp. minced shallots
  • 1/4 tsp. salt
  • 1/4 tsp. pepper
  • 1/8 tsp. garlic powder
  • 1/8 tsp. onion powder
  • 1/8 tsp. paprika
  • 2 tsp. garlic, minced
  • 1 tbsp. fresh Italian parsley, chopped
  • 1/4 cup white wine
  • 2 tbsp. heavy cream
  • 2/3 cup tomato sauce
  • 2 tsp. butter
  • 2 tbsp. grated parmesan

Preparation:

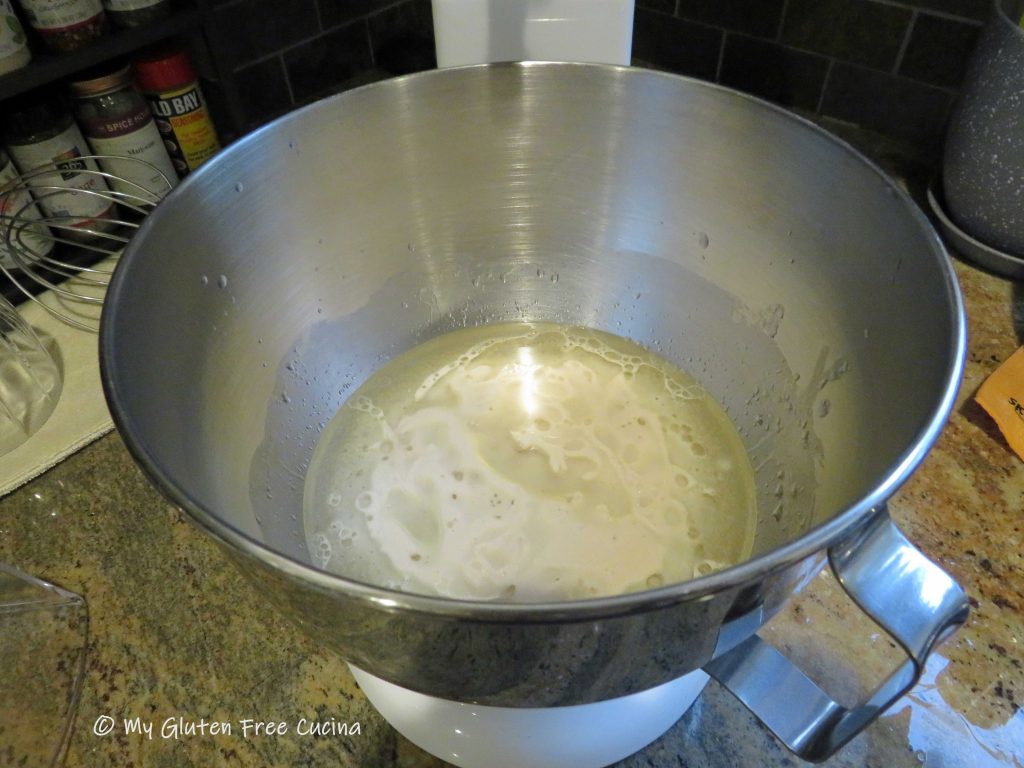
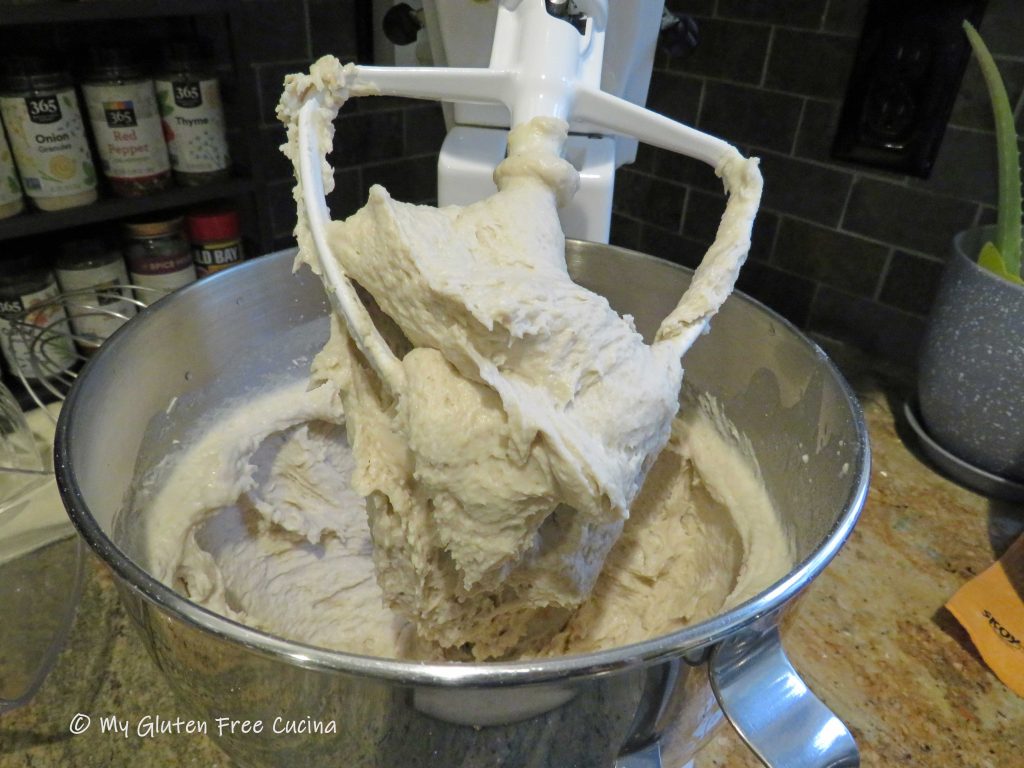
To make the pappardelle, combine 70g. flour with remaining ingredients in the bowl of a stand mixer and beat with the paddle attachment for 5 minutes to form a soft dough.

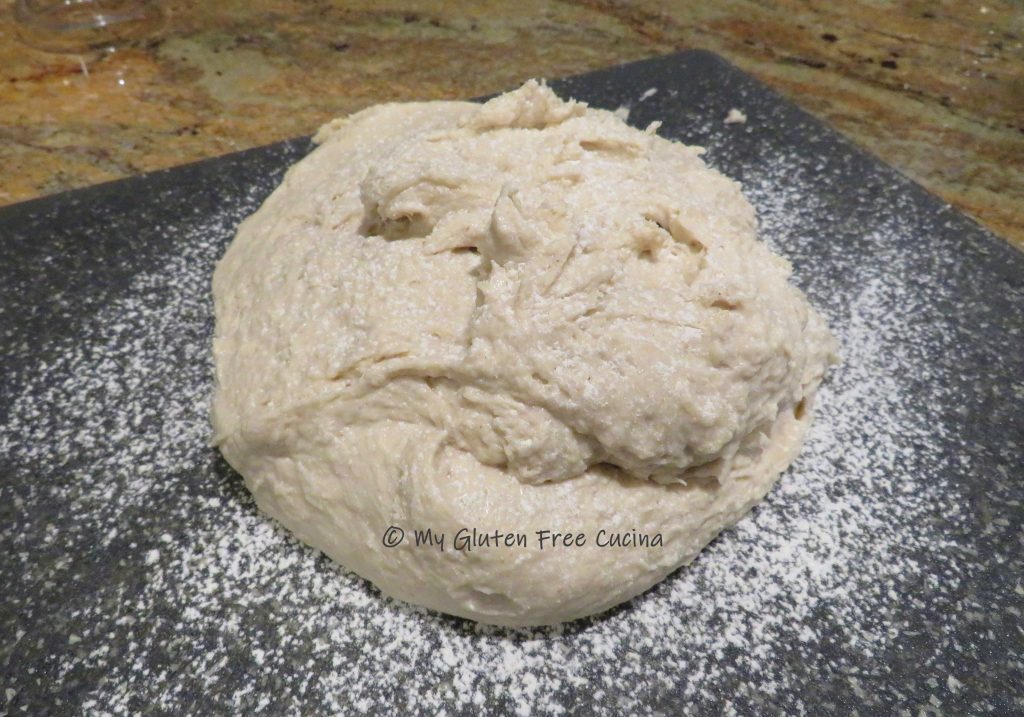
Bring the dough together and sprinkle with more flour, then wrap in plastic wrap.  Let the dough rest for 15 minutes.

Divide the dough into 4 sections and work with one piece at a time.  Begin feeding it through the pasta roller, starting with the thickest setting.  Pass it through several times, then begin increasing the roller setting each time until you have a sheet that is thin without tearing the dough.  For pappardelle, this would be setting 3 or 4 on a KitchenAid pasta roller attachment.  Repeat with each section and lay the sheets on floured wax paper.

Note: For a full tutorial on how to make pappardelle refer to this post!

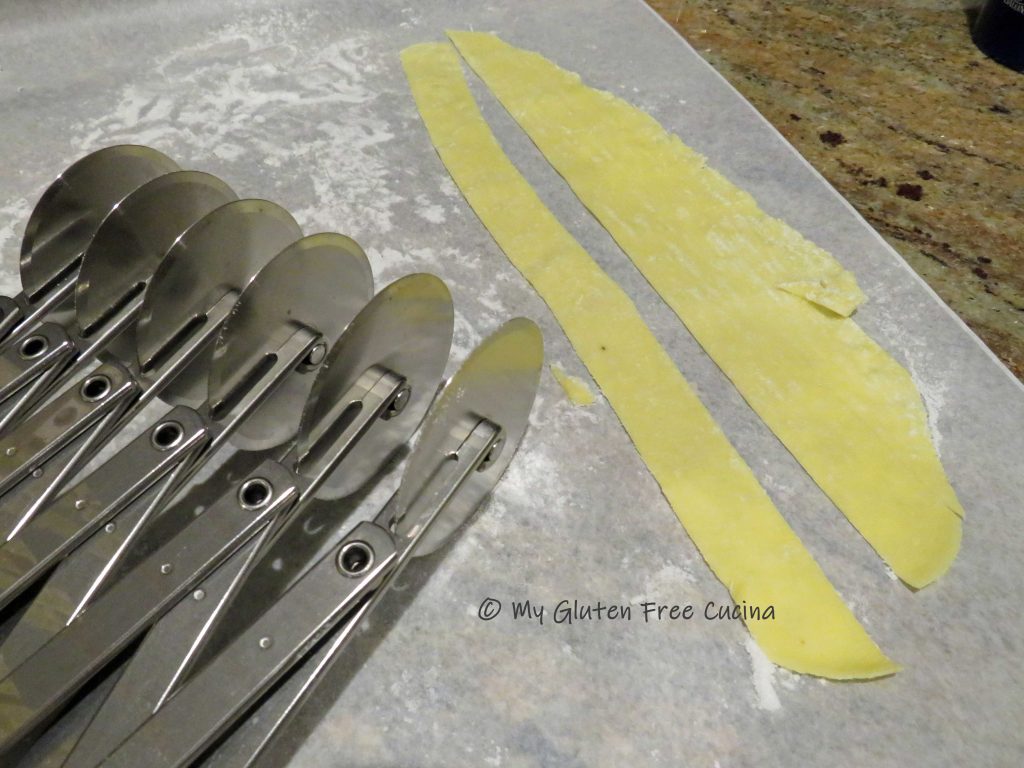
When you have completed rolling the 4 sheets, cut them into 3/4″ ribbons.   Hang them up to dry on a pasta drying rack.

To make the meatballs, combine all ingredients in a bowl and mix well with your hands or use a potato masher.

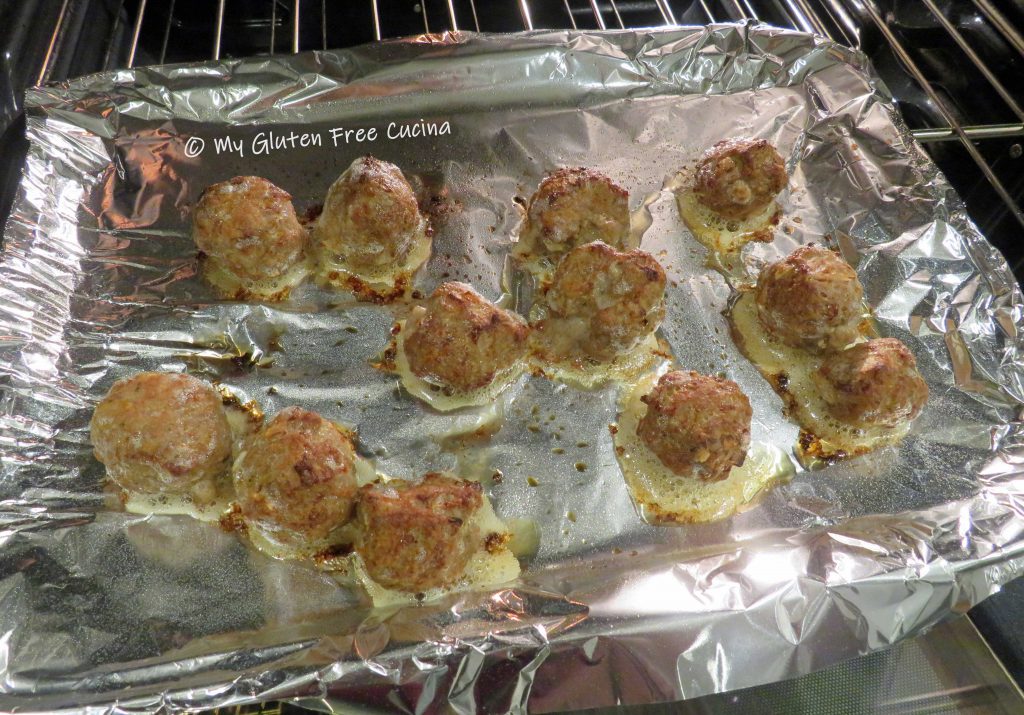
Line a baking sheet with foil and mist with cooking spray.  Form 12 small meatballs and arrange on the baking sheet, leaving space in between.
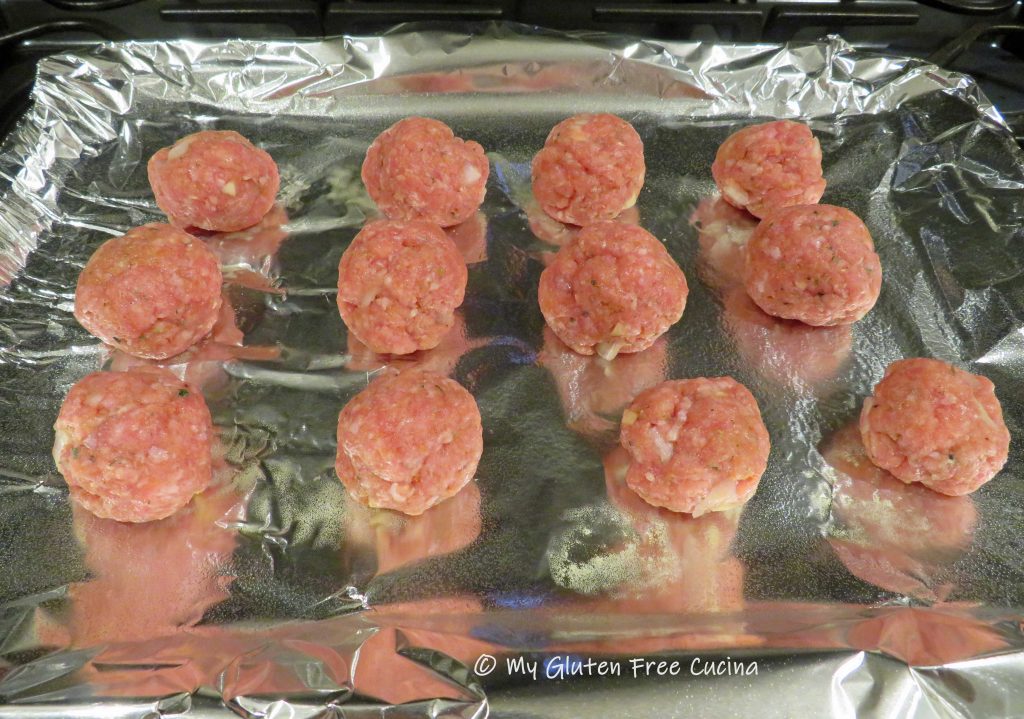
Broil 4 minutes per side, 8 minutes total.  Remove from the oven and set aside.  Set up a pot of salted water for the pasta and bring to a rolling boil.

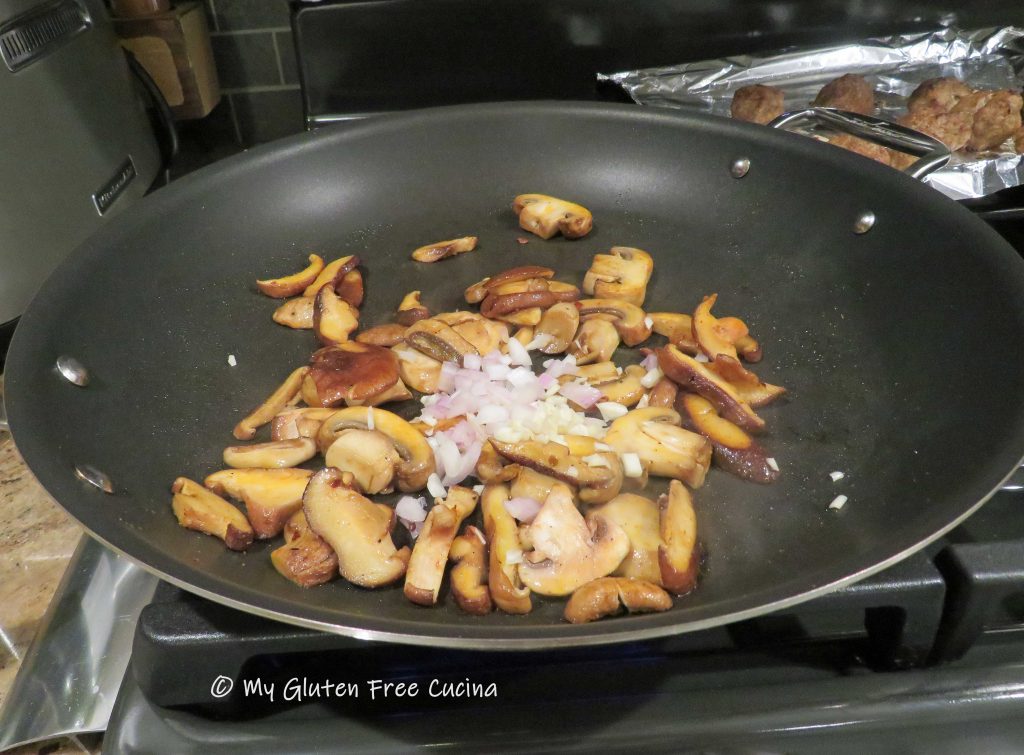
Now, to put it all together make the sauce.  In a large nonstick skillet over medium low heat, add the olive oil and red pepper flakes.  Add the mushrooms and shallots, season and stir frequently until they begin to release their liquid.

Add the garlic and parsley then add the white wine.

Allow the wine to reduce for 2 minutes then stir in heavy cream.

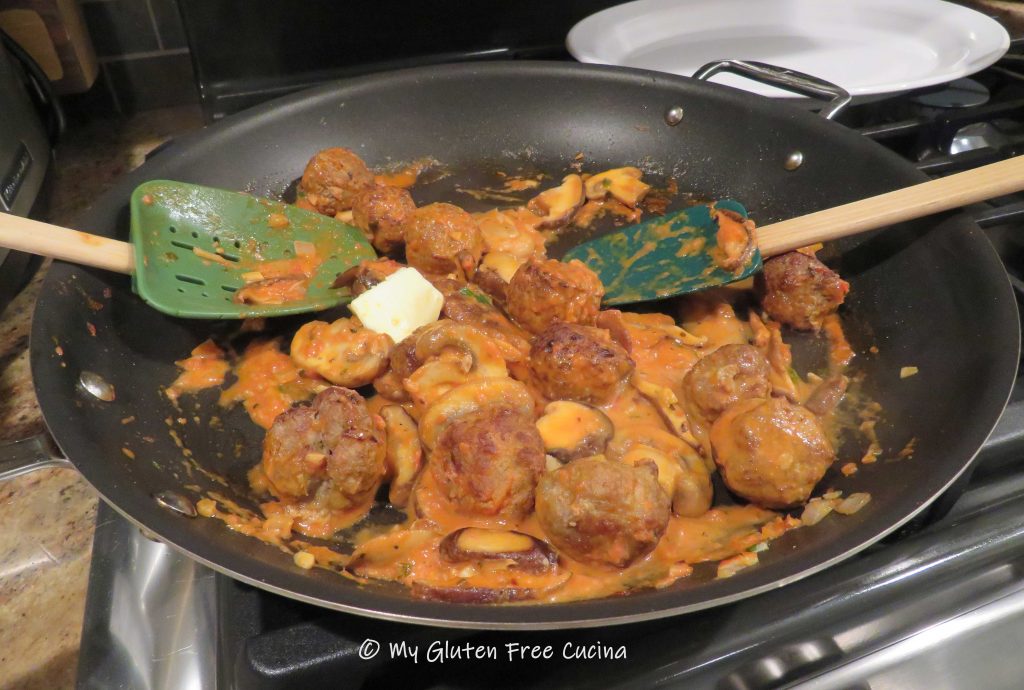
Finally add the tomato sauce and the veal meatballs with 2 tsp. butter.

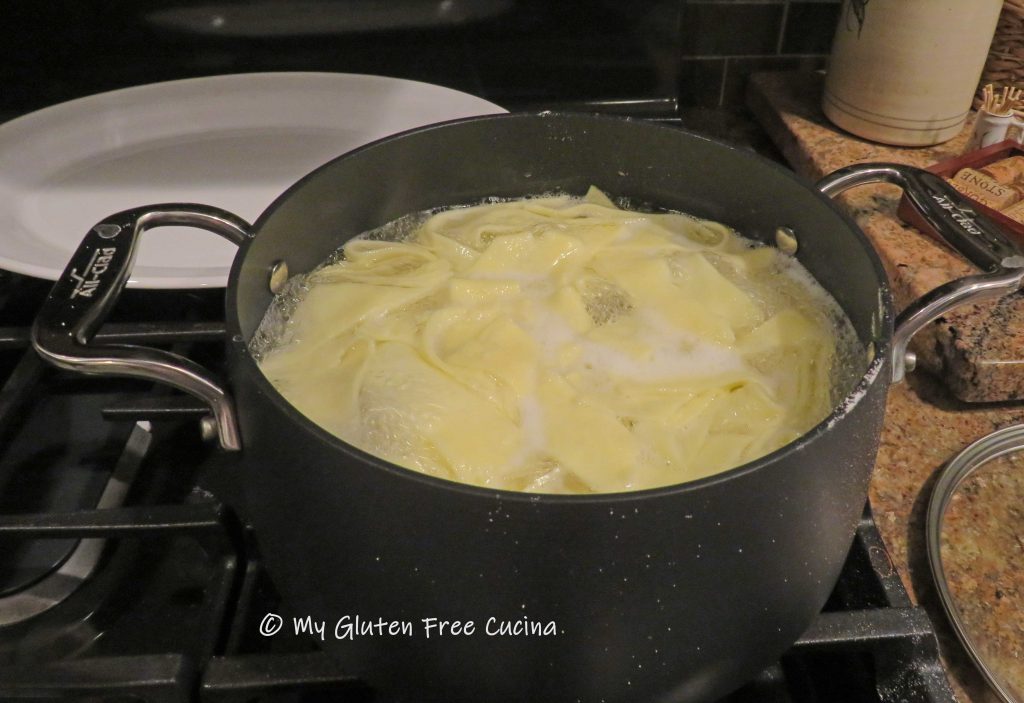
Add the pasta to the boiling water and cook for 3 minutes.  You can add a ladle of the pasta water to the sauce if it appears dry.

Use tongs to carefully remove the pappardelle from the water and add to the sauce.  Add another pat of butter and stir in the parmesan cheese.

Carefully fold everything together until cheese is completely melted.

Transfer to a serving platter and garnish with Italian parsley.

Notes ♪♫ Gluten free dough can be so temperamental.  It does tend to stick and tear.  For best results keep the dough and the roller lightly dusted with flour as you work.  I was thrilled to get my pasta sheets to setting #4 on my KitchenAid®, this was an ideal thickness for the pappardelle noodles.  Try to get to at least the third setting, and don’t worry if you have a few tears and odd shaped noodles, they will still be delicious!


Print
clock clock iconcutlery cutlery iconflag flag iconfolder folder iconinstagram instagram iconpinterest pinterest iconfacebook facebook iconprint print iconsquares squares iconheart heart iconheart solid heart solid icon

Gluten Free Pappardelle with Mushroom Cream Sauce and Veal Meatballs

5 Stars 4 Stars 3 Stars 2 Stars 1 Star No reviews
  • Author: © My Gluten Free Cucina
  • Yield: 2 Servings 1x
  • Diet: Gluten-Free

Ingredients

Units Scale
For the pappardelle   For the Veal Meatballs
  • 1/2 lb. ground veal
  • 1 egg, beaten
  • 1 tsp. minced garlic
  • 2 tbsp. minced shallots
  • 1 tsp. fresh parsley
  • salt and pepper to taste
  • 2 tbsp. gluten free seasoned breadcrumbs
  • 2 tbsp. potato flakes
  • cooking spray
  For the Sauce
  • 1 tbsp. olive oil
  • 1/8 tsp. red pepper flakes
  • 3 oz. shitake mushrooms, sliced
  • 5 oz. baby bella mushrooms, sliced
  • 2 tbsp. minced shallots
  • 1/4 tsp. salt
  • 1/4 tsp. pepper
  • 1/8 tsp. garlic powder
  • 1/8 tsp. onion powder
  • 1/8 tsp. paprika
  • 2 tsp. garlic, minced
  • 1 tbsp. fresh Italian parsley, chopped
  • 1/4 cup white wine
  • 2 tbsp. heavy cream
  • 2/3 cup tomato sauce
  • 2 tsp. butter
  • 2 tbsp. grated parmesan

Instructions

To make the pappardelle, combine 70g. flour with remaining ingredients in the bowl of a stand mixer and beat with the paddle attachment for 5 minutes to form a soft dough.

Bring the dough together and sprinkle with more flour, then wrap in plastic wrap.  Let the dough rest for 15 minutes.

Divide the dough into 4 sections and work with one piece at a time.  Begin feeding it through the pasta roller, starting with the thickest setting.  Pass it through several times, then begin increasing the roller setting each time until you have a sheet that is thin without tearing the dough.  For pappardelle, this would be setting 3 or 4 on a KitchenAid pasta roller attachment.  Repeat with each section and lay the sheets on floured wax paper.

When you have completed rolling the 4 sheets, cut them into 3/4″ ribbons.   Hang them up to dry on a pasta drying rack.

To make the meatballs, combine all ingredients in a bowl and mix well with your hands or use a potato masher.

Line a baking sheet with foil and mist with cooking spray.  Form 12 small meatballs and arrange on the baking sheet, leaving space in between.

Broil 4 minutes per side, 8 minutes total.  Remove from the oven and set aside.  Set up a pot of salted water for the pasta and bring to a rolling boil.

Now, to put it all together make the sauce.  In a large nonstick skillet over medium low heat, add the olive oil and red pepper flakes.  Add the mushrooms and shallots, season and stir frequently until they begin to release their liquid.

Add the garlic and parsley then add the white wine.

Allow the wine to reduce for 2 minutes then stir in heavy cream.

Finally add the tomato sauce and the veal meatballs with 2 tsp. butter.  Add the pasta to the boiling water and cook for 3 minutes.  You can add a ladle of the pasta water to the sauce if it appears dry.

Use tongs to carefully remove the pappardelle from the water and add to the sauce.  Add another pat of butter and stir in the parmesan cheese.

Carefully fold everything together until cheese is completely melted.

Transfer to a serving platter and garnish with Italian parsley.


Notes

Gluten free dough can be so temperamental.  It does tend to stick and tear.  For best results keep the dough and the roller lightly dusted with flour as you work.  I was thrilled to get my pasta sheets to setting #4 on my KitchenAid®, this was an ideal thickness for the pappardelle noodles.  Try to get to at least the third setting, and don’t worry if you have a few tears and odd shaped noodles, they will still be delicious!

Gluten Free Vintage Blueberry Cake

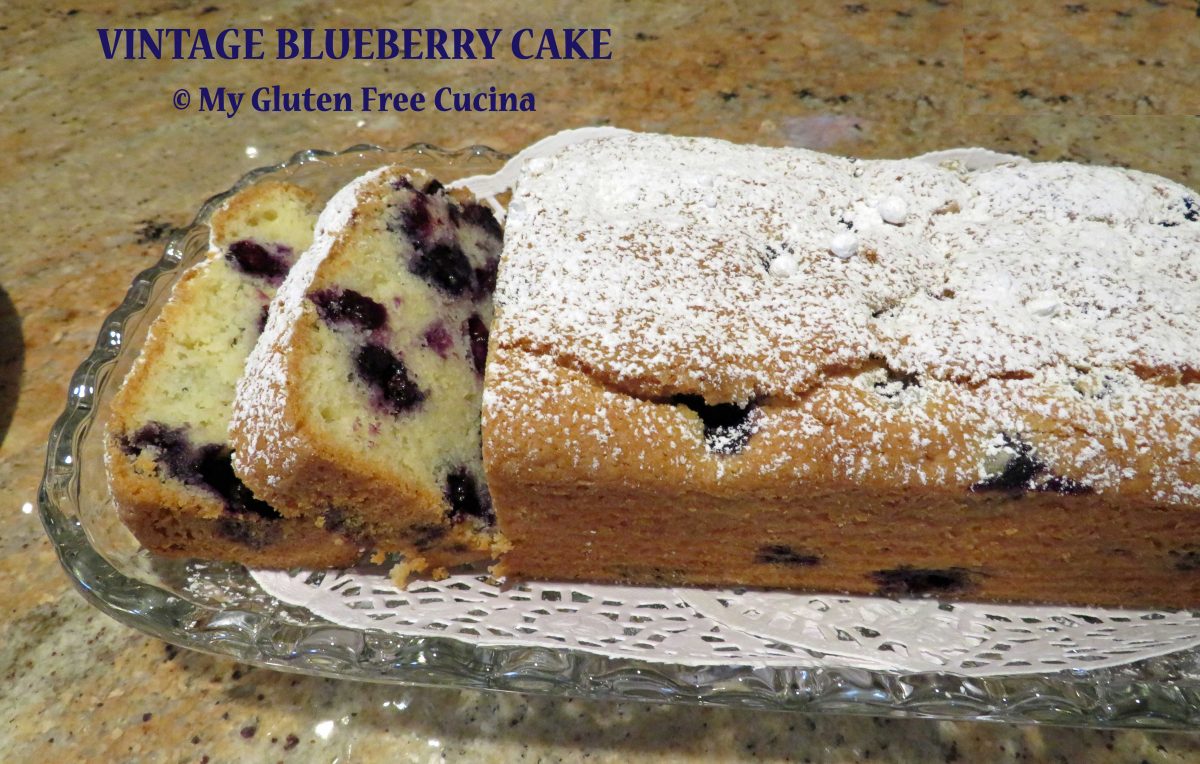
Vintage Blueberry Cake

An Heirloom Recipe Converted to Gluten Free

Some things in life should never be changed, and this heirloom cake is one of them.  An old family recipe passed down from one generation to the next, just a handwritten note tucked away in a recipe box.

My late husband had such fond memories of his mother making this cake and I was fortunate enough to inherit the recipe.  Here it is, written in her own hand.

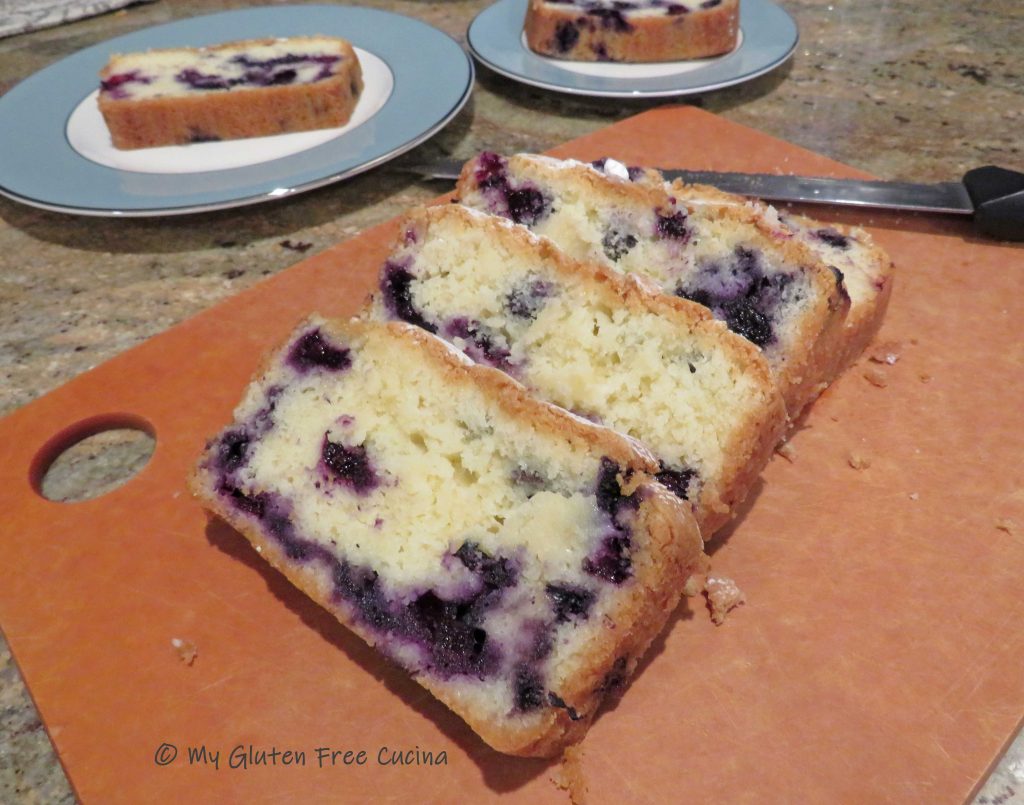
I hadn’t made this cake since my Celiac diagnosis in 2017, and always wondered what would happen if I converted it to gluten free.  Would it taste as good?  The verdict, YES and the results were amazing!
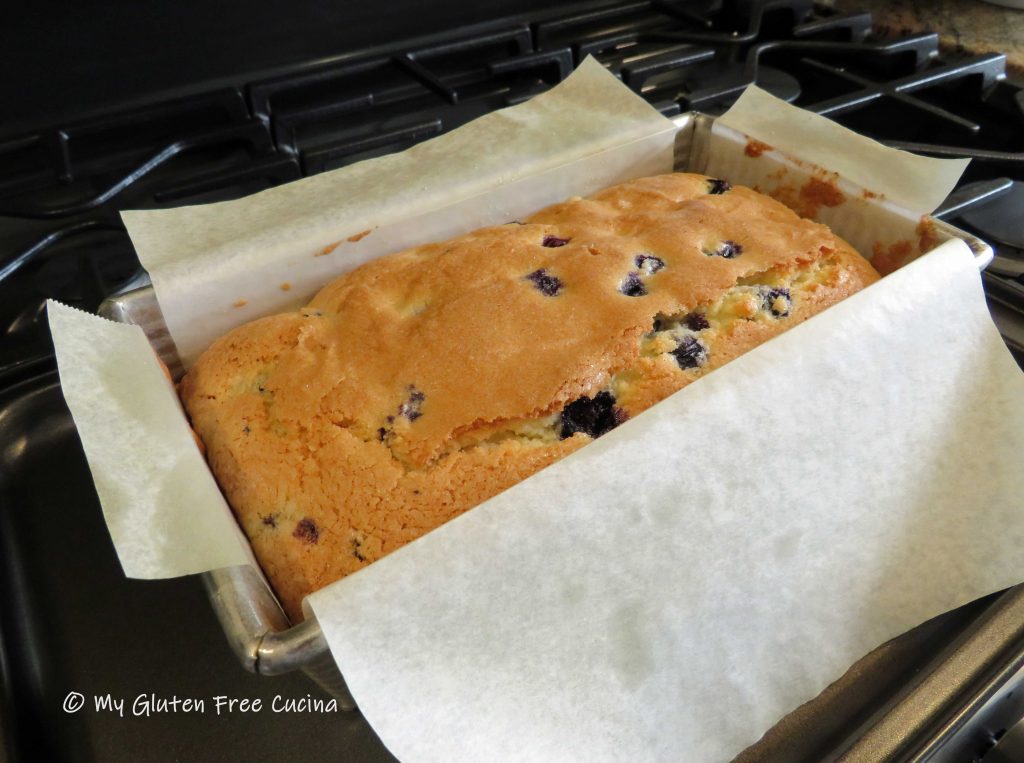
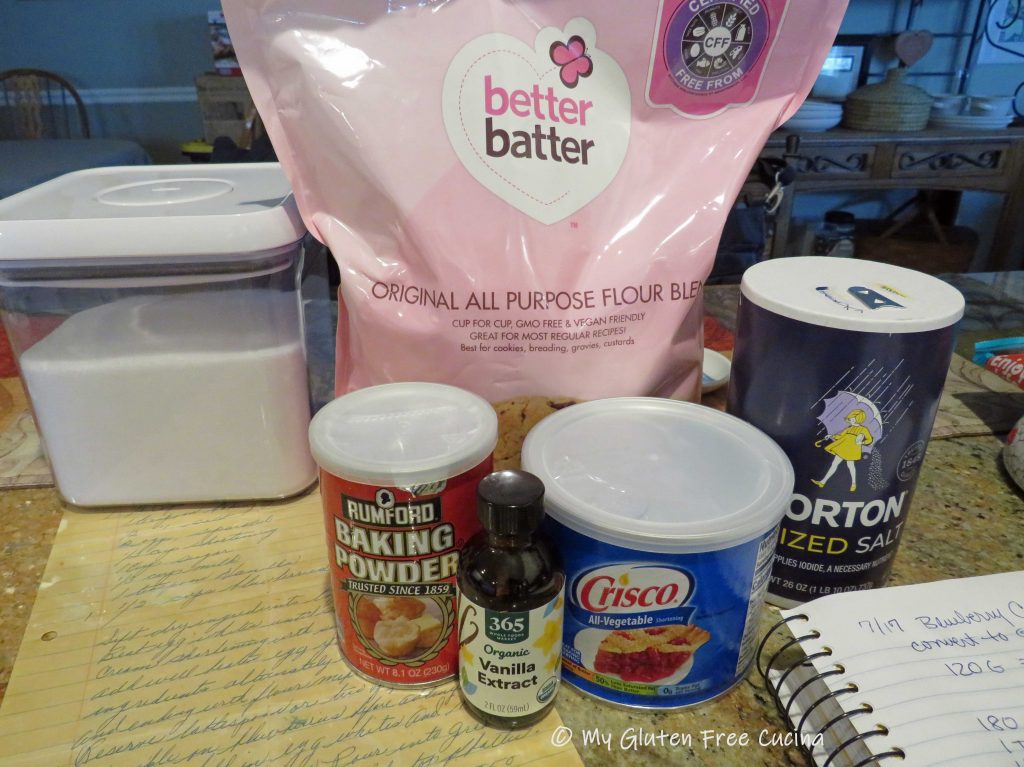
My husband’s mother was born in 1925 and was by all accounts a phenomenal baker.  To honor her recipe, I did not want to make any unnecessary changes to the ingredient list.  The only gluten containing ingredient was the flour.  I substituted Better Batter Original Blend for the all-purpose flour.

Shortening was a common ingredient in vintage cookbooks (and still recommended today for things like pie crust).  So, I checked it out and in case you were wondering- yes, Crisco is gluten free!

When converting old family recipes, one of the dilemmas is that flour was often measured in cups.  How did the author measure 1 cup?  Scoop and level?  Spoon and level?  Pour and shake?  

For this I put my trust in the experts at Better Batter, who recommend a 120g. per cup conversion for their original gluten free flour blend.  My recipe called for 1-1/2 cups flour, and I converted to 180g. of Better Batter.  I’m happy to say, it worked perfectly!

This post contains affiliate links.

***When you shop Better Batter and use my Promo Code MGFC30 at checkout, you will receive 30% off any non-sale item! ***

CLICK HERE to take advantage of this incredible opportunity to try the flour that I call my little miracle in a bag!

Ingredients:

Preparation:

Preheat the oven to 350º.  Wash and dry the blueberries on a clean dishtowel.

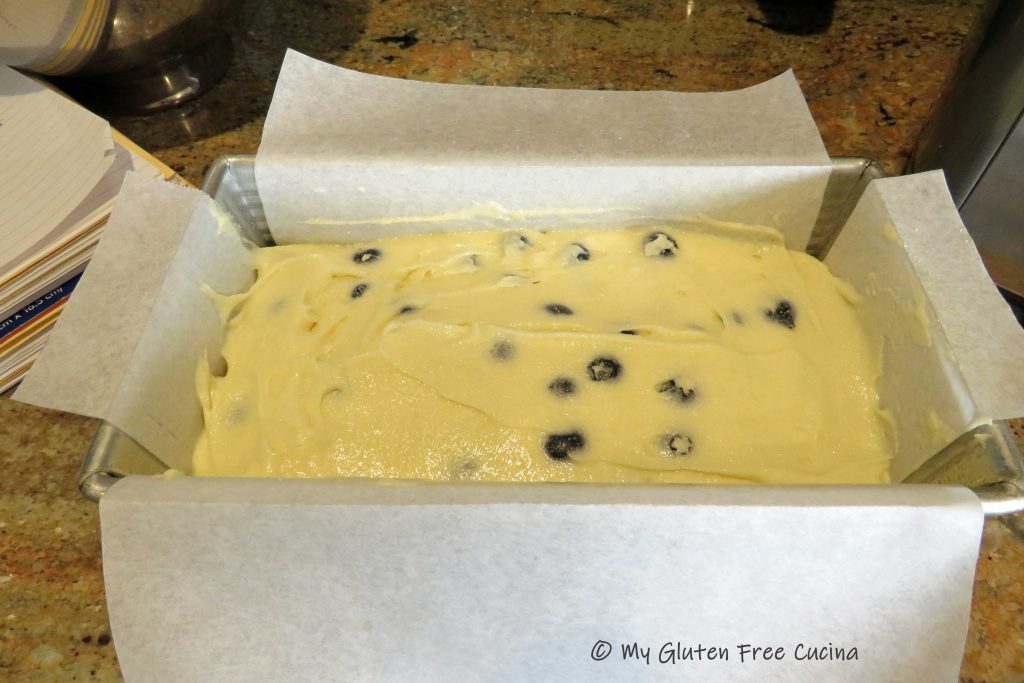
Size matters!  Using the wrong pan will affect the baking time and overall appearance of the final product.  For this recipe you will need a standard 1 lb. loaf pan.  Line the pan with parchment and mist with cooking spray.

Sift the dry ingredients (flour, baking powder and salt) together and set aside.  Separate the eggs (yolks from whites).

In the bowl of a stand mixer with the whisk attachment, beat the egg whites until stiff and set aside.  In a separate bowl, beat the egg yolks with a fork.

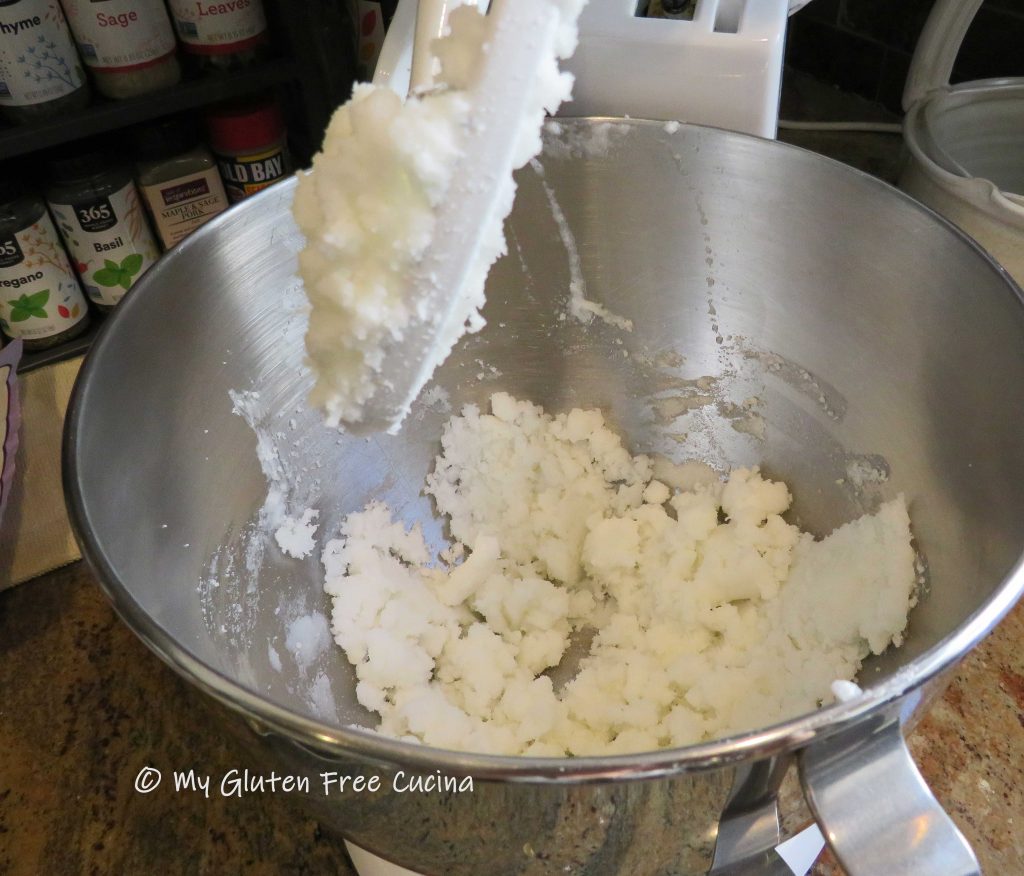
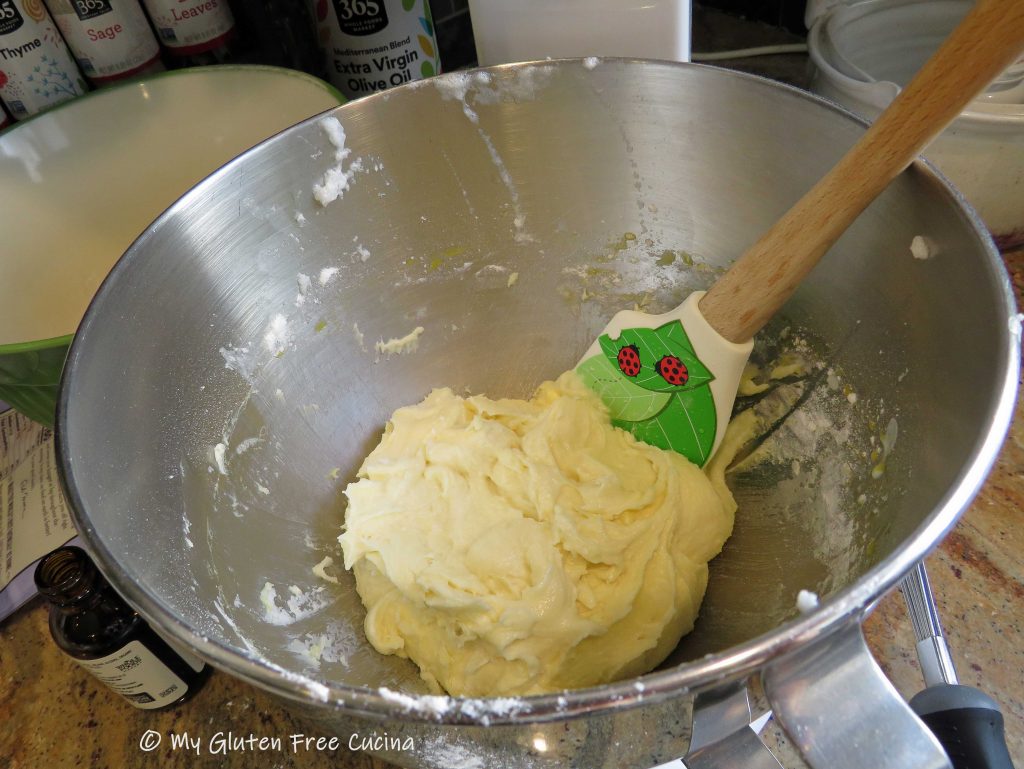
Switch to the paddle attachment.  Cream the shortening with the sugar thoroughly, then add well beaten egg yolks.

With the mixer running, gradually add the dry ingredients alternately with the milk, beginning and ending with flour mixture.

Sprinkle the additional tbsp. of flour on the blueberries before adding to the batter.  This will keep them from sinking to the bottom of the cake as it bakes.

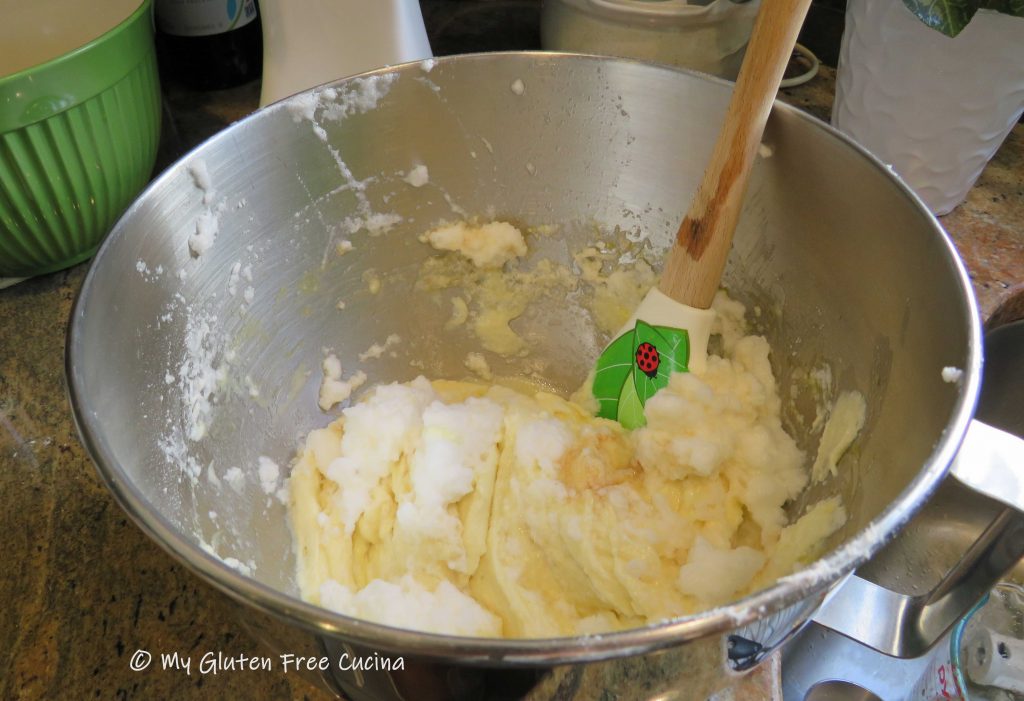
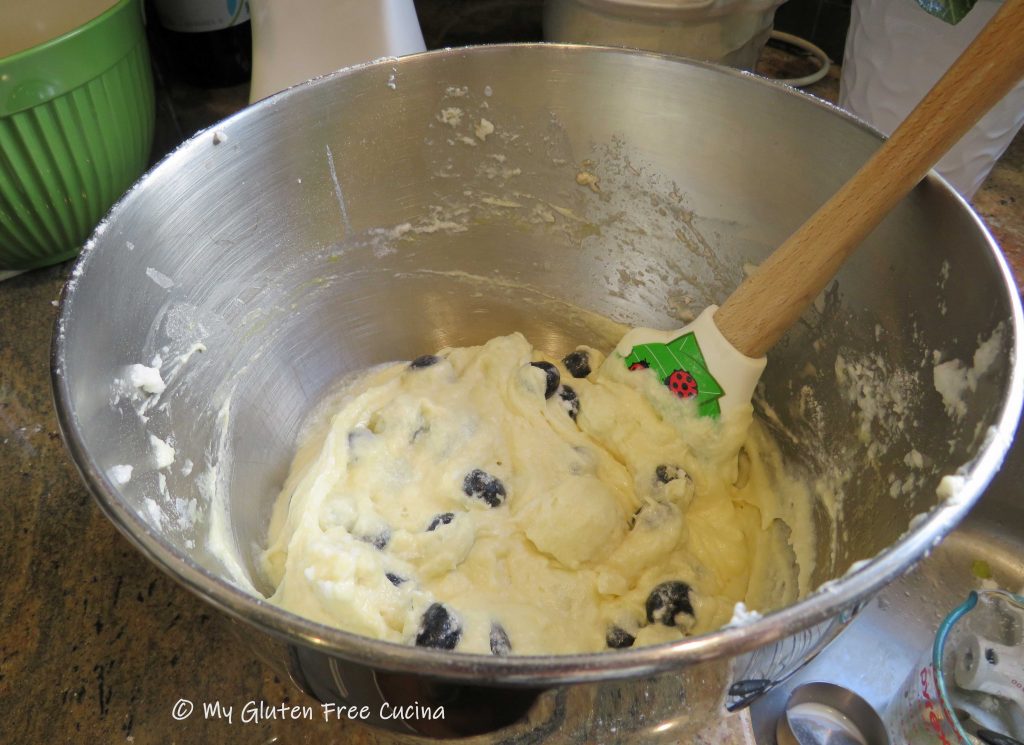
Fold the egg whites and vanilla into the batter, then fold in the floured blueberries.

Spread the batter evenly in the prepared baking pan.  Sprinkle the top of the batter with sugar.

Bake at 350° for 55 minutes, then turn the oven off and leave the cake in for 5 minutes longer.  Cool 10 minutes in the pan.

Grasp the parchment on either side and gently lift the cake onto a cooling rack.  Wait a few minutes then carefully peel away the parchment.

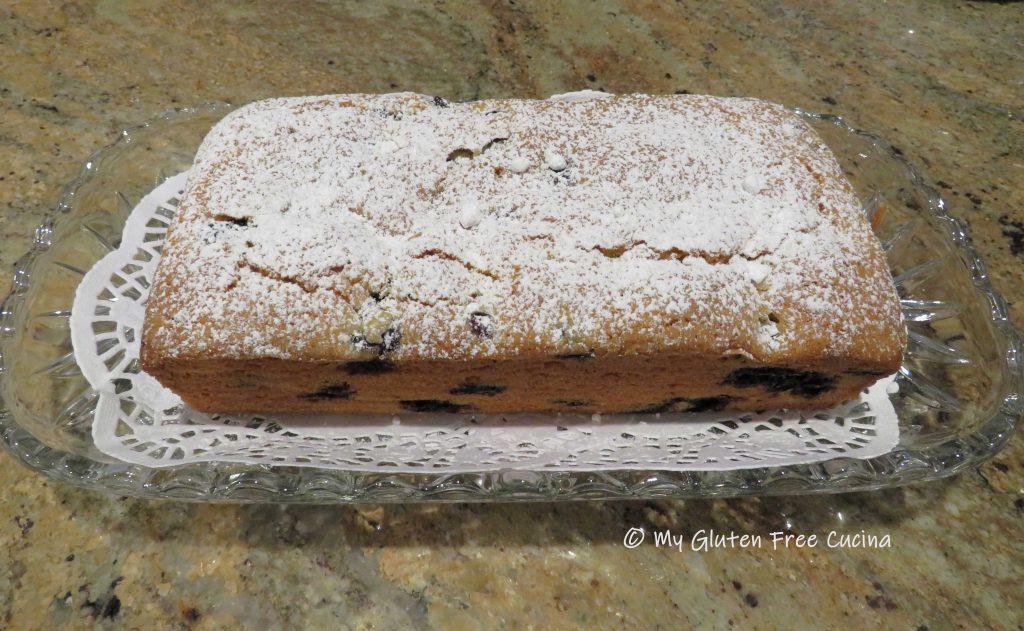
Let the cake cool to room temperature before serving.  Although this cake needs no further adornment, I like to dust the top with powdered sugar.

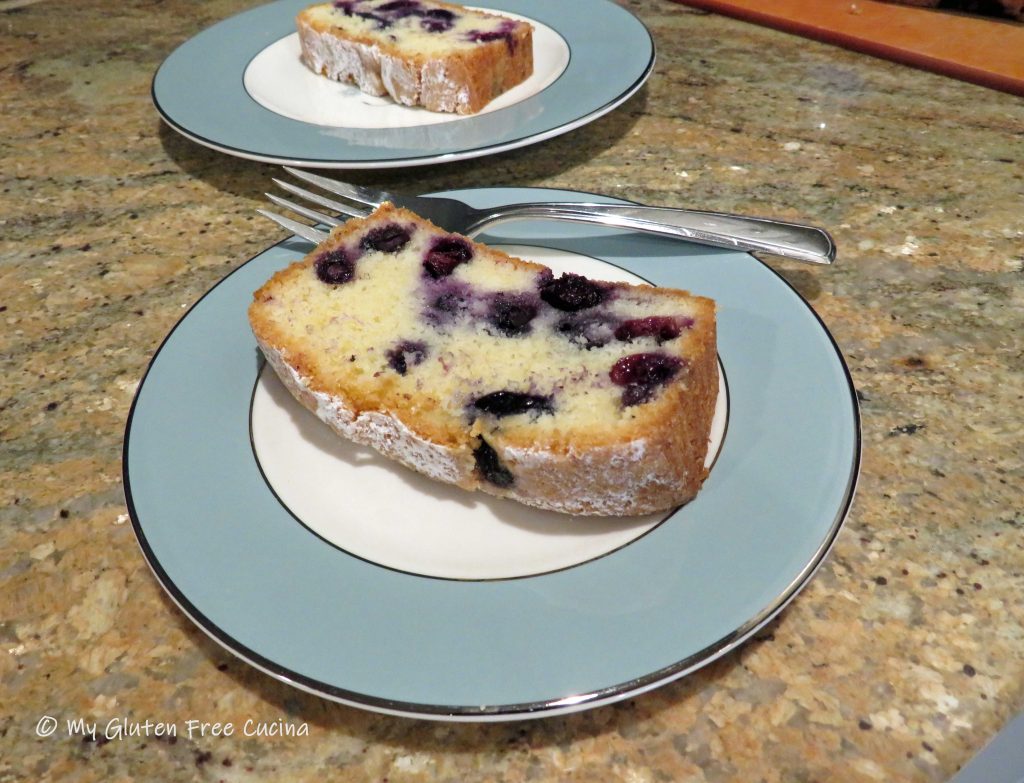
This cake is so simple, but the flavor and texture are rich and indulgent.  I think I did justice to the original recipe!  My husband always loved this cake and said he could not tell it was gluten free.

Notes: ♪♫ For best results, use fresh blueberries.  The baking time in the original recipe is 40 minutes, but I have found that it requires closer to an hour.  Check with a toothpick, and if the cake is still a tiny bit moist in the middle you can turn off the oven and leave it in 5 minutes longer.  The cake will continue to set as it cools in the pan.

[print_link]

Individual Gluten Free Apple Crisp

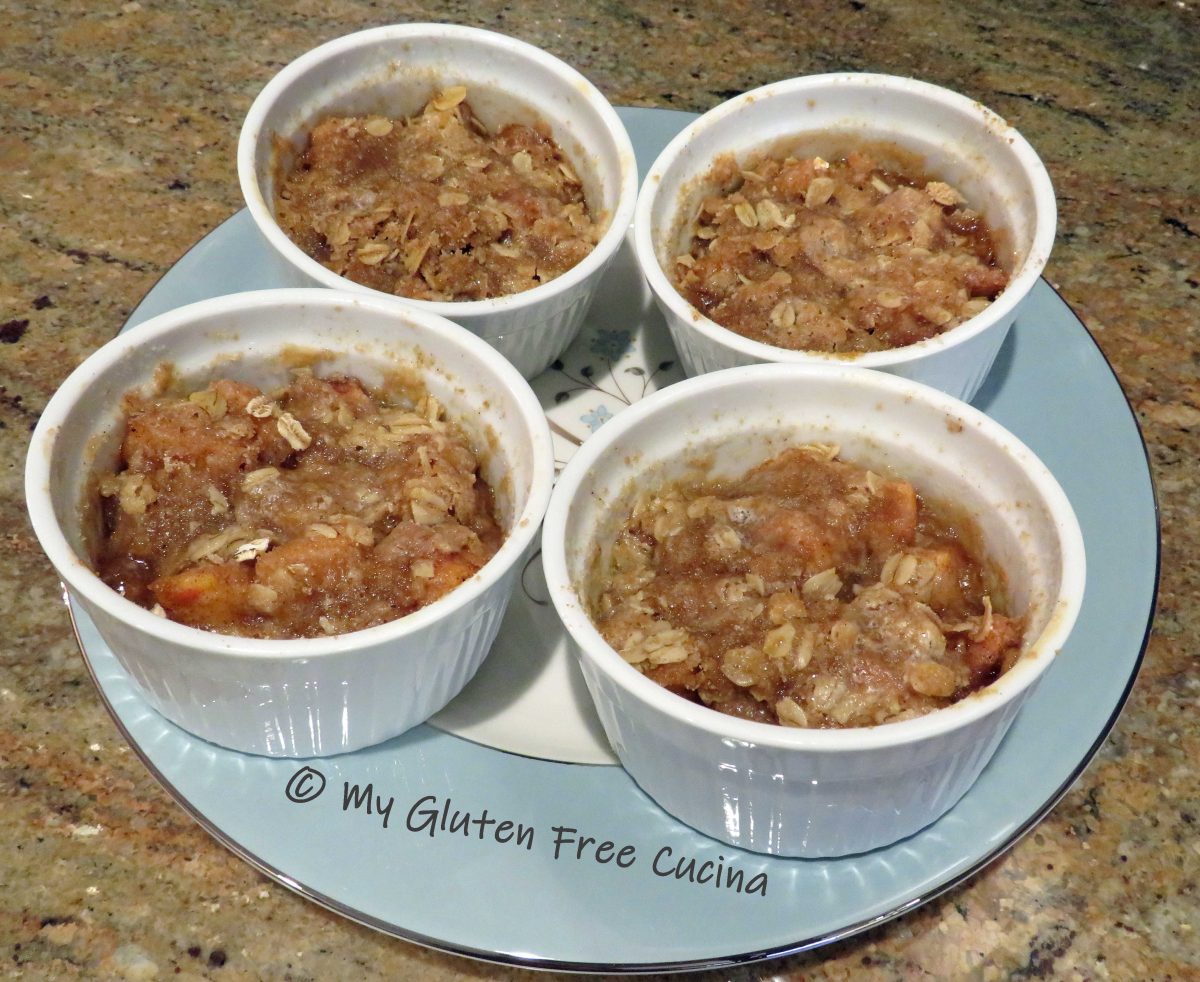
There are times when you just want an individual size dessert.  These single serving Apple Crisps are gluten free and easy to prepare with just a few ingredients.  Perfect for portion control, small gatherings or when you don’t want to have leftovers to tempt you.  Quite possibly the easiest dessert I have ever prepared!  Baked and served in ramekins for a nice presentation.

4 Servings (you will need 1 apple 🍎 for every 2 servings)

This post contains affiliate links.

Ingredients:

Filling: 

  • 4 tsp. unsalted butter
  • 2 medium apples (I used Honeycrisp)
  • 1 tbsp. lemon juice
  • 2 tbsp. white sugar
  • 2 tbsp. brown sugar
  • 1 tbsp. cornstarch
  • 1/2 tsp. cinnamon
  • 1/4 tsp. nutmeg

Topping:

Use my Promo Code MGFC30 for 30% off your non-sale purchase at Better Batter!

Preparation:

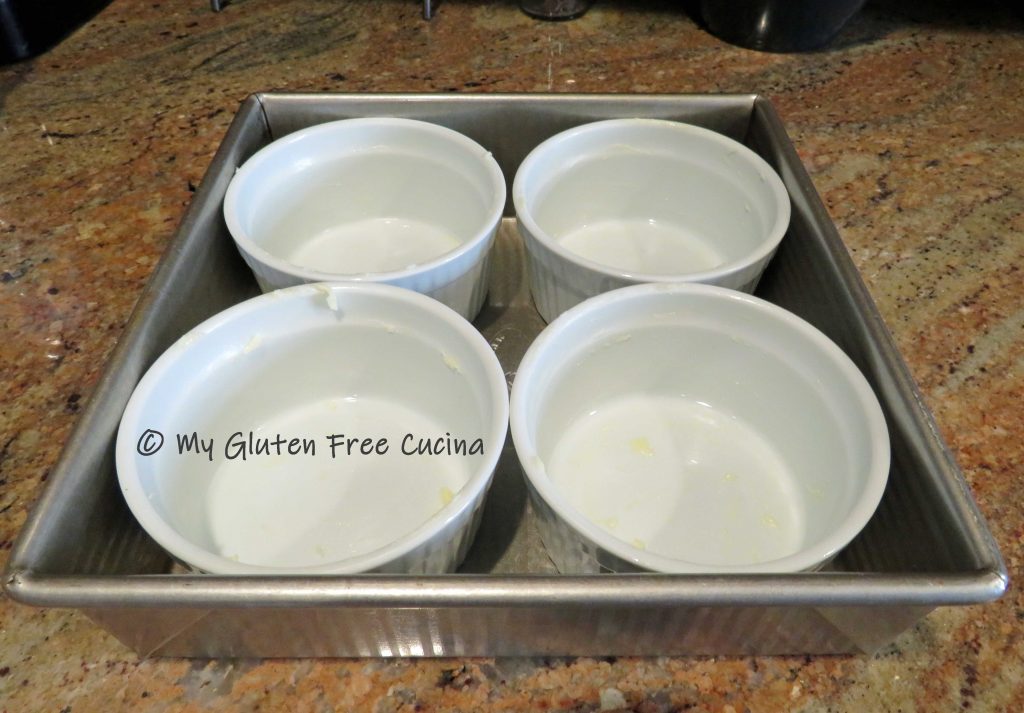
Prepare the ramekins by rubbing each with 1 tsp. softened butter.  I set mine up in a square baking pan, to make it easier getting them in and out of the oven.

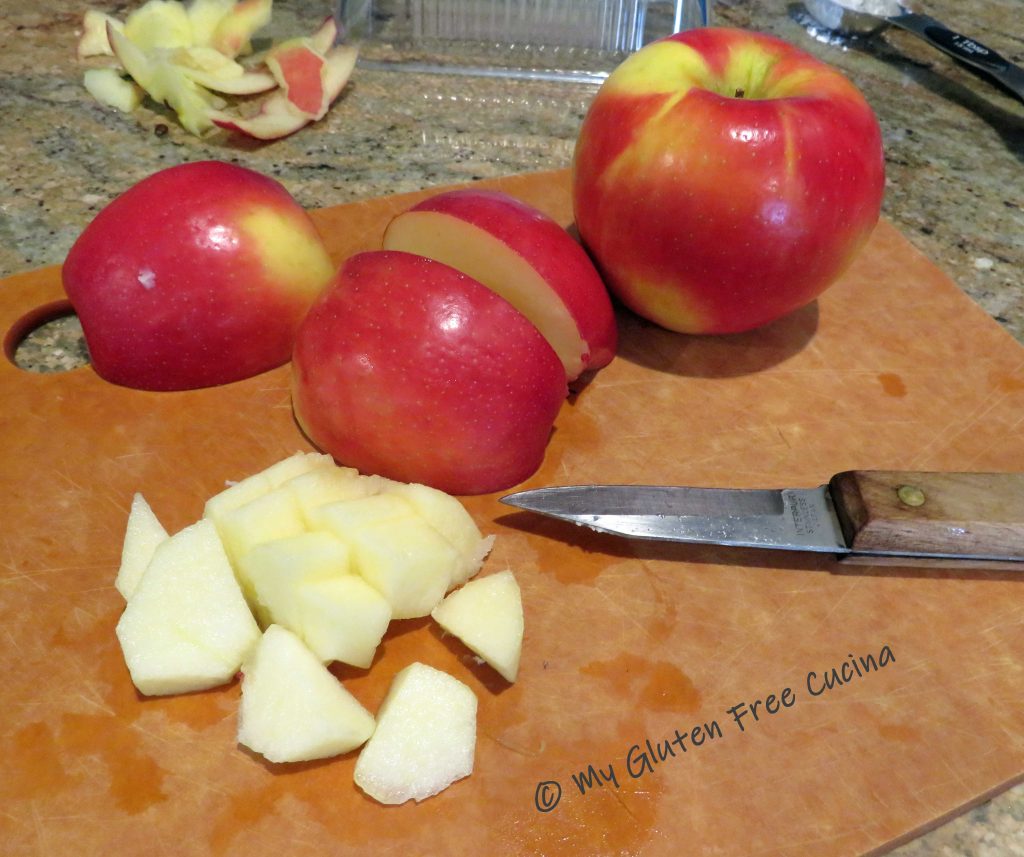
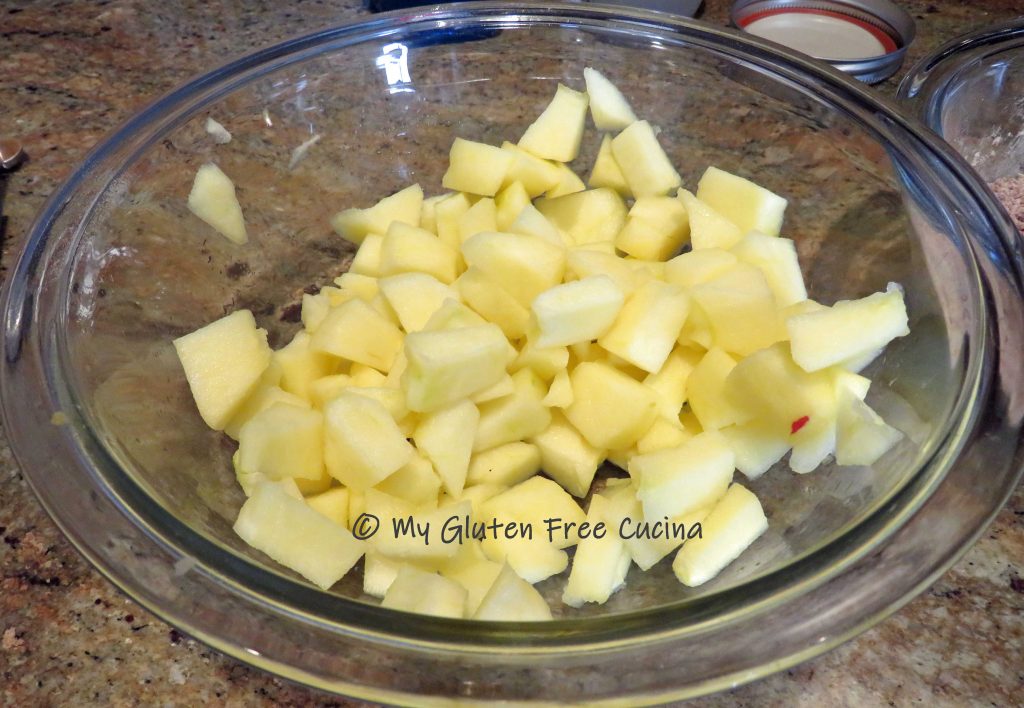
Peel the apples and cut into small dice, then toss with lemon juice (to prevent browning).

Whisk together the filling ingredients.

Toss the apples with the filling mixture.
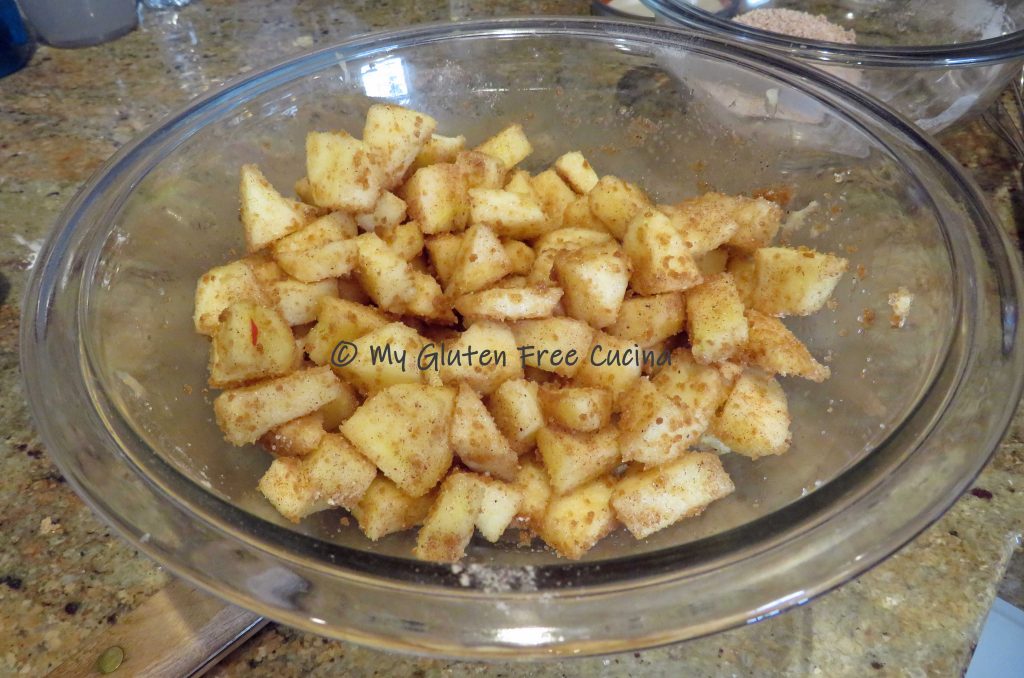
Fill the ramekins and refrigerate while you make the topping.

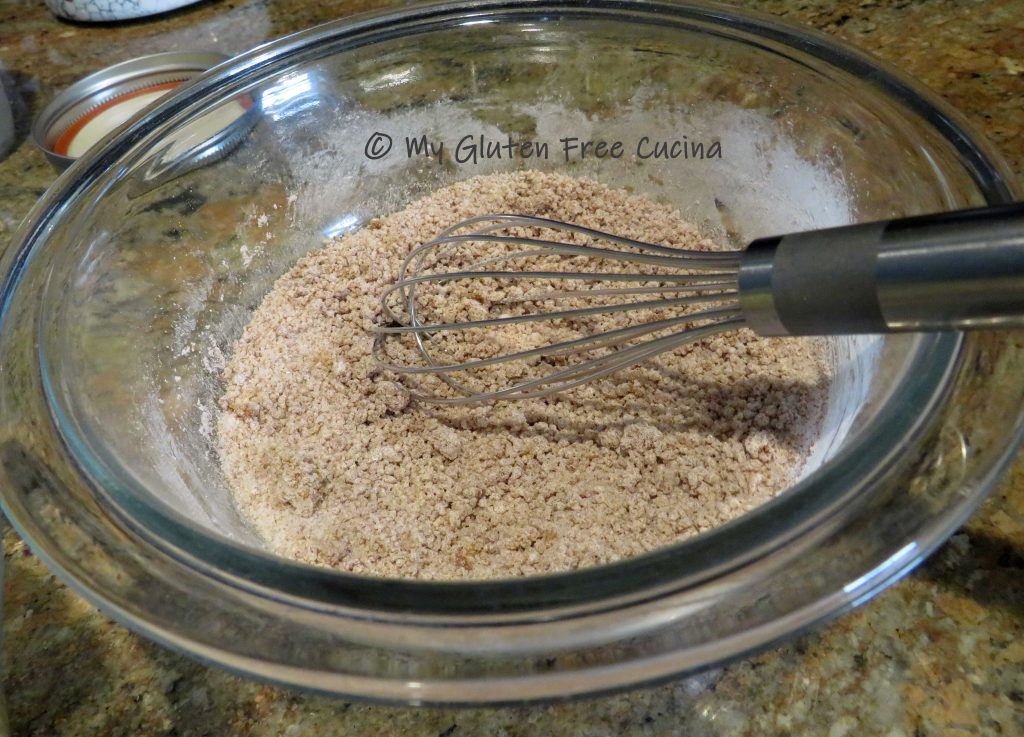
Whisk together the topping ingredients and use a pastry cutter (or knife and fork, or your fingers) to incorporate the butter.

The butter should be broken down into small, pea sized pieces.

Spread the topping mixture over each ramekin.

Place the ramekins in a baking dish for easier handling.  Bake at 375º for 25 minutes.  The filling will be bubbling up on the sides.  Let them cool slightly before serving.  For a little something extra, serve with a scoop of ice cream or frozen yogurt!

Notes ♪♫ Whether or not you continue to consume oats is a personal choice. 

Look for the gluten free label when shopping for grains, even those (like oats) that are naturally gluten free because of potential cross contact during farming, harvesting, transport and production.  If you have Celiac disease, always look for purity protocol oats (dedicated gluten free fields, mill, and production line).  If you are among the small percentage who cannot consume oats in any form, substitute almond flour in this recipe.

Print
clock clock iconcutlery cutlery iconflag flag iconfolder folder iconinstagram instagram iconpinterest pinterest iconfacebook facebook iconprint print iconsquares squares iconheart heart iconheart solid heart solid icon

Individual Gluten Free Apple Crisp

5 Stars 4 Stars 3 Stars 2 Stars 1 Star No reviews
  • Author: © My Gluten Free Cucina
  • Category: Dessert
  • Method: Baking
  • Diet: Gluten-Free

Description

These single serving Apple Crisps are gluten free and easy to prepare with just a few ingredients.


Ingredients

Units Scale
  • 4 tsp. unsalted butter
  • 2 medium apples (I used Honeycrisp)
  • 1 tbsp. lemon juice
  • 2 tbsp. white sugar
  • 2 tbsp. brown sugar
  • 1 tbsp. cornstarch
  • 1/2 tsp. cinnamon
  • 1/4 tsp. nutmeg
Topping:

Instructions

Prepare the ramekins by rubbing each with 1 tsp. softened butter.  I set mine up in a square baking pan, to make it easier getting them in and out of the oven.

Peel the apples and cut into small dice, then toss with lemon juice (to prevent browning).

Whisk together the filling ingredients.

Toss the apples with the filling mixture.

Fill the ramekins and refrigerate while you make the topping.

Whisk together the topping ingredients and use a pastry cutter (or knife and fork, or your fingers) to incorporate the butter.

The butter should be broken down into small, pea sized pieces.

Spread the topping mixture over each ramekin.
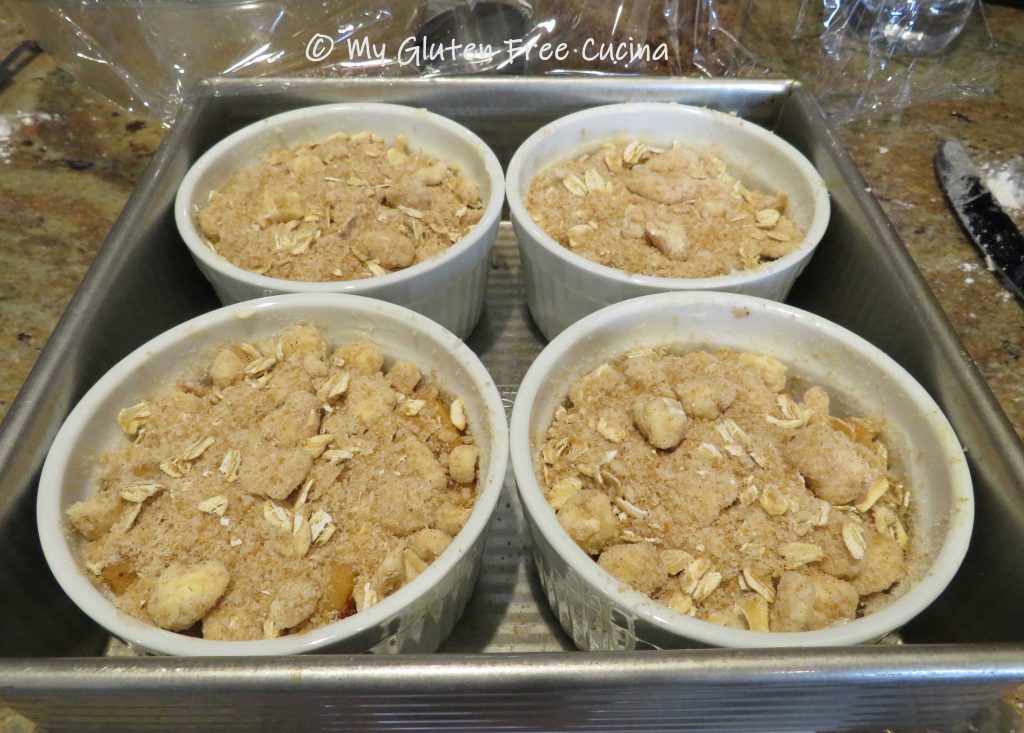
Place the ramekins in a baking dish for easier handling.  Bake at 375º for 25 minutes.  The filling will be bubbling up on the sides.

Let them cool slightly before serving.


Notes

Look for the gluten free label when shopping for grains, even those (like oats) that are naturally gluten free because of potential cross contact during farming, harvesting, transport and production.  If you have Celiac disease, always look for purity protocol oats (dedicated gluten free fields, mill, and production line).  If you are among the small percentage who cannot consume oats in any form, substitute almond flour in this recipe.


© My Gluten Free Cucina * All Rights Reserved

Unauthorized use and/or duplication of this material without express and written permission from this blog’s author and/or owner is strictly prohibited.

Better Batter Collaborator

When you shop Better Batter | Gluten Free Flour, use my Promo Code MGFC30 for 30% off your non-sale purchase!