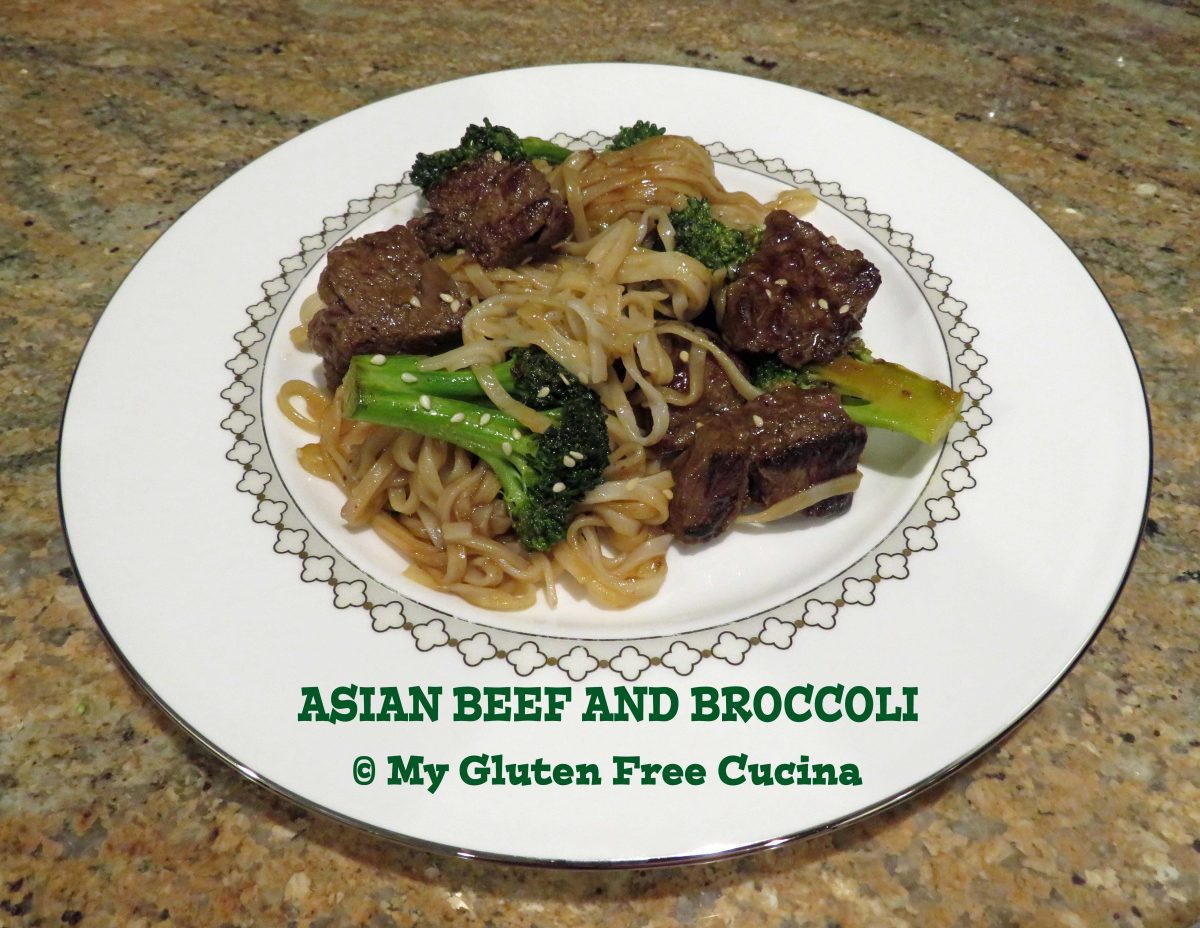
Gluten Free Asian Beef and Broccoli

Asian Beef and Broccoli is a restaurant favorite that can be made right at home with just a handful of ingredients.  Adapting the recipe to be gluten free was easy, so why haven’t I made it in a while?  The short answer, sodium.

These days I try to make meals that are not only gluten free, but also lower in salt.  That means some of my Asian inspired meals have gone on the back burner because they are made with a salt bomb of condiments!  With that in mind, I am on a mission this year to makeover some of my favorite gluten free recipes and this meal was definitely a success.

Would you believe my original recipe used 1/4 cup of gluten free soy sauce and 1/4 cup of hoisin sauce?  Whew, that’s a lot of sodium!

This post contains affiliate links.

In this recipe remake, I’m using Coconut Aminos, a pantry staple in my kitchen that is much lower in sodium than gluten free soy sauce or tamari.  I have substituted Coconut Aminos in many of my recipes that call for soy sauce.  And a little Hoisin Sauce goes a long way, I cut the original 1/4 cup down to 2 tbsp. and it was still delicious.

4 Servings

Ingredients:

  • 1 lb. sirloin tips or petite sirloin (top sirloin), cubed
  • 1 tbsp. coconut aminos
  • 1 tsp. dark brown sugar
  • 3 garlic cloves, sliced thin
  • 1-1/2 tsp. sesame oil, divided
  • 2 tbsp. olive oil, divided
  • 1/4 tsp. powdered ginger
  • 2 tsp. fresh chives
  • pinch red pepper flakes
  • 1 large broccoli crown (about 2 cups)
  • 2 tbsp. gluten free Hoisin sauce
  • 1 tsp. sesame seeds, toasted
  • rice or gluten free rice noodles for serving

Preparation:

Once you start cooking this dish comes together very quickly, so measure and prep all of the ingredients ahead of time.

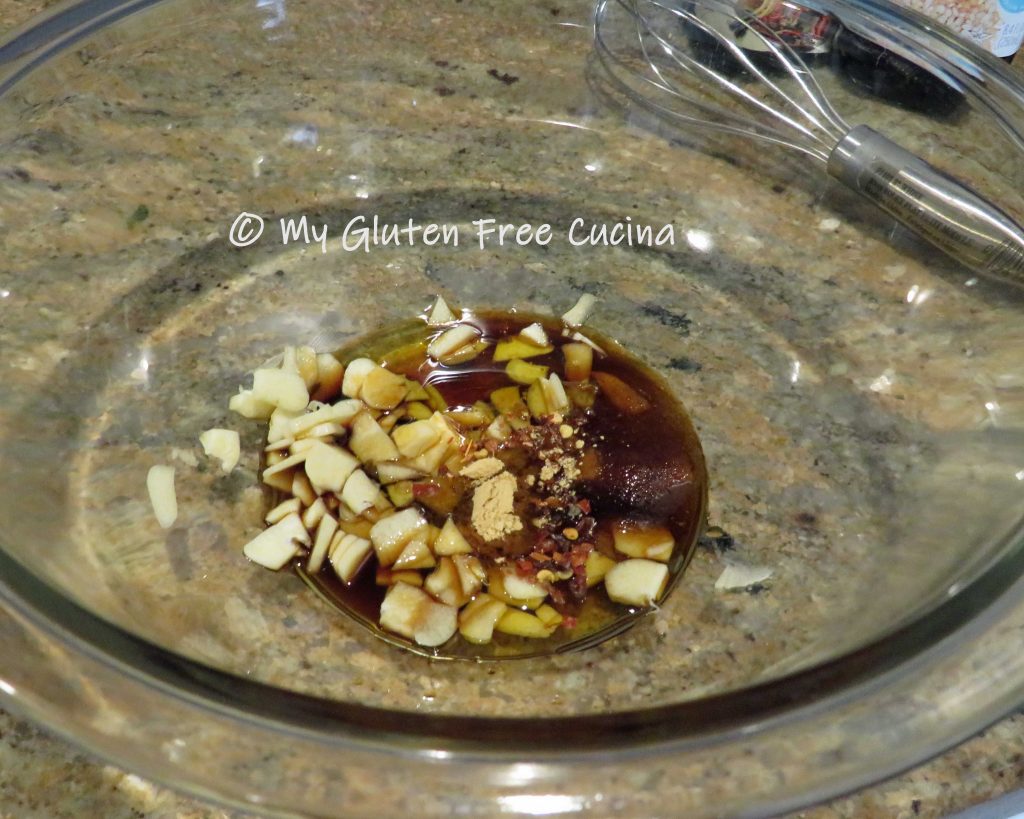
For the marinade, whisk together 1 tbsp. coconut aminos, 1 tsp. brown sugar, the garlic slices, 1 tbsp. of olive oil, 1/2 tsp. of sesame oil, 1/4 tsp. powdered ginger, chives and pinch of red pepper flakes.

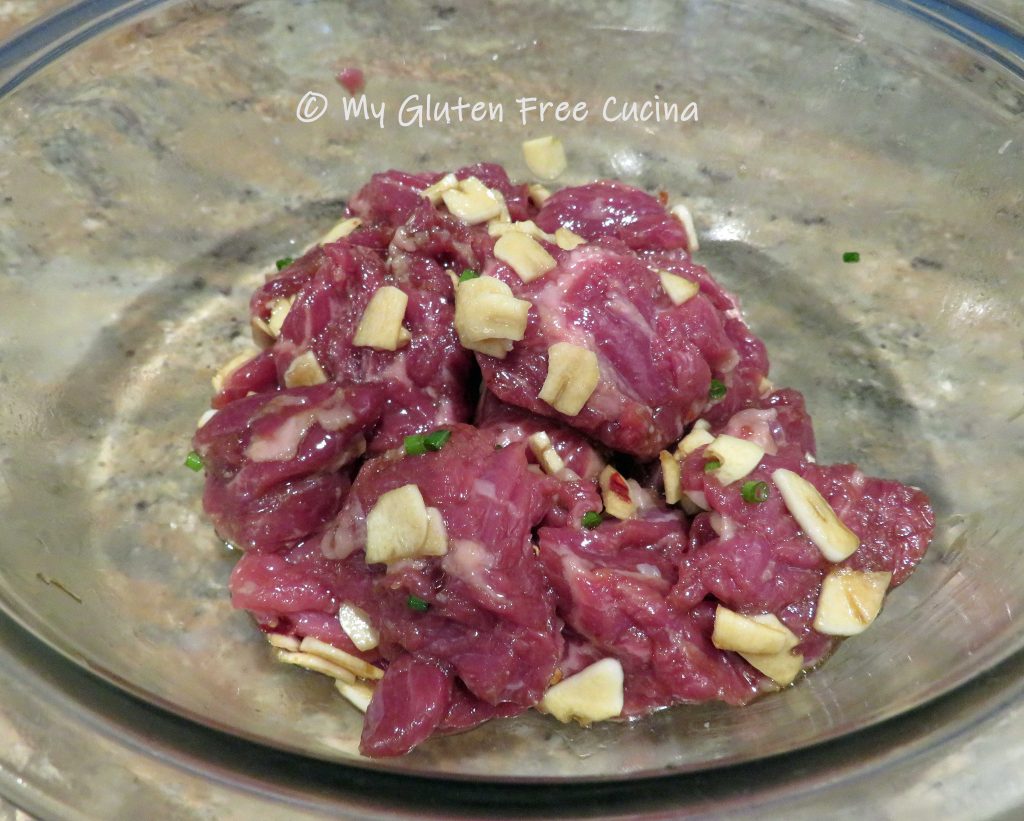
Cut the sirloin (uncooked) into 1″ cubes and add to the marinade.  Cover and let it stand at room temperature for 30 minutes.

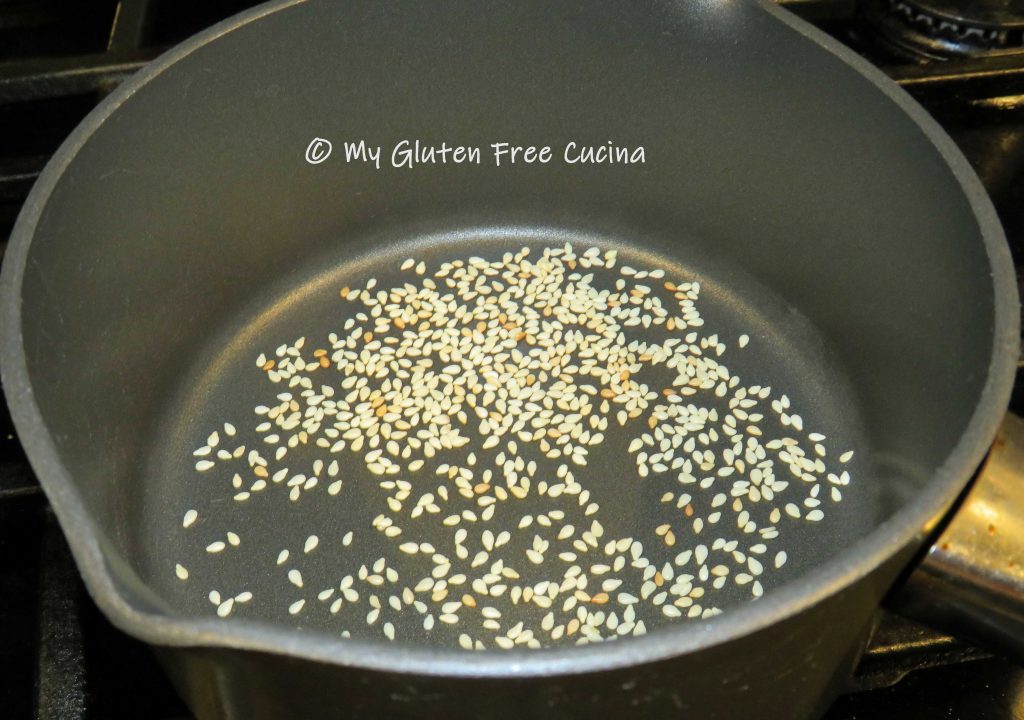
Toast the sesame seeds in a dry skillet, watching closely that they don’t burn.  Set aside for garnish.

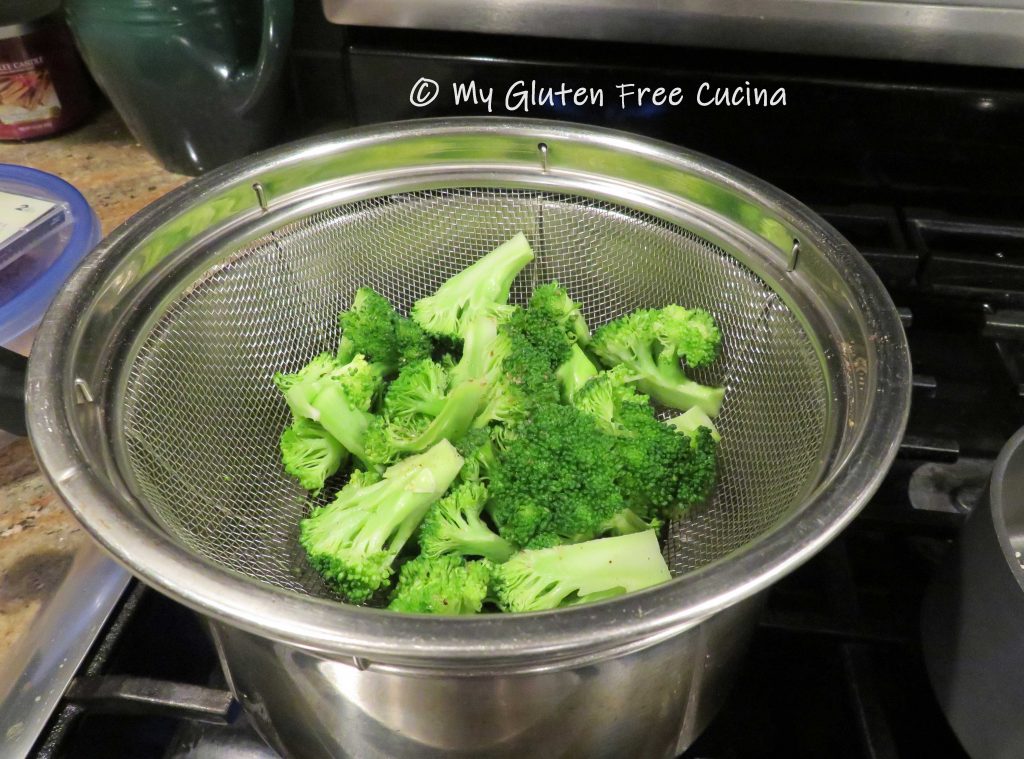
Next, cut the broccoli into uniform pieces.  Steam 5 minutes.  Remove the steamer basket from the heat and set aside while you finish the dish.

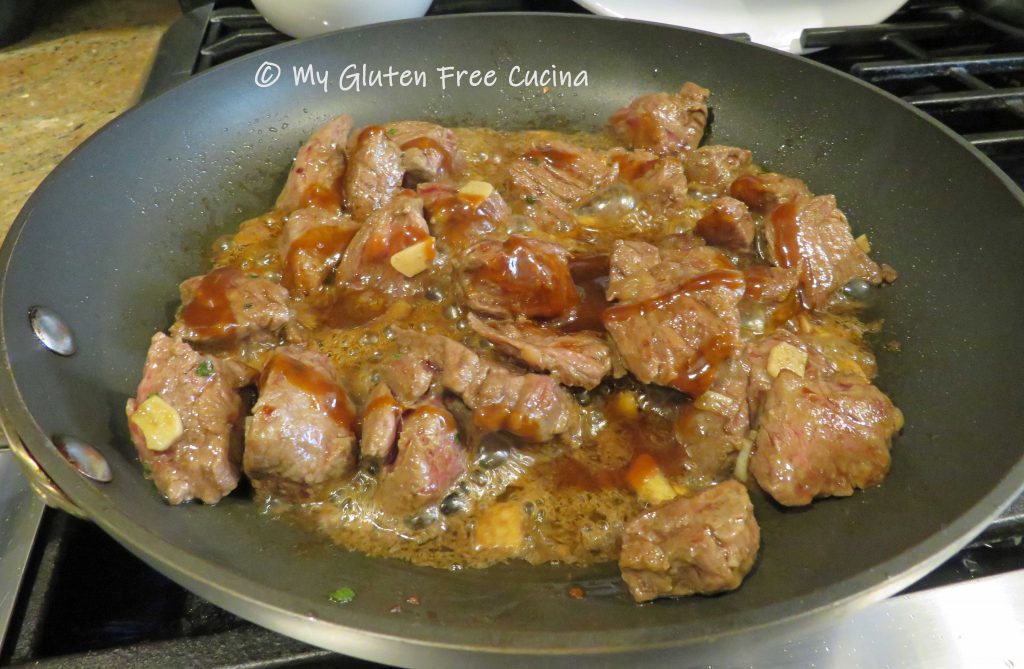
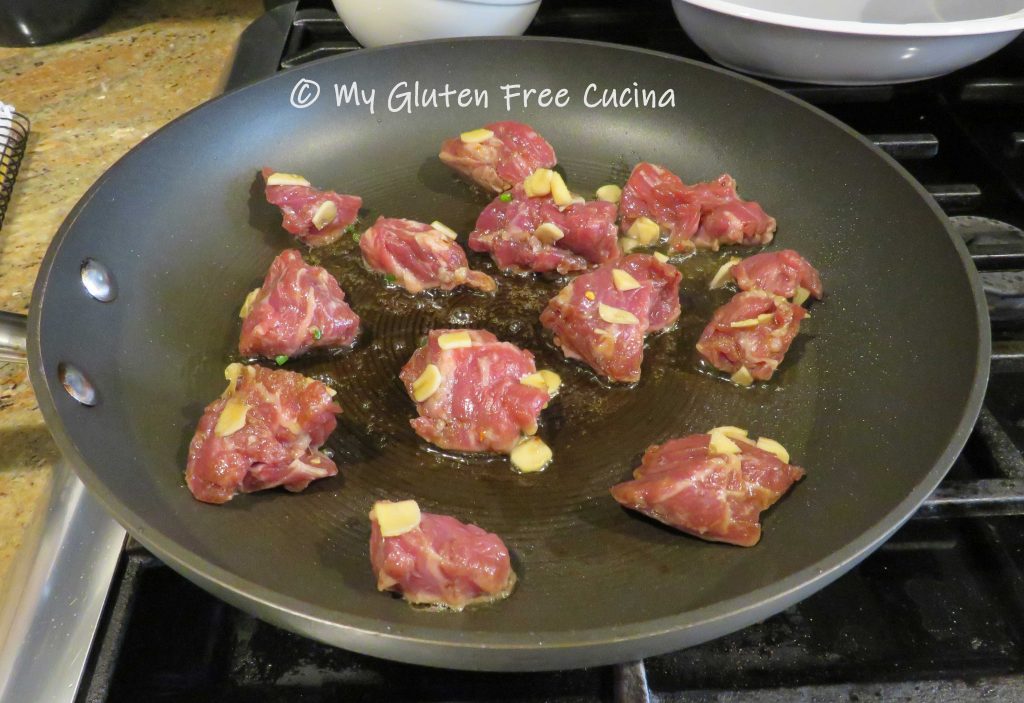
Add the remaining tbsp. olive oil and 1 tsp. sesame oil to the skillet and begin browning the beef.  Don’t crowd the pan, do it in 2 batches if needed.  Discard any marinade left in the bowl.

Stir in 2 tbsp. hoisin sauce.

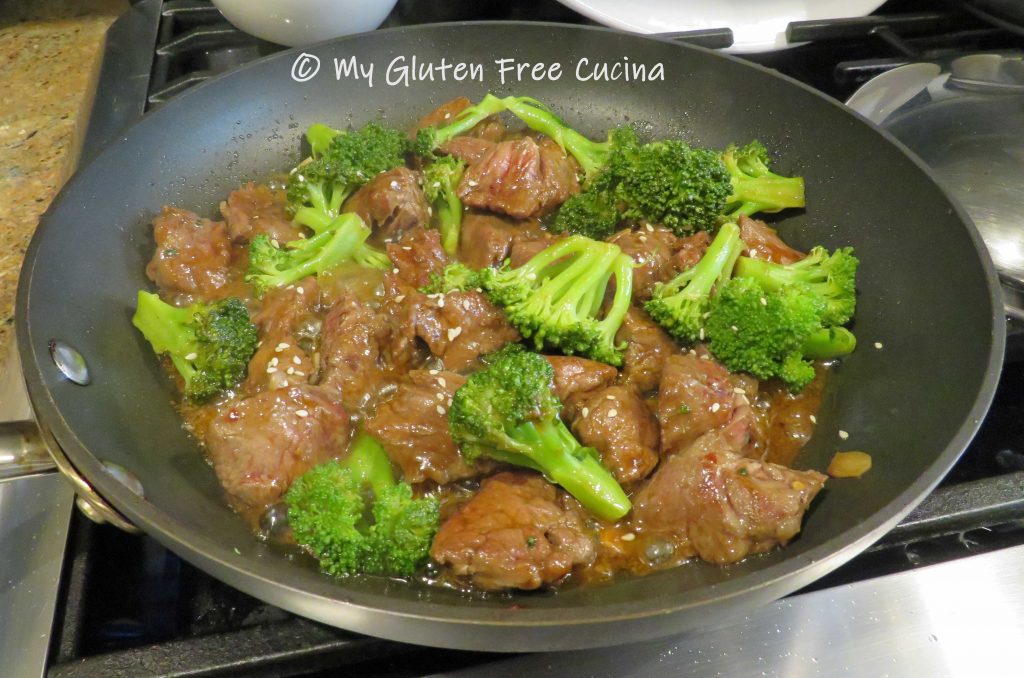
Finally, add the broccoli to the skillet and toss with the beef.

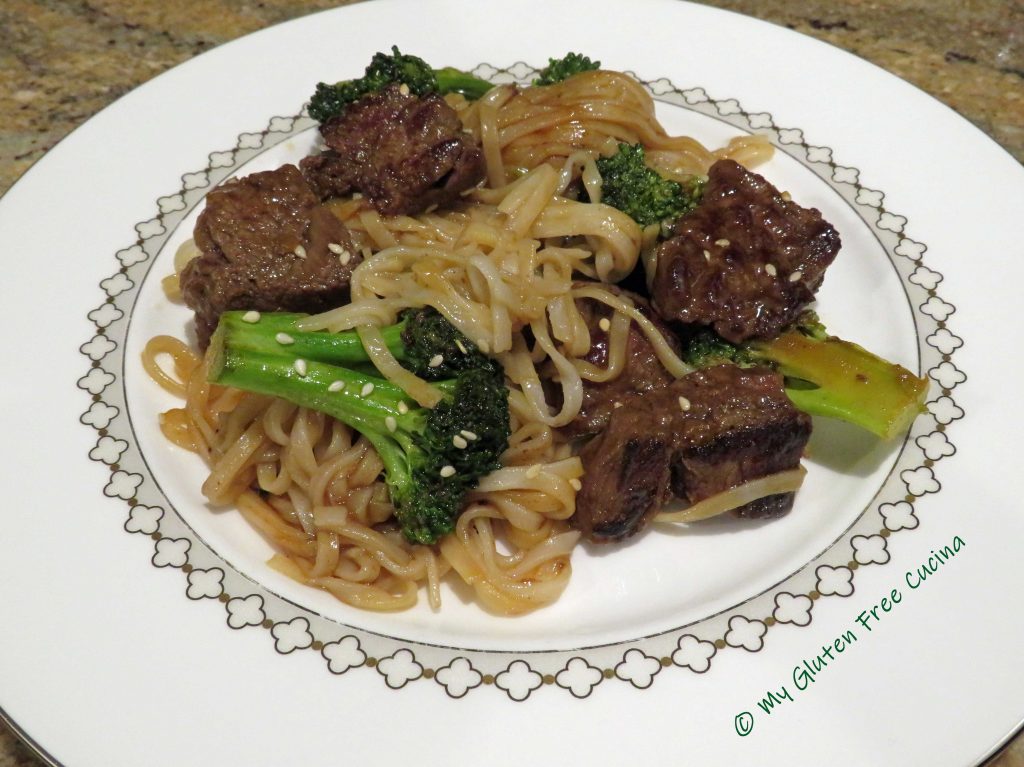
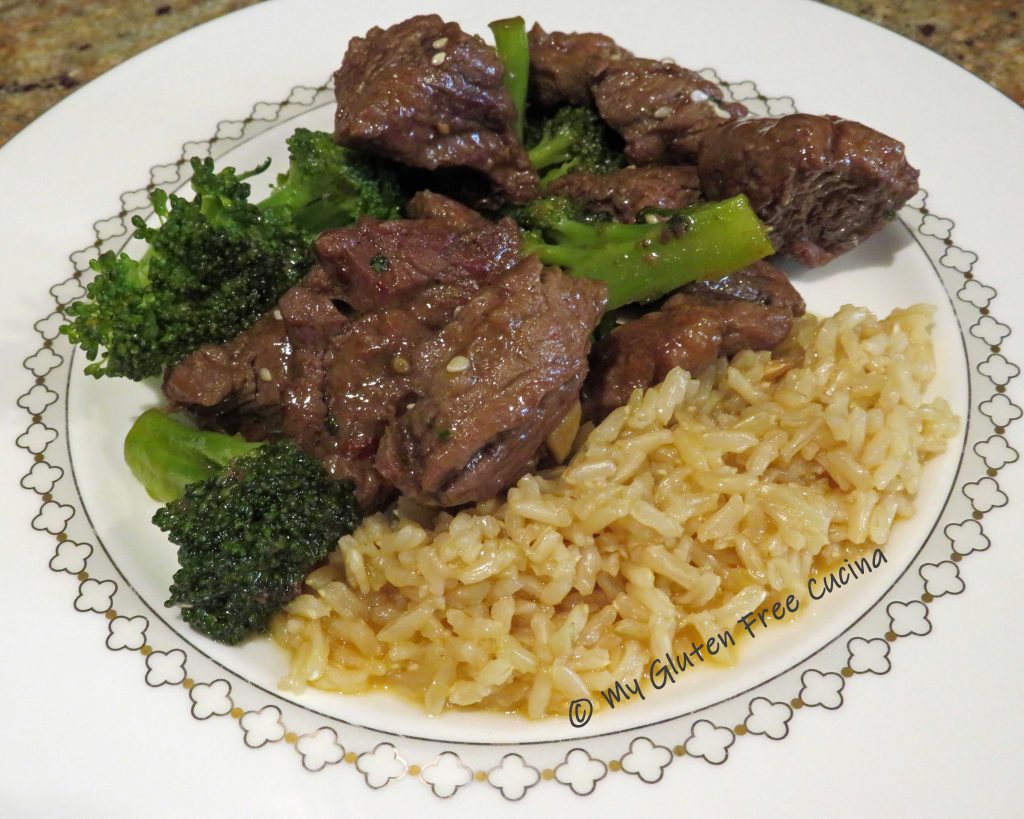
Let it cook for another minute or so, then transfer to a platter.  Garnish with toasted sesame seeds and either toss with rice noodles or serve with rice.

Here I served with Annie Chun’s Pad Thai rice noodles.

Shown here, served with rice.

So, were you thinking of ordering takeout?  Try this instead, you will love it!

Notes ♪♫ Coconut Aminos contain about 1/10th the sodium of gluten free soy sauce.  If you aren’t worried about sodium, try a gluten free soy sauce or tamari.  I like San-J Tamari, which also comes in a lower sodium version that is completely gluten free.

Print This Post Print This Post

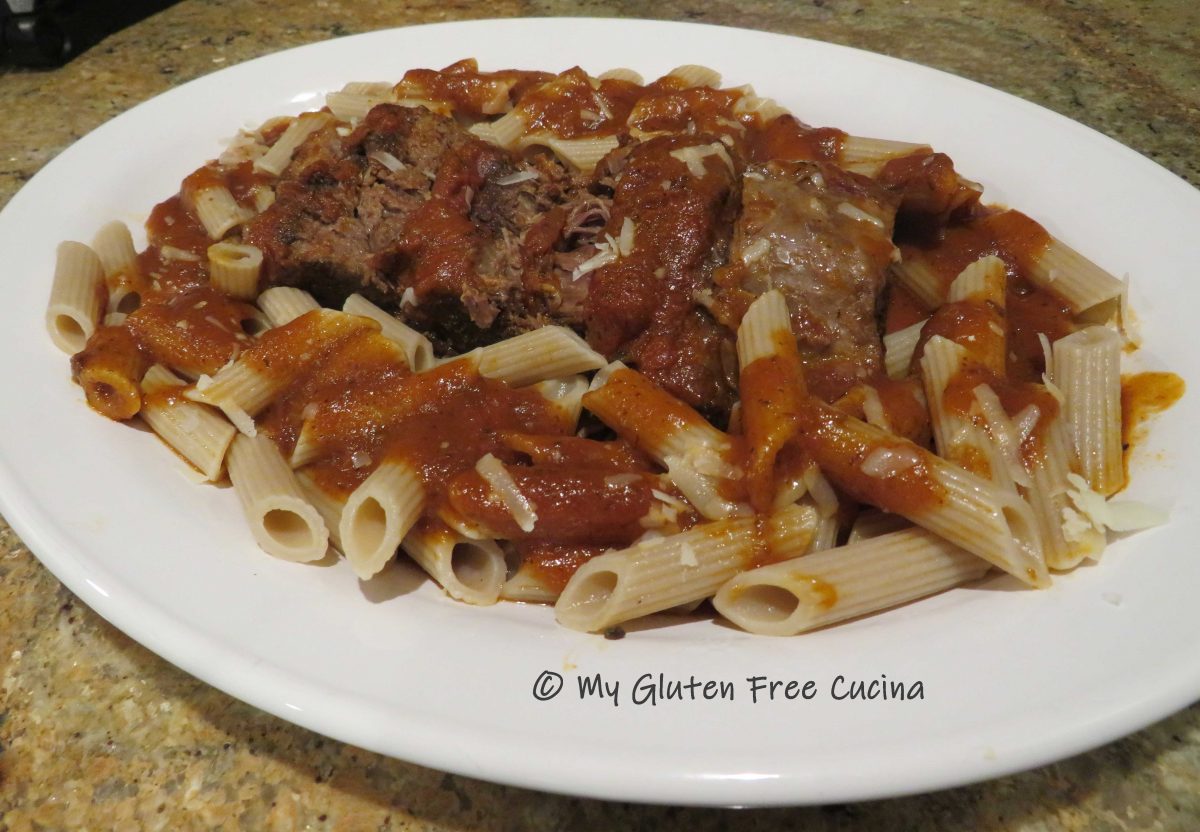
Italian Pot Roast

When I was growing up in the 1960’s, Sunday morning in our Italian neighborhood was all about making the sauce.  I can still see my Mom’s Farberware Stockpot simmering on the stove, filled to the rim.

She often cooked a pot roast right in the sauce, as it was so easy to do and the resulting meal was delicious.  The aromas filled our home and beyond, in fact it seemed every kitchen in the neighborhood was busy preparing their own Italian Sunday Dinner.

This post contains affiliate links.

I always think of my mom when I make this recipe, but instead of stovetop I prefer using my crock-pot, which makes it virtually hands off while you go about your busy day.  The roast can be cooked on the weekend and reheated during the week, for an easy meal when you get home from work.  Chuck roast is an economical cut of beef and after nine hours in the crock-pot the meat will be melt in your mouth tender!

Ingredients:

  • 2-4 lb. chuck roast, allow 1/2 lb. per serving
  • 4 garlic cloves cut into slivers
  • 1/2 sweet onion, diced
  • cooking spray
  • olive oil
  • 1/2 cup red wine
  • 1 large can (28 oz.) tomato sauce
  • 3 tbsp. tomato paste
  • 1-1/2 tsp. basil
  • 1 tsp. oregano
  • 1/2 tsp. marjoram
  • 1/2 tsp. parsley
  • 1 tbsp. brown sugar

Preparation:

I got a great deal on a 4 lb. chuck roast, so I cut it into 2 pieces and froze half.  A roast like this will shrink during cooking, so when planning portions I allow 1/2 lb. per person.  If you have leftovers, this pot roast is great in sandwiches the next day.

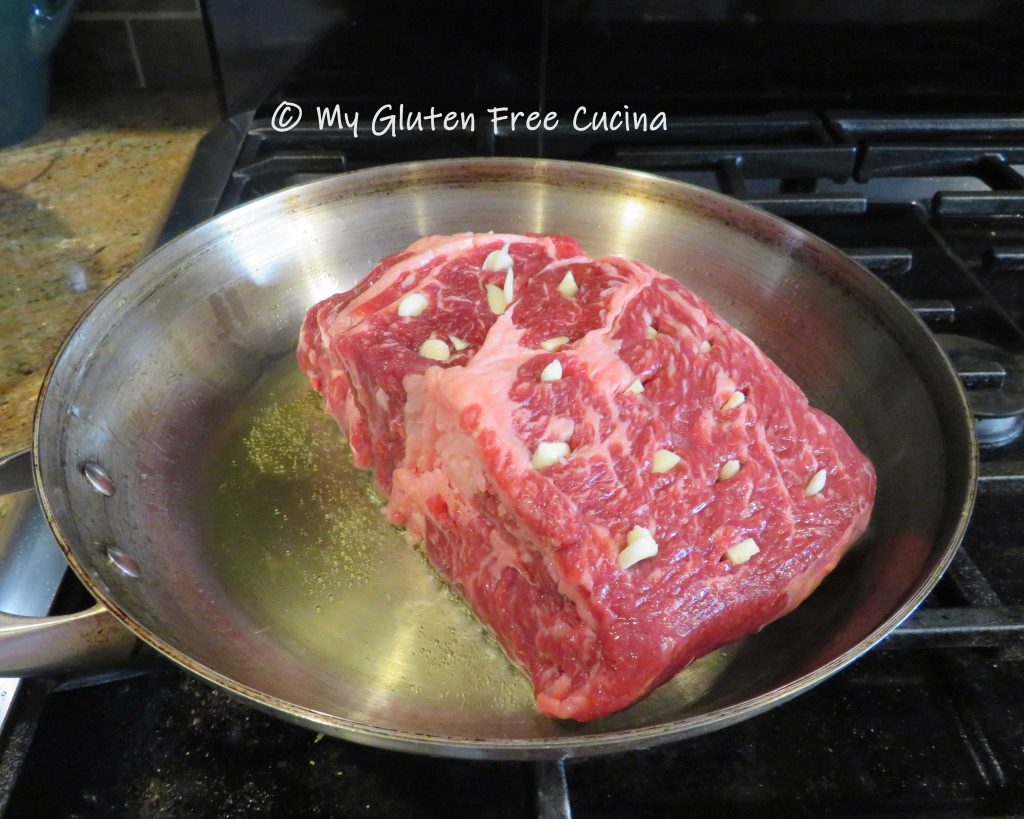
To get started, set up your crock-pot and mist with cooking spray.  Cut the garlic cloves into long slivers.  Use a paring knife to make slits in the top of the roast and insert the garlic slivers.

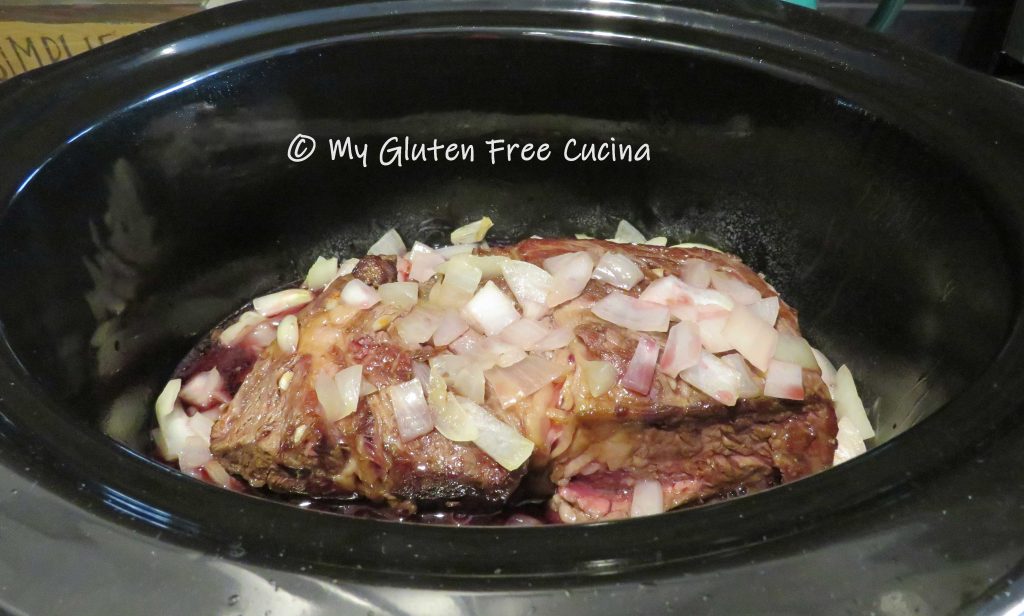
Sear the roast on all sides in a hot skillet with olive oil, then place it in the crock-pot.

Add onions to the same skillet and cook until translucent.  Add them to the roast then deglaze the skillet with the red wine and pour over everything.

Whisk the tomato paste into the tomato sauce along with the remaining ingredients, through brown sugar.  Add to the crock-pot and cook on low for 9 hours.  Give it a stir about halfway through.  You can serve it immediately, but my personal preference is to refrigerate it overnight.  The flavors will continue to meld, and the sauce will thicken.

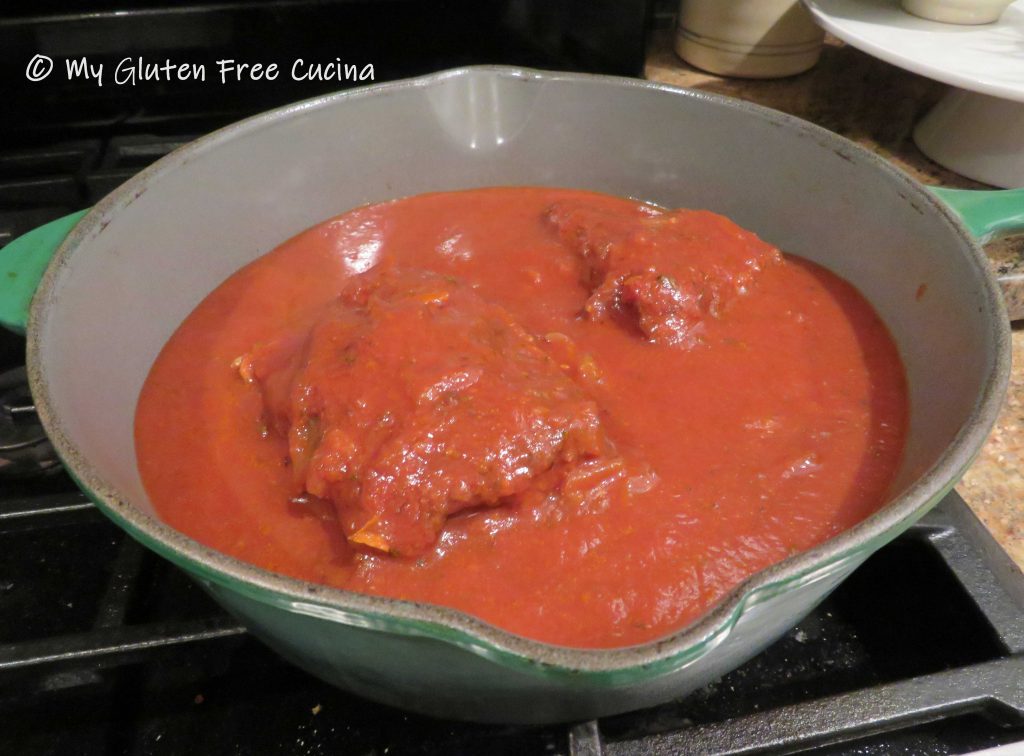
The next day, reheat the roast on the stovetop over low heat.  You can see that mine was so tender that it had broken into two pieces.

Most of the onions will have melted into the sauce at this point, but if you want an extra smooth sauce (or have picky eaters) you can puree it with a stick blender.

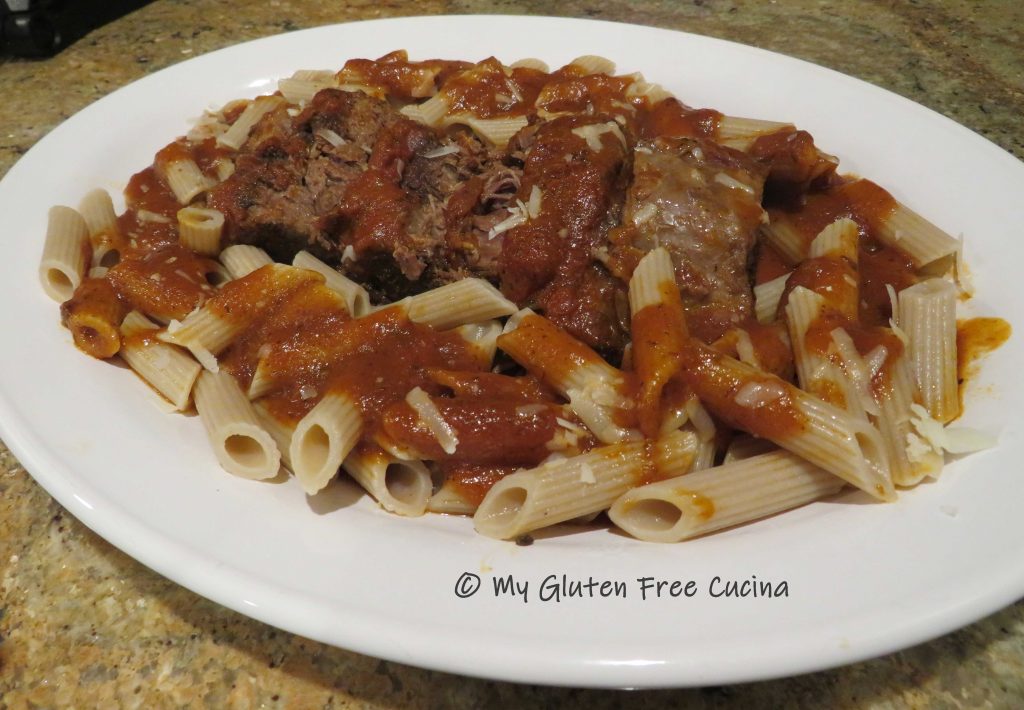
Slice the roast and arrange on a serving platter.

Serve with your favorite gluten free pasta.  Jovial gluten free penne is one of mine.

Bring to the table with extra sauce and grated cheese.  The only thing missing here is fresh parsley from my herb garden.  I guess I’ll have to wait for summer and make this again!
Notes ♪♫ When starting the gluten free diet, you may feel like you will never enjoy your old family recipes again.  The truth is many recipes like this one are naturally gluten free.  The only thing I changed was the pasta.  With a little patience and experimentation, I have learned that many of my childhood favorites can be recreated and enjoyed!

Print This Post Print This Post

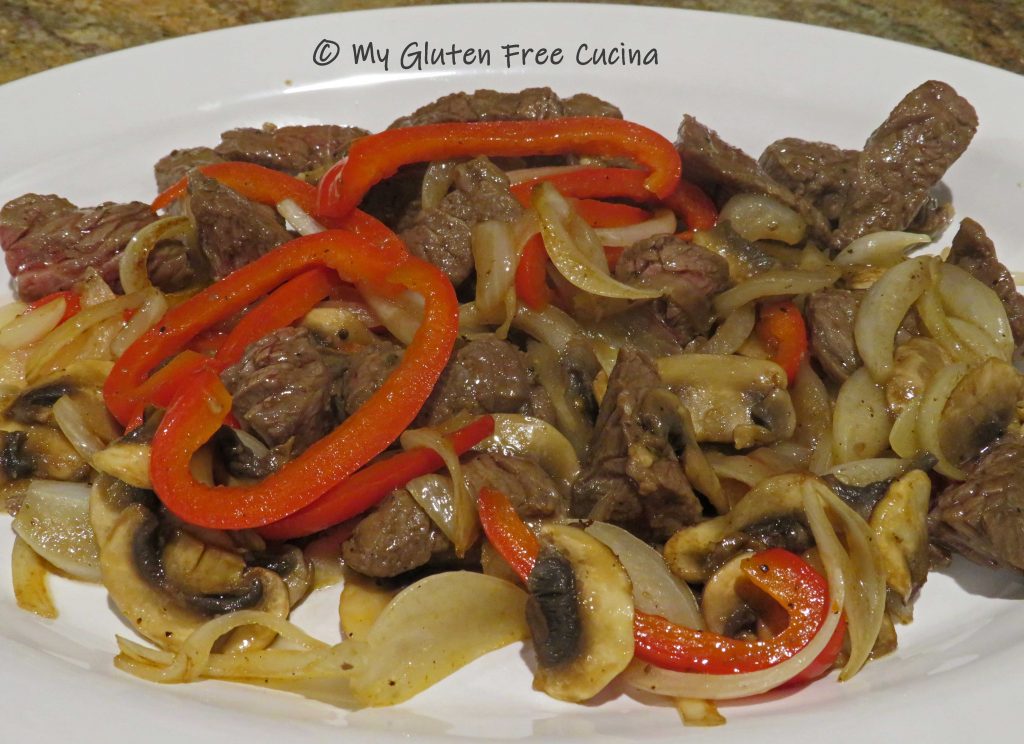
Sirloin Tips

Sirloin tips have always been one of my favorite restaurant entrees.  Much to my dismay, many restaurants use soy sauce in their steak marinade, making this meal off limits for those of us with Celiac disease.  Fortunately, it is easy to recreate this great meal at home.  Be sure and check out my homemade, gluten free steak marinade, or use coconut aminos for a lower sodium option.

Dinner for two

This post contains affiliate links.

Ingredients:

Preparation:

Combine the steak tips with 2 tbsp. gluten free steak marinade.  Let them marinate for 30 minutes to an hour at room temperature.

While the steak marinates, cook the rice in 2 cups broth, either stovetop or in a rice cooker (here’s mine, it’s perfect for 2 people).  Heat a large nonstick skillet with a little olive oil over medium low.  Add the steak tips.

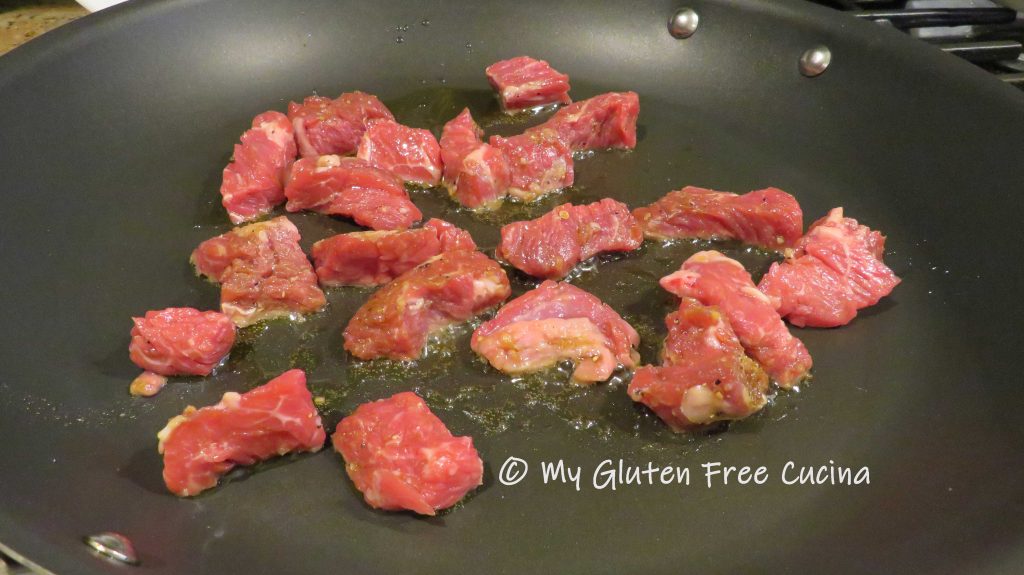
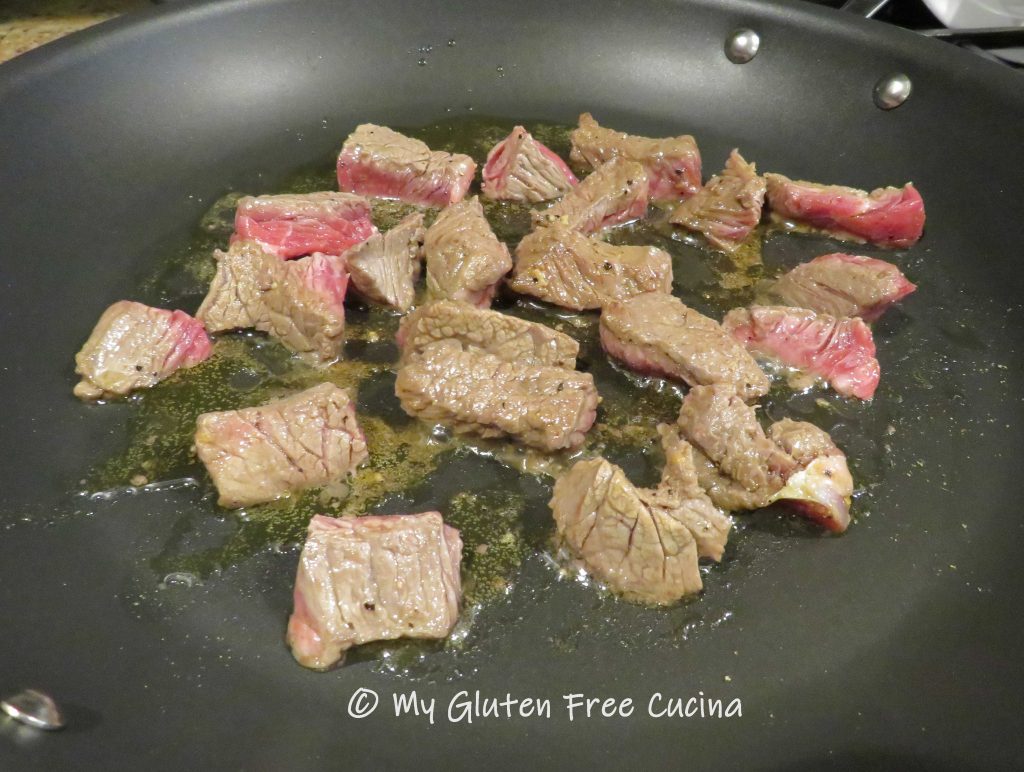
Brown the meat on both sides, turning once.

It doesn’t have to be cooked through at this point.

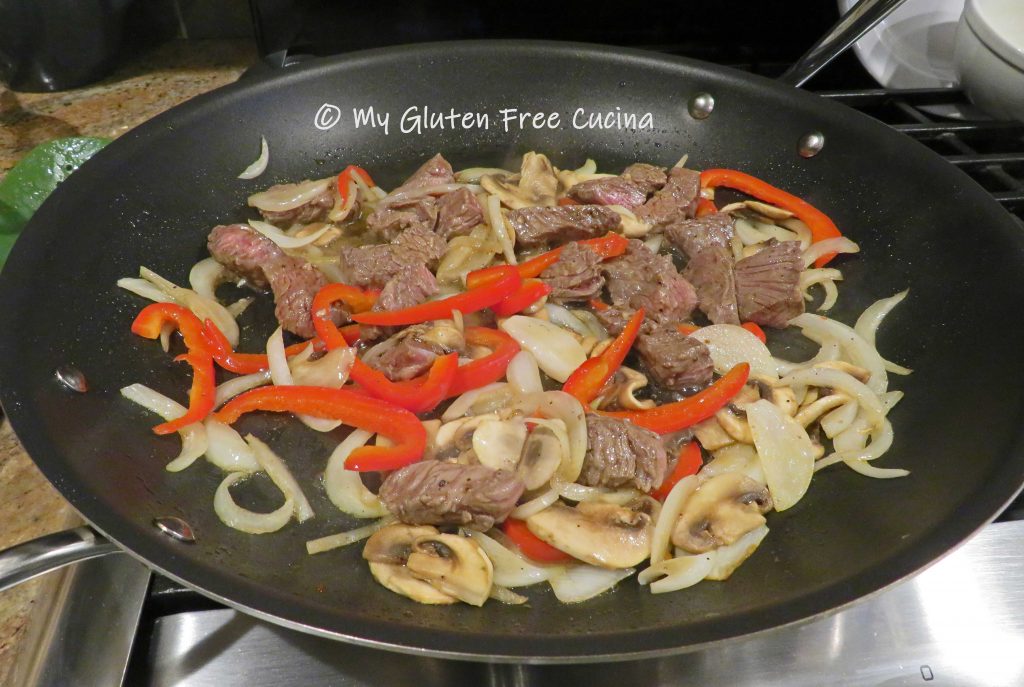
Transfer to a bowl, wipe the skillet clean and add the veggies with more olive oil.

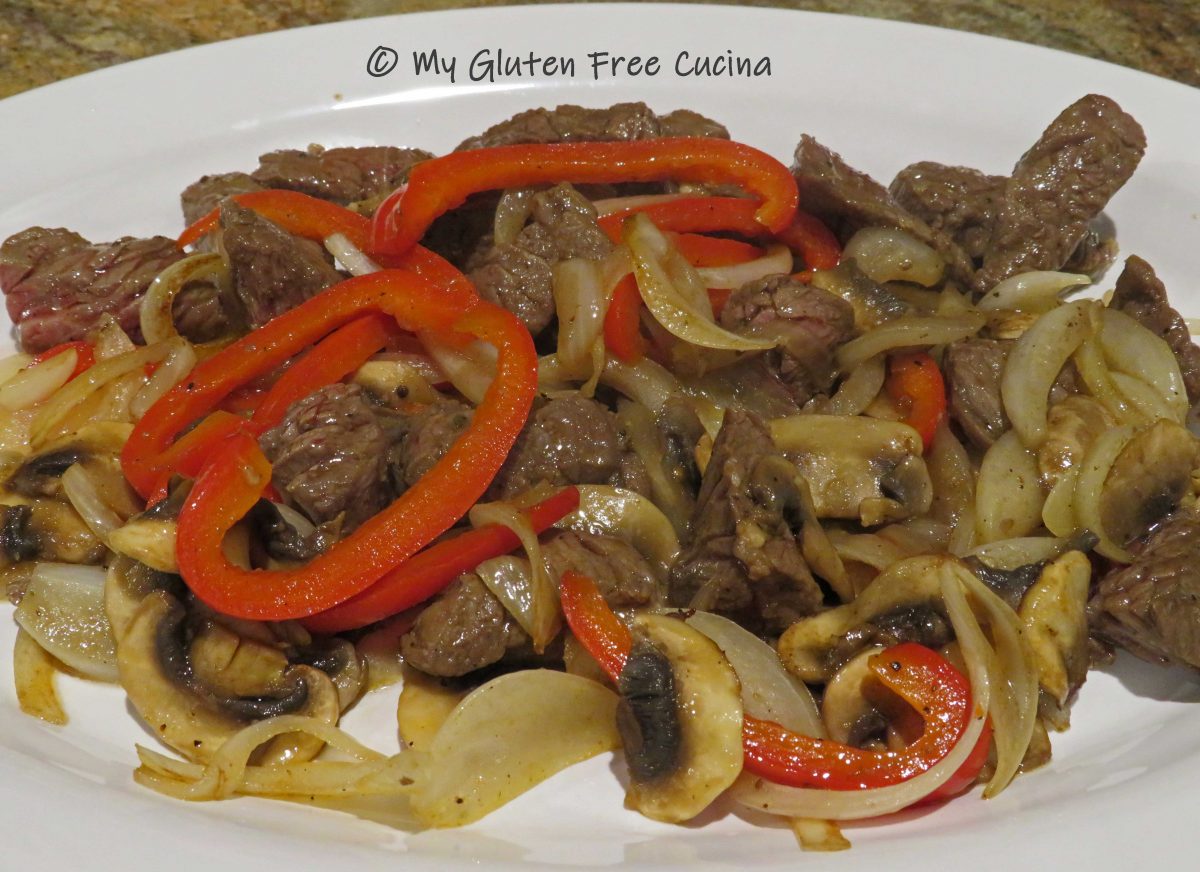
Cook several minutes until crisp tender.  Season with salt and pepper.  Add the steak tips back to the skillet to finish cooking.

Finish with 1 tbsp. tamari or coconut aminos, and transfer to a serving platter.  You can combine with the rice at this point or keep the rice separate if you’re watching carbs.

Serve with rice and you have one easy meal!

Notes: ♪♫ Tamari is a delicious, gluten free alternative to soy sauce.  San-J gluten free Tamari is my favorite.  If sodium is a concern, try Coconut Aminos.  Both gluten free and soy free, Coconut Aminos have a much lower sodium content.  Coconut Secret is the brand I use, and it works well in this recipe as well as many of my Asian inspired favorites.

Print This Post Print This Post


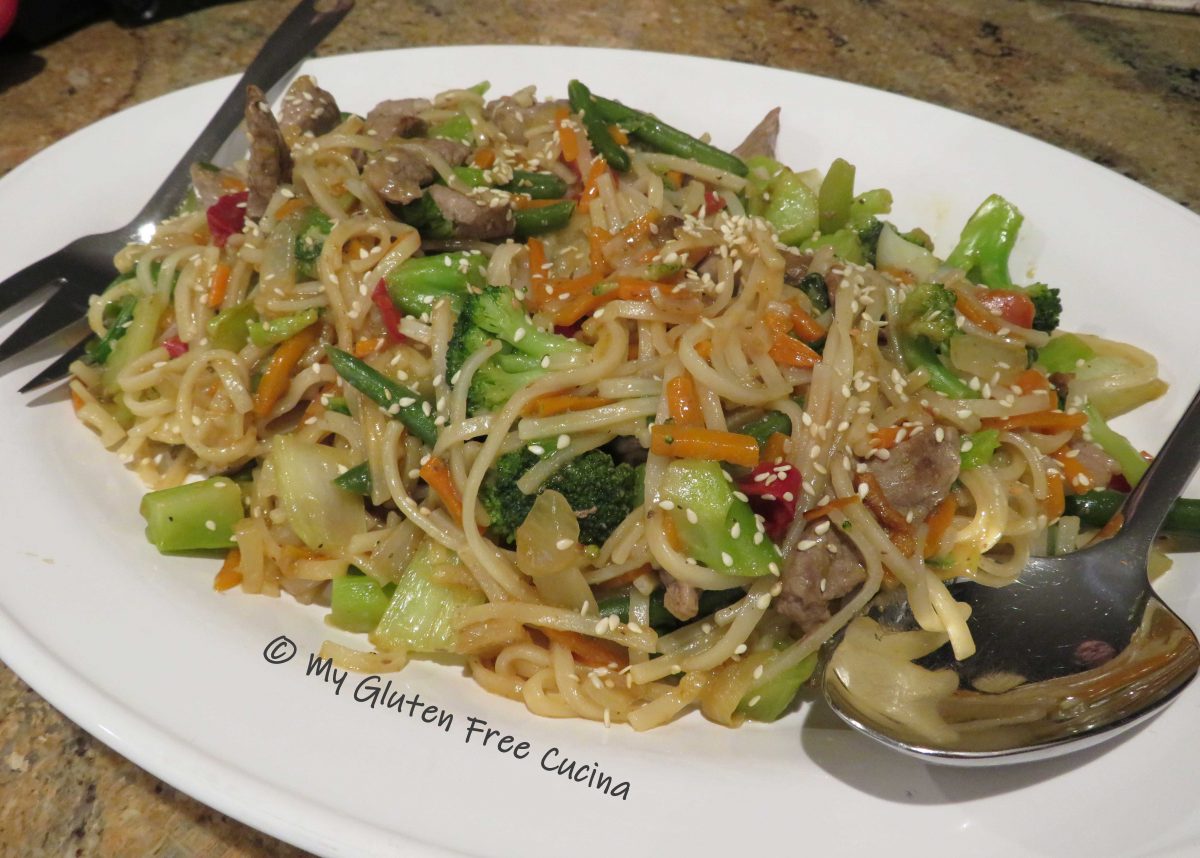
Gluten Free Beef Stir Fry

I love stir fry meals for busy weeknights!  When you get home from a long day at work, you don’t want to spend a lot of time making dinner.  This is one of my favorite Asian inspired recipes that is on the table in 30 minutes.  I used frozen veggies to make the prep even faster!  Use petite sirloin when possible and slice it yourself.  It will be far more tender and flavorful than the cuts usually sold as stir fry beef.

3-4 Servings

This post contains affiliate links.

Ingredients:

  • 3/4 lb. petite sirloin cut into thin strips
  • 4 oz. gluten free Pad Thai rice noodles
  • 1 lb. bag frozen Asian stir fry vegetables
  • 1 clove garlic, minced
  • 1/2 onion, diced
  • 1 baby Bok choy, chopped
  • 1/4 cup Mirin (rice wine)
  • 2 tbsp.  gluten free soy sauce
  • 1/2 cup gluten free chicken broth
  • 1/4 tsp. garlic powder
  • 1/4 tsp. ginger powder
  • 1 tbsp. cornstarch
  • olive oil
  • toasted sesame oil
  • additional gluten free soy sauce, to taste
  • ground pepper, to taste
  • scallions, for finishing (optional)
  • toasted sesame seeds (optional)

Preparation:

Toast sesame seeds in a small saucepan and set aside.

Whisk together the Mirin, soy sauce, chicken broth, garlic powder, ginger powder and cornstarch.  Set aside.  Boil water for the noodles and salt well.

Chop the Bok choy, separating the bulb from the leaves.

Heat a large nonstick skillet and add a little olive oil with 1 tsp. sesame oil.  Quickly brown the beef on the outside (don’t cook through), transfer to a bowl and sprinkle with gluten free soy sauce.

Wipe the skillet clean, and begin cooking the onion in olive oil, with a tsp. of sesame oil.  Add the bulb (bottom section) of the Bok choy, reserving the leaves.

Next add the frozen veggies, garlic and Bok choy leaves.  Season with ground pepper and a few more shakes of soy sauce.  Cover and cook 3 minutes.

Cook the noodles for 3 minutes and drain.  To finish, add the beef back to the skillet, and toss for 30 seconds to finish cooking.

Add the noodles and pour the sauce over everything, then use 2 spatulas to turn and coat evenly with the mixture.  Toss continuously for about 1 minute or until the sauce thickens.

Transfer to a serving dish and garnish with scallions and/or sesame seeds.

This dinner is a real family favorite.  People are always surprised at how easy it comes together and the frozen veggies are a real time saver.

Notes ♪♫ Always check that your soy sauce, chicken broth, seasonings and noodles are gluten free.  Avoid frozen veggies with added seasoning, sauce or glaze.

Print This Post Print This Post

Gluten Free Lasagna Remake

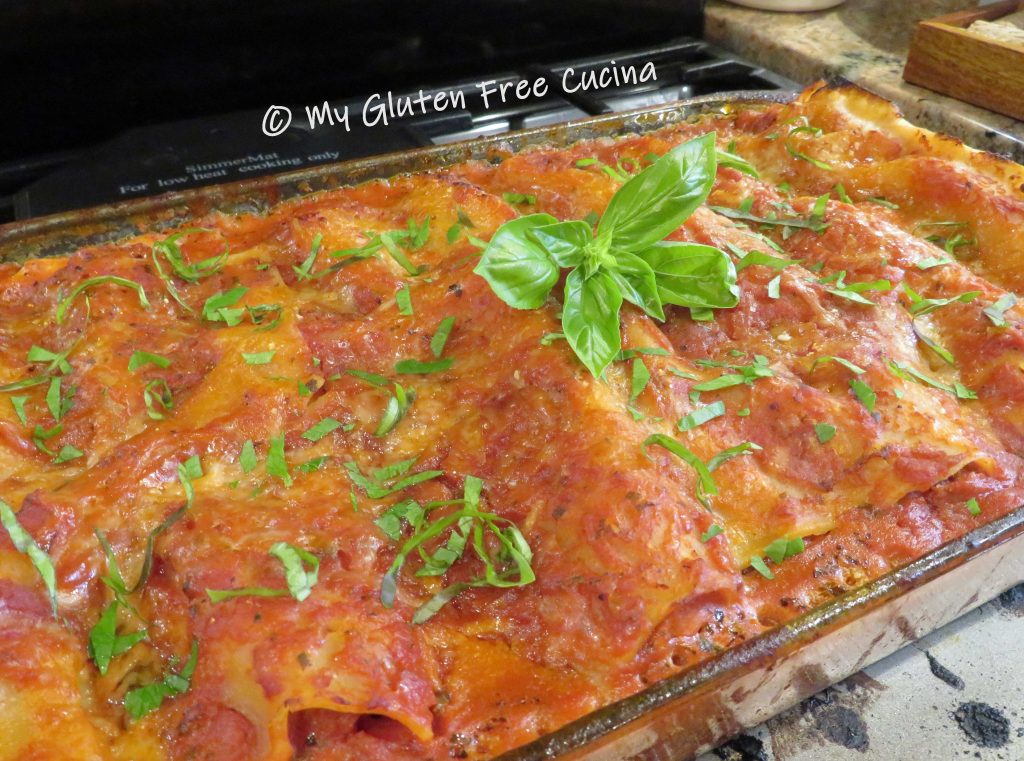
This Lasagna is generously sized to feed a family.  Look at those crispy edges!  My remake of the traditional meat Lasagna everyone loves is completely gluten free and has thin slices of eggplant layered in that will almost disappear (don’t tell the kids!).  Baked in a 9 x 13″ pan, it is very filling so a little goes a long way.  Serve as a main course with a simple salad, or in smaller portions alongside another dish.  You will have anywhere from 6 to 12 servings.

This post contains affiliate links.

Ingredients:

  • 12 oz. lean ground beef
  • 4 oz. Italian sausage (pork, turkey or chicken)
  • 1 tbsp. olive oil
  • 1/2 sweet onion, diced
  • 3 garlic cloves, minced
  • 2 tbsp. tomato paste
  • tomato sauce – 1 can 29 oz. + 1 can 15 oz.
  • 1 tbsp. brown sugar
  • fresh ground pepper
  • 1/2 tsp. oregano
  • 1 tsp. basil
  • 1 eggplant sliced on a mandolin
  • 16 gluten free lasagna noodles
  • 16 oz. tub ricotta cheese
  • grated Parmesan cheese
  • cooking spray
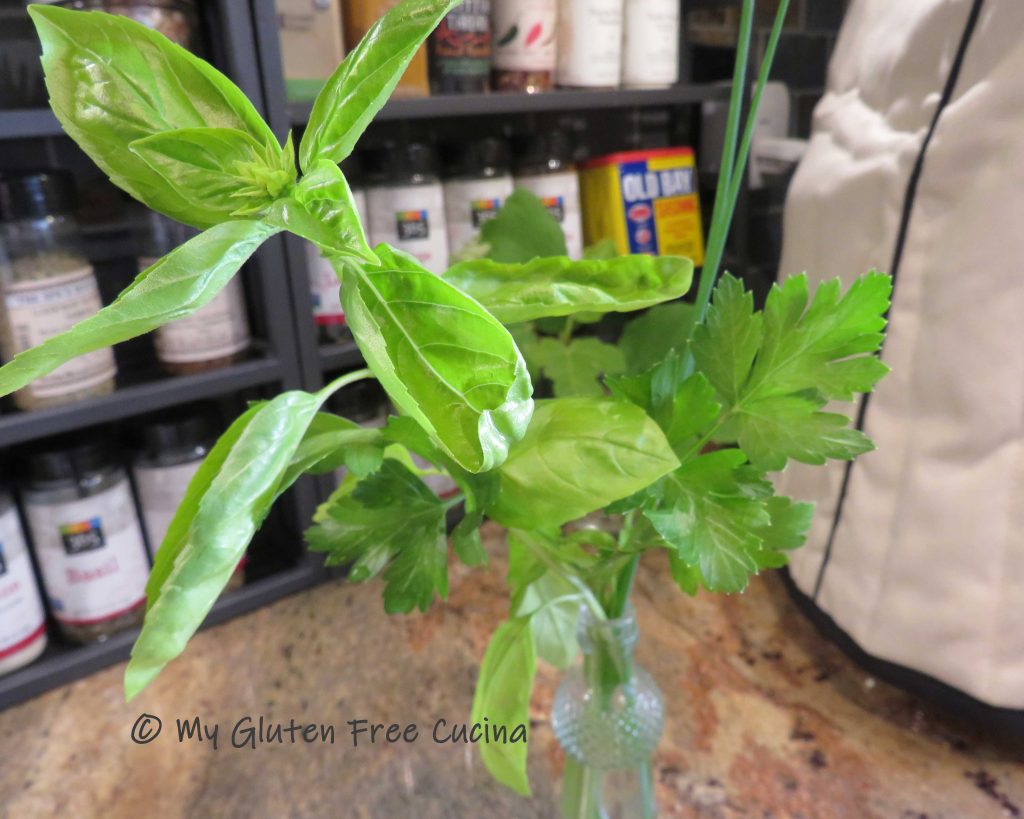
  • fresh basil and parsley for garnish

Preparation:

Cut the bottom off the eggplant and stand it up on a cutting board.  Run a knife down the sides to peel, then slice the eggplant very thin using a mandoline or sharp knife.

Lay the slices between sheets of paper towel and press down lightly.  Let them sit for 20 minutes then salt to taste.

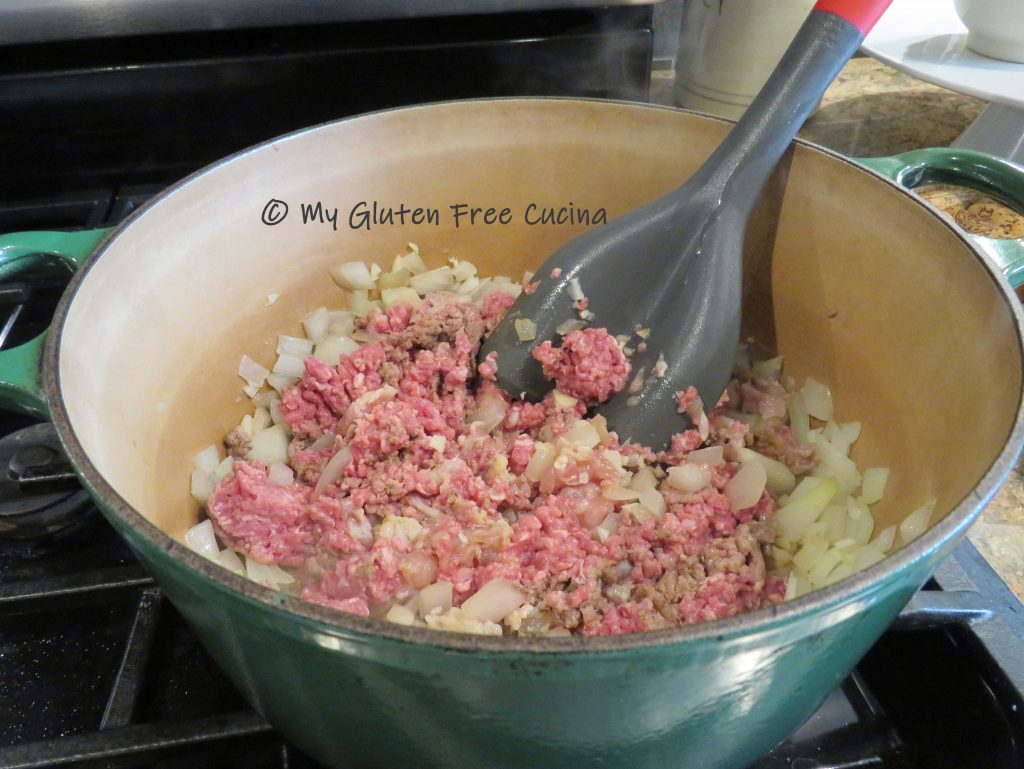
Make the meat sauce.  Sauté the onions and garlic in 1 tbsp. olive oil.  When the onions are translucent, add the meat and begin breaking it up with a meat spatula.

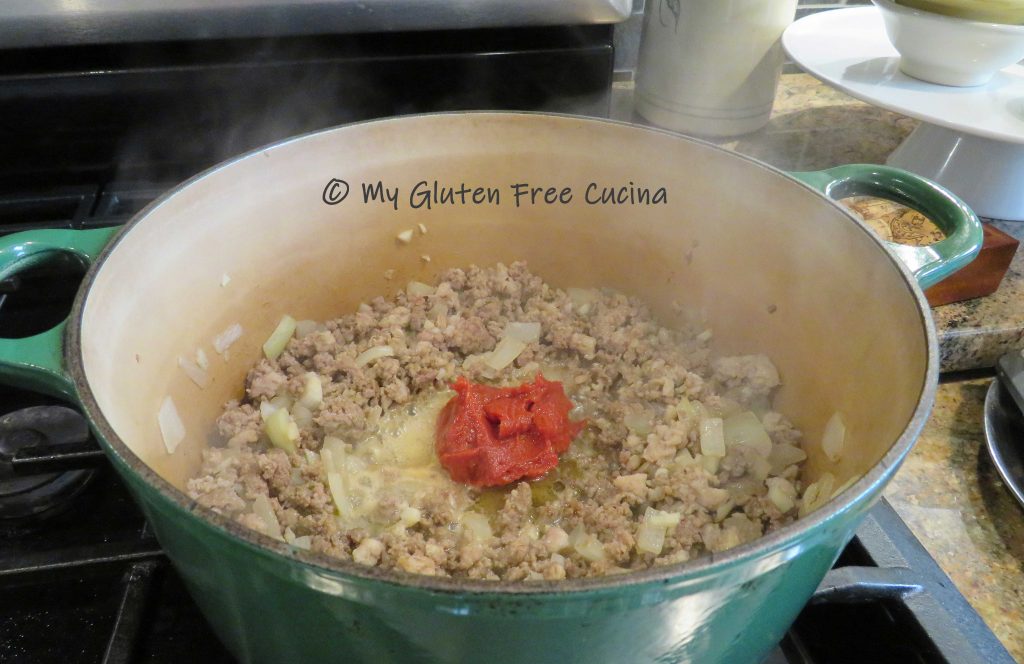
When the meat is completely browned, make a space in the center of the pan and add the tomato paste.

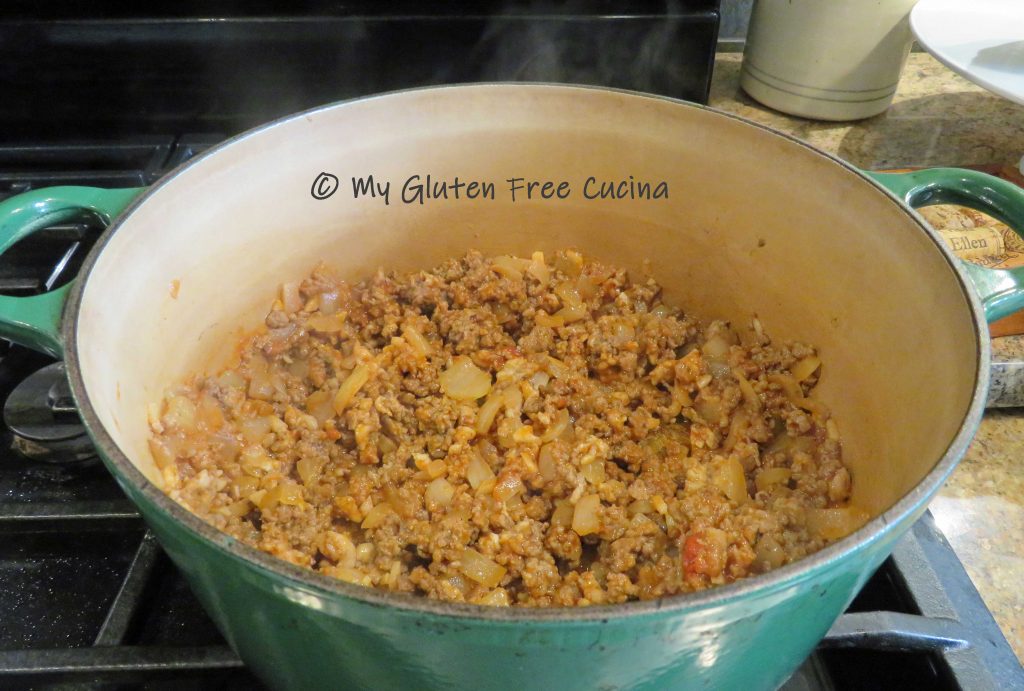
Toast for a few minutes then stir into the meat.

Add the 29 oz. can of tomatoes with the basil and oregano.  Season with ground pepper.  Cover and simmer for 30 minutes.

This simmer mat is perfect for cooking sauce over low heat, so it doesn’t burn.

In a separate saucepan add the 15 oz. can of tomato sauce and season with more basil and oregano.  Simmer 20 minutes and set aside to cool.

Transfer 1/2 of the plain sauce to a bowl and whisk with the ricotta.

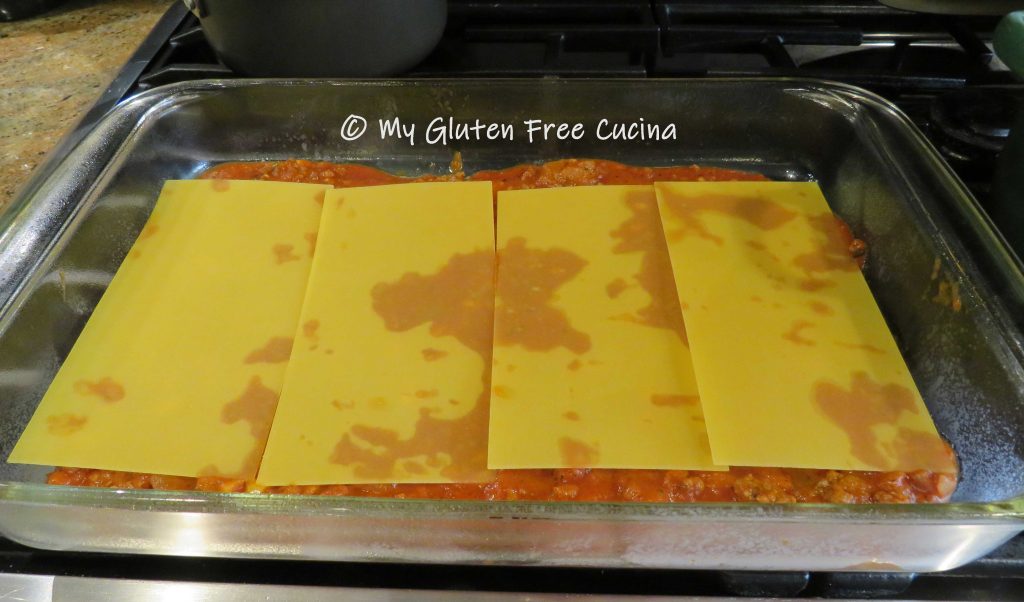
To assemble the lasagna, coat a 9 x 13″ baking dish with cooking spray.  Begin with a layer of meat sauce.

Top with 4 of the lasagna noodles.

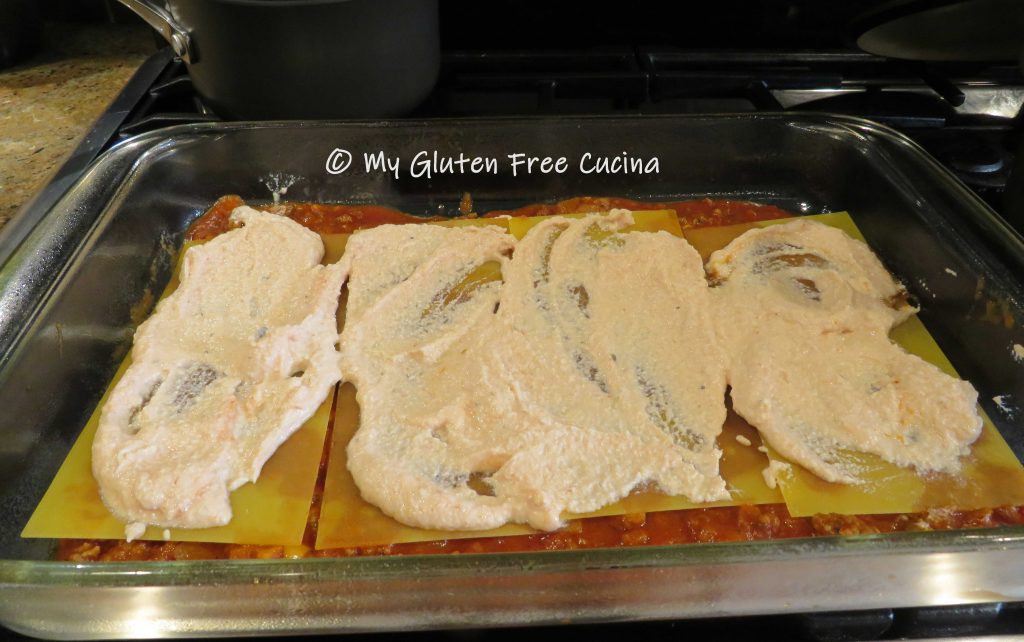
Spread with 1/3 of the ricotta mixture, then top with a layer of eggplant slices.

Repeat 2 more times, layering meat sauce, noodles, ricotta mixture, eggplant.  Finish with remaining 4 noodles, the rest of the plain sauce and Parmesan cheese.  Make sure all of the lasagna noodles are covered to the corners.

Coat a sheet of foil with cooking spray (so it doesn’t stick) and cover the pan tightly.  Bake for 40 minutes at 350º, then use tongs to carefully remove the foil and bake for 20 minutes uncovered.  Remove from the oven, cover and rest 10-15 minutes before serving.

Garnish with fresh basil and parsley and bring to the table.

Notes ♪♫ I used Barilla gluten free oven-ready lasagna in this recipe, and no one even knew it was gluten free!  A tip, when making gluten free Lasagna do not pre-cook the noodles.  No matter what the box instructions say.  Pre-boiled noodles will absorb less liquid as they cook, and you may end up with a watery mess.

Print This Post Print This Post

Gluten Free Spaghetti and Meatballs

Growing up in an Italian family I have fond memories of our Sunday dinners with my parents, grandparents, my sister and I.  There was always a huge pot of sauce on the stove with meatballs, sausage, sometimes a roast or even bracciole.  My mother made her “gravy” in generous amounts and froze the leftovers, enough for several more meals.  Then, on Wednesday we would have spaghetti with leftover meatballs and sauce for an easy weeknight meal.

Today, over 50 years later I still love a Spaghetti and Meatball dinner.  At first it was a struggle to make my meatballs gluten free.  I had a foolproof recipe my entire adult life and thought that I could just swap out the breadcrumbs.  The result was a mushy mess.  So, I had to reinvent my Italian meatballs to a new and improved gluten free version.

If your gluten free meatballs are too mushy and fall apart in the sauce, try this recipe.  You will have perfect meatballs every time and no one will know they are gluten free!  Double or triple the recipe for a large family.

*This recipe contains oats (see notes)

4 Servings

This post contains affiliate links.

Ingredients:

Preparation:

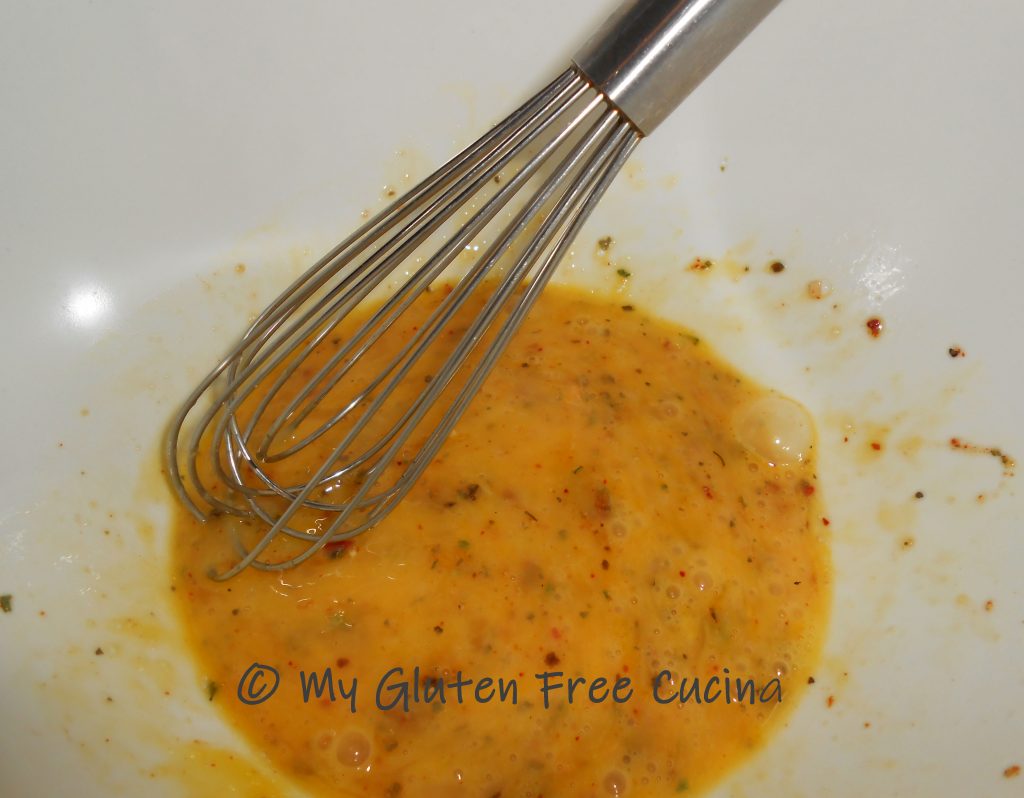
Whisk together the egg and the Italian seasoning.

Add 1/4 cup tomato sauce, the ground beef and sausage followed by the breadcrumbs, potato flakes and rolled oats.  Mix thoroughly (use your hands).

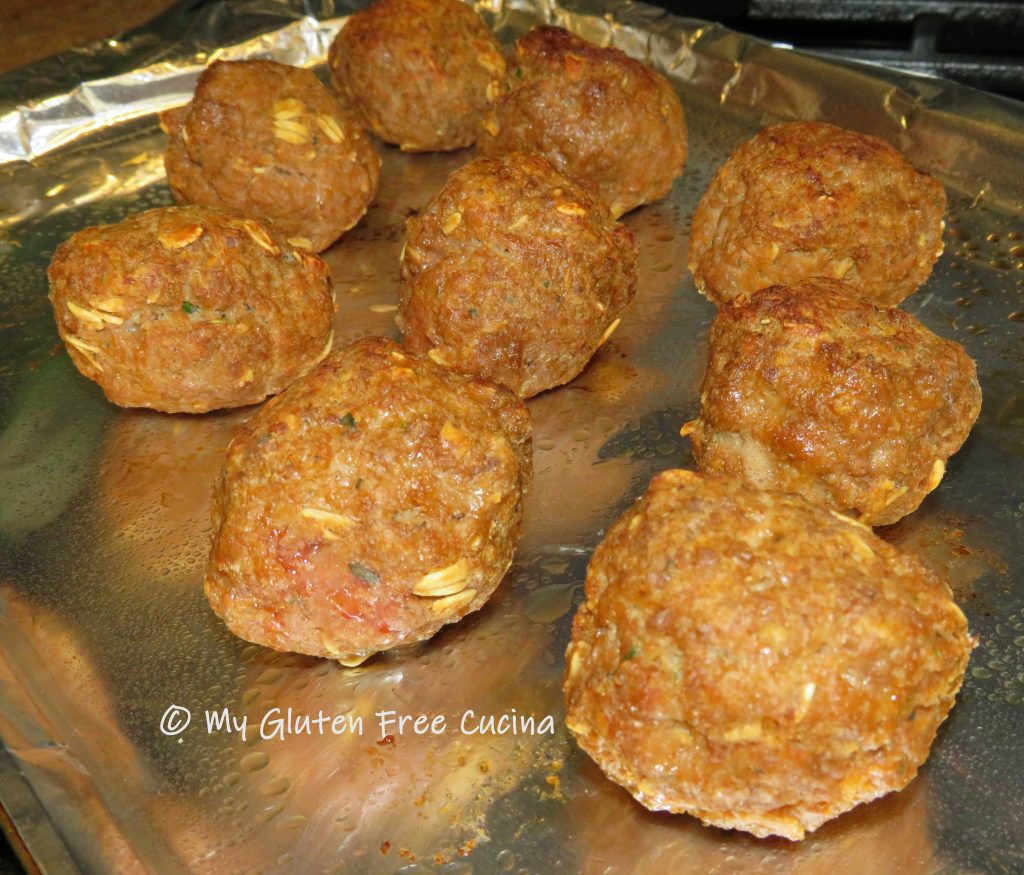
Line a baking sheet with aluminum foil and coat lightly with cooking spray.  Form 9 meatballs and arrange them on the baking sheet, leaving space in between.  Broil on high for 4-5 minutes on each side, turning once.  Remove from the oven and let them rest at room temperature while you make the sauce.  This will allow the meatballs to set up and hold together.

Heat the marinara sauce in a deep skillet or braising pan.  Add the meatballs to the sauce 15-20 minutes before serving.  Keep warm but do not allow the sauce to come to a boil.

Serve with your favorite gluten free pasta and grated cheese.  With so many brands of gluten free pasta, you have more than a few options to choose from.  I used Garofalo gluten free spaghetti in this recipe.  Some of my other favorite brands are Barilla and Bionaturae.

Notes ♪♫ As you are probably aware, oats continue to be controversial as far as being safe for those with Celiac disease.  Whether or not you consume oats is a personal choice.  I personally still include oats in my diet, provided they are certified gluten free and purity protocol.  Bakery on Main is the brand that I currently use.   


Print This Post Print This Post


Beef Short Ribs with Polenta

This delicious slow cooked meal is perfect for Sunday afternoons in autumn!  Braised Beef Short Ribs are marinated in red wine with herbs.  Your kitchen will smell amazing as they are slowly simmered on the stove top until the meat is tender and falling off the bone.  Served over creamy Polenta, with a side of roasted green beans.

2 Servings (for heartier appetites, allow 2 ribs per serving)

This post contains affiliate links.

Ingredients:

  • 2 bone-in beef short ribs
  • 3/4 cup of red wine
  • sprigs of rosemary, thyme and chives
  • salt and black pepper
  • 3 tbsp. olive oil
  • 1 carrot, diced
  • 1 celery stalk, diced
  • 1/2 sweet onion, diced
  • 2 garlic cloves, minced
  • 1 tbsp. ketchup
  • 1 tbsp. honey
  • 2 cups gluten free stock (chicken, beef or vegetable)

Preparation:

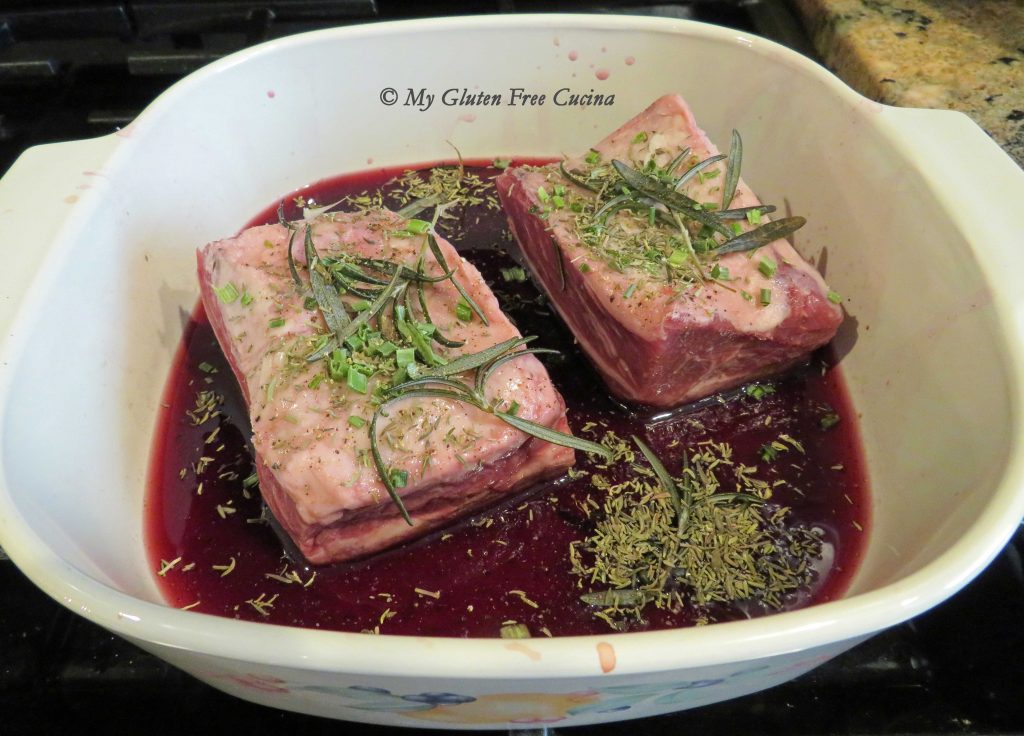
Combine the wine and herbs in a covered baking dish with lid (mine is an antique Corningware!).  Add the short ribs and season with salt and fresh ground pepper.  Cover and marinate the short ribs for 2 hours at room temperature, turning every 30 minutes.

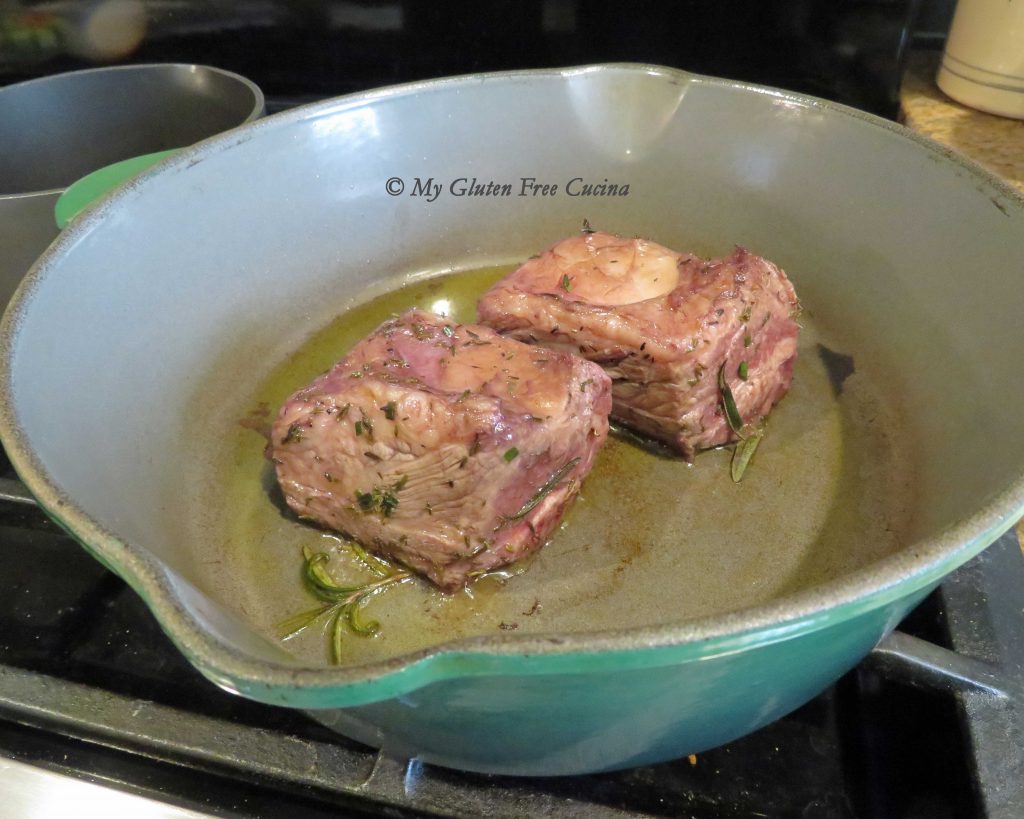
About 3 hours before dinner, pour the marinade into a saucepan and keep warm.  Sear the ribs in a deep skillet with 2 tbsp. olive oil.  You can also use a Dutch oven, or other heavy pan with a cover.

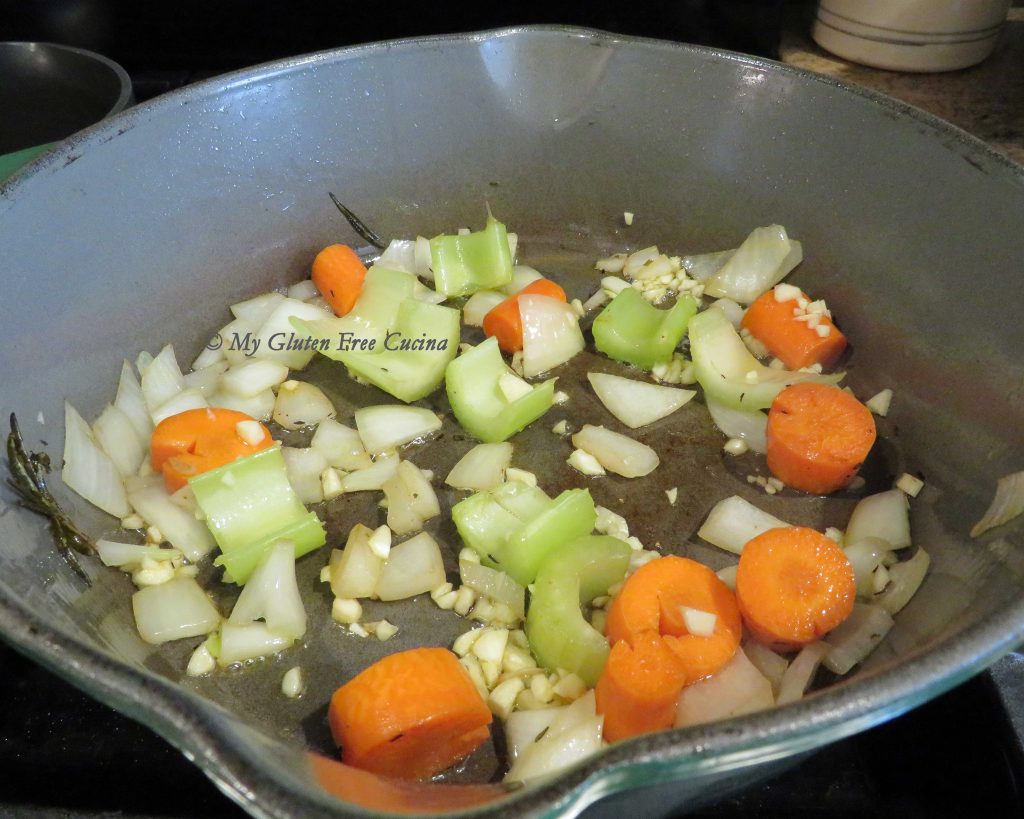
Remove the ribs, and add the carrots, onion, celery and garlic with 1 tbsp. more olive oil. Season with salt and pepper.  Cook 5 minutes, stirring frequently.

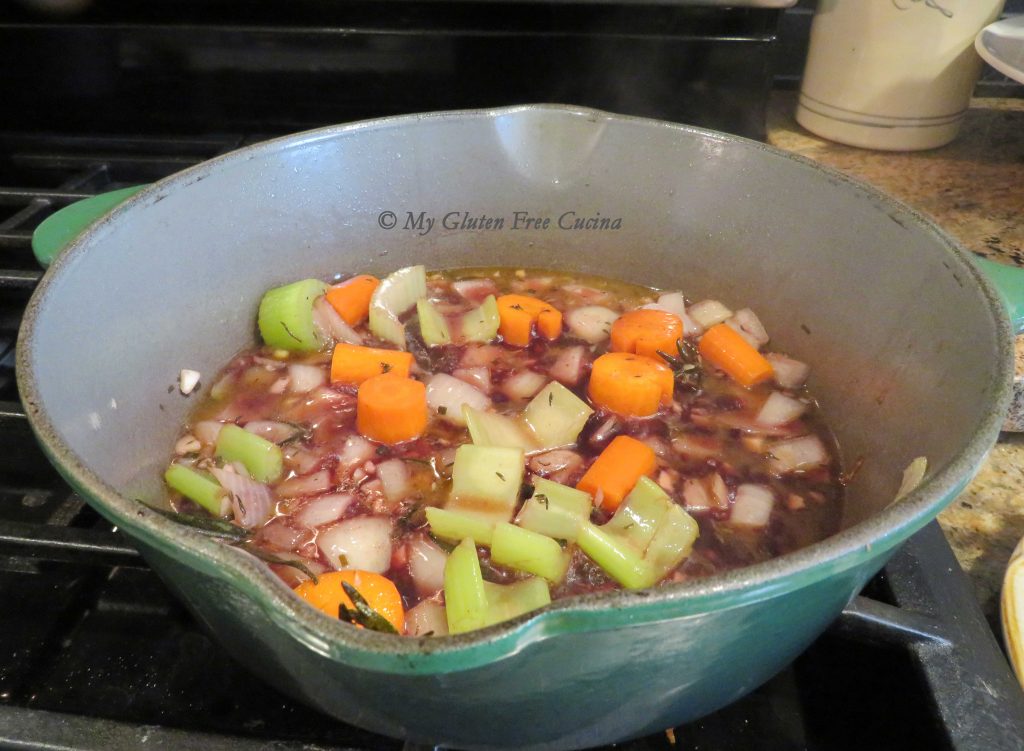
Take the skillet off the heat and pour in the reserved marinade.  Deglaze the pan, then add the stock, honey and ketchup.

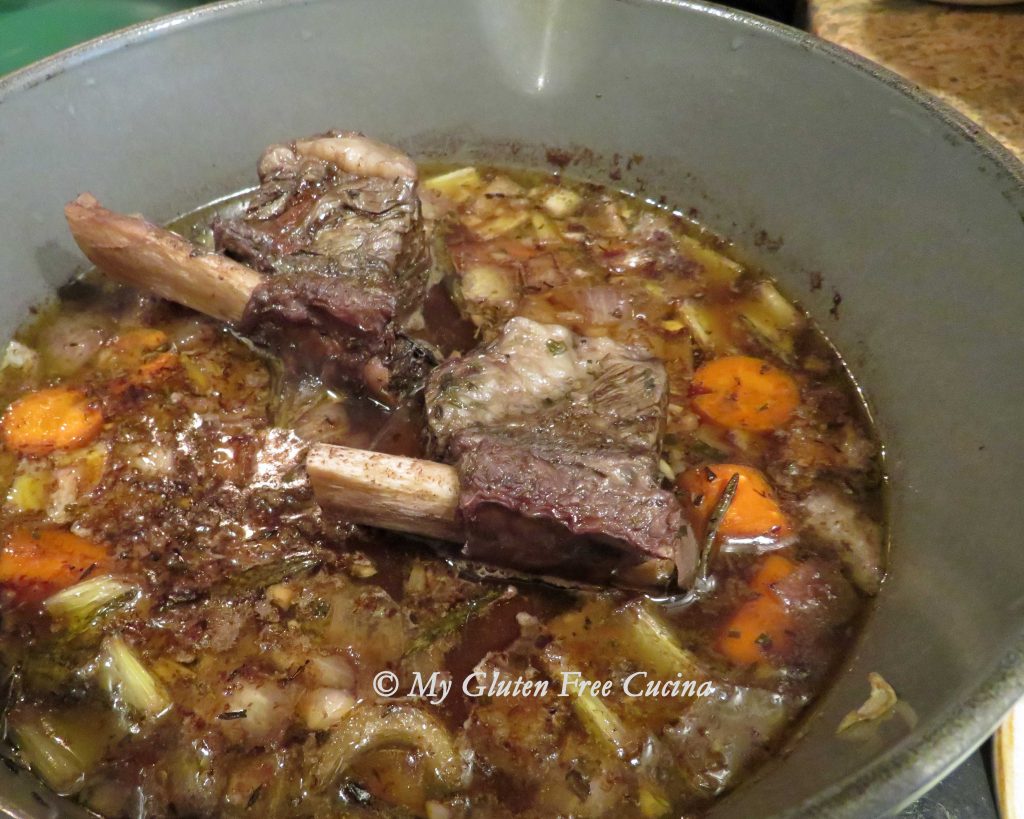
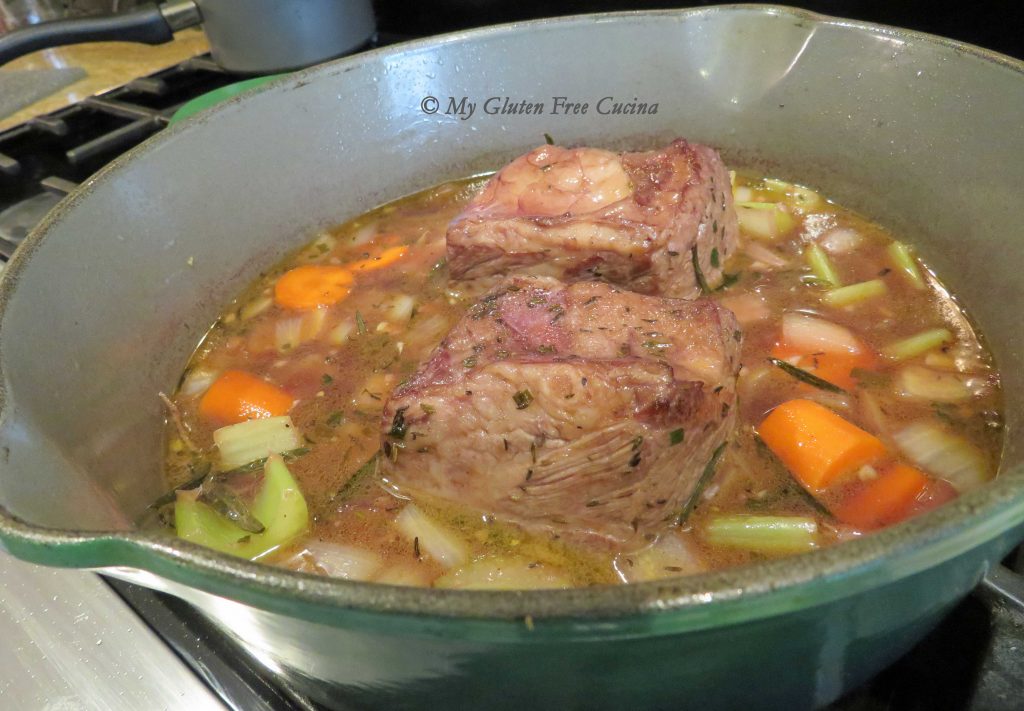
Return the short ribs, cover and turn the heat down to the lowest setting.  You want a constant slow simmer.

After 3 hours of gentle heat, the ribs are melt in your mouth tender and pulling away from the bone.

The skillet liquid is full of rich flavor.  Strain it into a saucepan and reserve for soup stock!

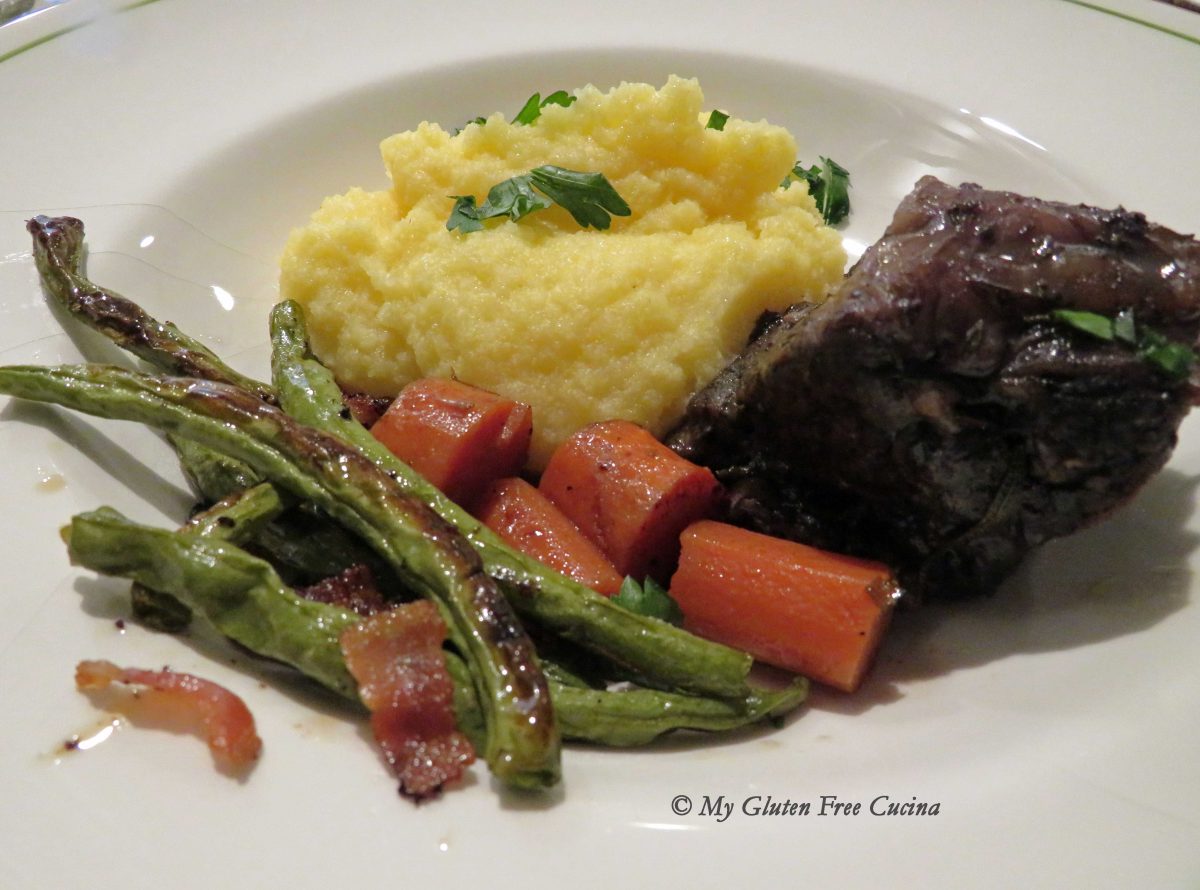
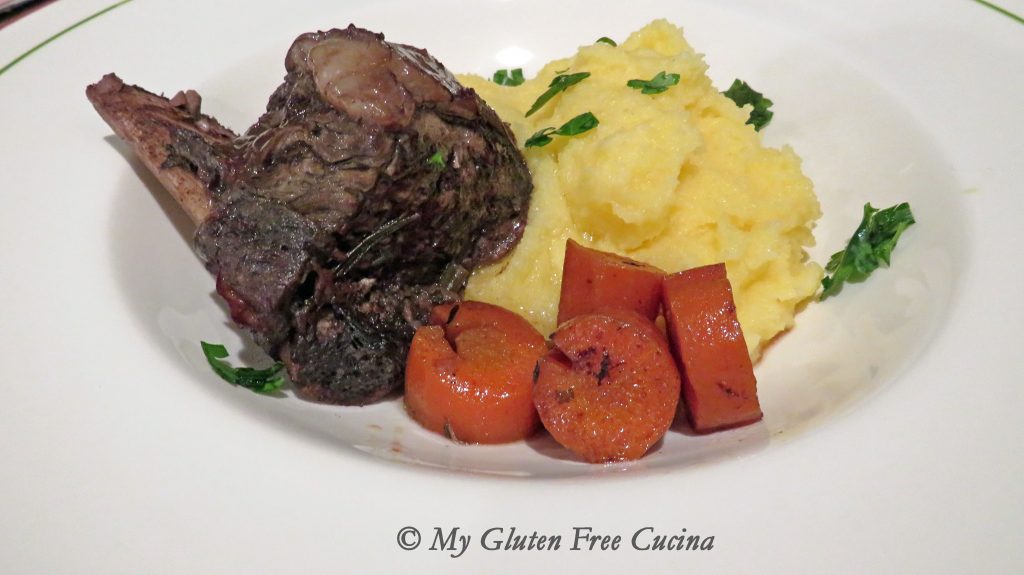
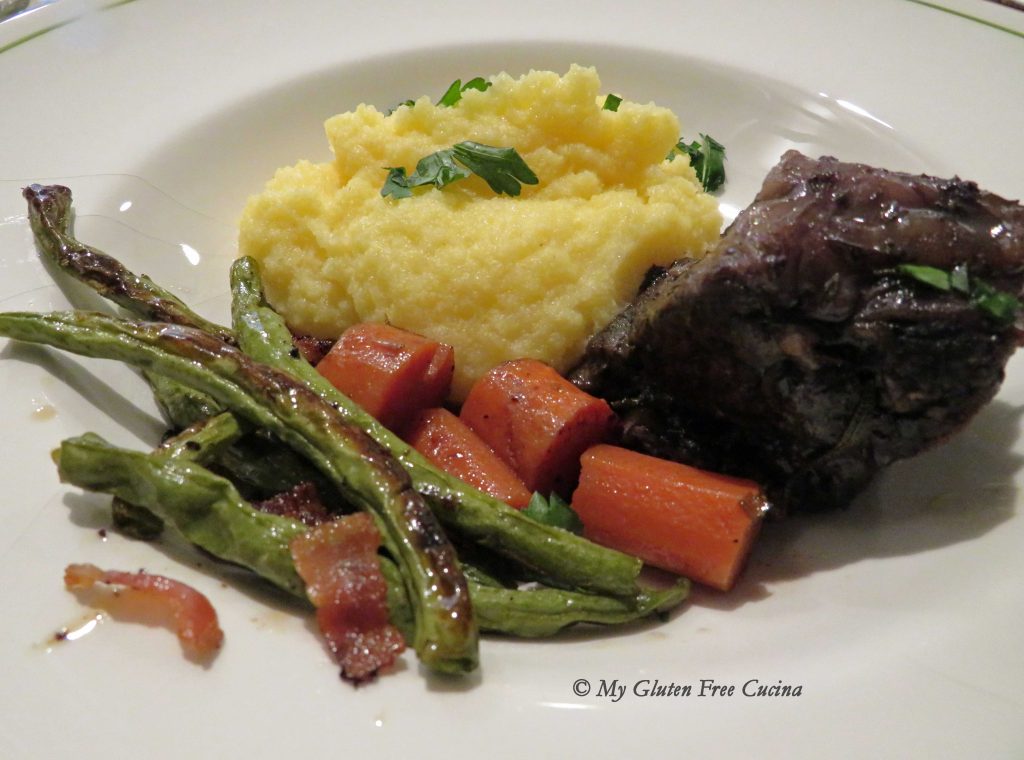
I made individual serving bowls, and set each short rib over Polenta, with just a drizzle of the pan juices.  Carrots and fresh parsley add a pop of color.  Roasted green beans were served up on the side.

Notes ♪♫ I used a simmer mat in this recipe.  It’s one of those kitchen gadgets you didn’t know you needed until you have one.  It will prevent hot spots, maintain that low steady simmer, and keep your rice and delicate sauces from burning.  It is perfect for recipes like this one, where braising is done on the stove top.

Print This Post Print This Post


Beef Minestrone Soup

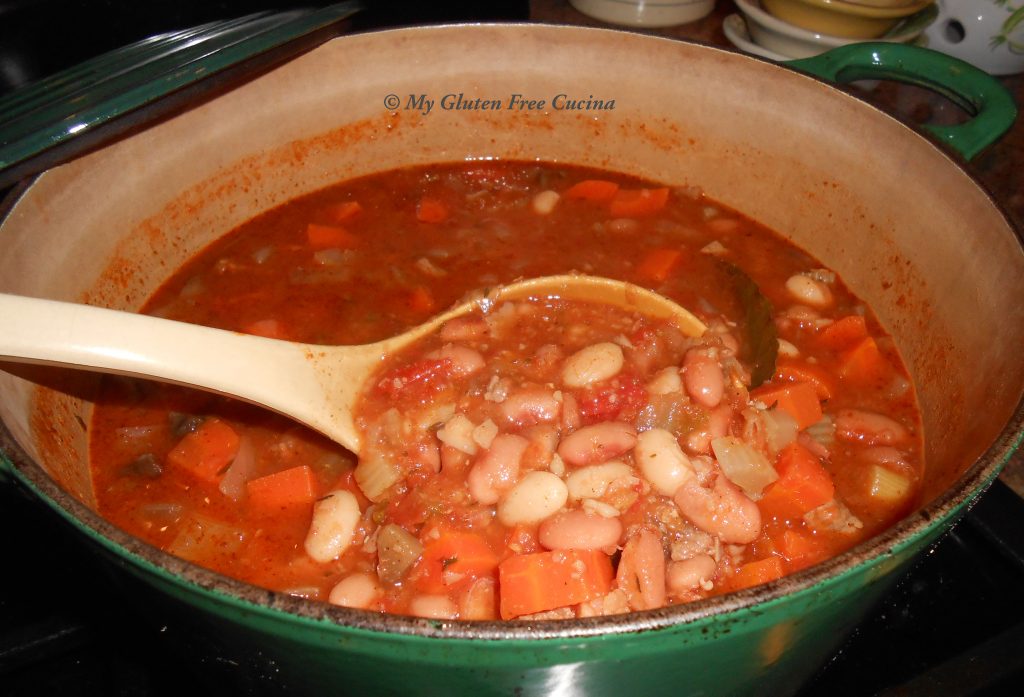
This hearty winter soup will warm you to your toes.  It is a complete meal, with stew beef and beans for protein, plus veggies and gluten free pasta to round out the bowl.  I love making bean soups on a Sunday afternoon.  Having soaked the beans the night before, there is plenty of time for them to simmer while I prep the rest of the soup ingredients.  Always check labels for gluten containing ingredients.  In this recipe, choose gluten free canned tomatoes and stock.

This post contains affiliate links.

INGREDIENTS:

  • 1-1/2 cups mixed beans
  • 1/2 lb. chuck stew beef cut into 1/2″ cubes
  • olive oil
  • salt and pepper
  • 1-1/2 cups diced onion (3/4 large)
  • 1 cup diced carrot (1 large)
  • 3/4 cup celery (2 stalks)
  • 14.5 oz. can stewed tomatoes
  • 1 cup beef stock
  • 1 cup water
  • 1 bay leaf
  • 1 tsp. sage
  • 1 tsp. thyme
  • 4 oz. gluten free pasta
  • Italian parsley, for garnish
  • grated cheese, for serving

Preparation:

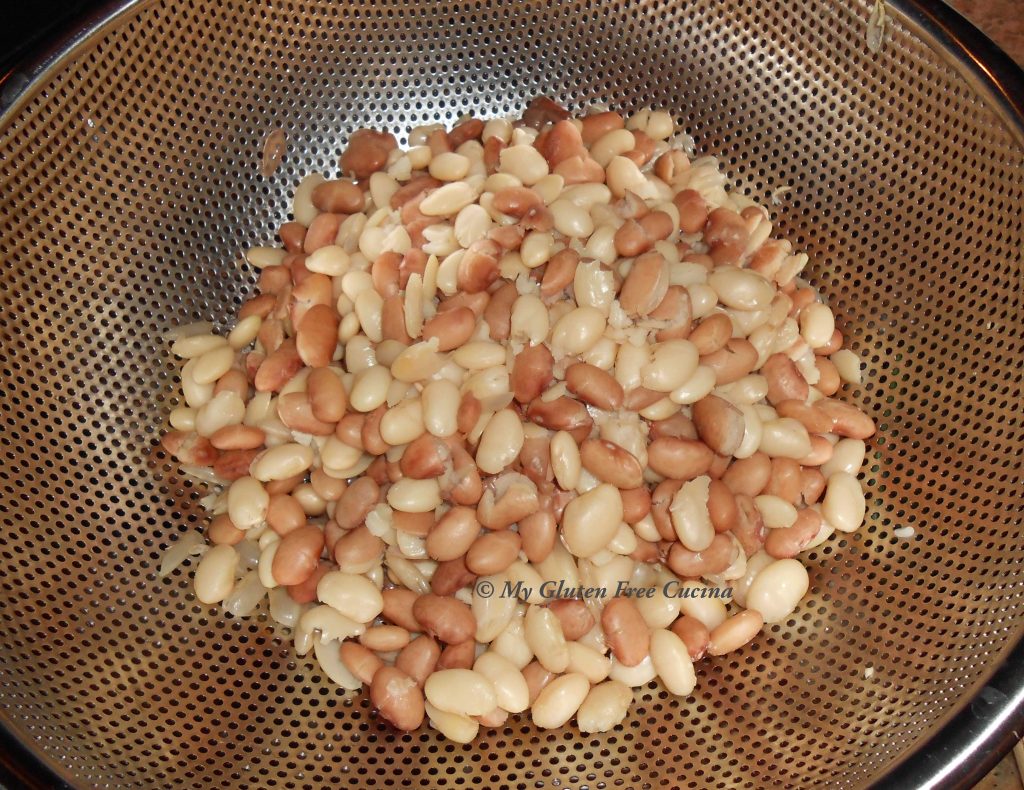
Soak the beans overnight in a stock pot or Dutch oven.  In the morning, drain and rinse the beans.  Wipe the pot clean and add back the beans with 8 cups of cold water.  Simmer for 2 hours on lowest heat.  Drain and rinse the beans again.

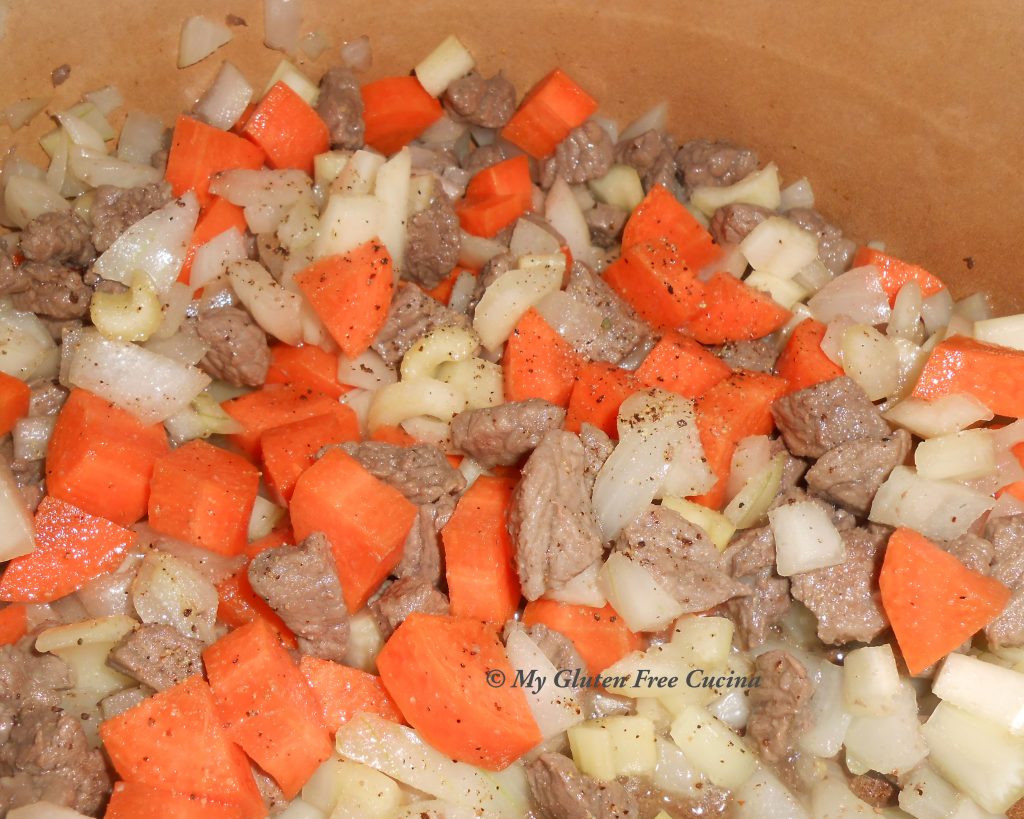
Wipe the pot clean, add 1 tbsp. olive oil and brown the beef.  Add the onion, carrot and celery to the pan.  Season with salt and pepper.

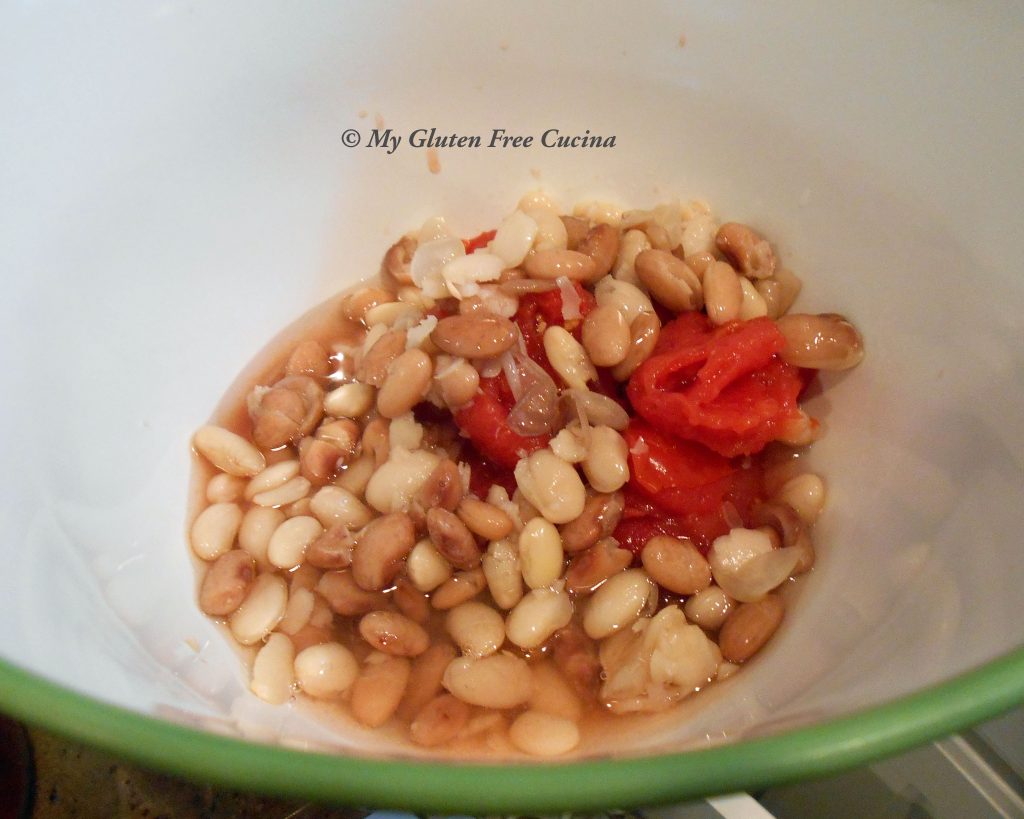
In a separate bowl, combine 1 can of stewed tomatoes, 2 ladles of the cooked beans and 1/2 cup water.  Puree with a stick blender.

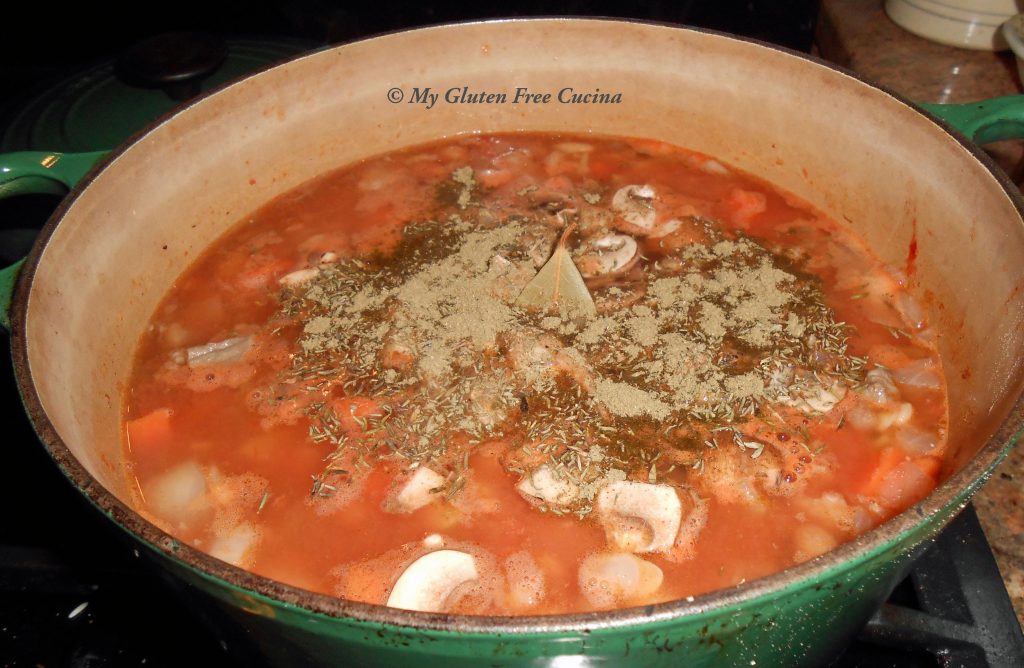
Add the pureed mixture, 1 cup beef stock and 1 cup water to the stockpot with the rest of the beans.  Stir well and add the bay leaf, sage and thyme.  Simmer 3 more hours on lowest heat.

When the soup is finished, be sure to pull out the bay leaf!

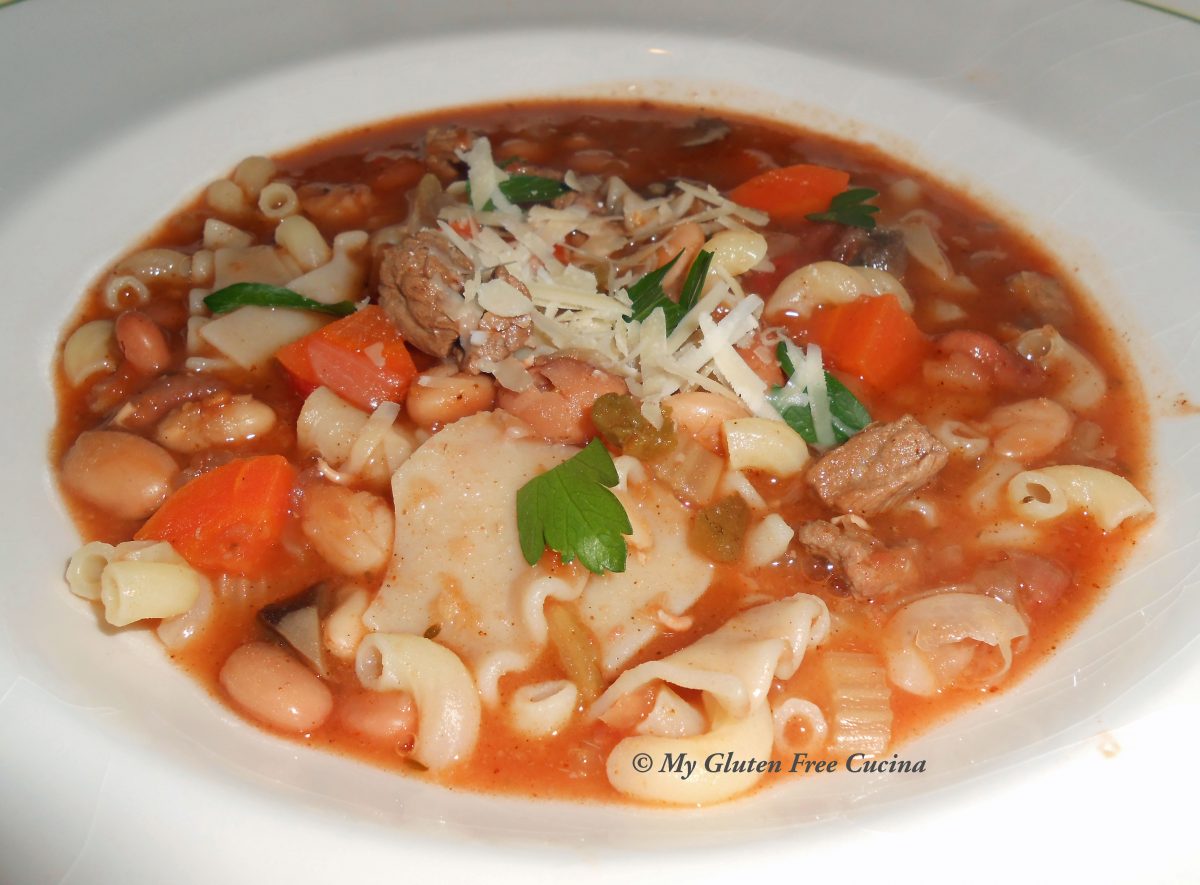
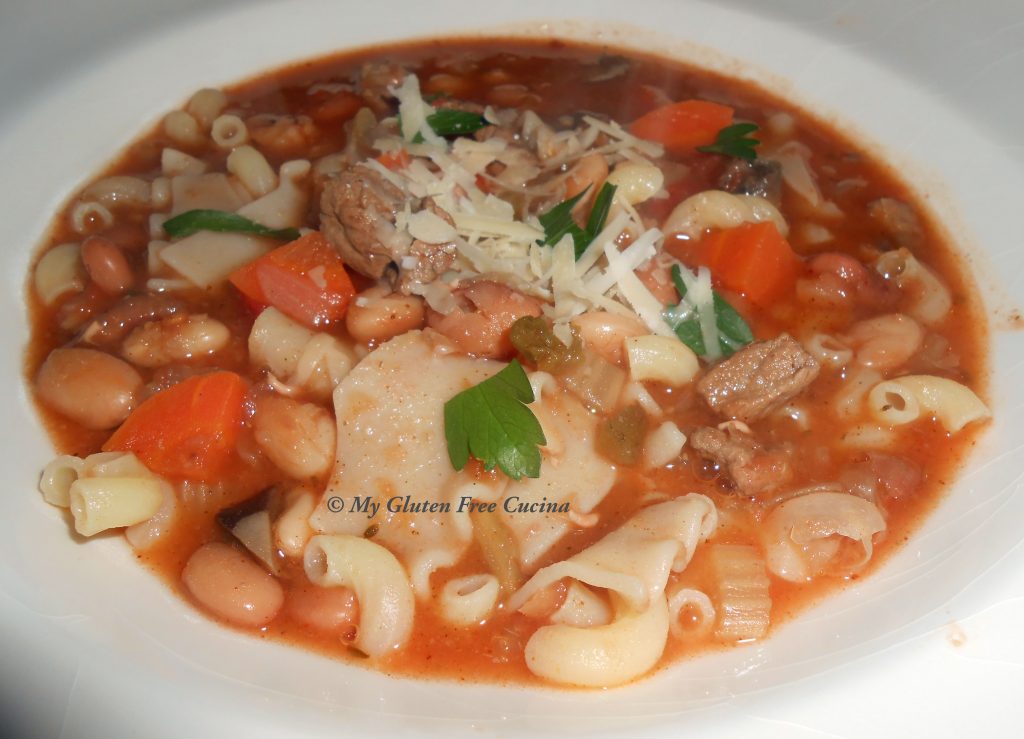
Boil salted water for pasta and cook according to package directions.  Drain and add to the soup.  Serve with grated cheese and garnish with Italian parsley.

Notes:

I normally shy away from packaged mixed beans because so many of them contain barley.  Luckily, I came across this one by Hambeens that is clearly labeled gluten free!

Can you see the lasagna noodles in my bowl?  Gluten free pasta seems especially prone to breakage.  Every box has some broken bits at the bottom.  Don’t throw them away!  They are perfect to use in soup.

Print This Post Print This Post

Gluten Free American Chop Suey

I grew up eating American Chop Suey and have been making this peasant dish my whole life.  It wasn’t until I became an adult that I realized this was not an Italian recipe, and in fact variations of this dish exist all over the country.  From goulash, to slumgullion (huh?), to simply macaroni and beef, this is a meal that goes by different names but is universally loved.

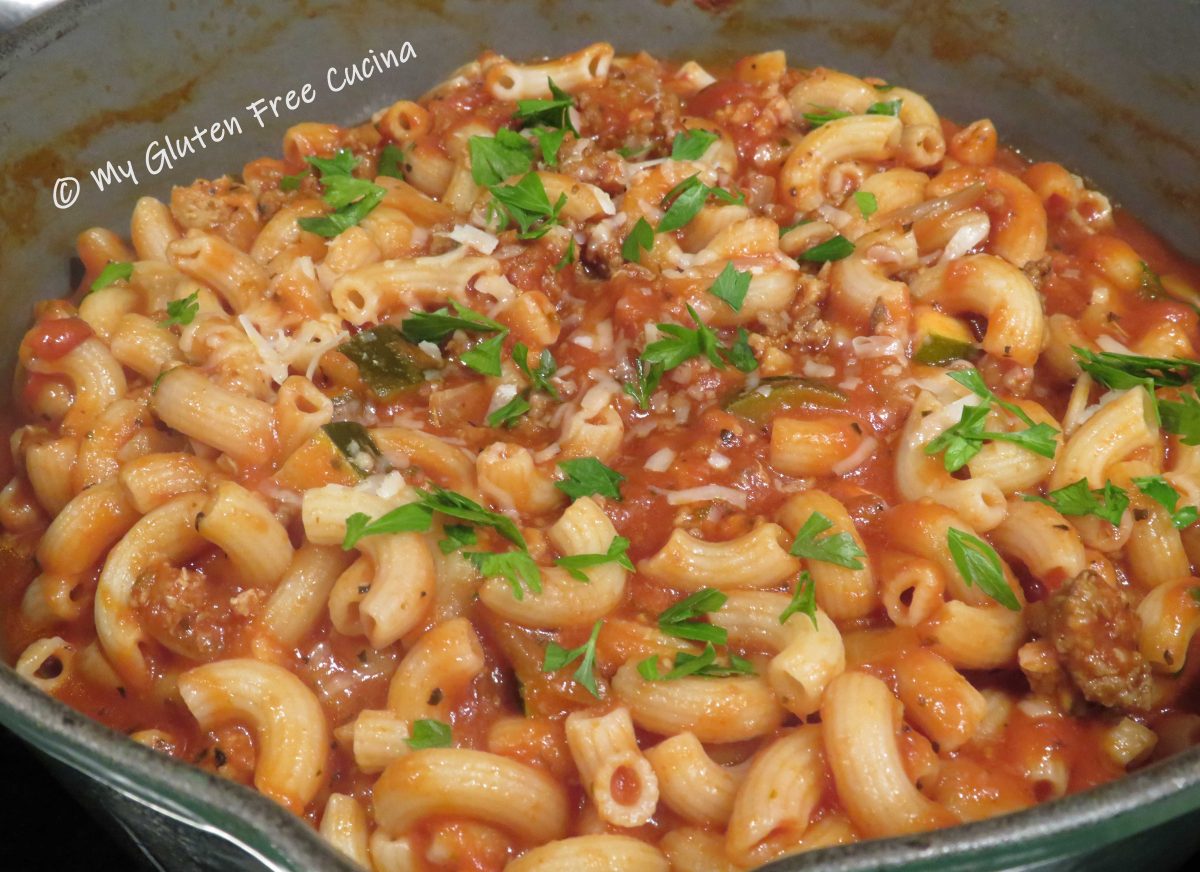
These days I am grateful that delicious, gluten free pasta is readily available so I can still enjoy this comfort food.  It goes from stove top to table all in one pan, for easy cleanup!

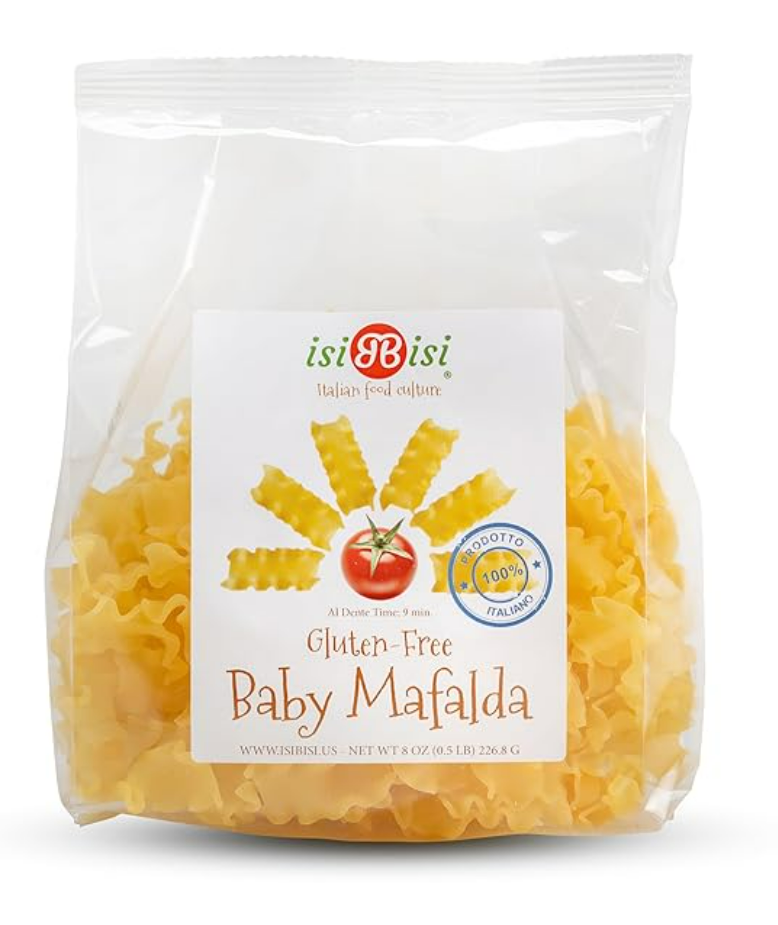
In my rendition I add Italian sausage for a spicy kick, and more healthy veggies to round out the plate.  I was thrilled to find gluten free elbow macaroni that is traditionally used in this dish!  If you can’t find elbows, go ahead and substitute shells, or even penne or fusilli.

4 servings

This post contains affiliate links.

Ingredients:

  • Cooking spray
  • 8 oz. Lean ground beef
  • 8 oz. Italian sausage, hot or sweet
  • 1/2 sweet onion, diced
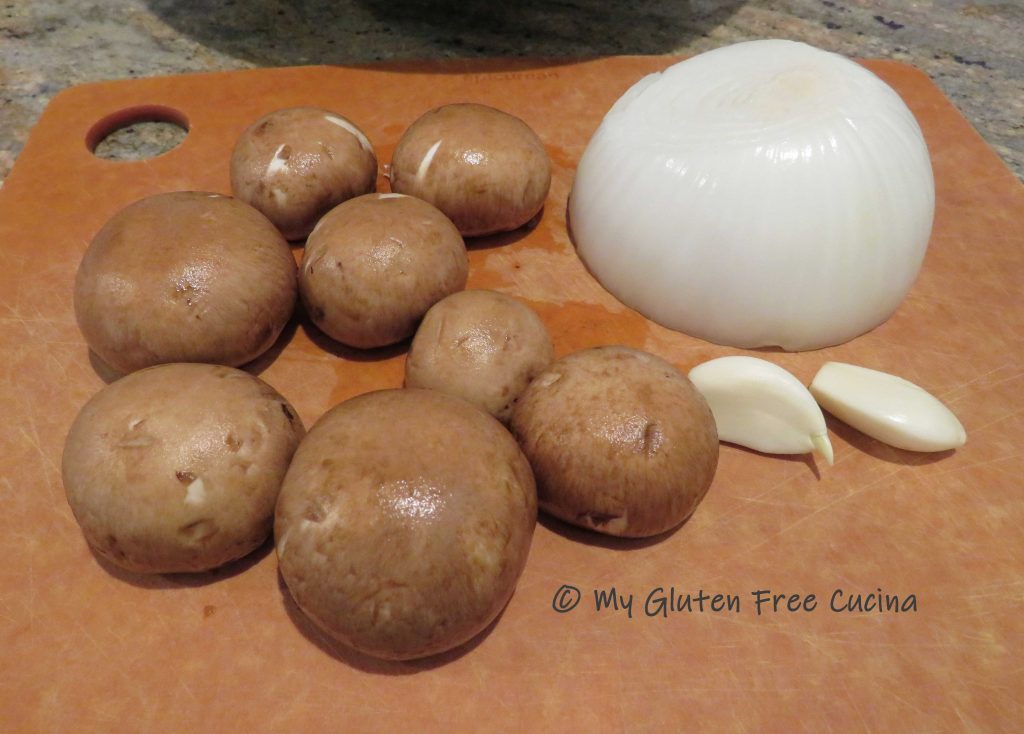
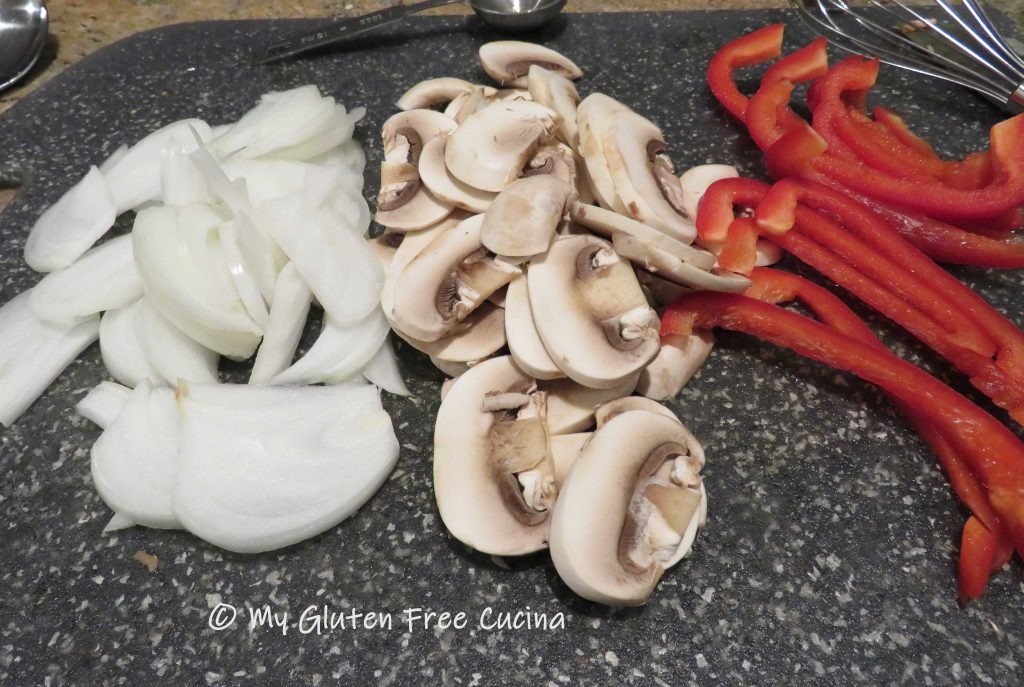
  • ½ cup mushroom, diced
  • ½ small zucchini, diced
  • 2 cloves garlic, minced
  • 1 tbsp. Olive oil
  • 29 oz. Can tomato sauce
  • 2 tbsp. tomato paste
  • salt and pepper to taste
  • 1/2 tsp. Oregano
  • 1 tsp. Basil
  • 1/2 tsp. Marjoram
  • 1 tsp. Brown sugar
  • 6 oz. gluten free elbows
  • Fresh parsley for garnish
  • Grated Parmesan cheese for serving

Preparation:

Mist a deep heavy skillet with cooking spray and add 1 tbsp. olive oil.  Add the ground beef and sausage and begin breaking it up with a spatula.

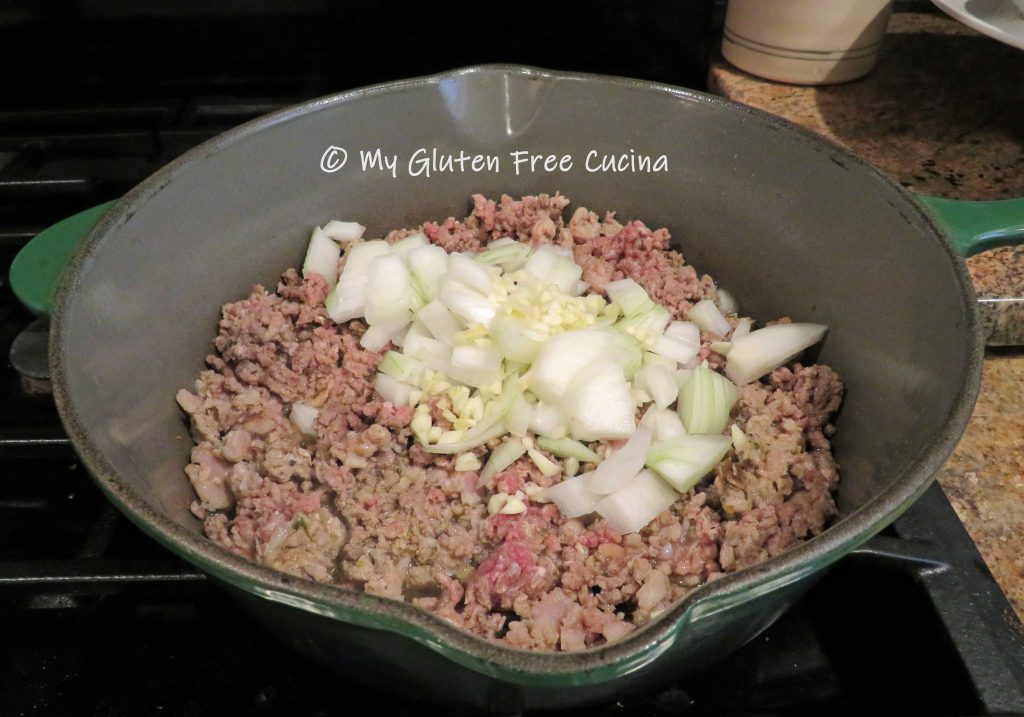
When the meat is completely browned, season with salt and pepper and add the onions and garlic.

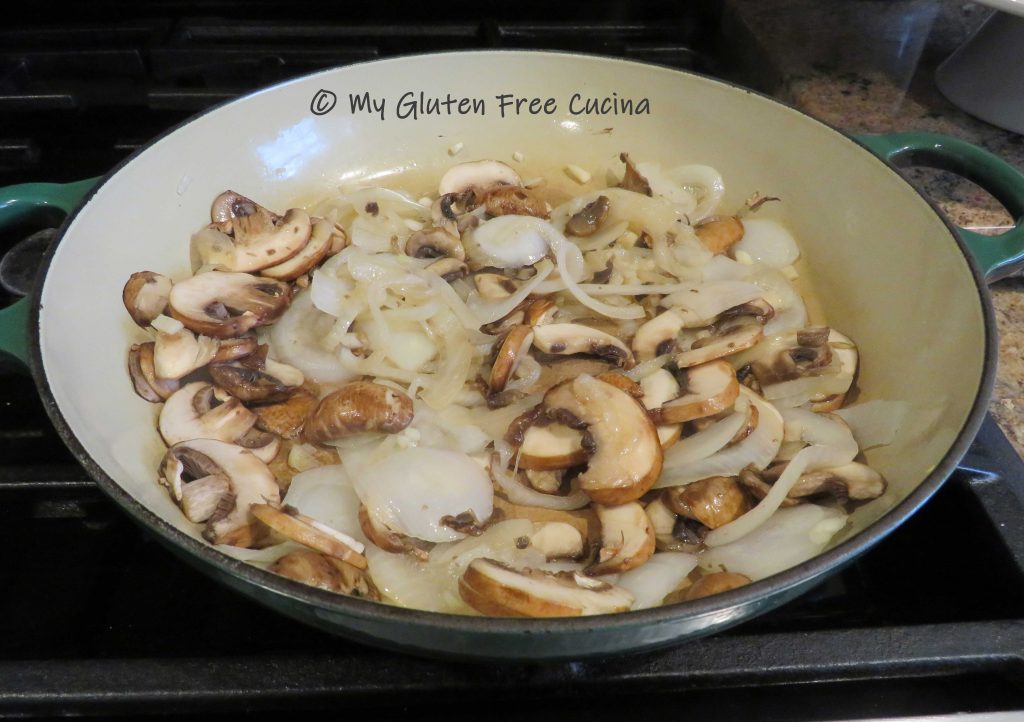
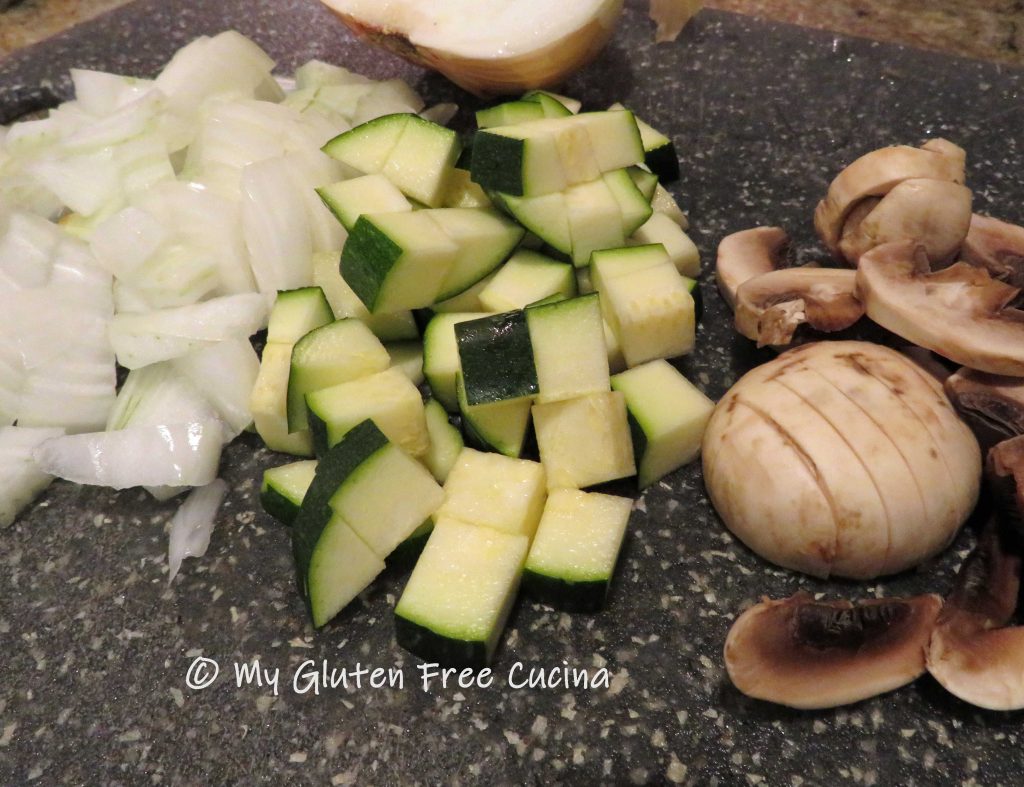
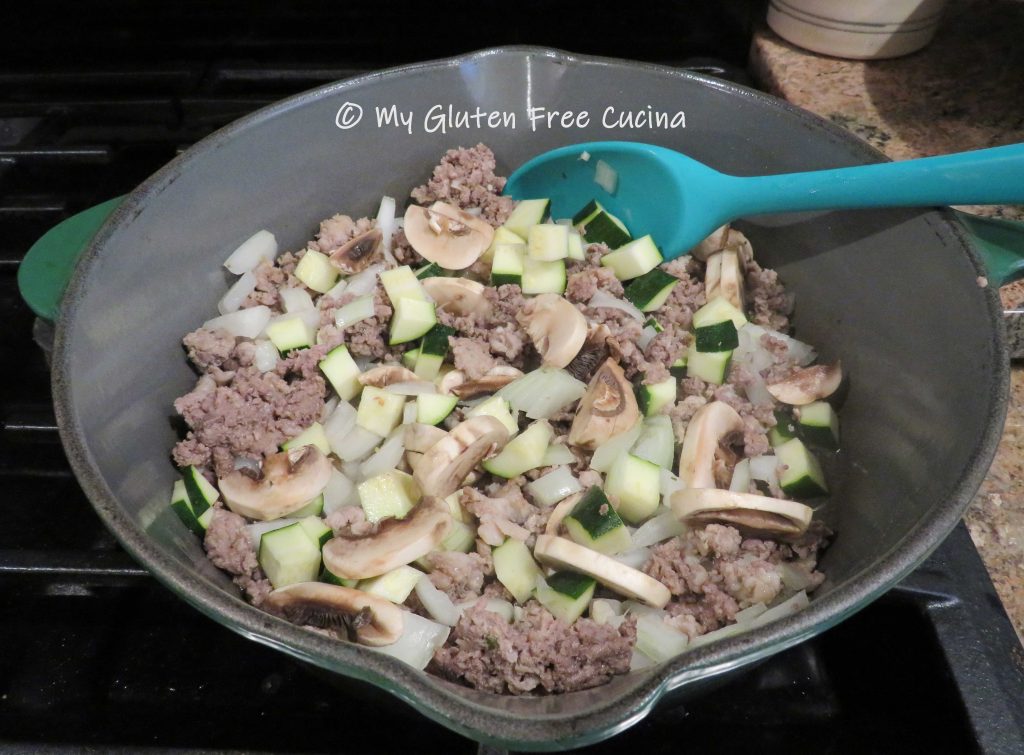
Cook for 2 minutes then add the remainder of the vegetables, sprinkle of salt and a few grinds of black pepper.

It may look like a lot of veggies, but they will cook down and disappear into the sauce (don’t tell the kids! 😉).  Stir the veggies into the meat.  When the veggies have cooked for a few more minutes make a spot in the center in the pan and add the tomato paste.

Let it toast for a minute then stir it into the mixture.

Add the tomato sauce, brown sugar, basil, oregano and marjoram.  Stir well, cover and simmer 30 minutes.  Then simmer partially uncovered for 10 more minutes to thicken the sauce.

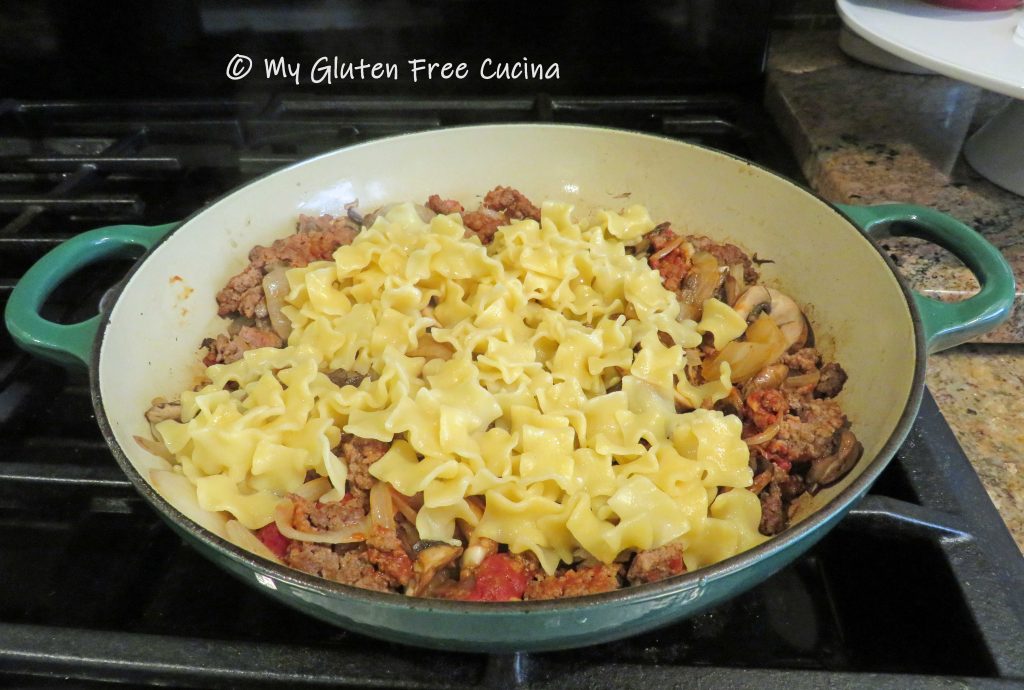
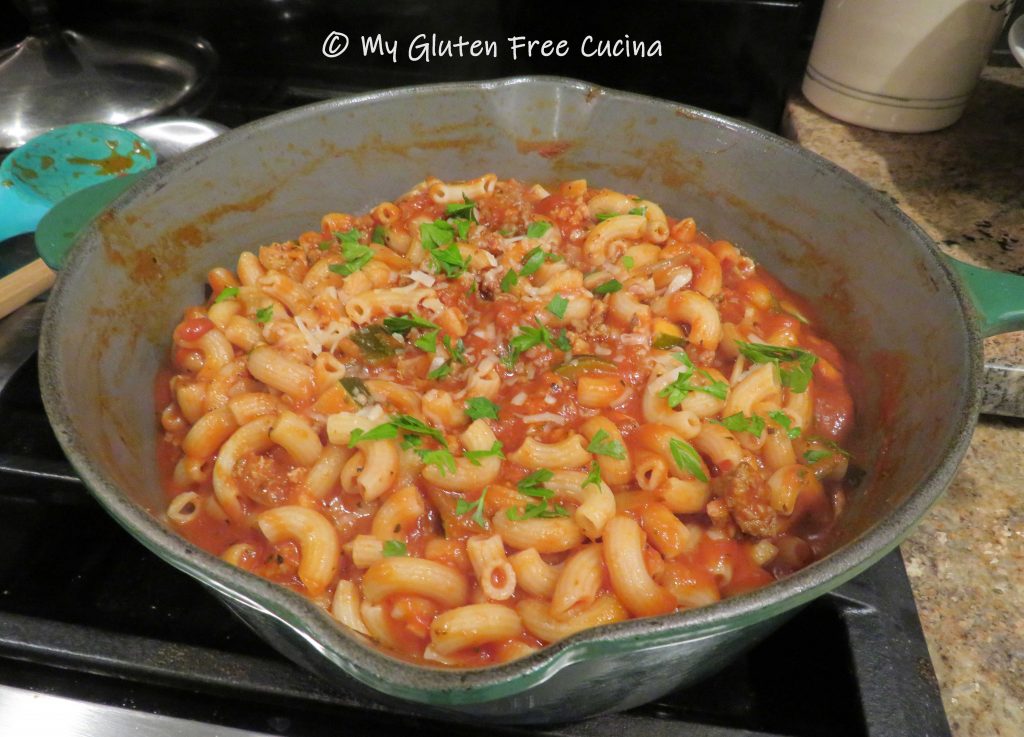
To finish the dish, cook the pasta to two minutes less than the package directions.  Drain and add to the skillet and finish cooking in the sauce.

Finish with grated cheese and fresh parsley.  Bring it to the table right in the skillet!

Notes: ♪♫ Traditionally a meat and pasta dish with tomato sauce, I packed mine with veggies for more nutrition and fiber.  Once cooked down, the veggies are almost invisible and take on the flavors of the dish.  Let it be your little secret!

Print This Post Print This Post

Crock-Pot Corned Beef and Cabbage

Today we are making a traditional Crock-Pot Corned Beef and Cabbage dinner for St. Paddy’s!  Go about your day while your crock-pot does all the heavy lifting and enjoy this dish when you get home from work.  Look for brisket that is labeled gluten free, if it’s not check with the meat department or consult the manufacturer’s website to be safe!

The secret to perfectly cooked Corned Beef and Cabbage is in the layering- veggies on the bottom, then the meat, and finally the cabbage wedges resting on top.  Resist adding more water than specified in the recipe, as the meat and veggies will create a sufficient amount of liquid as they cook down.

Corned beef is often sold with a spice packet, but if yours doesn’t have one or you suspect it may contain gluten, just toss it and make your own!

This post contains affiliate links.

Ingredients:

  • 2-4 lbs. corned beef brisket
  • 1 head of cabbage
  • 2 medium potatoes
  • 4 large carrots
  • 1 large, sweet onion
  • 2 cloves garlic
  • 3 cups water
  • 5 tsp. cider vinegar
  • 5 tbsp. sugar

 For the spices:

Preparation:

Place all of the spices except the bay leaves in a tea ball or tie them up in cheesecloth.

Peel and chop the potatoes, carrots and onion into large chunks.  Mince the garlic.  Arrange the veggies in an even layer on the bottom of the crock-pot and add the bay leaves.

Rinse off the brisket and place it on top of the vegetables.  If your brisket weighs more than 2 lbs. you may want to cut it in half.  This one is a point cut, just under 4 lbs. and I did end up cutting it in two pieces.

Snuggle the tea ball or cheesecloth bundle about halfway down so that it will be submerged in liquid.

Cut the cabbage into wedges and arrange them on top of the meat.  Whisk together the water, sugar and cider vinegar, and pour the liquid over everything.  Again, it may not look like enough, but more liquid will be created as the meat and cabbage cook down.  Cover and cook on low setting for 8-9 hours, depending on the size of your brisket.  The internal temperature of the corned beef should be 160º or higher.

It’s that easy friends.  Remove the spice bundle and transfer the corned beef to a cutting board.  Slice the meat against the grain.

Arrange on a serving platter with the vegetables and dinner is ready.  Let the festivities begin! 🍀
Notes ♪♫ Brisket – flat cut or point cut?  Choose a flat cut for leaner meat and even thickness (a good option if you are limiting fat or your crock-pot is small).  Point cut is a fattier piece of meat that is so flavorful and juicy, it is my personal favorite!  Whichever you choose, buy more than you think you will need as the meat shrinks considerably during cooking.  Both cuts are suitable for this slow-cooked preparation.

Print This Post Print This Post