Turkey Stock

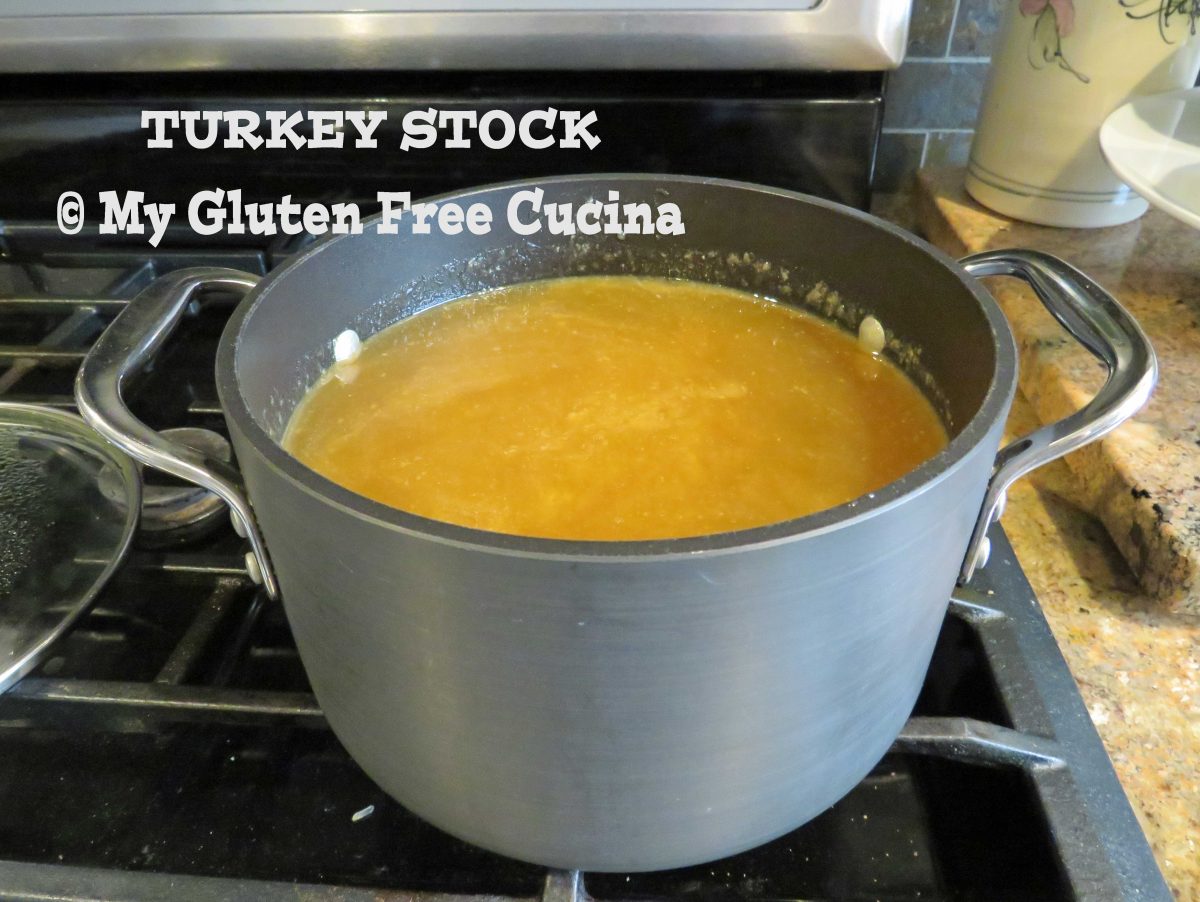
Look at this turkey stock!  It’s the pot of liquid gold at the end of our Thanksgiving rainbow!  An annual ritual, I almost can’t wait for this grand finale, when our Thanksgiving turkey gives up the last of its goodness to make a rich, golden stock.

Did you know that with a minimal amount of work, a turkey carcass can be transformed into stock to use as a base for your winter soups and stews?  Making your own stock means you control what goes into it, no artificial ingredients, no salt, no gluten.

This post contains affiliate links.

INGREDIENTS:

  • leftover turkey carcass (bones with a bit of skin and meat attached)
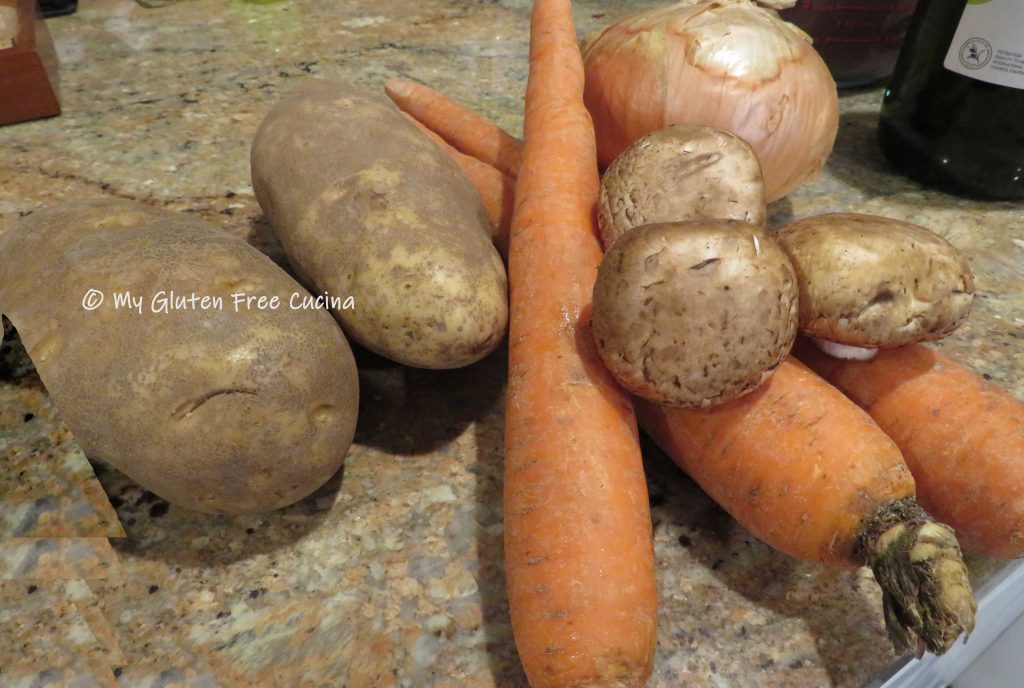
  • 2 onions, peeled and cut into large chunks
  • 4 celery stalks, cut into large chunks
  • 4 large carrots, peeled and cut into large chunks
  • 2 bay leaves
  • 1 tbsp. whole peppercorns

PREPARATION:

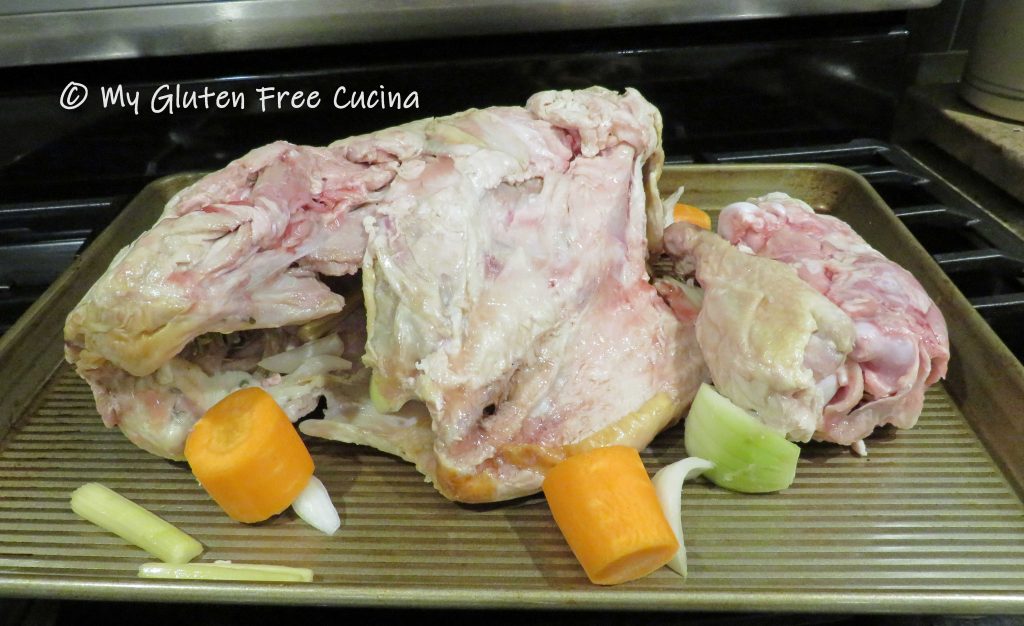
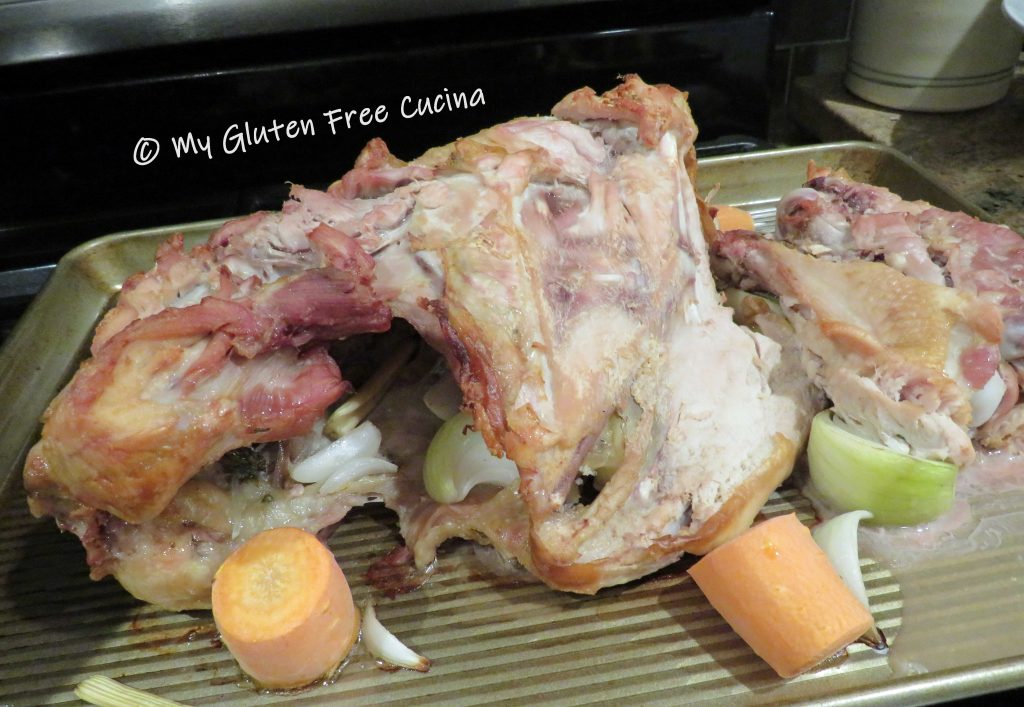
Place the turkey carcass, one onion, 2 celery stalks, and 2 carrots in a baking pan and roast for 45 minutes at 350º.  Roasting the bones creates an extra layer of flavor.  It will also be easier to break apart the roasted carcass to fit into your crock-pot.

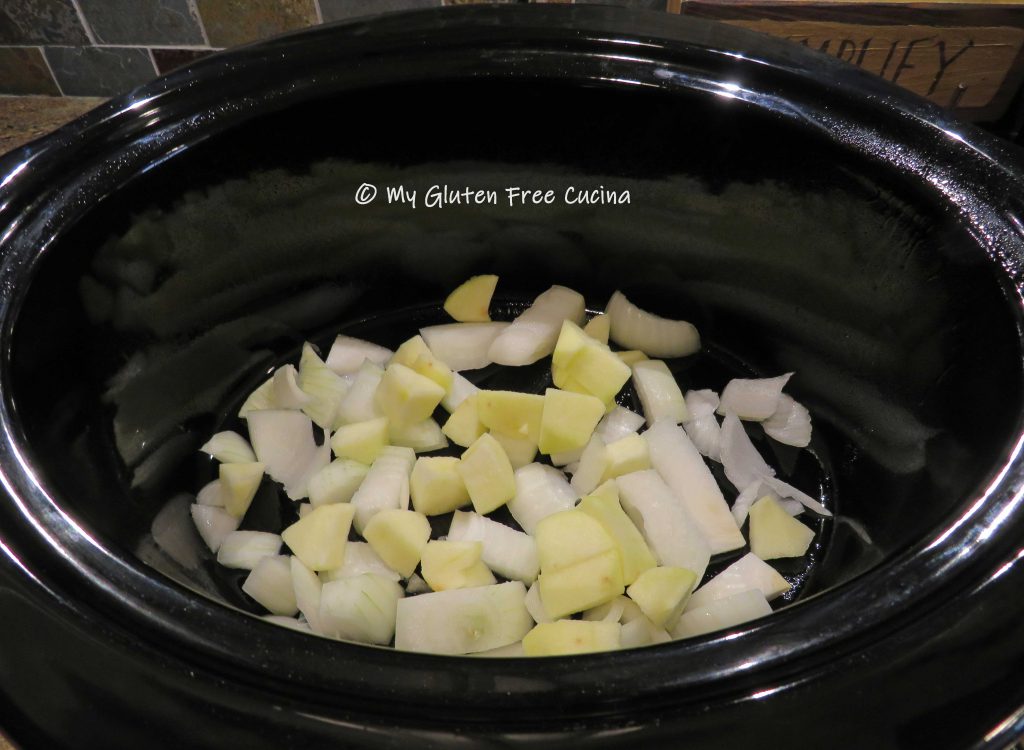
Next, set up your crock-pot and add the remaining onion, 2 carrots, 2 celery stalks, 2 bay leaves and 1 tsp. whole peppercorns.  

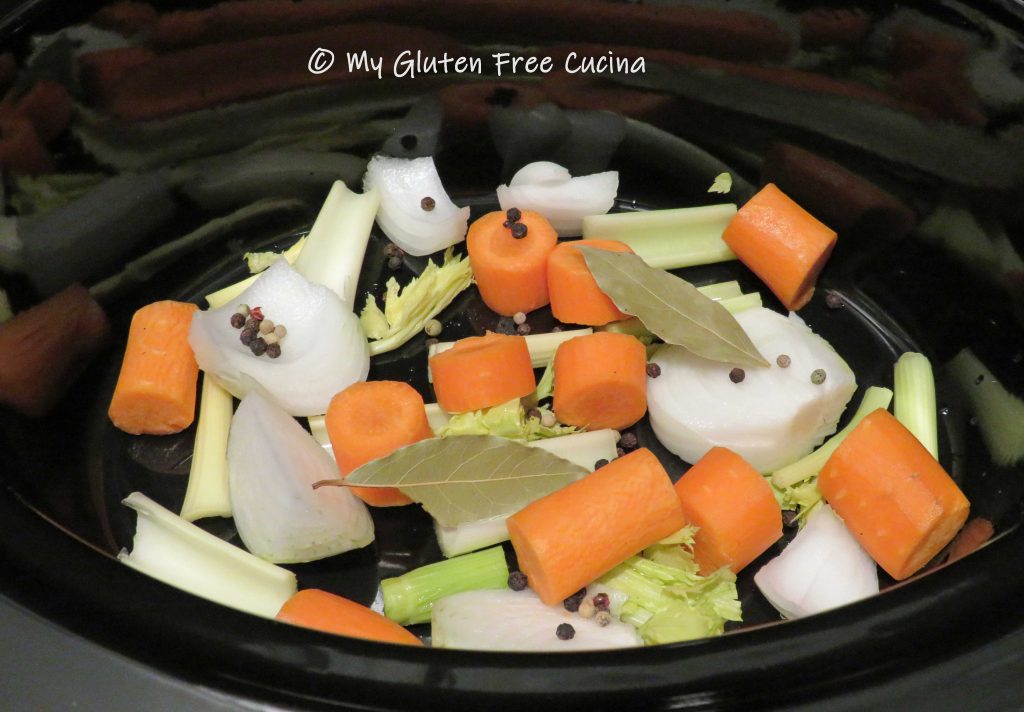
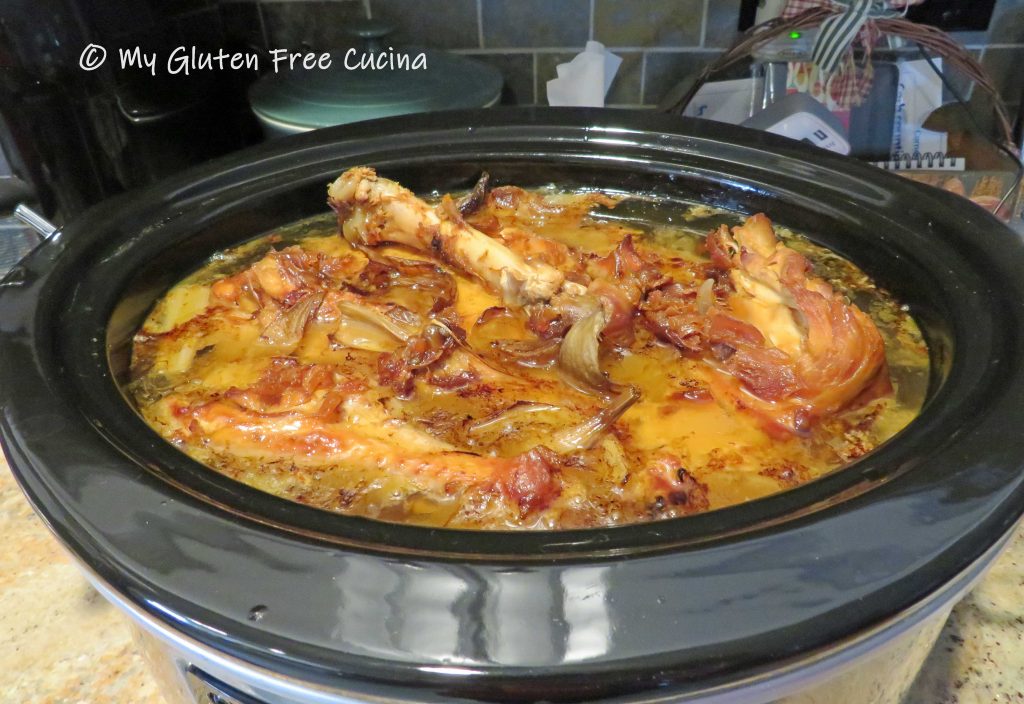
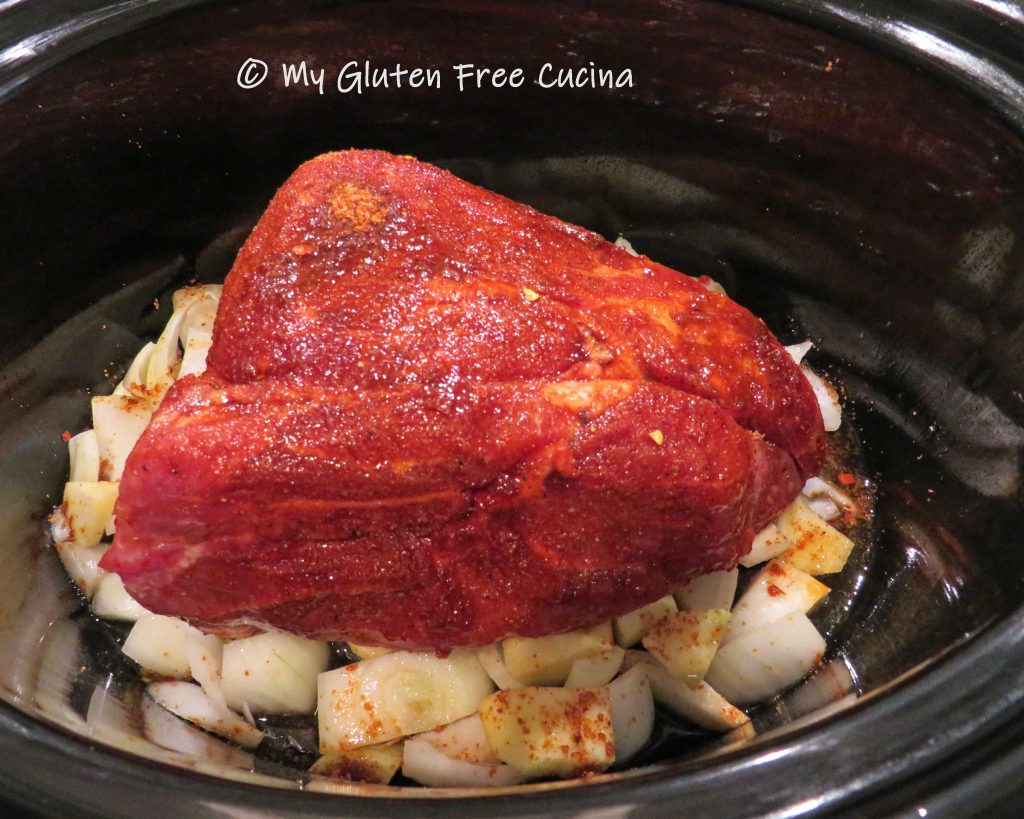
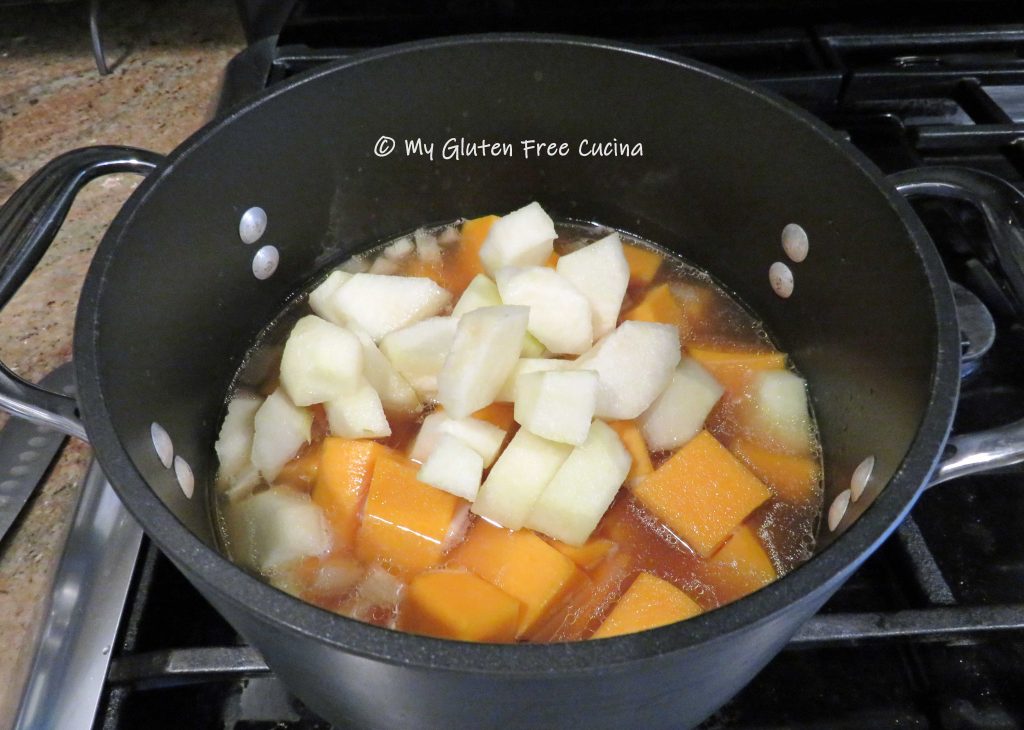
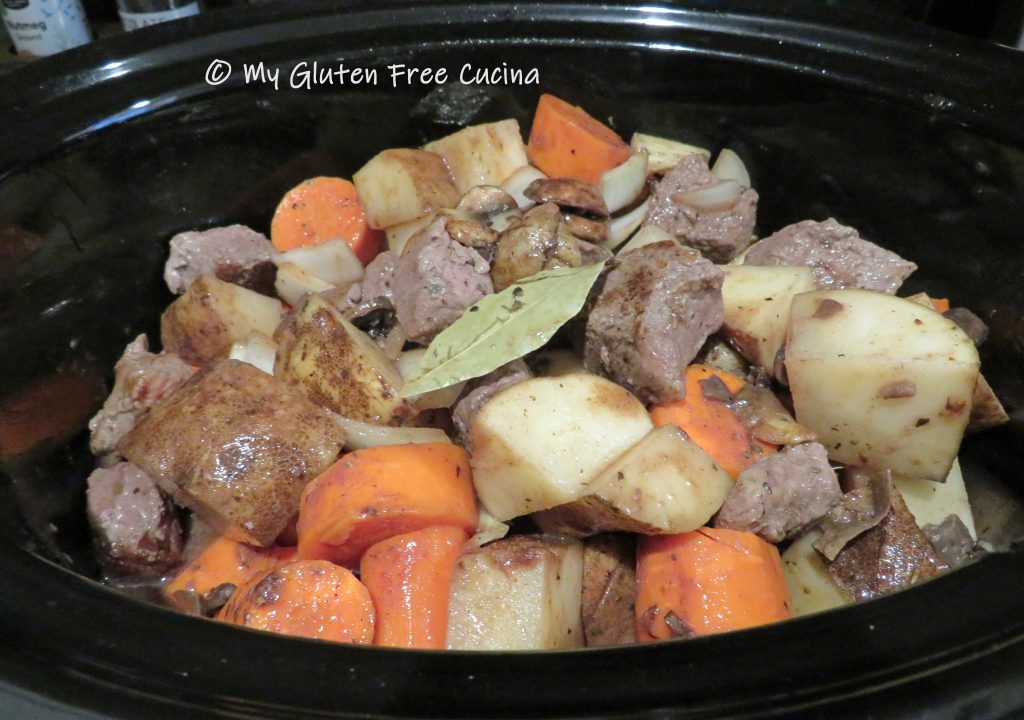
Add the roasted bones and vegetables with enough water to cover (about 10 cups).  It doesn’t look pretty at this point, but what an aroma as the stock slowly simmers!

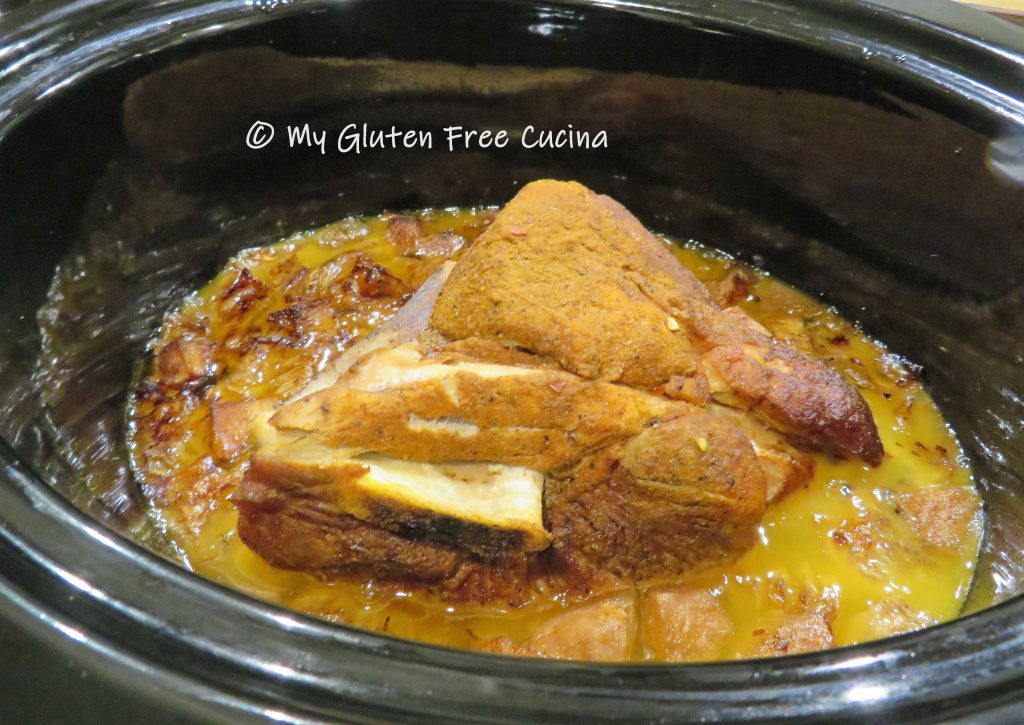
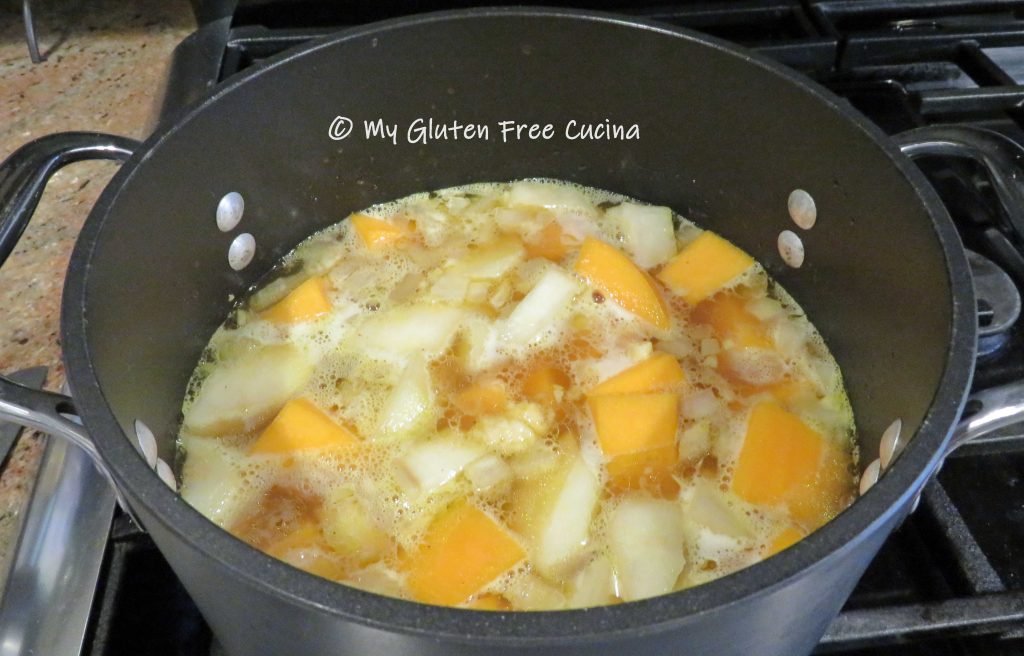
Now let your crock-pot do the work.  Cover and cook on low for 18 hours.  I timed mine so that it would simmer overnight, from 4:00pm to 10:00am.  Look at that color!  

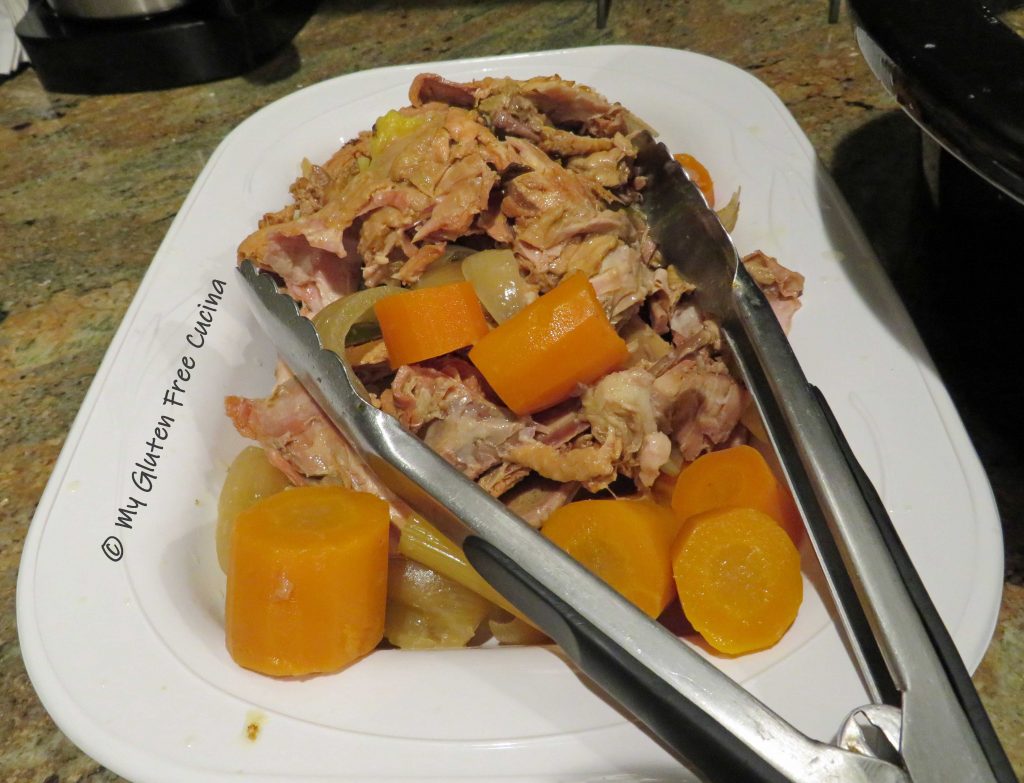
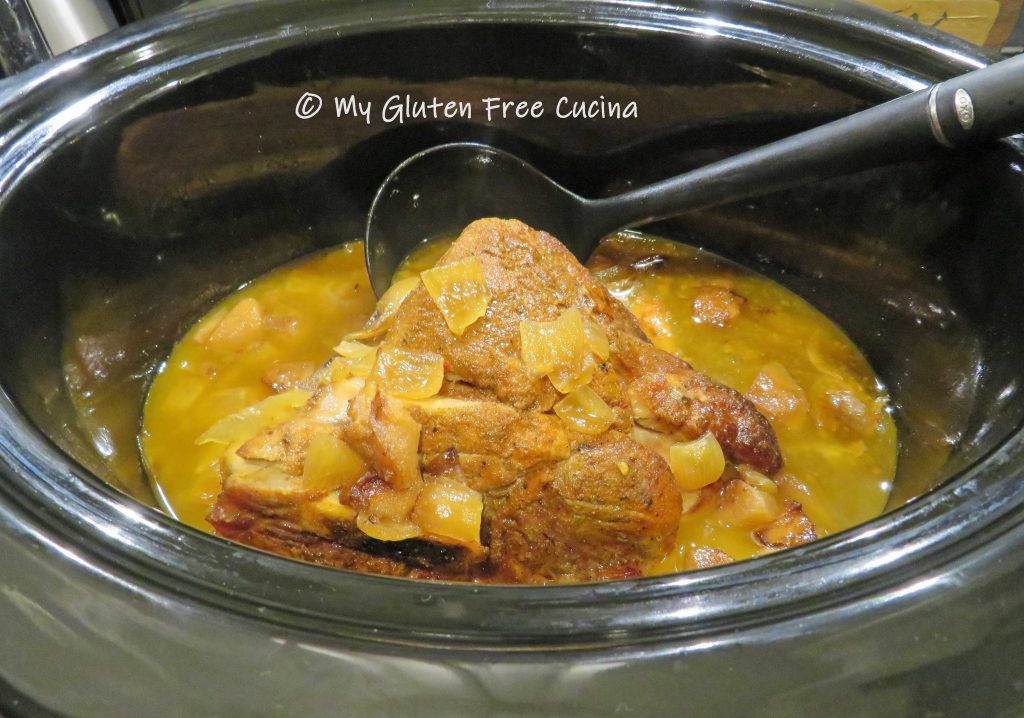
Pick out as many of the bones and vegetables as you can, and discard.  

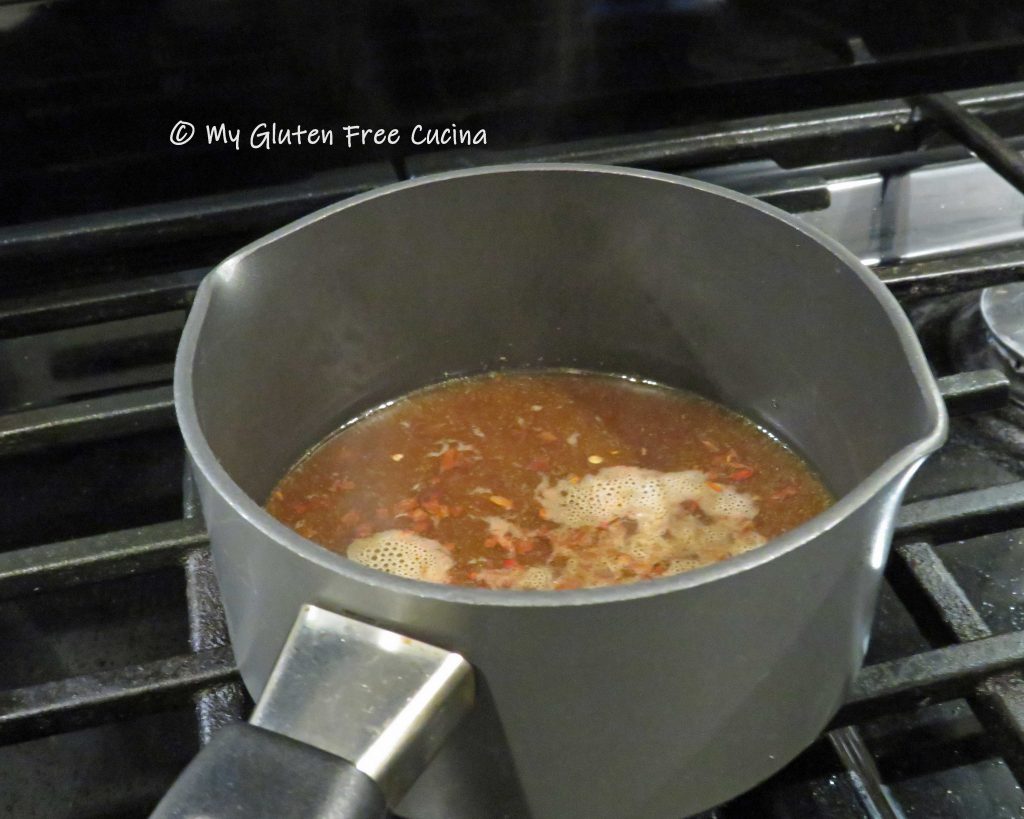
Strain the stock through a fine mesh sieve or use cheesecloth, into a clean pot.

Let the strained stock cool to room temperature and refrigerate overnight.  The next day you will have a layer of fat on top that can easily be skimmed away, leaving a thick, golden gelatinous mixture.  

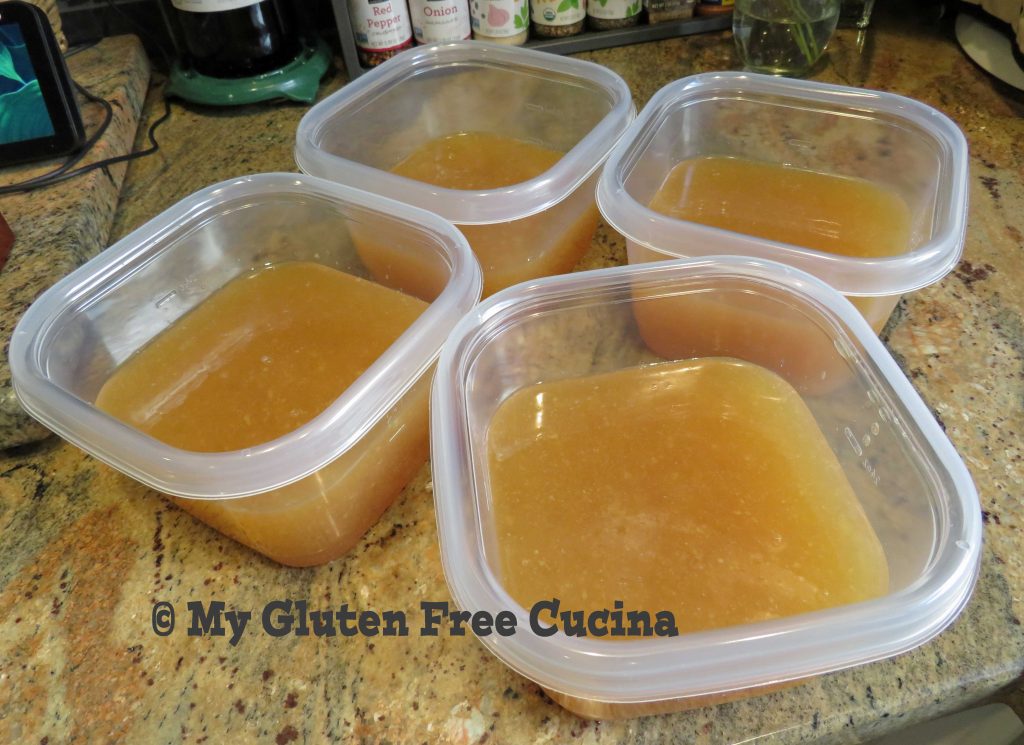
Divide the stock into containers to use or freeze for later.  Here’s a peek at my soon to be freezer stock!  I’m excited about all the tasty dishes I’ll be making over the winter months!

Use your stock as a base for soup, stews or casseroles.  It’s an easy and economical way to get every last bit of goodness from your next holiday turkey.  

Notes ♪♫ If you are too tired to think about making stock right after the holiday, just pop the remnants of the turkey into the freezer.  Once things calm down you can make it at your leisure.  

Print This Post Print This Post

Traditional Bolognese Sauce

When people say food is love, this is what they are talking about.  A big pot of Bolognese Sauce, simmered all day on the stove!  Pasta Bolognese is served in fine Italian restaurants everywhere, but you don’t have to go out to dinner to enjoy this traditional Italian favorite.  Read on and learn how you can make it right at home!

Patience is the key to this recipe!  A real Bolognese is not a quick meat sauce that you throw together in a hurry.  In fact, you will invest an entire afternoon.  But what a meal!  Special enough for guests or a romantic dinner for two.  Here are the step by step, easy to follow instructions.  Take your time and don’t rush the process!

Notice I didn’t title this post “Gluten Free” Bolognese Sauce?  That’s because it was always gluten free, there is nothing to change except the pasta you serve it with!

This post contains affiliate links.

6 Servings

Ingredients:

  • 1 tbsp. butter
  • 1 tbsp. olive oil
  • 1/2 onion minced, about 1 cup
  • 1 carrot minced, 1/2 cup
  • 2 celery stalks minced, 1/2 cup
  • 2 large garlic cloves minced, 2 tbsp.
  • 3 oz. pancetta, minced*
  • fresh ground pepper
  • 1/2 lb. ground veal
  • 1/2 lb. ground beef (90% lean)
  • 2 tbsp. tomato paste*
  • 1/2 cup red wine
  • 1 cup 1% milk (or whole milk, or cream)
  • 14.5 oz. can whole tomatoes in juices (or tomato sauce)*
  • 1/2 cup gluten free broth (beef or chicken)*
  • fresh parsley for garnish
  • grated parmesan cheese, for serving

*Always check labels when purchasing stock, canned tomatoes and prepared meats.

Preparation:

To begin, you will make a “Soffritto”, a mixture of equal parts onion, celery and carrot processed to a fine mince.  This is the base for so many Italian dishes!  Add the veggies to an electric chopper and process.  Measures are approximate, but you should end up with about 2 cups total of minced veggies, including the garlic.

Heat the oil and butter in a heavy saucepan or Dutch oven on medium low heat.  Add the vegetables and sauté for 5 minutes, stirring frequently.  Season generously with salt and pepper.

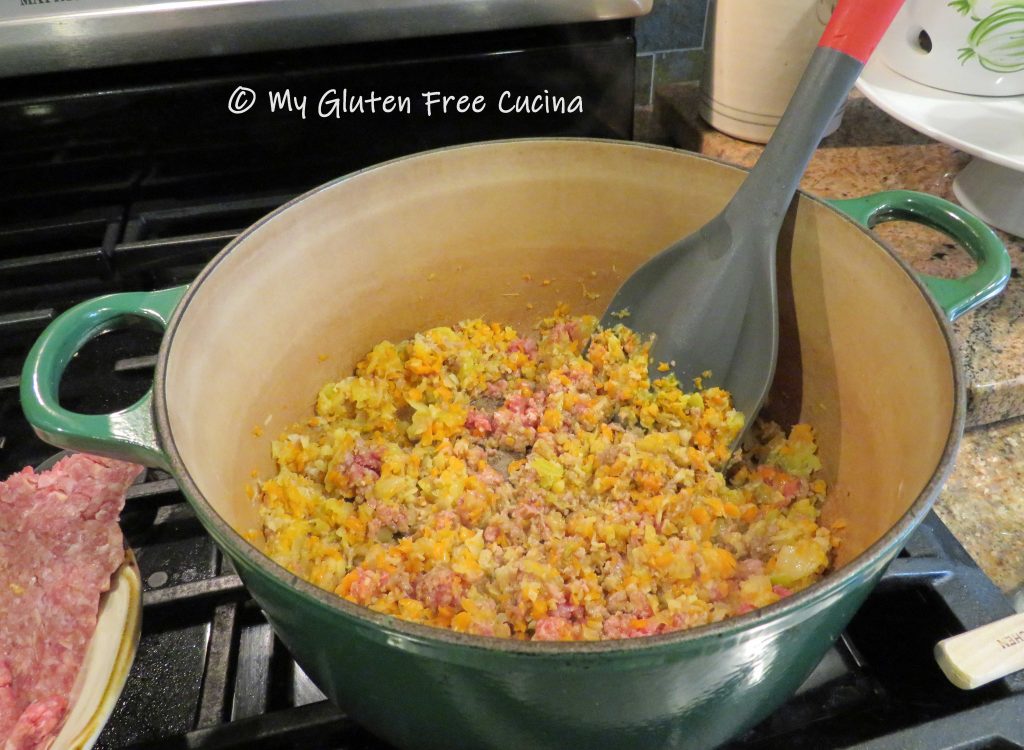
Chop the pancetta into fine dice or pulse a few times in the processor.

Add it to the pot and continue cooking slowly for 10 more minutes.

Divide the ground beef and veal into 4 pieces and gradually add the meat to the pan, stirring and breaking it up with a spatula after each addition.

Allow some of the liquid to evaporate before adding more meat, you want it to brown, not steam.  Add more salt and pepper to taste.

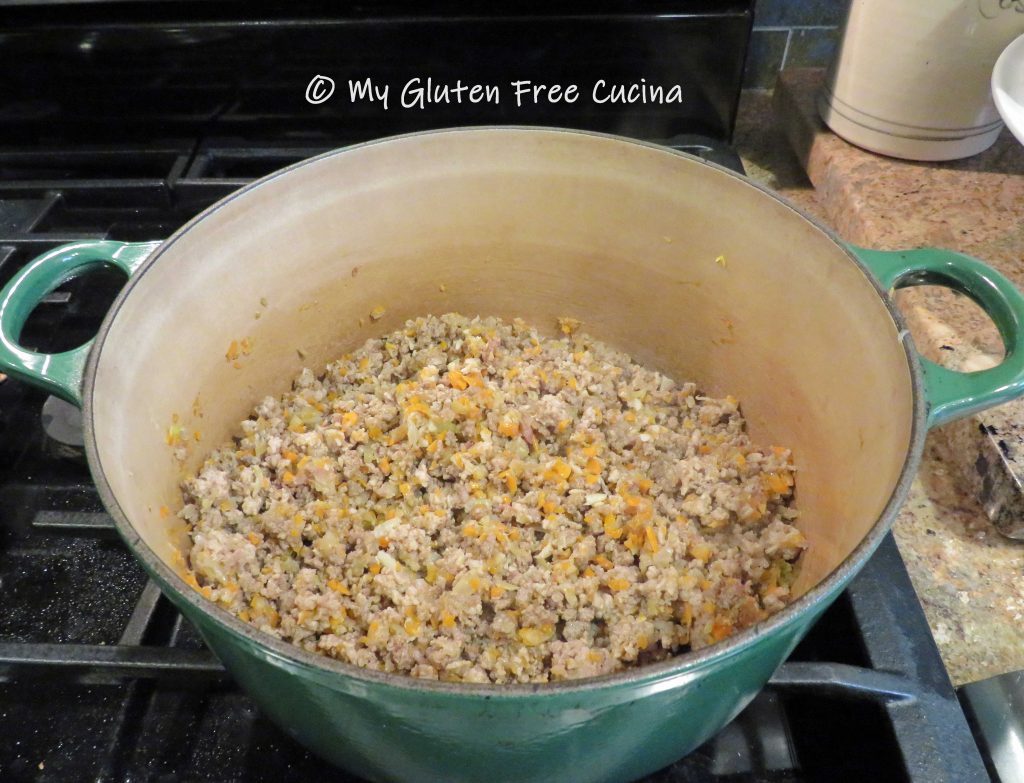
After about 20 minutes the meat should be well browned and starting to caramelize on the bottom of the pan.  Clear a spot in the middle of the pan and add the tomato paste.  Cook for 2 minutes, then stir the tomato paste into the meat.

Add the red wine, and use a spatula to loosen up any browned bits on the bottom of the pan and stir them into the sauce.

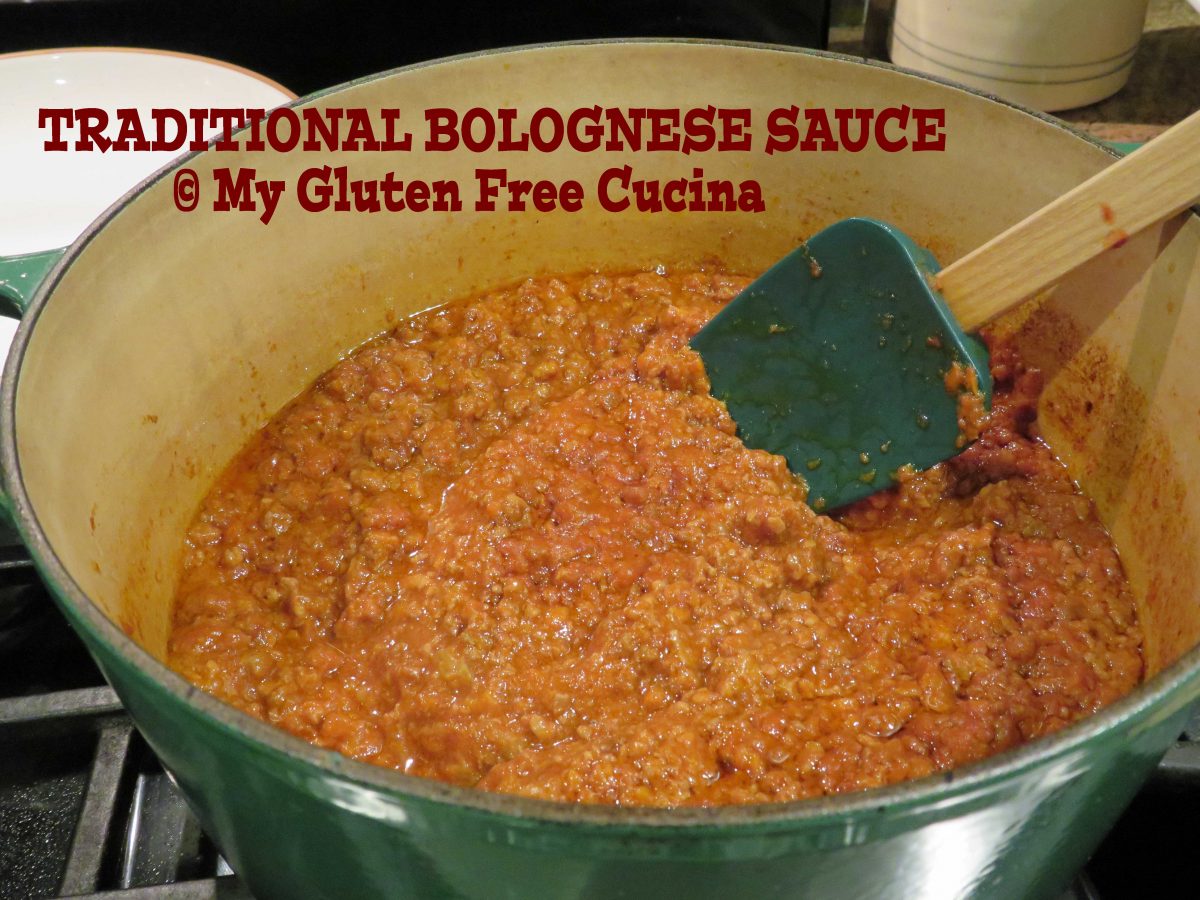
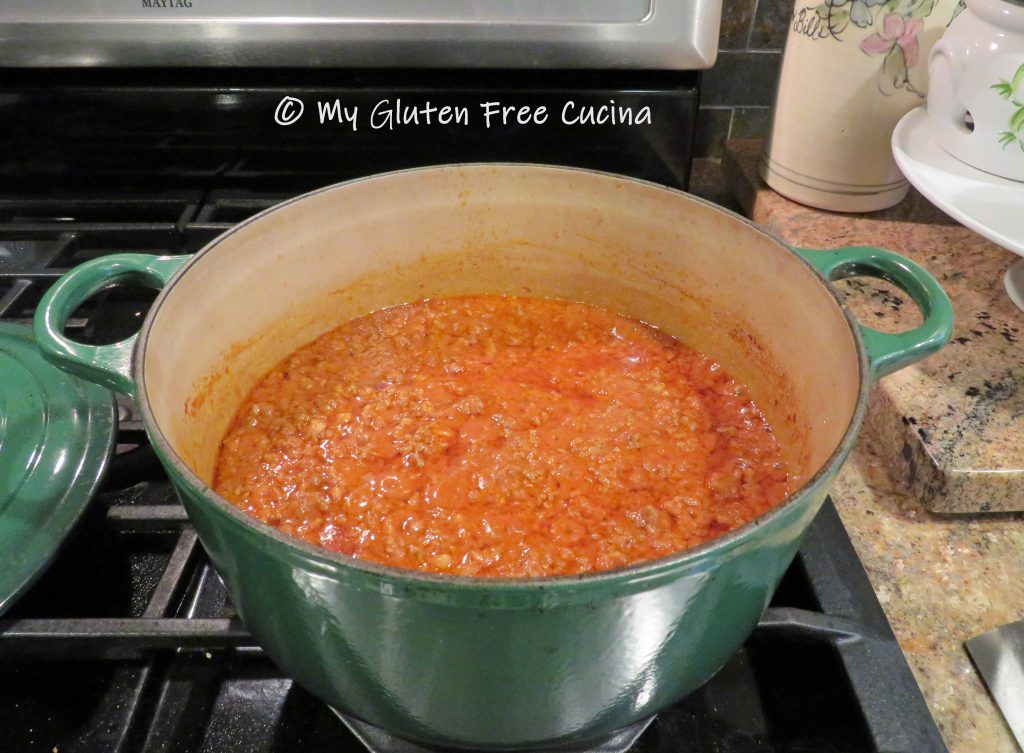
Simmer 3 minutes to allow some of the wine to cook off, then add the milk (or cream), tomatoes and stock.

Cover the pot, but leave the lid slightly ajar so that the sauce thickens as it cooks.  Keep it on the lowest simmer for 3-4 hours, stirring occasionally.

Curious about this gadget?  It’s a heat diffuser, perfect for maintaining a long, slow simmer without burning.  I use it for all my soups, sauces and gravies.  It is a must have for this recipe!

Look at this thick, hearty sauce!  Can you imagine the aromas filling your kitchen?

Now just cook up a batch of your favorite gluten free pasta and ladle with Bolognese sauce.  Top it off with grated cheese and garnish with Italian parsley.

Notes: ♪♫  I see you eyeing that pasta!  It’s Pappardelle, a wide ribbon shaped egg noodle that is classically paired with Bolognese sauce.  It is  homemade and yes, it is gluten free!  Learn how to make it in this post, your family will love you. ♥  

Print This Post Print This Post

Cheesy Potato Stacks

Here is a beautiful potato side for your Thanksgiving table with all the colors of fall.  A festive presentation of white and sweet potatoes, layered and baked gratin style in a muffin tin.  You will want to make a double batch, they are so good everyone will want seconds and thirds!

The Apple Smoked Gruyere that I used in this recipe was just amazing.  The unique flavor is a definitely a little bolder than plain Gruyere, but it was the perfect pairing to this fall inspired potato side.


This post contains affiliate links.

Ingredients:

  • 1 large, sweet potato, peeled
  • 4 small red potatoes, skin on
  • cooking spray
  • 4 tbsp. unsalted butter, melted
  • 1/3 cup 1% milk
  • seasoned salt, to taste (I used Lawry’s reduced sodium)
  • 2 cups shredded Gruyere cheese (I used Red Apple Smoked Gruyere)
  • fresh thyme for garnish

Preparation:

Grate the cheese.  Slice the potatoes very thin, using a mandoline or sharp knife.  Leave some of the skins on for more color and texture.

Heat the butter, milk and seasoned salt, whisk well.  Preheat the oven to 400º and coat a 12-cup muffin pan with cooking spray.  Begin layering the potatoes in the muffin cups, alternating white and sweet potato slices until the cups are half full.

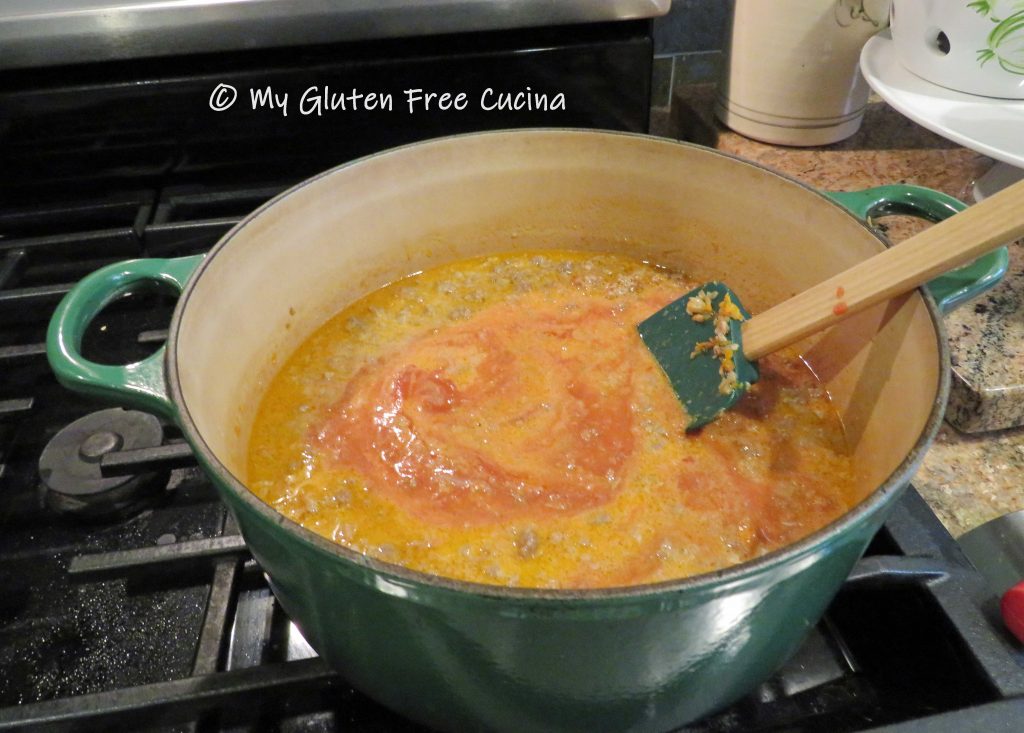
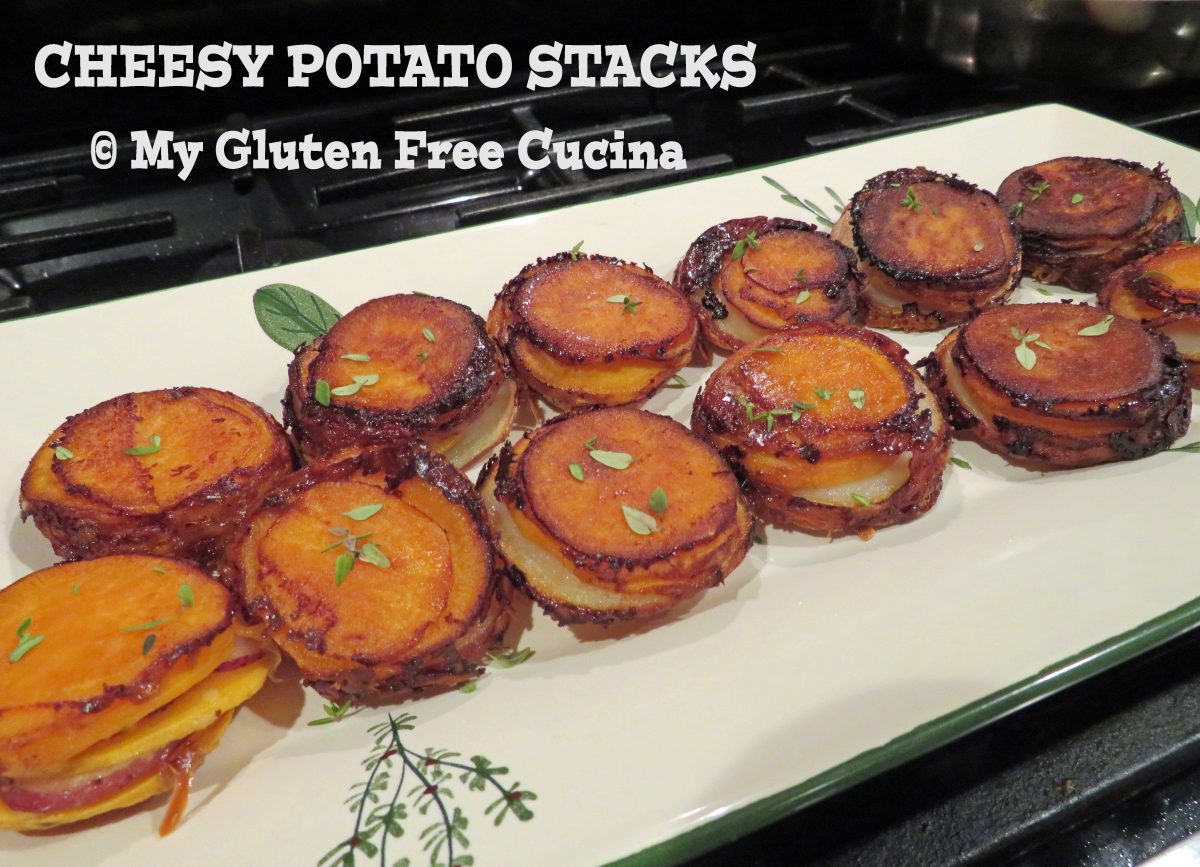
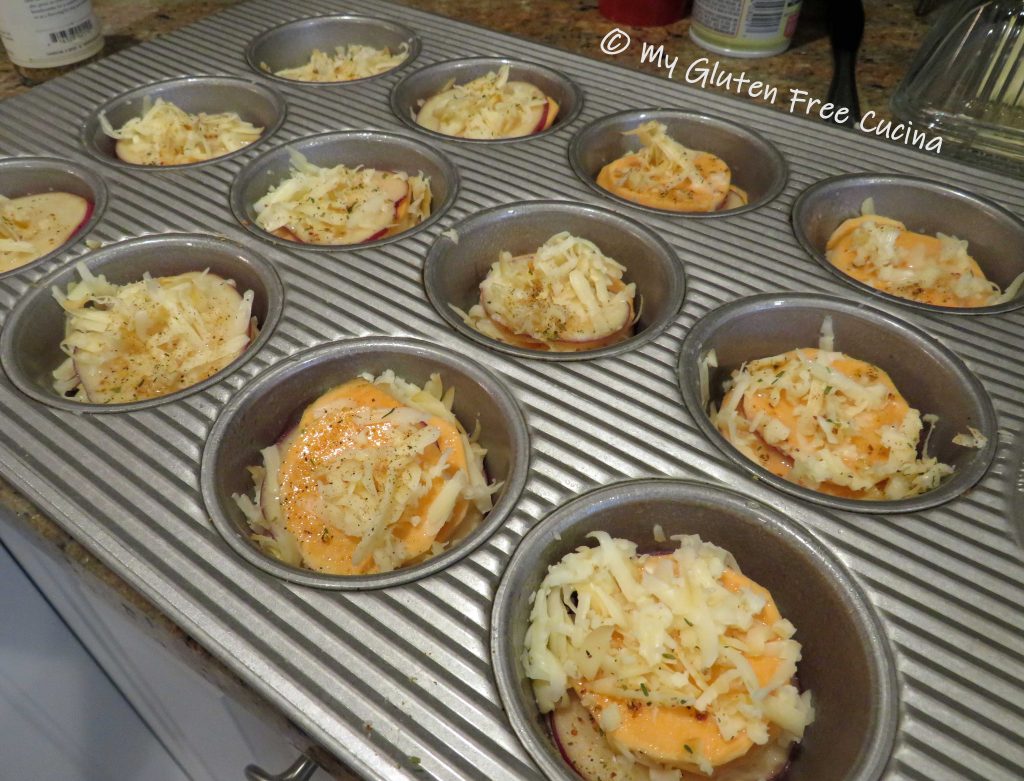
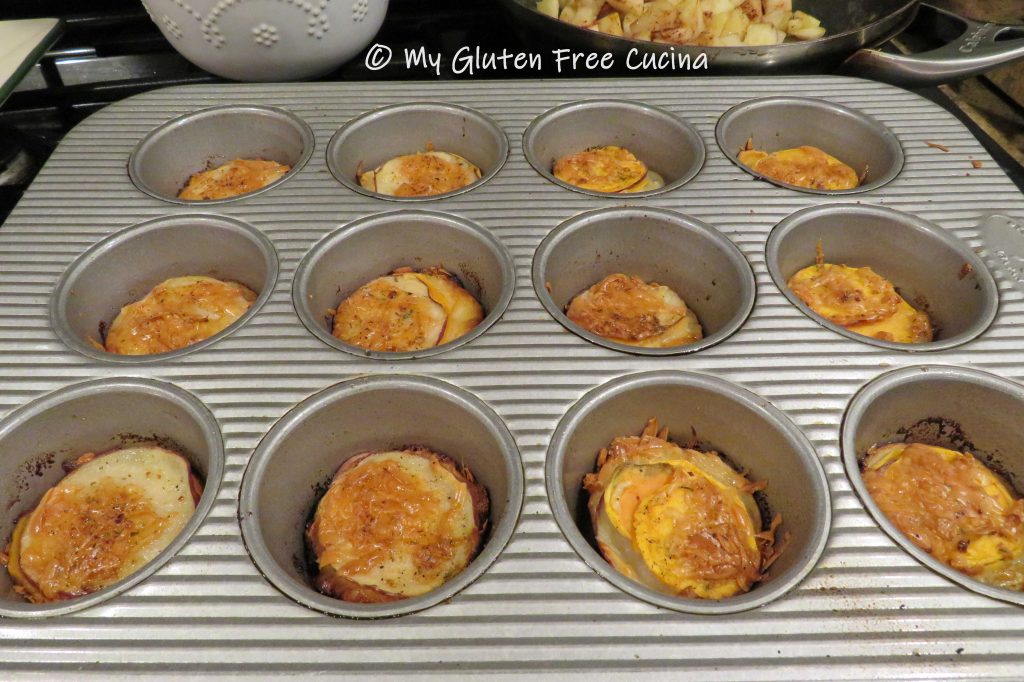
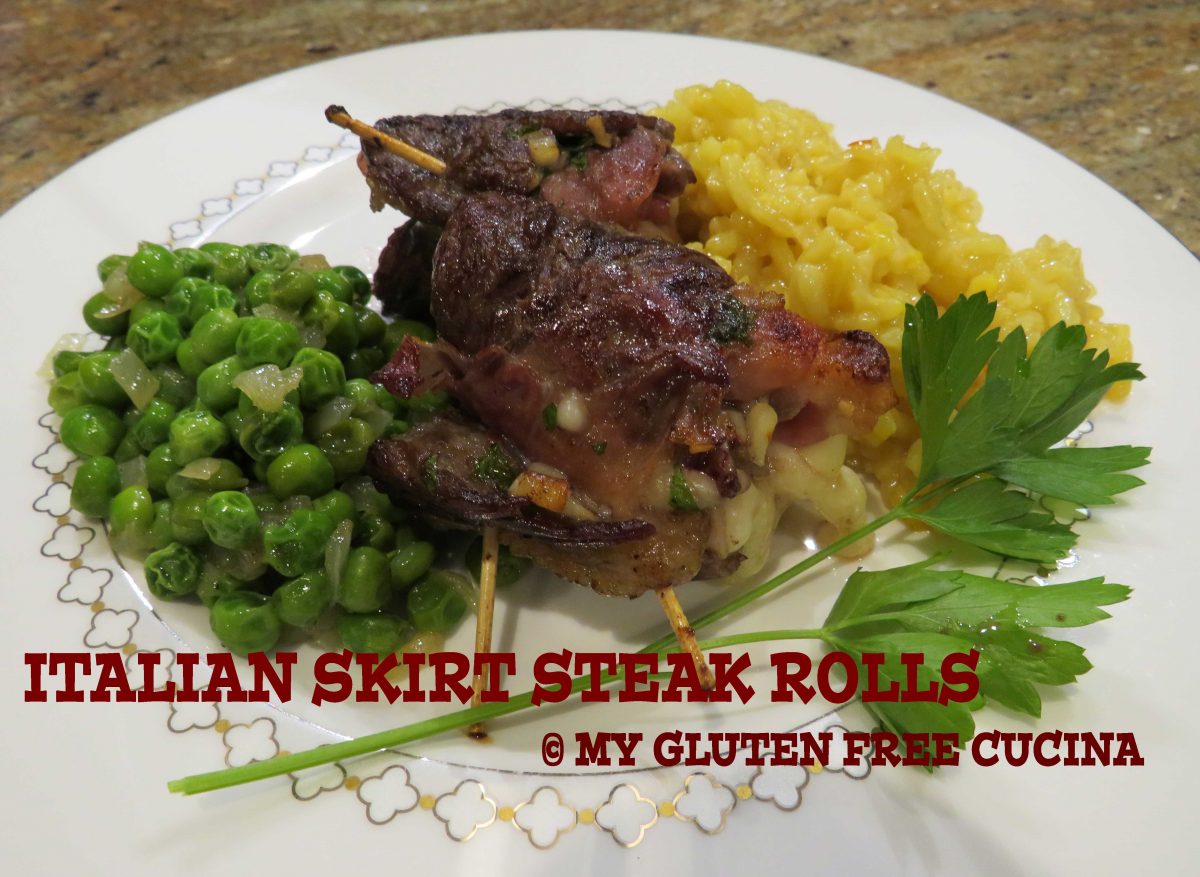
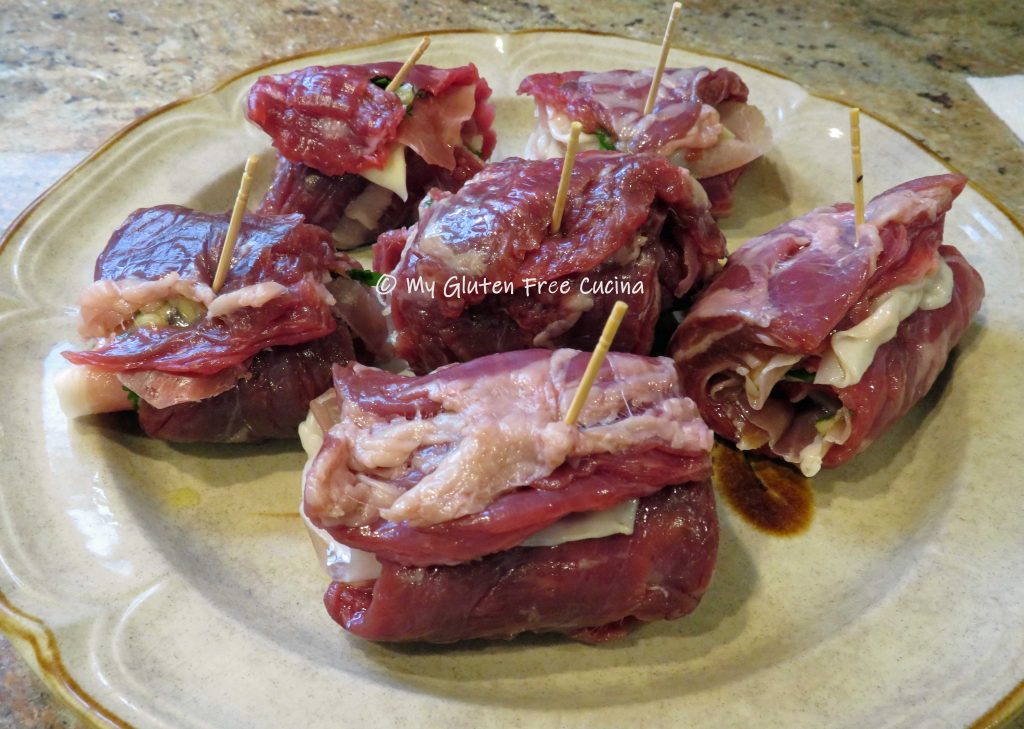
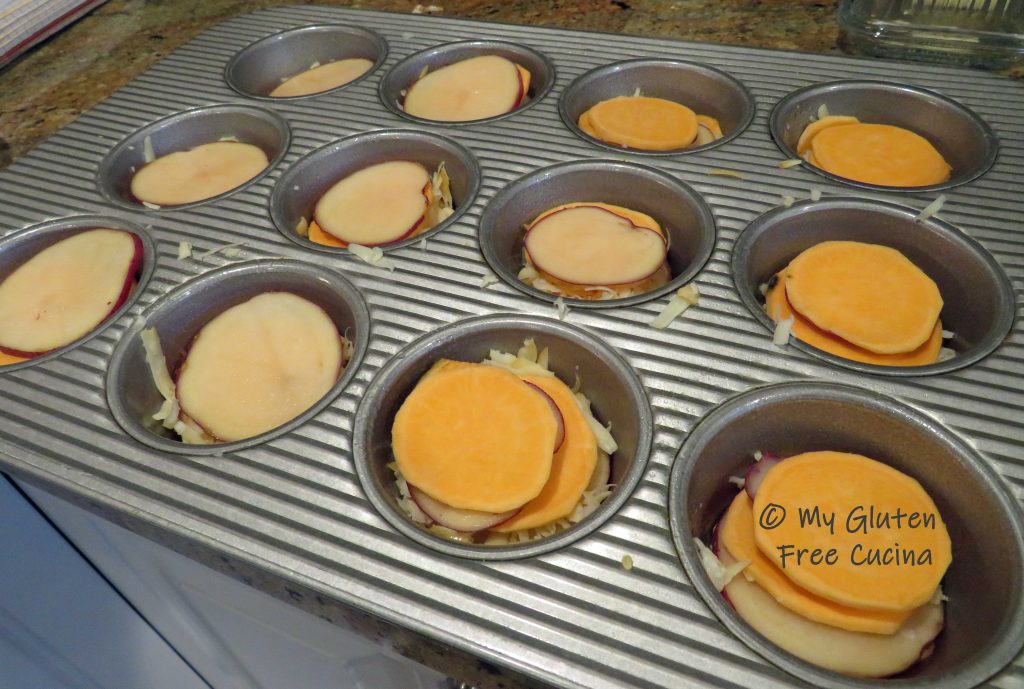
 Use the smaller slices on the bottom for the best fit.  Drizzle one tsp. of the butter mixture over each stack and top with half of the grated cheese.

Continue layering the potatoes, mounding them to just a little higher than the top of the muffin cups (they will cook down) and finish with the remaining butter and cheese.  Sprinkle more seasoning over the top.

Bake for 40-45 minutes, until the edges are nicely browned, and the cheese has melted.

To serve, use a spoon to carefully remove each stack and invert onto a serving platter.  Garnish with fresh thyme.

Notes: ♪I entered this recipe in the 2021 Beyond Celiac Gluten-Free Holiday Recipe Contest.  Well guess what, my Cheesy Potato Stacks recipe earned an honorable mention!  You can view it on the Beyond Celiac website where it has been featured, and the recipe was also linked to their November newsletter.  Pretty exciting stuff for this home cook!

Print This Post Print This Post

Crock-Pot Pulled Pork

This is THE best melt in your mouth pulled pork!  Yes, it’s better than that local BBQ Restaurant you go to, and safer too because you made it at home!  The secret- don’t rush the recipe.  Twelve full hours in the crockpot on low heat will transform this tougher cut of meat into the most tender and moist BBQ dinner you have ever had!

This isn’t a new recipe, but I haven’t made it in years.  Not since my Celiac diagnosis.  So, the first thing I did was to read over the ingredients, to see what I would have to change to make it gluten free.  Guess what?  I didn’t have to change a thing.  All of the ingredients were already gluten free!  Score!

The Meat:

Pork butt is a cut of pork that comes from (surprise) the upper part of the shoulder.  It’s tasty and economical, perfect in this slow cooked preparation.  If you don’t see it in the meat case, ask the butcher.  You will want 1/2 lb. per person.

This post contains affiliate links.

Ingredients:

  • 4 lb. pork butt (shoulder)
  • 1 onion, peeled and diced
  • 1 apple, peeled and diced
  • cooking spray

The Rub:

  • 2 tbsp. brown sugar
  • 1 tbsp. paprika
  • 1/2 tsp. salt
  • 1/2 tsp. pepper

The Sauce:

Preparation:

Rinse the meat and pat dry.

Whisk together the brown sugar, paprika, salt and pepper, and rub it into the roast.

Mist your crock-pot with cooking spray.  Peel and dice the onion and apple and spread in a single layer.

Place the meat on top.  You want the meat to be elevated an inch or so from the bottom of the pan, to keep it out of the liquid for the first few hours of cooking.

Whisk together the sauce ingredients and pour 1/4 cup of the mixture over the pork.  Don’t be tempted to add more.  The meat, onions and apples will cook down and create their own liquid.

Cover and cook 12 hours on low (time indicated is for a 4 lb. roast).

At the end of the cook time, you can set the crockpot to warm until ready to serve, up to 2 hours.  Spoon some of the pan juices over the meat.

Heat the reserved sauce on a low simmer.

Remove the meat to a serving dish and shred with 2 forks.

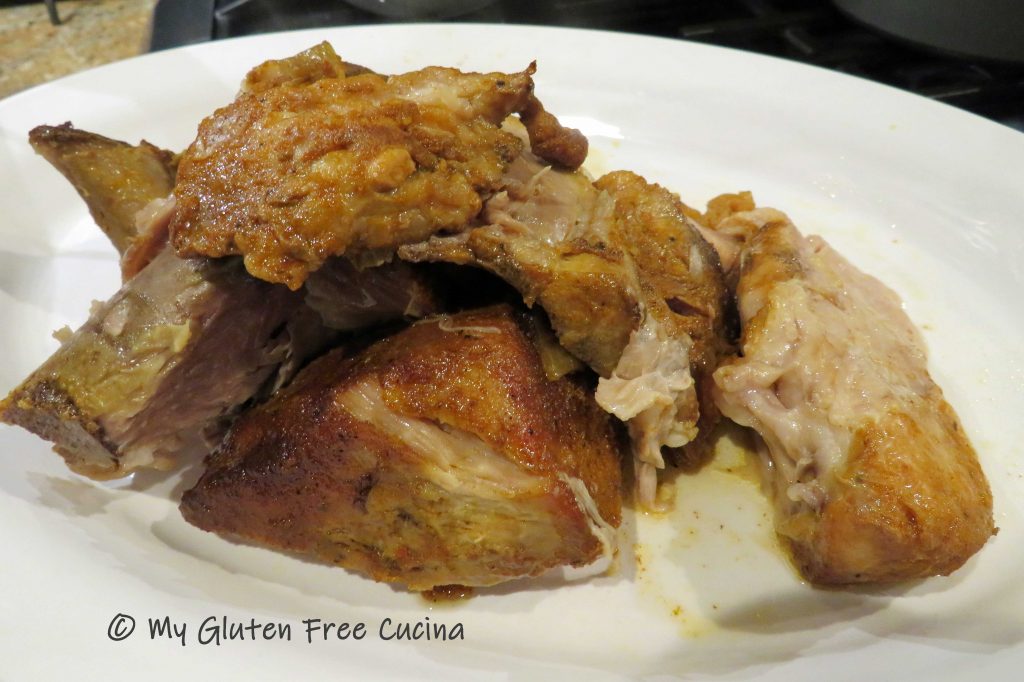
It should be falling apart tender.  Spoon a little of the reserved sauce over the top.  You can strain out the pepper flakes if you like.

Serve with a drizzle of your favorite BBQ sauce.  I also made air fryer French fries and broccoli to go with the meal.  For more serving ideas, check out my BBQ Baked Beans and this Easy Apple Sauté.

Notes ♪♫ You can make a small batch of Homemade BBQ Sauce to go with this meal or use your favorite store brand.  I love Stubbs, especially their Hickory Bourbon and Smokey Mesquite.

Print This Post Print This Post

Italian Skirt Steak Rolls

This is another bucket list recipe that I have had on the back burner.  It’s one of those dishes that is so easy to prepare but looks like you fussed for hours.  The little bundles of steak, prosciutto and cheese are amazing!

Skirt Steak Rolls may remind you of another bundled meat dish, Bracciole.  But while Bracciole is simmered in tomato sauce for hours on low heat, these Skirt Steak Rolls are cooked very quickly over high heat.

Was it difficult to make this recipe gluten free?  NO, because the ingredients have always been gluten free! 

When starting the gluten free diet, you may be tempted to throw away all your old cookbooks- don’t!  There are so many recipes that you have eaten all your life that were always gluten free or just need a change of one or two ingredients.  In time you will realize there are so many meals you can enjoy that are gluten free with no crazy ingredients to purchase!

This post contains affiliate links.

For this recipe I used an oven safe grill pan, to sear the steak rolls on the stove top and finish them in the oven.  One pan for easy cleanup!

Ingredients:

  • 1 lb. skirt steak
  • 3 garlic cloves, minced
  • 2 tbsp. fresh parsley, minced
  • 2 tbsp. olive oil
  • 3 oz. prosciutto
  • 2 oz. sliced provolone cheese cut into strips
  • ground pepper to taste

Preparation:

First gather your ingredients.  Mince the garlic and parsley and combine with 2 tbsp. olive oil.  Leave a few sprigs of parsley for garnish.

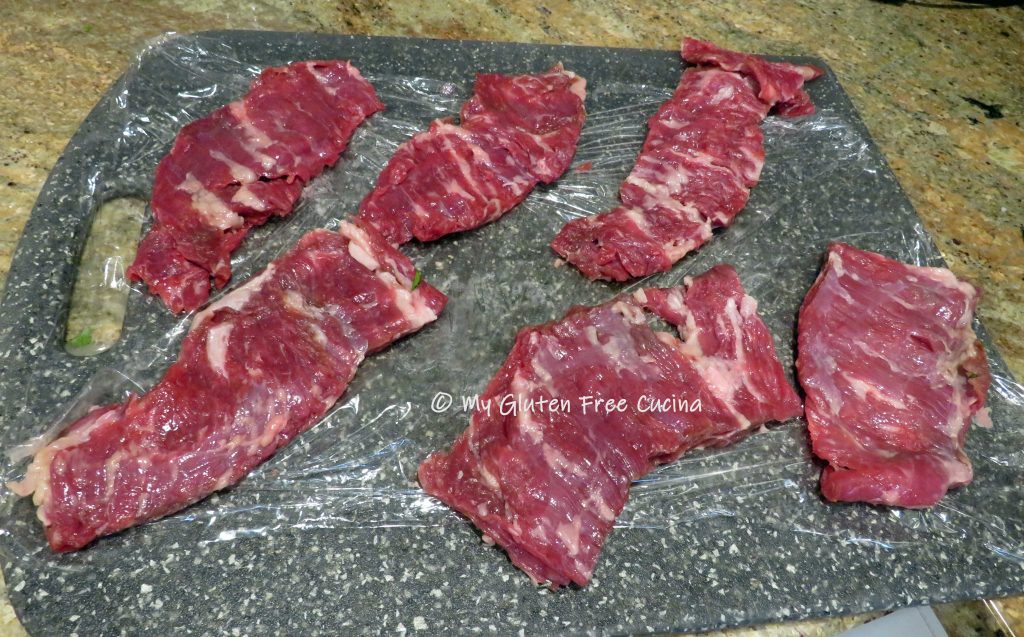
Lay the steak out on a cutting board covered with plastic wrap and trim away any white membrane or visible fat.

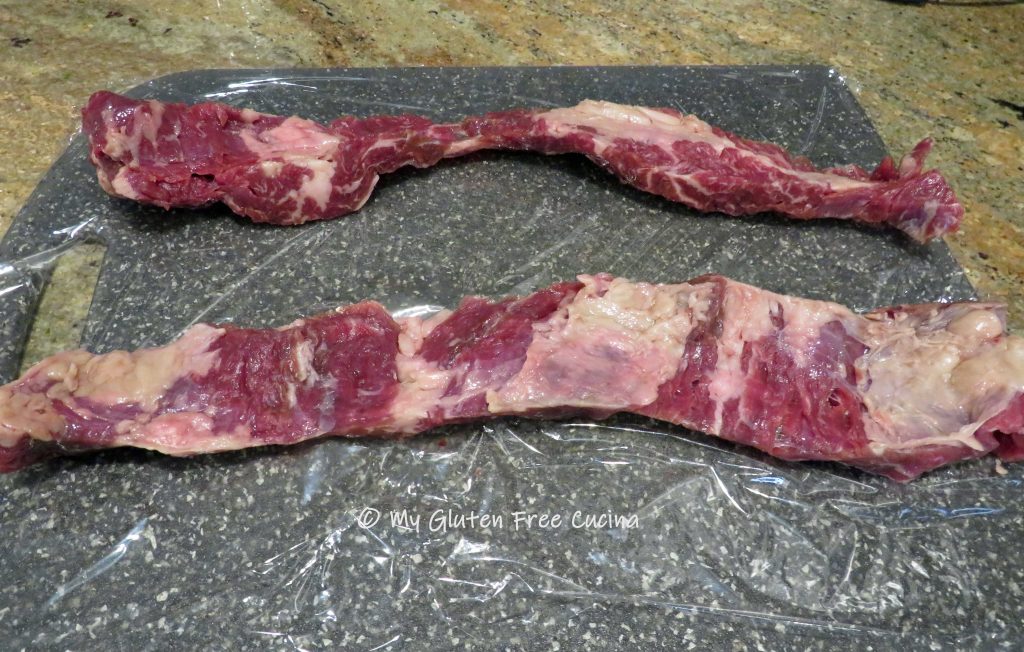
Cover the meat with another sheet of plastic wrap and pound to an even 1/4″ thickness.

Cut the steak into strips, 6-8″ long.

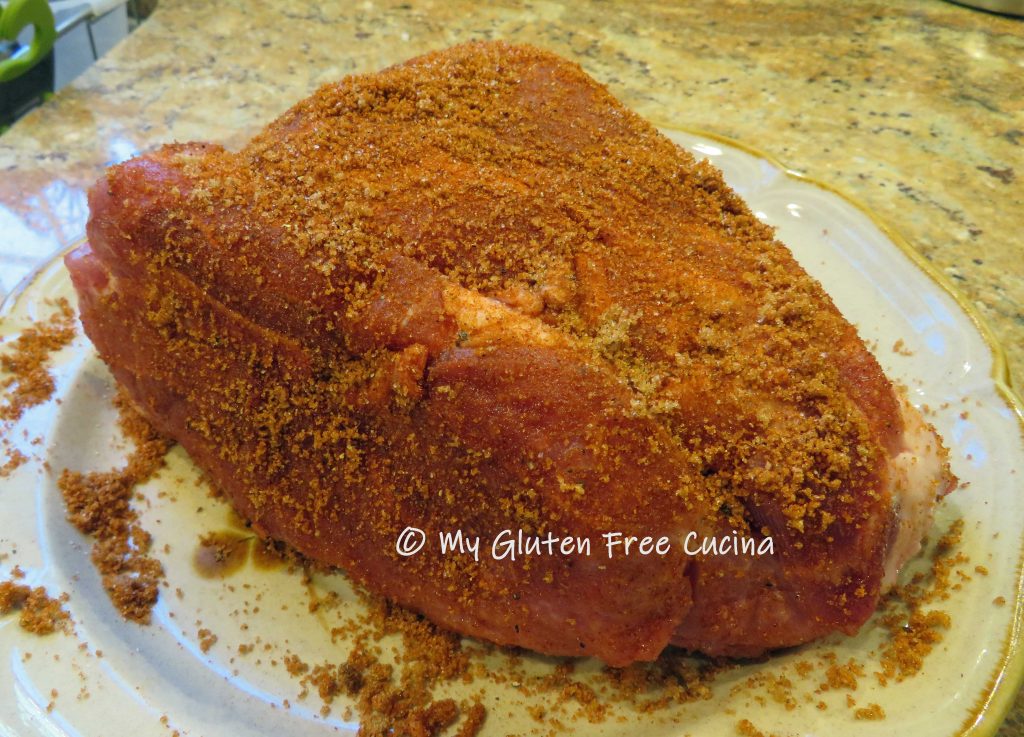
Spread the garlic mixture evenly over the steak.

Layer the steak with prosciutto slices and top with cheese.

Now roll each piece into a bundle and secure with toothpicks.  Refrigerate for 1 hour.

Preheat the oven to 350º and season the meat bundles with fresh ground pepper.  I don’t add salt, because the cheese and prosciutto have plenty of sodium.

Coat an oven safe grill pan with olive oil spray and heat to medium (you can also do this step on an outdoor grill).  Begin cooking the steak rolls in the hot pan, about 1 minute per side.

When you have some good color on the outside, transfer the pan into the oven to finish cooking.

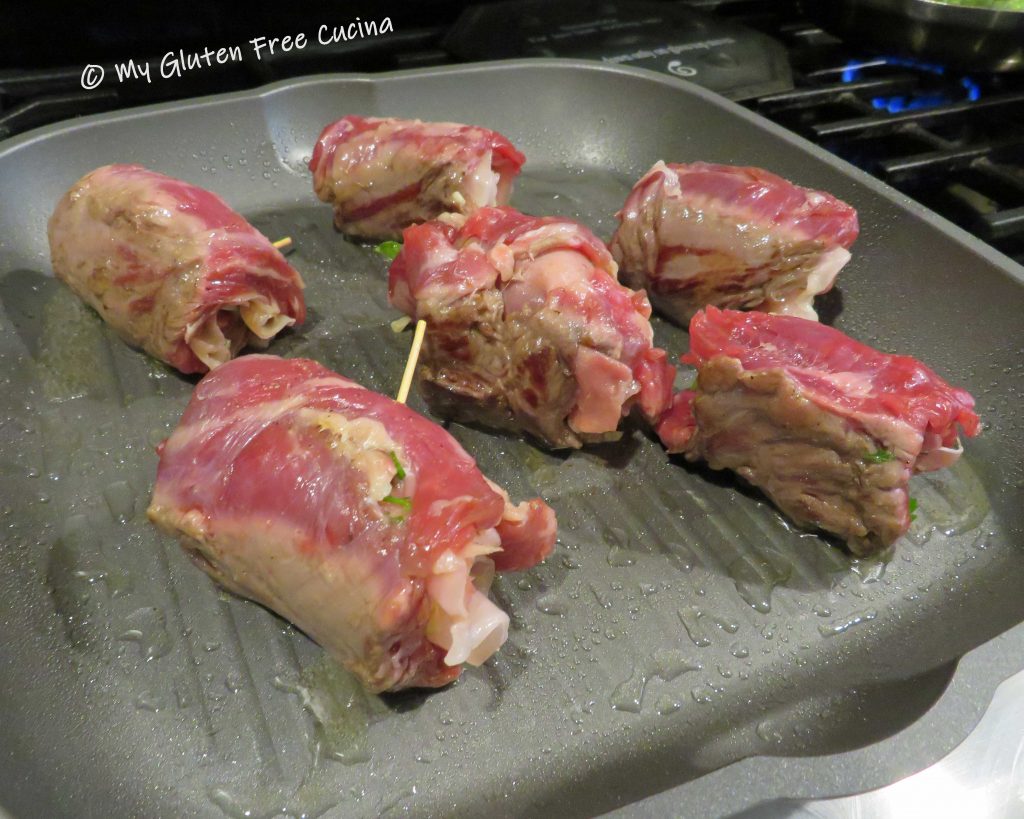
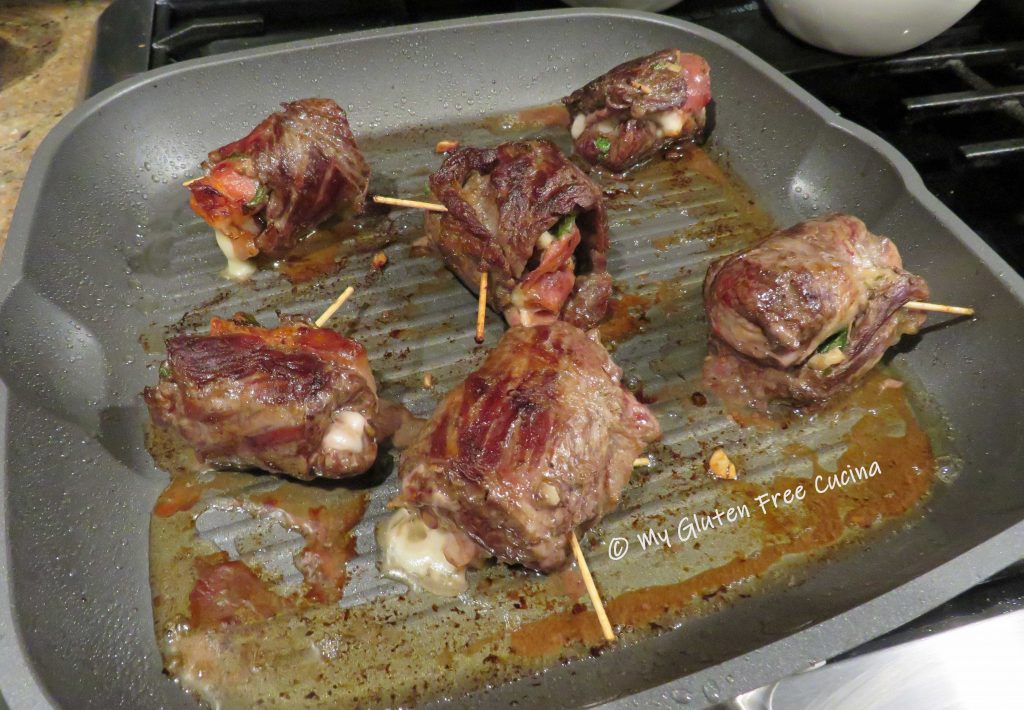
Remove them when the internal temperature reaches 135º for medium (use a thermometer).  Tent with foil and rest 5 minutes before serving (temperature should reach 140º after resting 5 minutes).  The key to this recipe is not to overcook the meat.  A quick sear in a hot pan then finish it off in the oven, done.

Garnish with fresh parsley, and dinner is served.  I made a side of peas and a simple risotto.

Notes ♪♫  When choosing cold cuts, I look for gluten free brands like Boar’s Head or Primo Taglio.  When just a small amount of prosciutto is called for in a recipe like this one, it can be convenient (and safer) to purchase in a sealed 3 oz. package rather than having it sliced at the deli.

Print This Post Print This Post

Butternut Squash and Pear Soup

How many soup recipes can you prepare in under an hour?  Well here’s one that you will want to pin for the holidays!  It’s elegant enough for your Thanksgiving table and quick enough to prepare after work.  The butternut squash and pear combo is complemented by just the right amount of onion and garlic, the perfect balance of sweet and savory.  Celebrate the season with a comforting bowl of soup that is good for you!

This post contains affiliate links.

About 6 Servings 

Ingredients:

  • 32 oz. carton (4 cups) gluten free chicken broth
  • 1 tsp. olive oil
  • 1 tsp. butter
  • 1 cup onion, diced
  • 1/4 tsp. turmeric
  • 1 tbsp. grated fresh ginger (or 1/2 tsp. powdered)
  • 1 clove garlic
  • 1 tsp. sea salt
  • fresh ground pepper to taste (about 1/2 tsp.)
  • 1 medium butternut squash, peeled and cubed (about 4 cups)
  • 2 pears (I used Bosc), peeled and cubed
  • 1/2 tbsp. gluten free Worcestershire sauce
  • 1 tsp. sugar
  • 1/2 cup half & half (optional)

Preparation:

In a Dutch oven or 4-quart stock pot, sauté the onions and garlic in olive oil and butter.  Add the remaining ingredients through sugar, and simmer until the squash is soft.

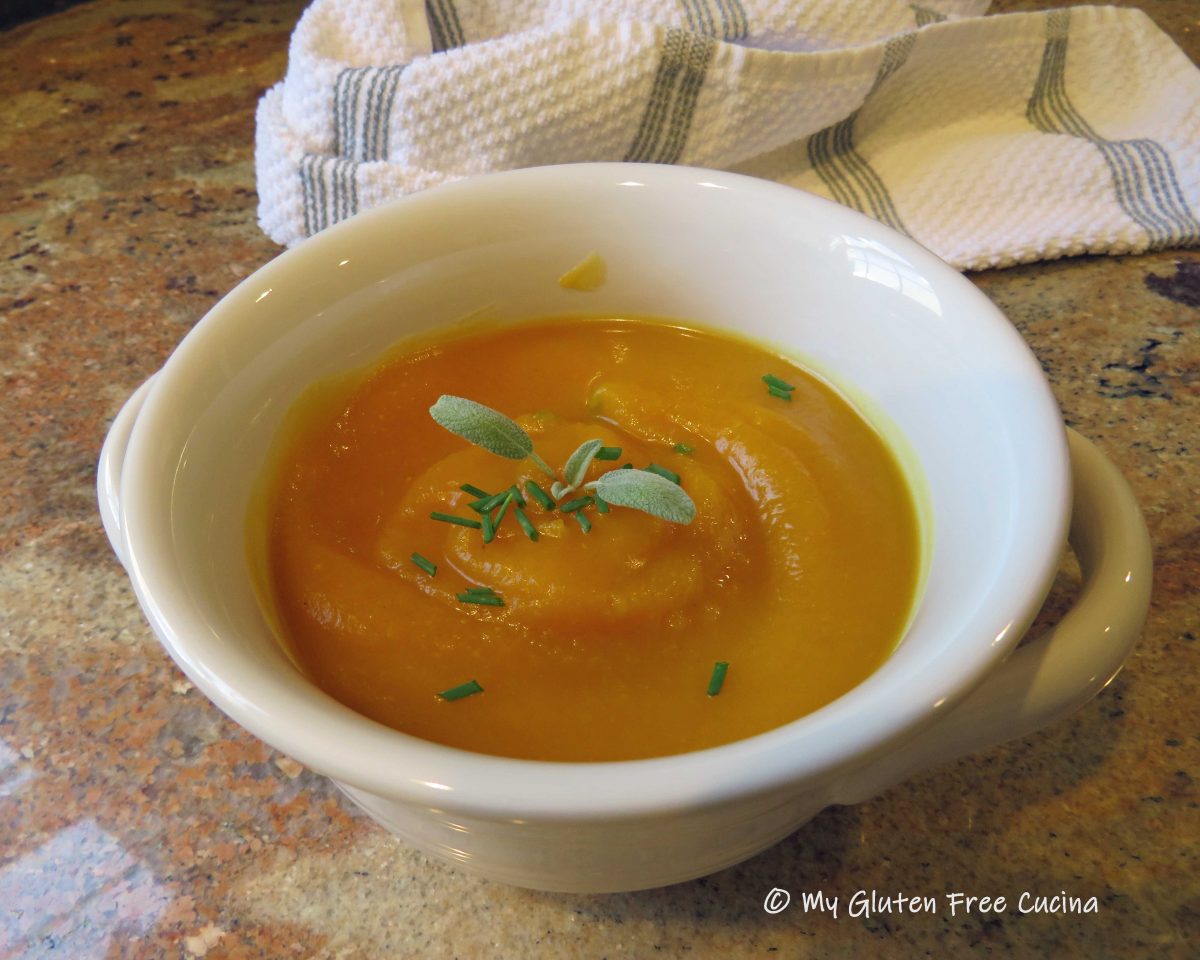
Remove from heat and puree with a stick blender.  If you like, stir in a drizzle of half & half for a smooth, creamy finish.

That’s it!  Serve with a simple garnish of fresh herbs.  So pretty and festive.

Special thanks to my cousin Donna for this recipe that has become a holiday tradition

Notes ♪♫ Most of the ingredients in this recipe are naturally gluten free.  I used Swanson brand chicken broth, and Lea and Perrins Worcestershire sauce.

Print This Post Print This Post


Gluten Free Italian Wine Biscuits

This recipe is about a memory.  Of my long-ago childhood home, when my younger self would arrive home from school to find that my mother had been baking.  Of the aroma that filled the kitchen, the table covered with racks holding dozens and dozens of these fragrant Italian treats just out of the oven.  We would devour them still warm, when they had the consistency of a soft cookie.  Later, when fully cooled they would firm up to a crisp exterior perfect for dunking in coffee!

Why do I remember this particular recipe so fondly?  Like most women of her generation my mother embraced convenience foods, and her cookies and cakes were usually made from a boxed mix.  Not these Wine Biscuits though, they were always made from scratch!

It’s a popular recipe and an easy one too!  Every Italian has their own little variation, but the basic ingredients include a cup of sugar, a cup of oil and a cup of wine.  My mother used eggs in hers.  I know that others do not, but I think the egg definitely helped with the consistency in this gluten free makeover.

It was a challenge to recreate the exact texture of these biscuits with a gluten free flour.  Although we call them biscuits, they are actually a shaped cookie.  The dough had to be workable enough to roll into thin ropes, to form the traditional twist and knot shapes.  A tall order for gluten free!

This post contains affiliate links.

The Flour

In keeping with the simplicity of my mother’s recipe, I did not want to make a 20-ingredient flour blend.  So, I used Better Batter Original All Purpose Flour and was very pleased with the taste and texture of the wine biscuits.  They got a big thumbs up from family and friends who sampled them!  Please note that other gluten free flour blends may work, but since every brand is different, you may not achieve the same results with another flour.

When you shop Better Batter and use my Promo Code MGFC30 at checkout, you will receive 30% off any non-sale item! 

CLICK HERE to try the flour that I call my little miracle in a bag!

Yield: 2 dozen

My mother’s original recipe made 4 dozen wine biscuits and believe me, in those days they disappeared before having a chance to cool down!  I decided to cut the recipe in half, and it was just the right amount for a small get together.  You can double it for a larger group or holiday baking.

Ingredients:

Plus . . . . . . . . . . . .

  • additional flour for dusting and rolling
  • 1 beaten egg, for egg wash

Preparation:

In the bowl of a stand mixer, whisk together the egg, sugar, oil and wine.

In a separate bowl, whisk together the flour, baking powder and salt.  Gradually add the dry ingredients to wet and beat until a soft dough forms.

Lightly flour a cutting board, and scoop out one rounded tablespoon of dough at a time.  Roll each piece into a rope, about 1/2″ thick and 10″ long.  Keep the board and your fingers lightly floured while handling the dough.

You can shape the ropes into a knot or a twist.  My mother would simply form a round and pinch the ends together, that works too!  You should have enough for about 2 dozen.

Line 2 baking sheets with parchment and arrange the formed wine biscuits, leaving a few inches of space in between.  Refrigerate for 1 hour before baking.  Keeping them cold helps the biscuits retain their shape.

Preheat the oven to 325º.  Whisk together 1 egg with 1 tbsp. water and lightly brush the wine biscuits with the egg wash.

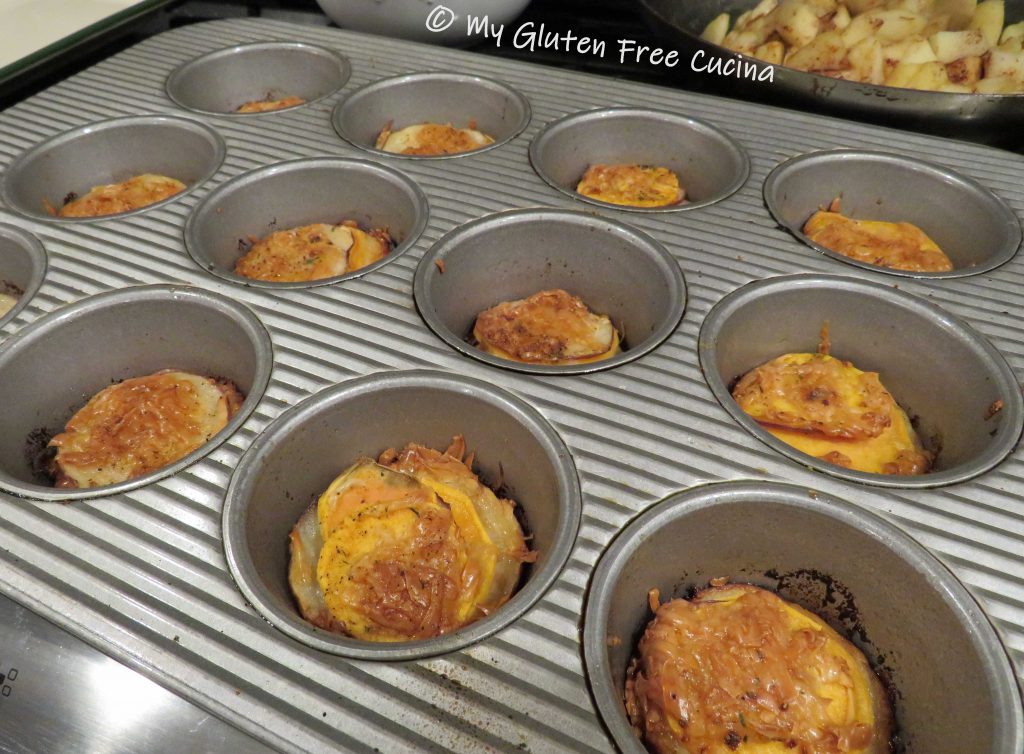
Bake for 22-25 minutes.  Cool in the pan 10 minutes then transfer to a rack.  Enjoy them warm or at room temperature.

Store airtight at room temperature 2-3 days.  I imagine they would freeze well but this batch did not last long enough to find out!

Notes ♪♫ My mother made these biscuits with my grandfather’s homemade red wine. 🍷 There was always a bottle in the refrigerator.  Even when the wine was past its prime, it was good for cooking, and this was how it usually got used up!  You can use any red wine that you enjoy drinking (i.e., not cooking wine!).

Print This Post Print This Post

Gluten Free Beef Stew

I have been making this beef stew for many years, decades in fact.  It’s a hearty meal simmered all day in the crock-pot, a real family favorite!  Most of the ingredients are naturally gluten free, so after my diagnosis it was easy to adapt my tried and true recipe to a gluten free version.

This post contains affiliate links.

Ingredients:

  • 1 lb. choice stew beef, cubed
  • 2-3 extra large carrots, peeled and cut into thick coins
  • 2 russet potatoes, skin on and cut into chunks
  • 1 large sweet onion, cut into wedges
  • 1/2 package crimini mushrooms, cut into quarters
  • 3 garlic cloves, minced
  • salt and pepper
  • olive oil
  • 1 can gluten free cream of mushroom soup
  • 1 cup red wine
  • 1 tsp. dry basil
  • 2 bay leaves
  • fresh Italian parsley

Preparation:

Before preparing any recipe I always go over the ingredient list to check for gluten.  Beyond the obvious things like flour, all seasonings and processed ingredients should be verified gluten free.  In this recipe, I have always used a can of cream of mushroom soup.  Since many canned soups contain gluten, I shopped around before making my stew and found this one.  It’s certified gluten free!

Now, let’s get started on the recipe.  Set up your crock-pot, and a large stainless-steel skillet (not non-stick).  Yes, you can just throw all of the ingredients into the crock-pot, but I like to build layers of flavor by browning.  This can be the difference between a mediocre stew and a great one.  Whisk together the wine, cream of mushroom soup and dried basil.

Next, begin browning the ingredients in a small amount of olive oil.  Start with the beef.

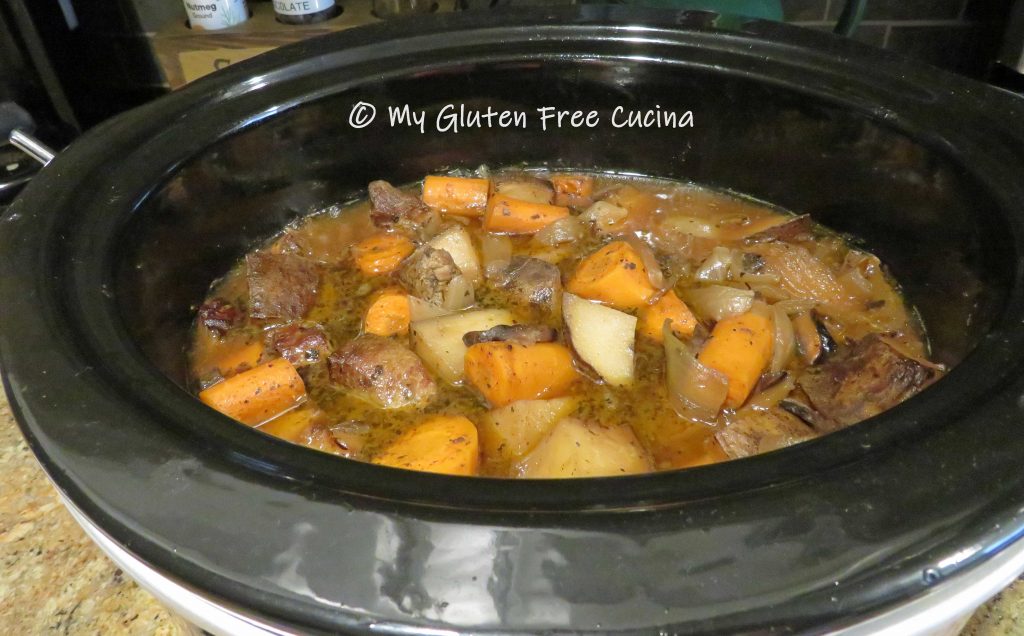
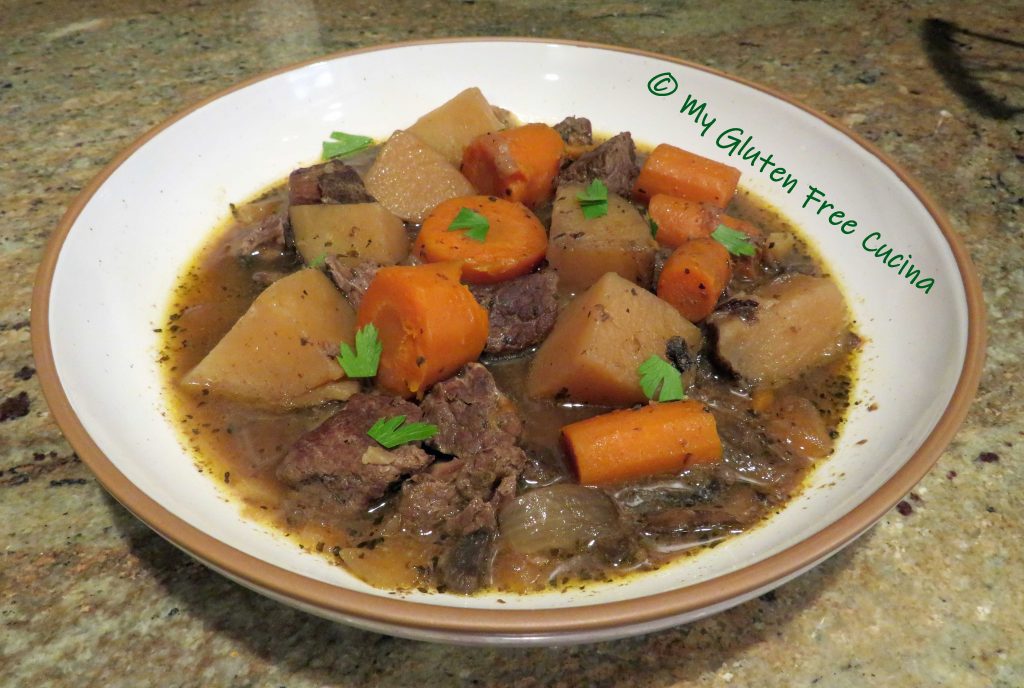
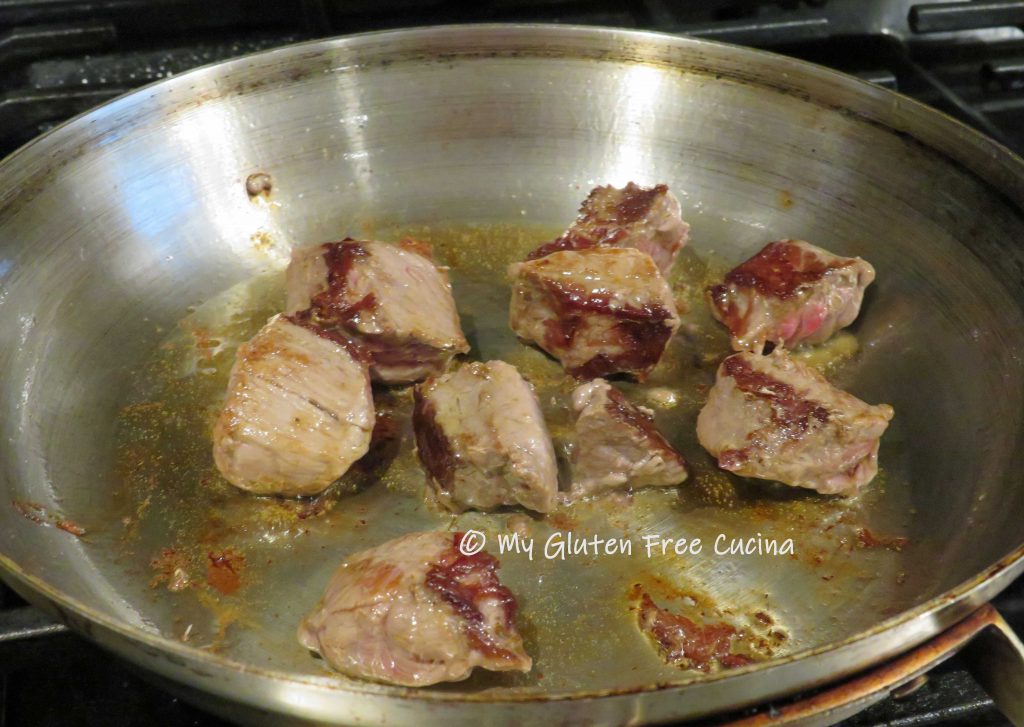
Don’t crowd the pan, you want to get some good color on the outside (if the pieces are too close together the meat will steam in its own liquid).  I did my beef in 2 batches.

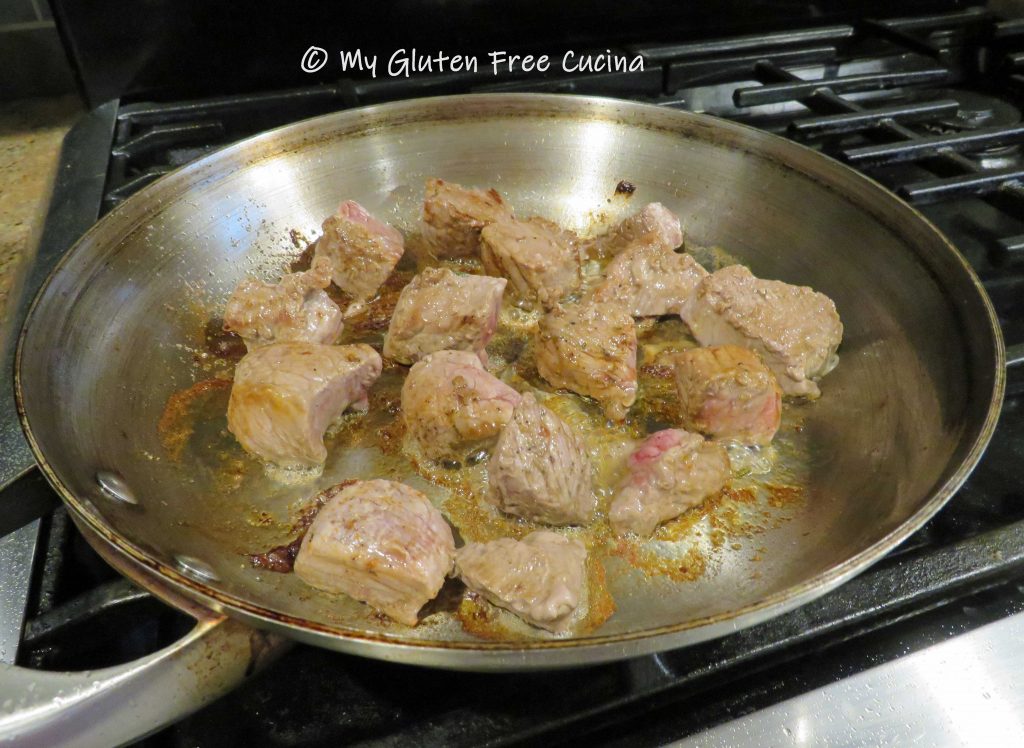
Once the beef goes into the crock-pot, you will see some nice browned bits on the bottom of your skillet.

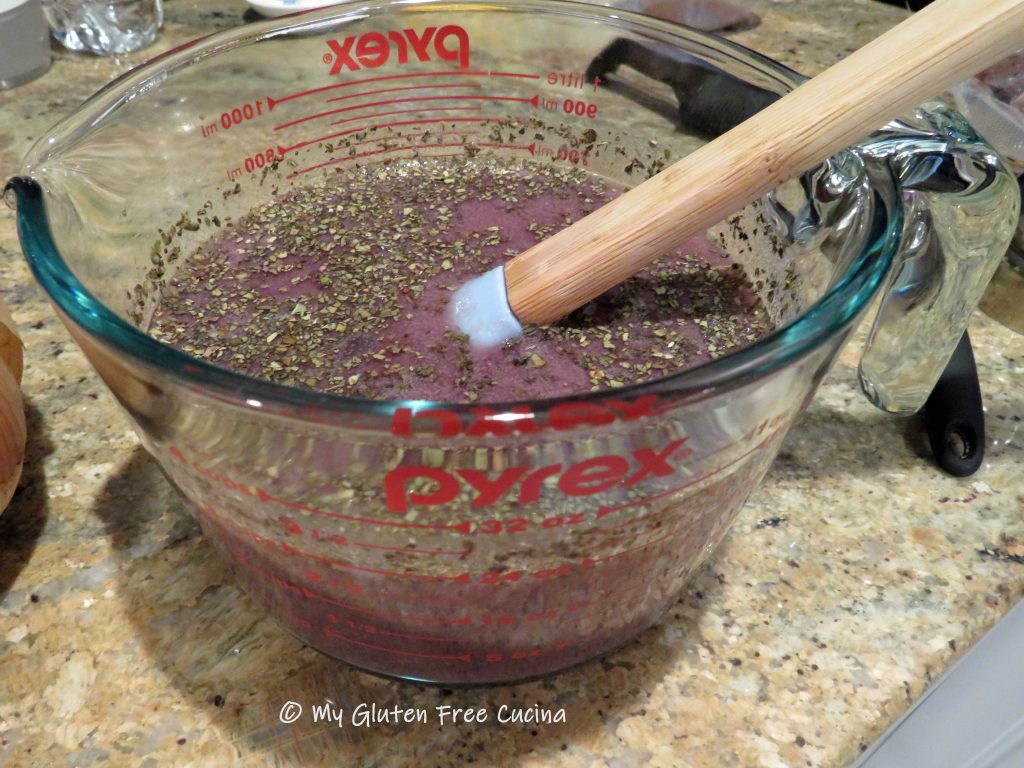
Pour 1/3 cup of the wine mixture into the hot pan to deglaze, using a spatula to scrape up all of the browned bits, they are full of flavor!

Pour the liquid into the crock-pot and add more olive oil to the skillet.  Begin browning the veggies, a few minutes each starting with the onions.

Continue with the mushrooms, followed by the potatoes and carrots.

As you brown the veggies, season with salt and pepper, and layer them in the crock-pot.  Pour the rest of the wine mixture into the crock-pot, along with the garlic and bay leaves.

Stir well, then cover and cook on low for 8 hours.  Tick-tock.

Halfway through, stir the ingredients again.  Looking good.

After 8 hours, the beef will be very tender, and a fork should slide easily through the veggies.  Serve in dinner bowls, with a sprinkle of fresh Italian parsley.

Notes ♪♫  I used Health Valley Cream of Mushroom Soup in this recipe.  I love that it is both gluten free and organic, but when I have time I also make my own Mushroom Soup from scratch.  You can find this surprisingly easy recipe here and see how I use it in my winter stews and casseroles.

Print This Post Print This Post

Gluten Free Chicken Broccoli Casserole

When you are new the gluten free diet, the thought of preparing gluten free meals from scratch can be overwhelming.  It took a while for me to realize that many meals I had been making for years were naturally gluten free.  From there, I started looking at other favorite recipes that only required a swap of one or two ingredients.  My repertoire began to grow and now I have added many of my old favorites back to the dinner rotation.

My Chicken Broccoli Casserole is a good example.  Here’s how to make it!

This post contains affiliate links.

Ingredients:

  • 1 lb. boneless skinless chicken breast
  • Rice flour for dusting
  • Salt and pepper to taste
  • Olive oil
  • White wine, divided use
  • ½ large, sweet onion, diced
  • 1 large garlic clove, minced
  • 1 large broccoli crown, chopped
  • 1 can (14.5 oz.) fire roasted diced tomatoes
  • ½ tsp. basil
  • ½ tsp. Italian seasoning
  • salt and pepper to taste
  • 8 oz. gluten free penne
  • Cooking spray
  • gluten free seasoned breadcrumbs
  • Grated Parmesan cheese
  • Fresh Italian parsley for garnish

Preparation:

Preheat the oven to 350º.  Set up a pan of salted water for the pasta and bring to a boil.

Cut the chicken breast into 1-1/2″ chunks.  Dust with rice flour and season with salt and pepper.  Begin browning the chicken in a little olive oil, about 3 minutes per side.  Don’t crowd the pan, use a large skillet or do it in 2 batches.

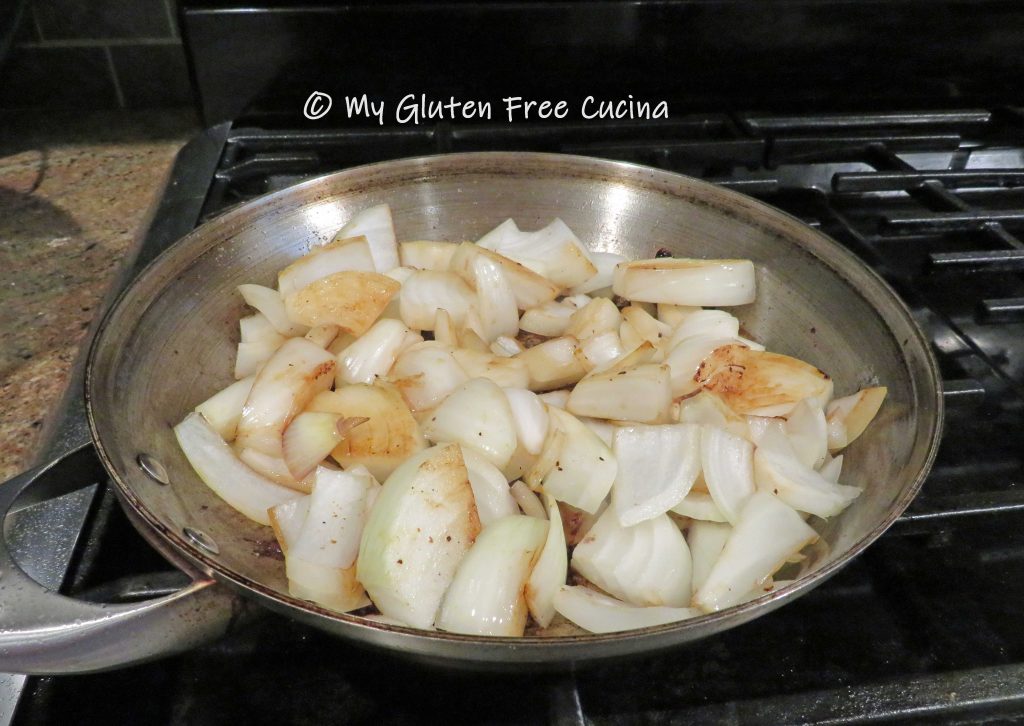
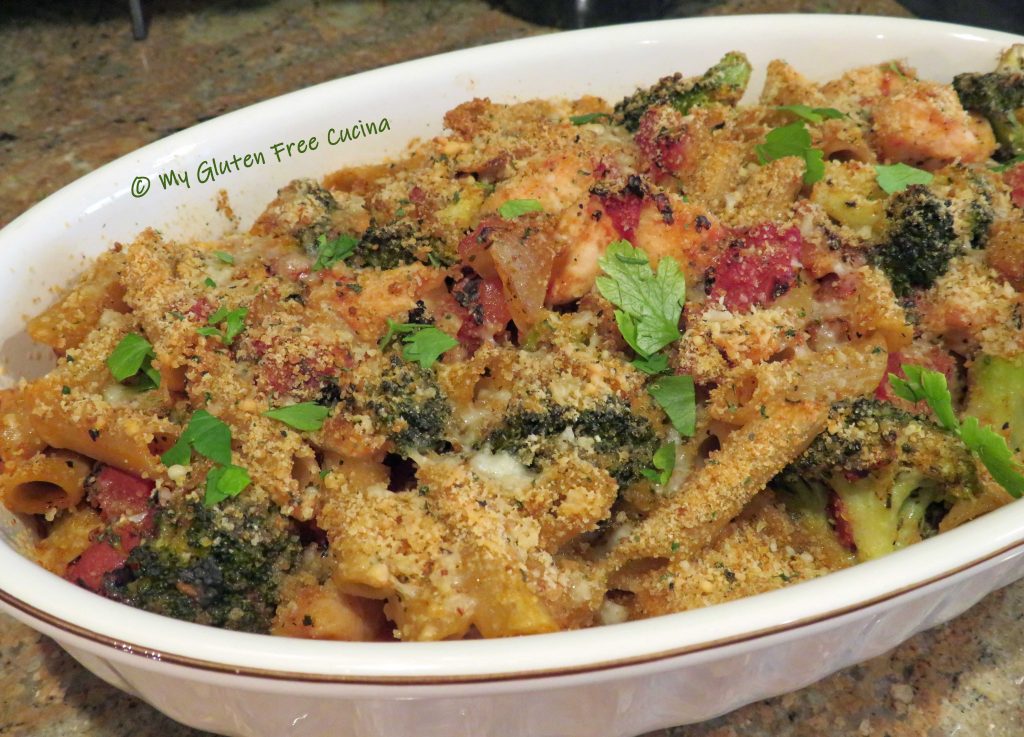
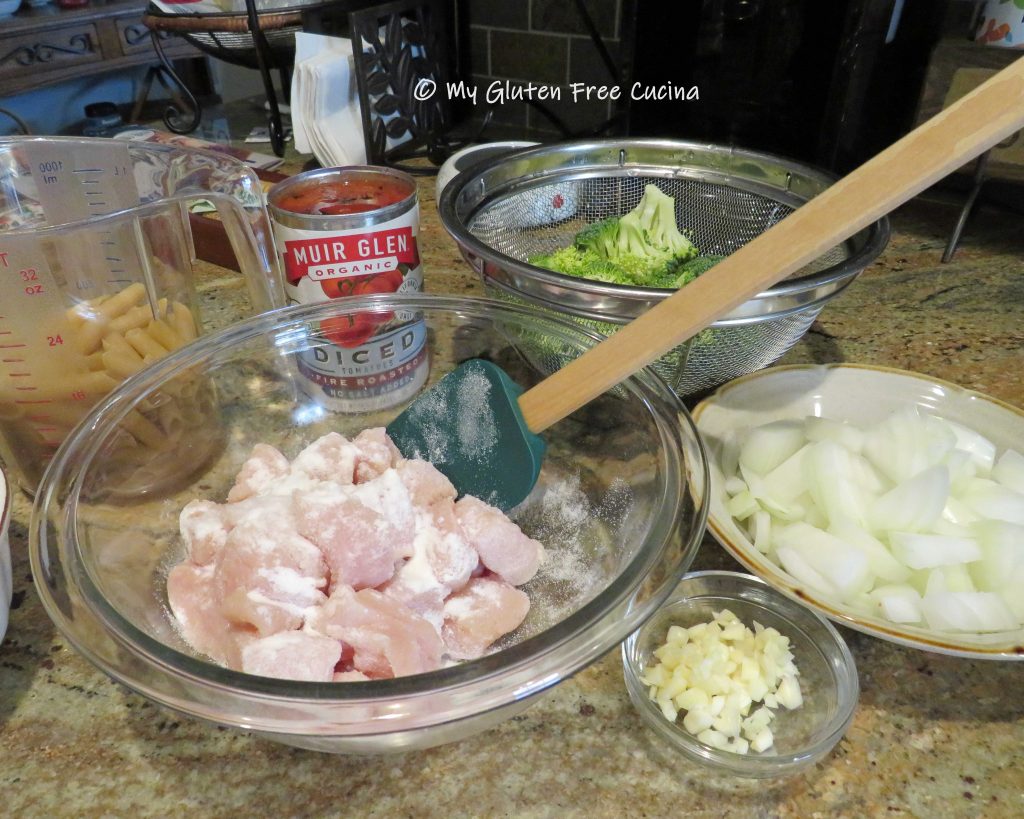
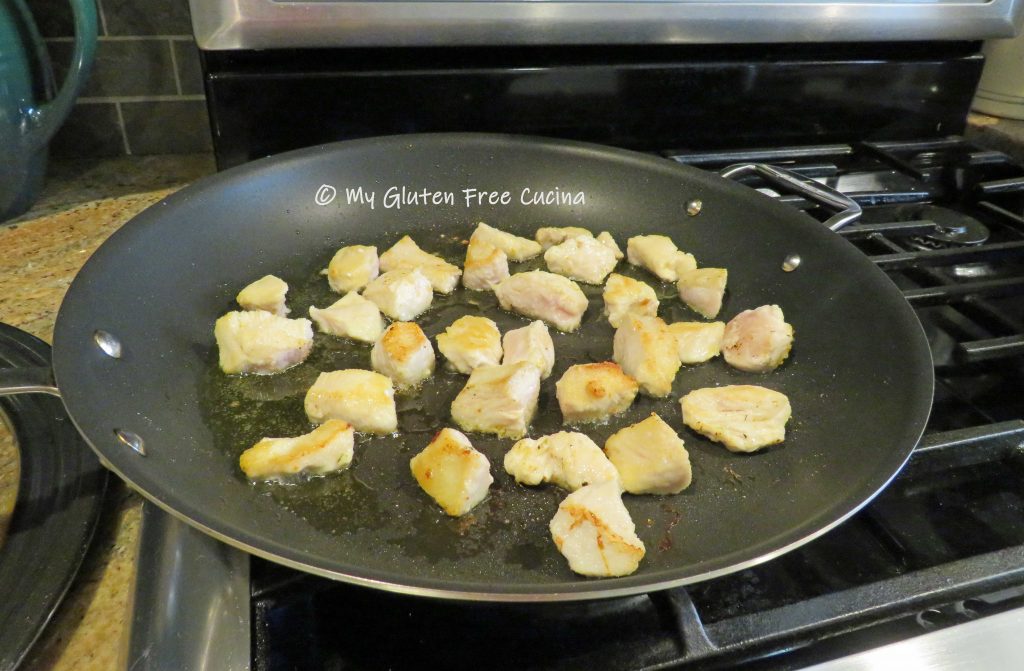
When the chicken has browned on all sides, add a splash (1/4 cup) of white wine to the pan and toss until the liquid evaporates.  Remove from the pan and set aside.

Wipe the skillet clean.  Add a little more olive oil and begin browning the onions.

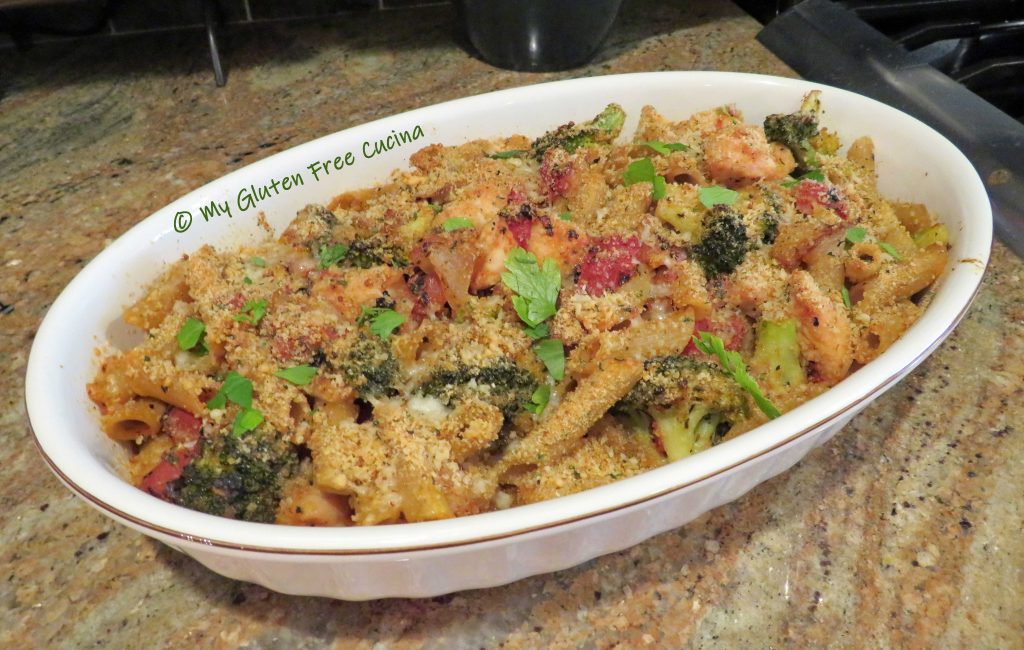
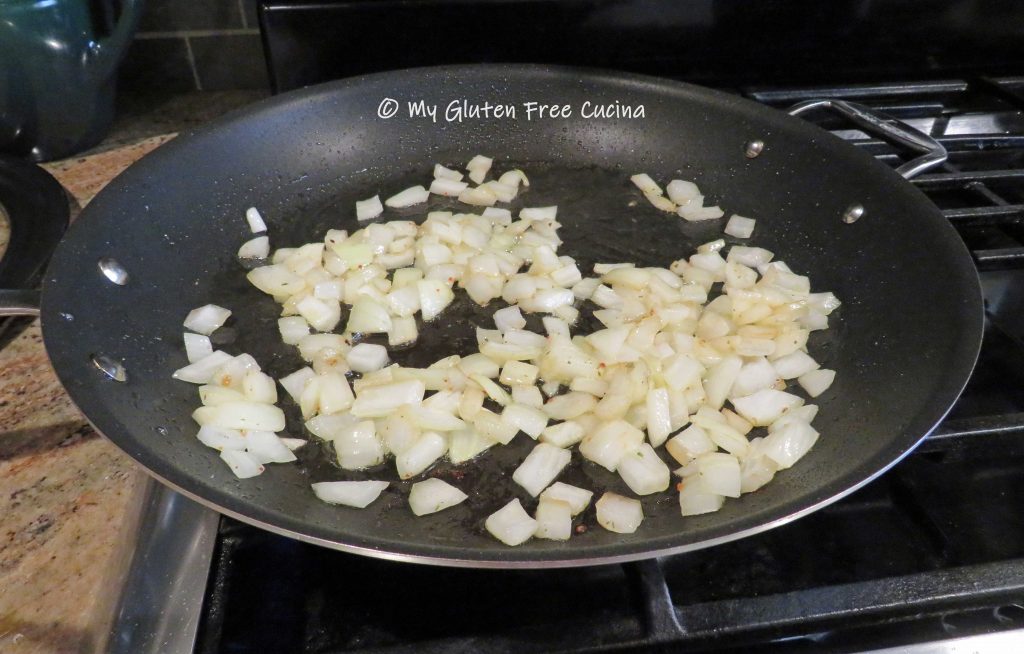
When they have a little color, add the broccoli, garlic and diced tomatoes.  Add another splash of white wine, then season with salt and pepper, basil and Italian seasoning.  Cover and cook 10 minutes, until the broccoli is crisp tender.

While the vegetables are cooking, add the pasta to the boiling water.  Use your favorite (Jovial Brown Rice Penne is one of mine) and be sure to cook for 2 minutes less than the package instructions.  Drain and add to the skillet, along with the reserved chicken.  Toss well.

Mist a casserole dish with cooking spray and transfer contents from the skillet in an even layer.  Drizzle with olive oil, then top it off with breadcrumbs and grated cheese.  Bake for 30 minutes.

I like to finish it off under the broiler for a few minutes to crisp up the topping.  Remove from the oven, garnish with fresh parsley and serve.

This is a real family favorite.  I hadn’t made it in a very long time, but now with just a couple of adaptations we can all enjoy this comfort food meal again.

Notes ♪♫ Always check prepared ingredients for hidden gluten.  In this recipe, pasta and breadcrumbs must of course be gluten free.  Less obvious but important, use rice flour for coating and thickening, make sure canned tomatoes and seasoning mixes are gluten free.  I always grate my own cheese, but if you are using a pre-grated cheese always check for additives that may contain gluten.

Print This Post Print This Post

Jambalaya

Jambalaya is a delicious, versatile recipe that you can enjoy right at home, better than any restaurant!  It is easily adapted to a gluten free diet, as most of the ingredients in this spicy Louisiana dish are naturally gluten free.  Andouille sausage gives this dish its signature heat and flavor and is now commonly available with no gluten containing ingredients.  Always look for the gluten free label to be safe!

4 Servings

This post contains affiliate links.

Ingredients:

  • 8 oz. boneless chicken breast, cut into 1″ dice
  • 4 oz. (about 1 link) gluten free andouille sausage sliced into thin coins
  • 8 large raw shrimp, peeled and deveined
  • 1/2 medium sweet onion, diced
  • 1/2 small zucchini, cut into strips
  • 1/4 large red bell pepper, thin sliced
  • 1 garlic clove, minced
  • 2 tbsp. tomato paste
  • olive oil
  • 2 cups gluten free chicken broth
  • 1/2 tsp. creole seasoning (or to taste)
  • chopped Italian parsley, for garnish

Mise en place:

This is one of those recipes that comes together very quickly once the prep work is done.  You don’t want to be doing your chopping and peeling once you begin to cook, so get “everything in its place” before you start cooking…

Preparation:

Heat a large nonstick skillet over medium low with a little olive oil and begin cooking the sausage coins.  When browned on both sides, remove the sausage and leave the oil in the skillet.

Next, cook the chicken in the reserved oil.  Add a bit more olive oil as needed and sprinkle with seasoning.

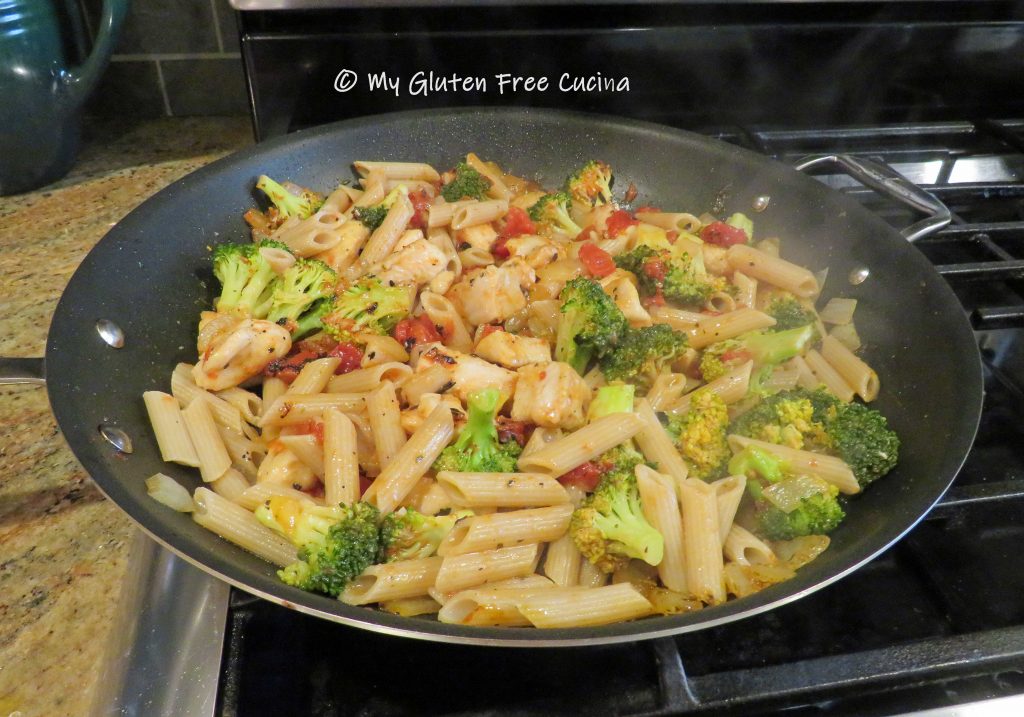
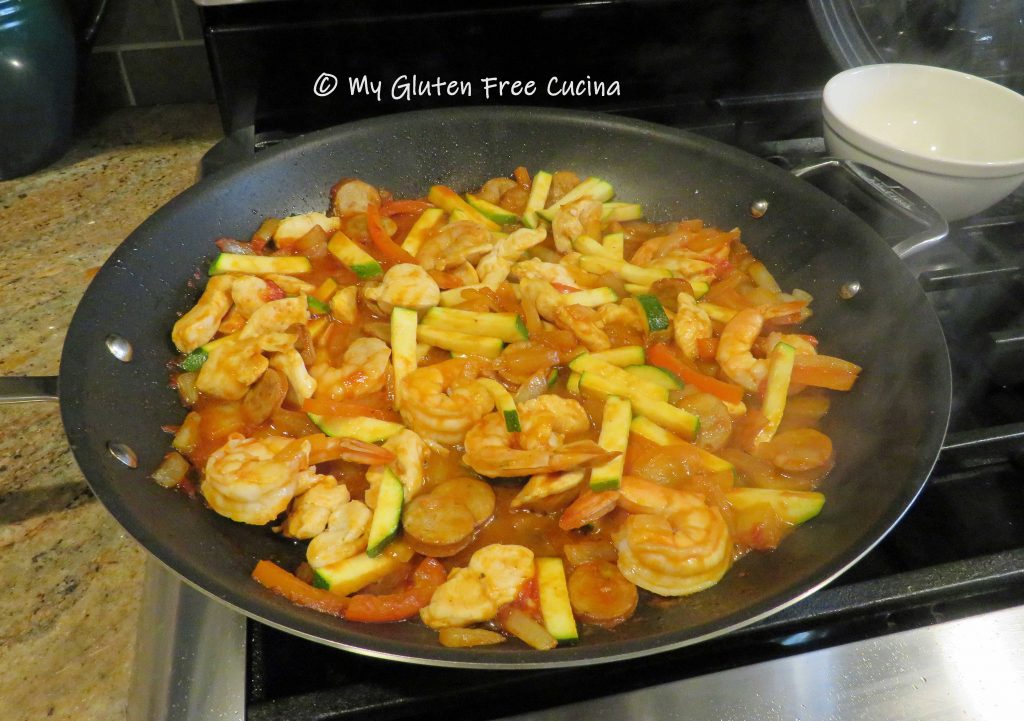
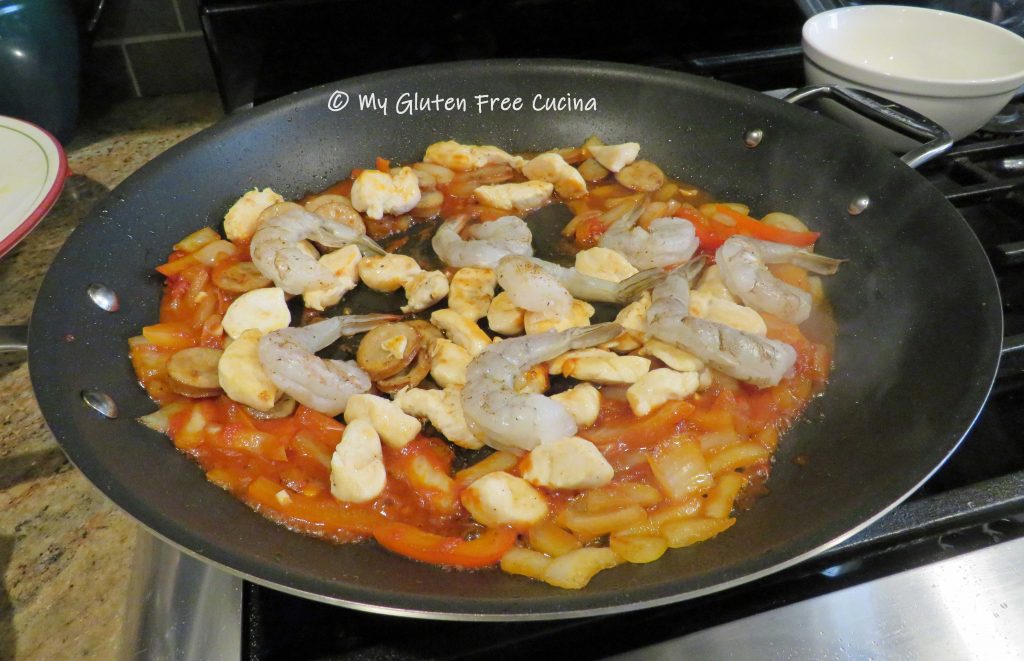
Remove the chicken when almost cooked through and add the onions and peppers to the skillet.  Sprinkle with seasoning.

Cook 2-3 minutes, then push the veggies aside to make a clean spot in the center of the pan.  Add the tomato paste and let it toast for a minute before stirring it into the veggies with 1/2 cup of the chicken broth.

Add the garlic, return the sausage and chicken to the skillet along with the shrimp.

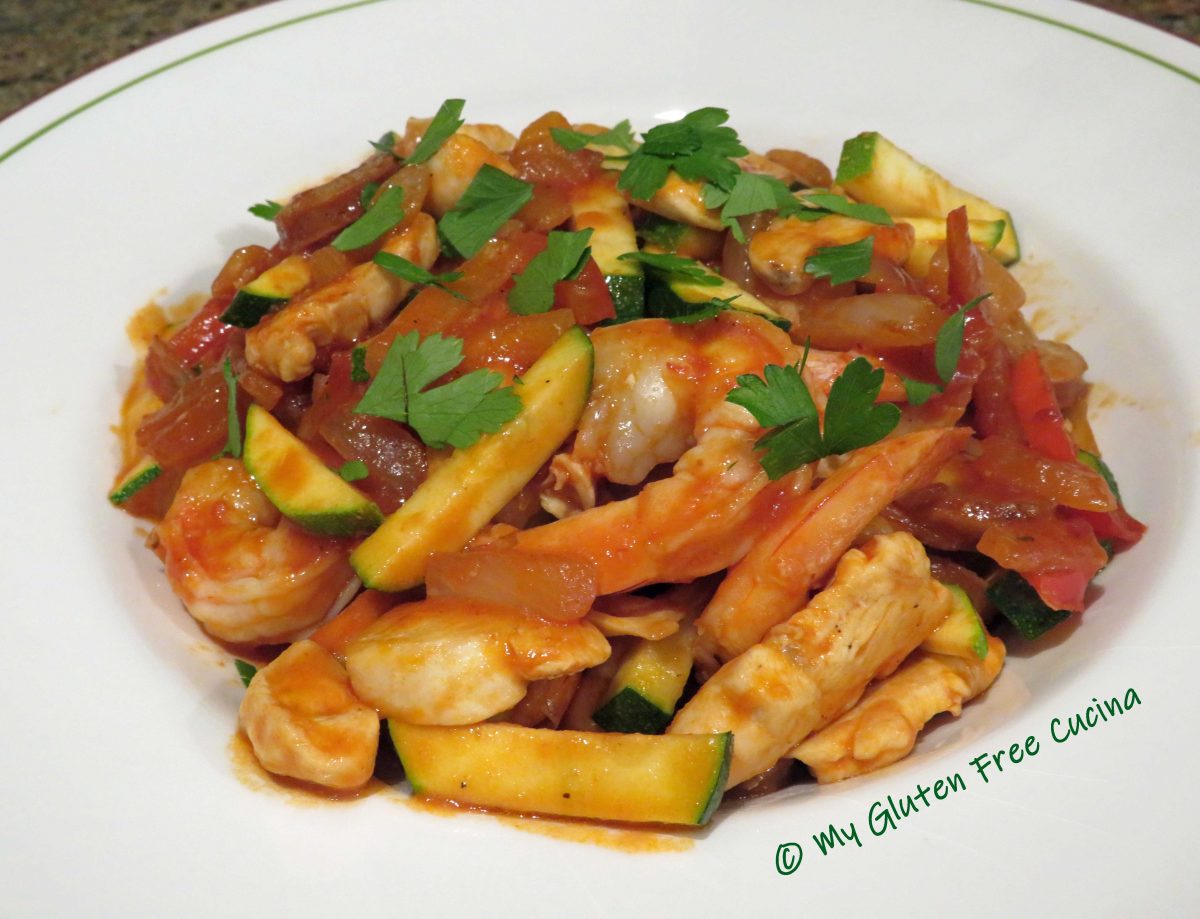
Stir everything together, then add the remaining 1-1/2 cups chicken broth along with the zucchini.

Cover and cook several minutes longer, just until the shrimp turn pink.

That’s it!  Just transfer to a serving bowl and finish with chopped parsley.

Notes ♪♫ This spicy dish is traditionally served over rice, but it is also delicious tossed with pasta.  If you enjoyed this post check out my Jambalaya Pasta, and Jambalaya Stuffed Peppers!

Print This Post Print This Post