
Crab Stuffed Sole

Crab Stuffed Sole is another old restaurant favorite of mine.  It is elegant enough for company but easy enough to prepare on a weeknight.  Your whole family will love this simplified version, and I’m pretty sure my preparation has much less butter and calories than its restaurant counterpart (and of course no gluten)!

4 Servings

This post contains affiliate links.

Ingredients:

Preparation:

Drain and rinse the crab meat.

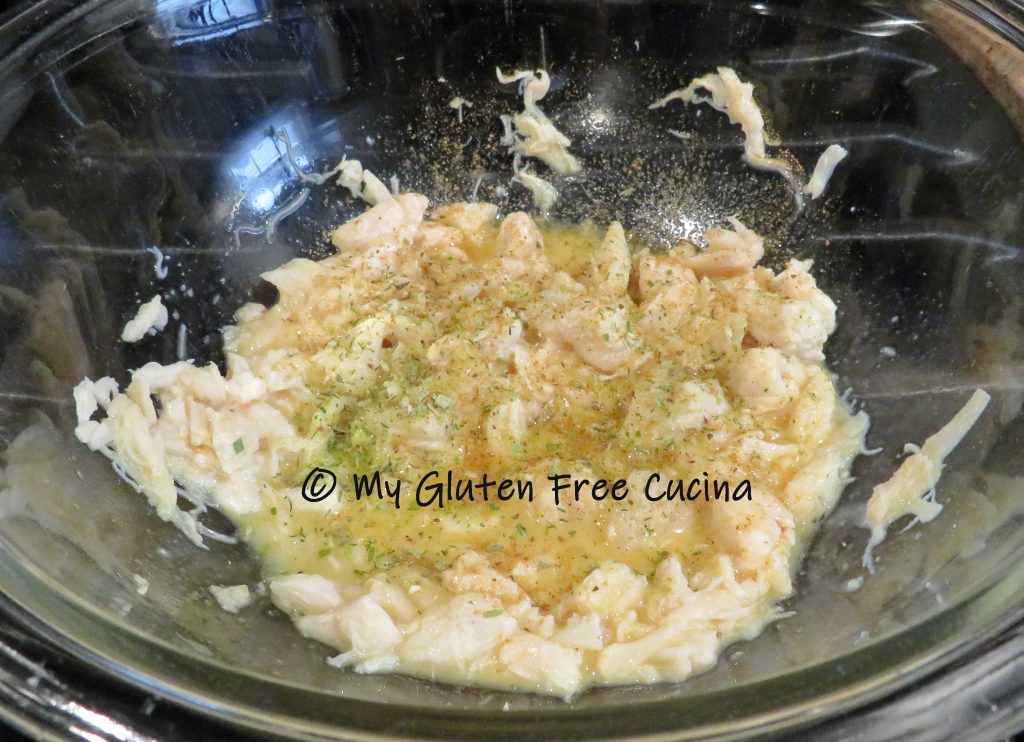
Melt the butter in a small saucepan.  Pulse the crackers in an electric chopper or food processor to form coarse crumbs.  You will need about 1/2 cup total.  In a small bowl whisk together the egg, Worcestershire, crab meat and chive seasoning.  Stir in half of the cracker crumbs.
Arrange the fillets on a clean work surface.  Brush with melted butter and sprinkle with Old Bay.

Spoon the crab stuffing onto the fillets.

Mist a baking dish with cooking spray.  Now roll up each fillet into a bundle, starting with the wide end.  Tuck the ends underneath.
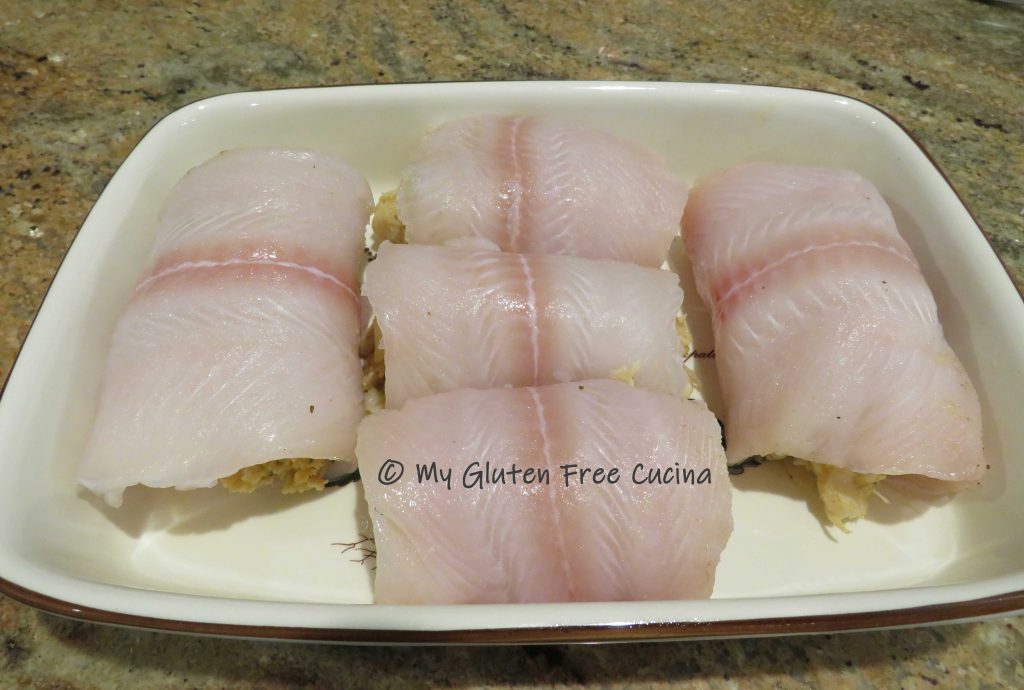
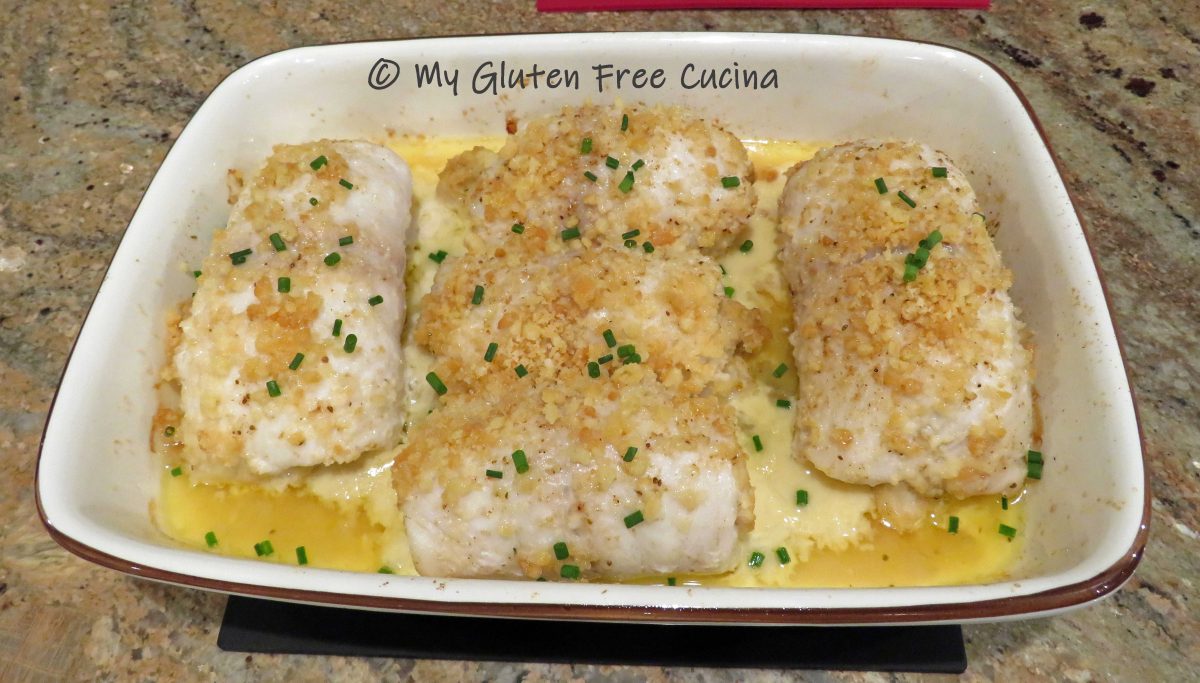
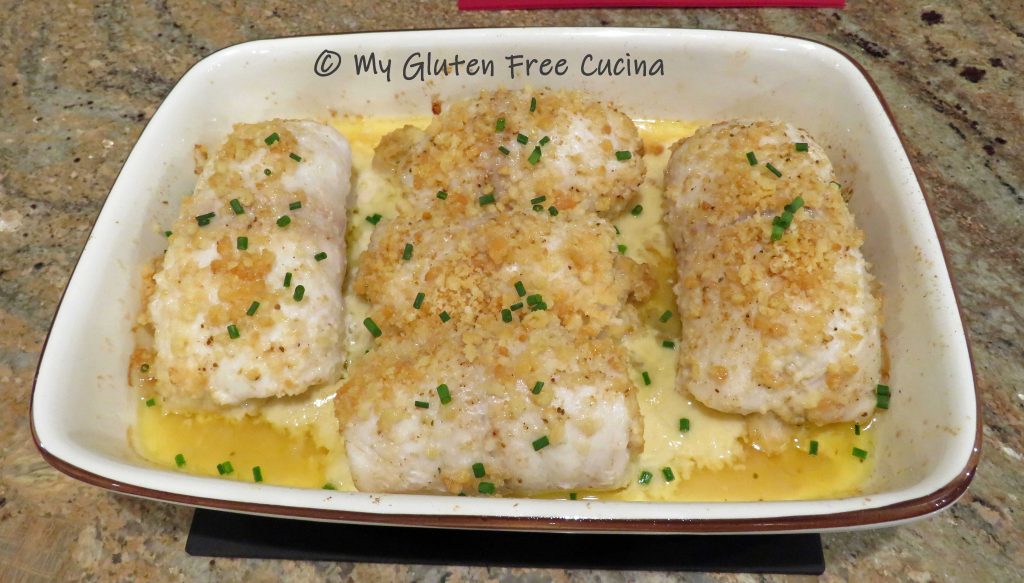
Arrange the fish bundles in the baking dish seam side down, and brush with the remaining melted butter.   Sprinkle with Old Bay and top with the remaining cracker crumbs.  Bake for 30 minutes at 350°.

There you are friends.  Garnish with chives and serve up this elegant main course right in its own baking dish.  No one will guess that it’s gluten free 😊.
Notes ♪♫ For seafood dishes like this one nothing beats a Ritz cracker crumb type breading.  I have always loved Lance’s Original Gluten Free Crackers, but they are hard to find (at a reasonable price) these days!  My recommendation for this recipe is Schar Entertainment Crackers; you can find them online and at most grocers.

 

[print_link]

Milestones – 2 Years Gluten Free

Foodie Friends,

I’m celebrating a birthday this week and looking forward to a brand-new year of good food and good health.

I have another big milestone coming up as well.  This August will mark 2 full years since my Celiac diagnosis, and the beginning of my gluten free life.

What a long way I have come!  I knew nothing about Celiac disease 2 years ago.  And ever since I left that doctor’s office with little more advice than to “eat a gluten free diet”, I have made it my business to learn everything about Celiac and adapt my cooking and baking skills to this new way of living and eating.

There have been many ups and downs along the way.  From my first loaves of bread that were just awful, to learning there might be gluten in vitamins (who knew?), navigating cross contamination, dining out, holiday celebrations and so much more.

Today I feel proud of what I have accomplished.  That Celiac diagnosis was a blessing in disguise.  After decades of unexplained abdominal pain and other issues I now have an answer- and a solution.

My baking adventures have produced some gluten free breads that I am very proud of.  I don’t get “glutened” very often, because I have learned to read ingredient labels and scrutinize restaurant menus.

Today I feel better, stronger and ready to enjoy the best health of my adult life.  Food is a joy to make, eat and share once again.

Thank you all for sharing my journey and being a part of My Gluten Free Cucina!


Toasted Winter Squash Seeds

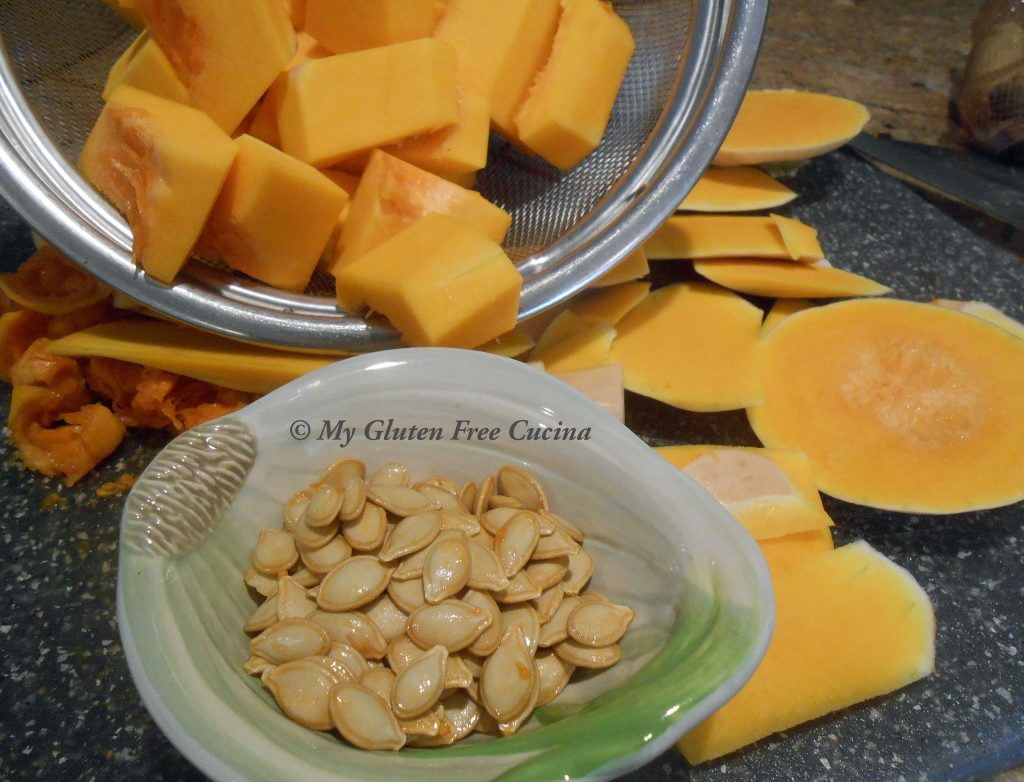
I’ve been having a hard time finding pumpkin seeds that are processed on dedicated gluten free lines.  So last week when I had a whole butternut squash to cook I decided to reserve the seeds and roast them.  It was a little bit of work to remove the seeds but the results were great!  Use this versatile recipe with pumpkin, butternut squash, acorn squash, whatever is in season.  Since butternut squash is always available you can enjoy this treat year round, so much fresher and tastier than store bought.

Ingredients:

  • 1 whole butternut squash
  • 1 tbsp. olive oil
  • gluten free seasoned salt (I used Lawry’s)

Preparation:

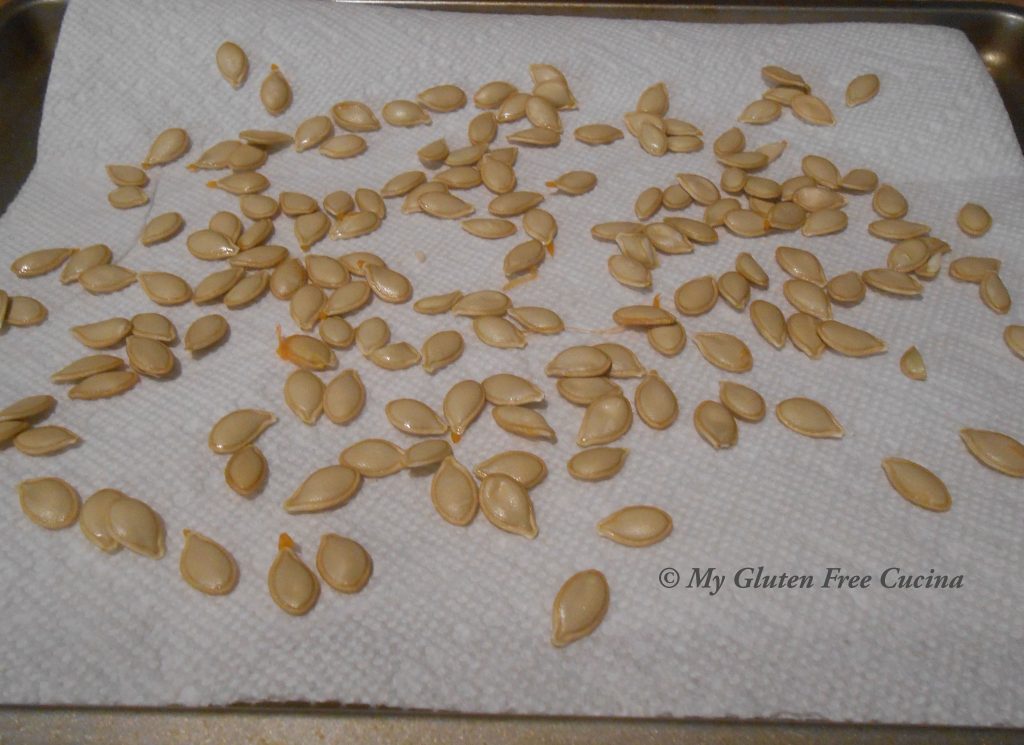
Cut the squash in half and scrape out the seeds with a spoon.  Rinse the seeds under cold water to remove as much of the flesh as possible.  Spread them out on a paper towel and dry overnight.

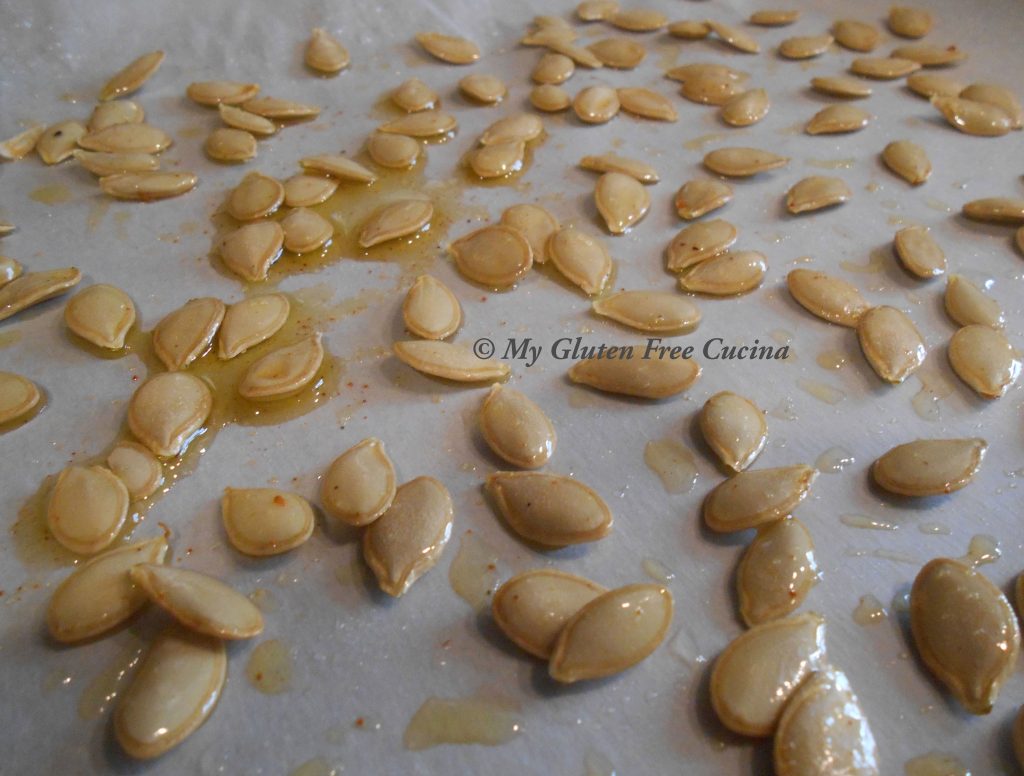
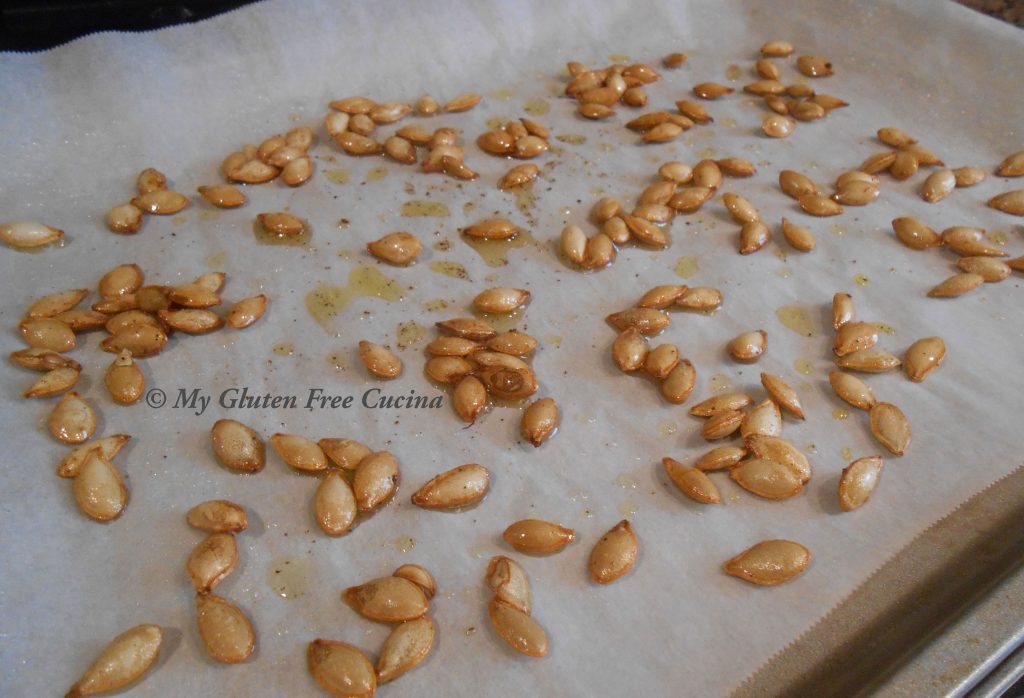
The next day, toss the seeds with 1 tbsp olive oil and place on a baking sheet lined with parchment paper.

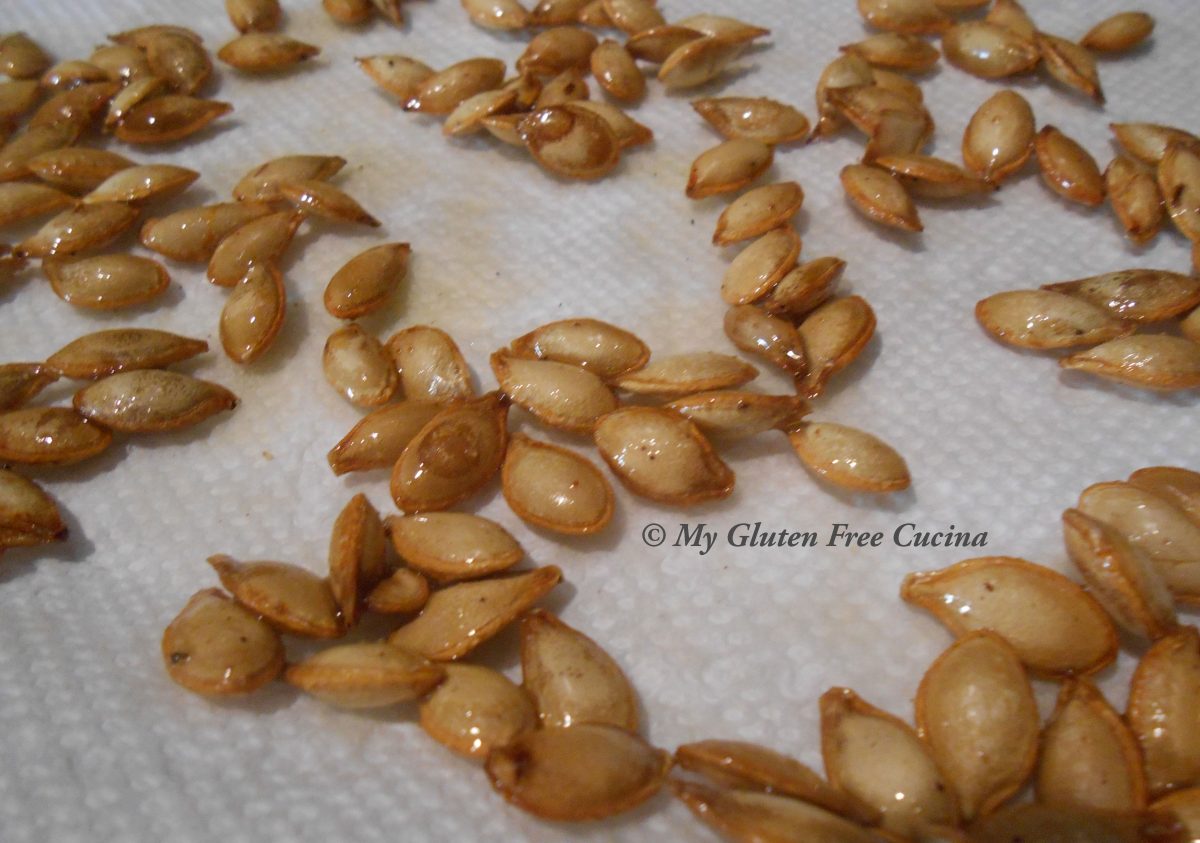
Sprinkle with seasoned salt and bake at 300º for 15 minutes.  Watch that they don’t burn.

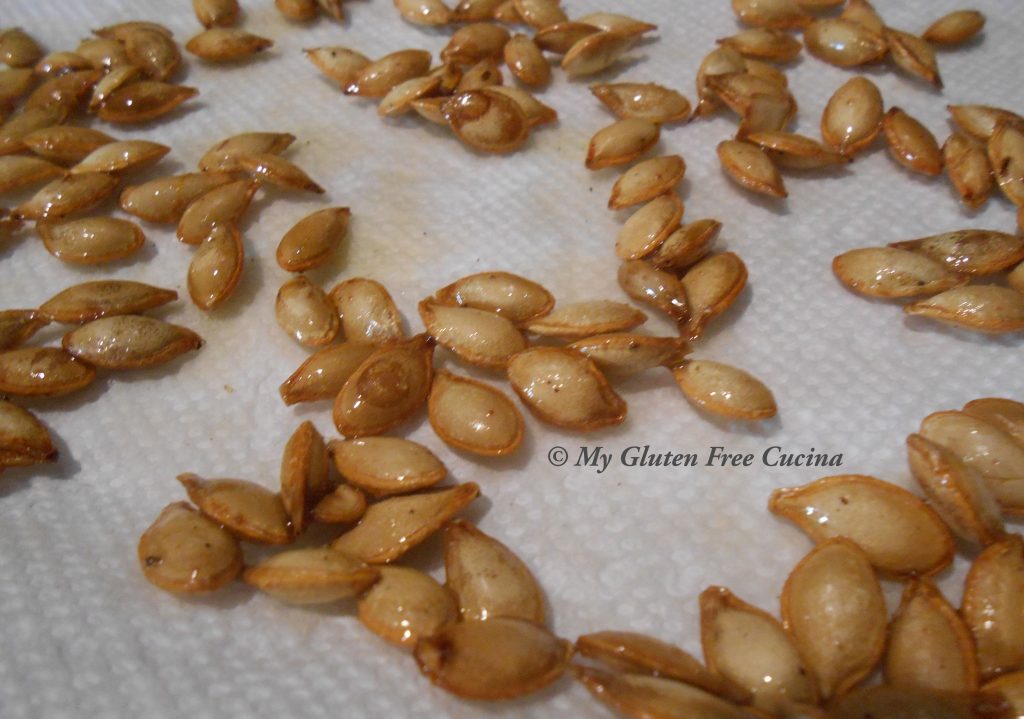
Drain on paper towels to remove some of the oil.

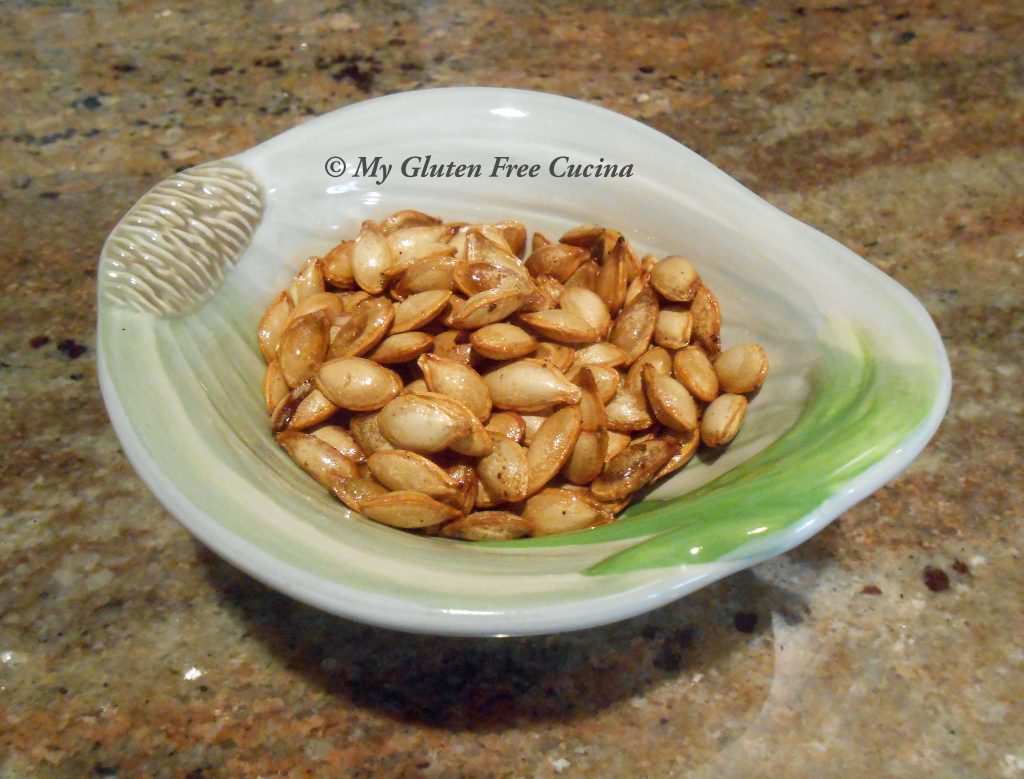
There you are, no gluten here! ????

The seeds are super tasty, and very addictive.  So from now on don’t throw those seeds away, roast them up and enjoy a healthy gluten free snack or garnish.

[print_link]


Sausage and Egg Mini Quiche

Let’s get the day started with an easy recipe that you can prep ahead and bake in the morning!  It’s a great savory dish for a casual breakfast or Sunday Brunch.  The recipe will yield one dozen mini quiches, perfect for a 12 cup muffin pan.  Completely gluten free with no oddball ingredients to purchase, everyone will love this family favorite!

This post contains affiliate links.

Ingredients:

  • ½ lb. gluten free Italian sausage, casings removed
  • ½ small onion, chopped fine
  • 1 tsp. olive oil
  • 1 package (8 oz.) white mushrooms, sliced
  • 1 package (5 oz.) baby spinach
  • 10 large eggs
  • ¼ cup milk
  • 2-3 oz. shredded cheddar cheese
  • gluten free breakfast sausage seasoning
  • Cooking spray

 Preparation:

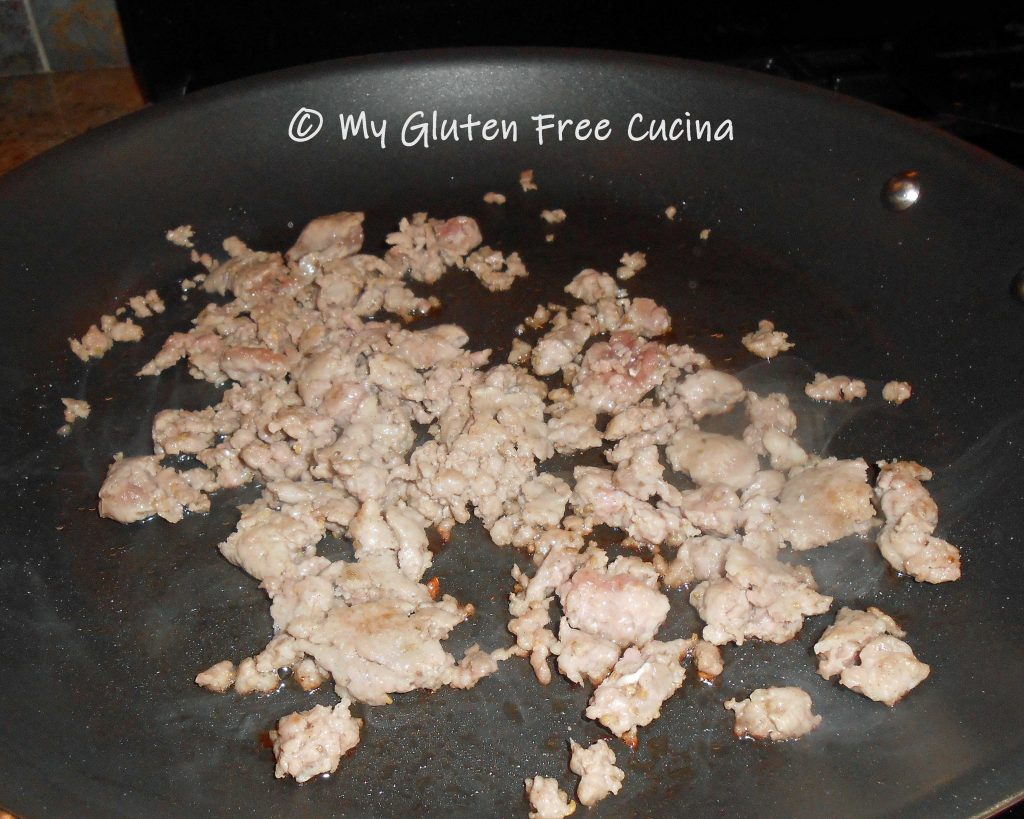
Brown the sausage in a large nonstick skillet, breaking up the meat with a spatula.  Remove from the pan, reserving the fat.

Set the meat aside to cool, then pulse it a few times in a food processor or mini chopper, just enough to finish breaking up the meat.

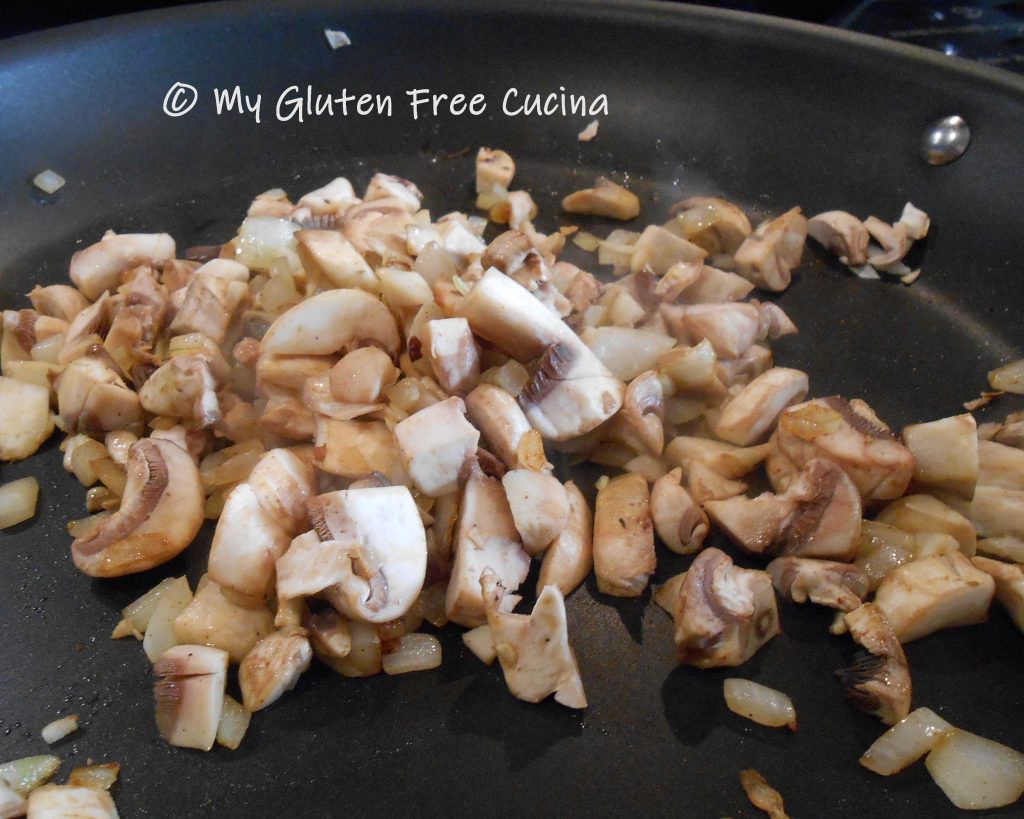
Add a little olive oil to the reserved fat and begin cooking the onion.  When the onions are translucent, add the mushrooms and cook until they release their liquid.  Sprinkle with seasoning.

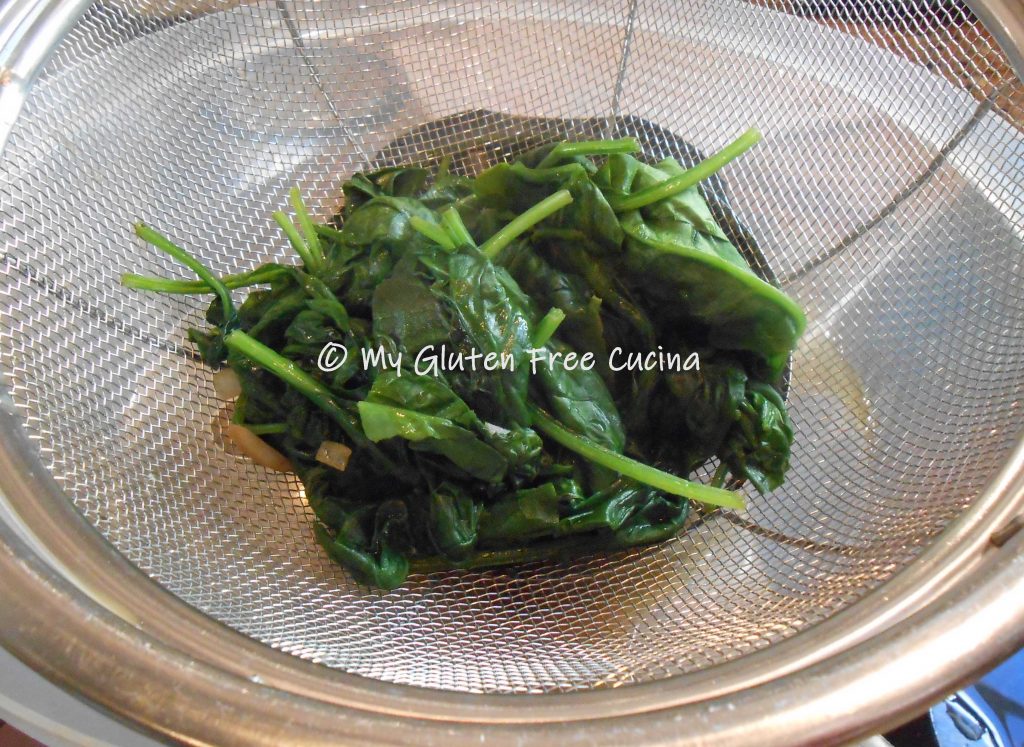
Remove the mushrooms and onions from the pan, drain in a colander and set aside.  Wipe the pan clean.  Add 2-3 big handfuls of spinach with 1/4 cup water.  It will cook down!  Cover and steam for 1 minute, just until the spinach is wilted.  Drain the spinach well and pat it dry with paper towels.

Note! You can prepare up to this point and refrigerate the night before.

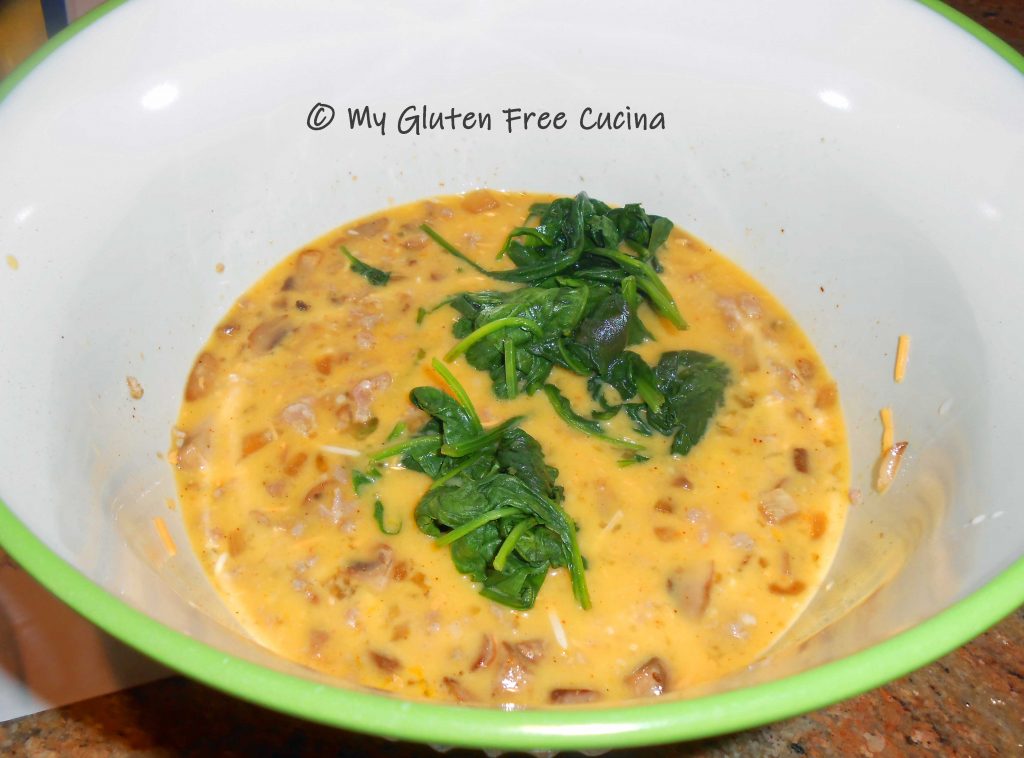
When the mushrooms and spinach have cooled to room temperature, preheat the oven to 375º and coat a muffin tin with cooking spray.  Whisk the eggs in a large bowl and stir in the sausage, mushrooms, onions, spinach, seasoned salt and half of the cheese.

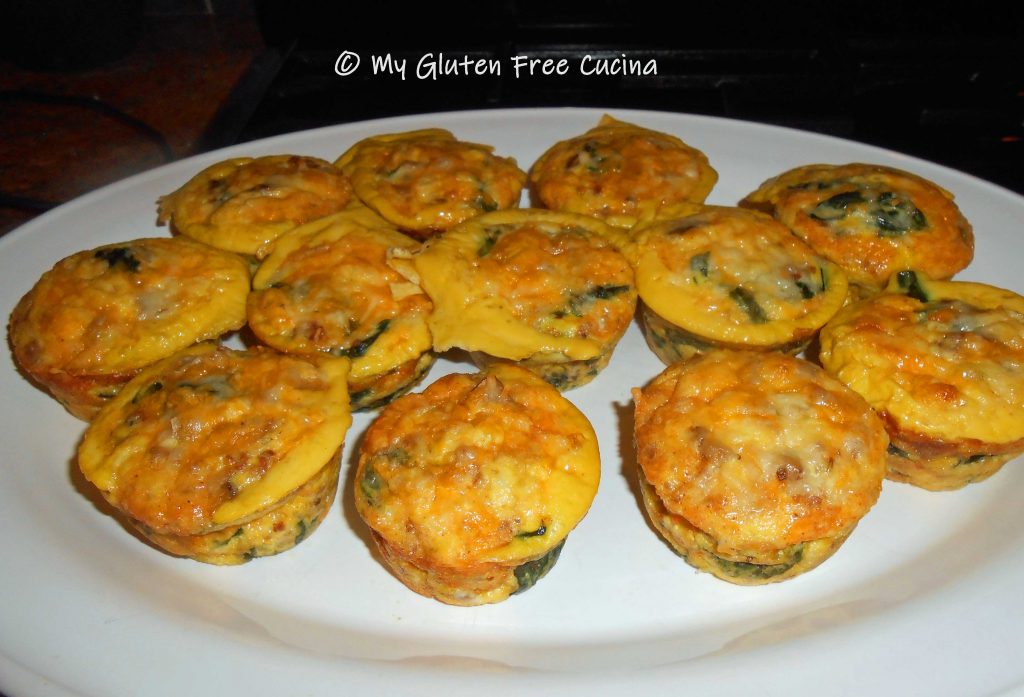
Spoon the mixture into 12 muffin cups and sprinkle tops with the remaining cheese.  Bake 25-30 minutes until set.

The quiche will puff up during baking and may deflate a bit when removed from the pan.

Carefully scoop out the quiches with a spoon and transfer to a serving dish.  They should slide right out.  Serve hot or at room temperature.

This is a very easy recipe that you can double or triple to feed a crowd for brunch.  I used Italian sausage, but you can substitute any sausage you prefer, or bacon or prosciutto!  Be sure to pin this easy and delicious recipe for your next Sunday brunch!

Notes ♪♫ There are many gluten free sausage seasonings on the market, but you may find them high in sodium.  If you are interested in making your own seasoning blend, check out my Homemade Breakfast Sausage Patties post.  It includes a recipe for a blend of individual spices that you mix together, and you can adjust the salt content to your liking.

[print_link]

Basic Risotto Recipe

Rice is a staple of the gluten free diet, and Risotto is always a favorite for family dinners and special occasions.  Some might shy away from making Risotto because it requires constant attention.  True, you cannot just put the lid on and walk away, but it’s worth the effort for this very special treat.  This basic preparation is one that you must have in your recipe box!  Once you have mastered a basic risotto you can use it as an elegant side or as a base for another dish.  Check out some of my favorite Risotto recipes here.

2-3 servings

Ingredients:

  • ½ cup Arborio or Carnaroli rice
  • 2 tbsp. Butter, divided
  • ¼ cup white wine
  • 1 shallot, chopped
  • Salt, to taste
  • Pinch of saffron (optional)
  • 32 oz. Carton gluten free chicken broth at room temperature (start with a full carton but you won’t need all of it)
  • Fresh chives, or chive seasoning for garnish

Preparation:

When making risotto, be sure that your chicken broth is warm or at least at room temperature.  You want it to come to temperature quickly when adding it to the rice.

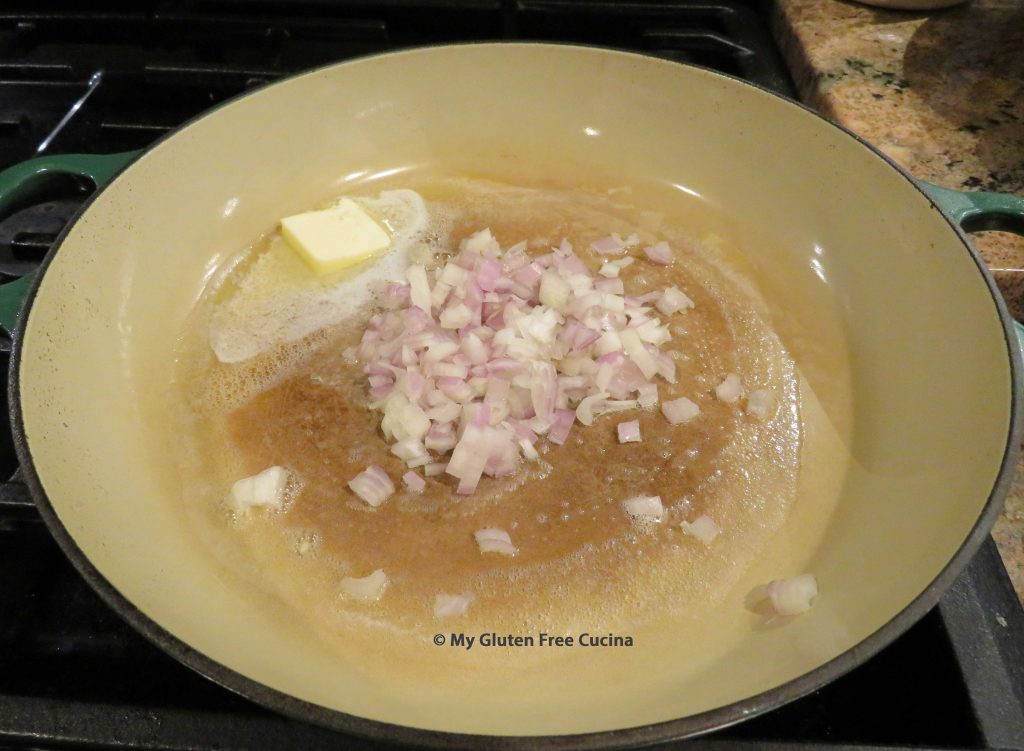
To get started, melt 1 tbsp. butter in a heavy skillet or sauce pot on medium low heat.  Add the shallot and stir to coat with butter.

Continue cooking for 1-2 minutes.

Add the rice to the pan and stir to coat with butter for 1 minute.  Add the white wine and stir constantly until most of the wine has evaporated.

Next add 1 ladle (about ½ cup) of chicken broth.

Stir frequently, and when the rice has absorbed most of the broth add another ladle.

Continue adding the broth, 1 ladle at a time stirring constantly until absorbed and the rice is finished, about 30 minutes.  Don’t walk away!

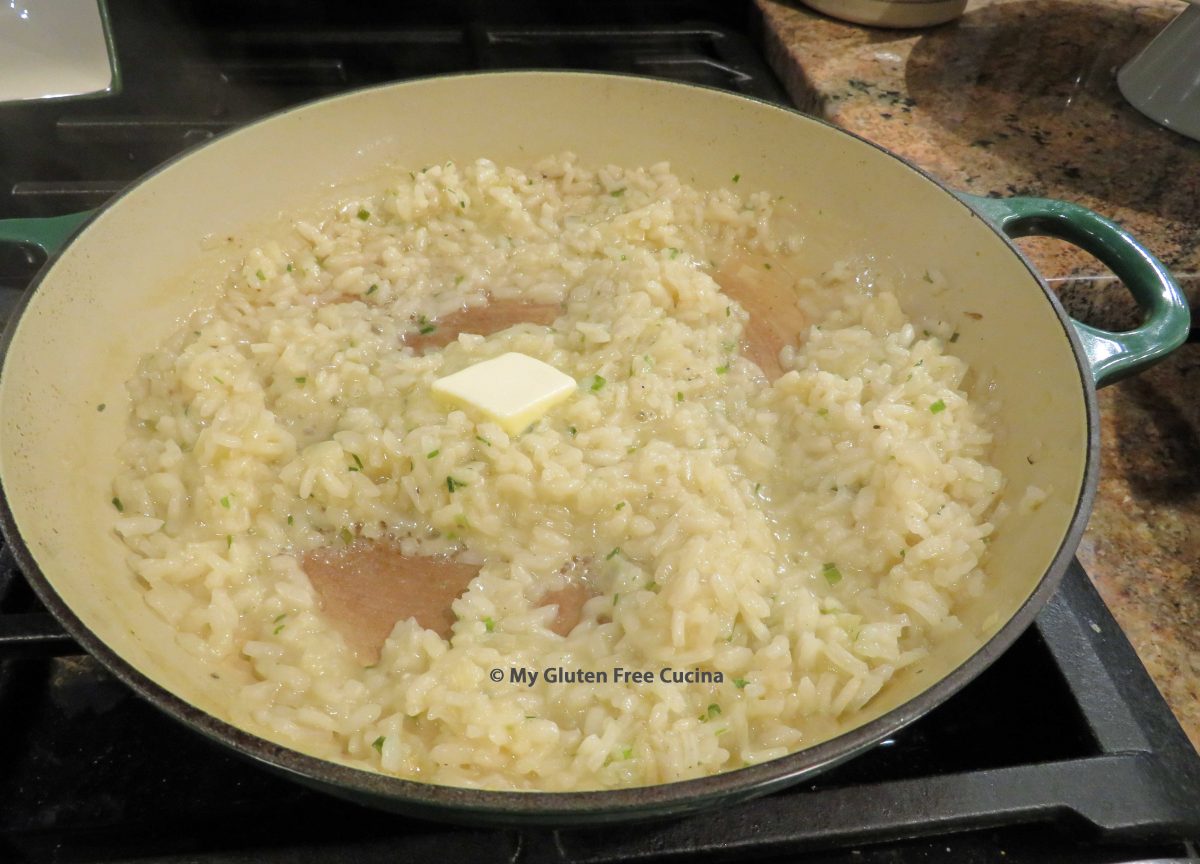
When it’s almost finished, season with salt, pepper and chives.

Finish with a pat of butter.

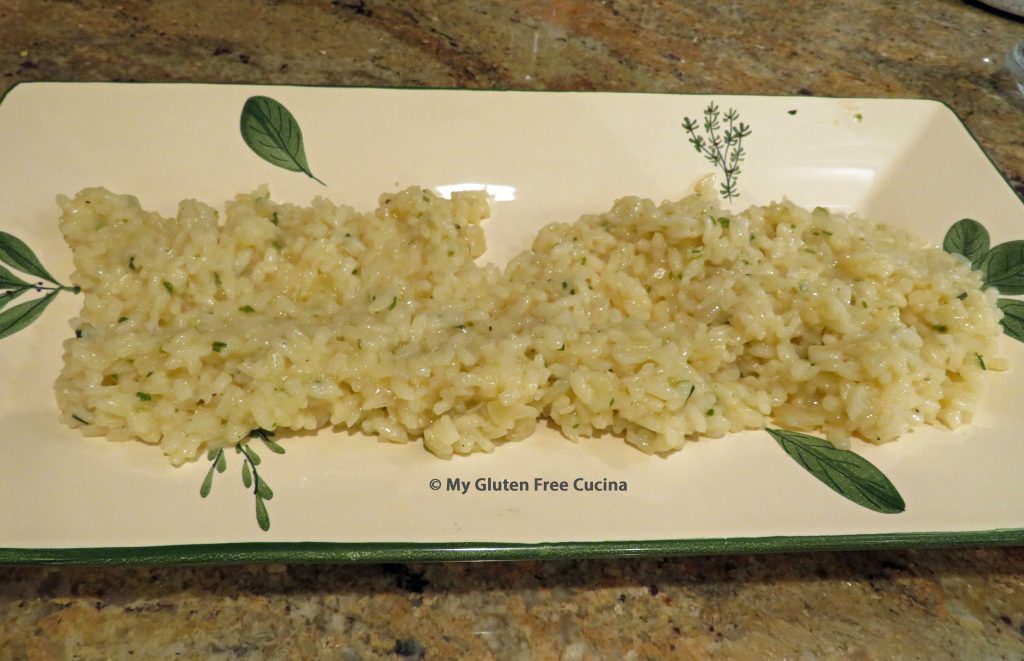
This basic recipe is a great jumping off place for some amazing risotto dishes.  You can stir in grated cheese, sauteed mushrooms, even butternut squash puree!  Check out some of my favorite risotto recipes here!

Notes ♪♫ Carnaroli Rice is widely regarded as the best for making risotto and it is worth seeking out if you can’t find it at the grocery store.  It is a high-quality short grain rice with a wonderful texture that is perfect for making risotto that is creamy but firm.  If you cannot find Carnaroli rice, then substitute Arborio.


Print
clock clock iconcutlery cutlery iconflag flag iconfolder folder iconinstagram instagram iconpinterest pinterest iconfacebook facebook iconprint print iconsquares squares iconheart heart iconheart solid heart solid icon

Basic Risotto Recipe

5 Stars 4 Stars 3 Stars 2 Stars 1 Star No reviews
  • Author: © My Gluten Free Cucina
  • Category: Side Dish
  • Cuisine: Italian
  • Diet: Gluten-Free

Description

This basic risotto preparation is one that you must have in your recipe box!  Once you have mastered a basic risotto you can use it as an elegant side or as a base for another dish.


Ingredients

Units Scale
  • 1/2 cup Arborio or Carnaroli rice
  • 2 tbsp. Butter, divided
  • 1/4 cup white wine
  • 1 shallot, chopped
  • Salt, to taste
  • Pinch of saffron (optional)
  • 32 oz. Carton gluten free chicken broth at room temperature (start with a full carton but you won't need all of it)
  • Fresh chives, or chive seasoning for garnish

Instructions

When making risotto, be sure that your chicken broth is warm or at least at room temperature.  You want it to come to temperature quickly when adding it to the rice.

To get started, melt 1 tbsp. butter in a heavy skillet or sauce pot on medium low heat.  Add the shallot and stir to coat with butter.

Continue cooking for 1-2 minutes.

Add the rice to the pan and stir to coat with butter for 1 minute.  Add the white wine and stir constantly until most of the wine has evaporated.

Next add 1 ladle (about ½ cup) of chicken broth.

Stir frequently, and when the rice has absorbed most of the broth add another ladle.

Continue adding the broth, 1 ladle at a time stirring constantly until absorbed and the rice is finished, about 30 minutes.  Don’t walk away!

When it’s almost finished, season with salt, pepper and chives.

Finish with a pat of butter.


Notes

Carnaroli Rice is widely regarded as the best for making risotto and it is worth seeking out if you can’t find it at the grocery store.  It is a high-quality short grain rice with a wonderful texture that is perfect for making risotto that is creamy but firm.  If you cannot find Carnaroli rice, then substitute Arborio.


Veggie Omelette

I have always loved Saturday mornings, especially back in my working days, when it meant having the luxury of extra time to make something special for breakfast.  Omelets have long been a weekend favorite of mine, and since the ingredients are naturally gluten free, they continue to be a healthy breakfast option.  I love adding fresh veggies like onion, bell pepper, spinach and mushrooms.  During the summer, I add zucchini and fresh chives from my herb garden.  Use your favorites or what you have on hand!

Serves 1 or 2, depending on your appetite!

This post contains affiliate links.

Ingredients:

  • 1 large egg
  • 1/4 cup egg whites
  • 2 tbsp. milk
  • 3/4 cup diced veggies such as onion, mushroom, zucchini, bell pepper
  • fresh or dried herbs such as chives, dill
  • 1 tbsp. olive oil
  • 2 tbsp grated cheese, optional
  • gluten free seasoning of choice
  • salt and pepper

Preparation:

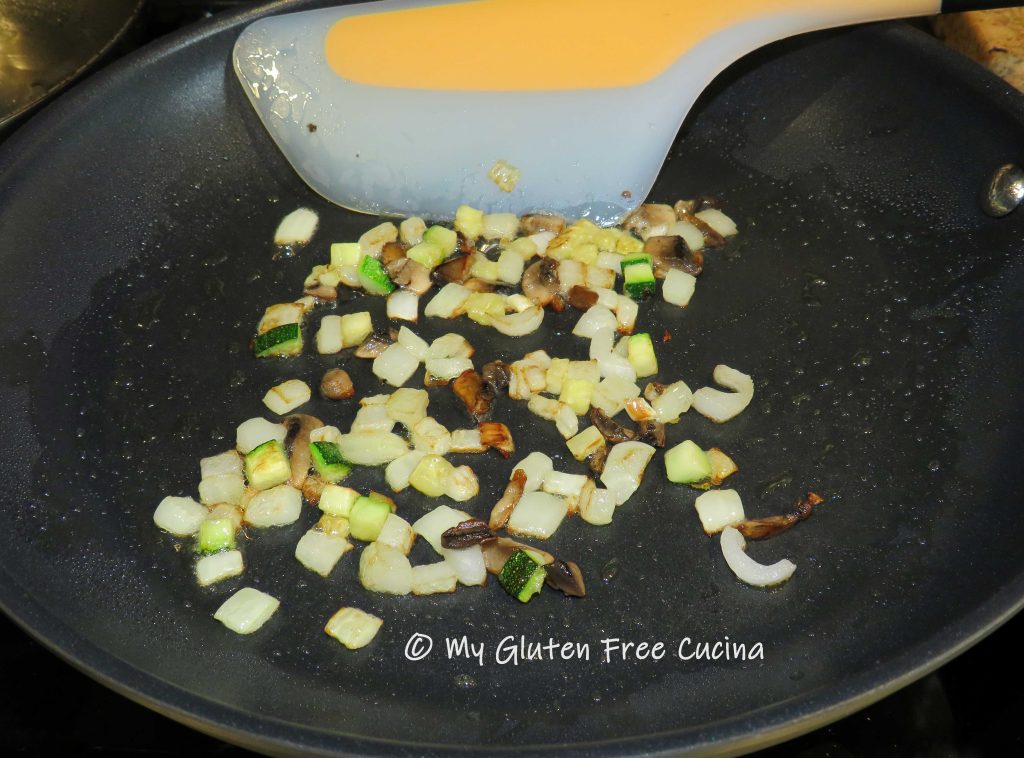
Chop the veggies evenly into small dice and sprinkle with salt and pepper, or your favorite gluten free seasoning.  It may look like too much but remember, the veggies will shrink during cooking.

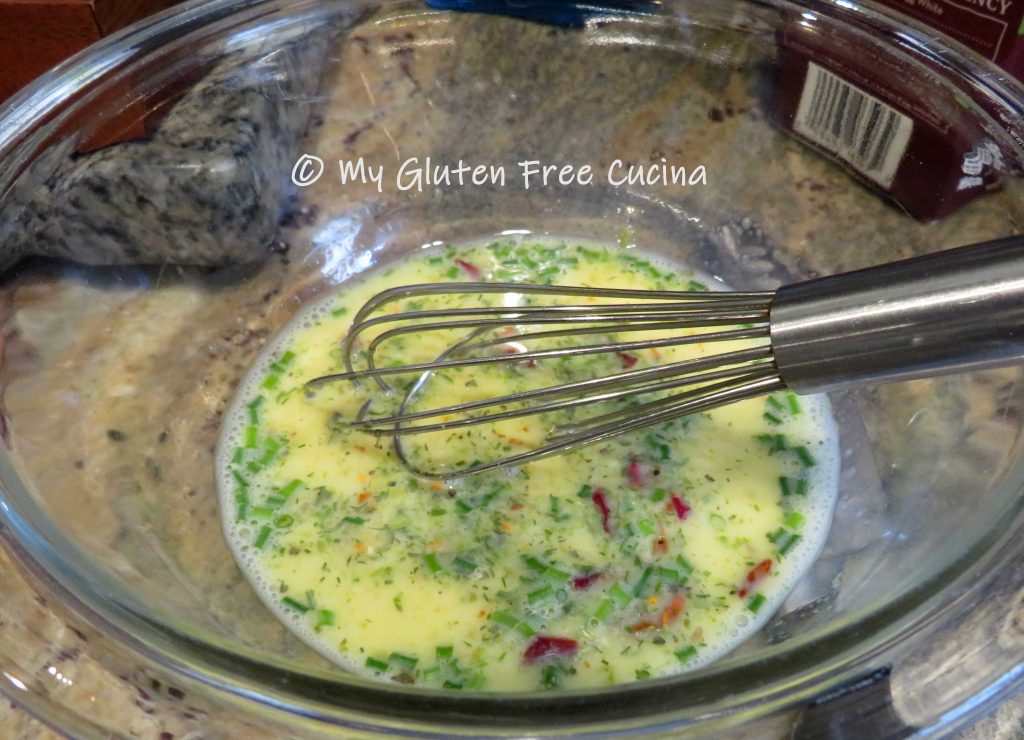
Heat a 10″ skillet with a little olive oil.  In a bowl, whisk together the egg, egg whites, milk and fresh or dried herbs.  Season with salt and pepper.

When the skillet is ready, add the veggies and sauté over low heat until their liquid has evaporated, and they are beginning to brown.  Take your time, you want as little moisture as possible, and this step develops the flavor.

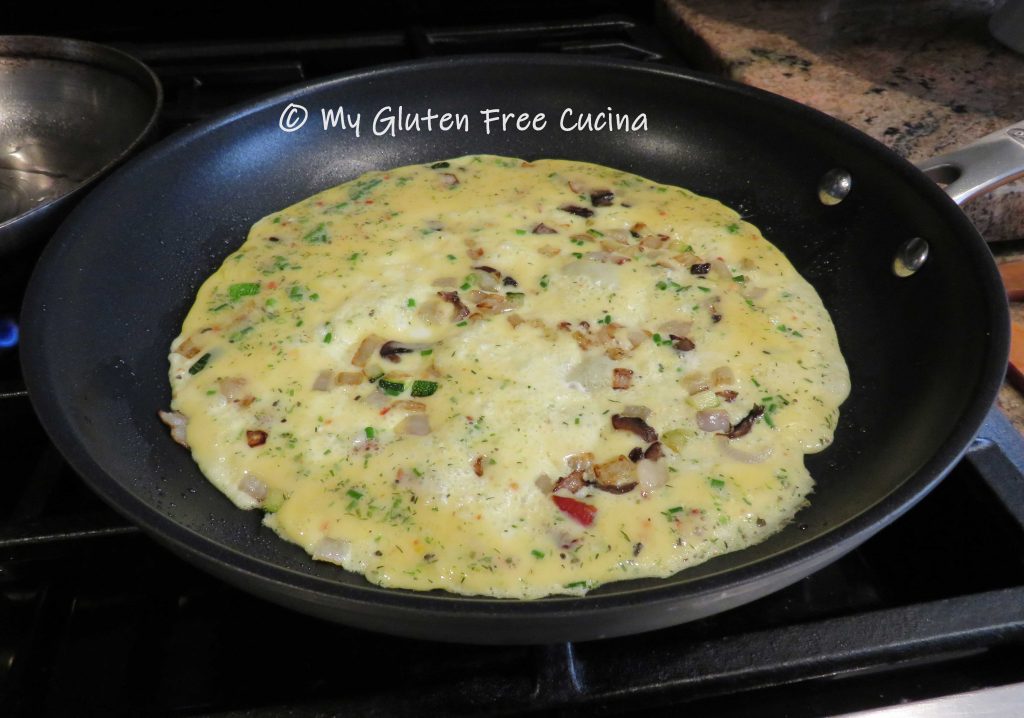
Spread the veggies in an even layer, then pour the egg mixture in slowly so that they don’t all shift to one side of the pan!  If you like grated cheese, sprinkle some over the top and set your timer for 5 minutes.  As the omelet cooks, use a thin spatula to gently lift the edges, allowing the liquid to run underneath. This is how you want it to look before you fold it over, it should slide easily when you shake the pan.

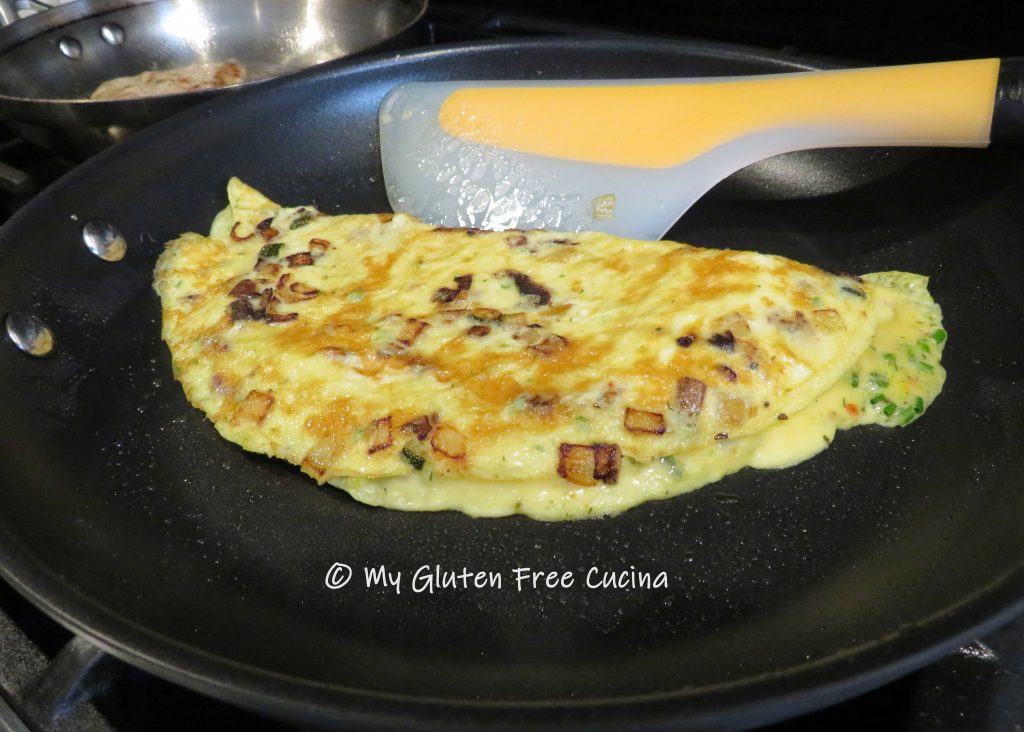
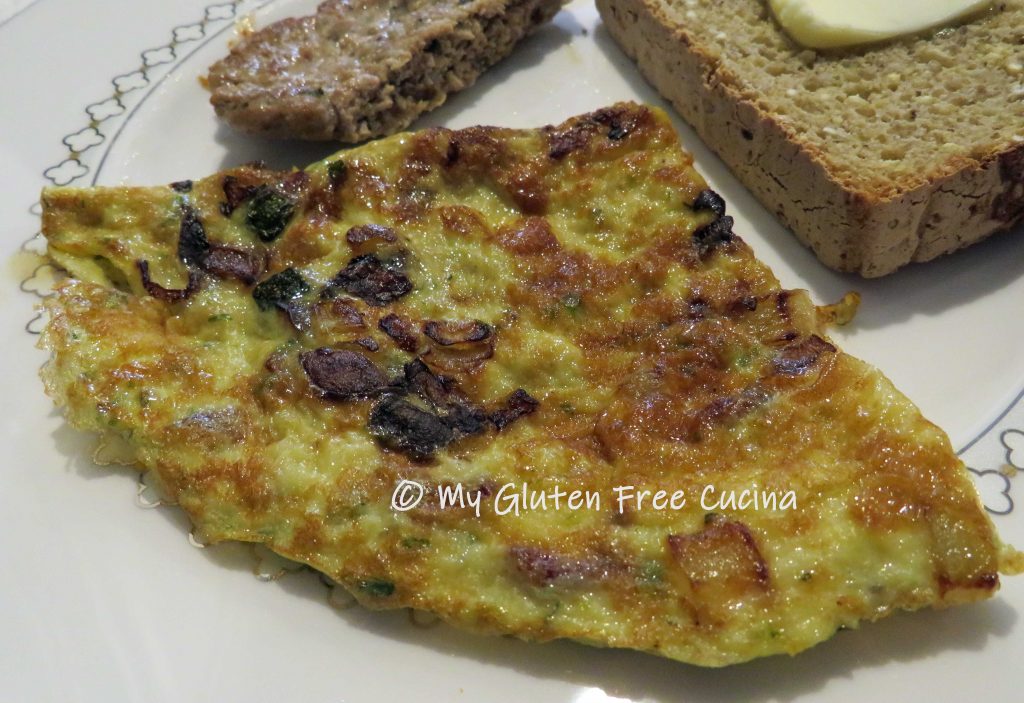
Now pick up one side of the omelet with a spatula and gently fold it in half.  Don’t worry if it breaks, it will still taste great!

Turn the omelet once more after folding.  To make this easier, you can cut it in half or use 2 spatulas.  For smaller appetites, this omelet is enough to share. It’s quite filling!  Now that you know how easy it is, put away the cereal and treat yourself to something special this weekend.

Notes ♪♫ A good non-stick skillet is essential for making an omelet.  I have a 10″ Oxo skillet that is my dedicated omelet pan, I don’t use it for anything else!

[print_link]

Grilled Mahi Mahi

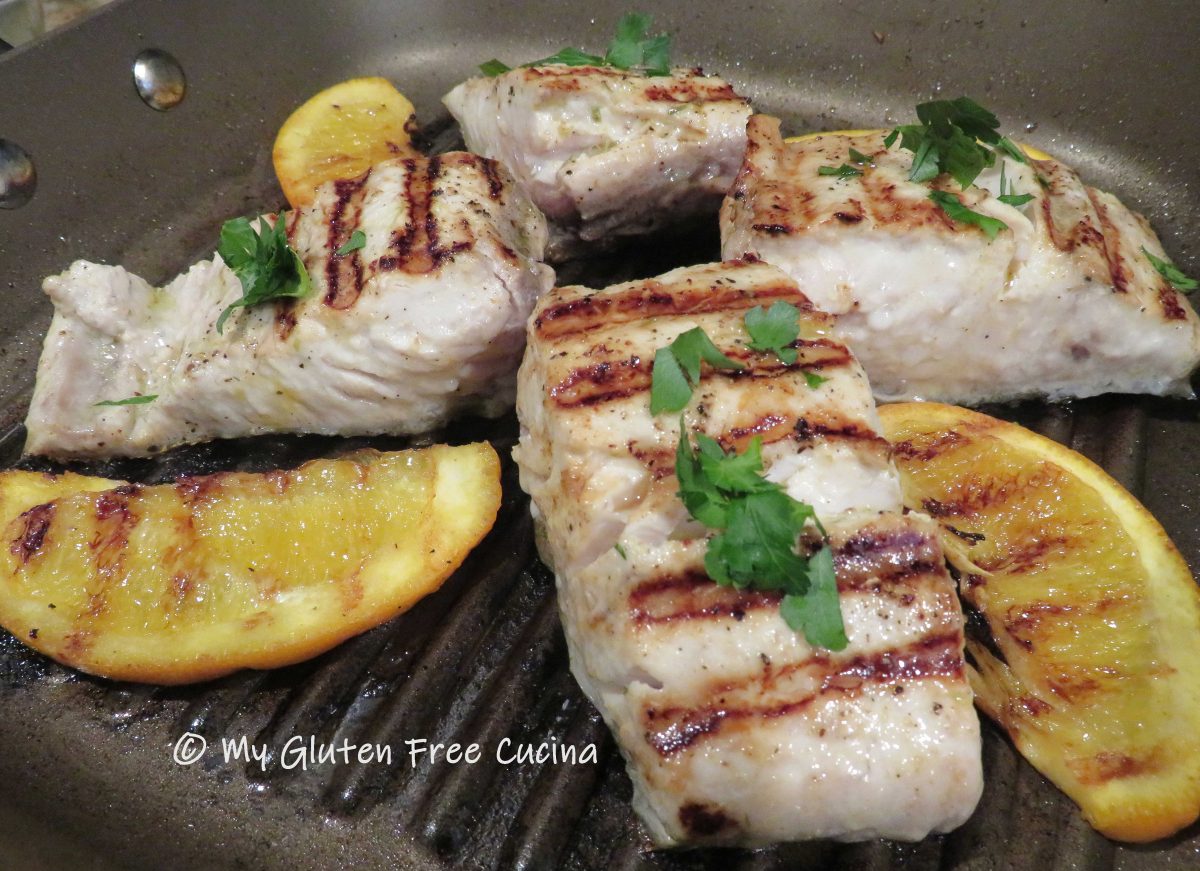
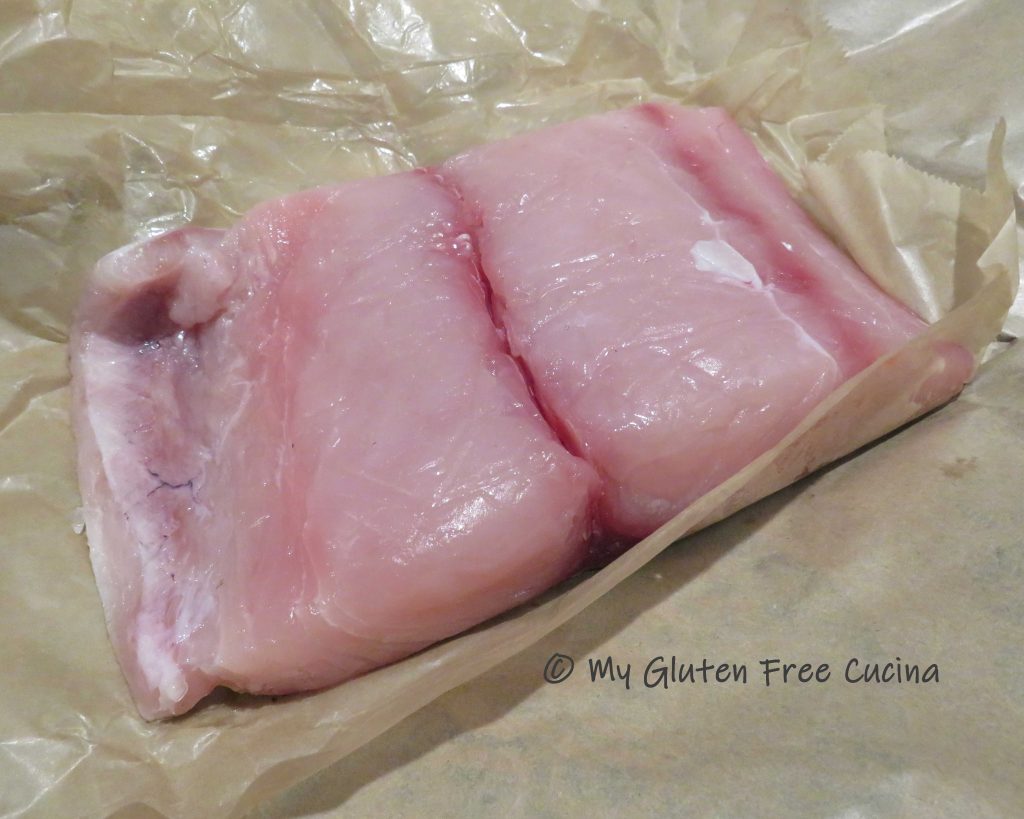
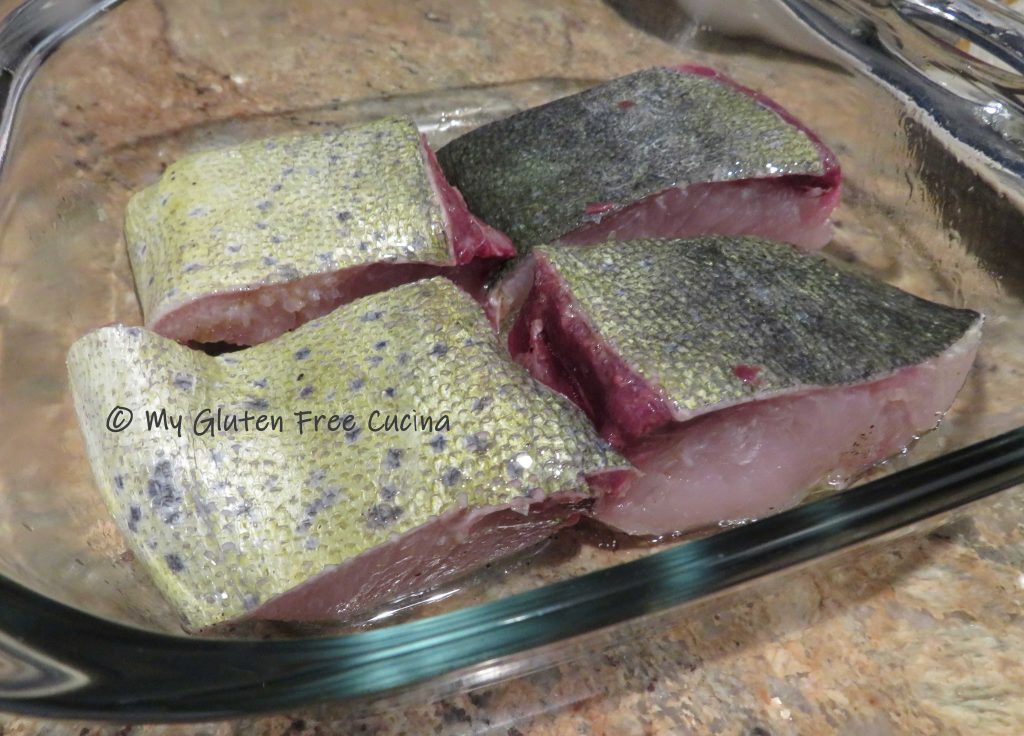
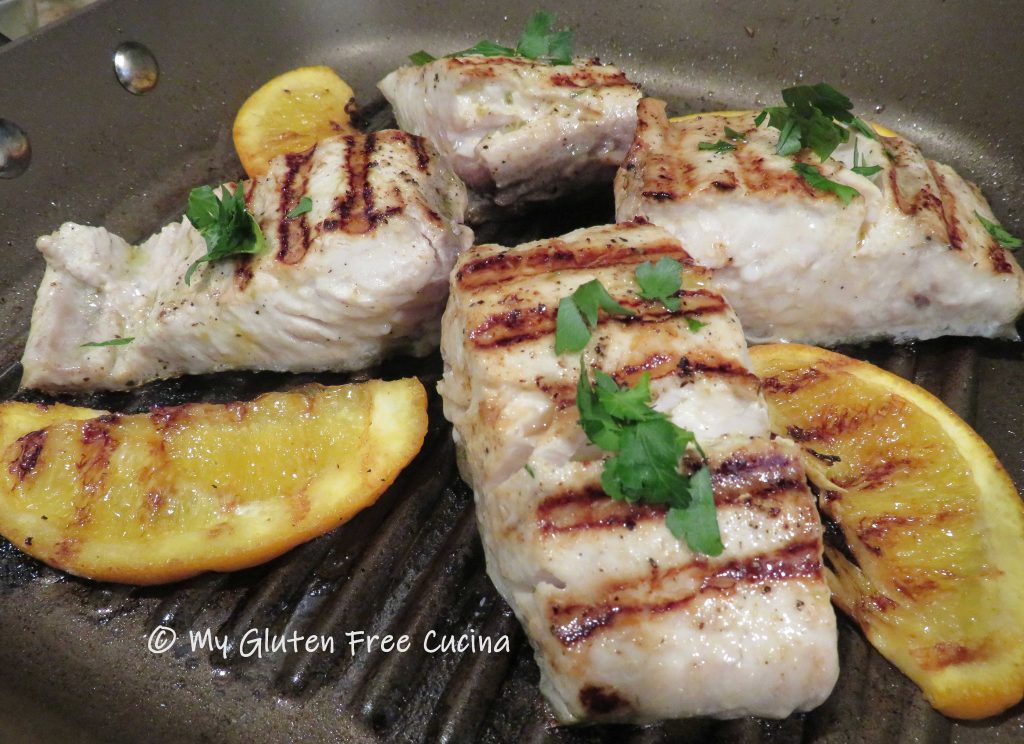
Mahi Mahi is a delicious, mild tasting fish that pairs beautifully with citrus.  With firm flesh and a thick skin, it holds up well on the grill and can also be baked.  If possible, buy fresh caught (not frozen) and cook it the same day.  The meat should be pinkish with darker meat running through the middle.  The skin should be bright and shiny.  Use a grill pan for indoor cooking as I did here, or grill outdoors during the summer months.  The marinade helps develop the grill lines and ensures that the fish will be moist every time.  Try this recipe, you will not be disappointed!

This post contains affiliate links.

4 Servings

Ingredients:

  • 1 lb. Mahi Mahi cut into 4 pieces
  • 2 tbsp. olive oil
  • 2 tbsp. lemon juice
  • 2 tbsp. orange juice
  • 1 tsp. maple garlic seasoning
  • salt and pepper
  • fresh orange slices
  • Italian parsley for garnish

Preparation:

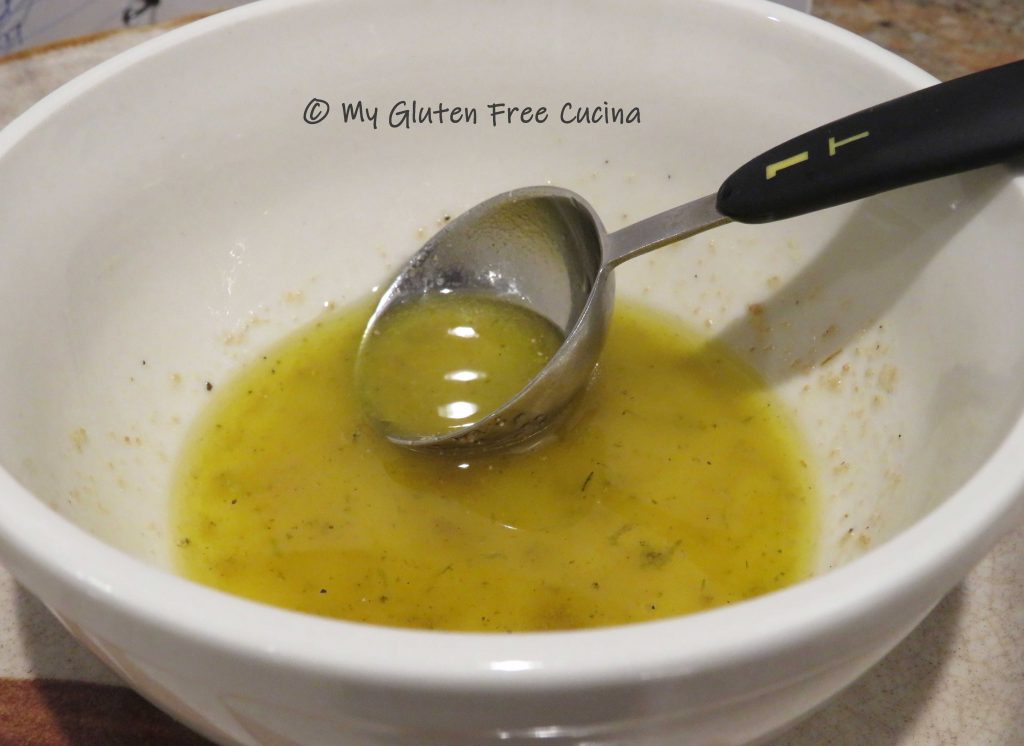
Whisk together the olive oil, lemon juice, orange juice and seasoning in a small bowl.  Place the fish in a non-reactive baking dish and spoon on 2 tbsp. of the marinade.  Season with salt and pepper.

Cover and leave at room temperature for 1/2 hour, turning the fish after 15 minutes.

Heat the grill pan over medium and mist with cooking spray.  Add the fish skin side up, drizzle with 2 tbsp. more marinade.  Add orange slices to the pan.

Cook for 5 minutes over medium heat, then turn the fish and orange slices over and cook 5 more minutes.  Drizzle with remaining 2 tbsp. marinade.

Garnish with Italian parsley.

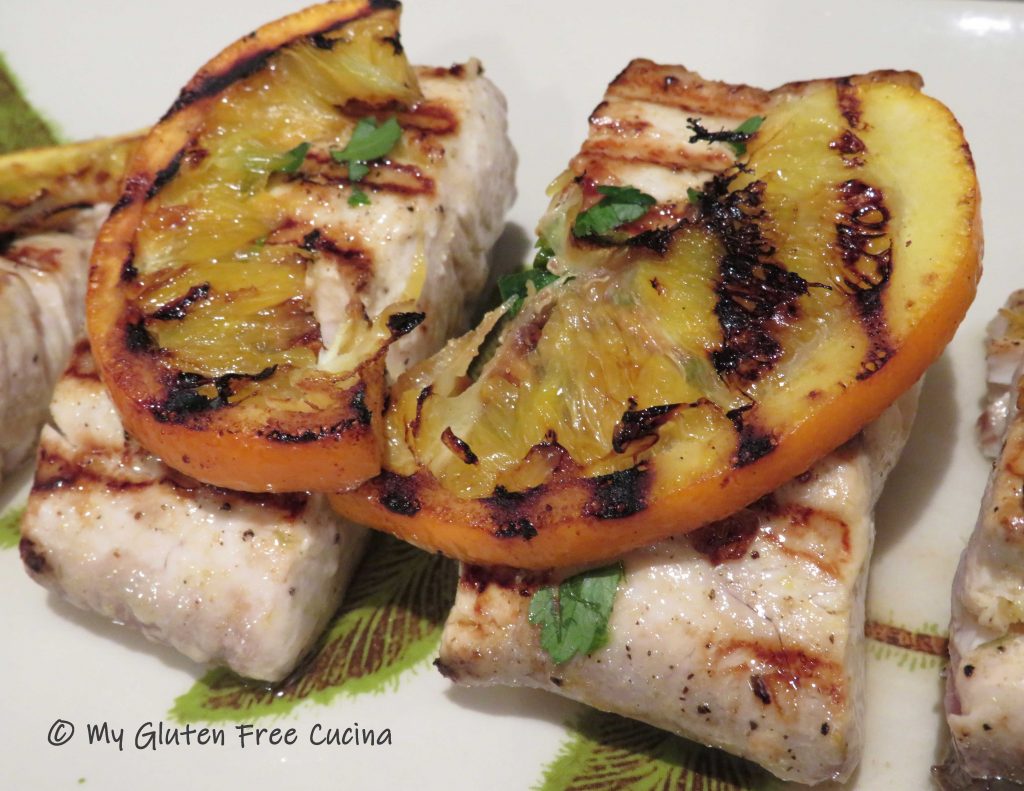
Arrange on a serving dish and top each piece with a slice of grilled orange.

Served with a side of broccoli and garlic mashed potato.

Notes ♪♫ Fish can easily become dried out on the grill.  To avoid this be sure to marinate, keep heat on medium to medium low and don’t overcook!

Print
clock clock iconcutlery cutlery iconflag flag iconfolder folder iconinstagram instagram iconpinterest pinterest iconfacebook facebook iconprint print iconsquares squares iconheart heart iconheart solid heart solid icon

Grilled Mahi Mahi

5 Stars 4 Stars 3 Stars 2 Stars 1 Star No reviews
  • Author: © My Gluten Free Cucina
  • Yield: 4 Servings 1x
  • Category: Seafood
  • Method: Grilling
  • Diet: Gluten-Free

Description

Mahi Mahi is a delicious, mild tasting fish that pairs beautifully with citrus.  With firm flesh and a thick skin, it holds up well on the grill and can also be baked.


Ingredients

Scale
  • 1 lb. Mahi Mahi cut into 4 pieces
  • 2 tbsp. olive oil
  • 2 tbsp. lemon juice
  • 2 tbsp. orange juice
  • 1 tsp. maple garlic seasoning
  • salt and pepper
  • fresh orange slices
  • Italian parsley for garnish

Instructions

Whisk together the olive oil, lemon juice, orange juice and seasoning in a small bowl.  Place the fish in a non-reactive baking dish and spoon on 2 tbsp. of the marinade.  Season with salt and pepper.

Cover and leave at room temperature for 1/2 hour, turning the fish after 15 minutes.

Heat the grill pan over medium and mist with cooking spray.  Add the fish skin side up, drizzle with 2 tbsp. more marinade.  Add orange slices to the pan.

Cook for 5 minutes over medium heat, then turn the fish and orange slices over and cook 5 more minutes.  Drizzle with remaining 2 tbsp. marinade.

Garnish with Italian parsley.

Arrange on a serving dish and top each piece with a slice of grilled orange.


Notes

Fish can easily become dried out on the grill.  To avoid this be sure to marinate, keep heat on medium to medium low and don’t overcook!

© My Gluten Free Cucina * All Rights Reserved

Unauthorized use and/or duplication of this material without express and written permission from this blog’s author and/or owner is strictly prohibited.

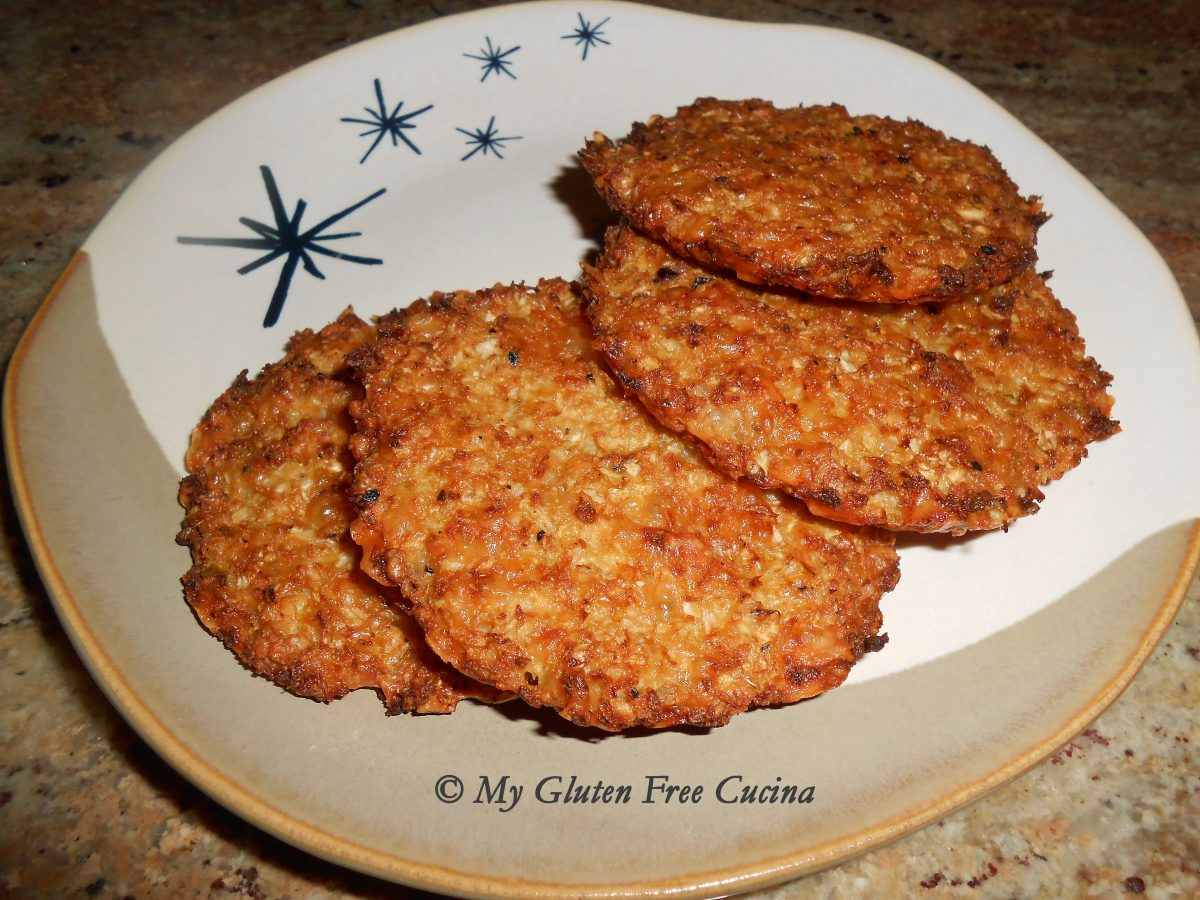
Cauliflower Cakes

Looking for a side dish that is suitable for both gluten free and low carb diets?  My Cauliflower Cakes are both gluten free and grain free!  So delicious and easy to prepare, with just a few ingredients.  Riced cauliflower is readily available in the produce and freezer section, making the prep quicker than ever.  Of course, you can make your own, using a coarse grater or food processor.  Leftovers keep well for about a week and can be reheated on a pizza stone.

This post contains affiliate links.

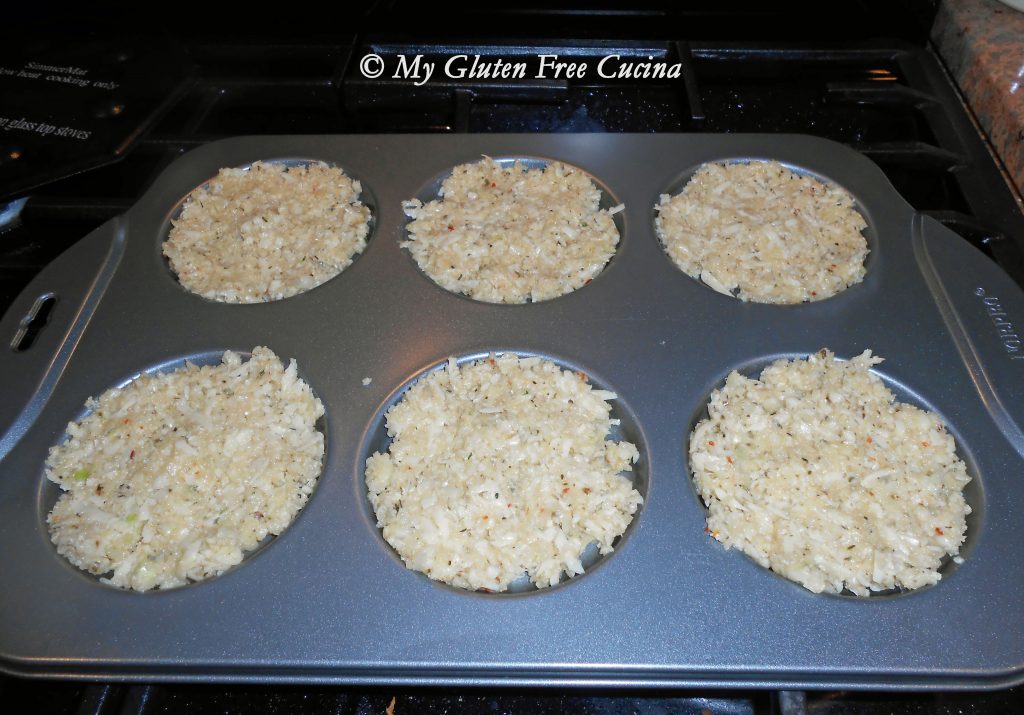
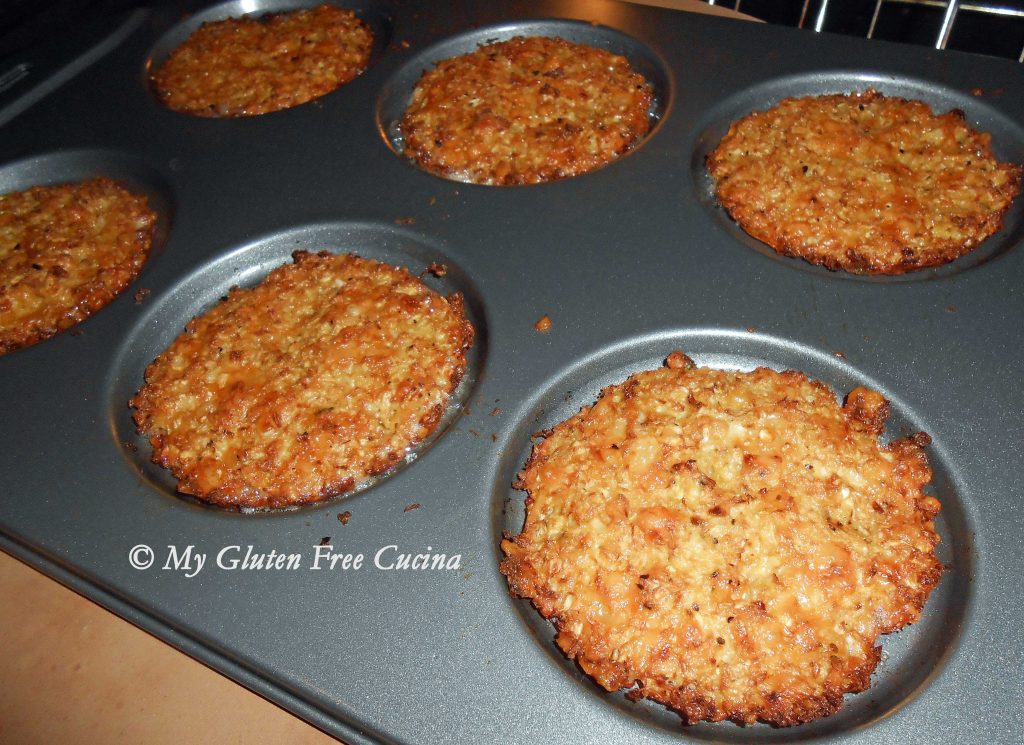
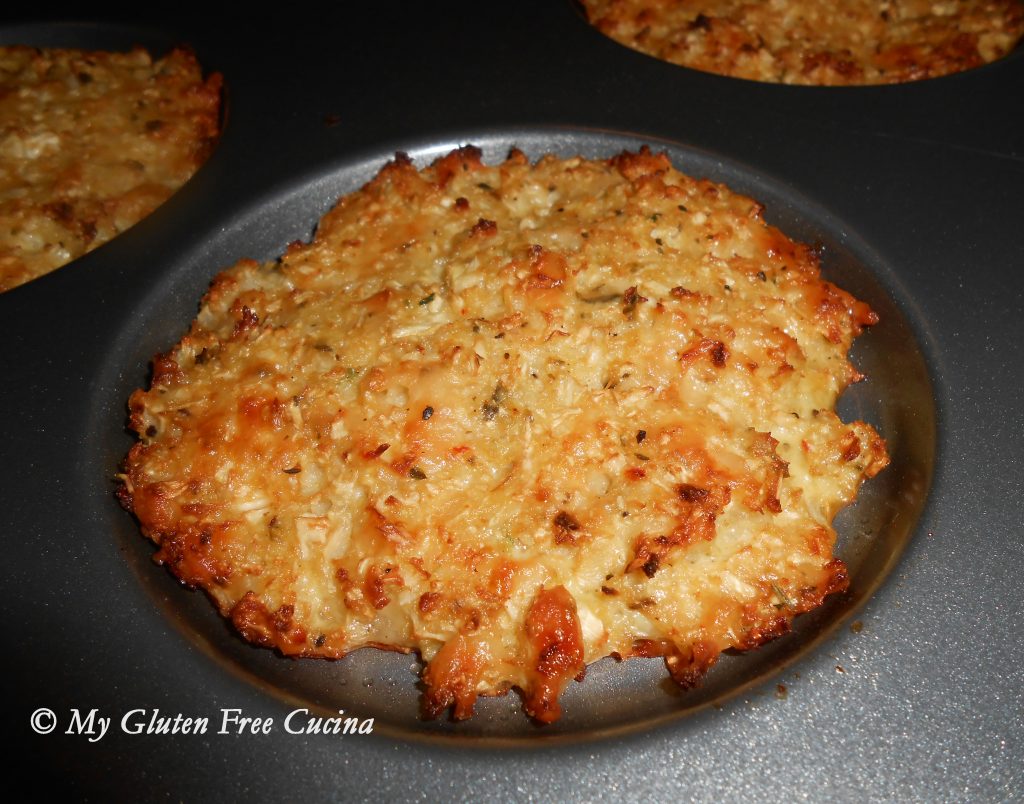
I am having so much fun with my new muffin top pan, it was just perfect for this recipe!  I love the non-stick finish for easy cleanup.

Ingredients:

  • 2 cups grated cauliflower
  • 1 tbsp. olive oil
  • salt and pepper to taste
  • 1/2 tsp. gluten free Italian seasoning or pizza seasoning
  • 1 egg
  • 1 cup grated Gruyere cheese

Preparation:

Heat a large nonstick skillet with a little olive oil on medium low.  Add the grated cauliflower and season with salt and pepper.  Stir and toss for 5 minutes then set aside to cool.

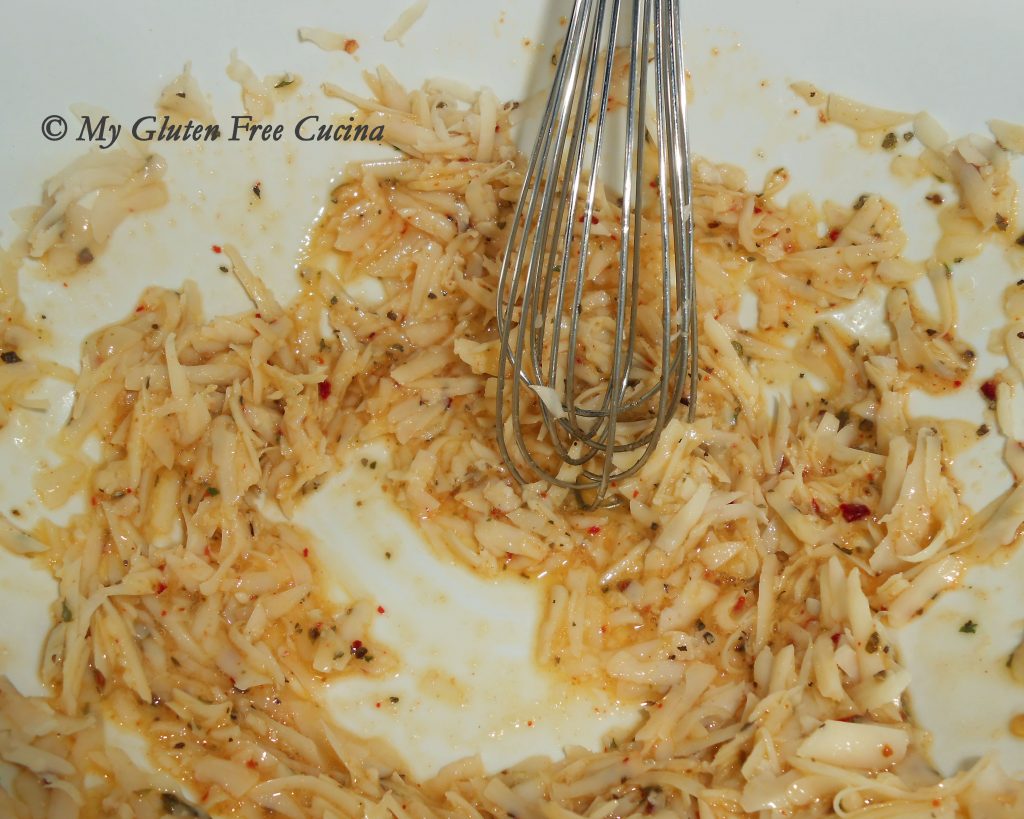
In a separate bowl, whisk the egg, cheese and Italian seasoning.

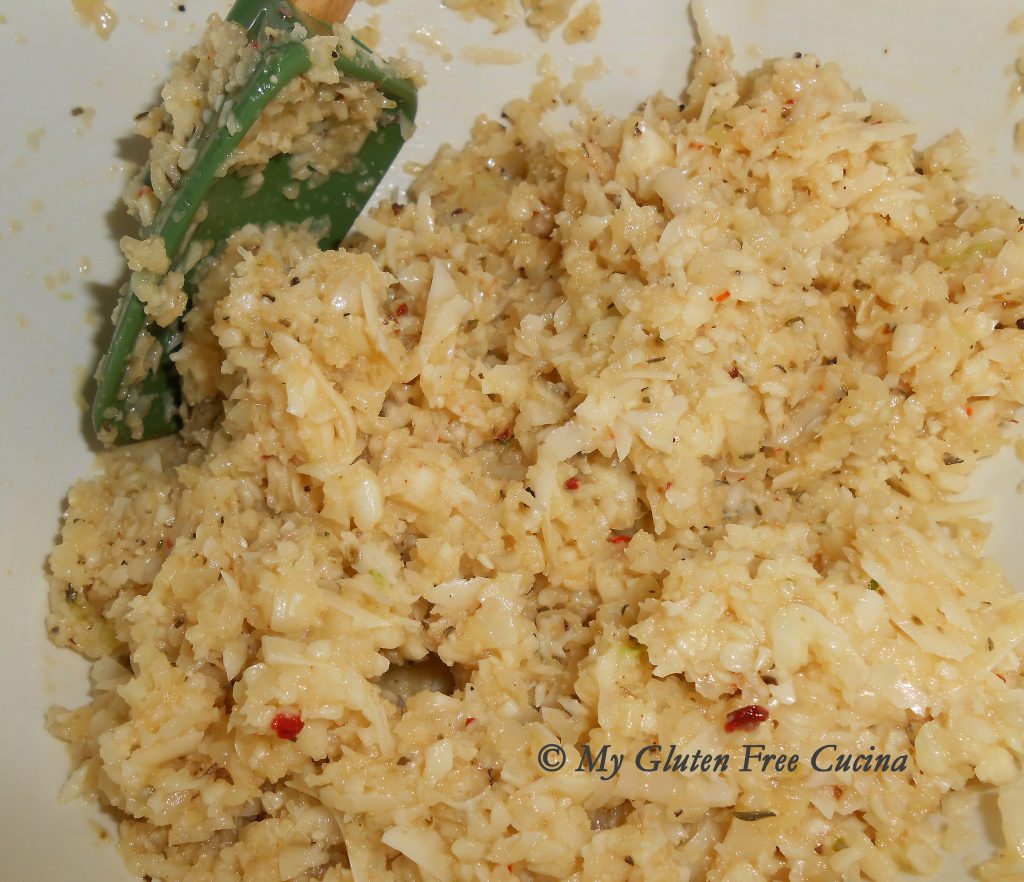
Stir in the cooled cauliflower and combine well.

Divide the mixture evenly into 6 wells and smooth with a spatula.

Bake at 400º for 35 minutes or until nicely browned.

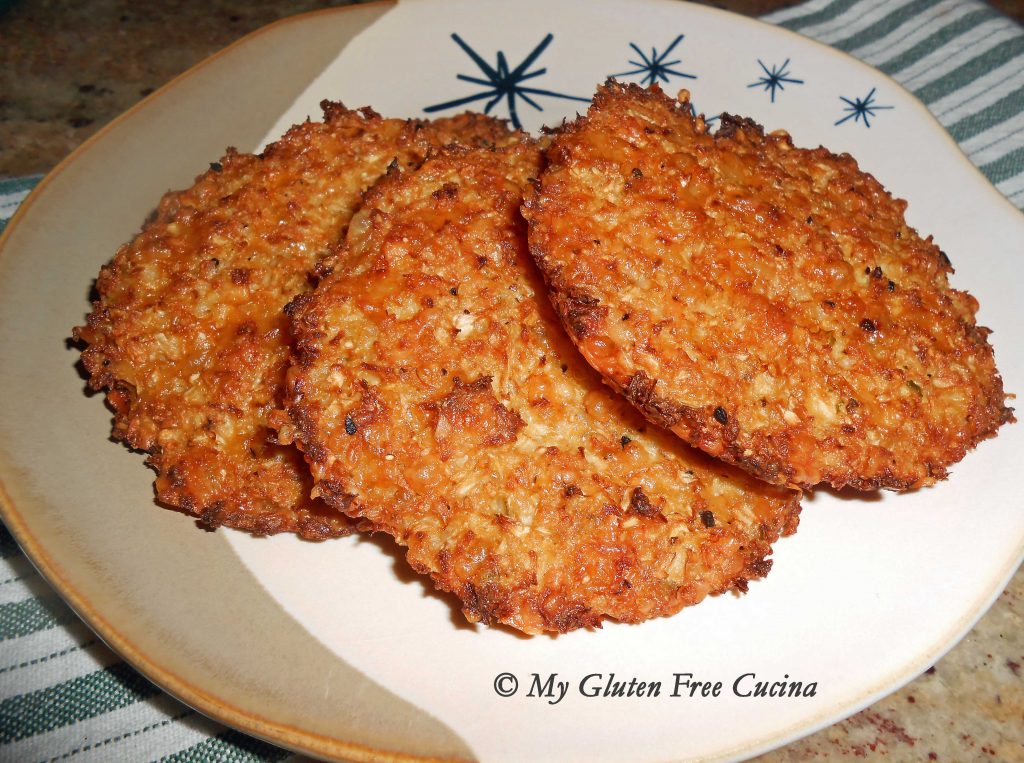
Mmmm, don’t they look good?  The cakes are delicious as is and would also make a great base for mini pizzas.

You can serve them with marinara or BBQ sauce for dipping.

I have made the recipe several times now and it is going to be a regular at our table.

Notes ♪♫ I always buy block cheese and grate it myself to avoid additives in shredded cheese.  Always check seasoning labels for hidden gluten.  I love Rockin’ Rubs Tuscan Temptation seasoning in this recipe!

Were you eyeing that muffin top pan? It was the perfect choice for this recipe, and you can also use it to make my Gluten Free Sandwich Thins.

[print_link]

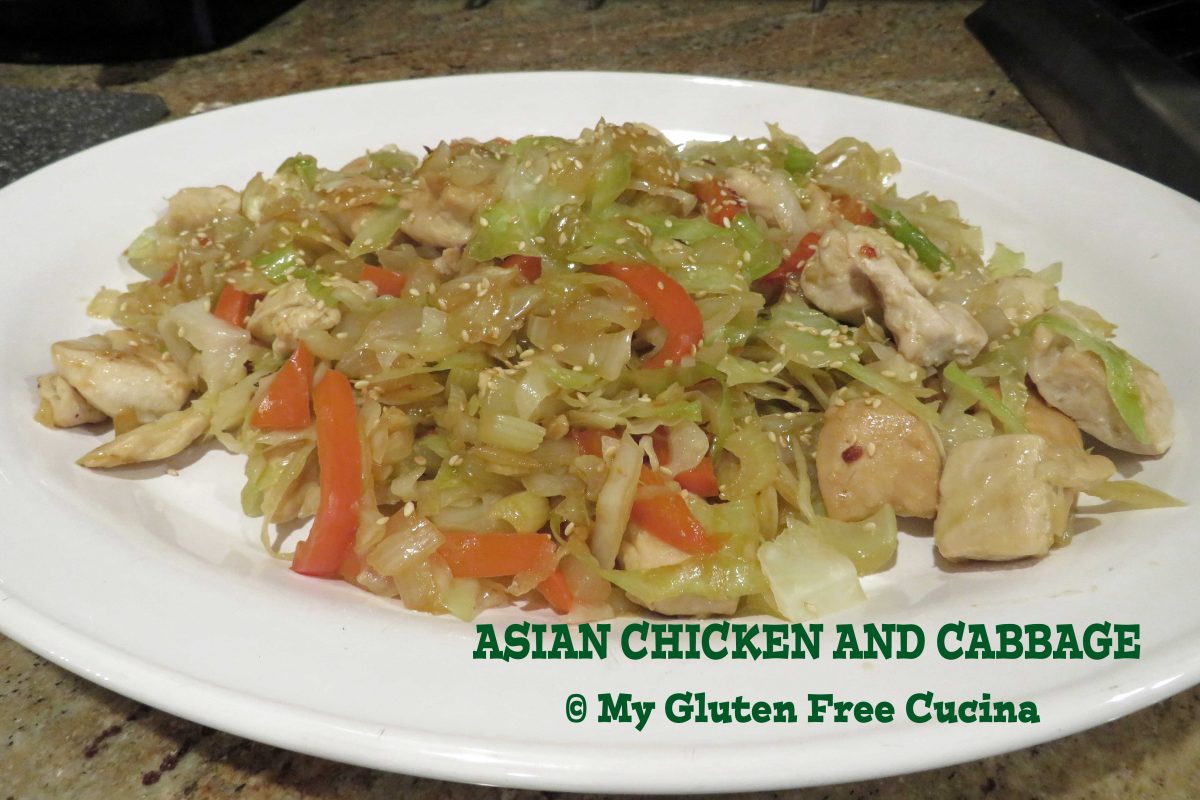
Asian Chicken and Cabbage

With St. Paddy’s Day right around the corner you probably have cabbage in the fridge for your Corned Beef Dinner.  If so, be sure and save a chunk for this Asian inspired stir fry!  Fiber rich cabbage and whole grain brown rice make this a very healthy and diet friendly dish, and most of the ingredients are naturally gluten free (see notes).  Prepping veggies and rice the night before saves time and you will have a delicious meal on the table in minutes.

This post contains affiliate links.

Serves 4

Ingredients:

 Rice:

 Stir Fry

  • 16 oz. boneless chicken breast, cut into 1″ cubes
  • 1 tbsp. olive oil
  • 1 tbsp. butter
  • salt and red pepper flakes
  • 1/2 sweet onion, diced
  • 3 celery stalks, sliced thin
  • 1/2 red bell pepper, cut into strips
  • 3 garlic cloves, minced
  • 4-5 cups shredded green cabbage
  • 2 tbsp. olive oil
  • 1 tsp. toasted sesame oil

Whisk together

Whisk together

 Garnish

 Preparation:

Brown rice is the perfect accompaniment to this stir fry.  I prefer brown rice for its flavor, texture and nutrition.  It does take longer to cook, (about 45 minutes) but it’s worth it.  Give the rice a 10-minute head start so it will be ready as you finish the dish.  Cook 1 cup brown rice in 1 cup water and 1 cup chicken broth.  Season to taste with salt and red pepper flakes.  (Note: If using a rice cooker, follow the given instructions for ratio of rice to liquid.)

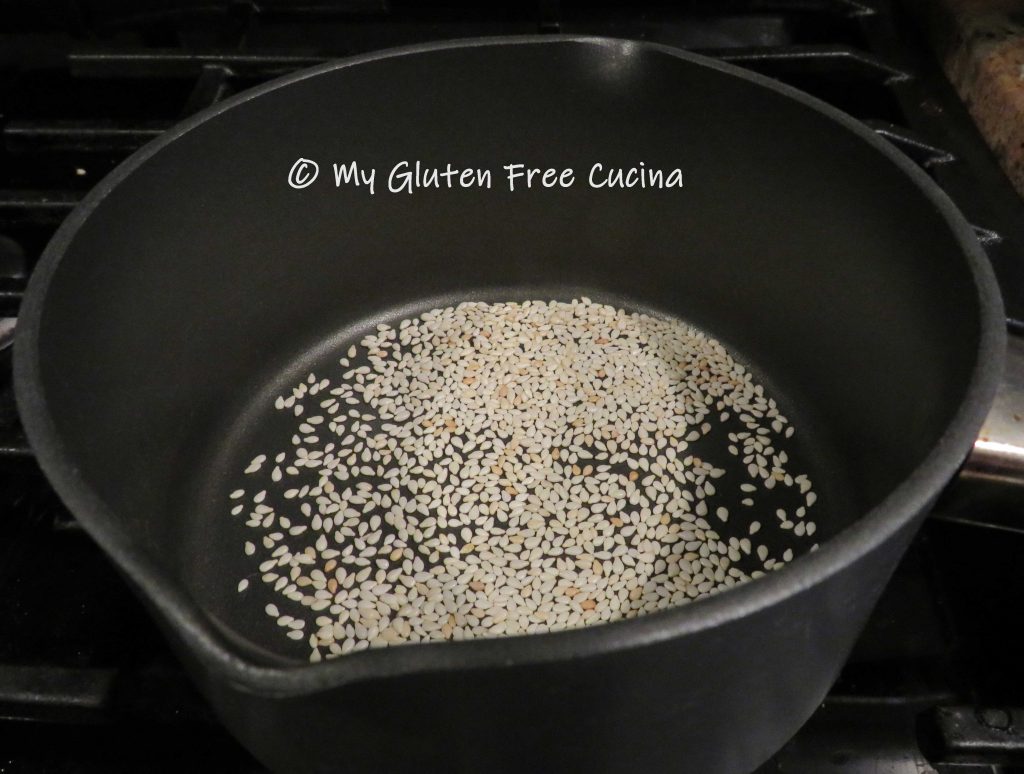
Toast the sesame seeds, watching carefully that they don’t burn.

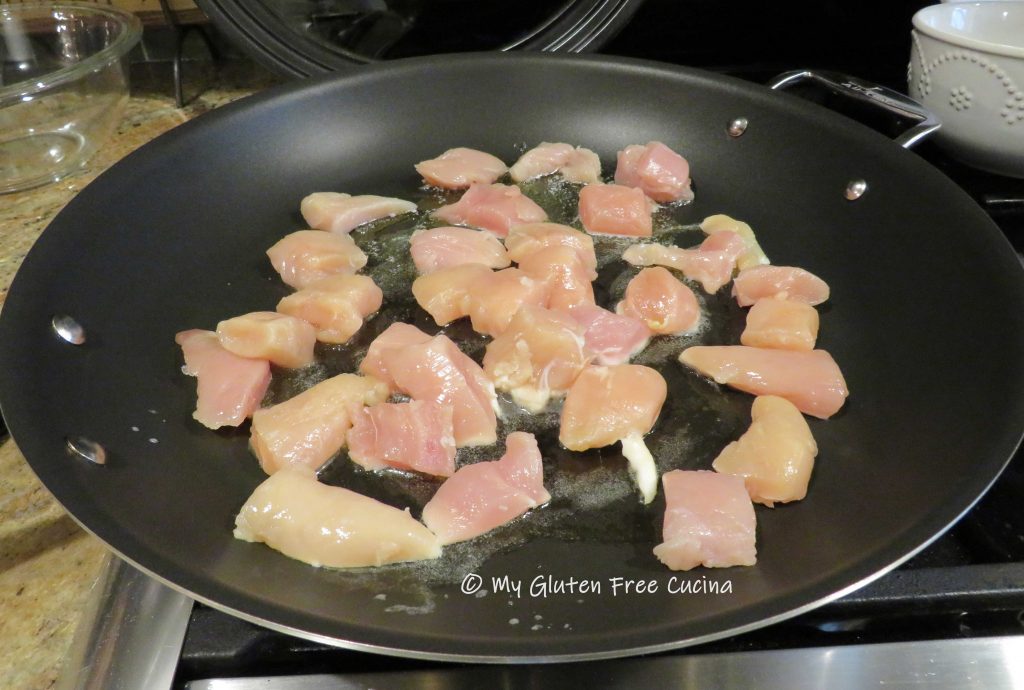
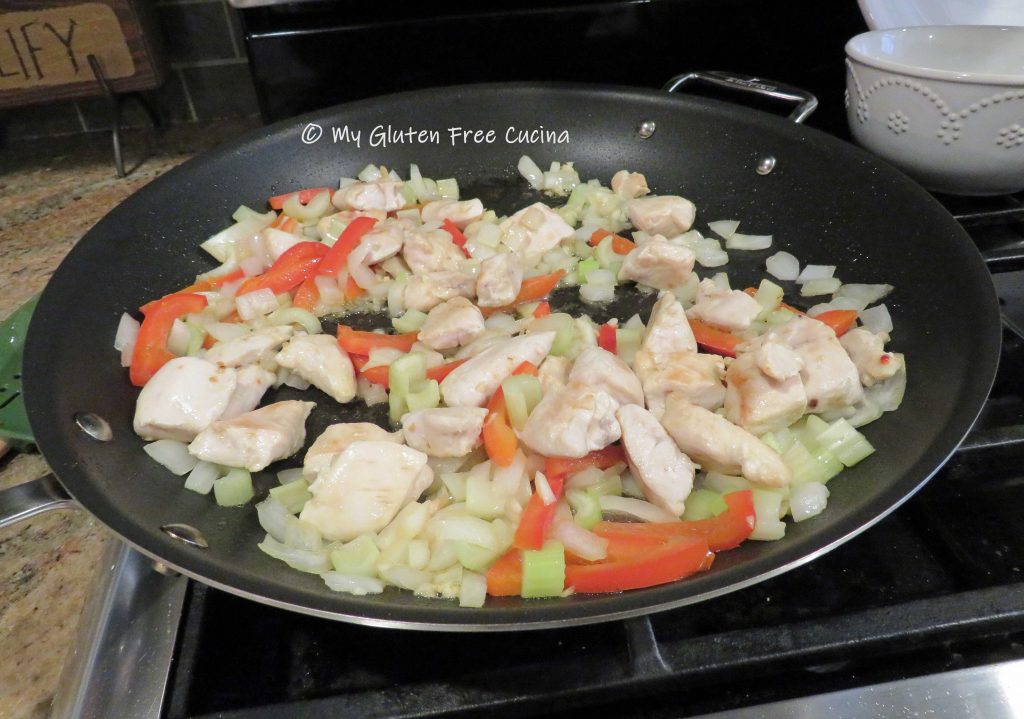
Next, heat a large nonstick skillet over medium and coat with 1 tbsp. butter and 1 tbsp. olive oil.  Brown the diced chicken on all sides, about 5 minutes.  It doesn’t need to be cooked through at this step, just get some color on the outside.  Season with salt and red pepper flakes.

Remove the cooked chicken from the skillet, set aside and keep warm.  Wipe the skillet clean.  Add 2 tbsp. olive oil and 1 tsp. sesame oil to the skillet.  Add the onions, celery, bell pepper and garlic, stir fry 5 minutes.  Return the chicken to the skillet.

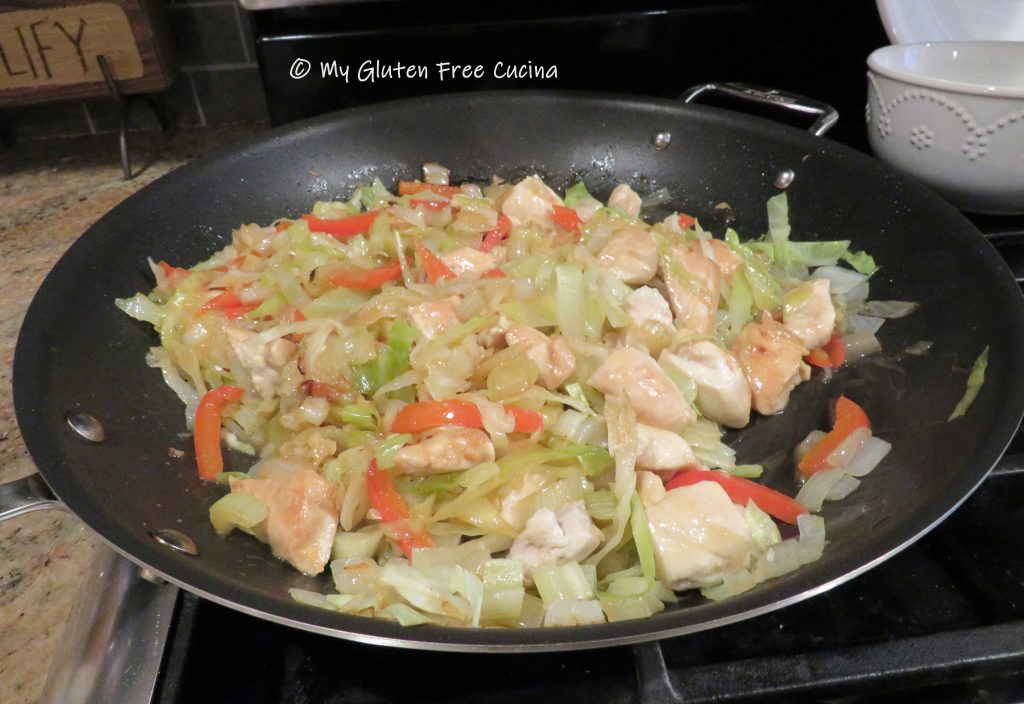
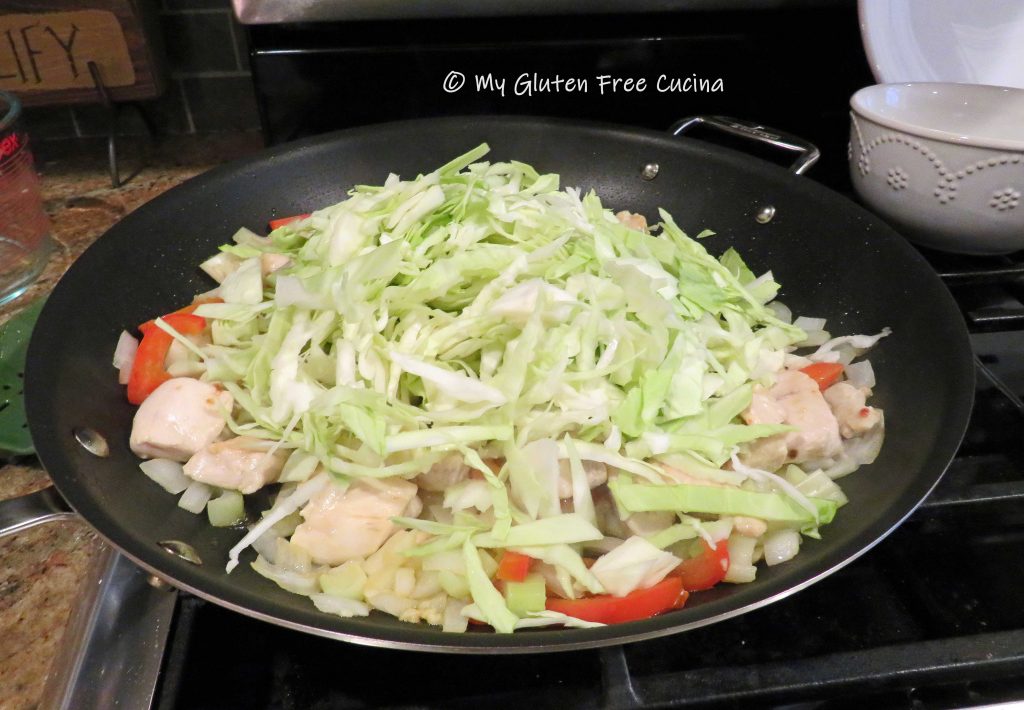
Add all of the cabbage.  It looks like a lot but it will cook down.  Toss well.

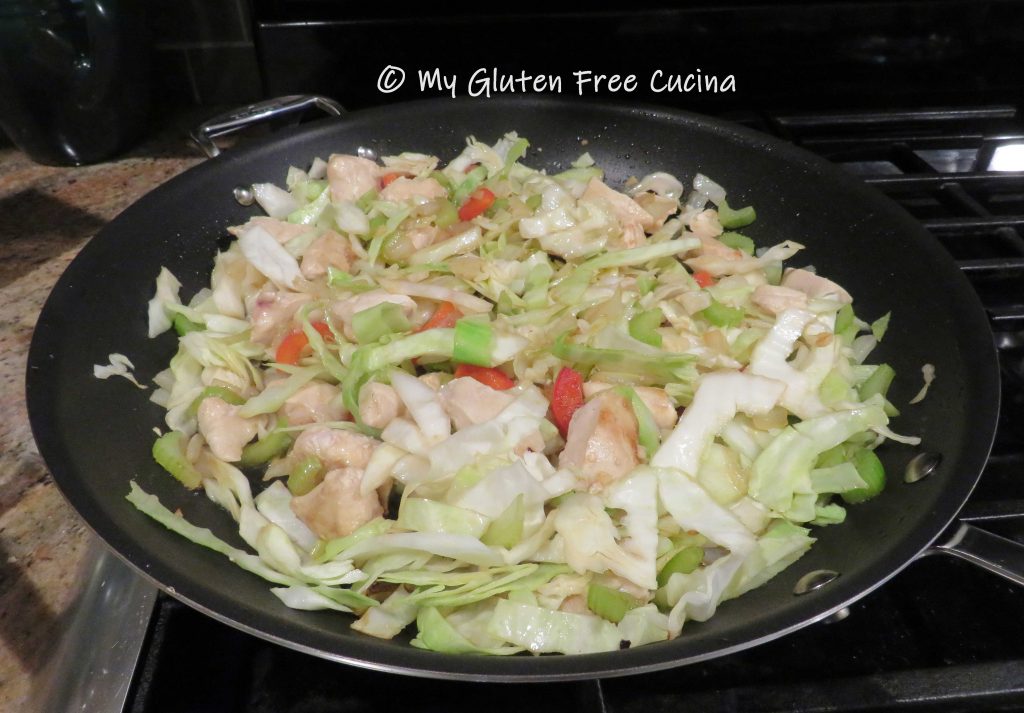
Drizzle in the soy sauce mixture and toss well to combine.  Cover and cook 5 minutes more.

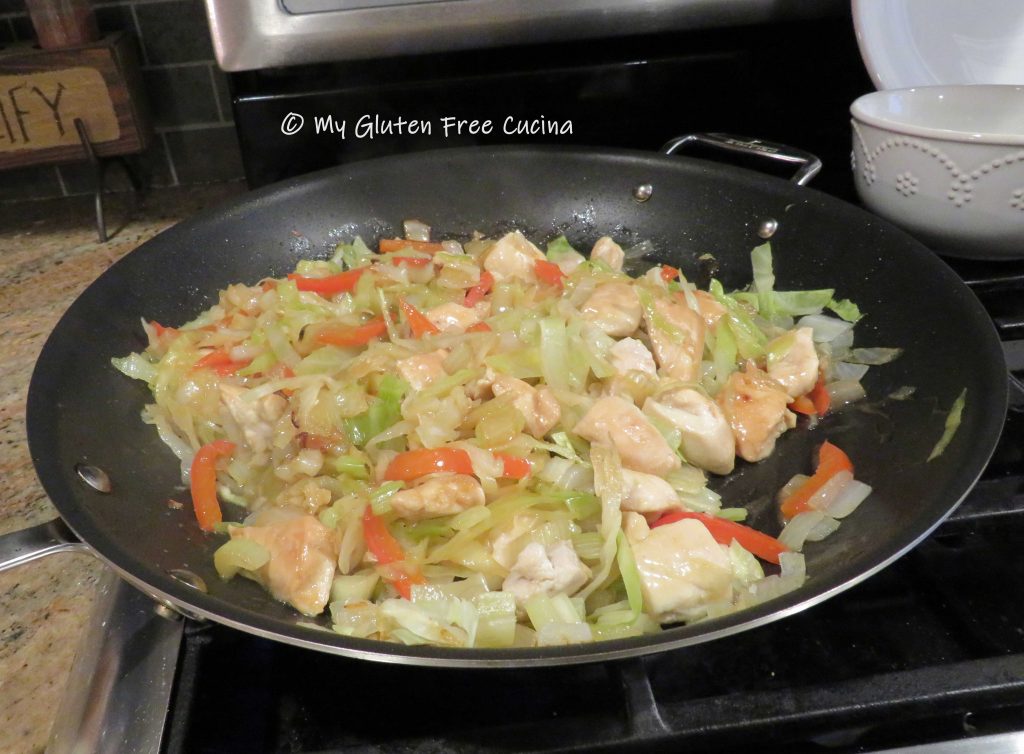
The cabbage should be wilted but still retain a little crunch.  Whisk the corn starch and chicken stock and add to the skillet.  Stir and toss until the liquid thickens.

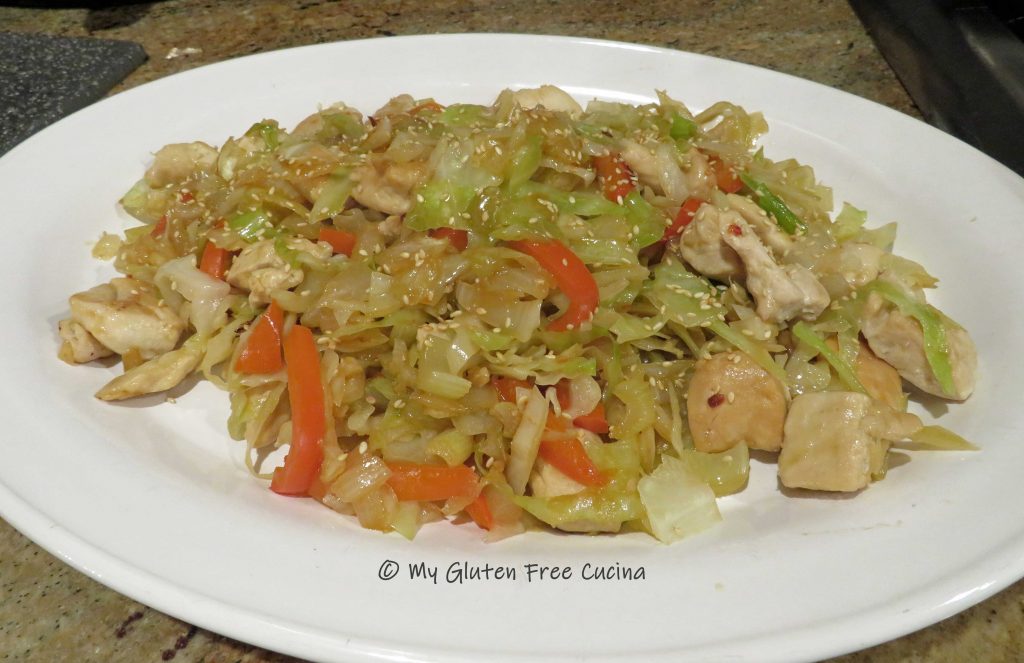
Transfer to a serving platter and garnish with the toasted sesame seeds.  Serve with brown rice.

I actually like this dish more than the corned beef dinner.  My family gave it a big thumbs up and yours will too.  Please comment, like and share!

Notes ♪♫ Most of the ingredients in this recipe are naturally gluten free.  Always check labels carefully and be sure that you are purchasing gluten free soy sauce and chicken broth.

[print_link]

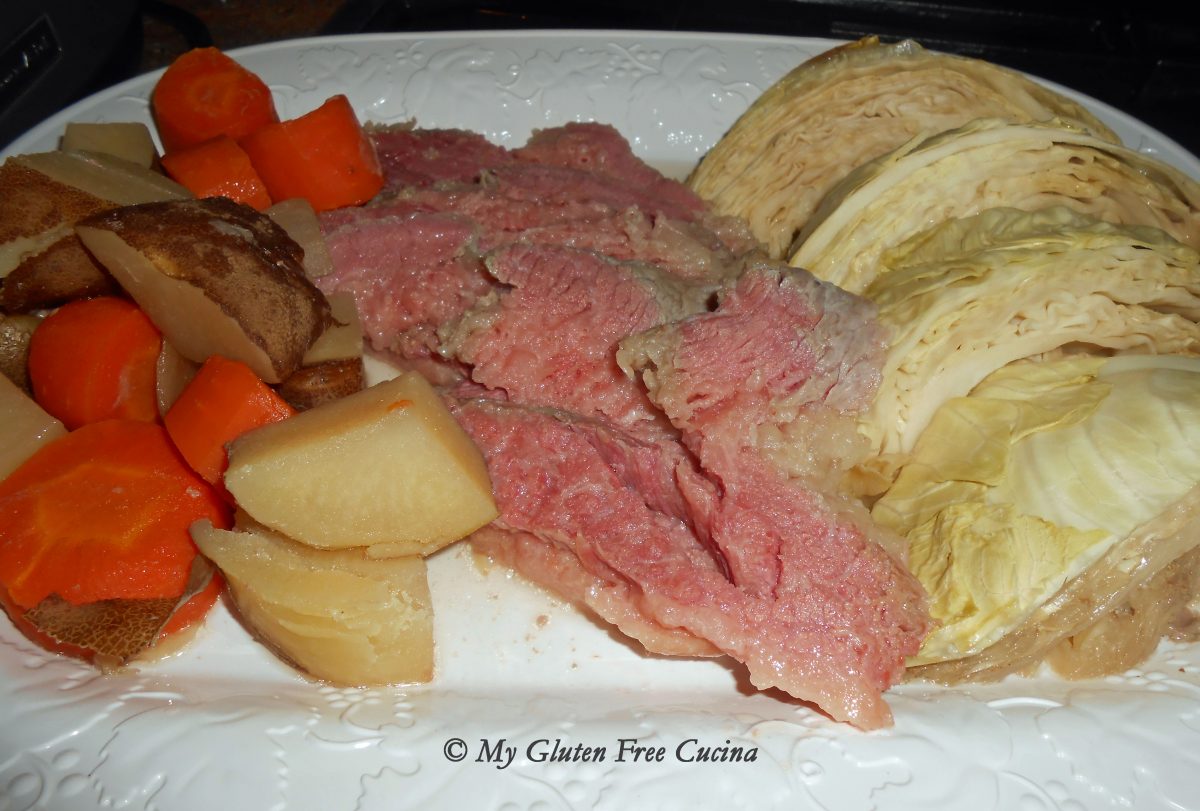
Crock-Pot Corned Beef and Cabbage

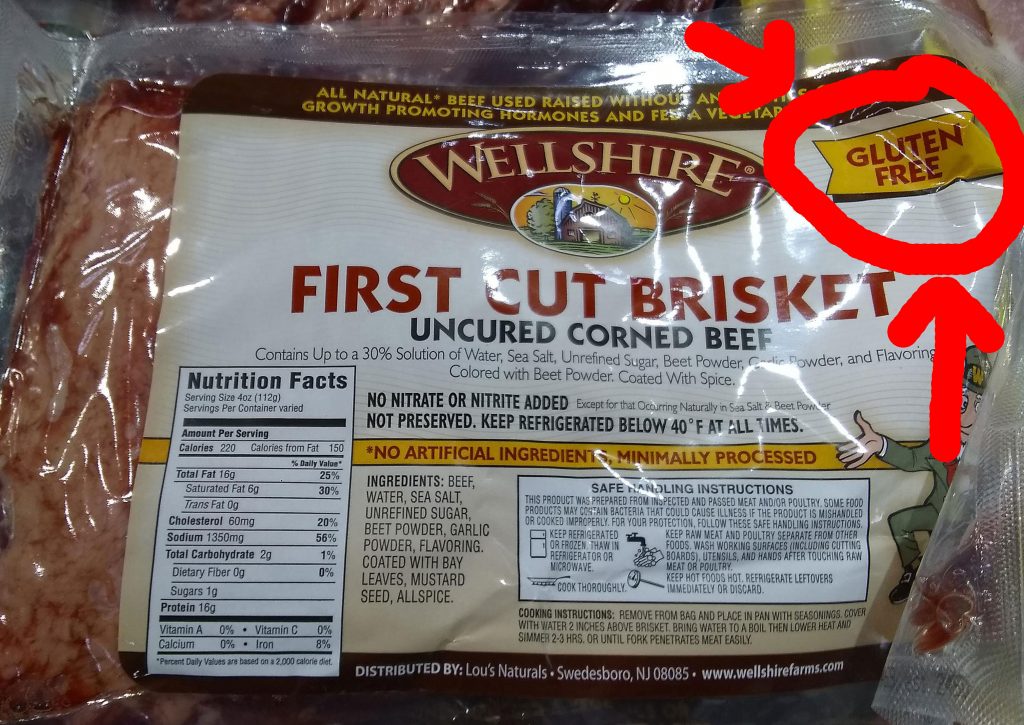
Today we are making a traditional Crock-Pot Corned Beef and Cabbage dinner for St. Paddy’s!  Go about your day while your crock-pot does all the heavy lifting and enjoy this dish when you get home from work.  Look for brisket that is labeled gluten free, if it’s not check with the meat department or consult the manufacturer’s website to be safe!

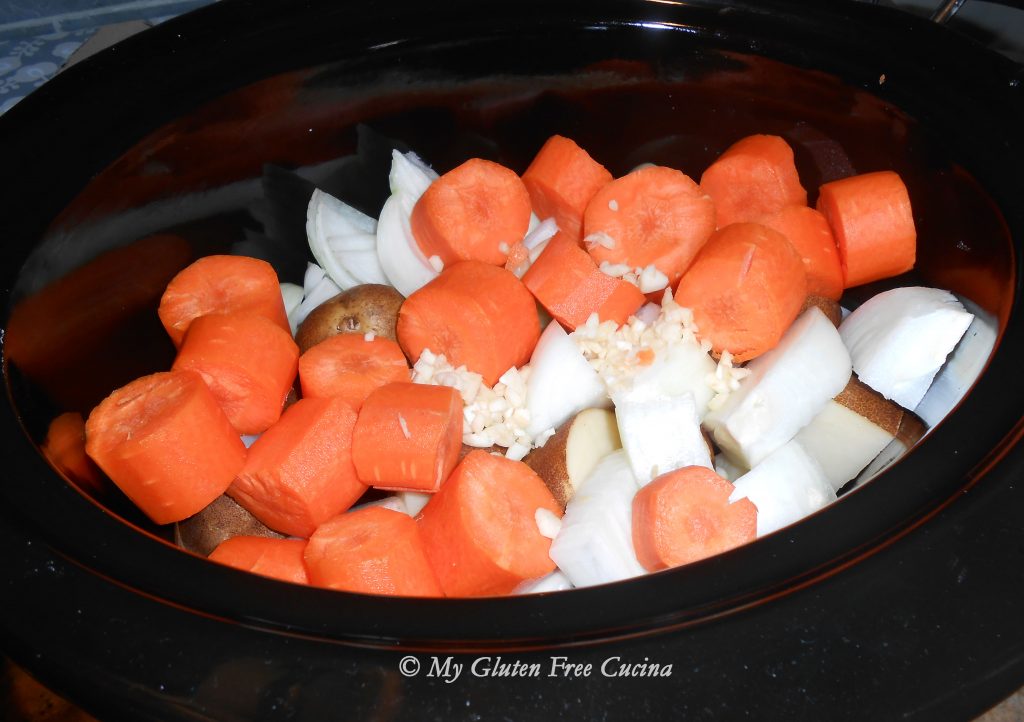
The secret to perfectly cooked Corned Beef and Cabbage is in the layering- veggies on the bottom, then the meat, and finally the cabbage wedges resting on top.  Resist adding more water than specified in the recipe, as the meat and veggies will create a sufficient amount of liquid as they cook down.

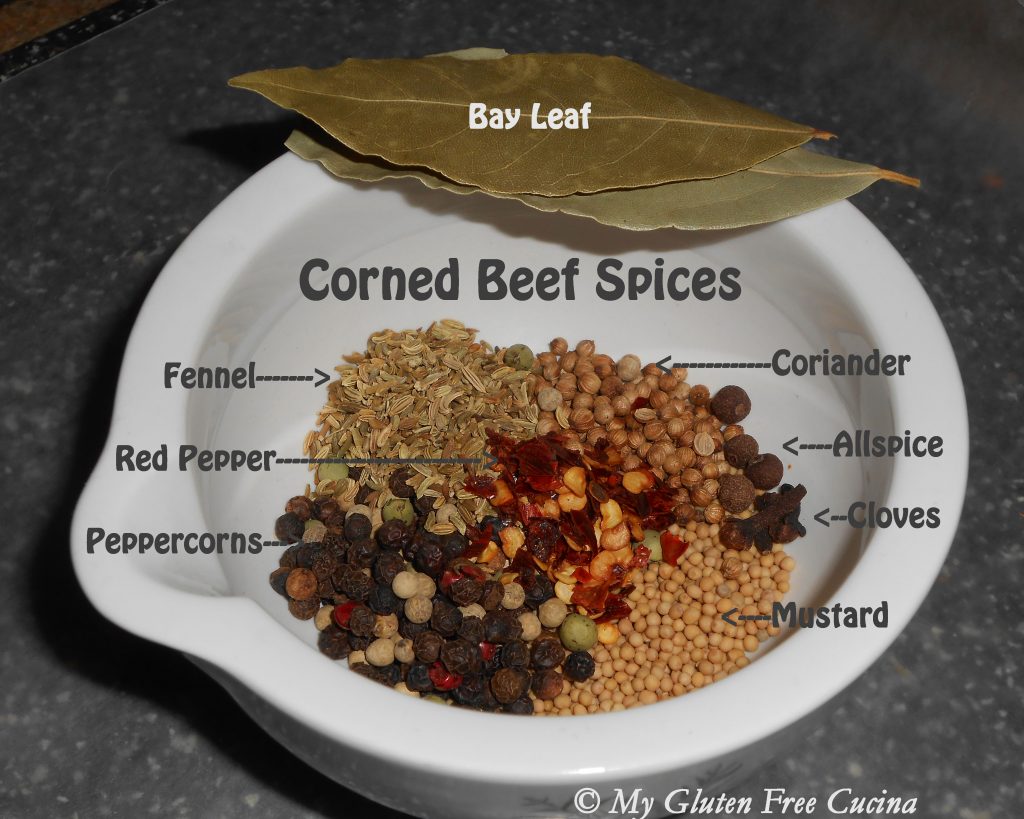
Corned beef is often sold with a spice packet, but if yours doesn’t have one or you suspect it may contain gluten, just toss it and make your own!

This post contains affiliate links.

Ingredients:

  • 2-4 lbs. corned beef brisket
  • 1 head of cabbage
  • 2 medium potatoes
  • 4 large carrots
  • 1 large, sweet onion
  • 2 cloves garlic
  • 3 cups water
  • 5 tsp. cider vinegar
  • 5 tbsp. sugar

 For the spices:

Preparation:

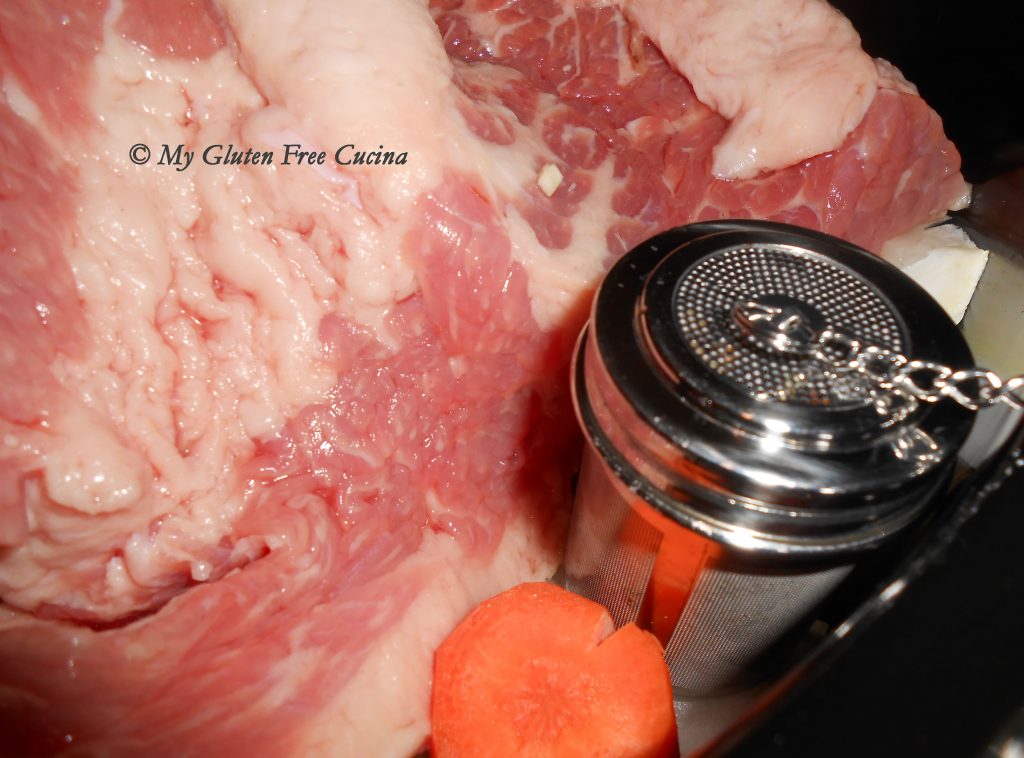
Place all of the spices except the bay leaves in a tea ball or tie them up in cheesecloth.

Peel and chop the potatoes, carrots and onion into large chunks.  Mince the garlic.  Arrange the veggies in an even layer on the bottom of the crock-pot and add the bay leaves.

Rinse off the brisket and place it on top of the vegetables.  If your brisket weighs more than 2 lbs. you may want to cut it in half.  This one is a point cut, just under 4 lbs. and I did end up cutting it in two pieces.

Snuggle the tea ball or cheesecloth bundle about halfway down so that it will be submerged in liquid.

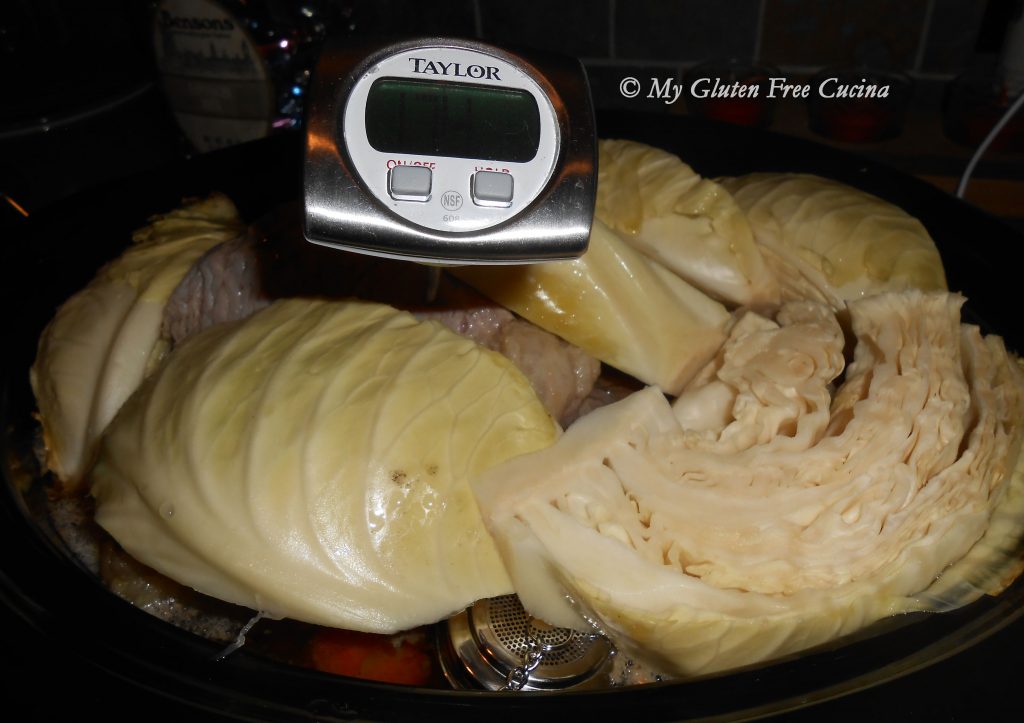
Cut the cabbage into wedges and arrange them on top of the meat.  Whisk together the water, sugar and cider vinegar, and pour the liquid over everything.  Again, it may not look like enough, but more liquid will be created as the meat and cabbage cook down.  Cover and cook on low setting for 8-9 hours, depending on the size of your brisket.  The internal temperature of the corned beef should be 160º or higher.

It’s that easy friends.  Remove the spice bundle and transfer the corned beef to a cutting board.  Slice the meat against the grain.

Arrange on a serving platter with the vegetables and dinner is ready.  Let the festivities begin! 🍀

Notes ♪♫ Brisket – flat cut or point cut?  Choose a flat cut for leaner meat and even thickness (a good option if you are limiting fat or your crock-pot is small).  Point cut is a fattier piece of meat that is so flavorful and juicy, it is my personal favorite!  Whichever you choose, buy more than you think you will need as the meat shrinks considerably during cooking.  Both cuts are suitable for this slow-cooked preparation.

[print_link]