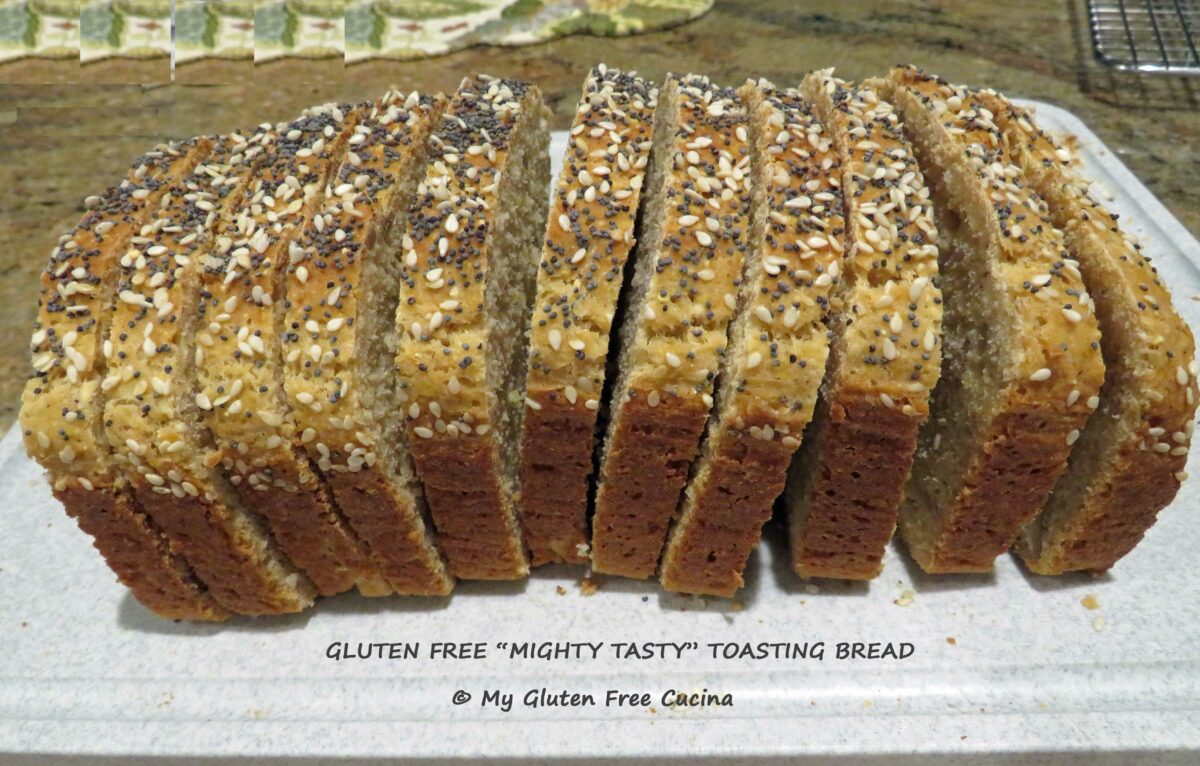
GLUTEN FREE “MIGHTY TASTY” TOASTING BREAD
Adapted from a recipe by America’s Test Kitchen
Servings: 1 Loaf = about 16 slices
This post contains affiliate links.
One of my favorite gluten free toasting breads, this loaf gets a boost of whole grains from Bob’s Red Mill Mighty Tasty Hot Cereal mix. A hot cereal breakfast staple, it can also be used to add fiber and whole grains to bread and muffin recipes. I think it gives the loaf a nice flavor and texture reminiscent of corn bread. Even your family members who are not gluten free will enjoy this hearty breakfast toast. It’s on my breakfast menu at least one morning per week!
This recipe has been adapted to yield 1 loaf. Yes, there are a lot of ingredients, and it will take time. Embrace the magic of baking from scratch! I would rather enjoy a slice of delicious, homemade bread than a cardboard loaf from the store.
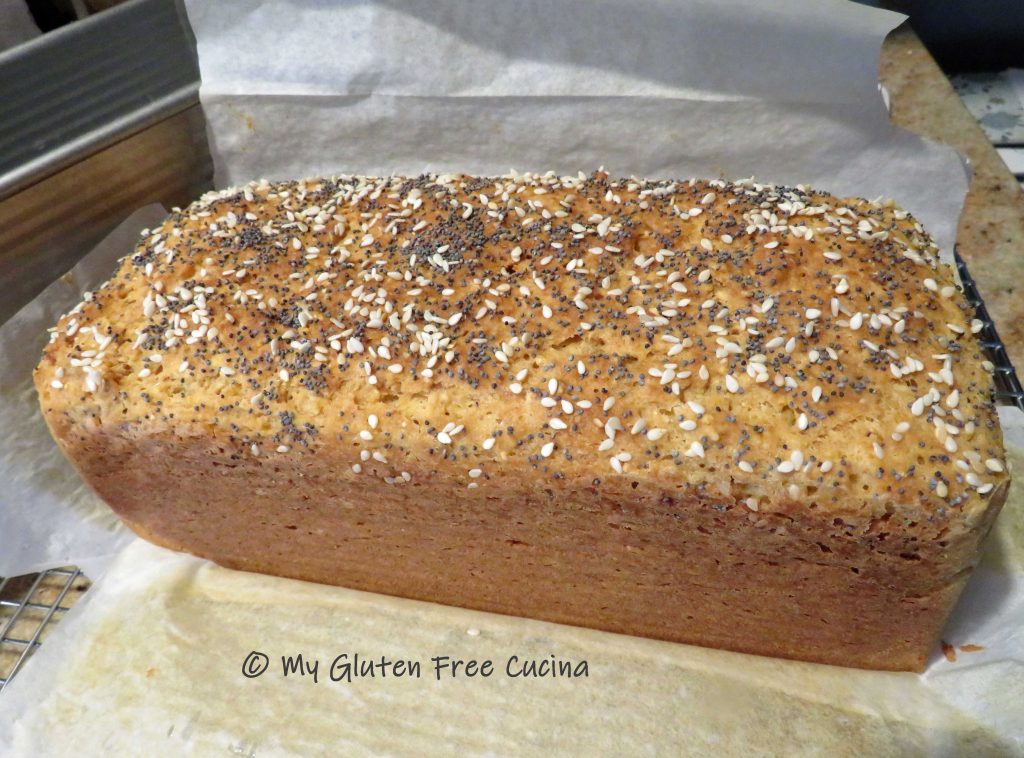
The pan you see in the photos is a 9 x 4 x 4” loaf pan that is perfect for gluten free bread. The higher sides are perfect for supporting the dense, gluten free dough as it rises. Gluten free baking is finicky, which is why I recommend that you use a scale and weigh the dry ingredients to achieve the same outcome.
Ingredients:
- 1 ½ cups warm water
- 1 tablespoon instant yeast
***
***
- 2 eggs
- 2 tbsp. canola oil
- 2 tbsp. honey
***
***

Preparation:
Line a 9 X 4 X 4” loaf pan with parchment paper. I always bake with parchment, not only to prevent sticking, but also to make lifting the finished loaf out of the pan easier.
Combine 1 ½ cups warm water and 1 tbsp. yeast together in the bowl of your stand mixer, and let it sit for 15 minutes while you gather the other ingredients.

In a separate bowl, whisk together the dry ingredients, white rice flour through salt. Don’t be tempted to skip any of the ingredients. Those seemingly tiny amounts of things like gelatin, psyllium husk and xanthan gum are what help to compensate for the body and elasticity normally provided by the gluten in wheat flour.
When the yeast has proofed, add the eggs, canola oil and honey to the bowl and beat with the whisk attachment until frothy.

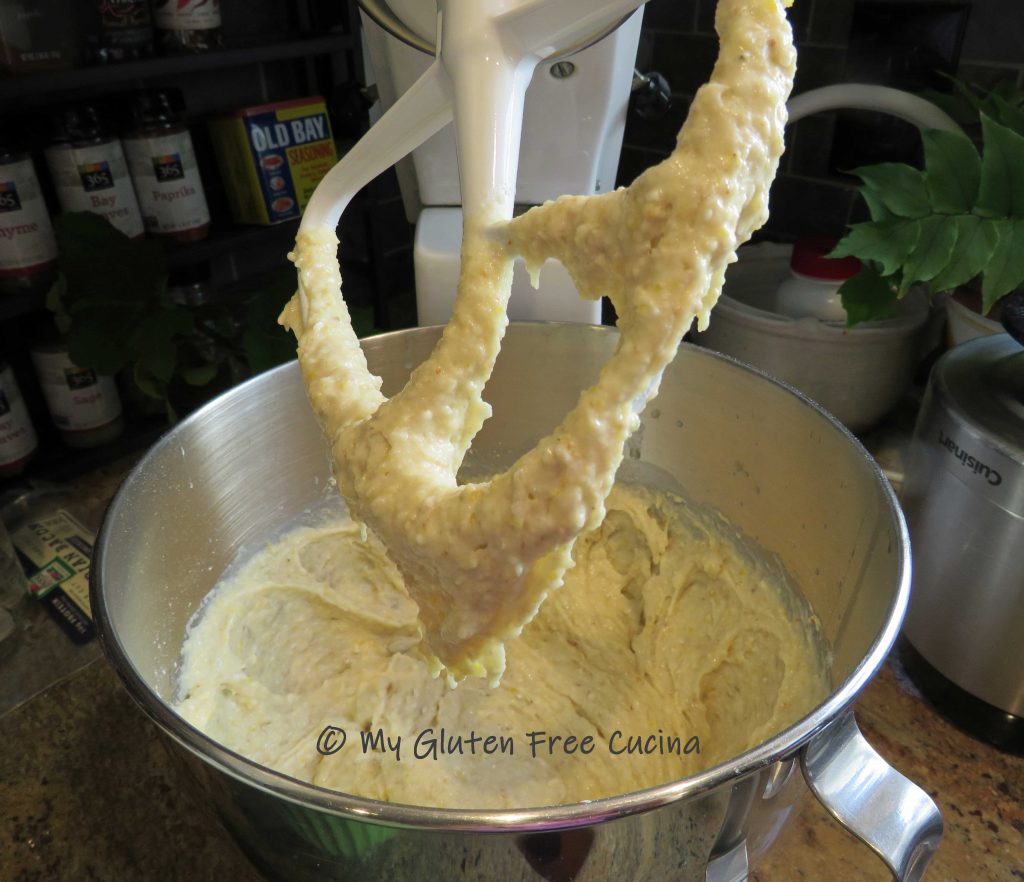
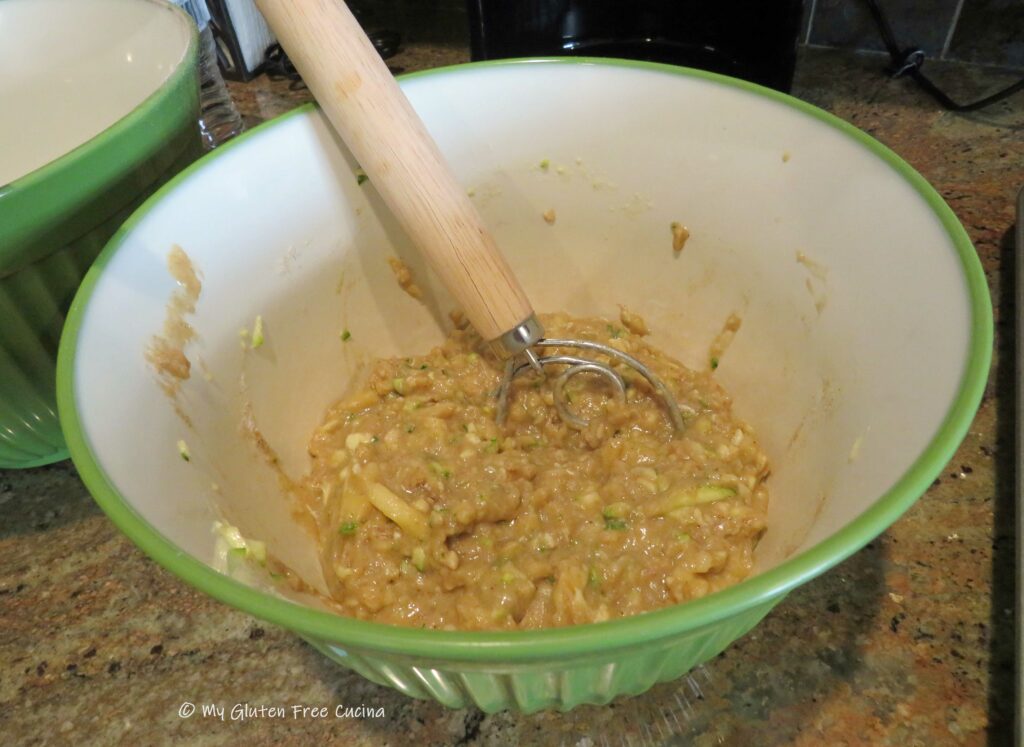
Switch to the paddle attachment and add the dry ingredients to the bowl. Beat on low speed for 4 minutes. Next add the sunflower seeds and up to an additional 4 tbsp. of water, one tbsp. at a time as needed. Beat for 1 minute longer. You will have a thick, sticky dough that clings to the paddle like this.
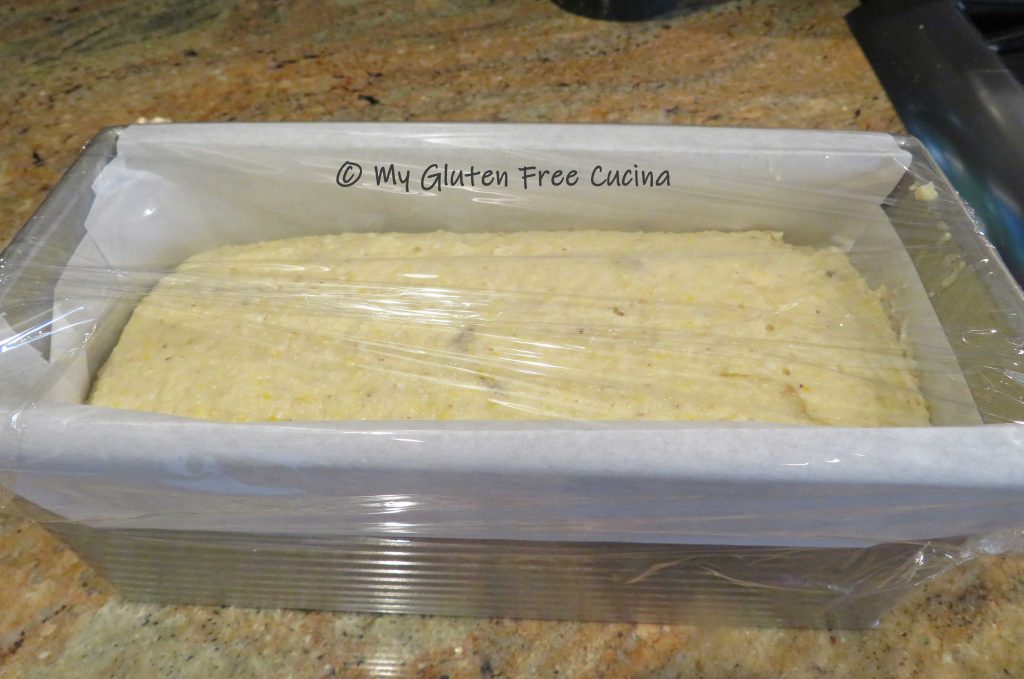
Scrape the dough into the prepared loaf pan and use a spatula dipped in water to smooth the top. Cover with plastic wrap and let rise for about 1 hour.
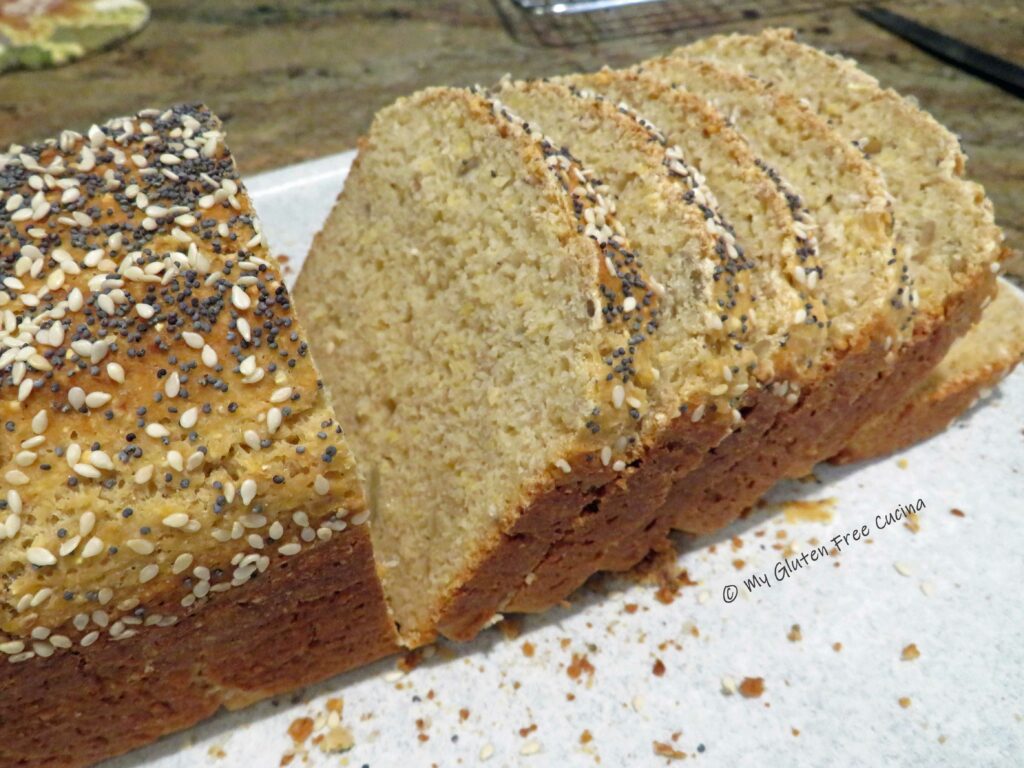
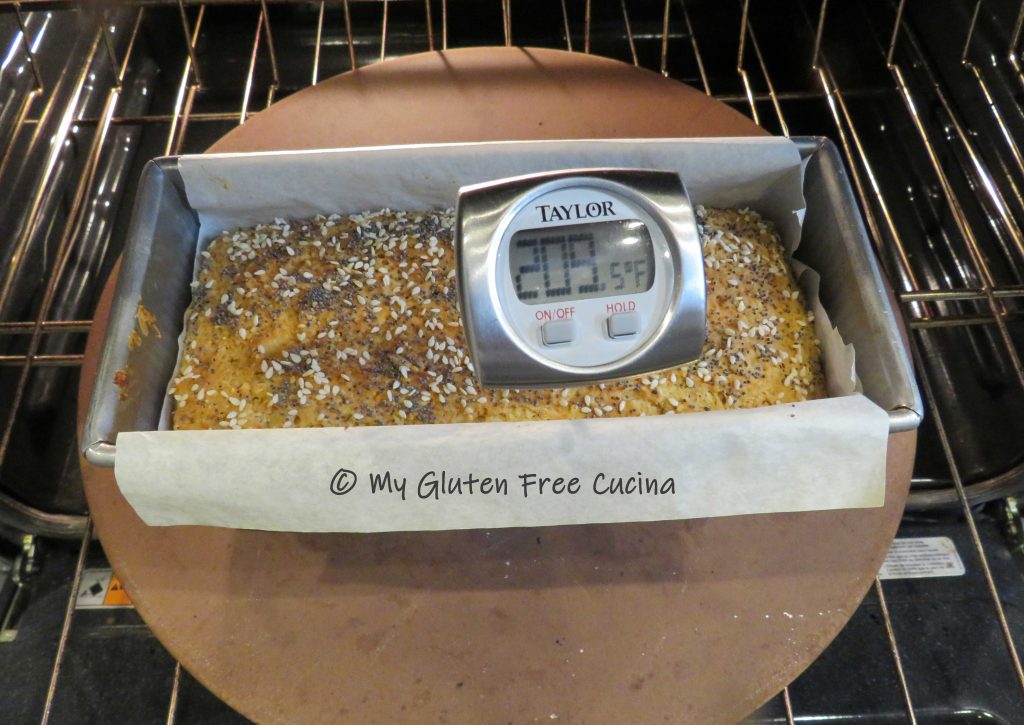
Preheat the oven to 325º and place a pizza stone on the middle rack. Remove the plastic wrap and mist the top of the risen loaf with warm water (this helps the seeds to adhere). Sprinkle liberally with poppy and sesame seeds.

Bake for 75 minutes, or until the loaf reaches an internal temperature of 210º. It may take a bit more (or less) time in your oven, so be sure to use a thermometer! Hint, if it smells done, check it!
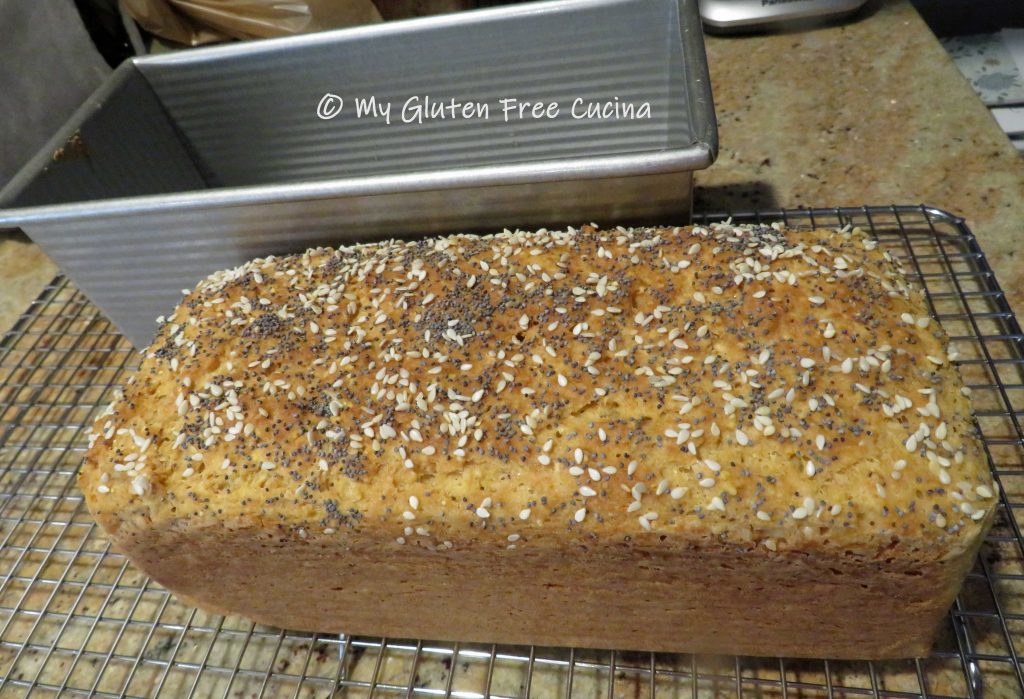
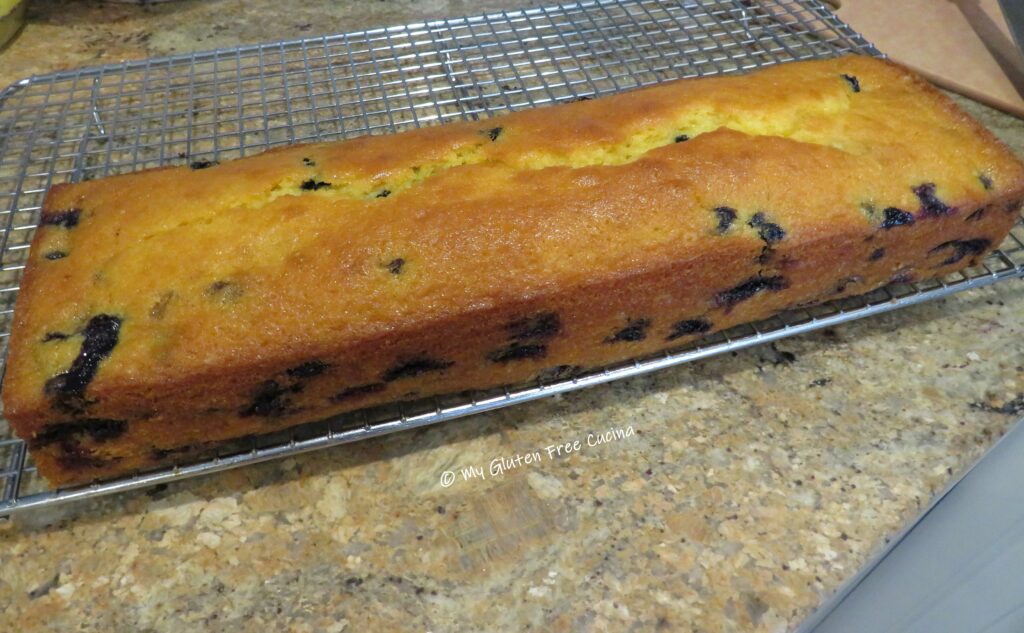
Let the loaf cool in the pan for 10 minutes, then grasp the parchment on either side to lift it out. Remove the parchment and let it cool completely on a rack. See how nicely the loaf shaped up in this pan?
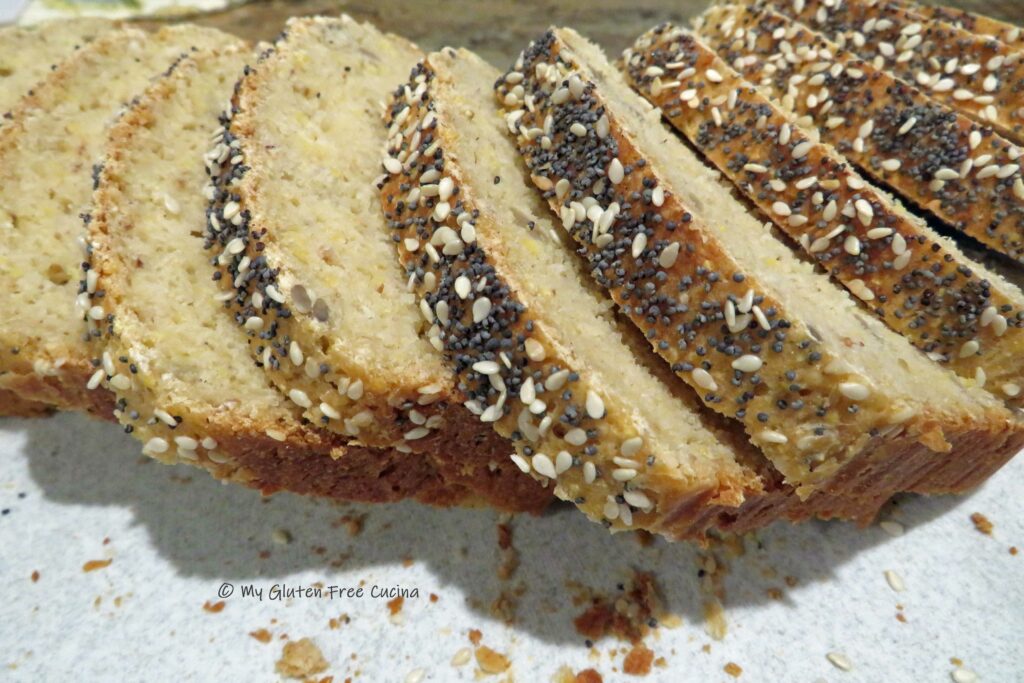
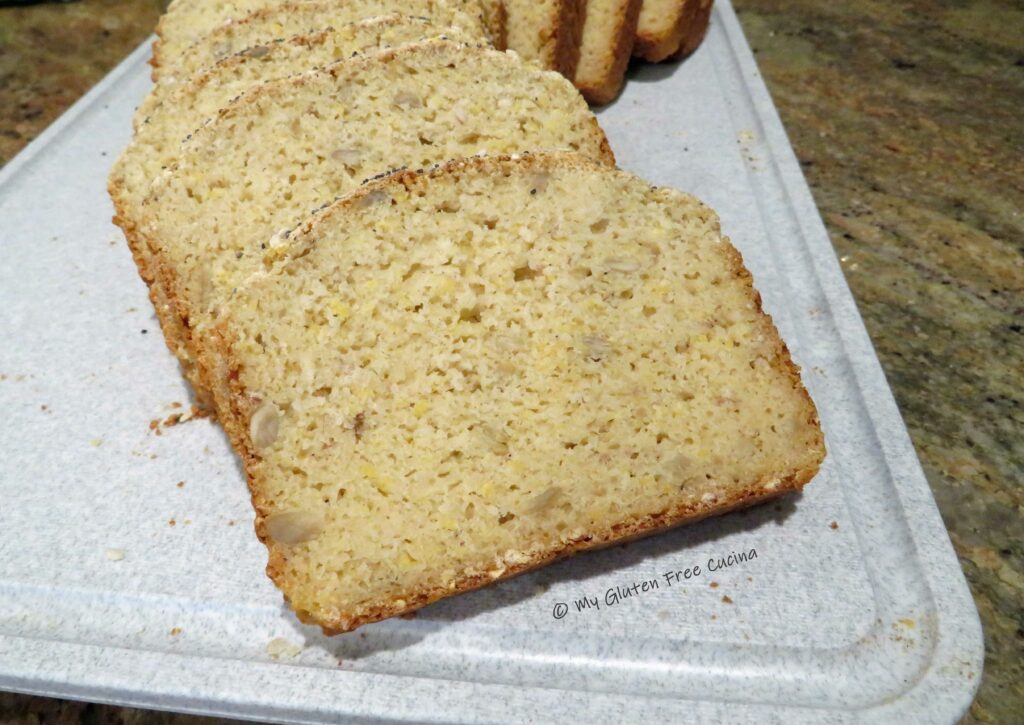
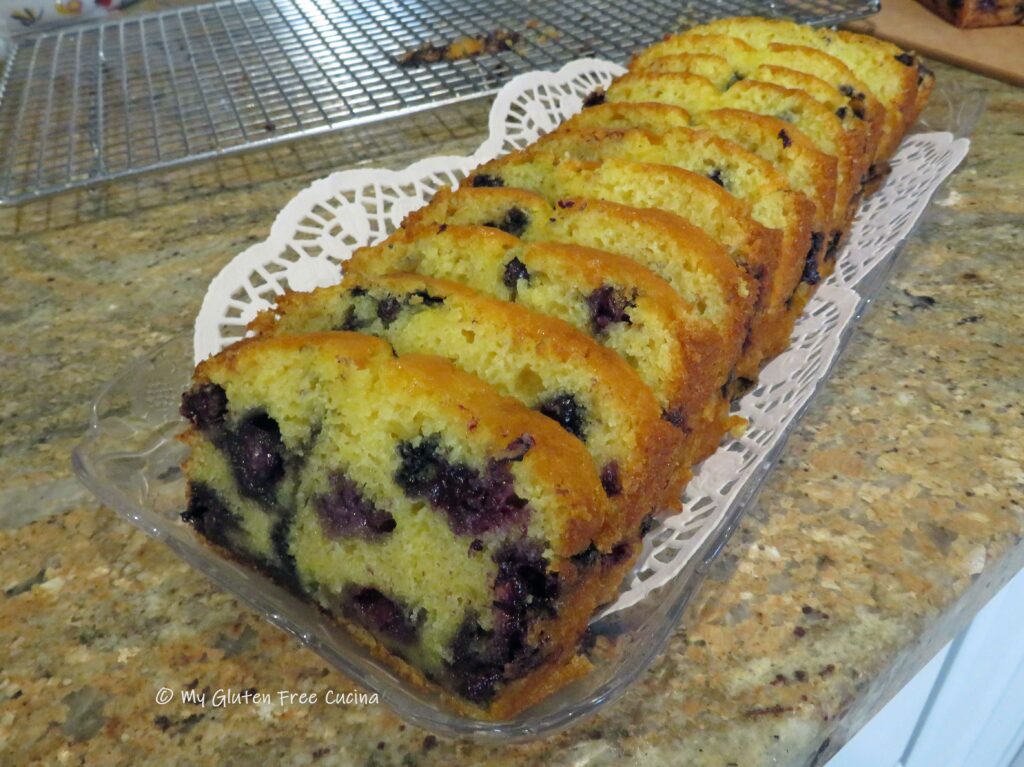
Resist slicing into the loaf until it has completely cooled, or it may be gummy in the center. You’ll want to give it a few hours to rest and set up properly. Here’s the crumb shot. You can see that it’s very dense and speckled with whole grains and seeds. It’s perfect!
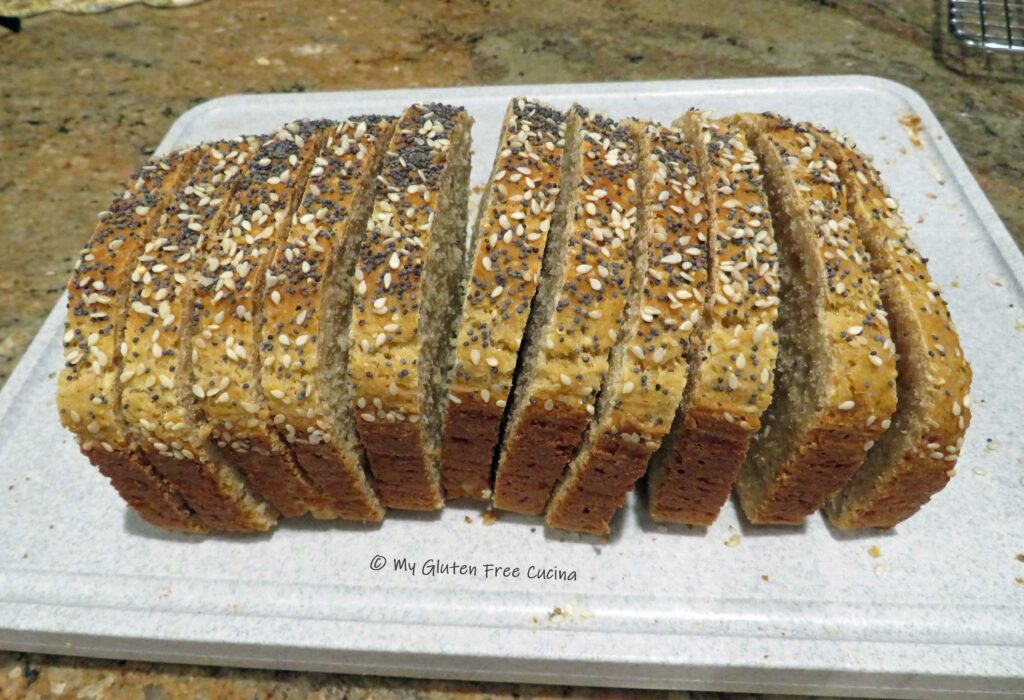
Like most gluten free breads, this one is best eaten the day it is baked. Slice it up and toast for about 5 minutes, it’s divine with just a simple pat of butter or jelly. You can store it at room temperature for up to 1 day, but it is best to freeze the leftovers asap. I like to freeze mine in individually wrapped slices, so I can easily pull one out for breakfast.
Notes ♪♫ All of the grains used in the flour mix were from Bob’s Red Mill. The brand is readily available in stores or online.
Originally published 05/05/2019 Updated 06/17/2024

 Print This Post


 This post contains affiliate links.
 Note ♪
 The next morning, drain and rinse again. Add back to the saucepot with COLD water, cover and turn the heat on low. Simmer gently for 2 hours.
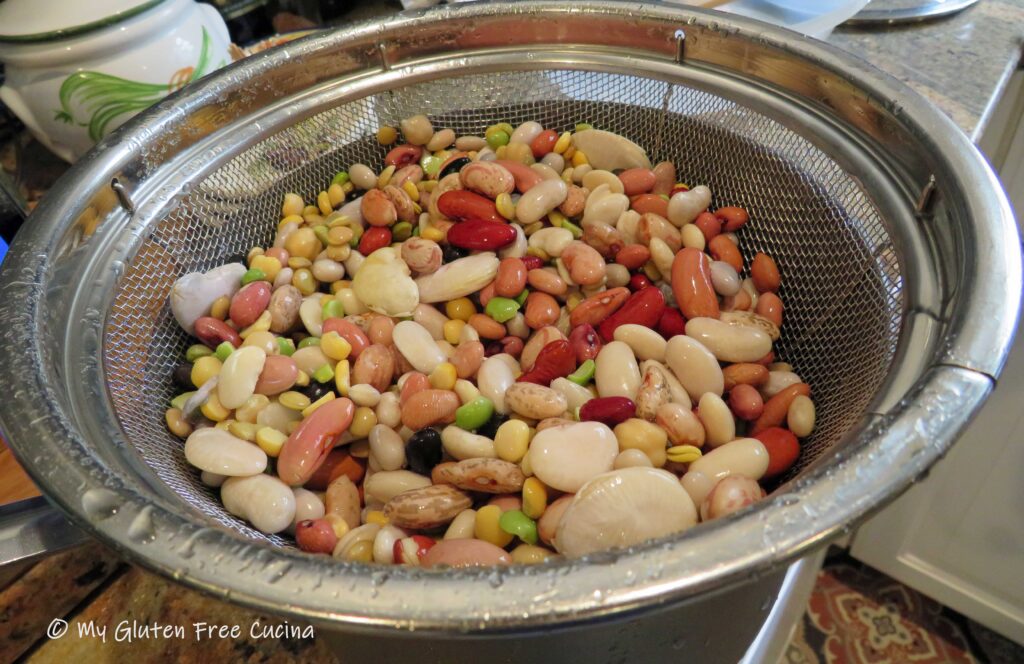 Drain and rinse again and set the beans aside.
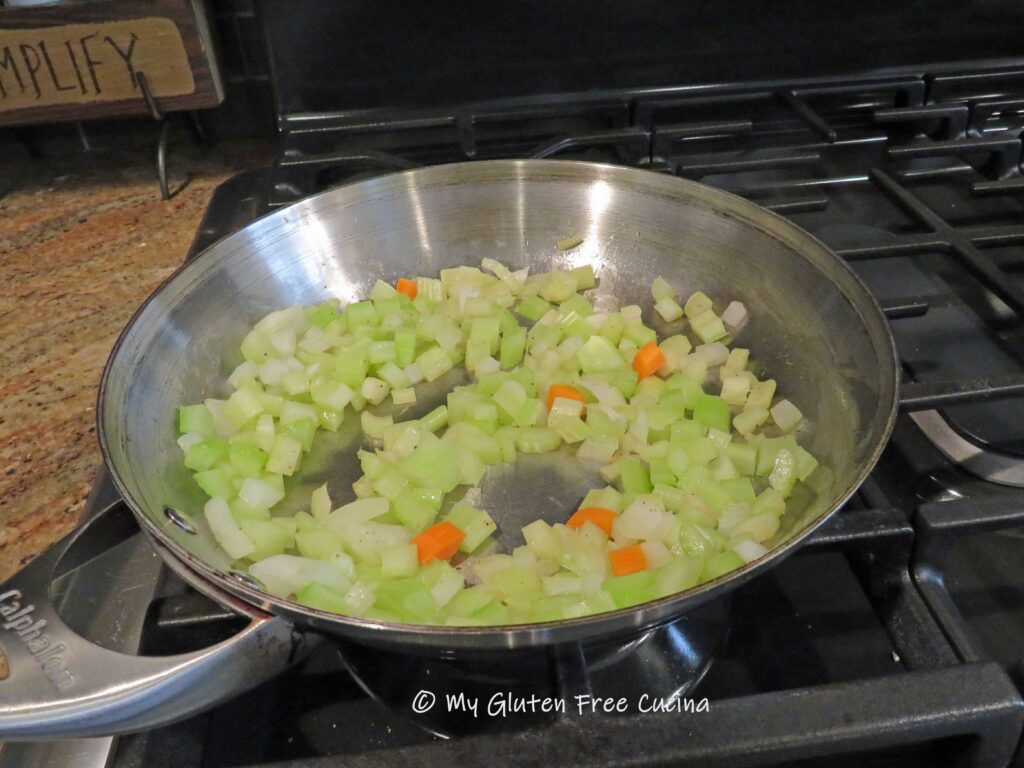
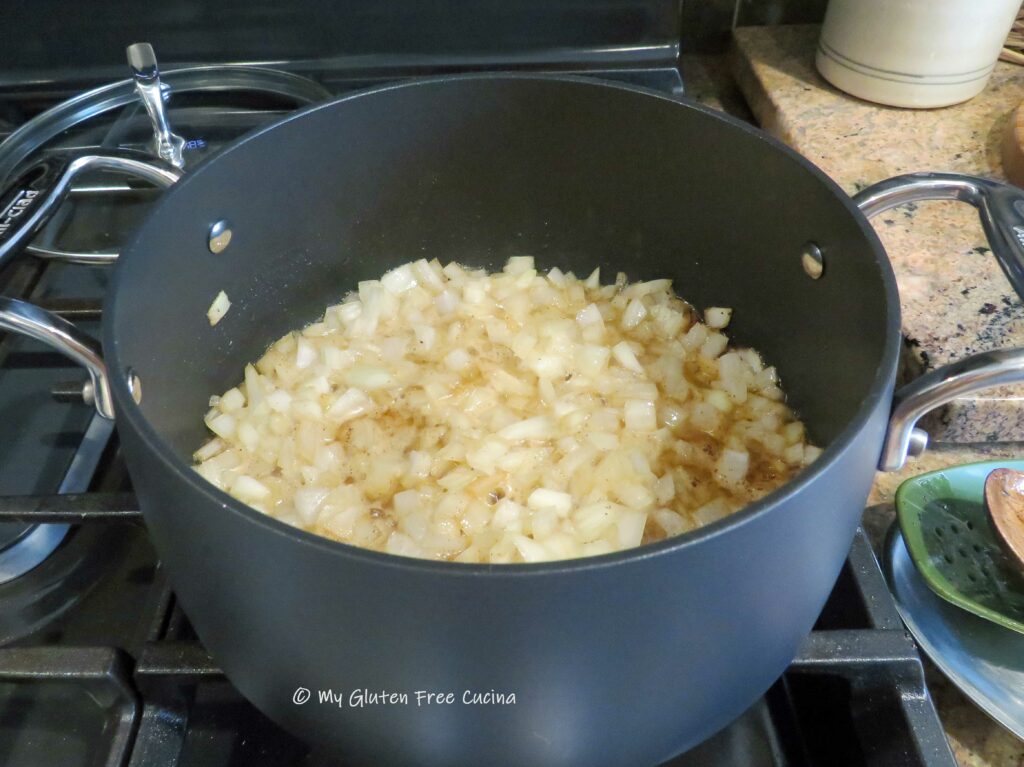
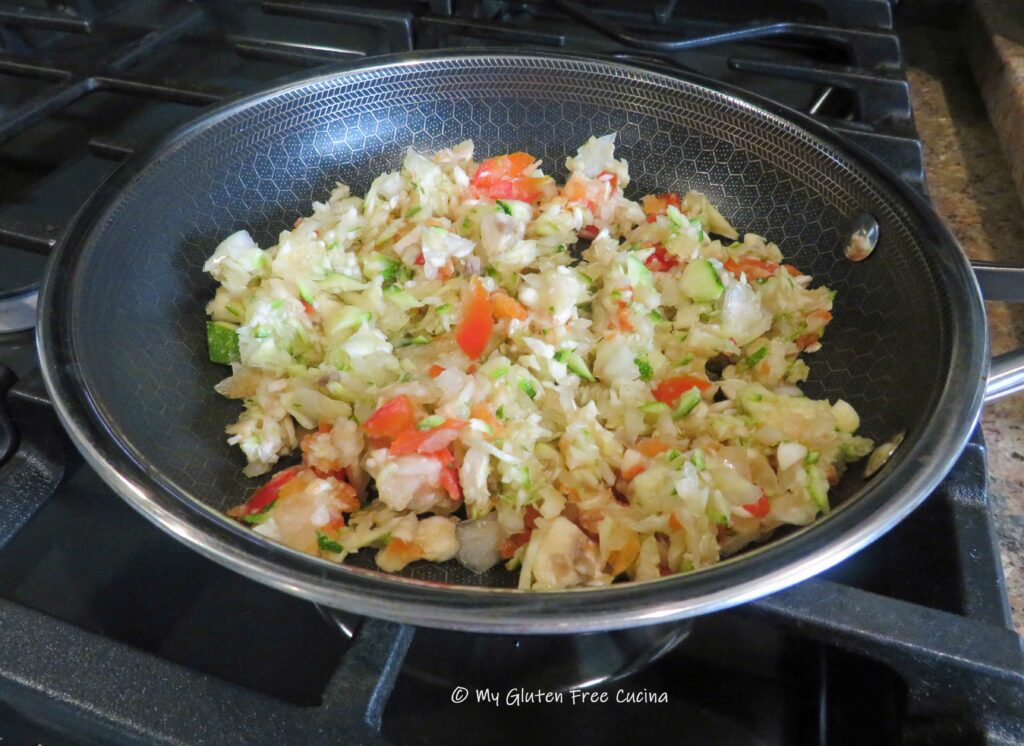
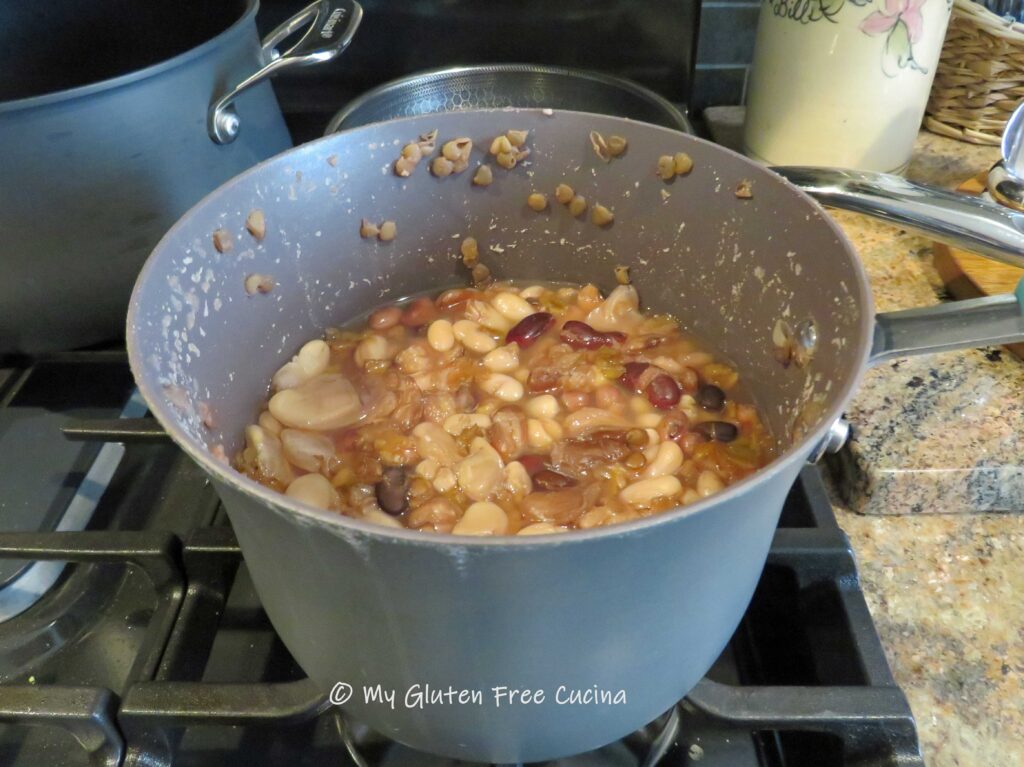 Heat olive oil in a stainless-steel skillet. Begin sautéing the veggies, beginning with the carrots as they take the longest to cook. Season with sea salt and fresh ground pepper and stir frequently for 3-4 minutes. Transfer the carrots to a
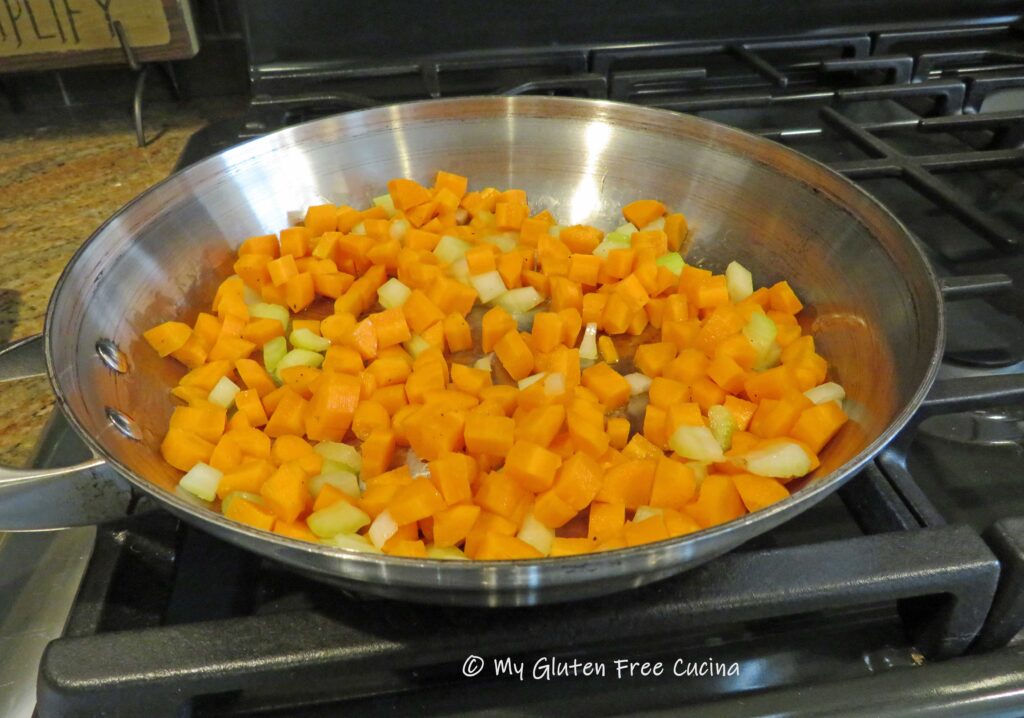
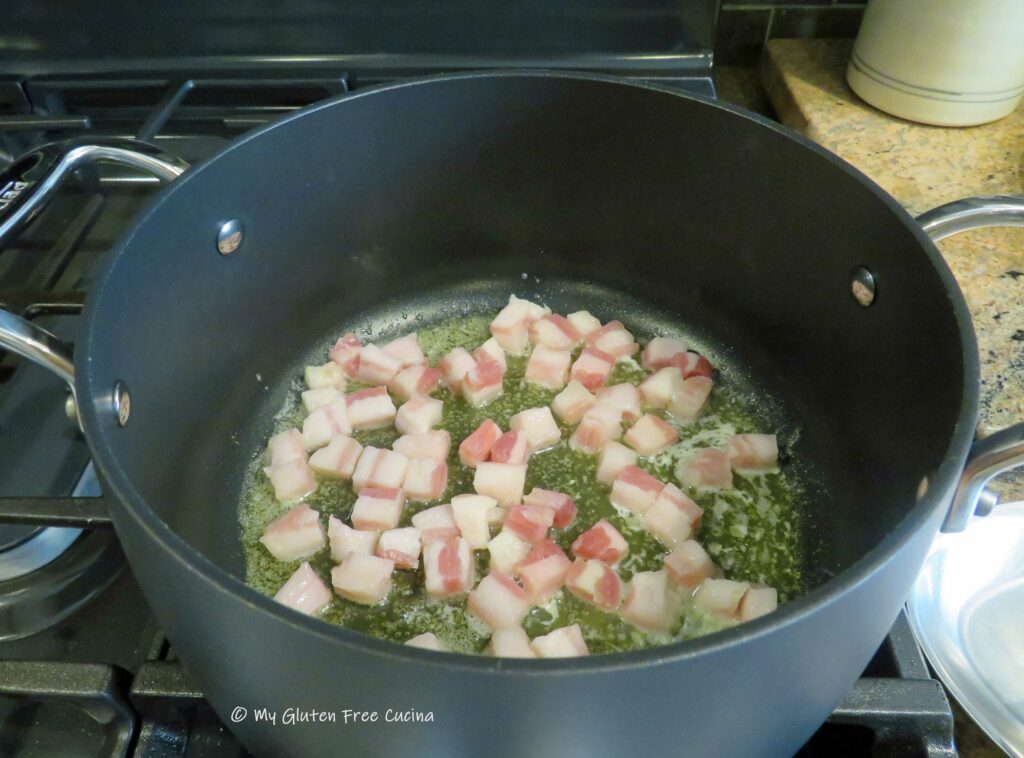
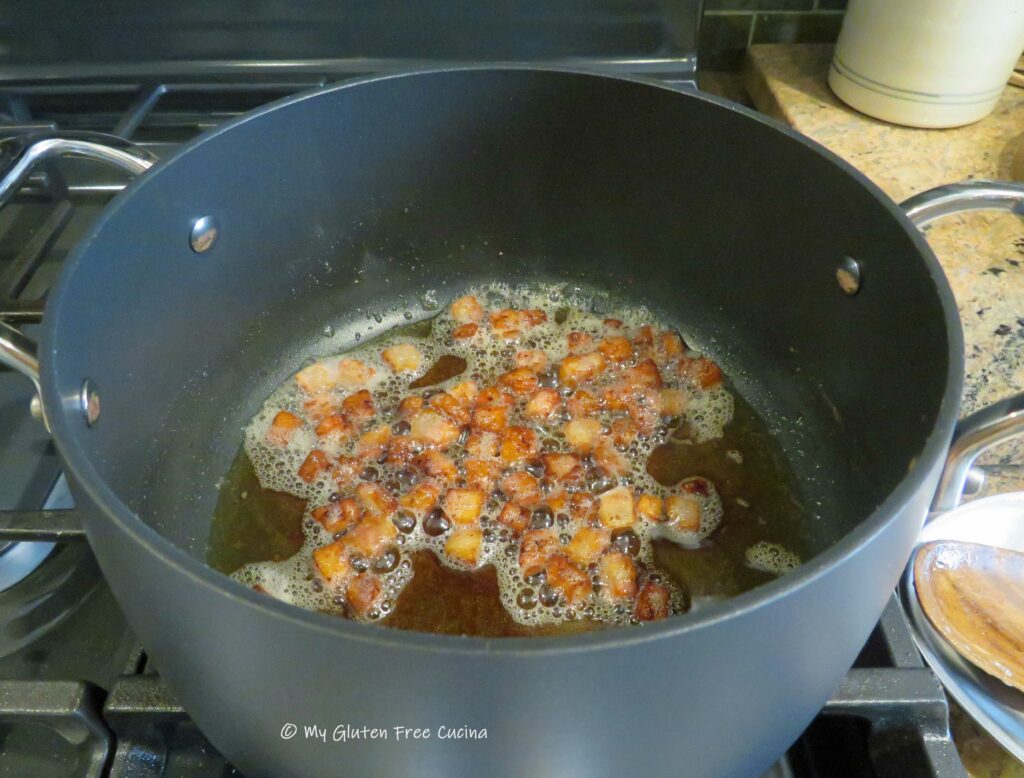
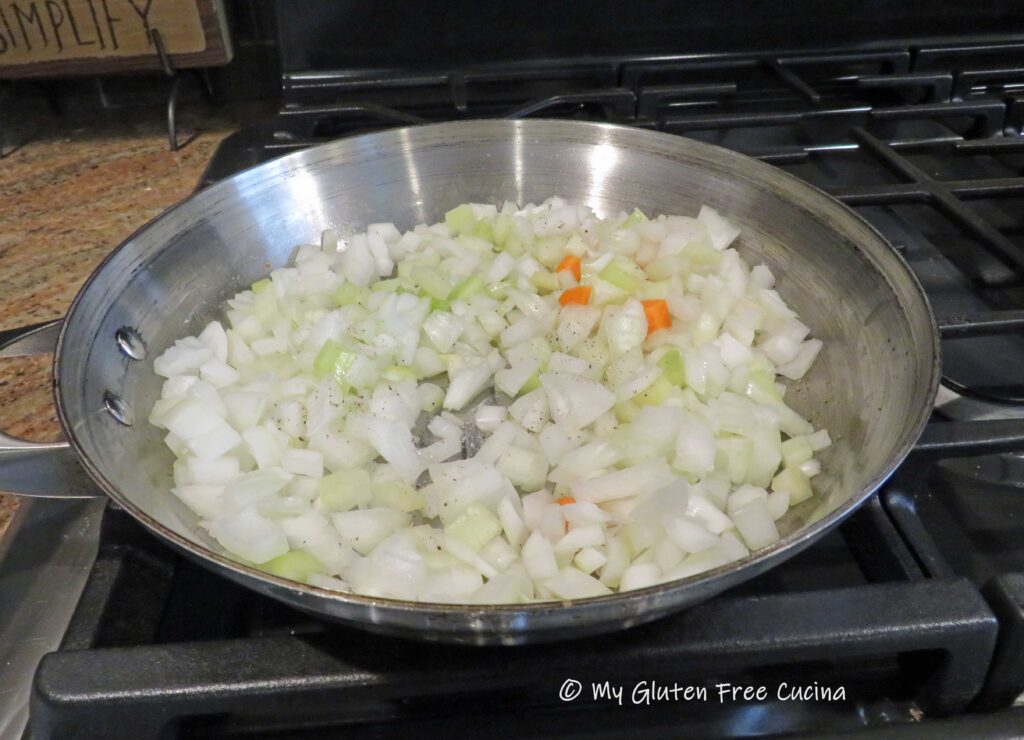 When the veggies are done, wipe the skillet clean and add the diced ham with a bit more olive oil.
 Note ♫
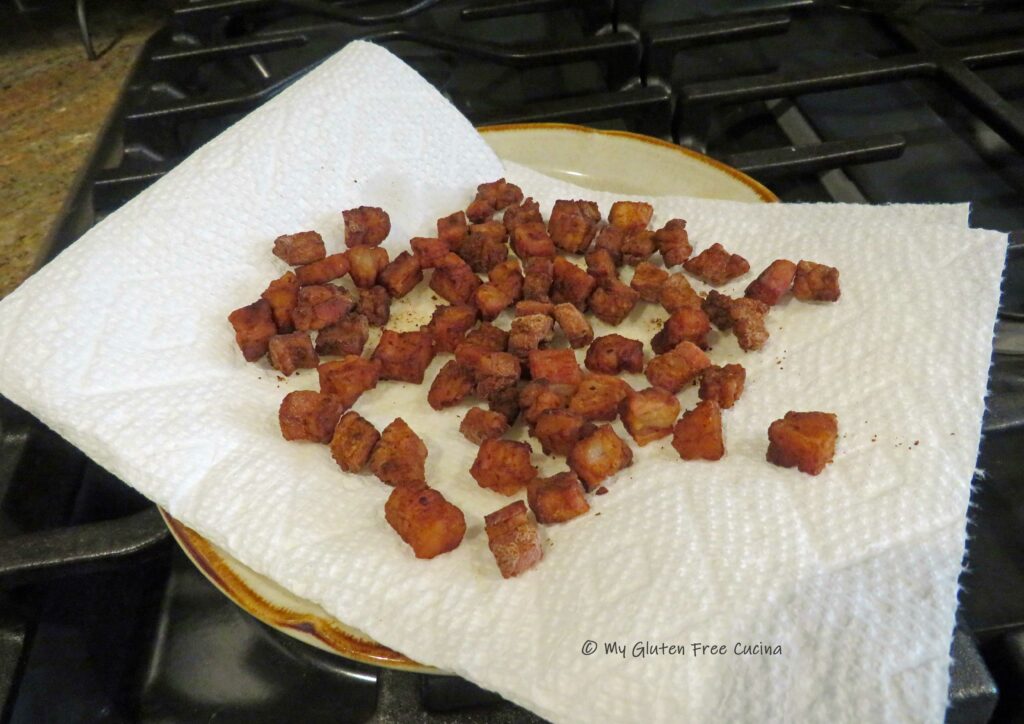
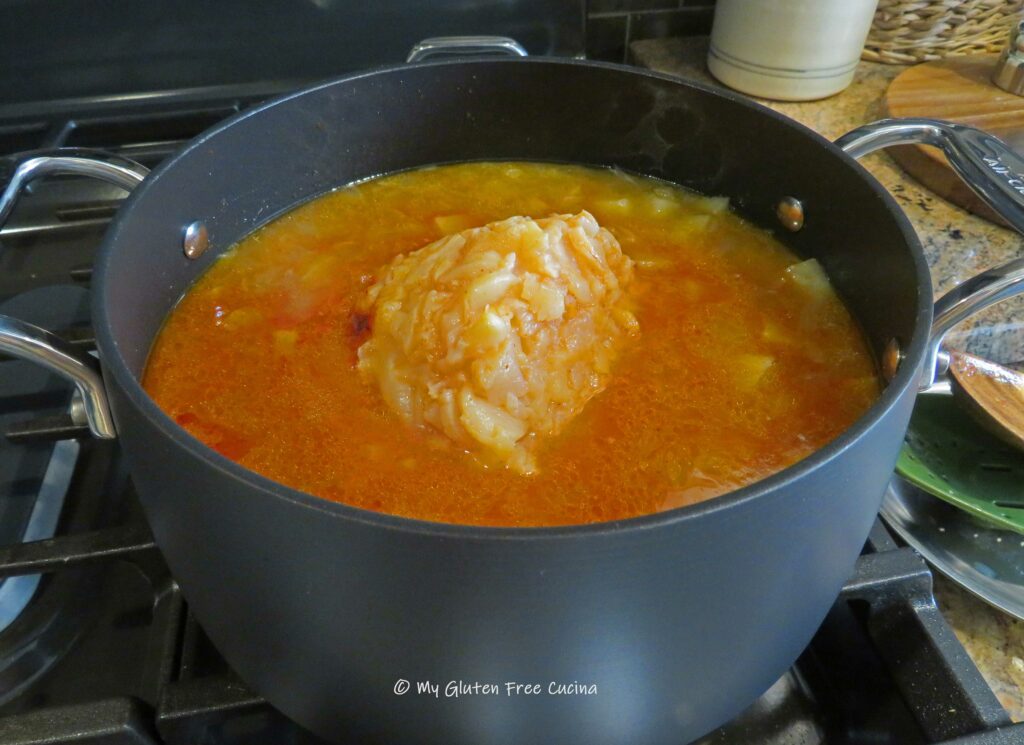
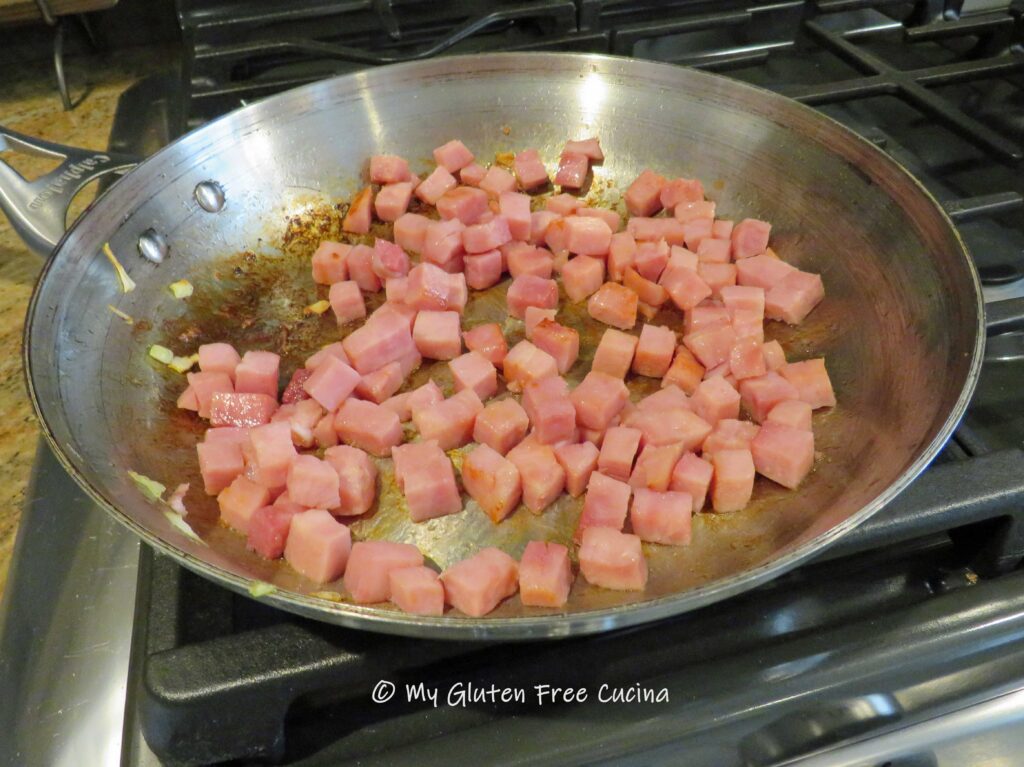 Add the ham to the stock pot, and deglaze the skillet with a little beef broth, scraping up the caramelized bits at the bottom. Pour the liquid into the stock pot.
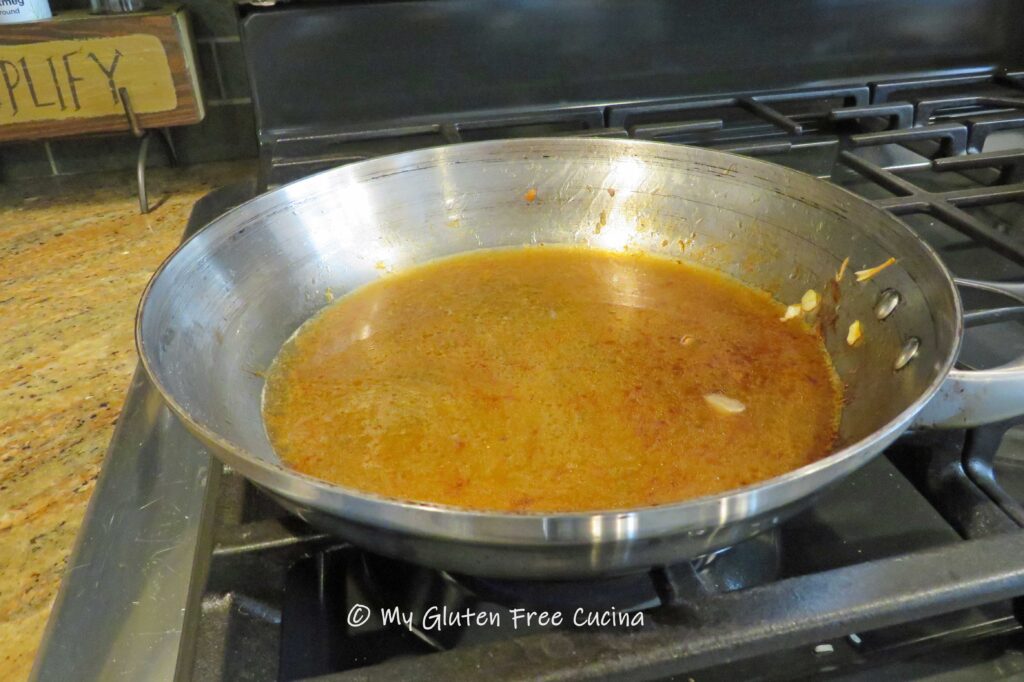 Next, add equal parts of chicken and beef broth, enough to cover the ham and veggies. Return the cooked beans to the pot, along with the bouillon, sage and thyme.
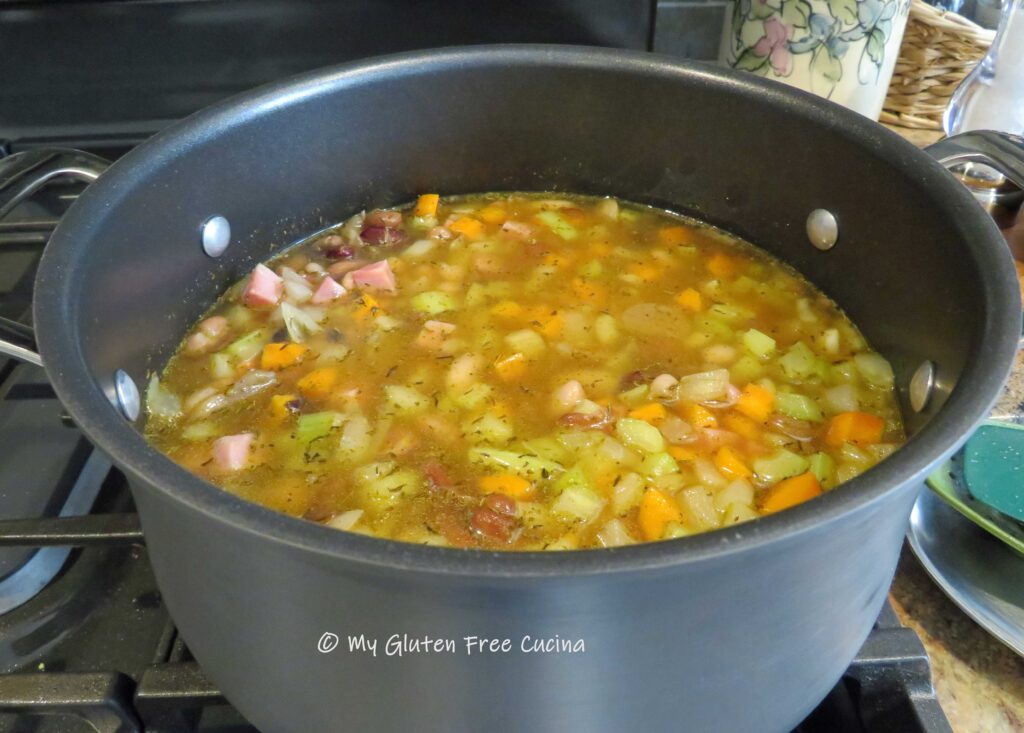
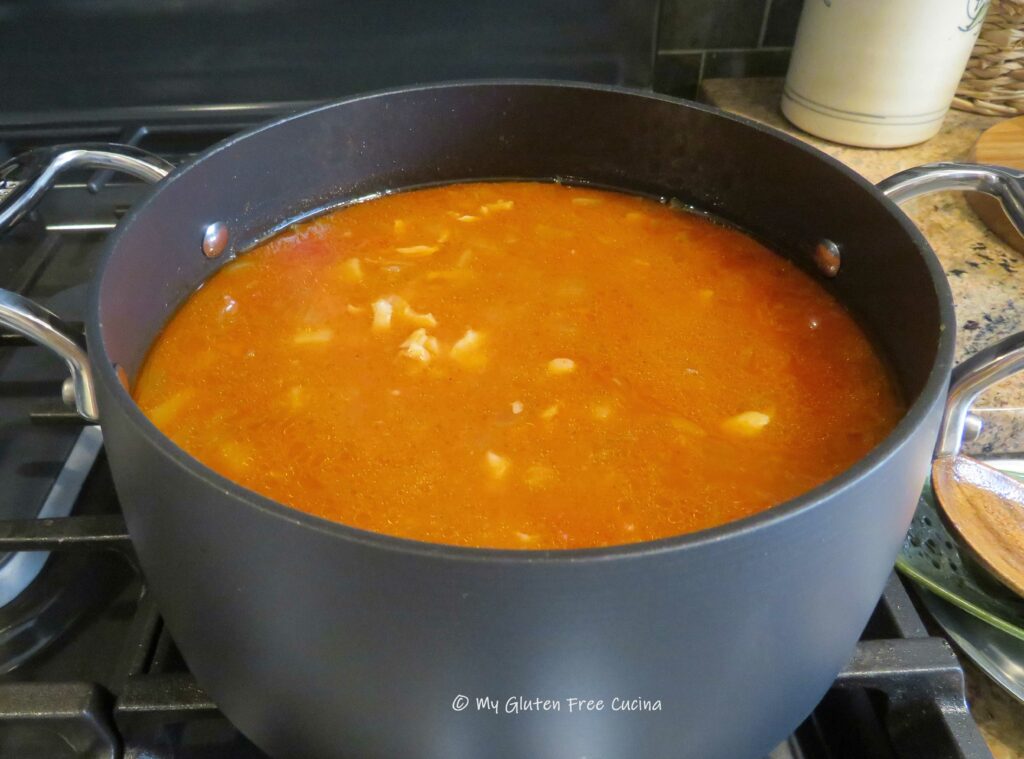
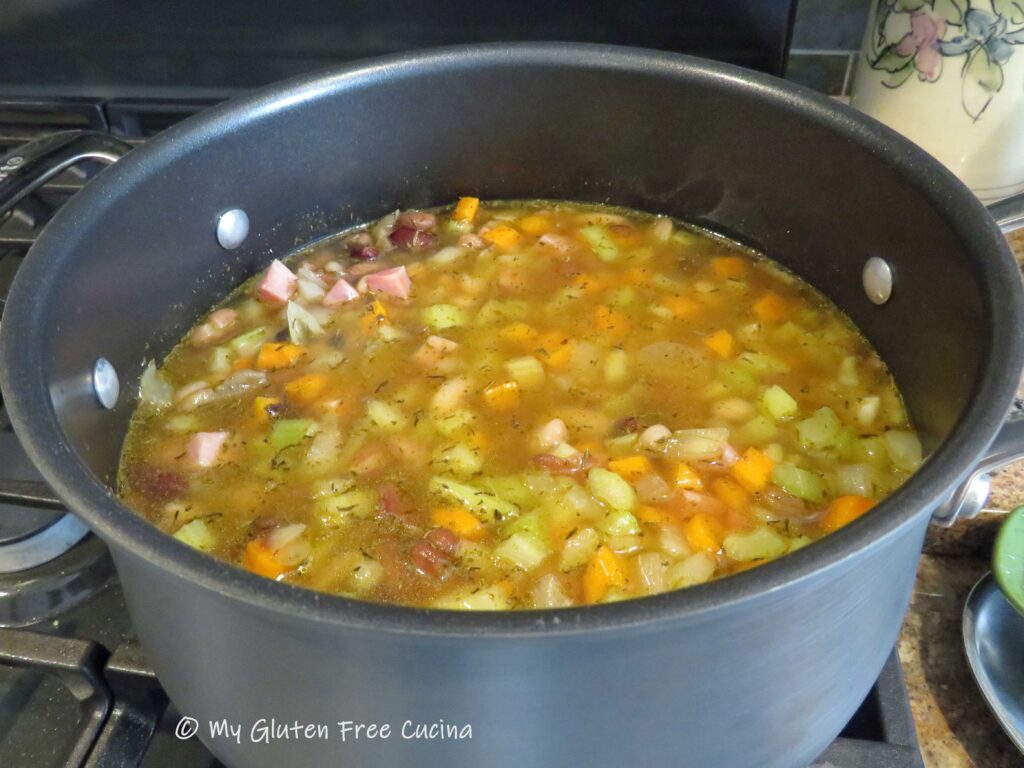 Simmer until the veggies are soft, then add the corn kernels in to heat through (adding the corn at the end of cooking gives the soup a little textural contrast to the soft beans and veggies).
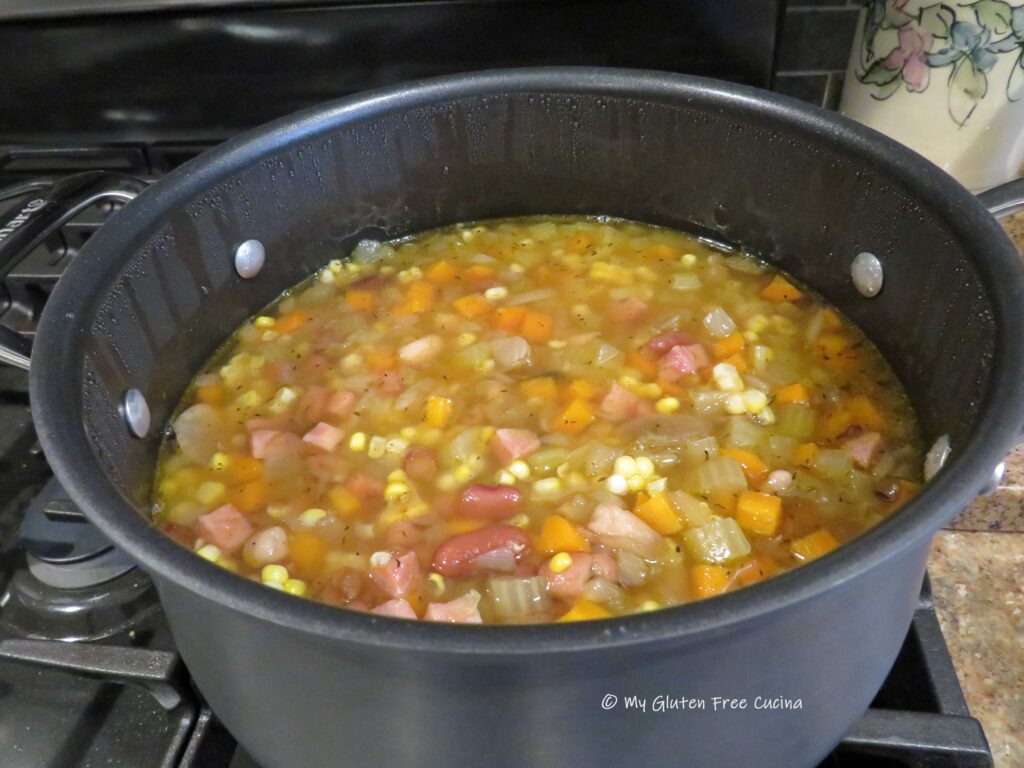 Soup is ready to enjoy with gluten free crackers or bread. Leftovers (if you have any!) can be refrigerated for up to a week. Don’t worry though, it won’t last that long!
 Notes ♪♫
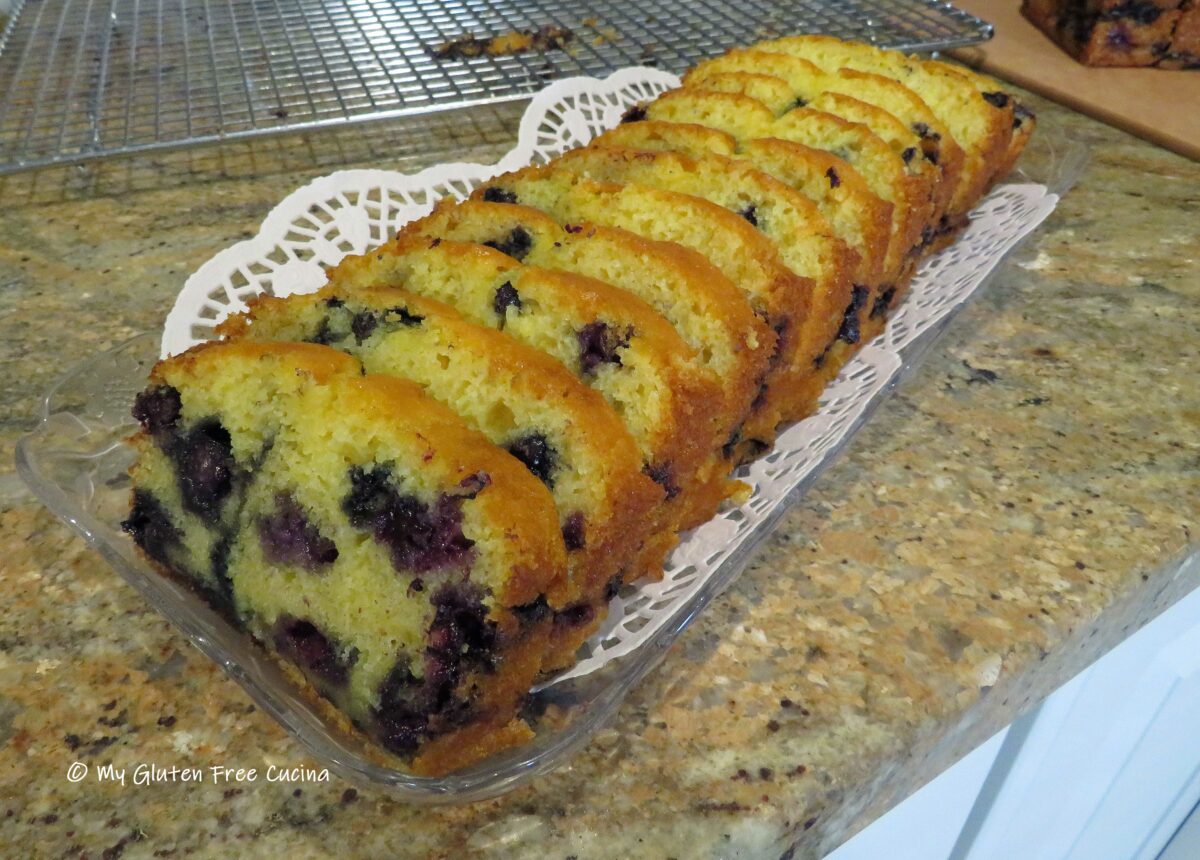


 Notes ♪♫
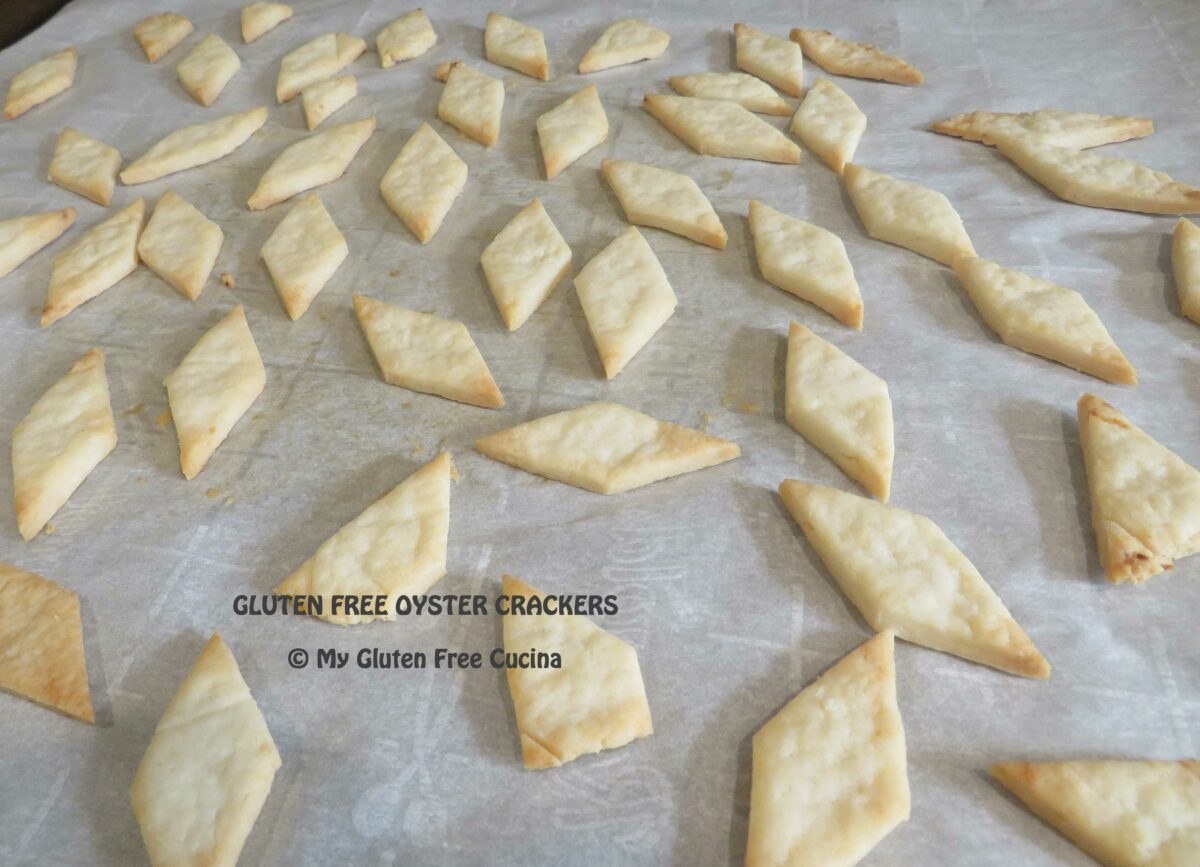

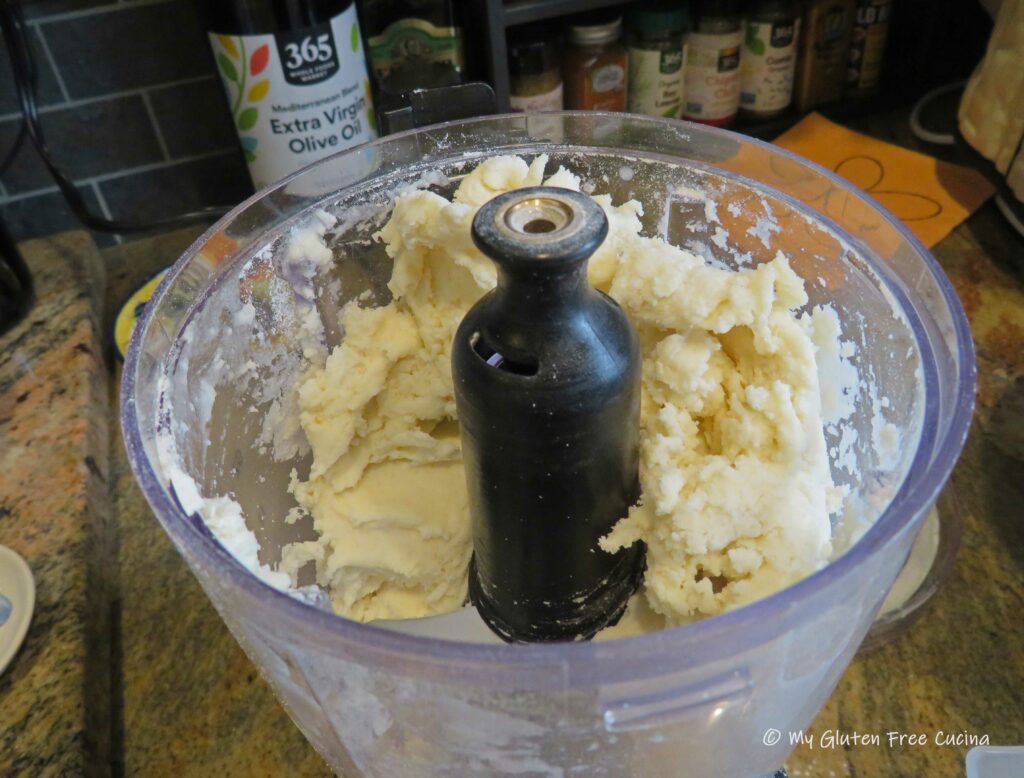
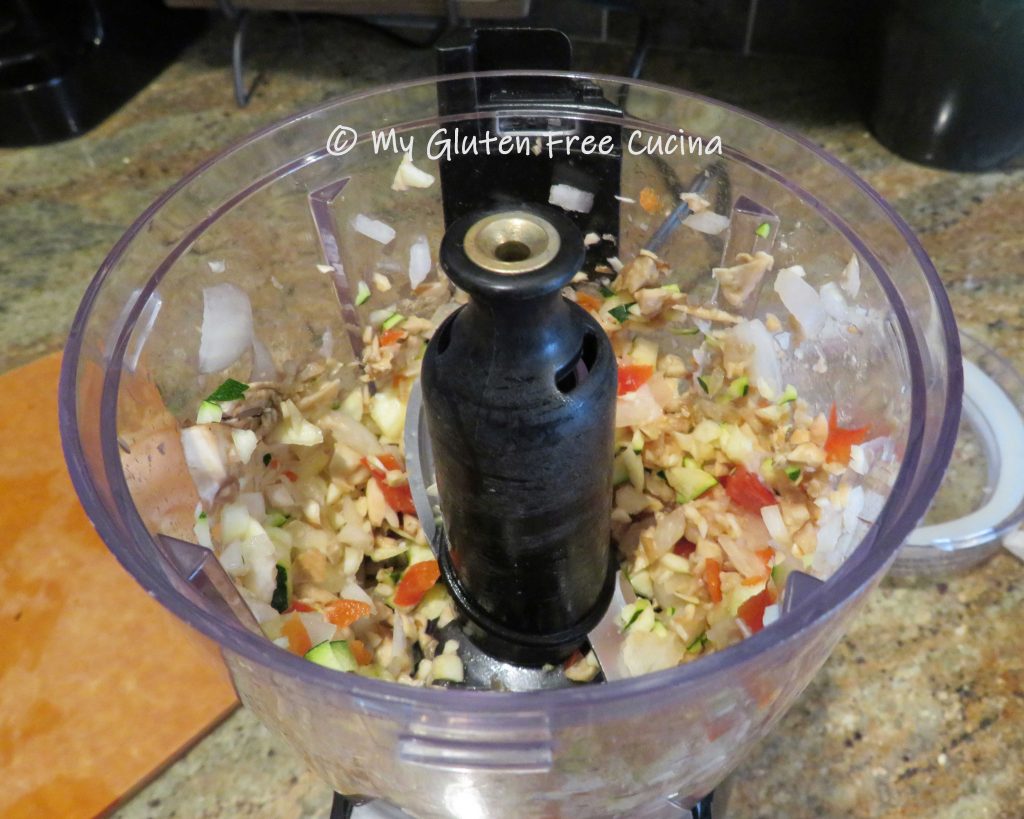
 Whisk together the dry ingredients and place in small food processor or


 Cool in the pan, then lift the edges of the parchment paper and slide them into a bowl for serving.


 Use an


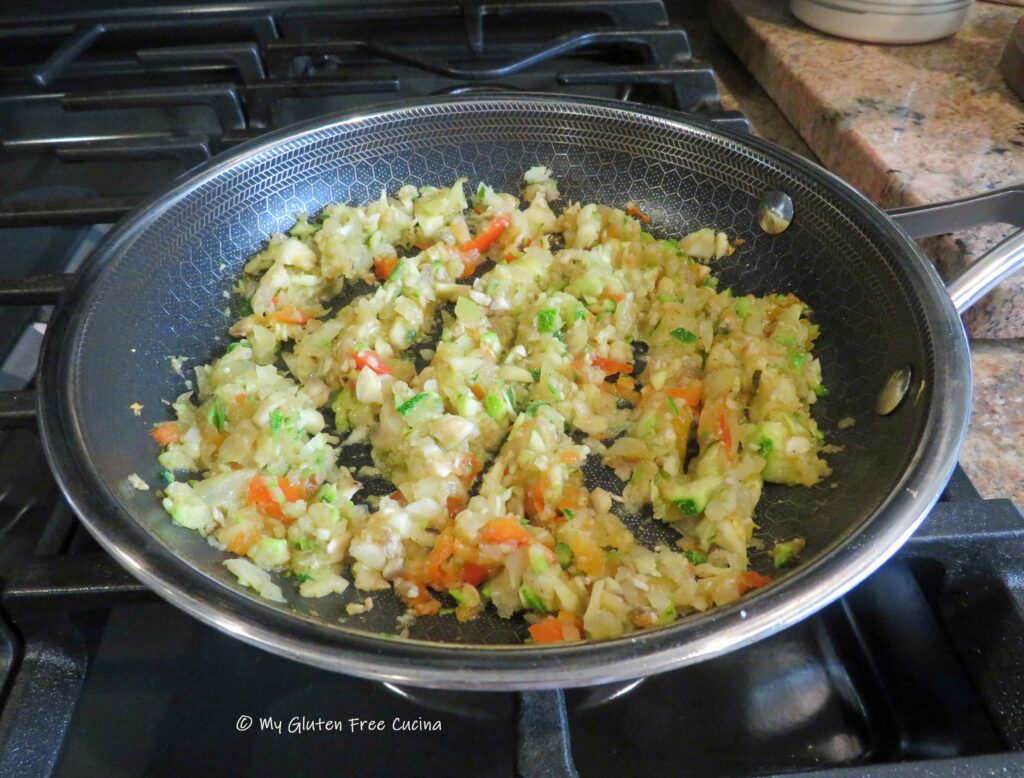
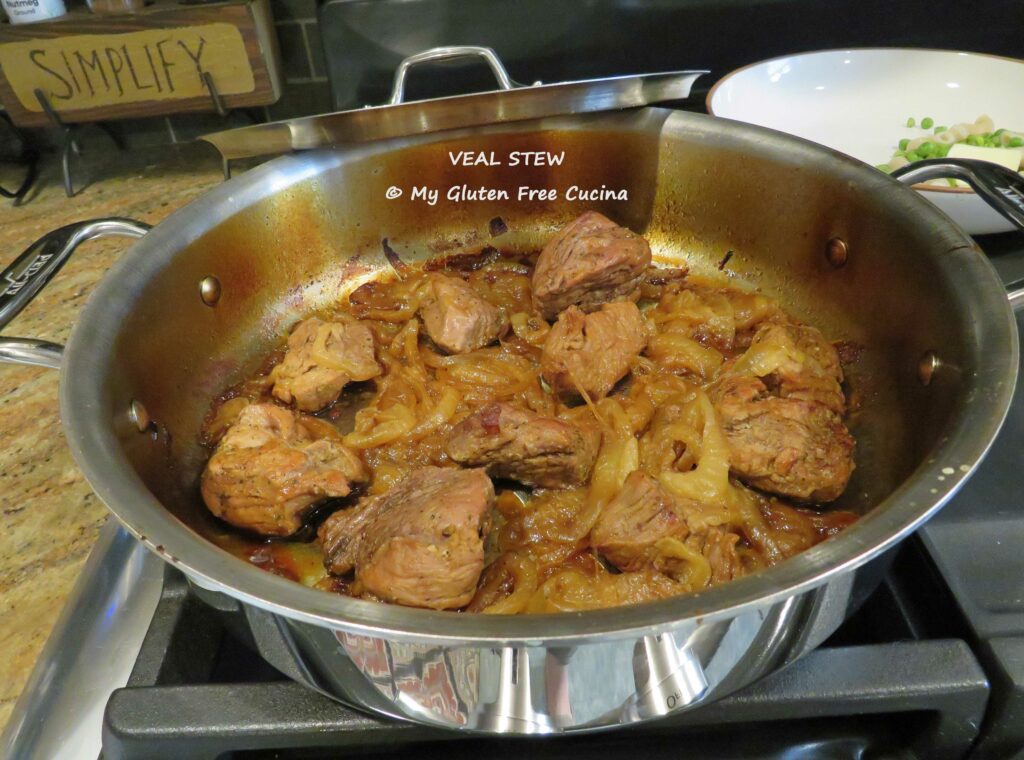

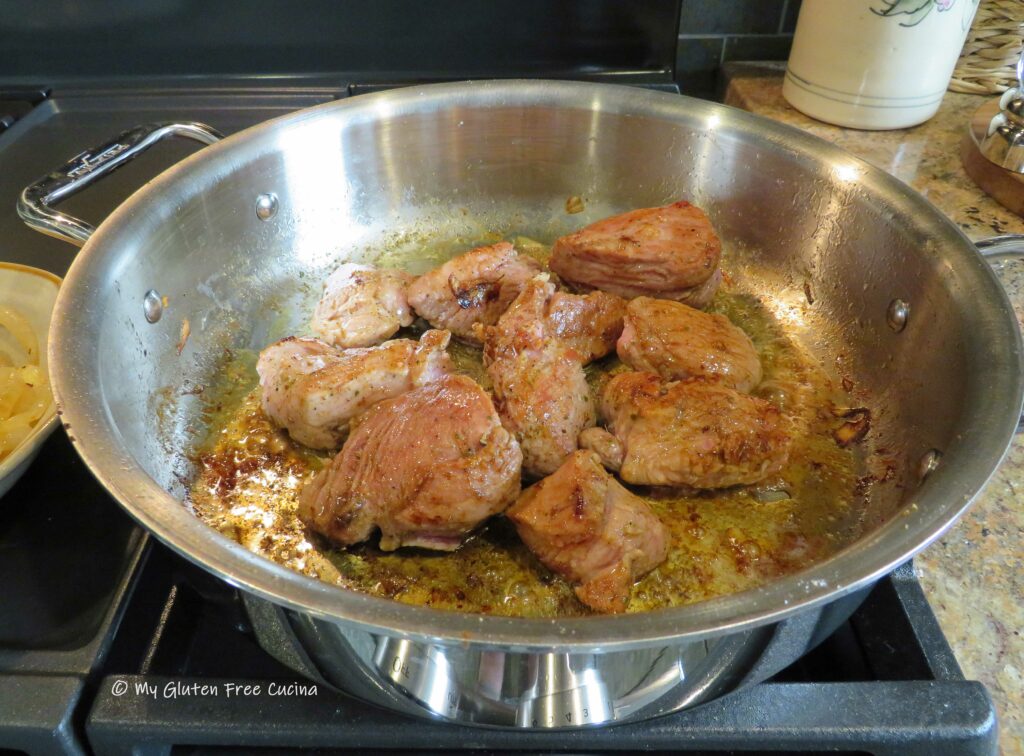
 In the same pan, heat the remaining olive oil and butter and begin browning the meat on all sides. Season with salt, pepper and Italian seasoning.