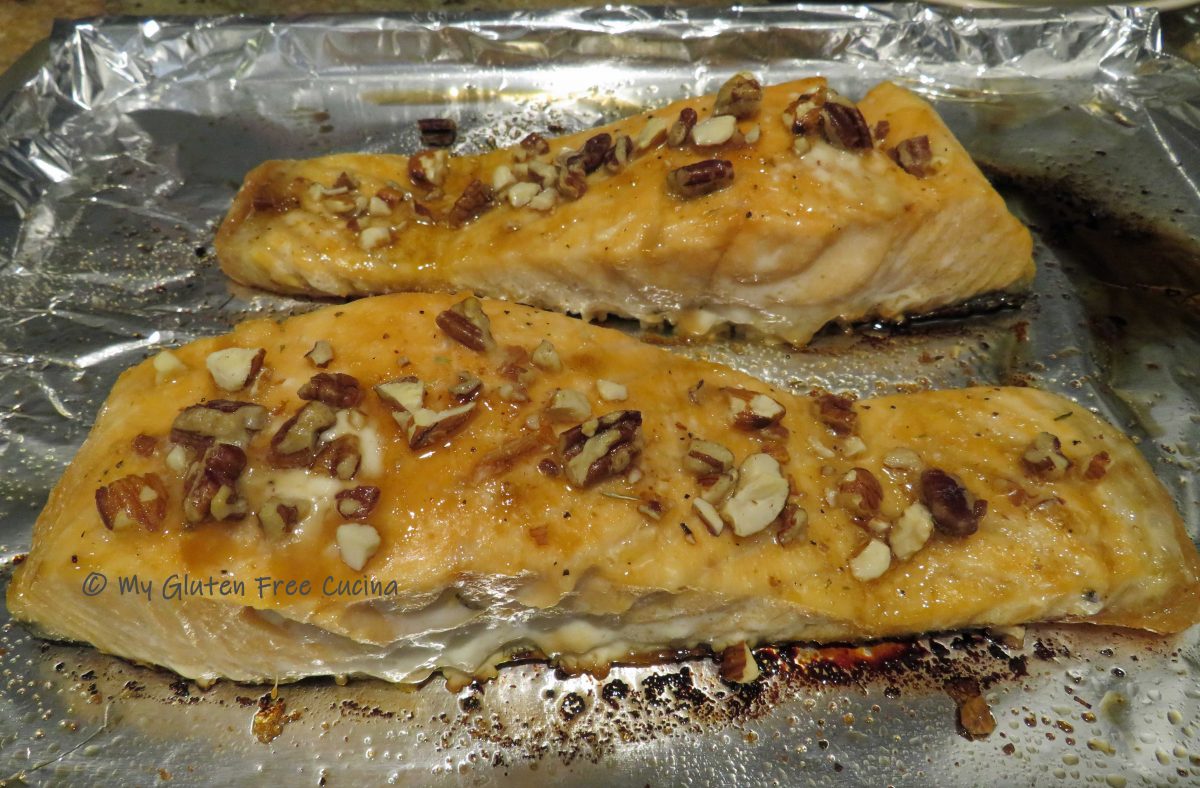
Oven Baked Salmon with Almonds and Pecans

When it comes to seafood, salmon is definitely one of my favorites.  Heart healthy and mild tasting, salmon can be grilled, pan cooked or baked.  This simple preparation comes together quickly, and the ingredients complement the mild sweetness of the salmon without overpowering it.  You will love it!
2 Servings

This post contains affiliate links.

Ingredients:

  • 1 lb. salmon
  • salt, to taste
  • 2 tsp. brown sugar
  • maple seasoning
  • 1 tbsp. chopped almonds
  • 1 tbsp. chopped pecans
  • 2 tbsp. butter
  • cooking spray

Preparation:

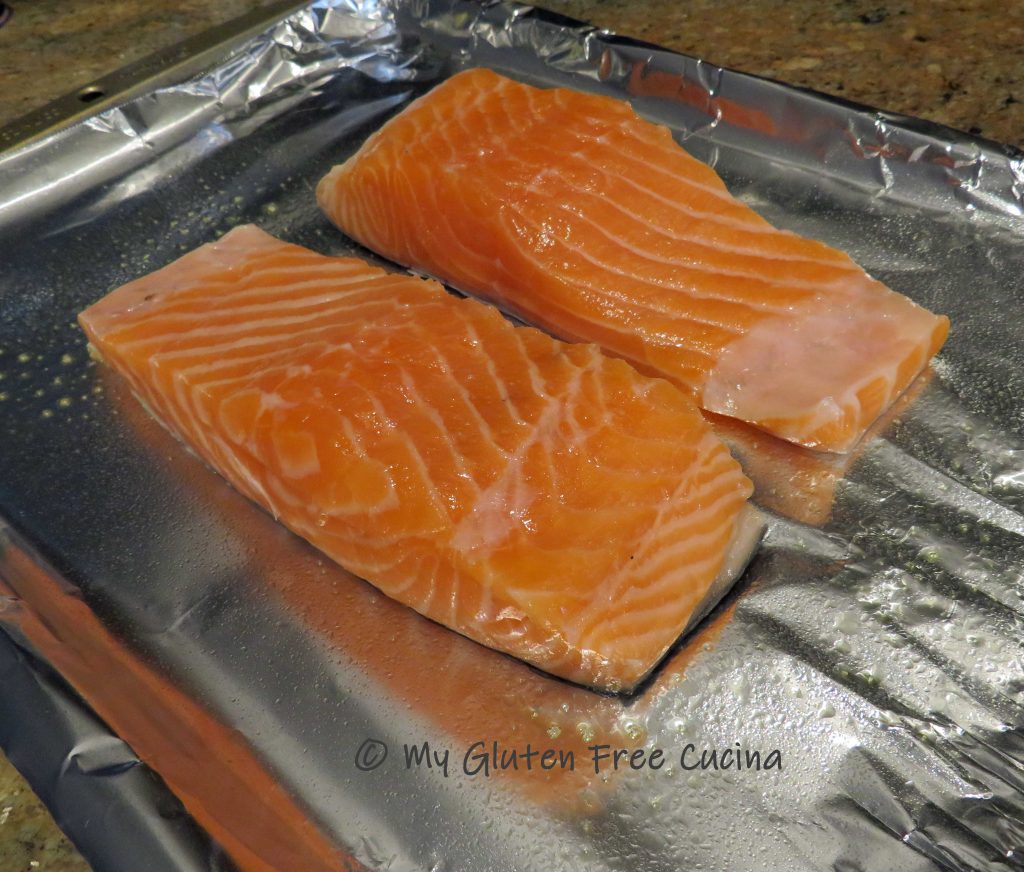
Line a sheet pan with foil or parchment and mist with cooking spray.  Preheat the oven to 350º.  Cut the salmon lengthwise into 2 pieces and arrange in the pan skin side down.
Season lightly with salt.  Cut the butter into fine slivers and arrange over the fish.  Sprinkle each piece of fish with 1 tsp. brown sugar, maple seasoning, and 1 tbsp. of chopped nuts.
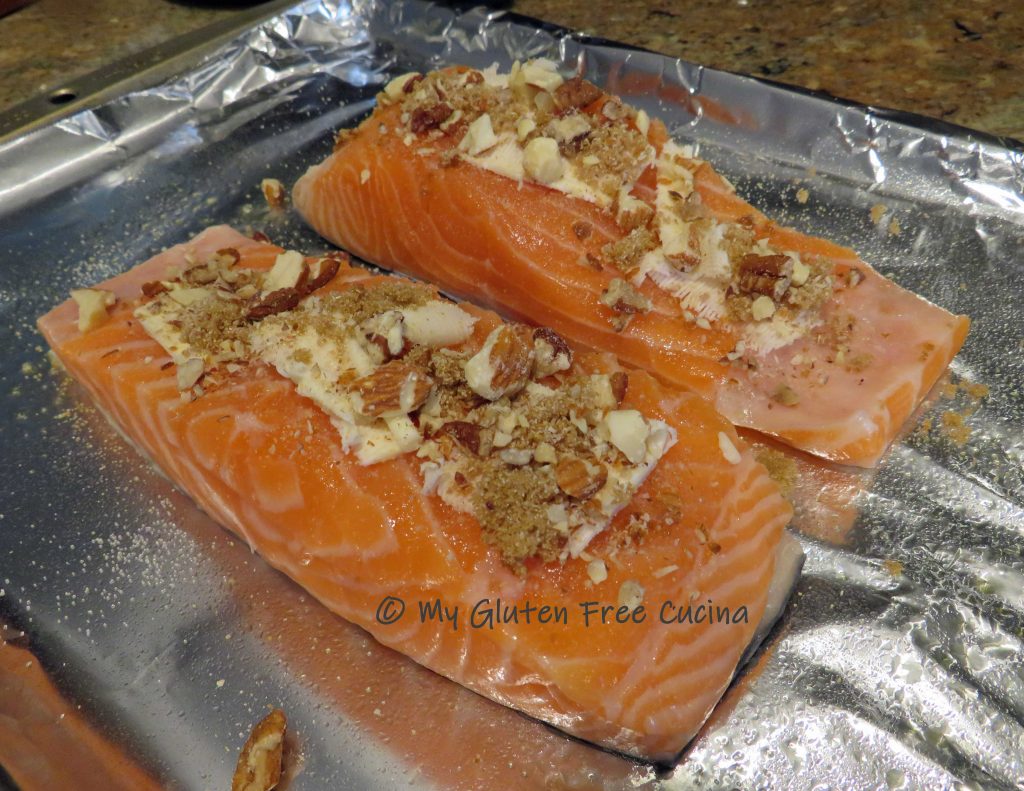
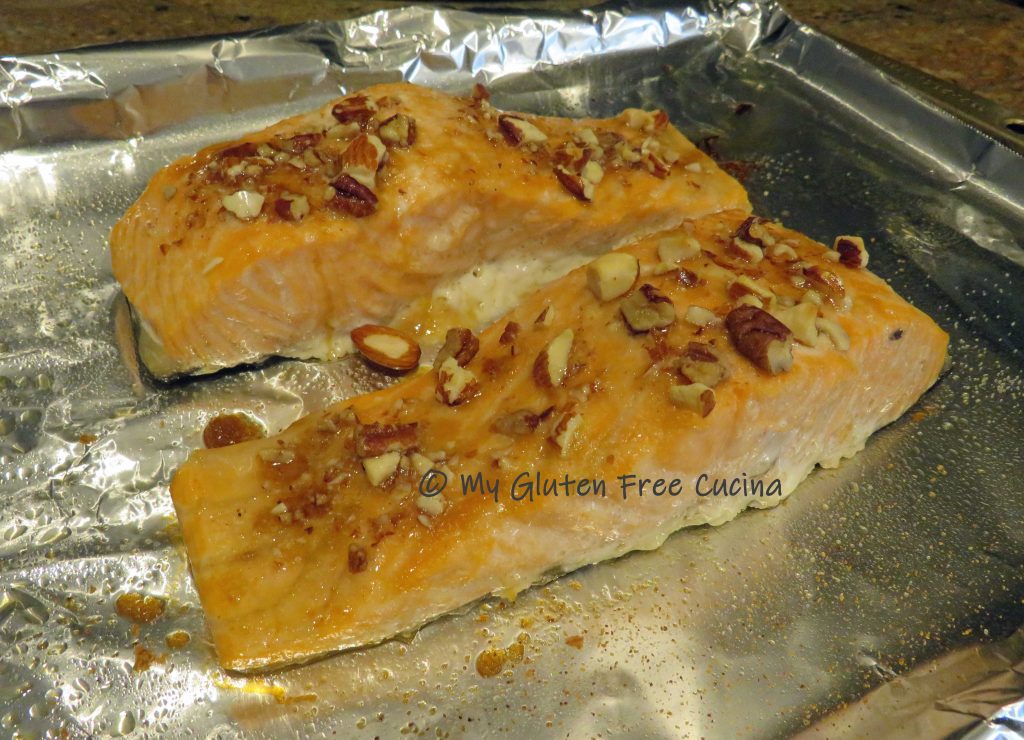
Bake for 25 minutes at 350º.  The fish is done when it flakes easily with a fork.

Dinner is served, with a side of broccoli and Homemade Potato Chips!

Notes ♪♫ Salmon is usually available year-round where we live, but if you can’t find fresh caught then it’s perfectly fine to buy frozen.  The maple seasoning used in this recipe goes really well with salmon and is gluten free!
 

Print
clock clock iconcutlery cutlery iconflag flag iconfolder folder iconinstagram instagram iconpinterest pinterest iconfacebook facebook iconprint print iconsquares squares iconheart heart iconheart solid heart solid icon

Oven Baked Salmon with Almonds and Pecans

5 Stars 4 Stars 3 Stars 2 Stars 1 Star No reviews
  • Author: © My Gluten Free Cucina
  • Method: Baking
  • Diet: Gluten-Free

Description

This simple preparation comes together quickly, and the ingredients complement the mild sweetness of the salmon without overpowering it.


Ingredients

Units Scale
  • 1 lb. salmon
  • salt, to taste
  • 2 tsp. brown sugar
  • maple seasoning
  • 1 tbsp. chopped almonds
  • 1 tbsp. chopped pecans
  • 2 tbsp. butter
  • cooking spray

Instructions

Line a sheet pan with foil or parchment and mist with cooking spray.

Preheat the oven to350º.  Cut the salmon lengthwise into 2 pieces and arrange in the pan skin side down.

Season lightly with salt.  Cut the butter into fine slivers and arrange over the fish.  Sprinkle eachpiece of fish with 1 tsp. brown sugar, maple seasoning, and 1 tbsp. of chopped nuts.

Bake for 25 minutes at 350º.  The fish is done when it flakes easily with a fork.


Notes

If you can’t find fresh caught salmon, it’s perfectly fine to buy frozen.


Gluten Free Millet Bread

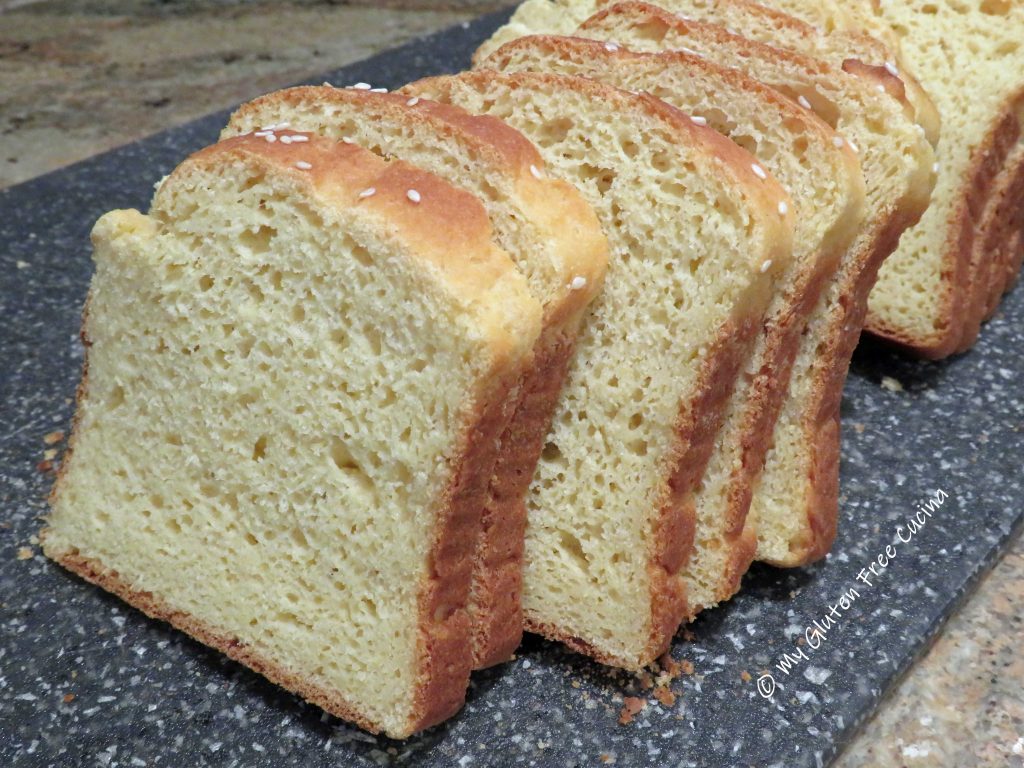
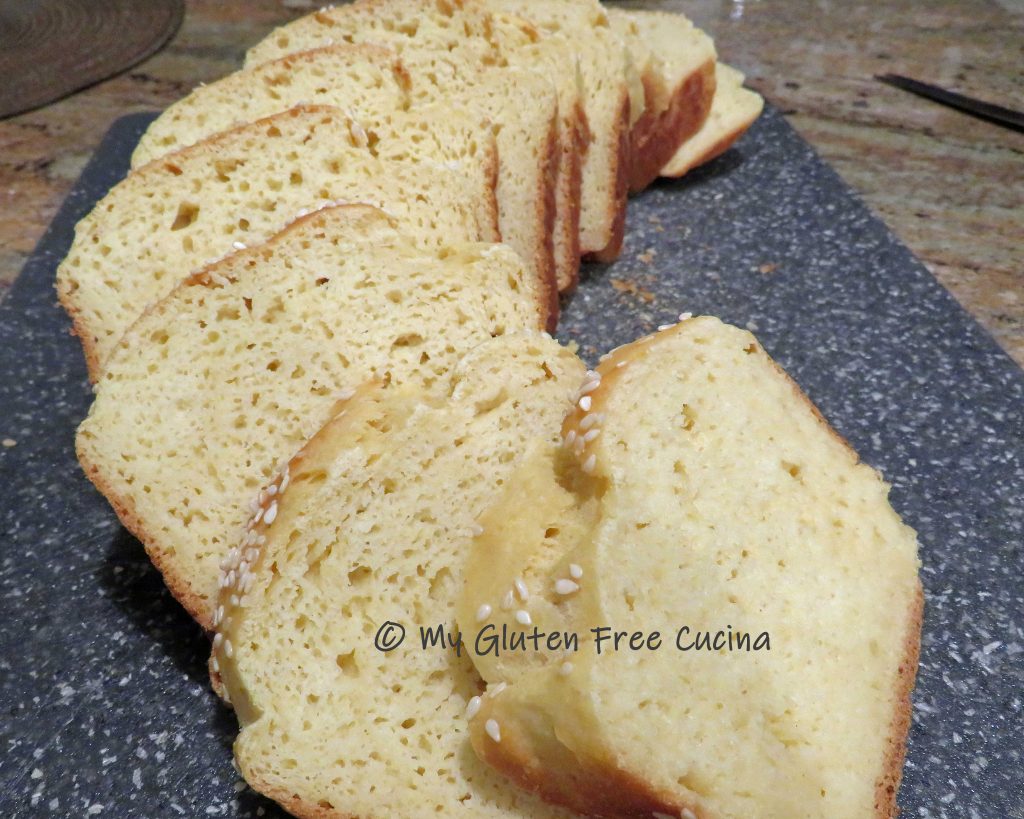
I have my favorite toasting breads for breakfast.  They are dense, hearty seeded loaves that hold up well in the toaster like Mighty Tasty Toasting Bread and Millet and Buckwheat Toasting Bread.  But as much as I love their texture, sometimes I’m craving a soft, enriched bread to make sandwiches, or French Toast.  This Gluten Free Millet Bread fits the bill.  It has a soft, cake-like crumb with just a hint of sweetness.

I used Bobs Red Mill products in this recipe.  They are widely available online and in stores.  The loaf pan is from USA Pan, made in the USA!

This post contains affiliate links.

Millet flour is what gives this bread that light yellow color.

Ingredients:

Preparation:

Whisk together the dry ingredients, millet flour through salt and add them to the bowl of your stand mixer.  In a separate bowl, microwave 1 cup of milk for 30 seconds.  Whisk in the yeast and honey and let it stand for 10 minutes until bubbly.

Whisk the eggs, canola oil and cider vinegar into the yeast mixture.

With the mixer on low speed, gradually pour in the wet ingredients.  Once incorporated, increase speed and beat 3 minutes with the paddle attachment.  The dough will be heavy and clinging to the paddle.

I baked this loaf in a 9″ x 4″ x 4″ pullman pan, the higher sides support the loaf as it rises.  I always line my loaf pans with parchment paper, to easily remove the finished loaf.

Scrape the dough into the pan and use a wet spatula to smooth it out evenly.  Sprinkle with sesame seeds (optional) and cover loosely with plastic wrap.  Let it rise for 1 hour.  I set my pan on top of some padding, so that it wasn’t resting directly on the cold counter surface.

Preheat the oven to 350º.  Just before placing in the oven, mist the top of the loaf with water and quickly mist the sides of the oven.  Bake for 45-50 minutes.  The internal temperature should be between 195-200º.

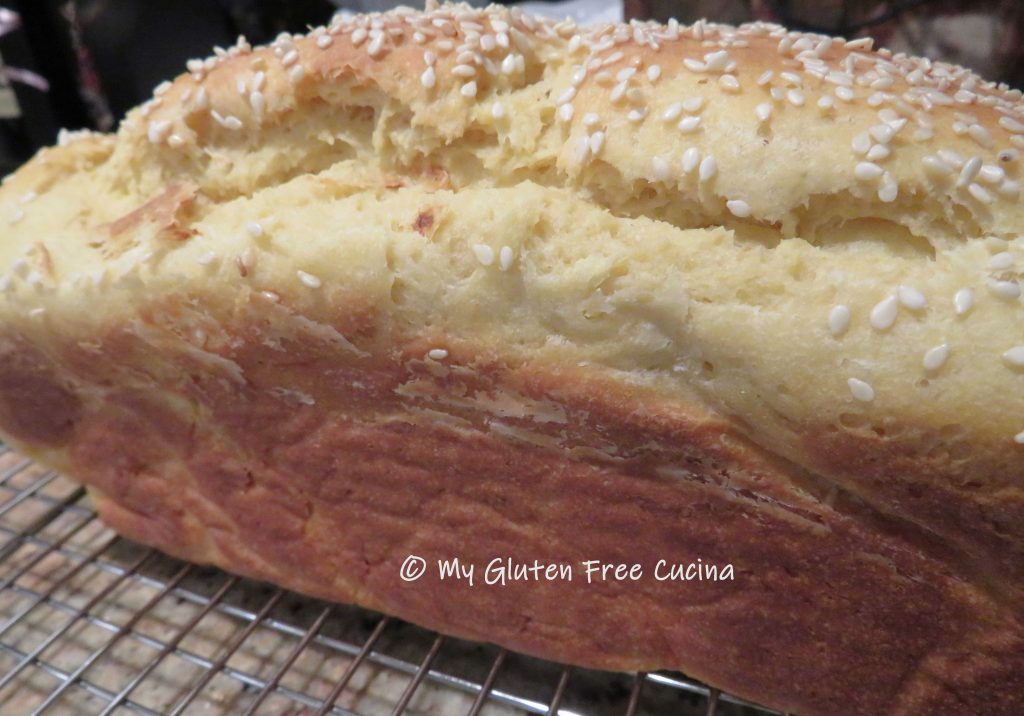
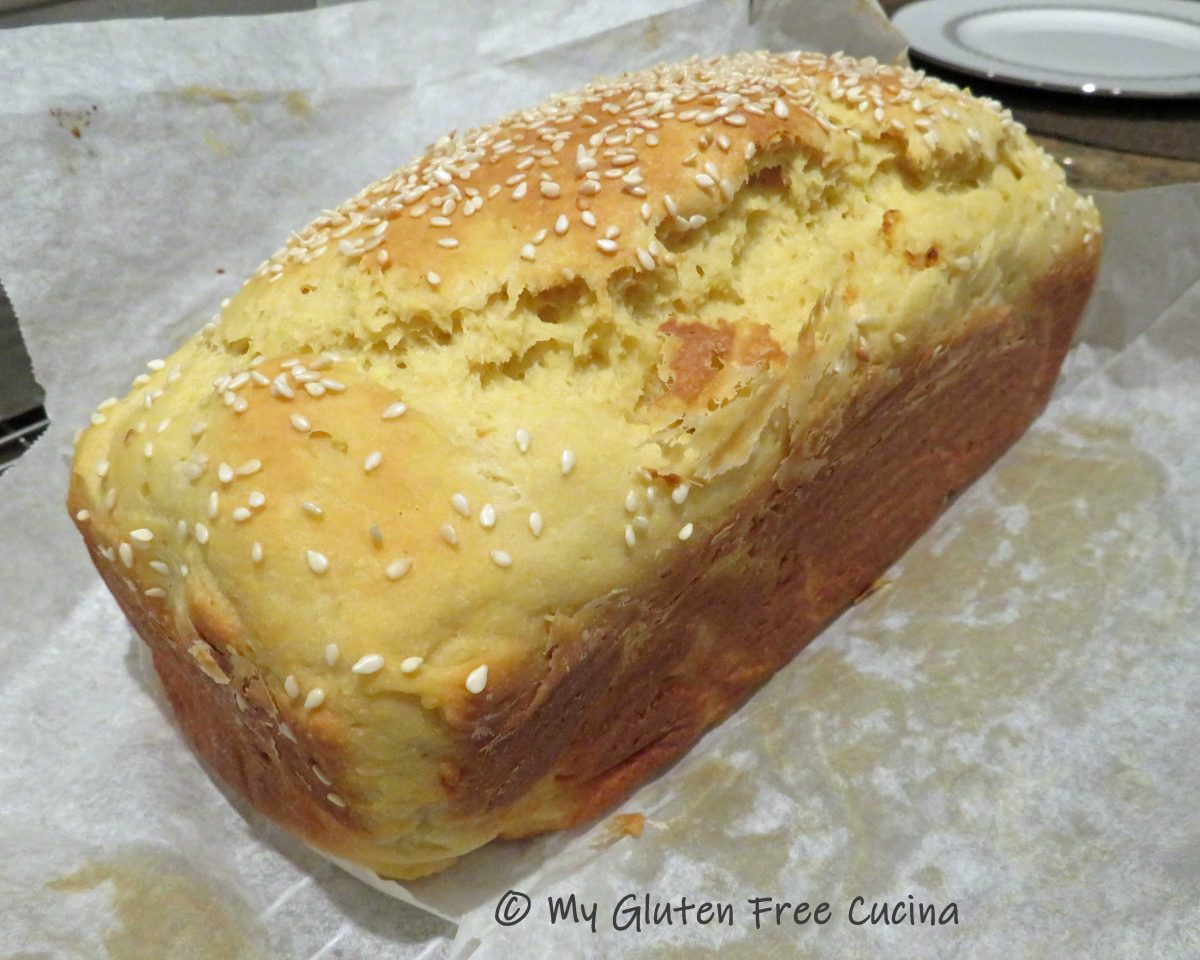
Look at that beautiful loaf!  I was worried that the dough hadn’t risen much but look at the oven spring!  The high sided pullman pan definitely helped with that!

Cool completely on a rack before slicing.

This is exactly what I was hoping for.  It looks like French Toast is back in the breakfast rotation!

Notes ♪♫ Need more inspiration?  Check out this French Toast Casserole with Blueberries and Cream Cheese, or this delectable Tiramisu French Toast!  Both were made with this Gluten Free Millet Bread!


Print
clock clock iconcutlery cutlery iconflag flag iconfolder folder iconinstagram instagram iconpinterest pinterest iconfacebook facebook iconprint print iconsquares squares iconheart heart iconheart solid heart solid icon

Gluten Free Millet Bread

5 Stars 4 Stars 3 Stars 2 Stars 1 Star No reviews
  • Author: © My Gluten Free Cucina
  • Category: Gluten Free Bread
  • Diet: Gluten-Free

Description

This Gluten Free Millet Bread fits the bill.  It has a soft, cake-like crumb with just a hint of sweetness.


Ingredients

Units Scale

Instructions

Whisk together the dry ingredients, millet flour through salt and add them to the bowl of your stand mixer.  In a separate bowl, microwave 1 cup of milk for 30 seconds.  Whisk in the yeast and honey and let it stand for 10 minutes until bubbly.

Whisk the eggs, canola oil and cider vinegar into the yeast mixture.

With the mixer on low speed, gradually pour in the wet ingredients.  Once incorporated, increase speed and beat 3 minutes with the paddle attachment.  The dough will be heavy and clinging to the paddle.

Bake in a 9″ x 4″ x 4″ pullman pan, the higher sides support the loaf as it rises.  I always line my loaf pans with parchment paper, to easily remove the finished loaf.

Scrape the dough into the pan and use a wet spatula to smooth it out evenly.  Sprinkle with sesame seeds (optional) and cover loosely with plastic wrap.  Let it rise for 1 hour.  I set my pan on top of some padding, so that it wasn’t resting directly on the cold counter surface.

Preheat the oven to 350º.  Just before placing in the oven, mist the top of the loaf with water and quickly mist the sides of the oven.  Bake for 45-50 minutes.  The internal temperature should be between 195-200º.

Cool completely on a rack before slicing.


Notes

Need more inspiration?  Check out this French Toast Casserole with Blueberries and Cream Cheese, or this delectable Tiramisu French Toast!  Both were made with this Gluten Free Millet Bread!


© My Gluten Free Cucina * All Rights Reserved

Unauthorized use and/or duplication of this material without express and written permission from this blog’s author and/or owner is strictly prohibited.

Baby Back Ribs

I have been making Country Style Pork Ribs for years, and they are a family favorite.  For some reason though, I thought that really good Baby Back Ribs would require expensive BBQ equipment and complicated cooking techniques.  So even though I have always loved Baby Back Ribs, I’d never made them at home.

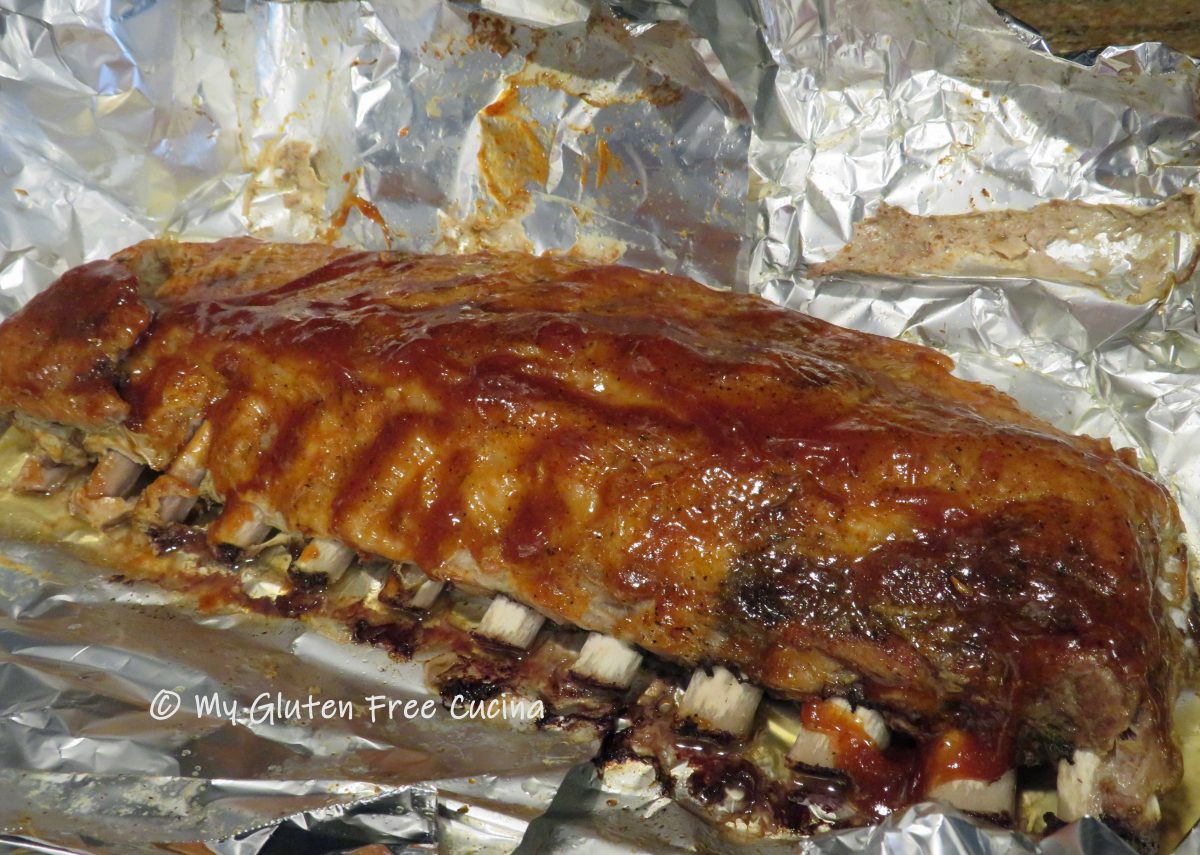
As it turns out, I couldn’t have been more wrong!  In fact, I would say this was one of the easiest meals that I have made.  Since the preparation was mostly hands off, I had plenty of time to whip up a batch of my Homemade Gluten Free BBQ Sauce.  Of course that is optional, but when I make it, I always get rave reviews.

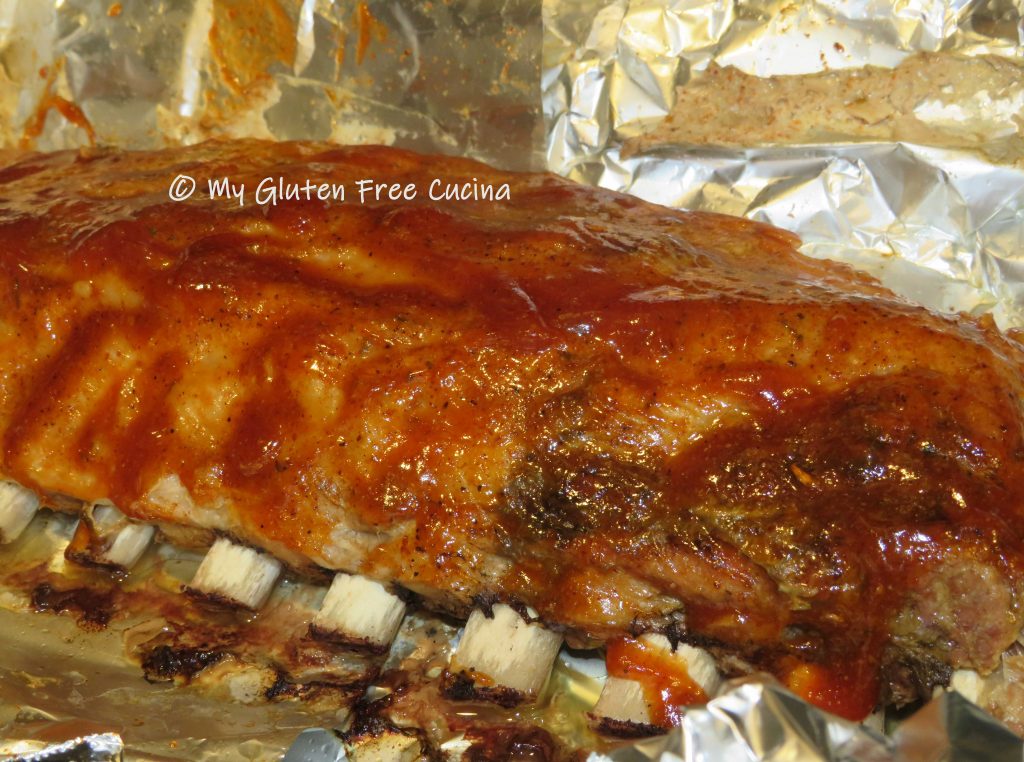
The verdict on the ribs, amazing!  I now make these year-round.

This post contains affiliate links.

Ingredients:

Preparation:

Preheat the oven to 275º.  That may sound low, but the secret to tender ribs is to cook them slowly on very low heat.

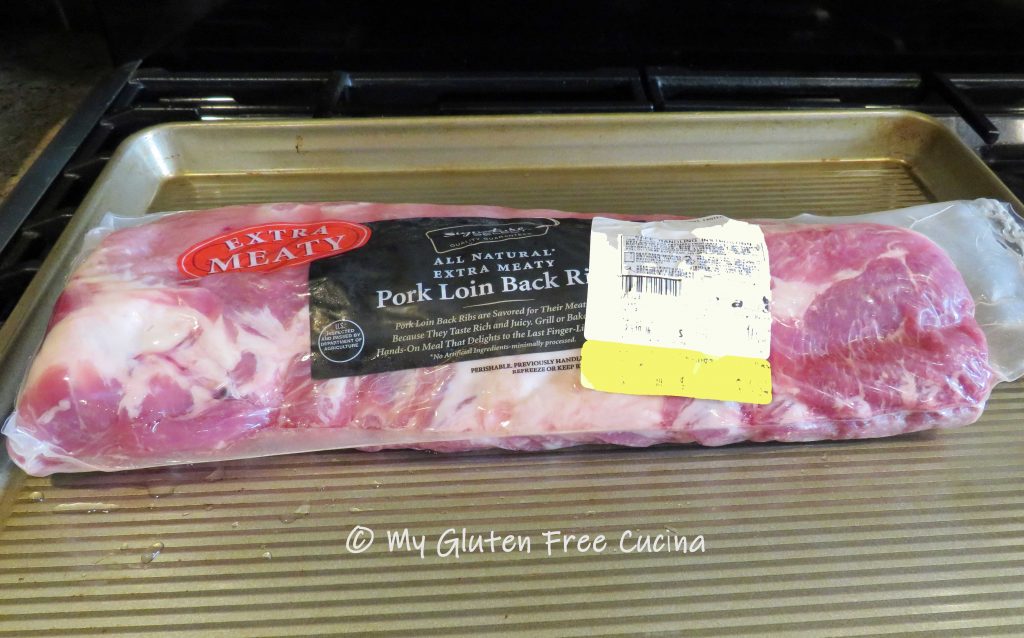
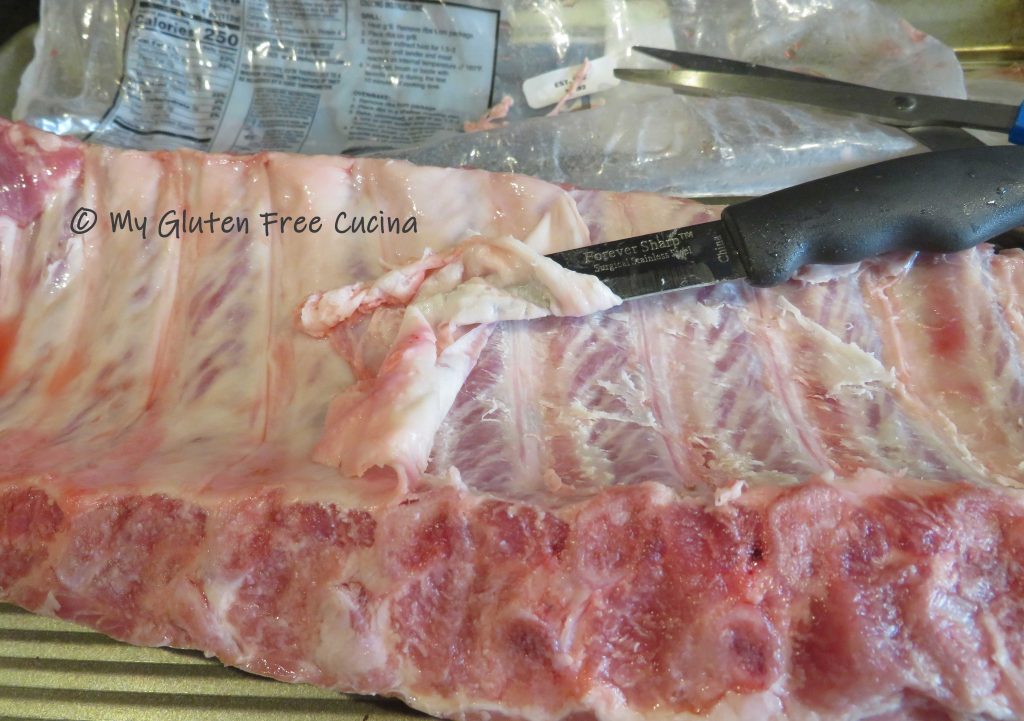
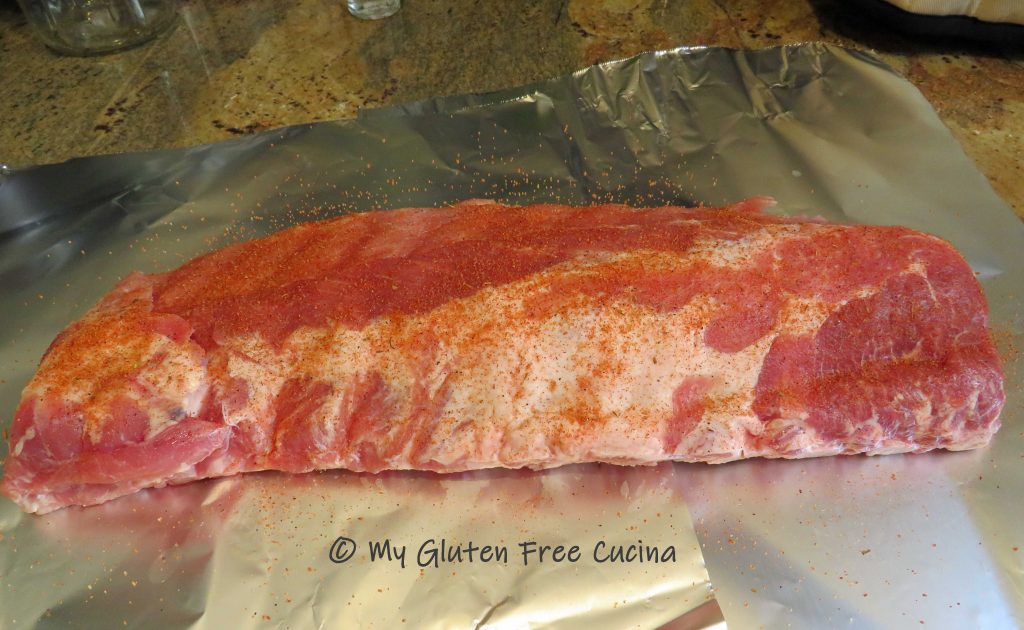
Remove the packaging and pat the ribs dry.  Turn the ribs meat side down and use a sharp paring knife to loosen the white membrane.  Once you have it started, use a paper towel to grasp the membrane and pull it off.  While not absolutely necessary, removing the tough membrane will result in the most tender ribs.  If you would rather not do this, be sure to pierce the membrane all over with a knife.

Season the rack with salt, pepper and creole seasoning.

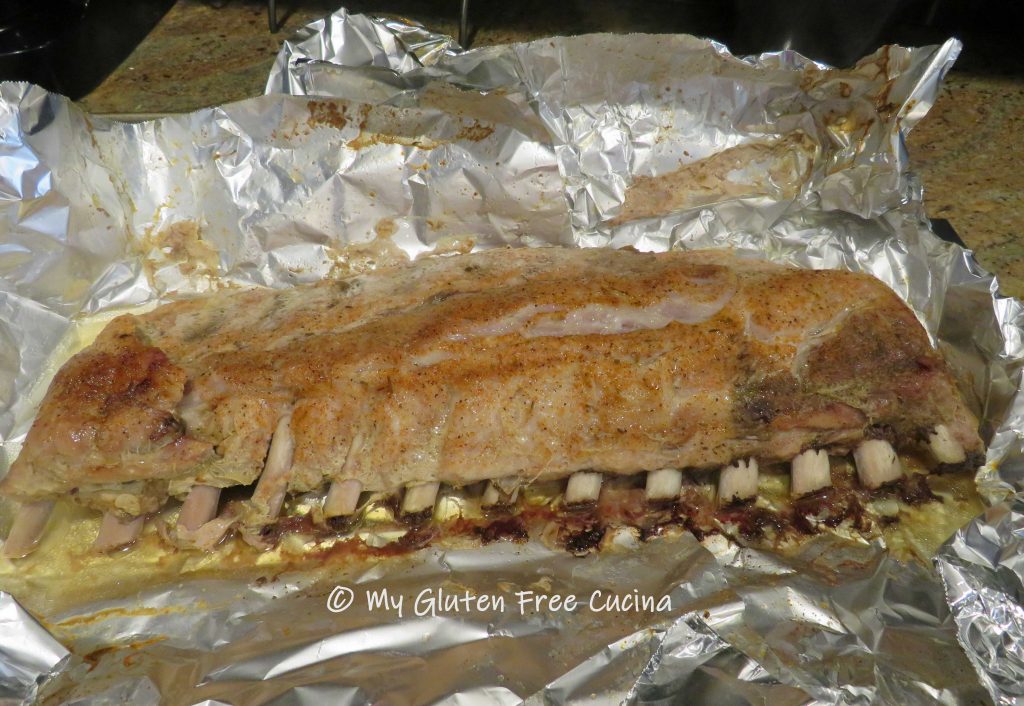
Wrap the ribs in foil and place on a large baking sheet (to catch any drips).  Bake at 275º for at least 3 hours and up to 4 hours.

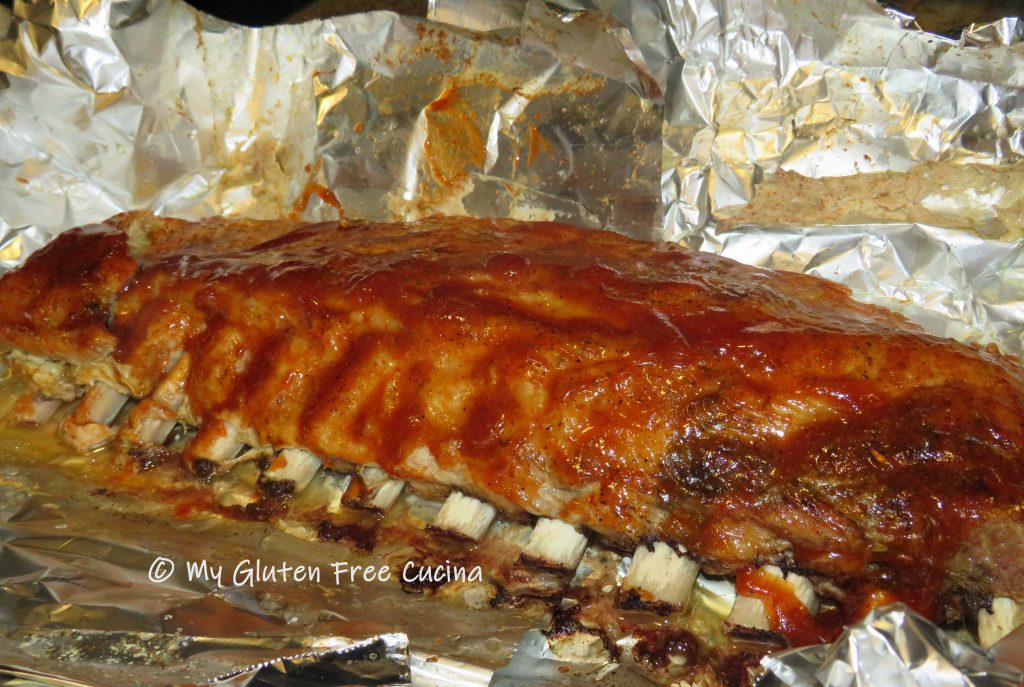
When the ribs are done, use tongs to carefully open the foil.

Brush with your favorite BBQ sauce and serve.  For other serving suggestions see my homemade Potato Chips and Gluten Free Corn Bread!

Notes ♪♫ Always watch for hidden gluten in sauces and seasonings.  The BBQ sauce is my own from scratch recipe which I make for special occasions.  If using store bought, I recommend Stubbs’s brand which is gluten free.

[print_link]

Chicken Thighs with Andouille Sausage

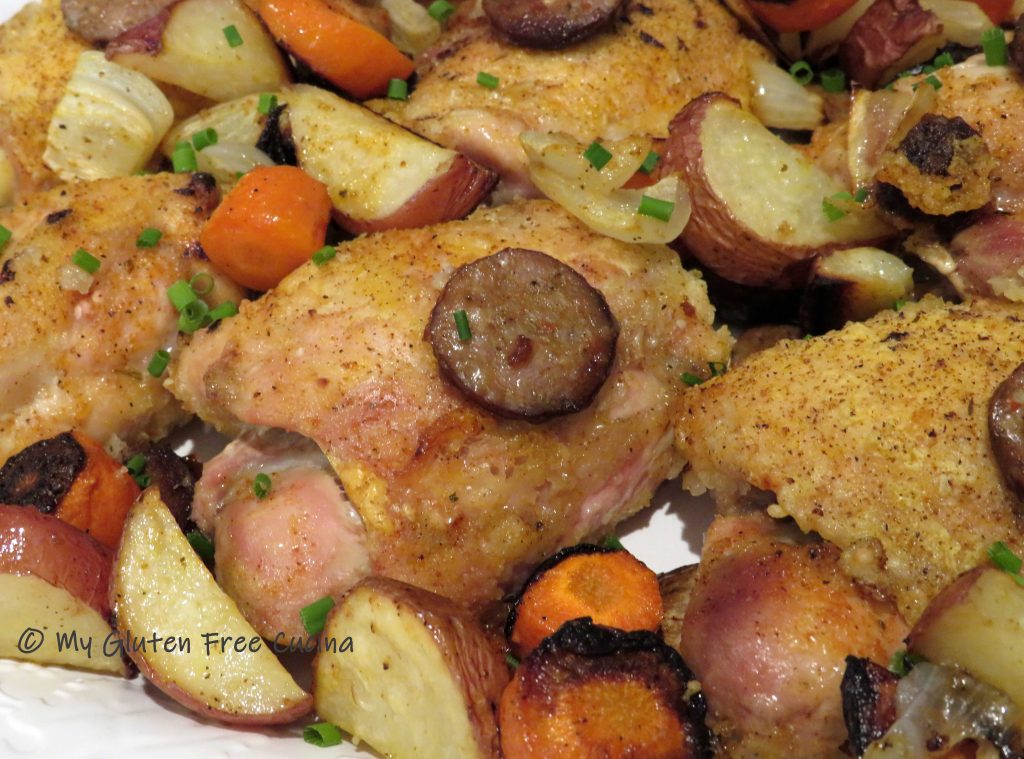
Sometimes the addition of one or two ingredients can take a simple dish from ordinary to WOW!  In this recipe, the most basic of chicken dinners gets a spicy kick from Andouille sausage.  Made with smoked pork and cajun spices, just one link of Andouille sausage is enough to flavor the cooking oil that we use to brown the chicken and veggies.

This post contains affiliate links.

Ingredients:

Preparation:

Remove skin from chicken thighs (optional).  Place the thighs in a plastic bag with 1/4 cup cornstarch and shake to coat.  Heat an oven proof skillet over medium and add about 3 tbsp. olive oil.  Add the sausage and cook 1 minute to flavor the oil, then begin browning the chicken on all sides and sprinkle with creole seasoning.  Don’t crowd the pan.  If necessary, brown the chicken and sausage in 2 batches as I did.

Preheat the oven to 375º and mist a 9″ x 13″ baking dish with cooking spray.  Transfer the browned chicken and sausage to the baking dish and place in the oven.  Reserve the fat in the skillet.

Add the carrots, onion and potato to the skillet with the reserved fat.  Stir and toss to coat then sprinkle with creole seasoning.  Place the skillet in the oven.

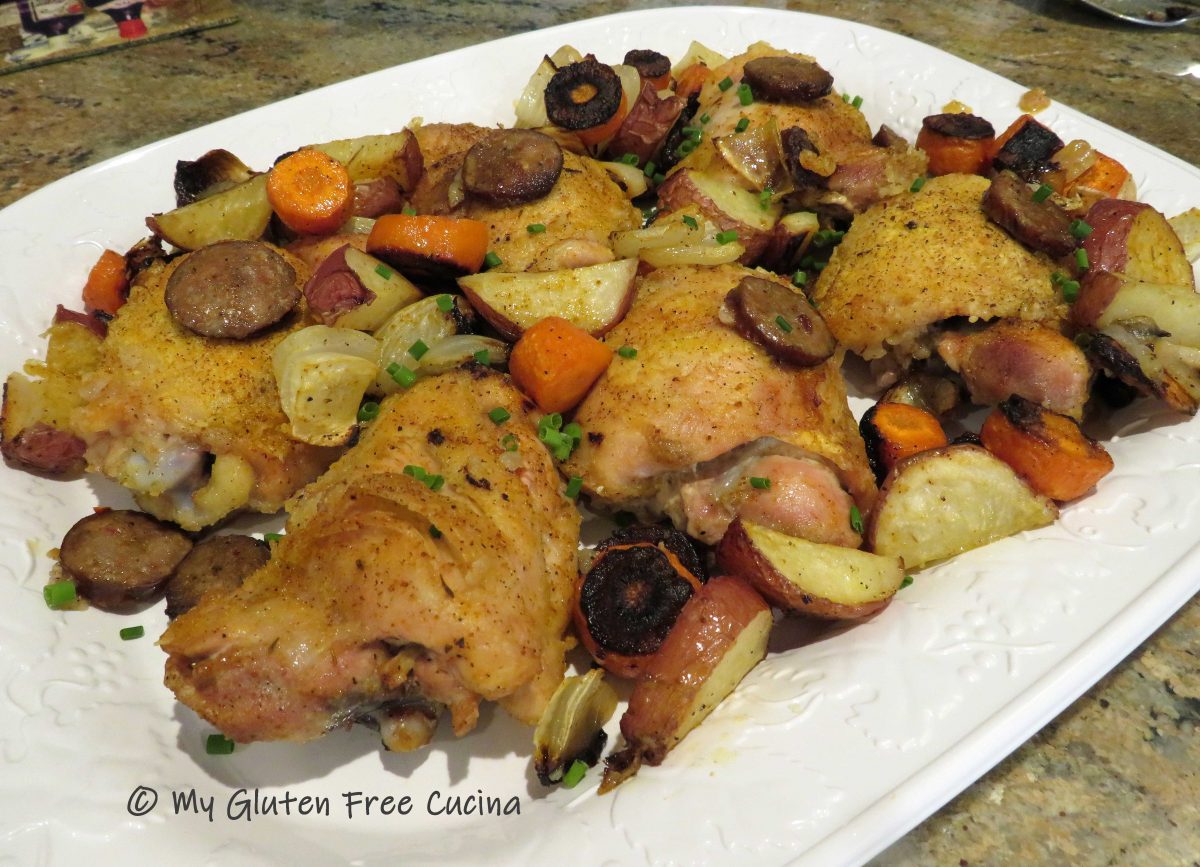
Bake the chicken and veggies for 1 hour at 375º.  About halfway through, remove any excess liquid from the chicken and reserve it for another dish (it makes a wonderful soup stock).  To serve, arrange the chicken and veggies on a platter and garnish with fresh chives.

What a meal!  The chicken was moist and delicious with an unexpected pop of flavor from the Andouille!

Notes ♪♫ Look for sausage made with all natural ingredients, no preservatives, and no nitrites.  Today many brands of sausage are labeled gluten free.  If not, be your own advocate.  Check the ingredients and if you’re not sure, go to the manufacturer’s website and don’t hesitate to call or email them for more information.

[print_link]

Roasted Delicata Squash

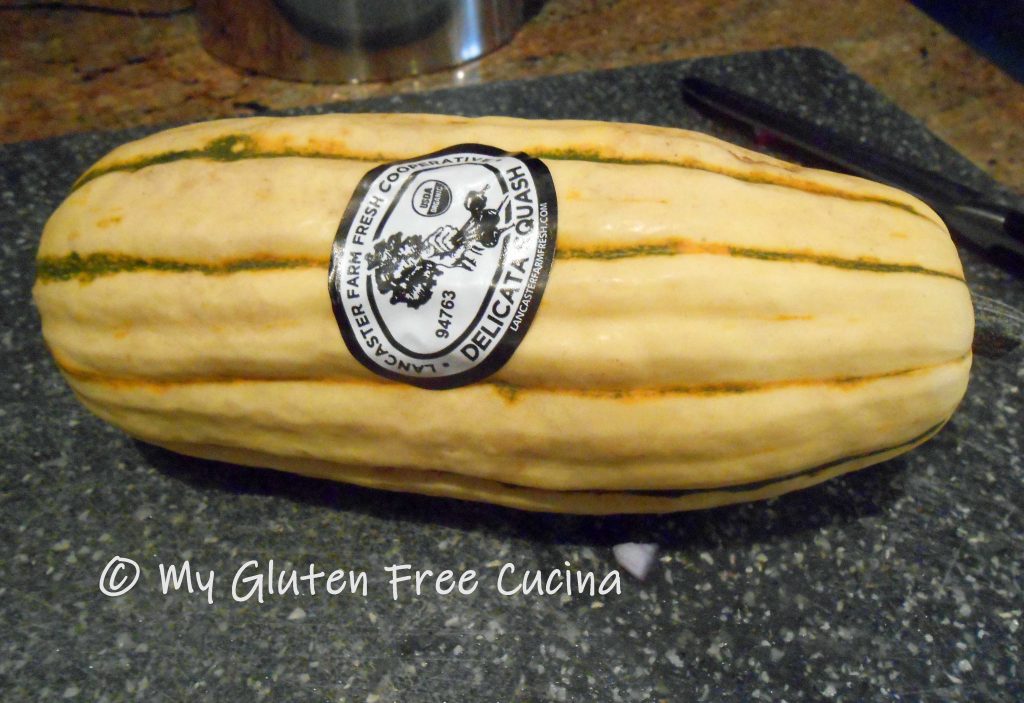
Delicata Squash is one of my favorite fall vegetables.  It is aptly named – sweet tasting, easy to slice and you can eat the skin!  My favorite preparation is a simple toss with olive oil, salt and pepper and oven roasted.

Until recently Delicata Squash has only been available for a short time in early autumn, but now that it’s becoming more popular, you can find it at the market from fall to spring.  You definitely won’t want to miss out on this treat, so if you see one be sure to snap it up!

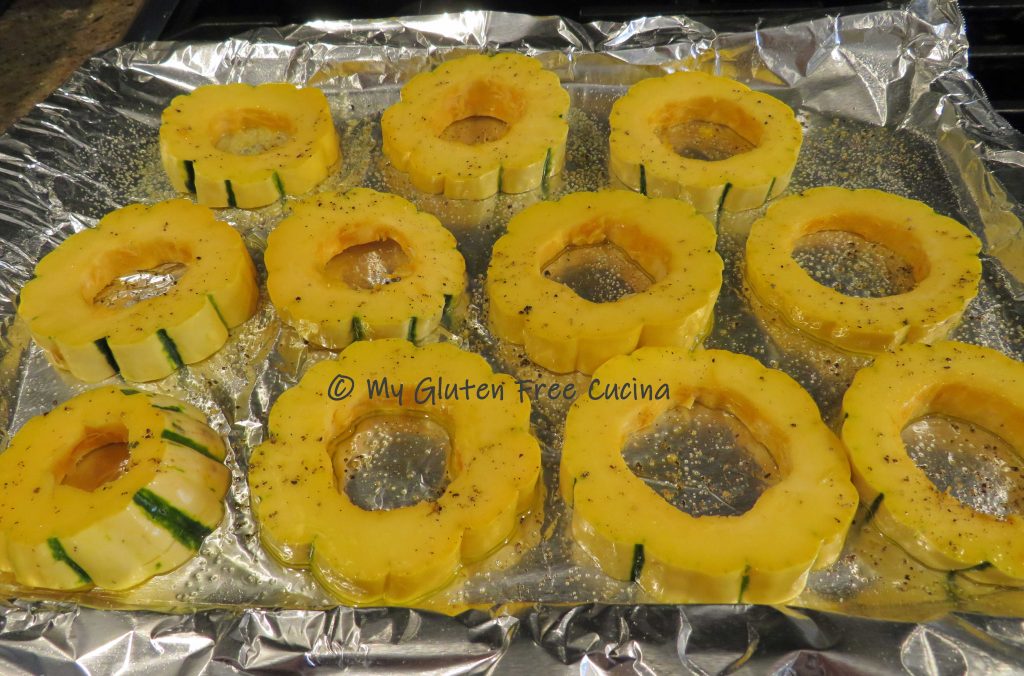
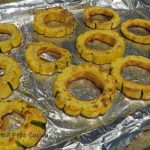
It was a little extra work to make the pretty medallions.  After cutting the squash into rounds I ran a paring knife around the center of each slice to remove the seeds.  So worth it for the beautiful presentation.  If pressed for time and you want to get it done quickly, just cut the squash in half lengthwise and scrape the seeds out with a spoon.  Then slice it into half-moons.

Ingredients:

  • 1 Delicata squash
  • olive oil
  • salt and pepper
  • cooking spray

Preparation:

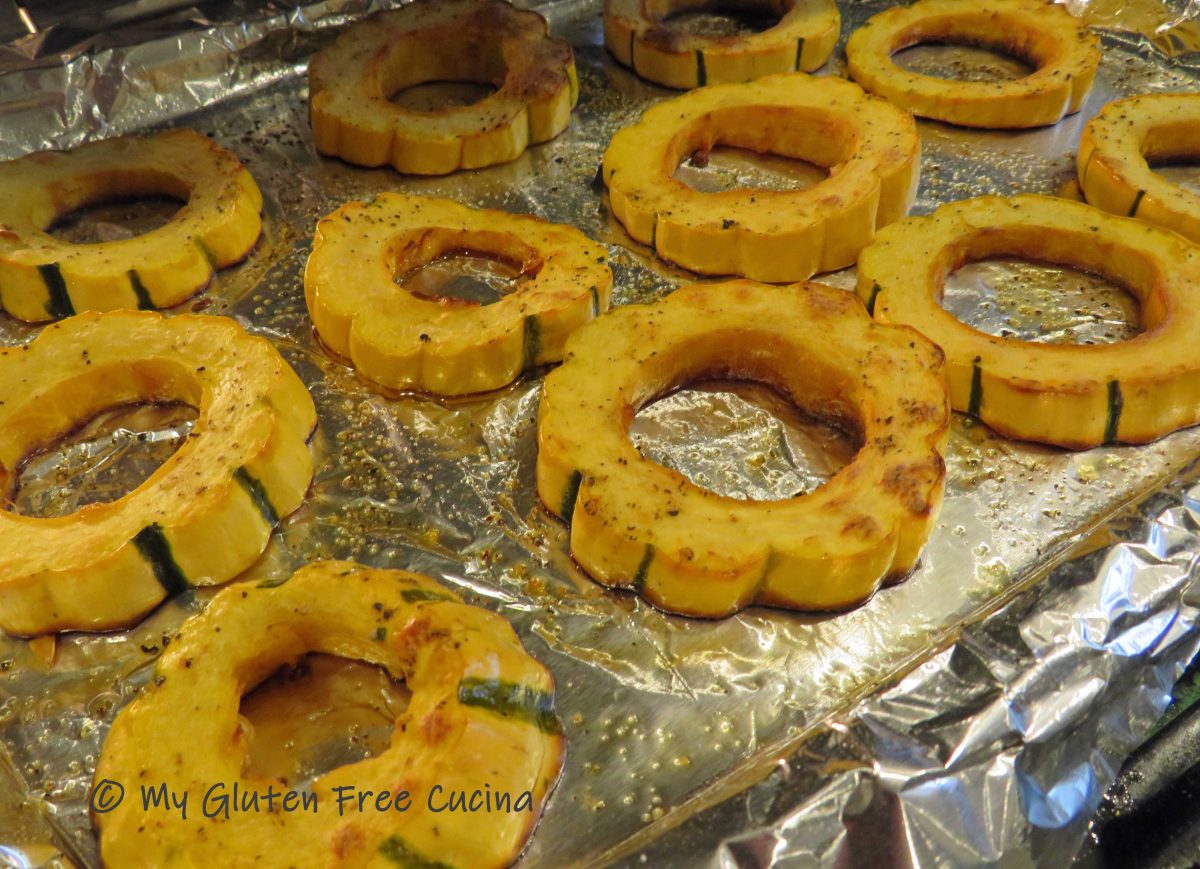
Line a baking sheet with foil and mist with cooking spray.  Slice the squash into 1/2″ thick medallions and remove the seeds and pulp from the center.  Lay the slices on the baking sheet and drizzle with olive oil.  Turn to coat both sides and season with salt and pepper.

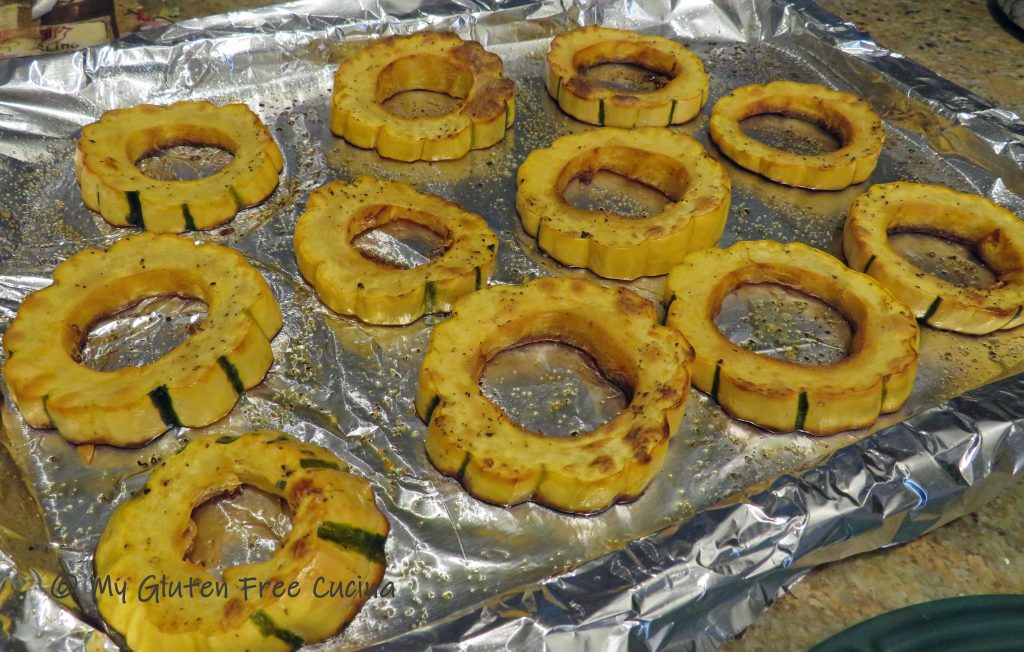
Roast for 30 minutes at 400º.  It’s as simple as that!

Such a pretty addition to your dinner plate, the slices remind me of sunflowers!  It was a nice change from our usual veggie sides and I’m sure your family will love it as much as mine did!

Print
clock clock iconcutlery cutlery iconflag flag iconfolder folder iconinstagram instagram iconpinterest pinterest iconfacebook facebook iconprint print iconsquares squares iconheart heart iconheart solid heart solid icon

Roasted Delicata Squash

5 Stars 4 Stars 3 Stars 2 Stars 1 Star No reviews
  • Author: © My Gluten Free Cucina
  • Yield: 2 Servings 1x
  • Category: Side Dish
  • Method: Baking
  • Diet: Gluten-Free

Description

Delicata Squash is one of my favorite fall vegetables.  It is aptly named – sweet tasting, easy to slice and you can eat the skin!


Ingredients

Scale
  • 1 Delicata squash
  • olive oil
  • salt and pepper
  • cooking spray

Instructions

Line a baking sheet with foil and mist with cooking spray.  Slice the squash into 1/2″ thick medallions and remove the seeds and pulp from the center.  Lay the slices on the baking sheet and drizzle with olive oil.  Turn to coat both sides and season with salt and pepper.

Roast for 30 minutes at 400º.


Notes

It was a little extra work to make the pretty medallions.  After cutting the squash into rounds I ran a paring knife around the center of each slice to remove the seeds.  So worth it for the beautiful presentation.  If pressed for time and you want to get it done quickly, just cut the squash in half lengthwise and scrape the seeds out with a spoon.  Then slice it into half-moons.

© My Gluten Free Cucina * All Rights Reserved

Unauthorized use and/or duplication of this material without express and written permission from this blog’s author and/or owner is strictly prohibited.


Gluten Free Spring Onion Soup

Spring Onions have arrived at the market, and with them the promise of warm weather and sun filled days ahead.  Once a year, I will indulge and purchase a few to make my last soup of the season, before we head into summer.

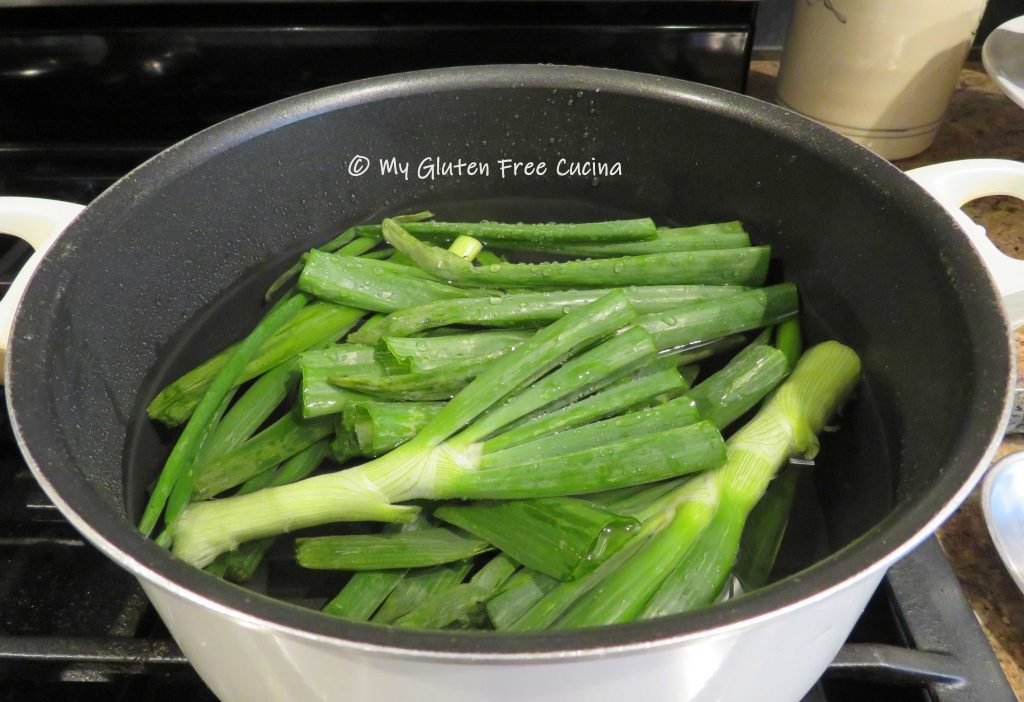
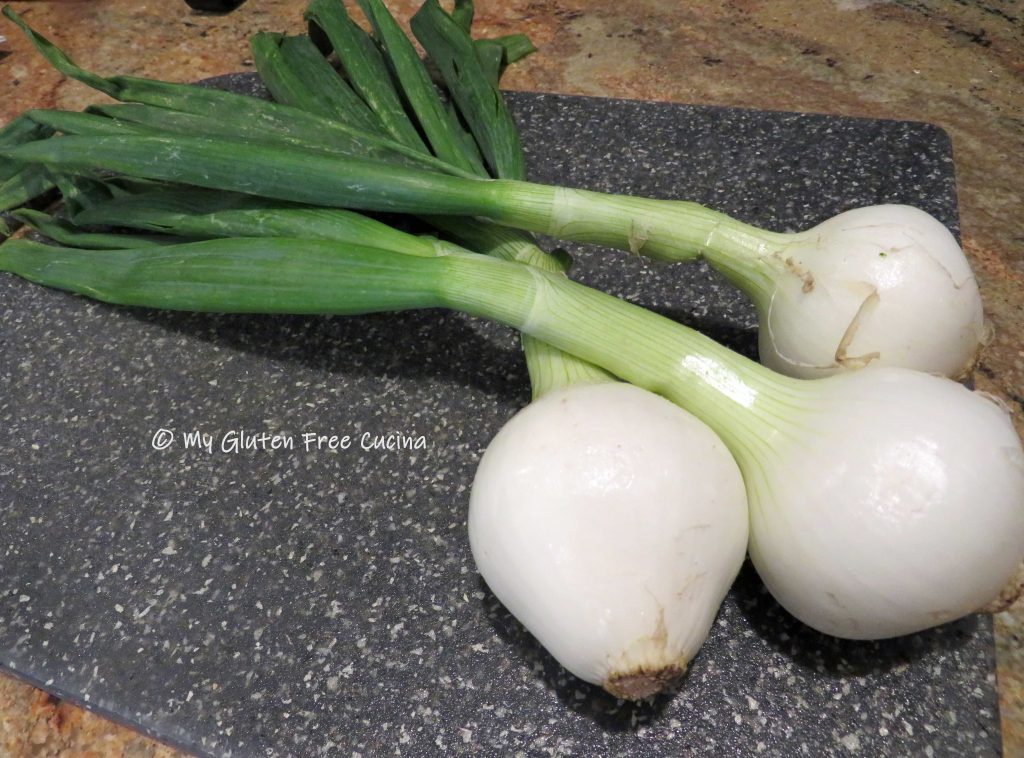
Spring Onions are sold in bundles like this one with the greens attached.  You can see that the young bulbs have not yet developed their dry, papery skins.  When you get home, you might be inclined to chop off the greens and discard them.  Don’t!  They are incredibly aromatic and will add a nice, savory kick to your soup stock.

This recipe is vegetarian, but you could add meat if you like.  Beans would also be a great addition!

Ingredients:

  • 3 spring onions sliced and quartered, greens reserved
  • 4 carrots, sliced into half moons
  • 4 celery stalks, sliced
  • 3 garlic cloves, minced
  • 14 oz. can diced tomatoes
  • salt and pepper to taste
  • 1 tsp. thyme
  • 1/2 tsp. sage
  • 1/2 tsp. turmeric
  • 8 oz. gluten free pasta

Preparation:

Remove the greens from the onions, wash them and place in a stock pot. Add water to cover.  You can also throw in the tops of your celery stalks if you like, they too are aromatic and will add more flavor to the base of the soup.

After a 45 minute simmer, the greens have given up all of their goodness and can be removed and discarded.

Next slice and quarter the onion bulbs and add them to the pot along with the carrots, celery and garlic.  You should have about 6 cups total veggies.

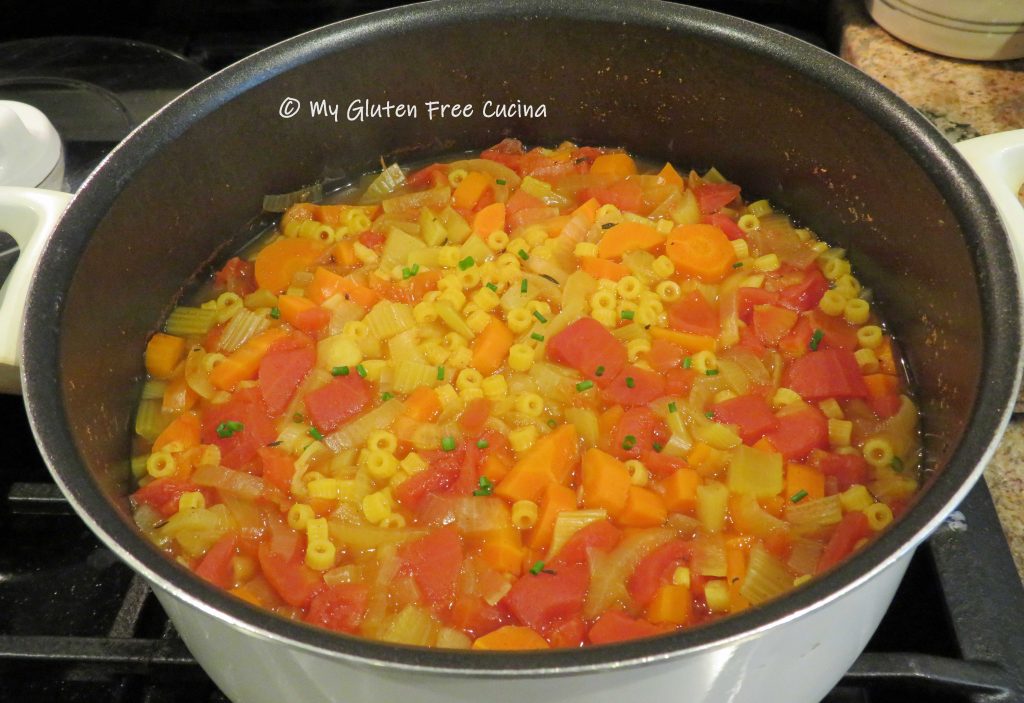
Season with salt and pepper to taste and add the sage, thyme and turmeric.  Stir in the canned tomatoes with their juices.  Simmer 1 hour.

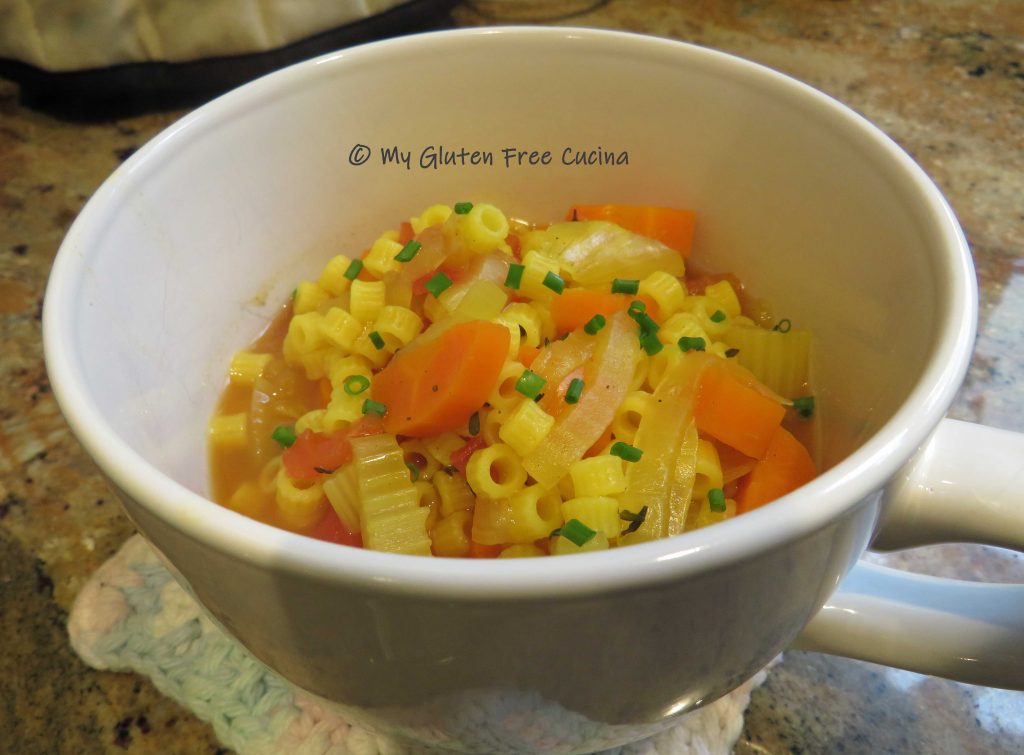
When the soup is ready, add the uncooked gluten free pasta directly into the pot.  It will absorb liquid as it cooks and thicken the broth nicely.  Simmer 5 more minutes or until the pasta is cooked through.  A garnish of chives and it’s ready to serve.

Simple ingredients, with a vibrant burst of spring flavor.

Notes ♪♫ I used Veneziane gluten free Ditalini in this recipe.  Finding gluten free soup pasta is always a challenge, but luckily this brand is available to me locally.  If you can’t find it, don’t hesitate to improvise with larger gluten free pasta shapes like elbows or shells.  You can even use broken lasagna noodles in a pinch!

[print_link]


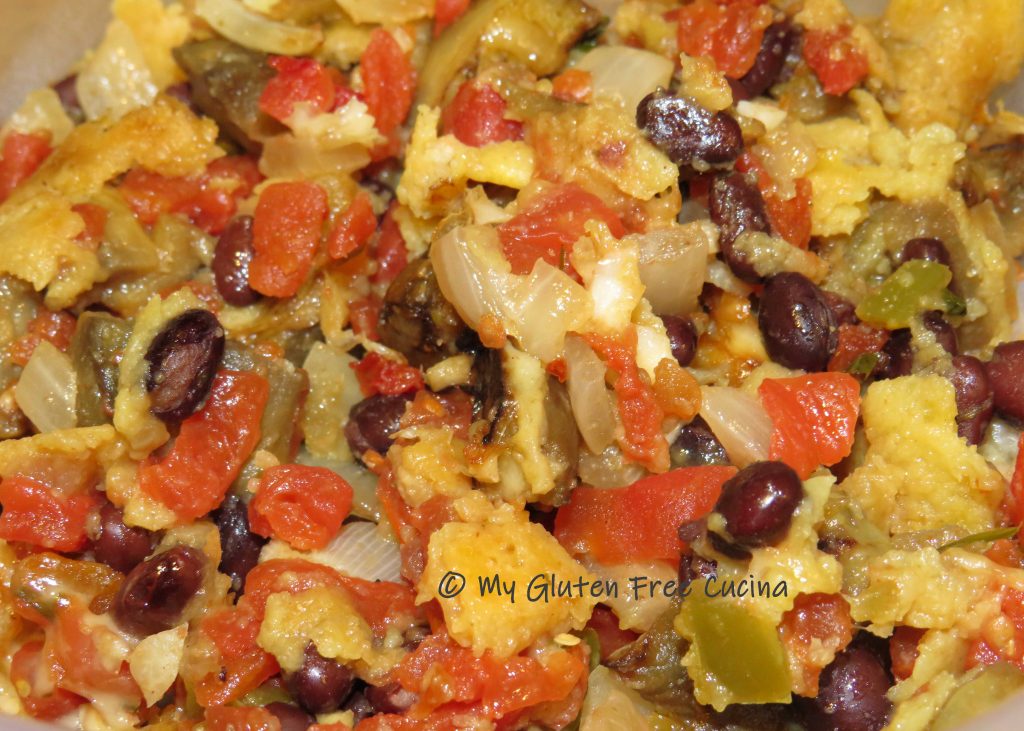
Gluten Free Eggplant Tortilla Casserole

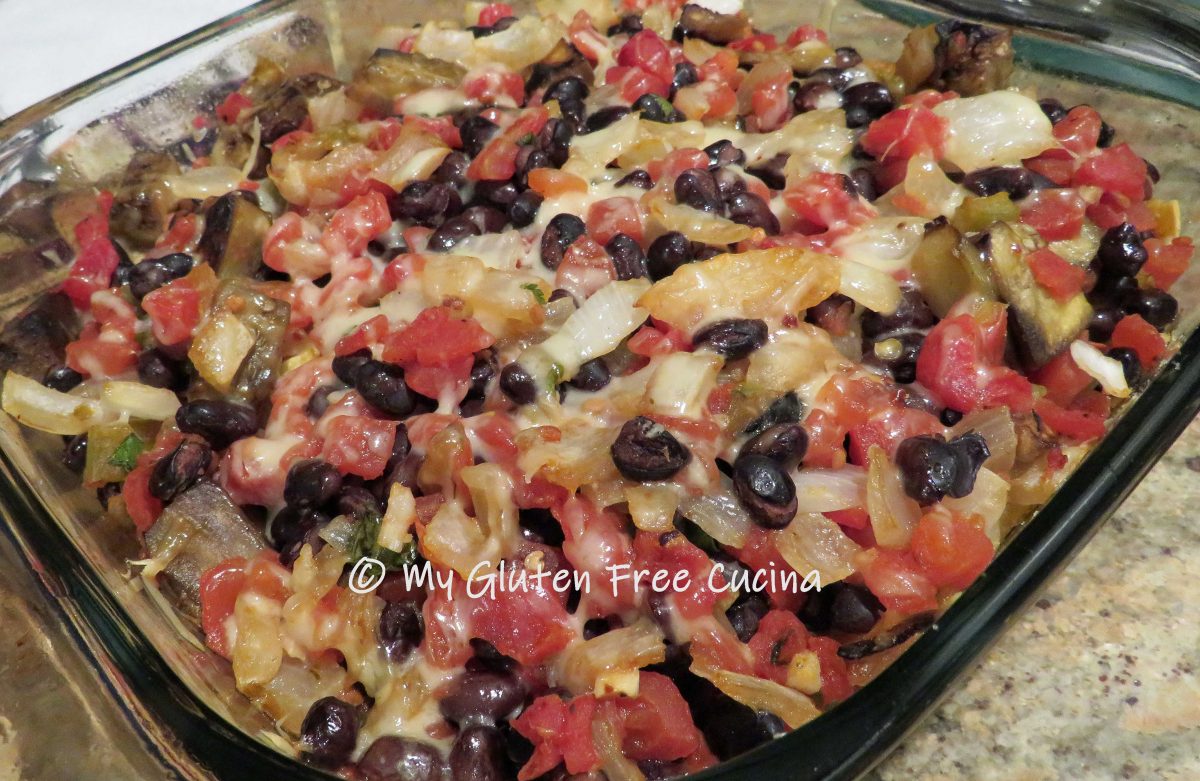
This easy casserole dish is great for a family dinner.  If you are invited to a party or cookout and need to bring a gluten free dish, this would be a great choice.  Using canned beans and tomatoes makes it easy to put together.

This post contains affiliate links.

Ingredients:

  • 1 medium eggplant, peeled and diced (about 3 cups)
  • 1/2 sweet onion, diced (1-1/2 cups)
  • 2 cloves garlic, minced
  • canola oil (or other neutral oil)
  • salt, to taste
  • 1 can (15 oz.) black beans, drained and rinsed
  • 2 cans (10 oz.) diced tomatoes with mild green chiles
  • 1/2 tsp. Mexican Spice Blend or more to taste
  • 1/4 cup chopped fresh cilantro
  • 1/2 cup shredded cheese (cheddar, gruyere)
  • 4 gluten free corn tortillas, cut into eighths
  • cooking spray

Preparation:

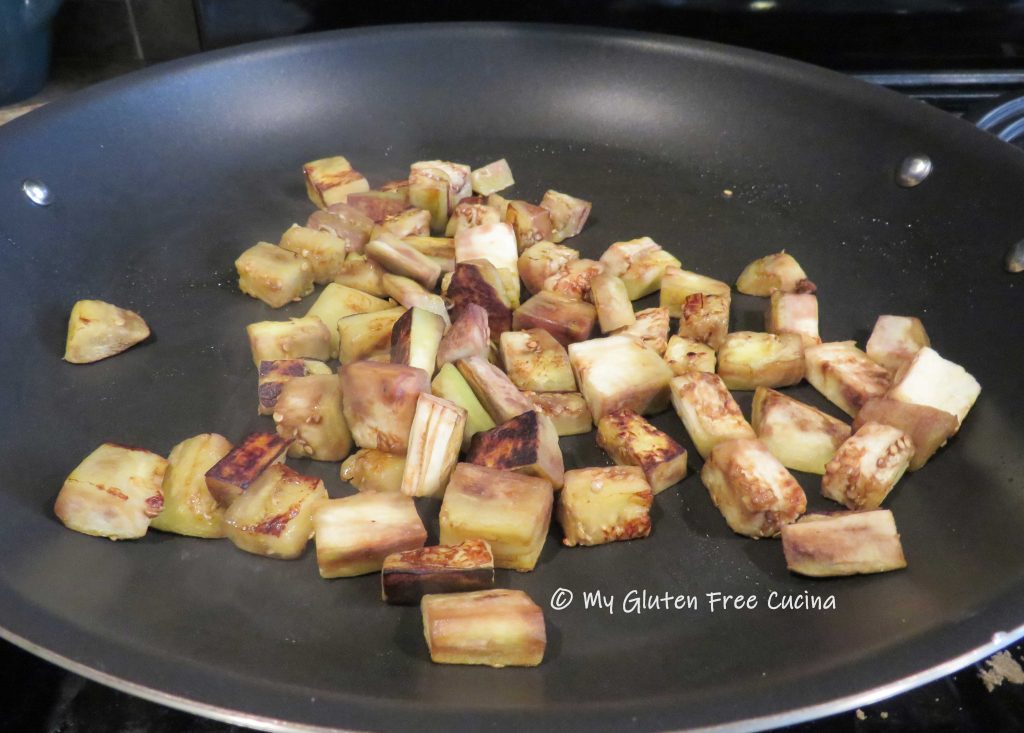
Peel and dice the eggplant.  Add 3 tbsp. canola oil to a large nonstick skillet over medium heat.  When the oil is hot, add the eggplant cubes and toss to coat.  Cook the eggplant until it is browned on all sides.  The eggplant absorbs oil like a sponge, so add more if needed.

Season with salt and set aside to cool.

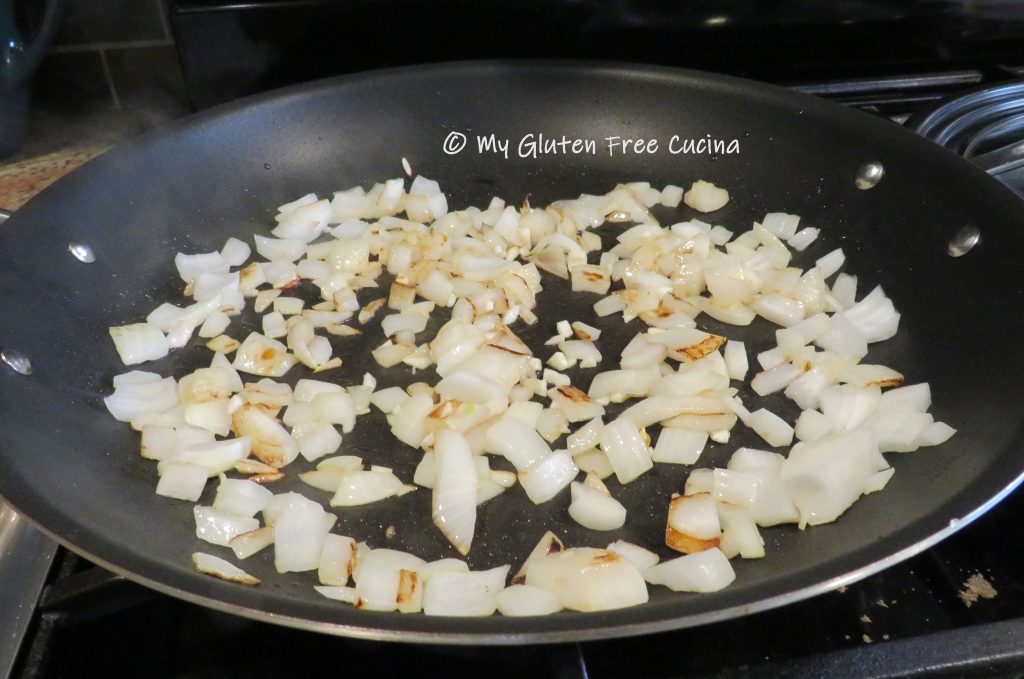
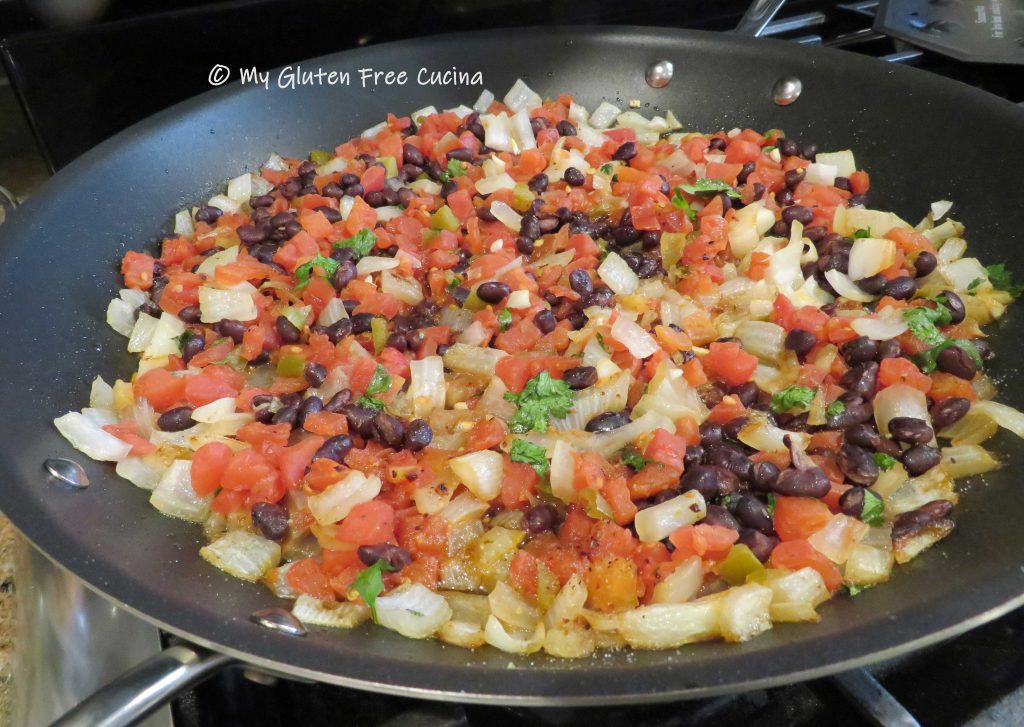
Next, add a little more oil to the skillet and cook the onions until lightly browned.  Add the garlic and cook 30 seconds more.

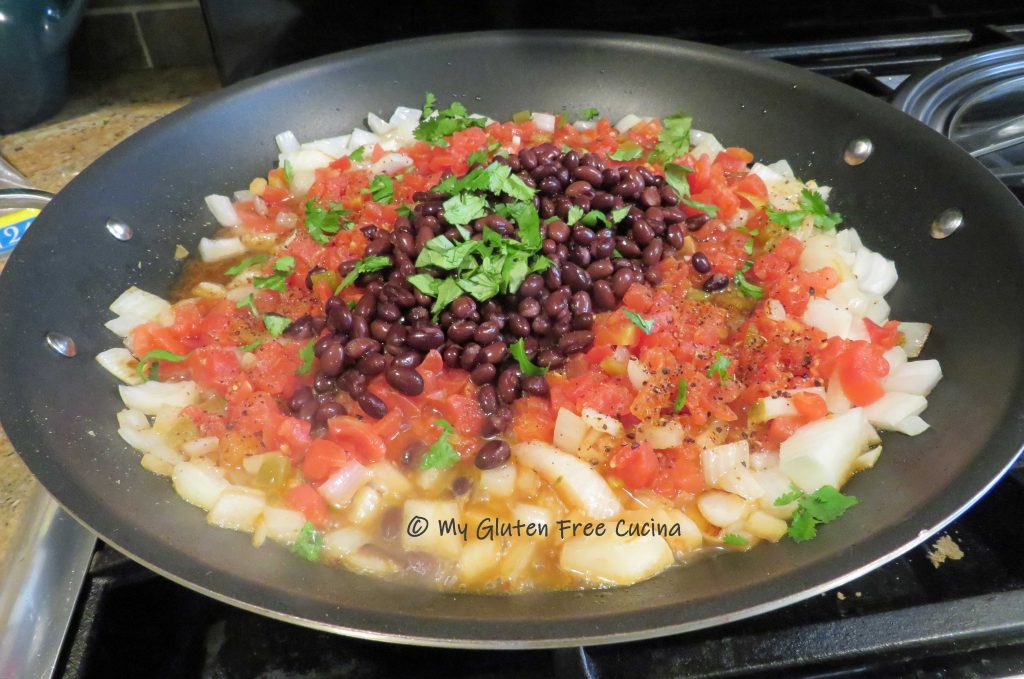
Add the tomatoes with their juice and the drained beans.  Top with chopped cilantro and season to taste with Mexican Spice Blend, I used 1/2 tsp.

Toss well to combine and continue cooking until most of the liquid has evaporated.

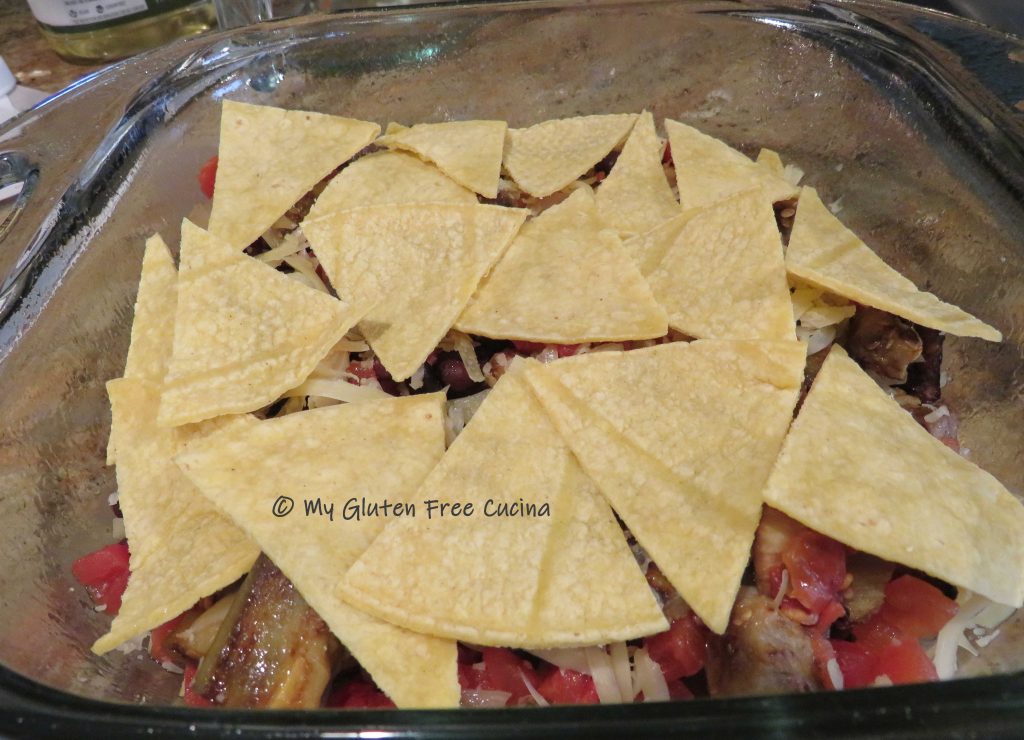
To assemble the casserole, coat a 9″ x 9″ baking dish with cooking spray.  Line the baking dish with half of the tortillas.

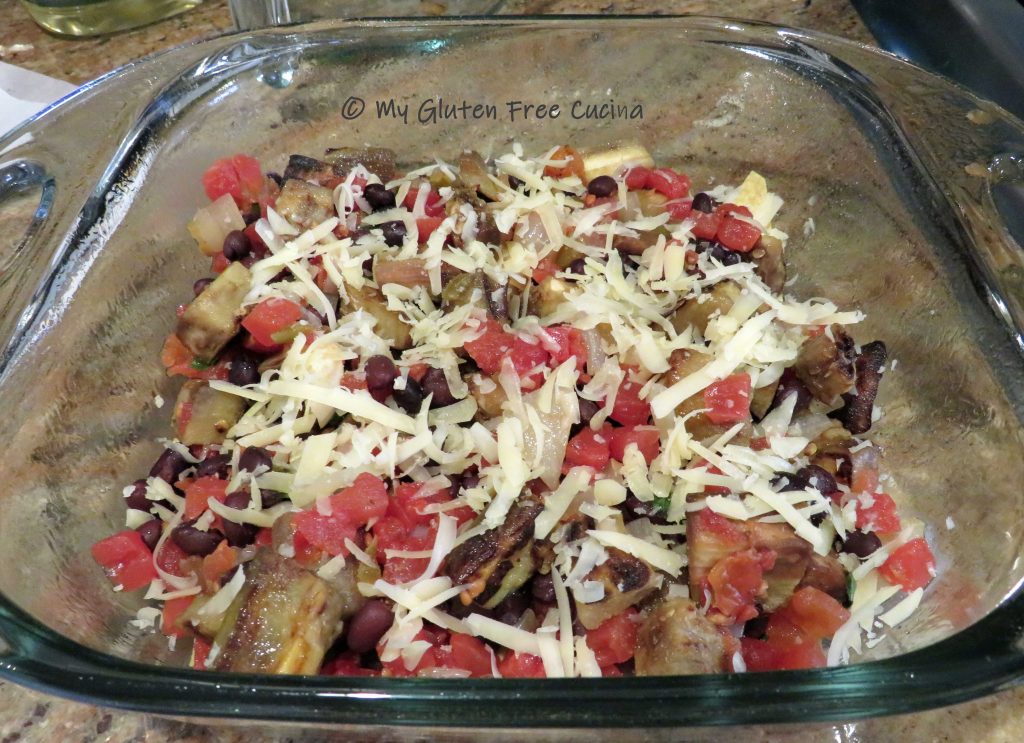
Spoon half of the tomato mixture and eggplant cubes over the tortillas and top with 1/4 cup of cheese.

Repeat with another layer of tortillas.

Top with the remaining tomatoes and eggplant and 1/4 cup cheese.

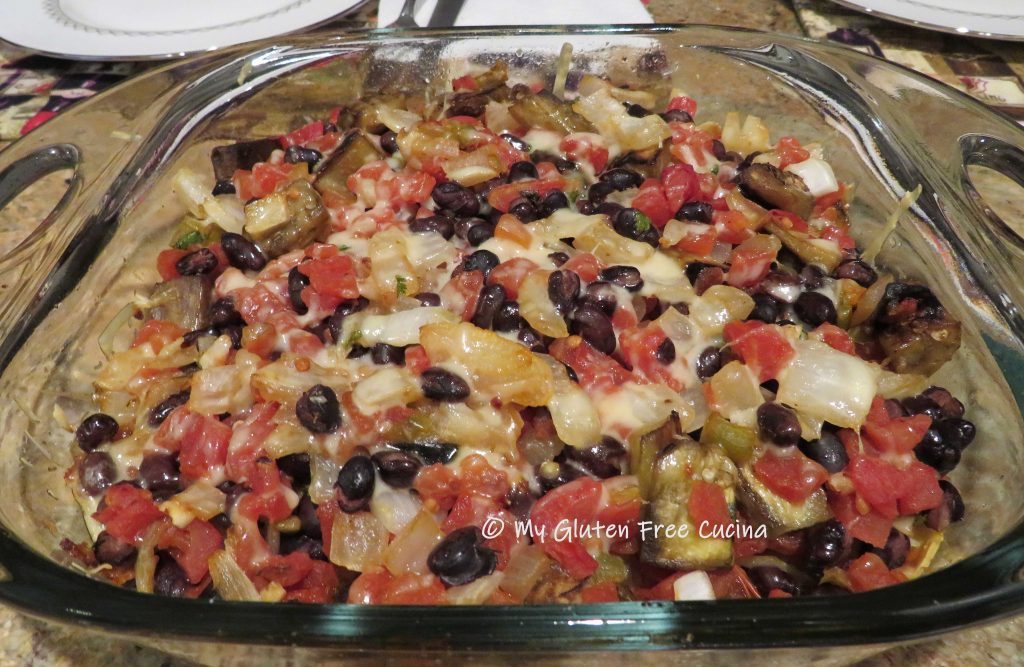
Cover with foil and bake 30 minutes at 375º.  After 30 minutes remove the foil and bake for an additional 10 minutes.

Your family and friends will love this dish!  It would be a nice accompaniment to a Cinco de Mayo dinner.  You could also serve it as an appetizer with tortilla chips.  This makes quite a few servings, and leftovers can be frozen.
Notes ♪♫ I used Mission brand Yellow Corn Tortillas in this recipe, they are certified gluten free.  The spice mix is my own, a blend of chipotle Chile flakes, oregano, onion granules and cumin.  if you are using a purchased blend, always check for gluten containing ingredients.
[print_link]


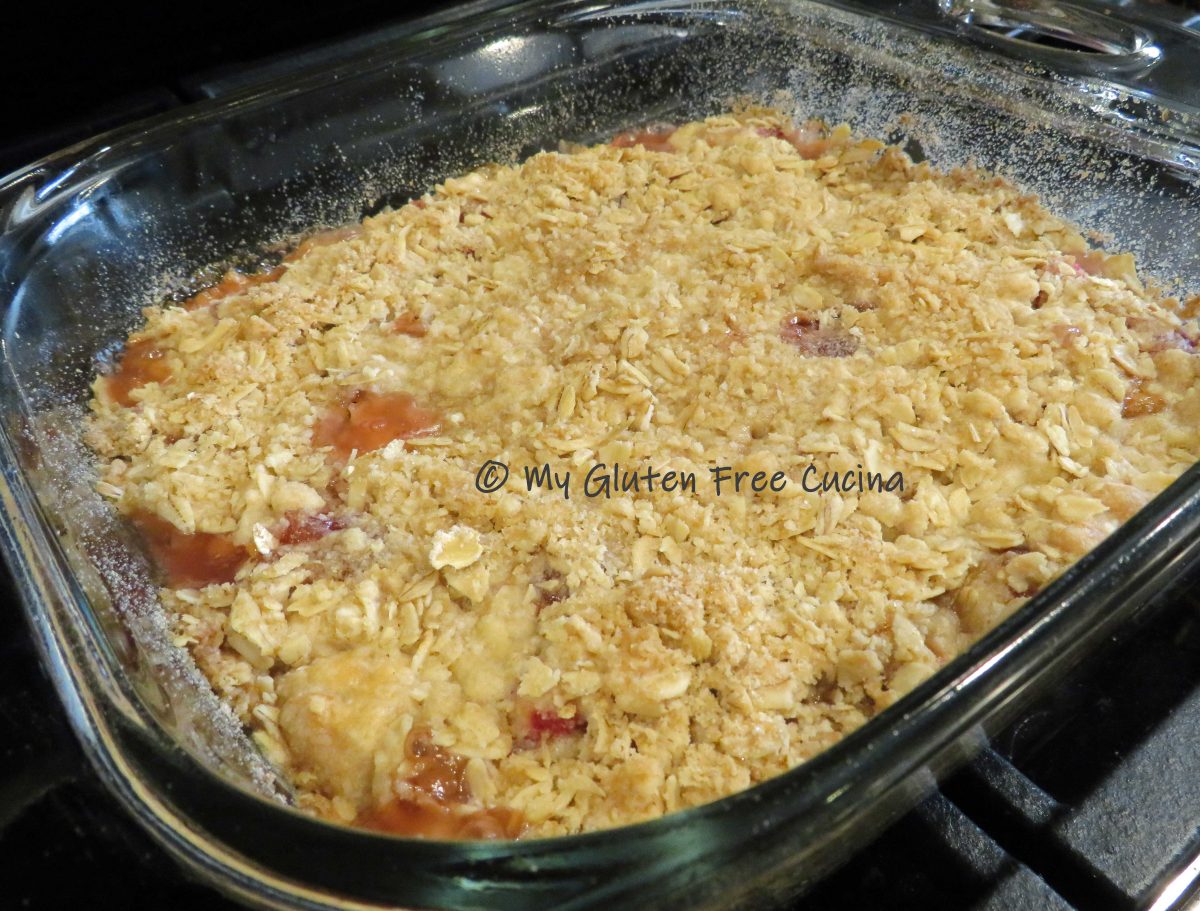
Gluten Free Rhubarb Crumble

A word of Caution- This recipe contains oats.

A recent statement from Gluten Free Watchdog states that they cannot currently recommend ANY brand of gluten free oats.

Whether or not you continue to consume oats is a personal choice.  As we await more information, I will preface any recipes that include oats with a link to this important statement from Gluten Free Watchdog, an independent, subscriber-driven gluten-testing organization.  About | Gluten Free Watchdog

***

To me, rhubarb says spring!  This Rhubarb Crumble has been a family favorite for so many years.  Way back when, my husband would pick the rhubarb fresh from our backyard garden and it was just wonderful!  These days, our harvesting is done at the grocery store, but it always brings back those memories.

In this recipe, I threw an apple into the usual mix of rhubarb and strawberry, and it worked so well, I think you could add just about any fruit you like, and it would be delicious.

The Lazy Gastronome


When shopping for rhubarb, be sure to choose stalks that are firm and vibrantly colored.  If the outer skin of the rhubarb is tough and stringy, you can easily peel some of it off.  Young, slender stalks are less likely to need peeling, but you may need to buy a few extra.

6 Servings

This post contains affiliate links.

Ingredients:

For the filling:

For the topping: 

Preparation:

In a large bowl, combine 2/3 cup granulated sugar and 2 tbsp. cornstarch.  Peel and dice the apple and chop the rhubarb into 1/4″ slices.  Toss the rhubarb and apples with the sugar and cornstarch mixture.  Refrigerate while you prepare the crumble topping.

In a small bowl, combine the flour, oats and sugars.  Chop the butter into cubes.

Working quickly, cut the butter into the topping mixture using a pastry cutter, firm spatula, or 2 butter knives.  You can even use your fingers to incorporate the butter into pea size pieces.

Preheat the oven to 375° and coat a square baking dish with cooking spray.  Add the apples and rhubarb then use a teaspoon to dot the strawberry preserves over the fruit.

Spread the topping evenly.

Bake for 45 minutes.  When done, the top should be lightly browned and bubbly.

Allow to cool slightly before serving.  Honestly, it’s delicious warm, room temperature or chilled!  Store in the refrigerator and it will be good for several days, but I don’t expect it to last that long…

Notes: ♪♫ For the preserves, I used Polaner All Fruit Strawberry, it is gluten free and sweetened only with fruit juice.

[print_link]

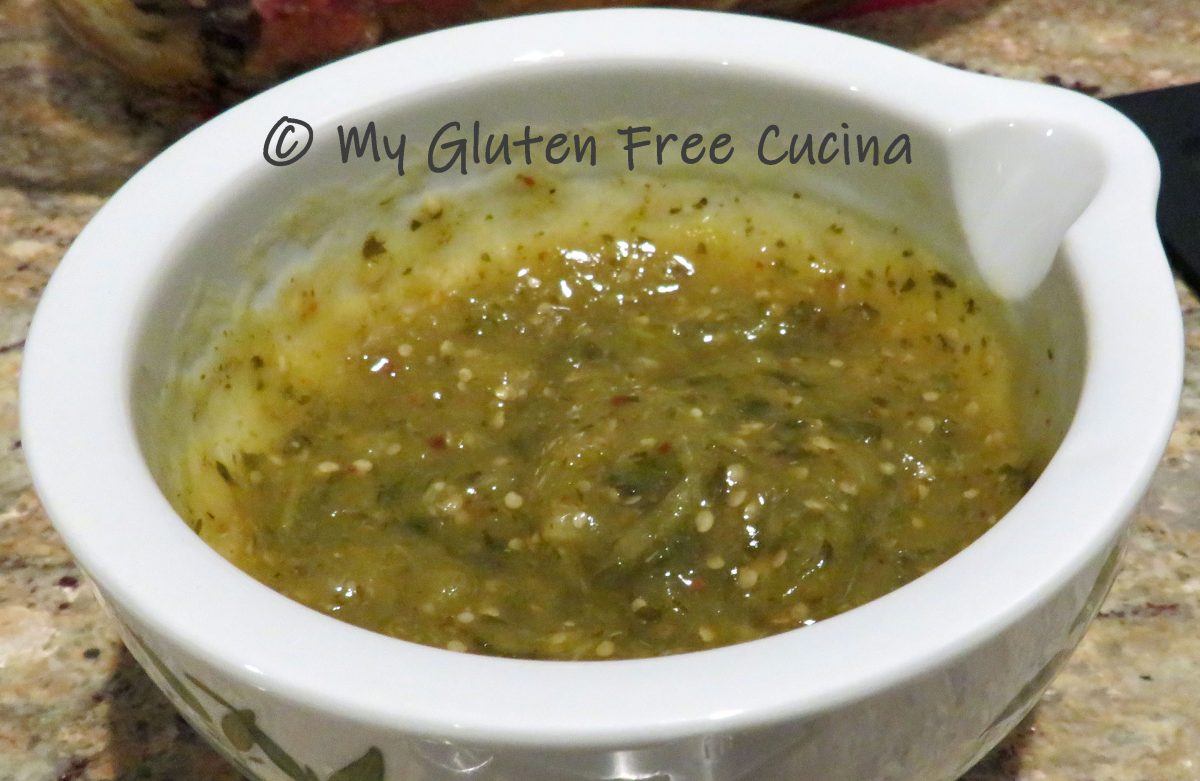
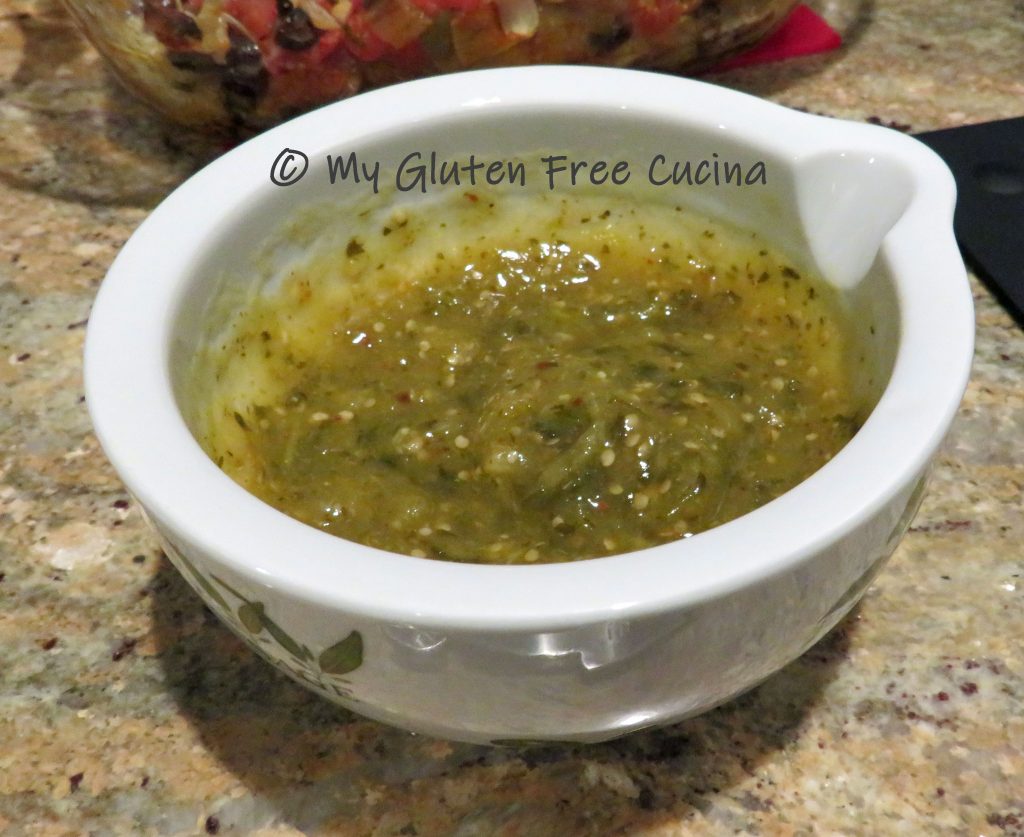
Tomatillo Sauce – Salsa Verde

I remember the first time I ever had Tomatillo Sauce.  Now, you know I am an Italian girl, so please forgive my first thought – WHAT is a tomatillo?  Also known as Salsa Verde or Green Salsa, I started ordering it with my favorite Mexican chicken dinner and found I really liked it.

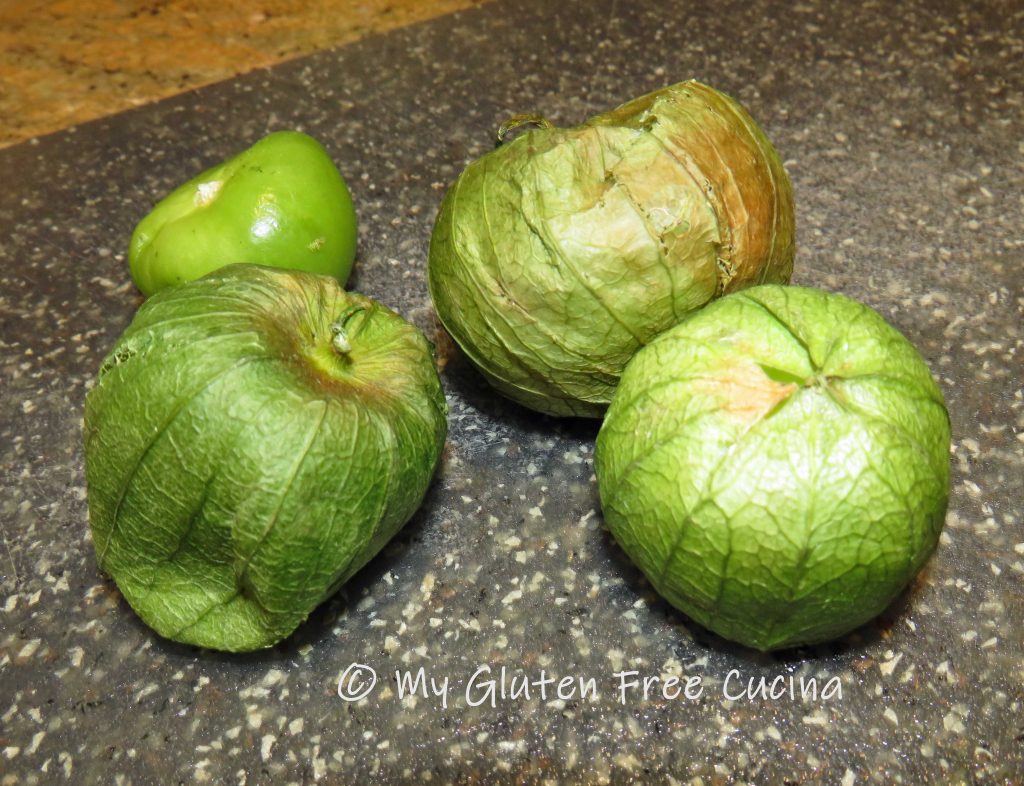
Then one day in the produce section I spotted the tomatillos.  Aha!  So that’s what they look like!  Not very impressive with their dry wrinkled husks, but I was curious enough to try making a small batch of Tomatillo Sauce at home.  This is a mild sauce, so if you want something spicier you will need to add jalapeno or hot pepper flakes.  For great flavor, be sure to use fresh cilantro and use both the leaves and stems.

Recipe makes about 1/2 cup and can be doubled or tripled if using as a dip.

Ingredients:

  • 4 tomatillos (about 4 oz.)
  • 1/4 cup diced onion
  • 1 tsp. minced garlic
  • 2 tbsp. chopped fresh cilantro, leaves and stems
  • 1/2 cup water
  • 1 tsp. salt
  • 1/8 tsp. Mexican Spice Blend or more to taste
  • juice of 1/2 small lime (about 1 tbsp.)

Preparation:

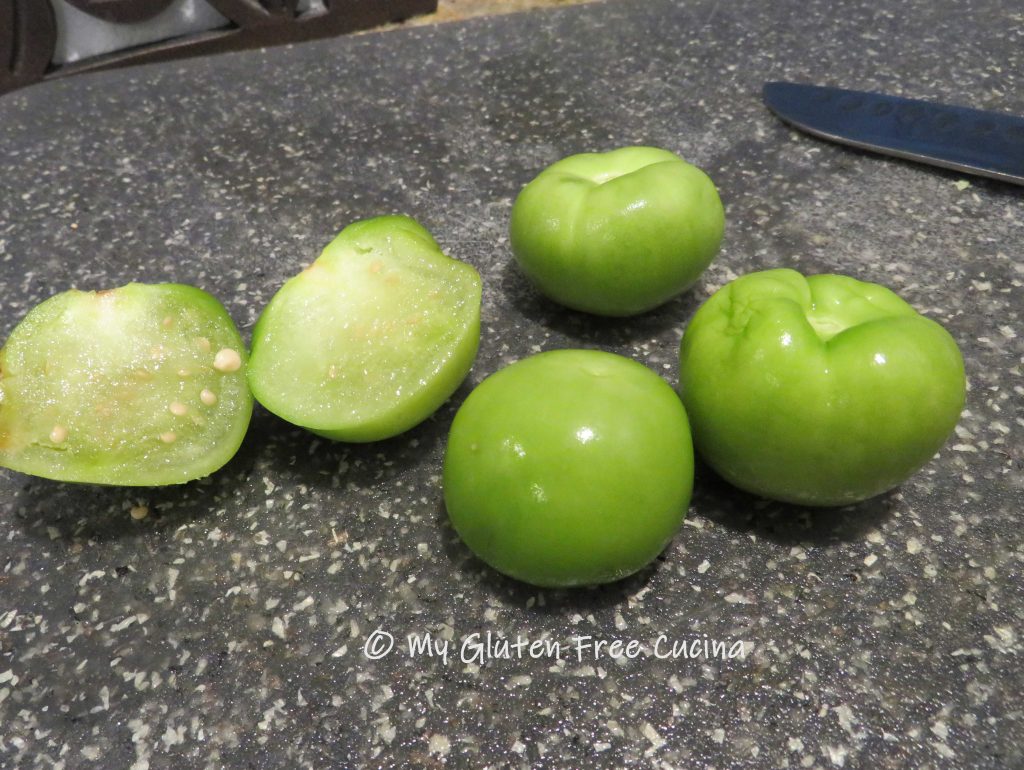
Peel and wash the tomatillos, then cut in half.

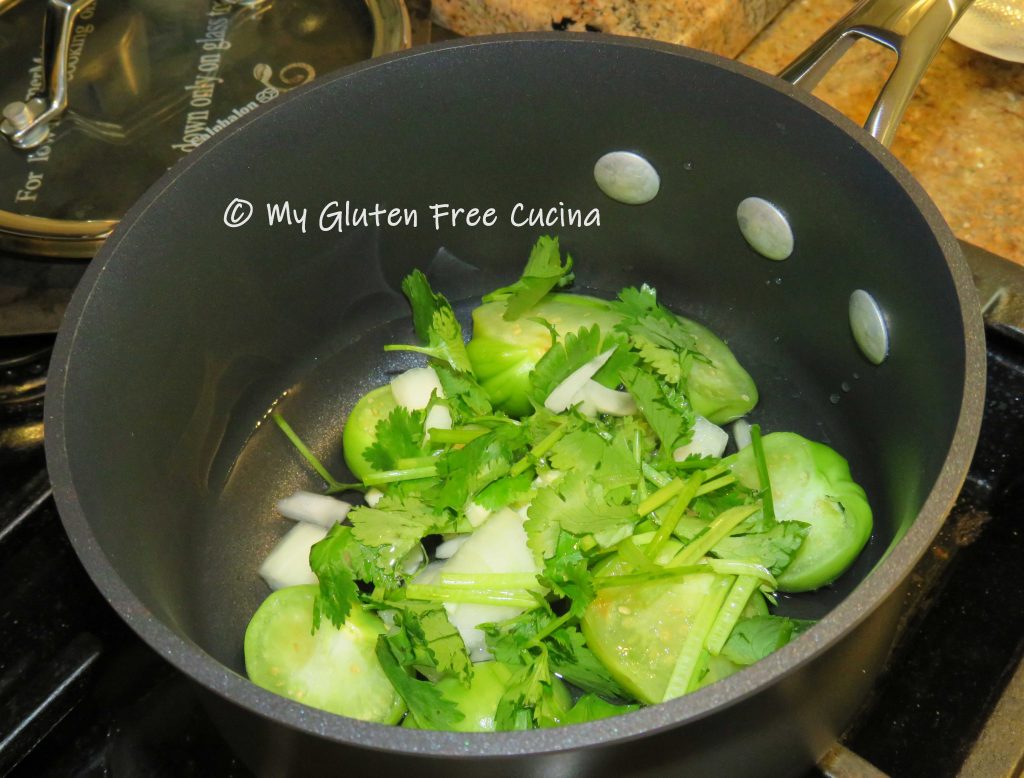
Place the tomatillos with the next 5 ingredients (through salt) in a small sauce pan.  Cover and simmer for about 20 minutes on low heat.

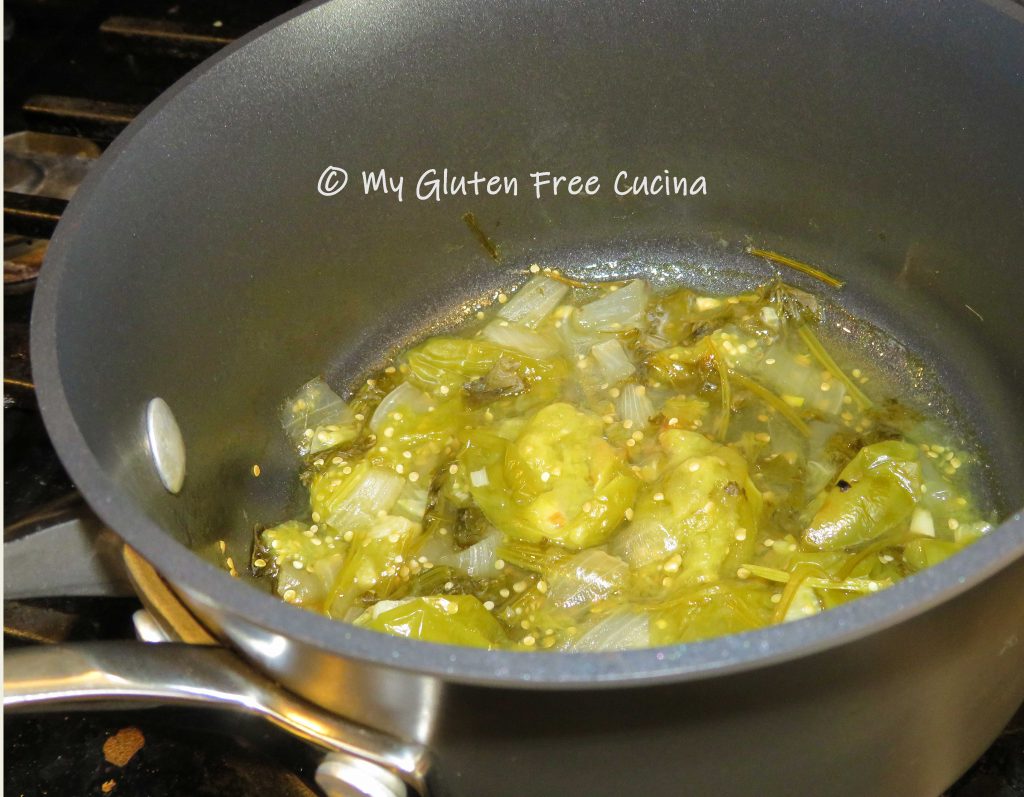
The tomatillos will cook down until most of the liquid has evaporated.

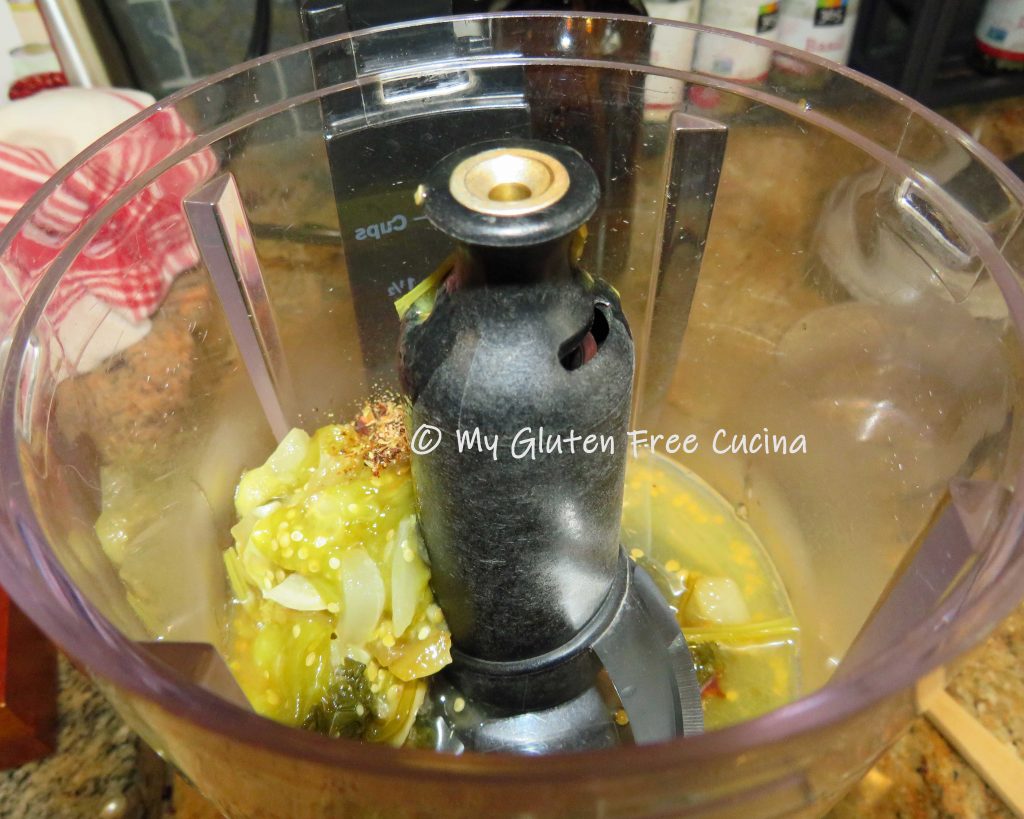
Cool slightly, then transfer to a blender or small electric chopper.  Add the lime juice and spice, then puree the ingredients until smooth.

Serve warm or at room temperature.

This sauce is delicious brushed on grilled chicken, veggies or any savory food.  You can also serve it with chips as a salsa.

[print_link]

Gluten Free Sorghum Pilaf

Sorghum is an ancient grain that is enjoying renewed popularity.  Nutritious and gluten free, I like to keep it in my whole grain rotation for variety in a healthy diet.  It has a nutty flavor and chewy texture.

This post contains affiliate links.

The biggest drawback about making Sorghum is that it takes a long time to cook.  I usually make it when I plan to be in the kitchen for a nice long stretch.  The preparation begins with several hours of pre-soaking, followed by a long, slow simmer along with frequent additions of liquid.

Ingredients:

  • 1/2 cup sorghum grain
  • 1 cup water
  • 3/4 cup mixed vegetables diced very small (such as shallots, onion, scallion, garlic, mushroom, carrot, celery, red and green bell pepper, zucchini)
  • 1 tbsp. butter
  • 1/2 tsp. seasoned salt
  • pinch of red pepper flakes
  • 1 carton gluten free chicken or vegetable broth (use either or a combination, you will need 1-1/2 to 2 cups total broth)
  • fresh chives, for garnish

 Preparation:

In a small saucepan, bring 1 cup of water to a boil and add the sorghum.  Cover and remove from the heat, and let it soak for 3 hours.

After 3 hours, turn the heat to low and simmer until most of the water has evaporated.  Next add 1 tbsp. butter along with the minced vegetables.  Season with salt and pepper to taste.

Begin adding the broth, 1/3 to 1/2 cup at a time.  Cover and keep on a low simmer, stirring occasionally and add more liquid as it is absorbed.  Be careful not to let the bottom burn!  Continue until the sorghum has doubled in size, about 90 minutes total cook time.

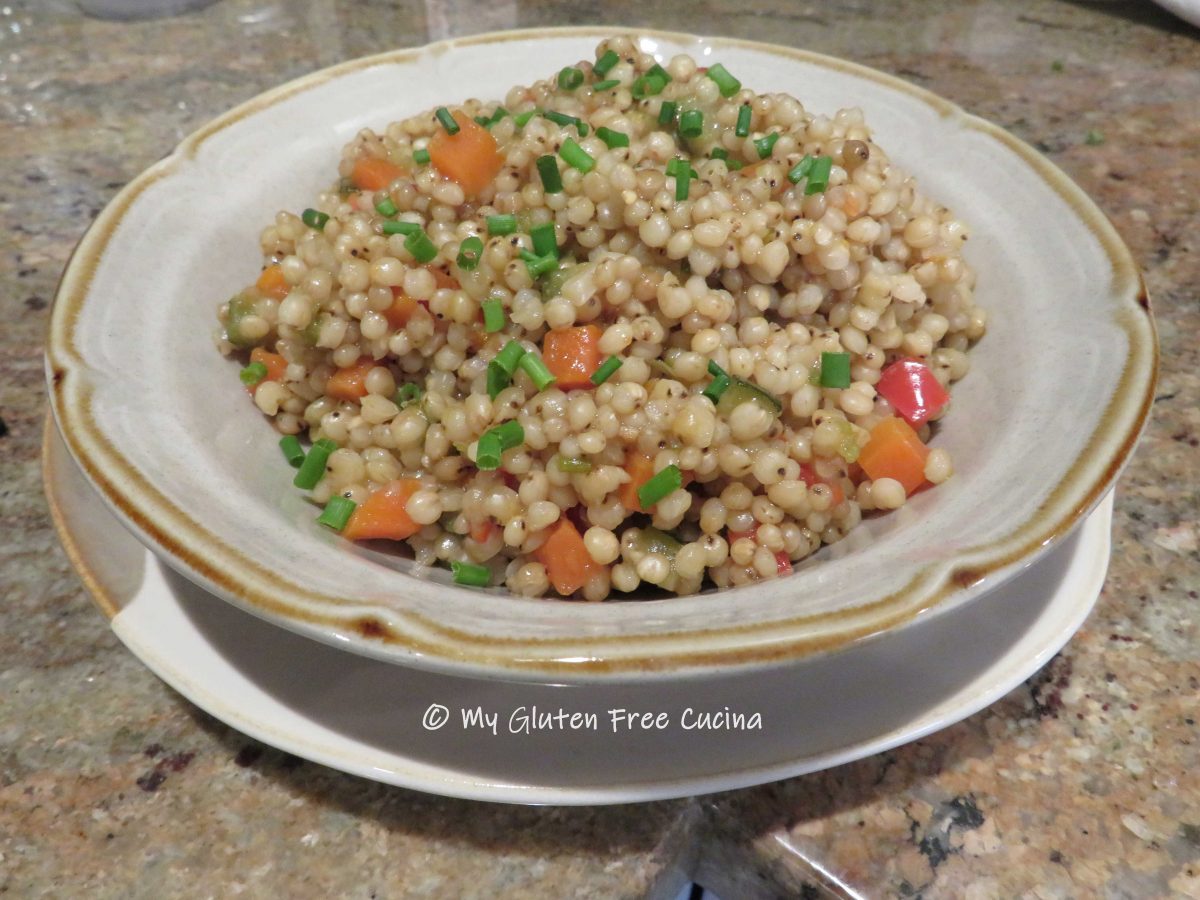
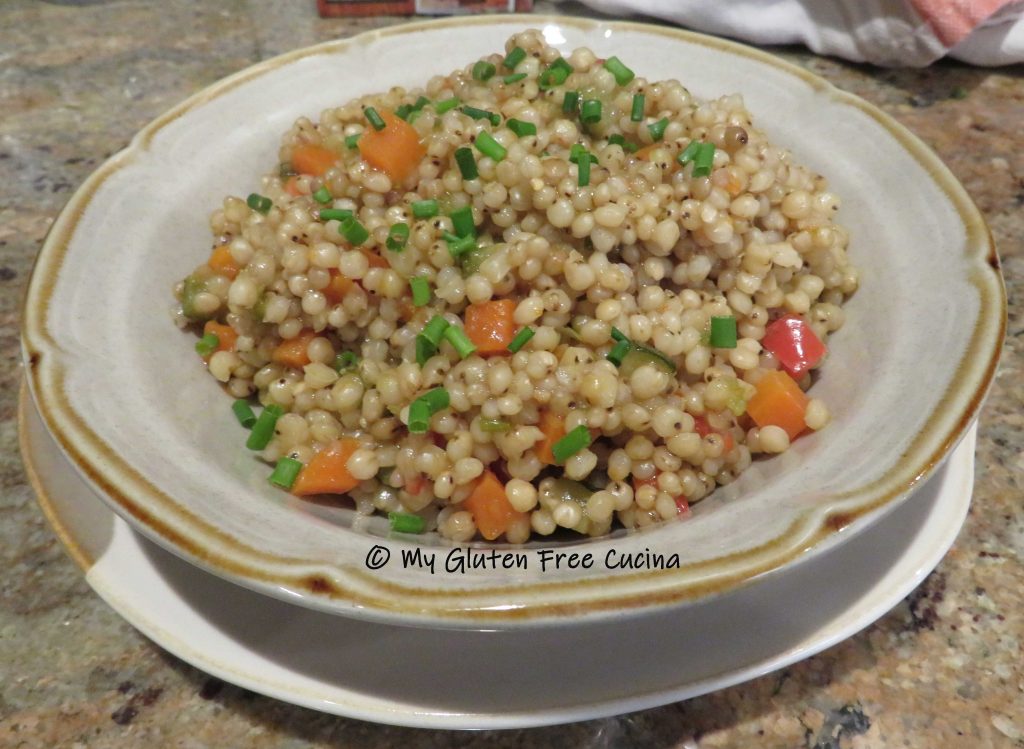
Take a taste to be sure they are cooked through!  The grains will be plumped up but will still have a good chew, like “al dente” pasta.  Transfer to a serving bowl and garnish with fresh chives.

This is a nutritious and fiber rich side that will fill you up.  Try it, it’s delicious and a nice change of pace from the usual rice and potato sides!

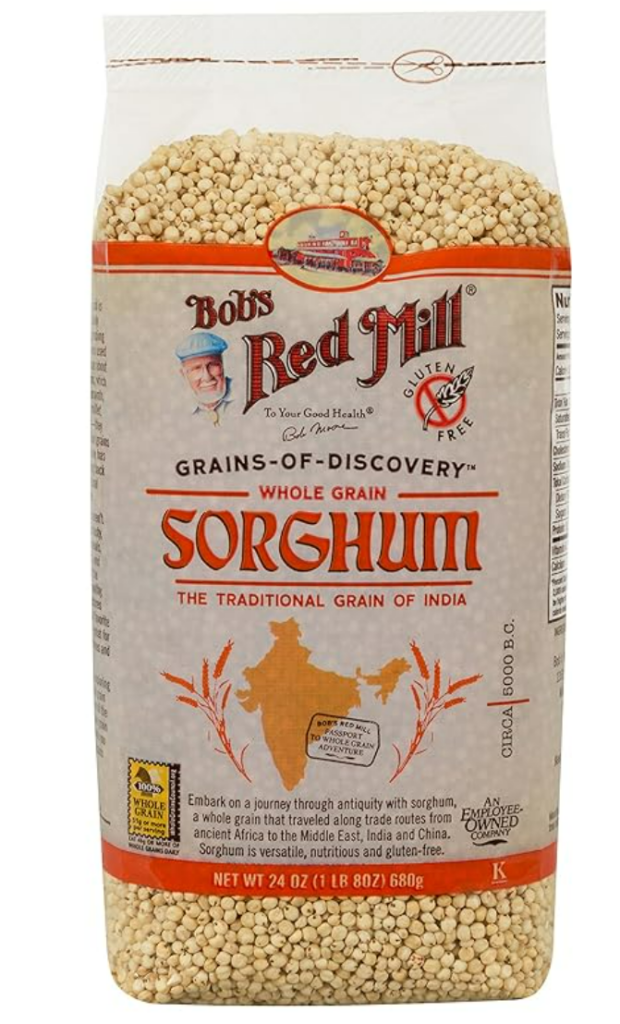
Notes ♪♫ I used Bobs Red Mill whole grain sorghum in this recipe.  Did you know that Sorghum grain can also be milled into flour for baking?  Learn more in this post about Using a Grain Mill!

[print_link]