Beginning the Year with Organization
Some people begin the New Year with resolutions for dieting, exercise and other life goals. For me, the New Year means it’s time to clean and organize. The packing away of the Christmas tree, finishing the last of the holiday leftovers and tidying up the kitchen. It’s time to make room for some new things that Santa brought me and donate anything that is gathering dust.
Along with that, it’s time to give the pantry an overhaul. That means wiping down the shelves, getting rid of ingredients that are past the expiration date and putting everything in order for a New Year of baking!

What’s in my (gluten free) pantry?
At times my pantry areas are so full of stuff, that I often purchase something only to find that there was already a full box or bag in the cupboard that had gotten lost behind all the other ingredients!
The New Year is a great time to pull everything out for a good look at what I have on hand and reorganize how I store it. For those who are just beginning the gluten free diet, I hope this post will be helpful in understanding where to get started.
My pantry organization is far from perfect, but it works for me.
This post contains affiliate links.
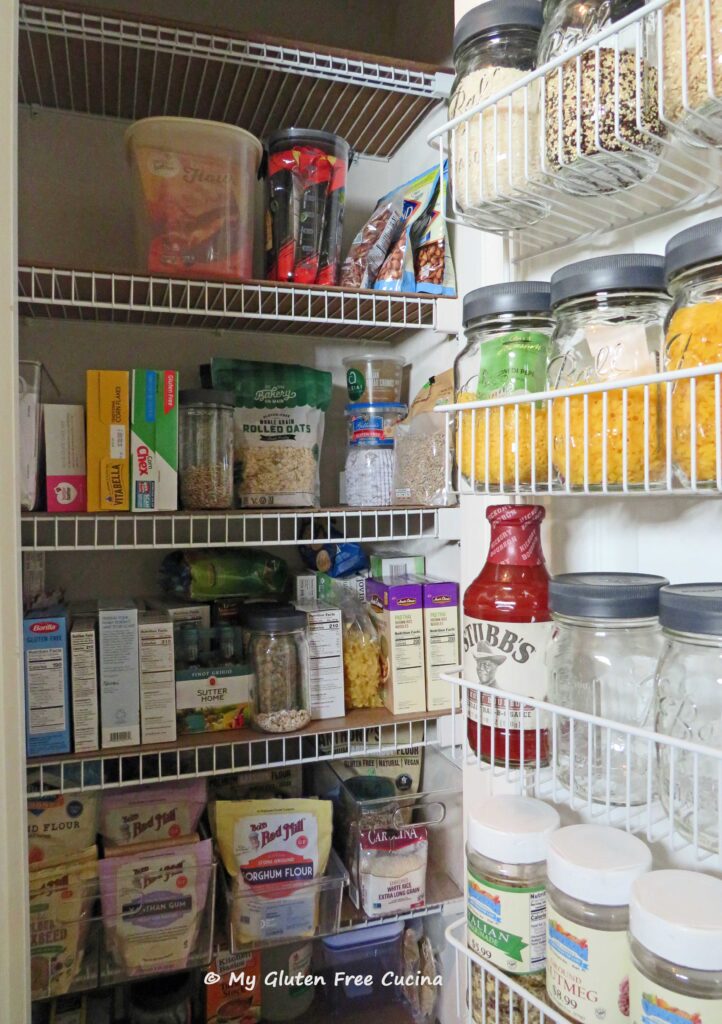
One of the first things that I did after my Celiac diagnosis was to designate pantry areas where no gluten is allowed. Pull everything out and scrub the shelves clean. Segregate all gluten containing ingredients to be donated or thrown away. Give unopened items to the food pantry or to family members. Discard opened items, or if your household is not 100% gluten free move all gluten containing ingredients to a separate area of the kitchen.

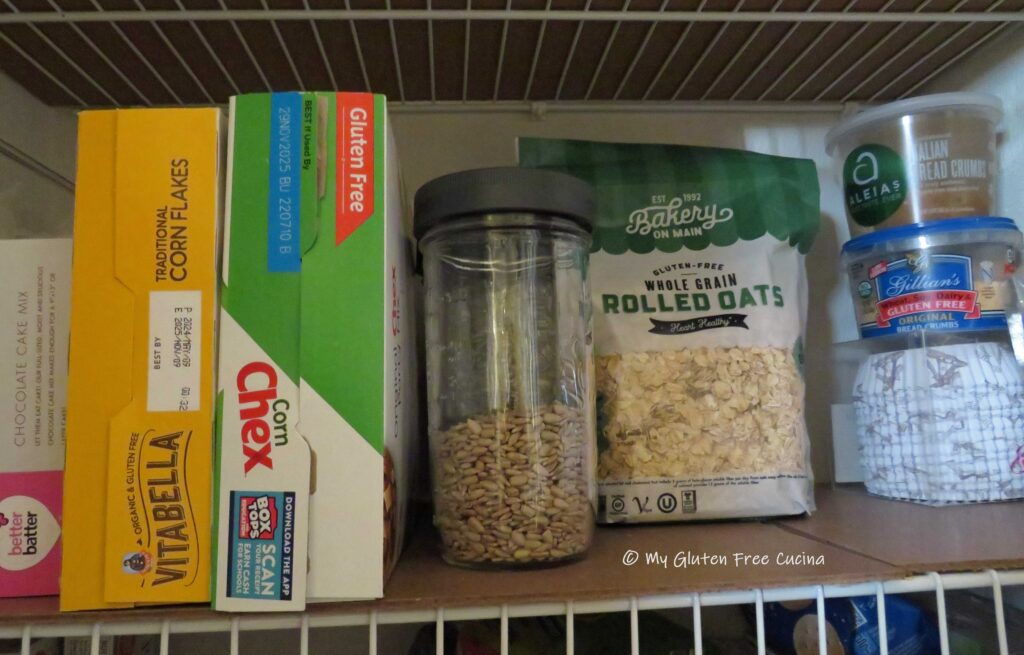
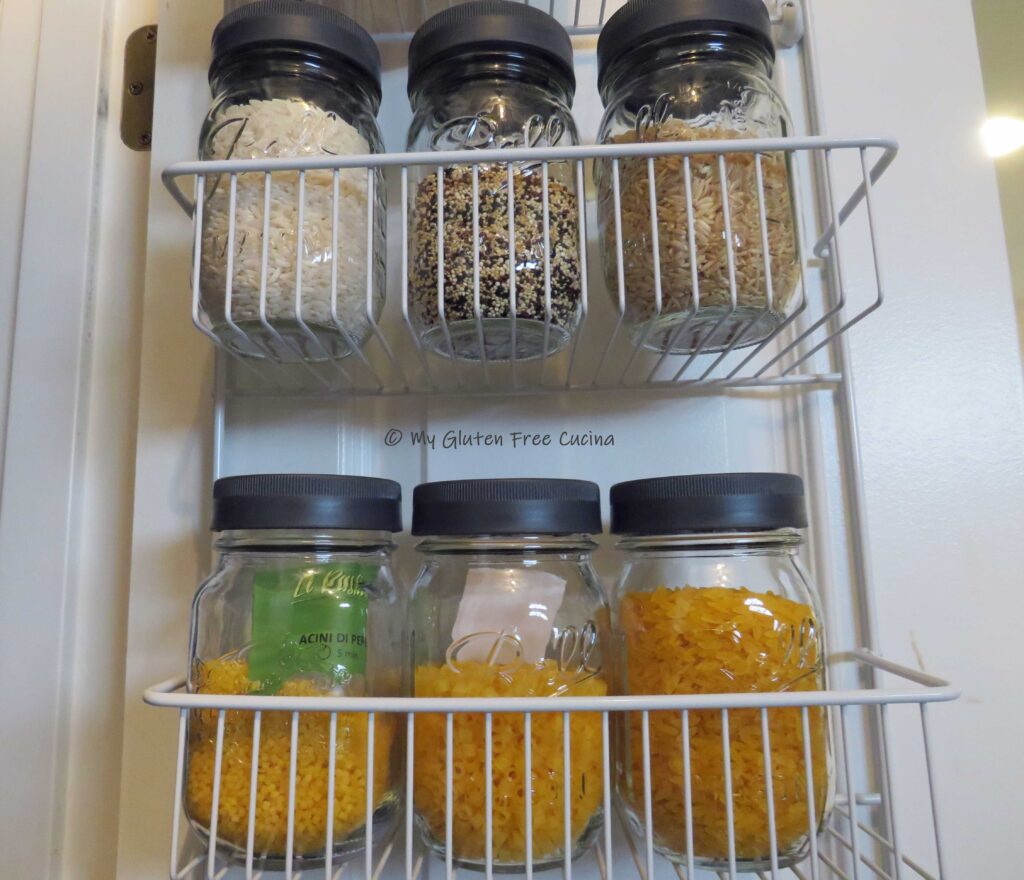
As you will see in the photos, I like to use ball jars to store my grains. When I set up my gluten free pantry, I washed them in the dishwasher and got some new lids. I also added a few new airtight containers and Lazy Susans to complete my gluten free storage space. A label maker is nice, but sometimes I just make labels from the product packaging and tape them on.

If you are new to gluten free baking you might be overwhelmed by the array of flours, starches and other ingredients used to make breads and pastries. Like many, I invested quite a bit of time and money stocking my pantry to get started. Over time I learned which ingredients I would use most often and pared down my list accordingly. Today, grains that I use frequently are purchased in bulk and those occasional ingredients are kept in small quantities.

Keeping a well-stocked pantry means that I can experiment with new recipes without having to run to the store. But an organized storage area is essential to not getting overwhelmed.
So, what should you buy first? My “Frequent use” list is a great place to start. I also provide you with a full list of what’s in my pantry by category; Grain/Flour, Starch, Seeds, Nuts and Other/Misc. I also made you a printable checklist to take along when you go shopping. You’re welcome!

It takes a while to know what you like. For me it was trial and error baking many loaves of bread and experimenting with different meals. Some things ended up in the trash, and others I choked down but would never make again. Today, after 8+ years gluten free I have my go to recipes, the ones that taste good not only to me but also my gluten eating family. These are the ones that I make again and again, with consistent results. The ingredients become part of my master list.
Frequent use list:
- Baking powder (gluten free)
- Baking soda
- Brown rice flour
- Potato starch
- Tapioca starch
- Unflavored Gelatin (pectin)
- White rice flour
- Xanthan gum
- Instant Yeast
- Gluten Free All Purpose Flour Blend

Master List:
All Purpose / 1-1 Flour Blends
Mixes
Grain/Flour
- Almonds / almond flour
- Brown Rice / brown rice flour
- Buckwheat groats / buckwheat flour
- Cassava flour
- Coconut flour
- Corn flour / corn meal
- Millet grain / millet flour
- Sorghum grain / sorghum flour
- Teff grain / teff flour
- White rice / white rice flour
Check out my post on Using a Grain Mill to learn why I stock whole grains like millet and buckwheat that I can easily mill into flour for baking.
Starch
- Arrowroot starch
- Corn starch
- Potato starch
- Tapioca starch
Seeds
- Chia seeds
- Flax seeds
- Poppy seeds
- Pumpkin seeds
- Sesame seeds
- Sunflower seeds
Nuts
- Almonds
- Pecans
- Walnuts
Other Baking Ingredients:
- Gelatin
- Non-fat dry milk
- Psyllium husk
- Xanthan gum
Misc:
- Gluten free bouillon
- Gluten free broth
- Gluten free spices
- Gluten free coconut aminos
- Gluten free oyster sauce
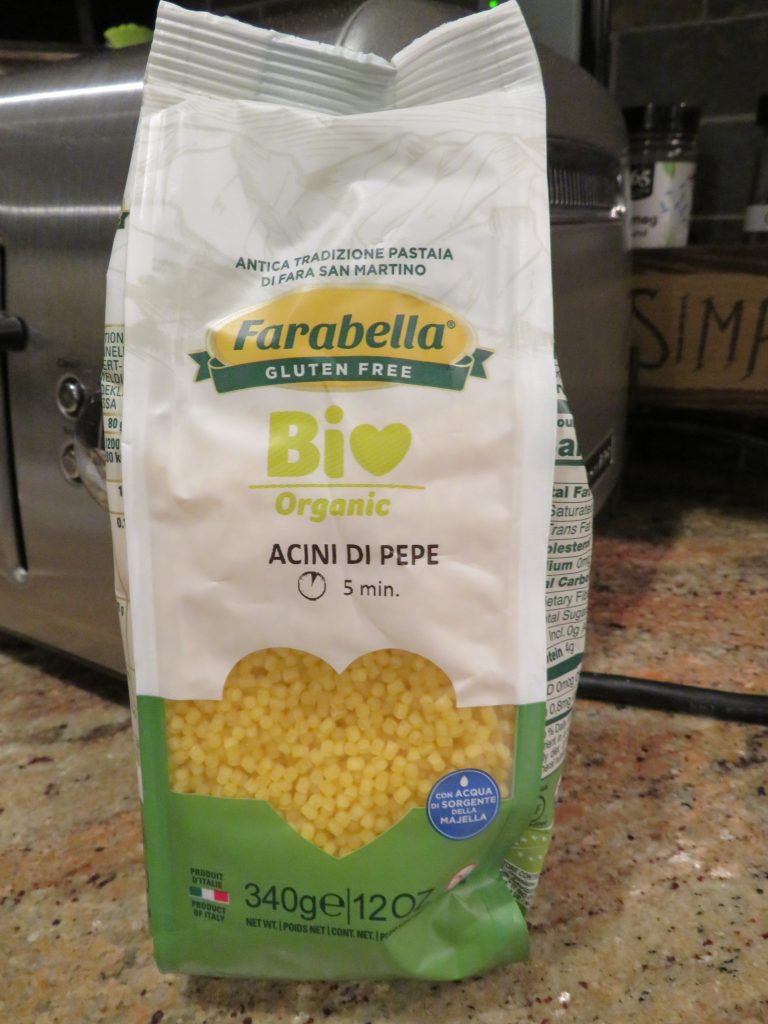
- Gluten free pasta
- Gluten free rice noodles
- Gluten free soy sauce (tamari)
Here is your printable Gluten Free Ingredient Shopping List! What are some pantry items that you can’t be without? Let me know in the comments!
Notes ♪♫ You may be unfamiliar with ingredients like xanthan gum and psyllium husk, but they are key in baking gluten free and will help with the structure and consistency of your gluten free breads.


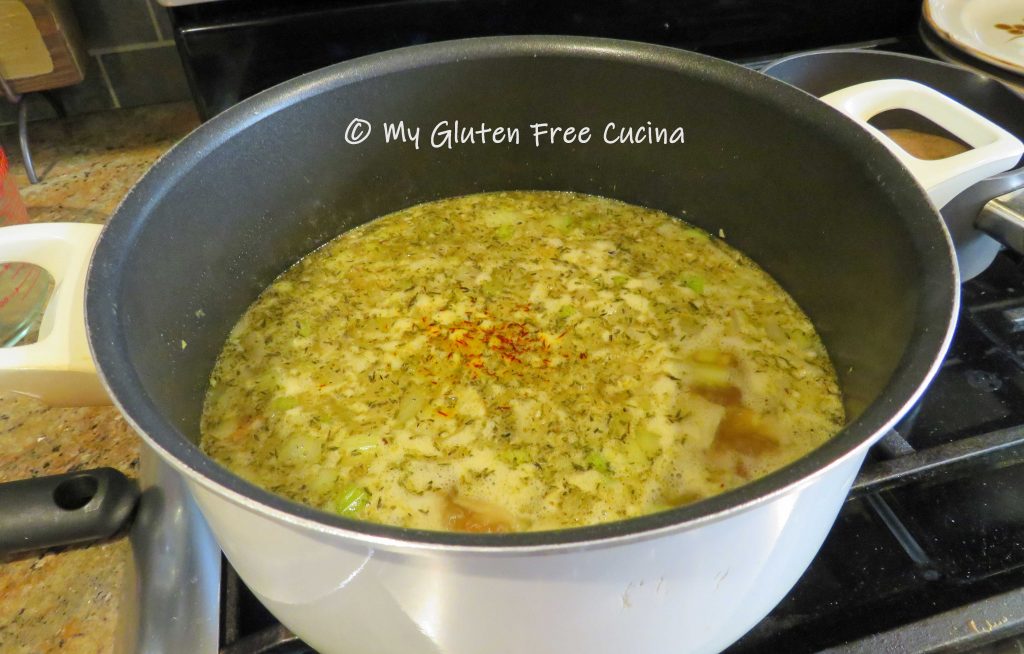
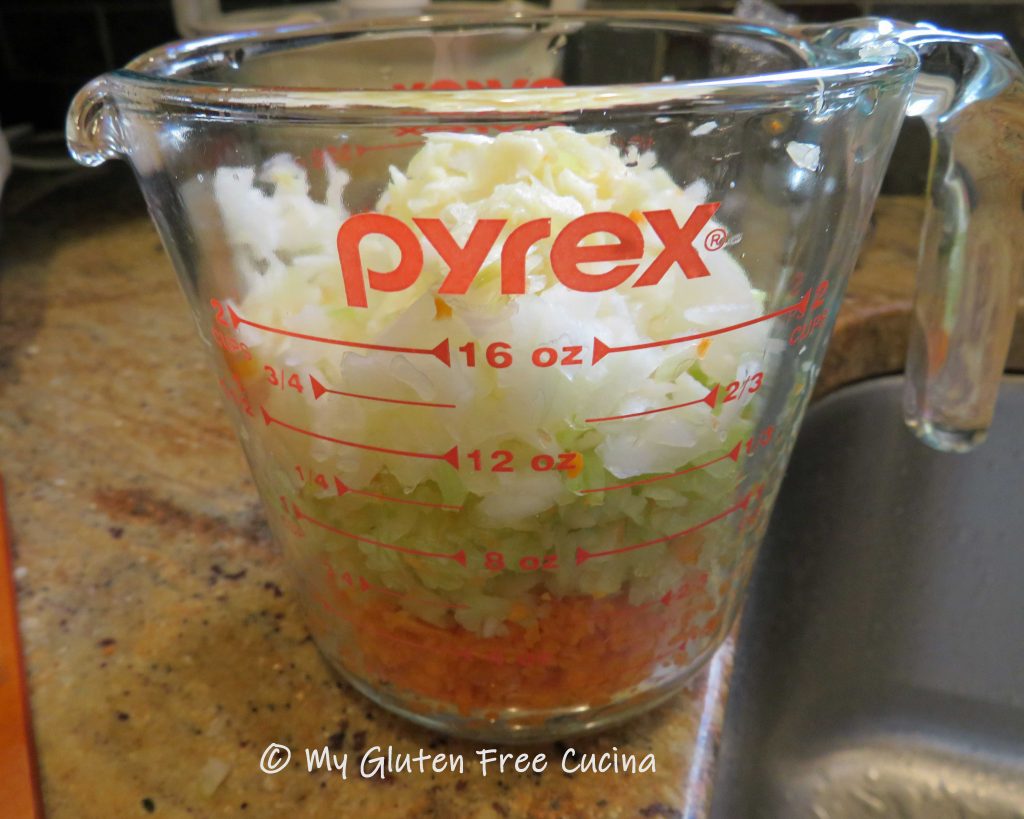
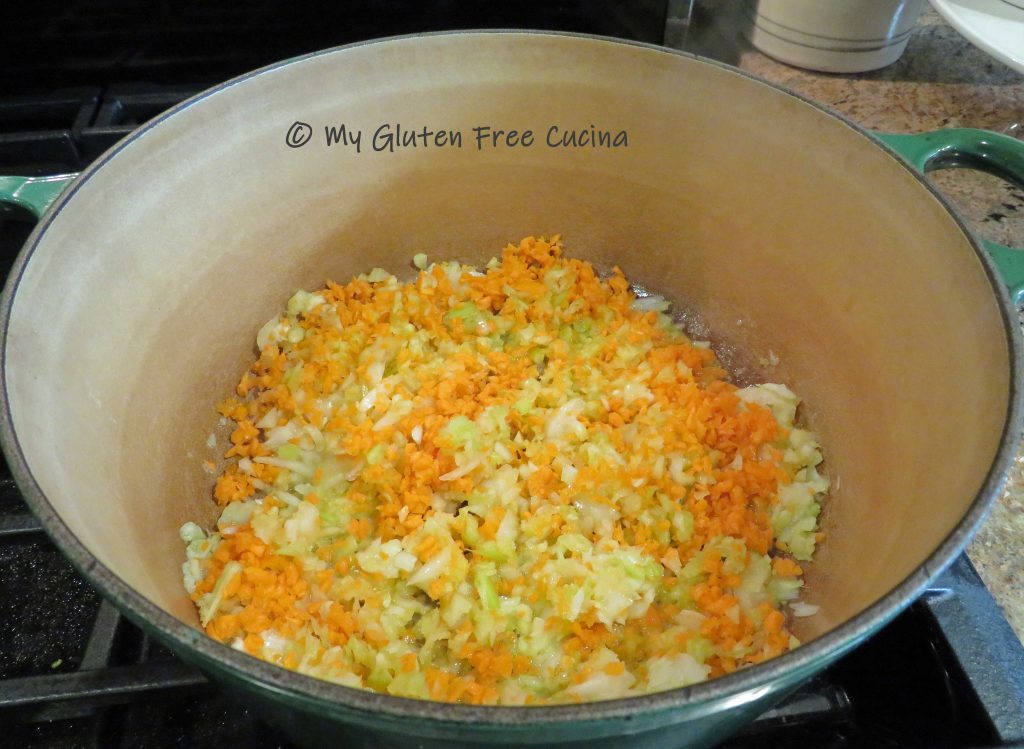
 Dice 6-8 carrots, 6-8 celery stalks, and one large onion. Try to cut the pieces to approximately the same size.
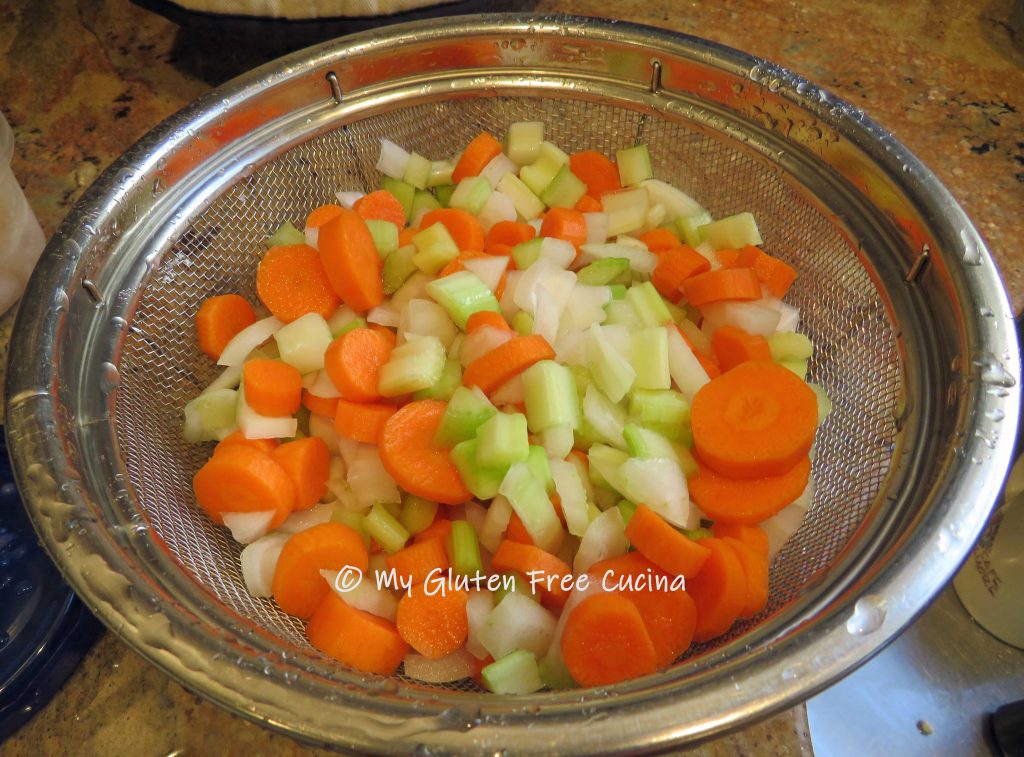 In a clean stockpot, sauté the vegetables in 1 tbsp. olive oil. Season with salt and pepper.
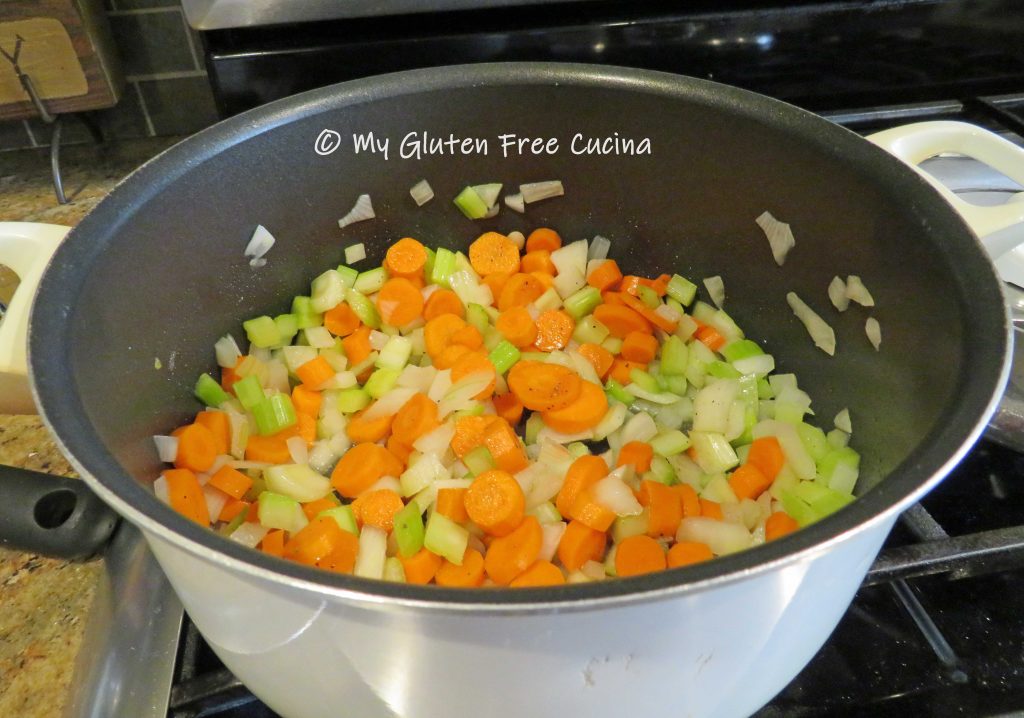

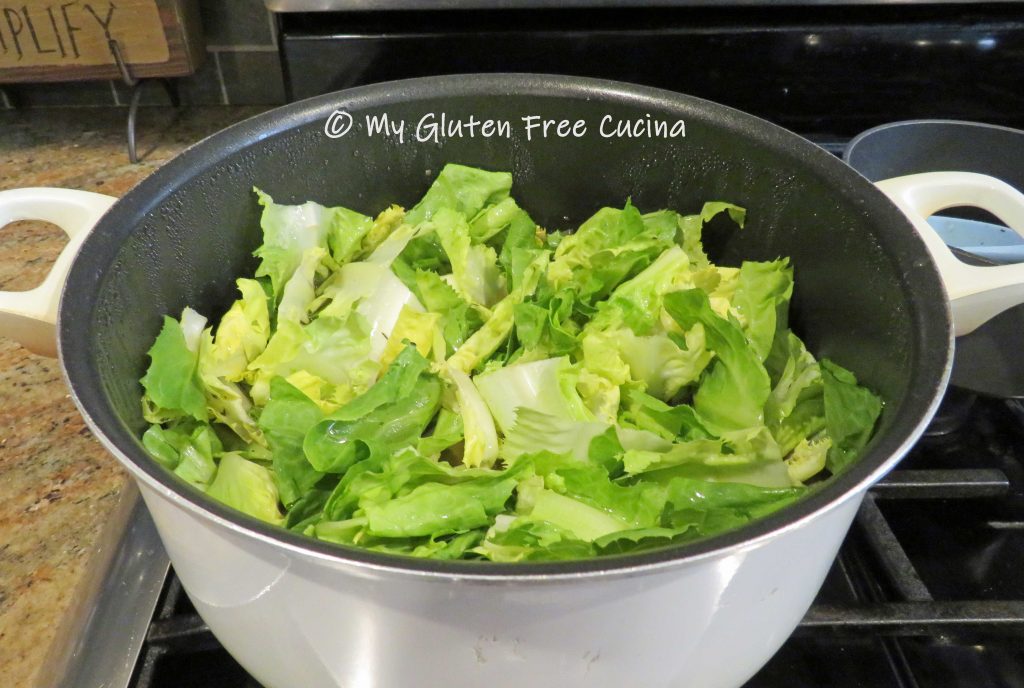
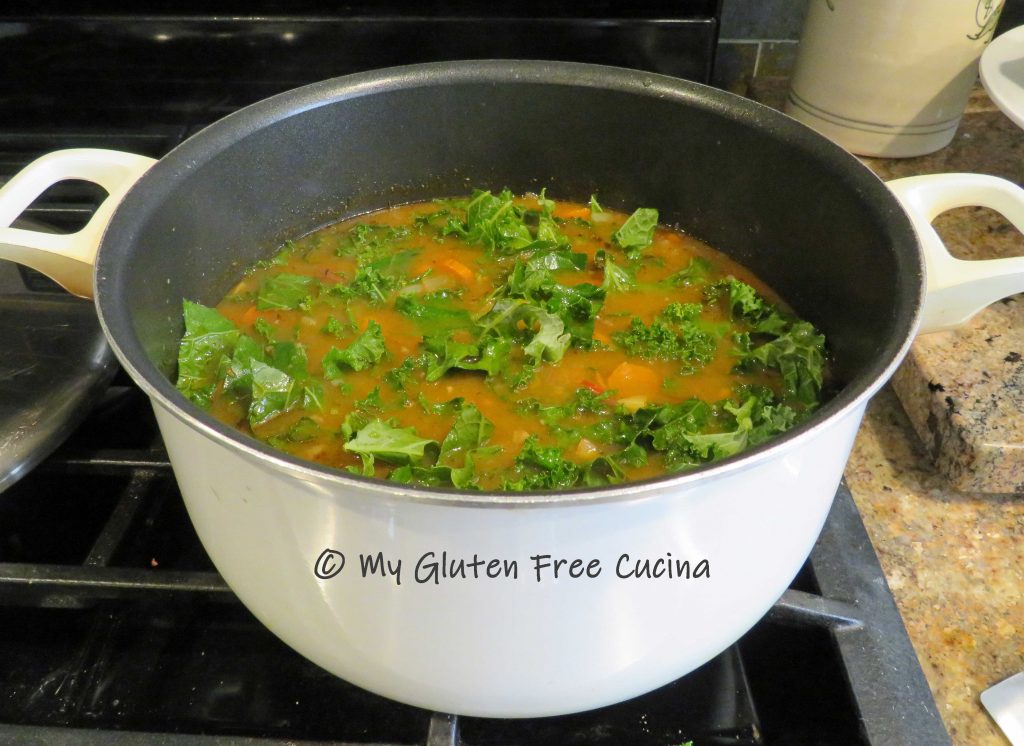
 Remove and discard the outer leaves of the escarole, then tear the leaves into large pieces and rinse thoroughly. To this day I can still hear my mother telling me to wash the escarole “leaf by leaf”.
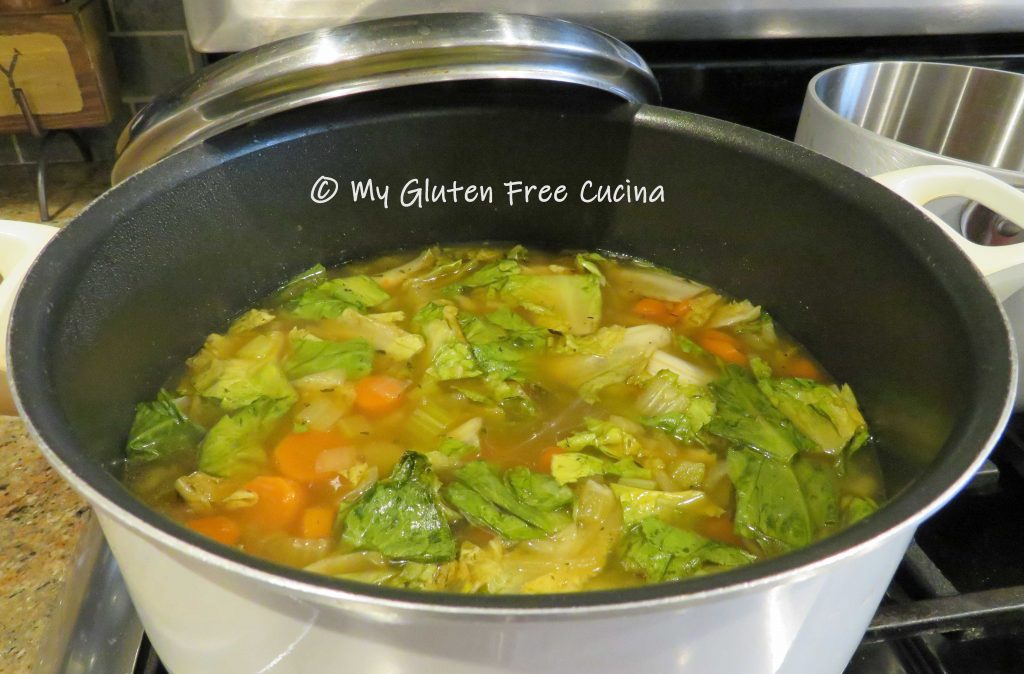
 Escarole cooks quickly, and the residual heat is enough to wilt the leaves. Stir well, cover the pot and let it cool to room temperature. Refrigerate overnight.
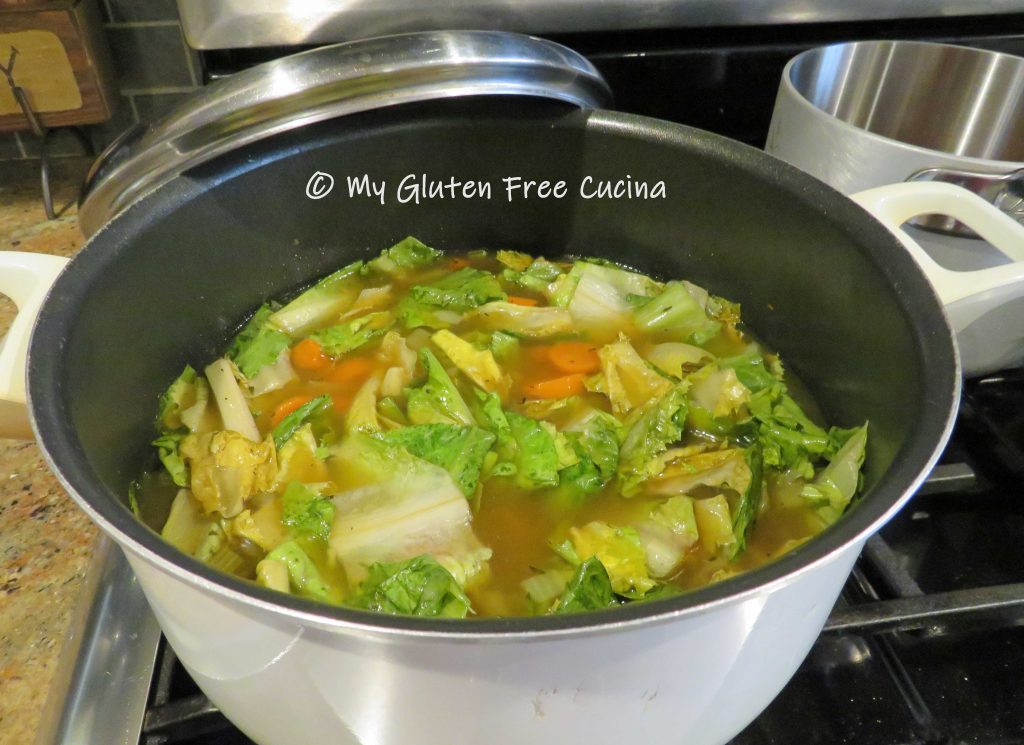


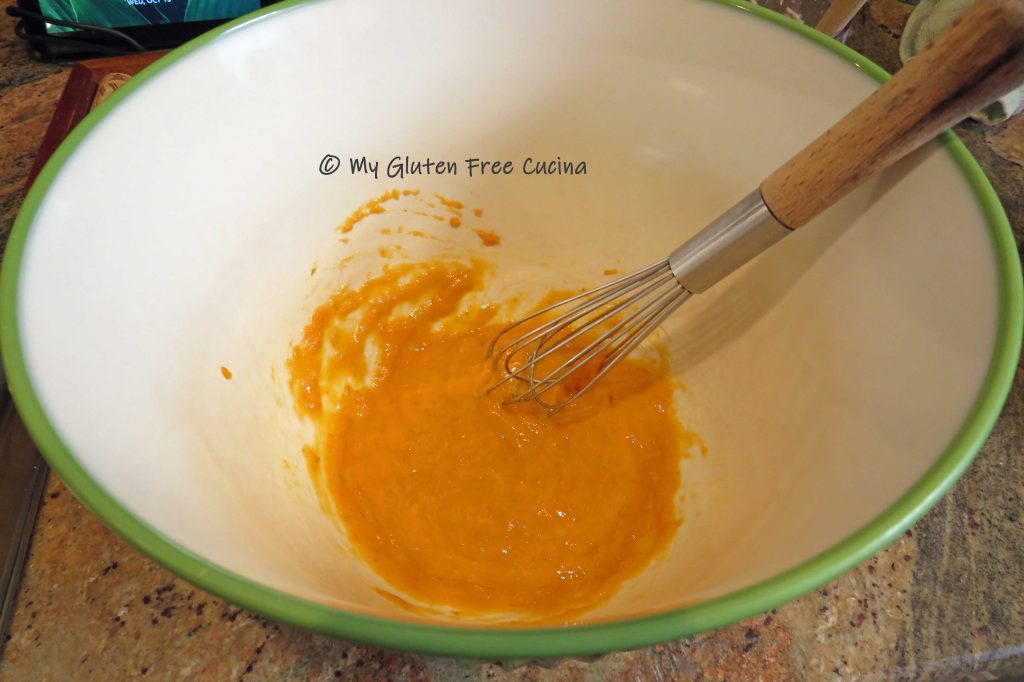
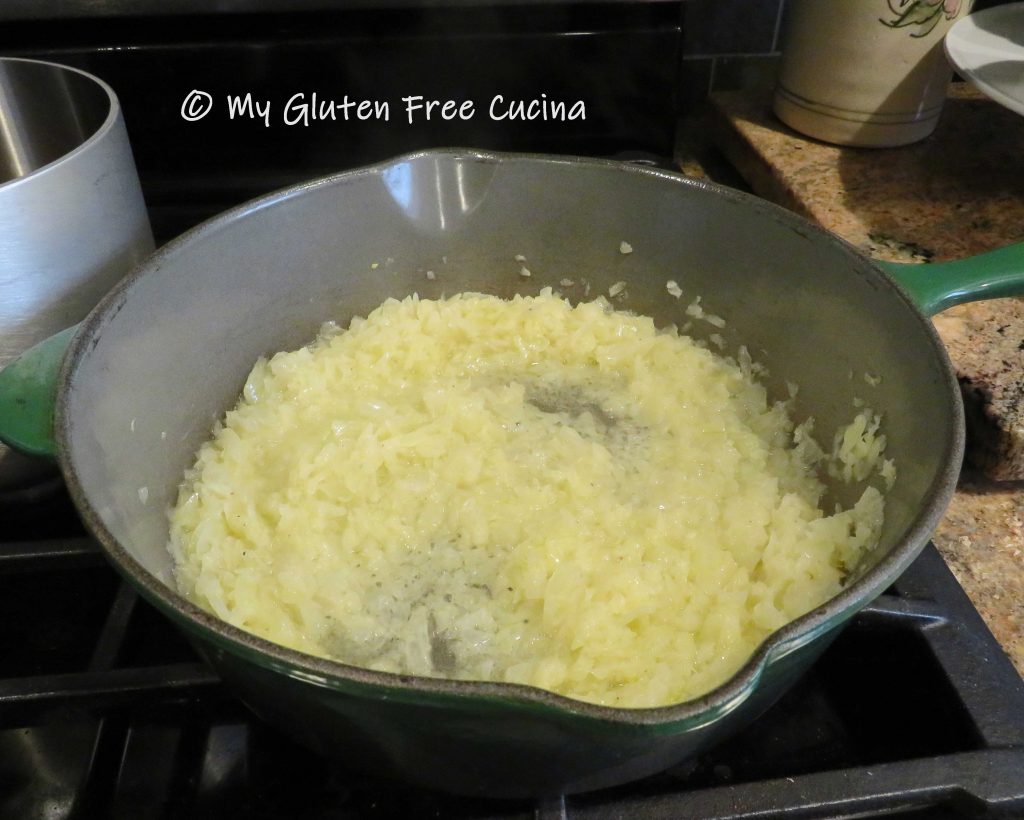 Have the corn starch, broth and a whisk ready for the next step. Sprinkle the corn starch evenly over the onions and whisk whisk whisk for 1-2 minutes. Don’t stop!
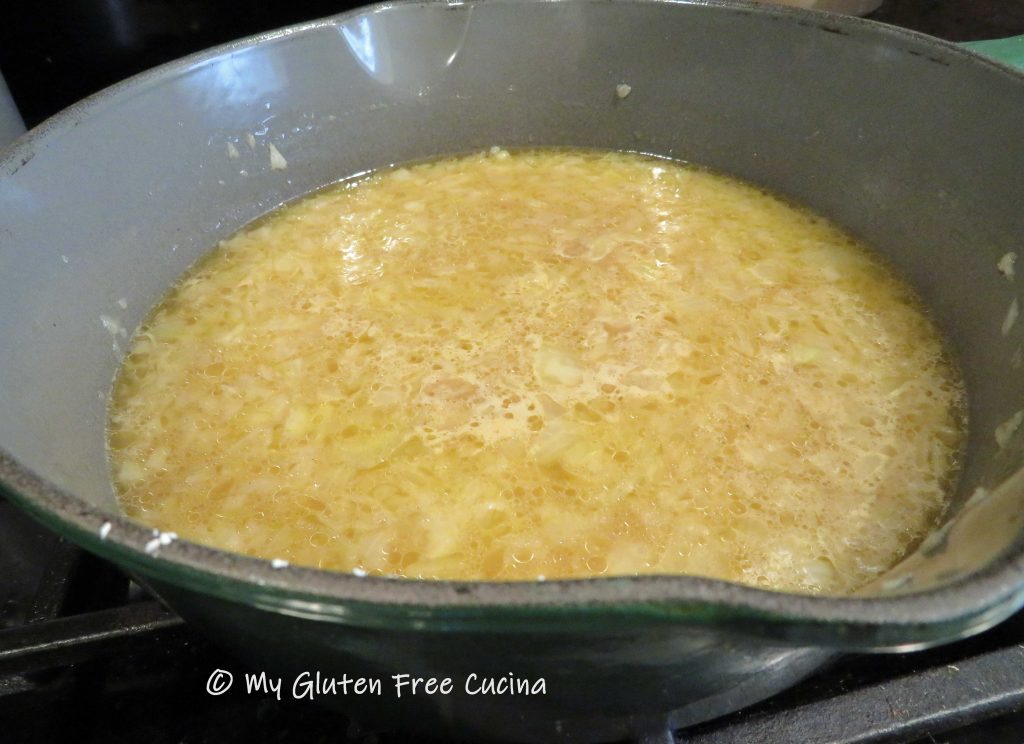
 Stream in the warmed broth and continue whisking. The gravy will thicken.
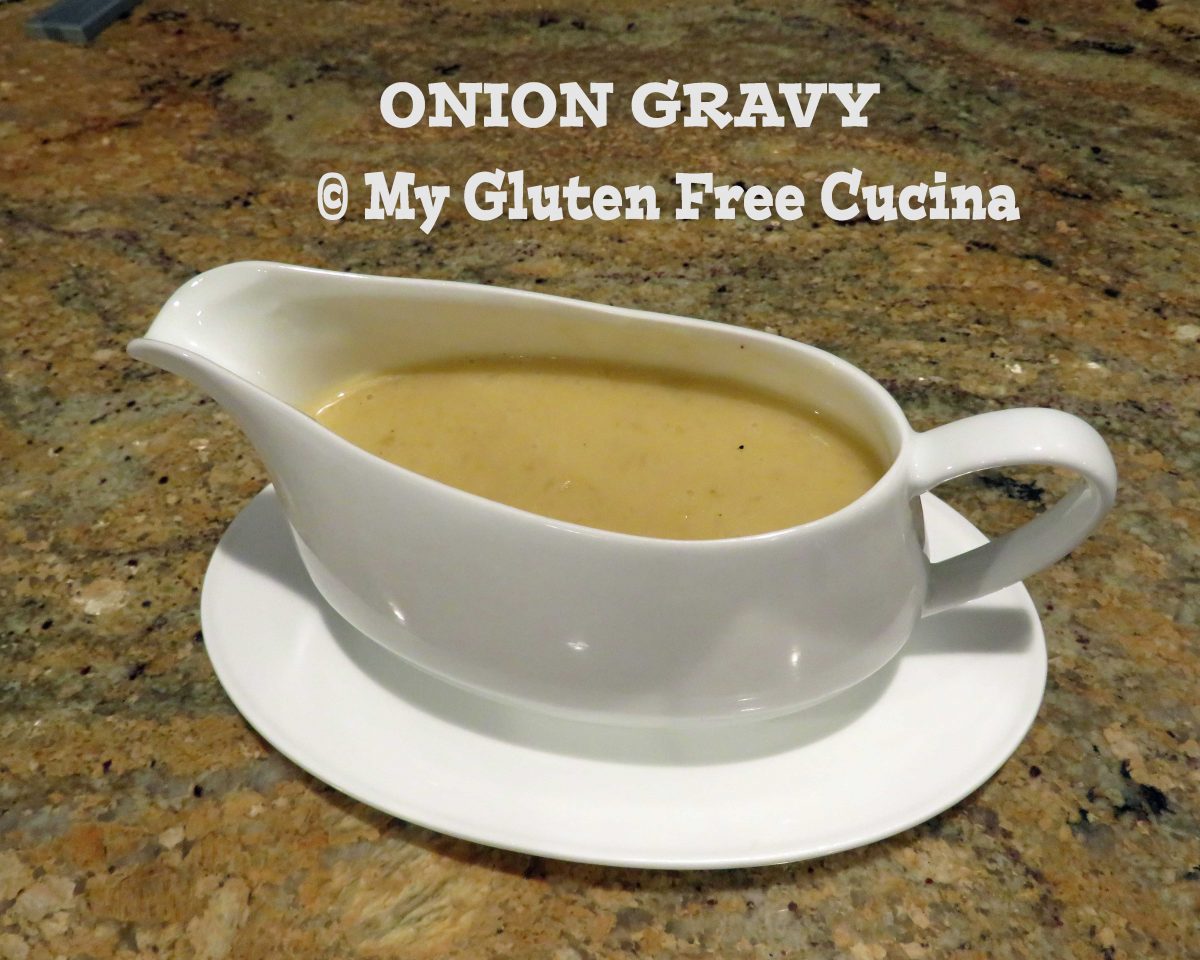
 See how the onions have almost melted into the gravy? If you don’t want the little bits of onion that remain you can strain the gravy or puree it with an immersion blender. If you like a little texture definitely leave them in.
 Transfer the gravy to a small sauce pan, then stir in the brandy and cream. Cover and keep warm until serving.

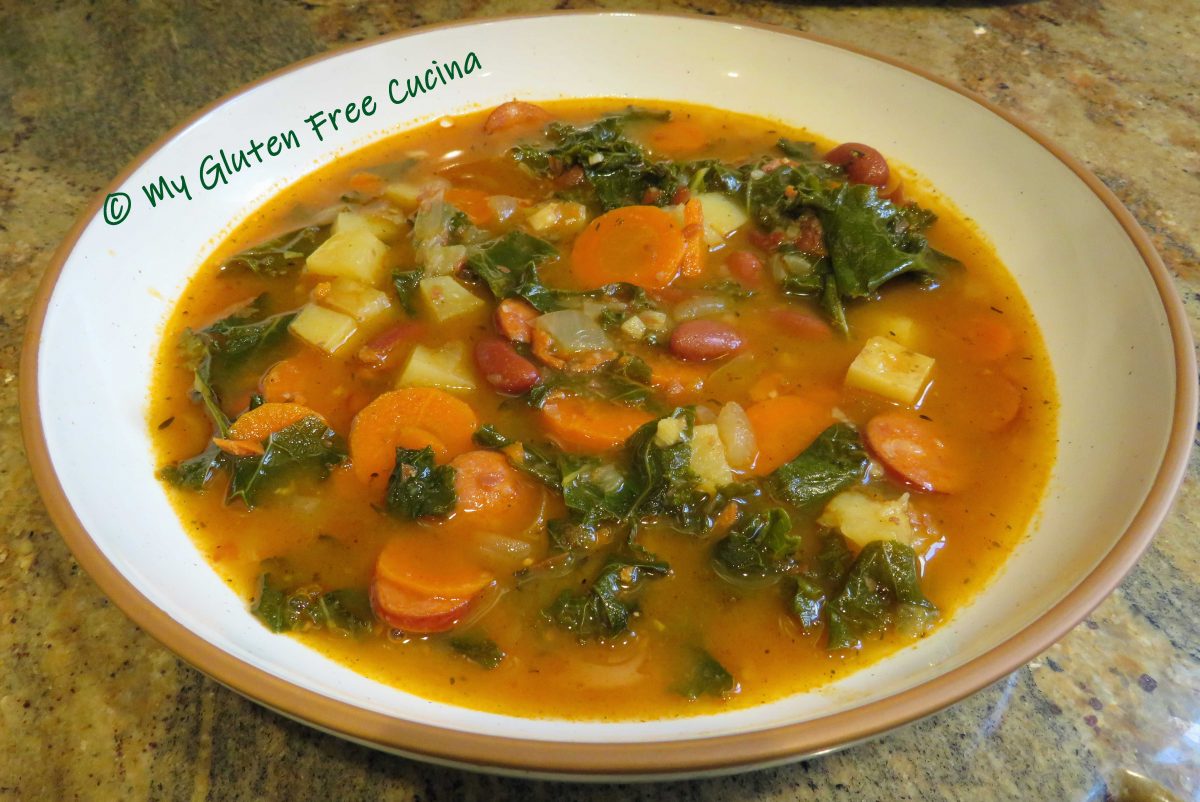

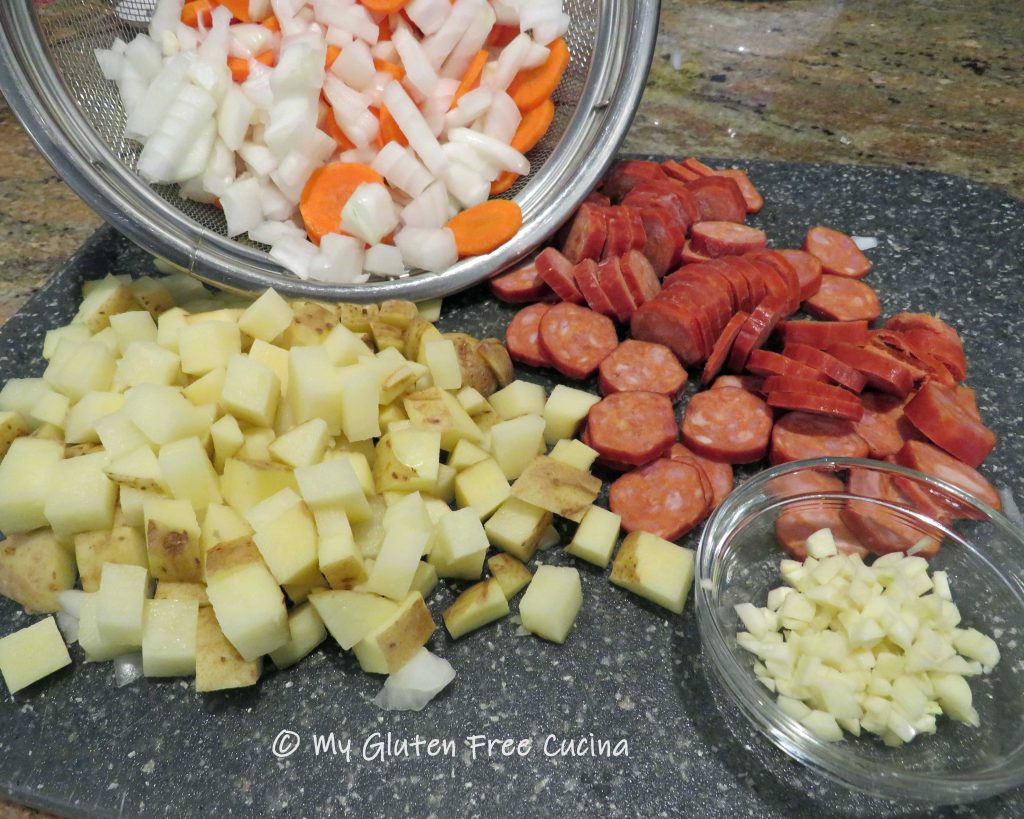
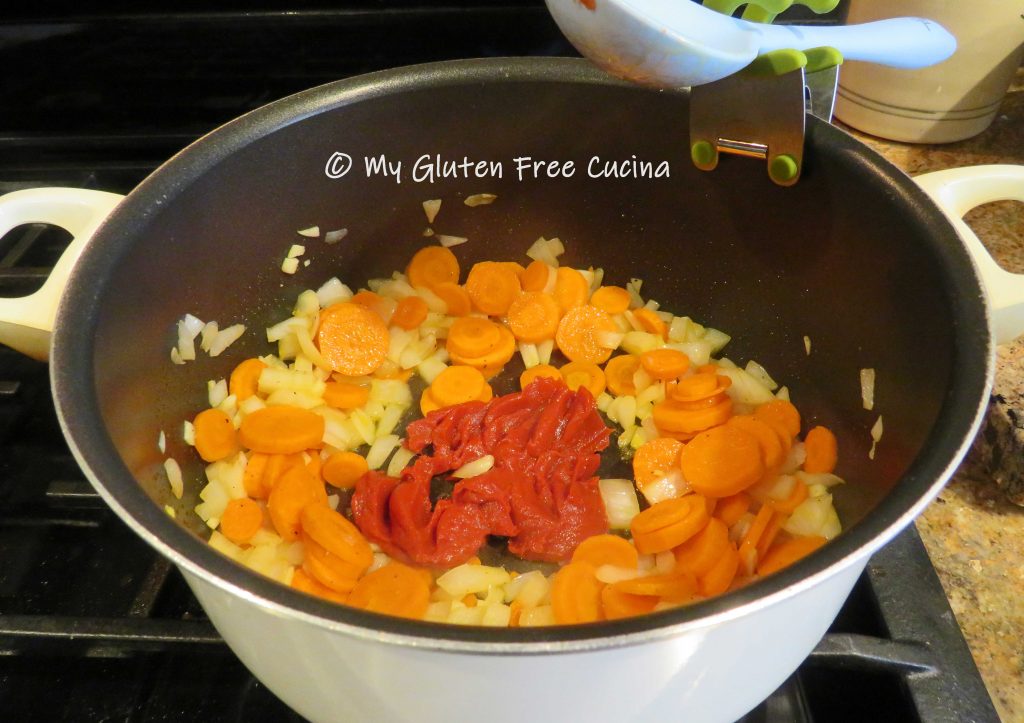
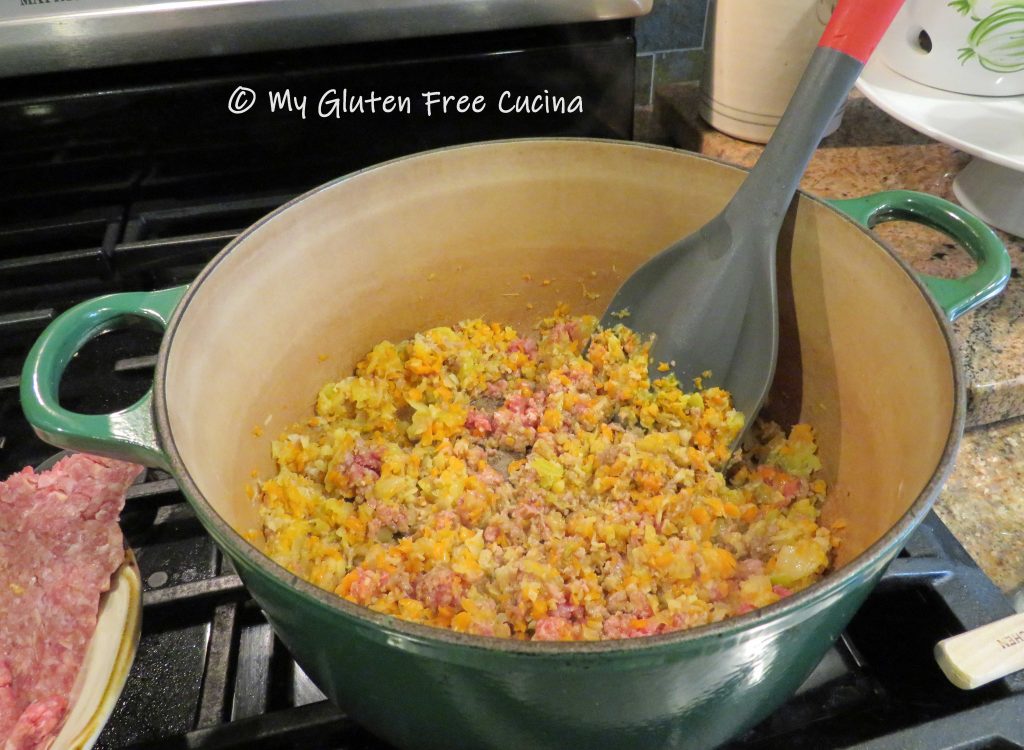
 Heat olive oil in a stock pot, and stir in the onions, carrots and garlic. Season with salt and pepper and cook 2 minutes.
 Add the Linguica, stir and cook for 5 minutes.
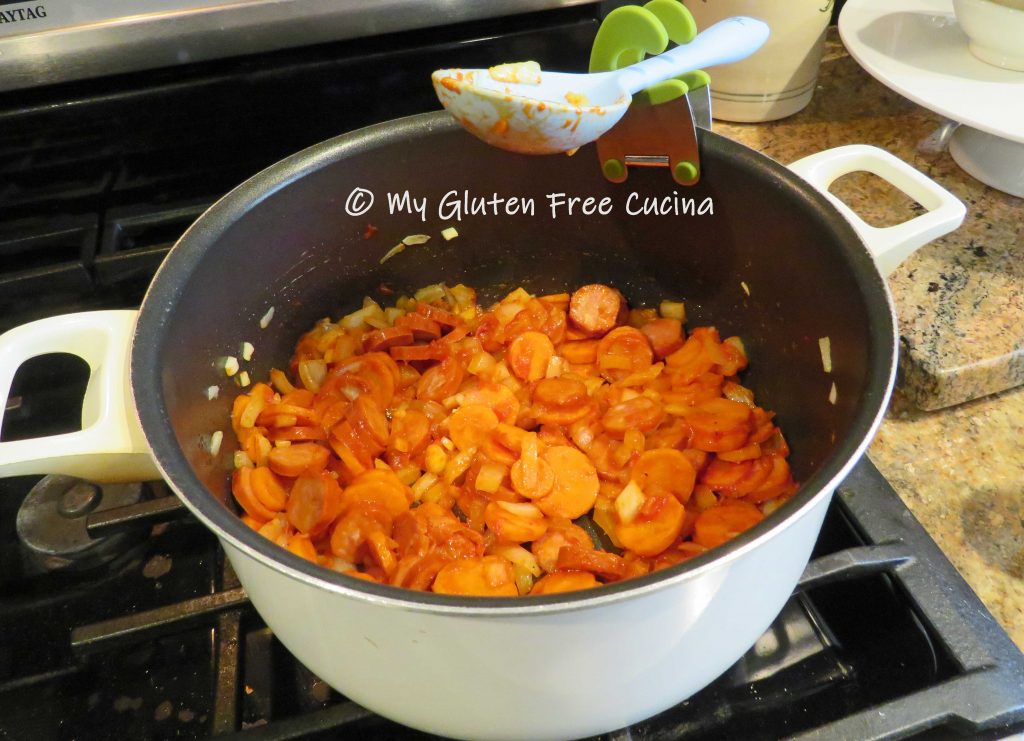


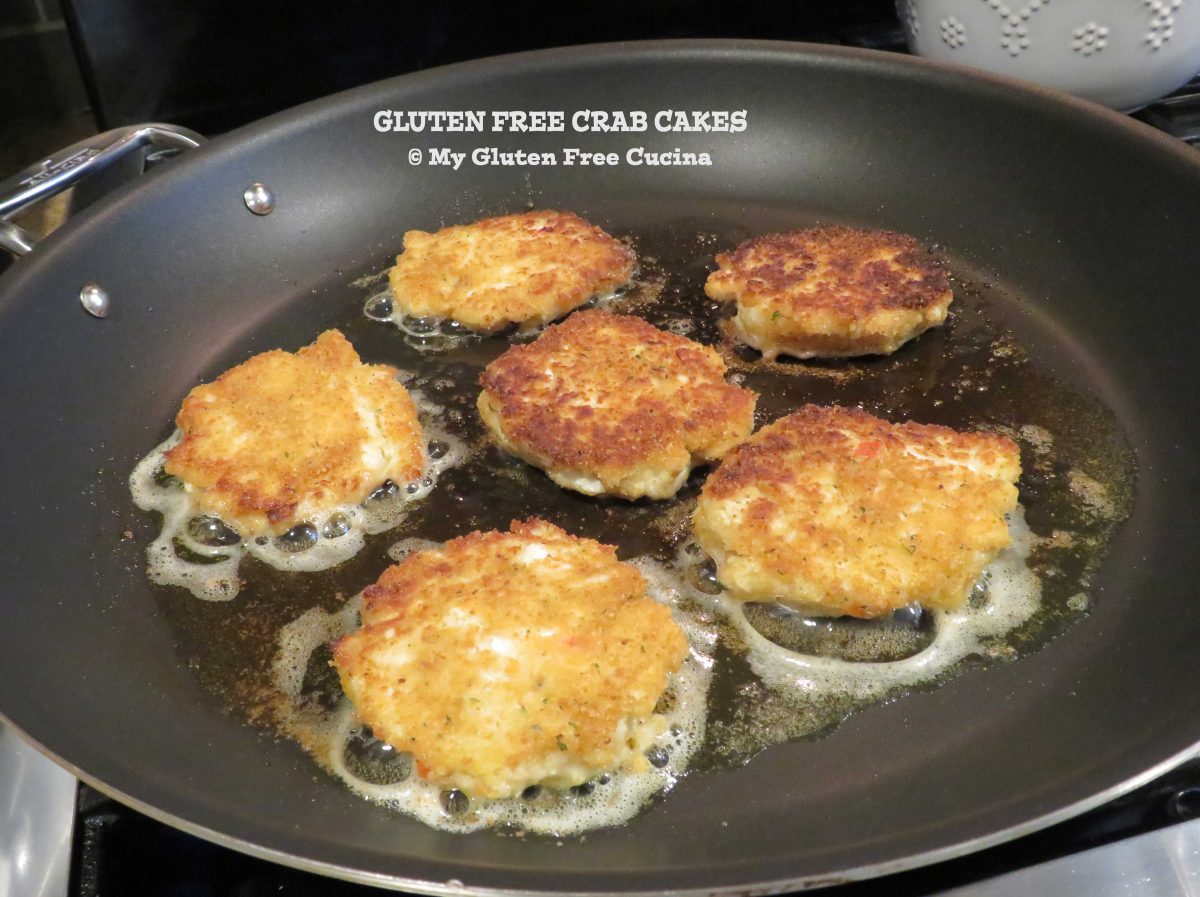


 Fold in the crab meat and 2 tbsp. (half) of the breadcrumb mixture.
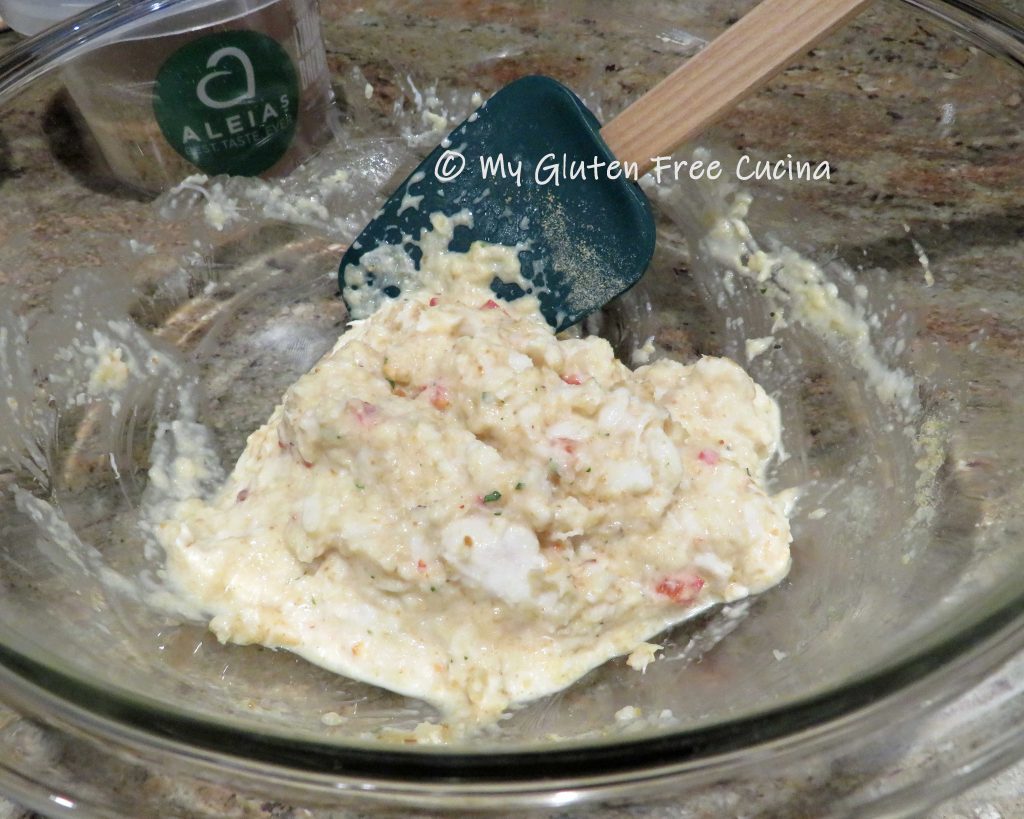


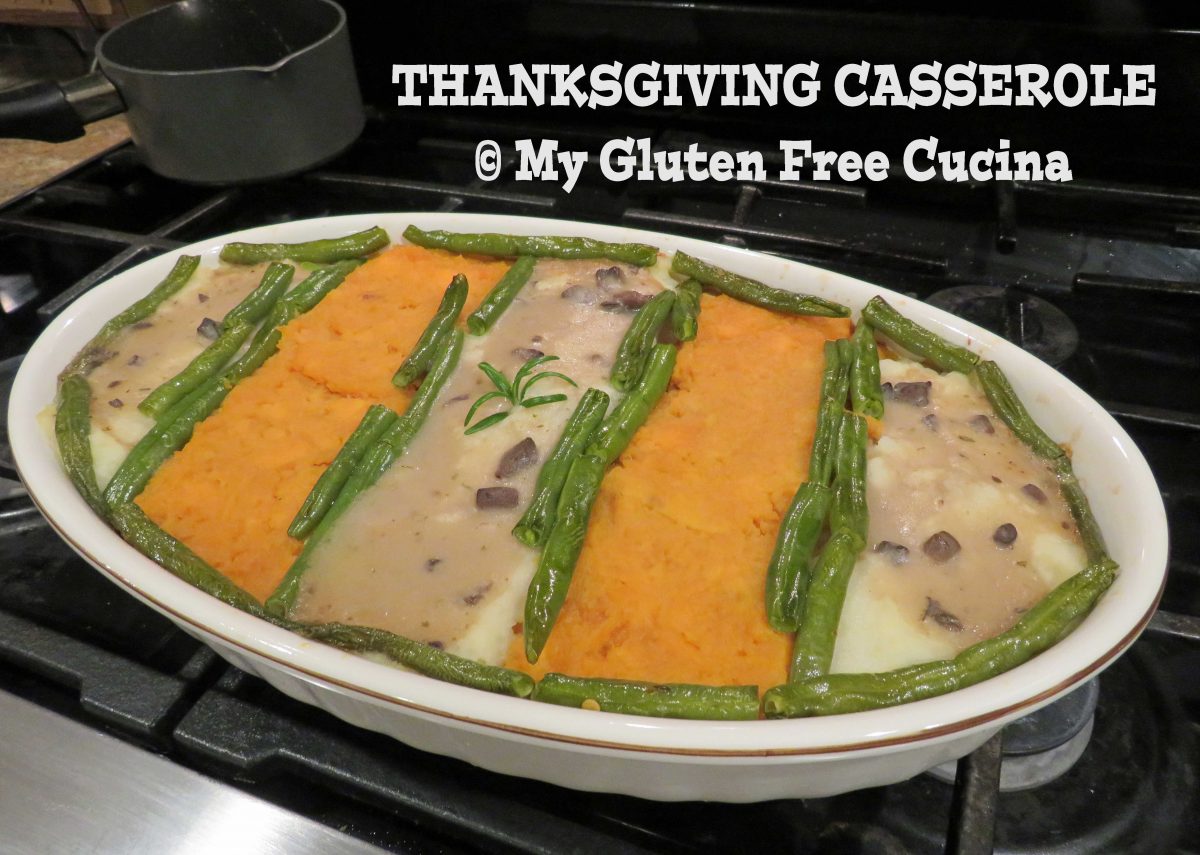
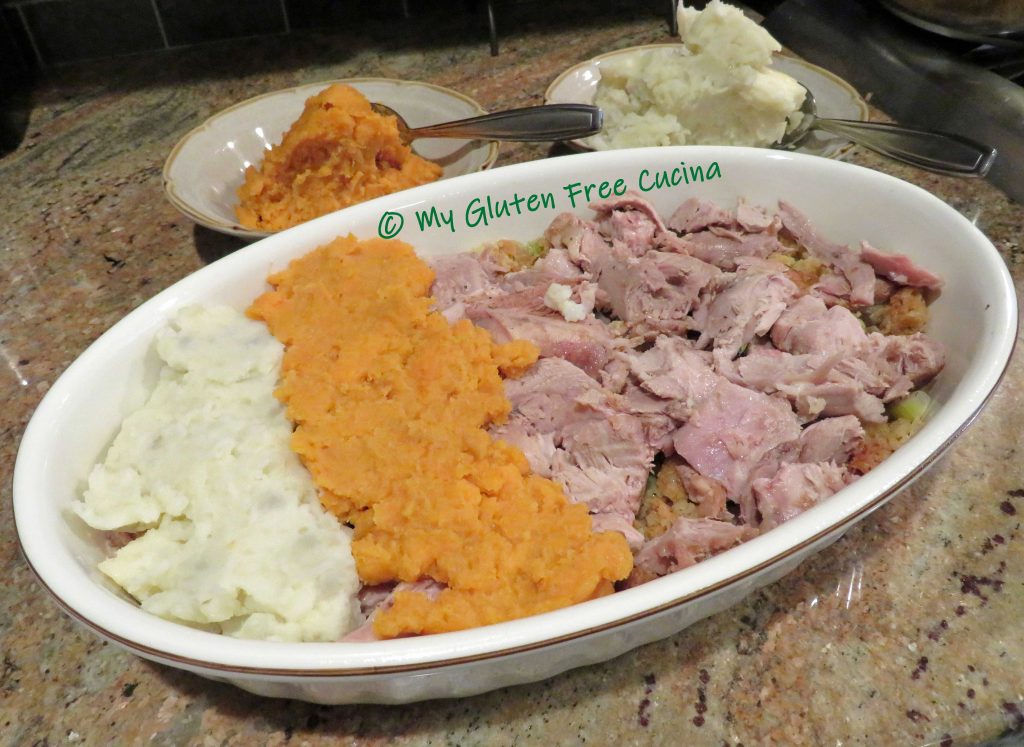
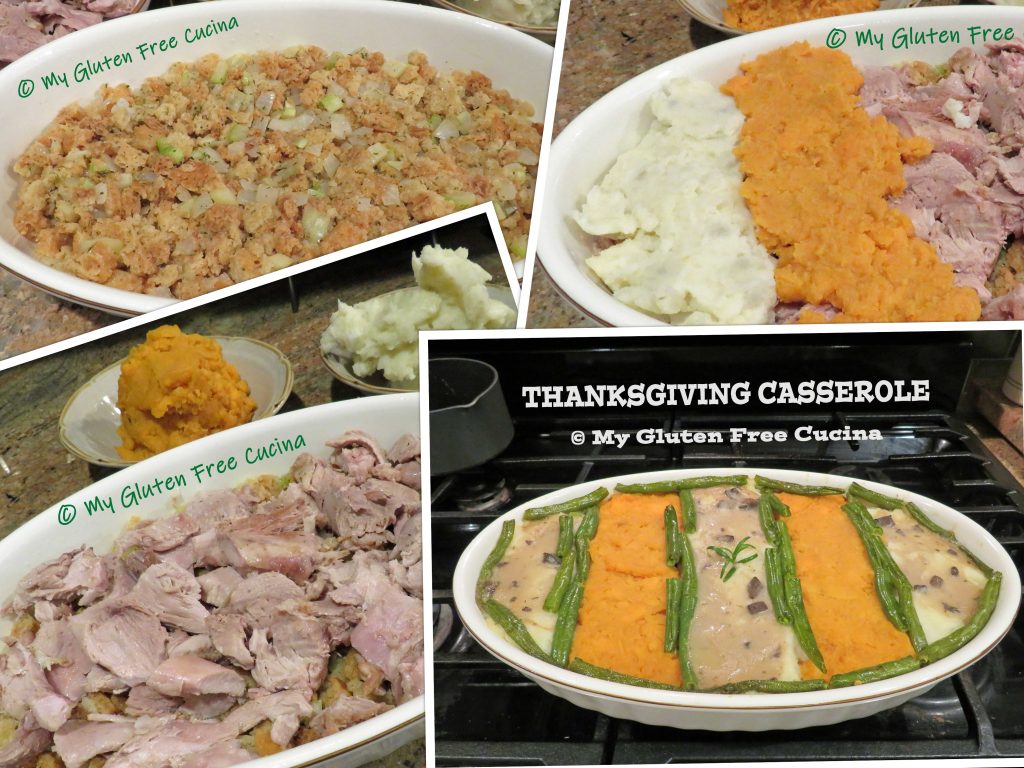 You can make each layer from scratch for a casual take on the traditional Thanksgiving meal or throw it together the next day with your Thanksgiving leftovers!
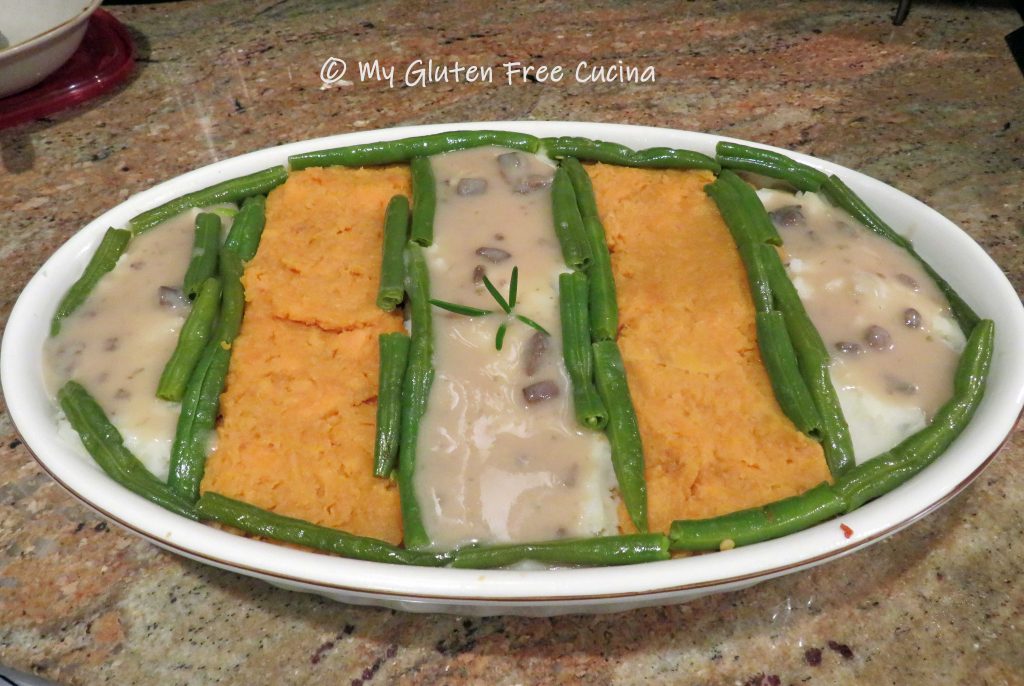


 Chop the pancetta into fine dice or pulse a few times in the processor.
 Add it to the pot and continue cooking slowly for 10 more minutes.
 Allow some of the liquid to evaporate before adding more meat, you want it to brown, not steam. Add more salt and pepper to taste.
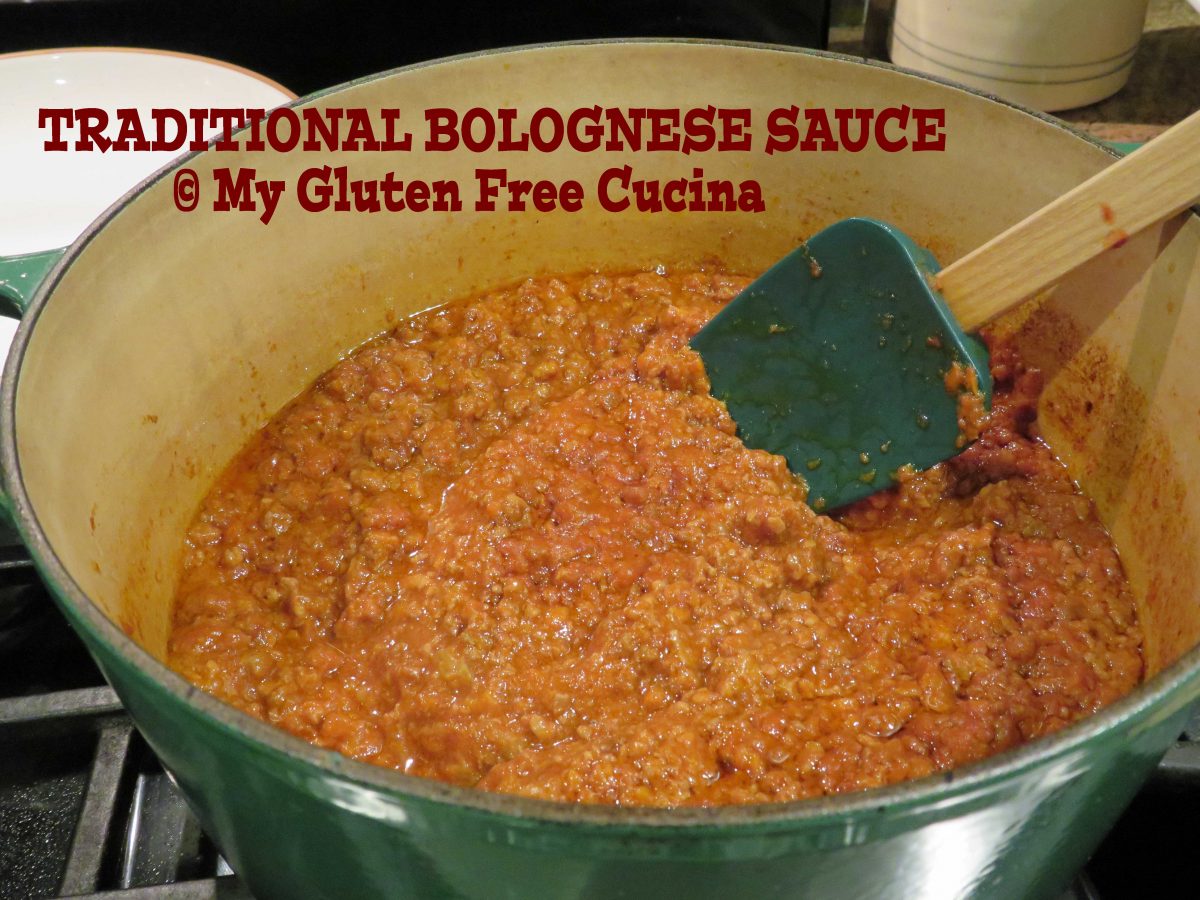
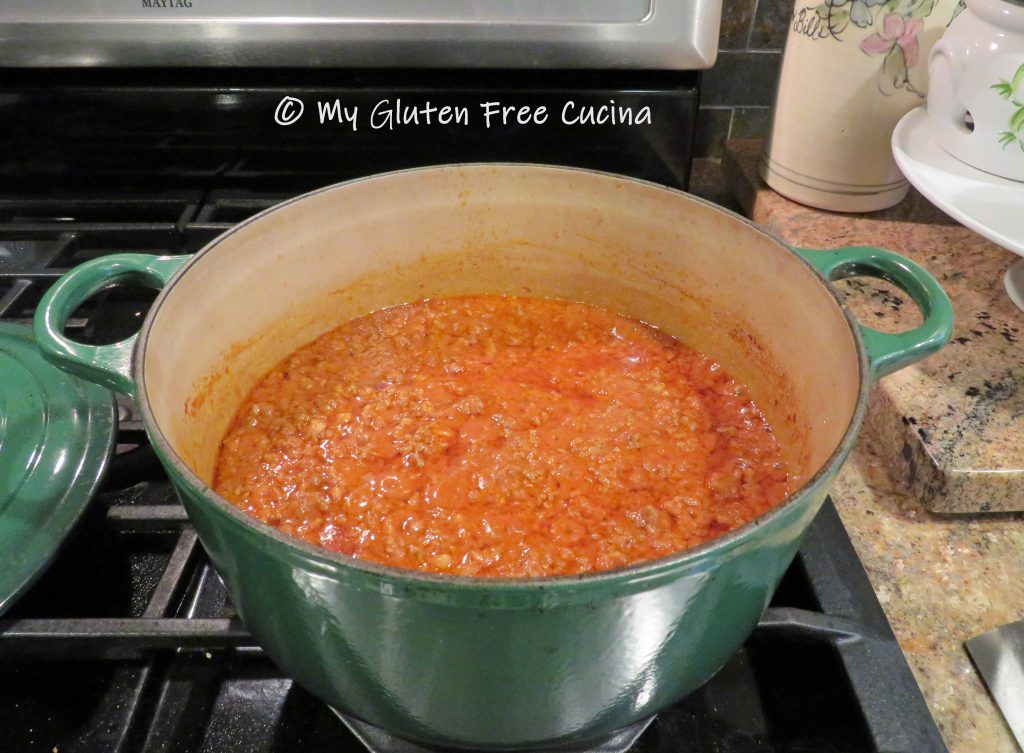
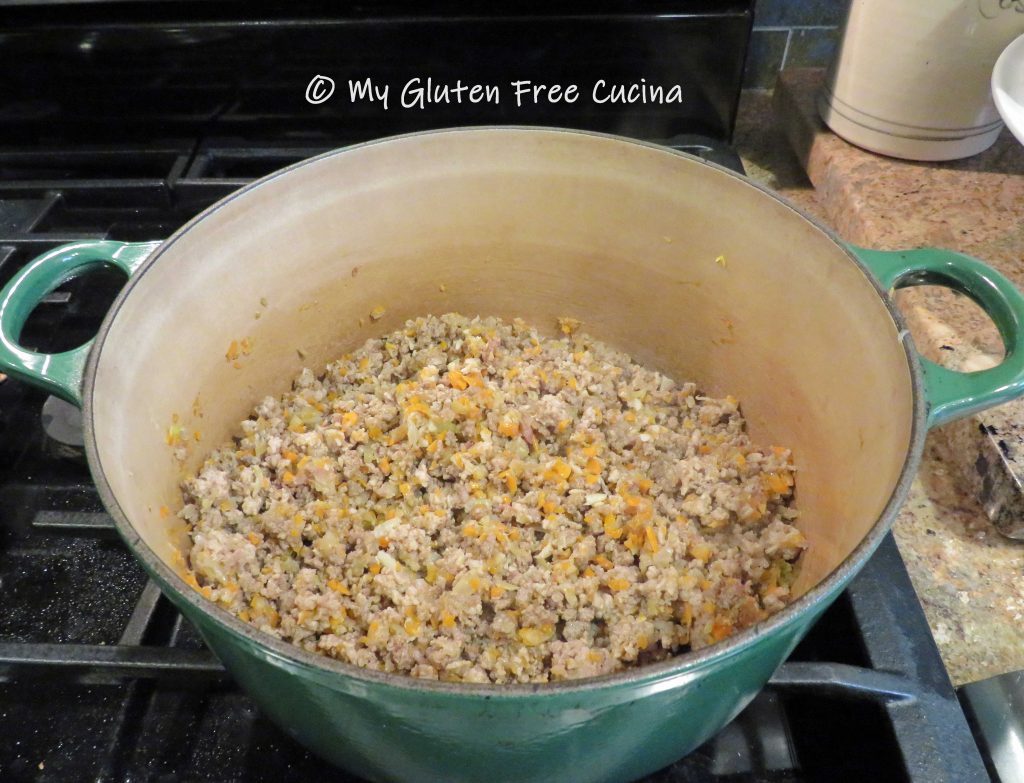 After about 20 minutes the meat should be well browned and starting to caramelize on the bottom of the pan. Clear a spot in the middle of the pan and add the tomato paste. Cook for 2 minutes, then stir the tomato paste into the meat.
 Add the red wine, and use a spatula to loosen up any browned bits on the bottom of the pan and stir them into the sauce.
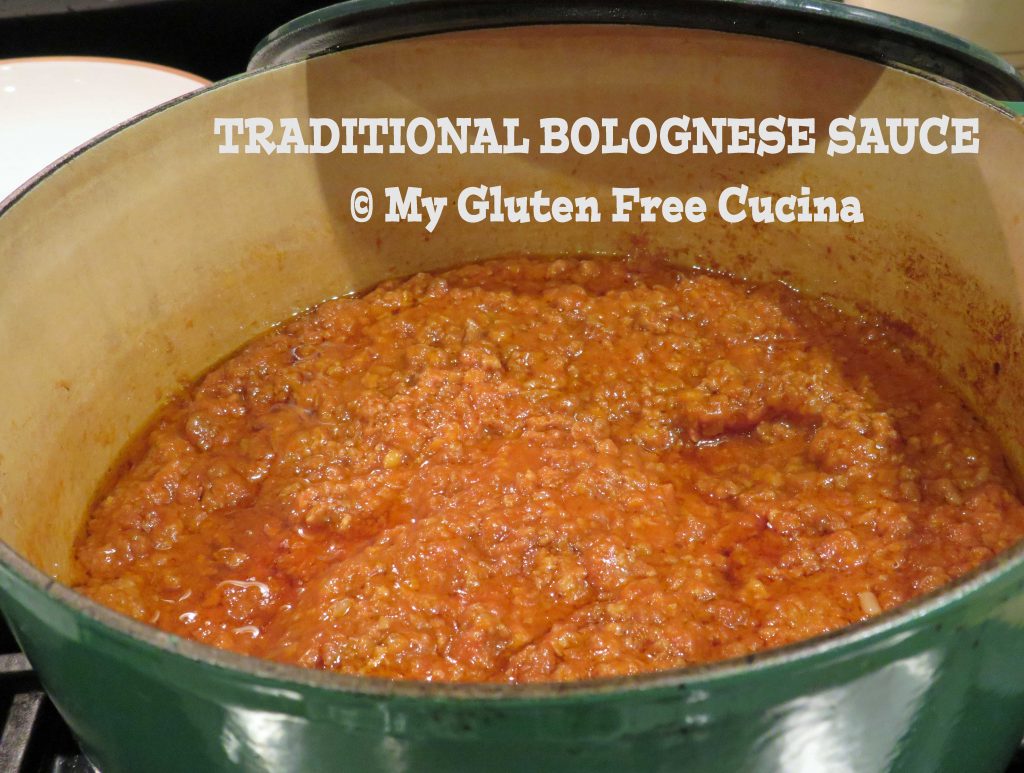
 Simmer 3 minutes to allow some of the wine to cook off, then add the milk (or cream), tomatoes and stock.
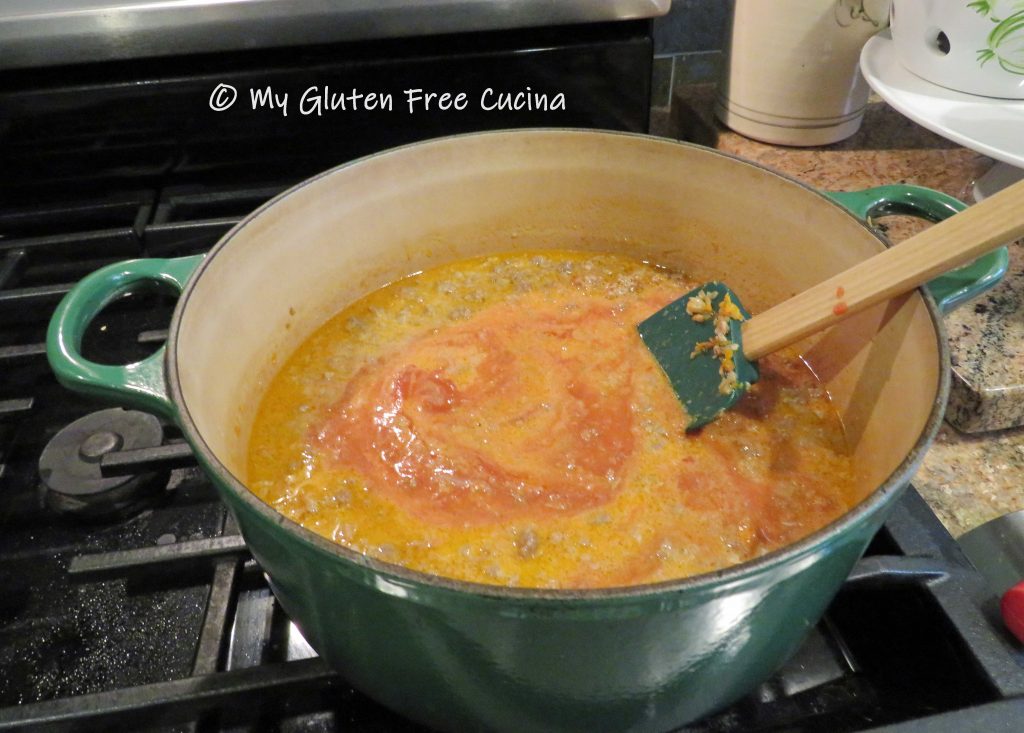


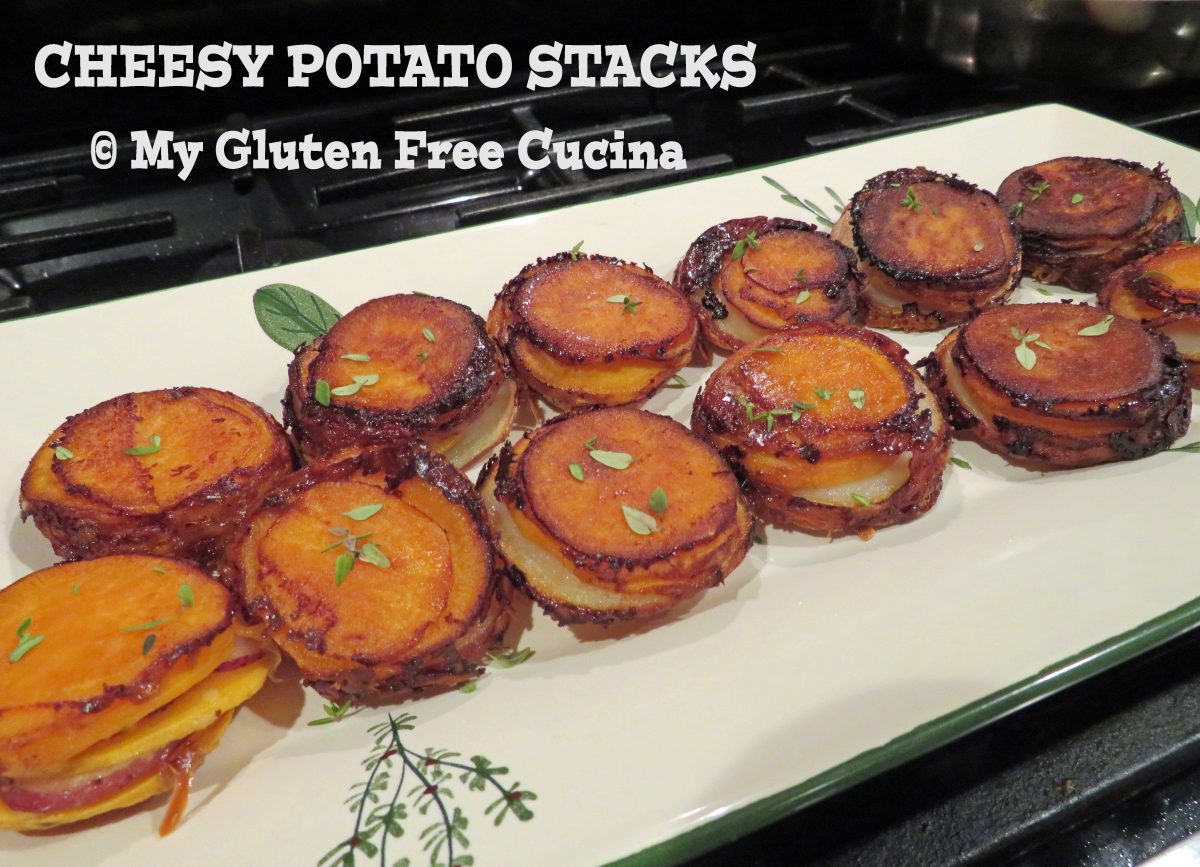
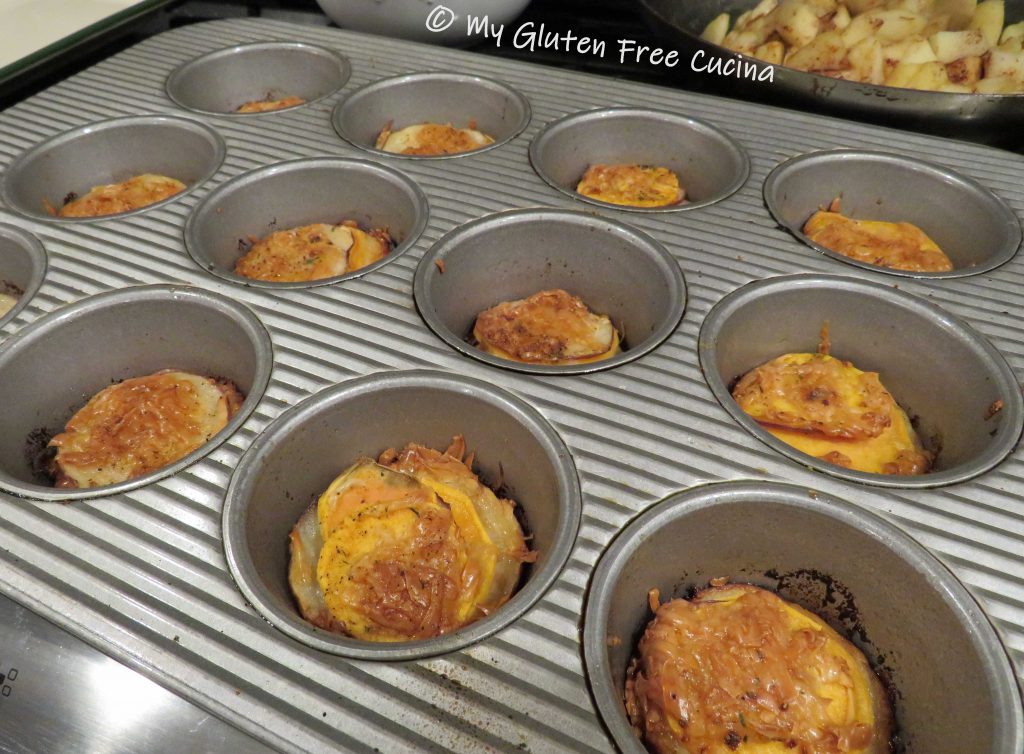


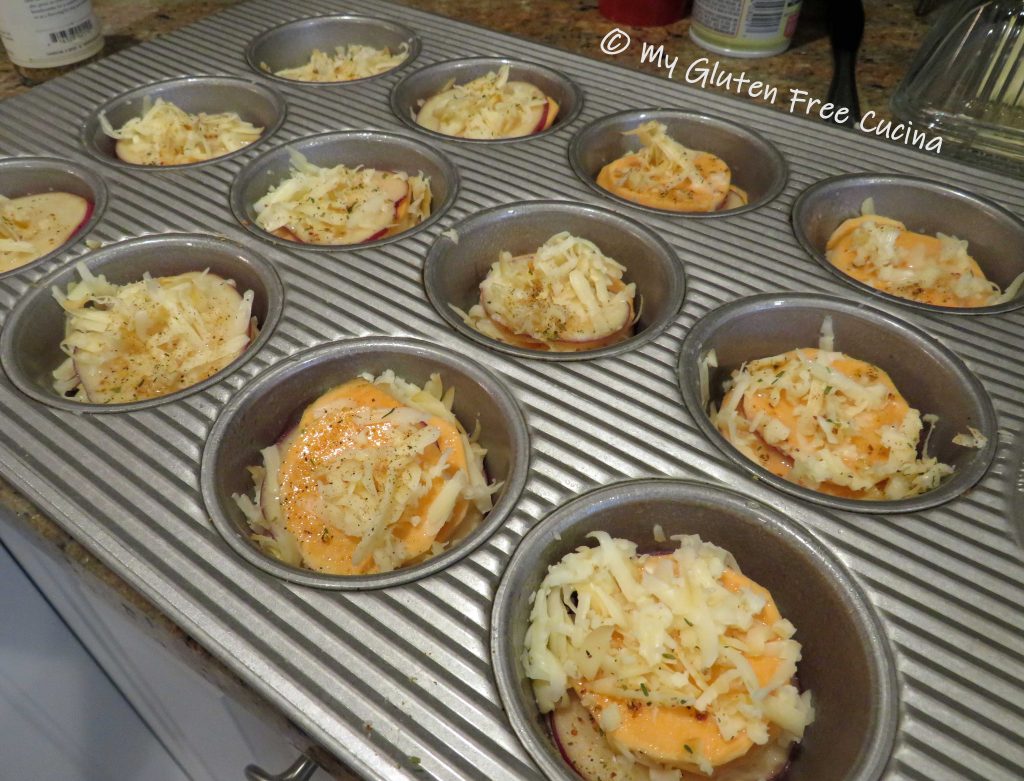
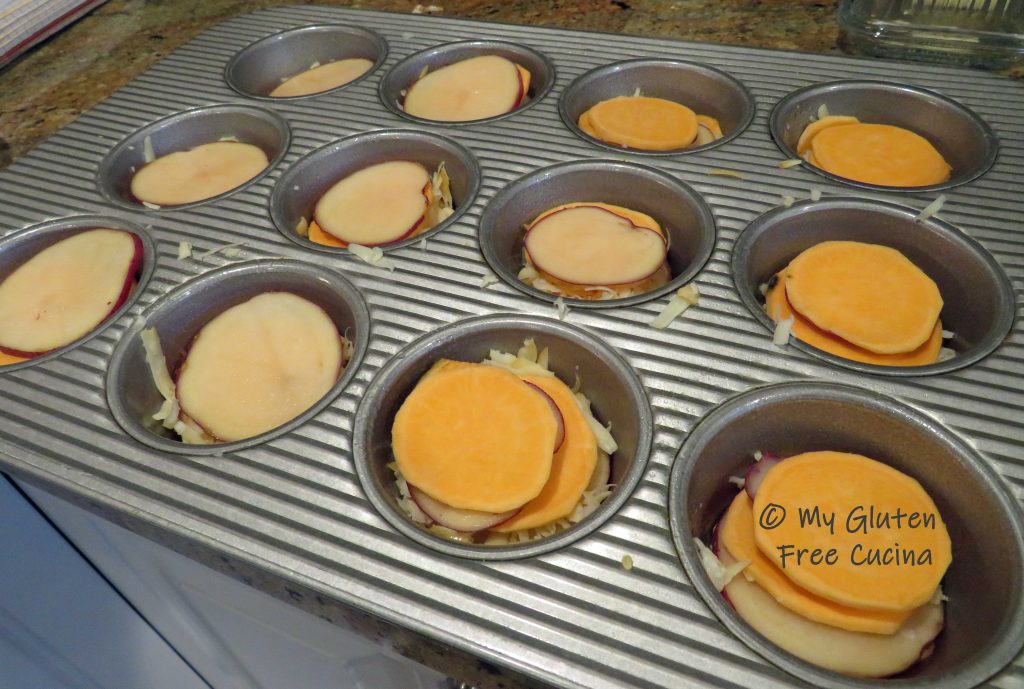 Use the smaller slices on the bottom for the best fit. Drizzle one tsp. of the butter mixture over each stack and top with half of the grated cheese.