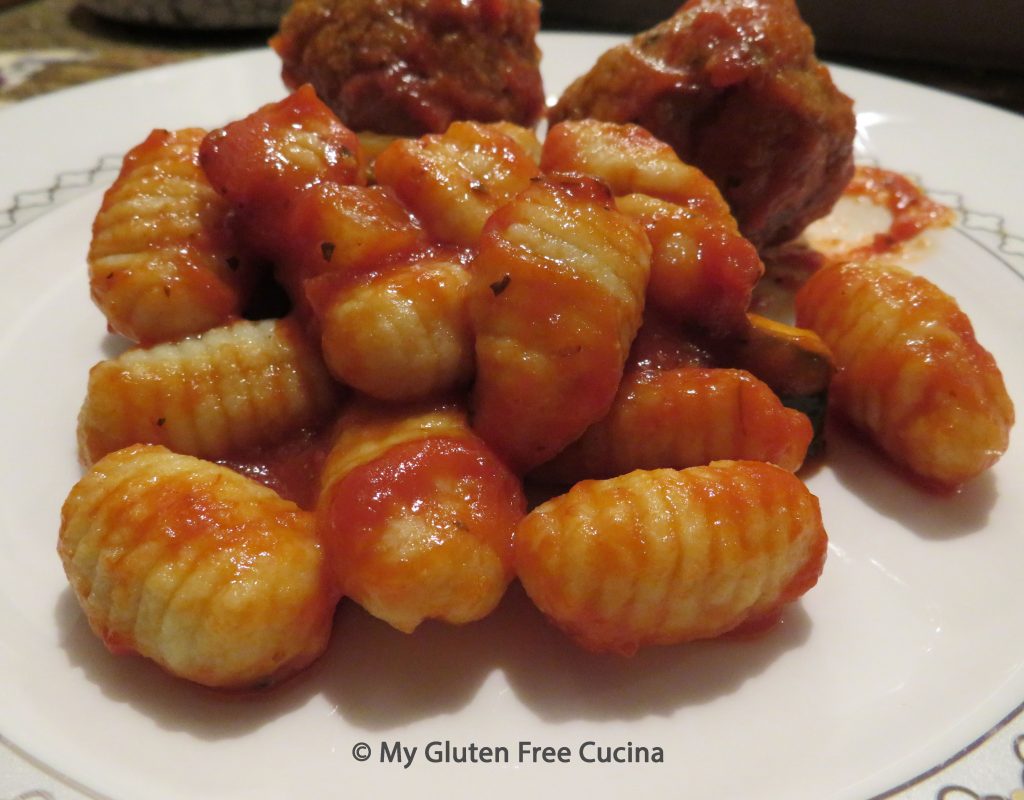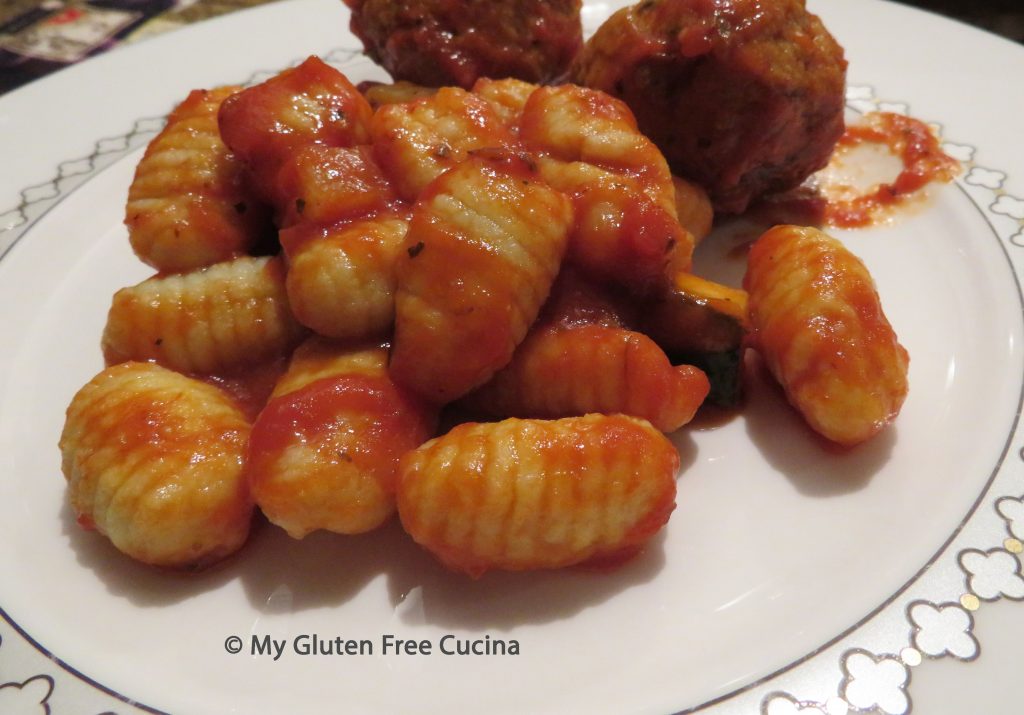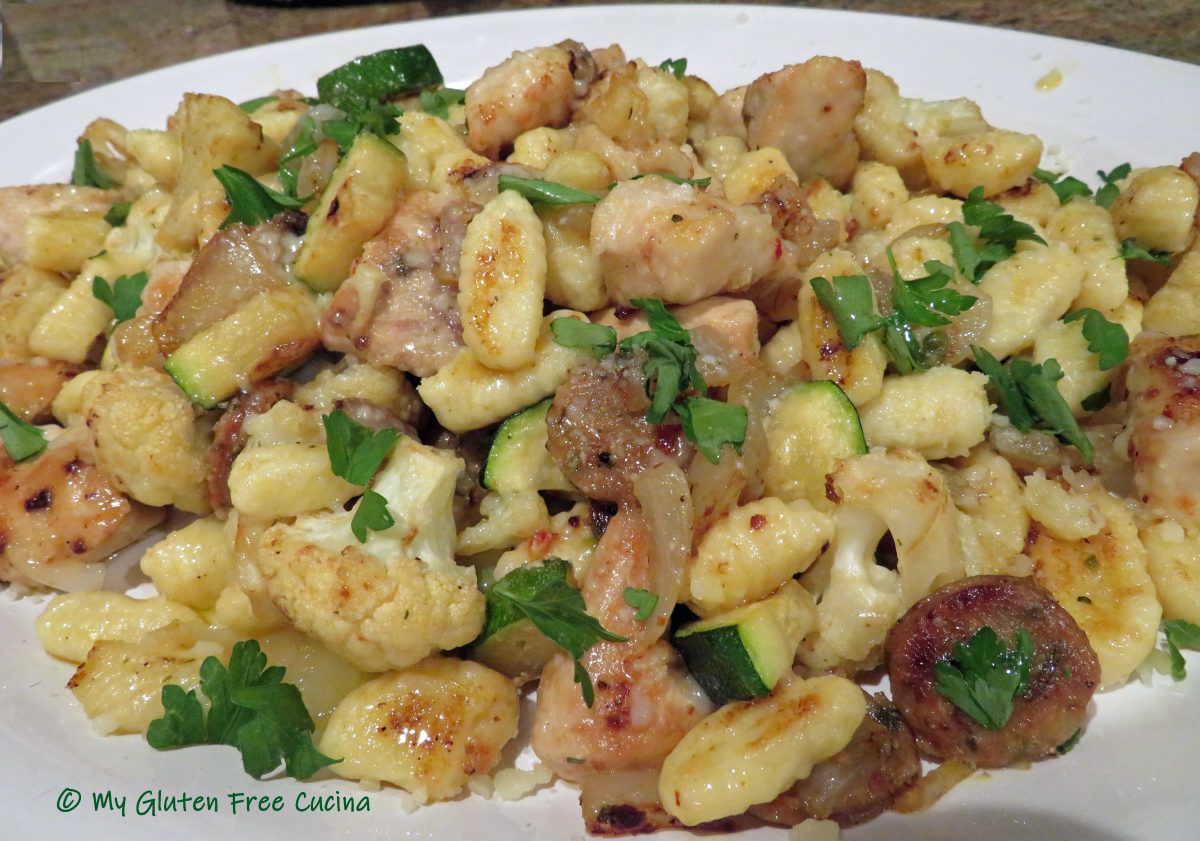
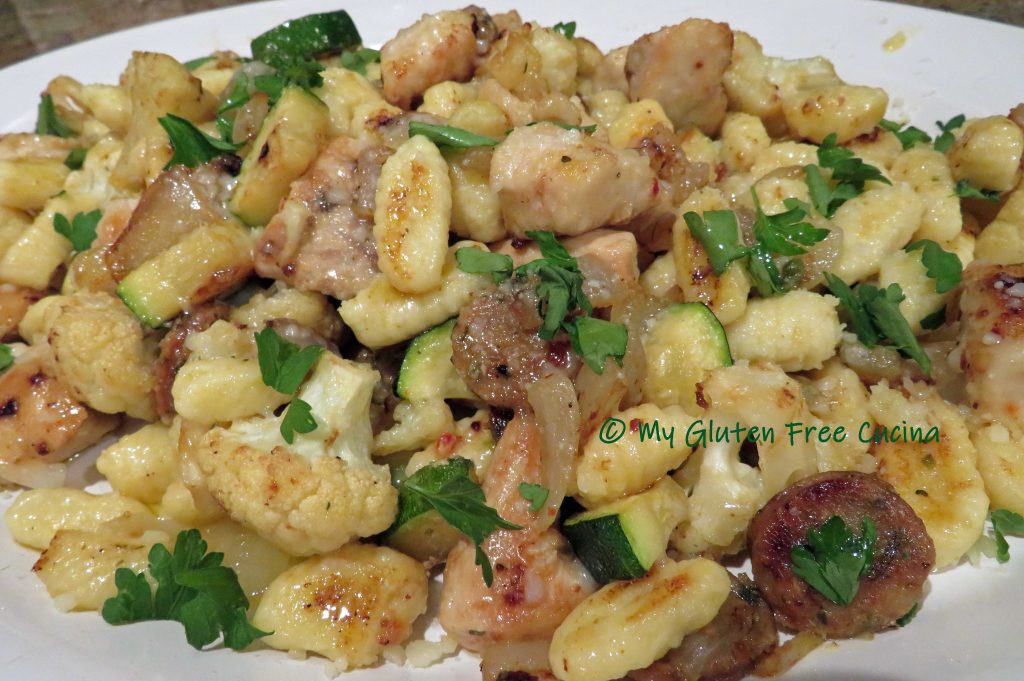
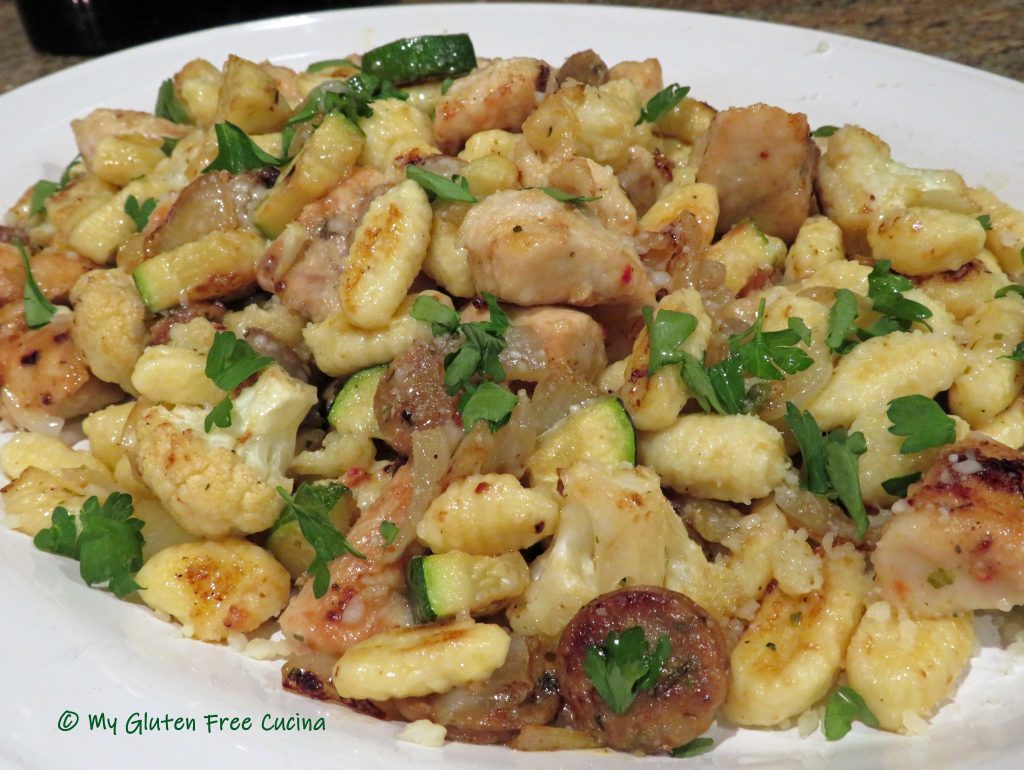
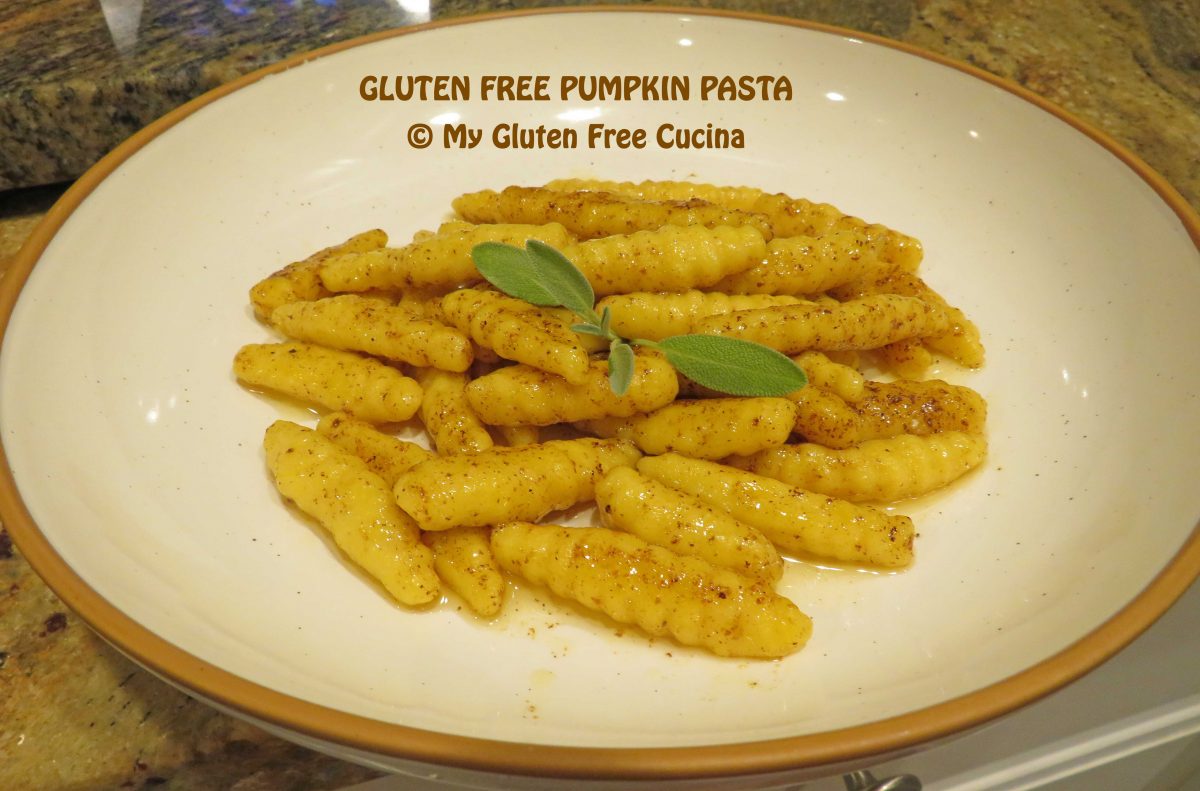
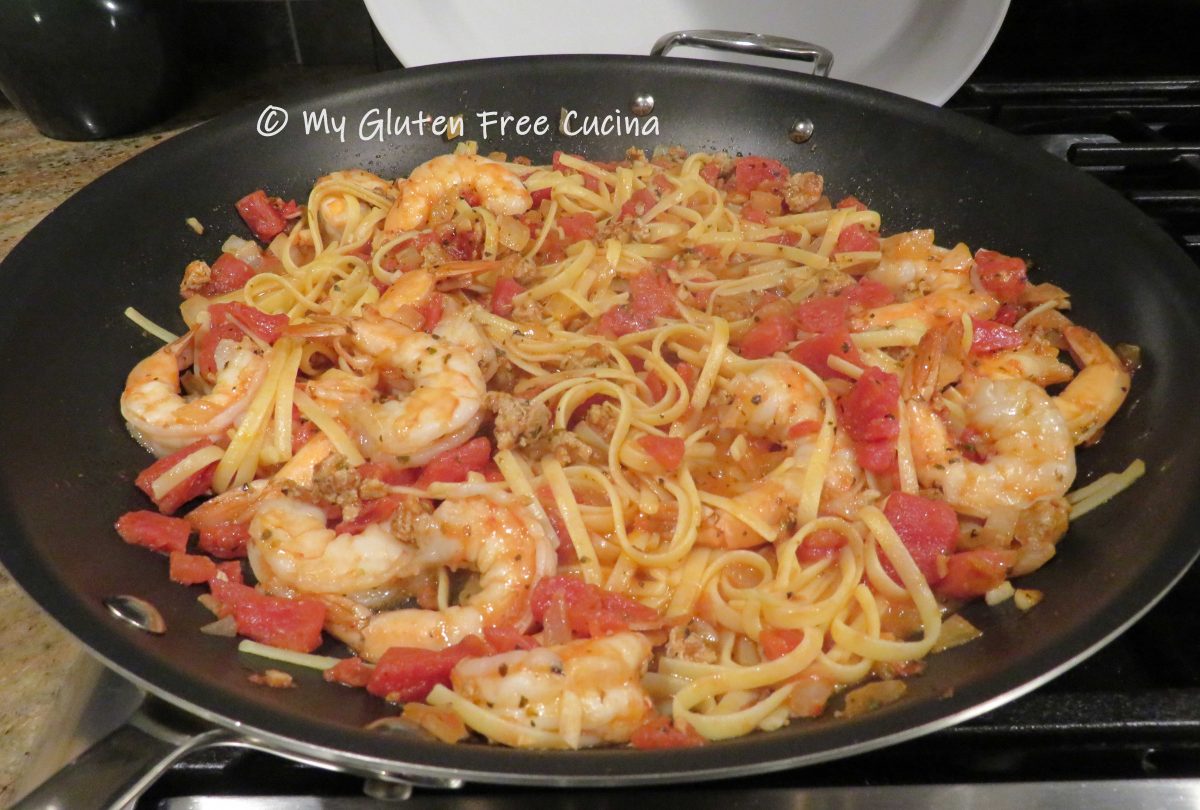
Look at this beautiful tray of gnocchi! Would you believe it’s gluten free? It is so good to know that we can still enjoy some of our favorite meals, minus the gluten! This dish features fresh homemade gnocchi, one of my favorite pasta shapes, tossed in a flavorful skillet of chicken, sausage and cauliflower.
This post contains affiliate links.
4 servings

For the gnocchi:
- 140 g. gluten free all-purpose flour (see notes)
- 1/4 tsp. salt
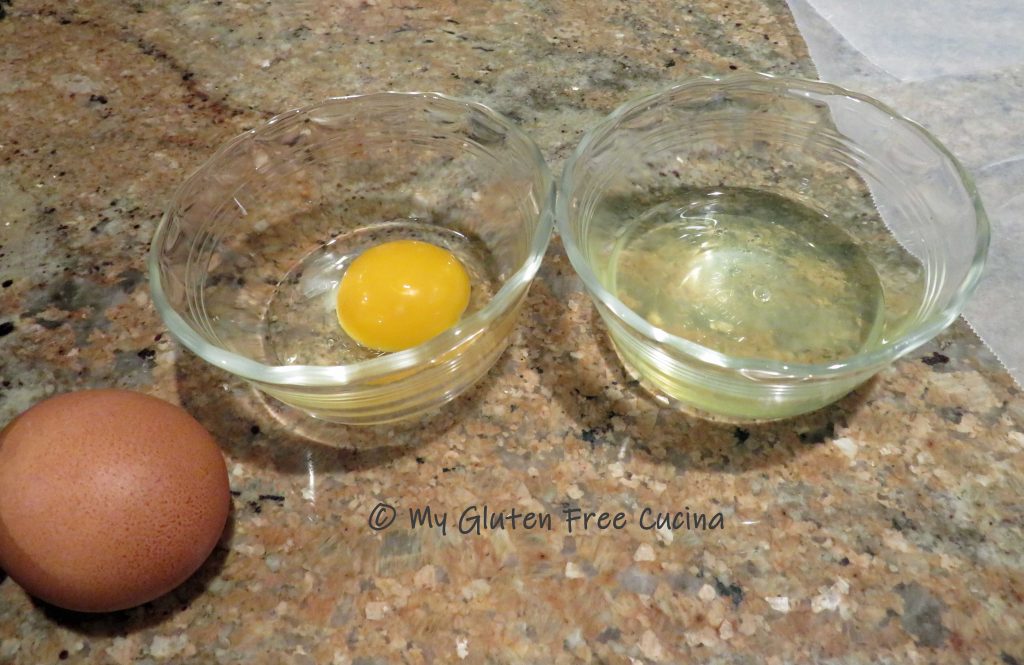
- 2 large eggs
- 1.5 tsp. olive oil
When you shop Better Batter and use my Promo Code MGFC30 at checkout, you will receive 30% off any non-sale item!
CLICK HERE to try the flour that I call my little miracle in a bag!
OR
- 105 g. brown rice flour
- 35 g. tapioca starch
- 1-1/2 tsp. xanthan gum
- 1/4 tsp. salt
- 2 large eggs
- 1.5 tsp. olive oil

For the skillet:
- 1/2 head cauliflower, cut into 1″ pieces
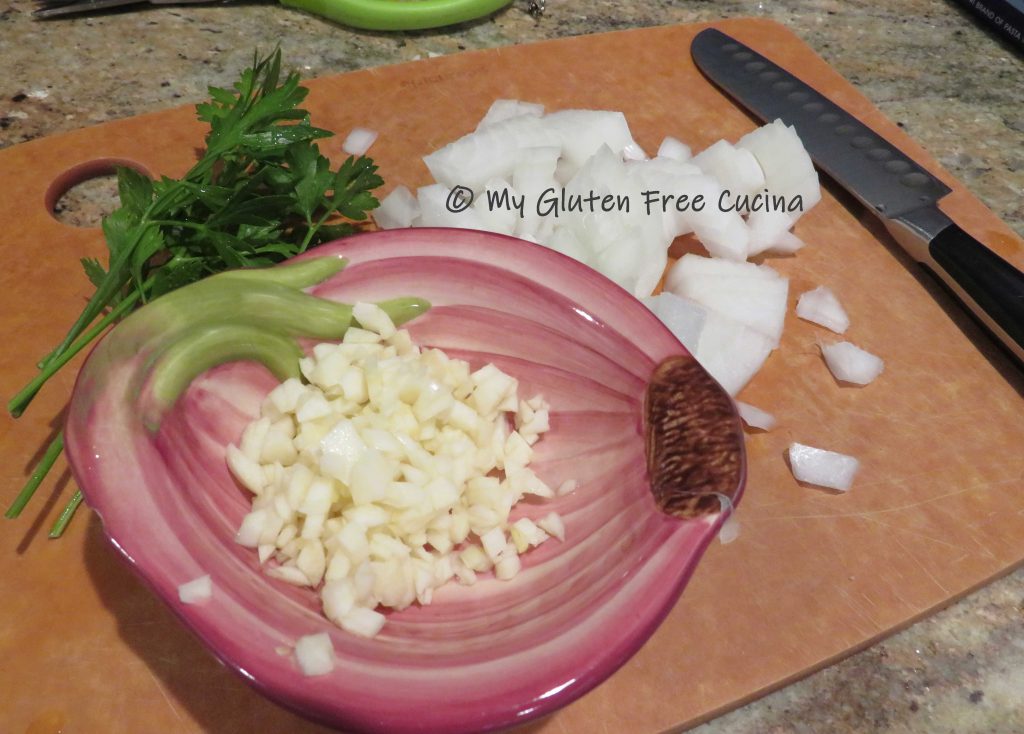
- 1/2 sweet onion, diced
- 1/2 medium zucchini, diced
- 1/2 lb. boneless chicken breast, cut into 1-1/2″ pieces
- 1/2 lb. gluten free Italian chicken sausage, sliced into coins
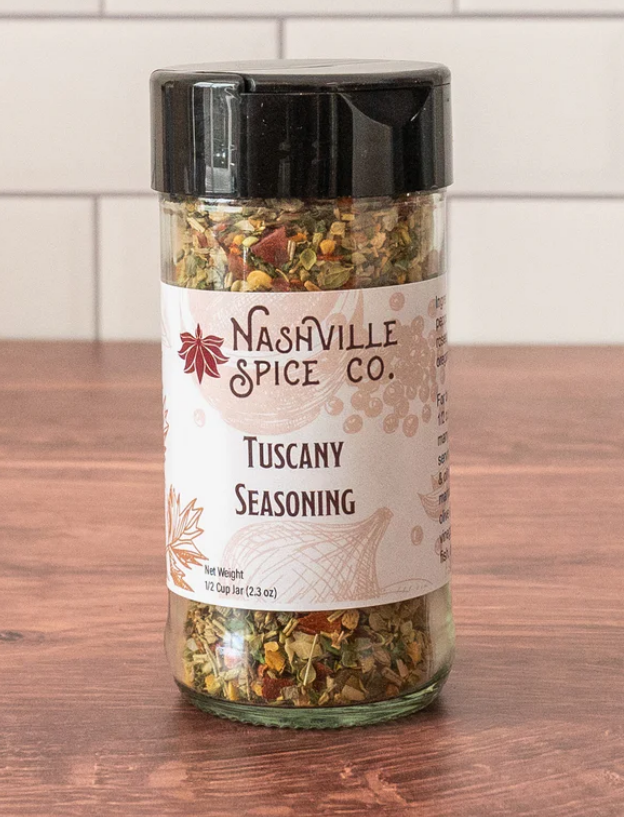
- gluten free Italian seasoning
- 3 tbsp. white rice flour
- salt and pepper
- gluten free chicken broth
- grated cheese (I used Romano)
- fresh Italian parsley for garnish
Preparation:
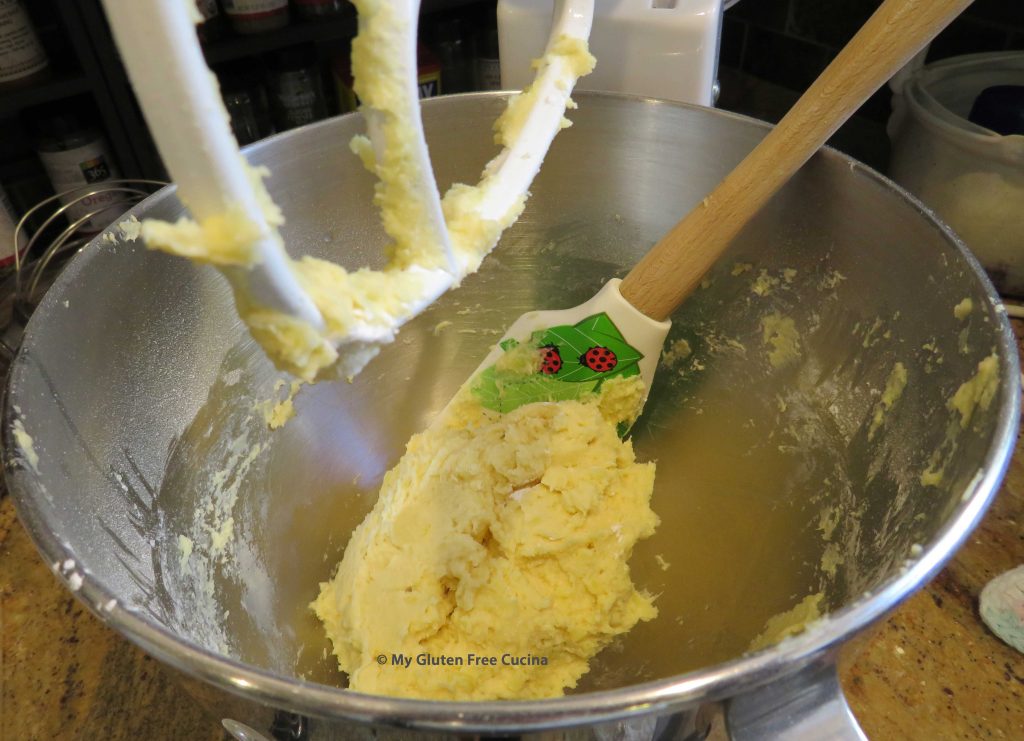
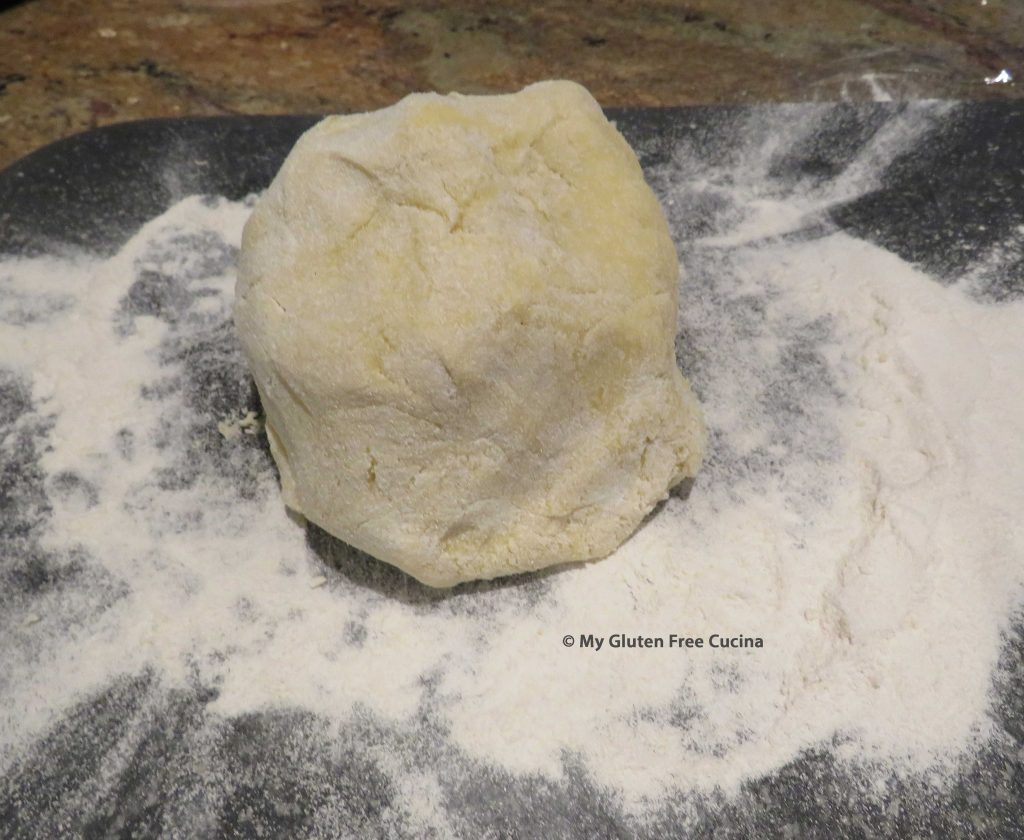
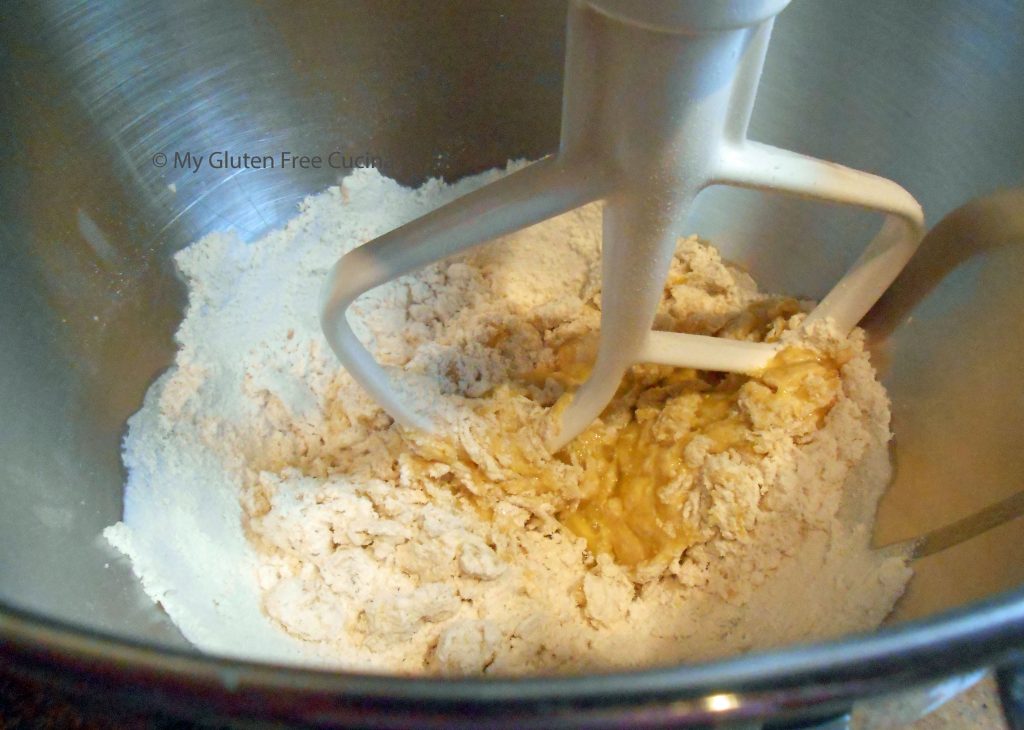
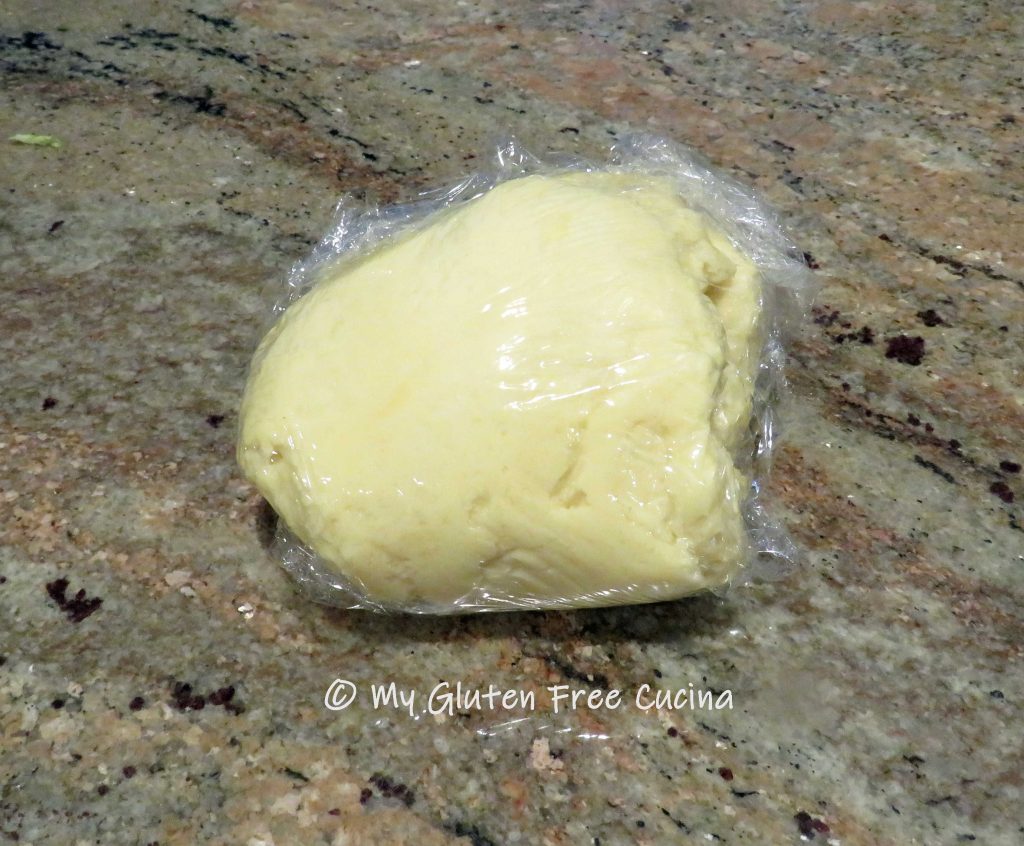
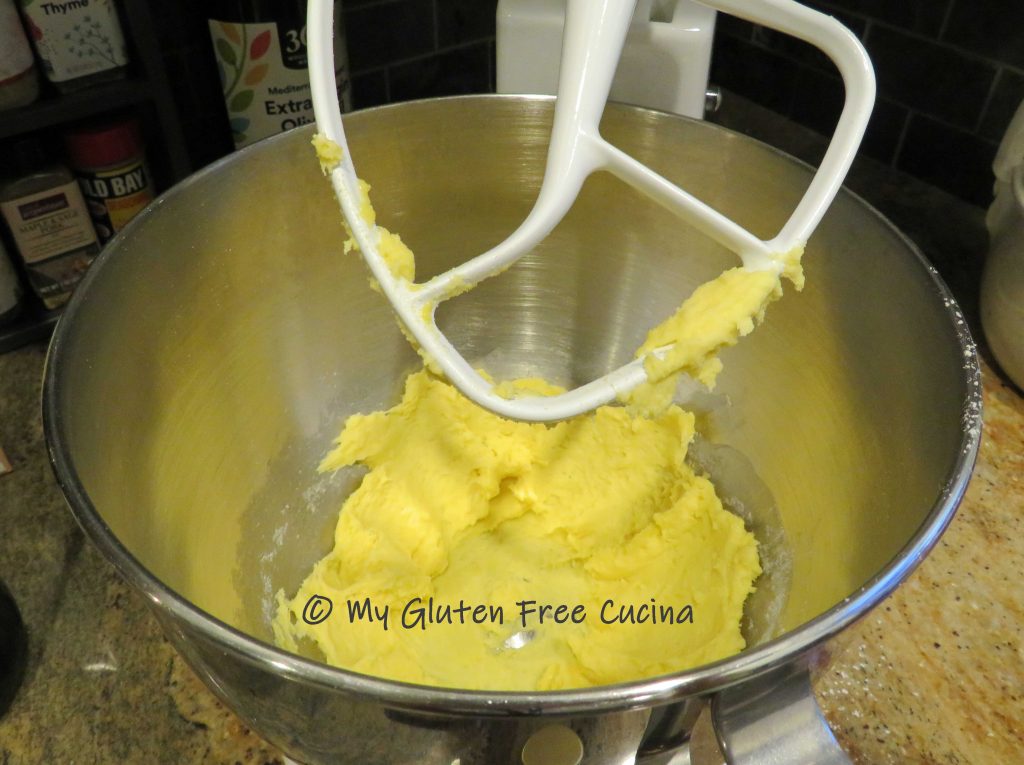
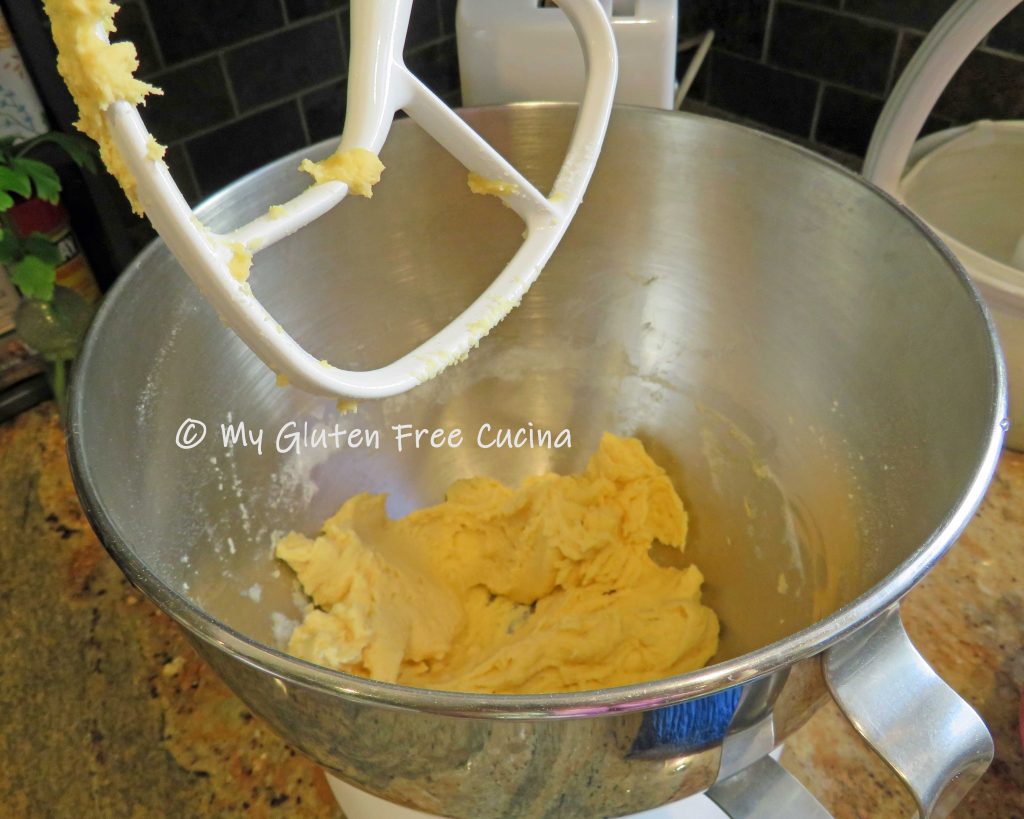
To make the pasta, whisk together the dry ingredients in the bowl of a stand mixer. Beat together the eggs and olive oil and add to the flour mixture. With the paddle attachment, mix on low speed until a soft dough forms (about 1 minute).

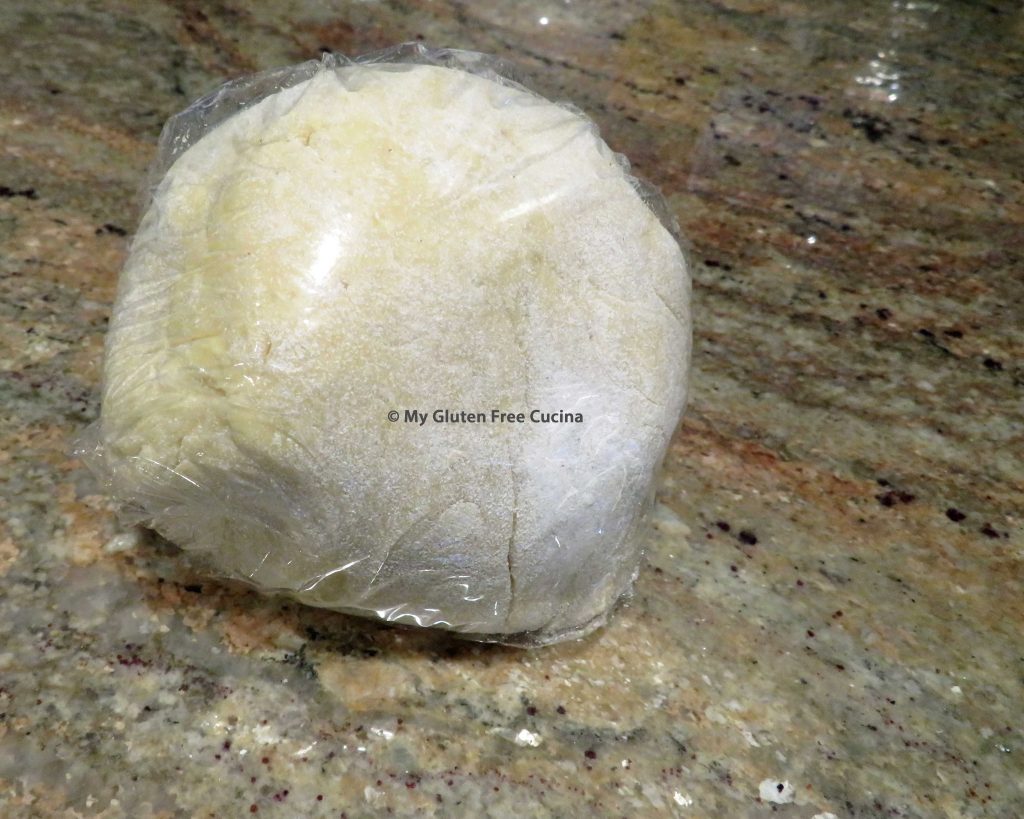
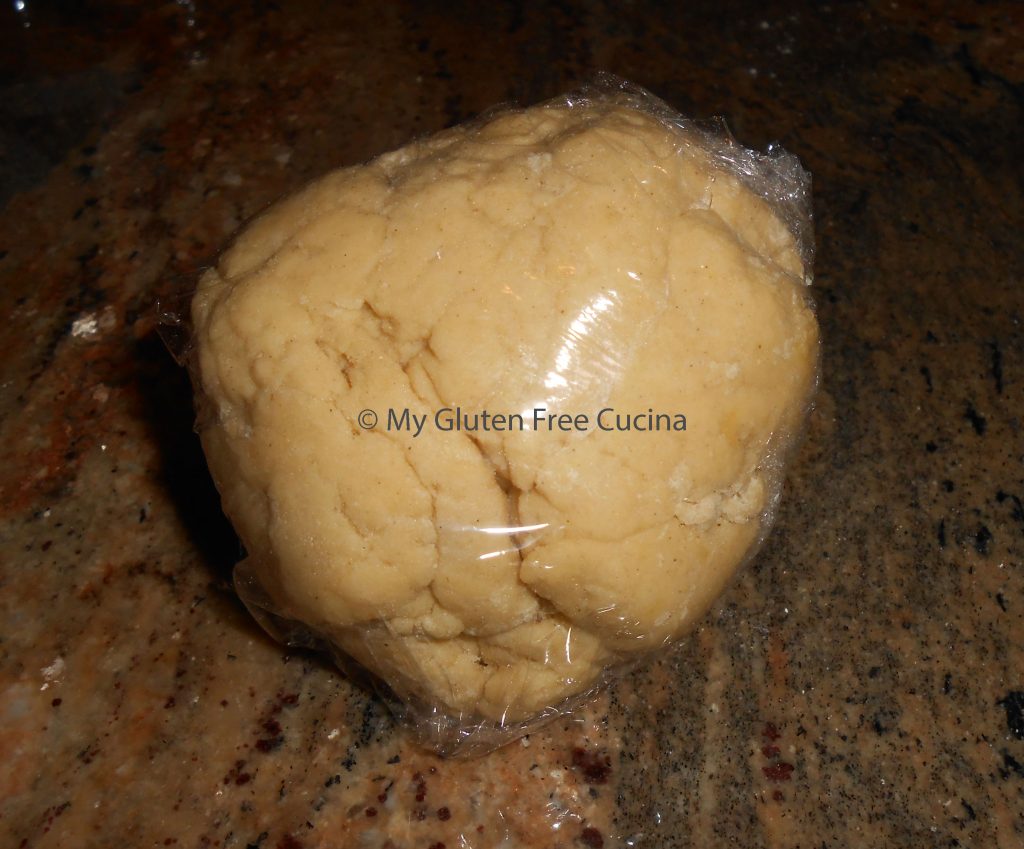
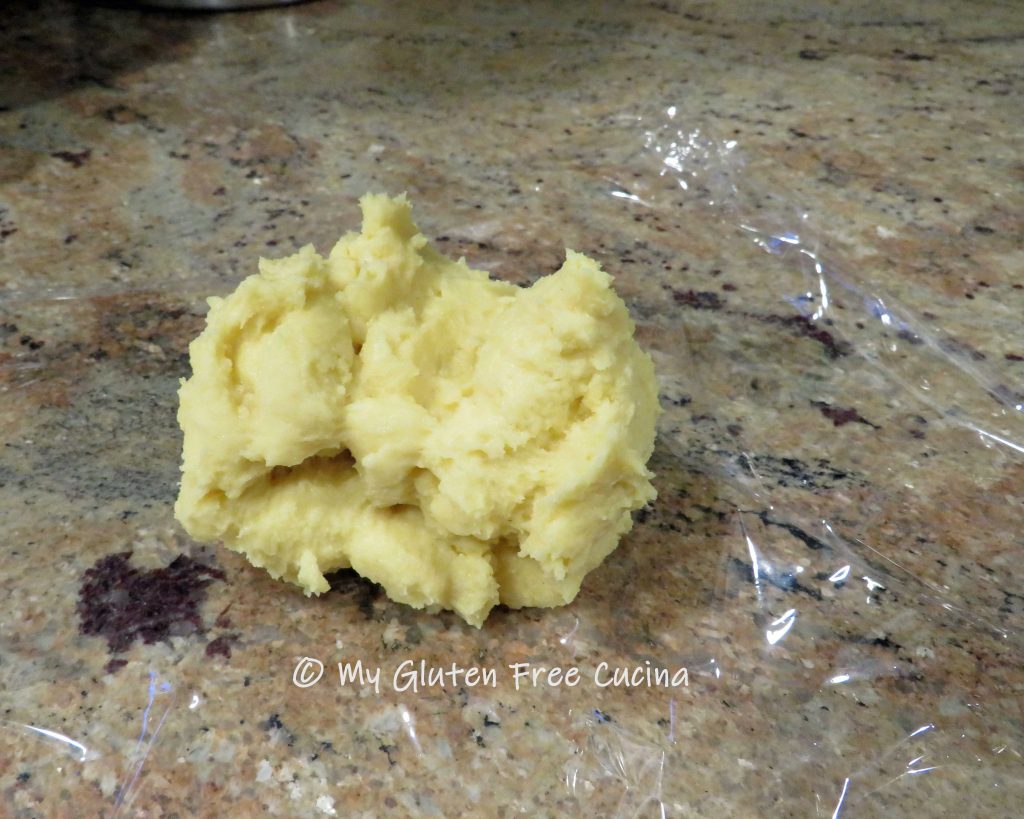
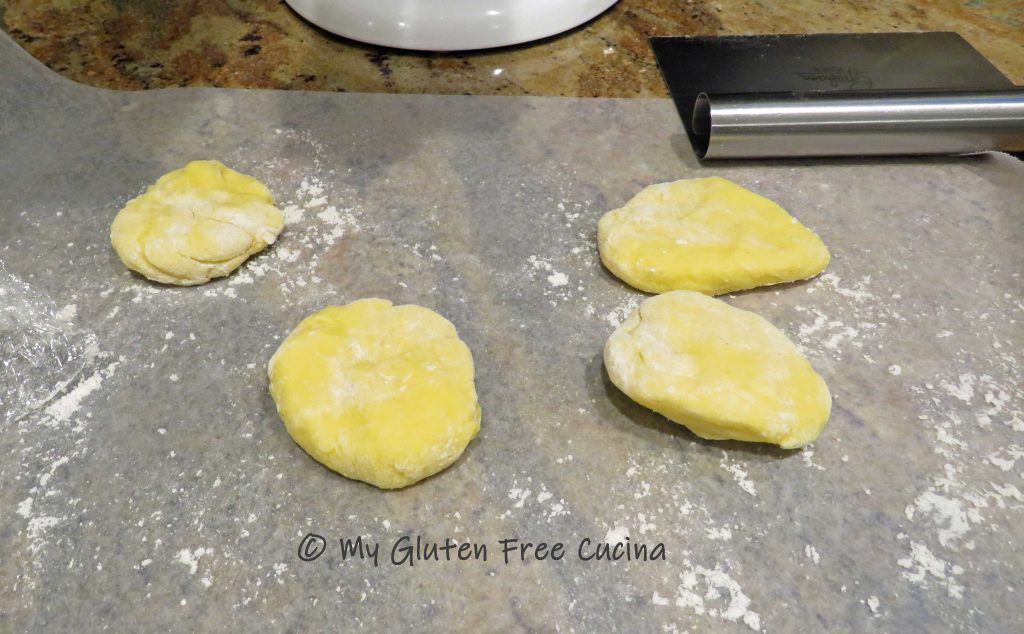
Press the dough into a ball and cover with plastic wrap. Let it rest 10 minutes.
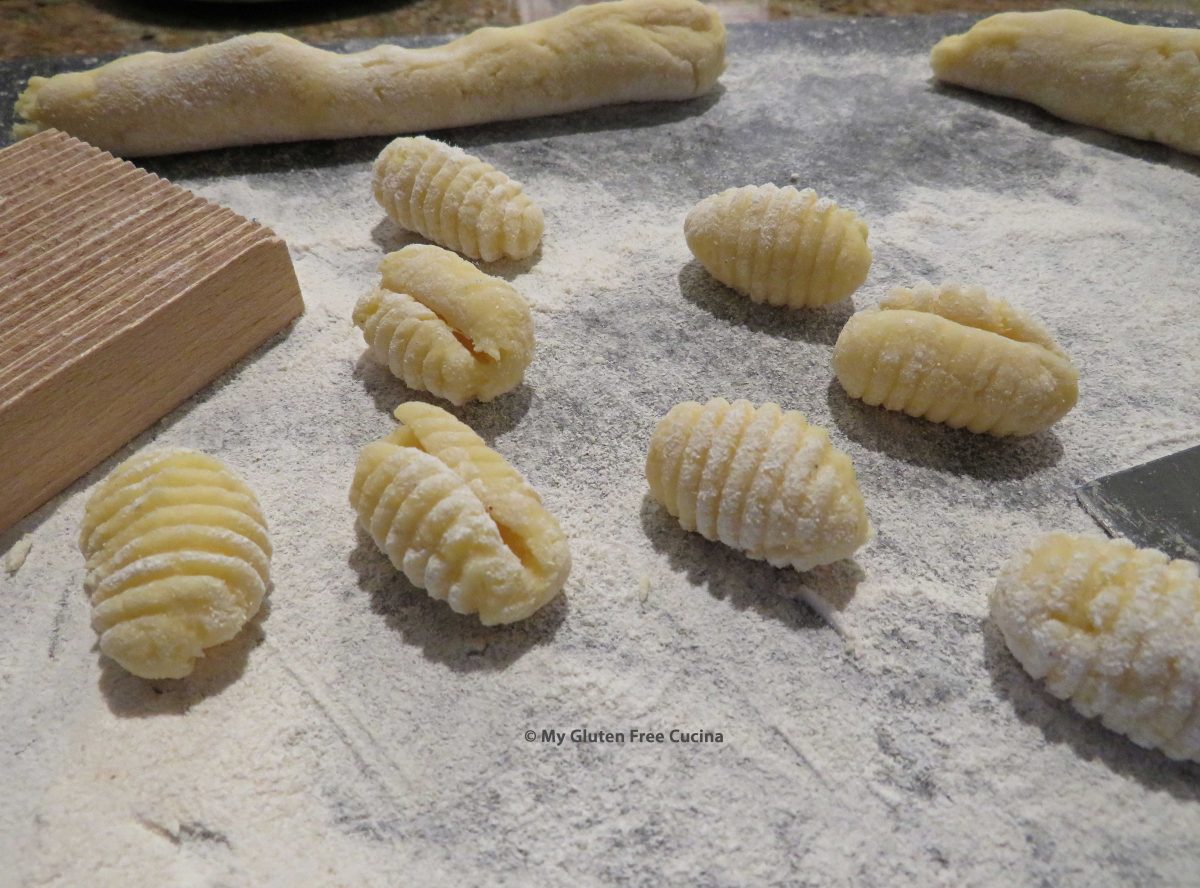
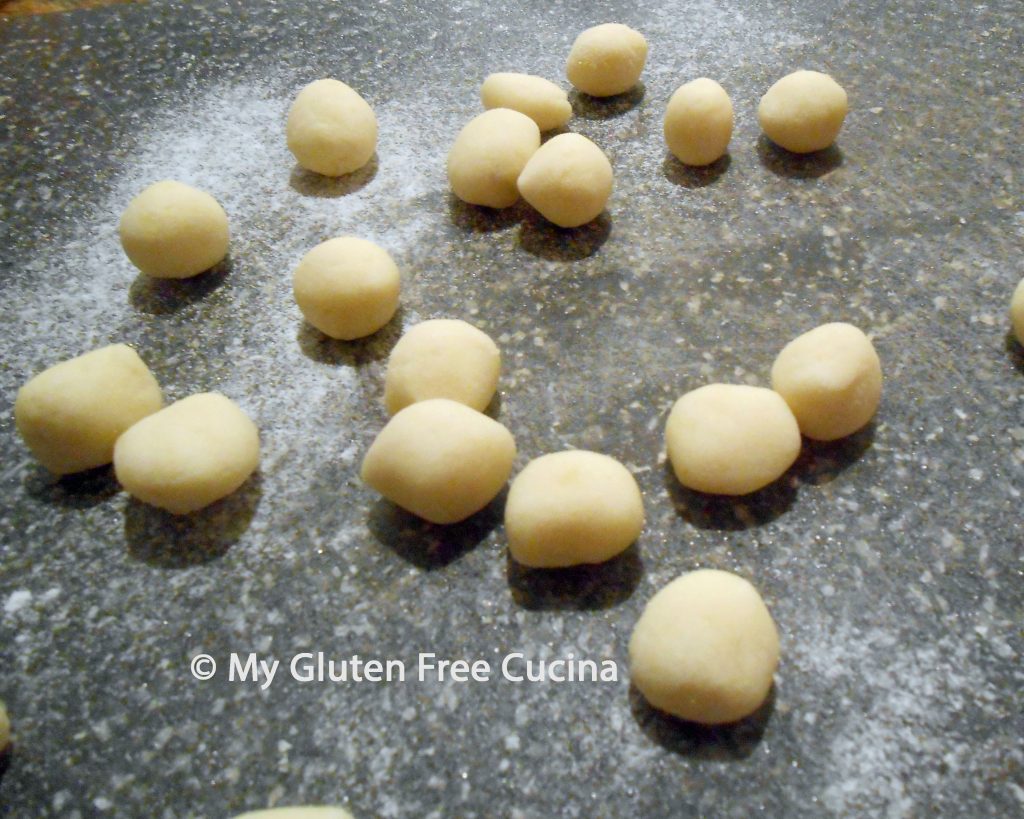
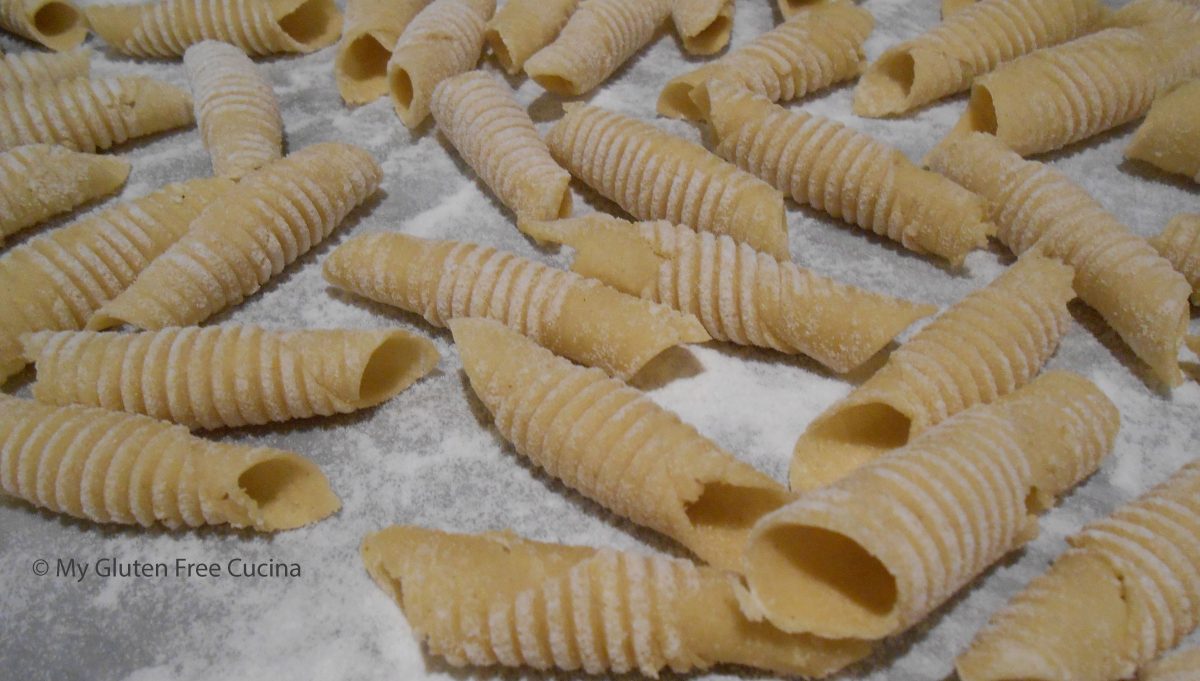
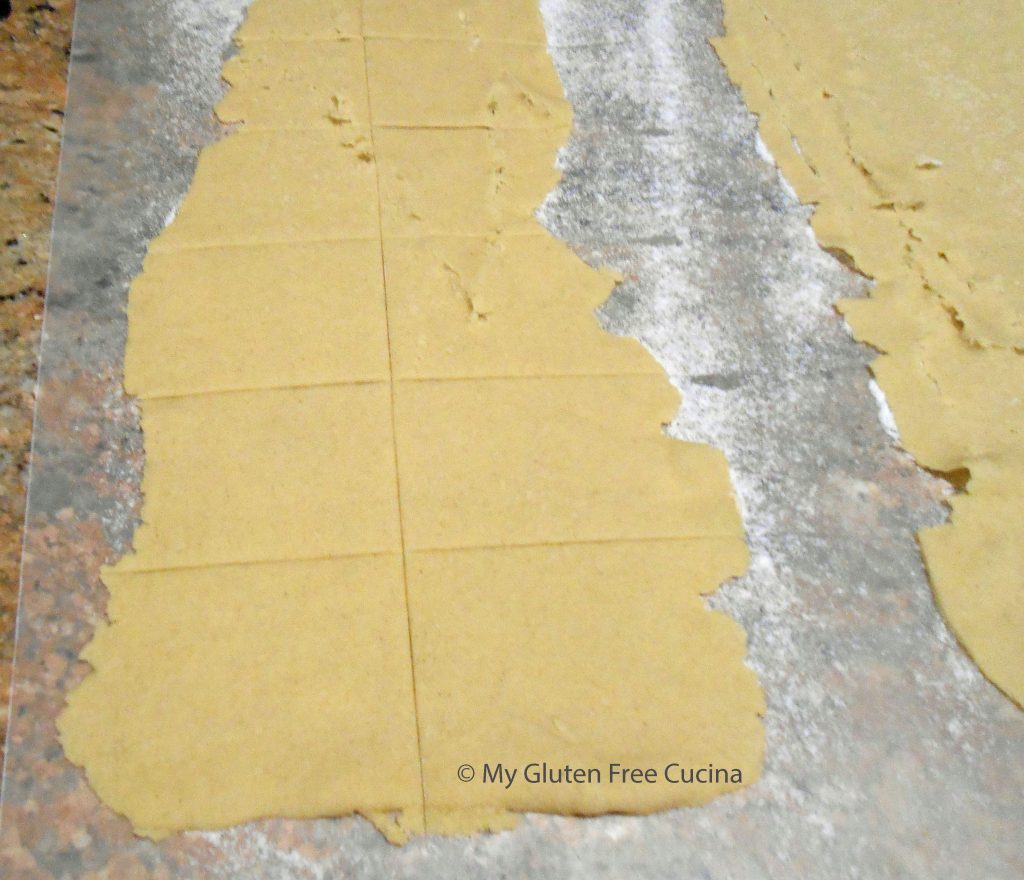
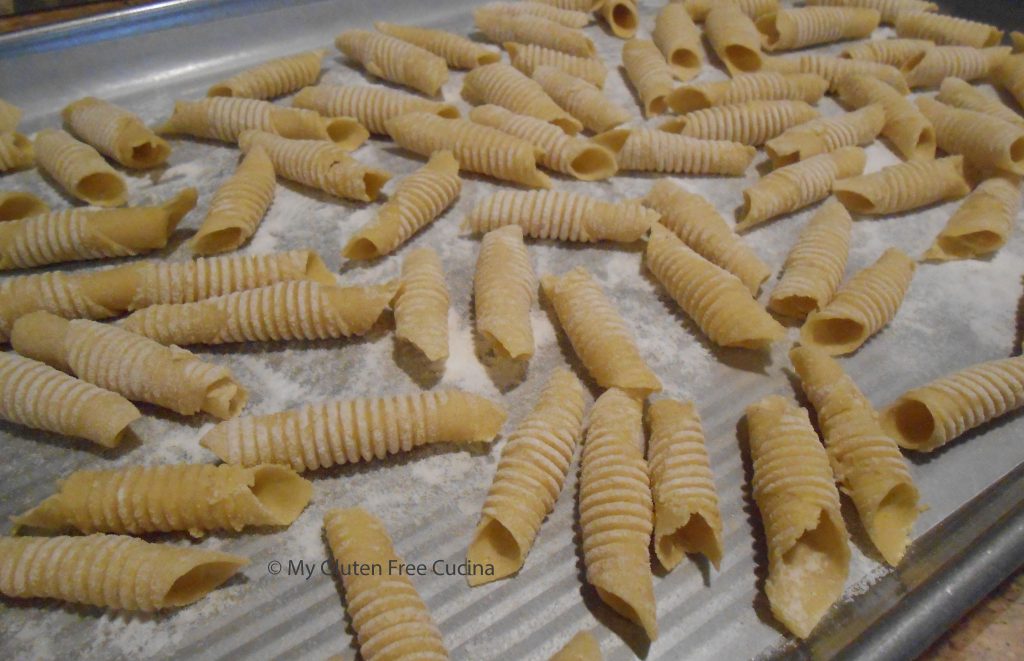
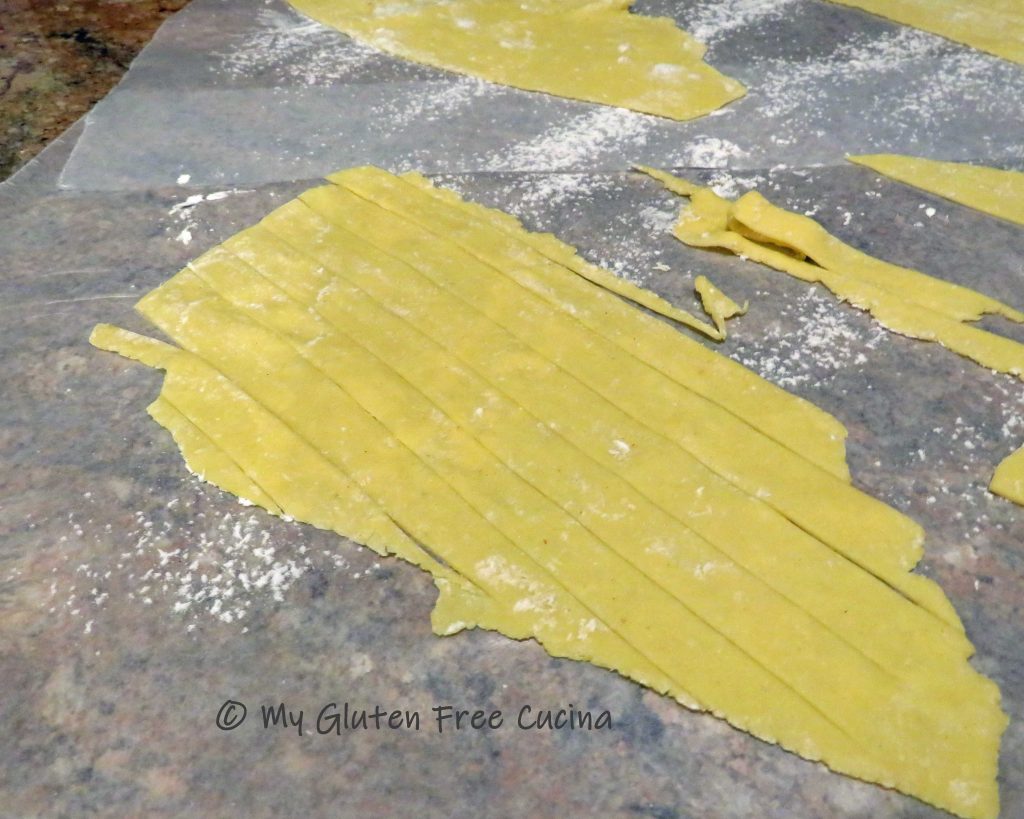
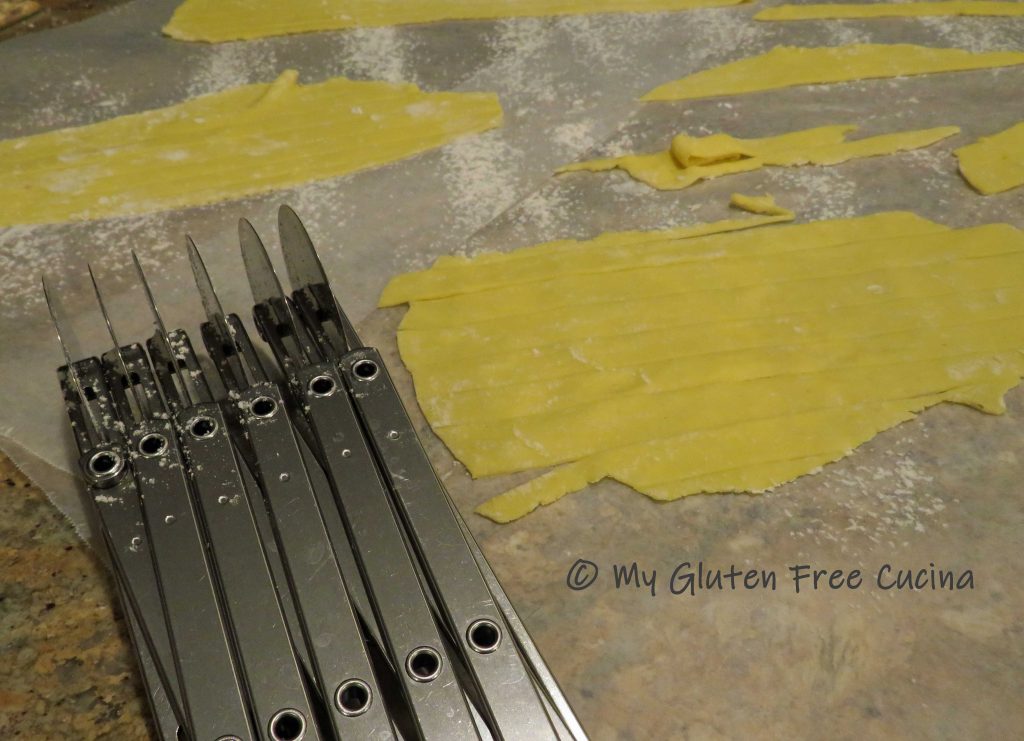
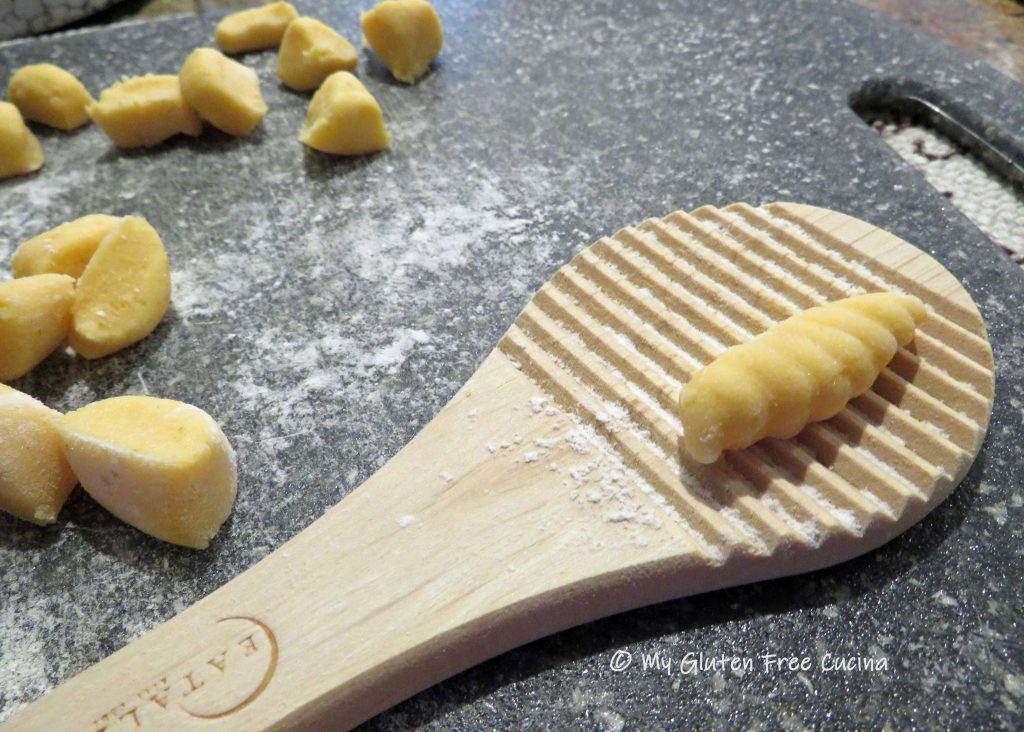
Lightly flour your work surface and gnocchi board. Use a bench knife to divide the dough into 4 even pieces. Work with one piece at a time and keep the rest covered so that it doesn’t dry out. Roll each piece of dough into a long rope about 3/4″ wide.

Use the bench knife to cut the rope into 1/2″ pieces.
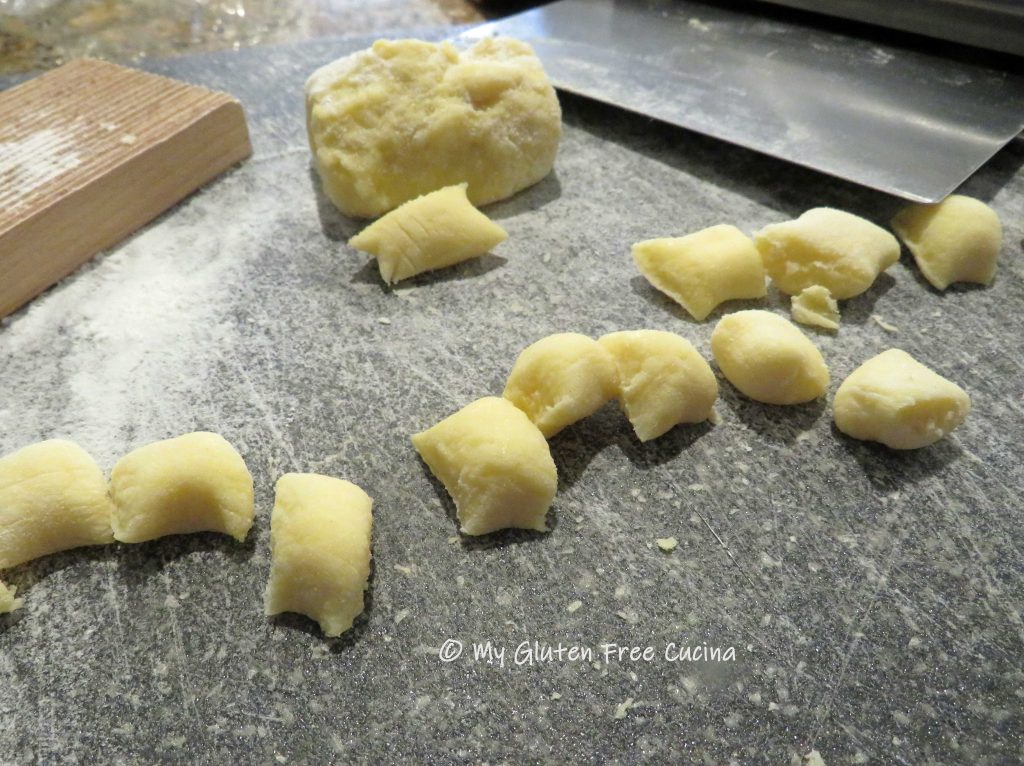
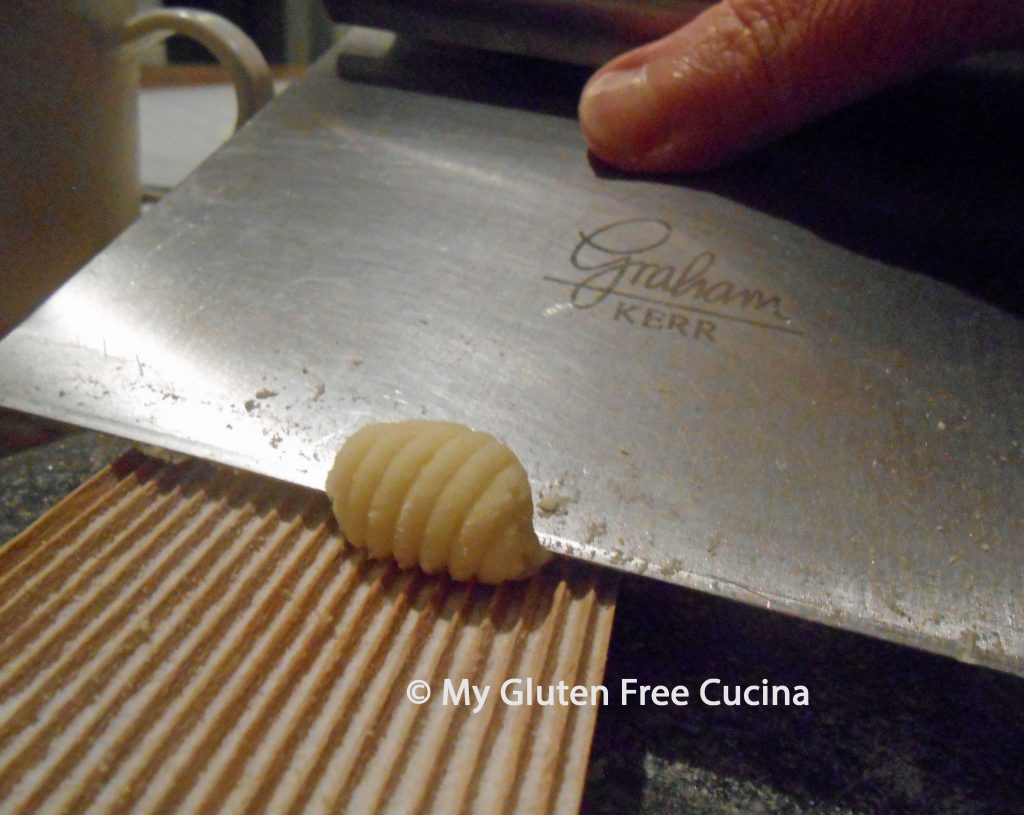
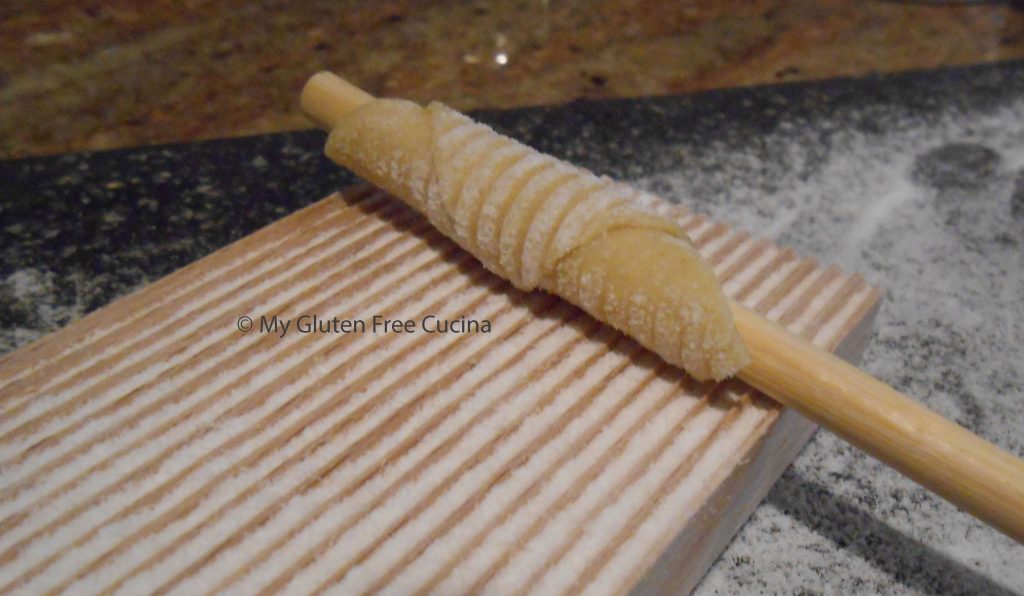
To form the ridges, roll each piece over the gnocchi board using your thumb, a butter knife or bench knife. Keep the board and your fingers floured to prevent the gnocchi from sticking.
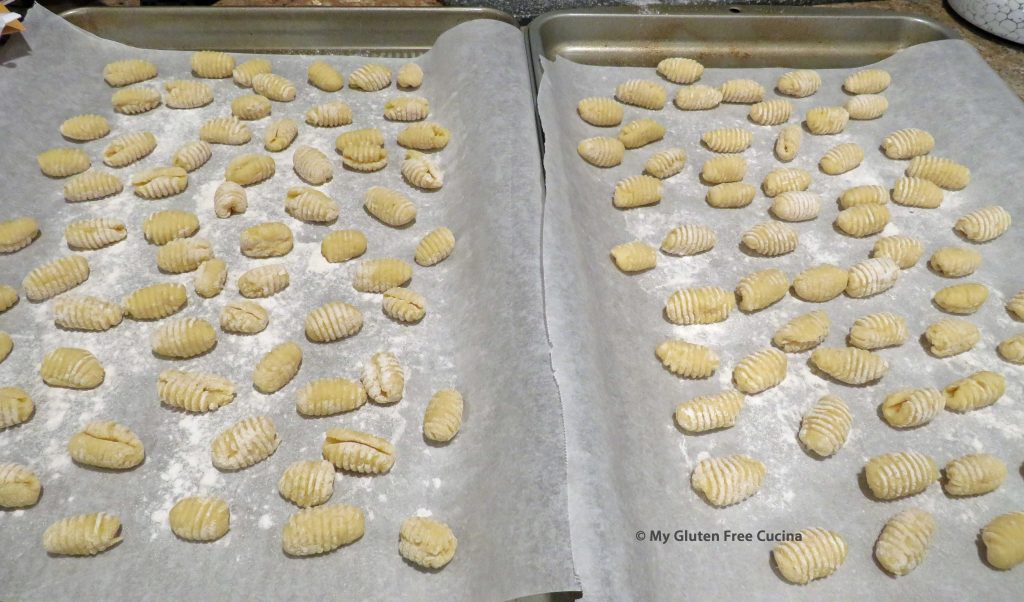
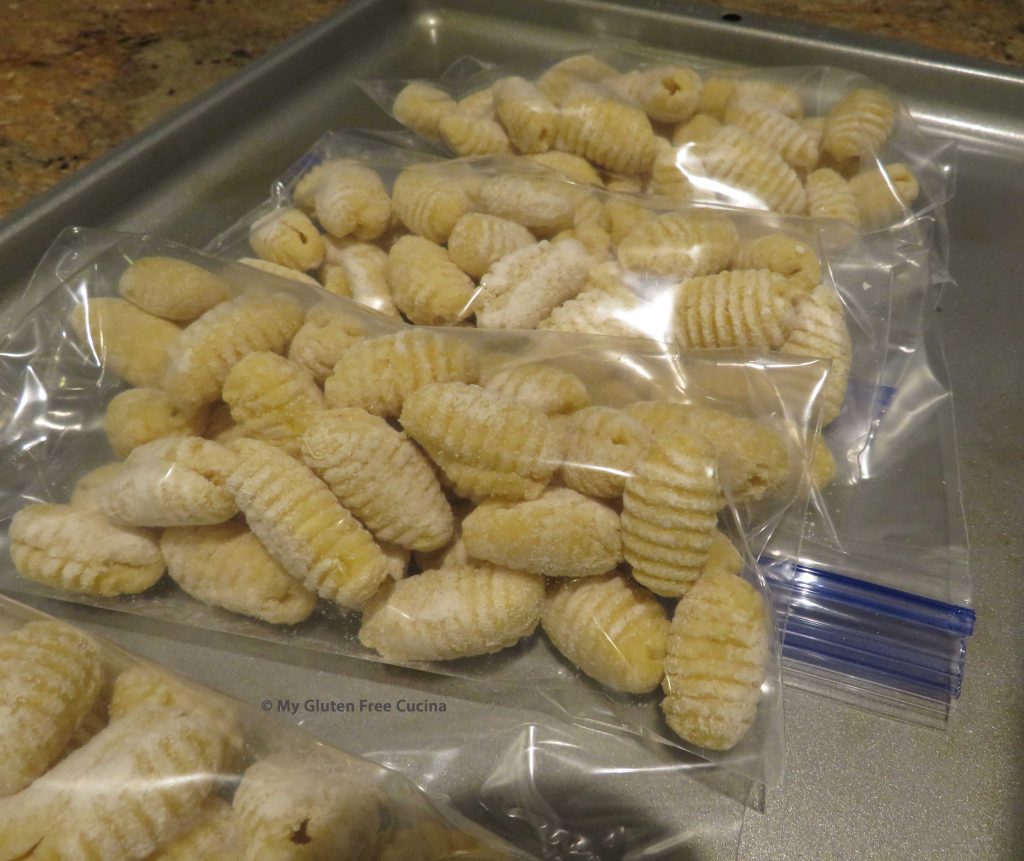
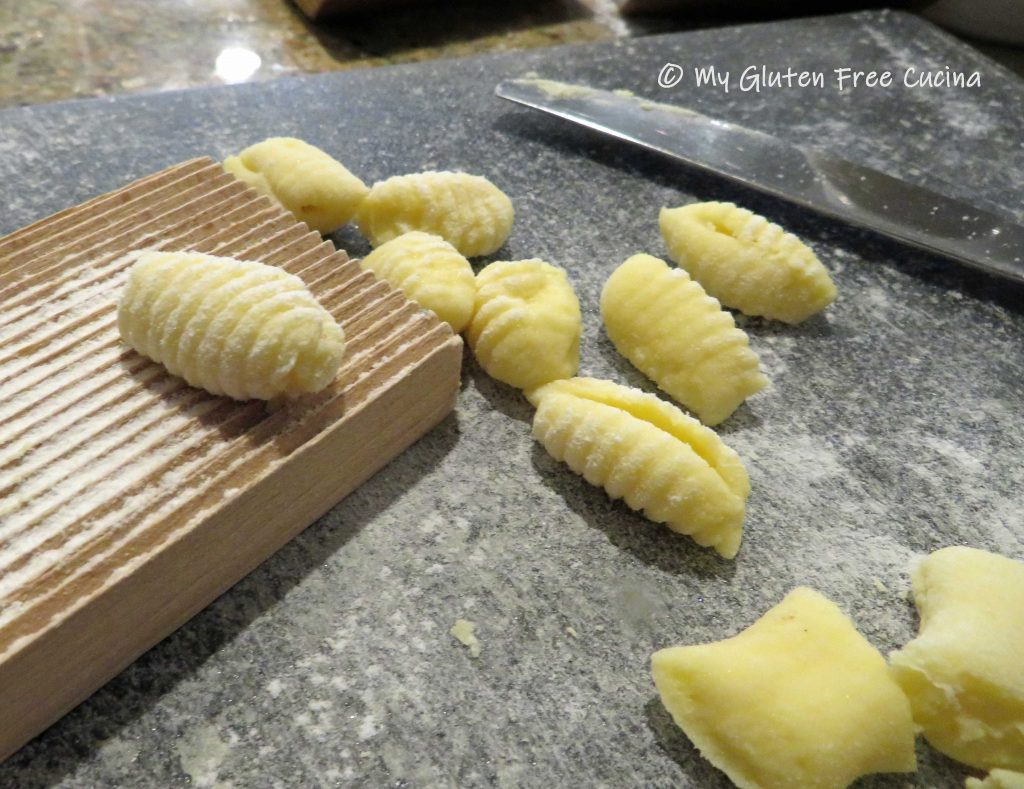 Line a baking sheet with parchment or waxed paper and flour lightly. Place the finished gnocchi on the baking sheet. If not using right away, cover with plastic wrap and refrigerate.
*Always follow food safety guidelines, pasta made with fresh eggs should be refrigerated within 1 hour.
Now it’s time to finish the dish! Cut the chicken into 1.5″ cubes and toss with 3 tbsp. rice flour, Italian seasoning, salt and pepper to taste. Let it sit at room temperature while you prepare the vegetables.
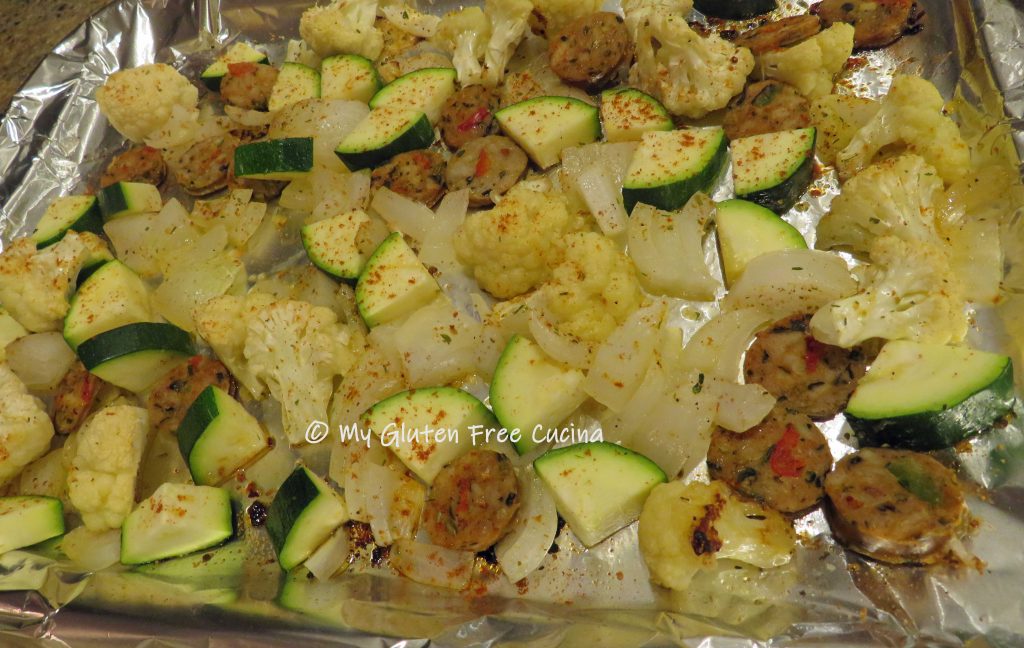
Dice the onion, zucchini and cauliflower. Slice the sausage into coins. Toss the veggies and sausage with olive oil and Italian seasoning. Spread the mixture on a baking sheet in a single layer and roast for 20 minutes at 400º. Roasting the veggies adds so much flavor to the dish, don’t skip this step!
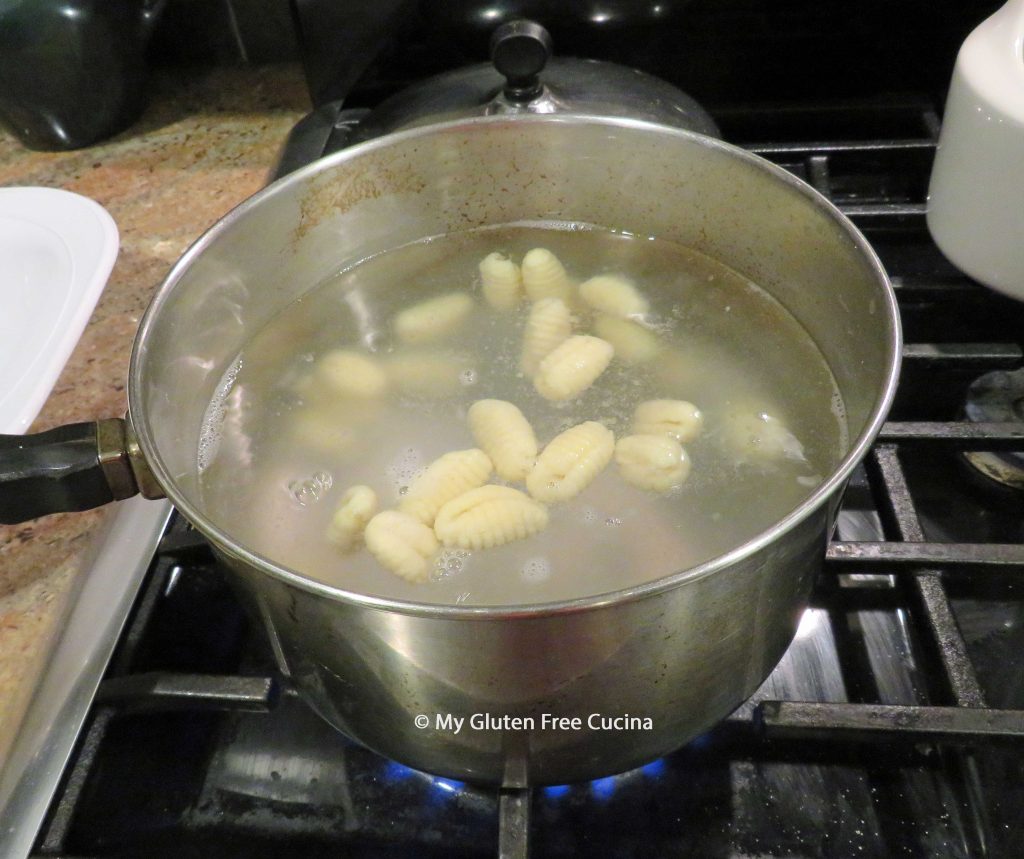
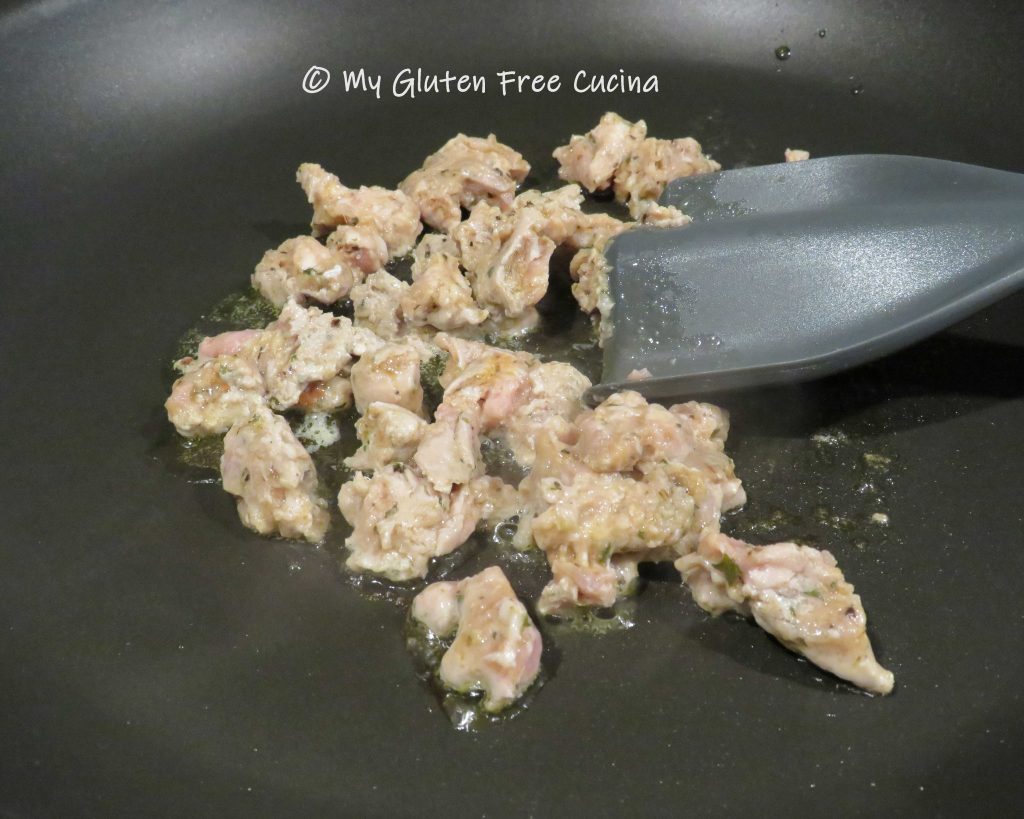
Bring a large pot of salted water to a rolling boil for the pasta. Heat a large non-stick skillet over medium low heat. Begin browning the floured chicken in a little olive oil. Cook for 3-4 minutes, turning several times to get good color on all sides.

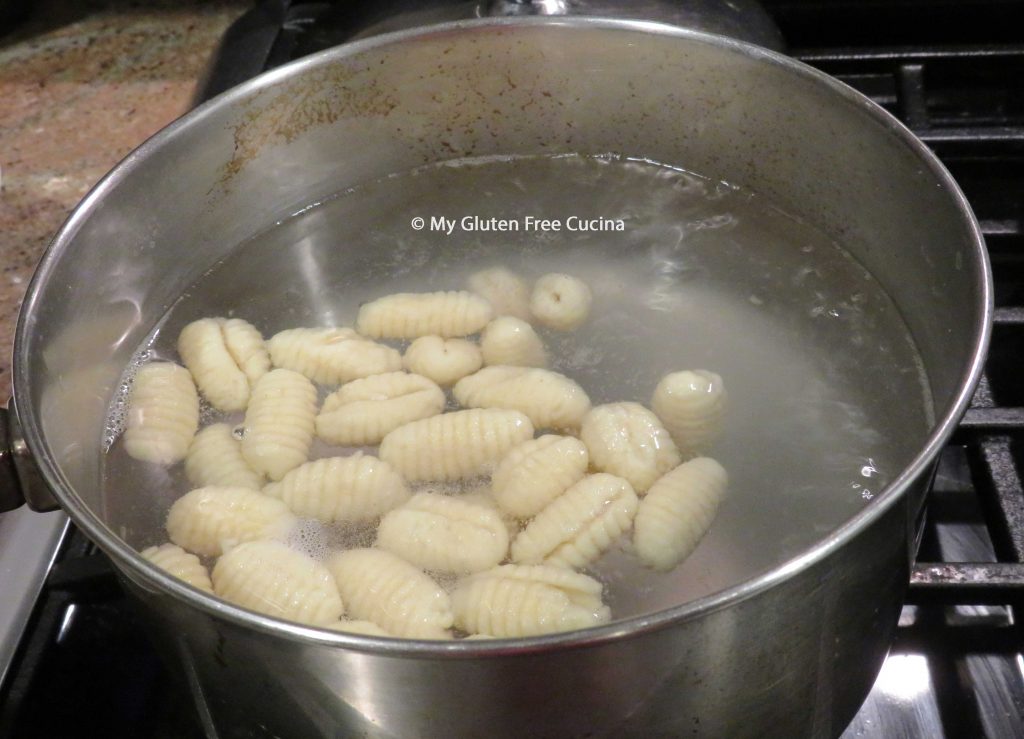
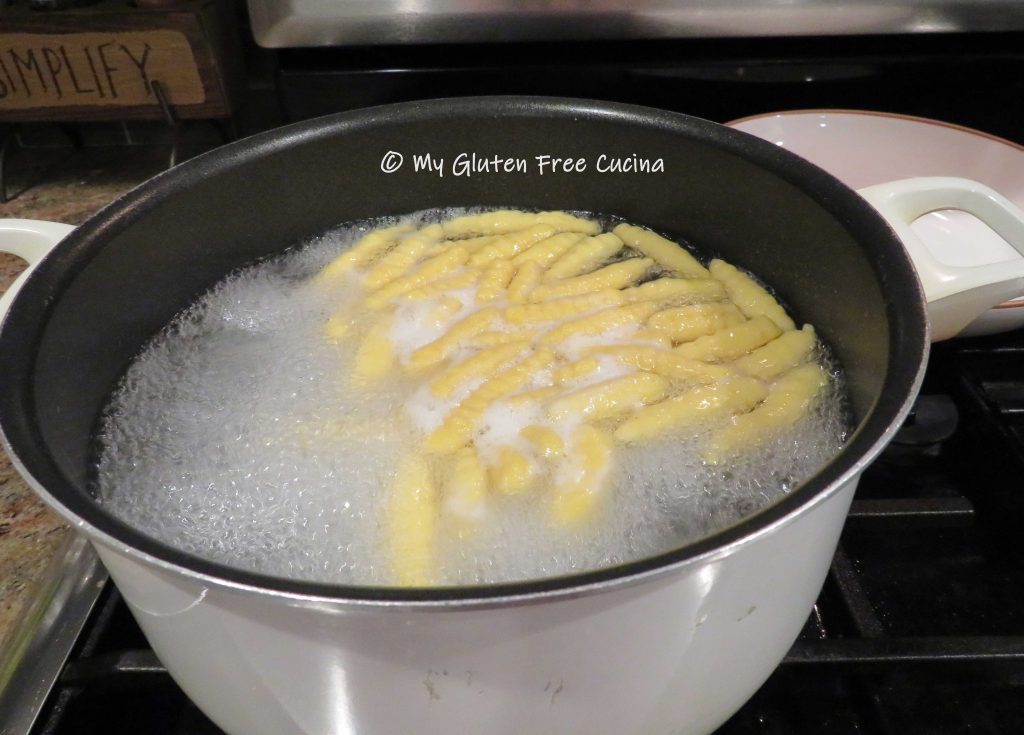
When the chicken is almost done, cook the pasta. Cover the pot if needed, to keep the water at a boil. Remember fresh pasta cooks quickly, 3-4 minutes is all it takes! It will float to the top when done.
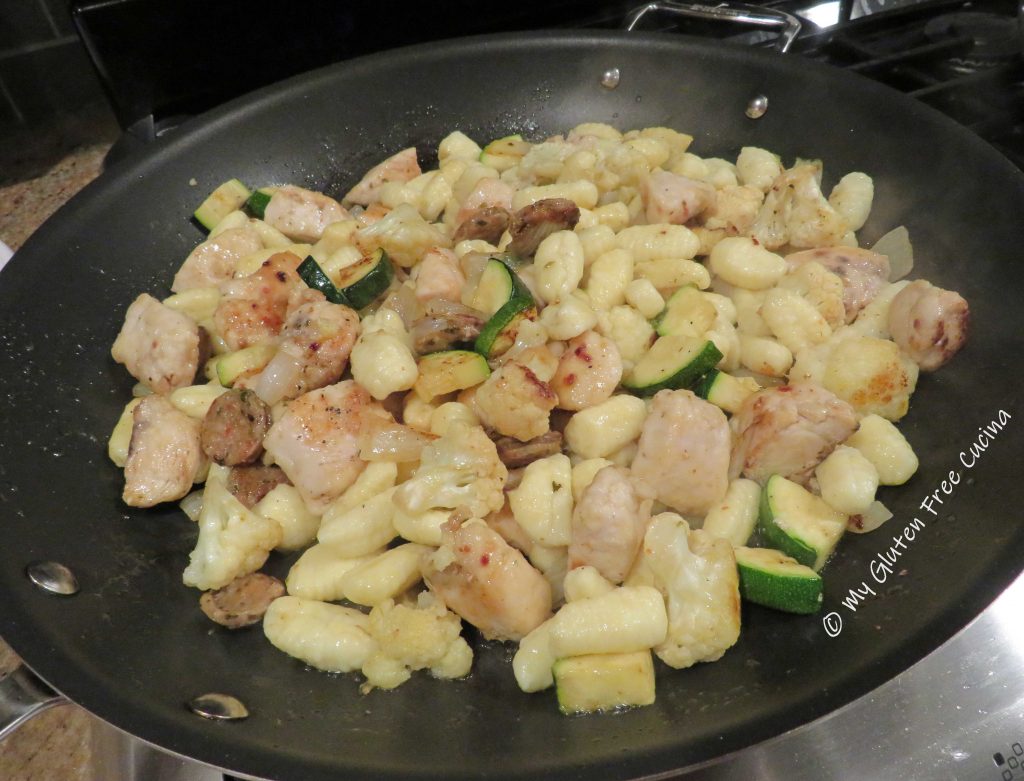
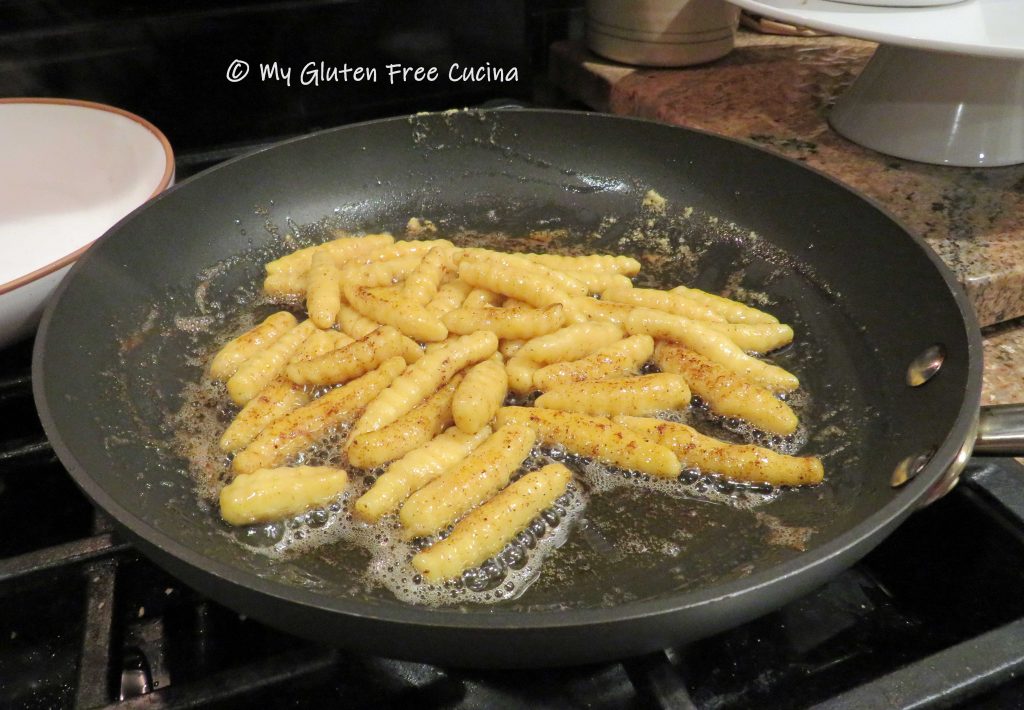
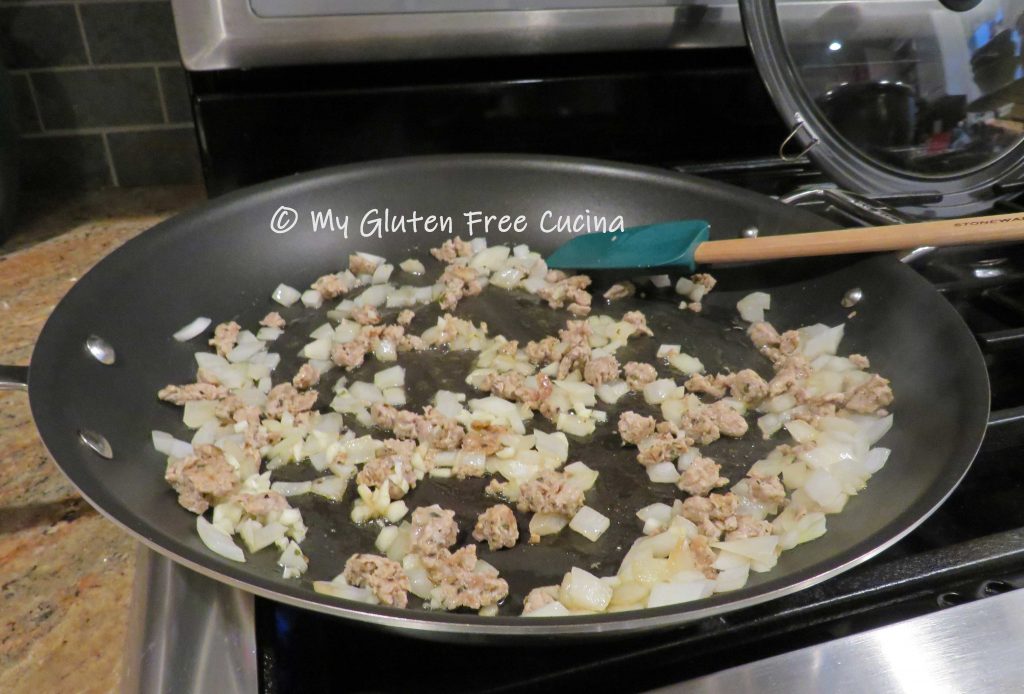
Add the roasted sausage and veggies to the skillet with a little chicken broth, folding gently with a spatula as the liquid begins to thicken.
 Use a spider strainer to gently lift the cooked pasta out of the water and add it to the skillet. If too dry, add a bit more chicken broth or a ladle of the pasta water. Toss gently and continue cooking 1-2 more minutes to get a little browning on the gnocchi.
Transfer to a serving platter and finish with a drizzle of olive oil, grated cheese and Italian parsley.

Just look at this amazing pasta dinner, all from scratch and its gluten free! It is SO delicious and leftovers are just as good!
Notes ♪♫ This post, first published in 2018 was long overdue for an update. My original pasta dough was made with brown rice flour and tapioca starch. I’ve since found that a good all-purpose gluten free flour can work just as well. I have made this recipe several times with Better Batter Original Blend. If you use a different brand, be sure that your flour contains xanthan gum. If not, you will need to add it to help your dough hold together without crumbling or tearing.
Original post 06/17/2018 Updated 01/20/2022


 Use a
Use a 


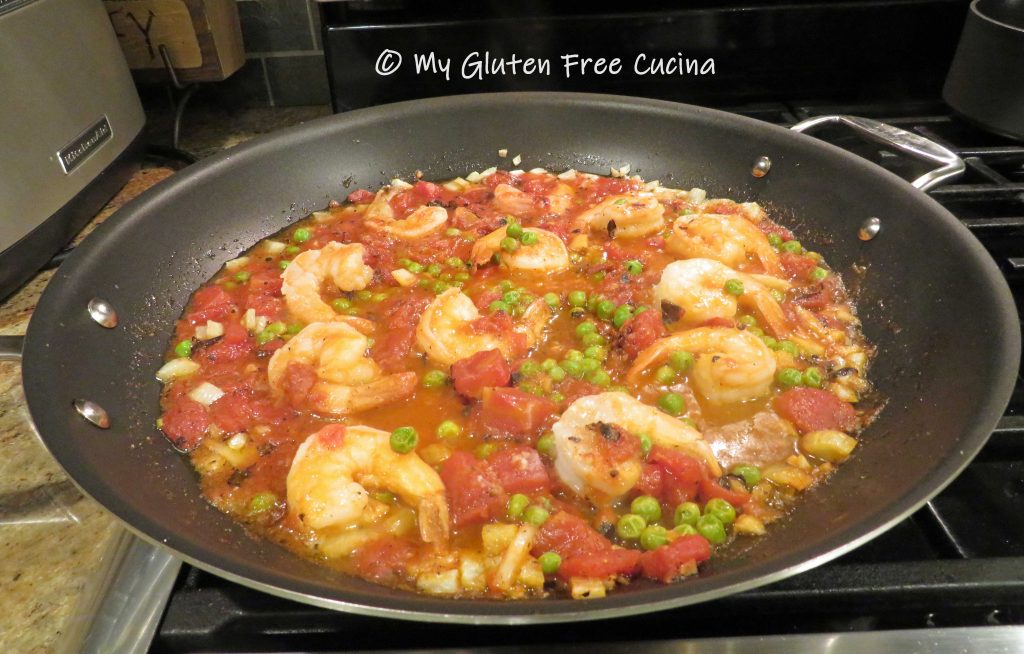


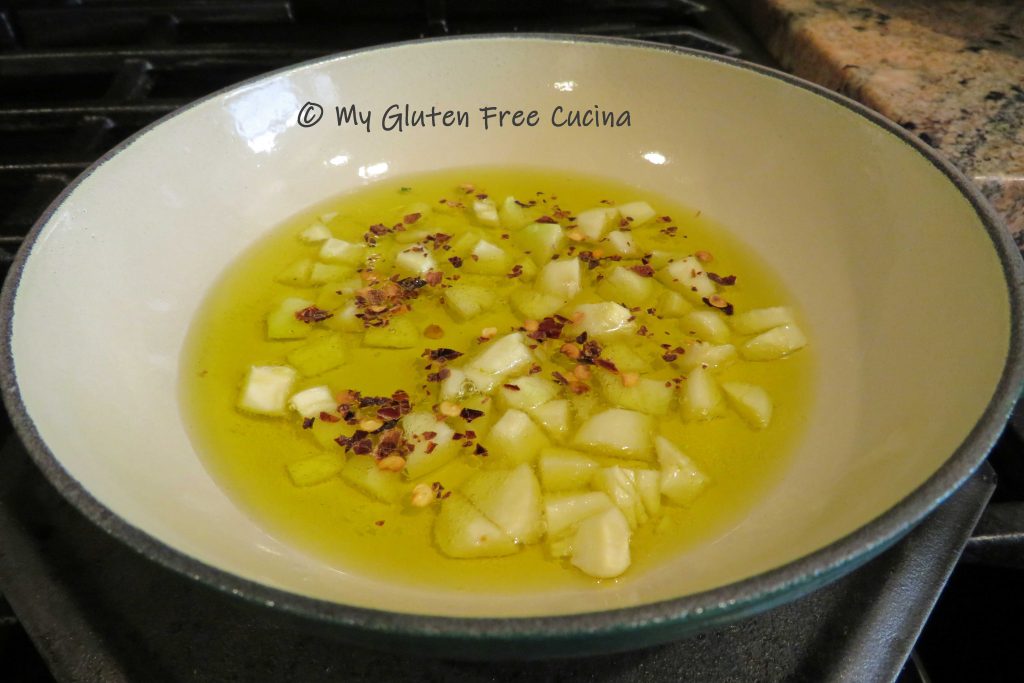
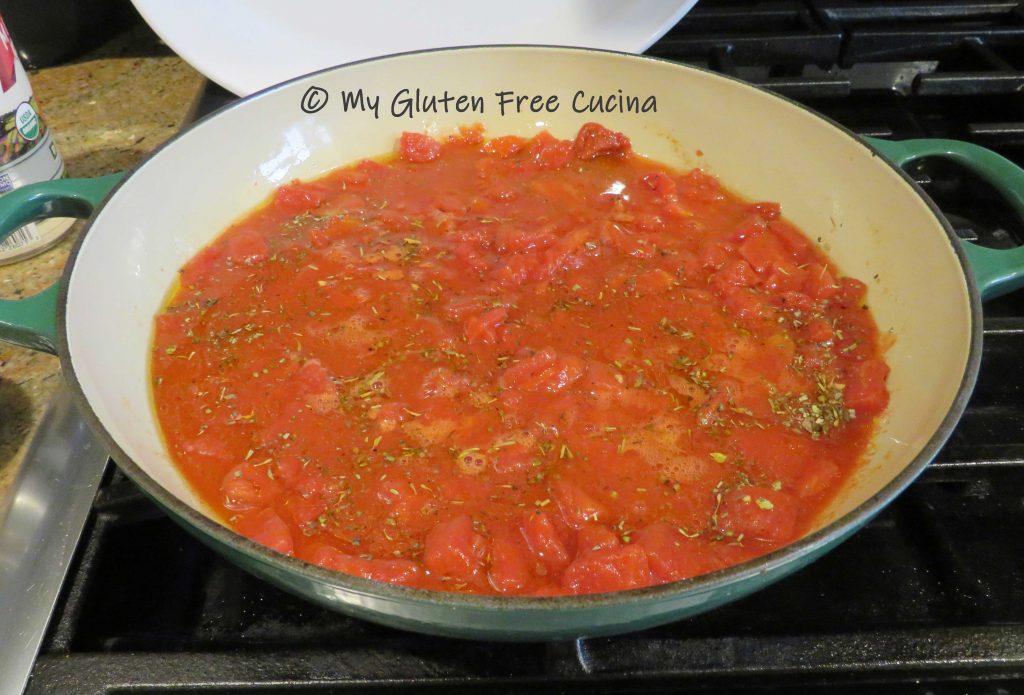
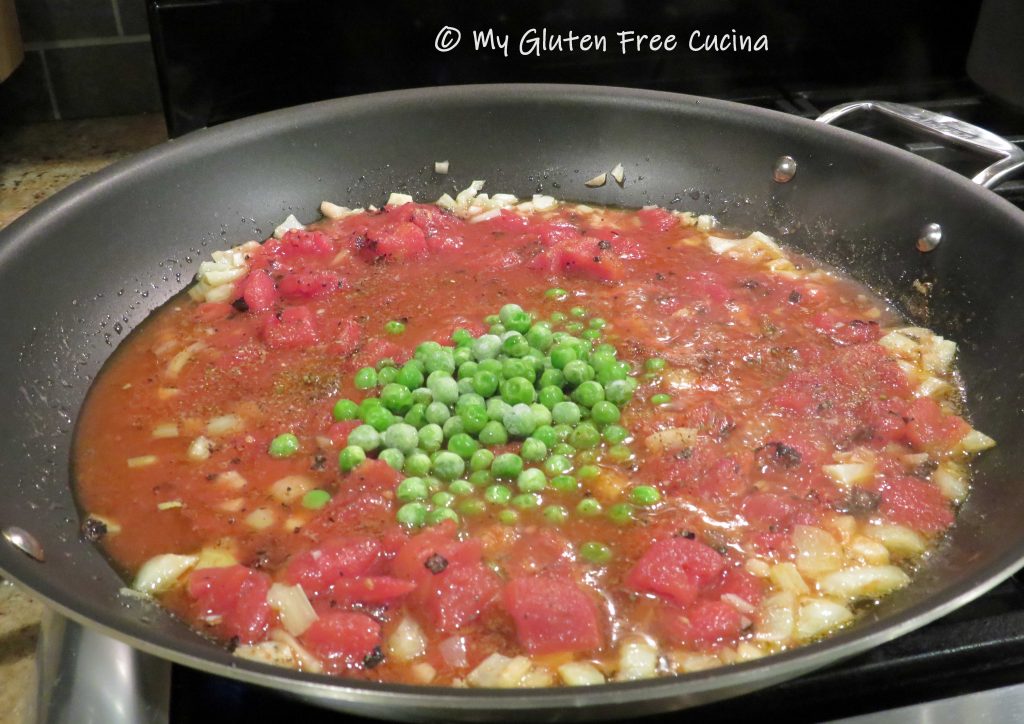
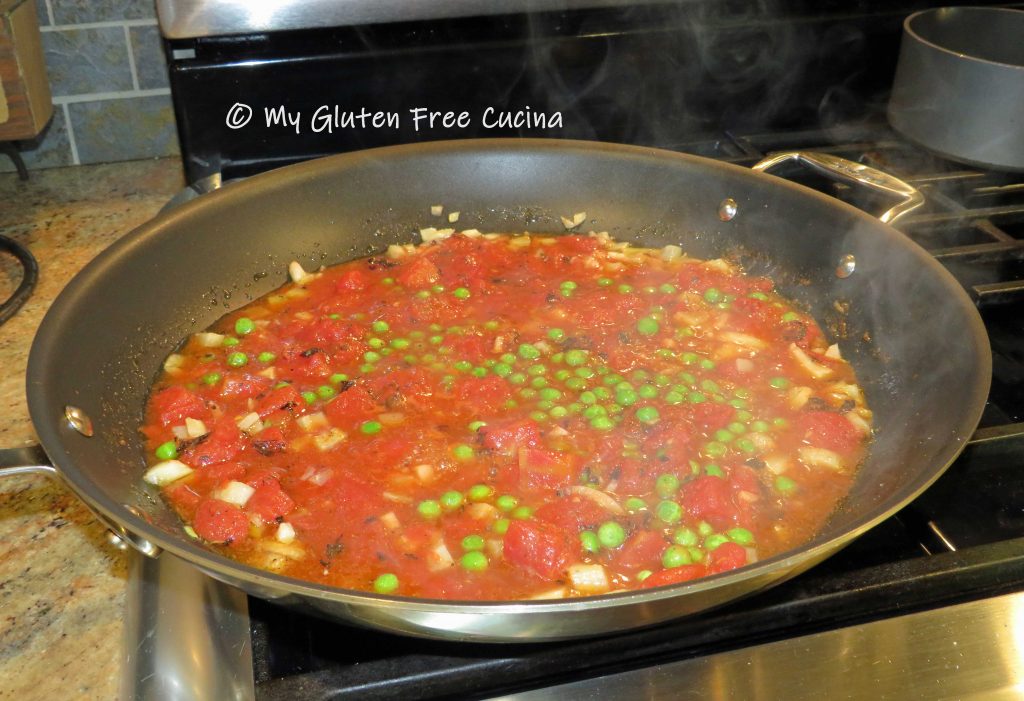
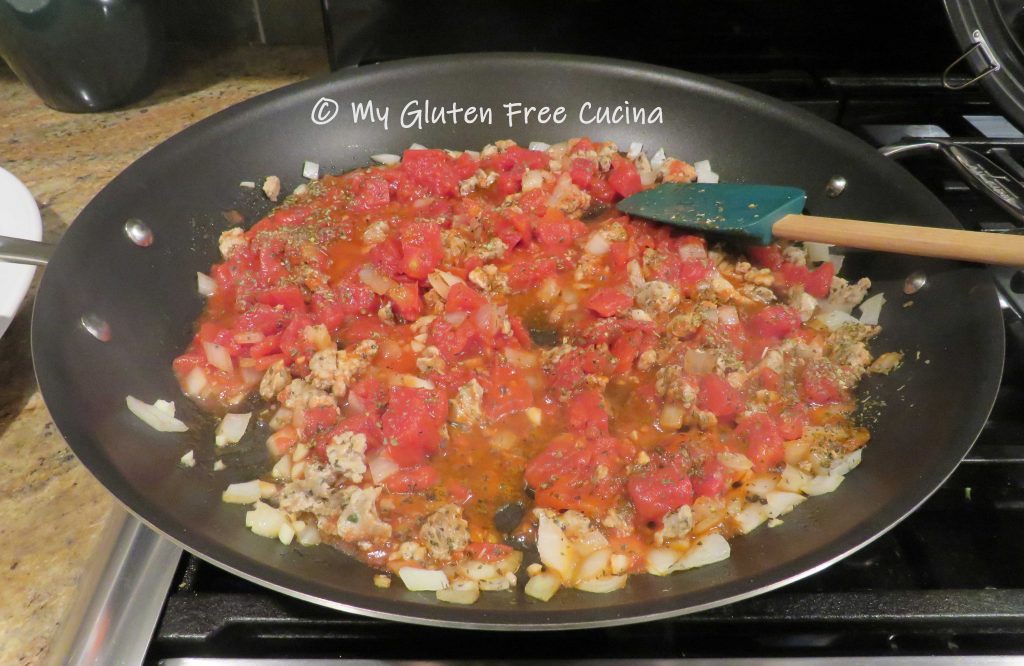
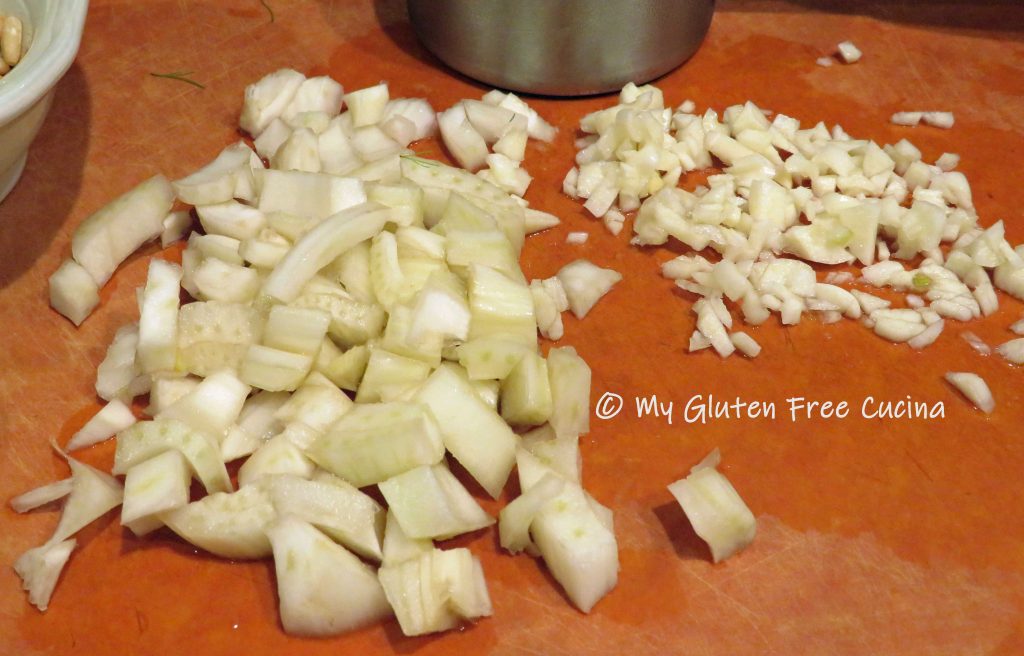 Add the diced fennel and cook for one minute, then add the garlic and cook for 30 seconds. Stir in the diced tomatoes, peas, wine and seasoning. Simmer for 10 minutes to reduce the liquid.
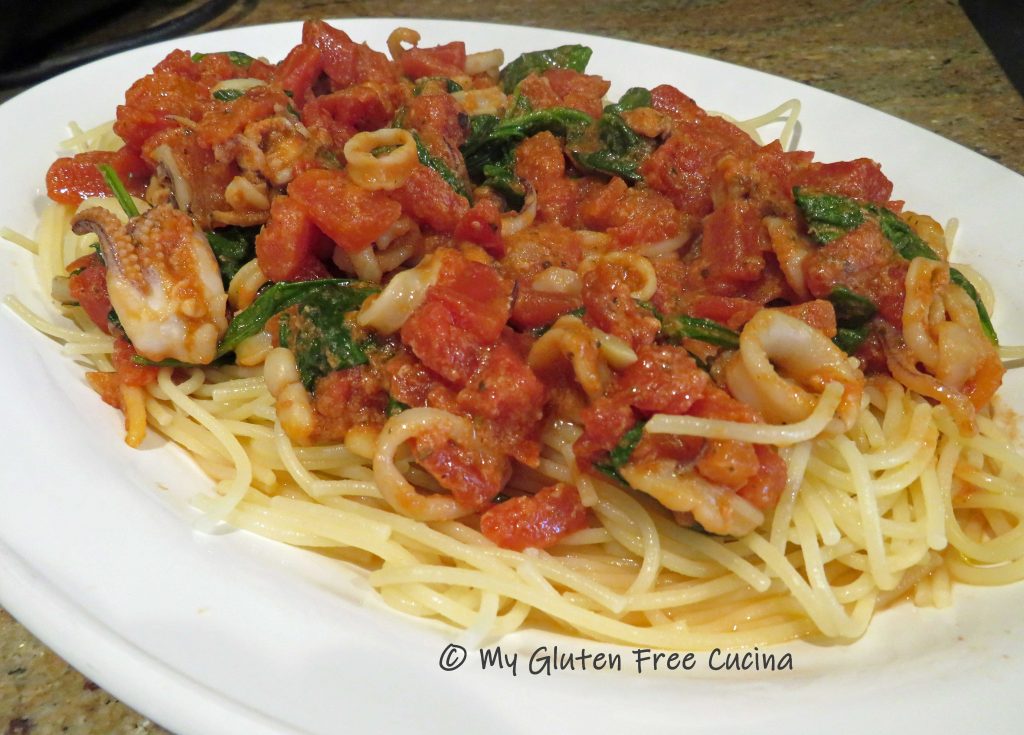
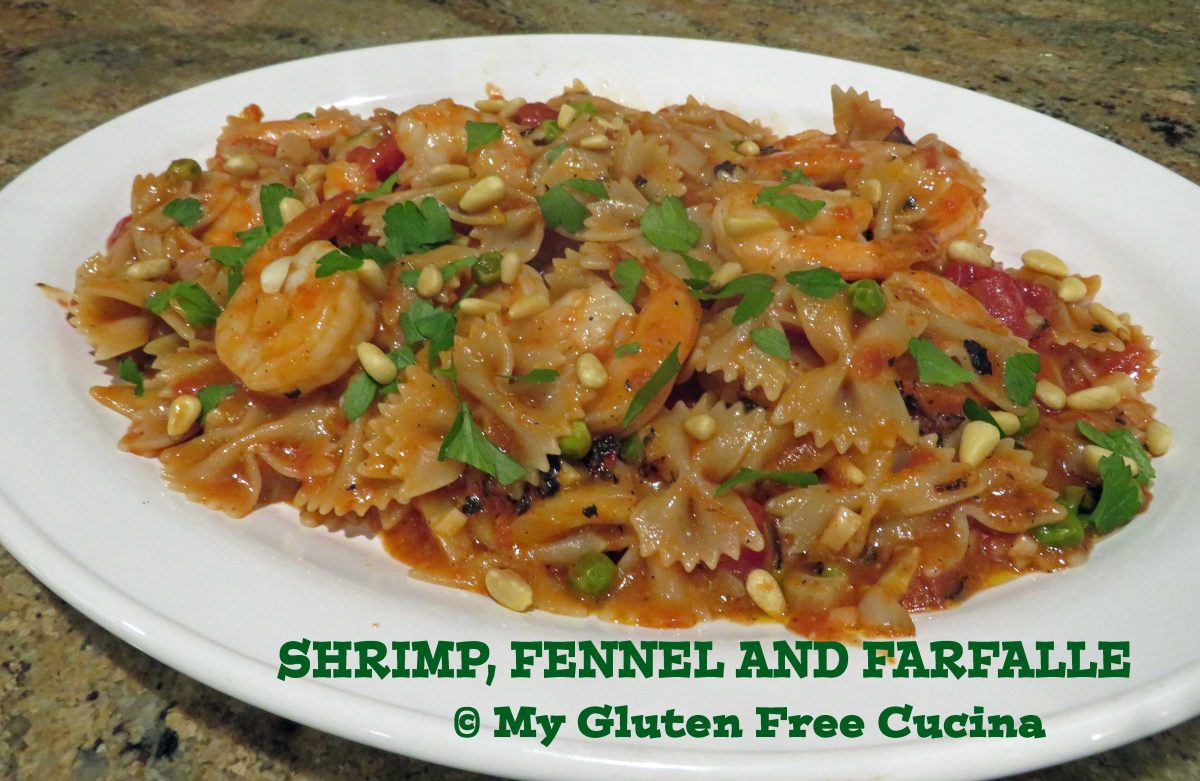
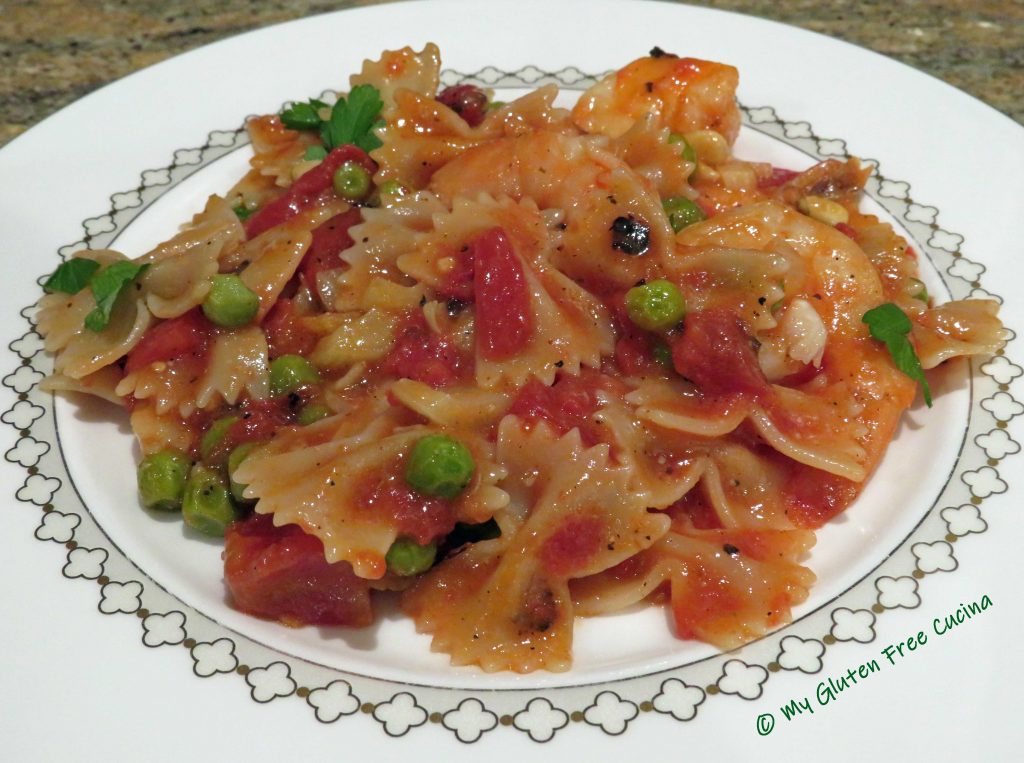
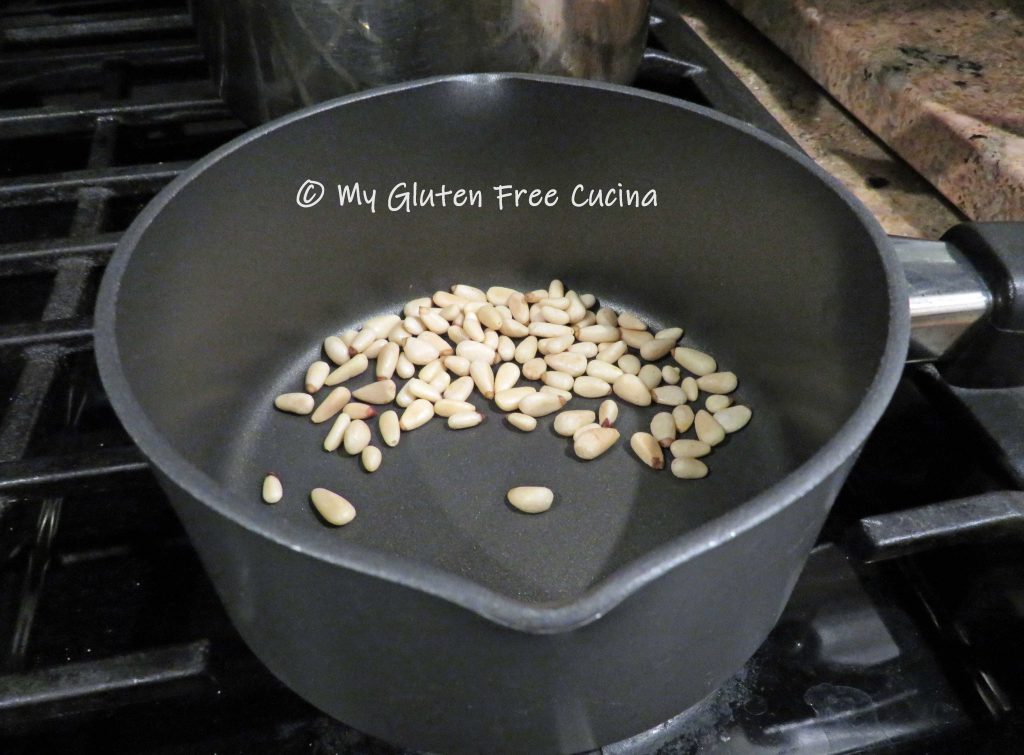
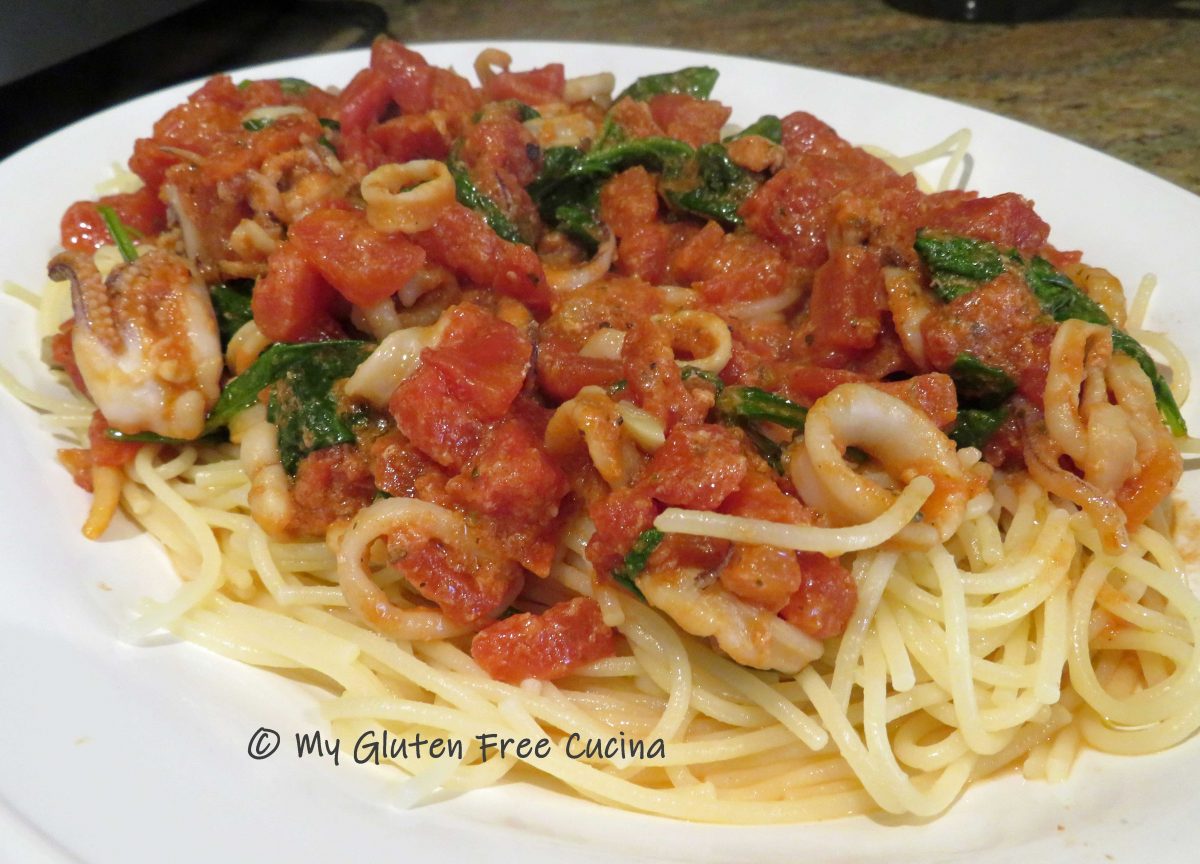
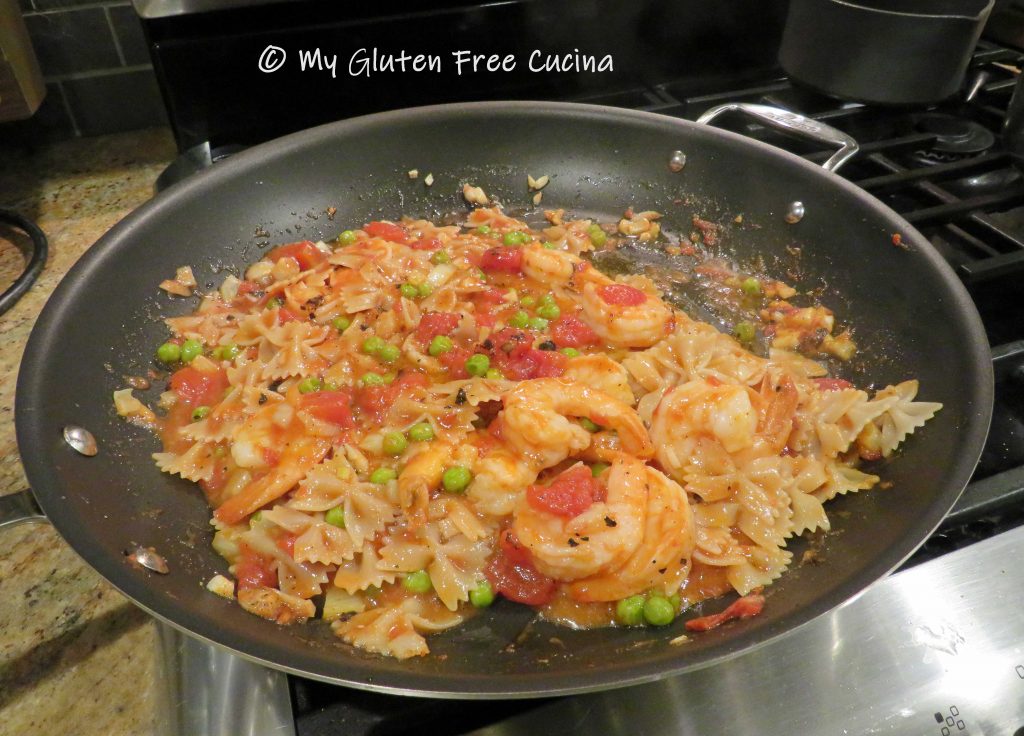 Transfer to a serving platter and finish with a drizzle of olive oil. Garnish with fresh parsley and toasted pignoli.


 When ready, set up a large pot of salted water for the pasta. Bring the water to a boil while you make the sauce. Melt the butter in a


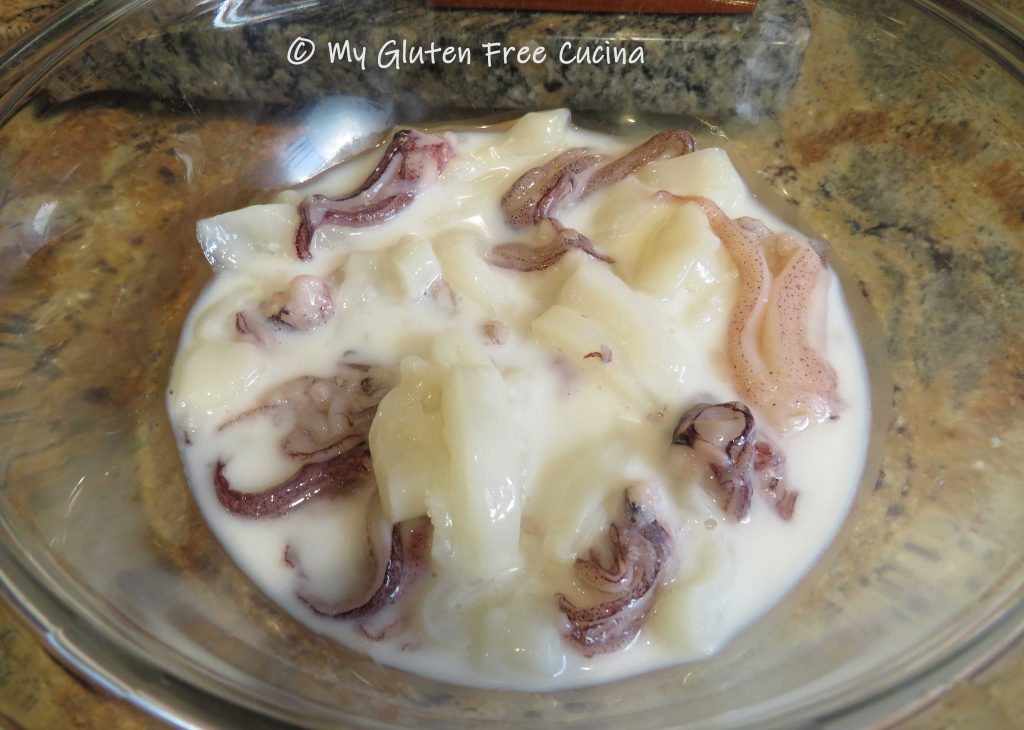
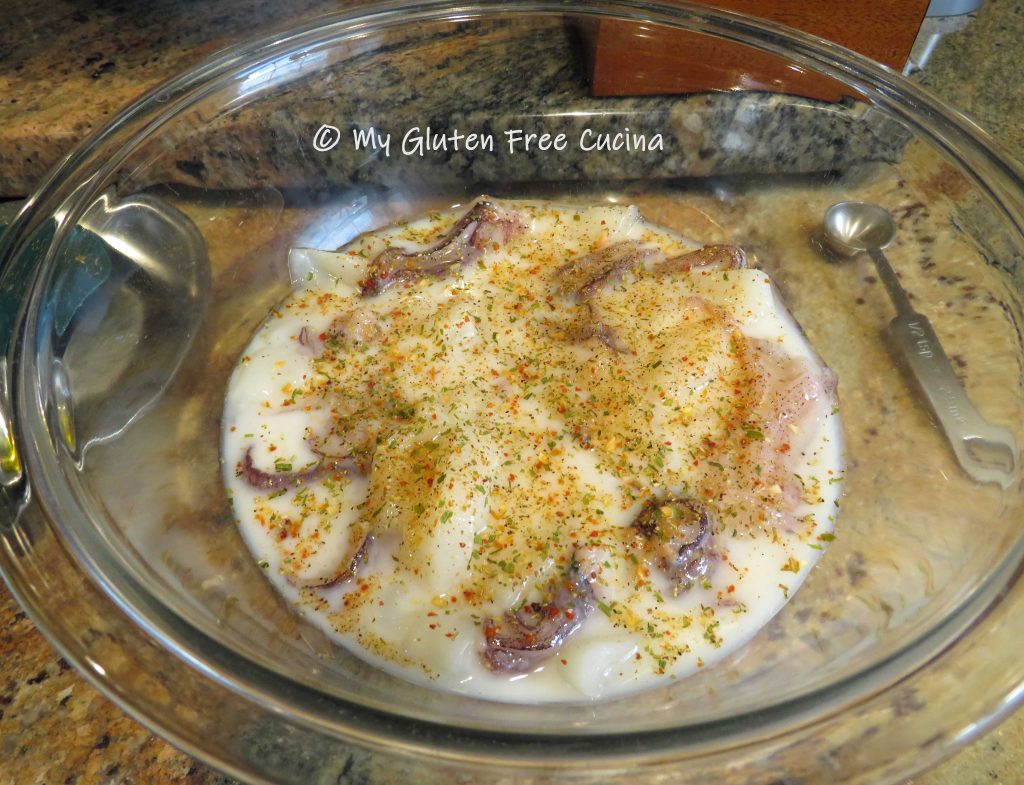
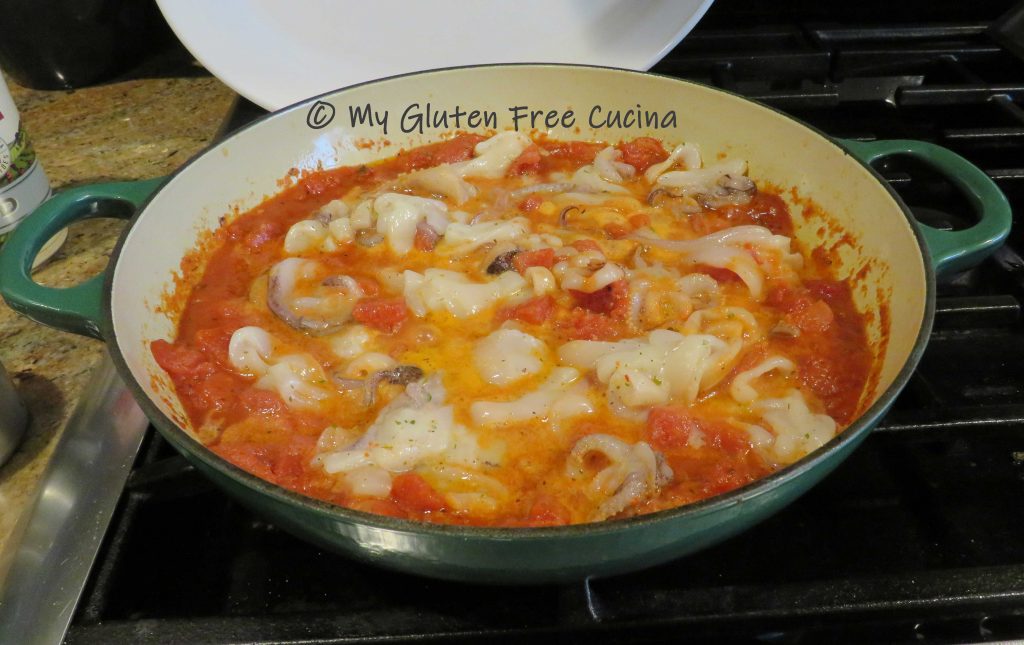
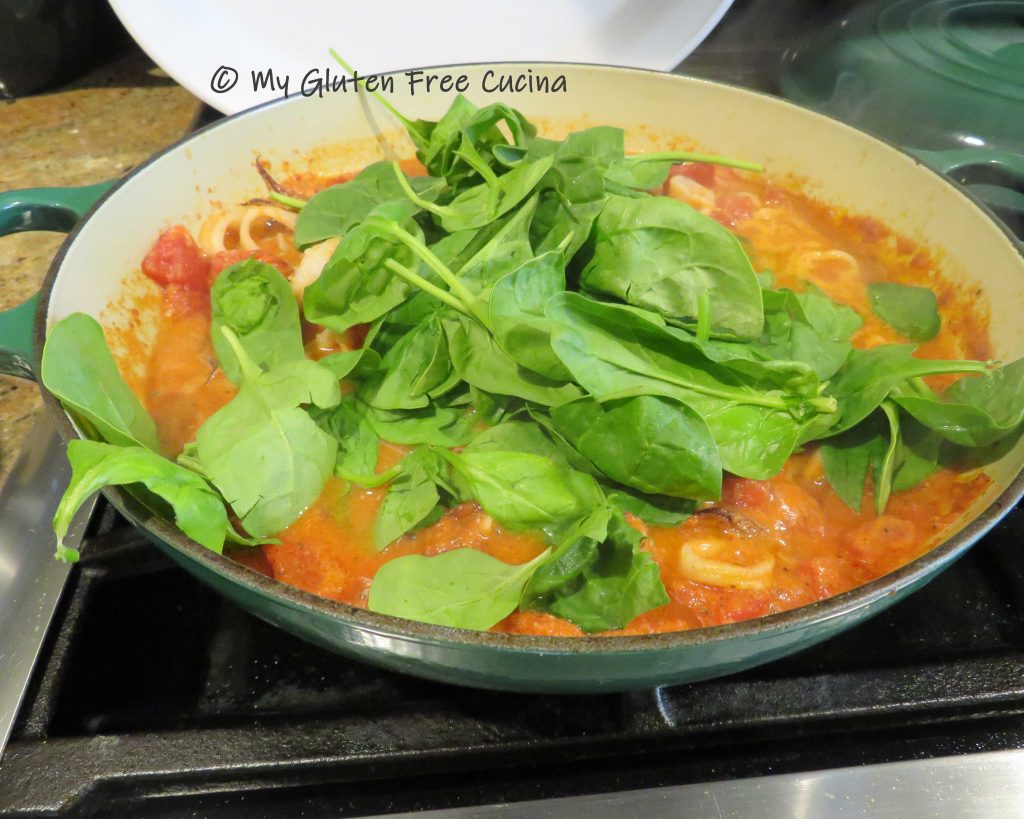
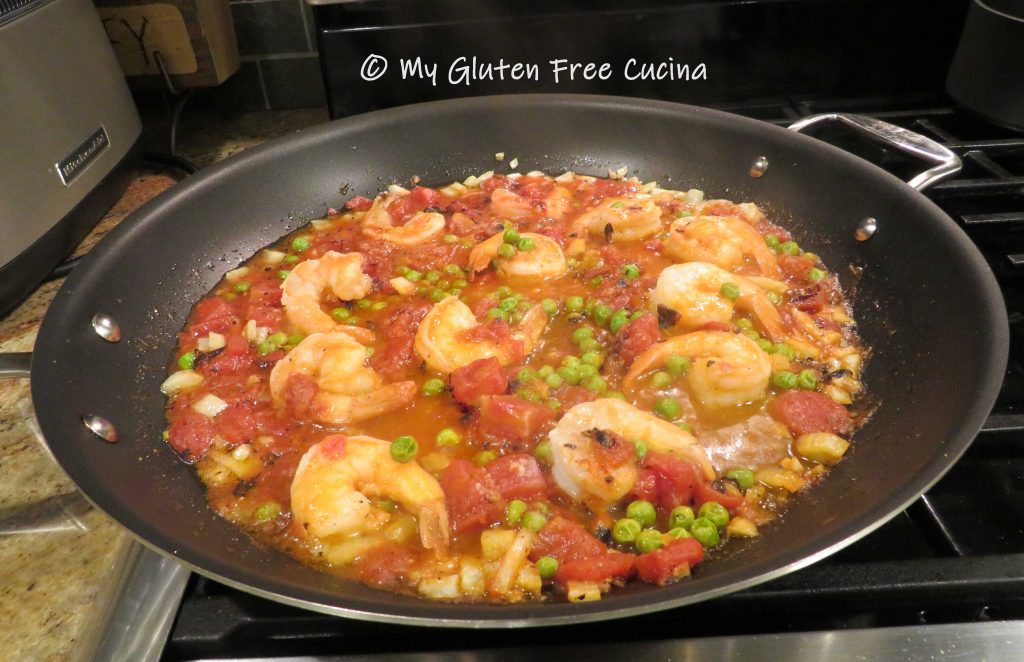
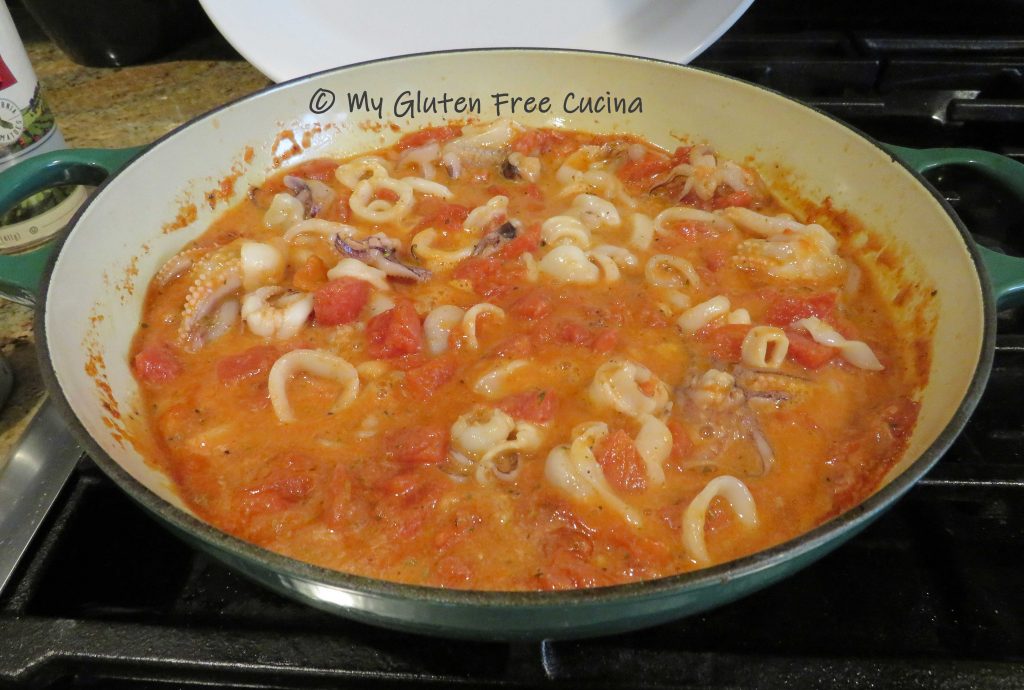 Did you know that there’s a trick to cooking squid? It can be tough and rubbery if not prepared correctly, but if you soak it in milk and don’t overcook, it will be delicious and tender. Soak squid in milk for 30 minutes before cooking.