If these egg cups look familiar, it’s probably because I have shared a few variations of this recipe over the years, in the form of a quiche, casserole, or muffin. This is my absolute favorite rendition to date- they are the perfect blend of bacon, egg, potato and cheese. 😋
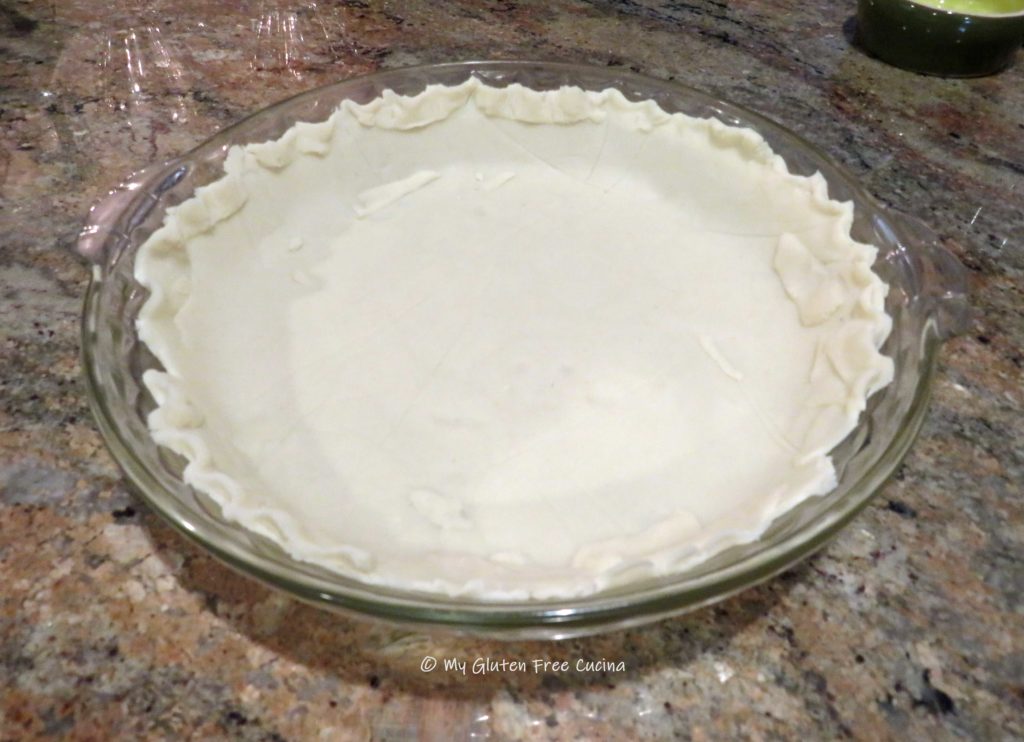
This recipe is great for family brunches, because you can prep most of it the day before and bake in the morning. The extra step of par-baking the crust is well worth the trouble because they are DELICIOUS!
Naturally gluten free with no oddball ingredients to purchase, always a plus!
Ingredients:
-
Crust
- 2 large eggs, beaten
- 2 cups frozen shredded hash brown potatoes (I used Ore-Ida)
- 1/3 cup shredded cheddar cheese
- 1/2 tsp. salt
- pepper, about 10 grinds
-
Filling
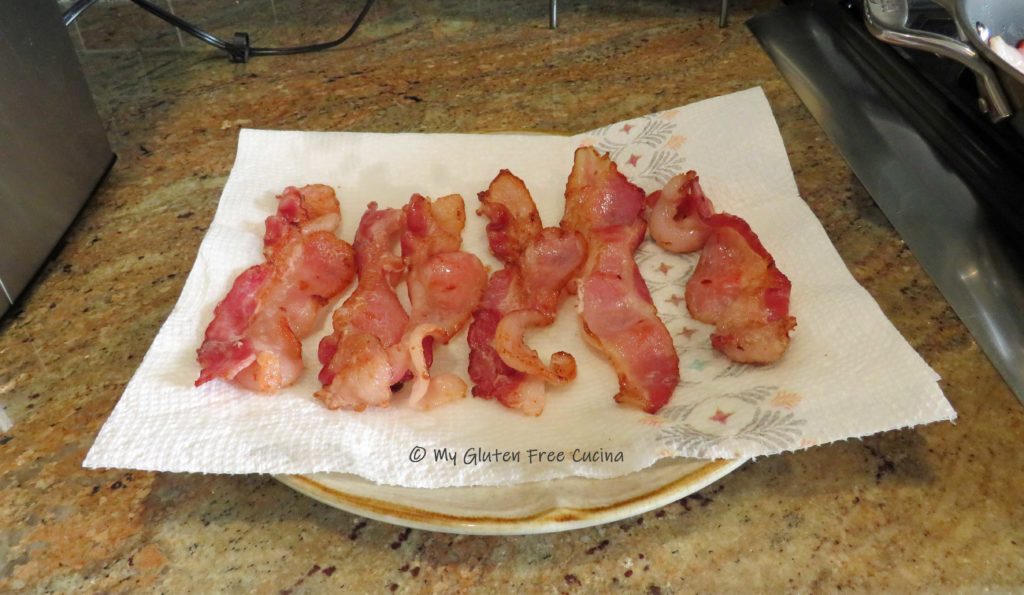
- 2 strips of bacon, cooked and diced
- 6 large eggs
- dash of half and half (or milk)
- 1/2 cup shredded cheddar cheese
- 1/2 cup baby spinach, chopped
- 2 tbsp. fresh chives
This post contains affiliate links.

Preparation:
Take the hash brown potatoes out to defrost an hour ahead of preparing.
 Mist a 12-cup muffin tin with cooking spray and preheat the oven to 400º. Combine the egg, hash browns, cheese, salt and pepper in a mixing bowl and stir together. Divide the hash brown mixture evenly in each of the 12 muffin cups and press it into the bottom and about 2/3 of the way up the sides.

Par-bake the muffin cups for 12 minutes, remove from the oven and set aside to cool.
 Cook the bacon, drain on paper towels and cut into small dice. Cover and set aside.
For the filling, whisk together the remaining ingredients (eggs through chives).
Note ♪ You can prepare and refrigerate up to this point the night before. Keep the filling separate until ready to bake in the morning.

In the morning (or when you are ready), preheat the oven to 400º. If refrigerated, take the muffin tin out and let it sit on the counter 30 minutes before baking. You should also whisk the filling again, as it will have settled overnight.
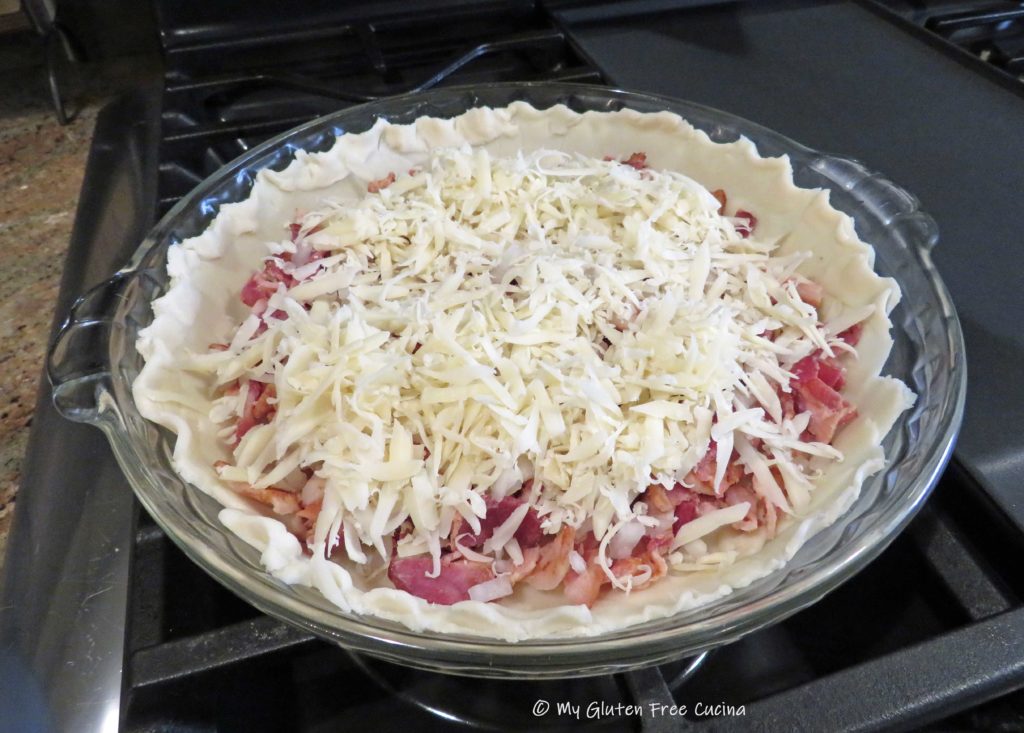
Carefully fill the muffin cups to about ½” from the top (they will expand). Sprinkle the diced bacon over the top and bake for about 20 minutes or until the eggs are set.

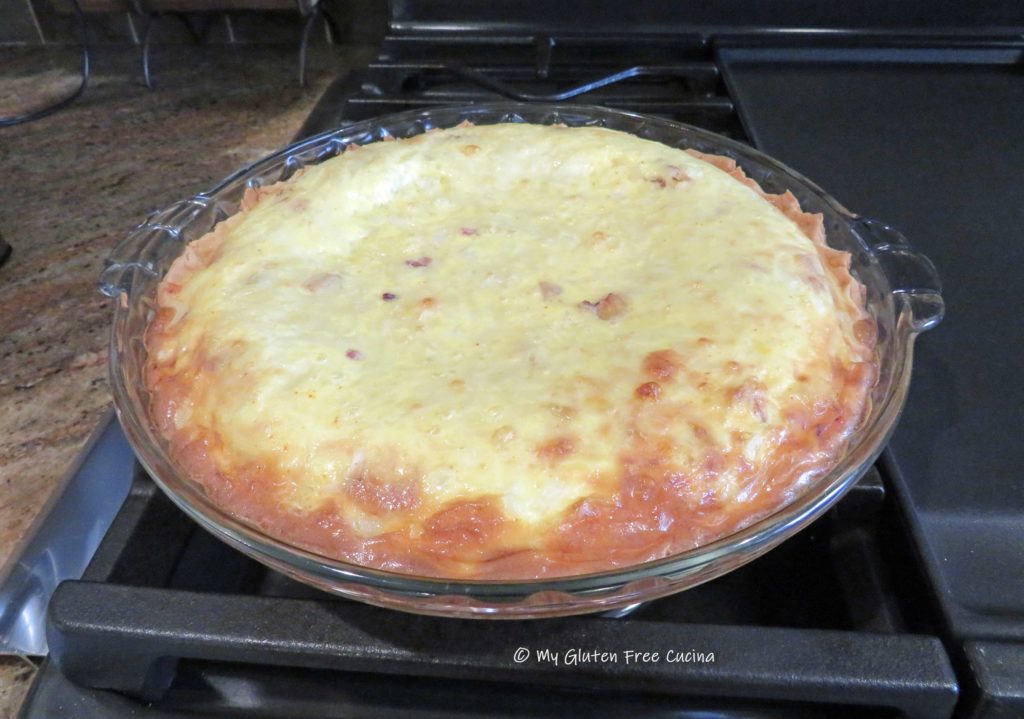
Remove from the oven and rest for 10 minutes. To serve, use a spoon to carefully remove the muffin cups from the pan. You may need to run a knife or spatula around the edges to nudge them out.

The egg cups were a hit, delicious hot out of the oven, and again later as leftovers. They keep well in the fridge for several days and you can reheat them in the microwave for a quick meal. With all my favorite breakfast foods in one dish, this recipe is a keeper!
Notes ♪♫ When planning a brunch menu, I always include a savory dish to balance out the sweeter ones like French toast or muffins. Check out all my favorite brunch recipes here!


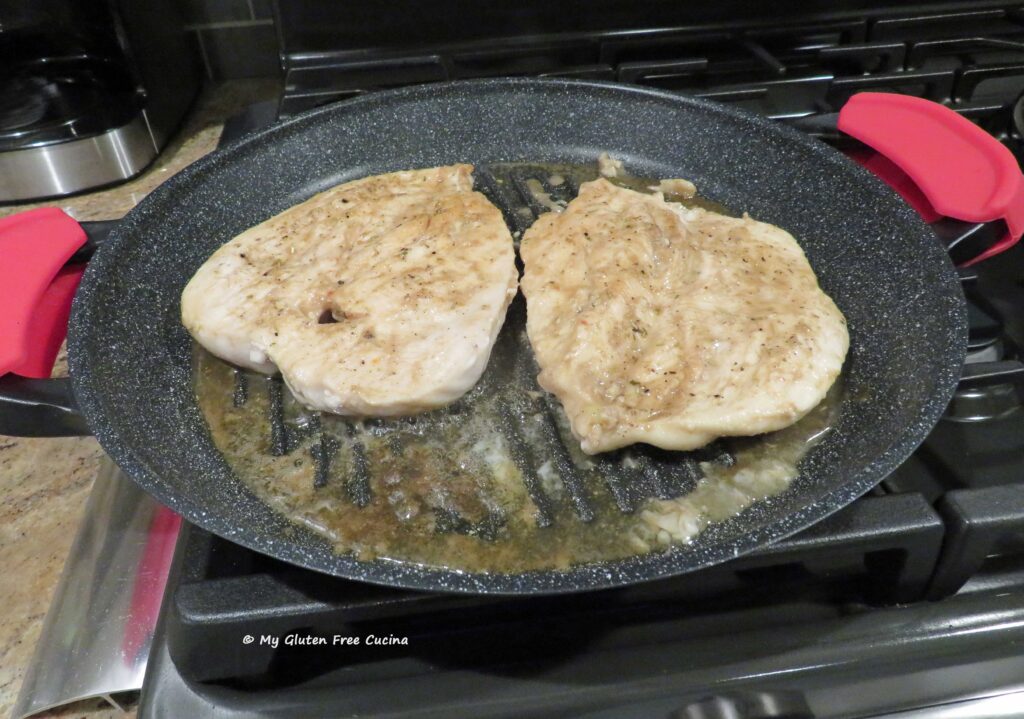
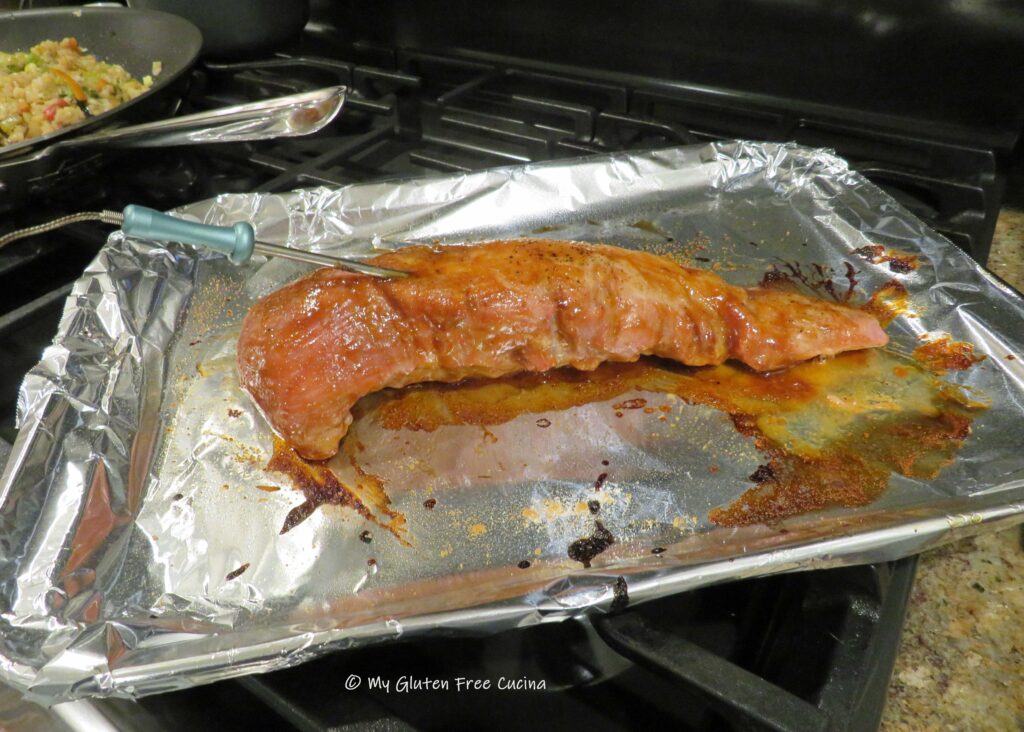
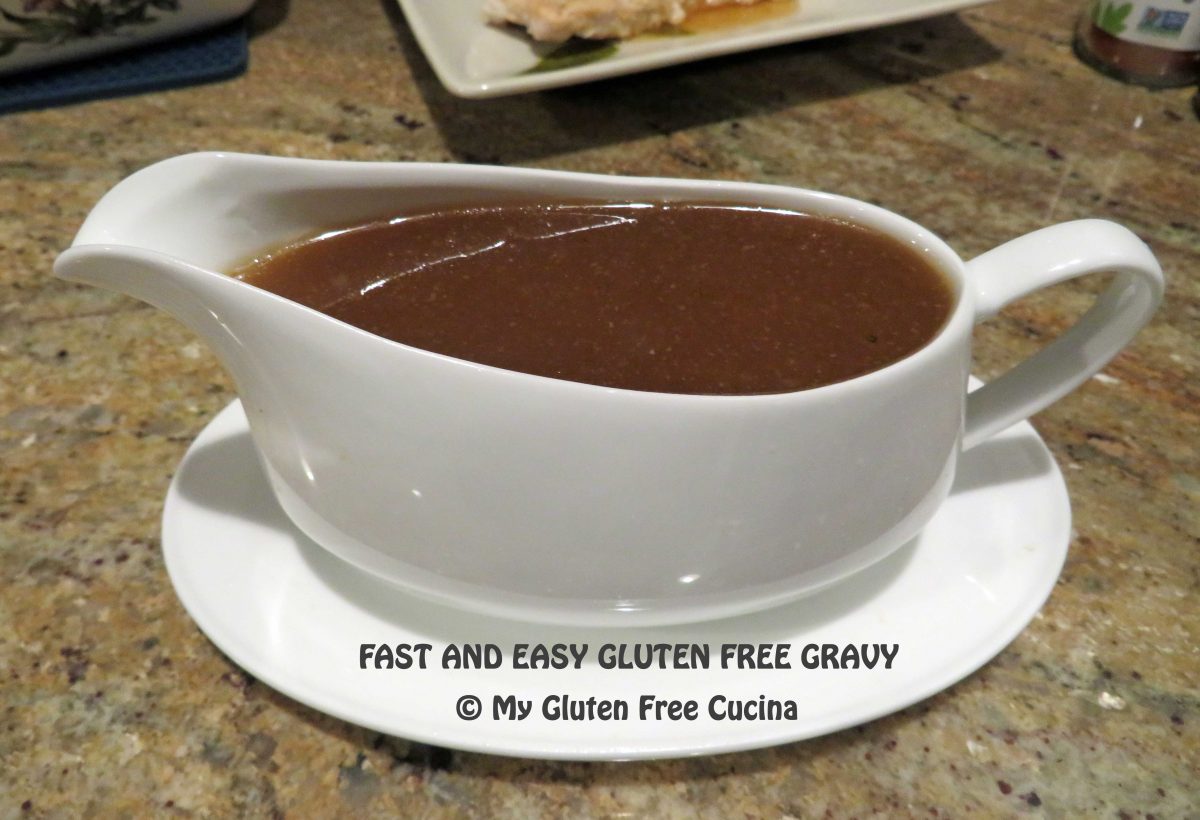
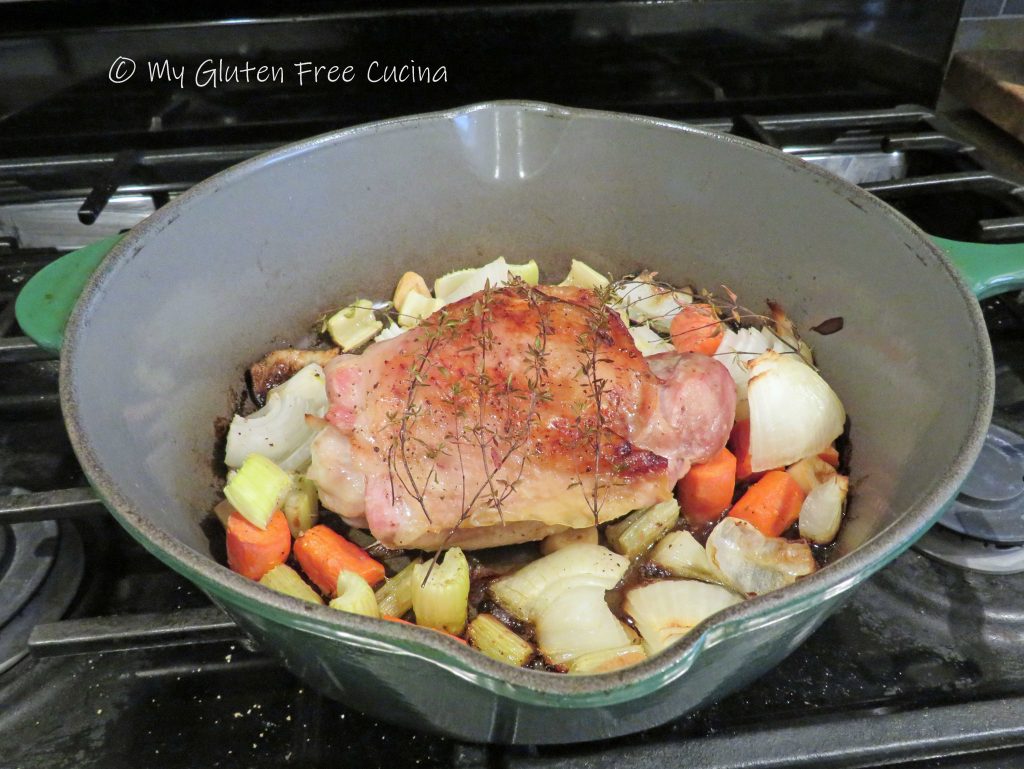
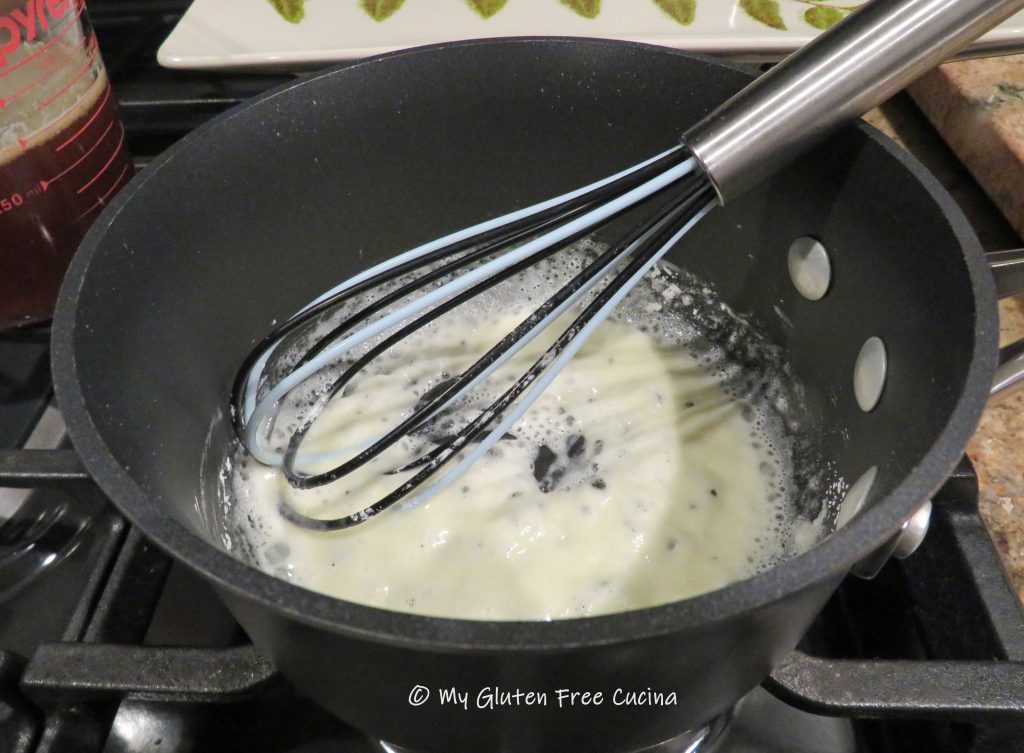
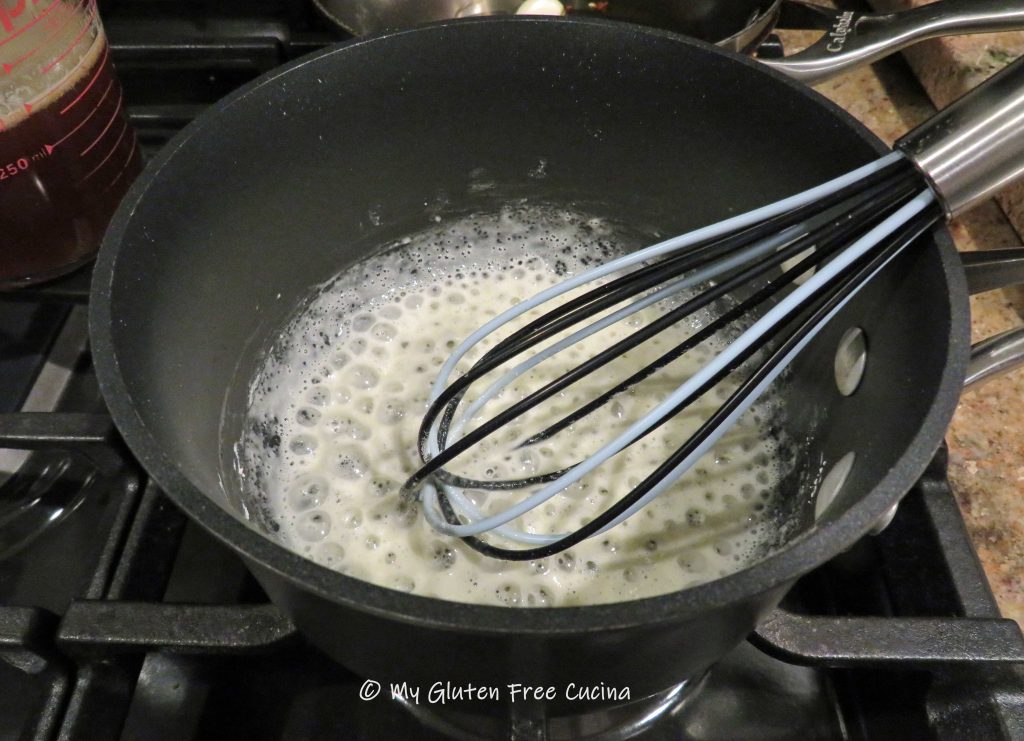
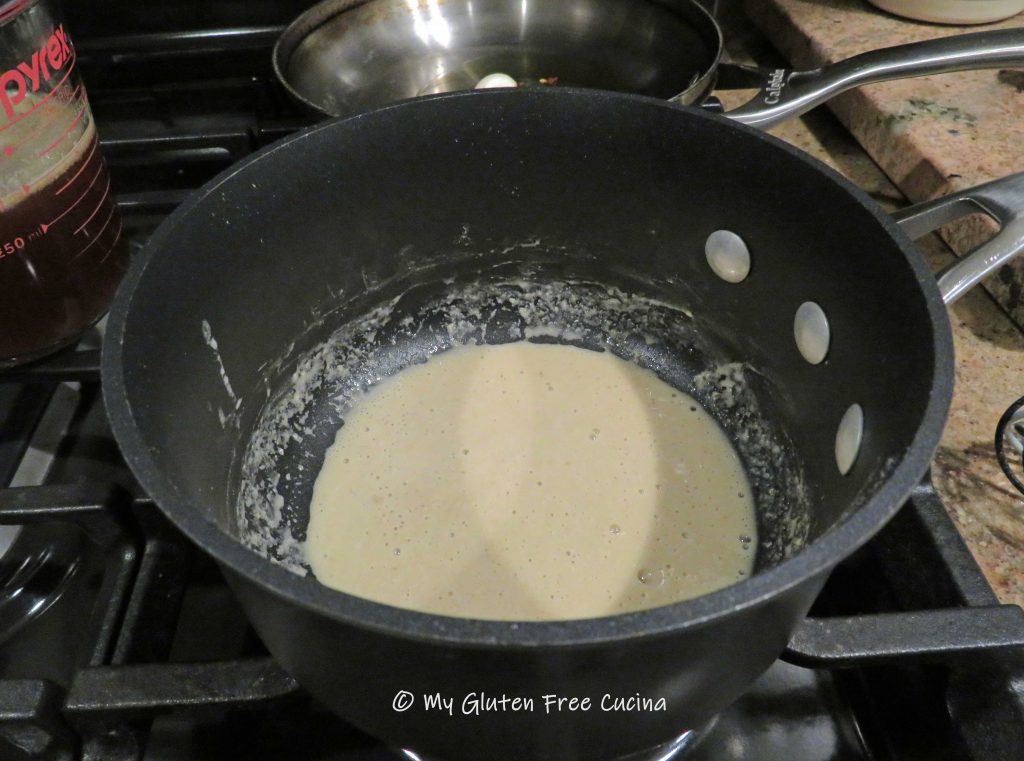
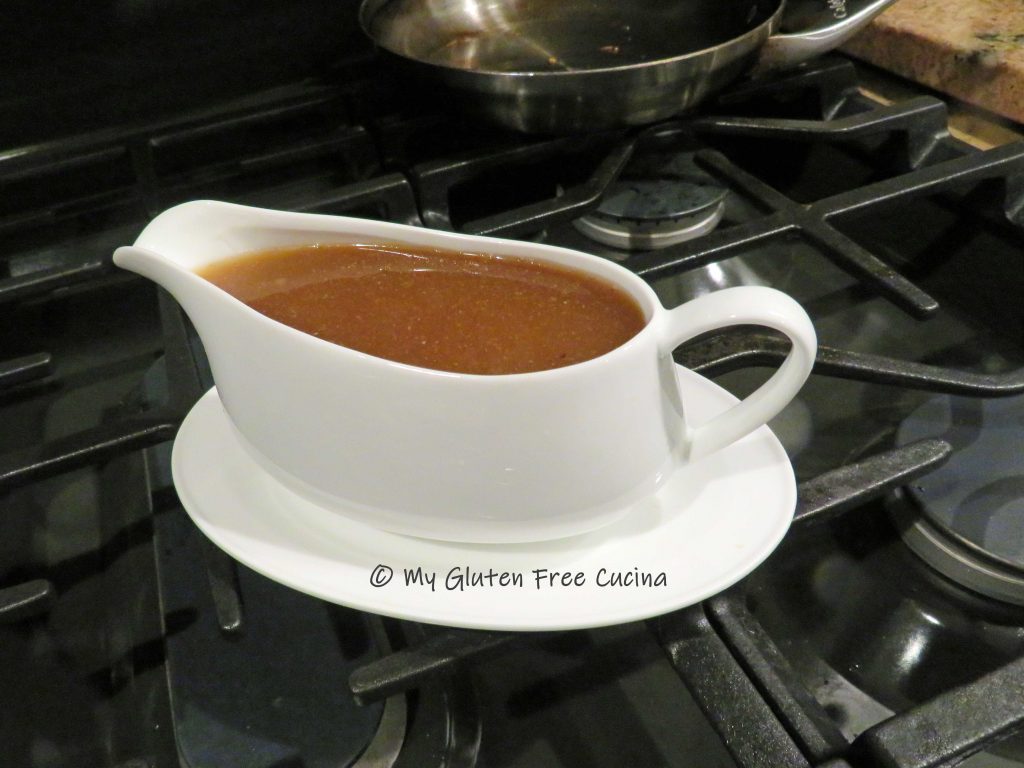
 Continue cooking with the cover off, allowing the liquid to bubble up and thicken.
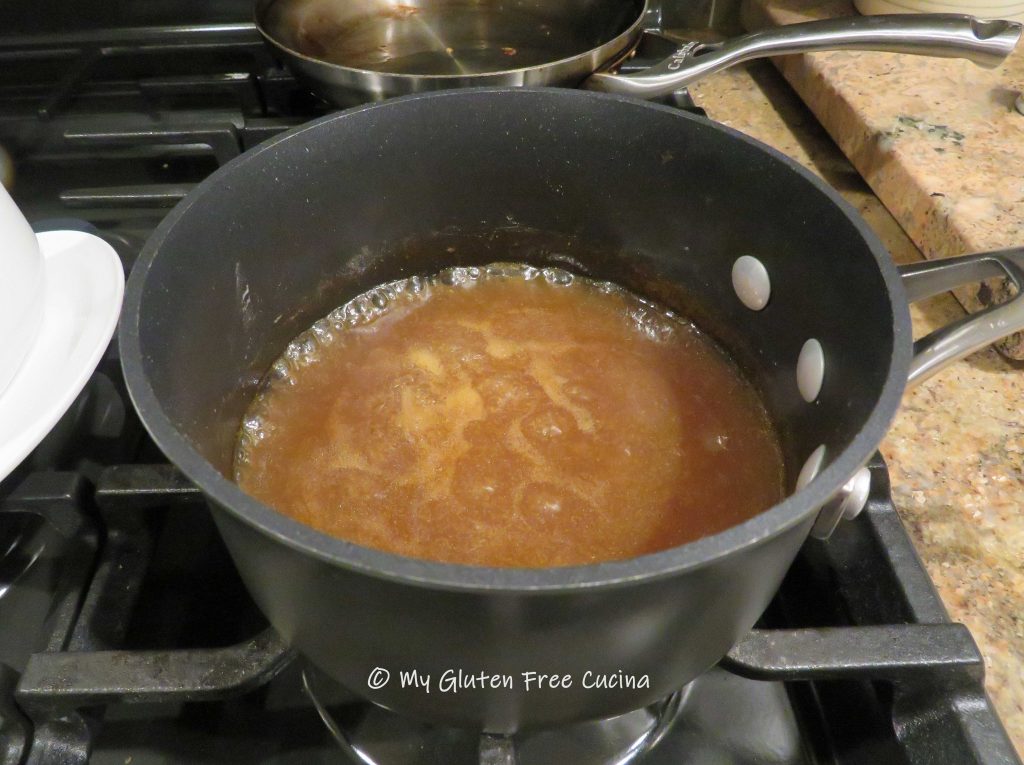
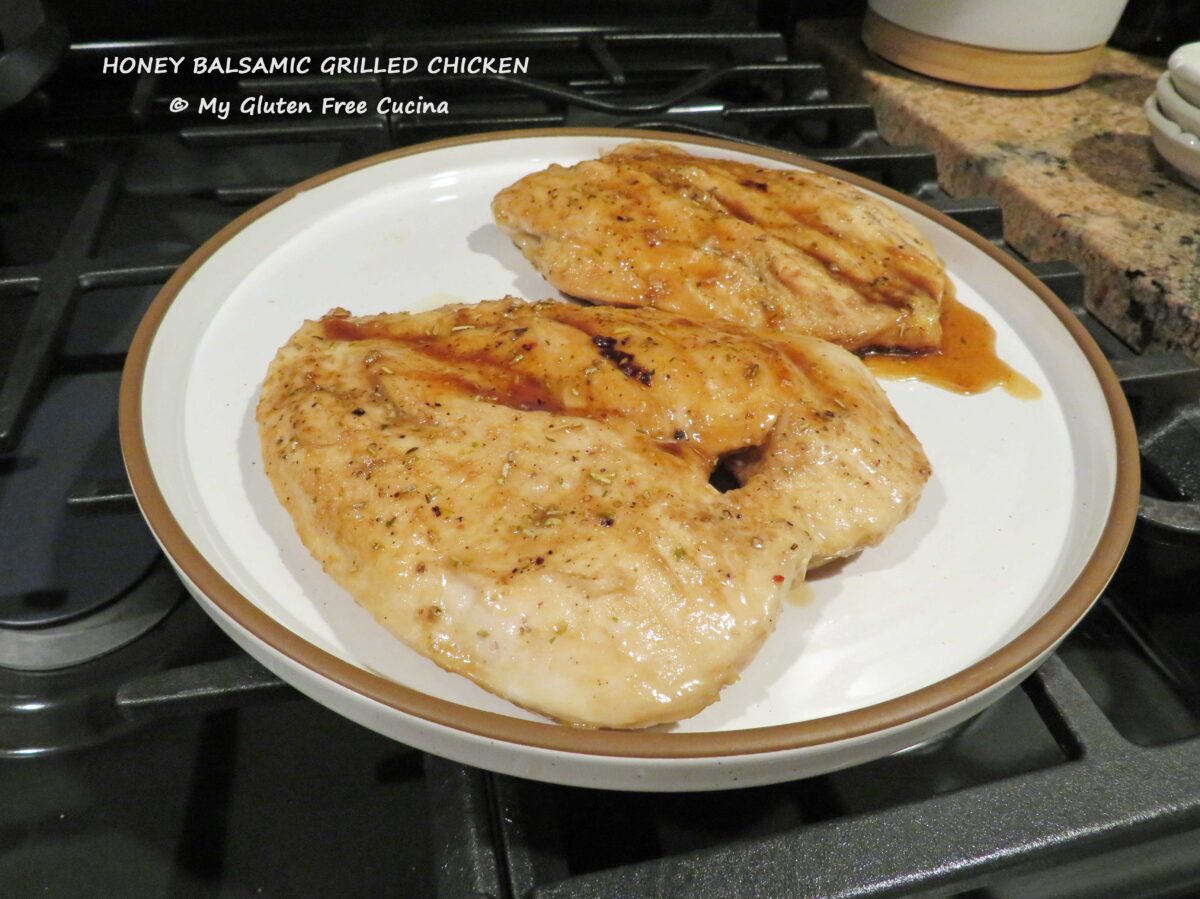
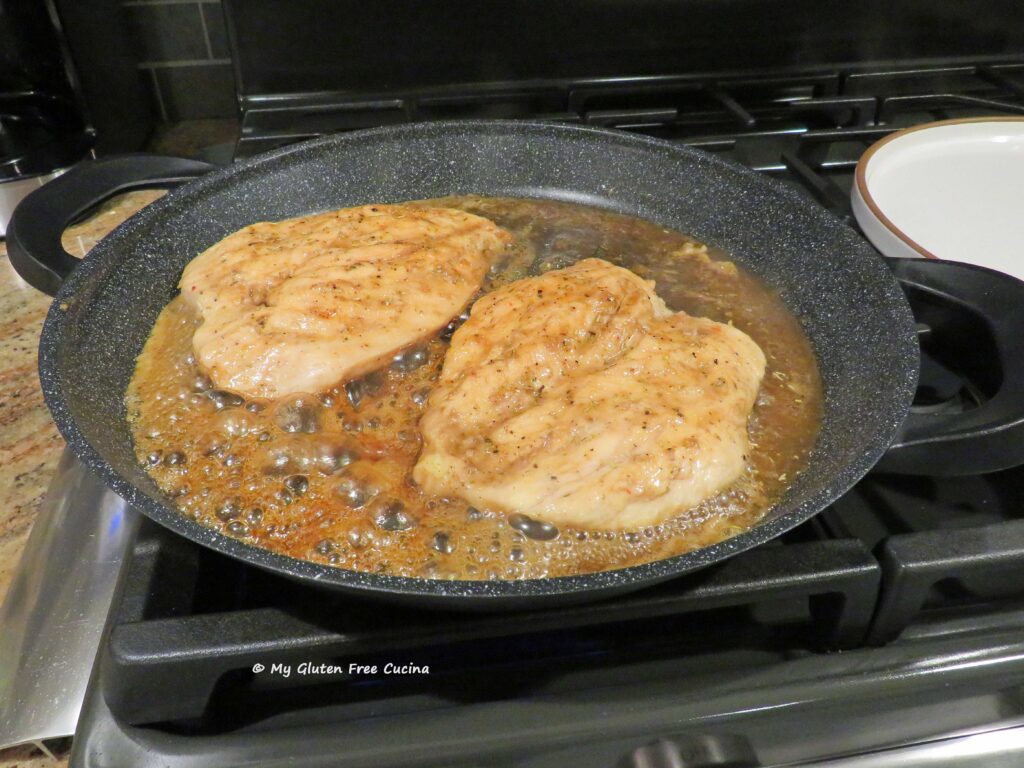 Chicken is finished when it reaches an internal temperature of 165º. Transfer to a serving dish and drizzle some of the pan juices over the top.
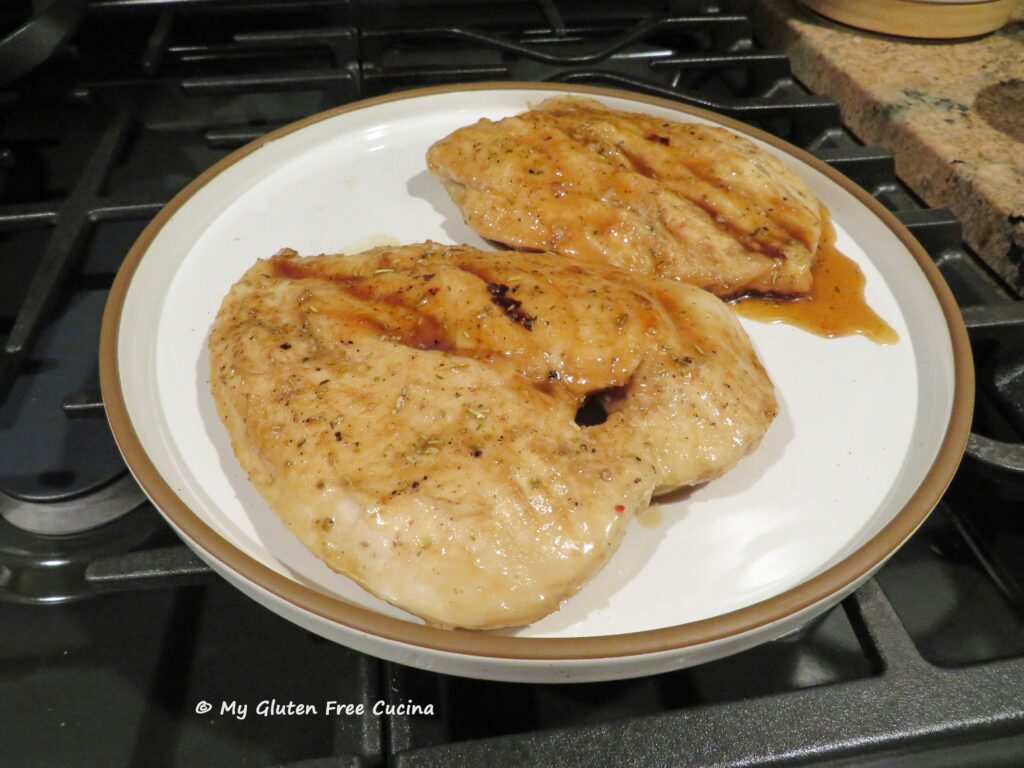

 Ingredients:
 Mist a muffin tin with cooking spray.
  Bake for 15 minutes. Check the center with a toothpick, and if it comes out dry, they are done.
 Brush the tops with melted butter, then transfer to a rack to cool.
 Muffins can be stored at room temperature for one day, and any leftover after that can be frozen.
 Yes, they are gluten free!
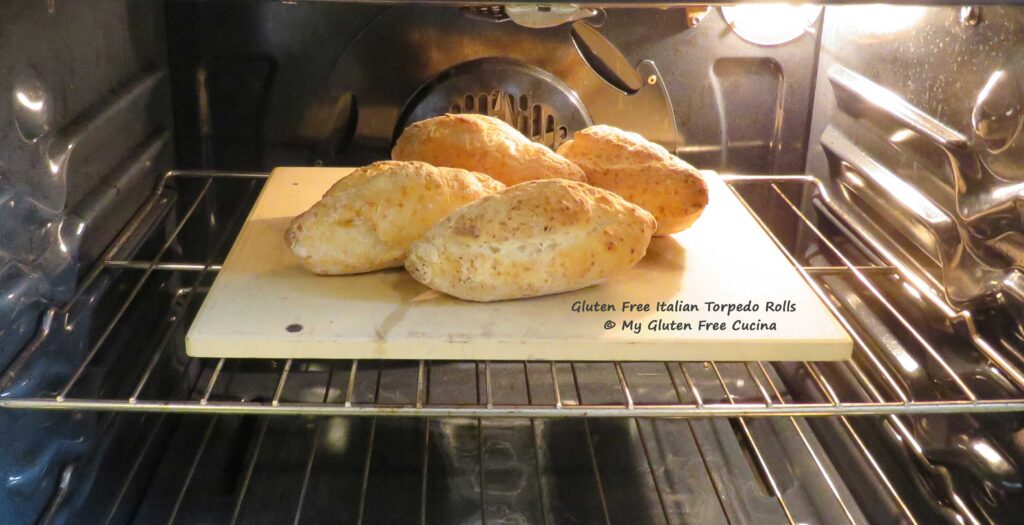 You are going to love this recipe!
 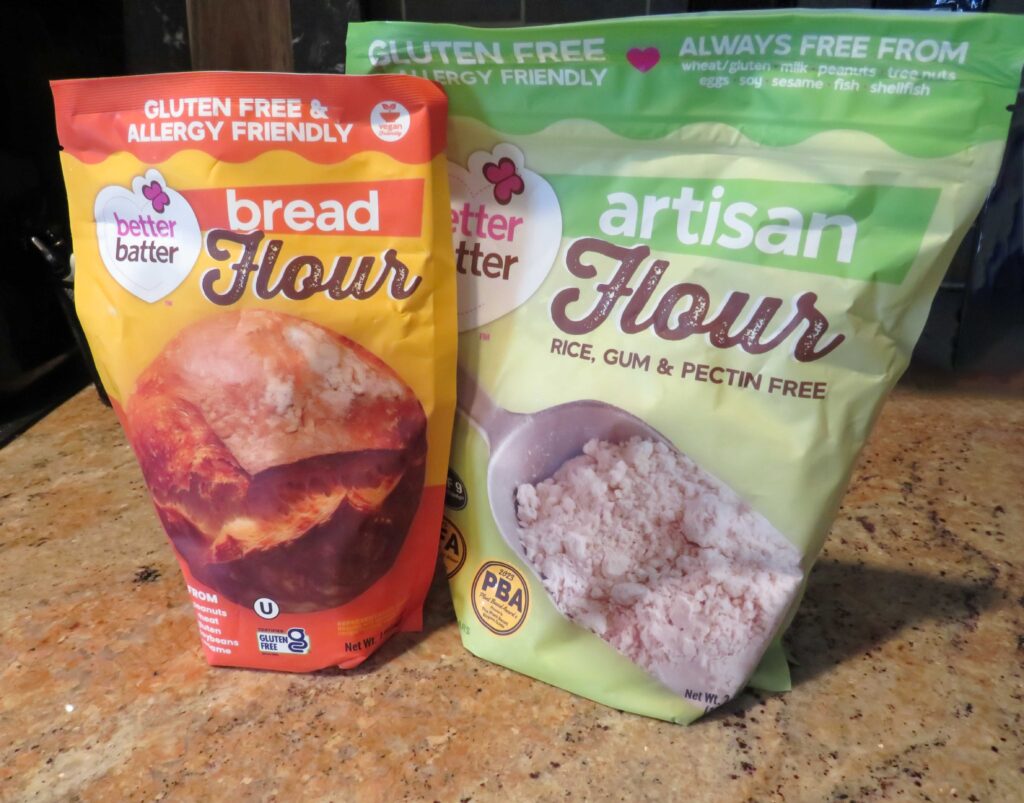 This recipe is another of my experiments with blending these 2 flours together. I really think I have hit on the perfect flavor and texture of Italian Bread that I was looking for. You can use all bread flour if preferred.
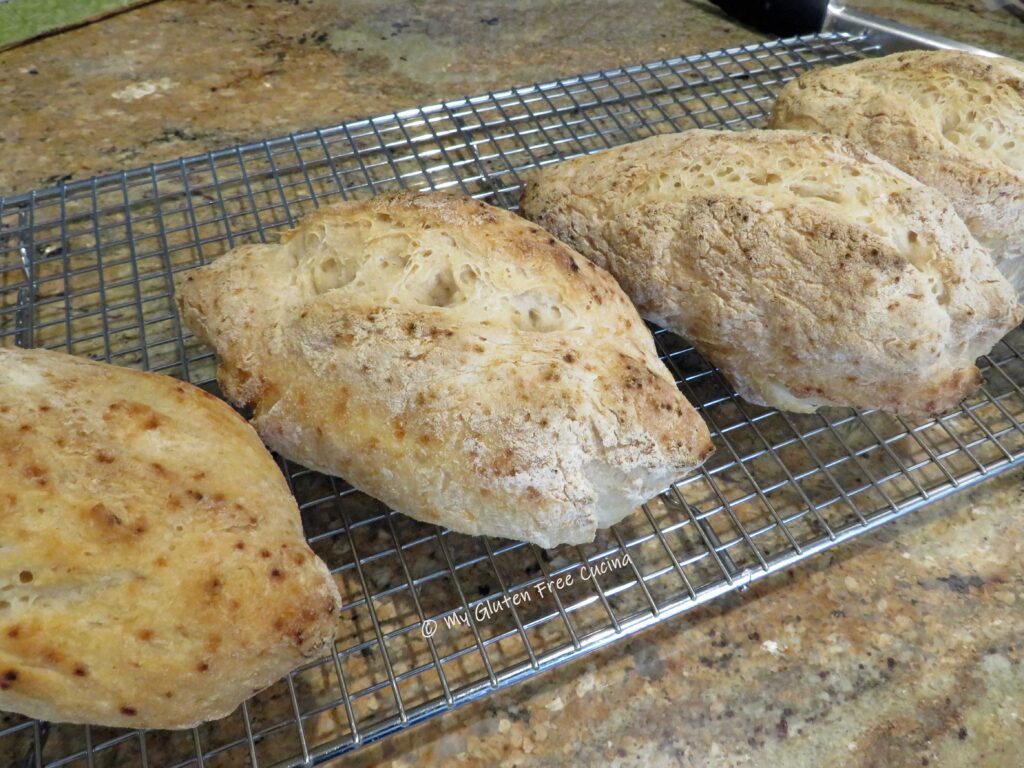 Ingredients:
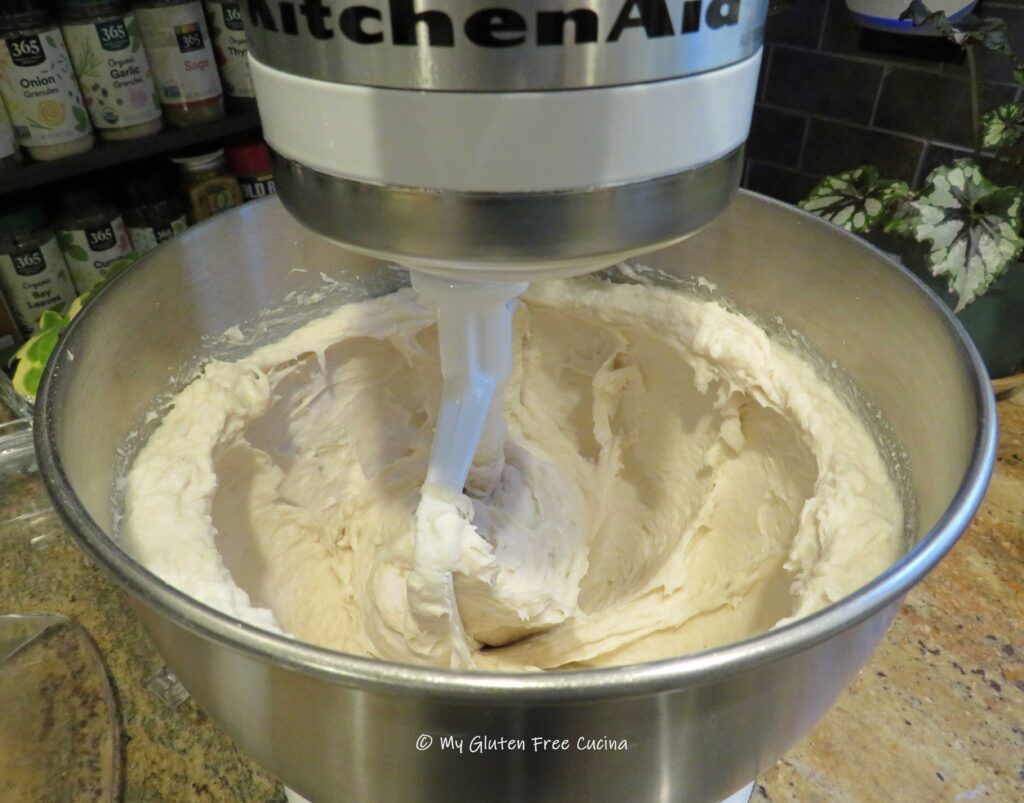 No stand mixer? You can combine everything in a large bowl with a
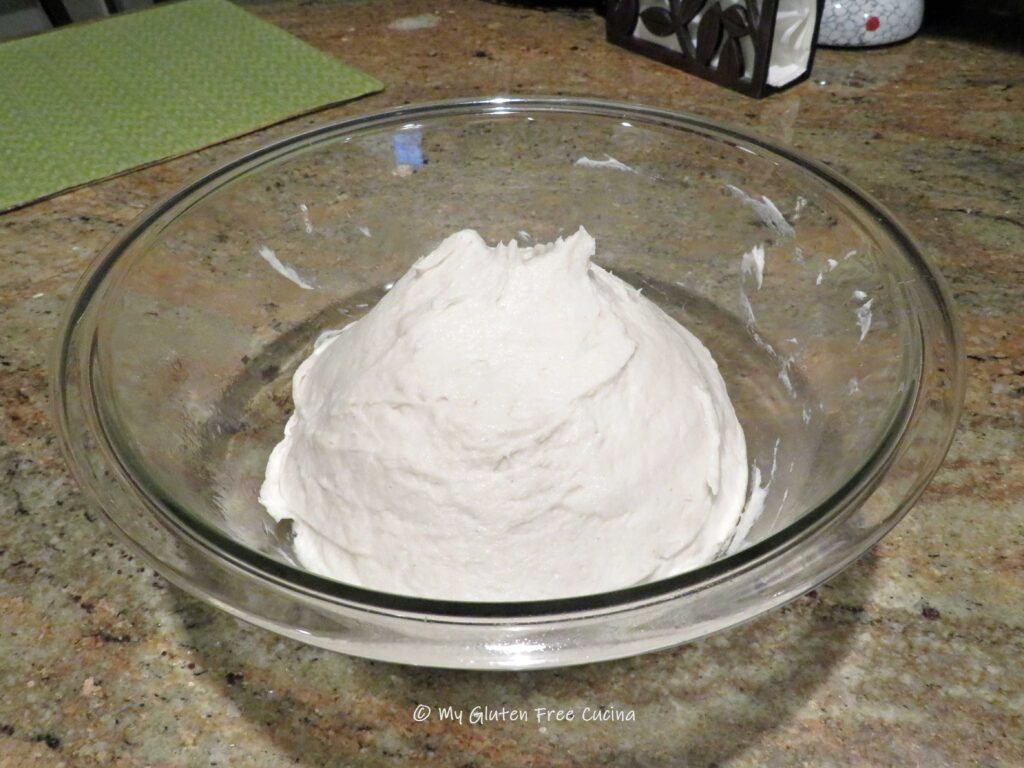
 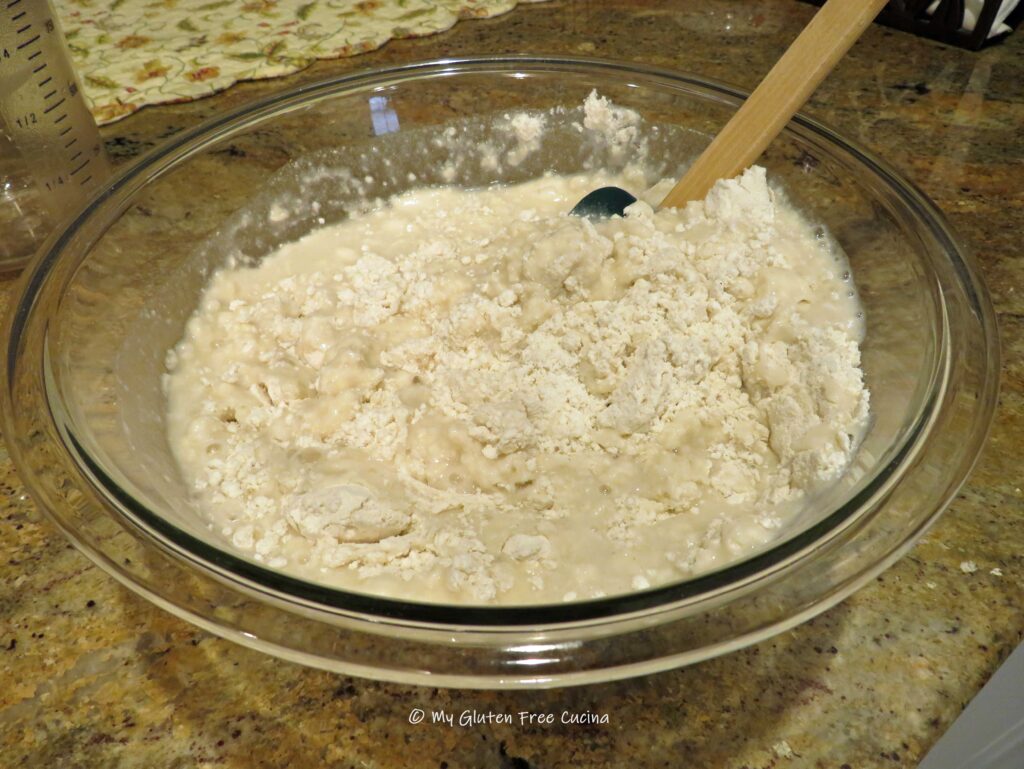 Now cover the bowl with plastic wrap and leave it on the counter (room temperature) overnight for 12-13 hours. I like to make my dough around 8pm, then shape the rolls while I’m having coffee the next morning, around 9am.
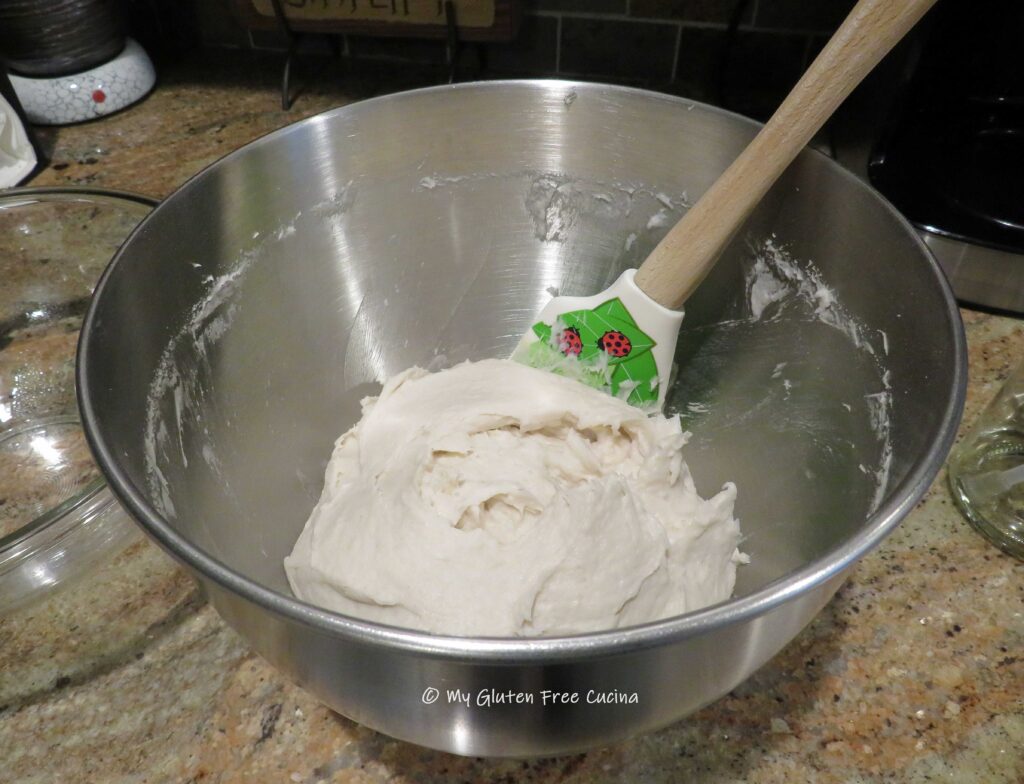
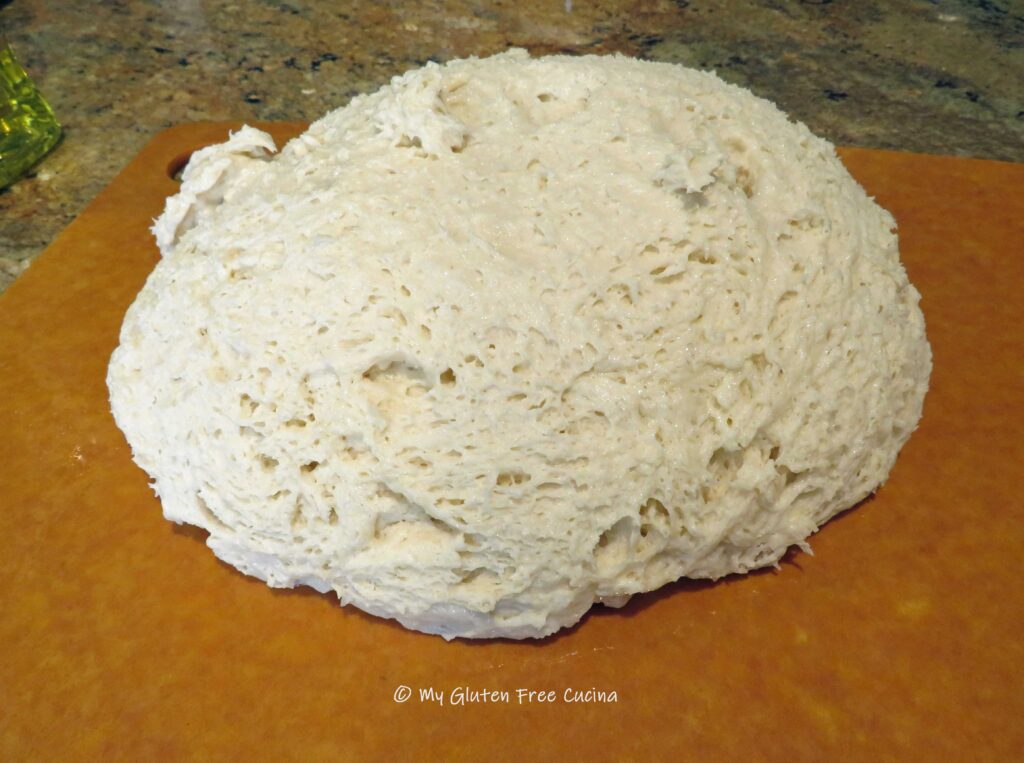
 In the morning, preheat the oven to 475º with a
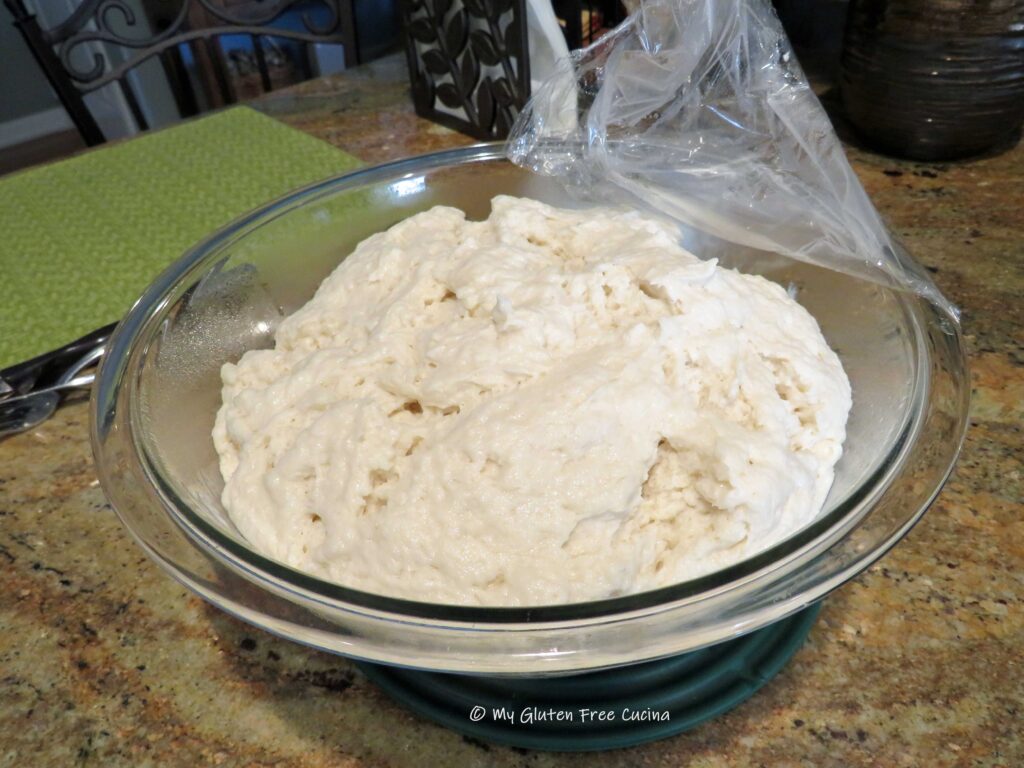
 Flour your work surface and gently roll each section into a torpedo shape (oval with tapered ends). Arrange them on a lightly floured baking sheet lined with parchment or use a
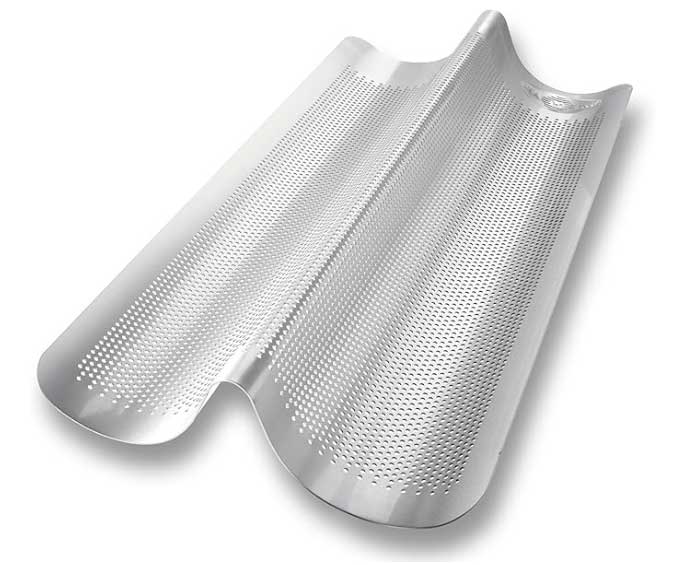
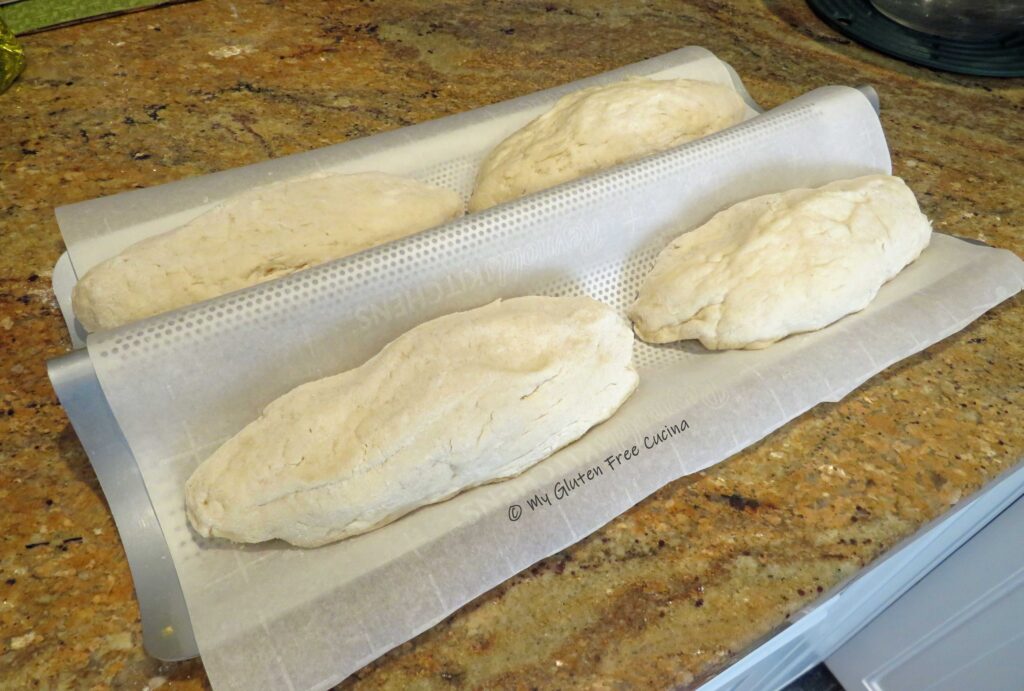 Place in the oven and spray the rolls and sides of the oven with water to create steam. Bake for 35 minutes at 475º, then remove from the pan and bake directly on the stone during the last 10 minutes.
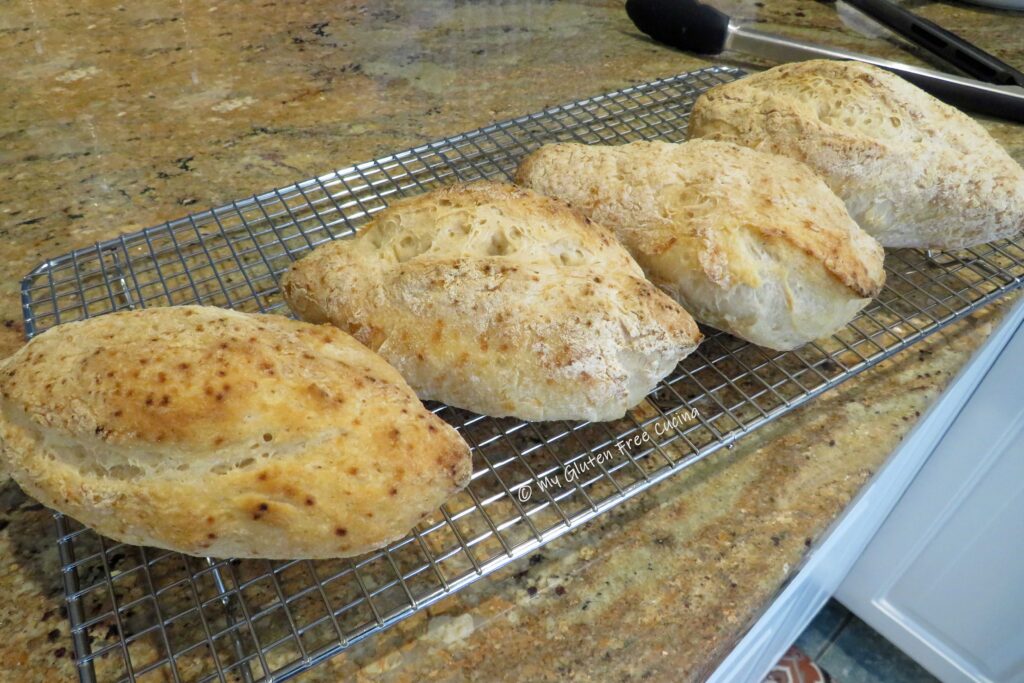
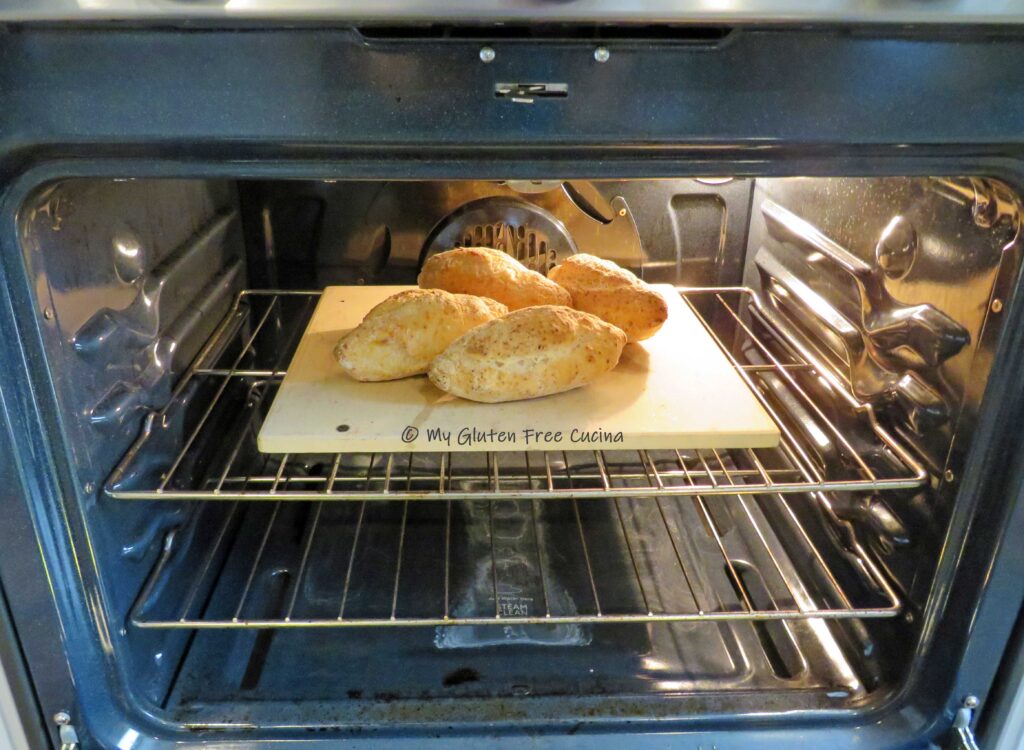 Rolls are done baking when the internal temperature reaches 210º. The crust should be firm and dry, and you will get that hollow sound when you give the rolls a sharp tap. Remove from the oven and place on a rack to cool.
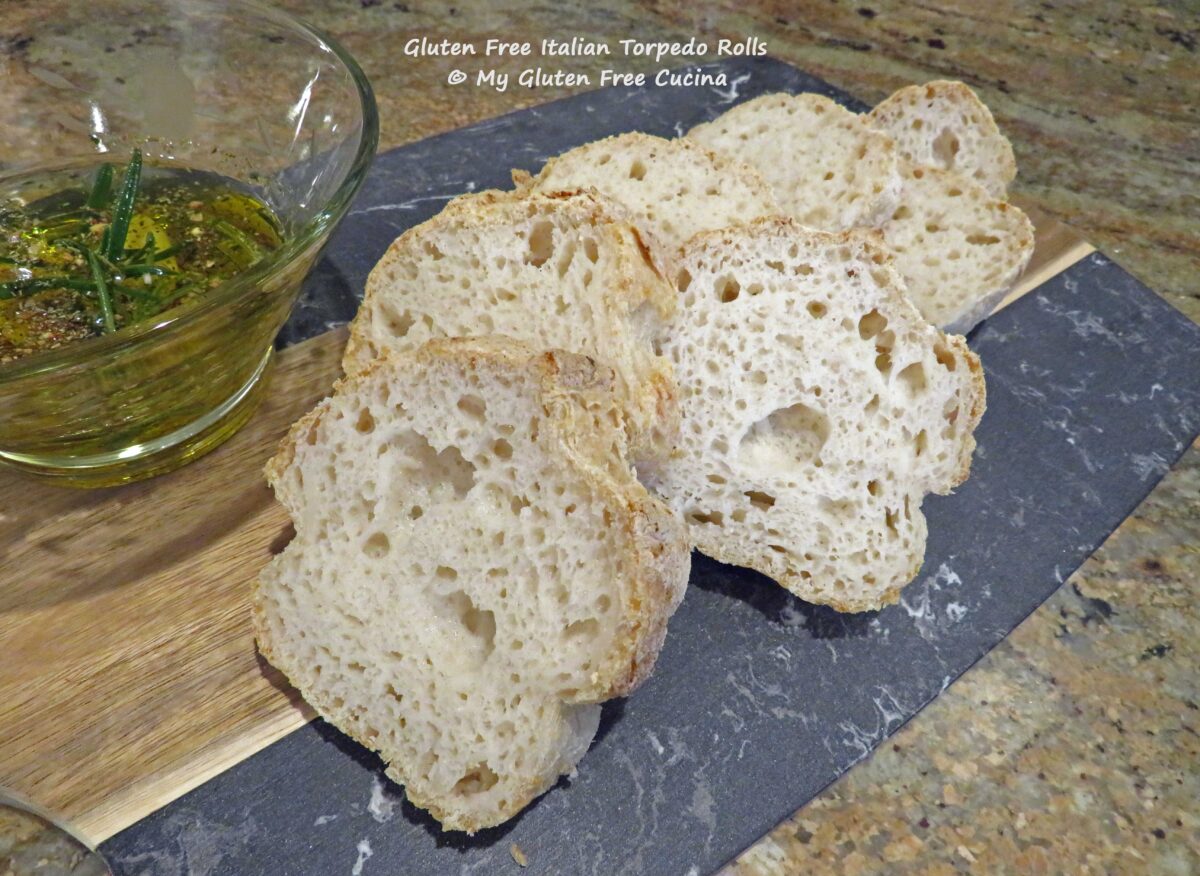
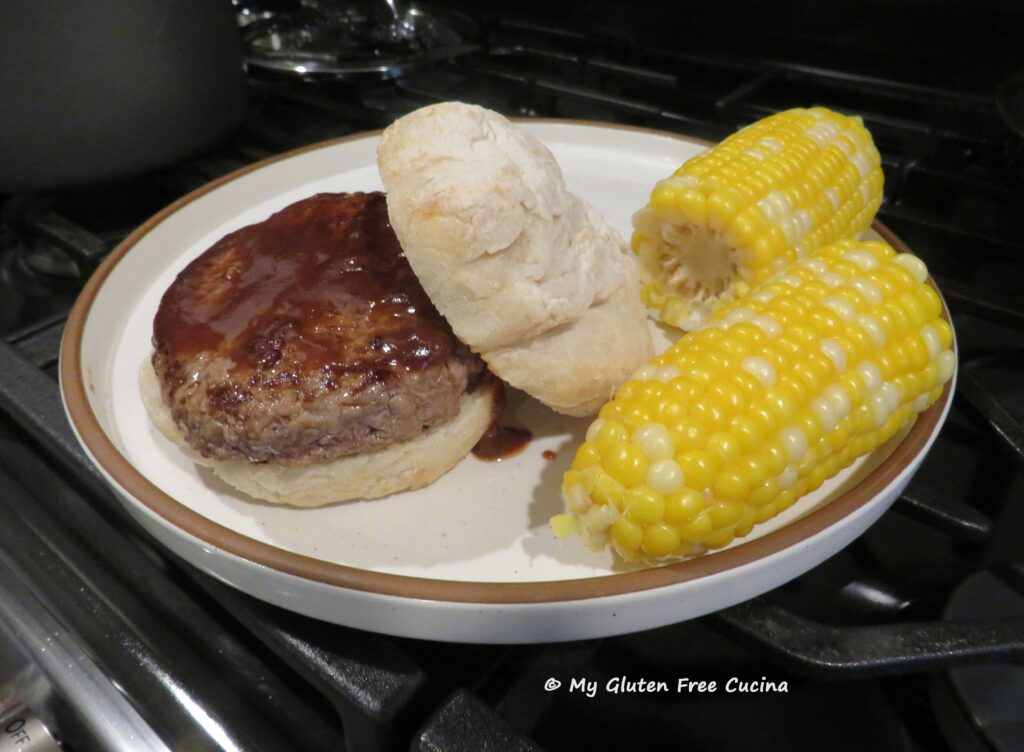
 What would you do with a homemade, hot out of the oven Italian roll like this? Dip it in olive oil, or slather with garlic butter and toast it? Slice it thin for bruschetta? Maybe load it up with veggies, cold cuts and cheese to make a panino (a/k/a sub, hoagie)! And for big appetites, you can serve them as dinner rolls (mop up that sauce!) or sandwich rolls.
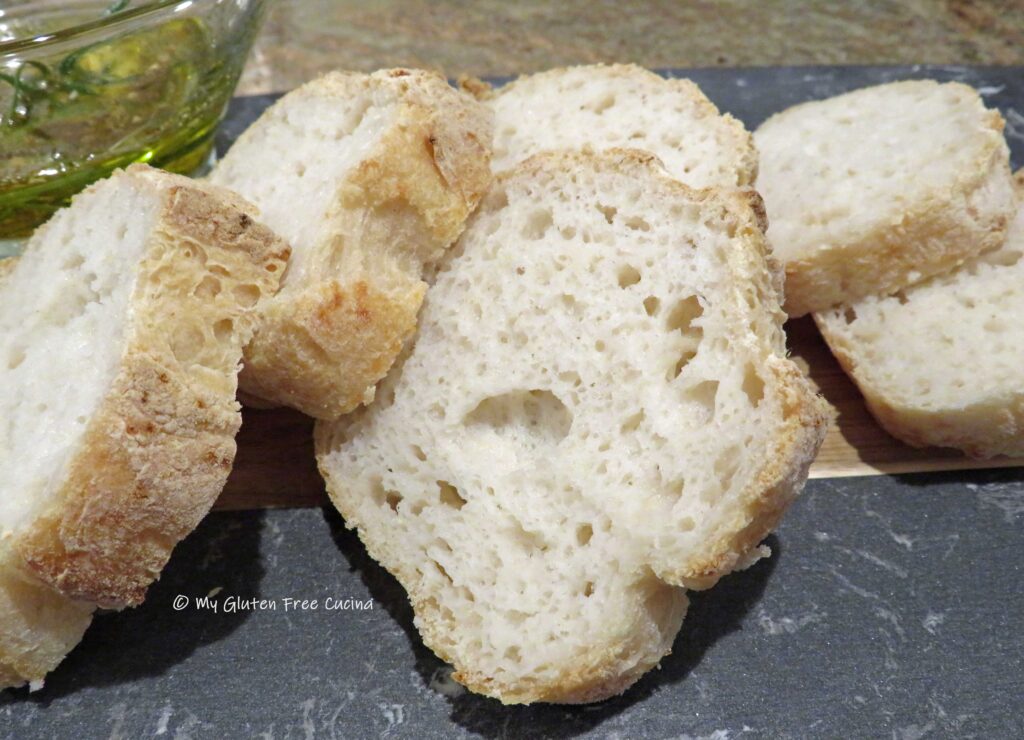 However you choose to enjoy them, these rolls are delicious!
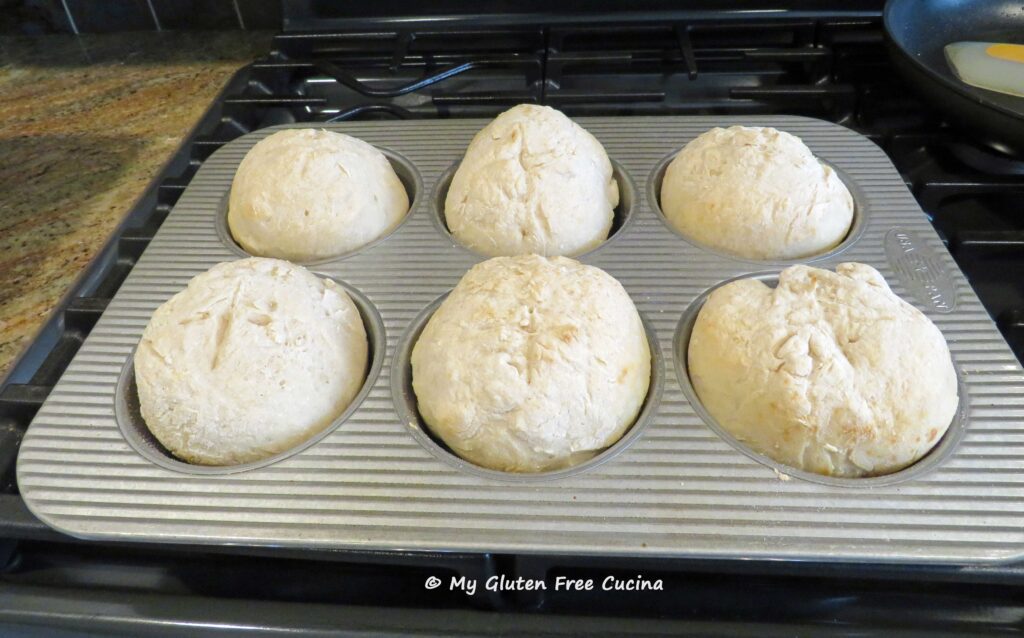
 Ingredients:
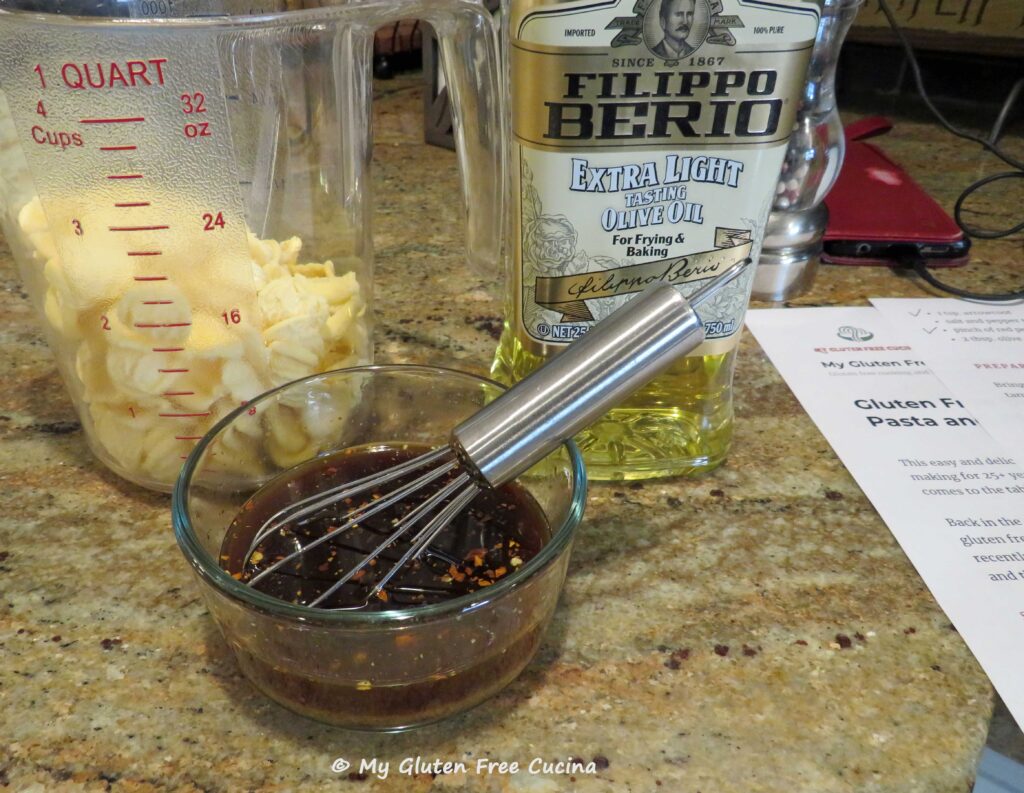
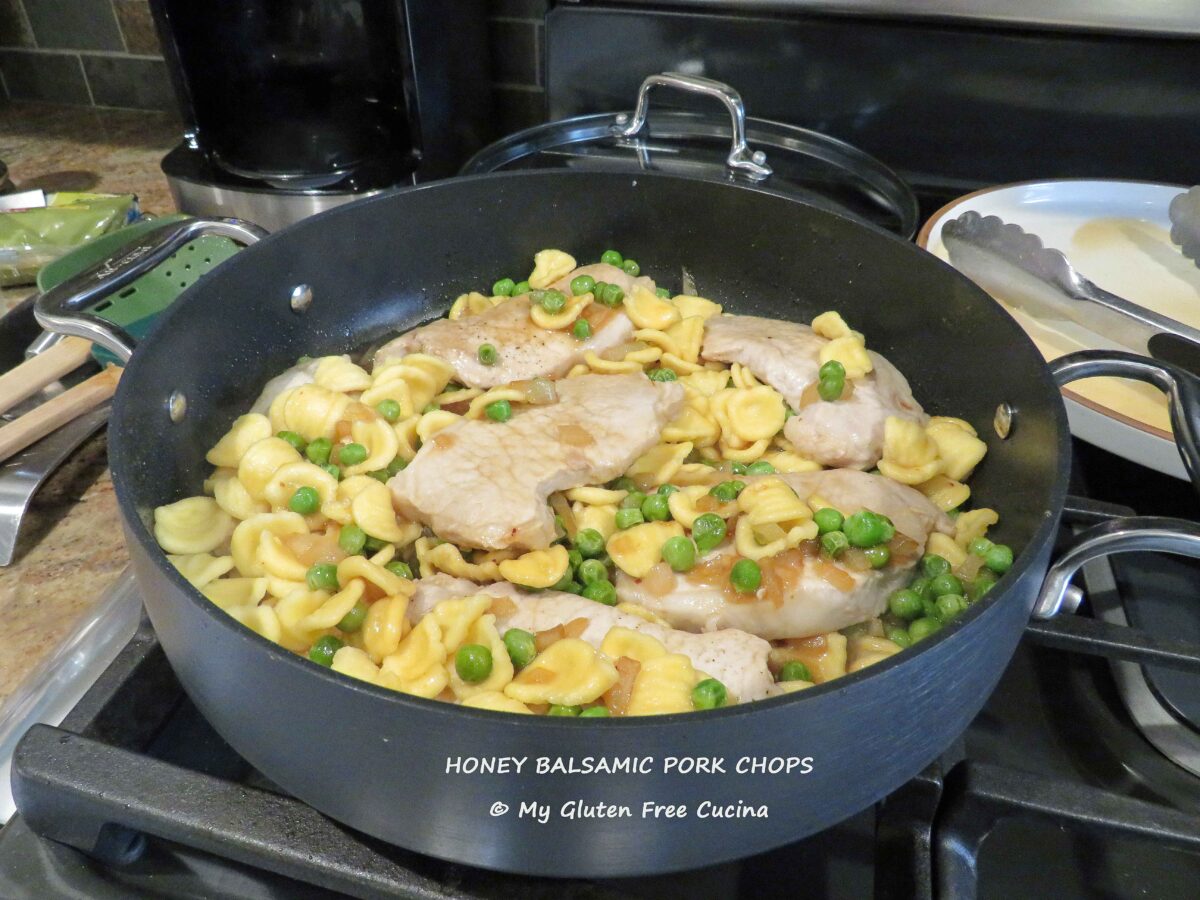
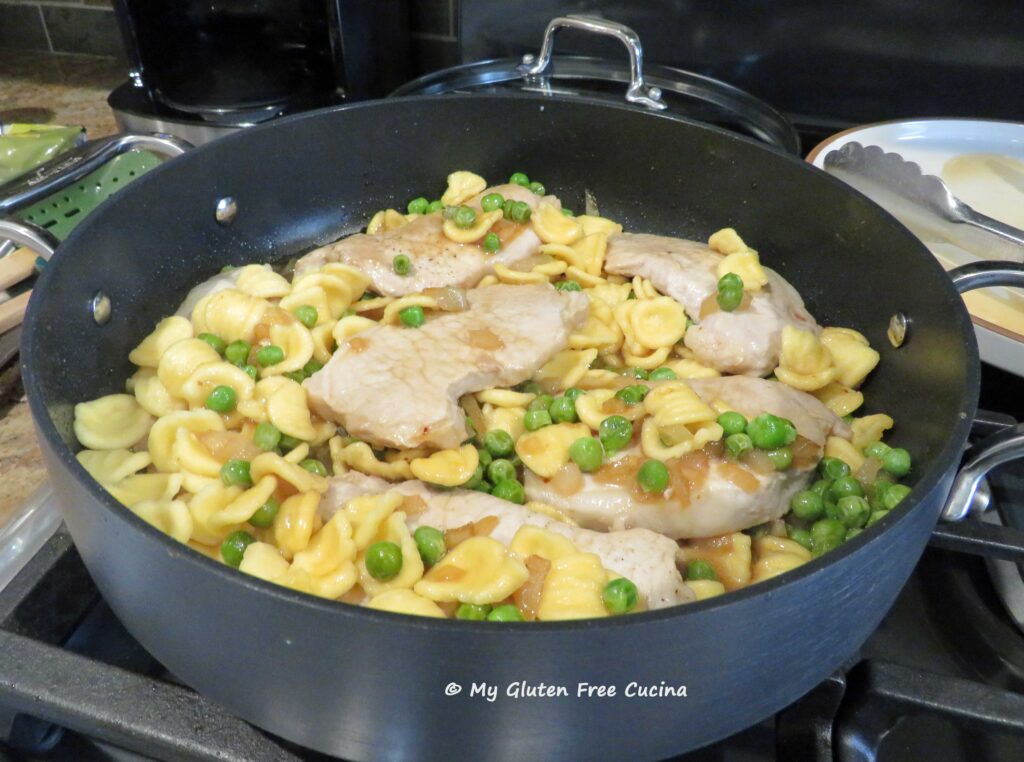
 Add the onions to the skillet with an additional tbsp. olive oil. When the onions are translucent, add 2 tbsp. of the balsamic mixture. Cook, stirring frequently until most of the liquid has evaporated.
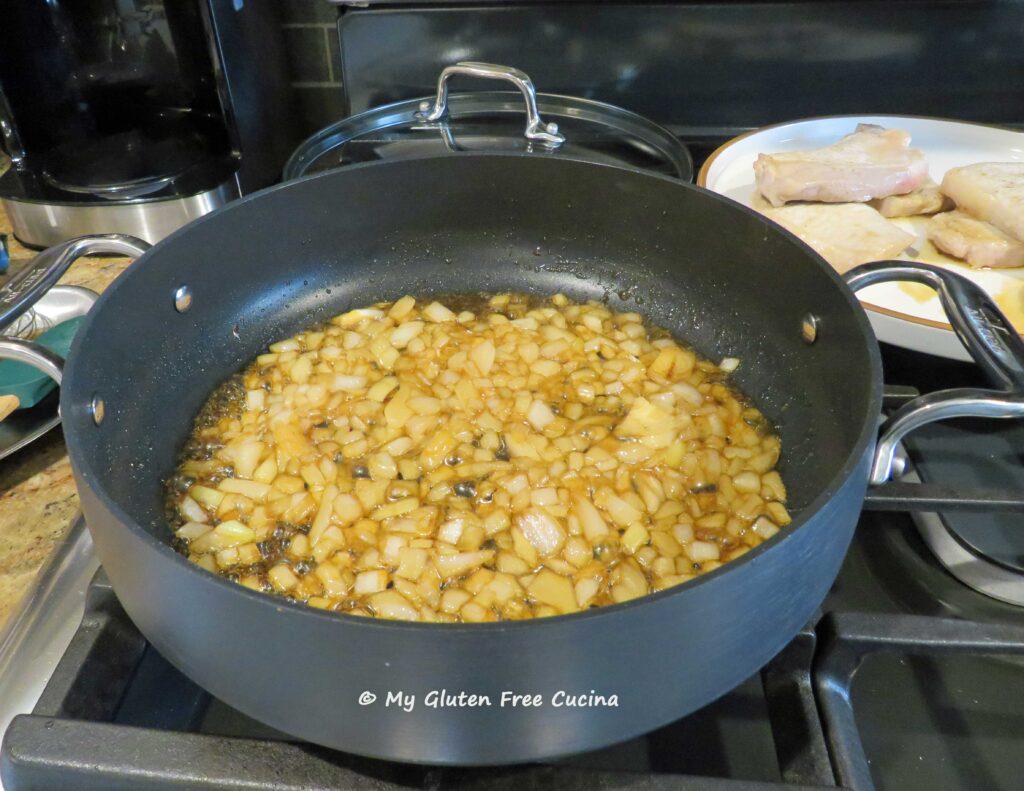 Return the pork chops to the skillet with the peas and drizzle with the remaining balsamic mixture. Continue to cook for several more minutes, until the pork chops are heated through.
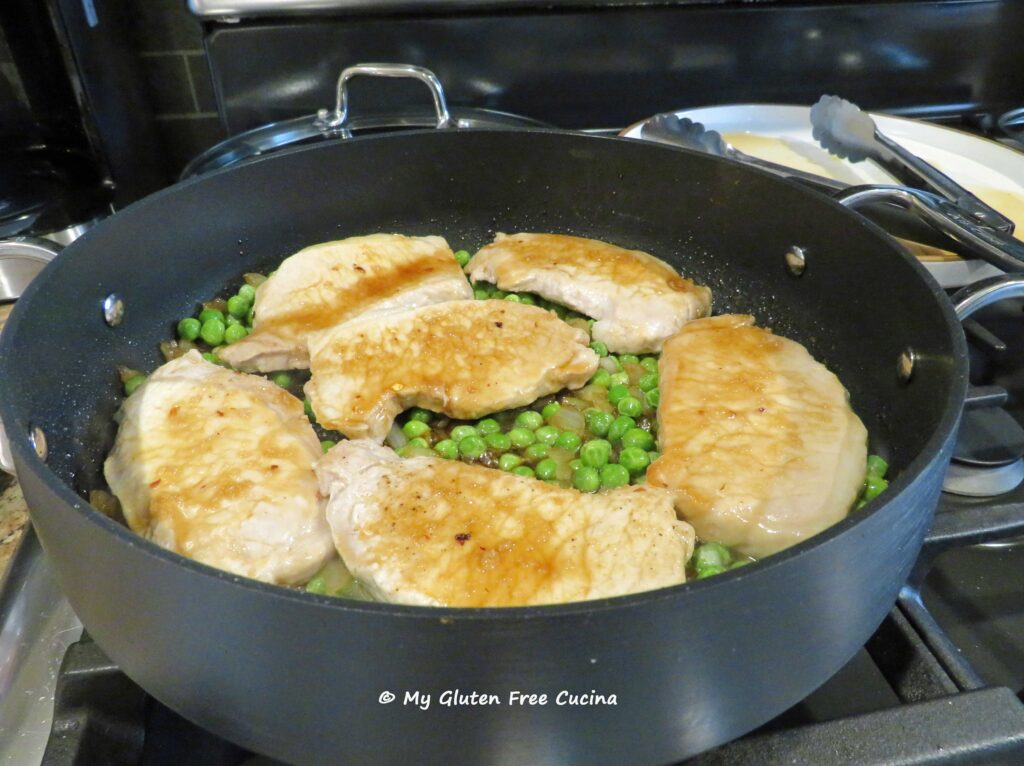 Drain the pasta, add to the skillet and toss to coat. Remove from heat and serve right in the pan for a casual dinner.
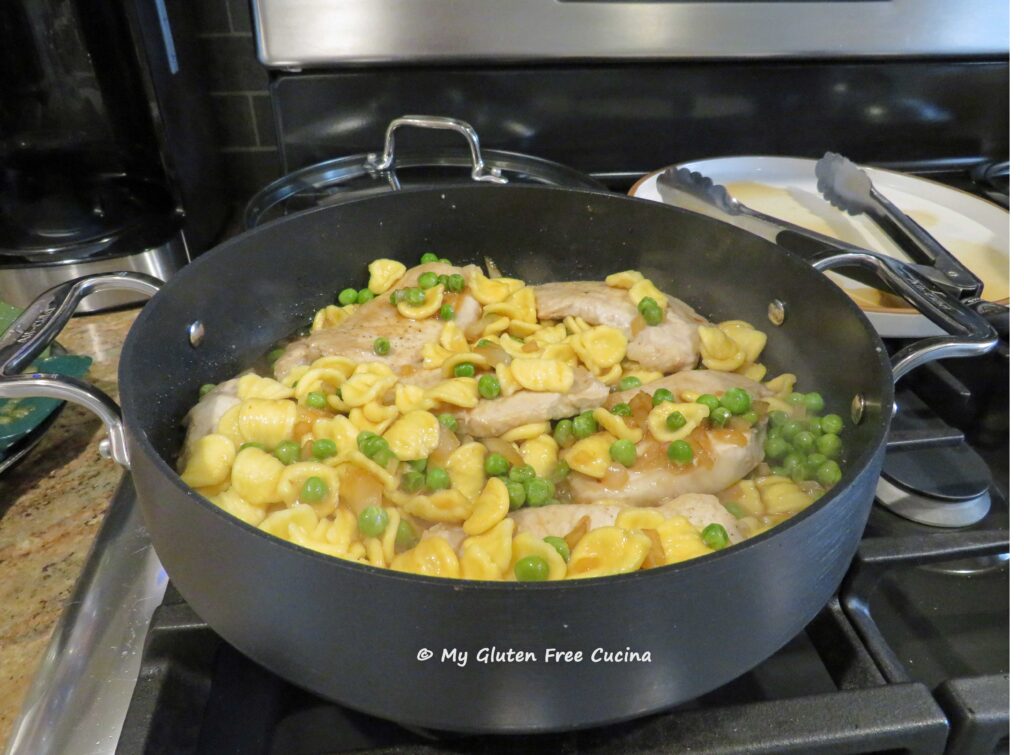 Notes ♪♫


 Preparation:
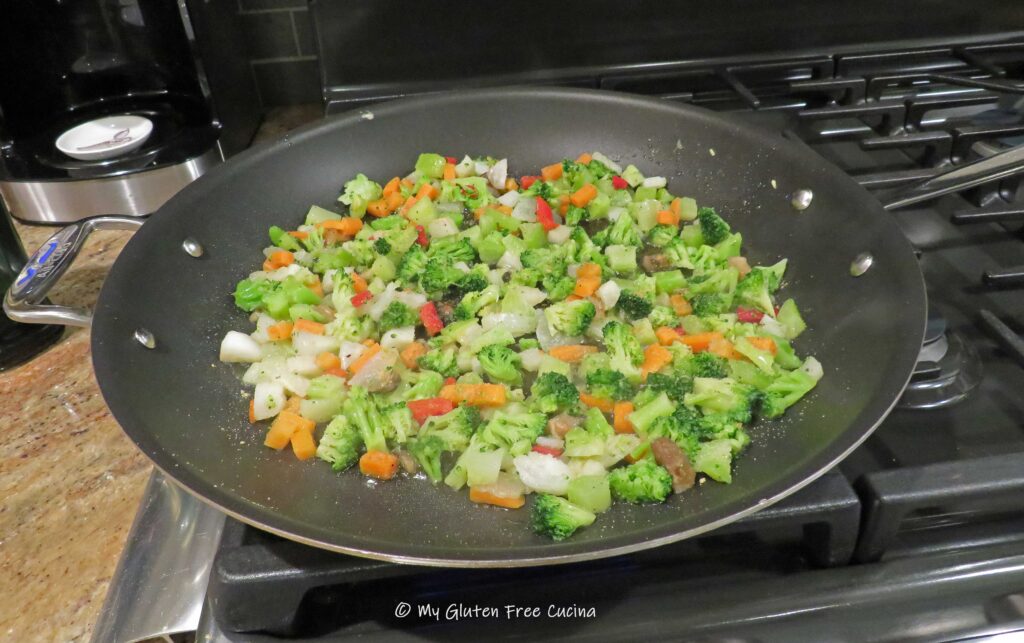
 I did think the veggies were a bit large for fried rice, so I cut them into smaller pieces. Season the veggies with salt and pepper to taste. Sprinkle with garlic and ginger powder and leave them out to defrost.