Gluten Free Pane Bianco

Pane Bianco!

Have you seen this bread before?  Pane Bianco first appeared in the King Arthur catalog around 2018.  At the time, I had recently been diagnosed with Celiac Disease, and the thought of making breads like this seemed impossible!

I saved the recipe though, and as I was going through old folders recently, there it was.  That was the moment I decided to make a gluten free version of this gorgeous bread!

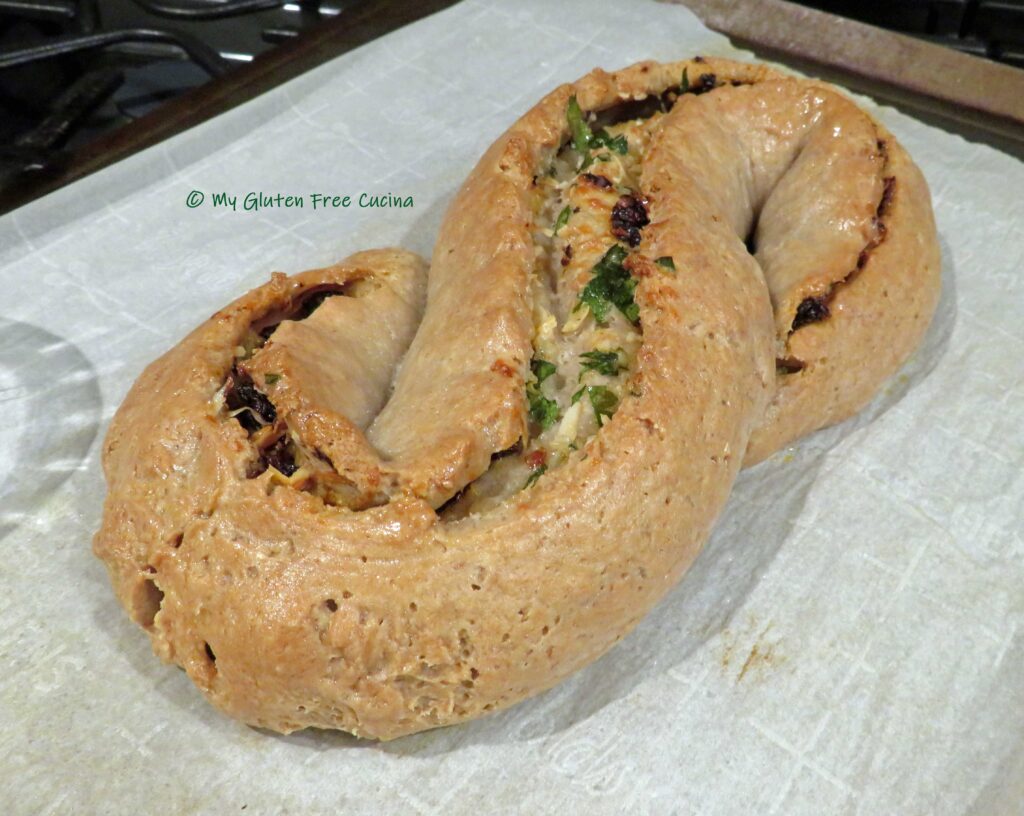
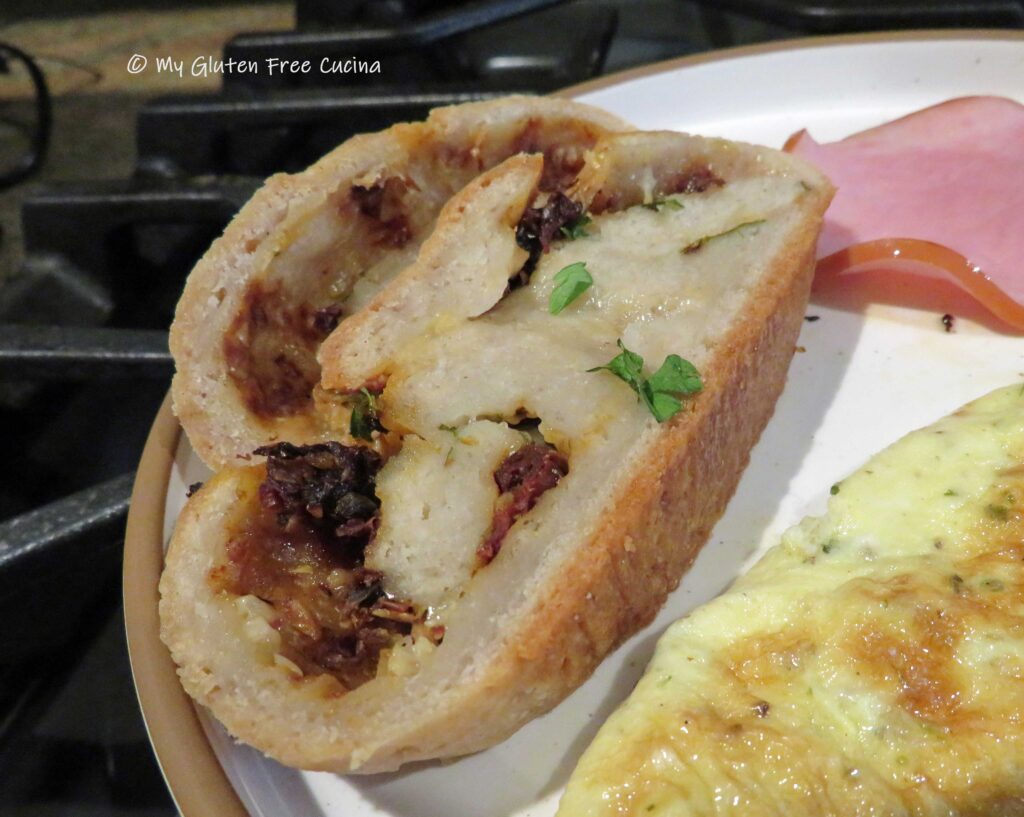
Pane Bianco literally translates to “White Bread”.  That sounds oh so dull and ordinary, when this eye-catcher of a loaf is anything but.  The S-shape looks so fancy, with the scored dough revealing a filling of sundried tomatoes, garlic, cheese and basil.  It’s a stunner as it opens up during baking, and don’t get me started on the aroma!

This post contains affiliate links.

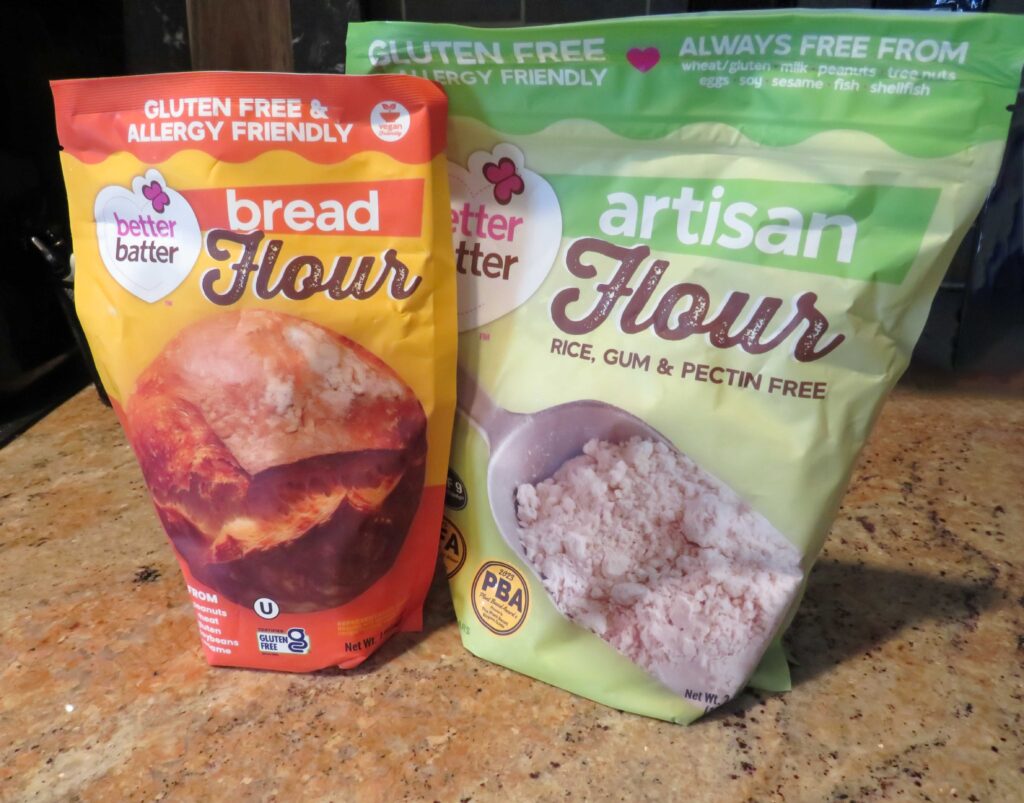
Think you can’t roll and shape gluten free dough like this?  It’s all in the flour blend, and you can probably guess that for my gluten free makeover, I used Better Batter.  My personal favorite is their Artisan blend, but either that or their new Bread flour are great choices for this recipe.

Sometimes when I can’t decide I use some of each!  For this bake I used a 50/50 combination of the Artisan blend and Bread flour.  I’ve done some experimenting with this combination and I just love the flavor and texture.  You can use 360 g. of either flour, or a blend like I did.

Remember, Better Batter flour is now sold in 1 lb. bags.  So, if you wanted to try this recipe the way I made it you don’t have to make a big commitment.  Just grab yourself a 1-pound bag of each and bake along with me!

Use my promo code MGFC30 at checkout and get 30% off full price on your purchase at Better Batter!

Ingredients:

Preparation:

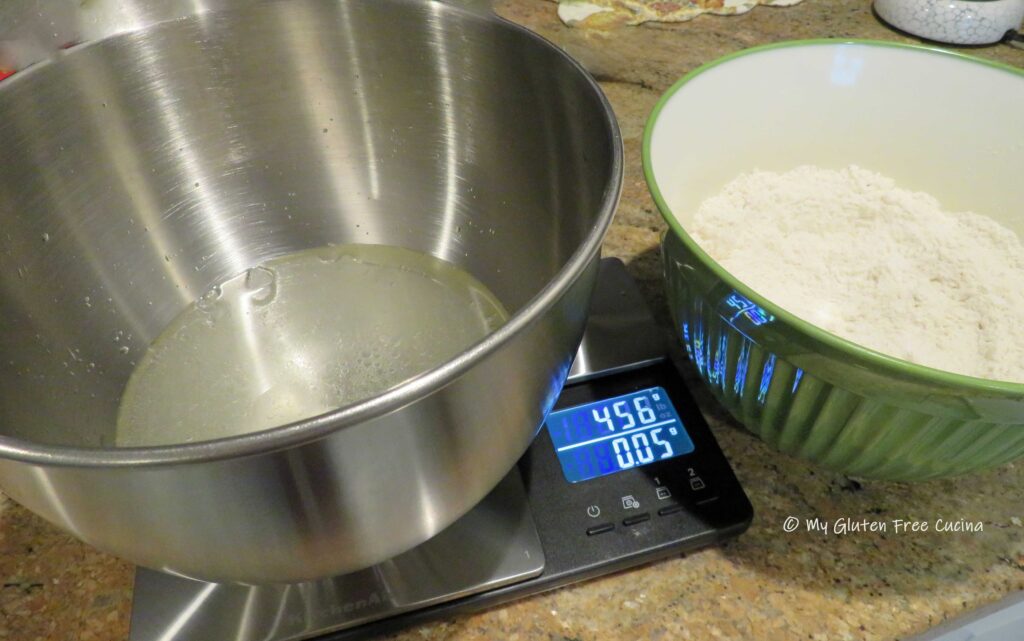
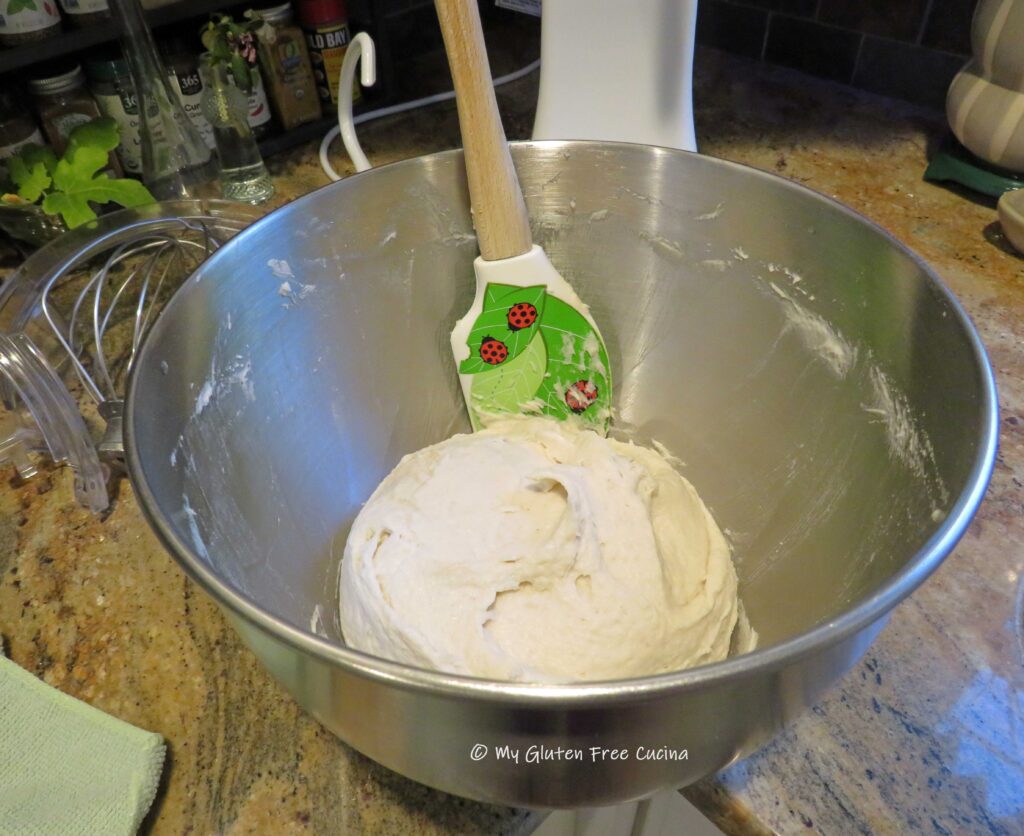
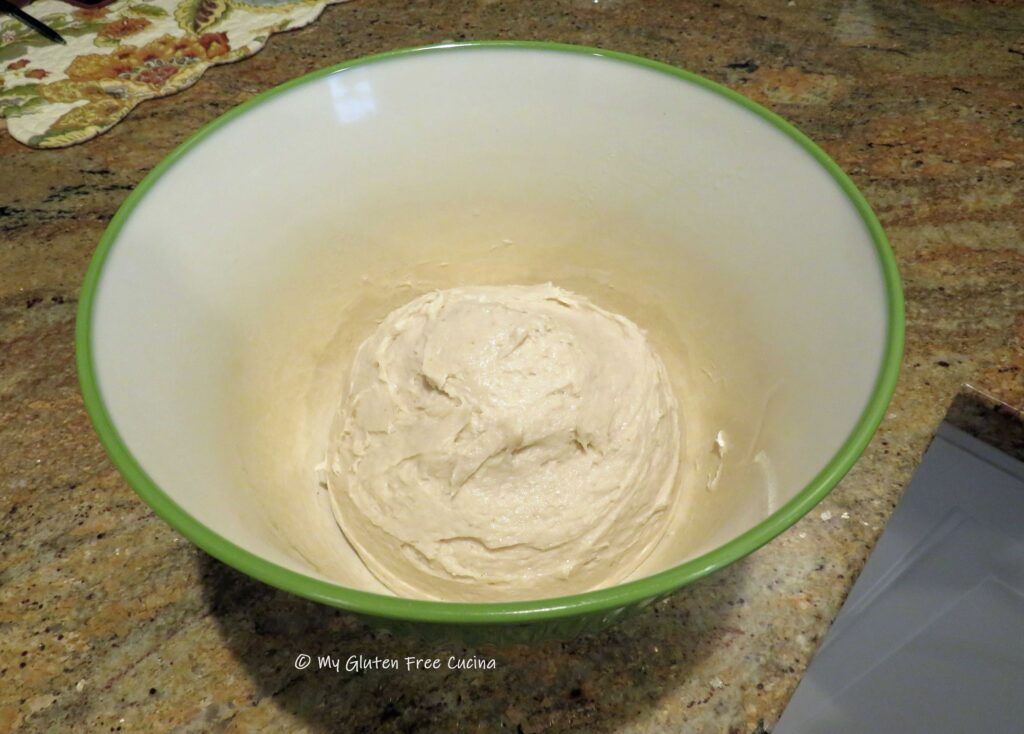
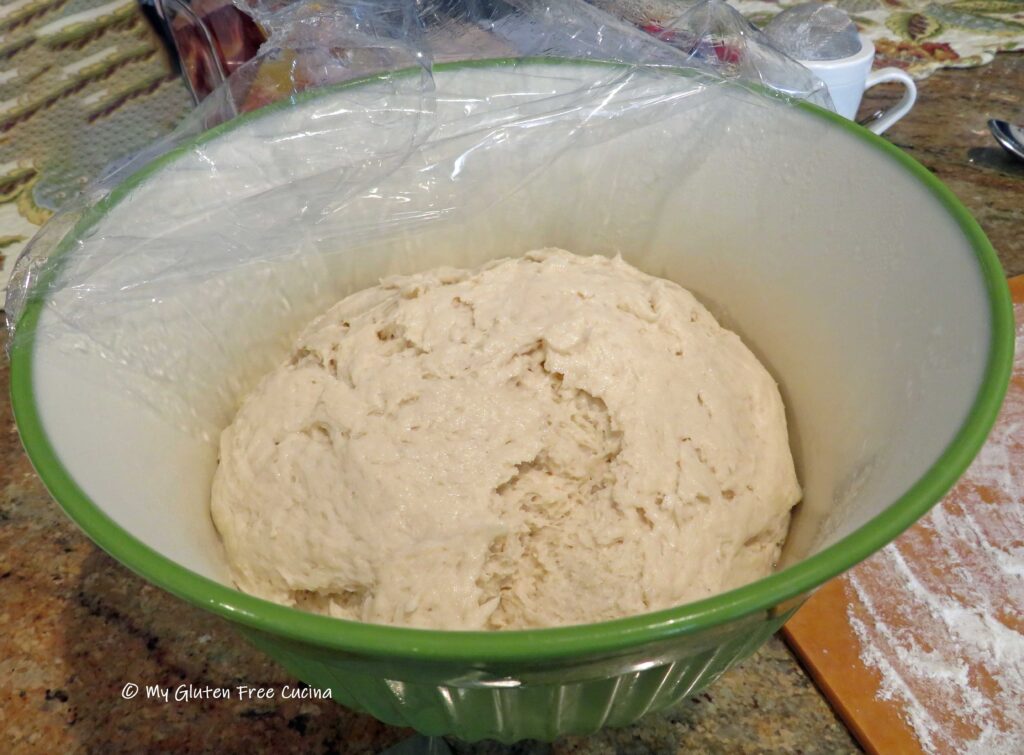
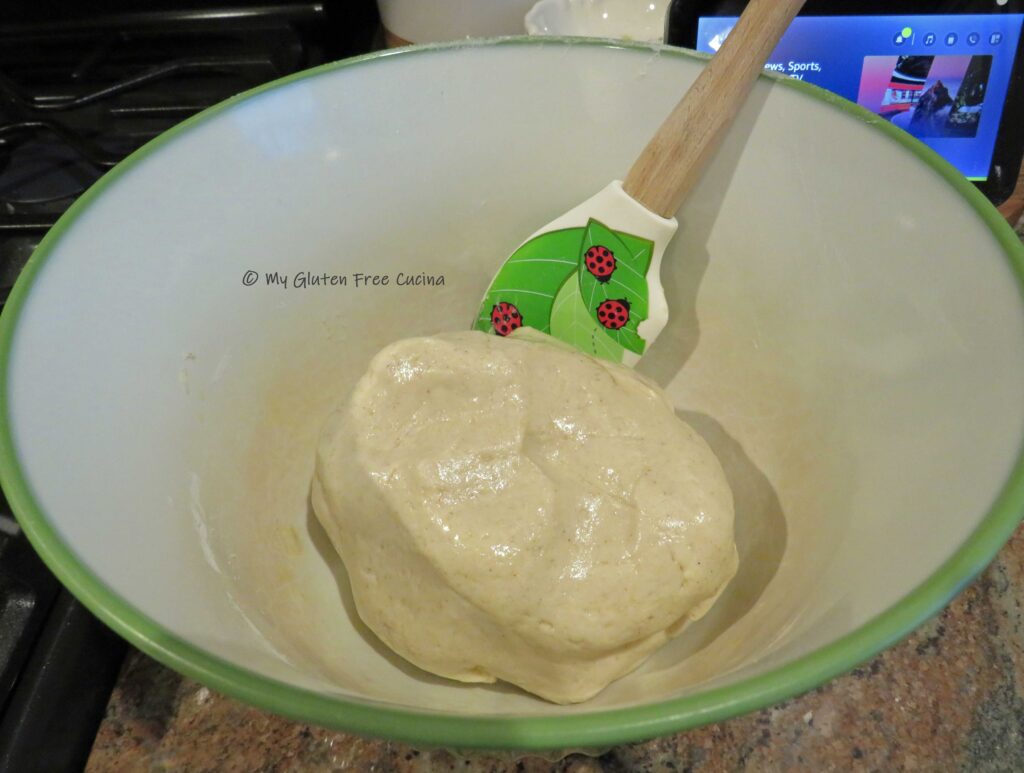
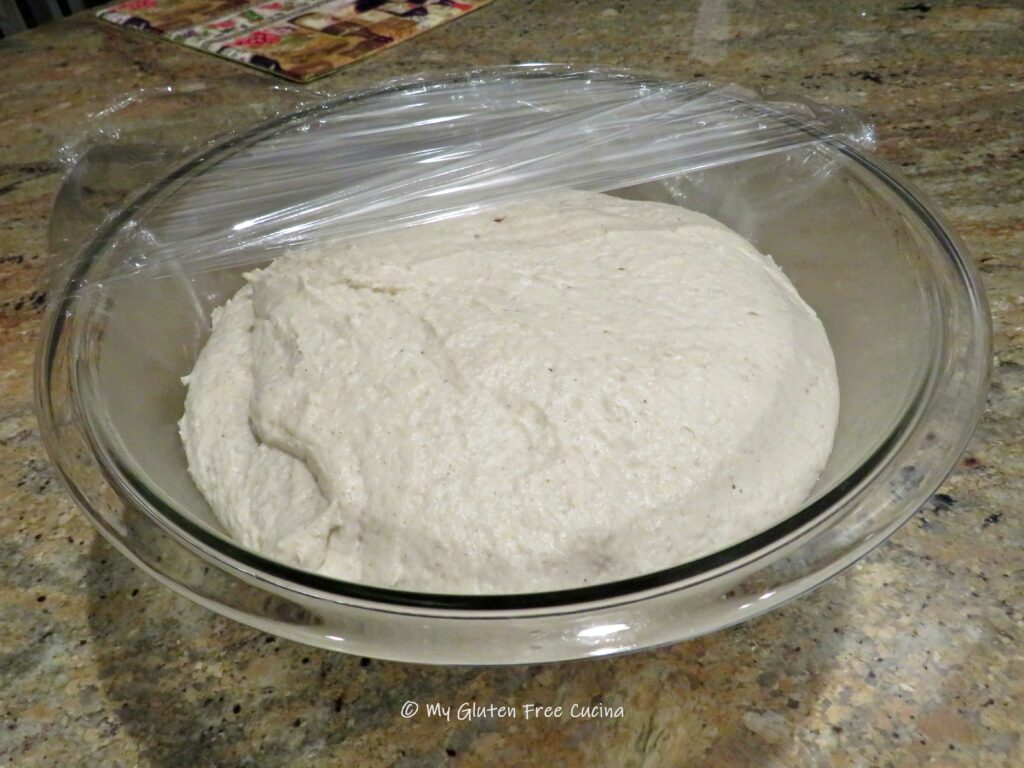
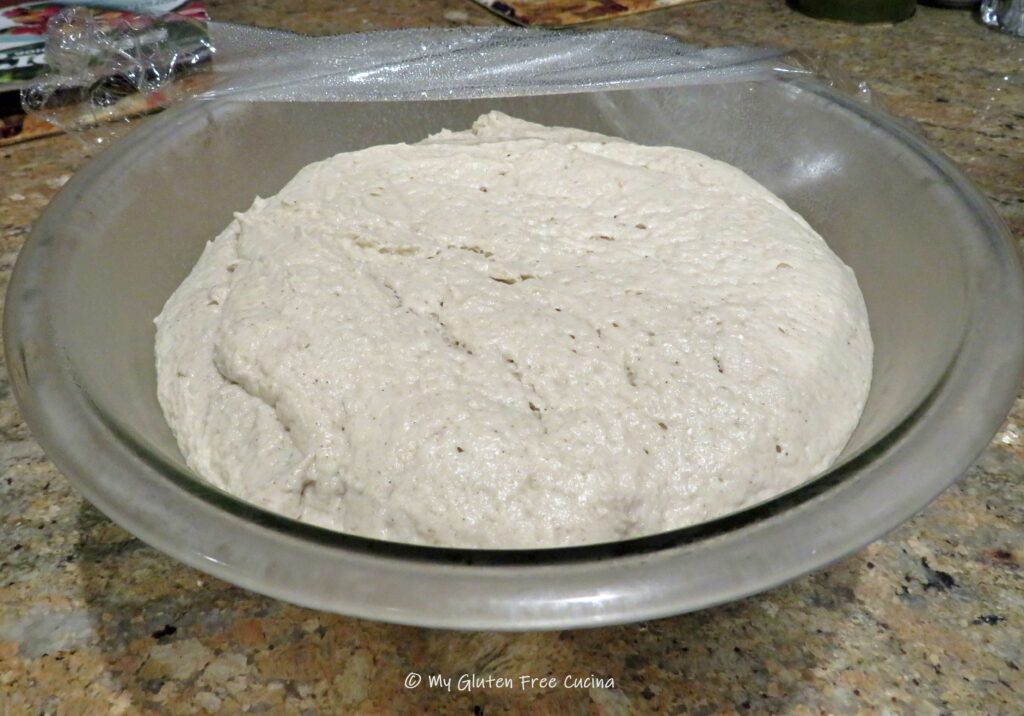
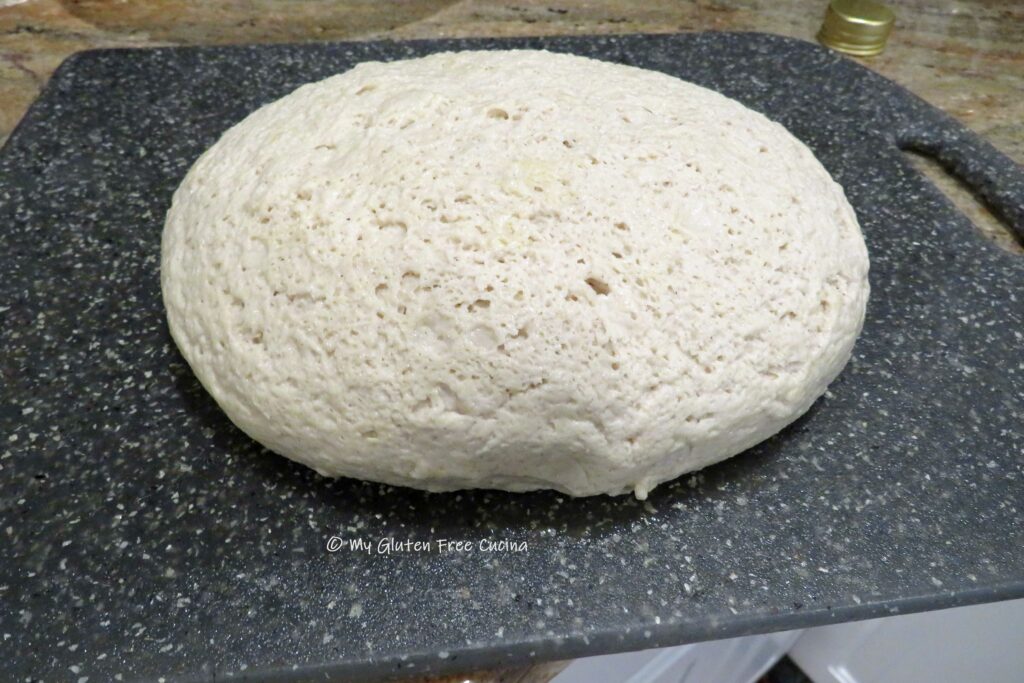
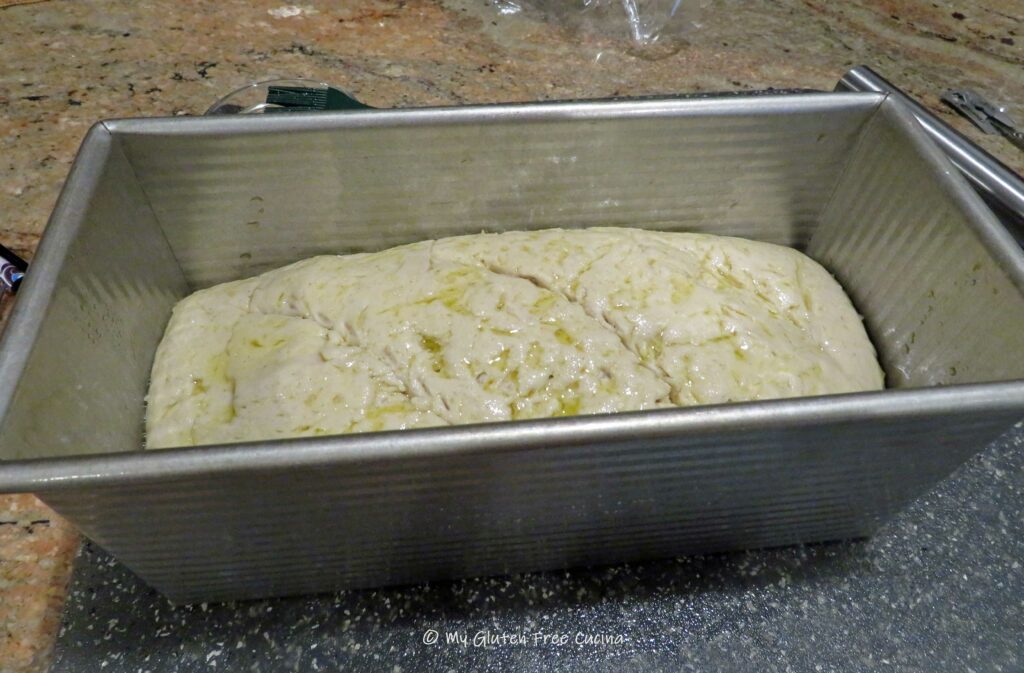
Whisk together the flours, yeast and salt.  In the bowl of a stand mixer, combine the egg, milk, water and olive oil.  Add the flour mixture to the wet ingredients and mix for 5 minutes with the paddle attachment to form the dough.  Place the dough in an oiled bowl and let it rise for 45 minutes.  It may not double and that’s ok.

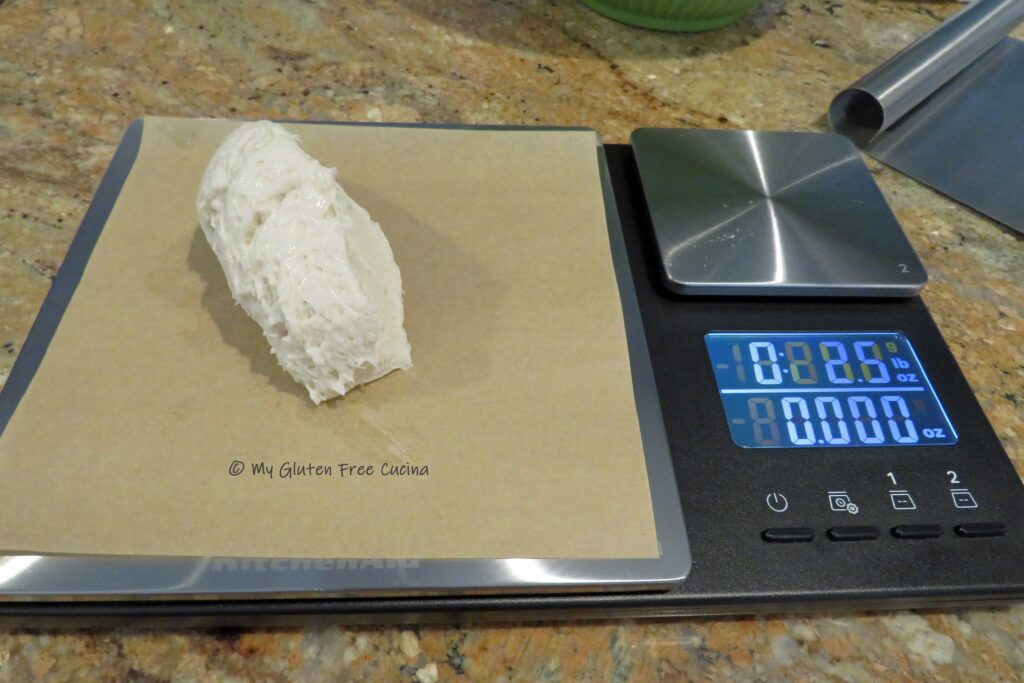
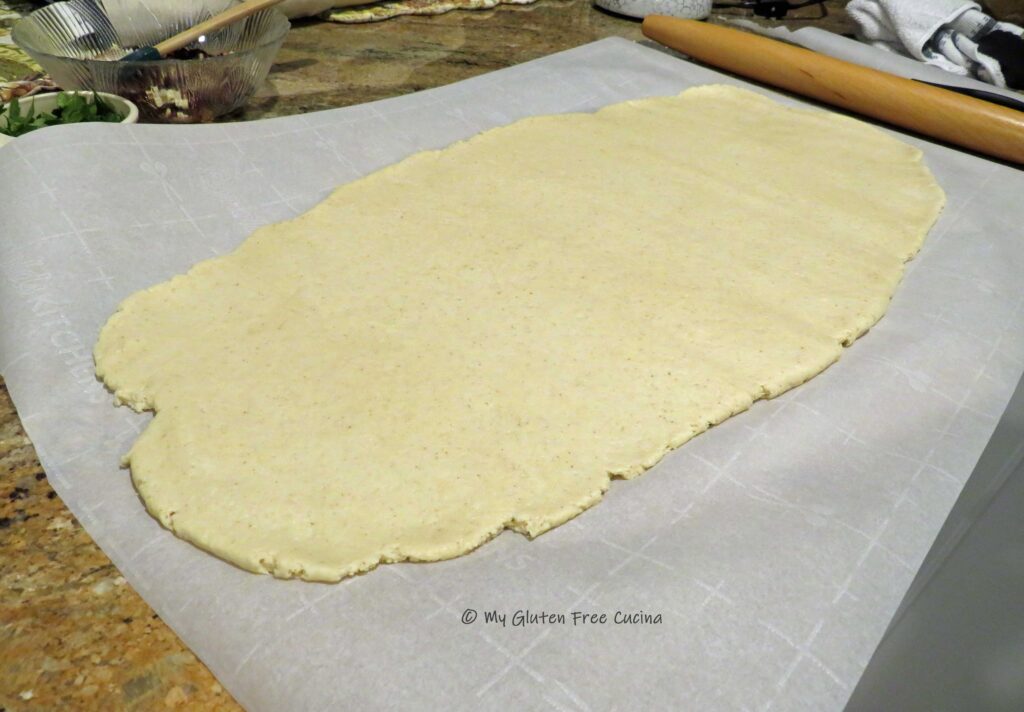
Measure a 2 ft. sheet of parchment paper.  Roll the dough out into a rectangle shape, approximately 22″ x 8″.

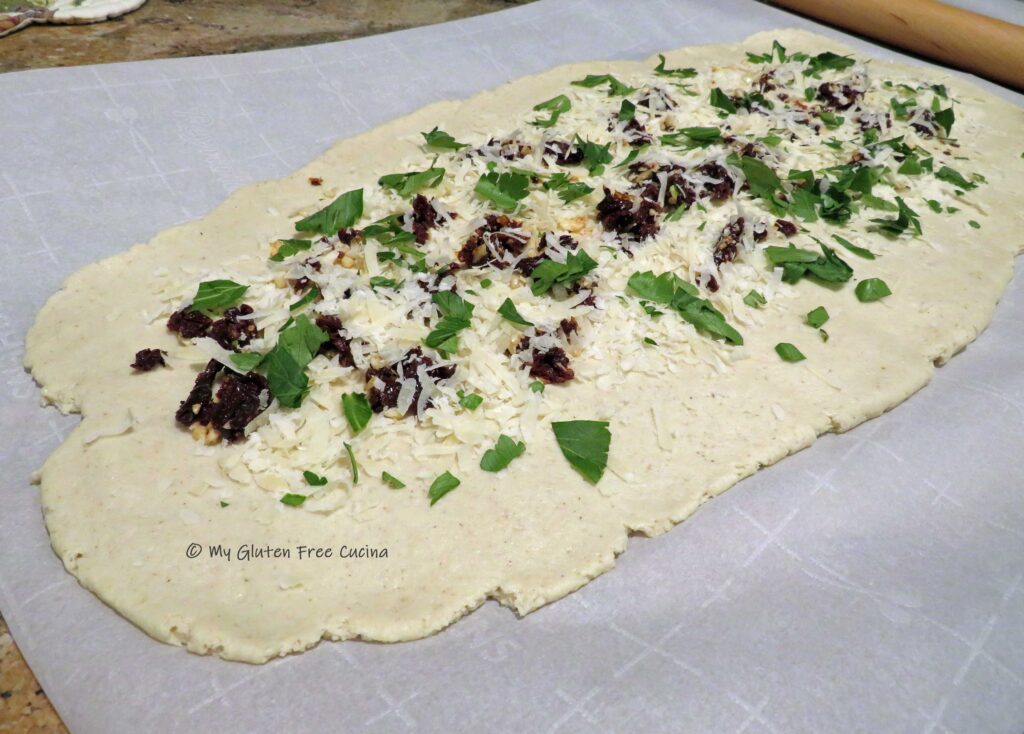
Spread with the sundried tomatoes, garlic, cheese and basil (I could not get fresh basil this time of year, so I used Italian parsley).  Go easy on the filling, don’t add too much or the bread will be wet.

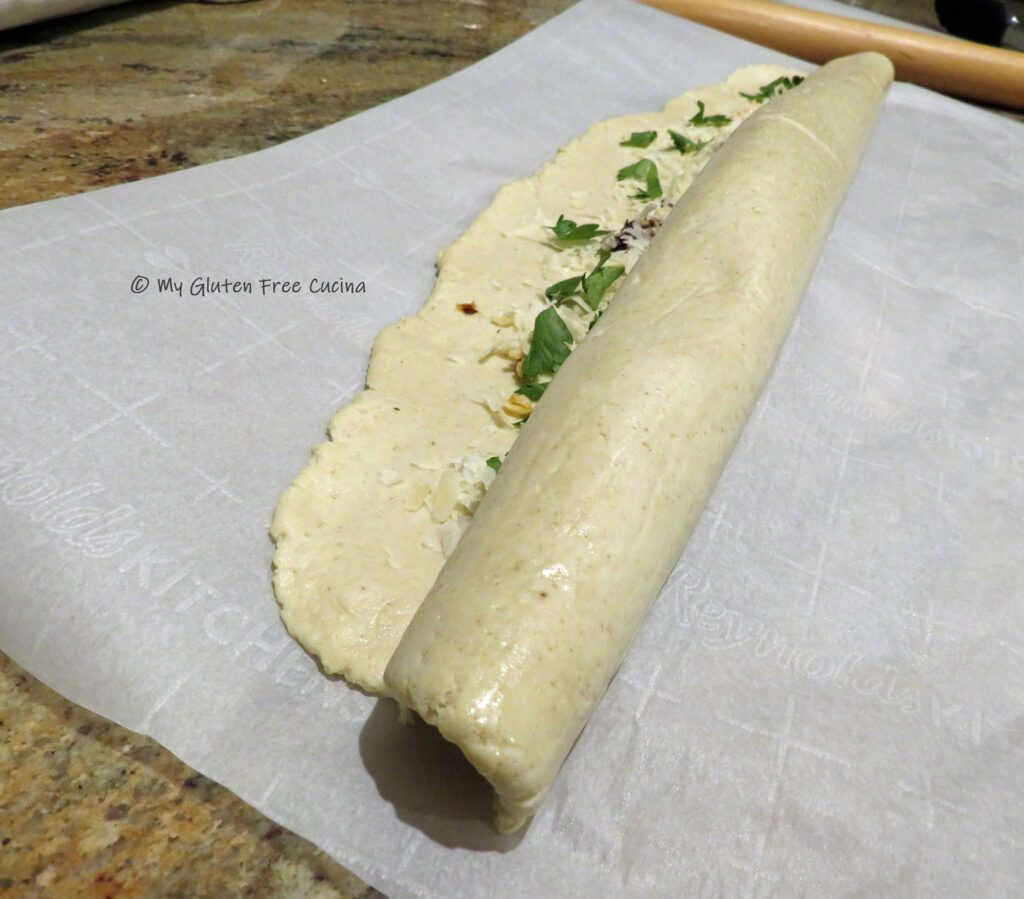
Using the parchment to assist you, roll the dough into a log.

Pinch the edges together and if they don’t seal use a fork to smooth out the seam.
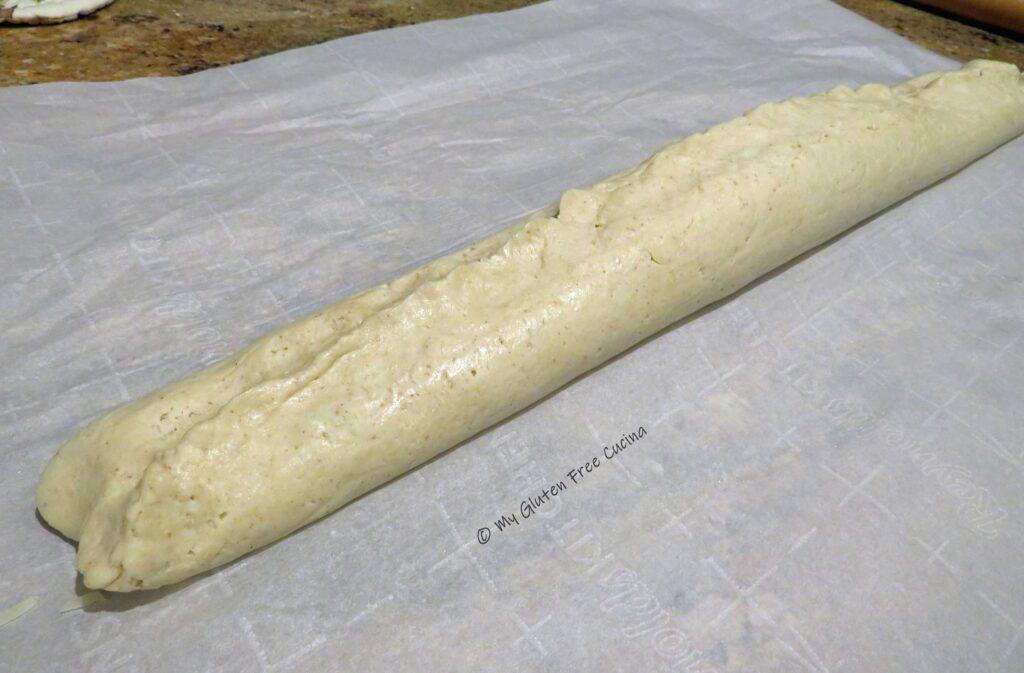
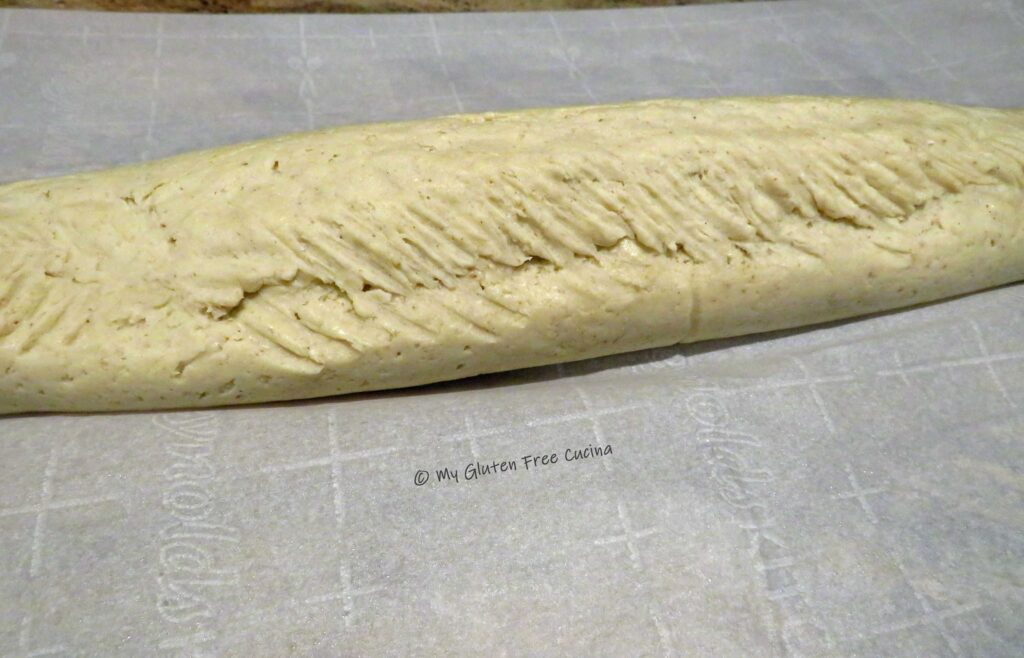
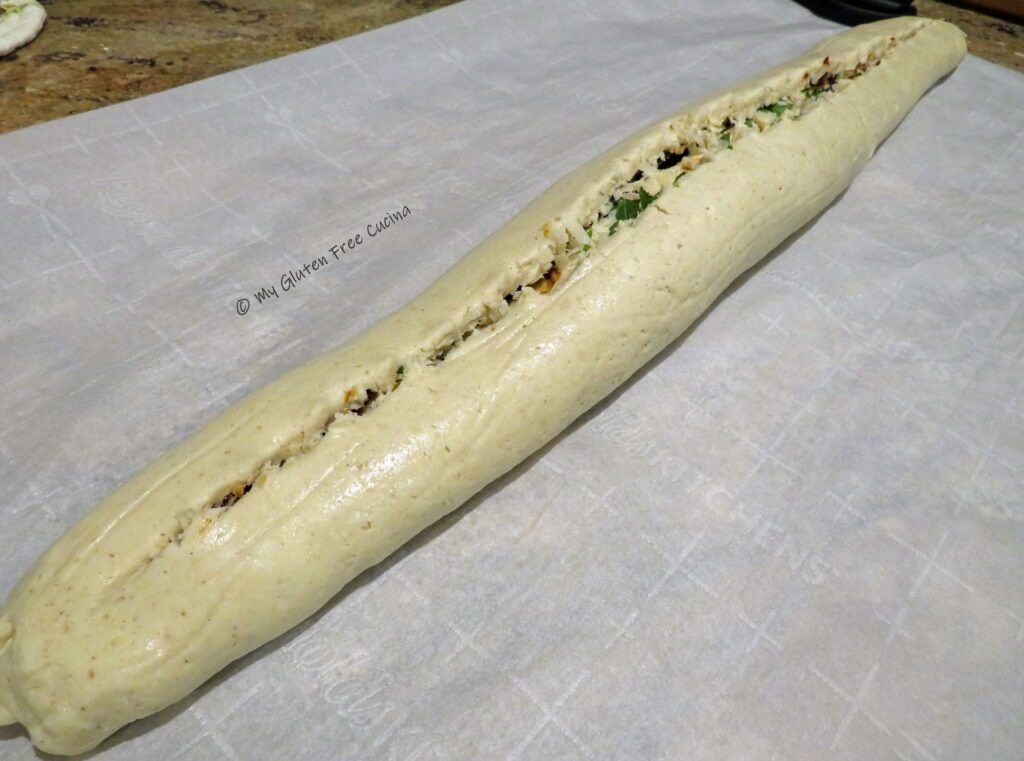
Place the roll seam side down on the parchment.  Use kitchen shears to cut down the center from one end to another, leaving 1/2″ on each end.

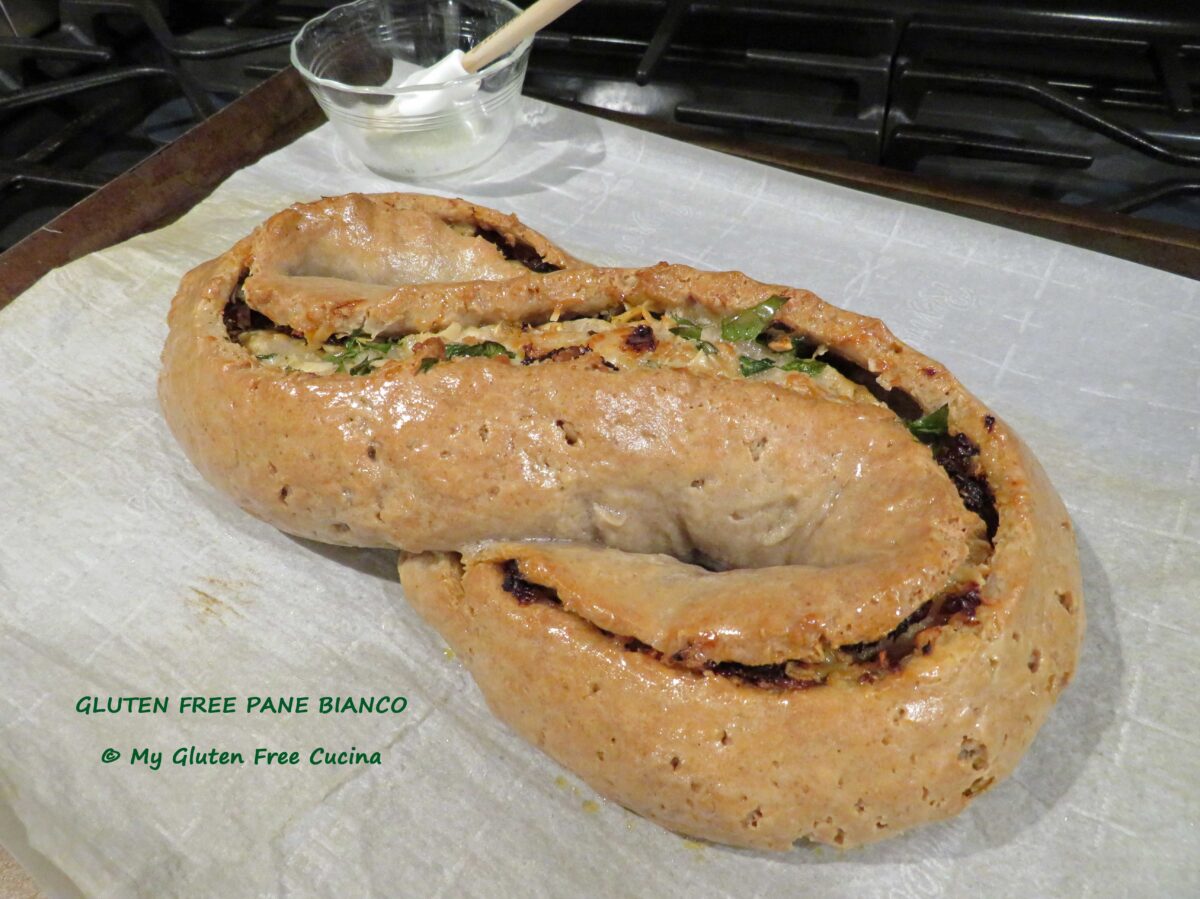
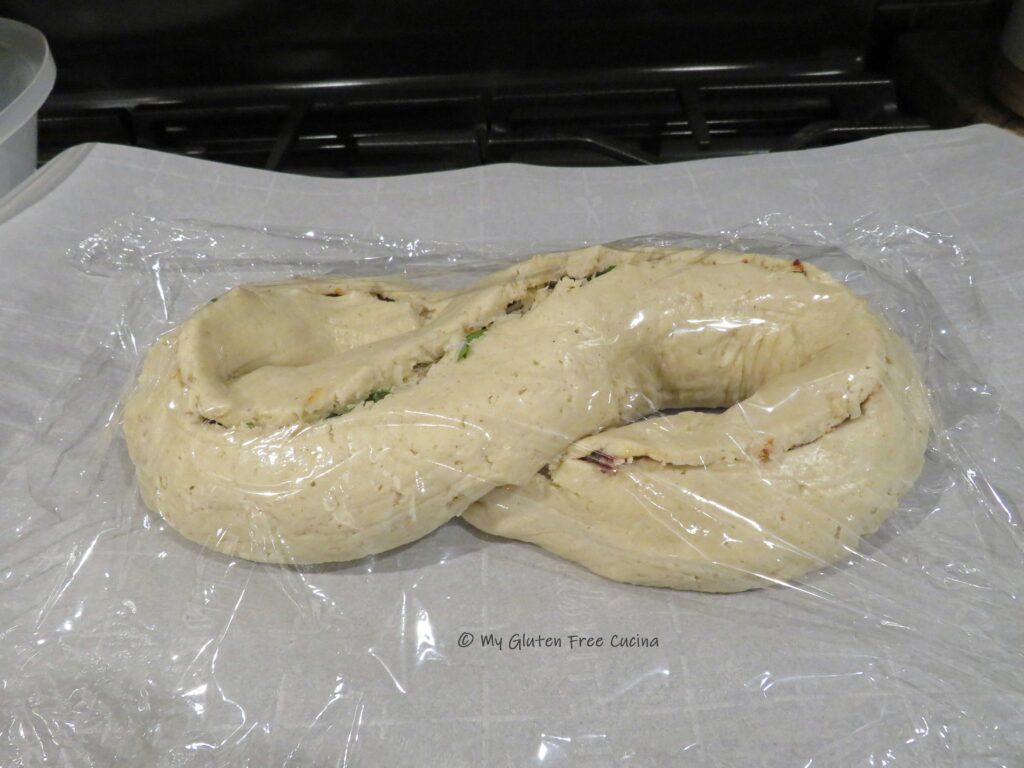
Carefully twist the dough into an S shape and tuck the ends underneath like this.  Go slowly, so the dough doesn’t break (just pinch together if it does).  Slide the loaf onto a baking sheet, cover with plastic wrap and let it rise for 45 minutes.  Preheat the oven to 350º.

Bake for 45 minutes or until the internal temperature reaches 200º (check with a thermometer).  Remove from the oven and brush with melted butter.

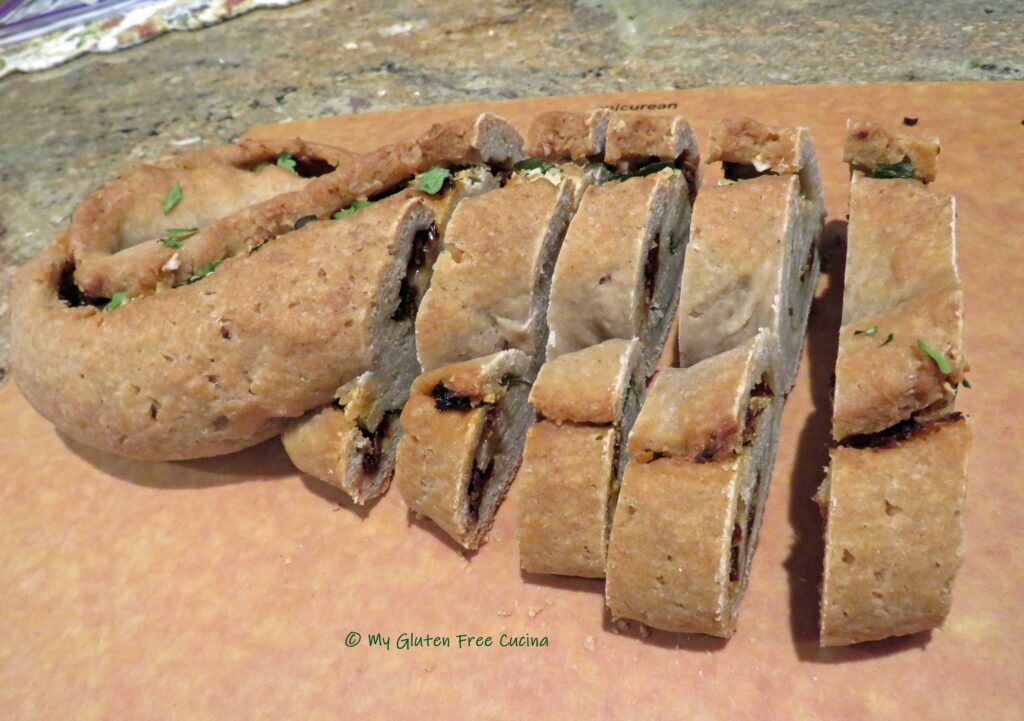
Cool slightly then slice and serve warm.  This is one of those breads you do not want to wait on.  That cheesy filling!  Leftovers can be reheated in the microwave or toaster (try these toaster bags!).

You can store the loaf at room temperature for up to a day, then freeze the leftovers.
Notes ♪♫ The original recipe for Pane Bianco appeared here on the King Arthur website.  Better Batter recommends that when adapting gluten bread recipes with their flour, you should increase the liquid ingredients by 50%.  My gluten free adaptation includes this adjustment.

Print This Post Print This Post


Millet and Buckwheat Toasting Bread

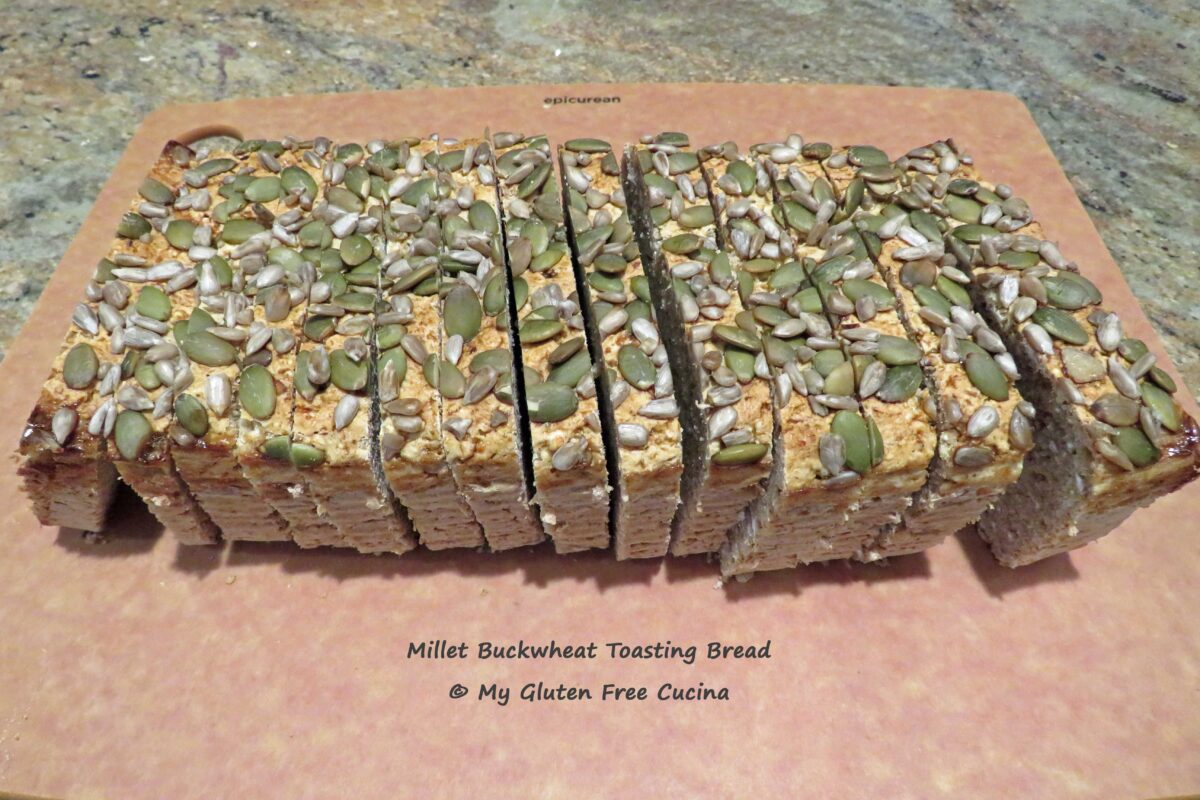
Millet Buckwheat Toasting Bread

I have been a home bread baker for many years, and despite a Celiac diagnosis in 2017 I continue to experiment with different recipes, always looking for that gluten free loaf that will make me smile.

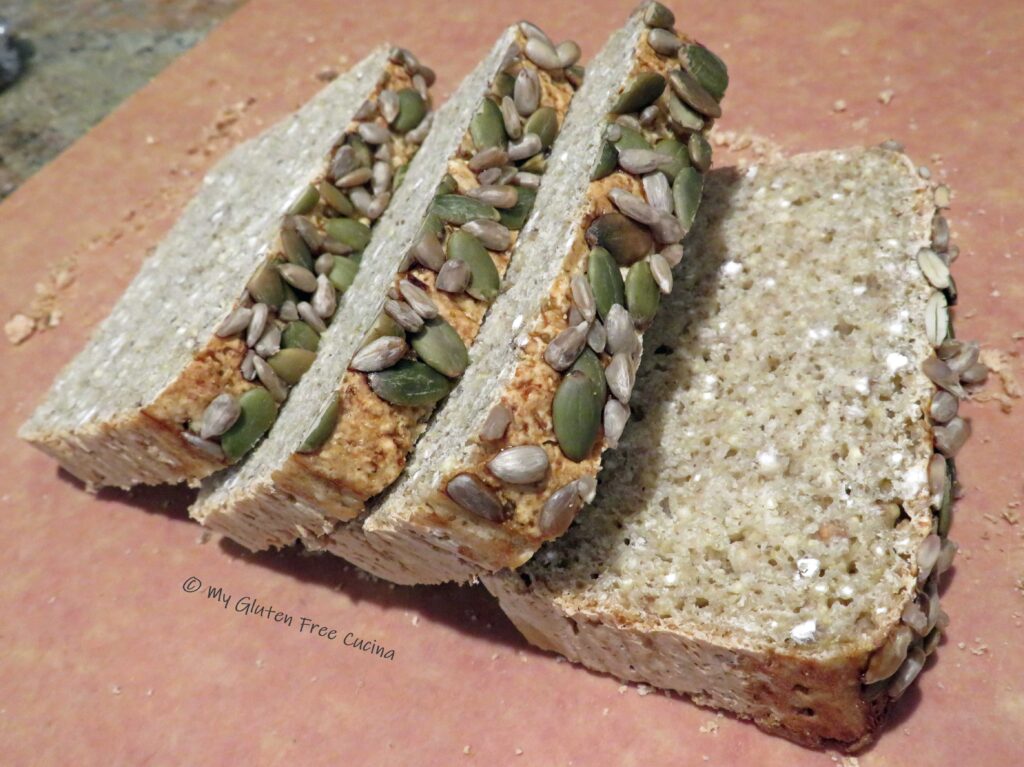
This hearty toasting bread is made with whole grains and seeds that give it great texture.  It is full of flavor, fiber and nutrition, a welcome change from typical gluten free store breads made with refined flour.

The recipe is somewhat involved, and I get that it’s not for everyone.  But for all who want to give it a try, I have broken it down into small steps that are easy to follow.  The ingredients are bulleted, so you can easily look all the way through and see what you need.  I also provide a complete ingredient checklist at the end of the recipe, which can be printed and used as a shopping list.

This post contains affiliate links

You might be interested to know that I used a grain mill in this recipe.  I like to buy millet and buckwheat in whole form and mill them at home when I need flour.  Since this bread contains millet and buckwheat in both whole and flour form, I only need to stock the grain.

Adapted from a recipe by Ellen Brown, yield 1 loaf

*Contains Oats – see notes

Step 1 Mill (see Notes at bottom)

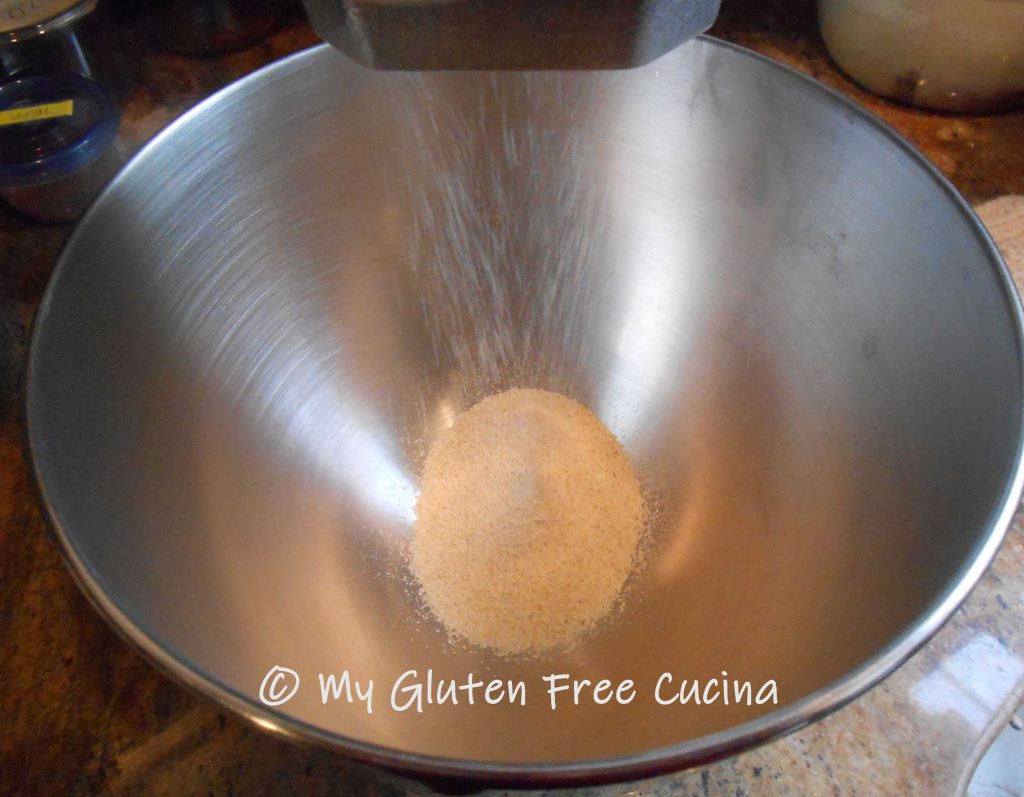
Mill the following grains on the finest setting.  You may have to add in a few more grams of each to end up with the finished weight in flour.  If you don’t have a grain mill don’t worry!  Just measure the exact weight in millet and buckwheat flour.

  • 120 g. millet
  • 45 g. buckwheat

Read more about how I use my grain mill in gluten free baking.

————————————

Step 2 Soak

Boil water.  Add the following whole grains (not flour), cover and remove from heat.  Soak for at least 10 minutes or until you are ready with the other ingredients.

————————————-

Step 3 Proof the yeast

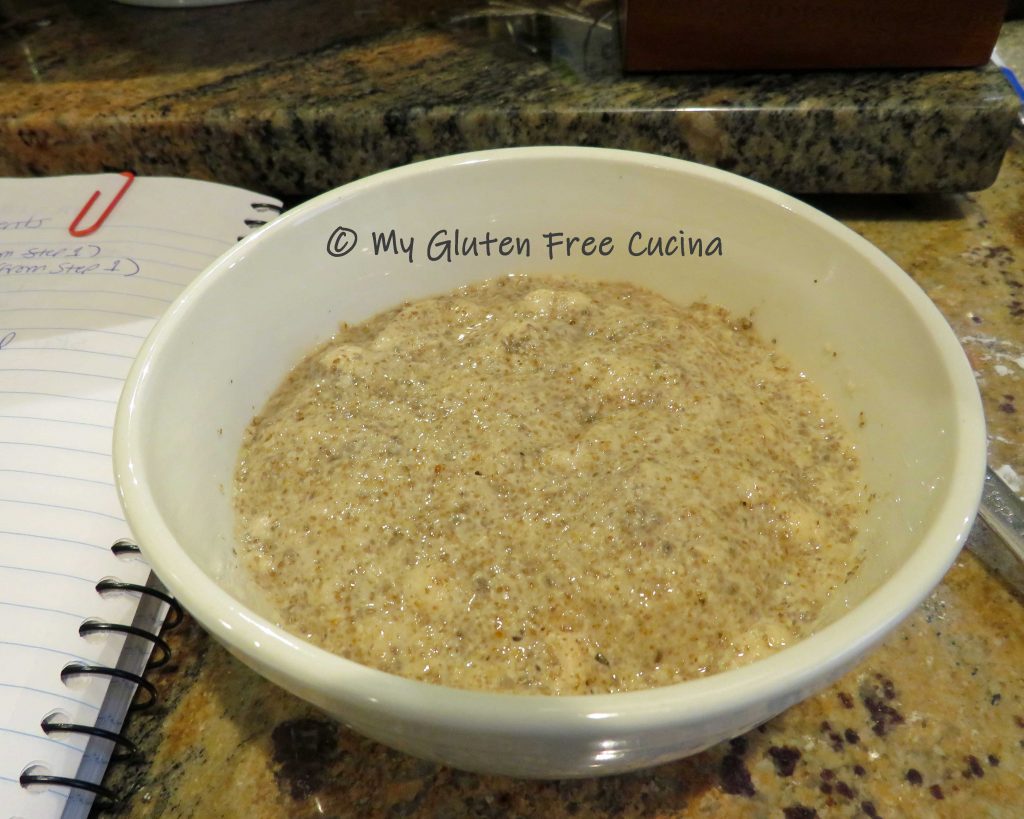
Grind Chia seeds in a coffee grinder.  Combine with the following in a small bowl and proof for 10 minutes.

  • 1 tbsp. Chia seeds, ground
  • 2-¼ tsp. Instant yeast
  • 6 tbsp. Warm water
  • 2 tsp. Honey

————————————-

Step 4 Whisk together Dry Ingredients

  • Milled flours from Step 1
  • 45 g. cornstarch
  • 65 g. potato starch
  • 47 g. tapioca starch
  • 32 g. gluten free cornmeal
  • ½ tsp. Xanthan gum
  • ½ tsp. Salt
  • 2 tbsp. Sesame seeds
  • ¼ cup gluten free rolled oats *(omit if avoiding oats – see notes)

————————————-

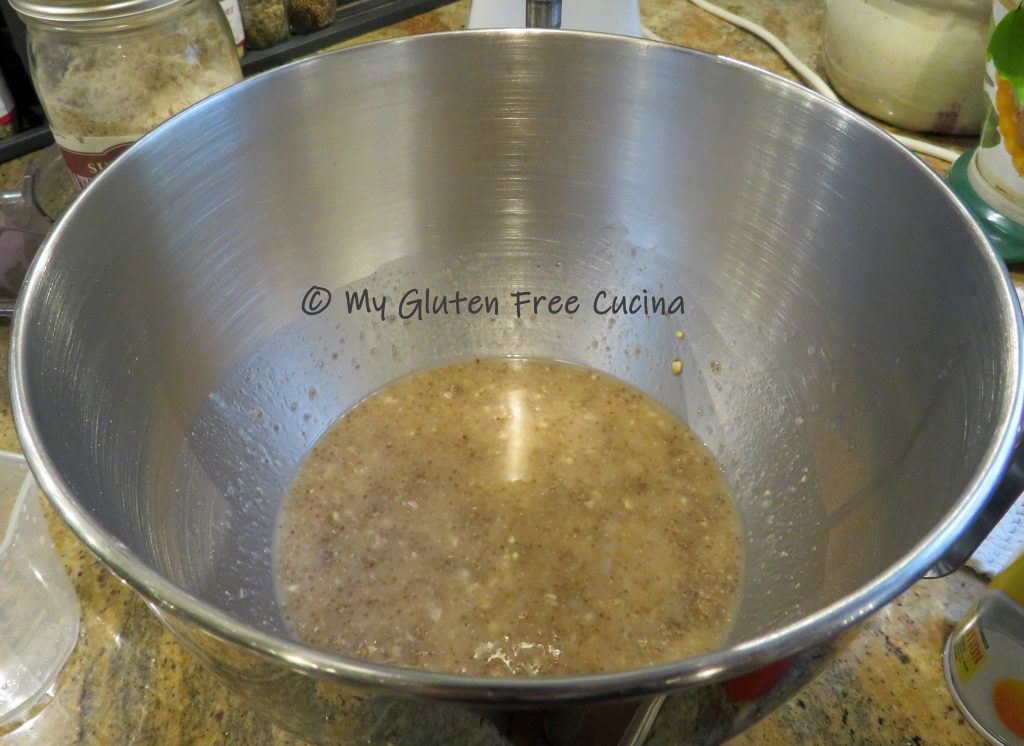
Step 5 Whisk together Wet Ingredients

  • Soaked grains from Step 2, drained and rinsed in cool water (so it doesn’t kill the yeast)
  • Proofed yeast mixture from Step 3
  • ¼ cup honey
  • 100 ml. Warm water (about 6 tbsp.)

————————————-

Step 6 Combine

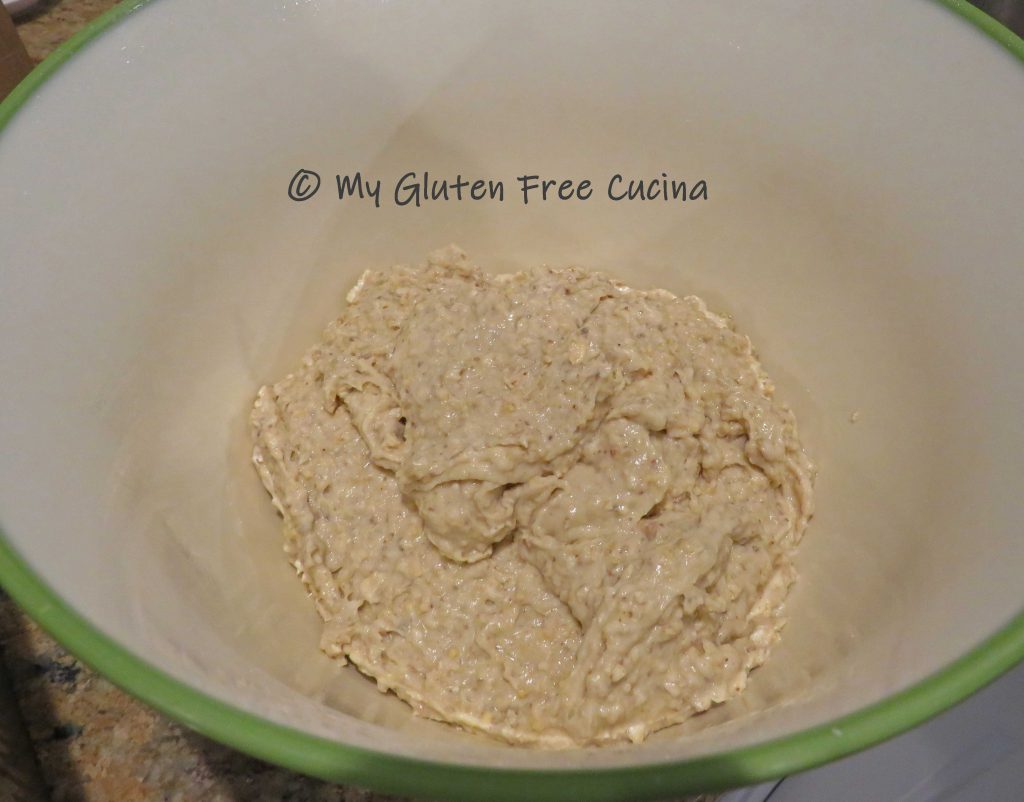
Combine wet (Step 5) and dry (Step 4) ingredients together in the bowl of a stand mixer.  Beat with the paddle attachment for 3 minutes.

————————————–

Step 7 Rise

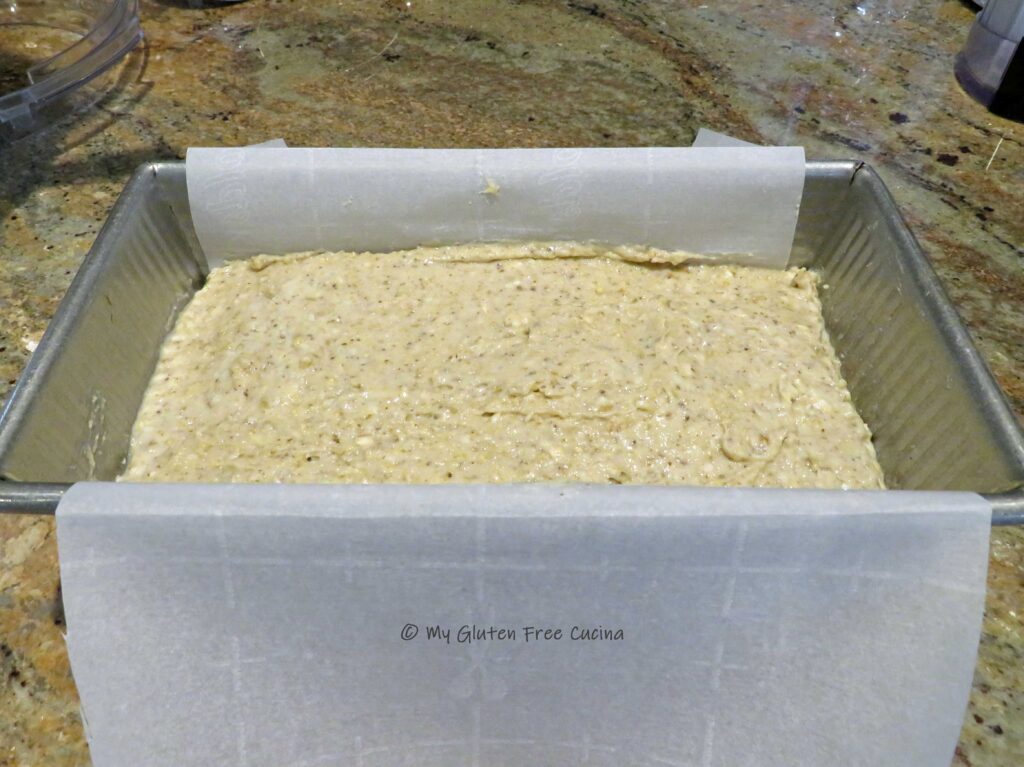
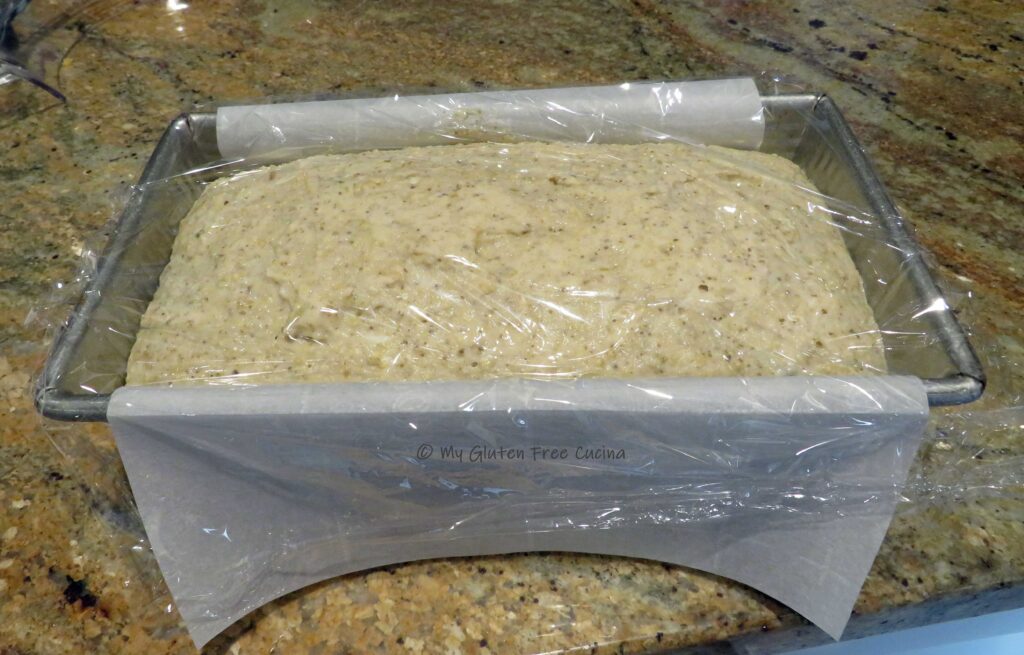
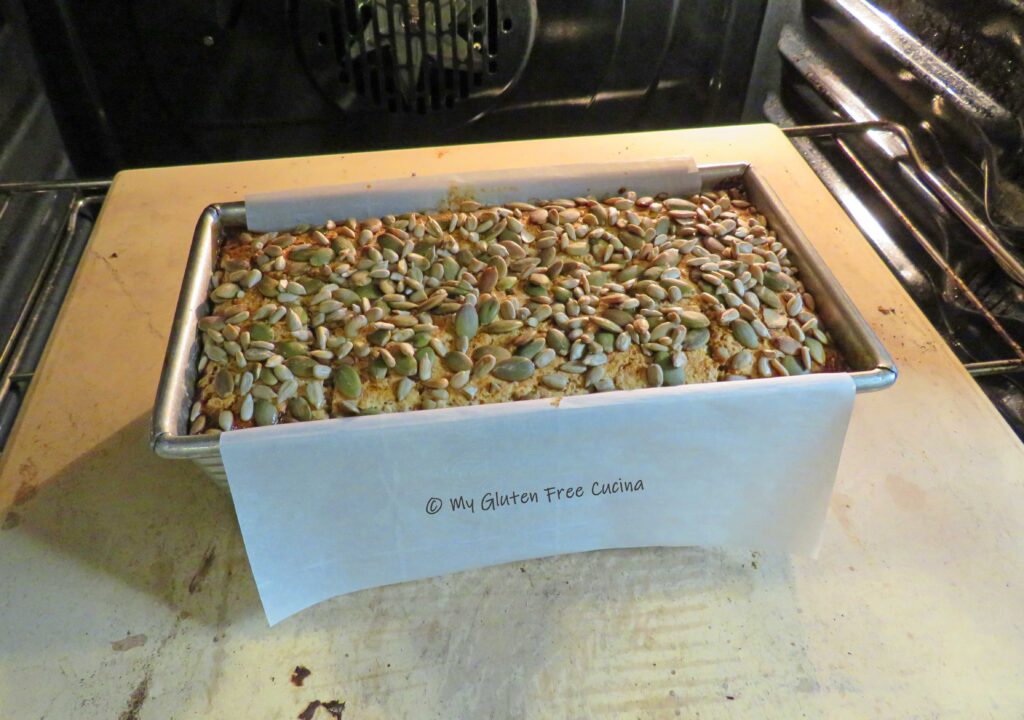
Line a loaf pan with parchment paper.  Here I’m using a 1 lb. loaf pan.  Having made this loaf many times, I found that this size pan works best.  Transfer the dough into the prepared pan and smooth it out with a spatula that has been dipped in water.  Cover with oiled plastic wrap and let it rise for about an hour.

Ideally, the loaf should rise to the top of the pan.  It doesn’t always happen with a heavy, dense dough like this.  Especially in a chilly kitchen.  I have learned with experience that a proofing box is the way to success.  It took about 50 minutes for the dough to be ready to bake with my proofing box set to 80º.

—————————————

Step 8 Egg Wash

  • 1 egg
  • 1 tbsp. Water
  • 2 tbsp. Pumpkin seeds
  • 2 tbsp. Sunflower seeds

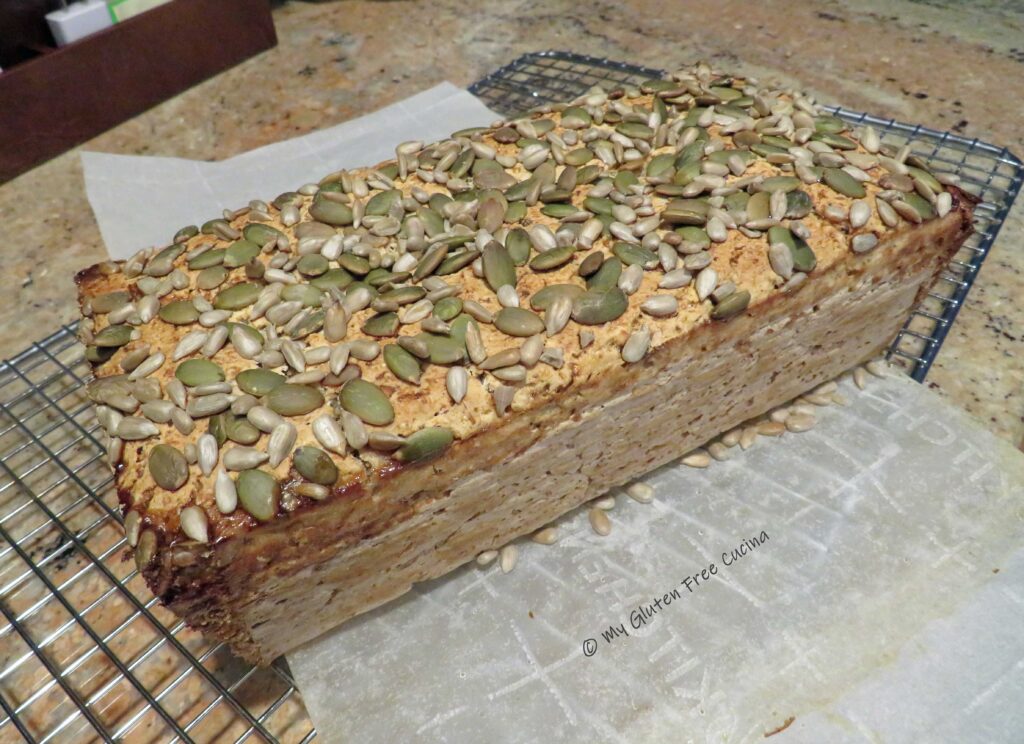
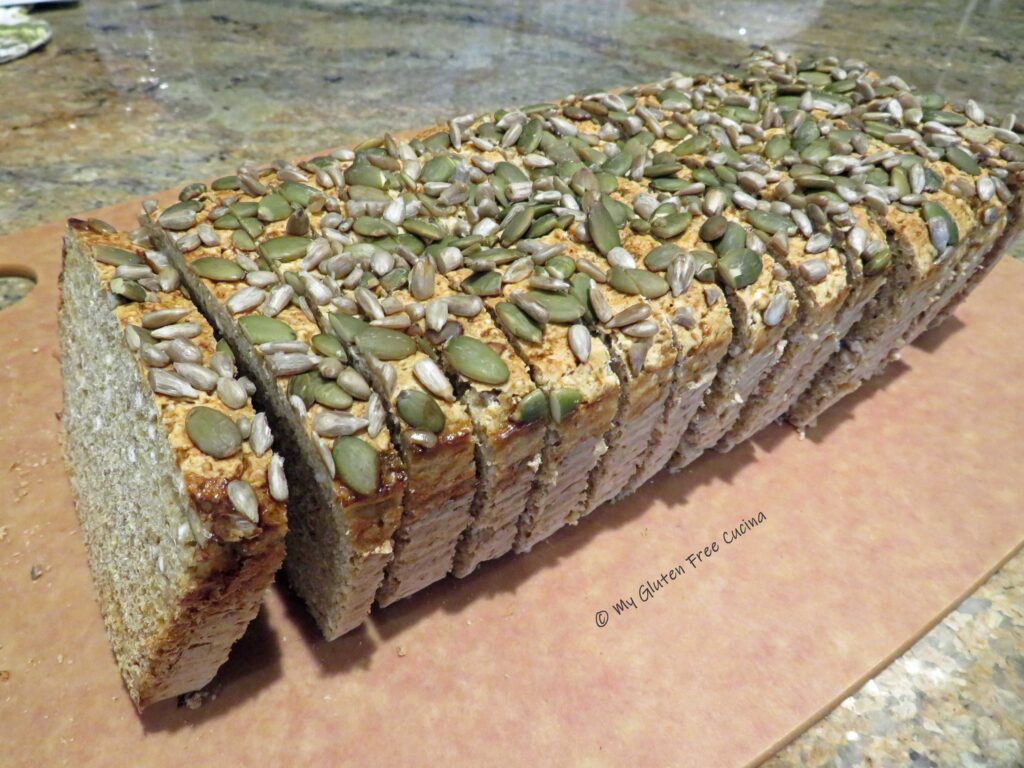
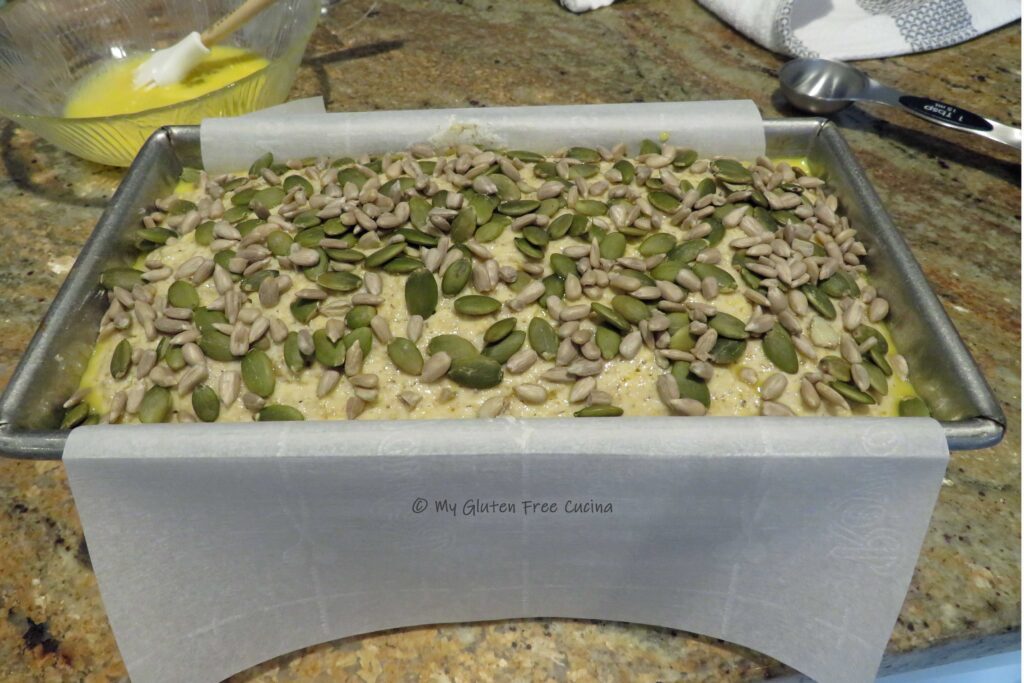
Beat 1 egg with 1 tbsp. warm water and brush the top of the loaf (you won’t need the entire egg, so reserve the rest for breakfast).  Sprinkle the loaf generously with pumpkin and sunflower seeds.


—————————————

Step 9 Bake

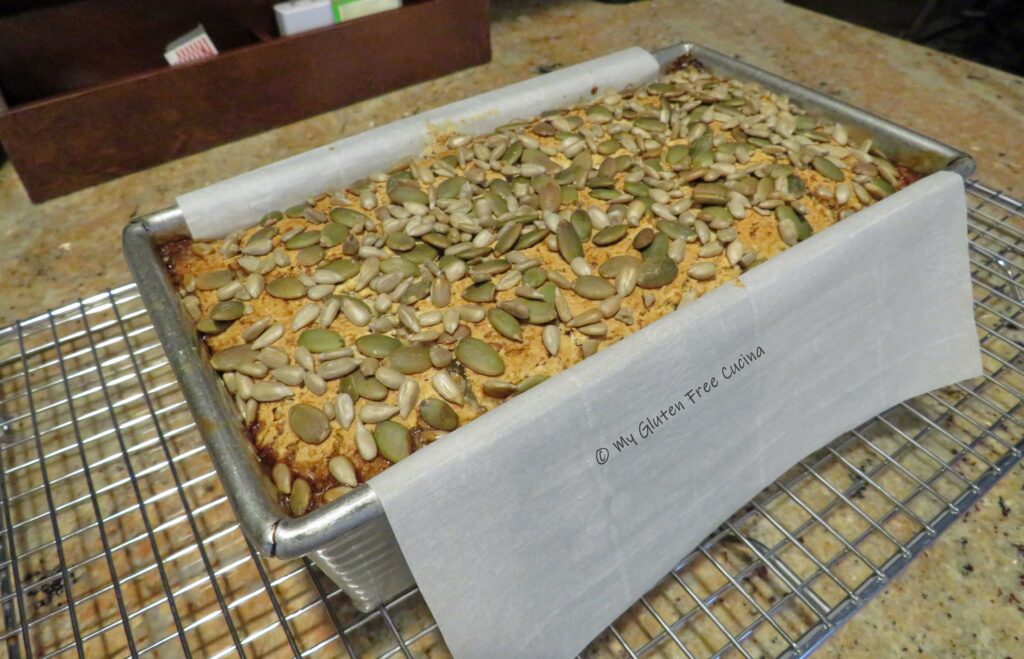
Preheat the oven to 375°.  Set a pizza stone on the middle oven rack.  Place the loaf in the oven and throw a few ice cubes onto the bottom of the oven to create steam.  Quickly close the door and bake for 40-45 minutes, or until the internal temperature reaches 200°.  Crack the oven door about 1″ during the last 5 minutes of baking, to keep the loaf from deflating.  Note that you will not get a big oven spring with this loaf, this is normal.

—————————————

Step 10 Cool

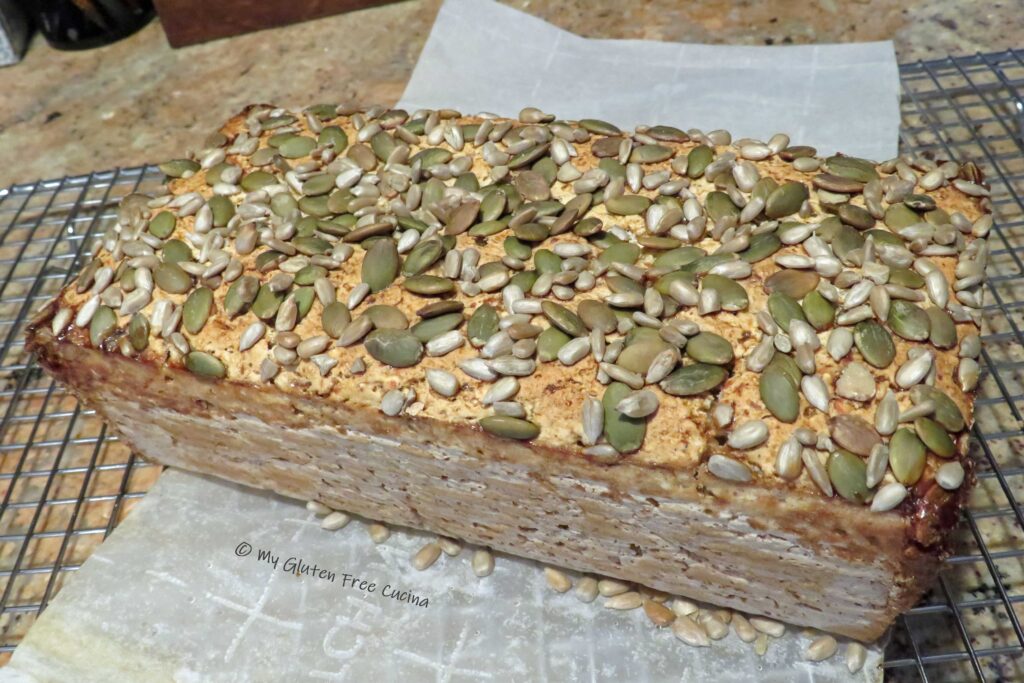
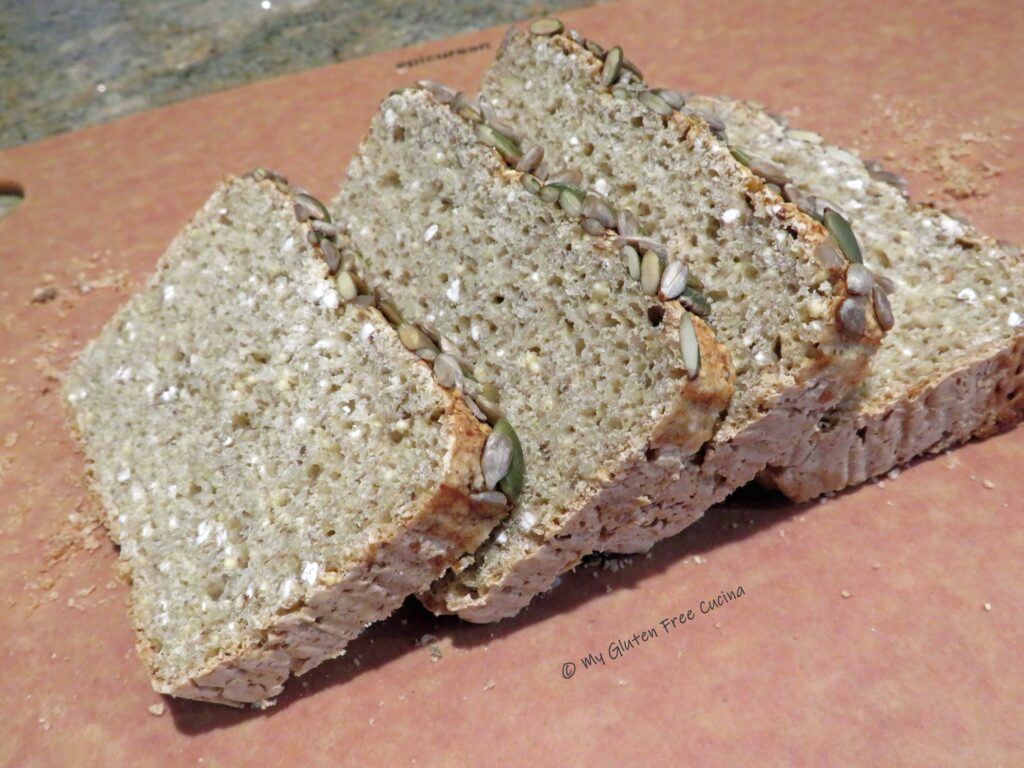
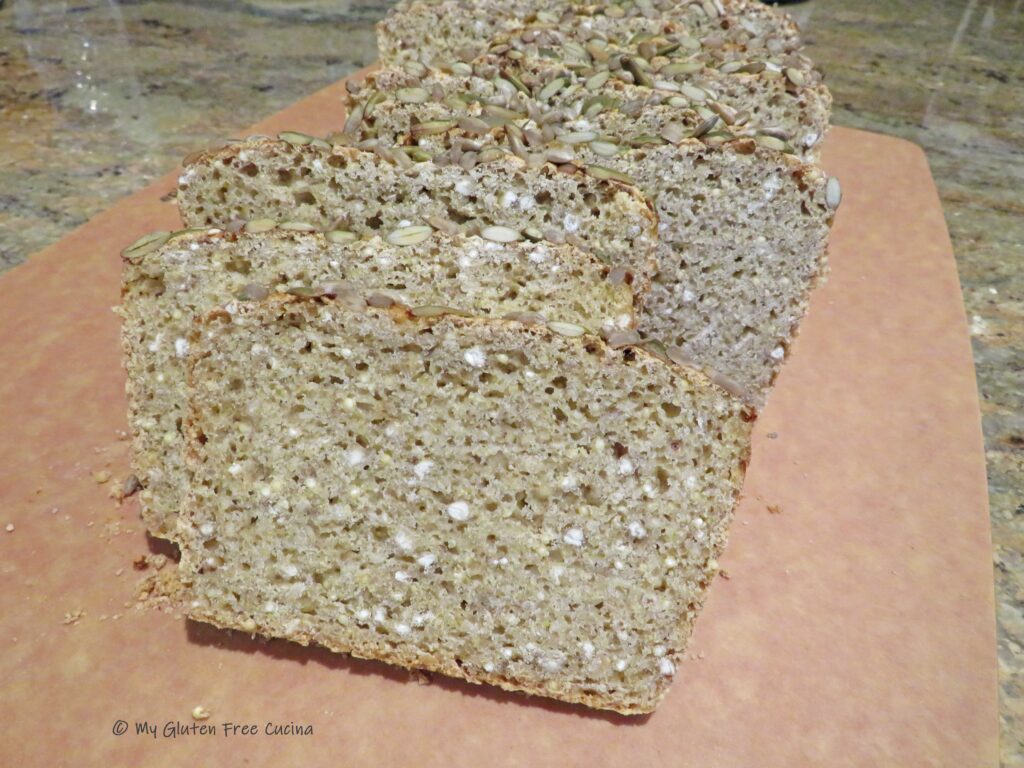
This is the hardest part of the recipe!  Lift the loaf out of the pan by grasping the parchment paper on either side.  Transfer to a rack and remove the parchment.  Allow the loaf to cool to room temperature before slicing.  Overnight is even better, place it in a plastic bag (after it cools down) and wait until morning to slice.  It smells so good you won’t want to wait.  Do it though, or the bread may be gummy in the middle.

—————————————

 Step 11 Toast it!

This bread was made for toasting!  It is my favorite breakfast bread, and I especially love when the seeds get singed in the toaster.  As with most gluten free breads it is best when eaten immediately.  I always freeze the leftovers in slices that are individually wrapped and stored in a freezer safe bag.  So easy to grab one for breakfast in the morning!


FULL INGREDIENT LIST / SHOPPING LIST —> PRINT IT!   Millet Buckwheat Toasting Bread Shopping List

  • ☐ whole millet
  • ☐ whole buckwheat
  • ☐ Instant yeast
  • ☐ Chia seeds, ground
  • ☐ Honey
  • ☐ millet flour
  • ☐ buckwheat flour
  • ☐ cornstarch
  • ☐ potato starch
  • ☐ tapioca starch
  • ☐ gluten free cornmeal
  • ☐ Xanthan gum
  • ☐ Salt
  • ☐ Sesame seeds
  • ☐ certified gluten free purity protocol rolled oats
  • ☐ egg (for the egg wash)
  • ☐ Pumpkin seeds
  • ☐ Sunflower seeds

Notes ♪♫ Oats continue to be highly controversial when it comes to celiac disease.  Whether or not you consume oats is a personal choice.  As a courtesy to my readers, I will identify any recipes that include oats and suggest ingredient substitutes when possible.  I personally use Bakery on Main, their oats are gluten free and processed under a purity protocol.

Originally posted 06/30/2019     Rephotographed 10/22/2024


Print This Post Print This Post

Gluten Free Sourdough Boule

This is the stuff that gluten free dreams are made of.  This loaf just blew me away and it was so hard to wait for it to cool down so that I could slice it!  Well worth it though when I had my first sandwich with this amazing bread.  It is hands down the best white bread that I have made since my gluten free life began seven years ago.  It is soft, supple and doesn’t fall apart in your hands!  And guess what else?  It doesn’t need toasting!

This post contains affiliate links.

Note ♪ You will need a fully active sourdough starter for this recipe.  If you don’t have one yet, jump over to this post where I show you how to make a gluten free sourdough starter.

Ingredients:

  • 350g. Better Batter bread flour
  • 1-1/2 tsp. salt
  • 1/8 tsp. instant yeast
  • 250g. fully active sourdough starter* see notes
  • 350g. warm water
  • 1/4 cup canola oil
Have you ordered the new Bread Flour from Better Batter yet?
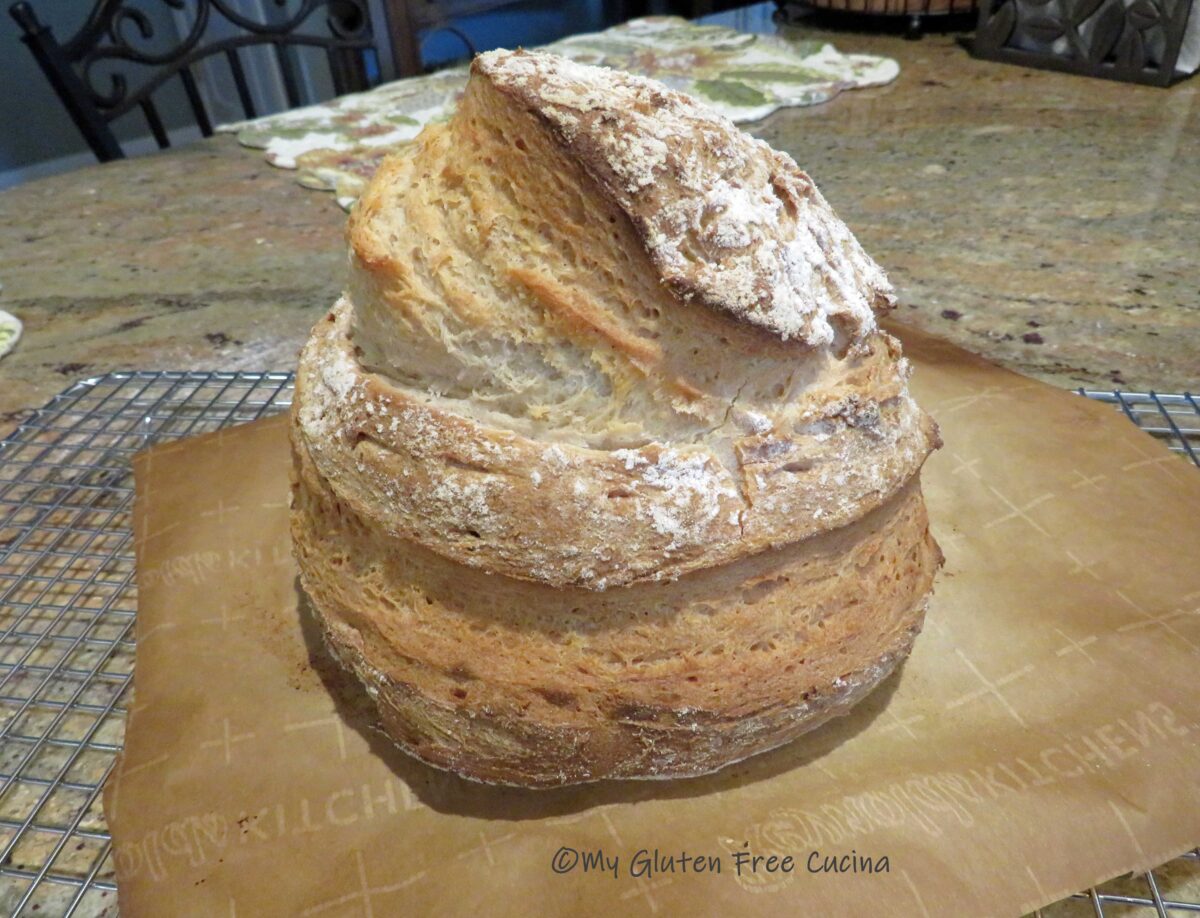
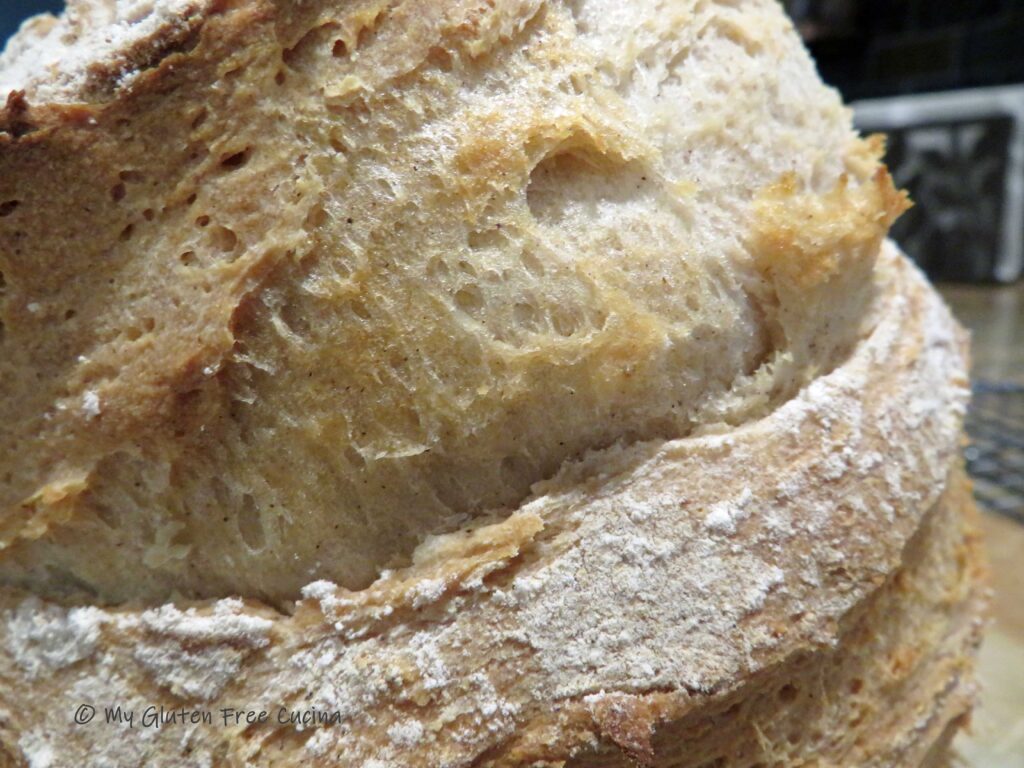
That’s what I used to make this beautiful Gluten Free Sourdough Boule and well, just look at that oven spring! So, what are you waiting for? Now that fall is here go on over to Better Batter, grab yourself a bag and let’s bake together! Be sure to use my Promo Code MGFC30 at checkout for 30% off!

Preparation:

Whisk together the flour, salt and instant yeast.

Hint: That scant 1/8 tsp. of instant yeast will give your sourdough starter a little boost without affecting the flavor!

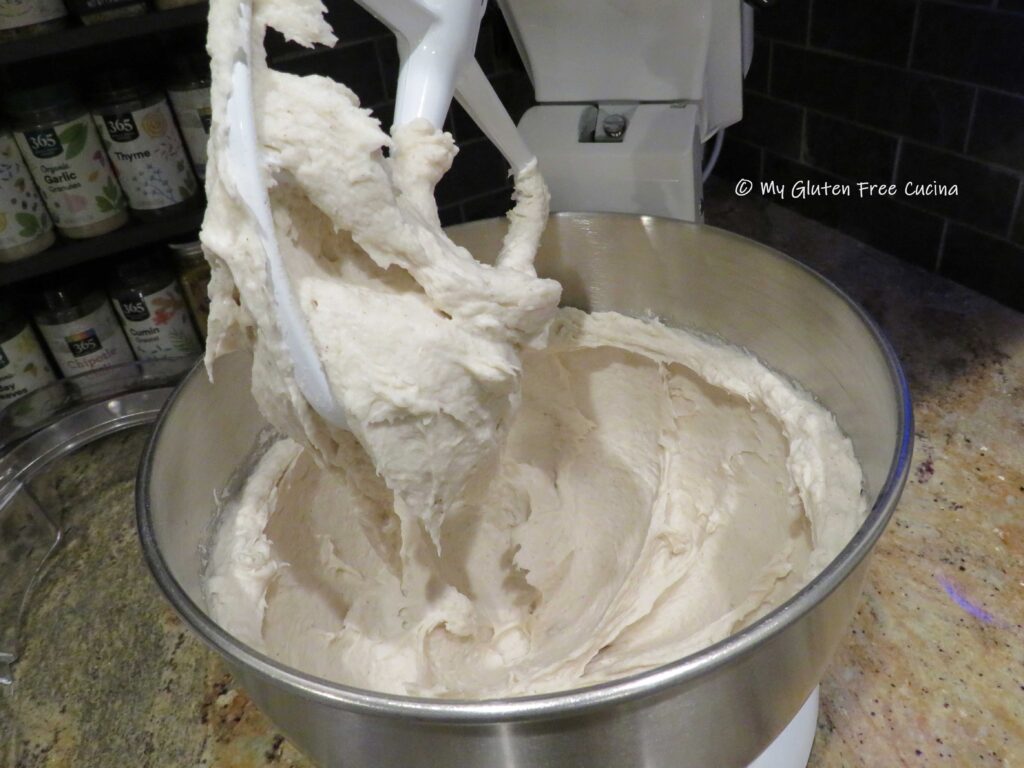
In the bowl of a stand mixer, add the sourdough starter, water and oil.  Add the flour mixture and beat with the paddle attachment for 5 minutes.

Gather the dough together, cover with oiled plastic wrap and let it rest for 20 minutes, then turn it out onto a lightly floured cutting board.

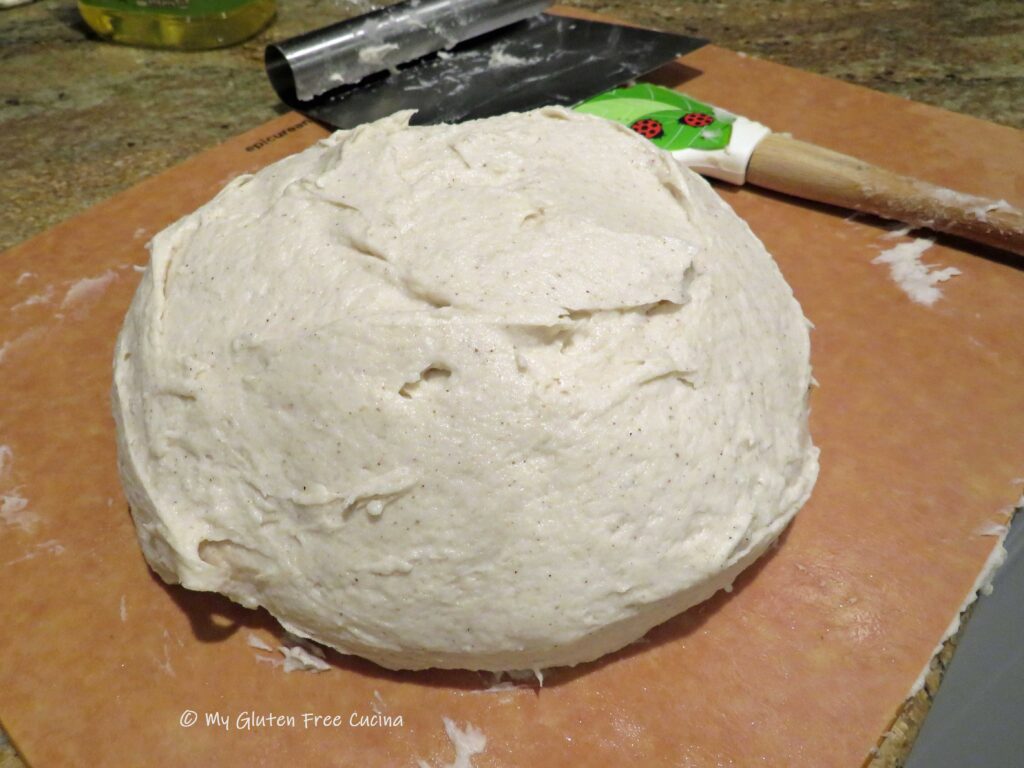
Using a bench knife, turn the dough over on itself about 2 dozen times as you rotate the cutting board so that everything is well incorporated.

Use a spatula to smooth the dough into a round.

Place the dough ball in an oiled bowl, cover with plastic wrap and refrigerate overnight for 12 hours.
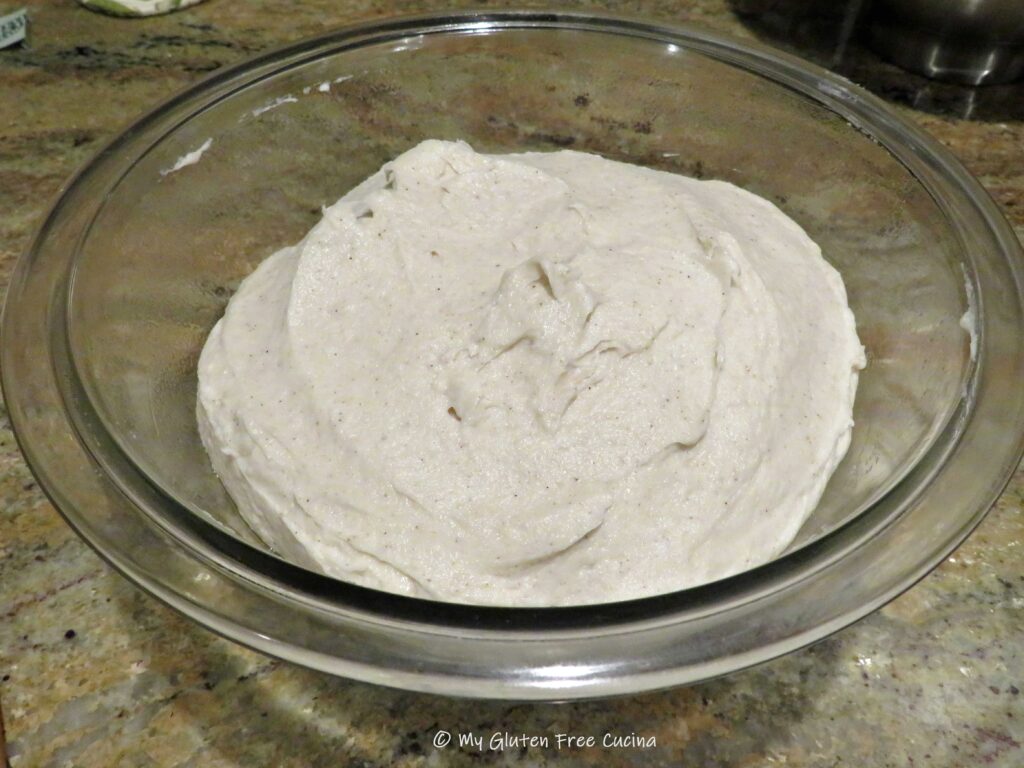
In the morning, preheat the oven to 475º with baking stone.  Take the dough out of the refrigerator and invert it onto a sheet of parchment.

Use a spatula to smooth it into a round shape.
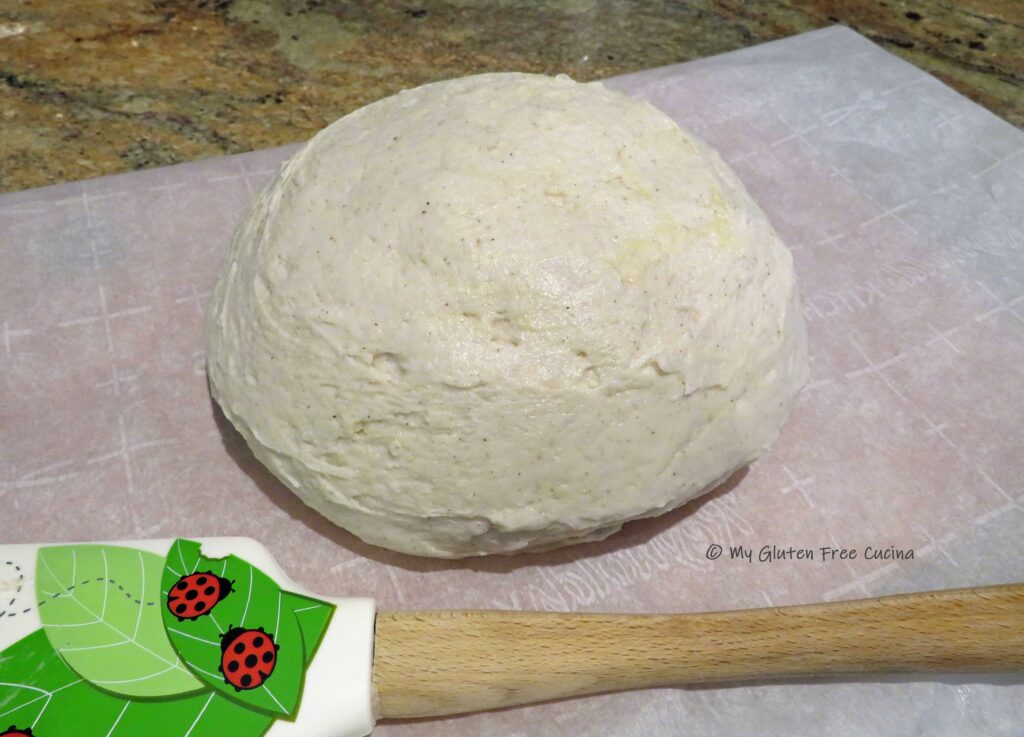
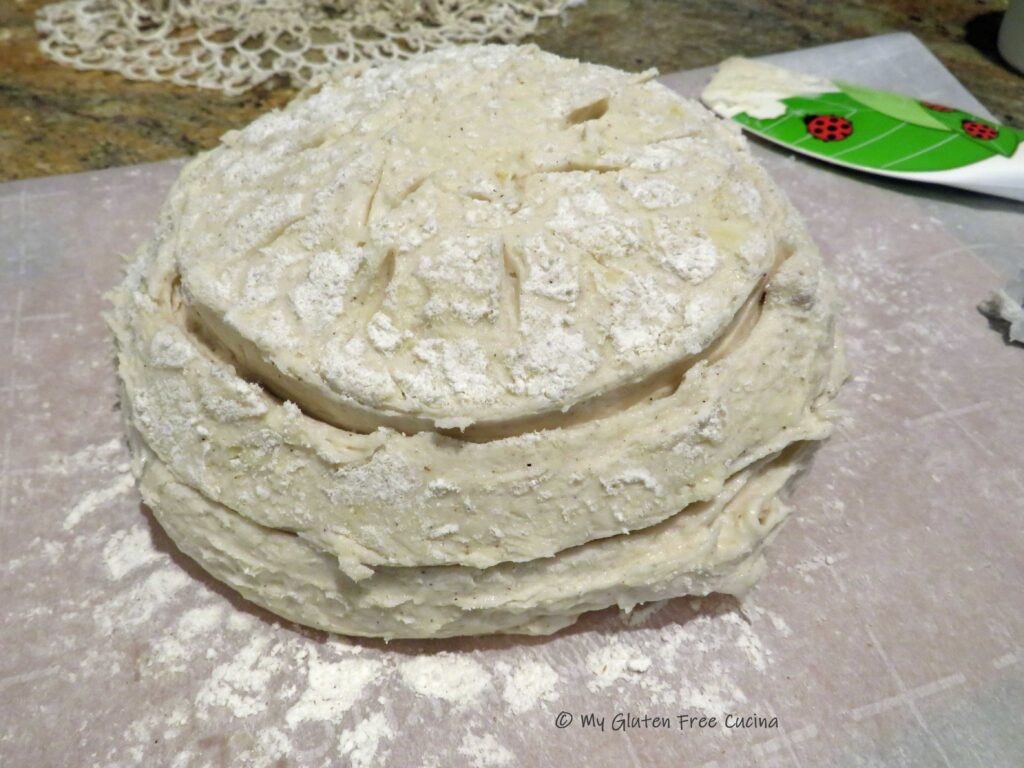
Use a lame or sharp knife to score 2 circles around the dough and sprinkle a little flour over the top.

Transfer the dough, with parchment to the oven.  Throw a few ice cubes onto the bottom of the oven and quickly shut the door.  After the first 5 minutes throw in a few more ice cubes.
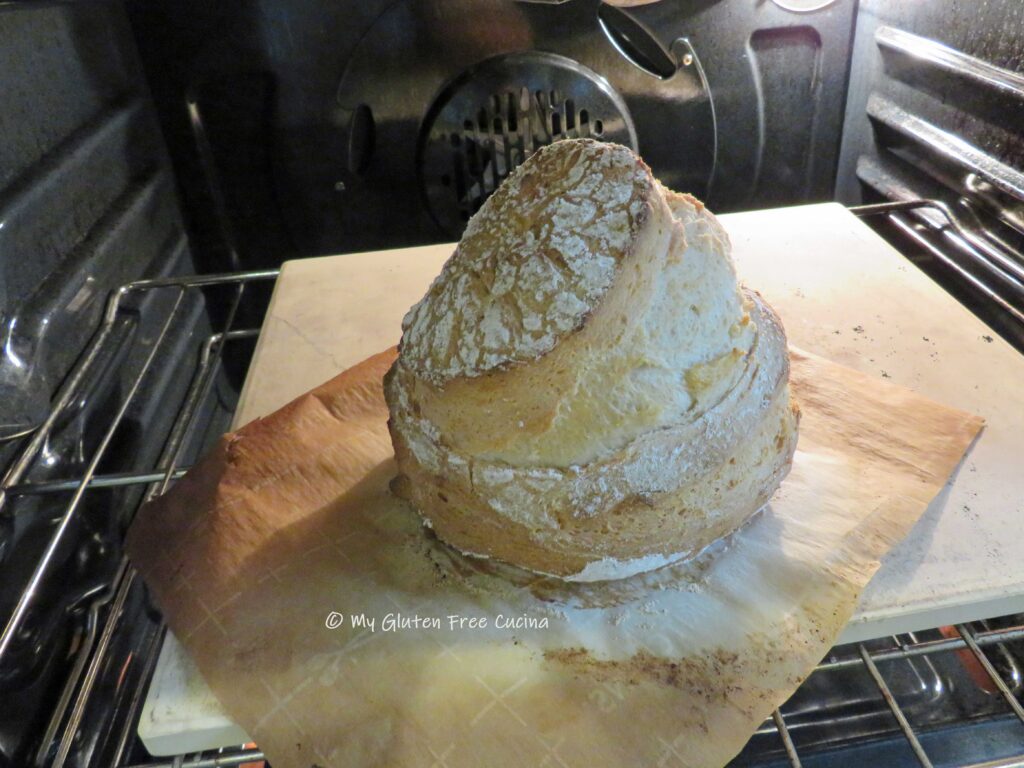
After 30 minutes, reduce the oven temperature to 350º, and continue baking for another 30 minutes or until the internal temperature reaches 210º.

Cool completely on a rack then store in a plastic bag at room temperature.  Wait 24 hours to slice.
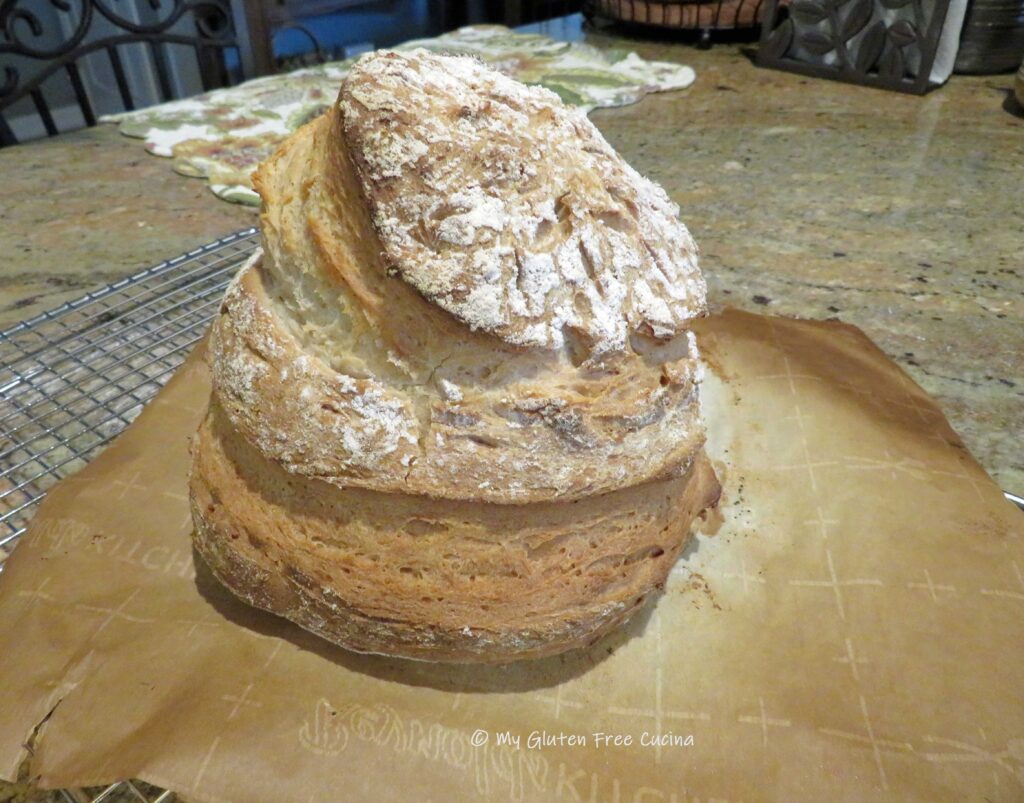
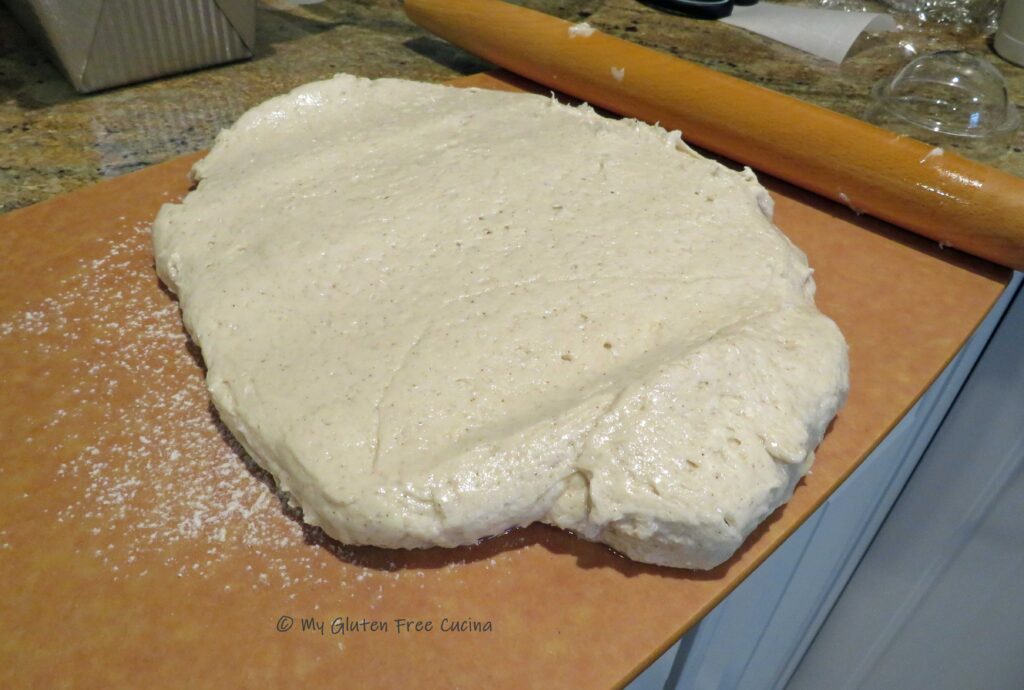
Once the bread is sliced, serve immediately and freeze any leftovers.

If you’re wondering if you can make this bread in a loaf pan, the answer is yes!  Follow the directions through overnight proofing.  The next morning, roll the loaf out to a rectangle and do a letter fold.

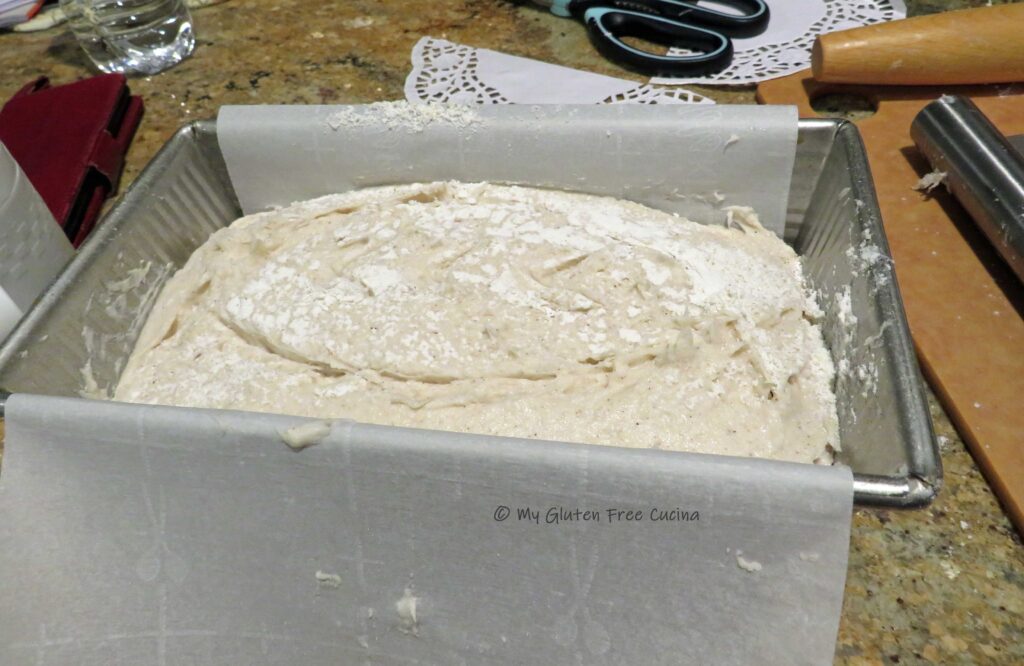
Repeat rolling and letter fold from the opposite direction, then pat the dough into a loaf shape.  Place it seam side down in a 1 lb. loaf pan lined with parchment.  Smooth the top with a spatula, lightly flour and score the top.

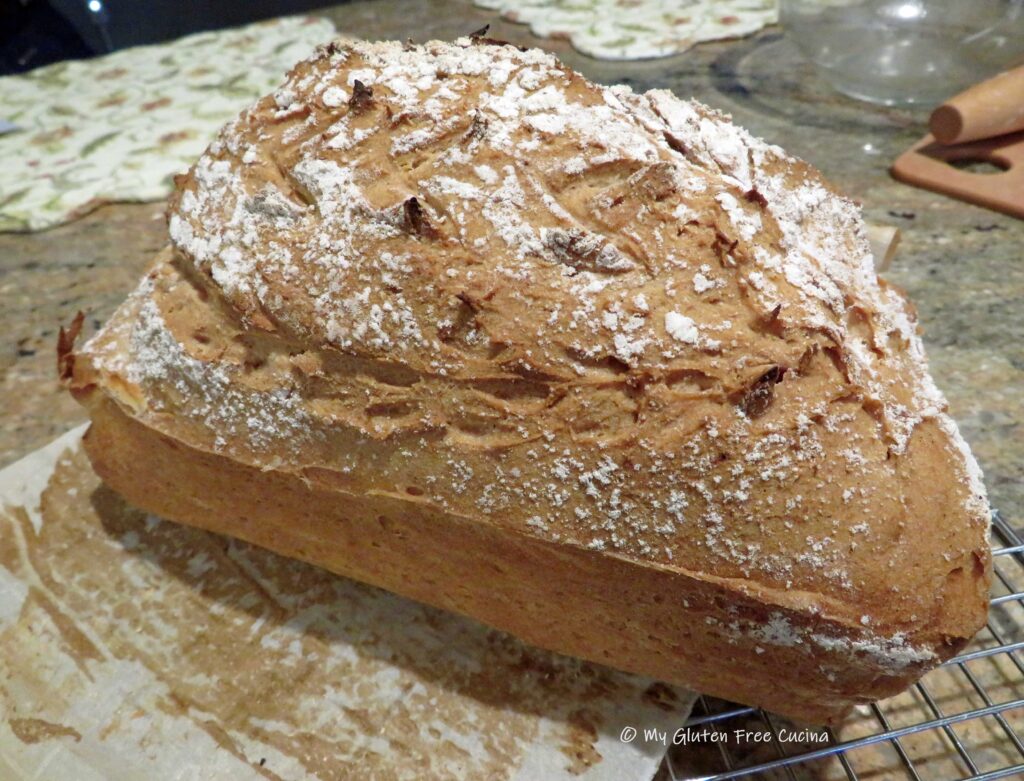
Throw a few ice cubes into the preheated oven and bake for 30 minutes at 475º.   Then, carefully remove the loaf from the pan, lower the heat to 350º and finish baking directly on the stone for another half hour or until the internal temperature reaches 210º.  Wait 24 hours to slice!

Which way is best?  I actually prefer the loaf shape for everyday sandwiches, but the round boule is quite a nice presentation.  You should probably make one of each, just to be sure 😉

Notes ♪♫ I took my starter out of the fridge about 5 hours before I made the dough, fed it and waited until it had a full head of foam on top.  Your starter may require more time to fully activate, depending on how often you feed.

Questions?  Let me know in the comments and I’ll do my best to troubleshoot or offer advice!

Print This Post Print This Post


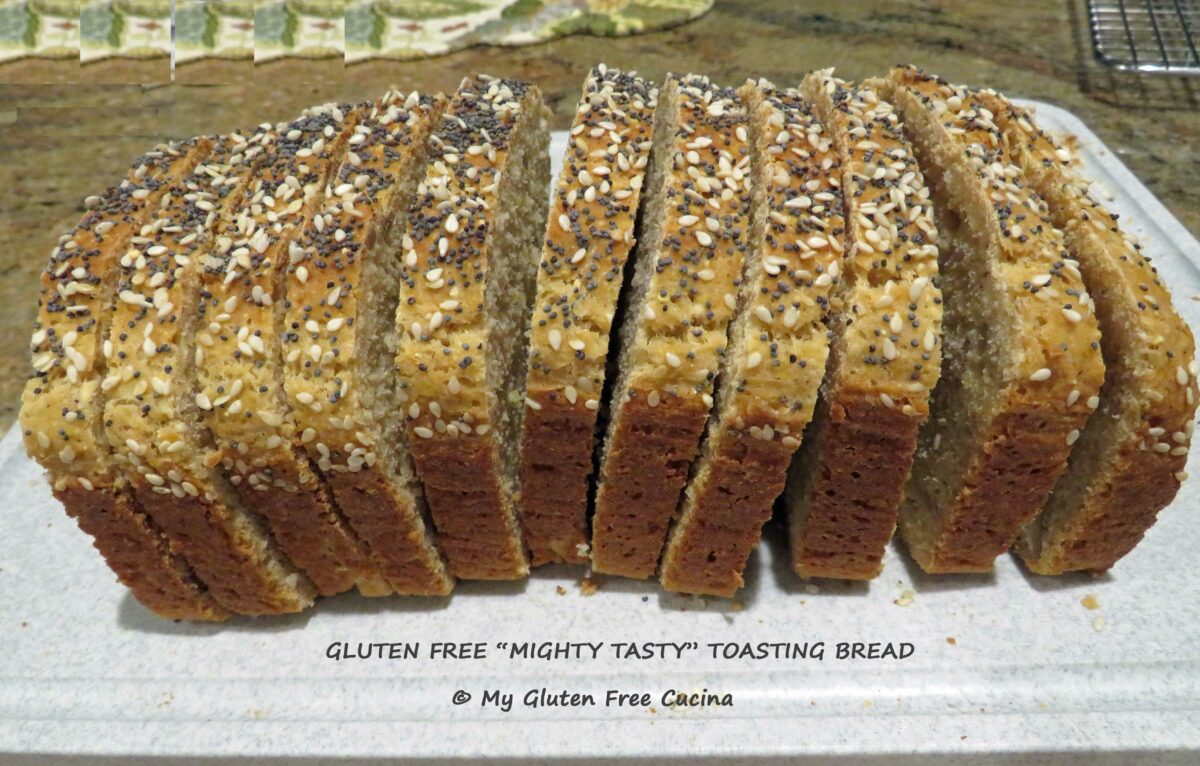
Gluten Free “Mighty Tasty” Toasting Bread

GLUTEN FREE “MIGHTY TASTY” TOASTING BREAD

Adapted from a recipe by America’s Test Kitchen

Servings: 1 Loaf = about 16 slices

This post contains affiliate links.

One of my favorite gluten free toasting breads, this loaf gets a boost of whole grains from Bob’s Red Mill Mighty Tasty Hot Cereal mix.  A hot cereal breakfast staple, it can also be used to add fiber and whole grains to bread and muffin recipes.  I think it gives the loaf a nice flavor and texture reminiscent of corn bread.  Even your family members who are not gluten free will enjoy this hearty breakfast toast.  It’s on my breakfast menu at least one morning per week!

This recipe has been adapted to yield 1 loaf.  Yes, there are a lot of ingredients, and it will take time.  Embrace the magic of baking from scratch!  I would rather enjoy a slice of delicious, homemade bread than a cardboard loaf from the store.

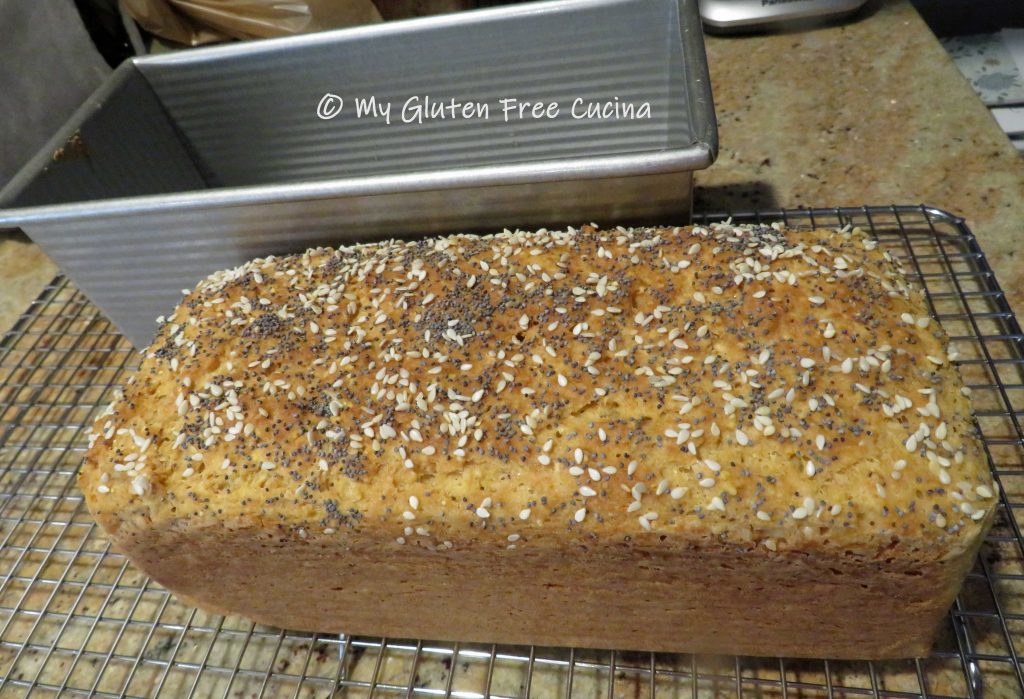
The pan you see in the photos is a 9 x 4 x 4” loaf pan that is perfect for gluten free bread.  The higher sides are perfect for supporting the dense, gluten free dough as it rises.  Gluten free baking is finicky, which is why I recommend that you use a scale and weigh the dry ingredients to achieve the same outcome.

Ingredients:

  • 1 ½ cups warm water
  • 1 tablespoon instant yeast

***

***

  • 2 eggs
  • 2 tbsp. canola oil
  • 2 tbsp. honey

***

***

  • sesame and poppy seeds

Preparation:

Line a 9 X 4 X 4” loaf pan with parchment paper.  I always bake with parchment, not only to prevent sticking, but also to make lifting the finished loaf out of the pan easier.

Combine 1 ½ cups warm water and 1 tbsp. yeast together in the bowl of your stand mixer, and let it sit for 15 minutes while you gather the other ingredients.

In a separate bowl, whisk together the dry ingredients, white rice flour through salt.  Don’t be tempted to skip any of the ingredients.  Those seemingly tiny amounts of things like gelatin, psyllium husk and xanthan gum are what help to compensate for the body and elasticity normally provided by the gluten in wheat flour.

When the yeast has proofed, add the eggs, canola oil and honey to the bowl and beat with the whisk attachment until frothy.

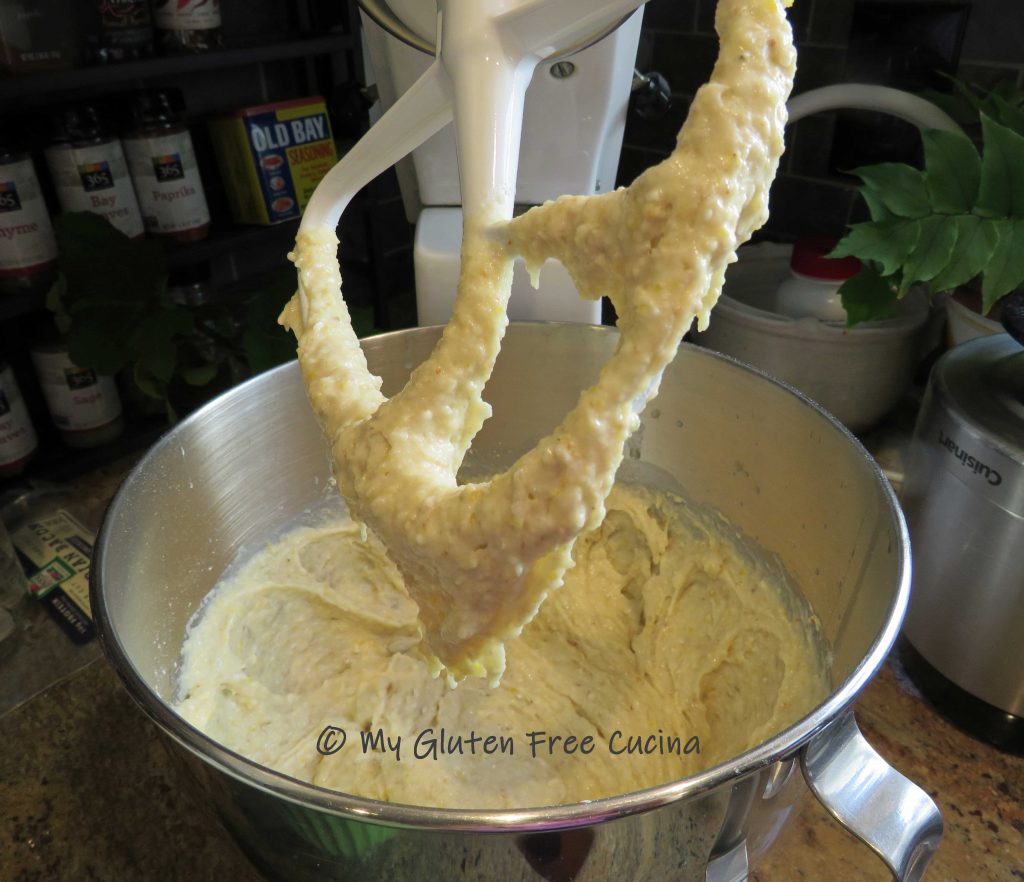
Switch to the paddle attachment and add the dry ingredients to the bowl.  Beat on low speed for 4 minutes.  Next add the sunflower seeds and up to an additional 4 tbsp. of water, one tbsp. at a time as needed.  Beat for 1 minute longer.  You will have a thick, sticky dough that clings to the paddle like this.

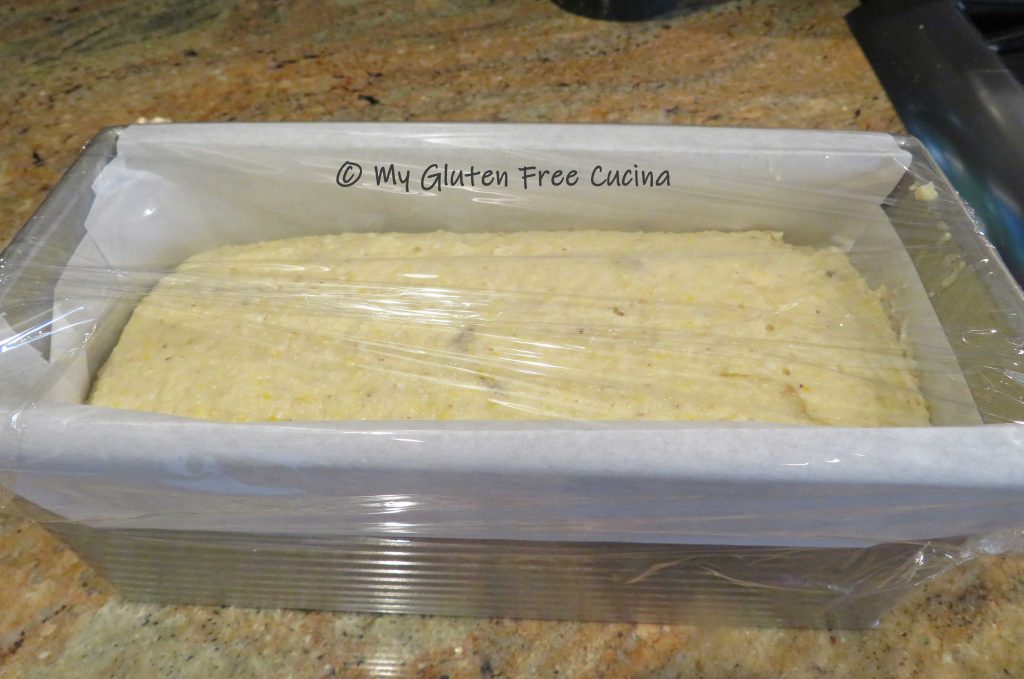
Scrape the dough into the prepared loaf pan and use a spatula dipped in water to smooth the top. Cover with plastic wrap and let rise for about 1 hour.

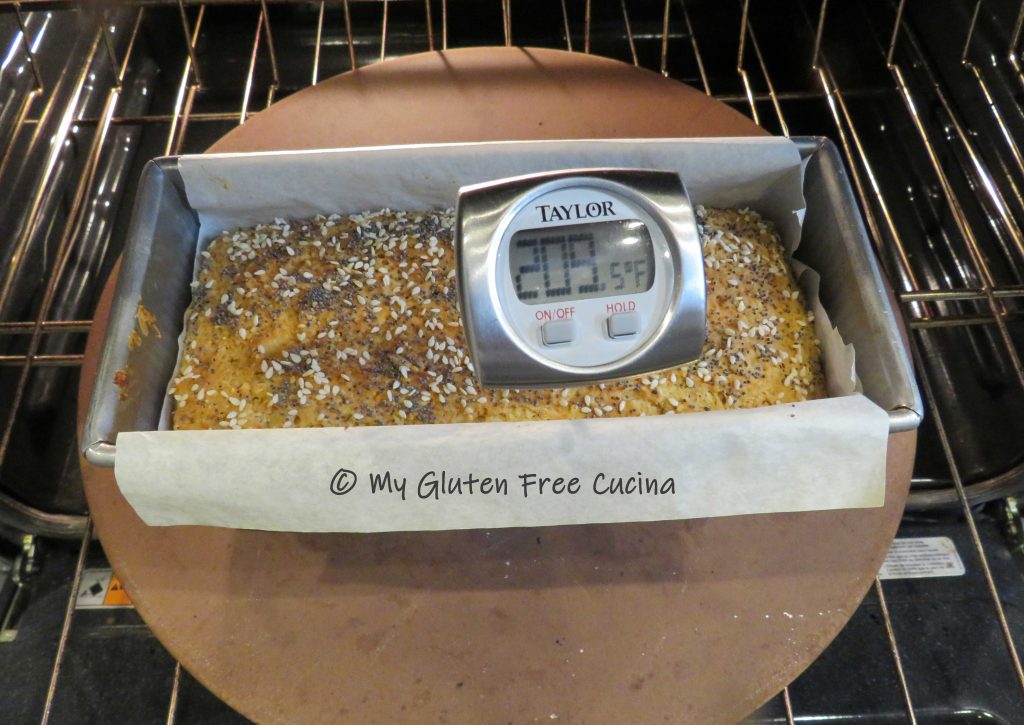
Preheat the oven to 325º and place a pizza stone on the middle rack.  Remove the plastic wrap and mist the top of the risen loaf with warm water (this helps the seeds to adhere).  Sprinkle liberally with poppy and sesame seeds.

Bake for 75 minutes, or until the loaf reaches an internal temperature of 210º.  It may take a bit more (or less) time in your oven, so be sure to use a thermometer!  Hint, if it smells done, check it!

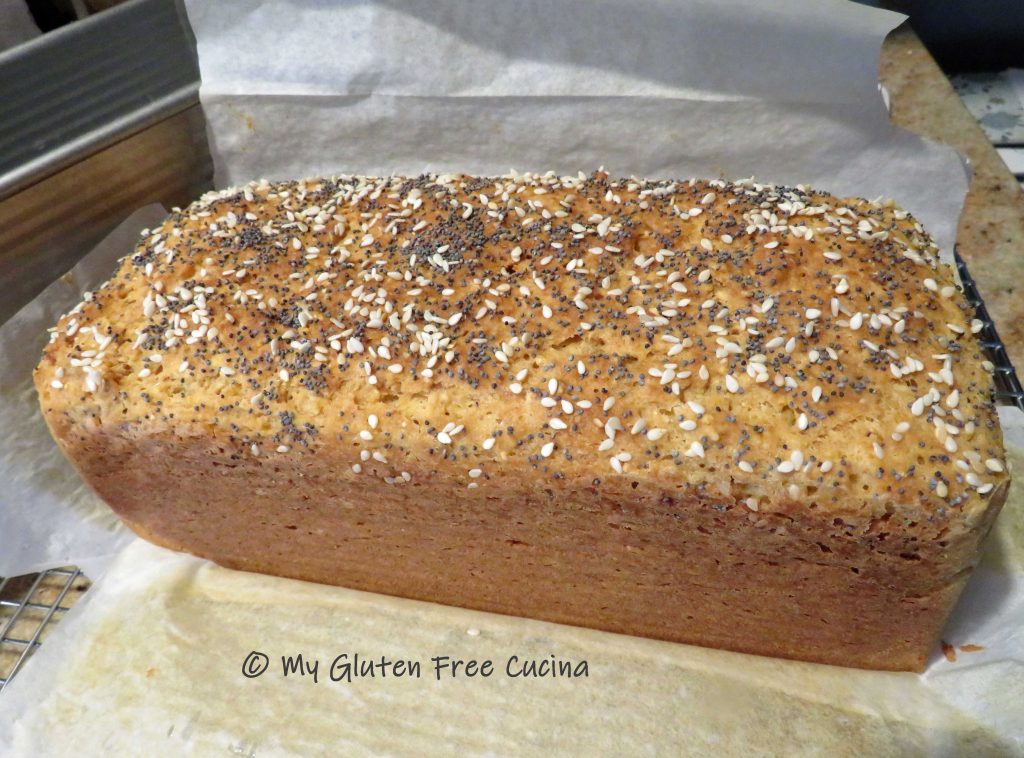
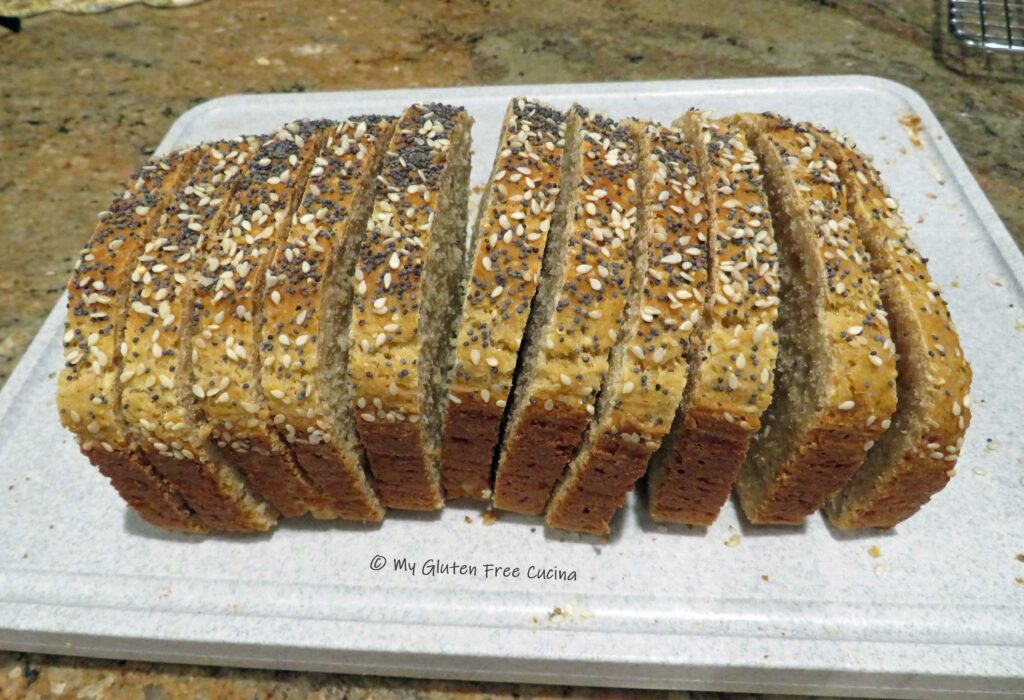
Let the loaf cool in the pan for 10 minutes, then grasp the parchment on either side to lift it out.  Remove the parchment and let it cool completely on a rack.  See how nicely the loaf shaped up in this pan?

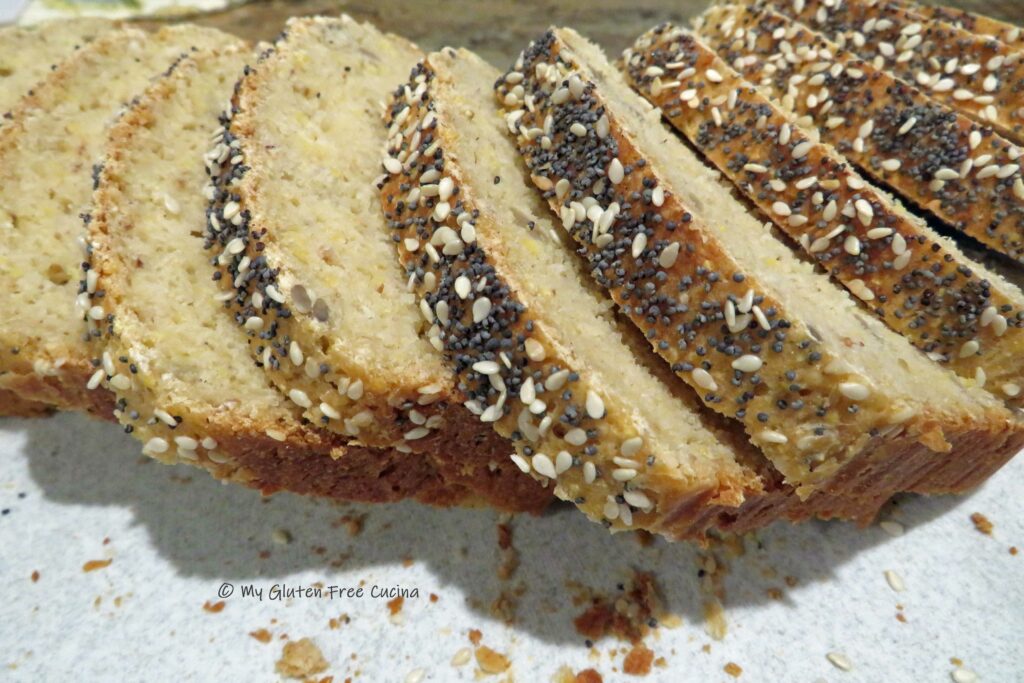
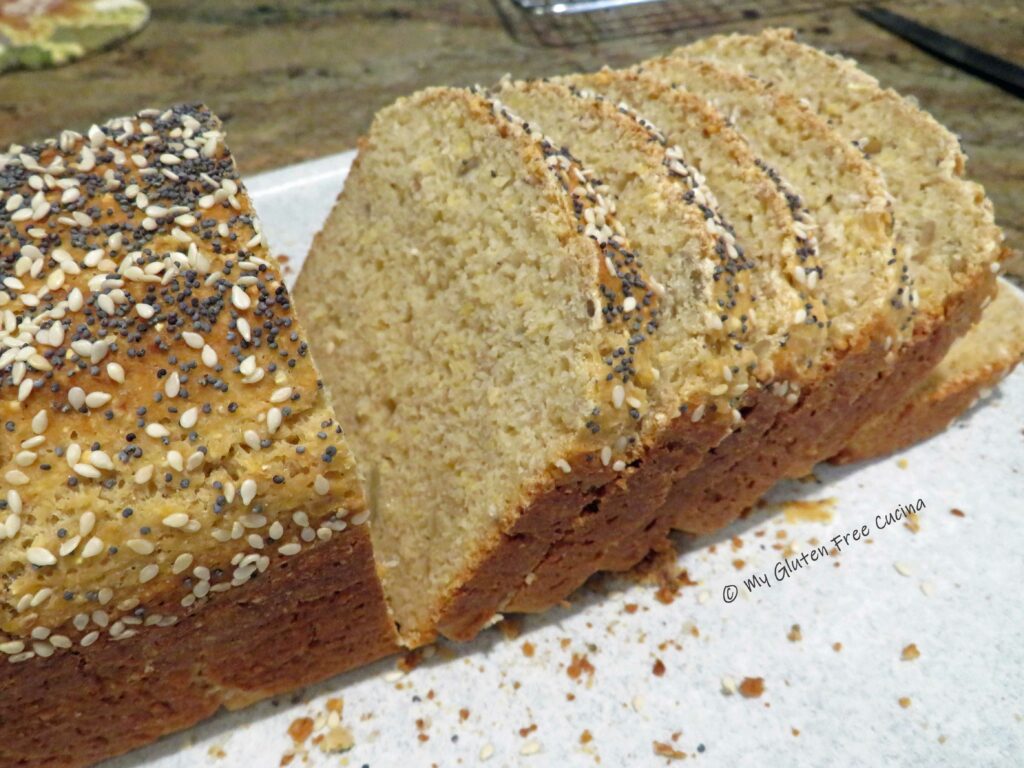
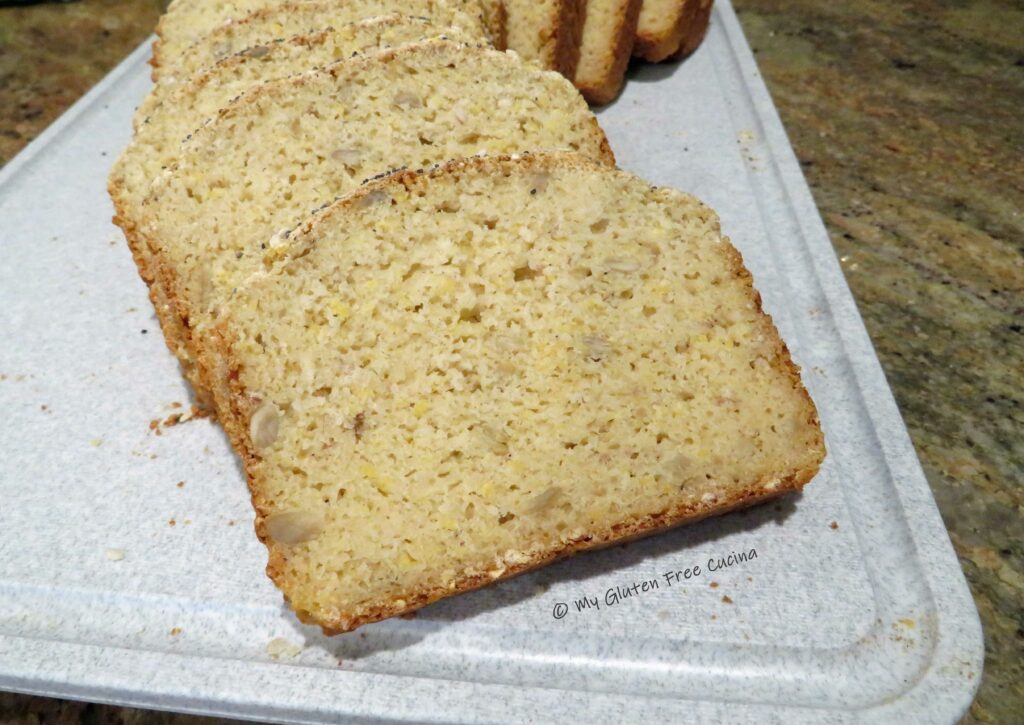
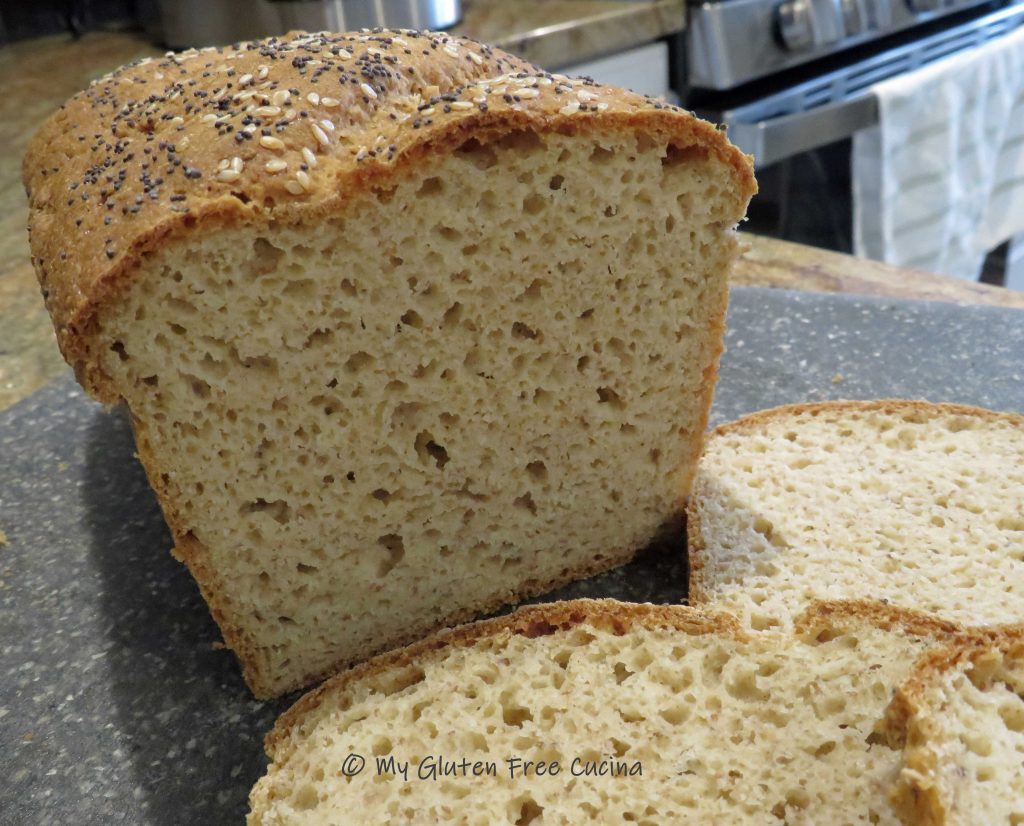
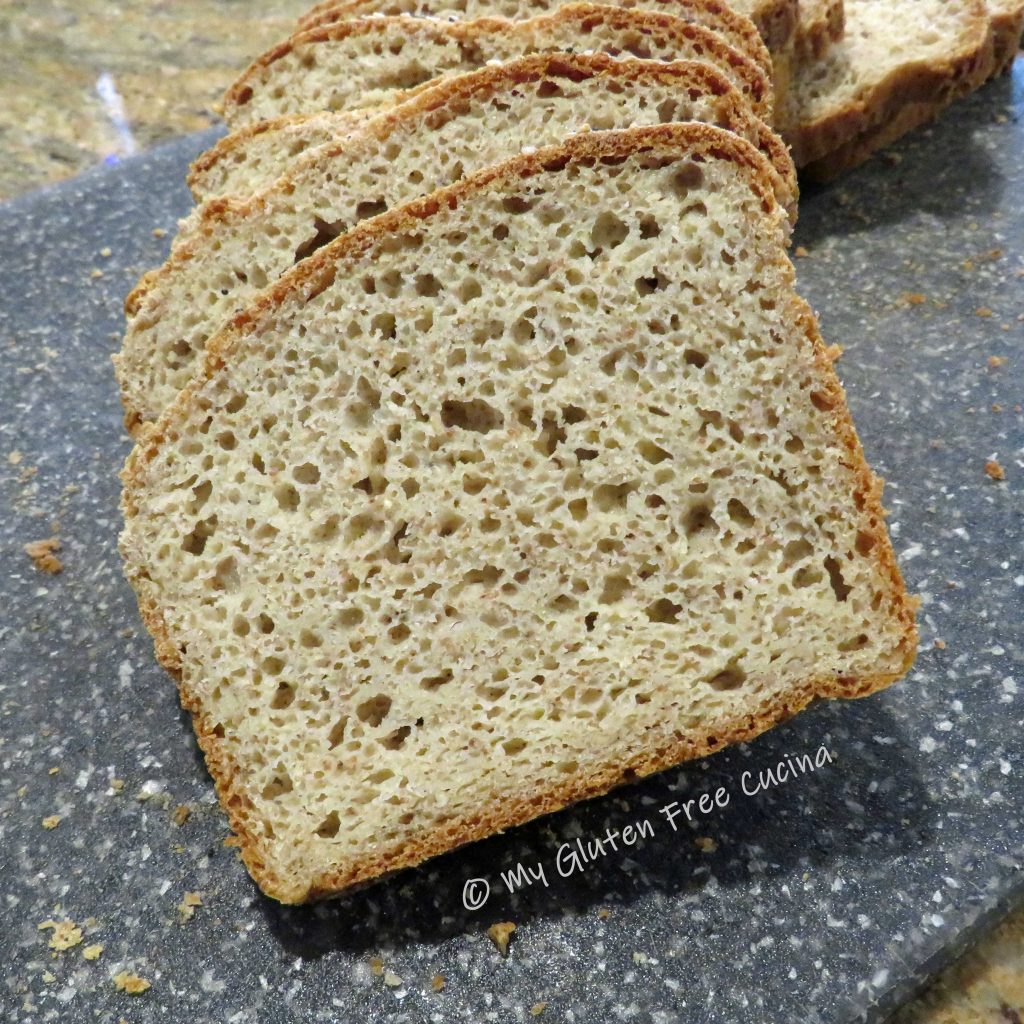
Resist slicing into the loaf until it has completely cooled, or it may be gummy in the center. You’ll want to give it a few hours to rest and set up properly.  Here’s the crumb shot.  You can see that it’s very dense and speckled with whole grains and seeds. It’s perfect!

Like most gluten free breads, this one is best eaten the day it is baked.  Slice it up and toast for about 5 minutes, it’s divine with just a simple pat of butter or jelly.  You can store it at room temperature for up to 1 day, but it is best to freeze the leftovers asap.  I like to freeze mine in individually wrapped slices, so I can easily pull one out for breakfast.

Notes ♪♫ All of the grains used in the flour mix were from Bob’s Red Mill.  The brand is readily available in stores or online.

Originally published 05/05/2019                   Updated 06/17/2024

Print This Post Print This Post

Basic Gluten Free Sourdough Sandwich Loaf

Are you thinking about trying to bake gluten free sourdough bread?

There is nothing like good, homemade bread.  Especially when you are gluten free, and store-bought bread leaves so much to be desired.  No wonder so many of us have turned to baking our own bread at home.

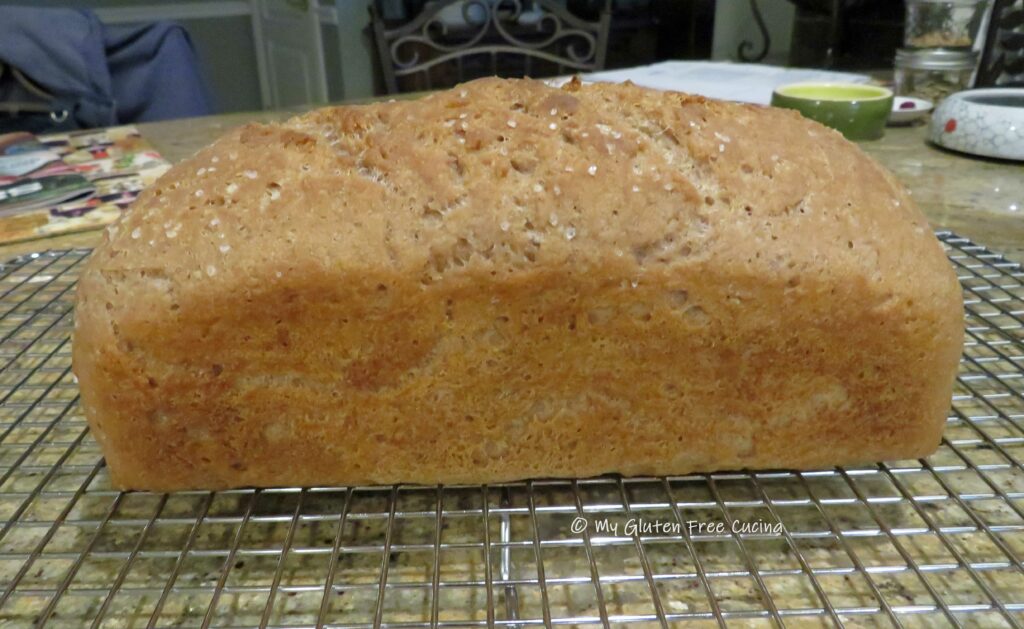
This post is for all of you who have wanted to try making gluten free sourdough bread or are just looking for a solid recipe.  It’s a basic loaf, with no fancy shaping or scoring.  The bread is perfect for sandwiches and does not require toasting (but it’s delicious toasted as well).

This post contains affiliate links.

I used my Gluten Free Sourdough Starter and Better Batter Artisan Flour Blend in this recipe.  I baked my loaf in a small pullman loaf pan because the higher sides help the loaf to rise high and straight.  You can use a standard 1-lb. loaf pan if you prefer.  For best results, use a metal pan, not glass.

Ingredients:

Notes

Although I have provided ingredient measurements by both weight and volume, I strongly recommend that you weigh your ingredients for best results!

 I used, and highly recommend Better Batter Artisan Flour Blend for this recipe.  It is a sorghum-based blend that is incredible for yeasted breads.  If you use a different blend, the flour to liquid ratio may need to be adjusted and the flavor will be different. 

*Get 30% off any non-sale purchase at Better Batter when you use my Code MGFC30 at checkout* 

Preparation:

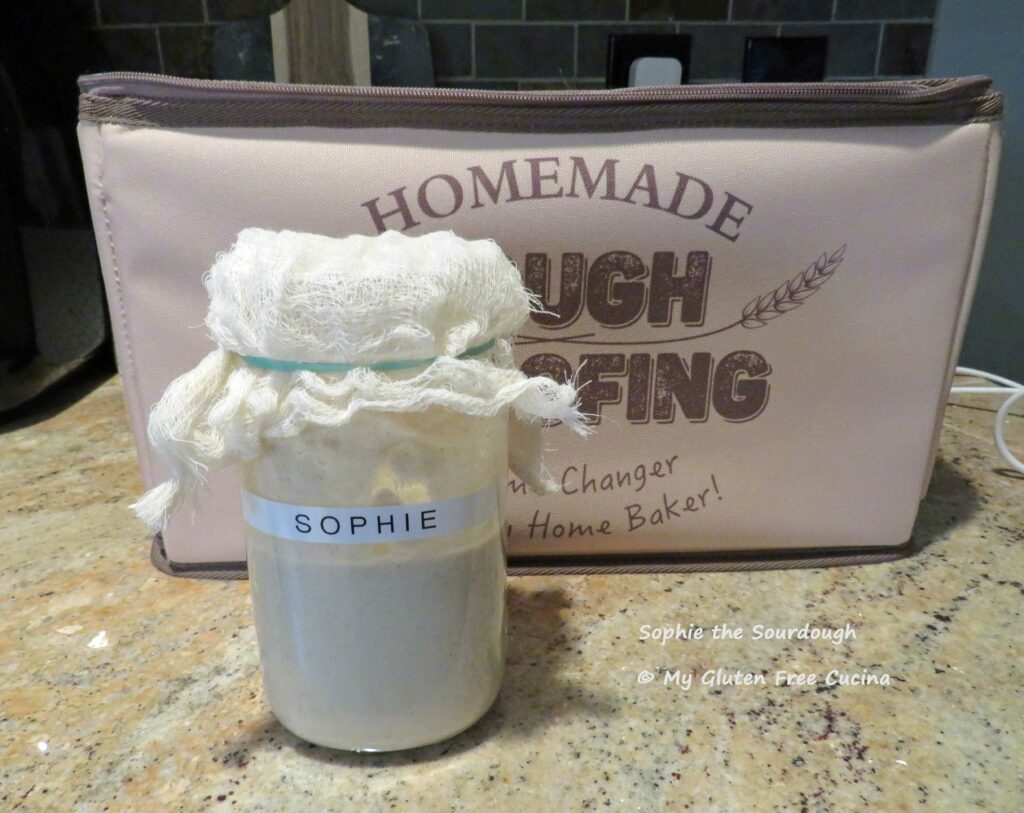
For bread to rise properly without commercial yeast, your sourdough starter needs to be fully activated before mixing your dough (otherwise you will end up with a brick).  I find that my gluten free starter doesn’t jump out of the jar like a wheat sourdough, but when fully active it does increase in size and has hundreds of tiny bubbles, especially when I give it a stir.

When I am planning to bake, I take my starter out of the refrigerator 2 days before, feed twice daily and keep it in a proofing box at 78º.

(Read more about how I made my Gluten Free Sourdough Starter here.)

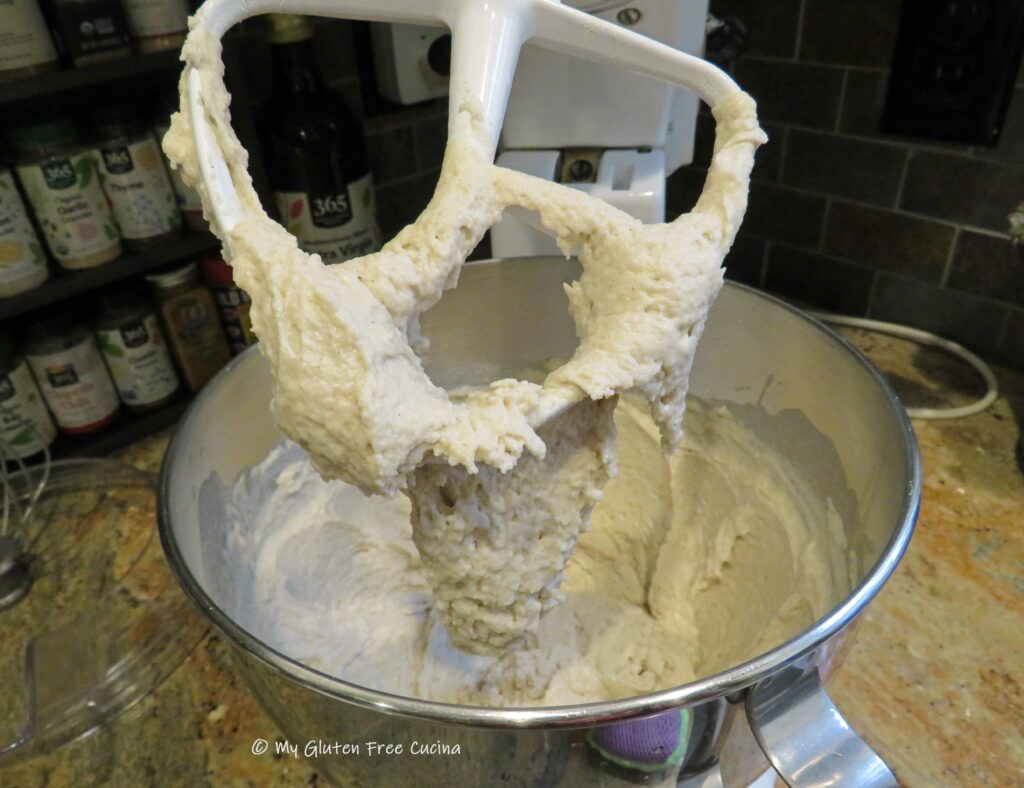
The day before baking, combine all of the dough ingredients in a stand mixer with the paddle attachment.  Increase the speed and mix for 5 minutes.

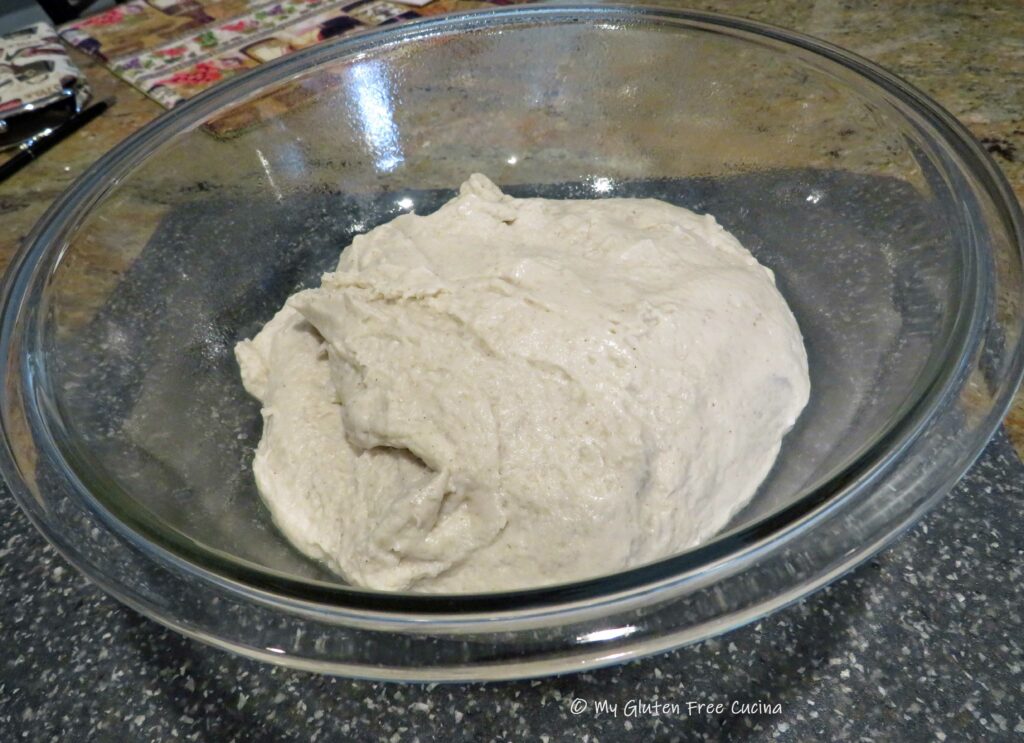
Transfer the dough to an oiled bowl, cover and place it in a proofing box (or warm, draft free area) for 4 hours.  I try to time this step for late afternoon, so that it’s ready to go into the refrigerator overnight by around 8pm.

Here’s the dough after 4 hours, going into the refrigerator.

By the next morning, the dough should be puffed up and full of air bubbles.  Take the dough out of the refrigerator and let it sit on the counter to warm up a bit before you shape it.

Rub a cutting board with a bit of olive oil and turn the dough out.

Gently pat the dough into a rectangle, don’t press hard and do not use a rolling pin – you want to keep the air bubbles intact as much as possible.
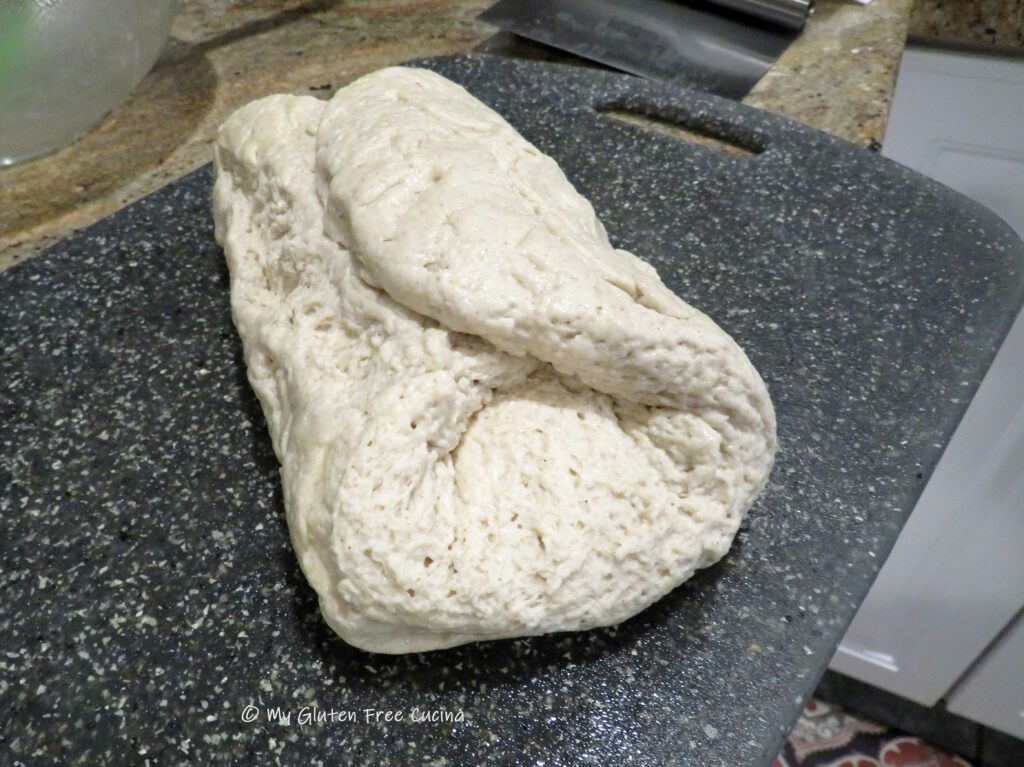
Next use a bench knife to do a letter fold, like this.

Finally, use oiled hands to gently roll and shape the dough into a loaf.  Place it in the loaf pan seam side down, cover with plastic wrap and let it sit at room temperature for 30 minutes.  Preheat the oven to 450º.

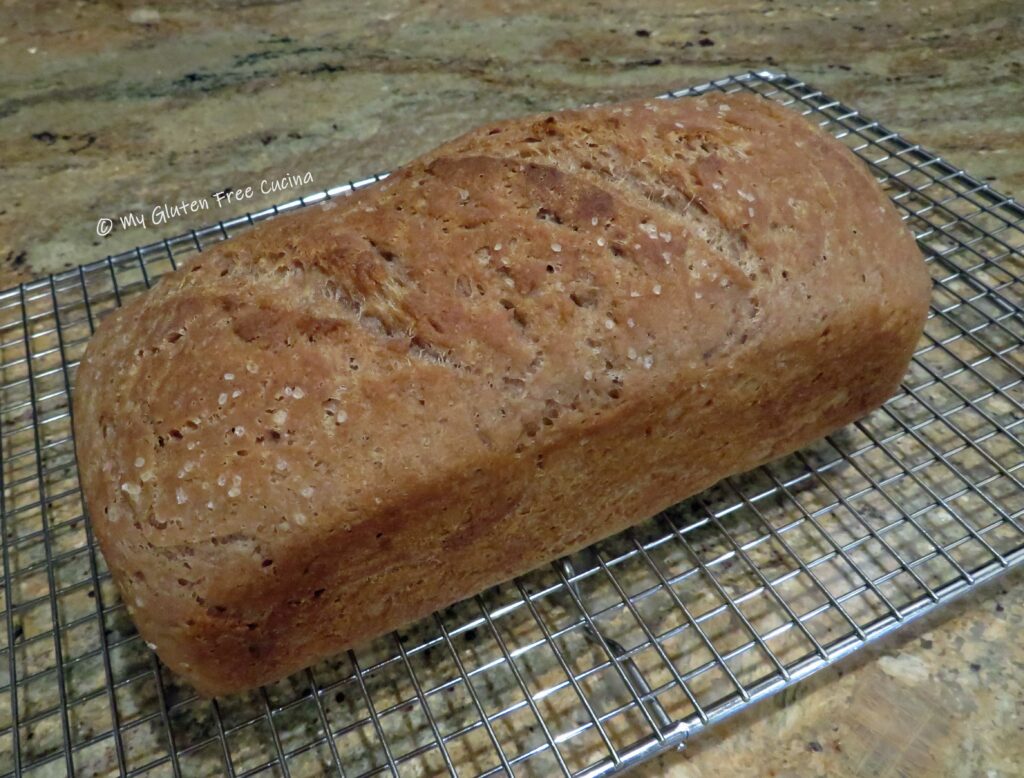
Just before baking, brush the top of the loaf with 1 tbsp. olive oil and sprinkle with coarse salt.  Use a lame or sharp knife to score 3 diagonal slashes across the top about 1/2″ deep.

Place the loaf in the oven and immediately throw a few ice cubes onto the bottom of the oven to create steam.

Bake for 55 minutes, or until the internal temperature reaches 210º (use a thermometer!).

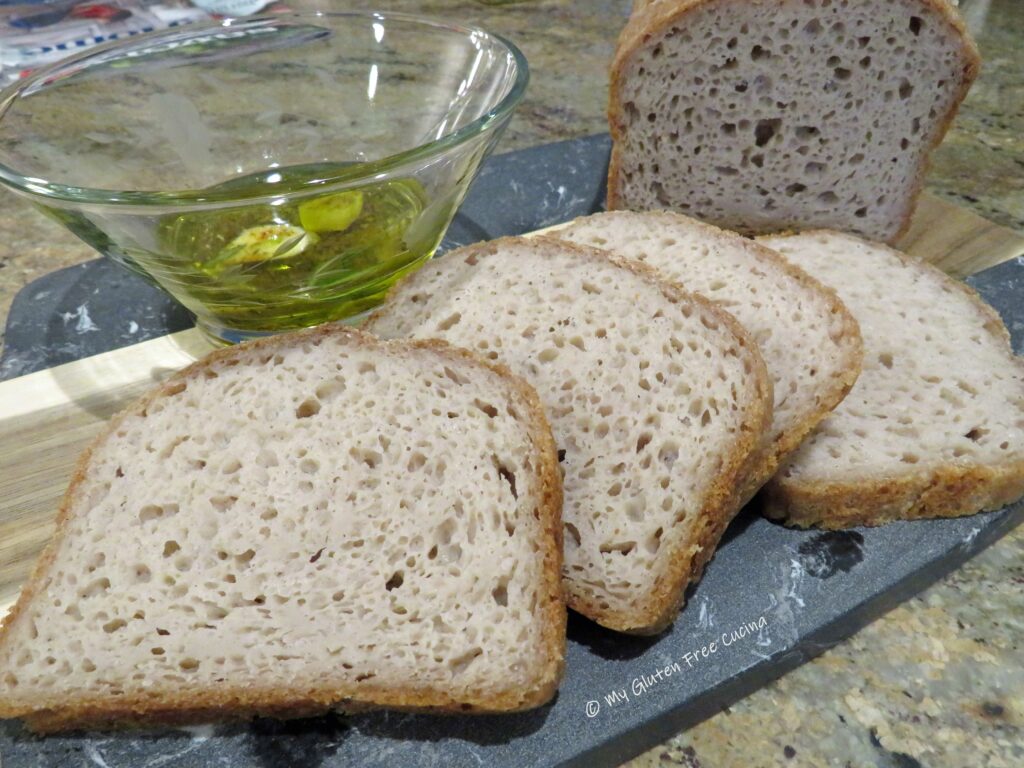
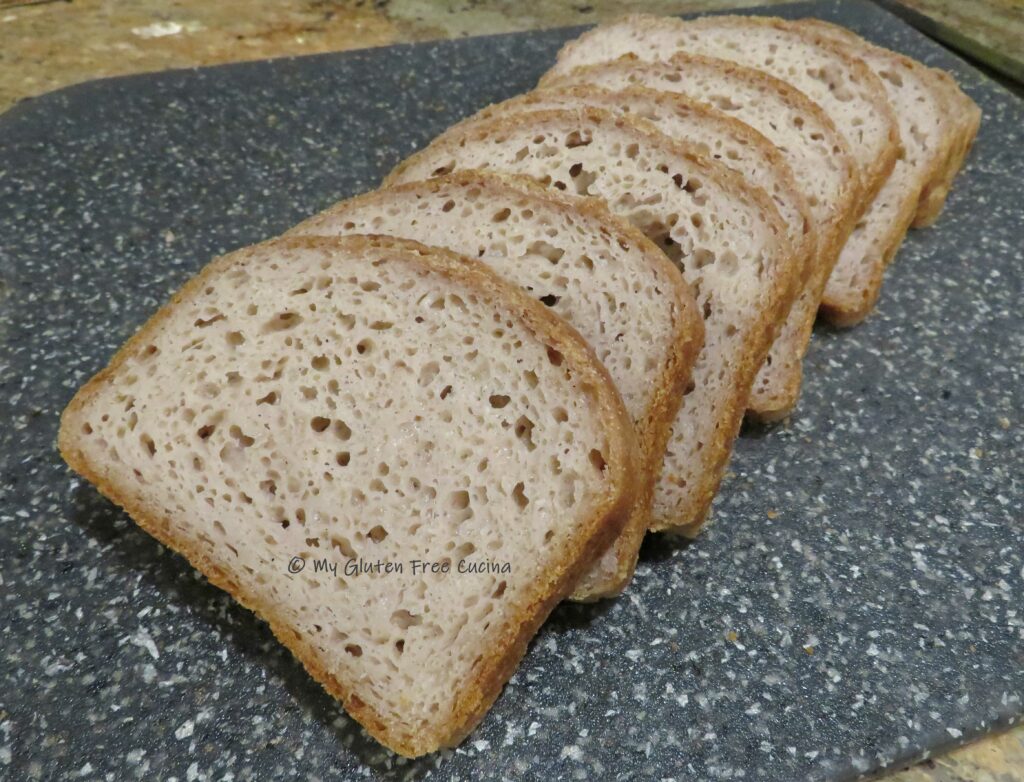
Remove the loaf from the pan and let it cool for 8 hours on a rack before slicing.  The longer you wait, the better the texture will be.  After 8 hours you can place the loaf in a bread bag and store it at room temperature to slice in the morning.

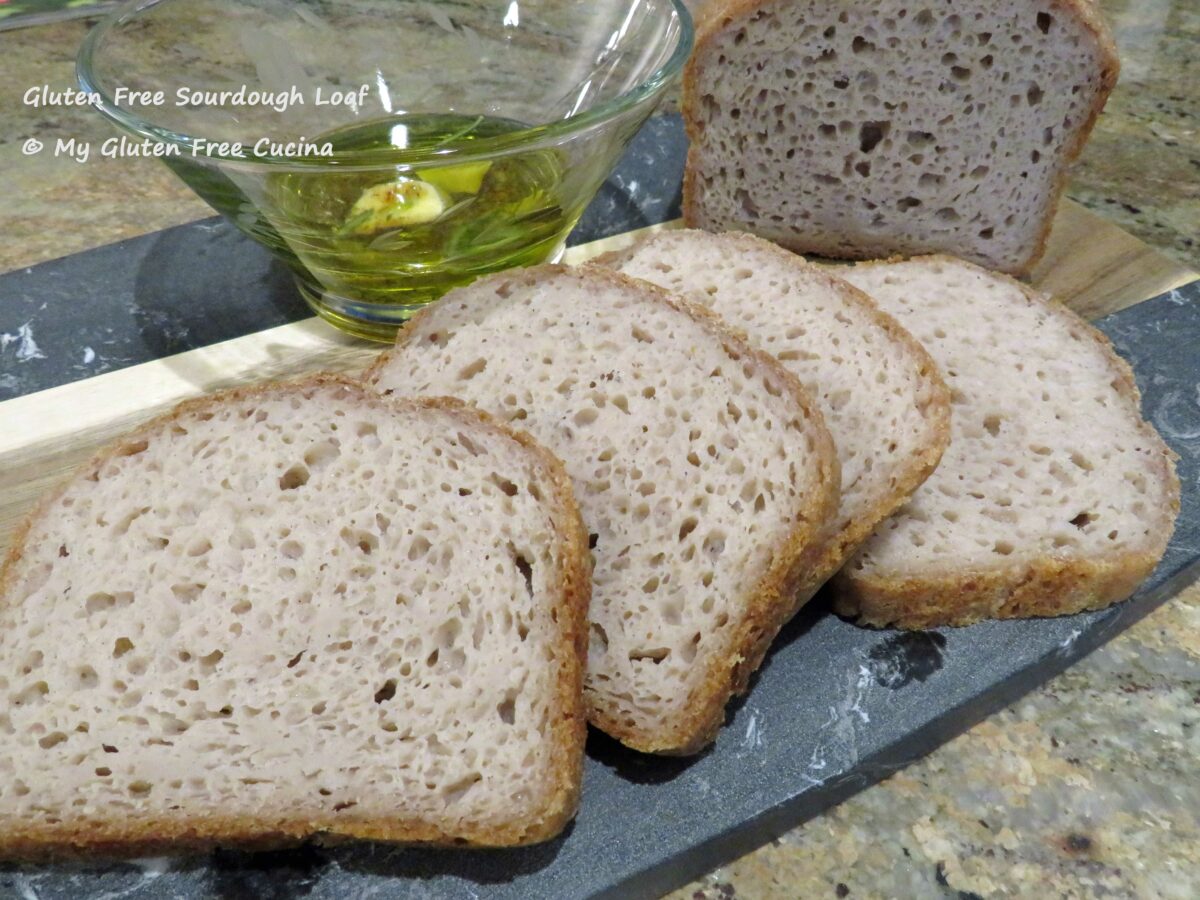
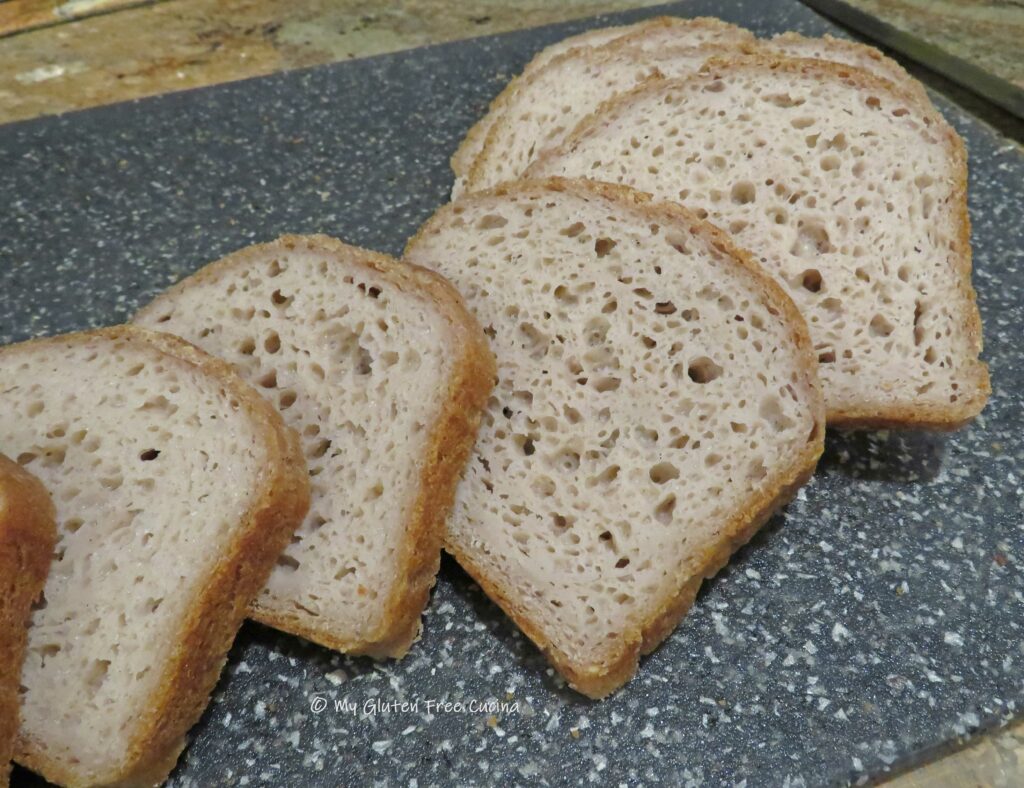
Look at that wide open crumb!  Remember when I mentioned that you do not want to deflate the air bubbles when shaping the loaf?  Now you know why!

Sometimes it’s really hard not to slice into a loaf of bread as soon as it comes out of the oven, but your patience will be rewarded. I let this loaf cool on a rack for eight hours before cutting a few slices for dinner.  I put the rest in a bread bag overnight.  I have perfect slices with no gummy texture! Sorry you can’t taste it but take my word it was delicious!

Notes ♪♫ Troubleshooting gluten free bread can be tricky and sourdough even more so.  So here are a few hints.  If the loaf didn’t rise, it could be that your starter wasn’t fully active.  Try feeding more frequently for several days before making the dough.  If the bottom or center of the loaf looks gummy, it wasn’t baked long enough (did you check with a thermometer?) or your measurements weren’t accurate (did you weigh your ingredients?).  Also, be sure to wait for your bread to cool down and set completely before slicing, it takes at least 8 hours!  Feel free to reach out with any questions and I’ll try my best to help!

Print This Post Print This Post


Gluten Free Sandwich Thins

When I hear people say that the gluten free diet promotes weight loss, I have to shake my head! 🤦🏻‍♀️ The reality is that gluten free breads, pastas and cereals have as many or more calories and carbs than their wheat filled counterparts.

It got me to thinking, that back a few years “BC” (before Celiac) I had a great homemade recipe for the popular Sandwich Thin buns that everyone loved.  In this post I’ll show you how I recreated that recipe to a gluten free version for my lunch sandwiches.

This post contains Affiliate Links.

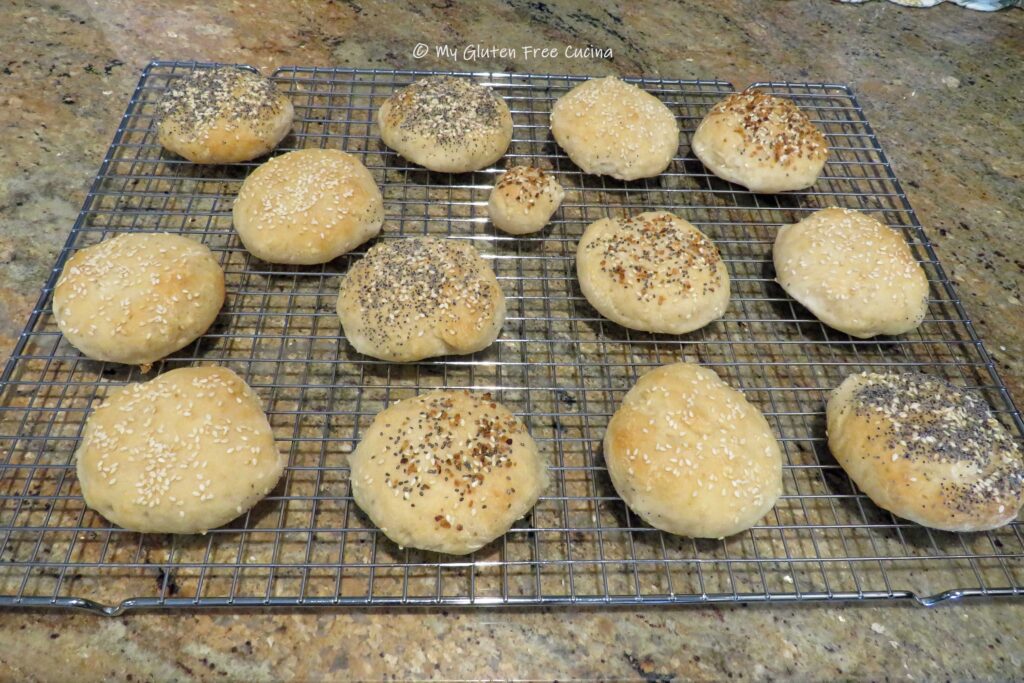
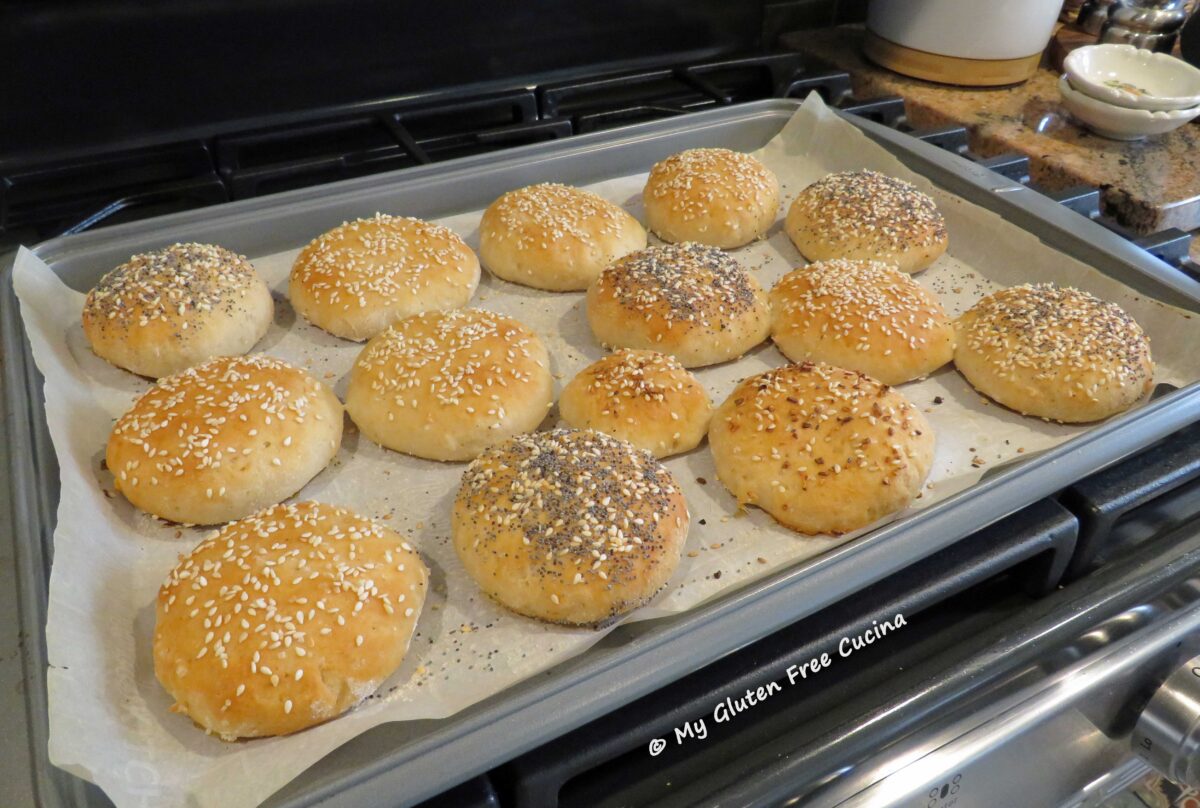
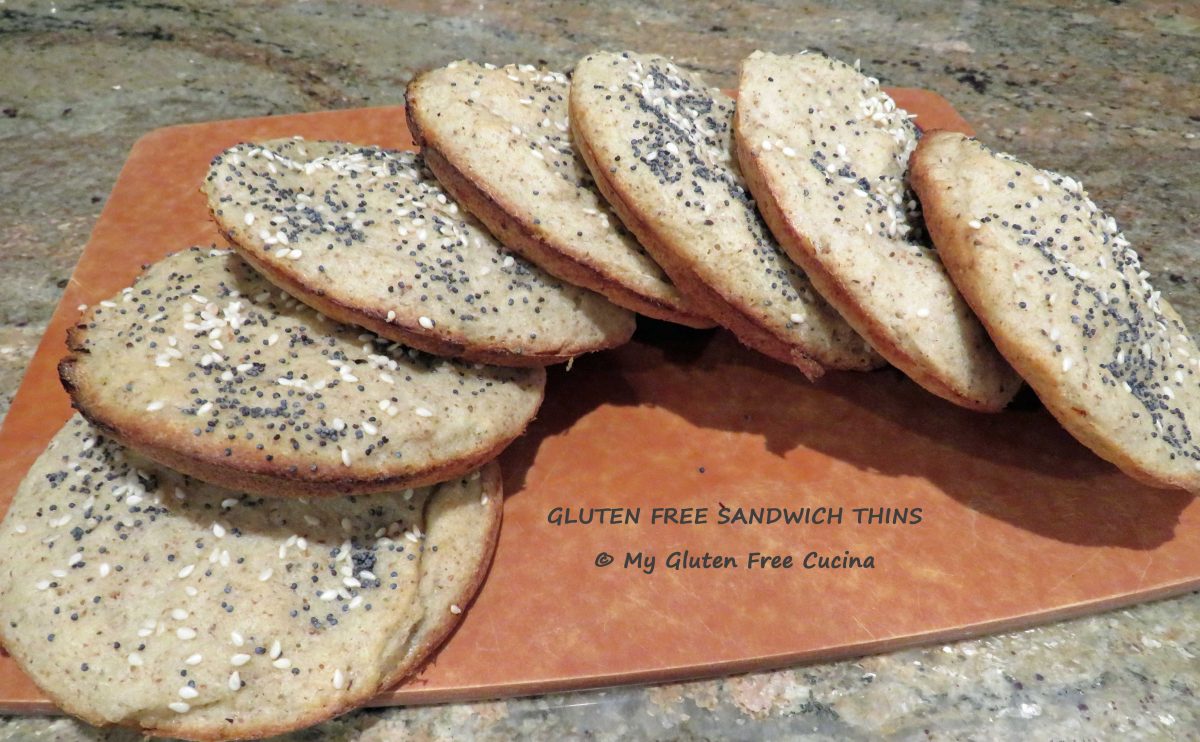
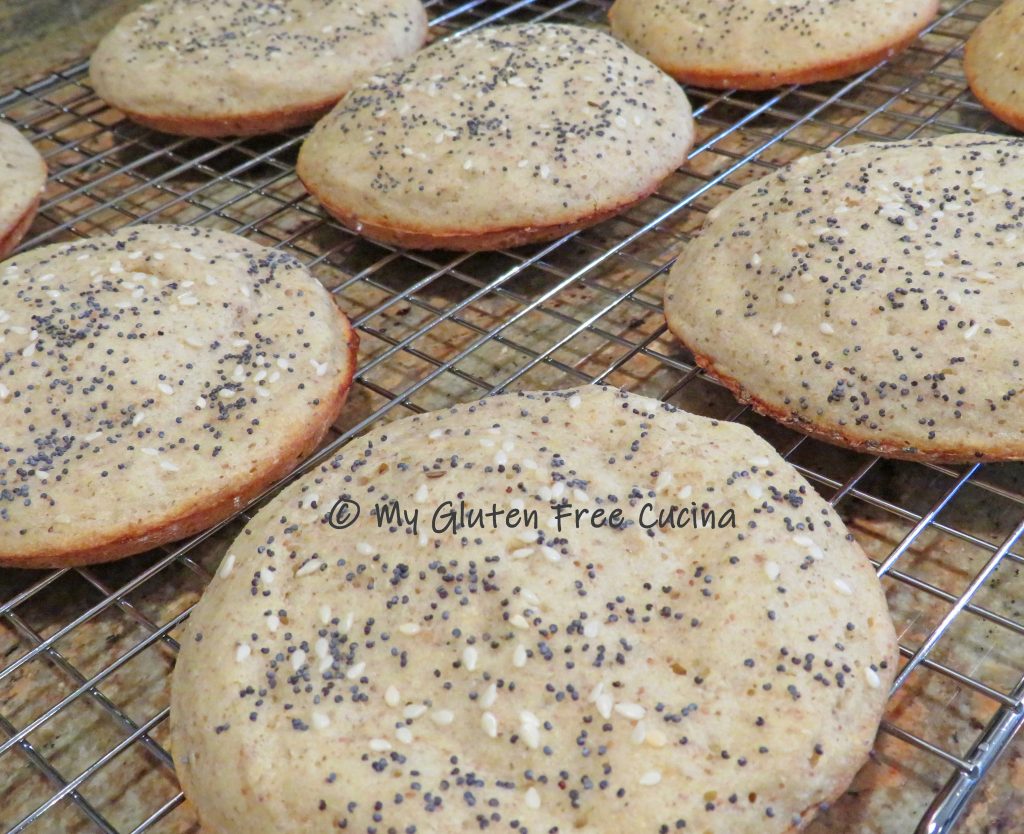
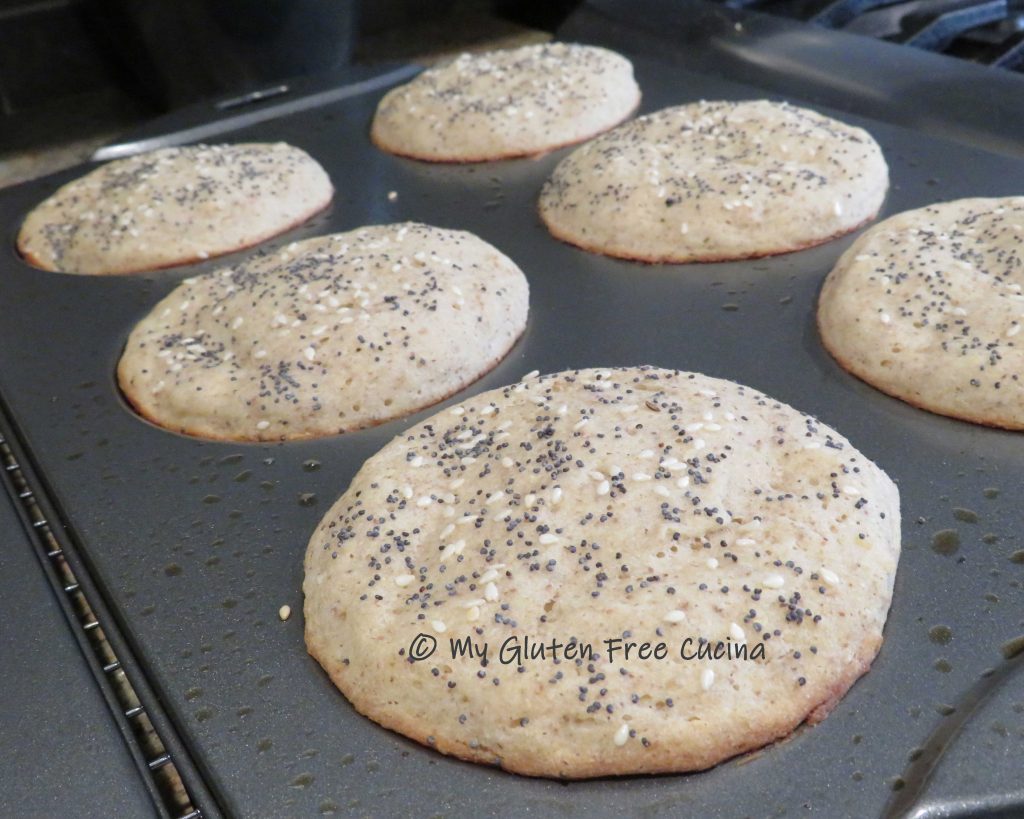
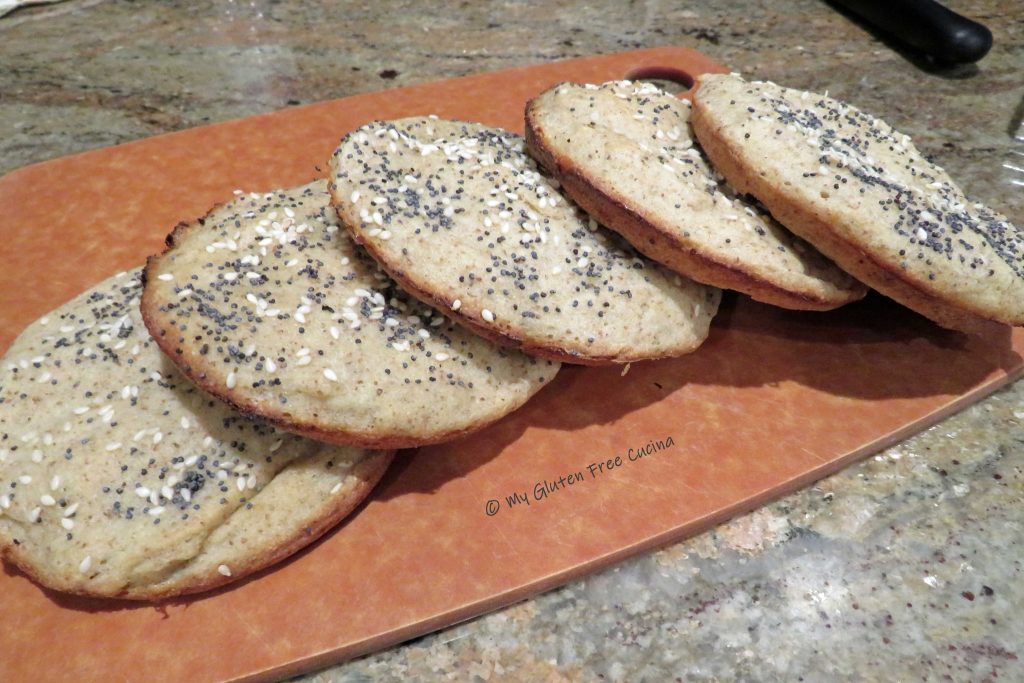
Mind you, I wanted my bread to be nutritious and wholesome, not just empty calories.  This recipe checks all my boxes- whole grains, small portions, great taste.  I used a muffin top pan to create perfectly shaped rounds that were all the same size, about 1.5 oz. each after baking.

The flour blend was a result of trial and error, largely based on my own taste buds as well as some sampling by my family.  Sorghum and brown rice are high on my list of favorites, and I use a combination of the two in many of my breads.  Dark teff grain has an earthy flavor that can easily overpower a recipe, but using just a little lends a wheat like flavor and color.  I also blended 3 starches together which worked great, but no corn starch as I don’t like it for baking (again, just my taste preference).

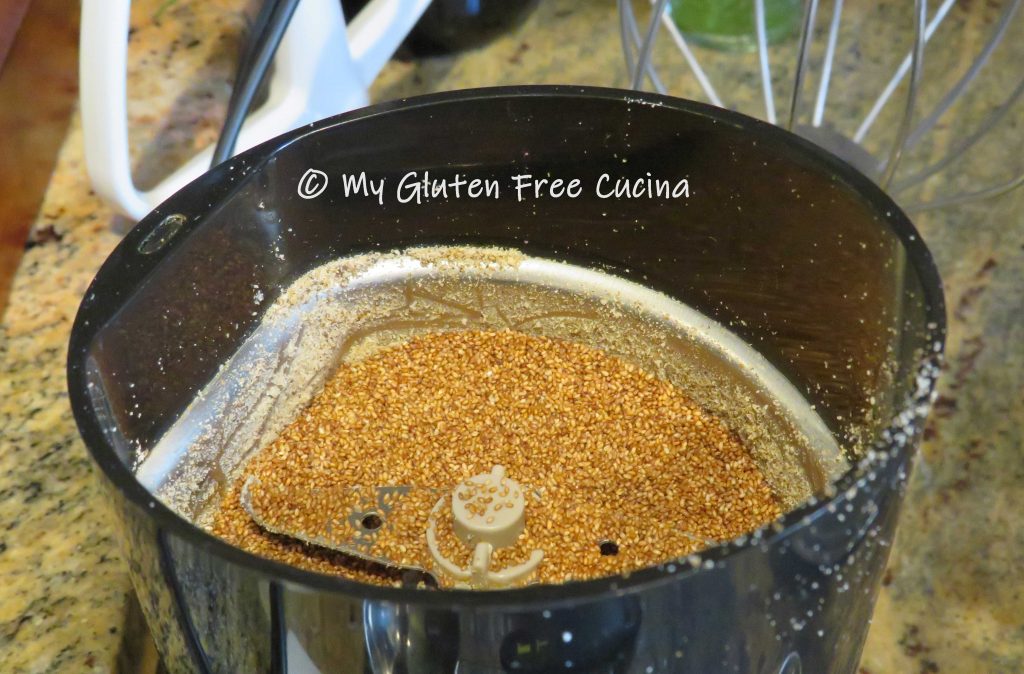
You might be interested to know that I used a coffee grinder for some of my ingredient prep.  Tiny grains like teff and chia seeds can be purchased in whole form, and ground into a flour just before baking for ultimate freshness.

You don’t need a special pan to make the buns, but this muffin top pan I used was a great for shaping and definitely helped with portion control.  The non-stick finish made for a very easy cleanup.  I liked it so much I ordered a second one!


Makes 12 buns

Ingredients:

  • 1 tbsp. yeast
  • 1 tbsp. chia seeds, ground
  • 1 tbsp. sugar
  • 1/2 cup warm water

………………………………..

  • 90 g. whole grain sorghum flour
  • 130 g. brown rice flour
  • 40 g. tapioca starch
  • 40 g. arrowroot starch
  • 40 g. potato starch
  • 15 g. teff grain, ground
  • 1 tsp. gelatin
  • 1-1/4 tsp. xanthan gum
  • 3/4 tsp. salt

…………………………………….

  • 1 egg
  • 3 tbsp. olive oil
  • 1/2 cup warm milk
  • 1/2 cup warm water

…………………………………….

  • 2 tbsp. 1% milk, for brushing
  • sesame seeds
  • poppy seeds

Preparation:

Grind 1 tbsp. chia seeds in a coffee grinder and combine it with 1 tbsp. yeast, 1 tbsp. sugar, and 1/2 cup warm water.  Stir and let it sit for 10 minutes.

Grind 15 g. of teff grain in a coffee grinder.

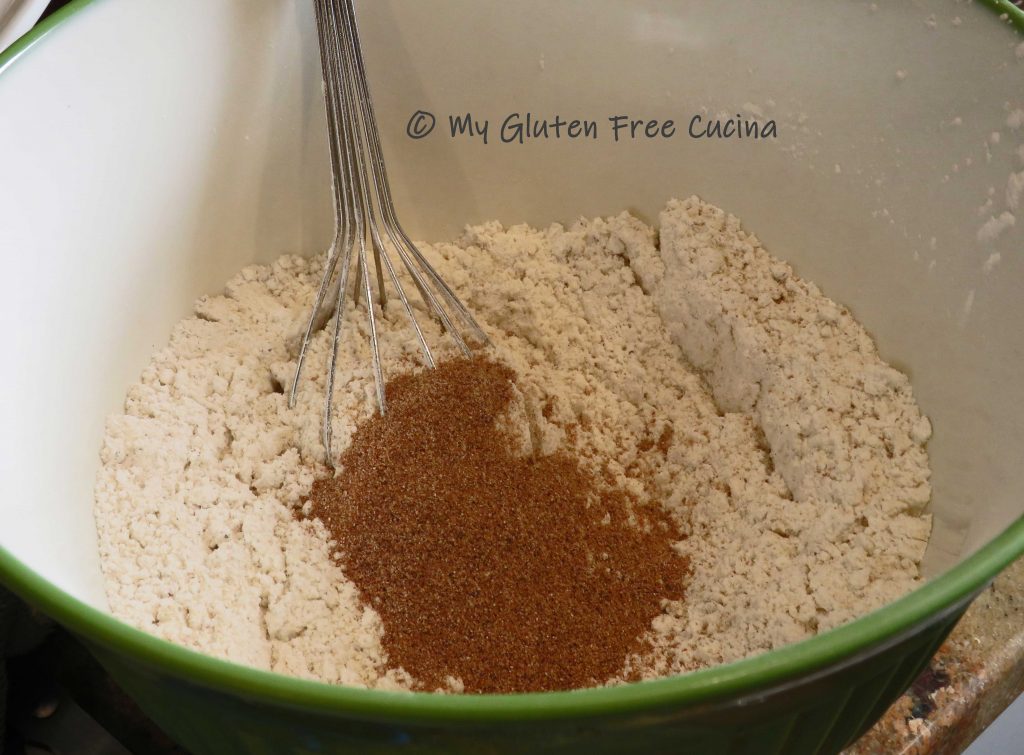
Whisk together with the other dry ingredients.

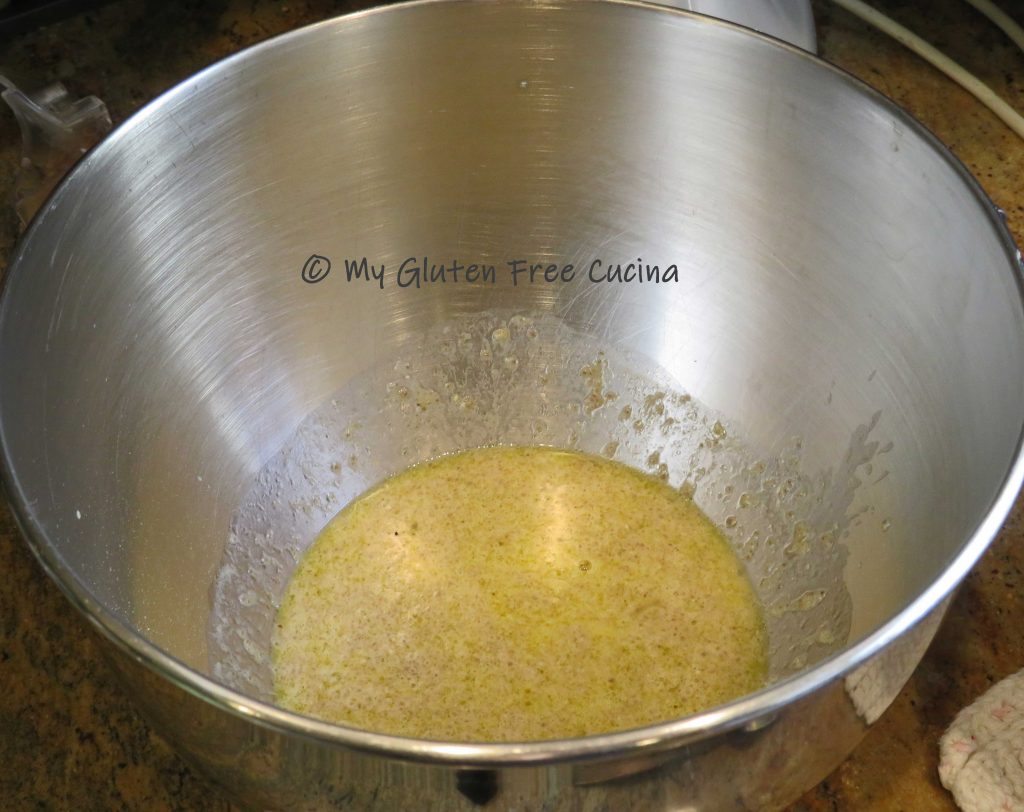
Whisk the egg, olive oil and milk into the yeast mixture.

With the paddle attachment, mix in the dry ingredients along with the last 1/2 cup of water.  Beat for 3 minutes to form a smooth, wet dough.

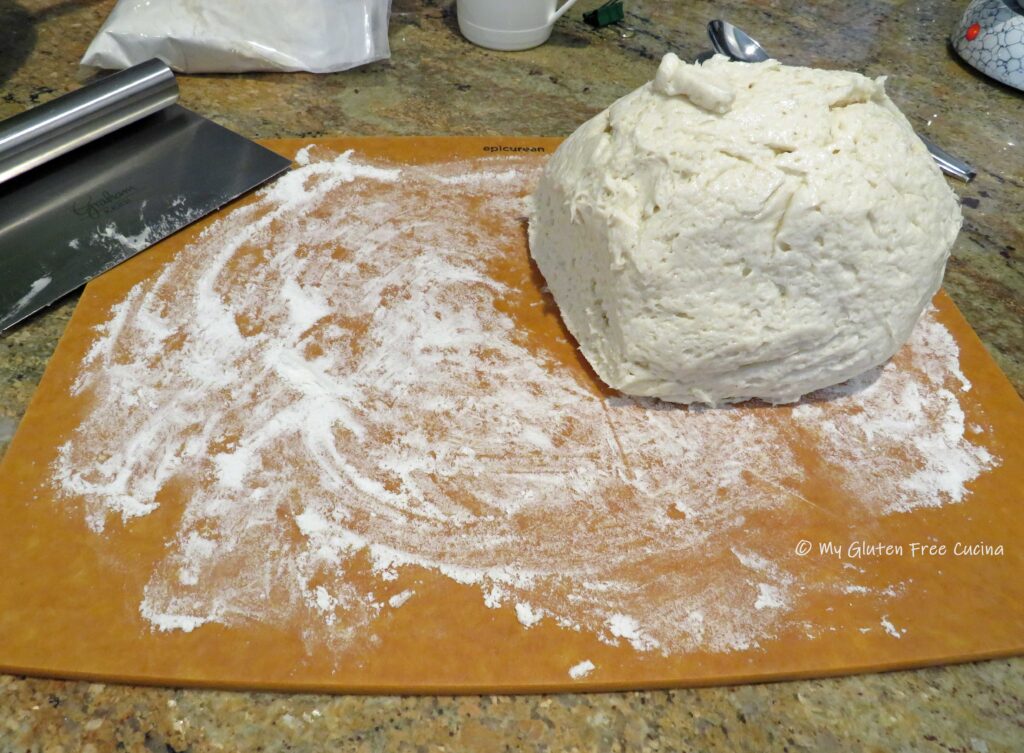
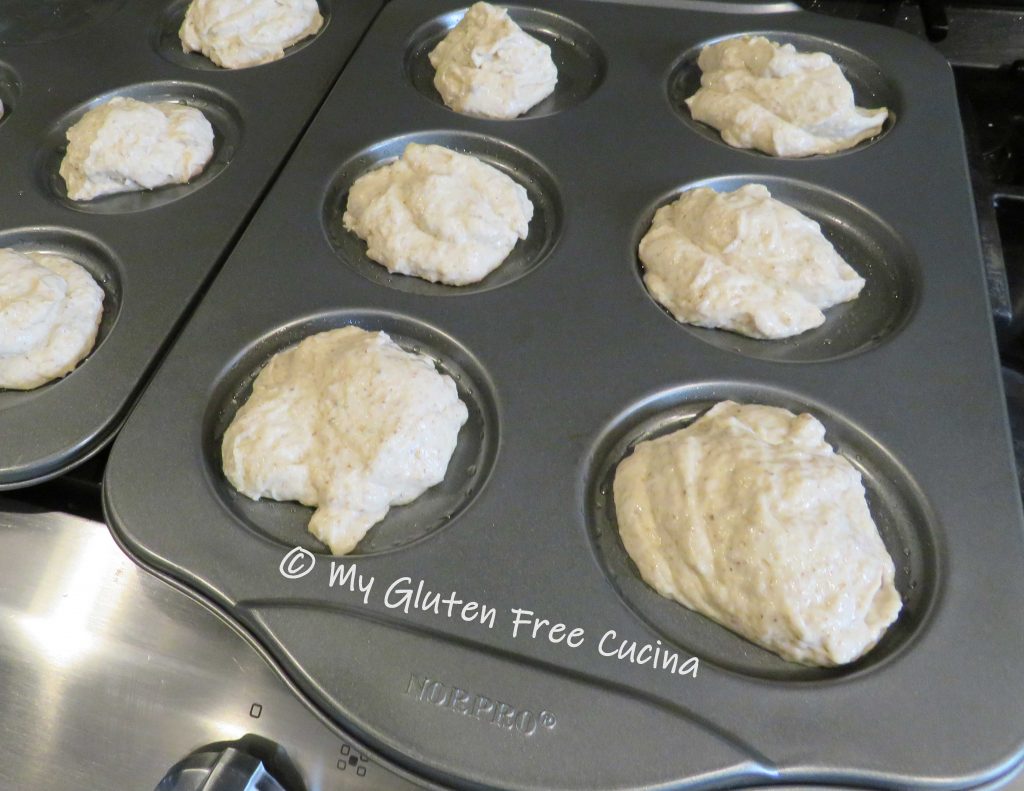
Have a bowl of warm water ready for dipping your spoon and fingertips.  Drop a scant 2 tablespoons of dough into each well, dipping the spoon into the water each time to help manage the sticky dough.

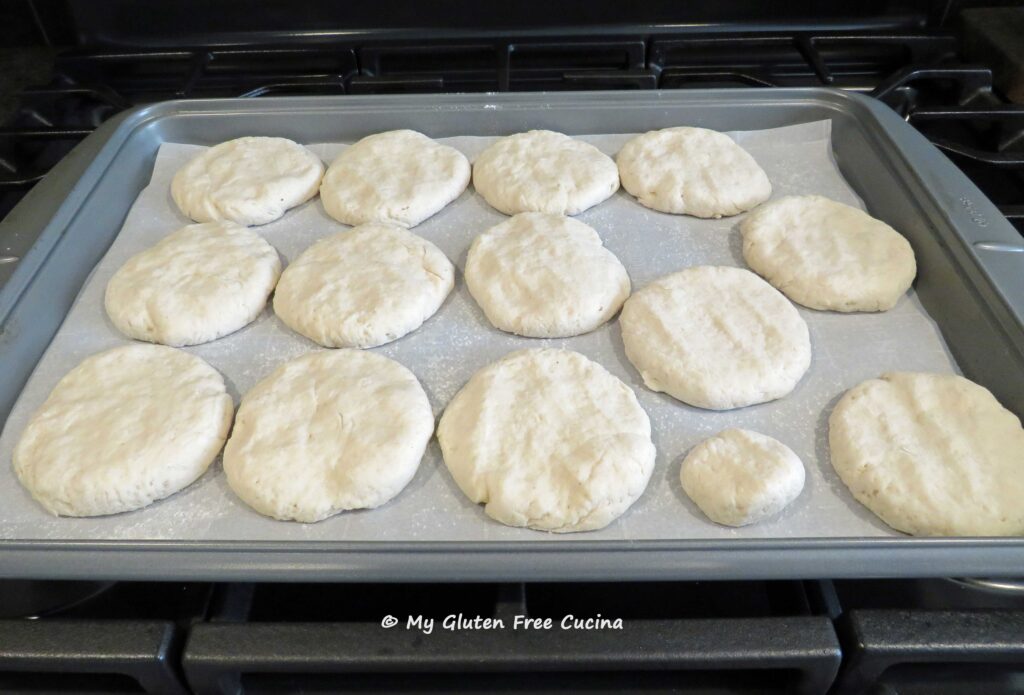
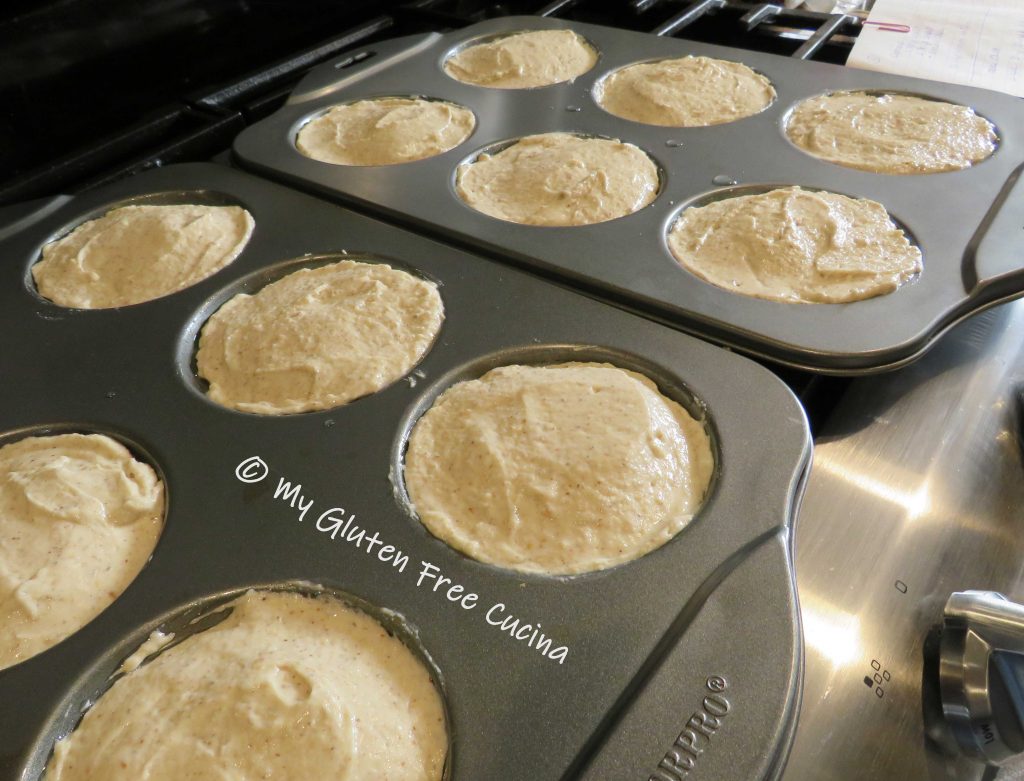
Dip a small spatula into the water and smooth out the dough, spreading it in a circular motion to fill in the rounds.  Don’t skip this step, gluten free dough does not spread by itself!  If you are not using a muffin top pan, spoon the dough onto a baking sheet lined with parchment and spread into 4″ rounds.

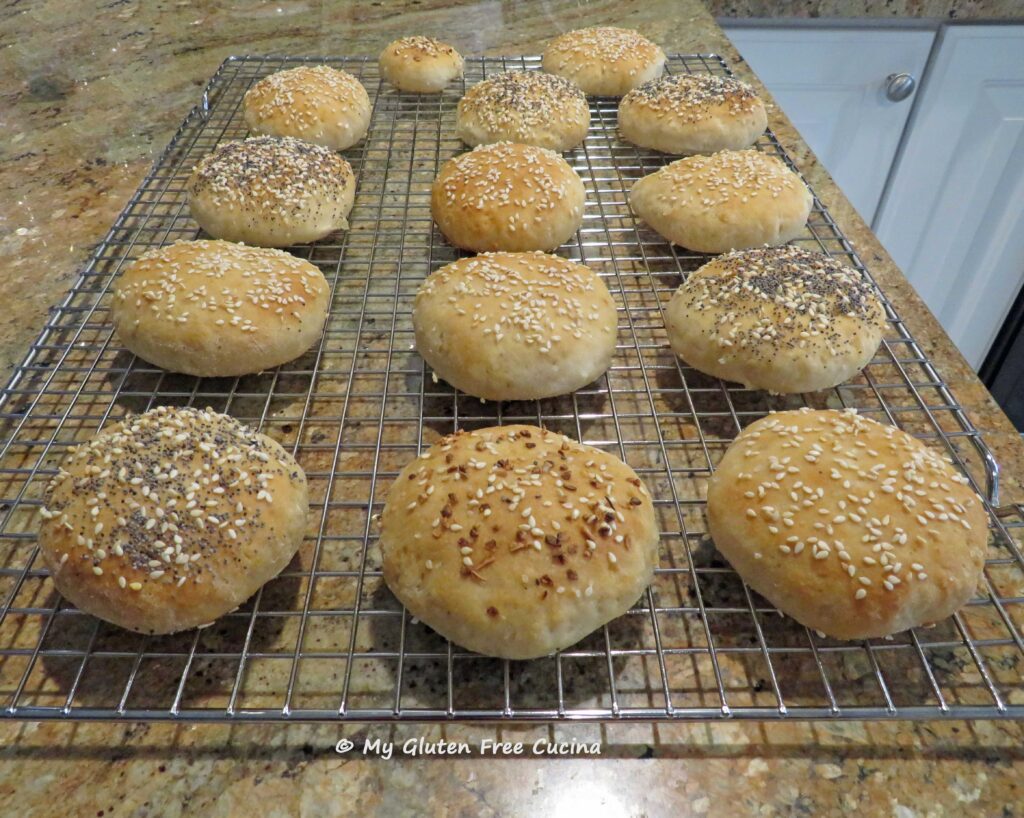
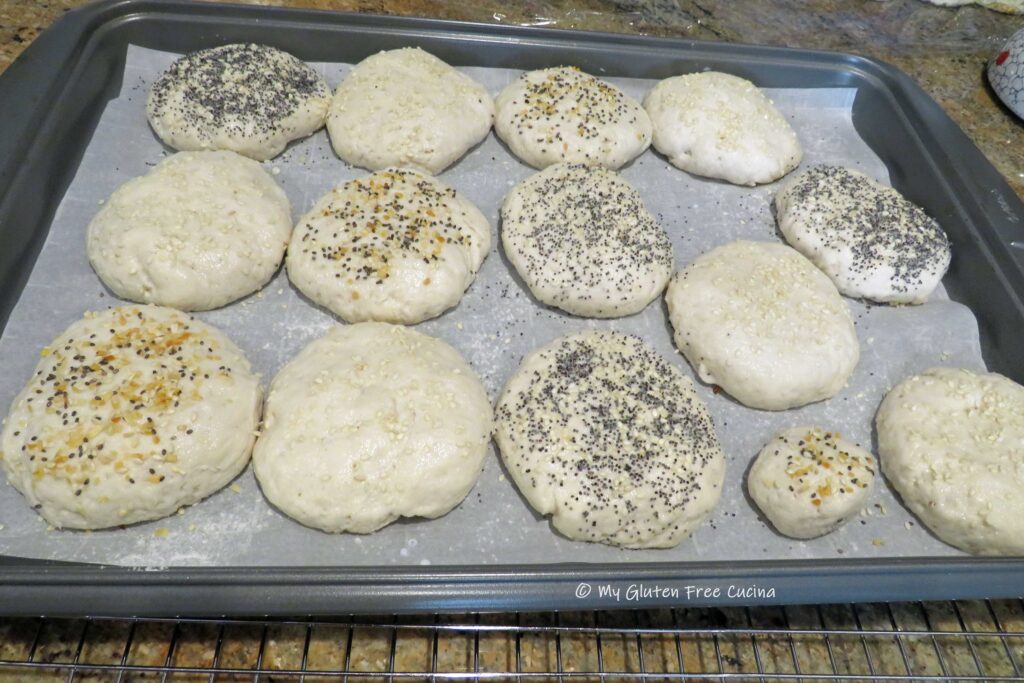
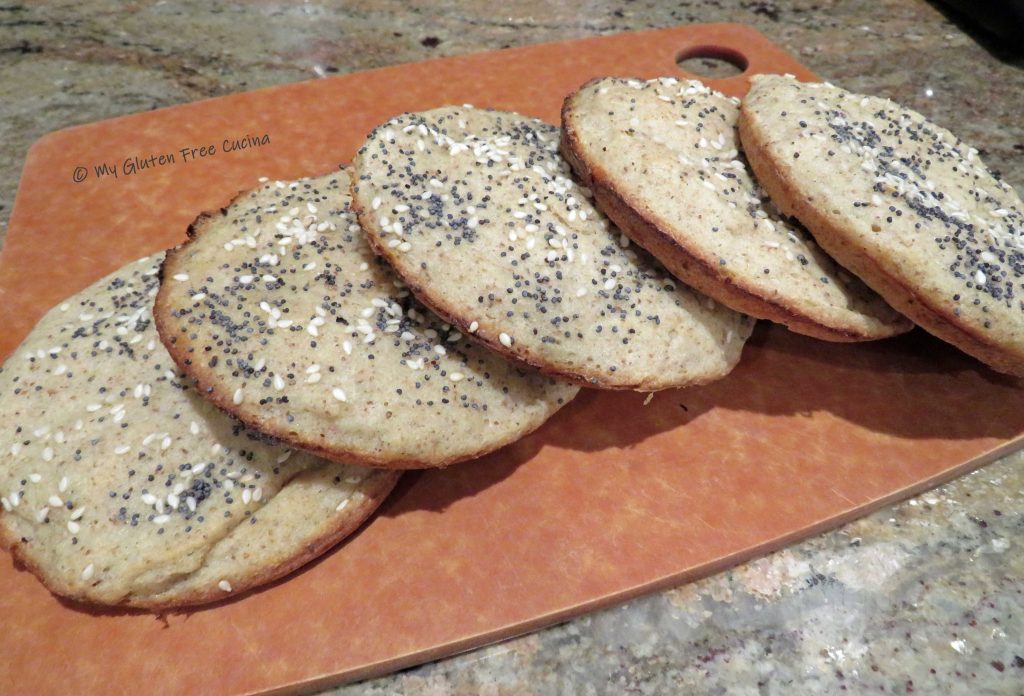
Cover with oiled plastic wrap and let rise for 30 minutes.  Preheat the oven to 400º.  After 30 minutes, brush the tops of the buns with milk and sprinkle with sesame and poppy seeds.

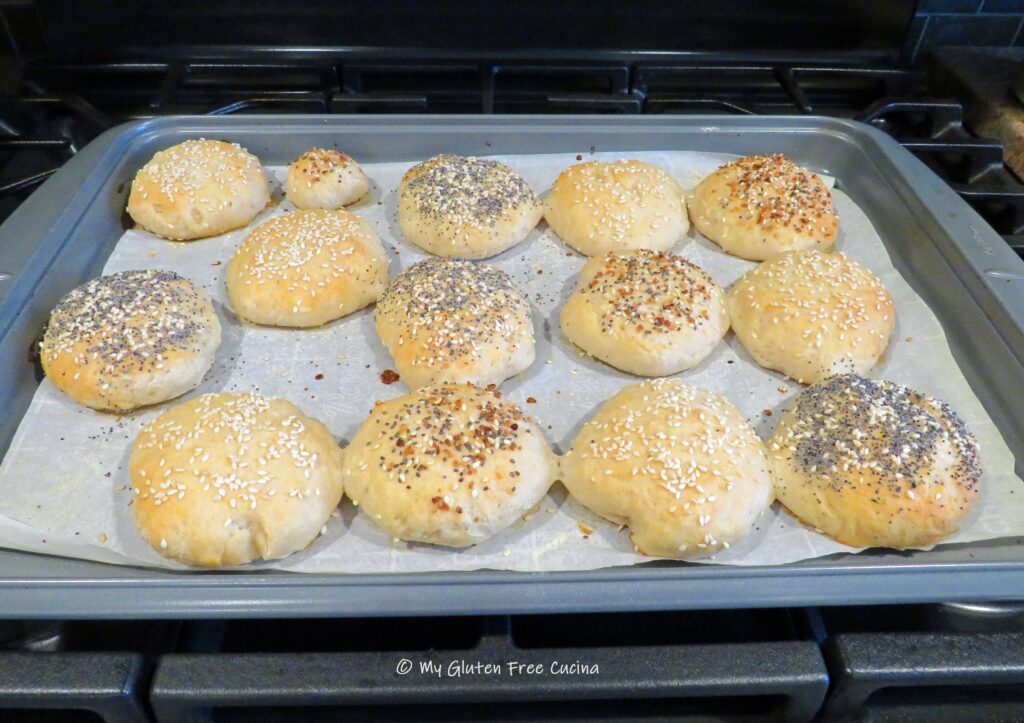
Bake for 15 minutes, or until the buns reach an internal temperature of 205º.
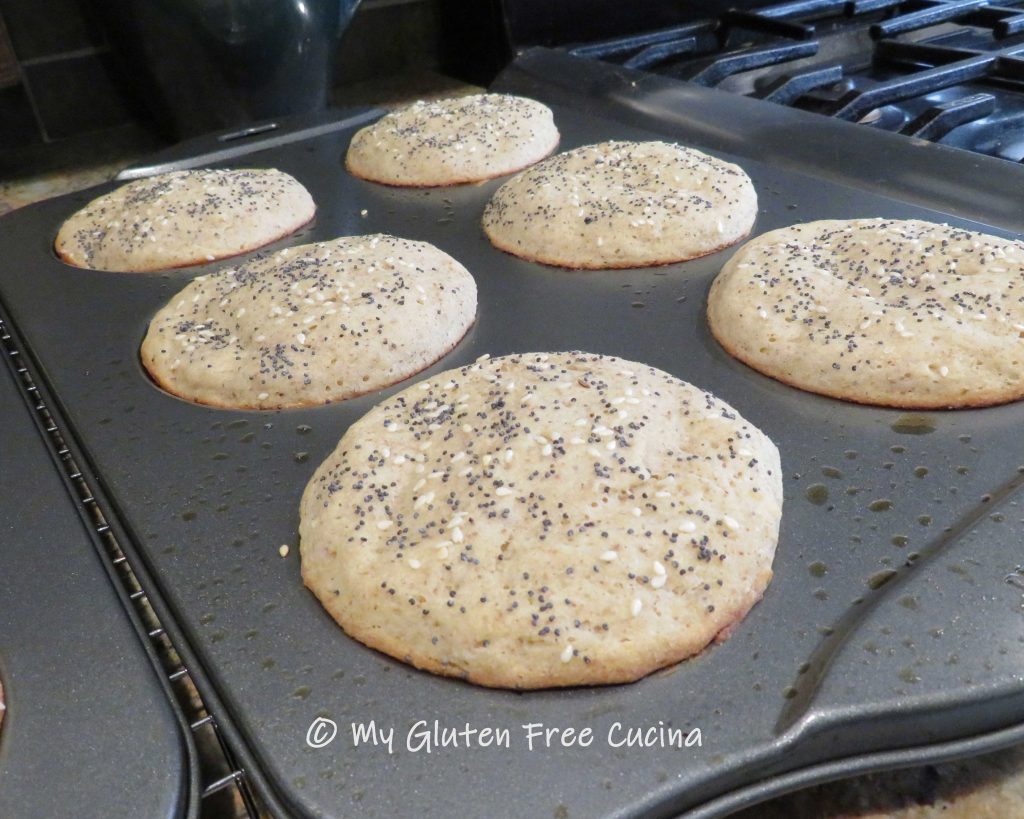
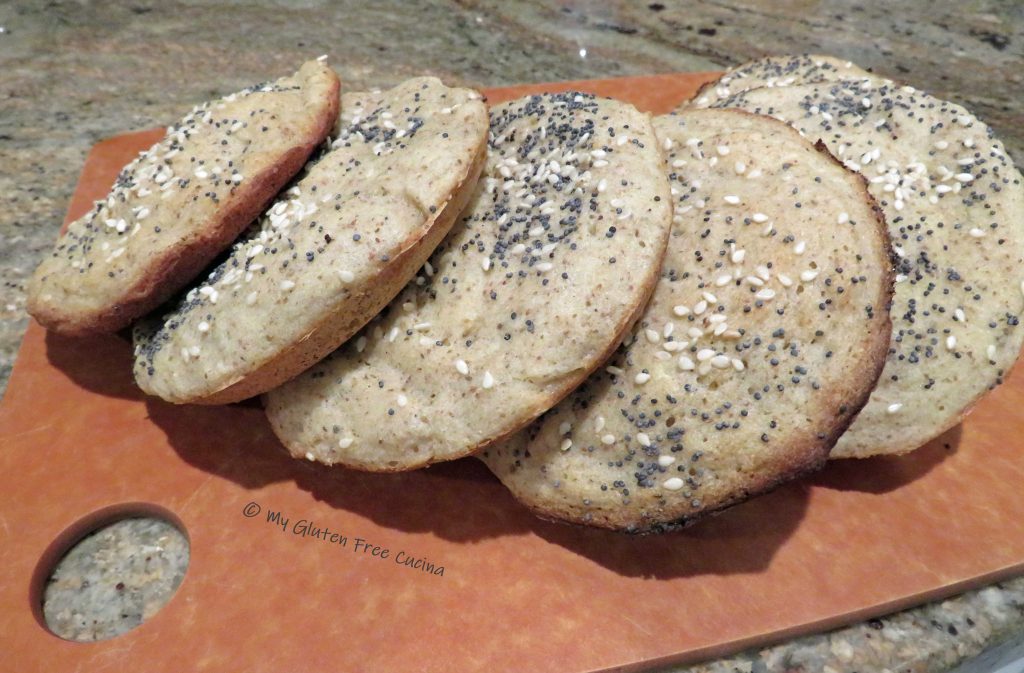
Remember, gluten free bread takes longer to cook than regular, and if not cooked through the center will be wet and tacky.  Check the internal temperature with a thermometer!

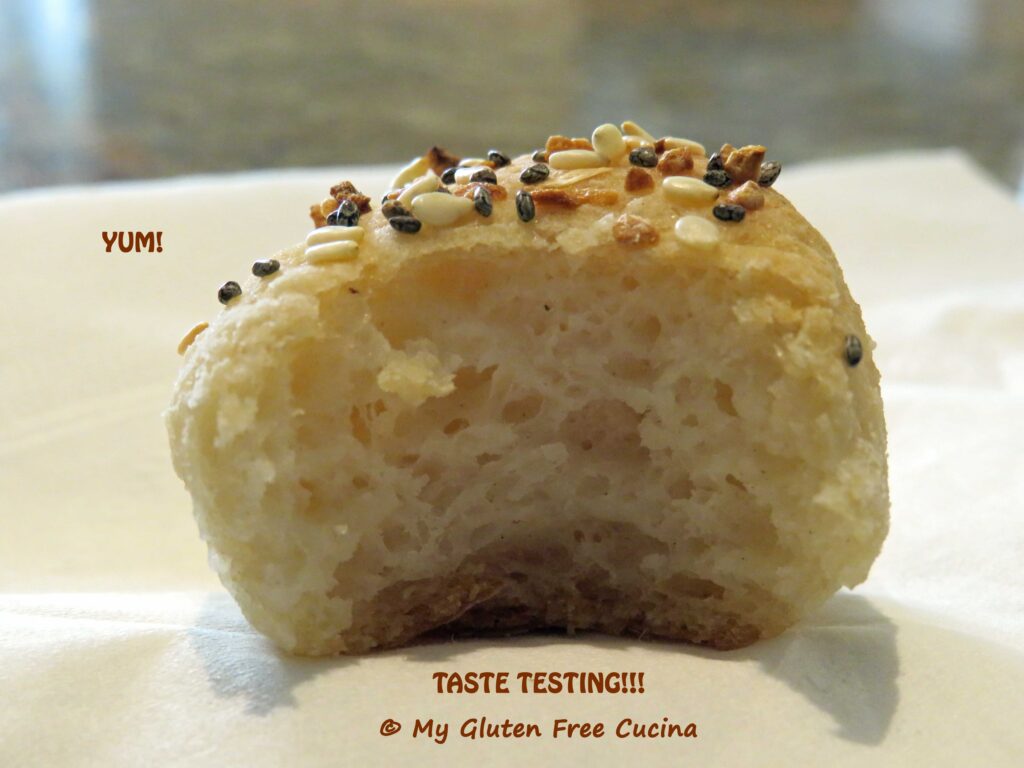
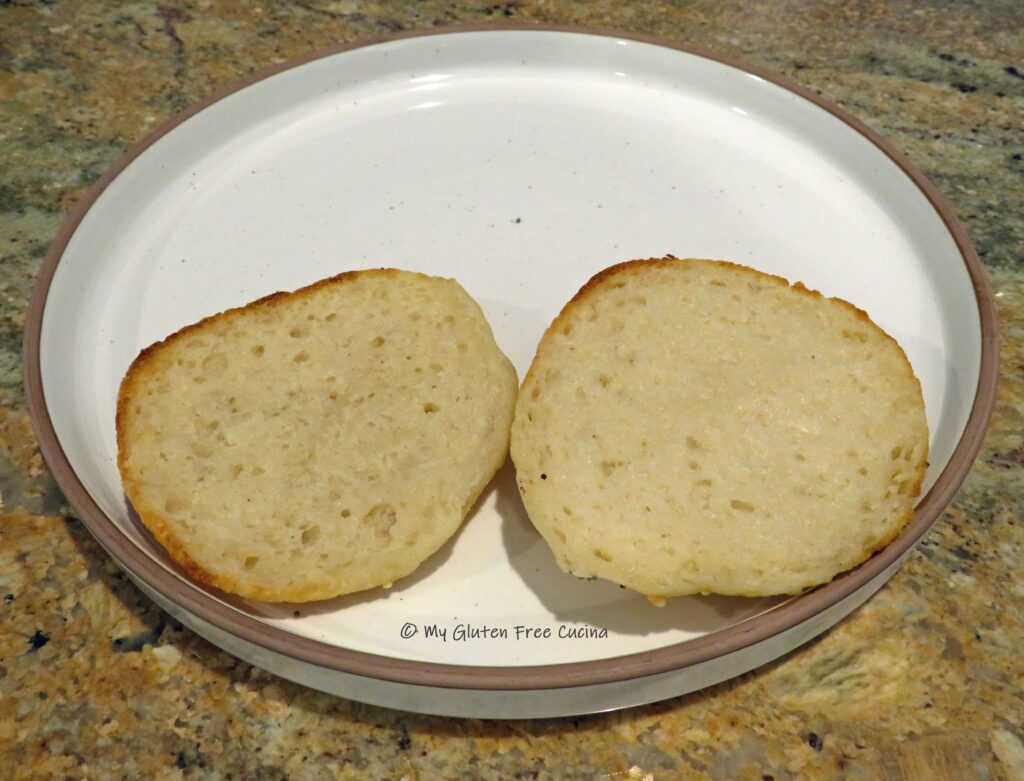
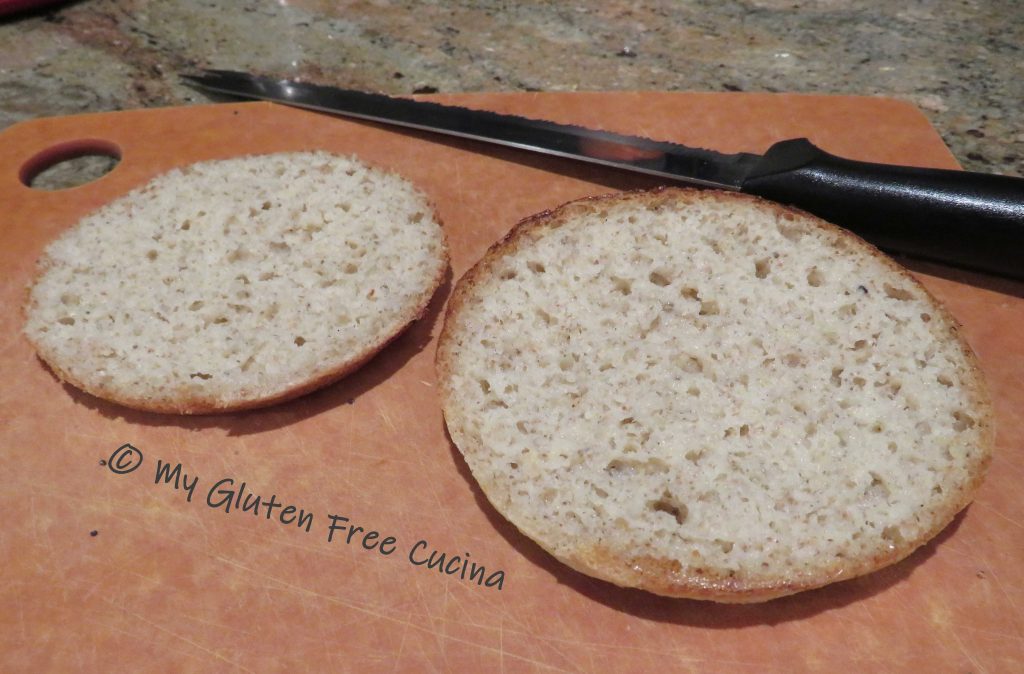
Cool completely on a rack.  Buns are best the day they are baked, and leftovers should be frozen as soon as they reach room temperature.  I like to slice mine and wrap them individually in plastic wrap to store in freezer safe bags.  So easy to grab a roll for my lunch!  Here’s the crumb shot.

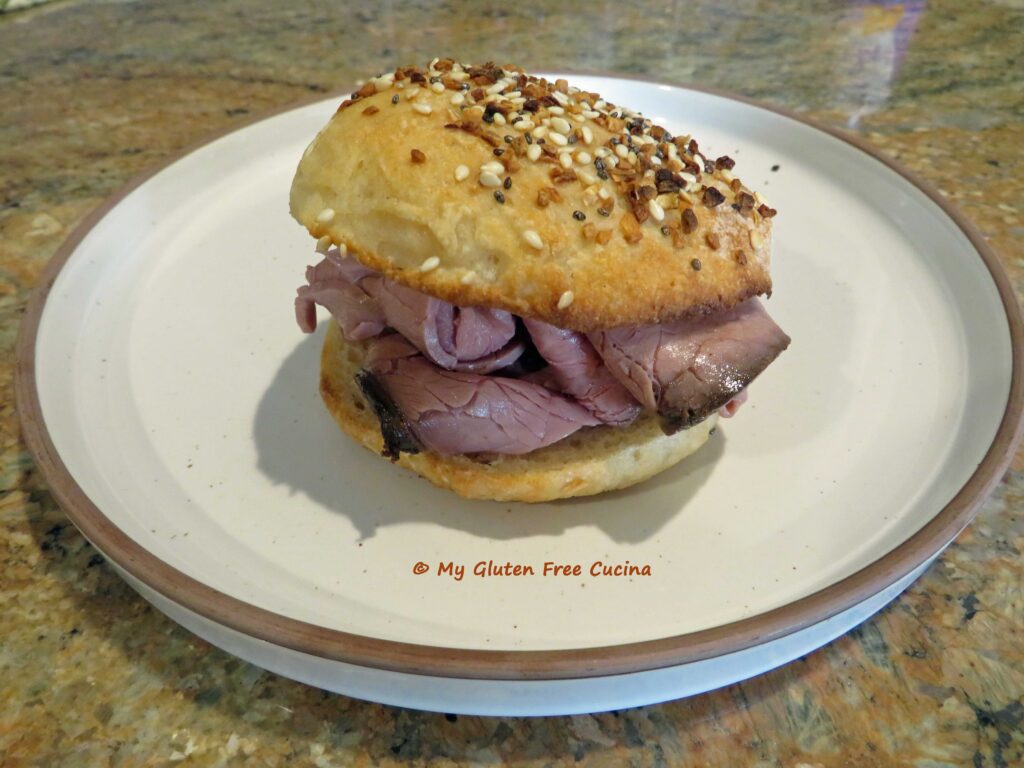
Just the right size for a light sandwich.  As I was baking, the kitchen really smelled like bread.  If you are gluten free you know what a big deal this is.  And the taste did not disappoint!  I have been enjoying my sandwiches knowing that I’m not overdoing it on carbs.  This recipe is a must try!  Please pin, like and share the recipe and let me know what you think!

Notes ♪♫ I placed my muffin top pans on top of another baking sheet for insulation.  This prevented the bottoms of the buns from burning before the centers were cooked through.  It worked perfectly!

Originally published 03/23/2019                   Updated 01/21/2024

Print This Post Print This Post

Gluten Free Multigrain Sandwich Loaf

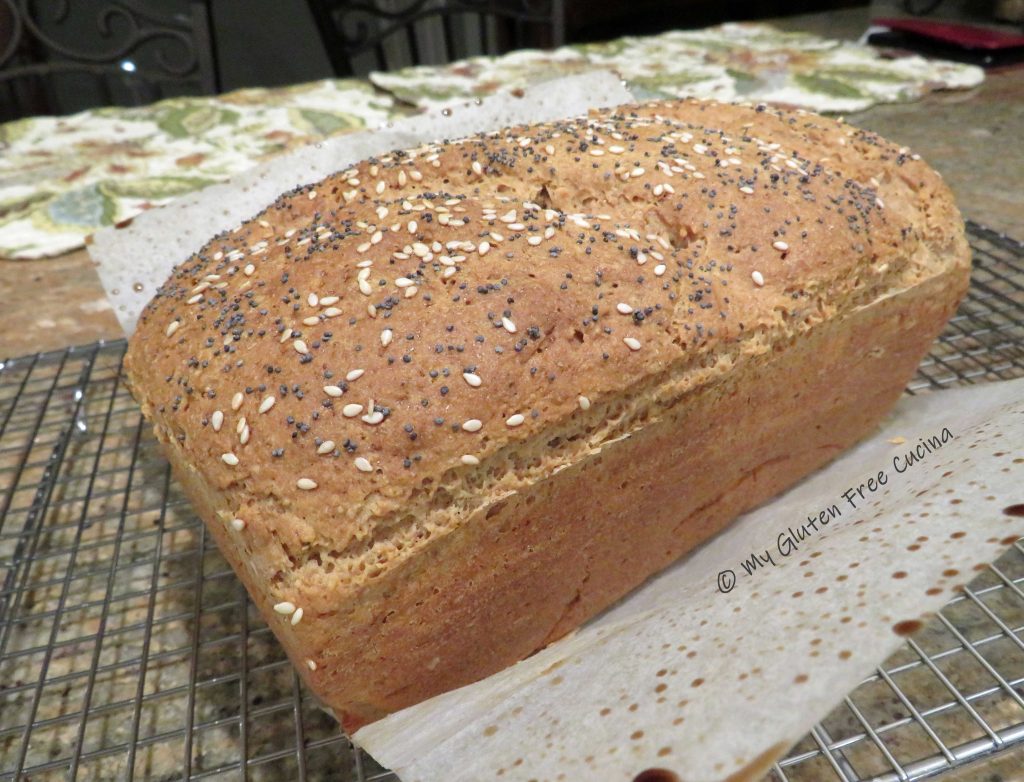
Just look at that beautiful loaf of bread!  In the gluten free universe, this is what dreams are made of!  Not only does it taste great, but it is also nutritious and wholesome, made with a combination of grains that delivers real bread flavor without the gluten.

If you like to mix up your own flour blends, then this recipe is for you!

I adapted this recipe from one of my own, Gluten Free Sandwich Thins.  I always made them for lunch when I worked in an office, but now that I’m home most of the time I find that I like to have sliced bread in the house.  When you make a loaf, you can slice it as thin or as thick as you want for sandwiches, toast or just to go with dinner.

This bread is wonderful for sandwiches.  It doesn’t need toasting, doesn’t fall apart in your hands and the middle is not wet or tacky at all.  It’s a gluten free dream come true!

This post contains affiliate links.

Ingredients:

  • 1 tbsp. yeast
  • 1 tbsp. ground chia seeds
  • 1 tbsp. sugar
  • 1/2 cup warm water
  • 127 g. whole grain sorghum flour
  • 183 g. brown rice flour
  • 56 g. tapioca starch
  • 56 g. arrowroot starch
  • 56 g. potato starch
  • 21 g. teff grain, ground
  • 1 tsp. gelatin
  • 1.5 tsp. xanthan gum
  • 1 tsp. salt
  • 1 large egg
  • 3 tbsp. olive oil
  • 3/4 cup warm milk (I used 2%)
  • 1/2 cup warm water
  • 2 tbsp. milk, for brushing
  • sesame seeds
  • poppy seeds

Preparation:

Line a 1 lb. loaf pan with parchment paper and mist with cooking spray.

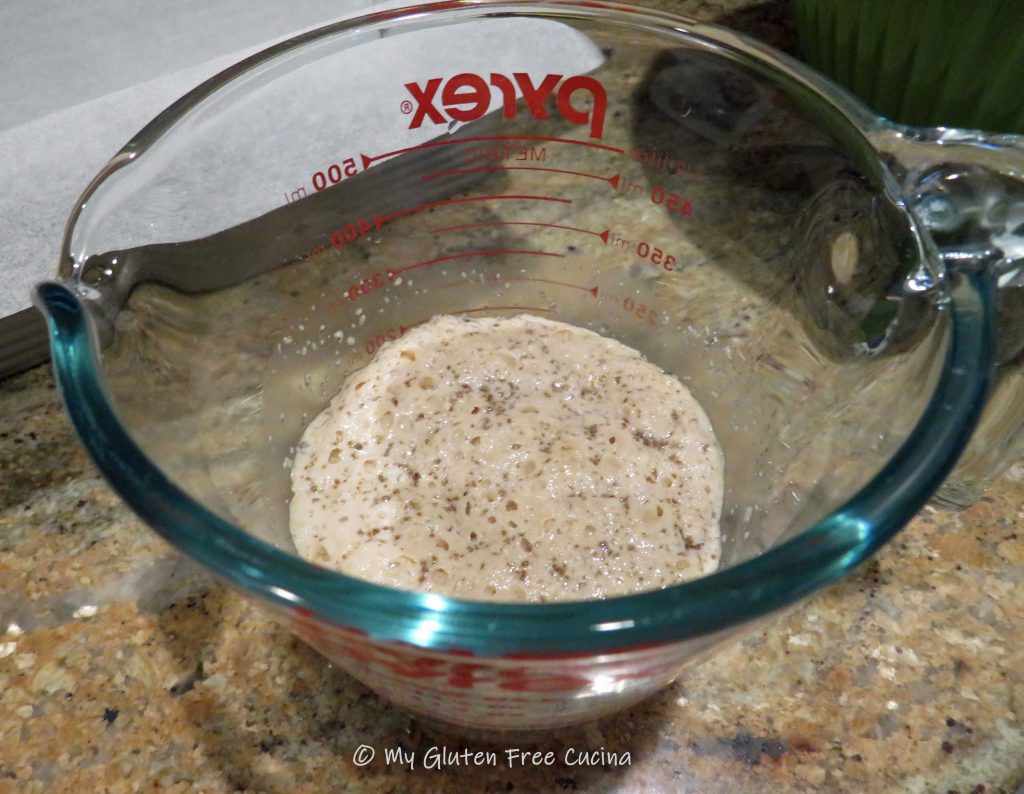
Combine the yeast, ground chia seeds, sugar and 1/2 cup water in a small bowl or measuring cup.  Let the mixture rest for 10 minutes.
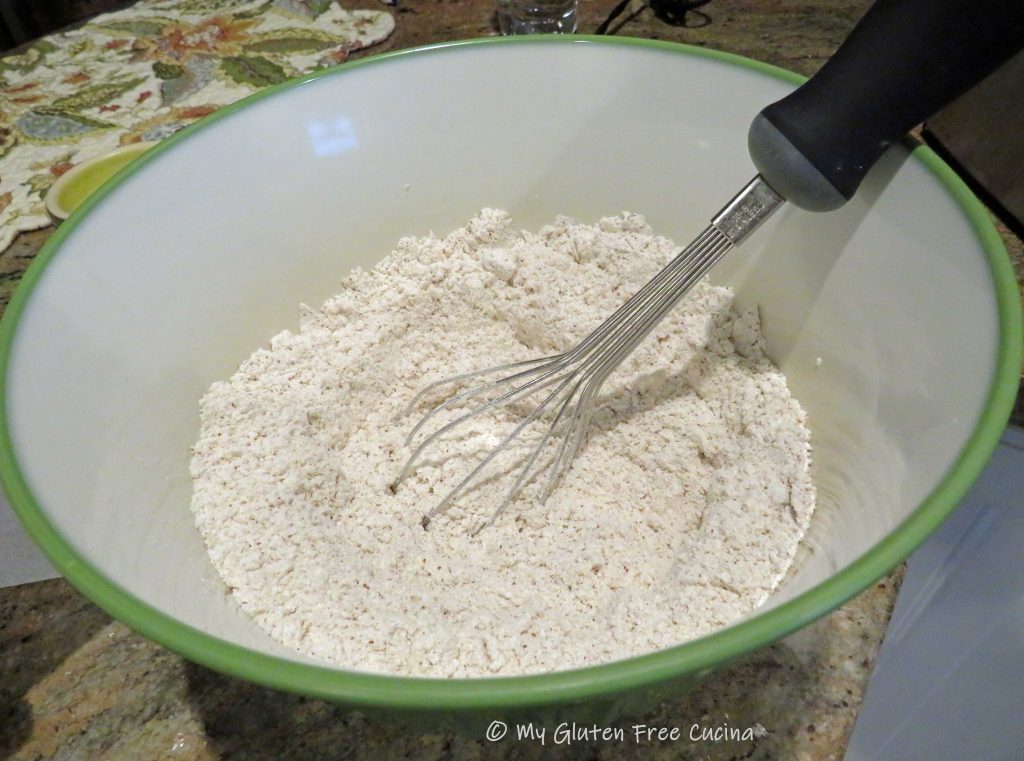
In a separate bowl, whisk together all of the dry ingredients, sorghum flour through salt.

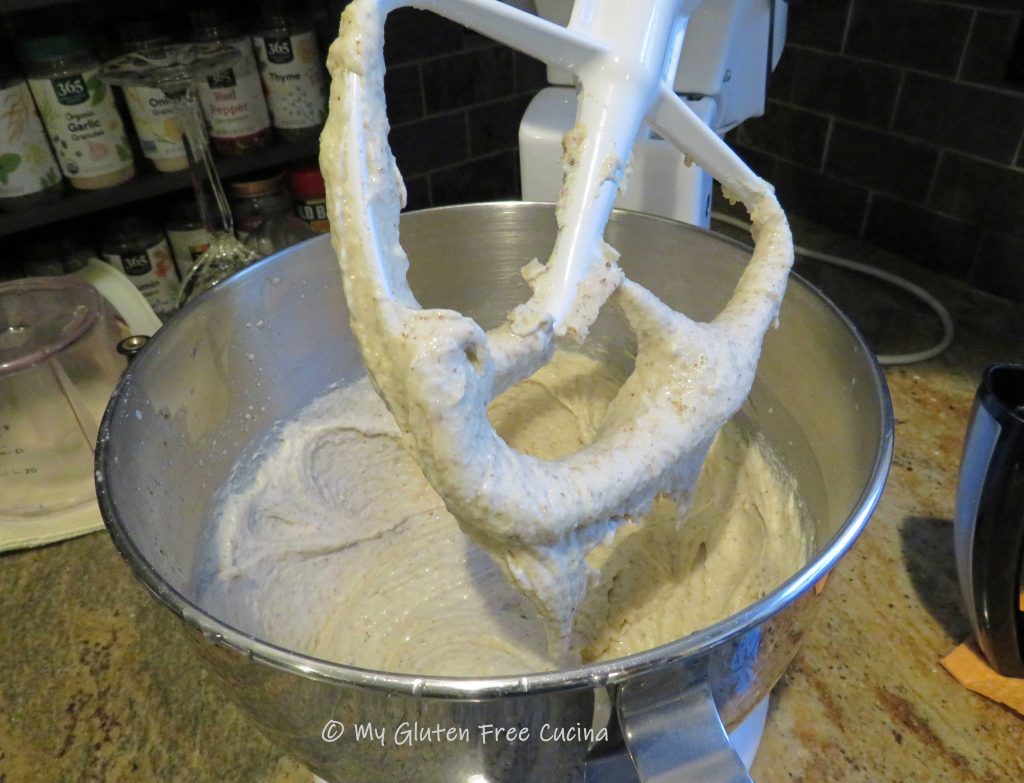
When the yeast has bloomed, add the mixture to the bowl of a stand mixer along with the egg, olive oil, milk and water.

Whisk it all together, and then add the dry ingredients into the wet.  Mix for 5 minutes with the paddle attachment.  The dough will be heavy and wet.
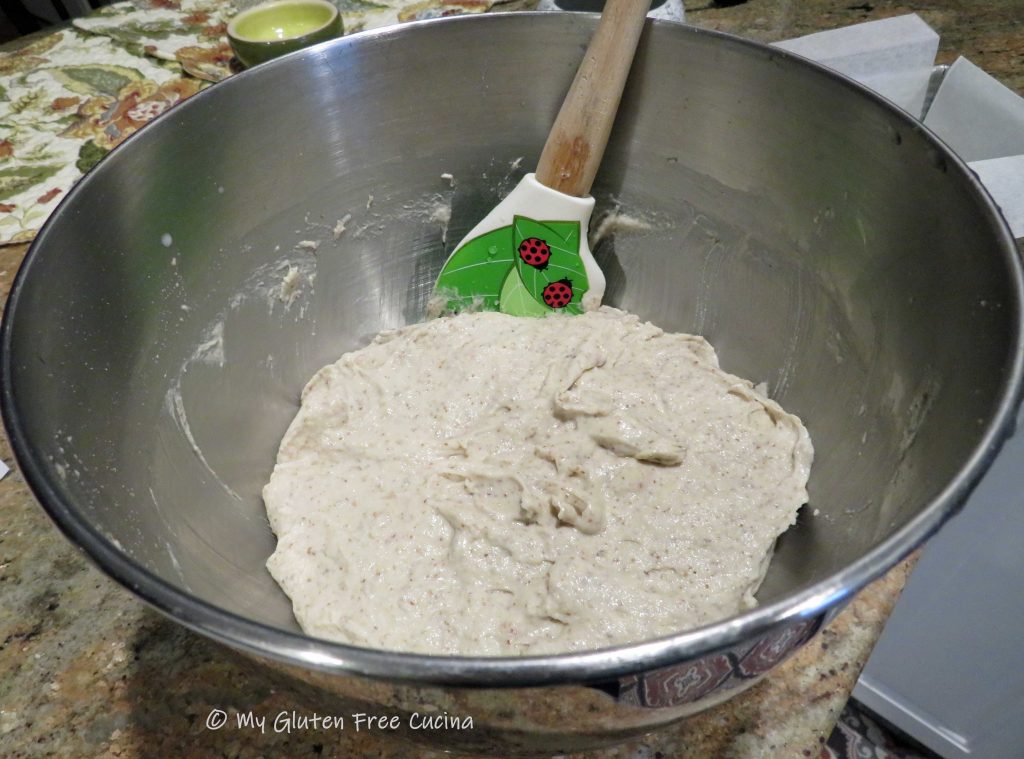
Scrape the dough into the prepared pan, smoothing out the top with a spatula dipped in water.
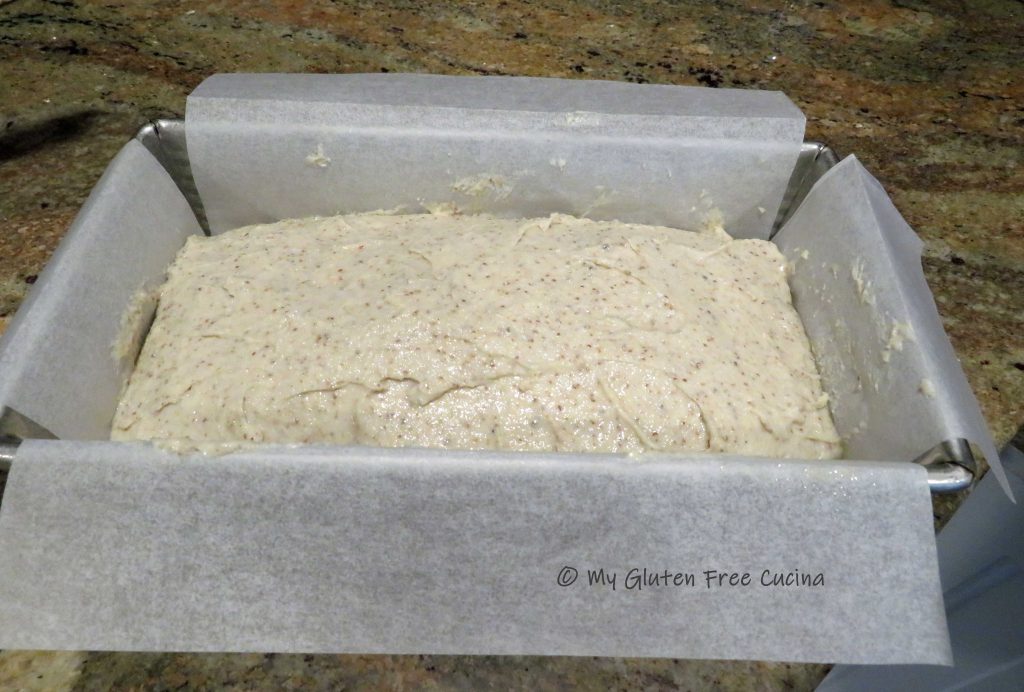
Covered with oiled plastic wrap and let it rise for 30 minutes while you preheat the oven to 400 degrees.

Brush the top of the loaf with milk, and sprinkle with sesame and poppy seeds.

Quickly make 2 diagonal slashes across the top of the loaf with a sharp knife.

Place the loaf on the middle rack of the oven, close the door and drop the temperature to 375º.  Bake 50-55 minutes, or until the internal temperature reaches 205º (use a thermometer).

Cool in the pan 15 minutes, then transfer to a rack.

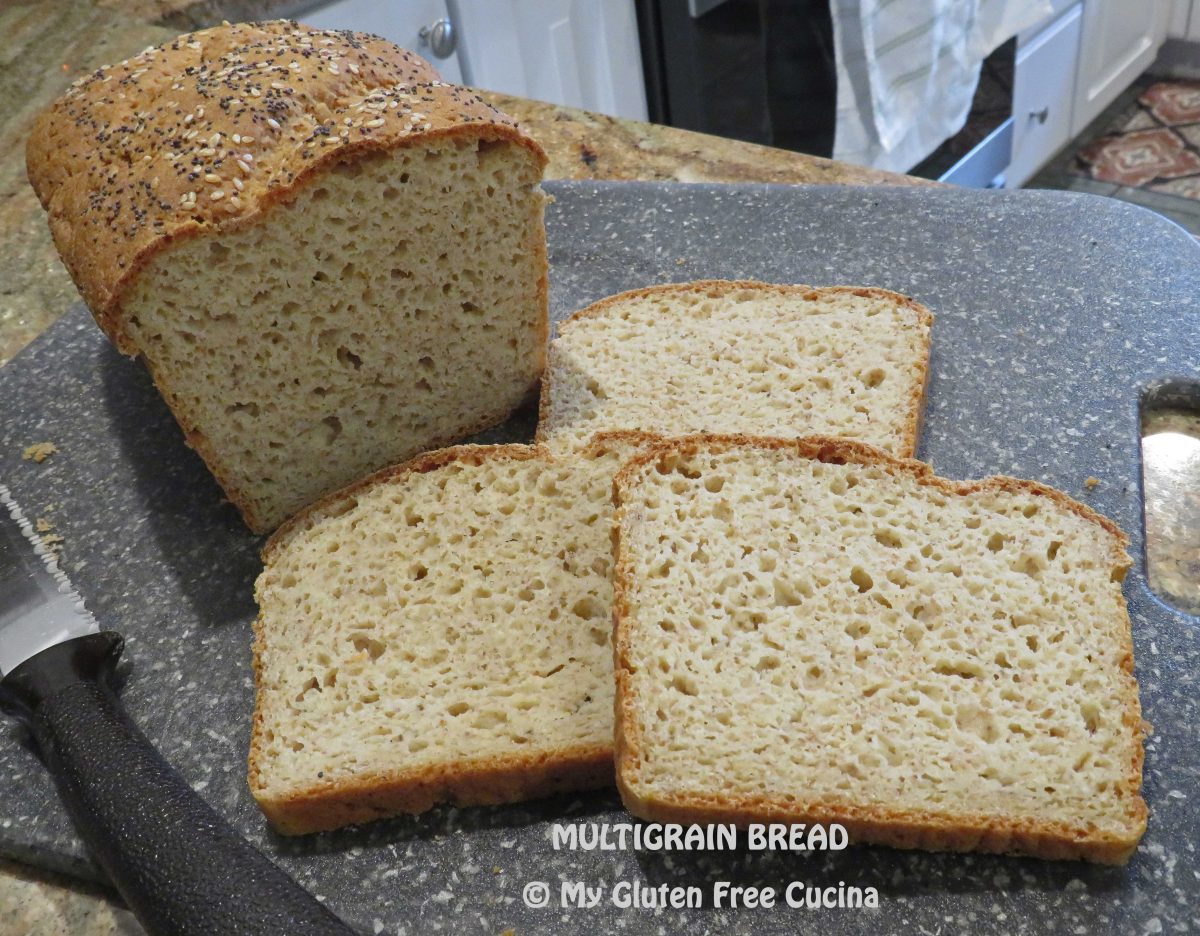
Cool to room temperature, then bag it and let the loaf stand at room temperature overnight.  Resist the urge to cut into that loaf right away, and your patience will be rewarded with this amazing crumb!  It is truly worth the wait!

Notes ♪♫ You might be interested to know that I mill some of my flour from the whole grain.  In this recipe, I used my KitchenAid grain mill attachment to mill whole sorghum berries into flour.  For the teff flour, I ground whole teff grain in a coffee grinder.  Storing grain in its whole form will keep it fresh longer, great for those infrequently used ingredients.  If you would like to learn more about using a grain mill, check out this post.

Print This Post Print This Post

Cassava English Muffins

Cassava is a gluten and grain free flour made from the root of the yucca plant.  A while back I made a Sweet Potato Flat Bread using cassava flour.  It was delicious, and ever since that post the thought of experimenting more with cassava has been on the back burner.

This post contains affiliate links.

So now that the holidays are behind us and I’m getting back into my normal baking routine, I want to tell you all about this new recipe.  A light, crispy English Muffin made with cassava flour and arrowroot starch.

There is so much to like about this recipe.  First, look at the ingredient list.  Unlike most of my gluten free breads, this one does not have a mile long list of ingredients!  You will also notice that I stirred everything together with a dough whisk, no mixer needed.  Last and most important, they look and taste great!

Note that you will need a set of muffin rings for this recipe.  The batter is too thin to hold its shape without them.

4 Servings

Ingredients:

Preparation:

Preheat the oven to 350º.  Line a baking sheet with parchment paper, spray the inside of 4 muffin rings with cooking spray and arrange on the baking sheet at least 1″ apart.  Sprinkle 1/4 tsp. of cornmeal into each ring.

Whisk together the dry ingredients.  In a separate bowl, whisk the eggs, milk and melted butter (be sure the butter has cooled first, you don’t want it to cook the egg).

Use a dough whisk to stir the dry ingredients into the wet.  You should have a smooth, thin batter that can be poured, like pancake batter.

Spoon the batter into the muffin rings.

Take a closer look.  The batter is thin enough to pour but not so liquid as to leak through the bottom of the muffin rings.  Sprinkle the remaining corn meal over the top of each muffin and bake for 8 minutes.

The muffins will be set, but not fully cooked.

Use tongs to carefully remove the muffin rings.

Use tongs or a spatula to gently turn the muffins over and bake for another 6 minutes.

Remove from the oven and turn them right side up.  Cool in the pan for five minutes.

Like all gluten free bread, it needs to set completely before slicing.  Cool on a rack for at least an hour.

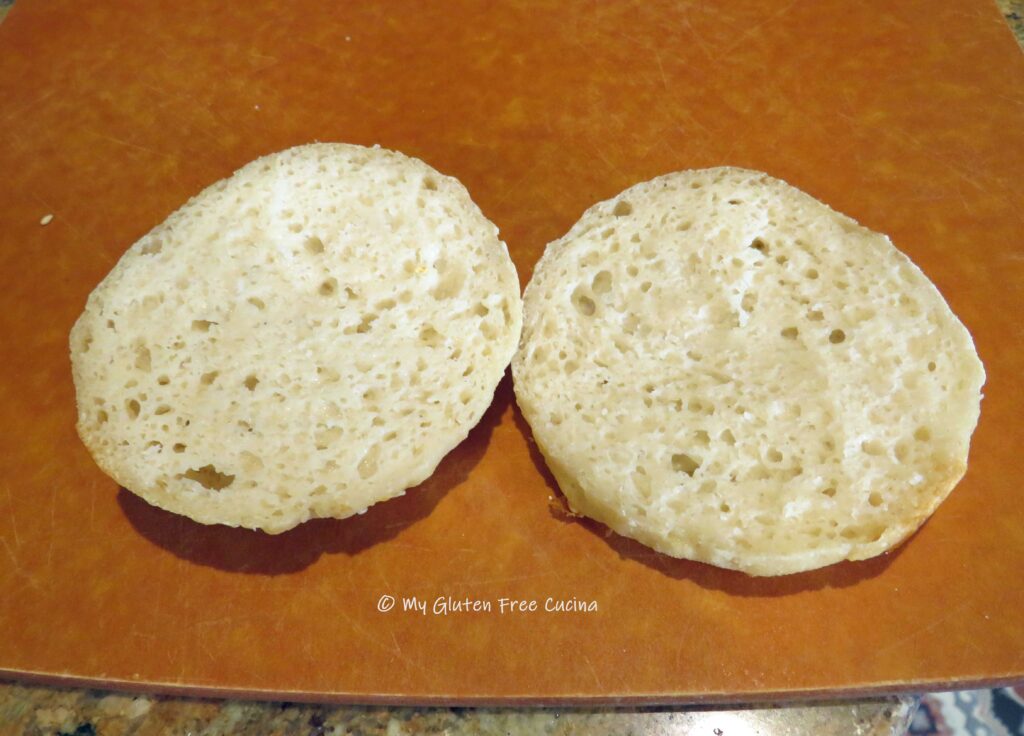
I was very happy with the appearance of the English Muffins right out of the oven.  Of course, it’s not a success until you slice it open and taste it.  Here’s how they looked before toasting, light with a nice open crumb.

Now for the taste test, I toasted for 5 minutes and served with a simple pat of butter.

The verdict, I’m quite pleased with how this recipe turned out!  The English muffins were mild tasting and light.  As you can see they toasted up beautifully with edges nicely browned.  I also got a thumbs up from my husband, who does not have to be gluten free.

I recommend that the English Muffins be frozen if you are not going to eat them within a day.  Just wrap them individually in plastic wrap and place in a freezer safe bag.

Notes ♪♫ Cassava flour has been touted to behave like wheat flour in gluten free baking, a one for one substitution.  In my experience thus far, it can definitely cut down on the ingredient list, but still performs best when blended with another starch.

Print This Post Print This Post 

Gluten Free Millet Bread

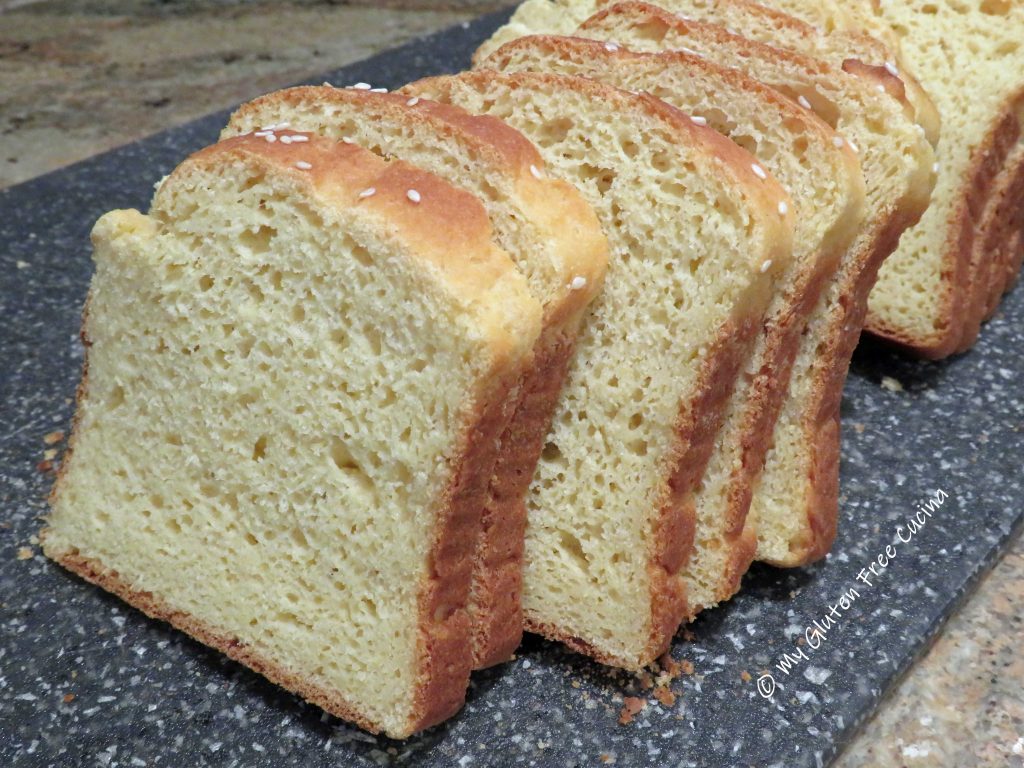
I have my favorite toasting breads for breakfast.  They are dense, hearty seeded loaves that hold up well in the toaster like Mighty Tasty Toasting Bread and Millet and Buckwheat Toasting Bread.  But as much as I love their texture, sometimes I’m craving a soft, enriched bread to make sandwiches, or maybe French Toast?  This Gluten Free Millet Bread fits the bill.  It has a soft, cake-like crumb with just a hint of sweetness.

I used Bobs Red Mill whole grain millet in this recipe.  The loaf pan is from USA Pan, made in the USA!

This post contains affiliate links.

I used freshly ground millet in this recipe.  Milling your own flour is a great way to add fresh, nutritious whole grains to your baking.  Learn more about using a grain mill here.  Feel free to use purchased millet flour, if you can’t find it in stores it is widely available online.

Ingredients:

Preparation:

Whisk together the dry ingredients, millet flour through salt and add them to the bowl of your stand mixer.  In a separate bowl, microwave 1 cup of milk for 30 seconds.  Whisk in the yeast and honey and let it stand for 10 minutes until bubbly.

Whisk the eggs, canola oil and cider vinegar into the yeast mixture.

With the mixer on low speed, gradually pour in the wet ingredients.  Once incorporated, increase speed and beat 3 minutes with the paddle attachment.  The dough will be heavy and clinging to the paddle.

I baked this loaf in a 9″ x 4″ x 4″ pullman pan, the higher sides support the loaf as it rises.  I always line my loaf pans with parchment paper, to easily remove the finished loaf.

Scrape the dough into the pan and use a wet spatula to smooth it out evenly.  Sprinkle with sesame seeds and cover loosely with plastic wrap.  Let it rise for 1 hour.  I set my pan on top of some padding, so that the pan wasn’t resting directly on the cold counter surface.

Preheat the oven to 350º.  Just before placing in the oven, mist the top of the loaf with water and quickly mist the sides of the oven.  Bake for 45-50 minutes.  The internal temperature should be between 195-200º.

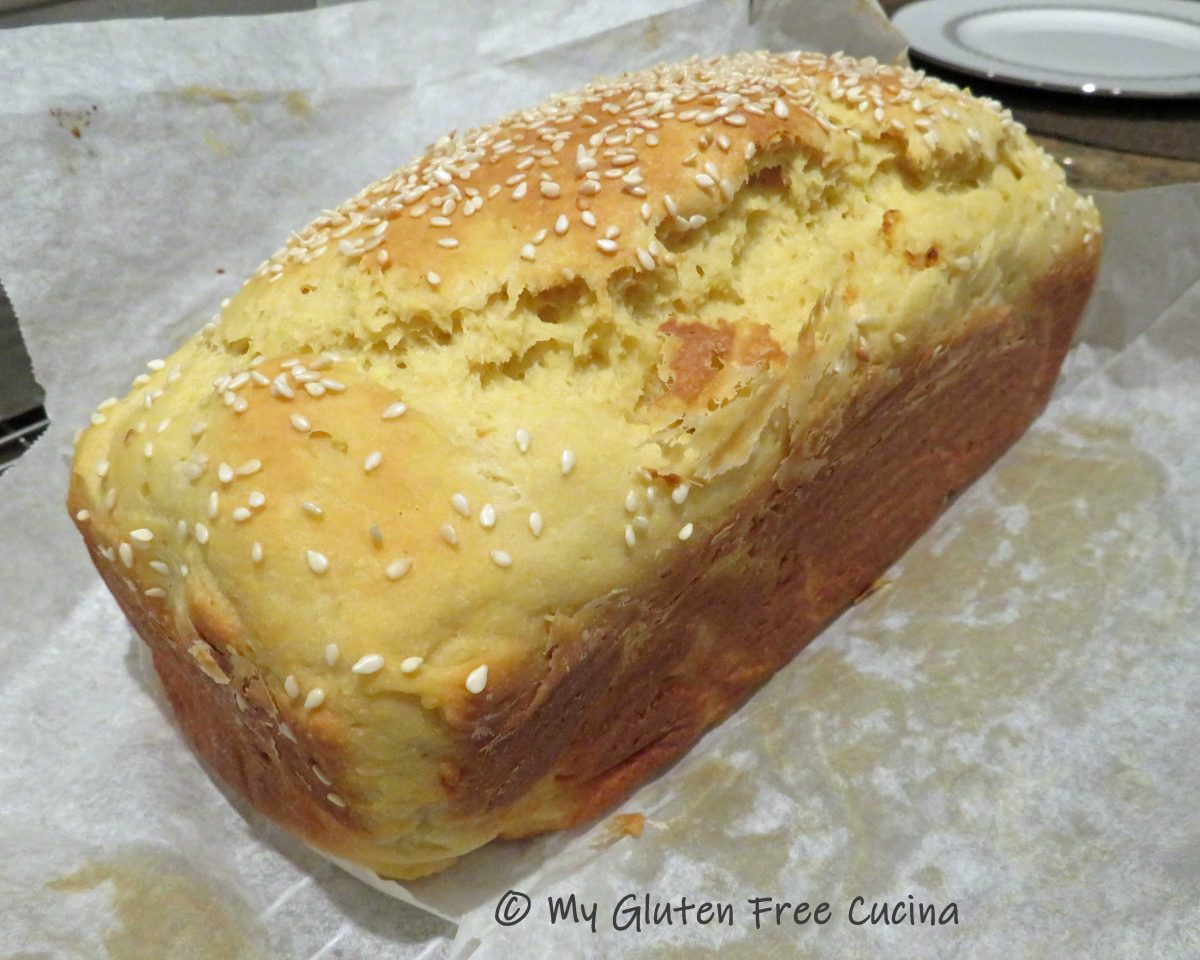
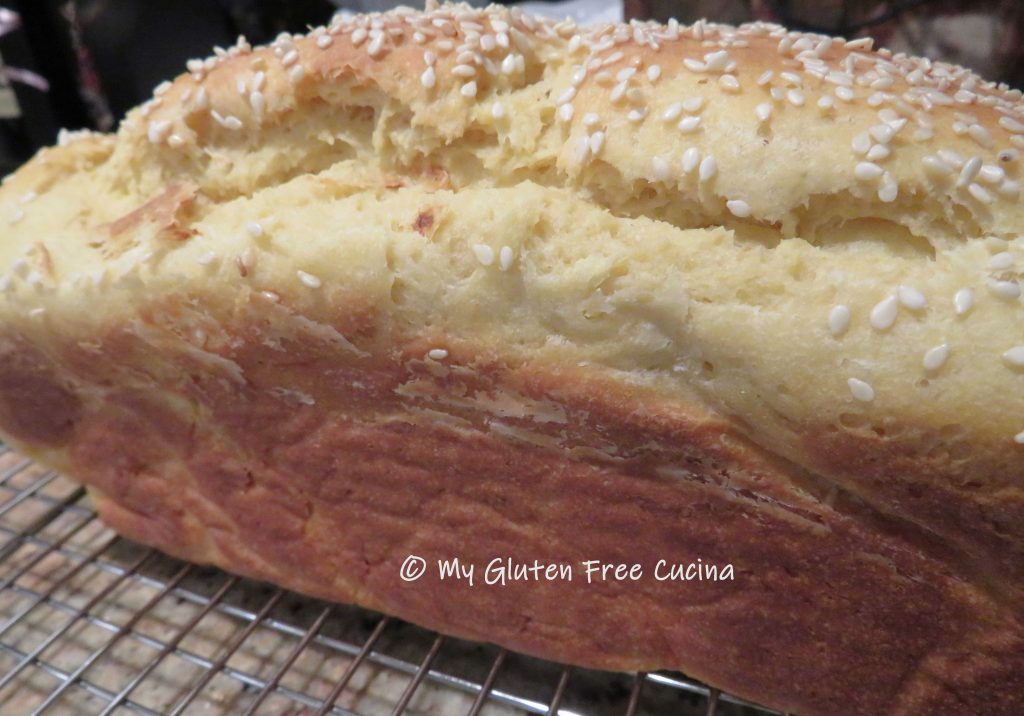
Look at that beautiful loaf!  I was worried that the dough hadn’t risen much but look at the oven spring!  The high sided loaf pan definitely helped with that!

Cool completely on a rack before slicing.

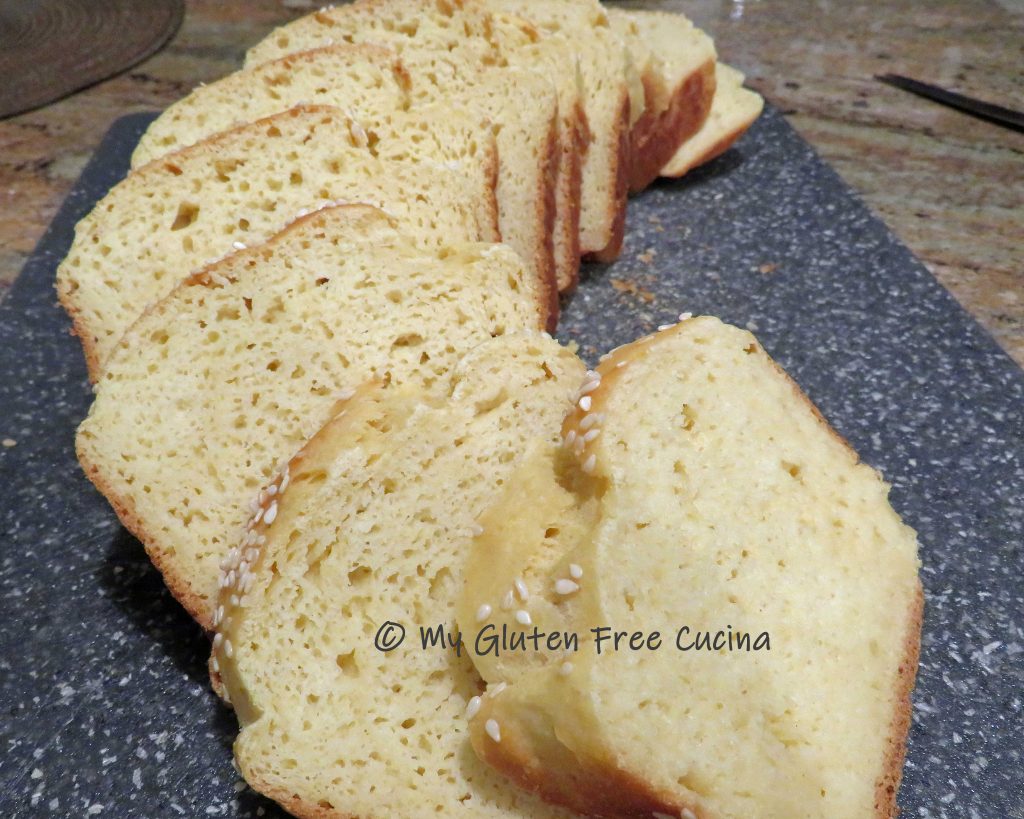
This is exactly what I was hoping for.  It looks like French Toast is back in the breakfast rotation!

Notes ♪♫ Need more inspiration?  Check out this French Toast Casserole with Blueberries and Cream Cheese, or this delectable Tiramisu French Toast!  Both were made with this Gluten Free Millet Bread!

Print This Post Print This Post

Garlic Butter

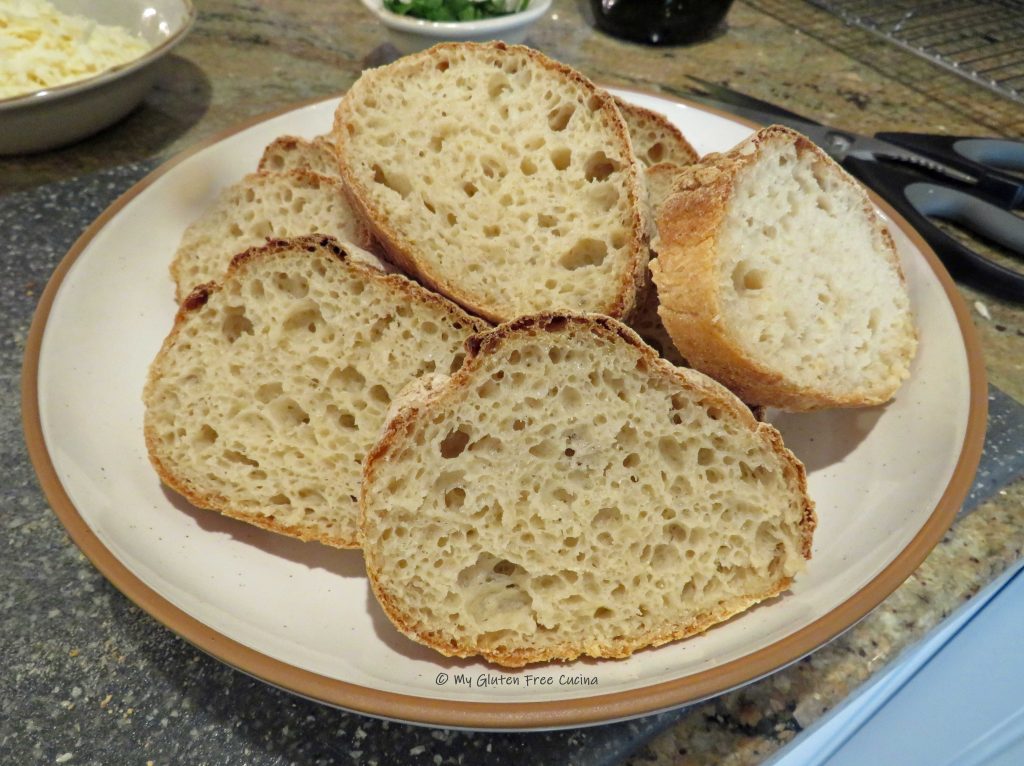
Foodie friends, with just a few simple ingredients you can make a wonderful garlicky spread that is as delicious on warm bread as it is for basting vegetables and potatoes.  It’s the perfect accompaniment for your holiday breadbasket.  Try it and see how good it is!

This post contains affiliate links.

Ingredients:

preparation:

Heat the olive oil in a small heavy skillet over lowest heat.  You want the oil to be warm, but not bubbling.  I used a simmer mat to keep the temperature under control.  Cook the garlic cloves for 1 hour uncovered, turning every 10 minutes.  The cloves will be soft and just slightly browned.

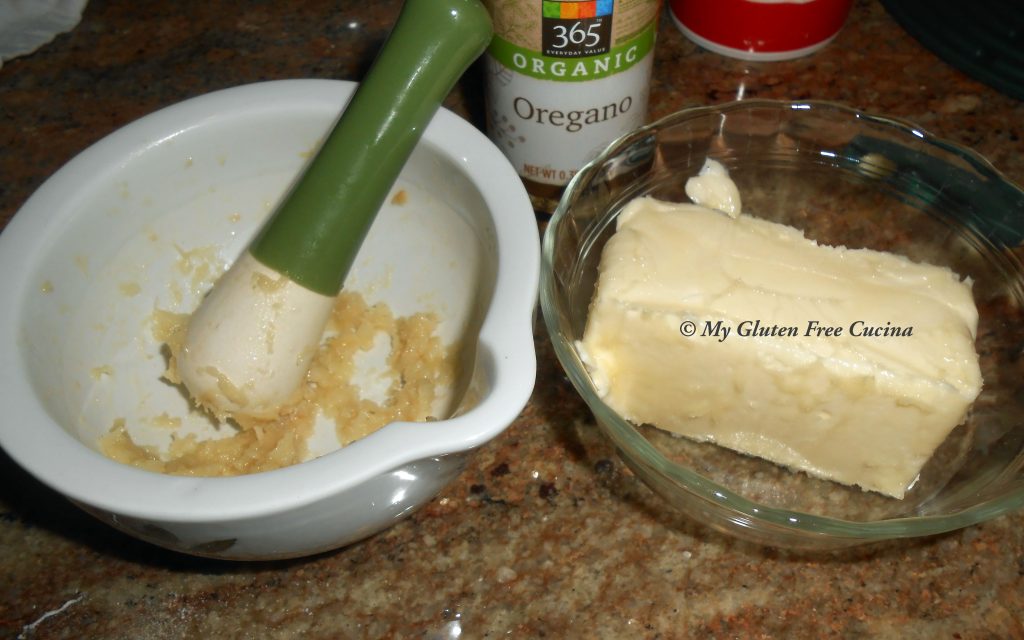
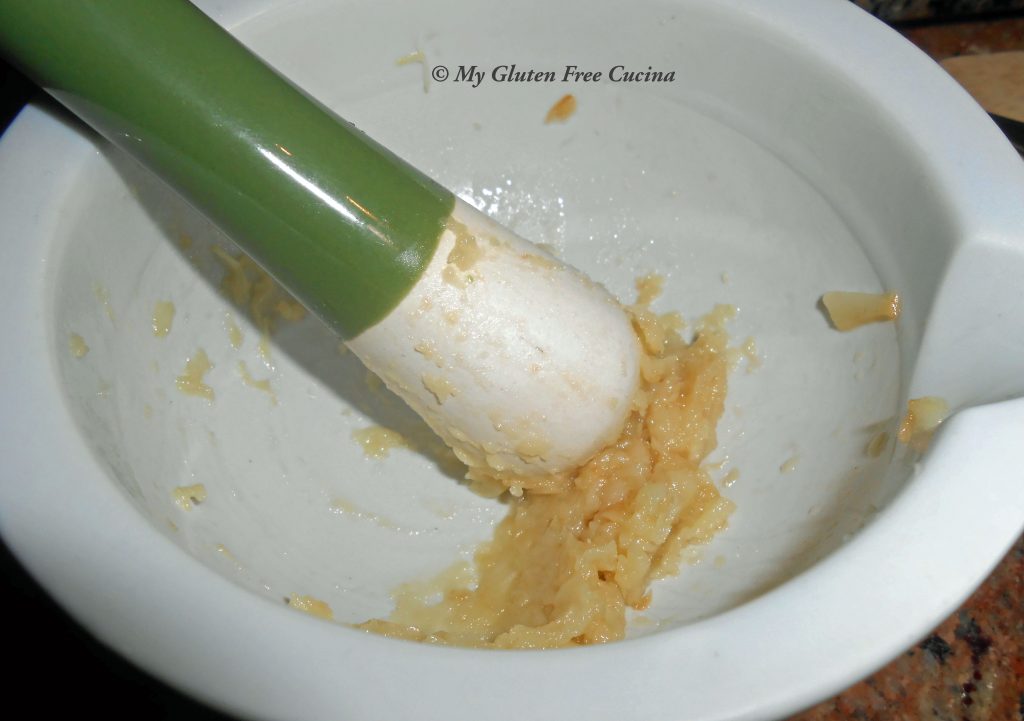
Remove the garlic, chop it then mash with a mortar and pestle.  You can also use a fork or the back of a spoon.  The oil left in the pan is delicious, be sure to reserve it for cooking!

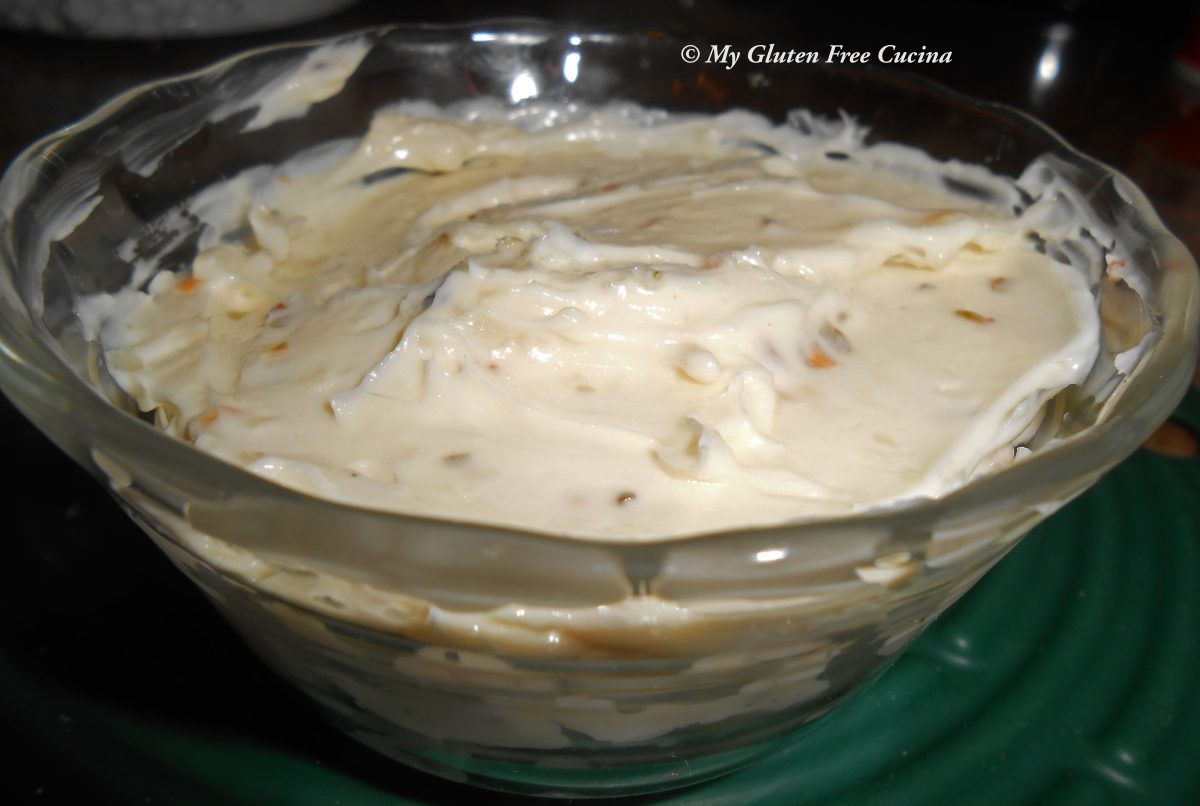
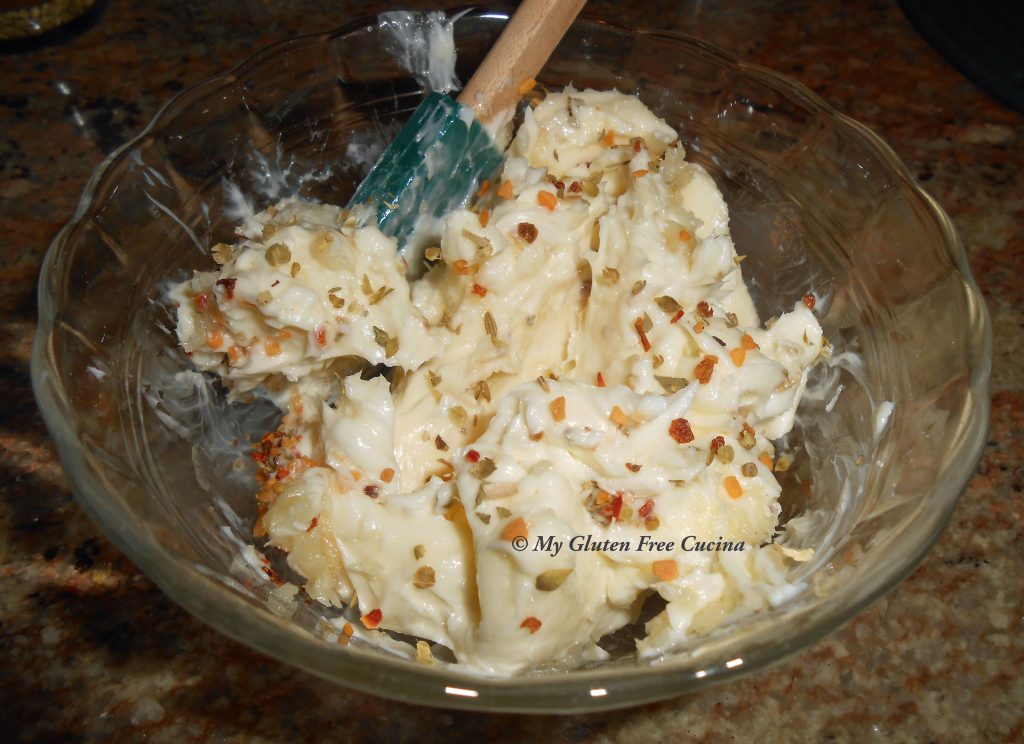
Combine the garlic mash with the softened butter and remaining ingredients.  I used McCormick’s Roasted Garlic and Bell Pepper blend.  I also add a little crushed fennel seed and oregano.  Sea salt, the last ingredient should be added to your taste, or omit for low sodium diets.

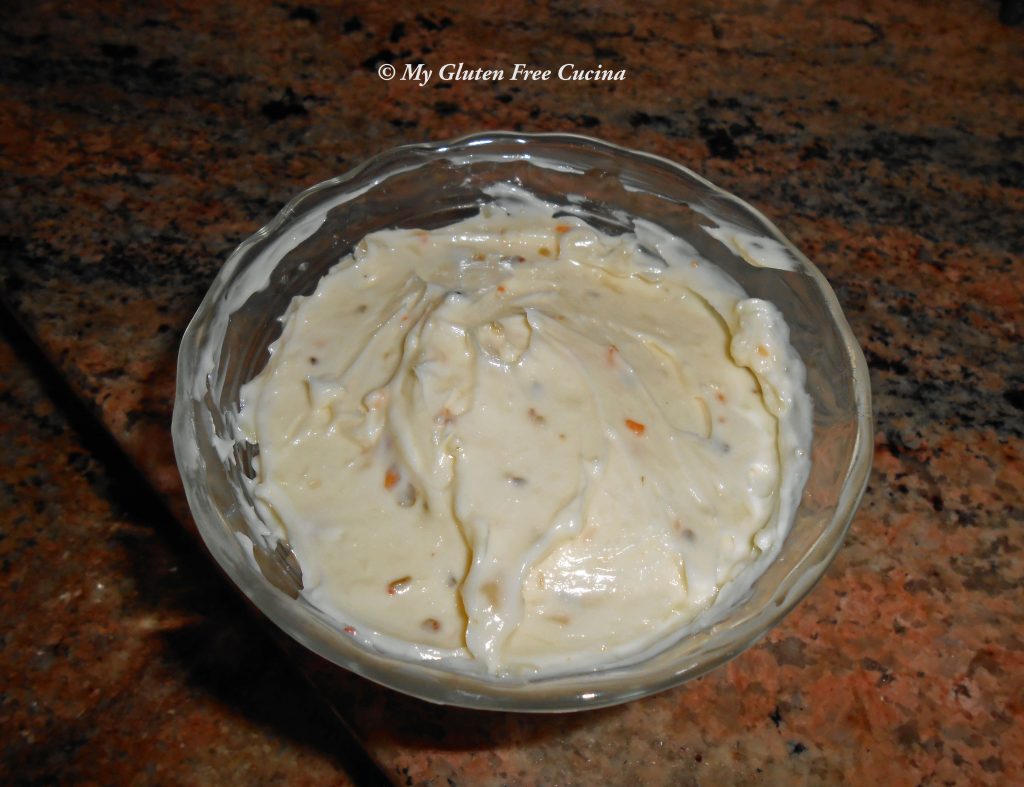
Mix well to incorporate and let stand for several hours at room temperature, then place in a bowl or jar and refrigerate (or freeze) until ready to use.  You will want it to soften up before serving, so take it out 2 hours ahead.

Everyone around our table gave the garlic butter a thumbs up.  For more gluten free bread inspiration check out some of my favorites here.

Notes ♪♫ I use salt free butter and seasoning in this recipe.  That way, I can add just enough sea salt to taste without going overboard on the sodium.

Print This Post Print This Post