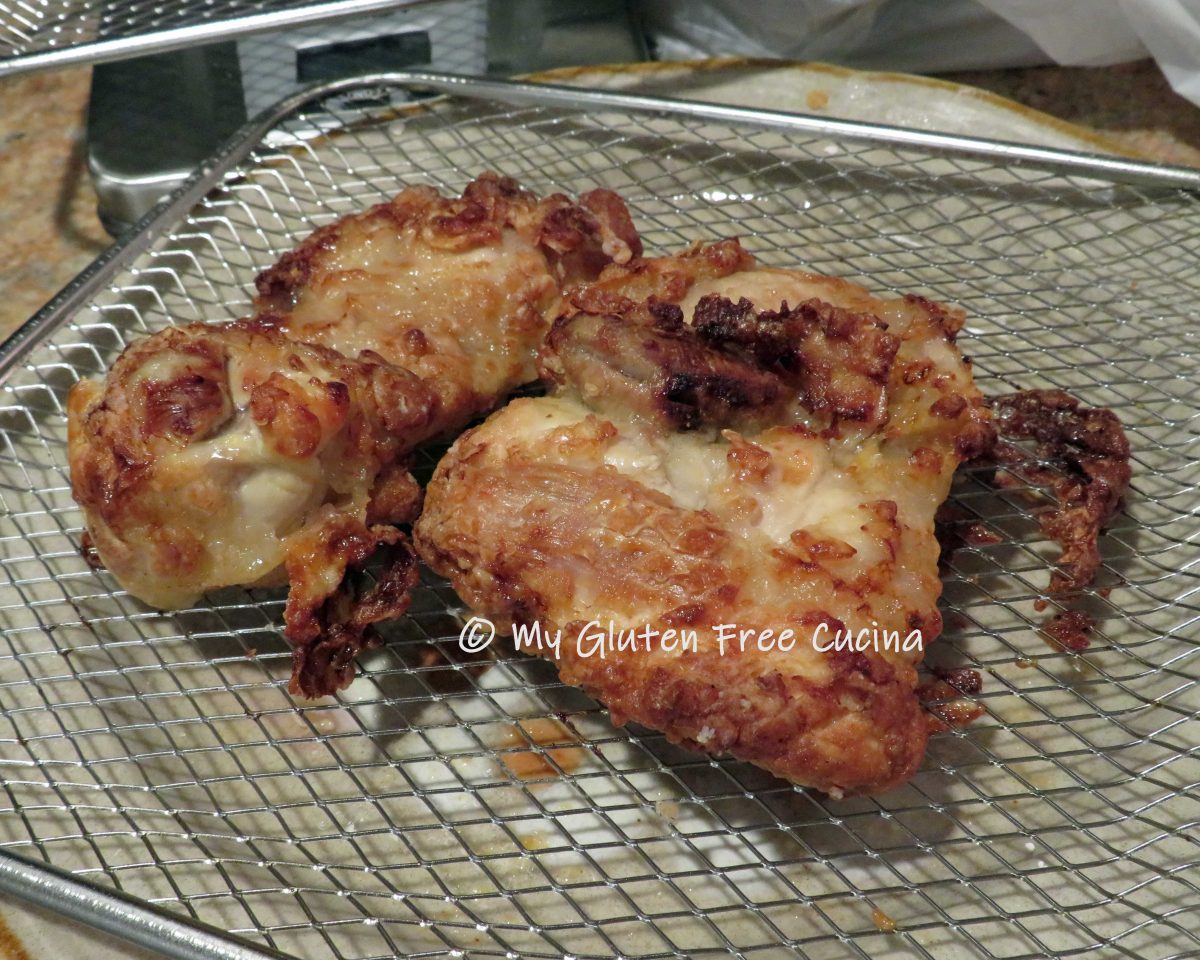
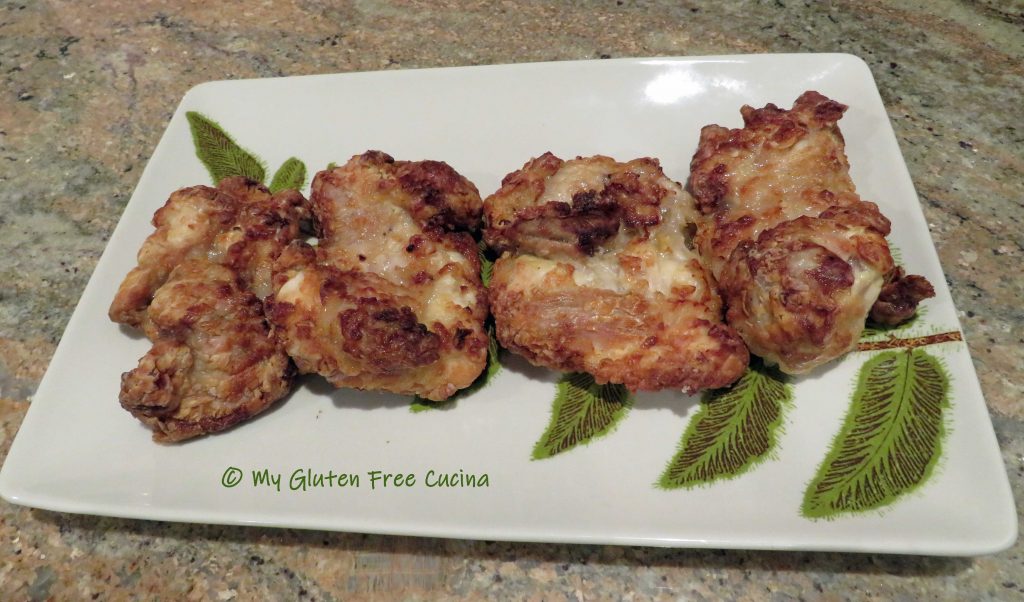
Look at those crispy chicken thighs! Would you believe they were not deep fried? Of course the title gives it away, this chicken was cooked in an air fryer. Crispy on the outside, moist and juicy on the inside. It reminds me of the “bucket of chicken” I loved as a child! It’s hard to believe this chicken is gluten free!
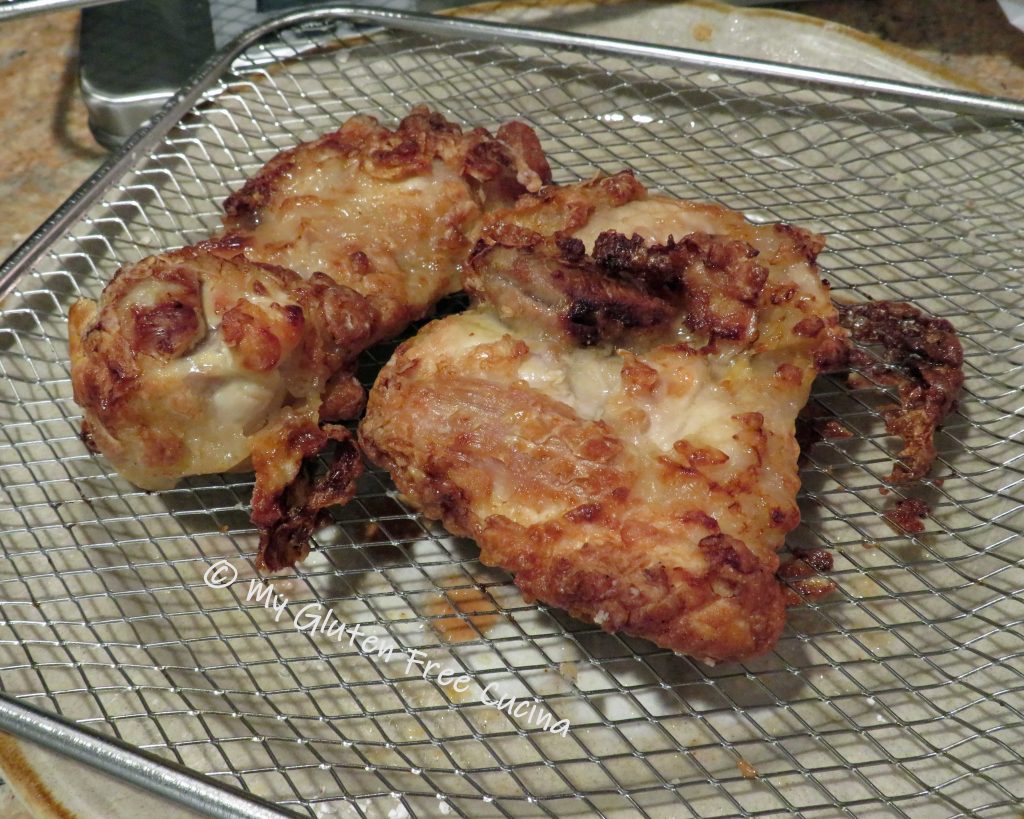
Now for the real surprise. These chicken thighs are both boneless and skinless! That’s right friends, you don’t need the skin to get that delicious crispy coating. And it’s the best “fried” chicken I’ve had in years.

This post contains affiliate links.
4 Servings
Ingredients:
- 4 boneless, skinless chicken thighs
- 1 cup buttermilk
- 1/2 cup tapioca flour/starch
- 1/2 tsp. fried chicken seasoning
- 1/4 tsp. paprika
- cooking spray

Preparation:
Whisk together the buttermilk (or use powdered equivalent), and Montreal chicken seasoning. Buttermilk is not one of my pantry staples, but I always keep buttermilk powder on hand. Alternately, you can add 0ne tbsp. of lemon juice to regular milk and let the mixture stand for 15 minutes.

Set a clean food grade plastic bag (such as a bread bag) in a medium bowl.
 Add the chicken pieces to the bag, and pour in the marinade.
 Tie the bag to ensure all pieces are covered in the milk mixture, and let it sit at room temperature 1 hour.

In another plastic bag, add the tapioca starch and paprika.

Add the chicken to the flour mixture one piece at a time, shaking to coat. Coat air fryer trays with cooking spray and arrange the chicken. Use 2 trays to allow room for the air to circulate.

Refrigerate the floured chicken for 30 minutes.
Preheat the air fryer for 5 minutes at 400º. Spray the top of the chicken with cooking spray (Important: you need that little bit of cooking spray to get the crispy crust. You don’t need to saturate it, just a light even coating of oil.) Place trays in the air fryer and set to 400º for 30 minutes.

Halfway through, turn the chicken over and (don’t forget) spray with cooking spray. Return to the air fryer, switching positions (the tray that was on top moves to the bottom) and continue cooking for another 15 minutes. Check the internal temperature with a thermometer. Thighs are done at 165º-170º.

Don’t they look delicious? This chicken has become a new family favorite!
Notes ♪♫ The air fryer has been a game changer in my kitchen, as I can now enjoy some old favorites that I haven’t had in years! Mine is a shelf style, so I was able to air fry all four pieces at once. If you have a smaller model, or a basket style air fryer you may be limited to how many pieces you can prepare at once.


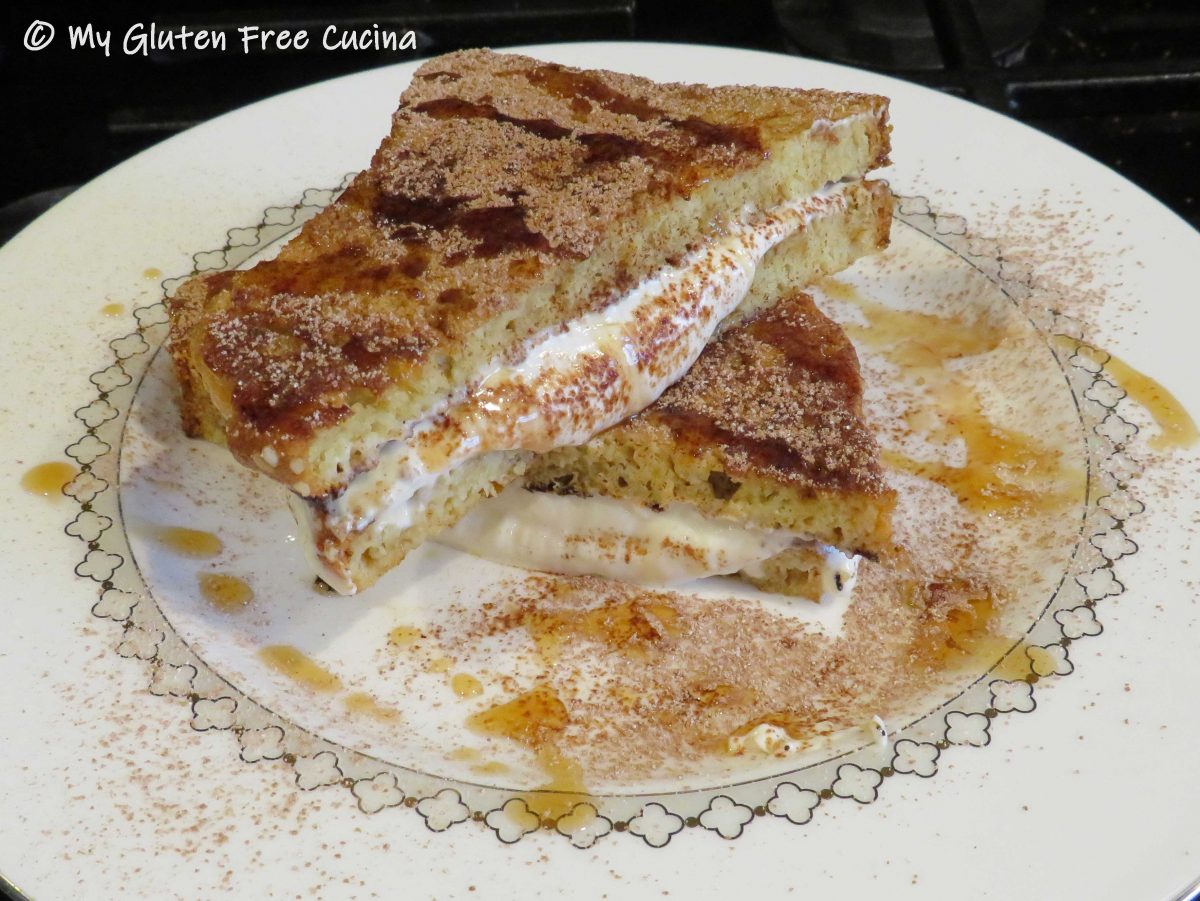
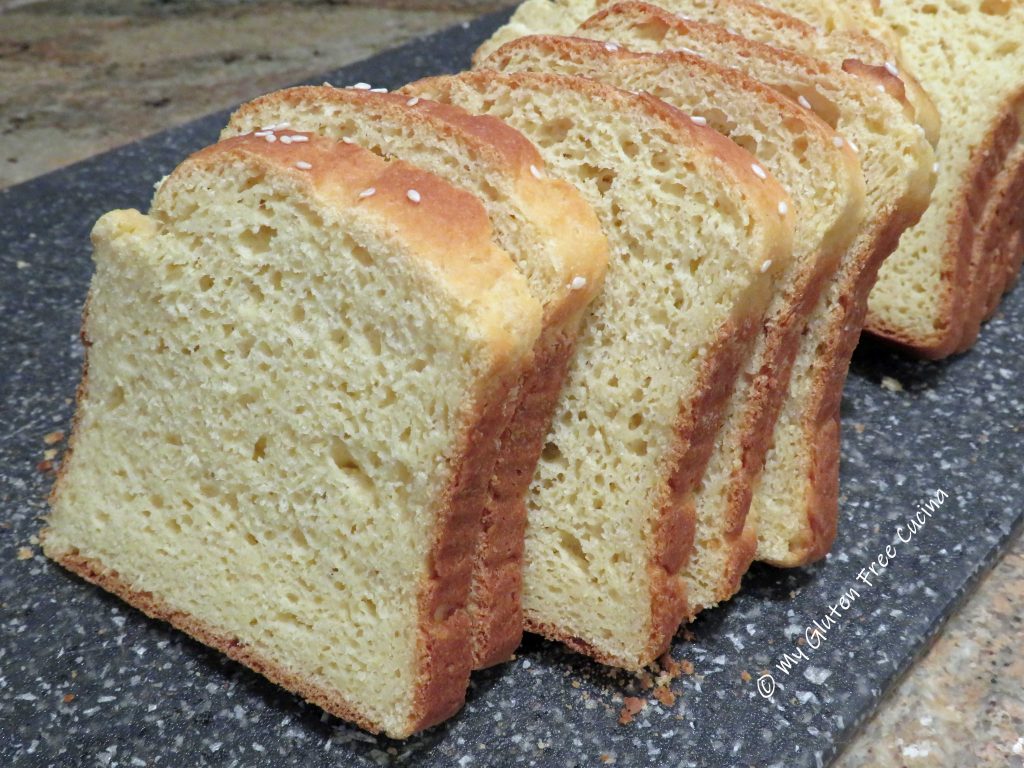
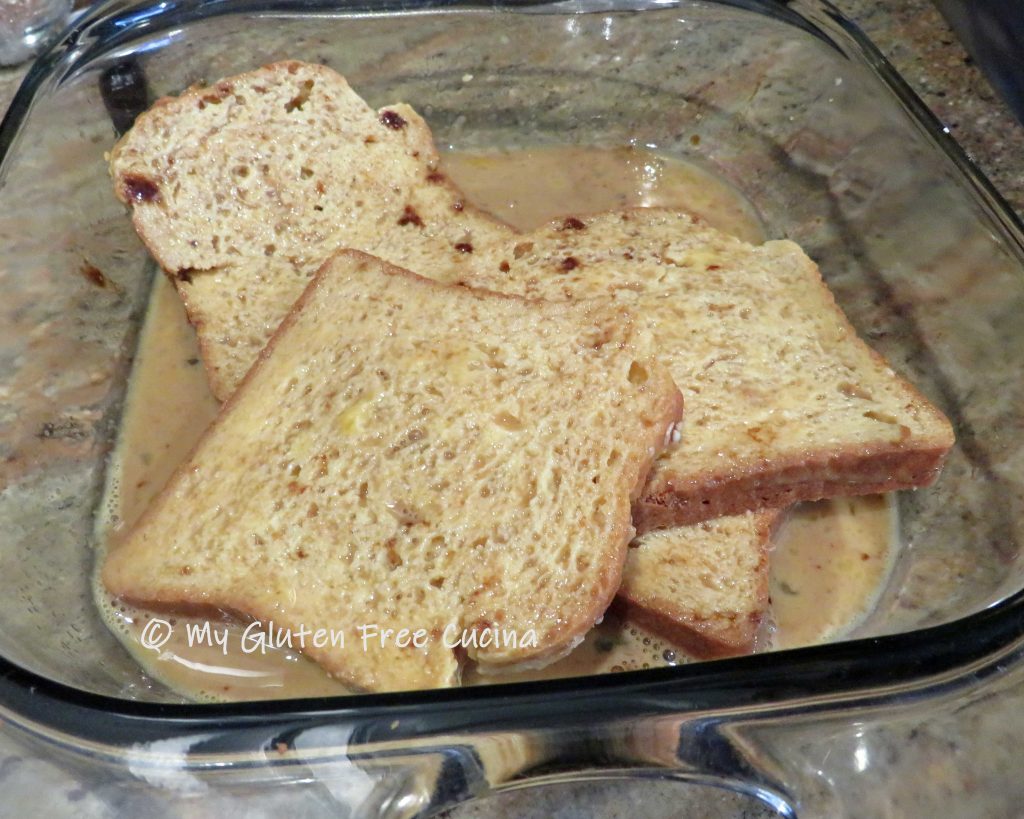
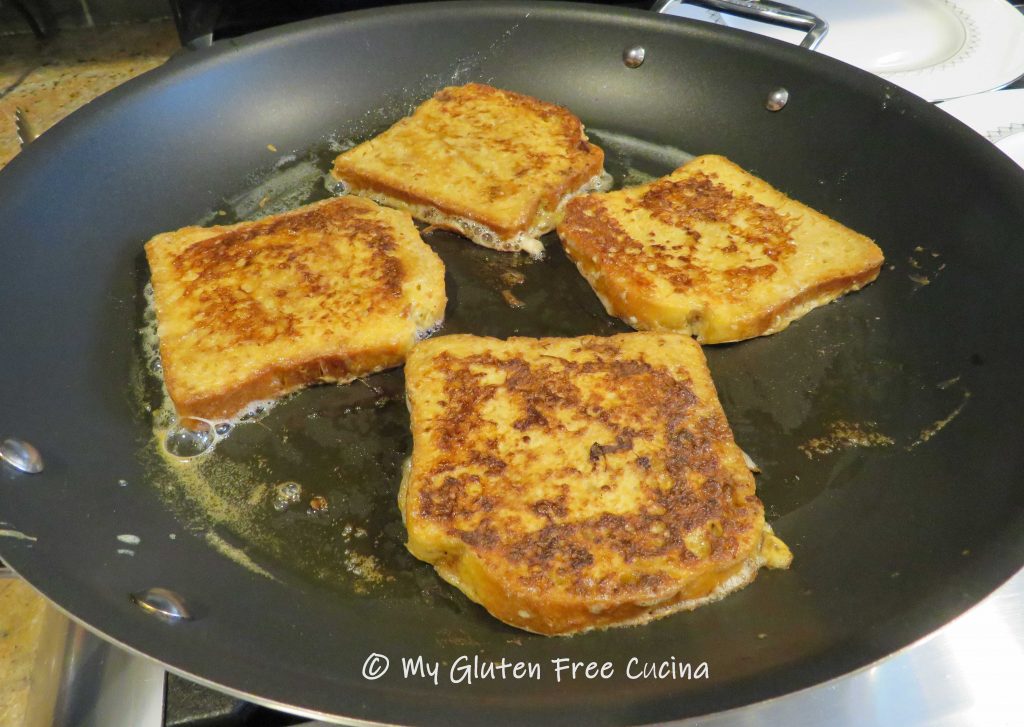
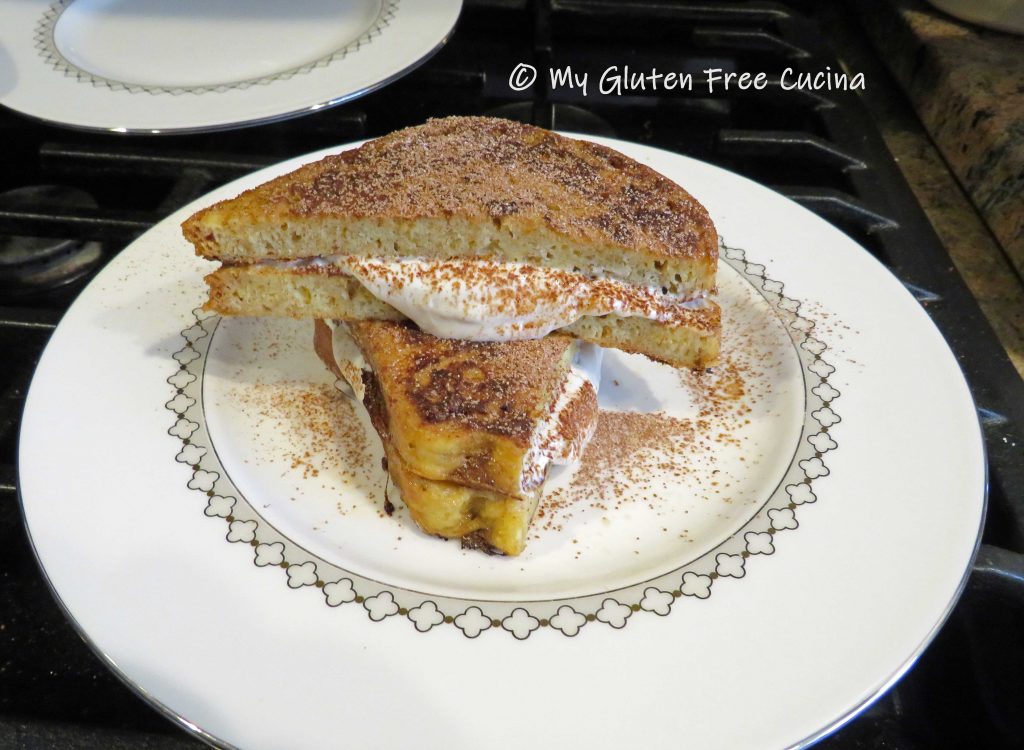
 A recipe within a recipe, I started with a loaf of my homemade Gluten Free Millet Bread.
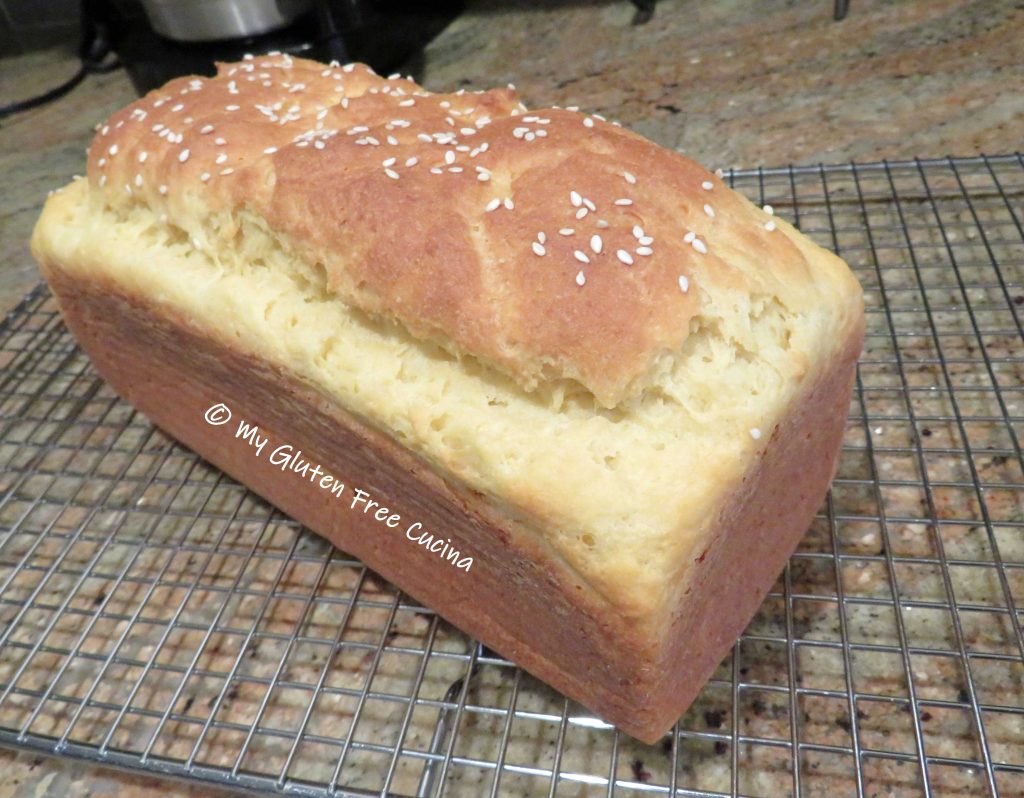
 Preparation:

 Drizzle with
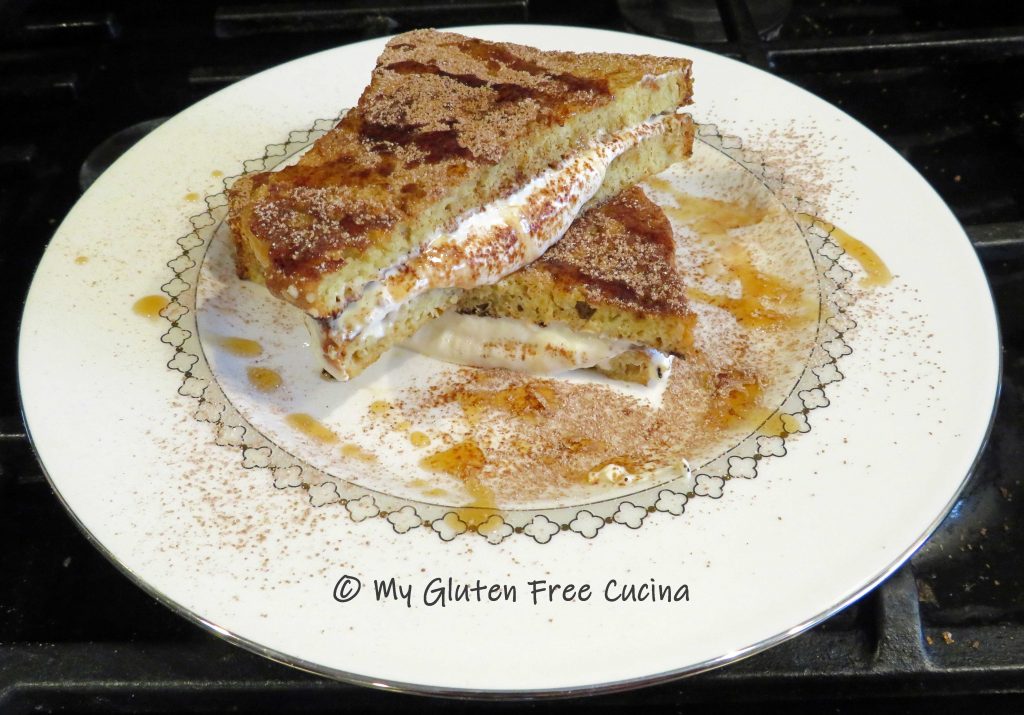


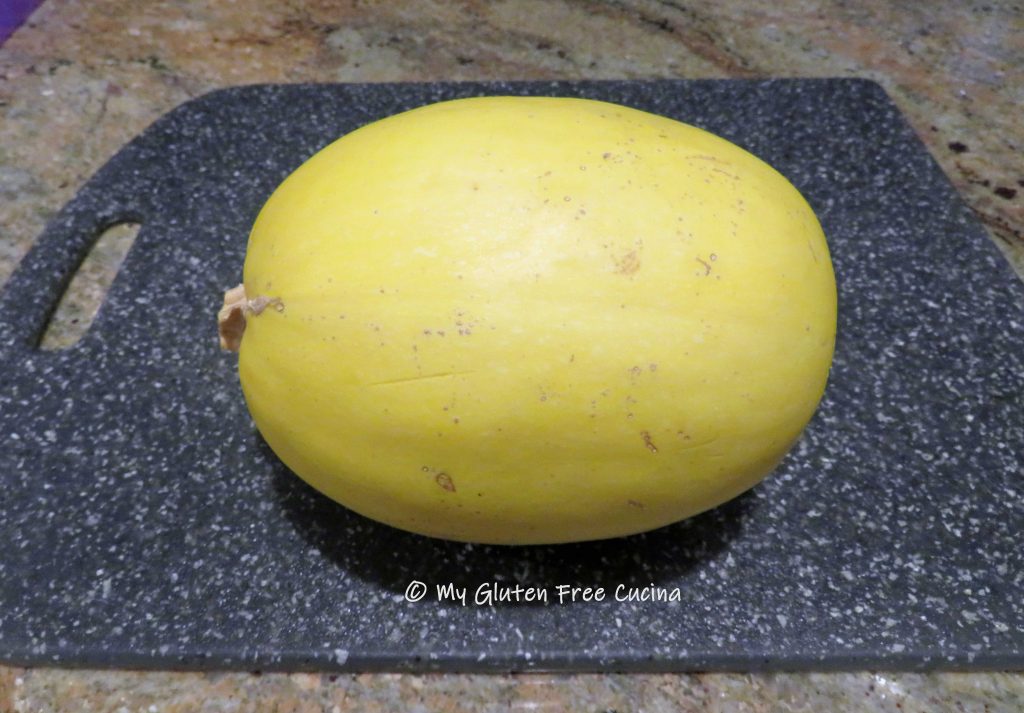


 Scrape out the seeds with a large spoon. Brush each half with about 1 tbsp. of olive oil, and sprinkle generously with Italian seasoning.
 Place the two halves cut side down on a parchment lined
 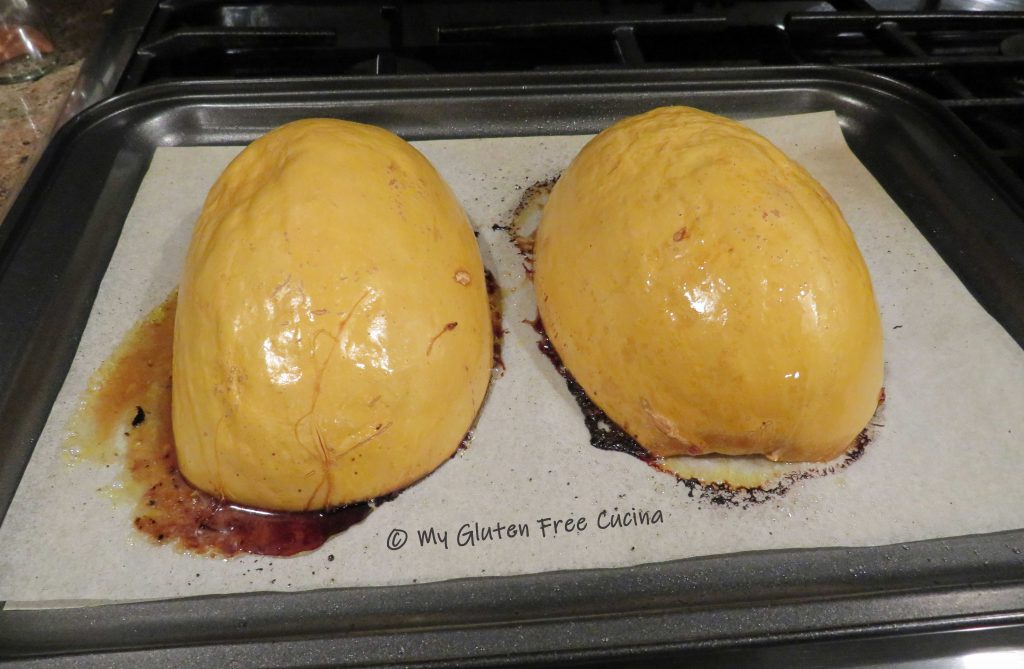 While the squash is baking make the meat sauce.
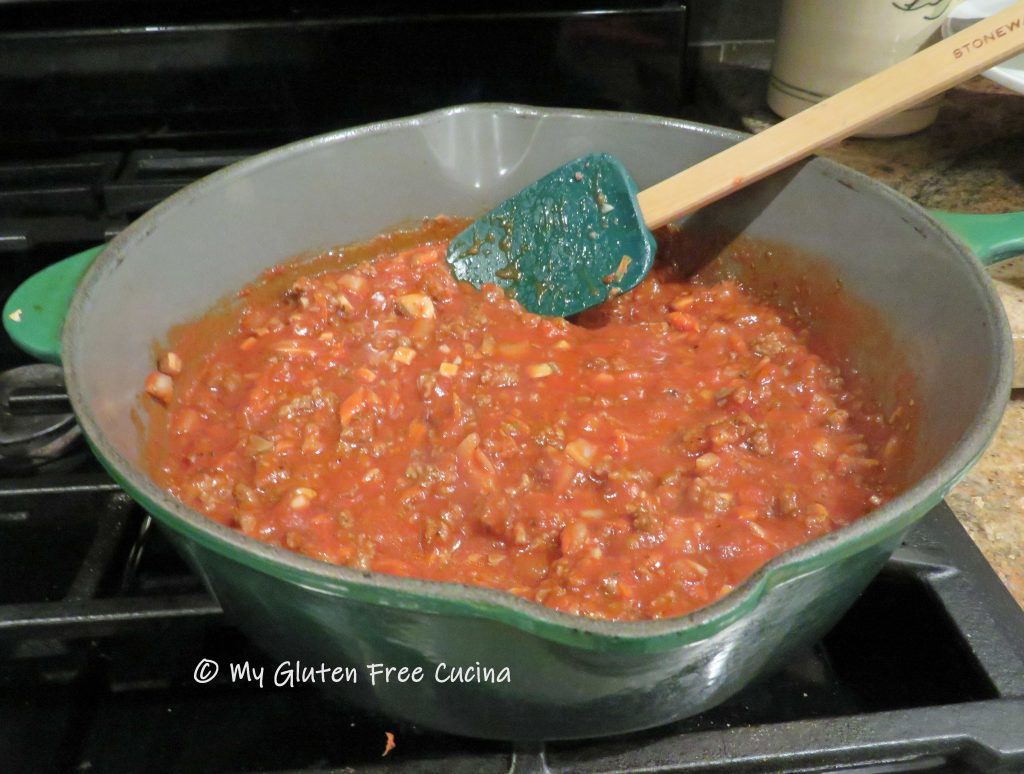
 Heat a
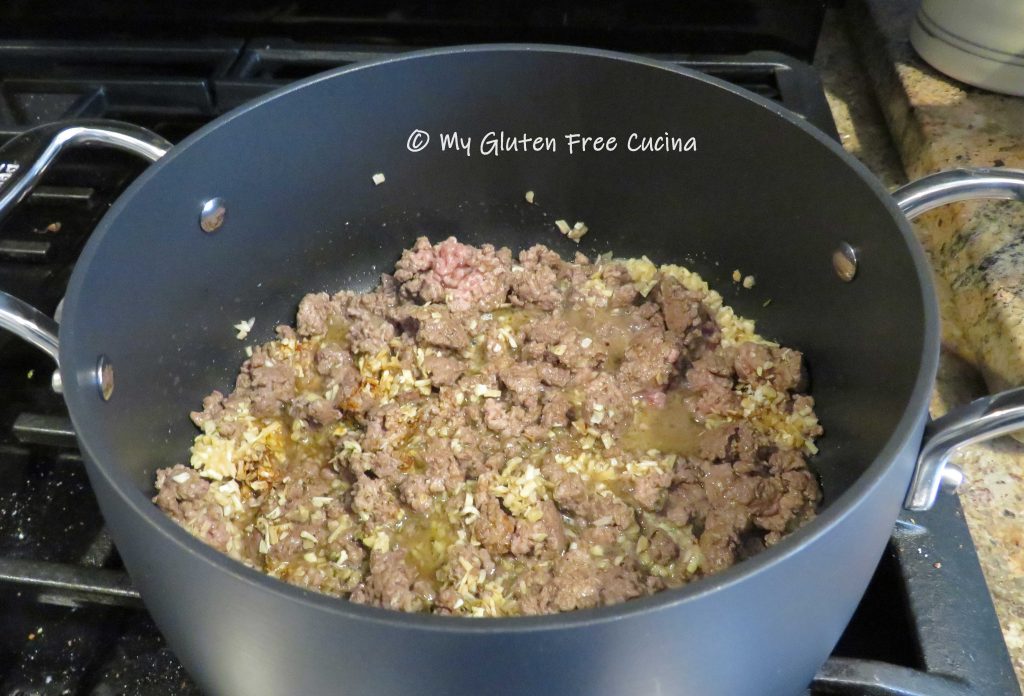
  When the beef has browned, stir in the onions, followed by the garlic, carrots and mushrooms. Sprinkle with Italian seasoning and fresh ground black pepper. Continue cooking 3-4 minutes, stirring frequently to help the liquid evaporate.


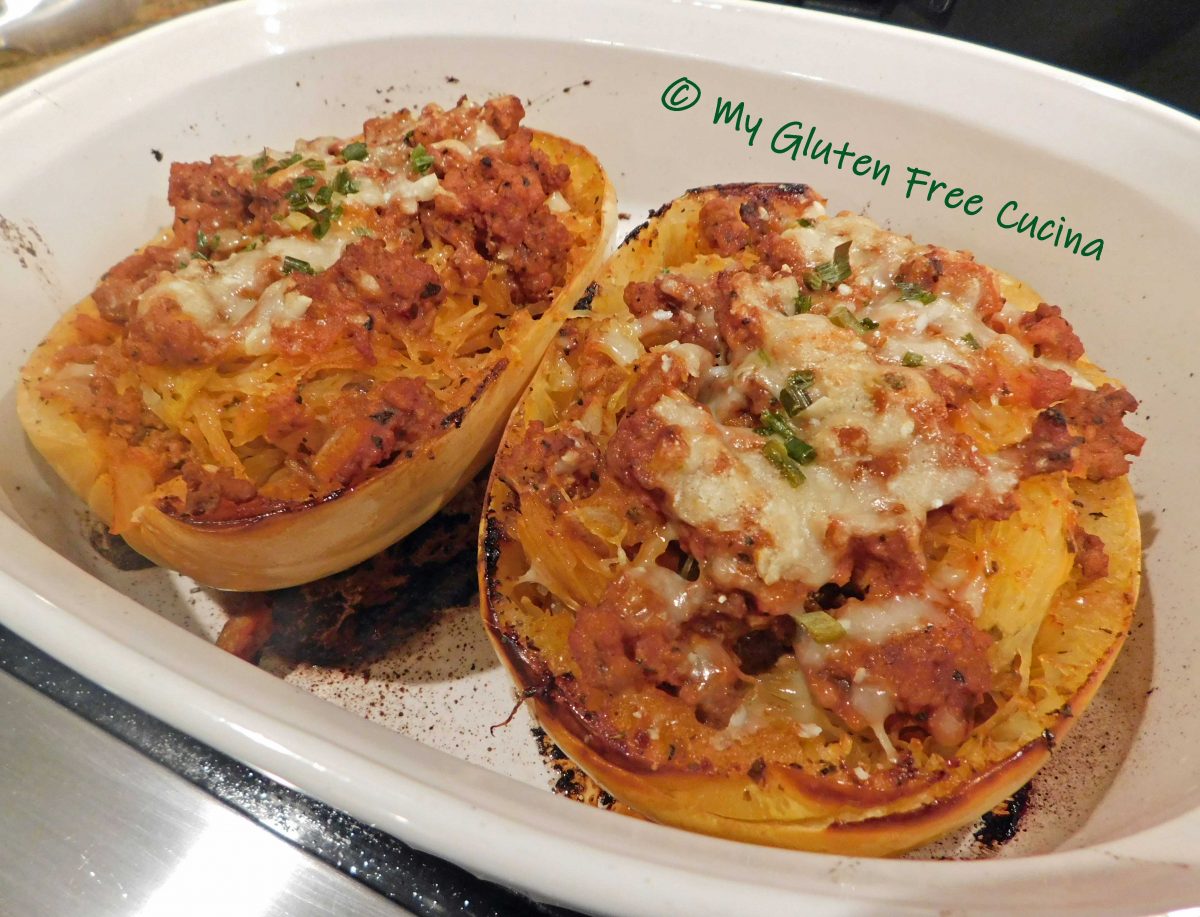
 Toss with half of the meat sauce and spoon the mixture back into the squash shells.
 Top with more sauce, grated cheese and herbs. Return to the oven for another 20-30 minutes.
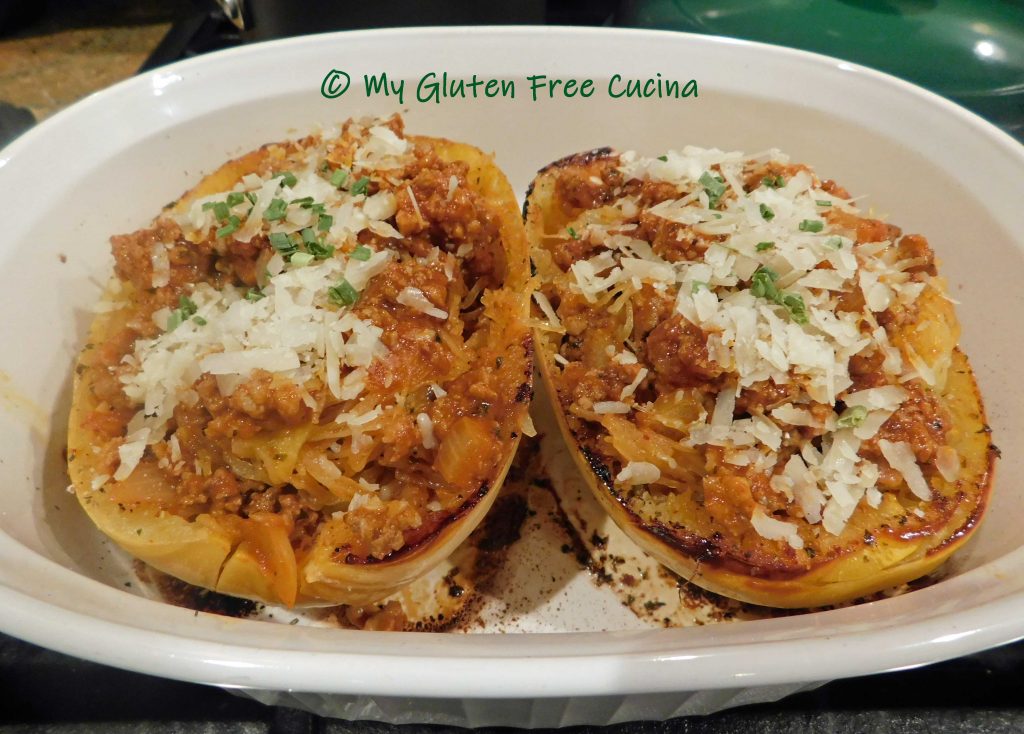 You can finish them off under the broiler for 2-3 minutes to crisp up the edges.
 Serve in the shell with extra sauce on the side.
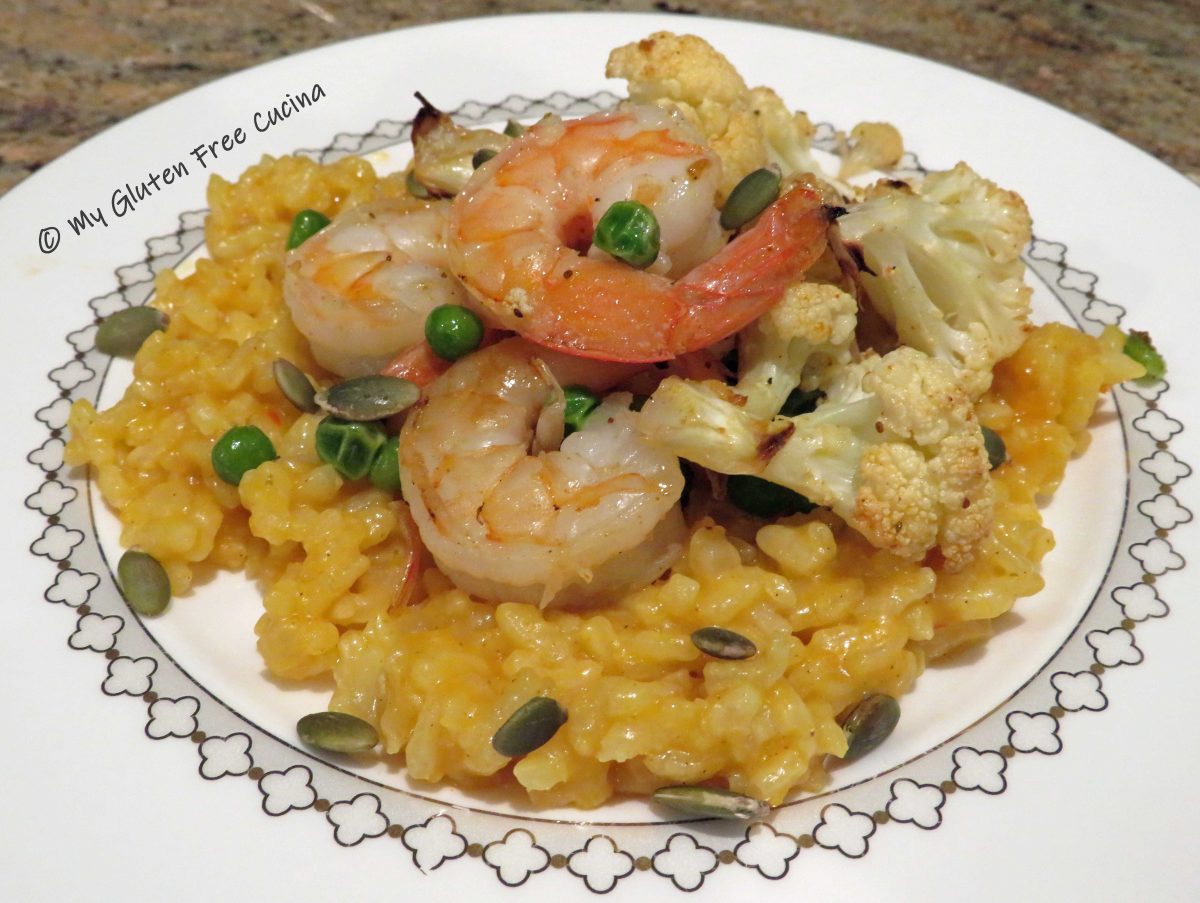


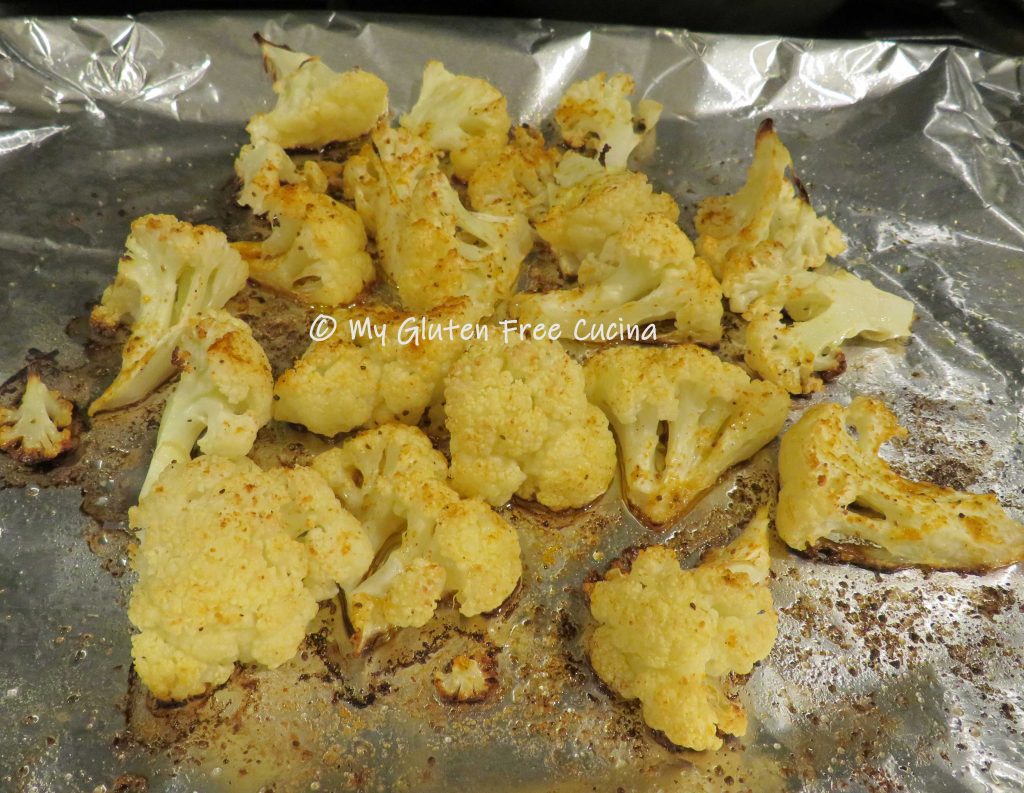

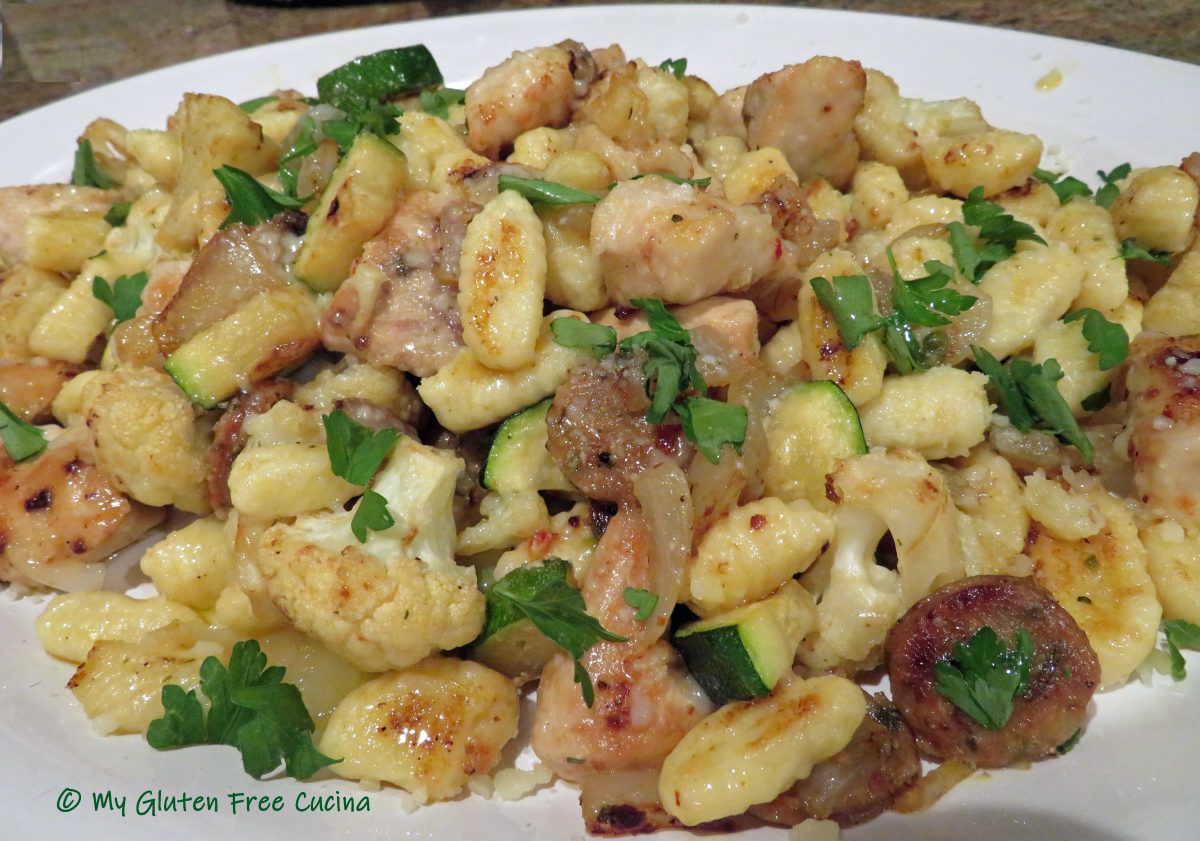
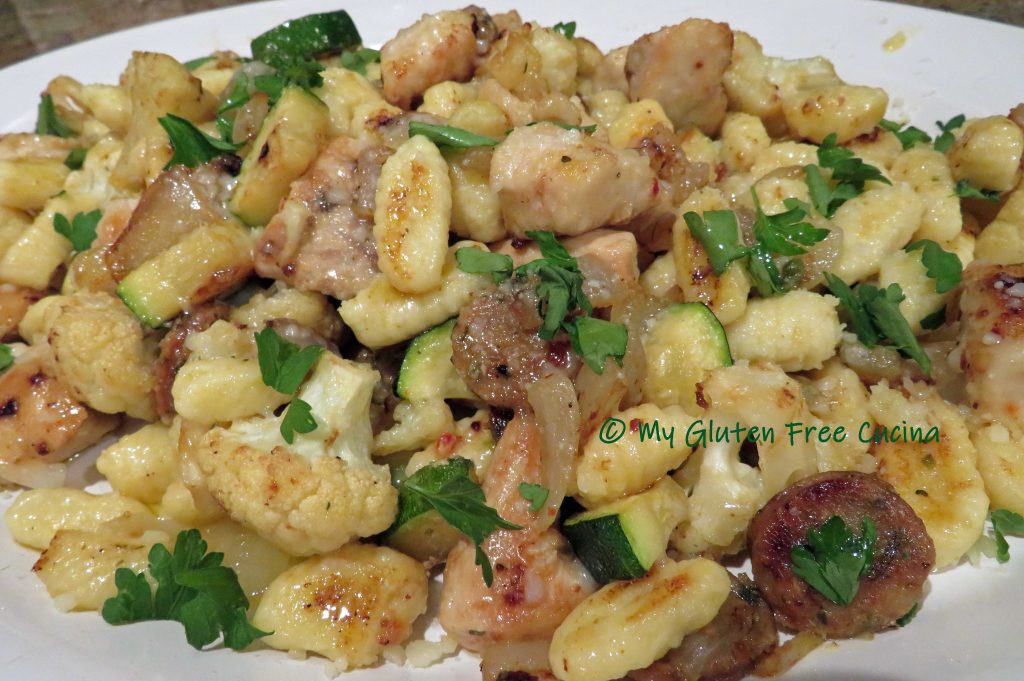
 Add the roasted cauliflower to the skillet.
 Warm the cooked risotto in a
 To plate, make a bed of risotto and top with the shrimp and veggies. Garnish with a few pumpkin seeds.
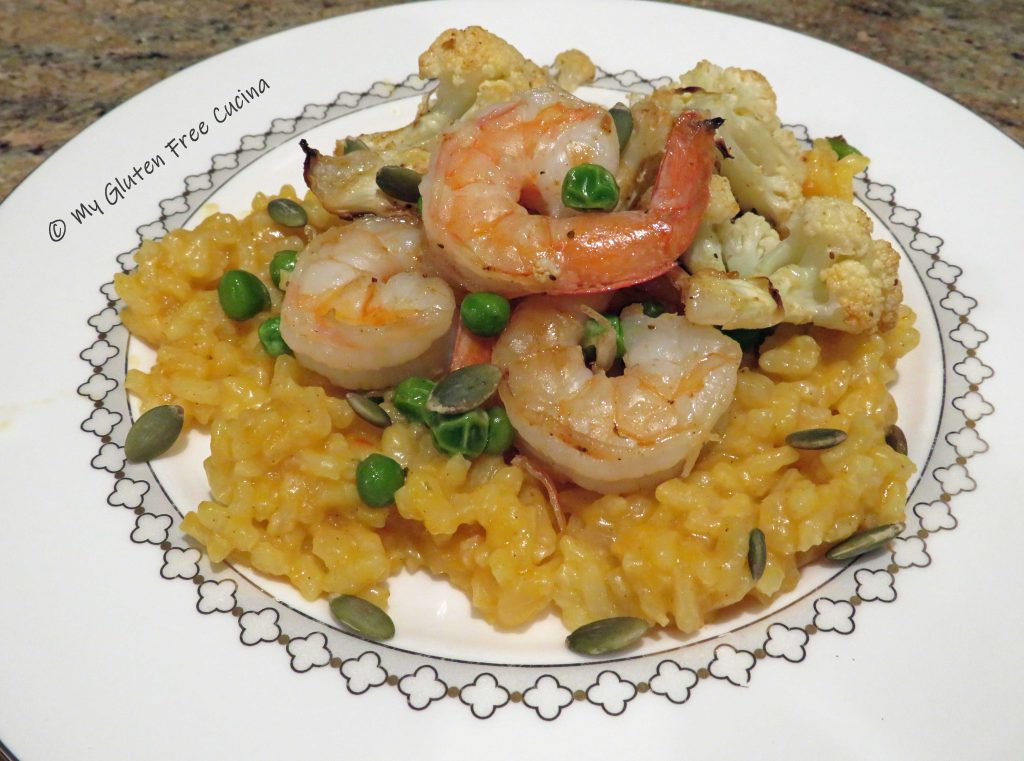


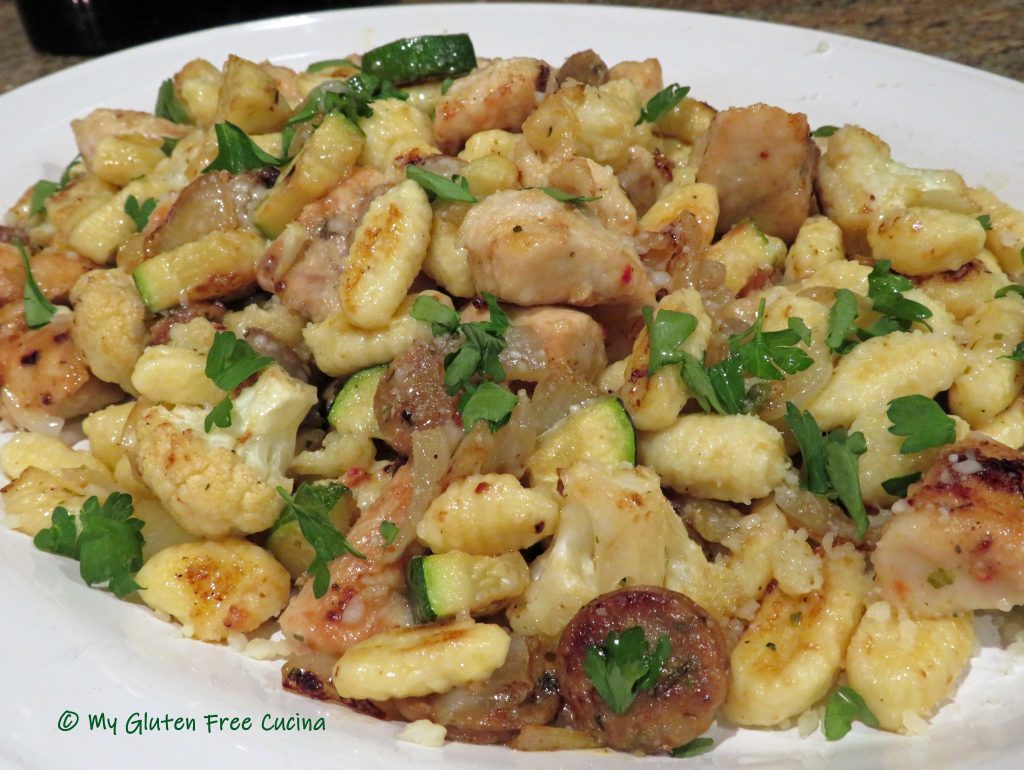
 Serve with finely grated cheese, use the good stuff!


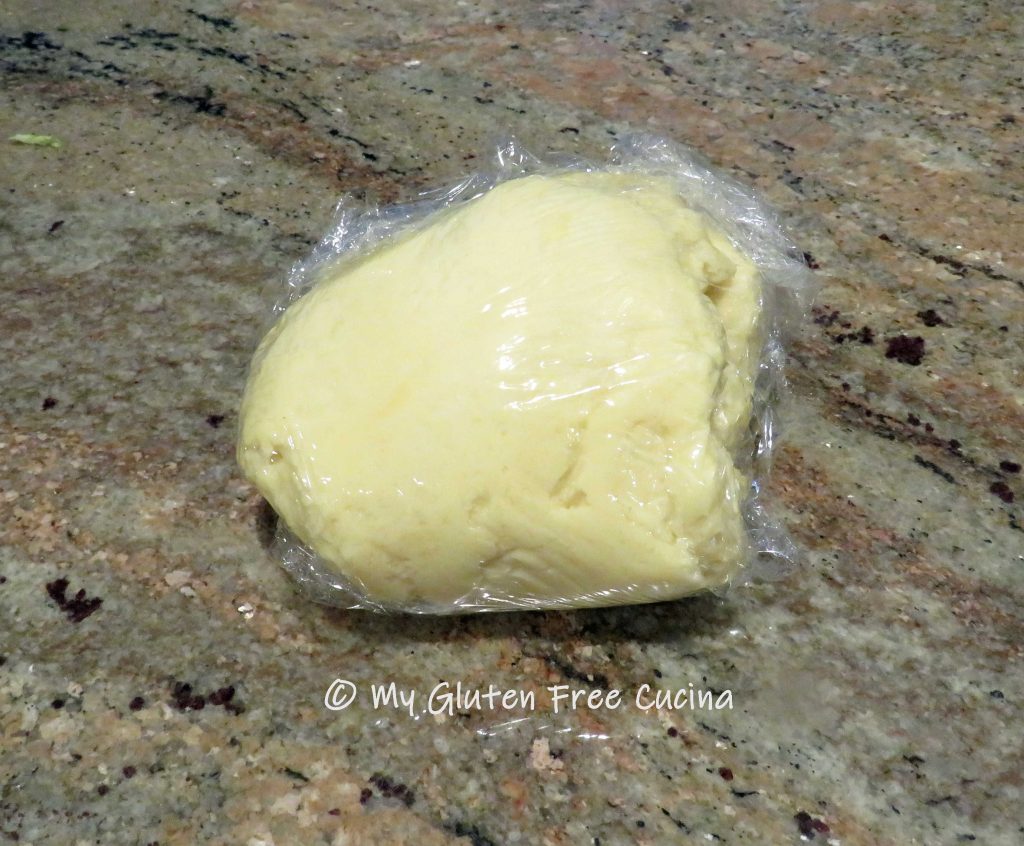

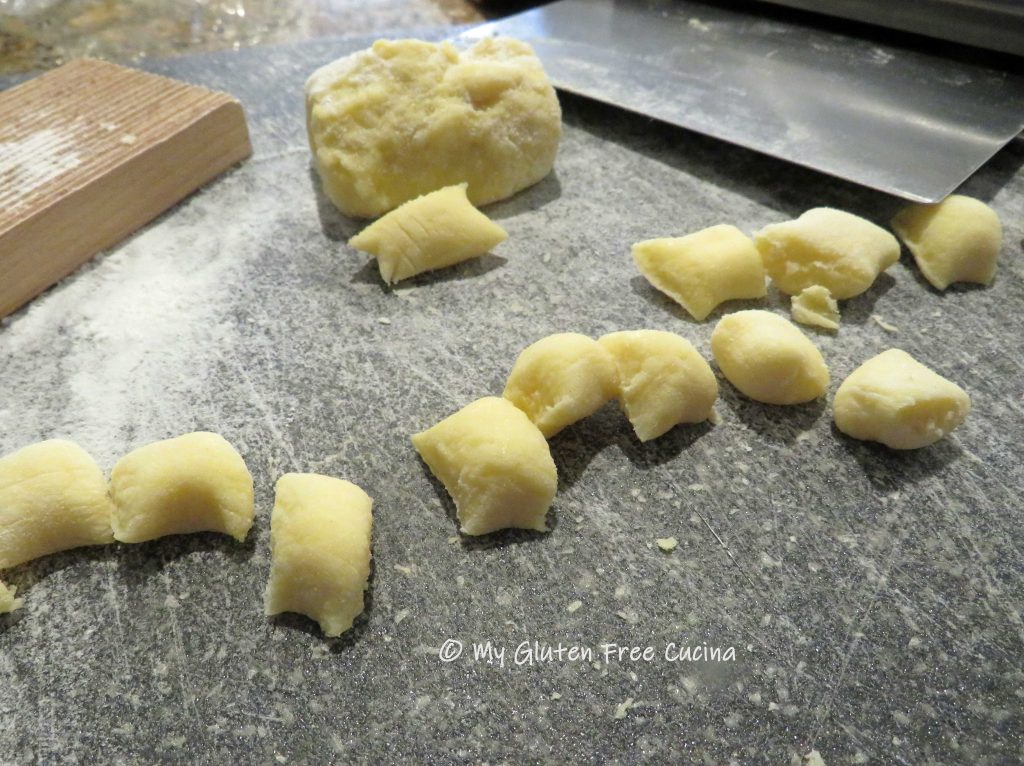
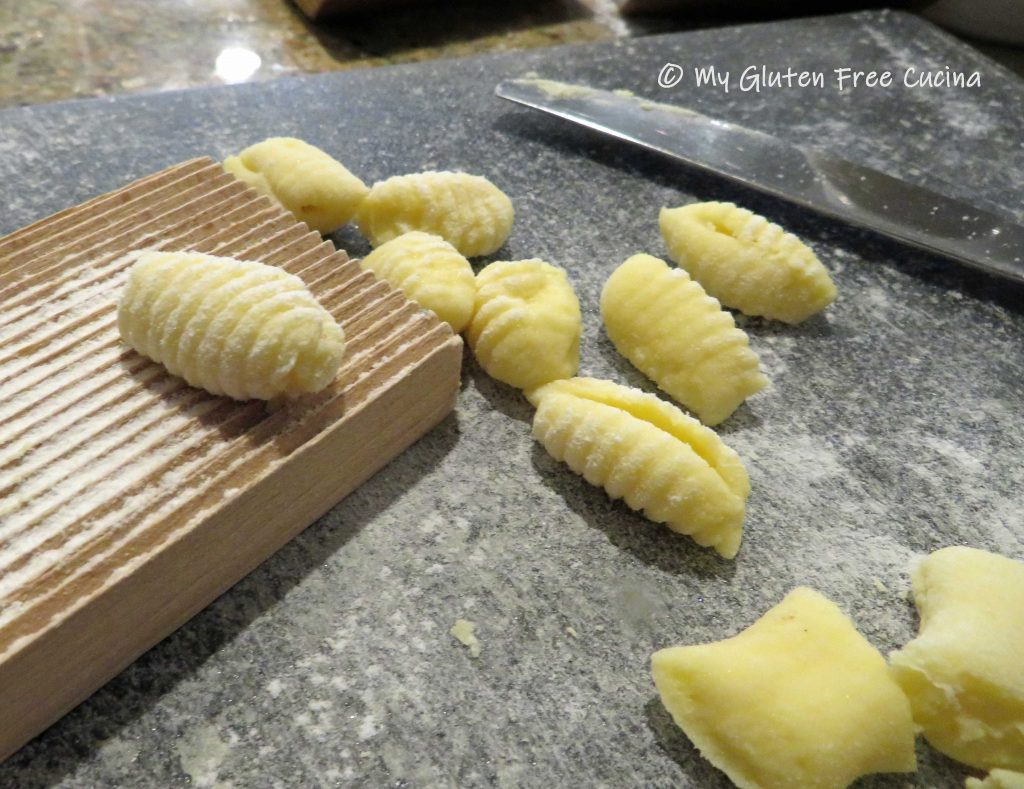 Line a baking sheet with parchment or waxed paper and flour lightly. Place the finished gnocchi on the baking sheet. If not using right away, cover with plastic wrap and refrigerate.
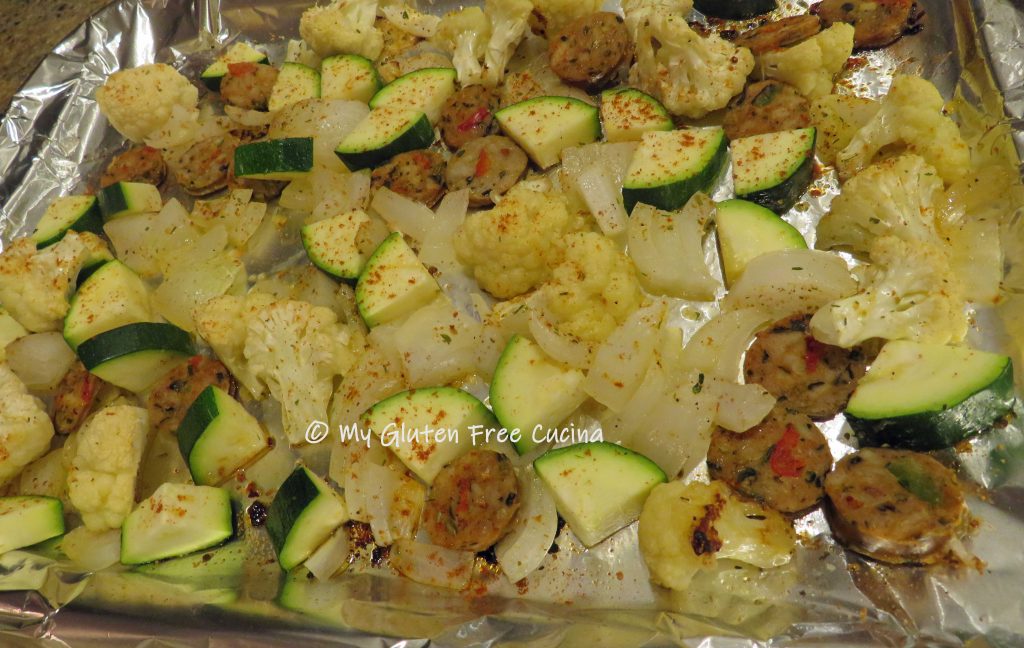

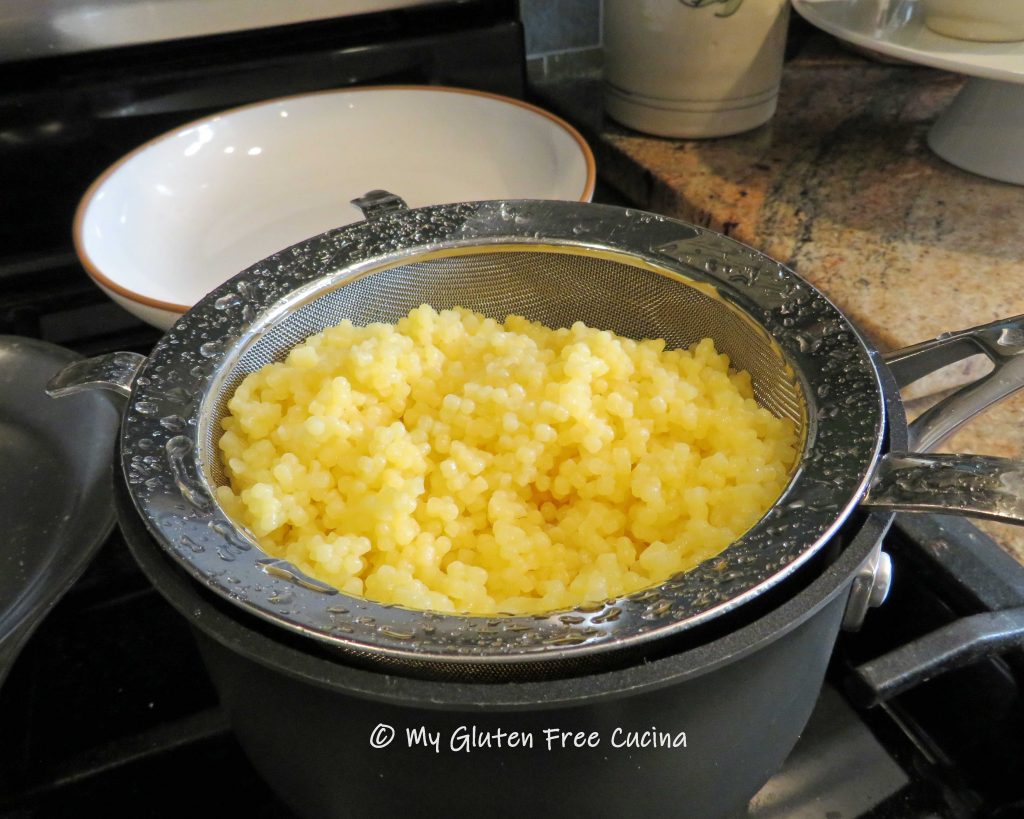
 Use a
Use a 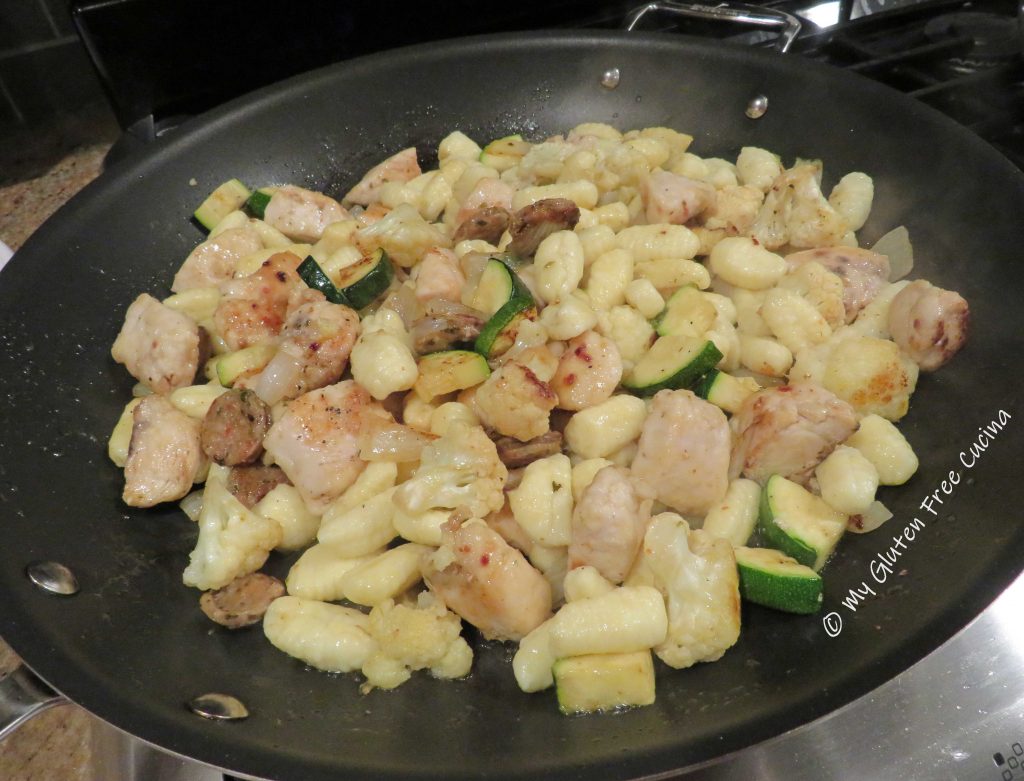


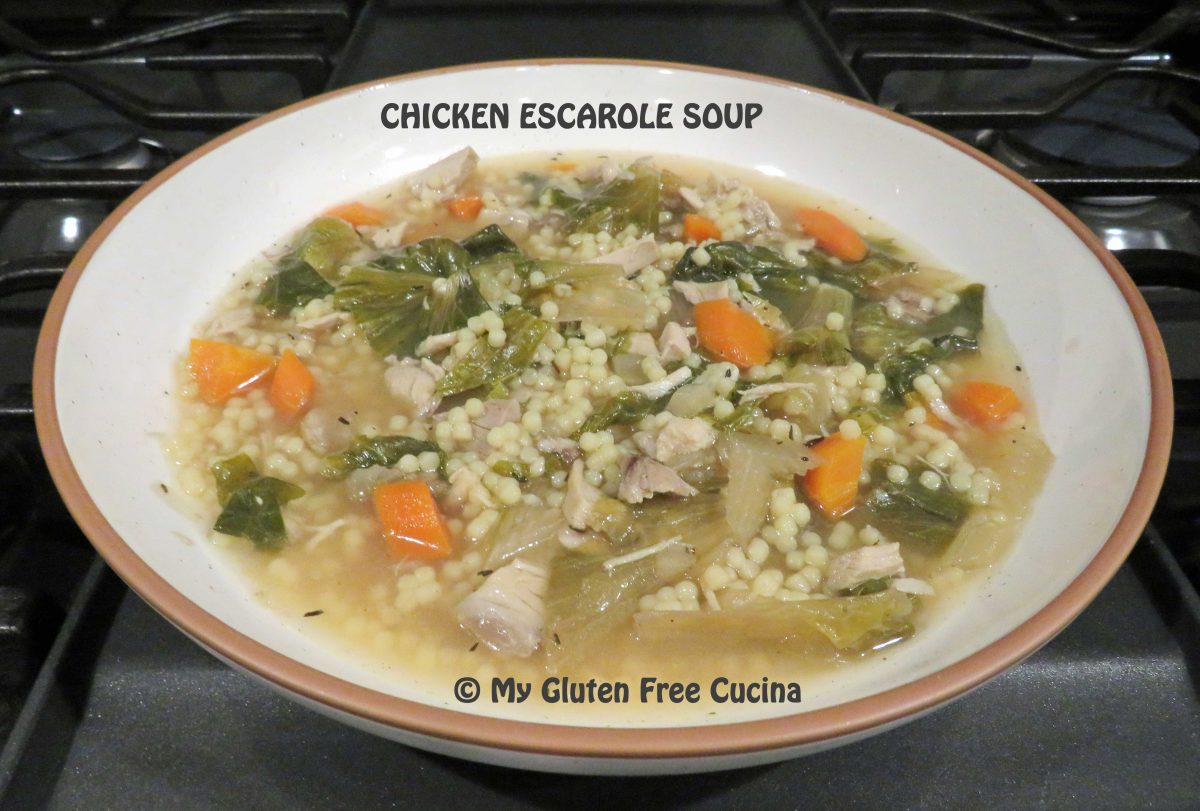


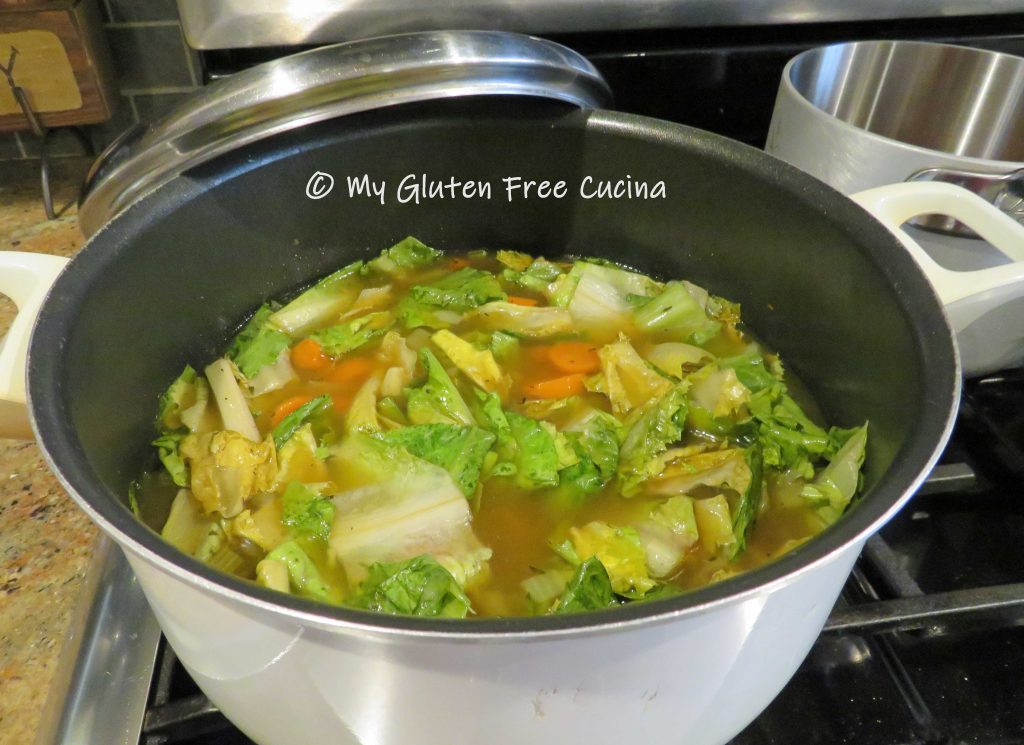
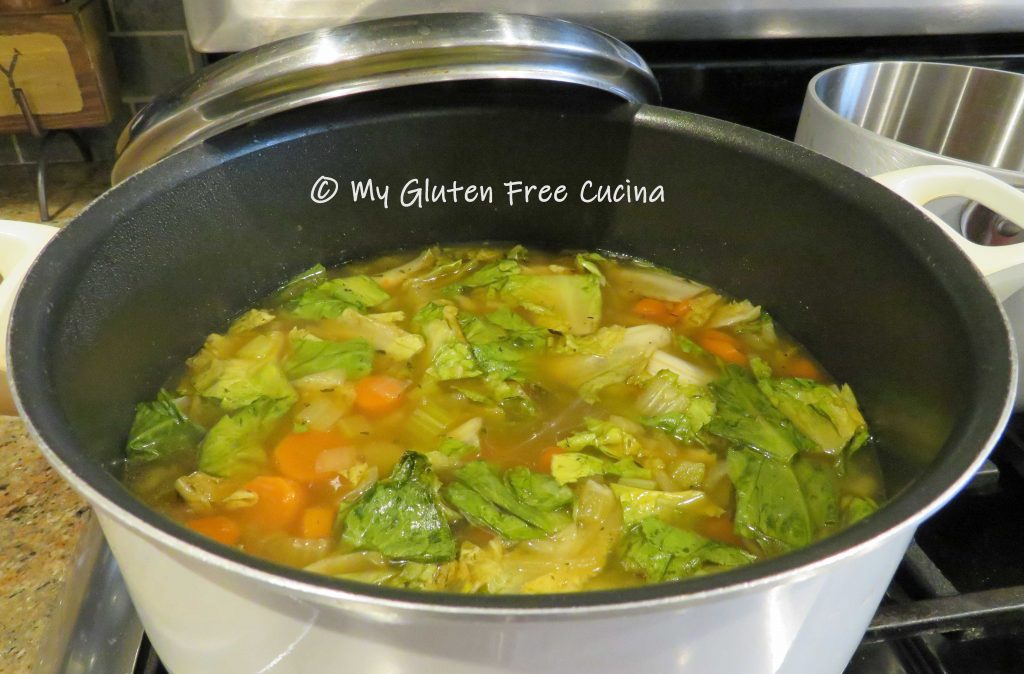
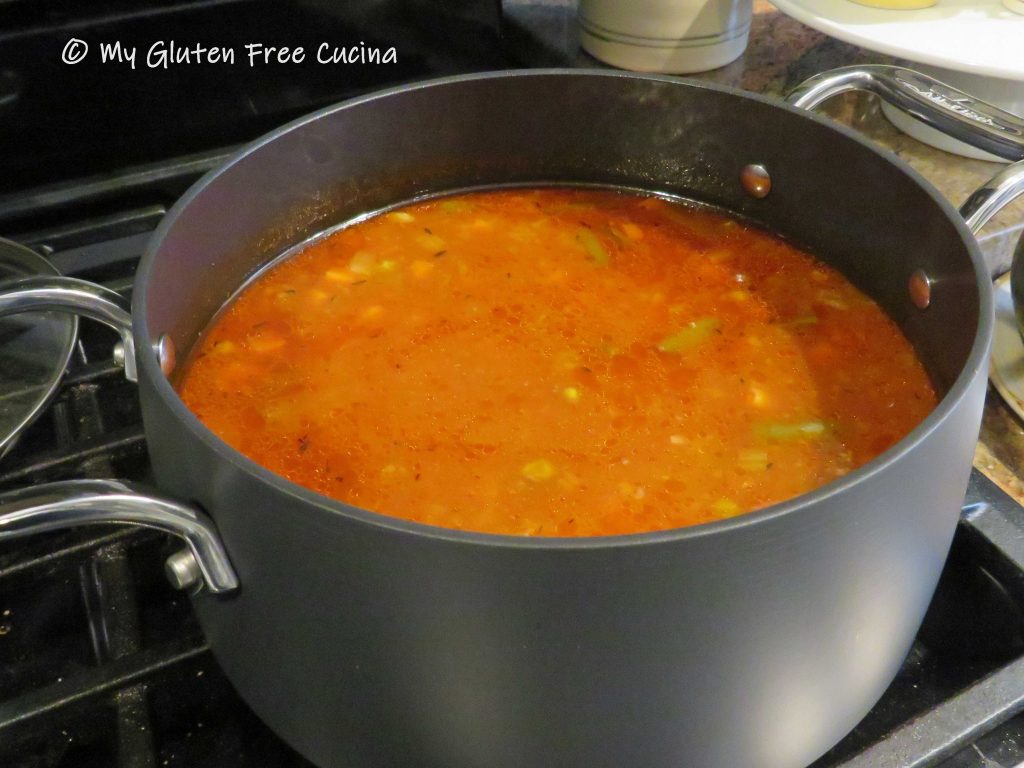
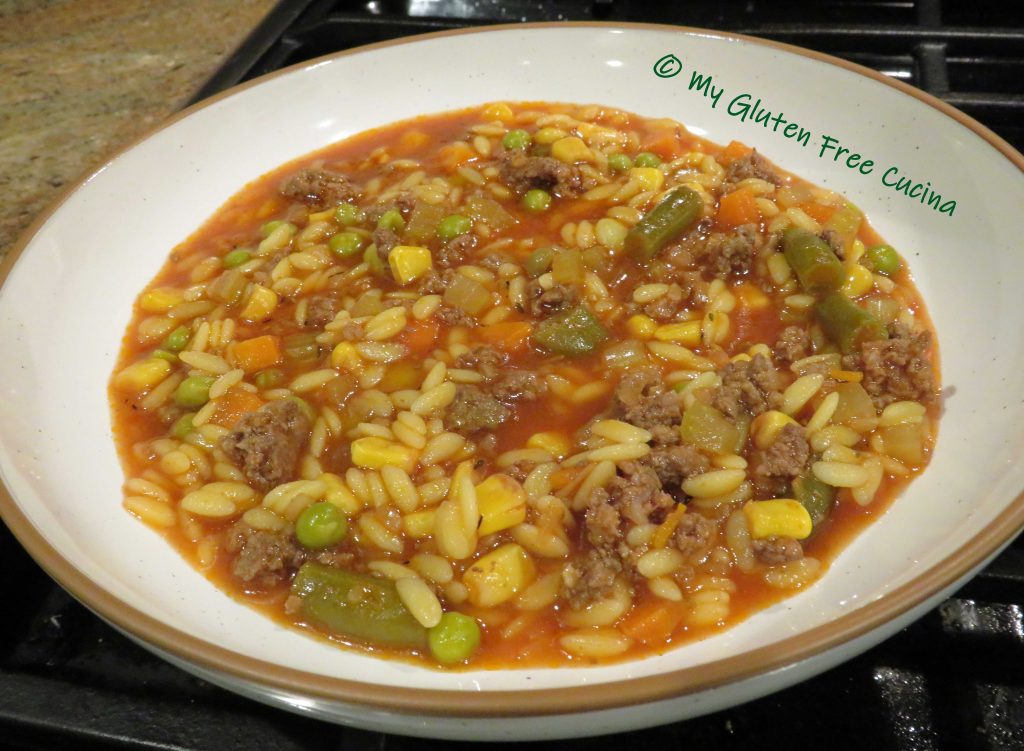
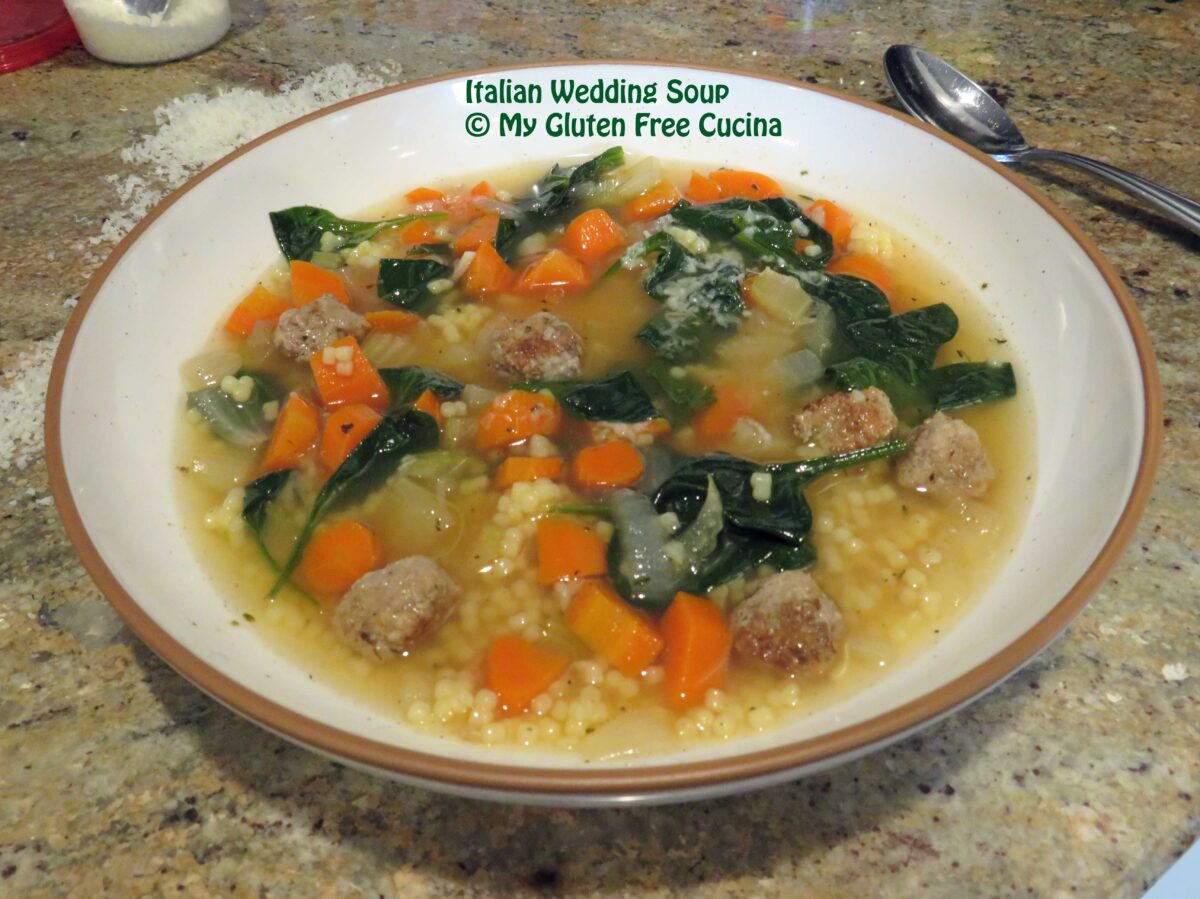
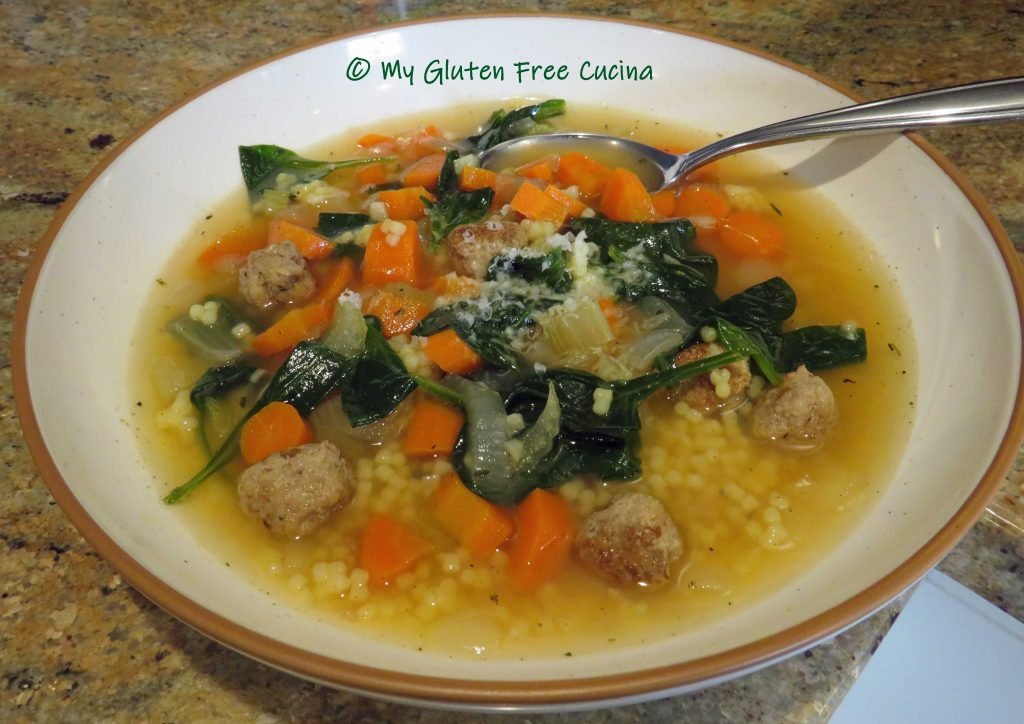
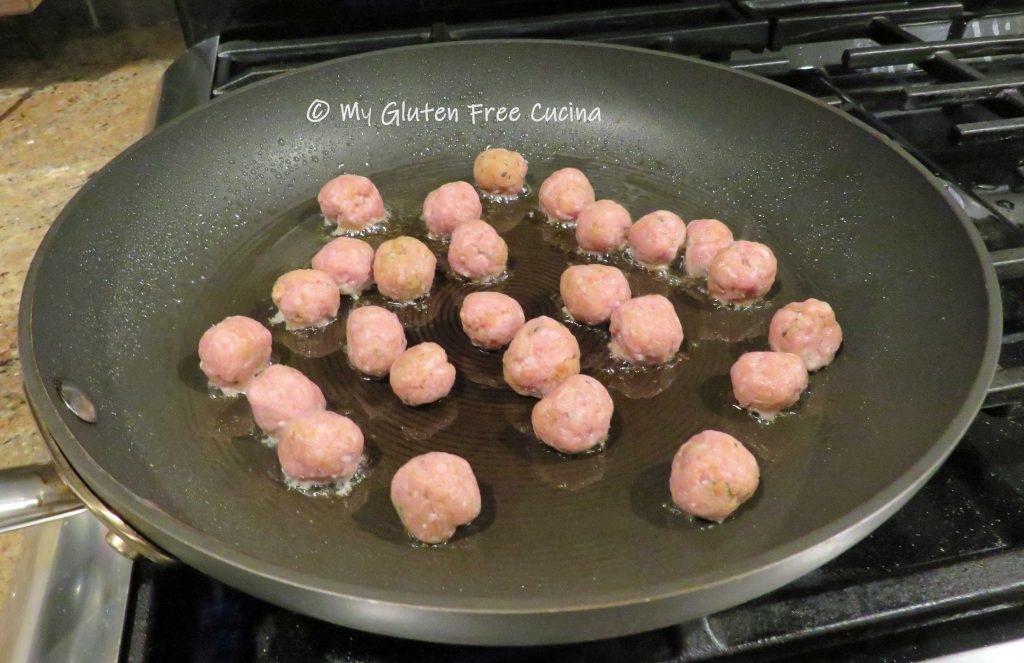
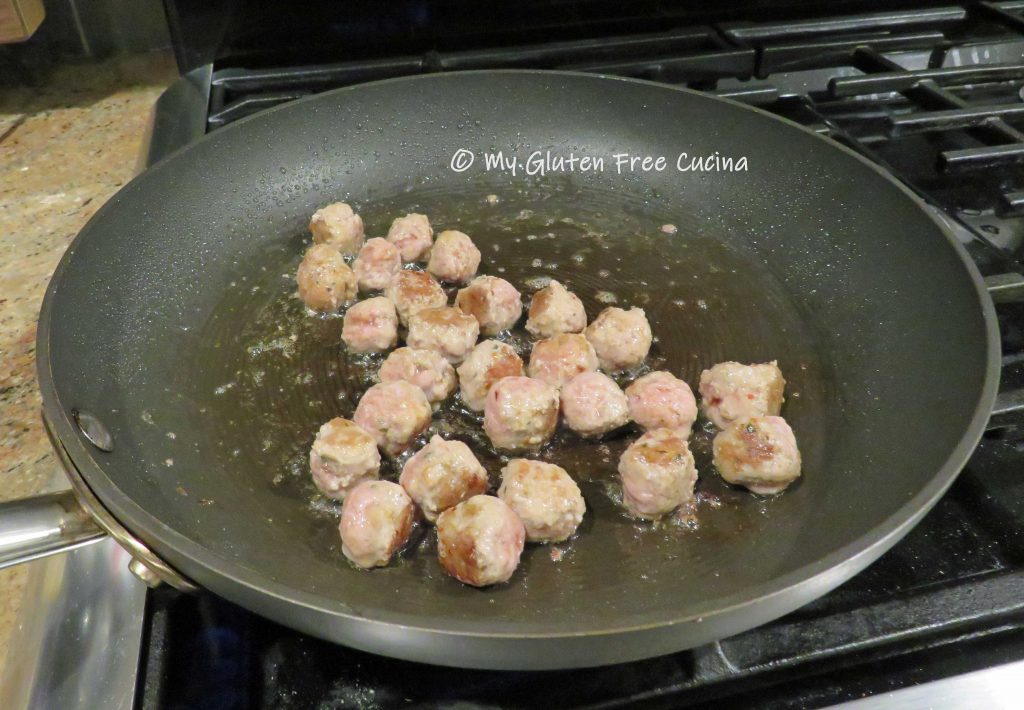
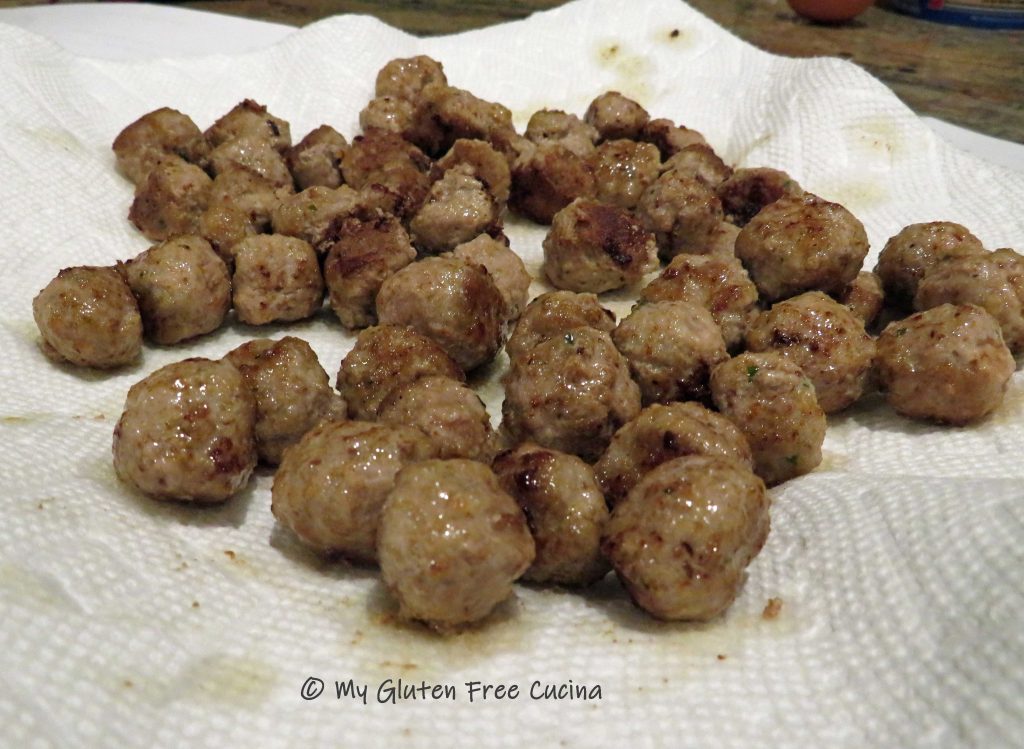
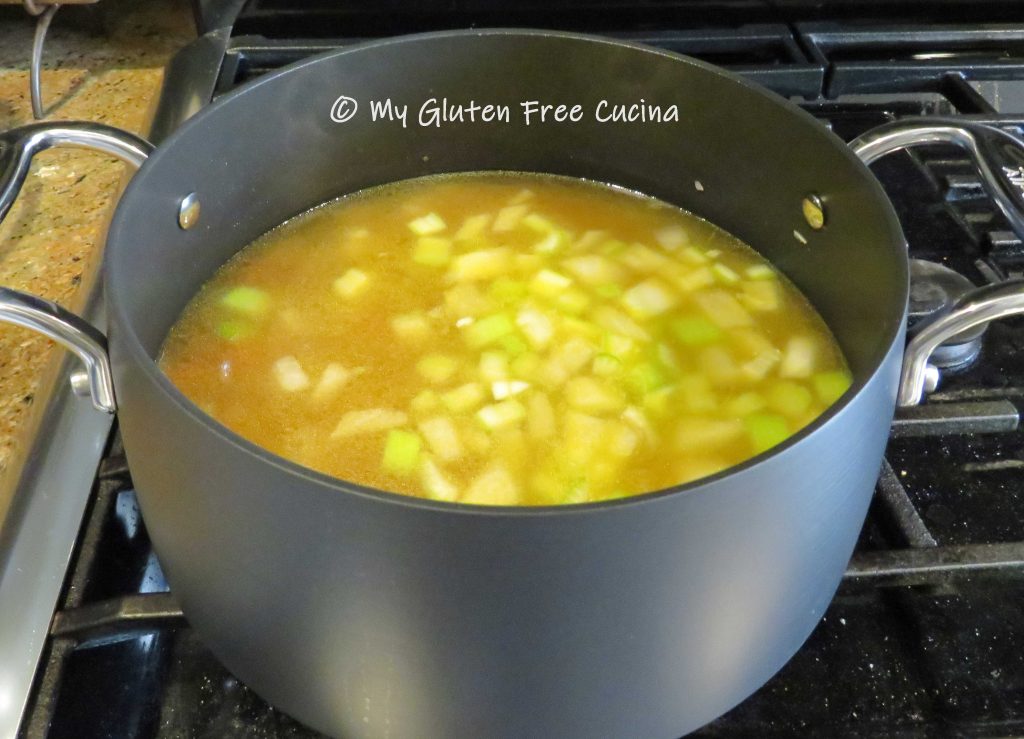
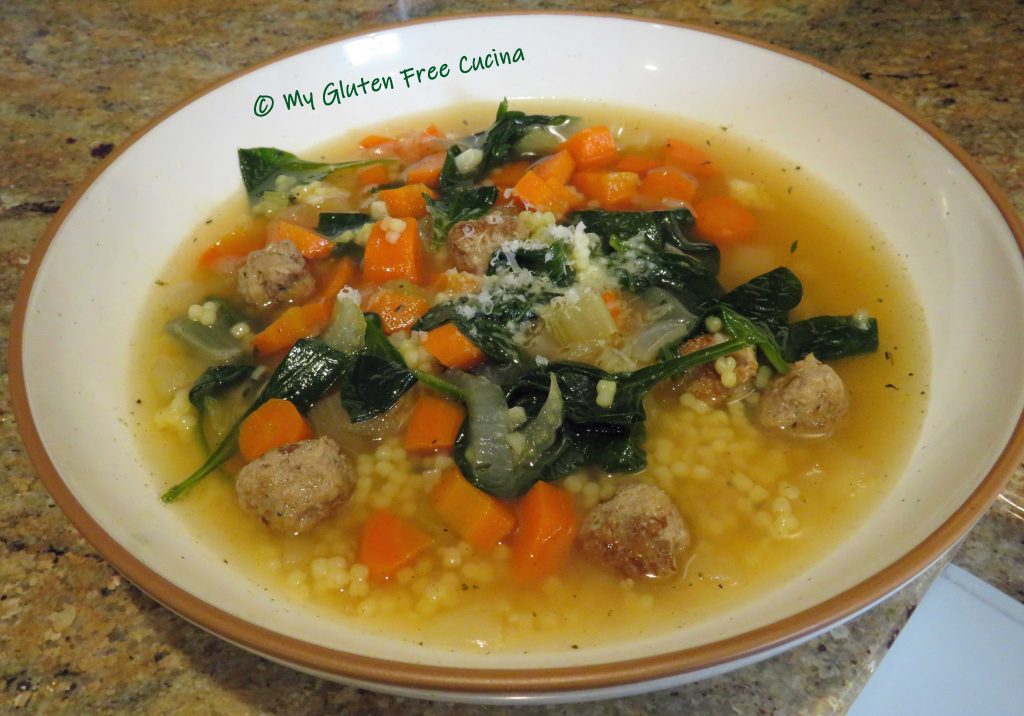
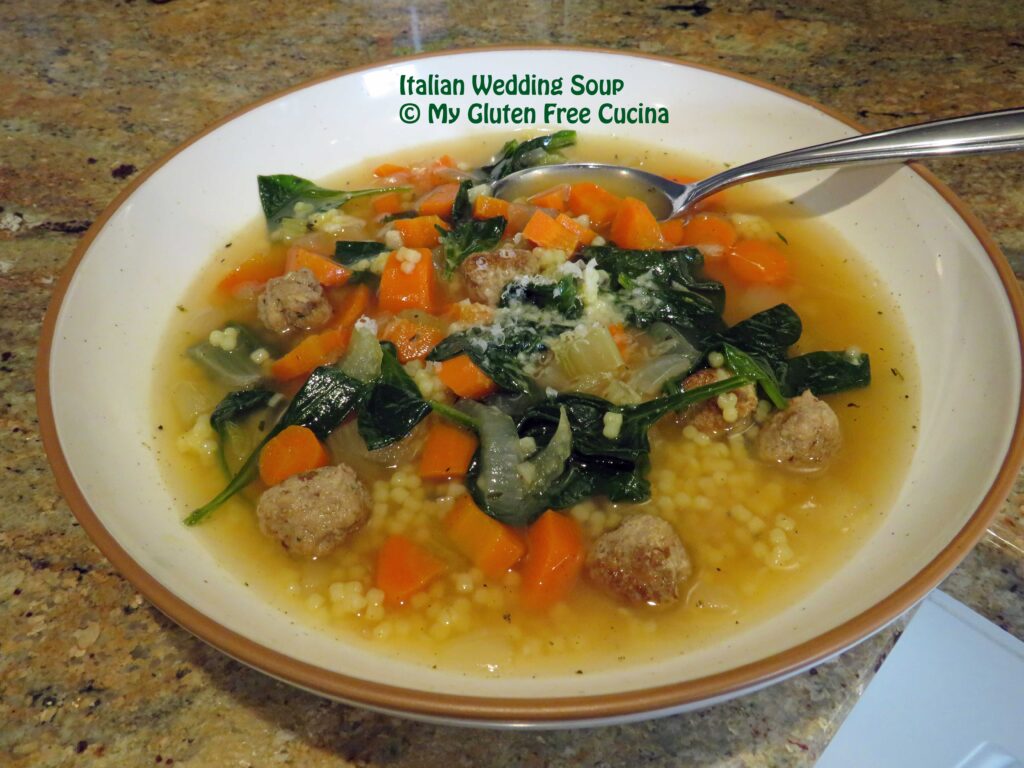
 Dice 6-8 carrots, 6-8 celery stalks, and one large onion. Try to cut the pieces to approximately the same size.
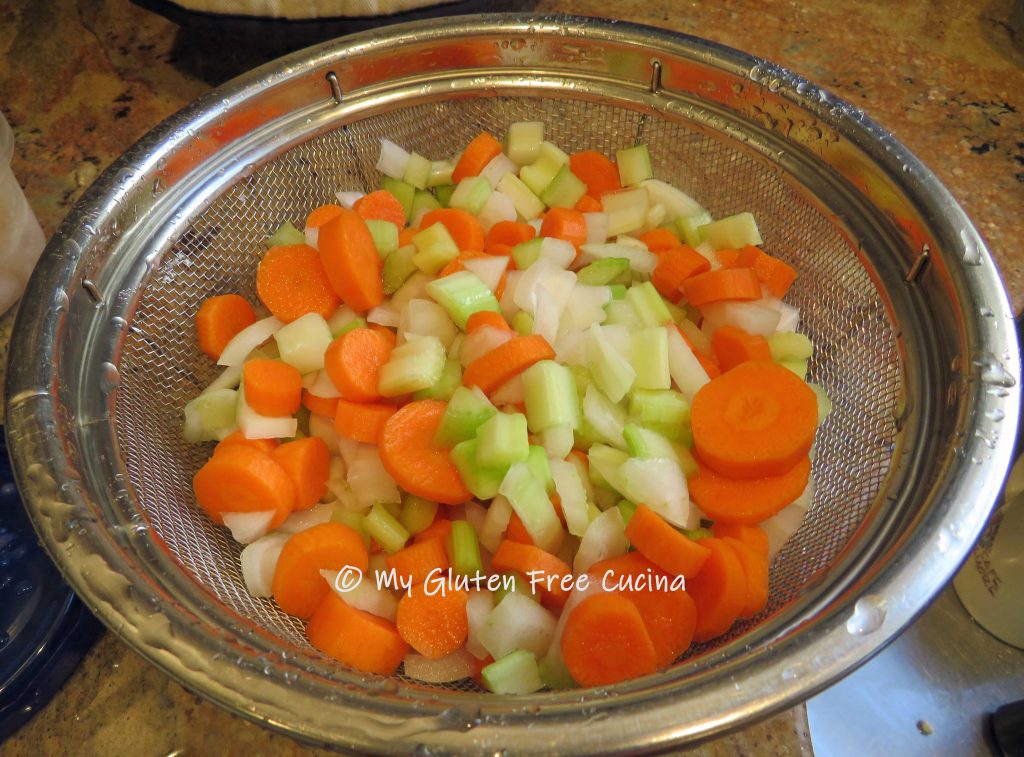 In a clean stockpot, sauté the vegetables in 1 tbsp. olive oil. Season with salt and pepper.
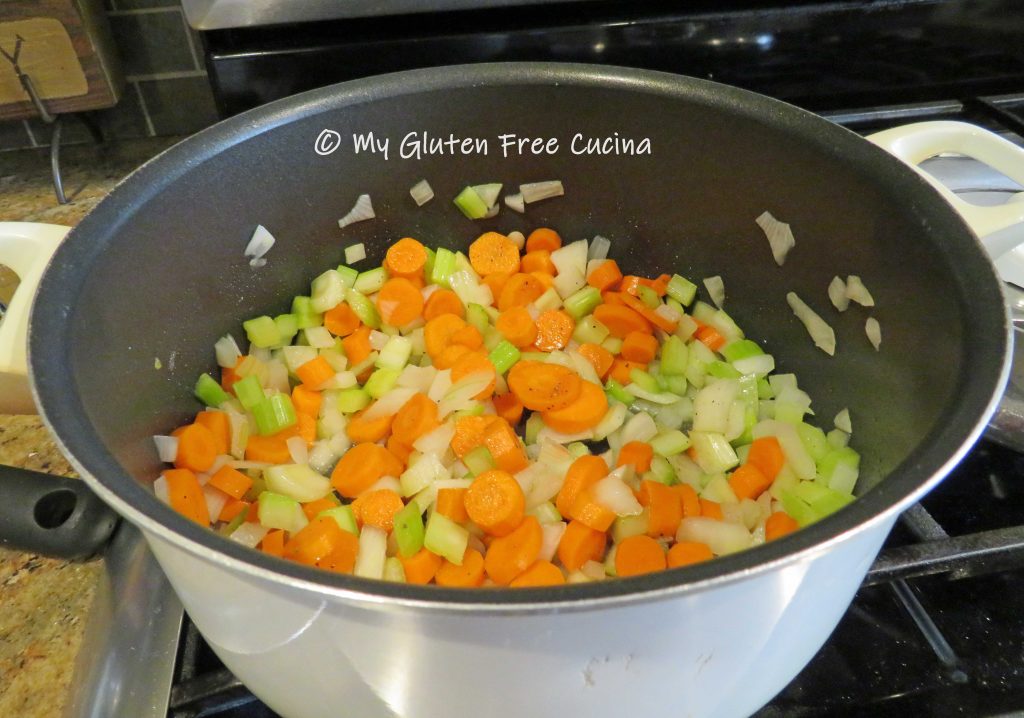

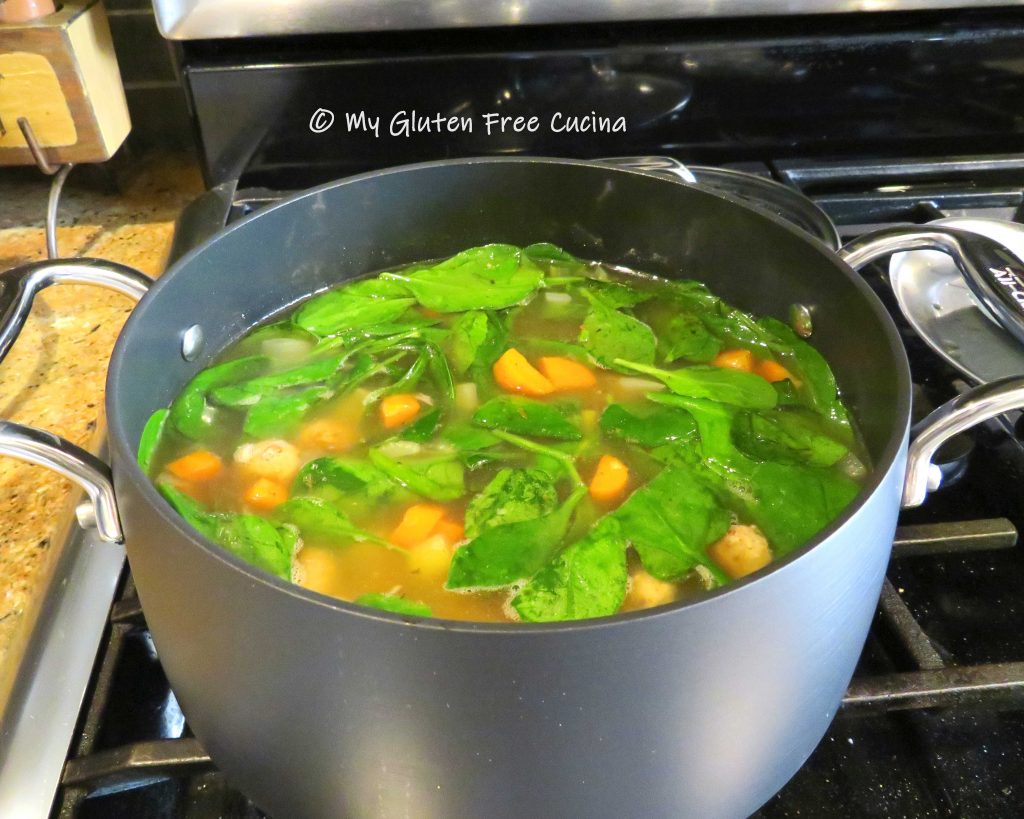
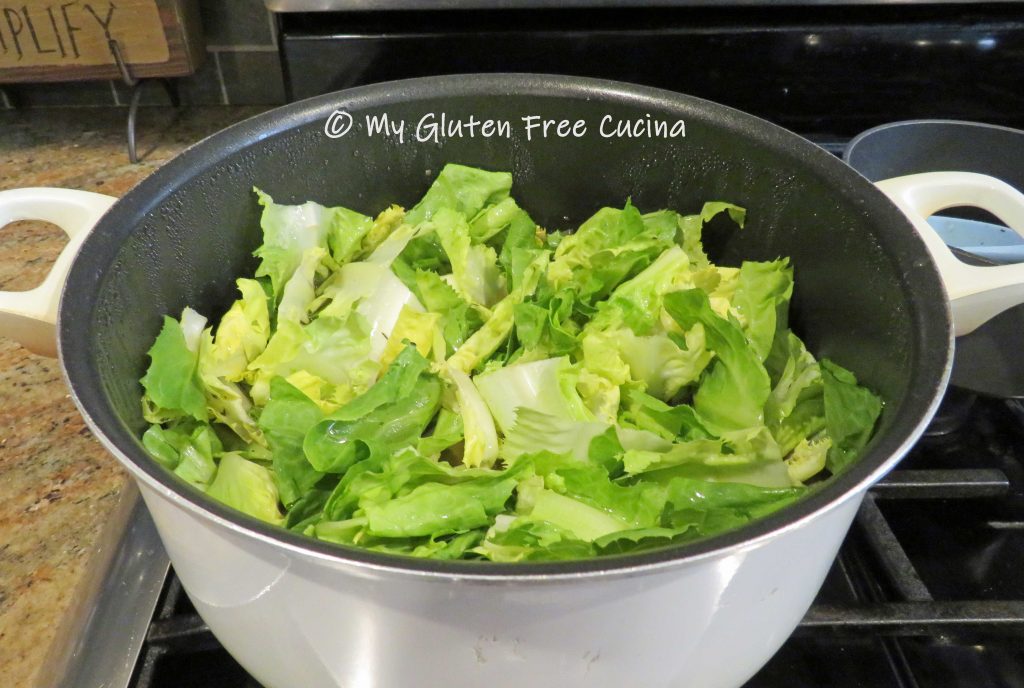
 Remove and discard the outer leaves of the escarole, then tear the leaves into large pieces and rinse thoroughly. To this day I can still hear my mother telling me to wash the escarole “leaf by leaf”.
 Escarole cooks quickly, and the residual heat is enough to wilt the leaves. Stir well, cover the pot and let it cool to room temperature. Refrigerate overnight.