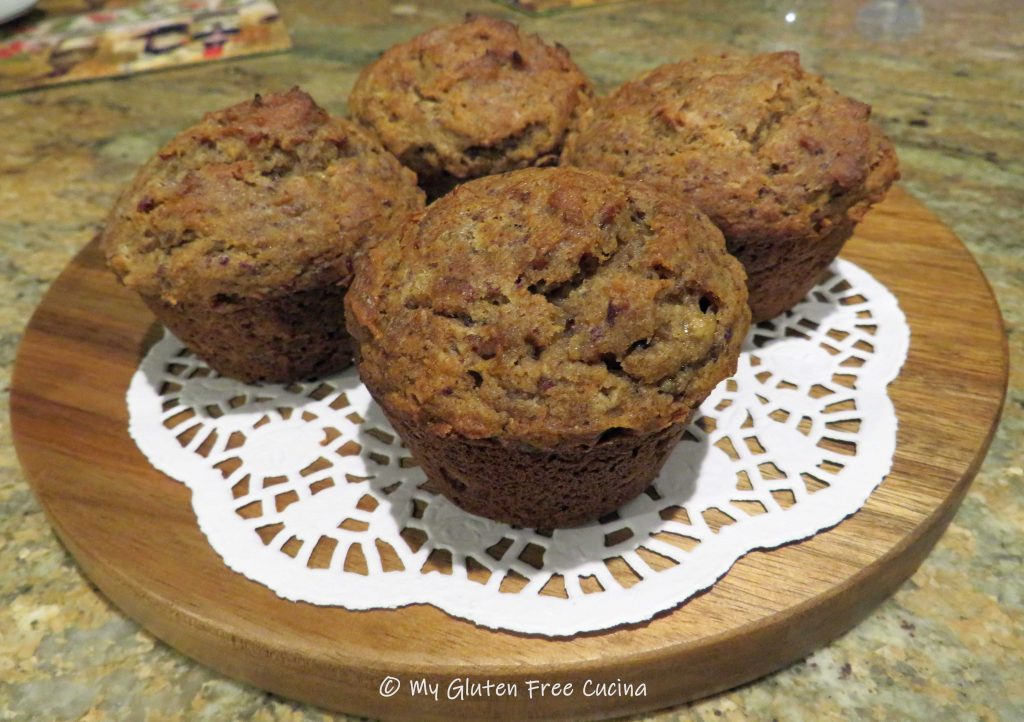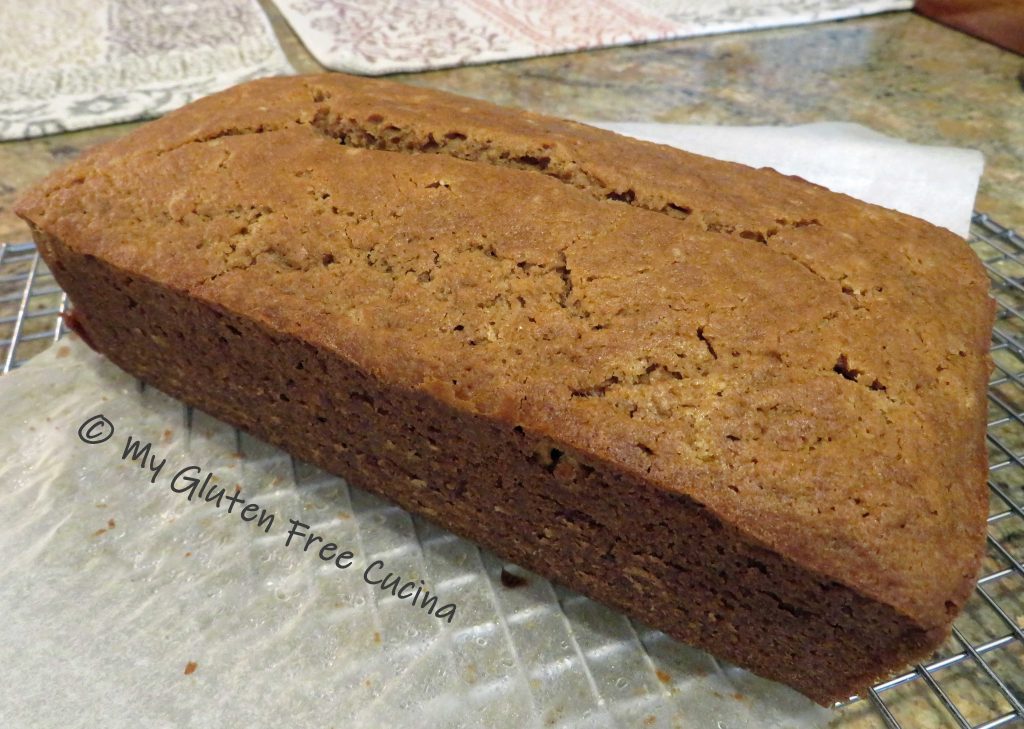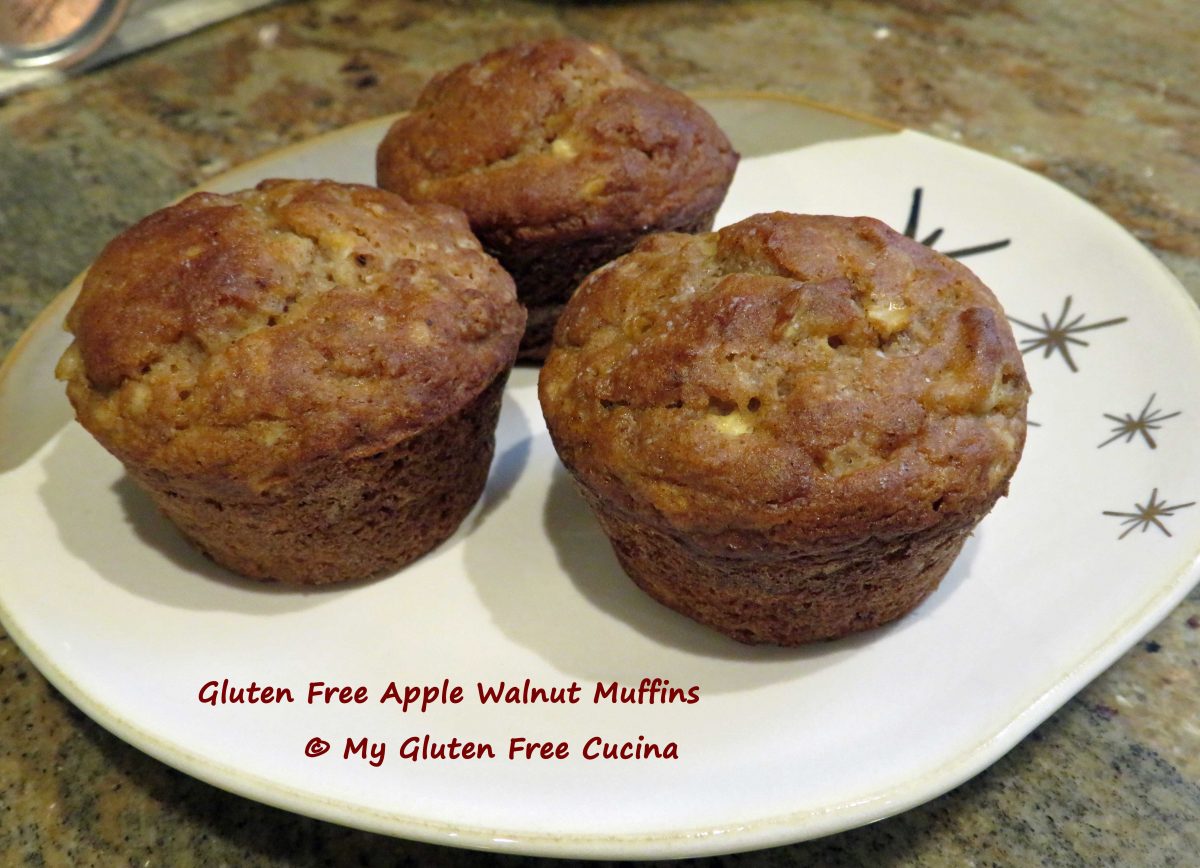
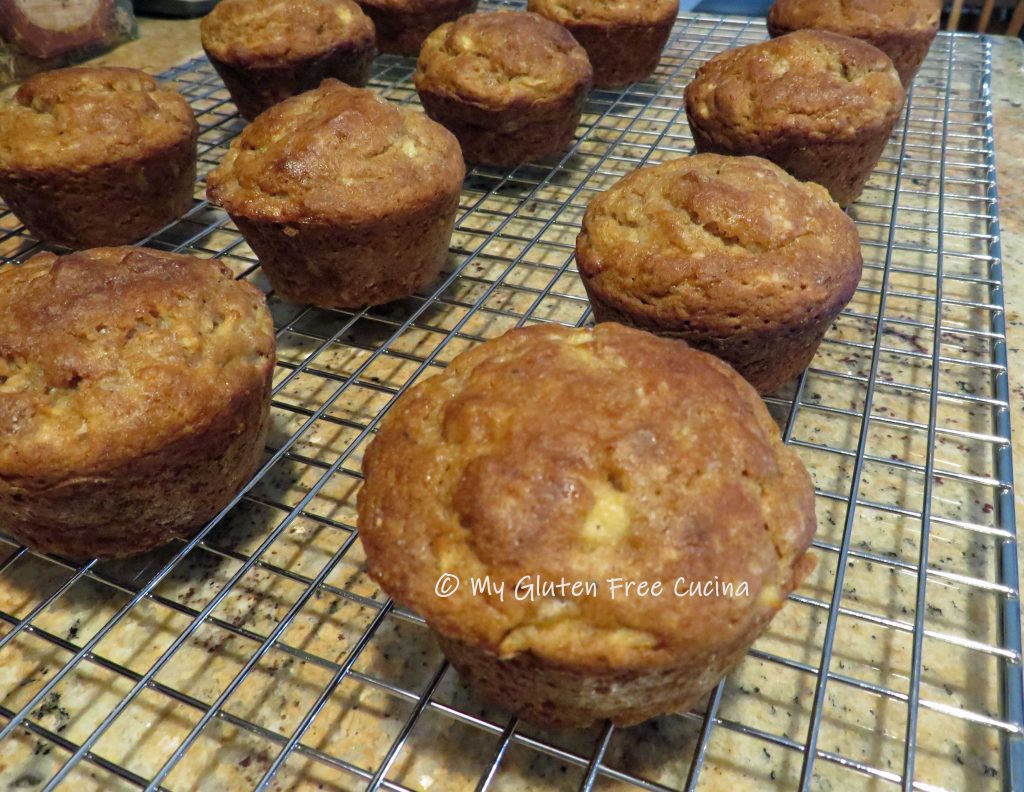
Here is another delicious gluten free muffin that you can enjoy for breakfast and snacks! This muffin has crisp bites of apple and toasted walnut baked into a lightly spiced batter. The recipe was one of my first posts, when I started this blog in 2018. Along the way, it has been updated. No, I did not change the recipe, it’s a keeper. My photography though, has improved vastly over the years (or is it the camera?). You be the judge.
This post contains affiliate links.

dry Ingredients:
- 210 g. (1-3/4 cups) gluten free all-purpose flour (see notes)
- 25 g. (1/4 cup) almond flour
- 2 tsp. baking powder
- 1 tsp. baking soda
- 1/2 tsp. salt
- 1-1/2 tsp. apple pie spice (see notes)
- 25 g. (1/4 cup) walnuts, chopped and toasted
Wet Ingredients:
- 1 apple, cut into small dice (about 1 cup)
- 2 large eggs
- 63 g. (1/3 cup) granulated sugar or Truvia
- 52 g. (1/3 cup) brown sugar or Truvia
- 3 tbsp. canola oil
- 3/4 cup + 2 tbsp. milk (I used 2%)
- 1 tsp. lemon juice
- cooking spray
- 1 tbsp. butter, for brushing
Preparation:
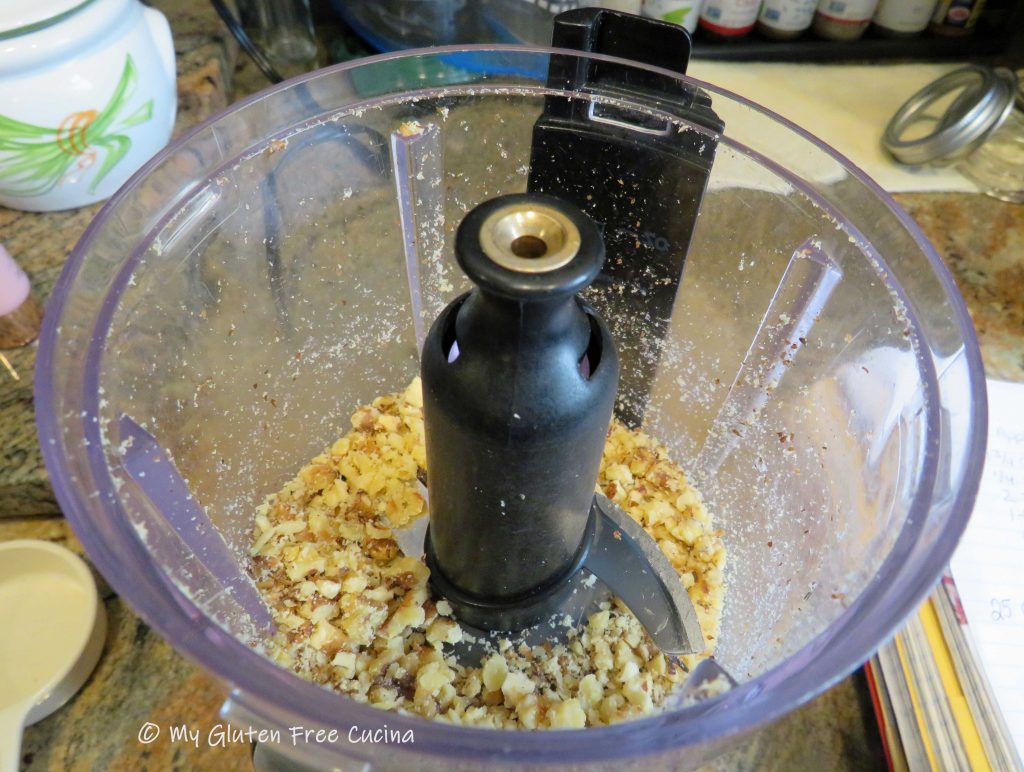
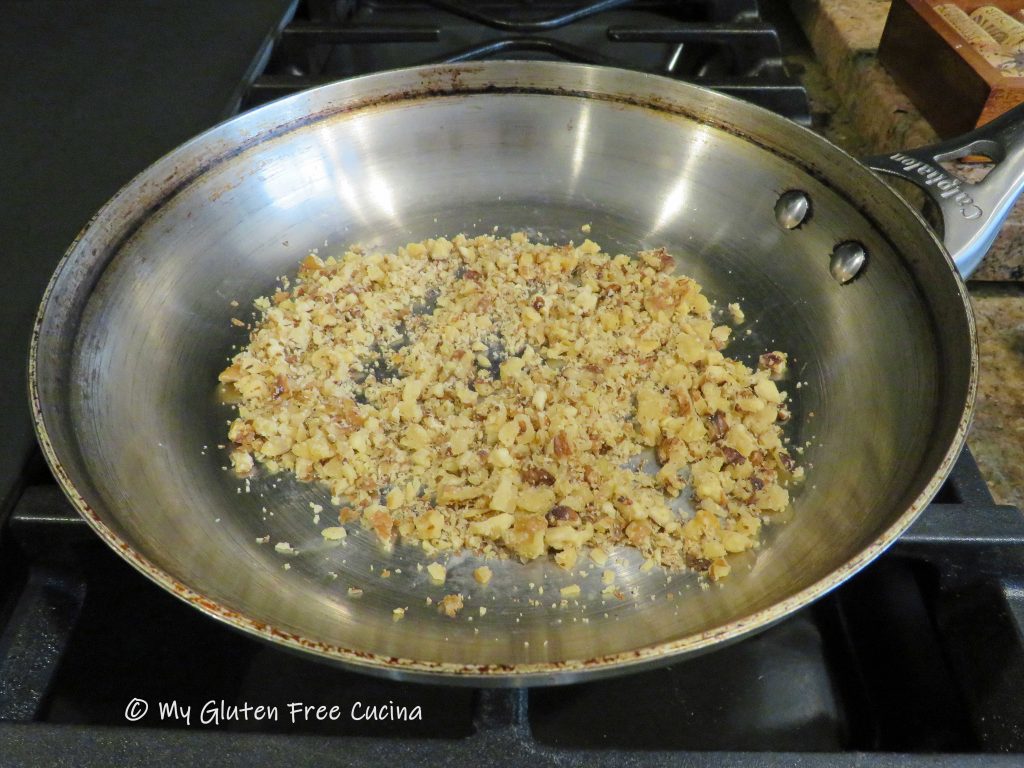
Mince the walnuts in an electric chopper, about 3 pulses, then lightly toast them in a dry skillet for 3-4 minutes. Set aside to cool.
Whisk together the dry ingredients.

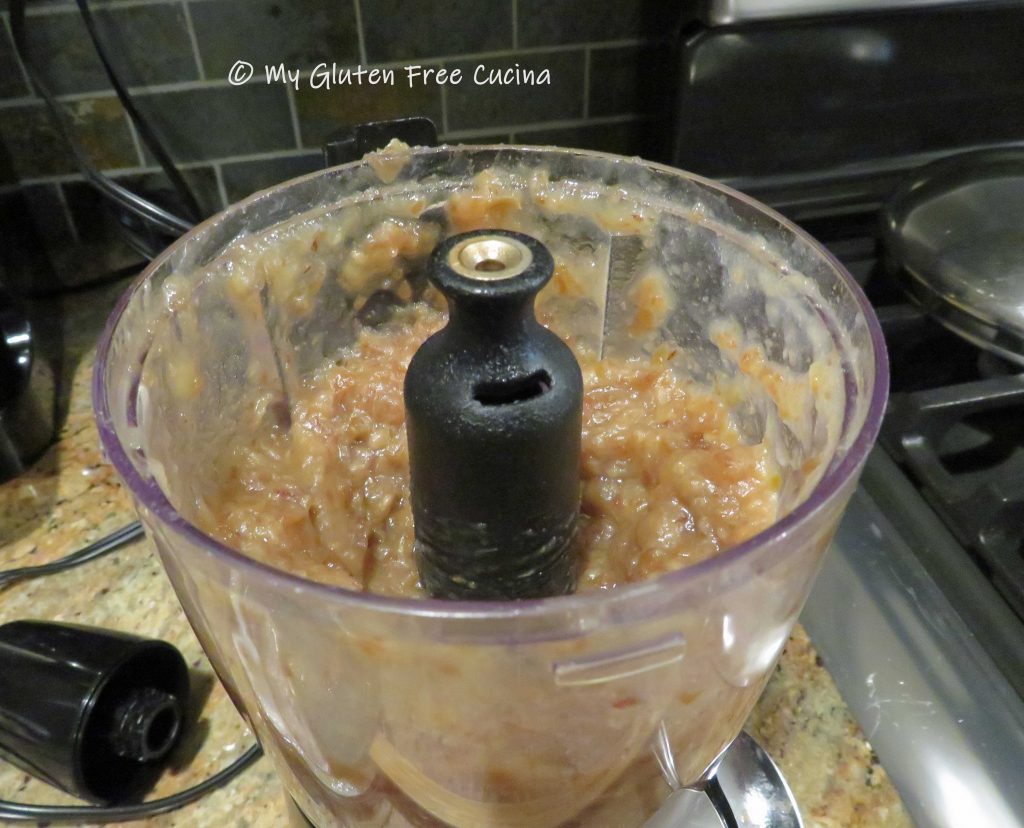
Chop the apple in an electric chopper (I used Honey Crisp, my favorite), then combine it with the remaining wet ingredients, through lemon juice in a separate bowl.


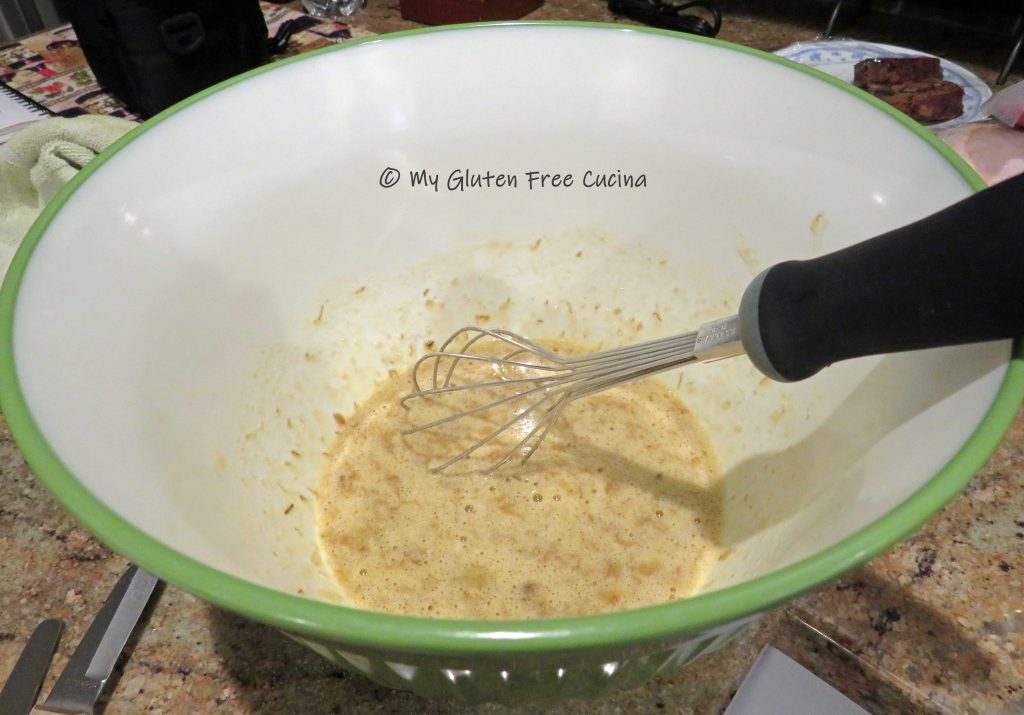
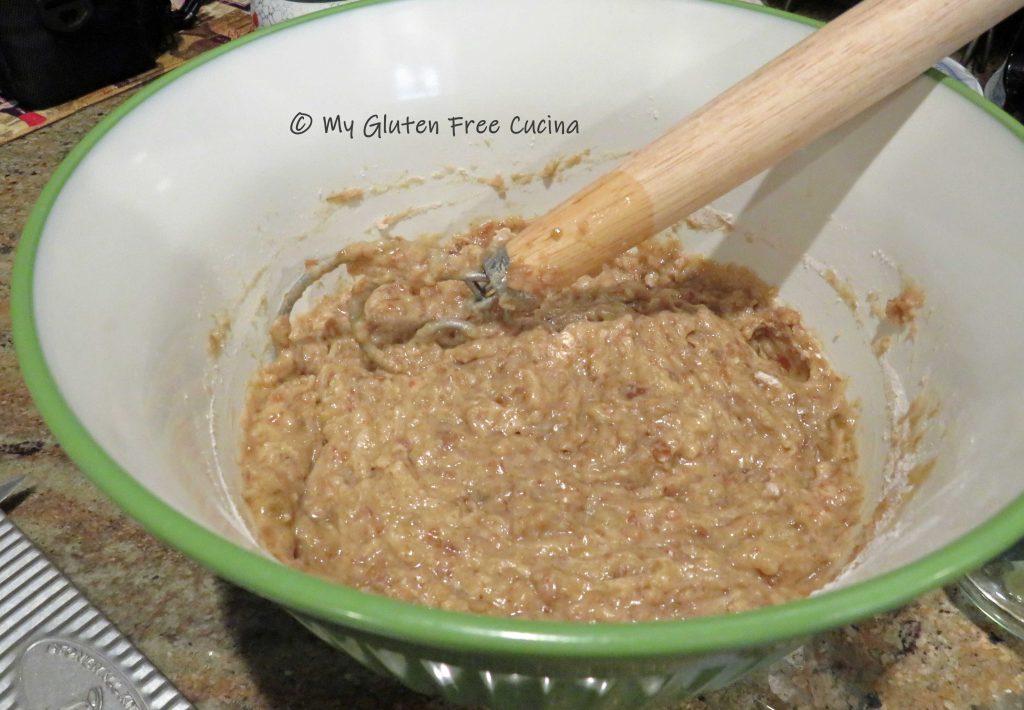
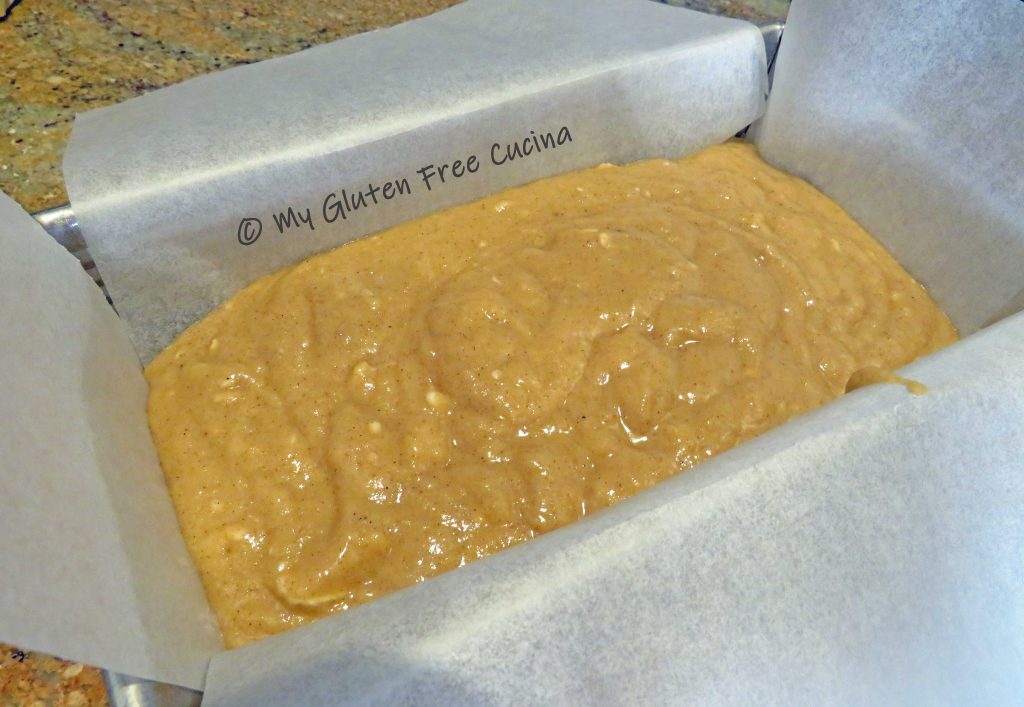
Stir the wet ingredients into the dry, just until moistened. A dough whisk is great for muffins and quick breads.

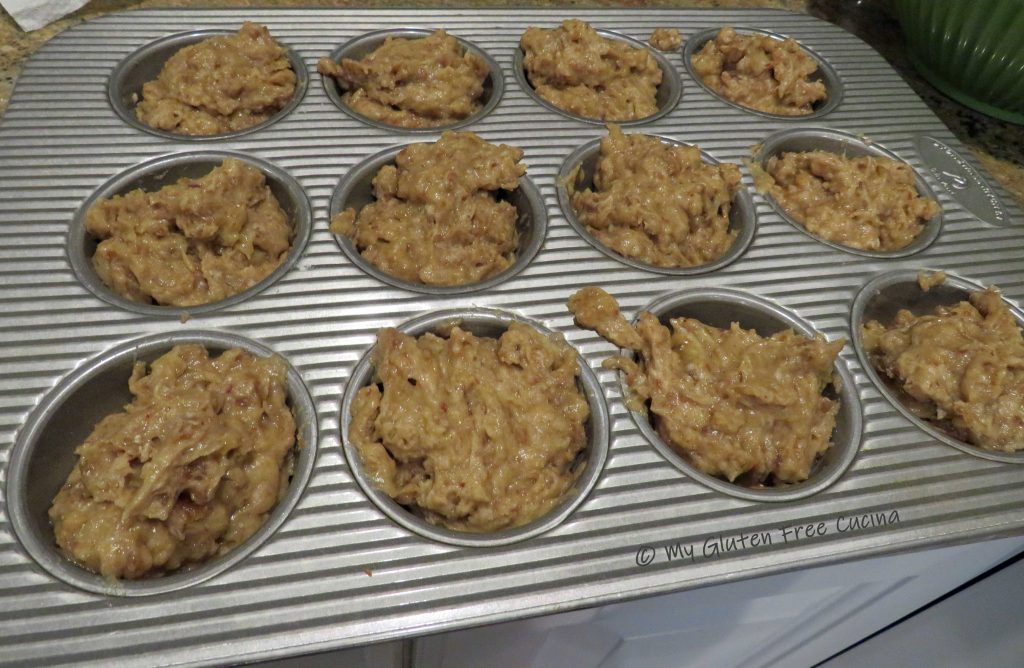
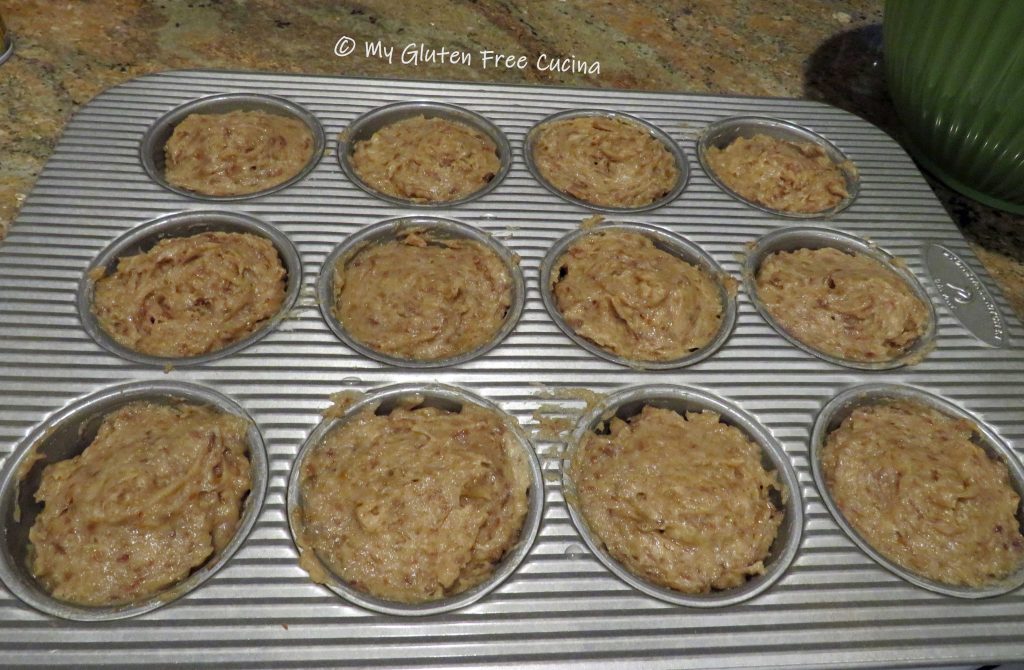
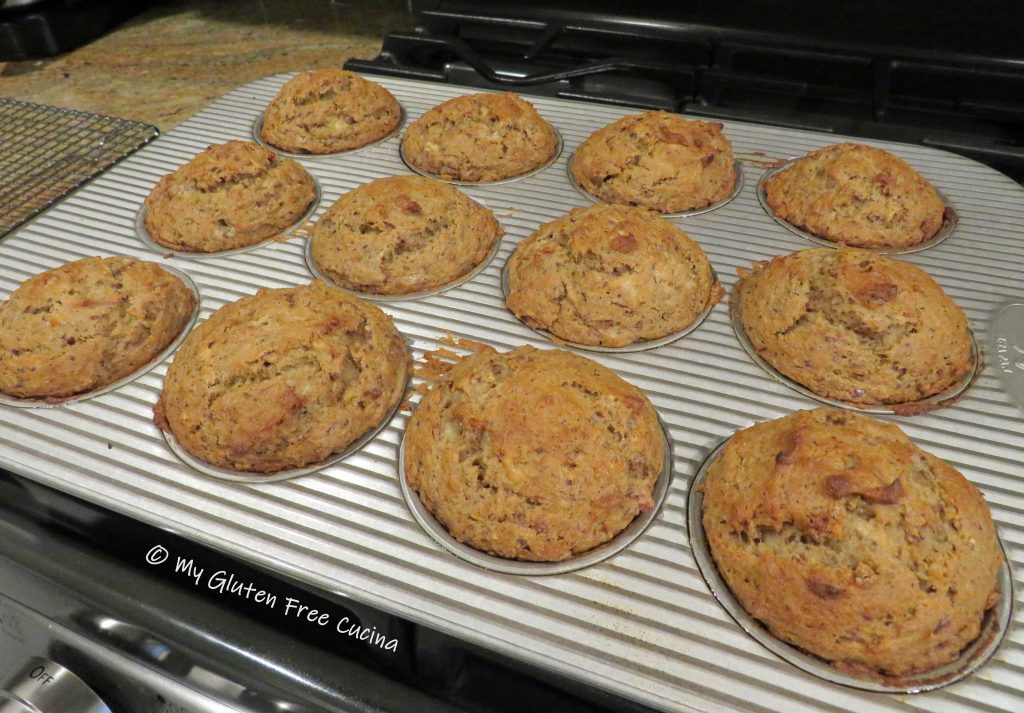
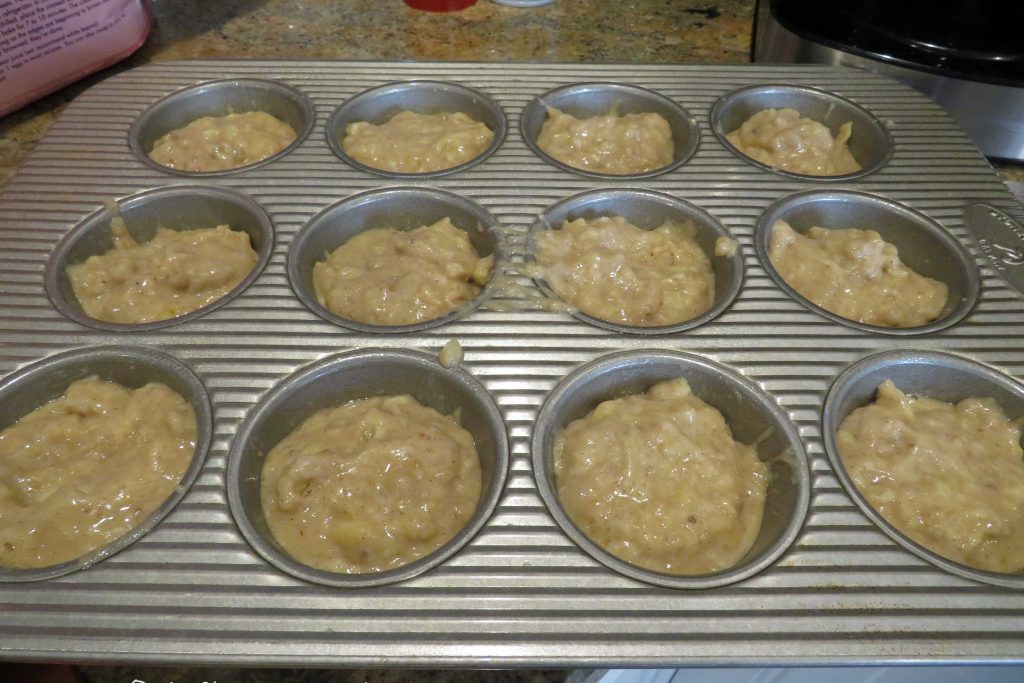
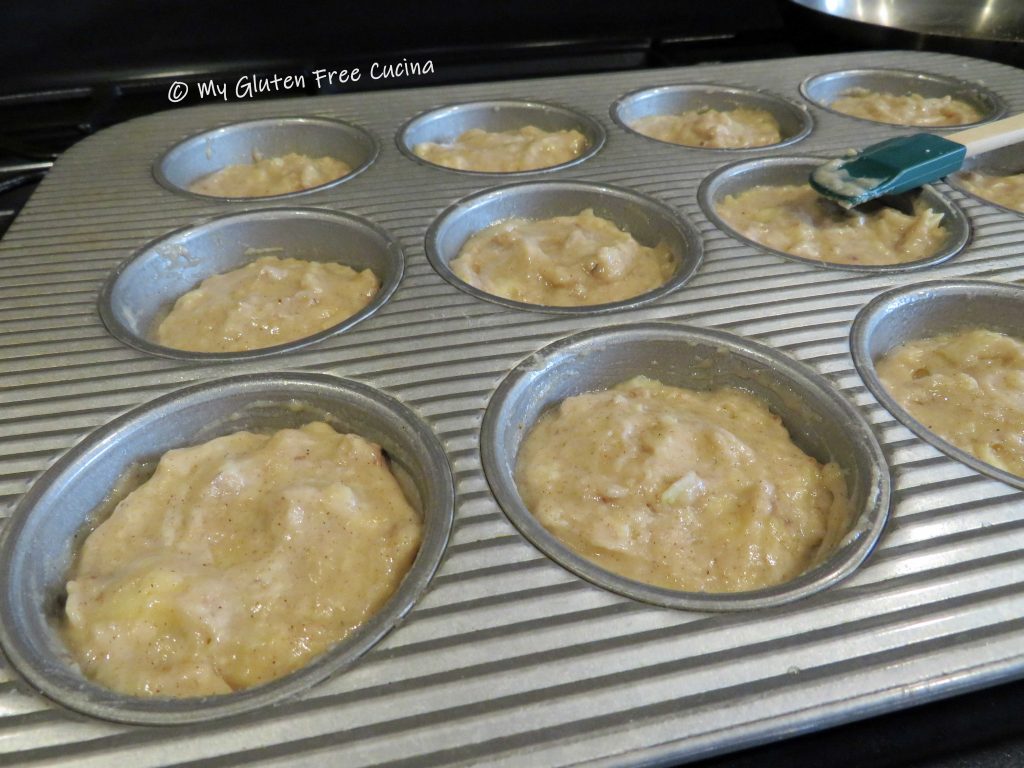
Use a wet spoon to divide the batter into 12 muffin cups, then use a spatula dipped in water to smooth out the tops. Gluten free batter doesn’t always spread well by itself, so this step will ensure a nice, rounded shape.
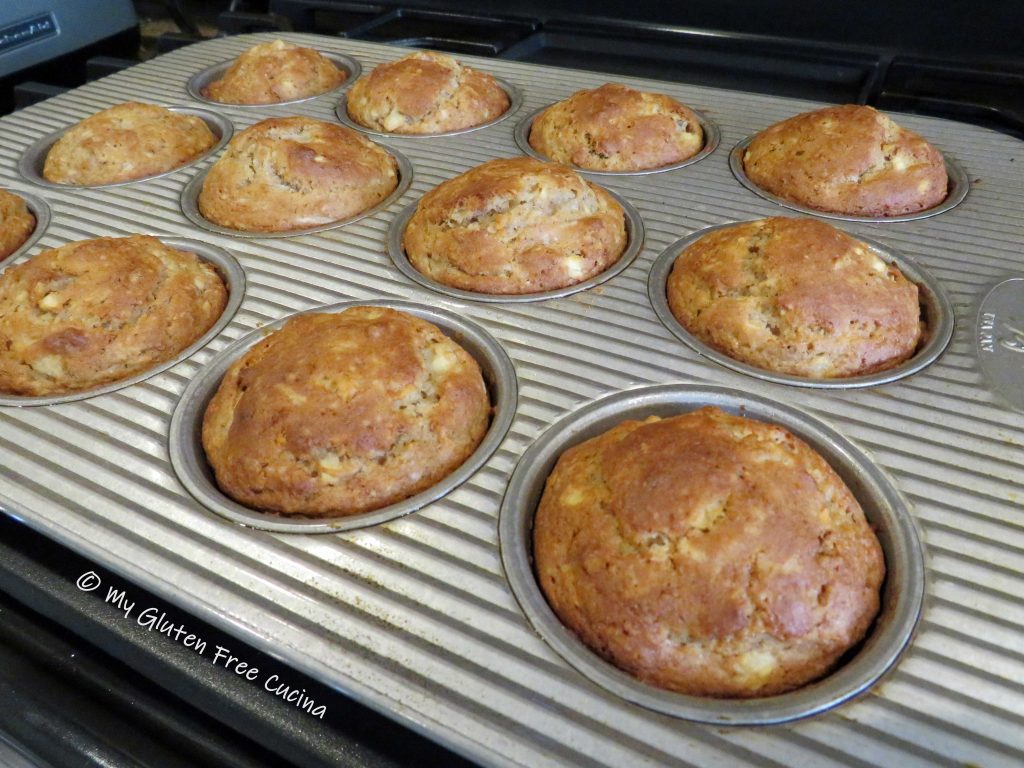
Bake for 20 minutes at 400º, the muffins should rise high with nicely rounded tops. Check the center with a toothpick.
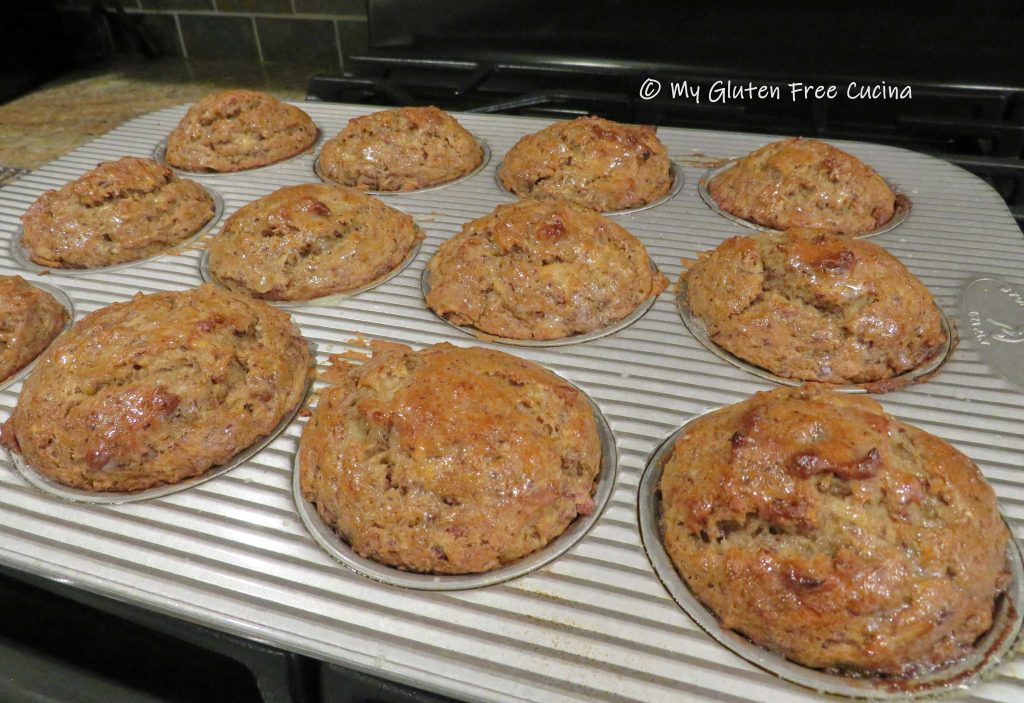
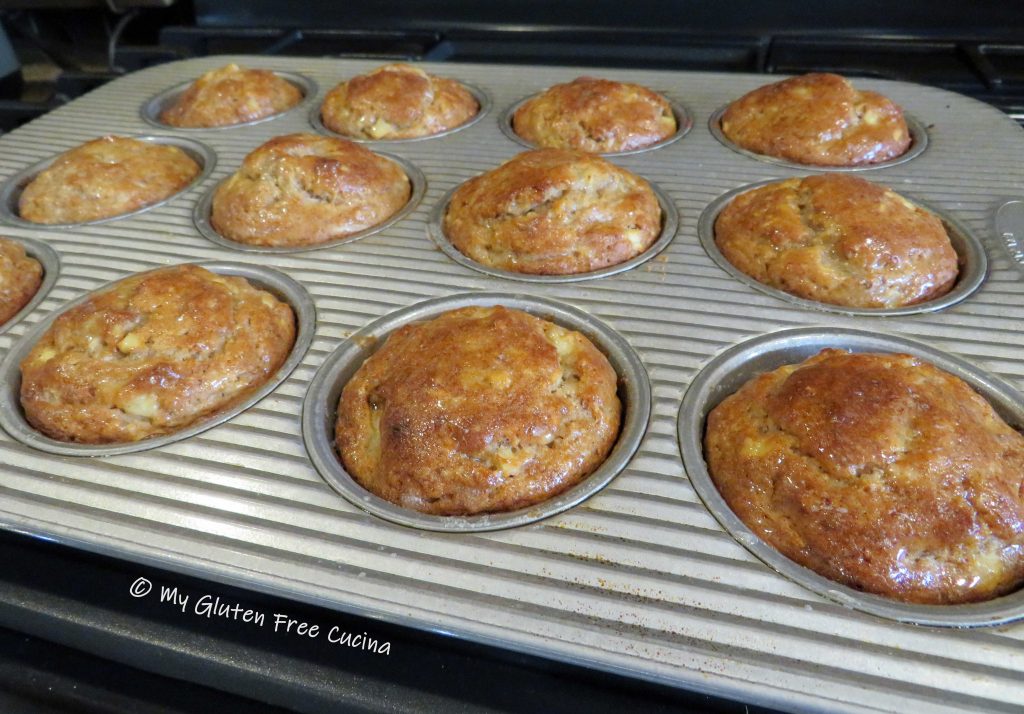
I melted a little butter and brushed it over the baked muffins for a nice shine.
Cool on a rack and serve warm or at room temperature.
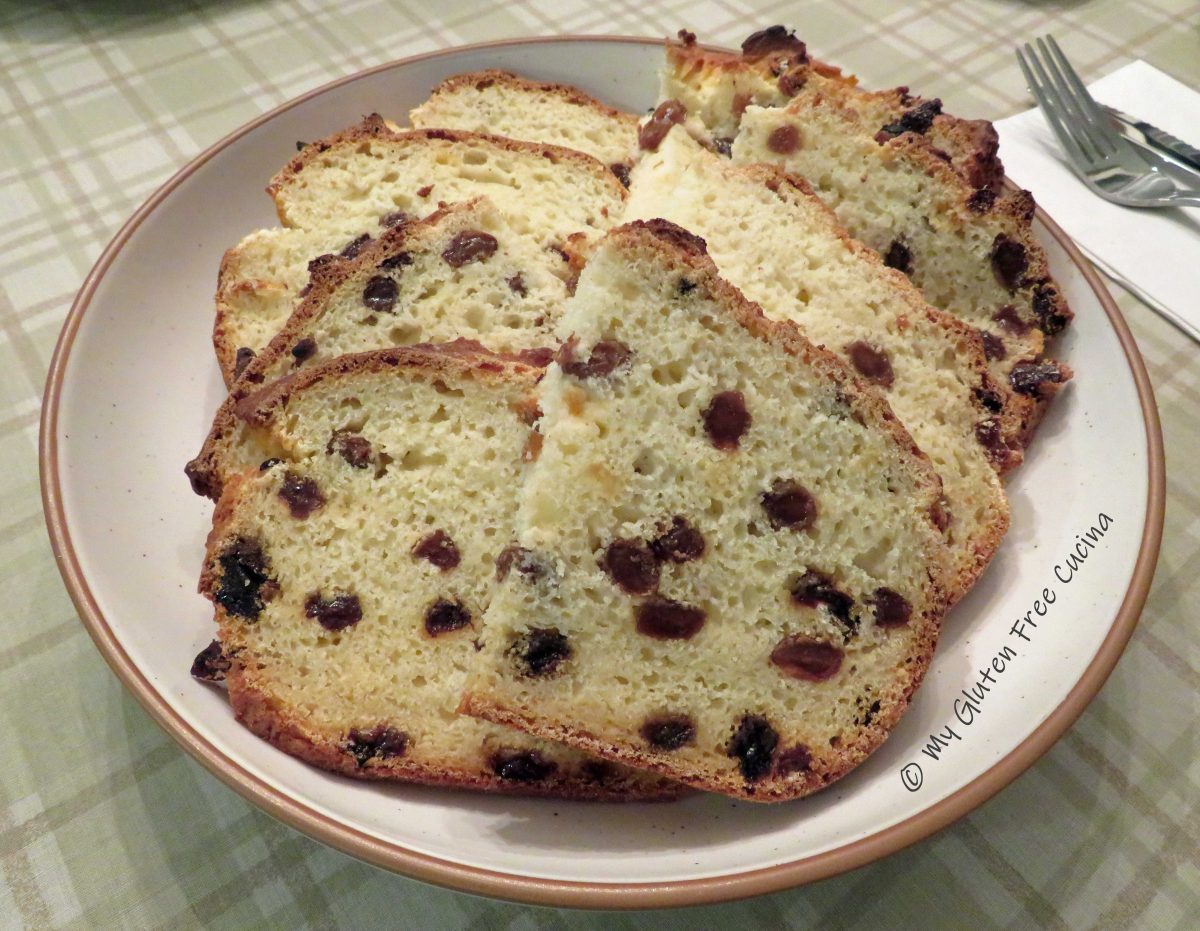
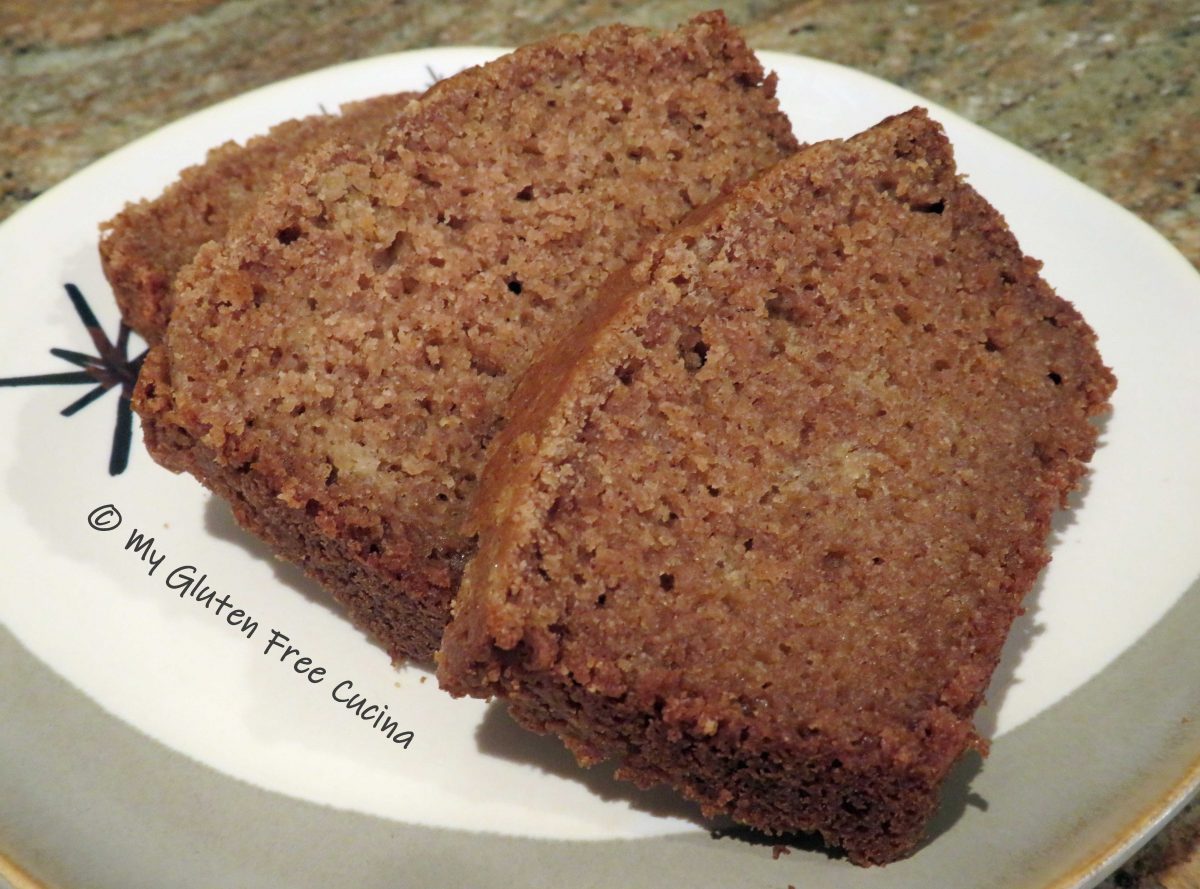
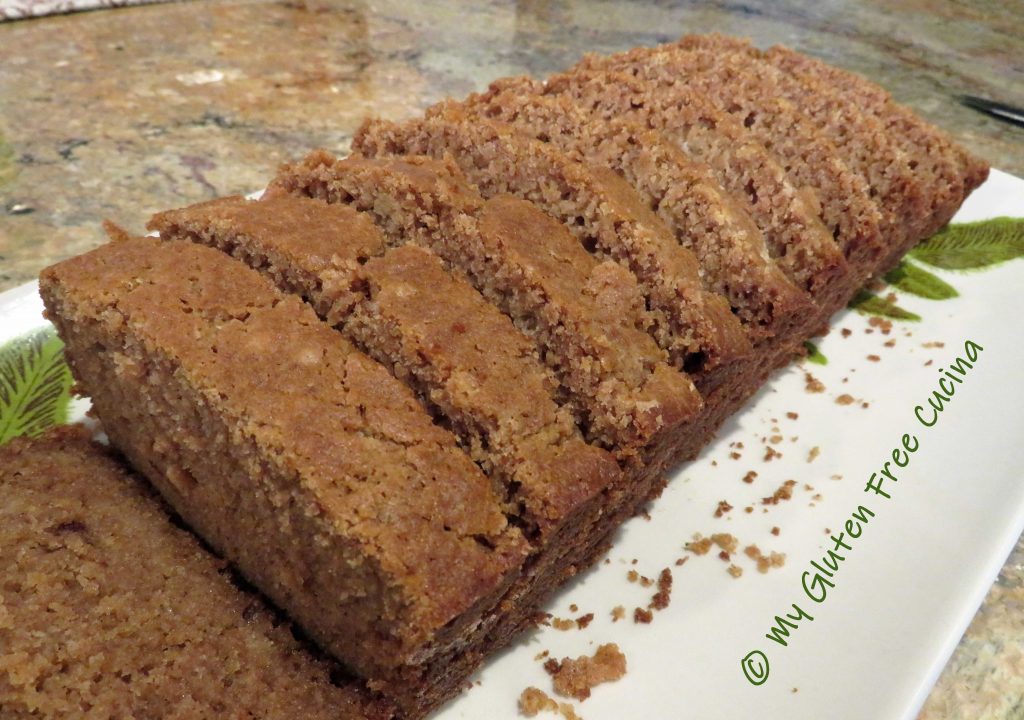
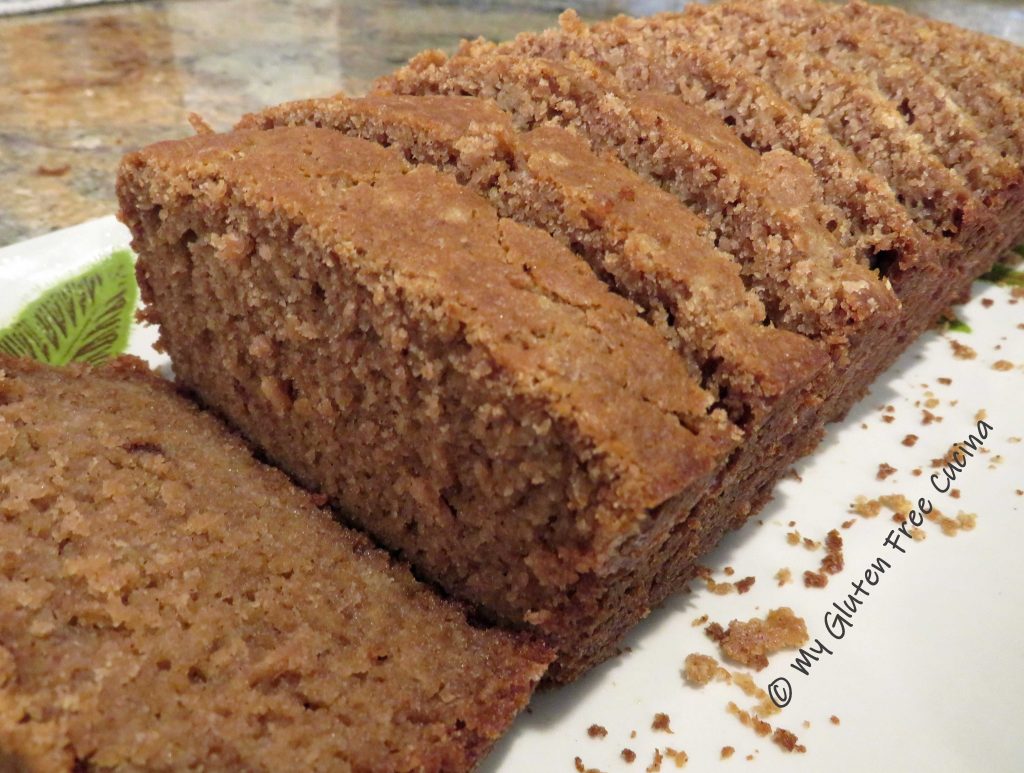
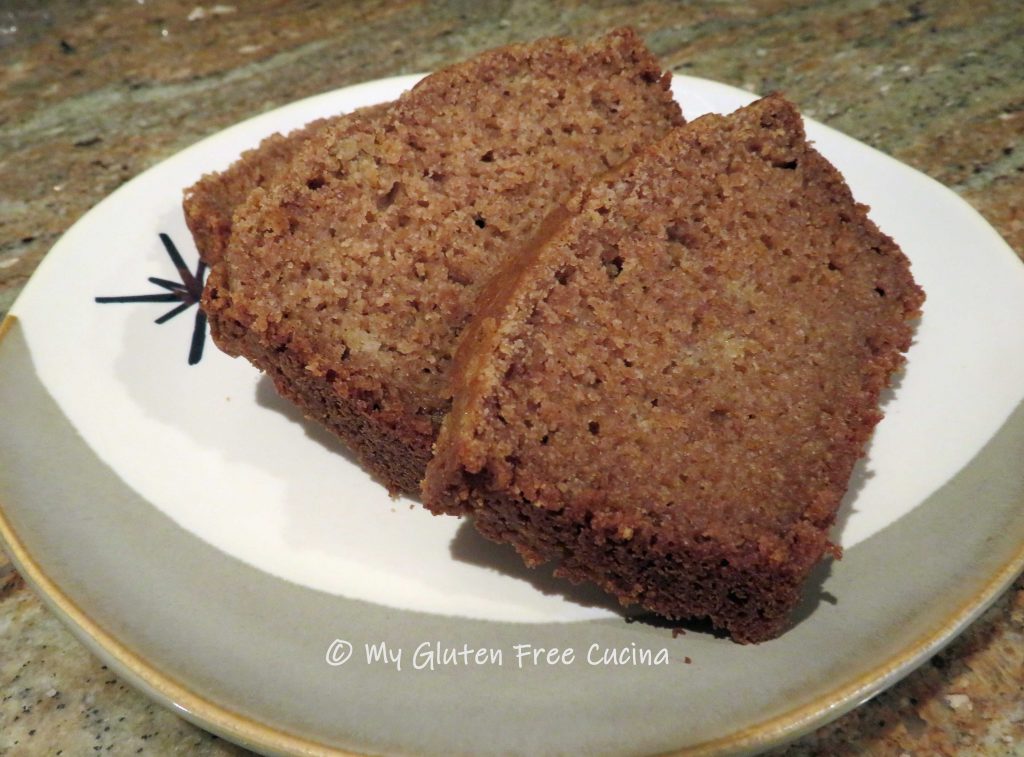
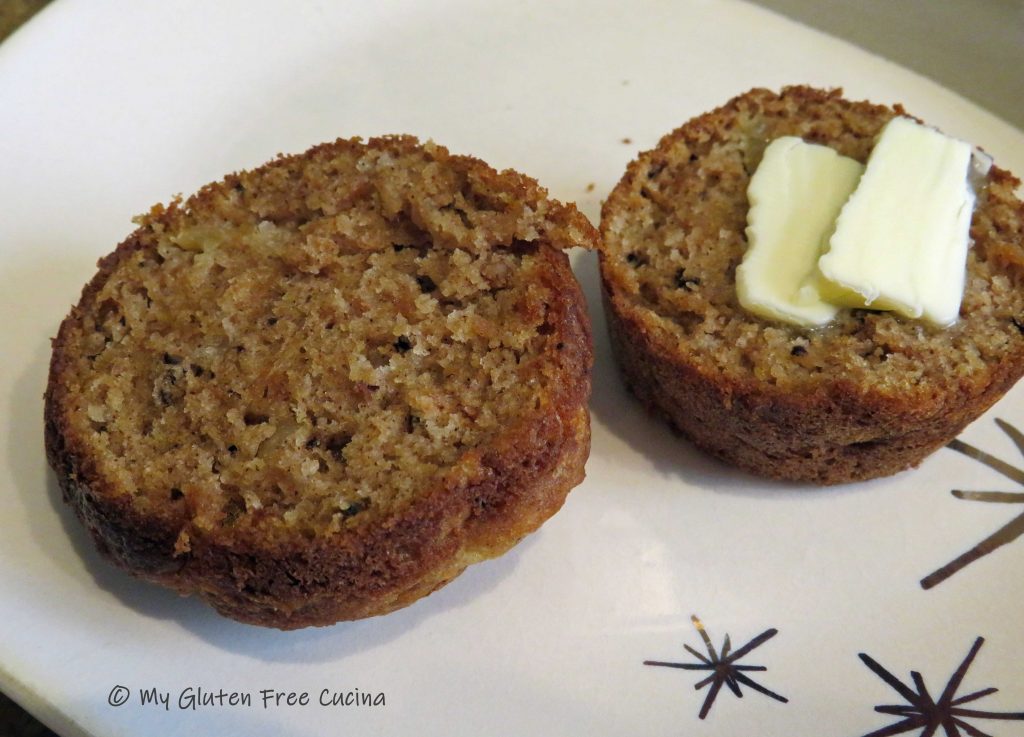
Here’s the crumb, nice and moist. They taste great and you would never know that they were gluten free. They freeze well too!
Notes ♪ I used my favorite gluten free all-purpose flour from Better Batter in this recipe.
Notes ♫ Try using a sugar substitute like Truvia if you need the muffins to be diabetic friendly, or a reduced sodium baking powder, if you need to lower the salt.
Notes ♪♫ If you don’t have apple pie spice, you can use 1-1/8 tsp. cinnamon, 1/4 tsp. nutmeg and 1/8 tsp. ground allspice.
Original Post 6/10/2018 Updated 6/10/2023