Gluten Free Jambalaya Pasta

Gluten Free Jambalaya Pasta

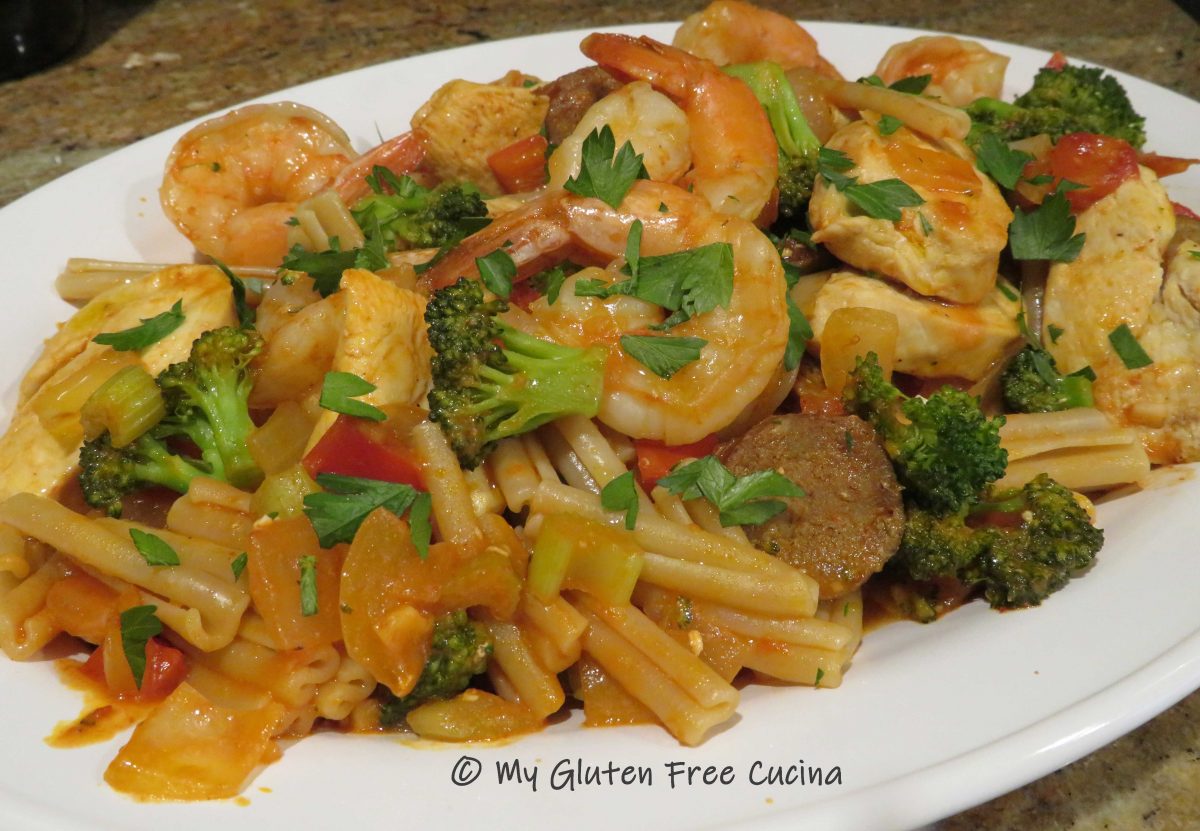
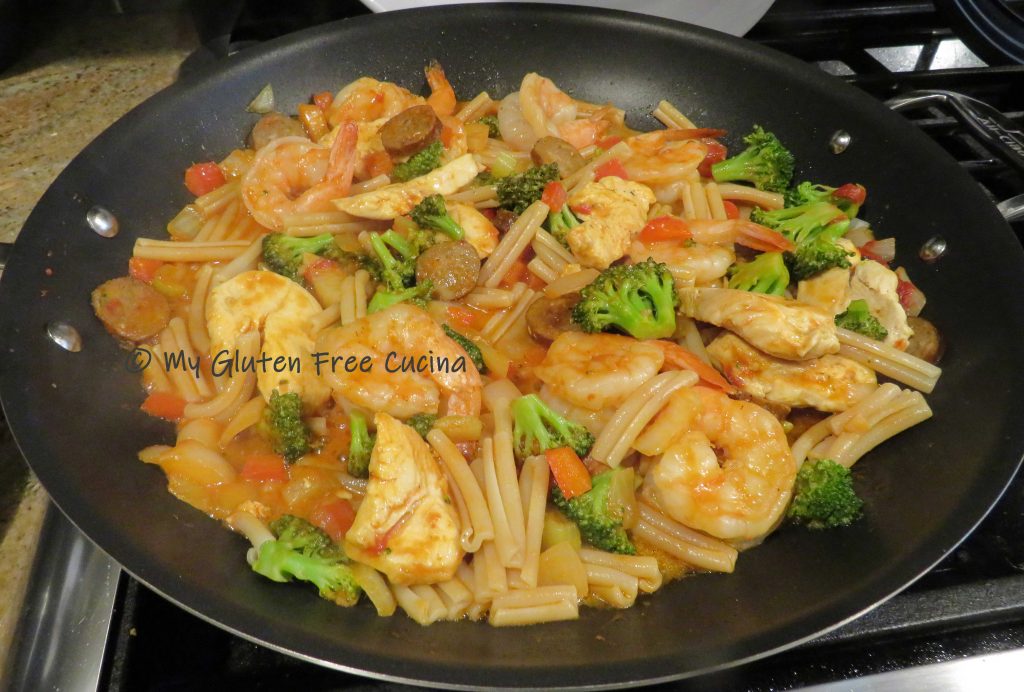
Fra Diavolo meets Cajun in this spicy pasta dish with a definite southern twist!  Cajun seasoning gives it a real kick, and it can be anything from a modest pinch to a generous shake, you decide.  I borrowed smoky Andouille sausage, chicken and shrimp from the traditional recipe, along with the “trinity” of pepper, onion and celery.  I finished it with a light tomato sauce but instead of rice I served it over gluten free Casarecce pasta from Jovial, one of my absolute favorites!  Use pork or chicken Andouille sausage in this recipe.  Always check ingredients and look for the gluten free label.

4 Servings

This post contains affiliate links.

Ingredients:

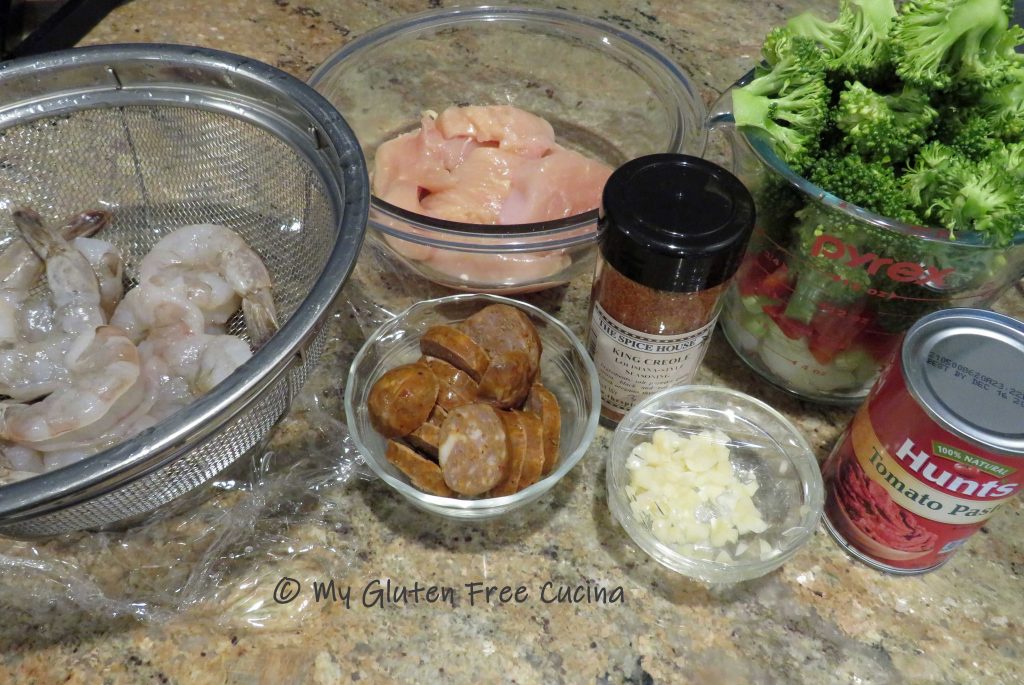
  • 6 oz. Andouille sausage, cut into coins
  • 6 oz. colossal raw shrimp (about 6), peeled and deveined
  • 12 oz. boneless chicken breast, cut into medallions
  • 2 cups broccoli florets, cut into 1″ pieces
  • 1/4 cup red bell pepper, diced
  • 1/2 cup sweet onion, diced
  • ¼ cup celery, sliced
  • 1 tbsp. garlic, minced
  • olive oil, about 2 tbsp.
  • 3 tbsp. tomato paste
  • 3 tbsp. cream, half and half or milk
  • Cajun or Creole seasoning
  • 4 oz. gluten free pasta, cooked 2 minutes less than package directions
  • 3 ladles of the pasta water
  • Parsley for garnish

Preparation:

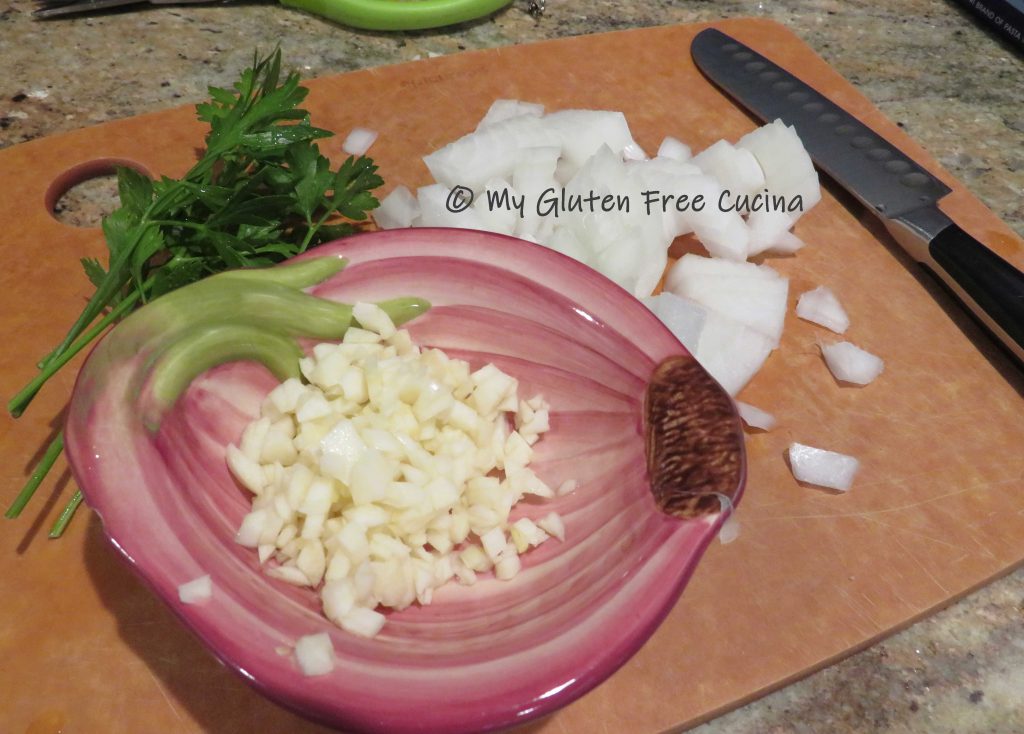
Once the ingredients are prepped, this meal comes together in about 15 minutes.  Slice the sausage into coins, peel and devein the shrimp, slice the chicken into medallions.  Mince the garlic and dice the bell pepper, onion and celery.  Chop the broccoli into bite size pieces.

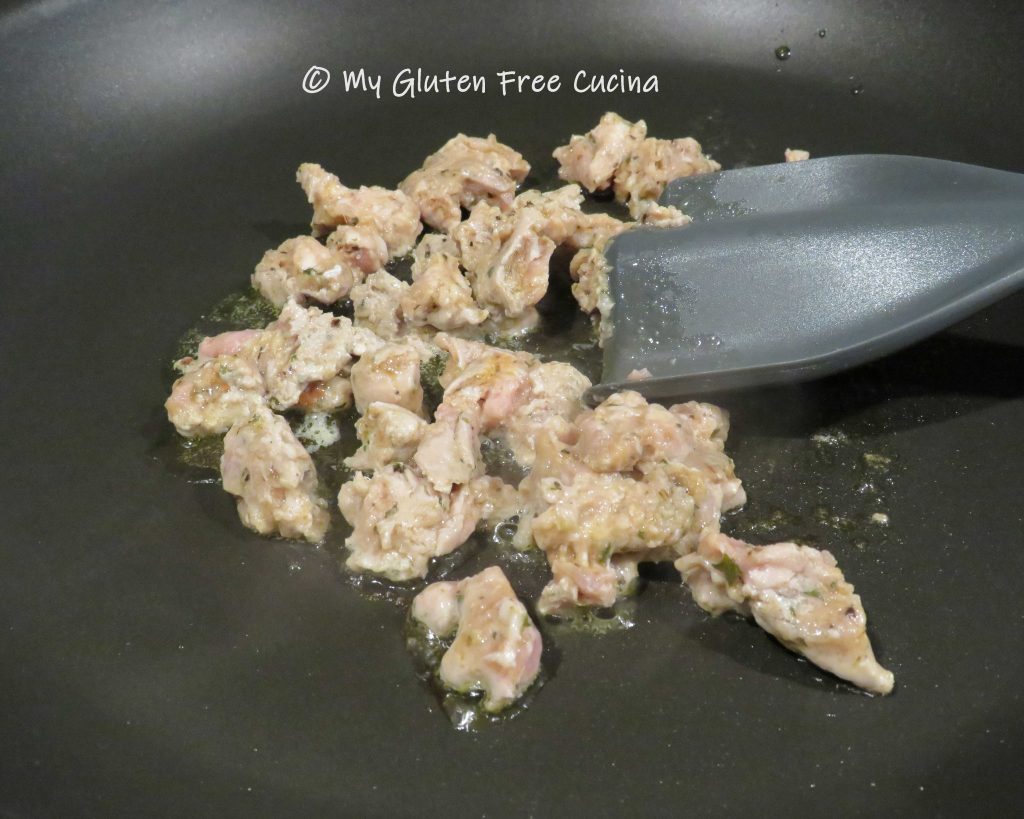
Cook the pasta to 2 minutes less than package directions, reserving 3 cups of the pasta water.  Heat a large skillet with olive oil.  Add the sausage and cook 1 minute, or until the sausage begins to release its fat.

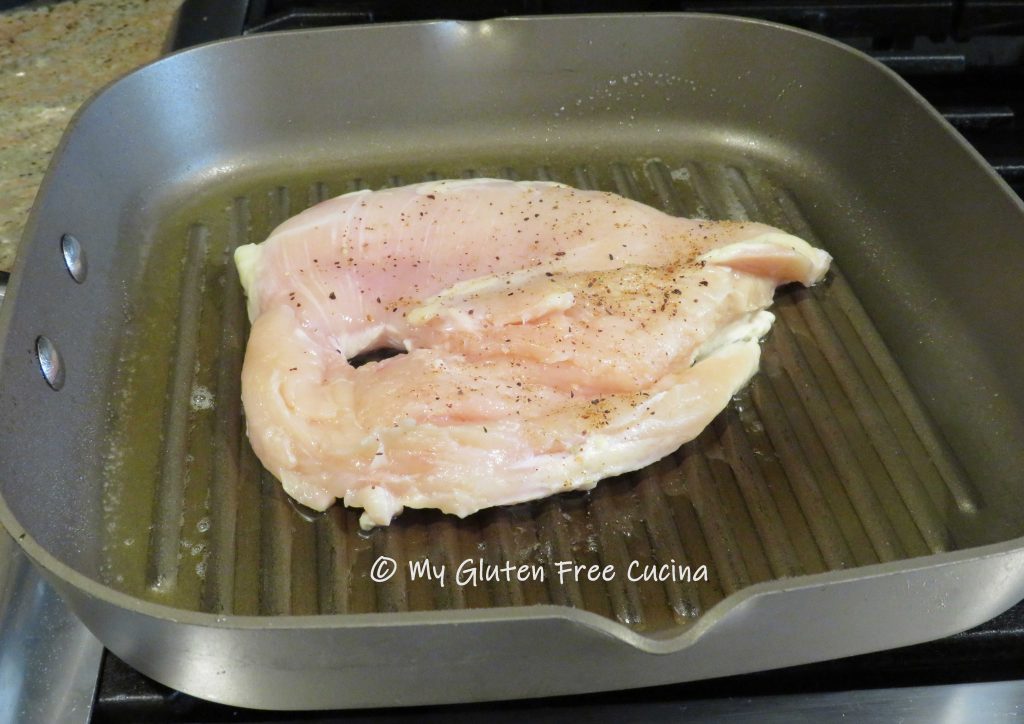
Add the chicken, season well and cook 3 minutes longer, turning once.  It does not need to be cooked through at this point.

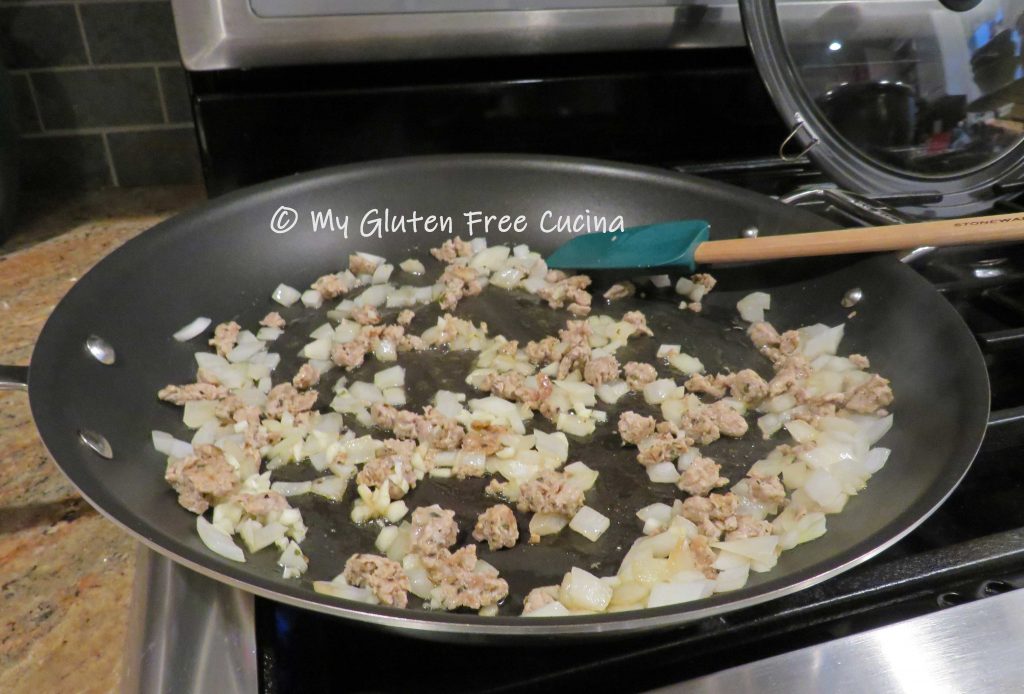
Add the broccoli, peppers, onions, celery and garlic.

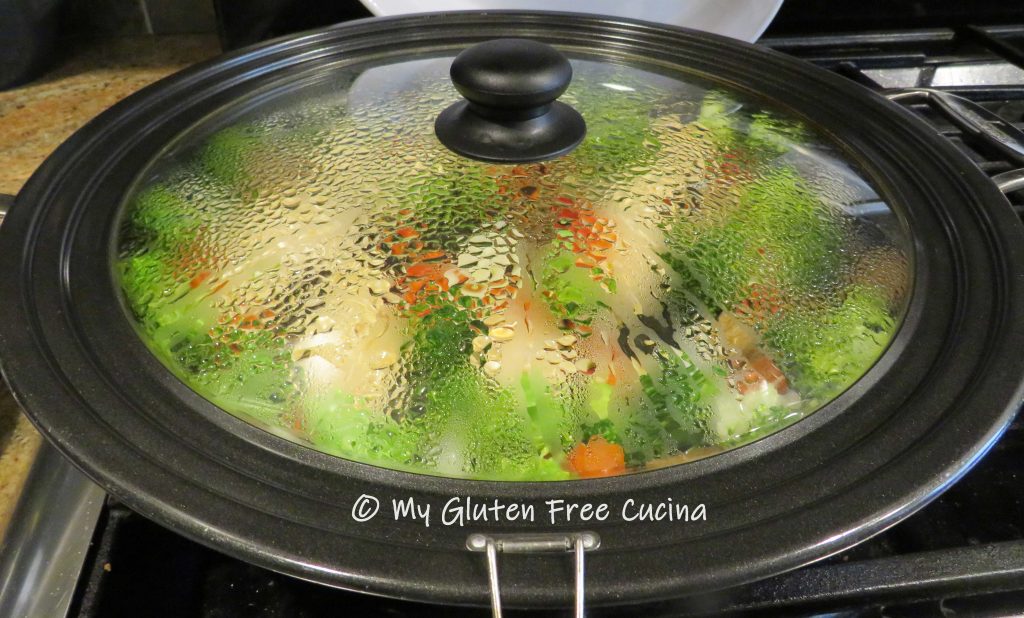
Season, cover and cook 3 minutes until the veggies are crisp tender.

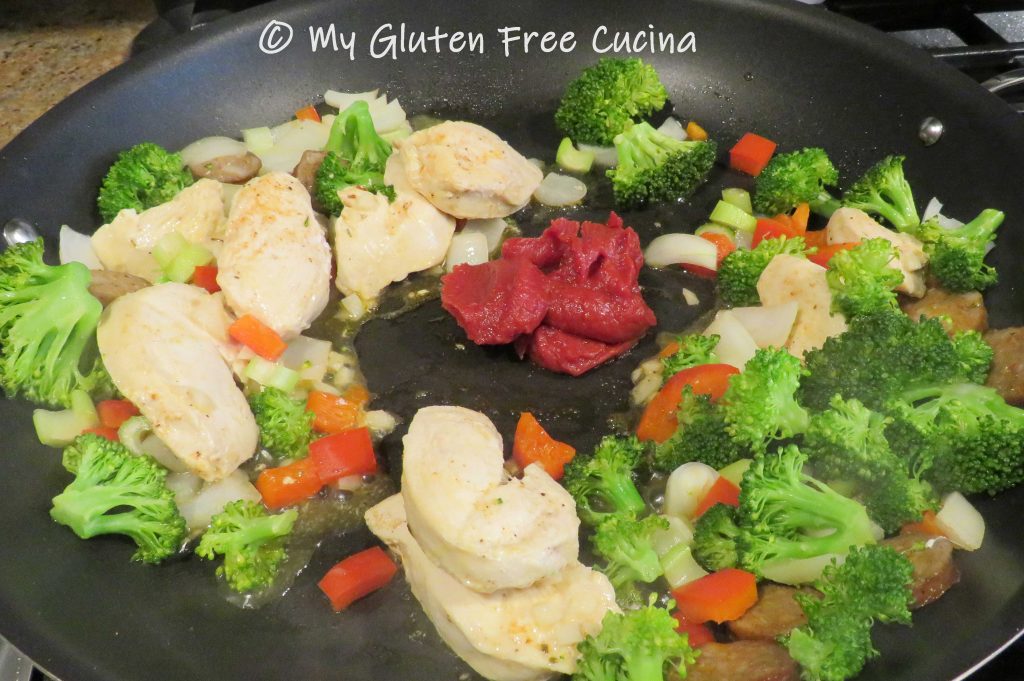
Make a space in the center of the skillet and add the tomato paste.  Let it toast for 1 minute, pushing it around with a spatula then toss it with the meat and vegetables.

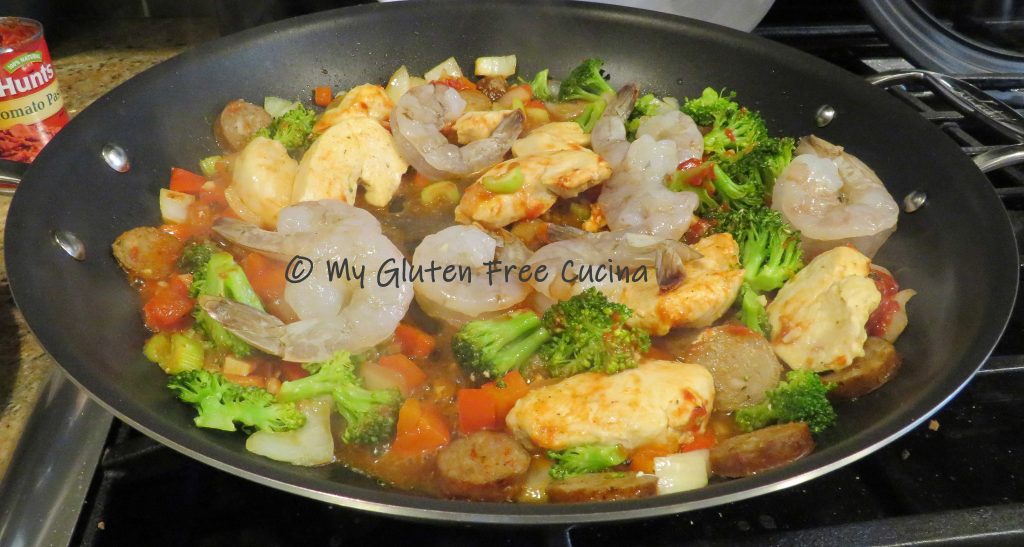
Add 1 ladle of the pasta water with the shrimp, and continue cooking just until the shrimp turns pink.

Add 2 more ladles of pasta water with the cream, half and half or milk.  Look at the gorgeous colors!

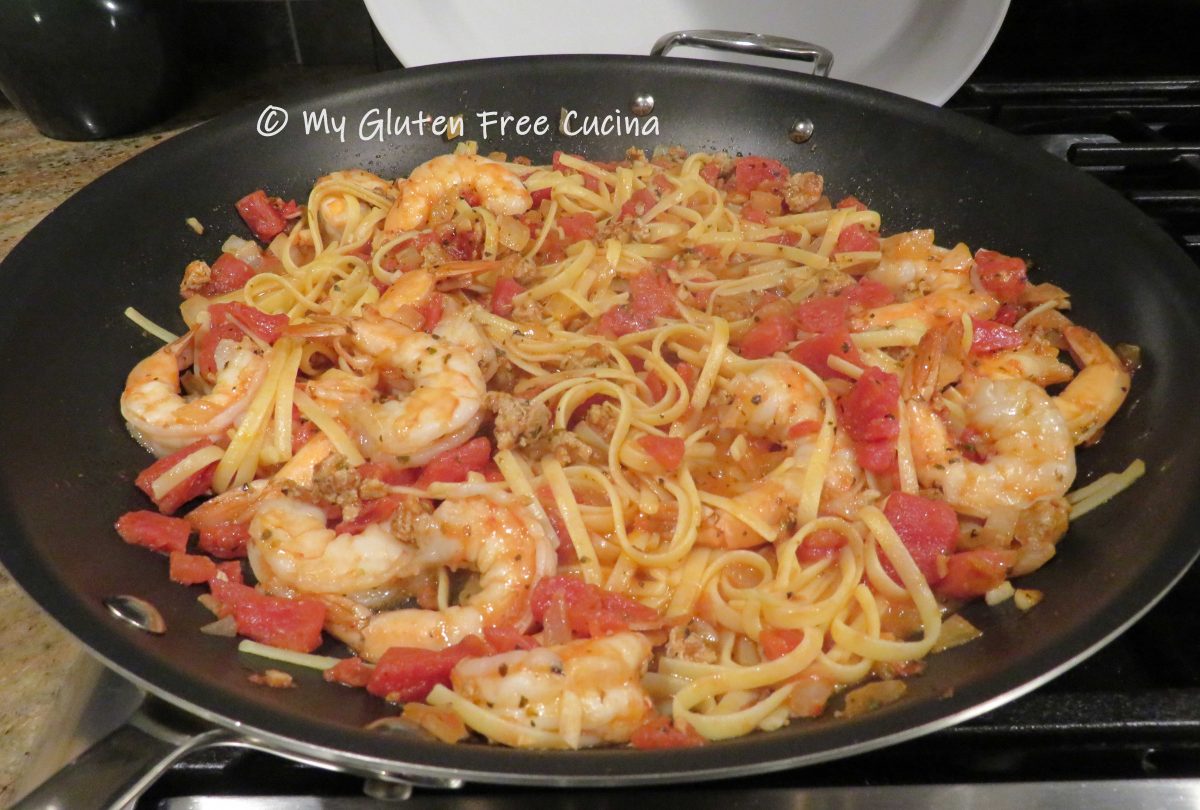
Finally, add the drained pasta to the skillet and toss well for another 2 minutes to finish cooking the pasta and meld the flavors.

Transfer to a platter, garnish with parsley and dinner is ready.  It smells so good; I hurried through the photo shoot so we could dig in!

Hubby loved this dish and so did I.  The Andouille sausage gave it just the right amount of heat.  I went easy on the seasoning, but next time I’ll give it a few extra shakes!

This pasta version of Jambalaya is my favorite, maybe because I’m Italian!  I hope you enjoyed it as well.  For more Jambalaya recipes check out my traditional Jambalaya and my Jambalaya stuffed peppers!

Notes: ♪♫ What is the difference between Cajun and creole seasoning?  Cajun seasoning is spicy combination of peppers and herbs that bring on the heat, while Creole seasoning leans more toward a balanced blend of heat and sweet.  It’s a matter of taste, so use whatever makes your palette happy!

Print This Post Print This Post

Gluten Free Penne with Italian Chicken Sausage and Broccoli

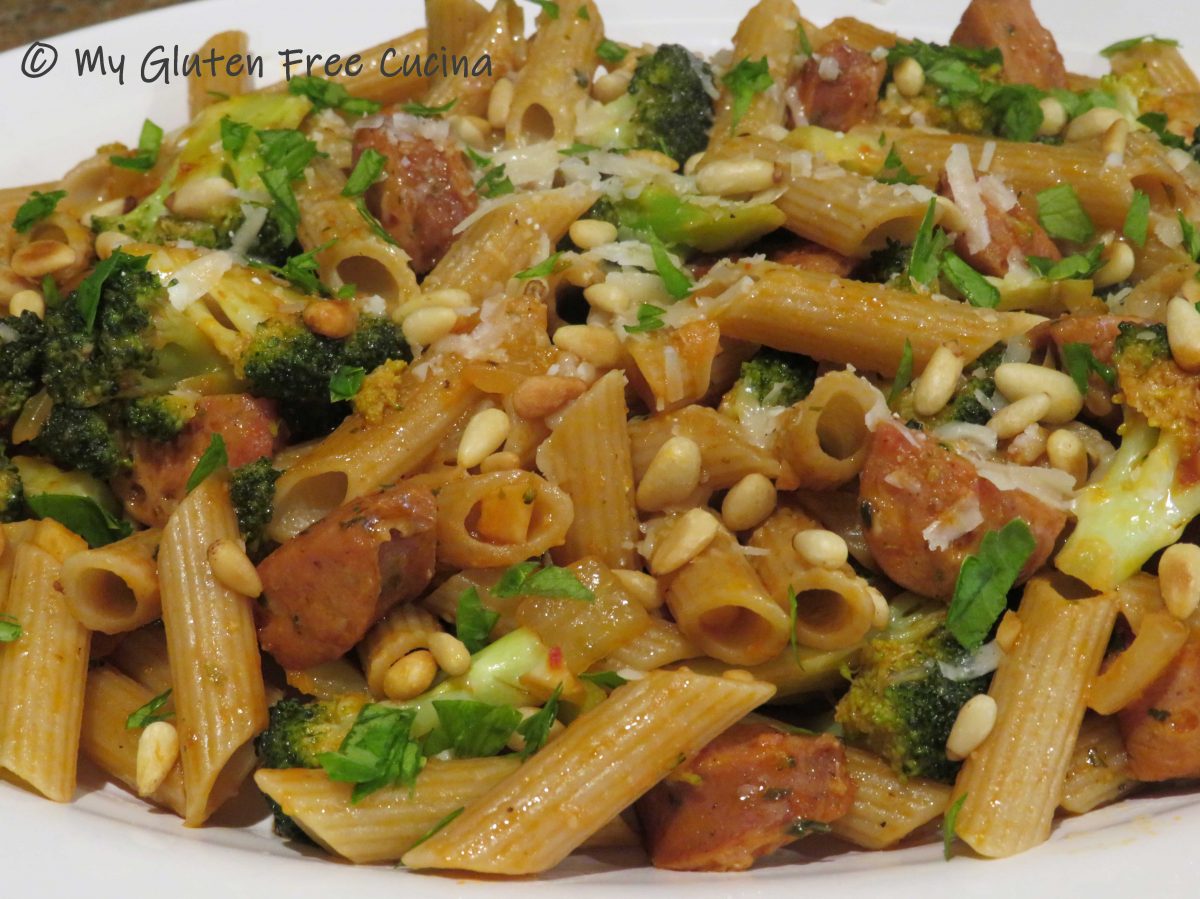
Here is another of my many “quickie skillet dinners”.  So easy to pull together after a long day at work, or when you just don’t want to fuss.  The dish gets a big boost of flavor from boldly seasoned Italian chicken sausage.  You can substitute whatever veggies you have on hand, and of course you can use any kind of sausage.  It’s all tossed together with a generous amount of olive oil, a dab of tomato paste and a ladle of starchy pasta water.  If you time it just right, the pasta will be done at the same time as the sausage and veggies.

This post contains affiliate links.

Ingredients:

  • 6 oz. gluten free Italian Chicken Sausage, diced
  • 6 oz. gluten free penne pasta (I used Jovial)
  • 1 tbsp. toasted pignoli (pine nuts)
  • 1 tbsp. minced garlic
  • 1/2 sweet onion, diced
  • 2 cups broccoli florets
  • 2 tbsp. tomato paste
  • gluten free Italian seasoning
  • olive oil
  • fresh Italian parsley
  • grated cheese

Preparation:

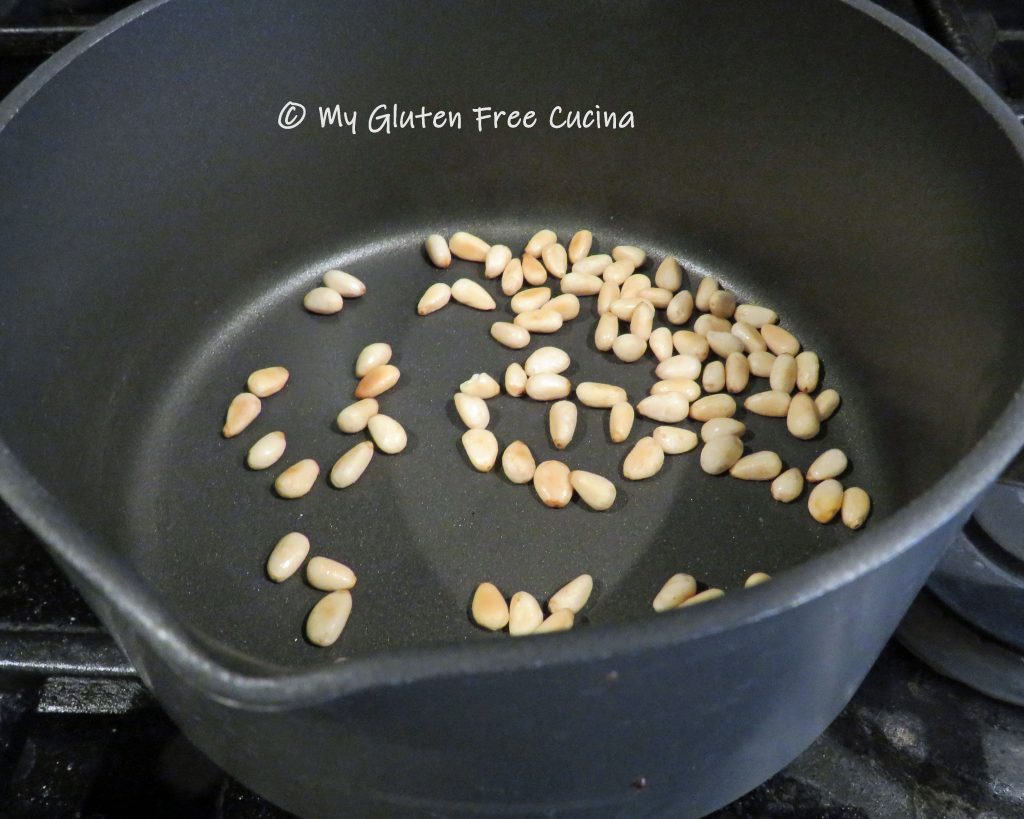
I am obsessed with pignoli (pine nuts) as a garnish for my pasta dishes.  A tablespoon is all you need!  To bring out their flavor, the pine nuts need to be toasted until they release their oil.  I do mine over low heat in a small, nonstick sauce pan, until lightly browned and fragrant.

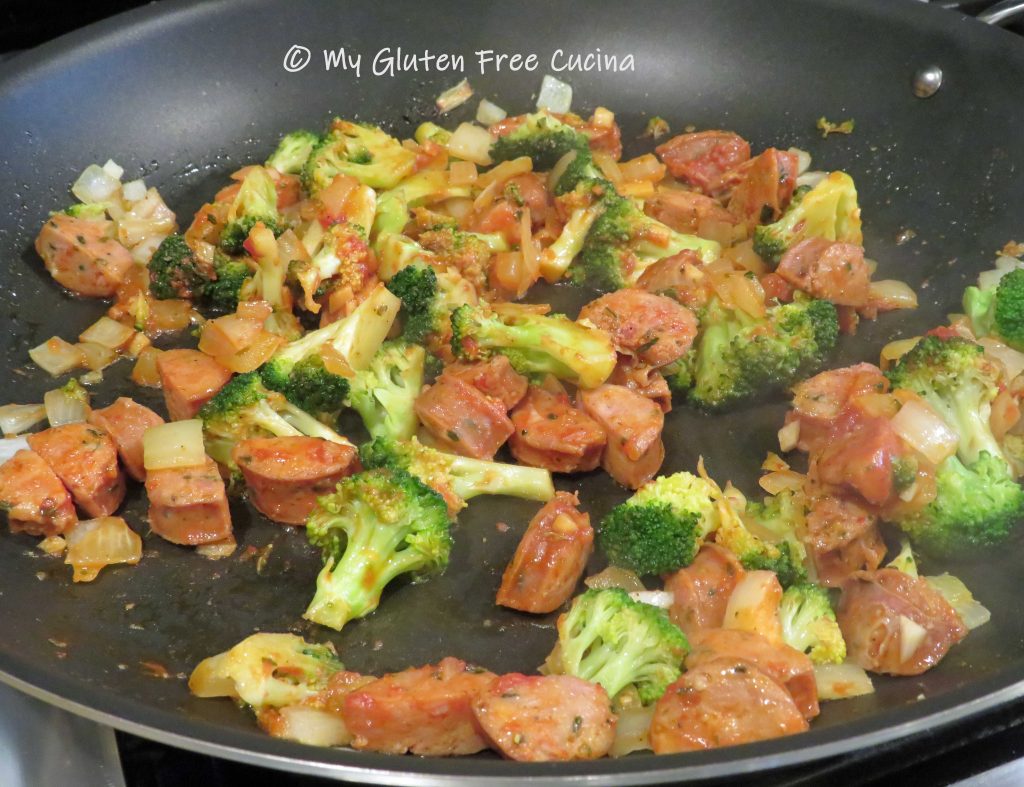
Cook the pasta to 2 minutes less than the package directions.  Don’t forget to reserve some pasta water to add to the skillet.  Heat a large, nonstick skillet with 2 tbsp. olive oil.   First add the garlic, followed by the onions, sausage and broccoli.  Sprinkle with Italian seasoning and cook until the onions are translucent.  Cover and cook 3 minutes longer.

Clear a spot in the center of the pan and add the tomato paste.  Let it toast for 1-2 minutes then stir it into the veggies and sausage with a ladle of the pasta water to loosen it up.  Add more olive oil and pasta water as needed.

Drain the cooked pasta and add to the skillet.  A little more olive oil and toss well to finish cooking the pasta.

Transfer to a serving dish.  Finish with more olive oil, grated cheese, toasted pignoli and chopped parsley.

Serve with more grated cheese.

Notes ♪♫ When choosing sausage always look for the gluten free label.  If not sure, you can check the manufacturer’s website or email them for more information.  The gluten free penne is from Jovial.

Print This Post Print This Post

Paella

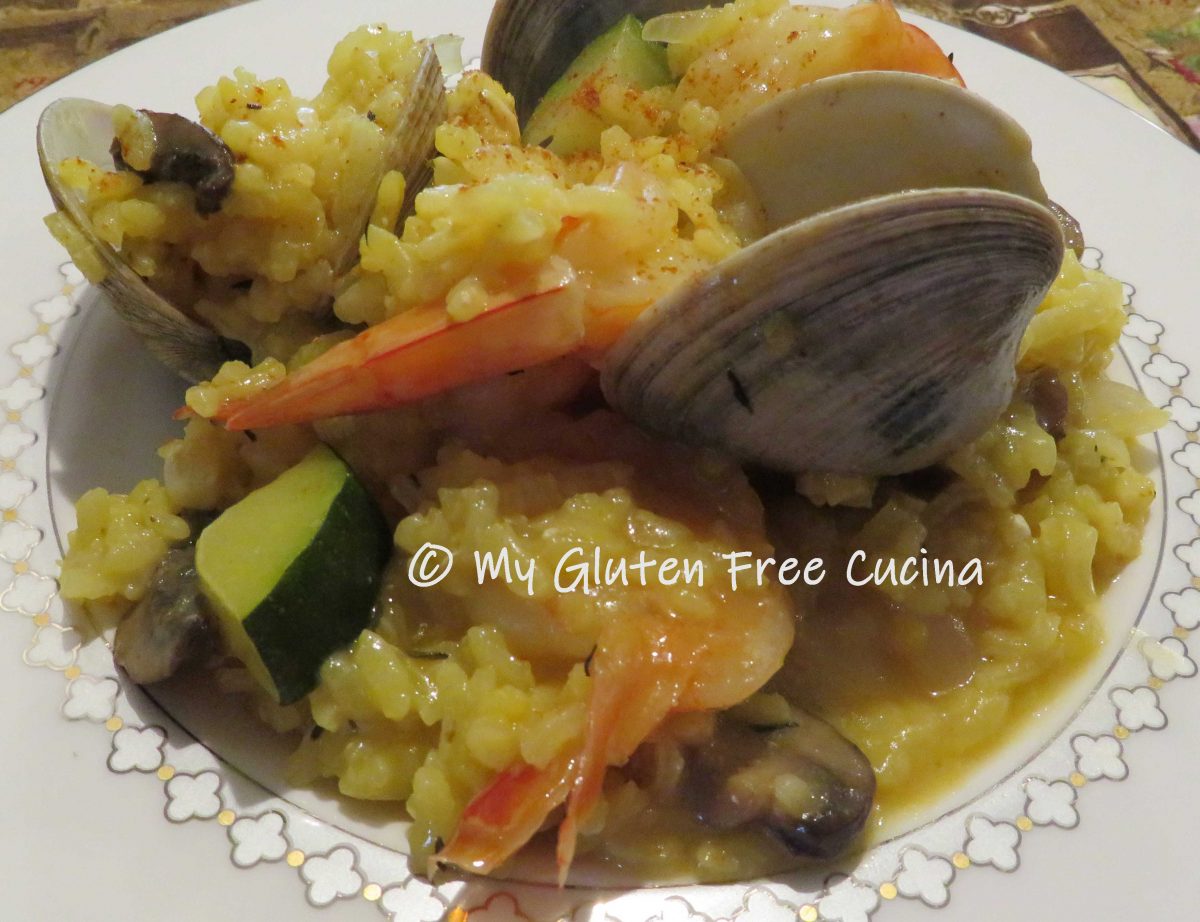
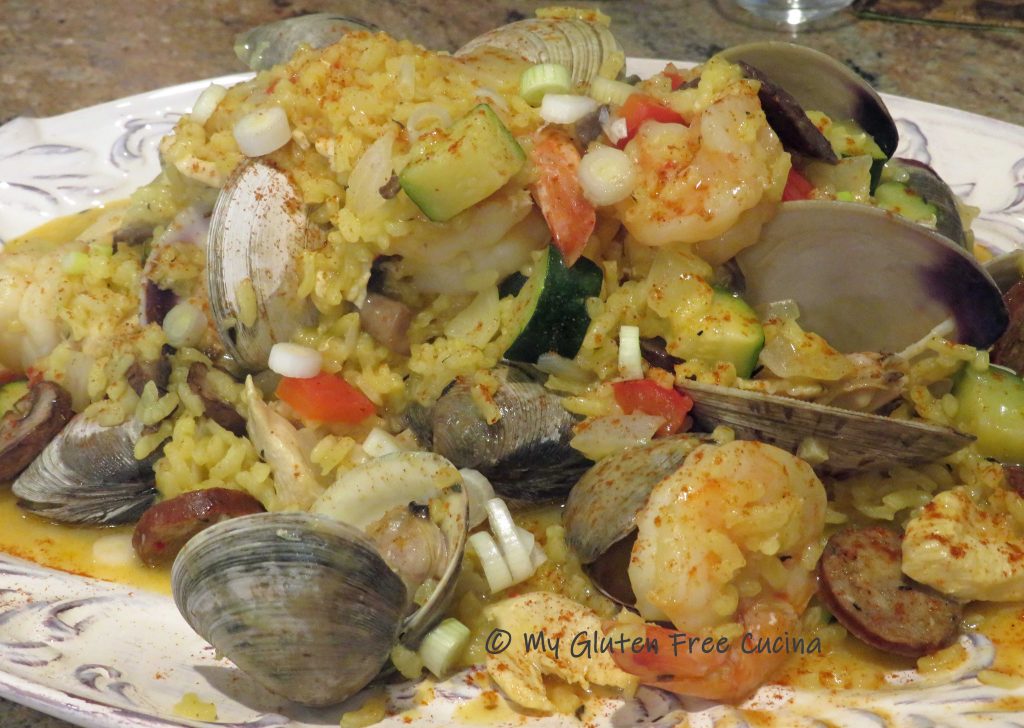
Paella is a restaurant favorite of mine.  The blend of color, flavor and aroma in this Valencian rice dish is wonderful!  You may be thinking it would be difficult to recreate this magnificent meal at home, but it really isn’t.

Today I made Paella for the first time since my Celiac diagnosis, almost 3 years ago!  Afterward I thought, what have I been waiting for?  Most of the ingredients are naturally gluten free!  Follow my step by step instructions and serve this up for your family tonight.  You do not need a paella pan, a large nonstick skillet will do the trick!  The most time consuming part of this meal is the prep.  Once you start cooking it will come together in about 30 minutes.

4 servings
Ingredients:

  • 1 tbsp. butter
  • 1 tbsp. olive oil
  • 1 cup Arborio rice
  • 1/2 cup white wine
  • 32 oz. carton gluten free, low sodium chicken broth
  • salt
  • red pepper flakes
  • 1/2 tsp. thyme
  • 2 bay leaves
  • paprika
  • big pinch of saffron
  • 2 garlic cloves, minced
  • 4 oz. gluten free Andouille sausage, sliced into coins
  • 6 oz. chicken breast, sliced into thin medallions
  • 1 cup baby bella mushrooms
  • 1 cup zucchini
  • 1/2 cup sweet onion, diced
  • 1/2 cup red bell pepper, diced
  • 8 jumbo shrimp
  • 15 small to medium clams
  • butter
  • 2 tbsp. scallions (for garnish)

Preparation:

Mise en place is a French culinary phrase which means “putting in place” or “everything in its place”.  This simple process of gathering and arranging ingredients, cookware and tools before you begin is the secret to preparing recipes like Paella.  So line up your pantry ingredients, dice the veggies, slice the meat and clean the fish before you start cooking!
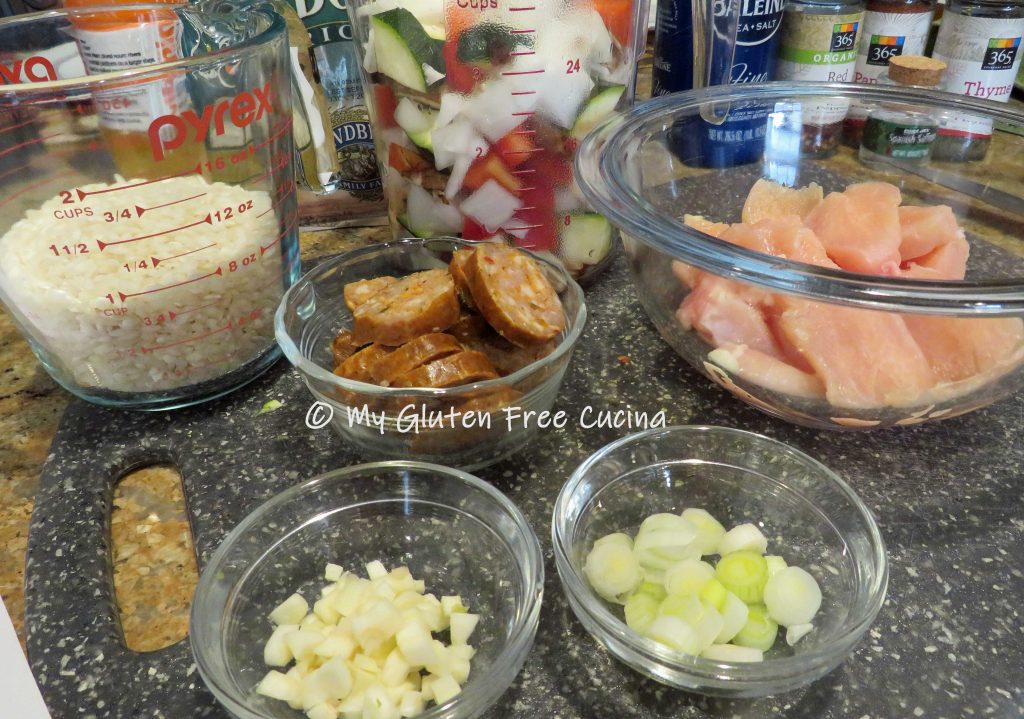
The rice goes in first, to allow for the necessary cook time.  Add butter and oil to a large nonstick skillet (mine is 14″) over medium low heat.  Brush or swirl it around to coat.
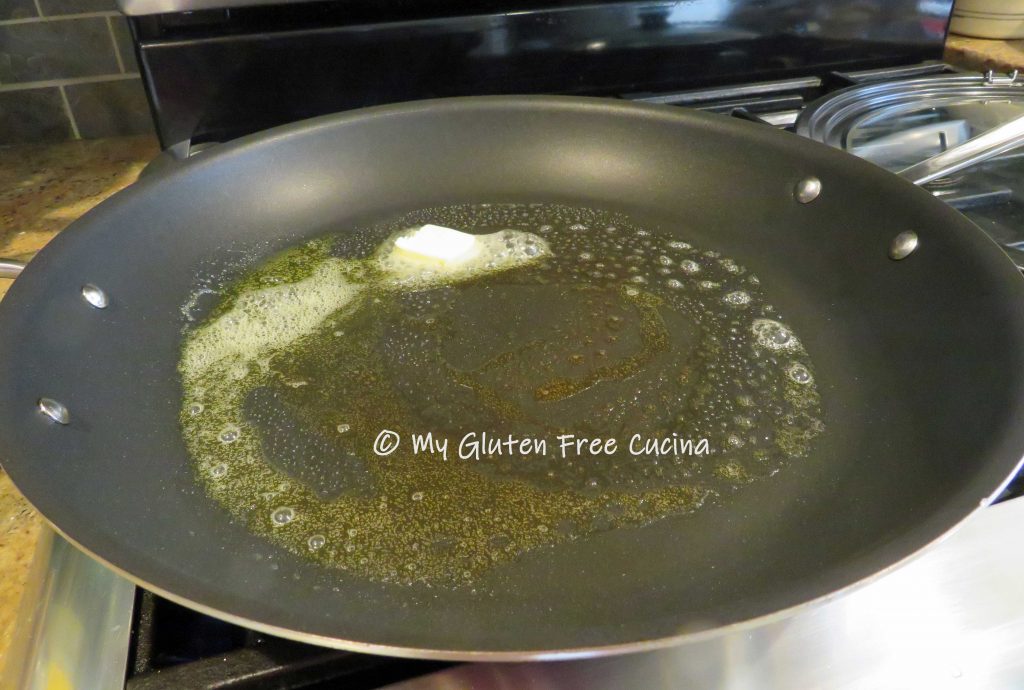
Add the rice, bay leaf, thyme, garlic and pinch of red pepper flakes.  Stir to coat the rice with butter then add 1/2 cup of white wine.  Stir frequently until the wine is almost evaporated.

Begin ladling in the chicken broth, 1/2 cup at a time, stirring constantly.  Add a big pinch of saffron with the first ladle of broth.  Saffron is a key ingredient in Paella and will give the rice a rich flavor and golden color.

As each ladle of broth is almost absorbed, add another.  Continue doing this for about 20-25 minutes, then begin adding the other ingredients, one at a time.  First the Andouille sausage, followed by the chicken.
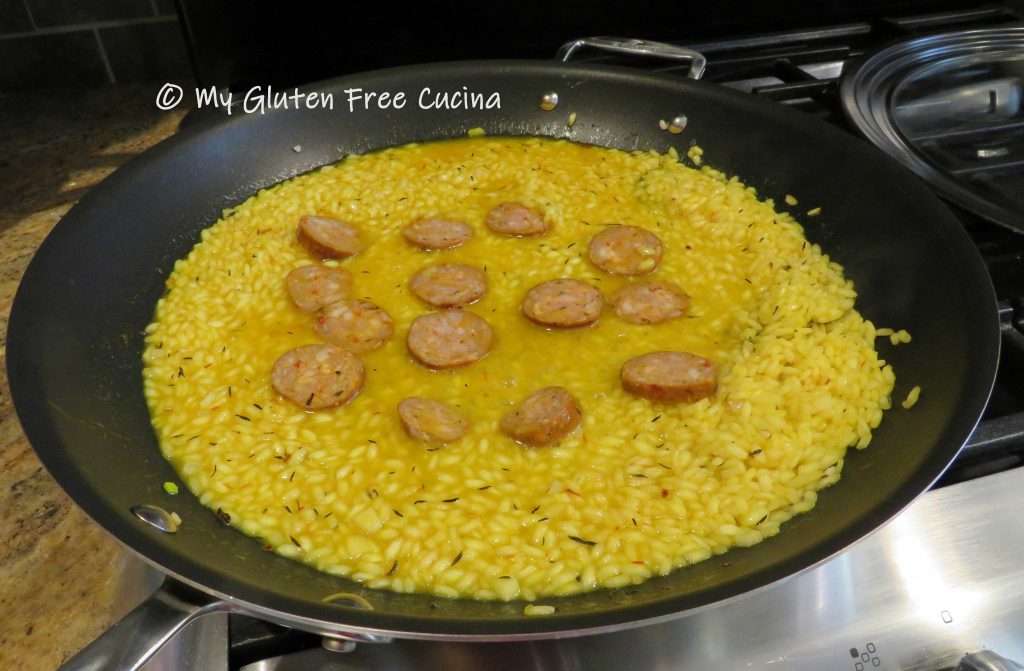
Next comes the zucchini, onion, pepper, and mushrooms and cook for 5-10 minutes.  Be careful not to add too much broth from this point, as the vegetables and fish will release their own liquid.

The shrimp and clams will go in last as they will only take about 6 minutes to cook.

Toss the shrimp with the rice and veggies then nestle in the clams.  Immediately close the cover and cook for about 6 minutes, or until the clams have opened (clams that don’t open should be discarded).

Finish with a pat or two of butter and don’t forget to pull out the bay leaves!

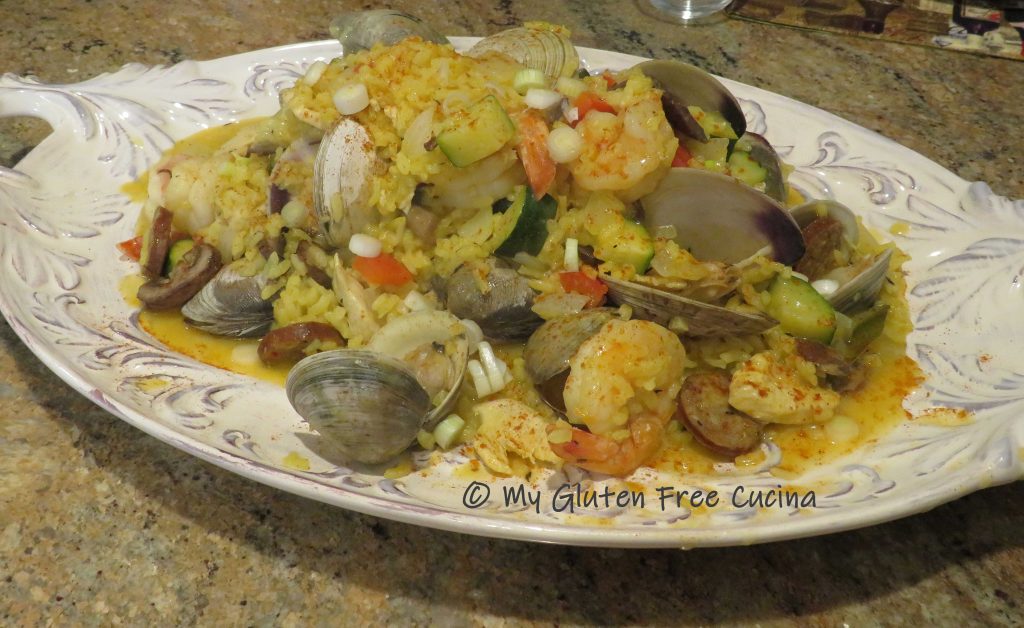
Transfer to a serving platter and garnish with scallions and more paprika.  This 5-star dinner will be a hit with the whole family, if you need to make a delicious gluten free meal that everyone will enjoy this is the one!
Notes: ♪♫  For best results, make sure your chicken broth is warm or at room temperature.  As you add each ladle of broth to the pan, you want it to heat up quickly so that the rice continues to cook evenly.  Tip, always start with a new carton of room temperature chicken broth, you won’t need the whole thing and leftovers can be saved for another recipe.


Print This Post Print This Post

Skillet Chicken and Penne

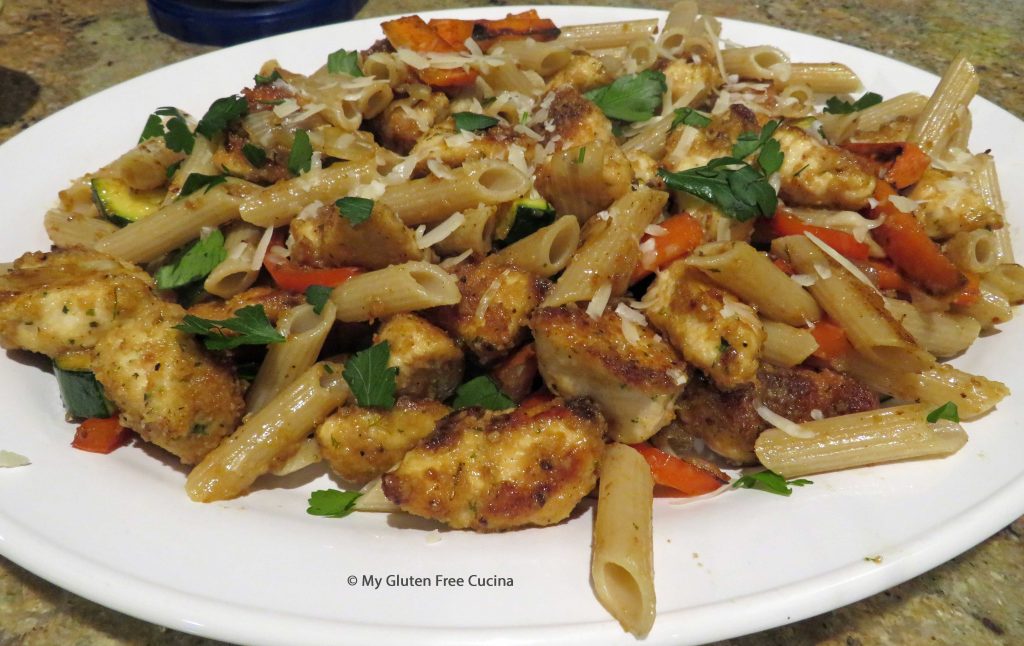
Before I was diagnosed with Celiac disease, easy skillet meals like this were my go-to for busy weeknights.  There was a time when I thought I would never enjoy meals like this again, but little did I know!  Delicious gluten free pasta and breadcrumbs are widely available so today I can still enjoy some of my old favorites.  I love that this dinner can be pulled together in a hurry.  It’s such a versatile recipe, you can substitute whatever veggies you have on hand, even leftover or frozen veggies will work.

This post contains affiliate links.

Ingredients:

Preparation:

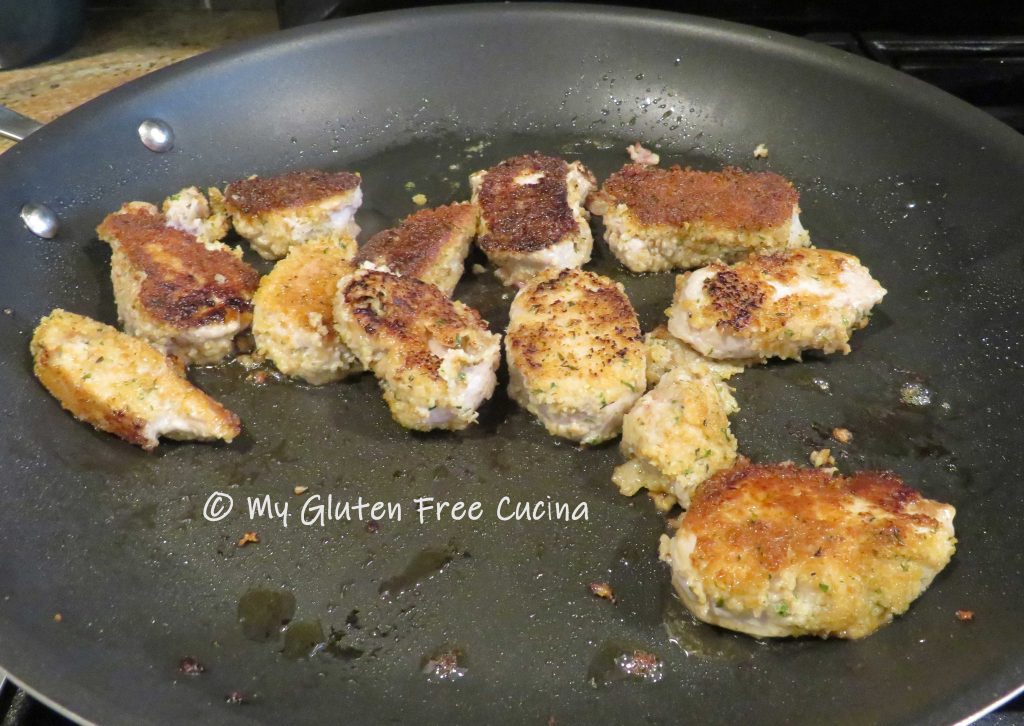
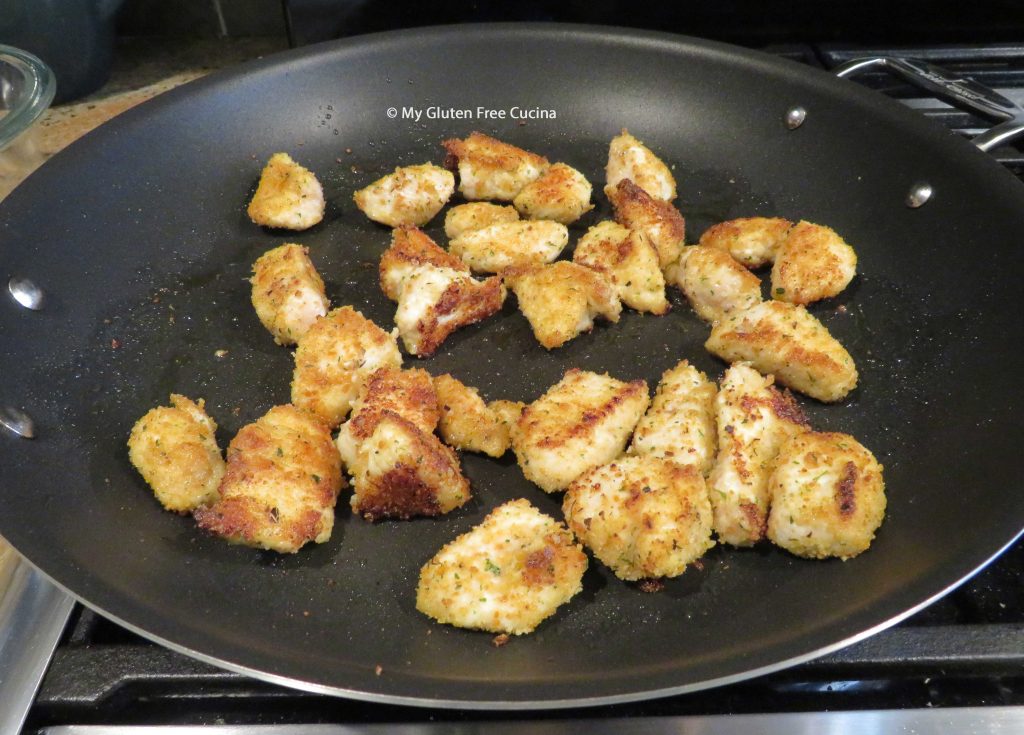
Boil a pot of salted water for the pasta.  Cut the chicken into cubes.  Place in a bowl and toss with breadcrumbs to coat evenly.  Cook the chicken in a large, nonstick skillet with olive oil.  Turn to brown all sides.  When cooked through, remove and keep warm.

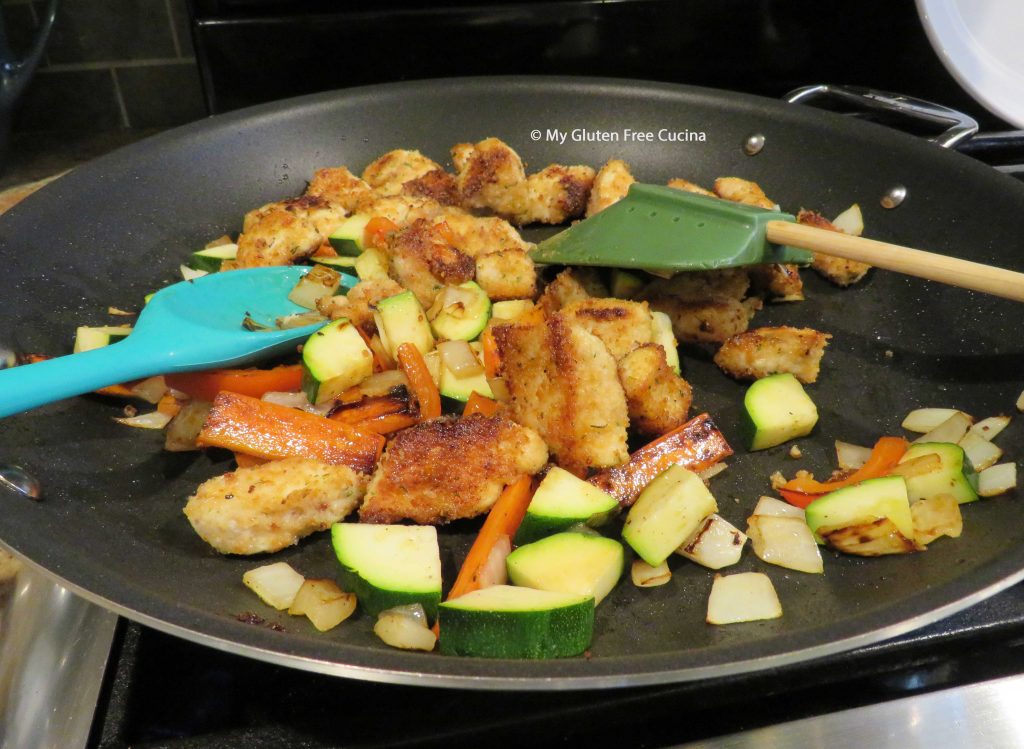
Keep the veggies separated.  The carrots will take longest to cook, while the zucchini will only need a few minutes.  Toss the veggies with olive oil, salt and pepper before adding to the skillet.  Add the carrots in first.

Cook the pasta to 1 minute less than package directions.  While the pasta cooks, finish the veggies.  Add the onions and bell peppers next.  With 5 minutes left for the pasta to finish, add the zucchini.

Add the chicken back to the skillet with the veggies, toss well and add a splash of white wine.  Let it reduce, then add 1/4 cup of chicken broth.

Drain the pasta and add it to the skillet with a little reserved pasta water if needed.  Finish cooking 1 minute longer, tossing together to blend the flavors.

Transfer to a serving platter, finish with grated cheese and garnish with Italian parsley.  Serve with more grated cheese.

Notes ♪♫ I used Rummo gluten free penne in this recipe, it’s a rice and corn blend with great taste and texture.  If you’re missing the “chew” of wheat pasta, give it a try!

Print This Post Print This Post

Honey Glazed Pork Chops

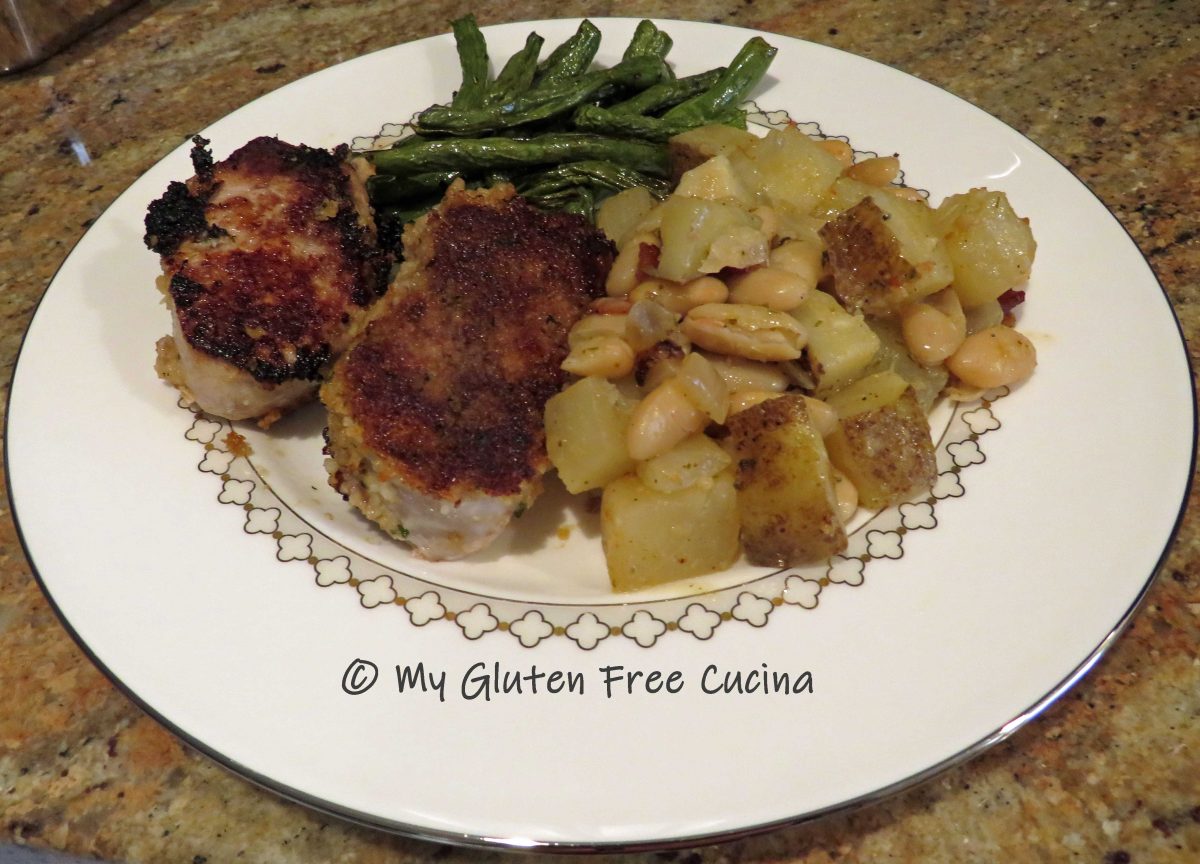
Pork chops are an easy and economical main course.  There are so many ways to prepare them!  I have always breaded and baked mine, but in the summer I want something a little lighter.  This simple recipe is the one to keep handy for your weeknight rotation.  My family loved the honey glaze, and the pork chops come out tender and juicy every time.

Ingredients:

  • 3-4 boneless pork chops, about 6 oz. each
  • 2 tbsp. olive oil
  • 1 tbsp. honey
  • 1 tbsp. gluten free soy sauce
  • ½ tbsp. gluten free Worcestershire sauce (I like Lea and Perrins®)
  • Gluten free seasoning, to taste (I used The Spice House Brisket of Love BBQ Seasoning)
  • cooking spray
  • fresh chives, for garnish

Preparation:

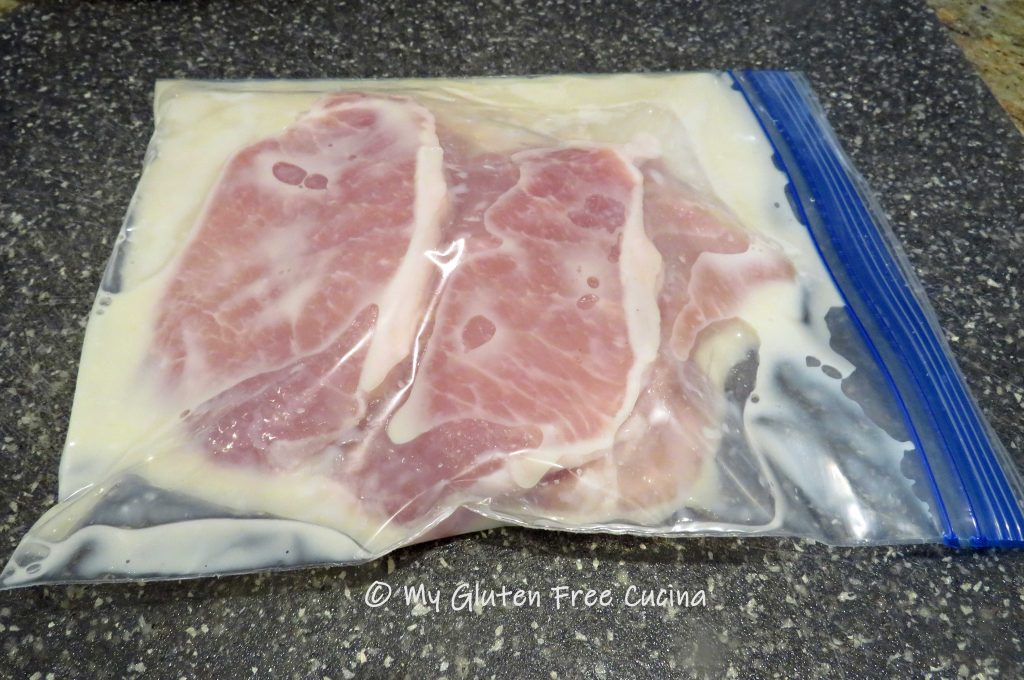
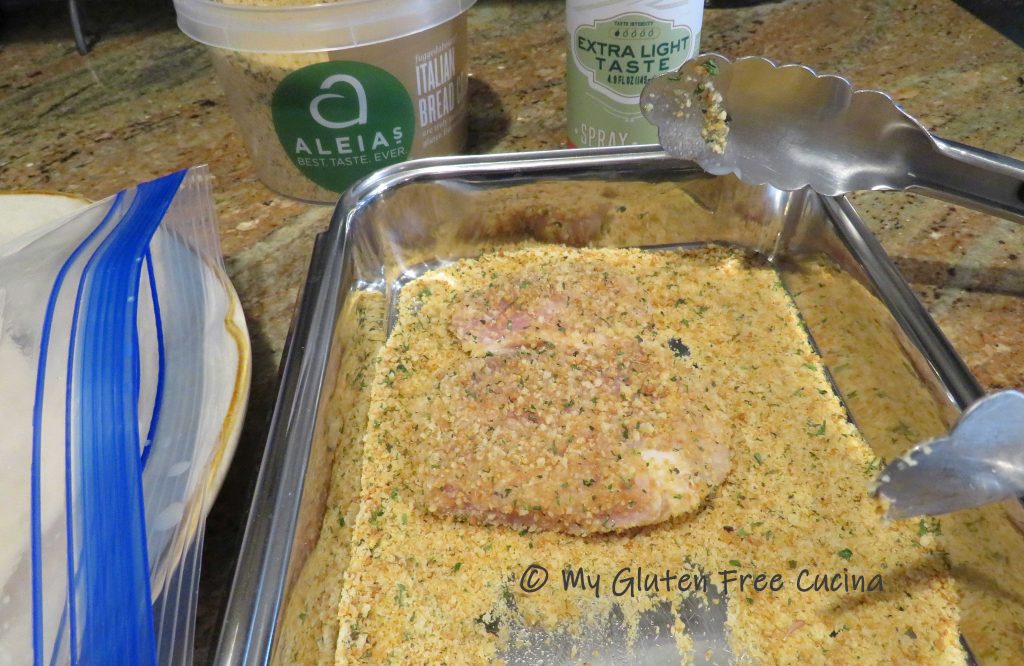
Choose chops that are all about the same size, so that they finish cooking at the same time.  Whisk together the olive oil, honey and Worcestershire sauce in a baking dish large enough to hold your pork chops in a single layer.

Add the pork chops and marinate for 30-45 minutes at room temperature, turning every 10 minutes.

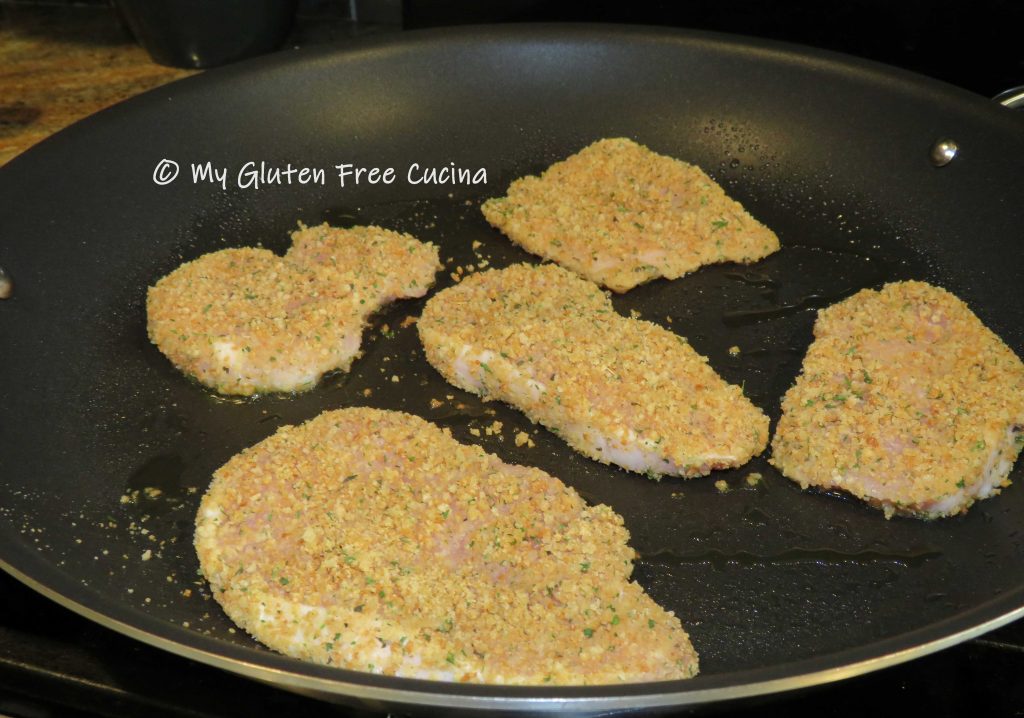
I cooked the chops in a 14” non-stick covered skillet, you want them spaced out in the pan, not touching.  Coat the pan with cooking spray and heat over medium low.  Add the pork chops, sprinkle with seasoning, then cover and cook 4 minutes.  Keep the cover on, and don’t move the chops around in the pan.

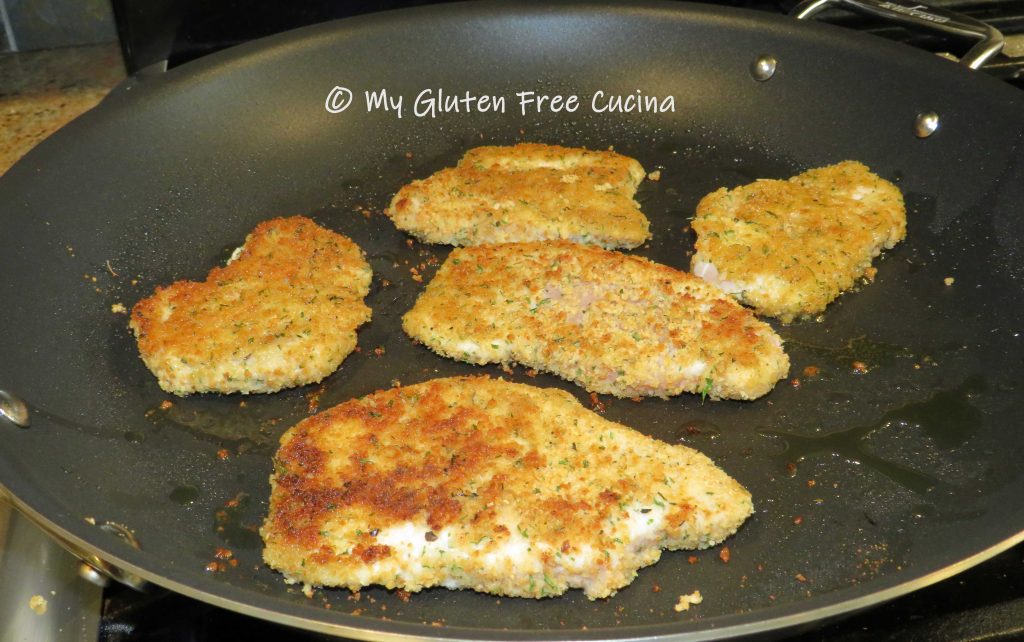
Turn the pork chops over, drizzle any remaining marinade over the top and sprinkle more seasoning.  Cover and cook for an additional 3-5 minutes, depending on the thickness of the chops and how you like them done.  According to food safety guidelines, pork should be cooked to a minimum of 145° and for me this is perfect.  Check with a thermometer to be sure.

Now turn them once more to coat both sides in the honey glaze and cook 30 more seconds to get that beautiful amber color!

Transfer to a serving dish and garnish with chives.  I served with brown rice and roasted cauliflower.

Aren’t they gorgeous?  Now that you know how easy it is, surprise your family with a delicious pork chop dinner this week.  Make it once and it will become an instant favorite!

 I hope you’ve found some gluten free meal inspiration today at My Gluten Free Cucina!  Be sure and pin this one for next week’s menu!

Print This Post Print This Post

Gluten Free Orange Chicken

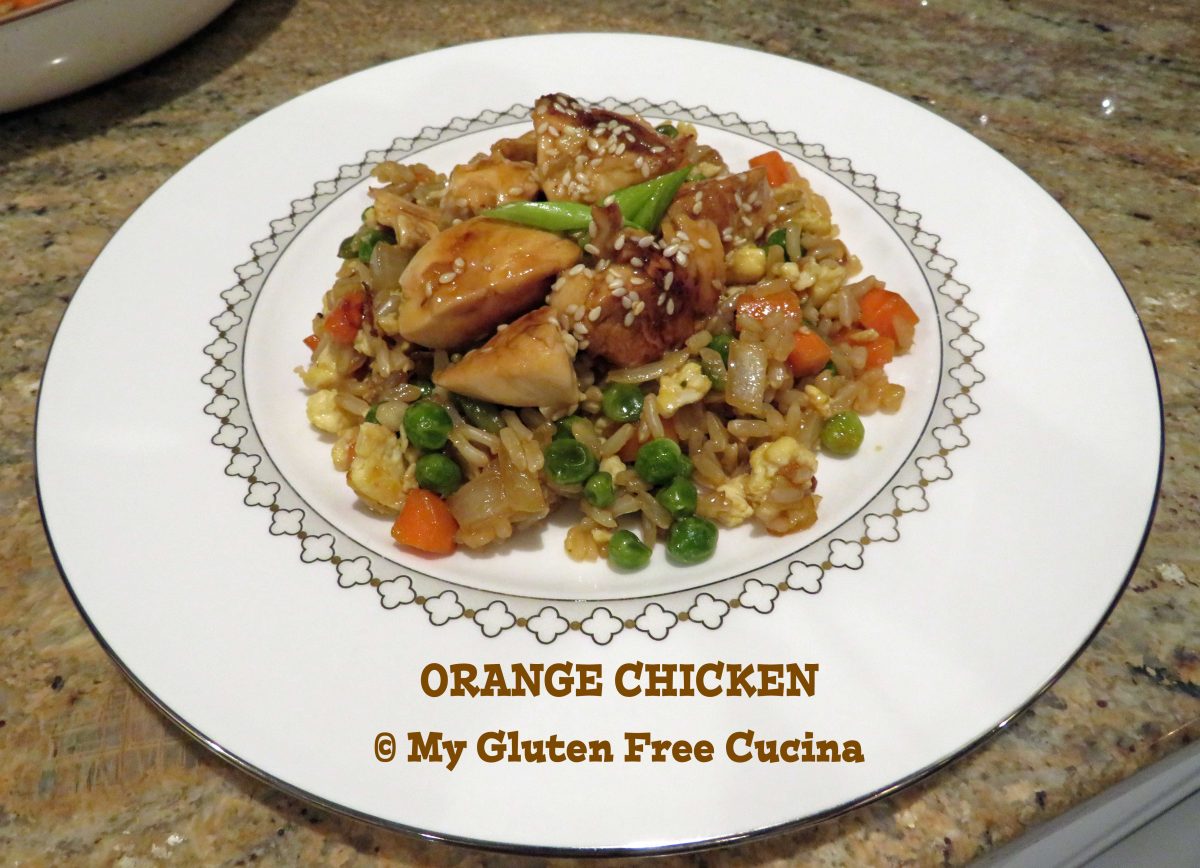
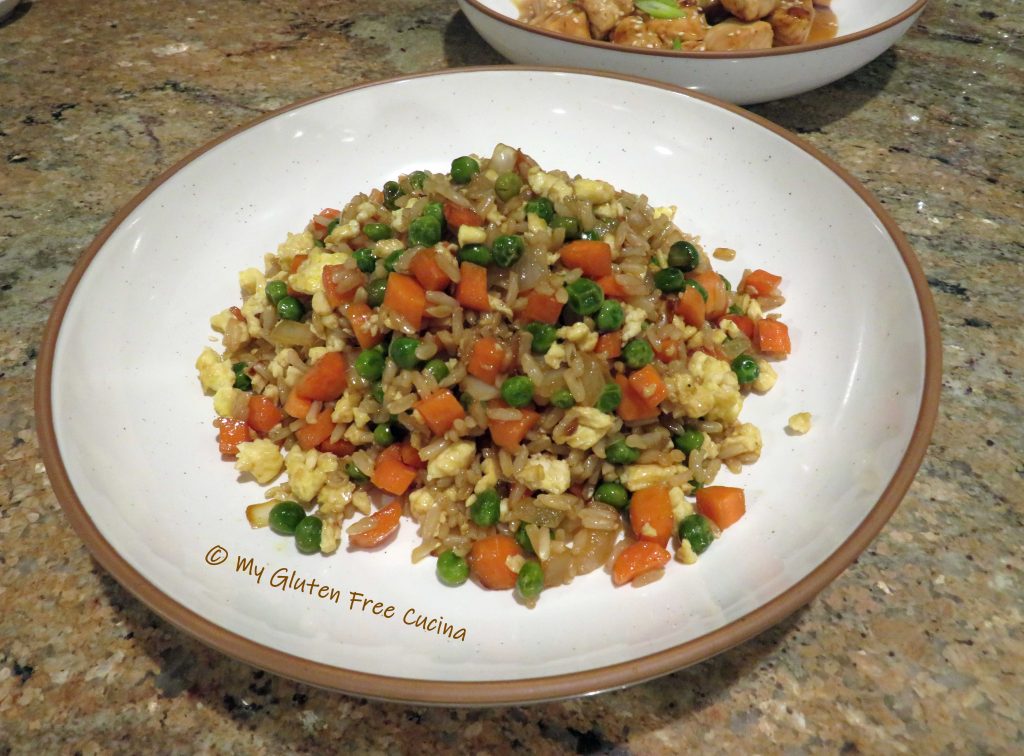
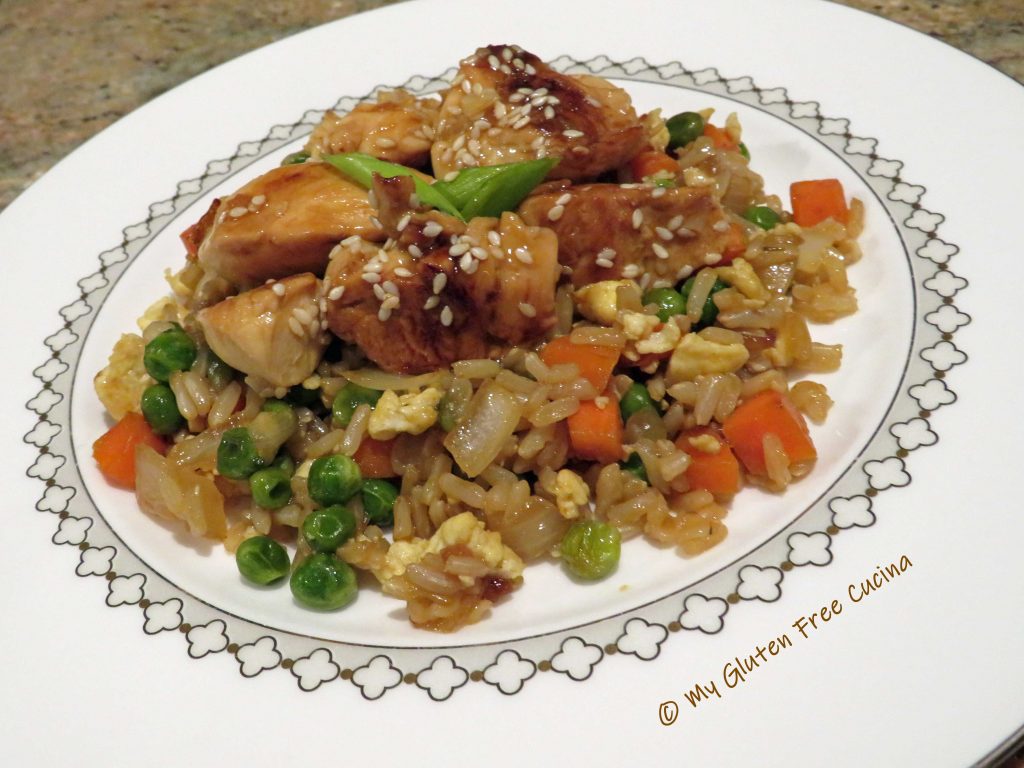
Foodie friends, I’ve been craving Chinese food!  Unfortunately for me, many Asian dishes are made with soy sauce, so they are off limits on a gluten free diet.  I have been thinking about a lightened up, gluten free version of this classic dish for a while now and dinner was a hit!  The chicken is not fried, so it’s a bit healthier than the restaurant version.  Gluten free coconut aminos make it safe for me, and lower in sodium as well.  I served it over fried rice.

3-4 servings

This post contains affiliate links.

Ingredients:

For the marinade:

  • 12 oz. Boneless chicken breast
  • ½ cup frozen orange juice concentrate
  • 2 tbsp. coconut aminos
  • 1 garlic clove, minced
  • 1 tbsp. Honey
  • ¼ tsp. Powdered ginger
  • 1 tsp. toasted Sesame oil
  • zest of 1 orange

For the sauce:

  • 1 tbsp. Olive oil
  • 1 garlic clove, minced
  • 1 tbsp. Arrowroot starch
  • ¼ cup gluten free low sodium chicken broth
  • ½ cup orange juice concentrate
  • 1 tsp. honey

For the garnish:

  • 1 tsp. Sesame seeds, toasted
  • scallion greens, sliced diagonal

Preparation:

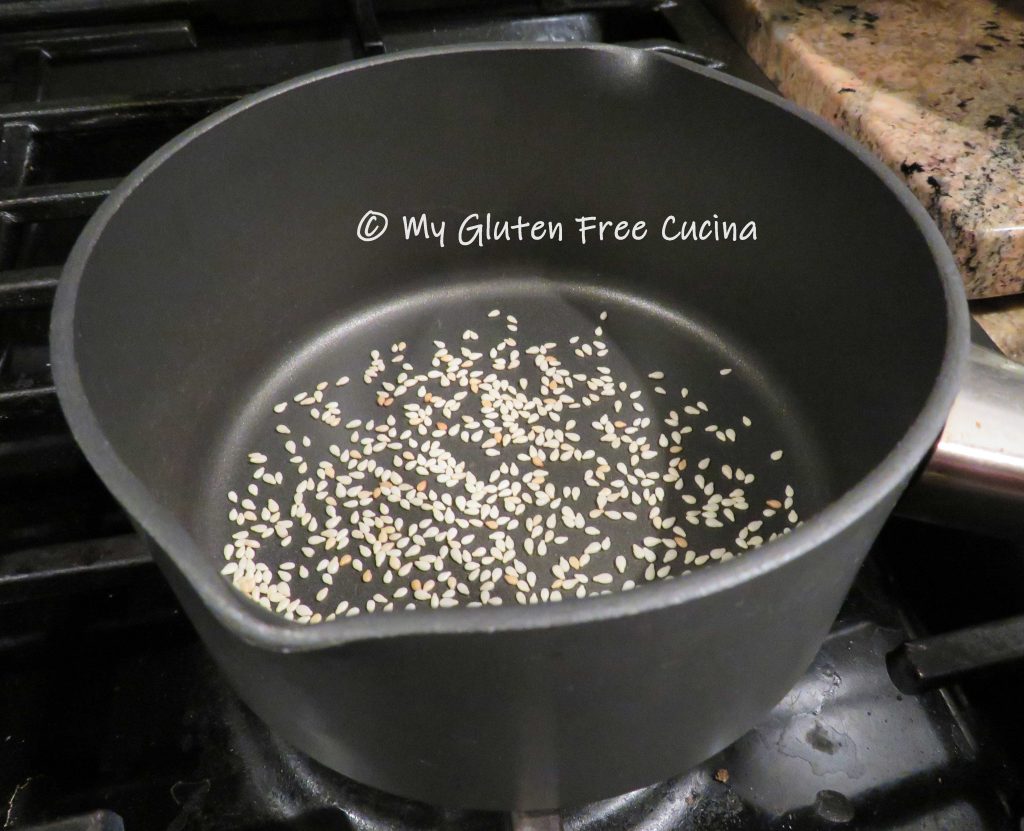
Toast the sesame seeds and reserve for garnish.  I like to toast them in a small non-stick saucepan, so that they don’t fly all over the place!  As soon as they start to get a little color transfer them to a bowl.

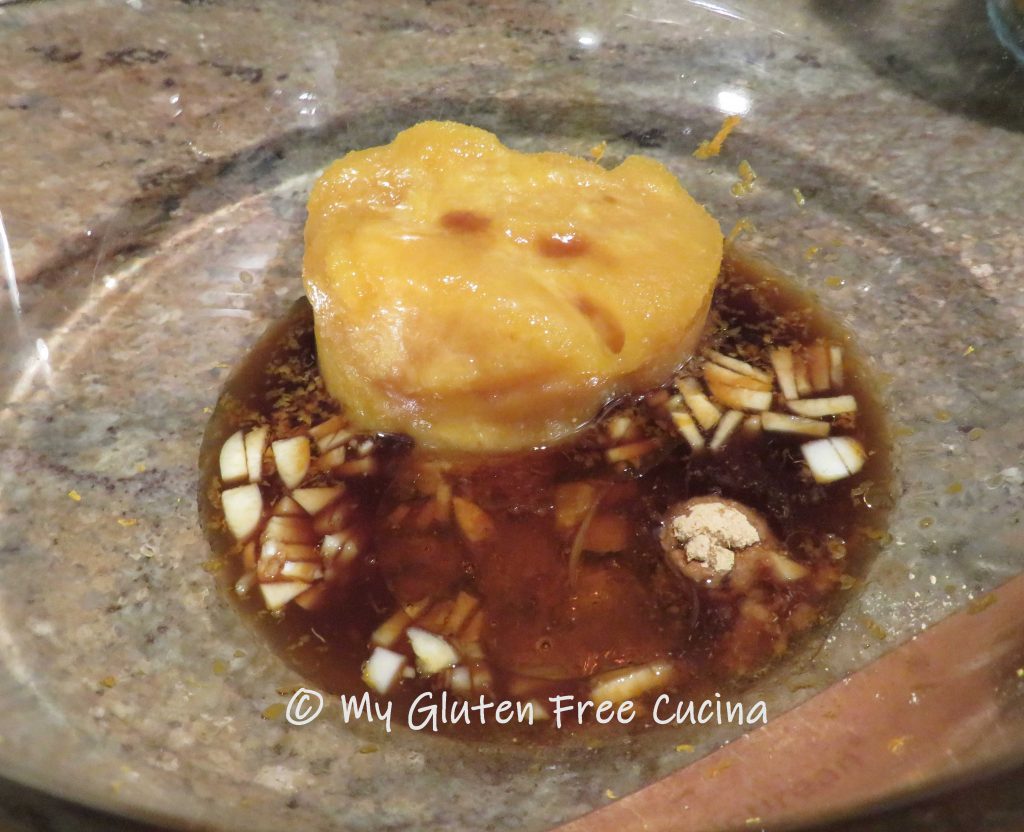
Cut the chicken into 1” cubes and place in a bowl.  Whisk together the marinade ingredients (orange juice concentrate through orange zest) and pour over the chicken.  Cover and refrigerate for at least 20 minutes and up to 1 hour.

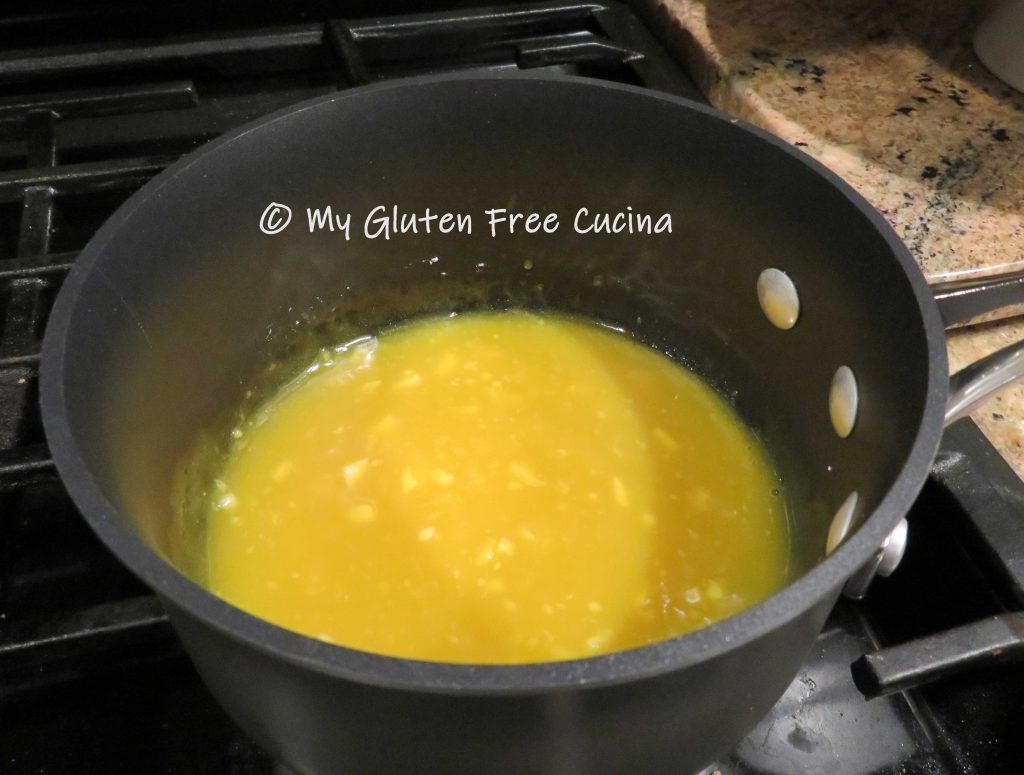
Drain the chicken, reserving the marinade.  To make the sauce, heat the olive oil and minced garlic in a small non-stick saucepan.  Cook one minute until garlic is fragrant, then whisk in the remaining ingredients, arrowroot through honey.

Stream in the reserved marinade, whisking constantly to make a smooth sauce.  Bring to a boil, then simmer until the sauce is thick and bubbling.  Keep warm while you finish the dish.  Important: because the marinade has been in contact with raw meat, it must reach a full boil in order to be safe to eat.

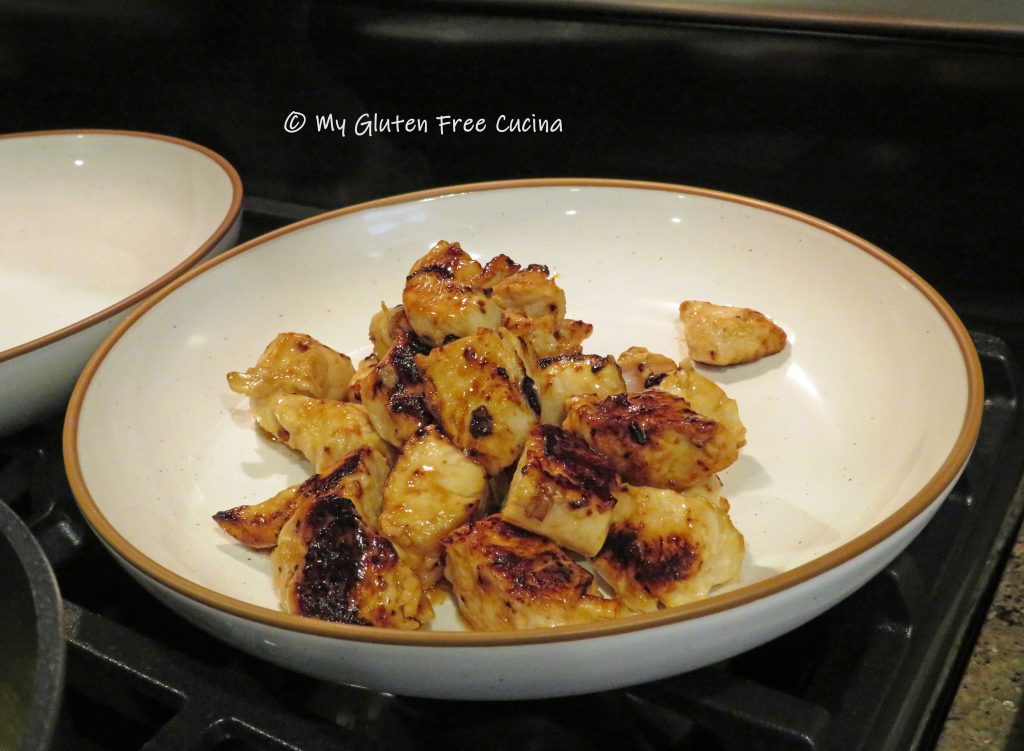
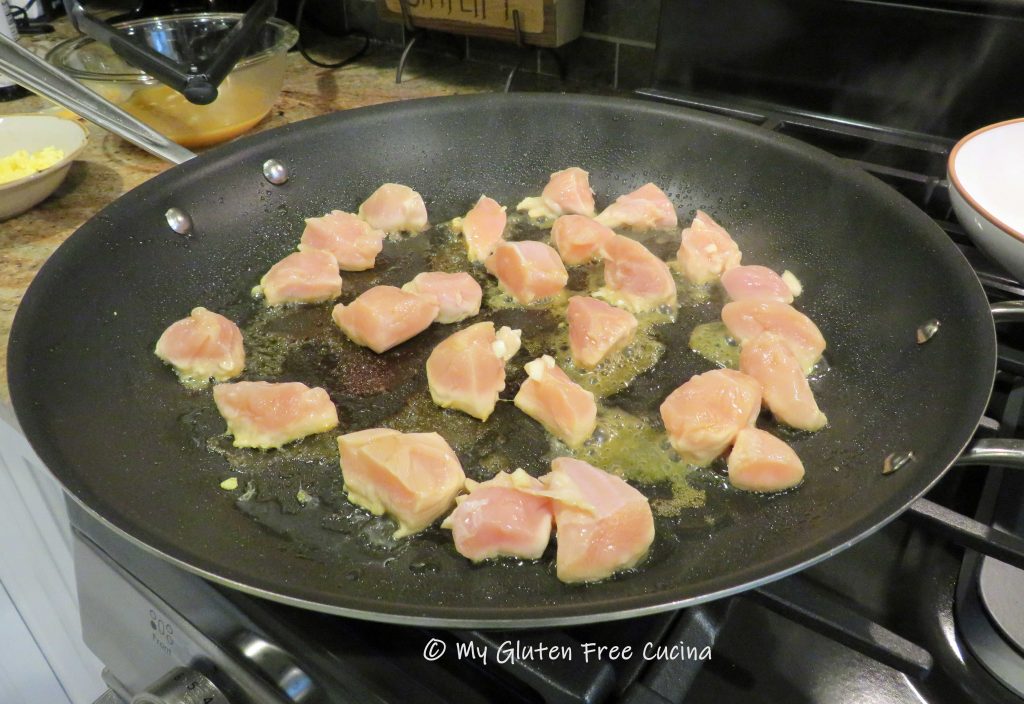
In a large non-stick skillet, heat 1 tbsp. Olive oil and 1 tsp. Sesame oil.  Cook the chicken, turning to brown all sides.  Don’t crowd the pan, spread the chicken out so pieces don’t touch.  Brown in batches if needed.

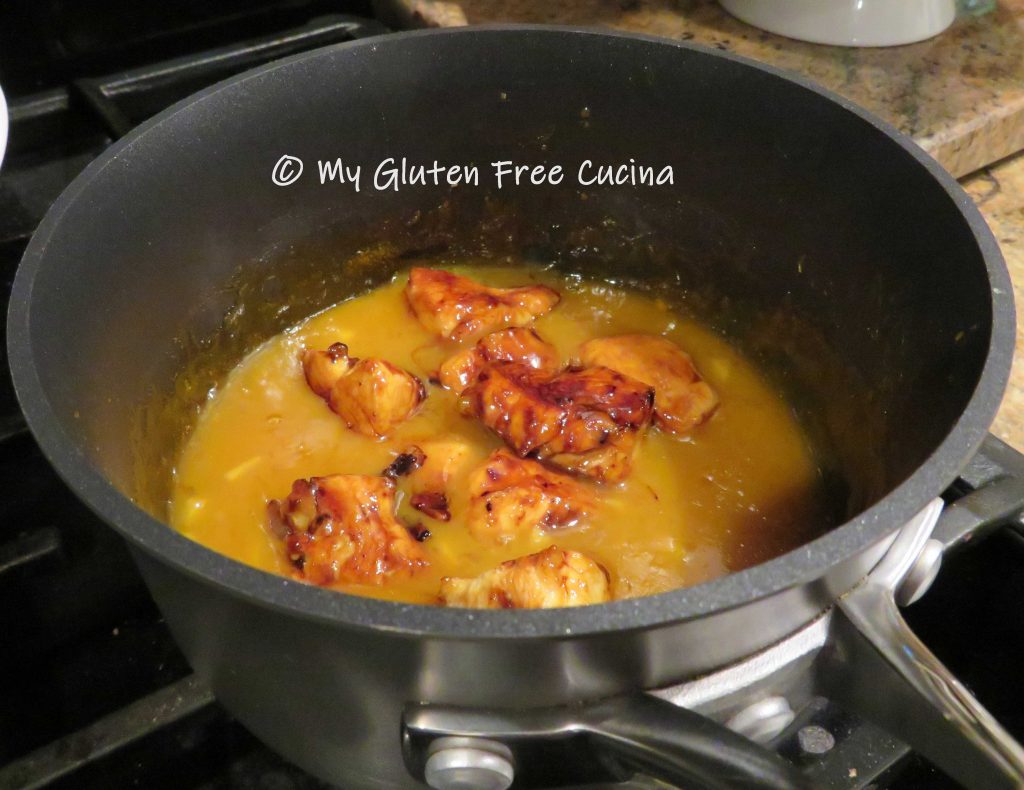
Dip the chicken in the sauce, a few pieces at a time.

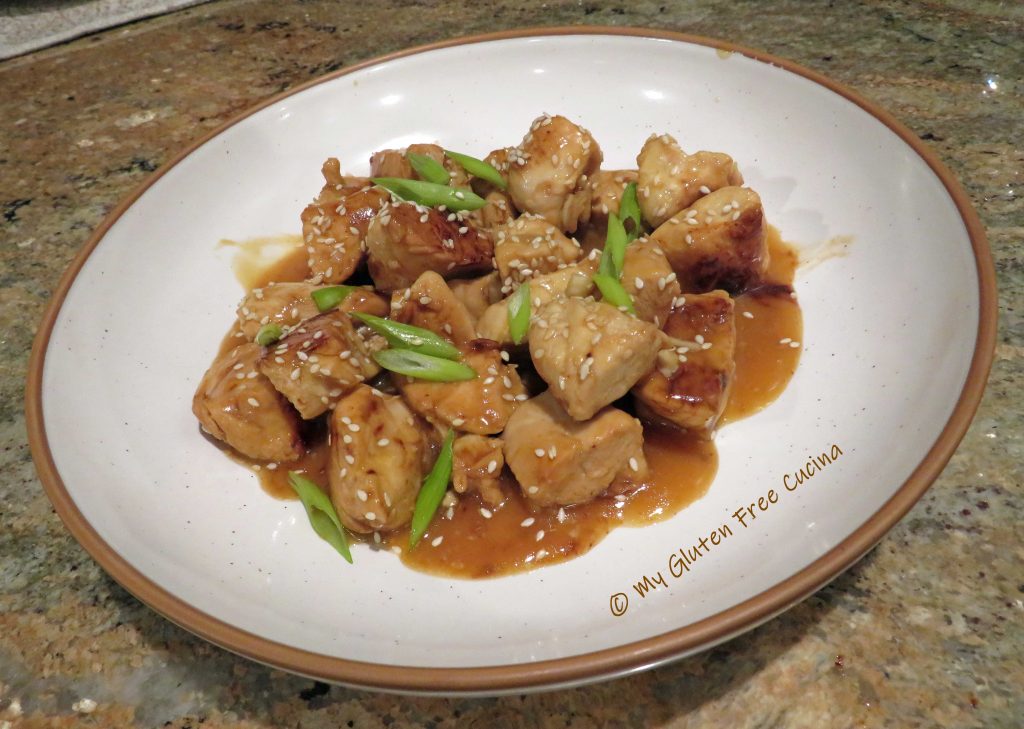
Transfer to a serving bowl and garnish with the scallion greens and toasted sesame seeds.

I served it with fried rice.  Doesn’t that look delicious?  Once you taste it, you’ll want to add this Asian inspired dinner to your rotation.  And if you make a double batch, it will be just as good leftover!

Notes ♪♫ Using frozen orange juice concentrate along with orange zest gives the sauce a more intense citrus flavor and helps with thickening.  If using orange juice, you will need to adjust the amount of arrowroot starch in order for the sauce to reach the right consistency.

[print_link]

Gluten Free Chicken Stir Fry

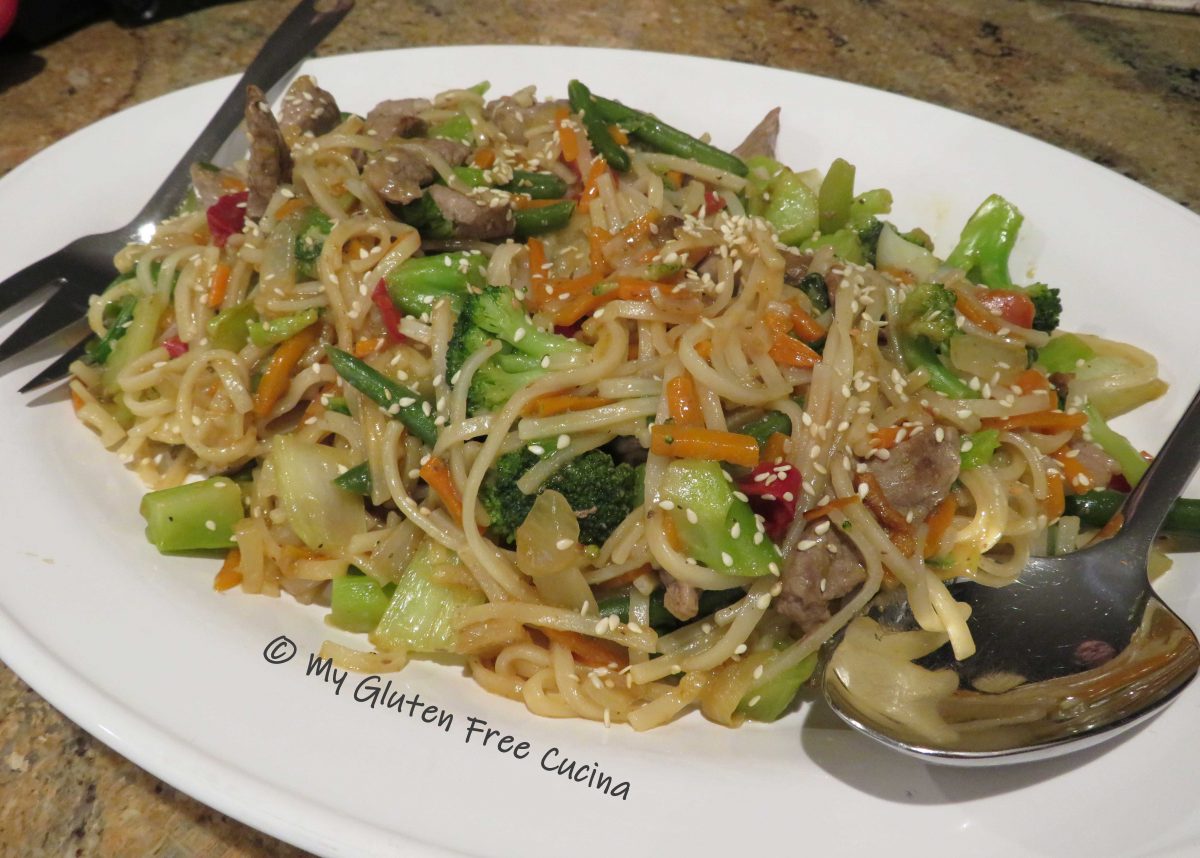
Stir fry meals are one of my weeknight favorites.  My go-to recipe is very forgiving, so you can change up the meat, veggies and noodles to suit your taste or use up what’s in your pantry.  Today I’m using boneless chicken breast which I always have on hand, along with fresh veggies and gluten free pasta twists.

4 Servings

Ingredients:

  • 1 lb. boneless chicken breast, cubed
  • 2 tbsp. olive or canola oil, divided
  • 1 tbsp. sesame oil, divided
  • powdered ginger
  • garlic powder
  • 3/4 cup gluten free chicken broth
  • 1 tbsp. corn starch
  • 1/4 cup mirin
  • gluten free soy sauce, to taste
  • 1 carrot, peeled and sliced diagonally
  • 1 celery stalk, sliced
  • 1/2 sweet onion, diced
  • 1/2 red bell pepper, thin sliced
  • 3 shiitake mushrooms, sliced
  • 1 cup cauliflower, cut into 1/2″ dice
  • 1 head baby bok choy, chopped and leaves separated from stalks
  • 4 oz. gluten free pasta twists (I used Jovial)

Preparation:

Cut the chicken into 1″ cubes and place in a bowl with 1 tsp. sesame oil and 1 tsp. olive or canola oil.  Sprinkle with garlic powder and ginger.  Whisk together the chicken broth, mirin and corn starch.  Boil water for the pasta.

Heat a large nonstick skillet over medium low heat with 1 tbsp. olive or canola oil and add the cubed chicken, leaving space between pieces.  Don’t crowd the pan, do it in batches if needed.  Season with salt and pepper.  Turn the chicken to brown all sides, it doesn’t need to be cooked through at this point.

Aff

While the chicken is browning wash the bowl or use a clean bowl.  Sprinkle the chicken with a little soy sauce and transfer into the clean bowl.  Wipe the skillet clean.

Add the remaining olive or canola oil to the skillet and begin cooking the vegetables.  Start with the carrots, as they take longest to cook and gradually add the other vegetables.  Save the tender bok choy leaves for last so they retain some texture and crunch.  Sprinkle with garlic powder and ginger, and drizzle with 1 tsp. sesame oil and a few shakes of soy sauce.

While you stir fry the veggies, cook the pasta according to package directions.

To finish the dish, return the chicken to the skillet along with the cooked pasta, remaining tsp. of sesame oil and a few more shakes of soy sauce.  Combine and cook 2 more minutes to heat the chicken through.

Pour the chicken broth mixture over everything and use 2 spatulas to turn and coat evenly.  Continue stirring and tossing as the liquid thickens.  Transfer to a serving platter.


Notes: ♪♫  You can substitute beef, pork or shrimp for the chicken.  Use rice, gluten free Asian noodles or other pasta shape in place of the pasta twists.  Veggie combinations are endless, zucchini and sugar snap peas are spring favorites!  Be sure your soy sauce is gluten free, my favorite brand is Kikkoman.


Print This Post Print This Post
Asian Chicken and Cabbage

With St. Paddy’s Day right around the corner you probably have cabbage in the fridge for your Corned Beef Dinner.  If so, be sure and save a chunk for this Asian inspired stir fry!  Fiber rich cabbage and whole grain brown rice make this a very healthy and diet friendly dish, and most of the ingredients are naturally gluten free (see notes).  Prepping veggies and rice the night before saves time and you will have a delicious meal on the table in minutes.

This post contains affiliate links.

Serves 4

The Lazy Gastronome

Ingredients:

 Rice:

 Stir Fry

  • 16 oz. boneless chicken breast, cut into 1″ cubes
  • 1 tbsp. olive oil
  • 1 tbsp. butter
  • salt and red pepper flakes
  • 1/2 sweet onion, diced
  • 3 celery stalks, sliced thin
  • 1/2 red bell pepper, cut into strips
  • 3 garlic cloves, minced
  • 4-5 cups shredded green cabbage
  • 2 tbsp. olive oil
  • 1 tsp. toasted sesame oil

Whisk together

Whisk together

 Garnish

 Preparation:

Brown rice is the perfect accompaniment to this stir fry.  I prefer brown rice for its flavor, texture and nutrition.  It does take longer to cook, (about 45 minutes) but it’s worth it.  Give the rice a 10 minute head start so it will be ready as you finish the dish.  Cook 1 cup brown rice in 1 cup water and 1 cup chicken stock.  Season to taste with salt and red pepper flakes.  (Note: If using a rice cooker, follow the given instructions for ratio of rice to liquid.)

Toast the sesame seeds, watching carefully that they don’t burn.

Next, heat a large nonstick skillet over medium and coat with 1 tbsp. butter and 1 tbsp. olive oil.  Brown the diced chicken on all sides, about 5 minutes.  It doesn’t need to be cooked through at this step, just get some color on the outside.  Season with salt and red pepper flakes.

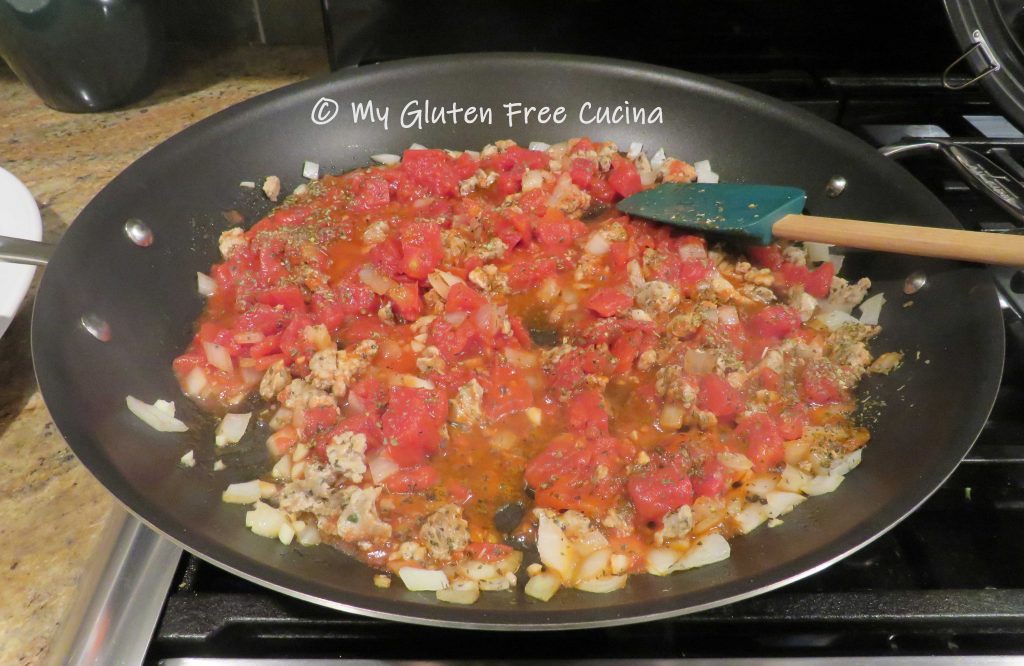
Remove the cooked chicken from the skillet, set aside and keep warm.  Wipe the skillet clean.  Add 2 tbsp. olive oil and 1 tsp. sesame oil to the skillet.  Add the onions, celery, bell pepper and garlic, stir fry 5 minutes.  Return the chicken to the skillet.

Add all of the cabbage.  It looks like a lot but it will cook down.  Toss well.

Drizzle in the soy sauce mixture and toss well to combine.  Cover and cook 5 minutes more.

The cabbage should be wilted but still retain a little crunch.  Whisk the corn starch and chicken stock and add to the skillet.  Stir and toss until the liquid thickens.

Transfer to a serving platter and garnish with the toasted sesame seeds.  Serve with brown rice.

I actually like this dish more than the corned beef dinner.  My family gave it a big thumbs up and yours will too.  Please comment, like and share!

Notes: ♪♫ Most of the ingredients in this recipe are naturally gluten free.  Always check labels carefully and be sure that you are purchasing gluten free soy sauce and chicken broth.

Print This Post Print This Post