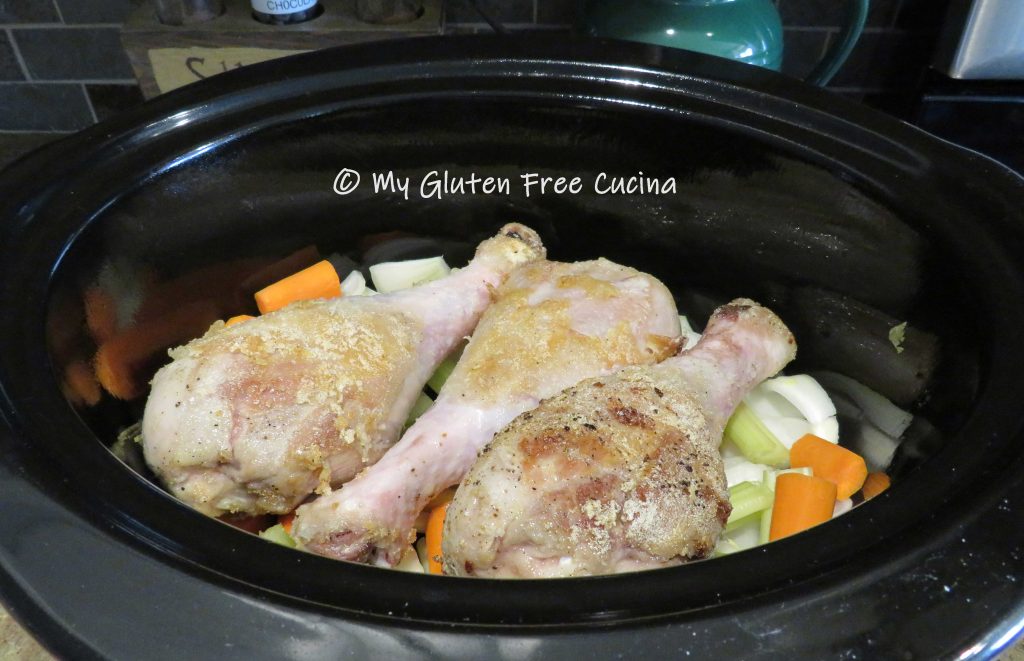
Turkey Drumsticks can be dry and tough when roasted, but they come out moist and falling off the bone tender when cooked in the Crock-Pot. This time of year, it is easy to find turkey drumsticks at the market for a very good price. Crock-Pot recipes like this one are so easy and can really free up my schedule. I started this dish around 11:00am and it was ready in time for dinner at 6:30.
This post contains affiliate links.
Ingredients:
- turkey drumsticks (plan on one per person)
- 1 medium sweet onion
- 5 celery stalks
- 2 carrots
- 1/4 cup sweet white rice flour
- salt and pepper to taste
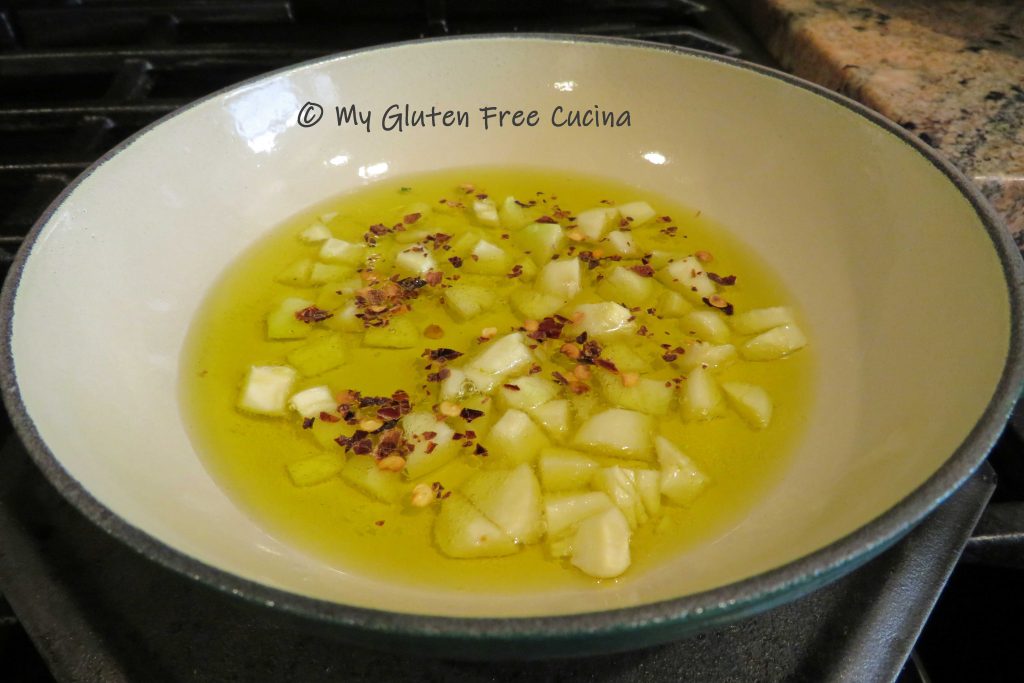
- olive oil
- 1/2 cup white wine
- 1/2 cup gluten free chicken broth
- 1/2 tsp. sage
- 1/2 tsp. thyme
- 1/2 tsp. garlic powder
- 1/4 tsp. turmeric
- cooking spray
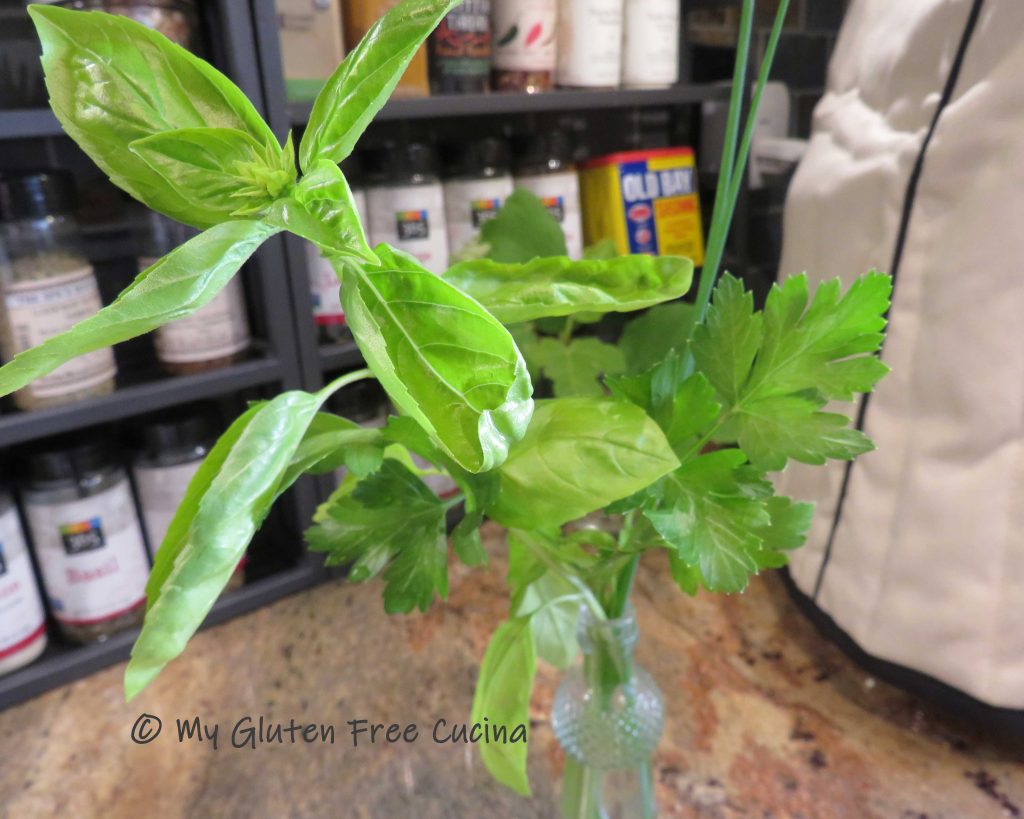
- fresh rosemary for garnish

Preparation:
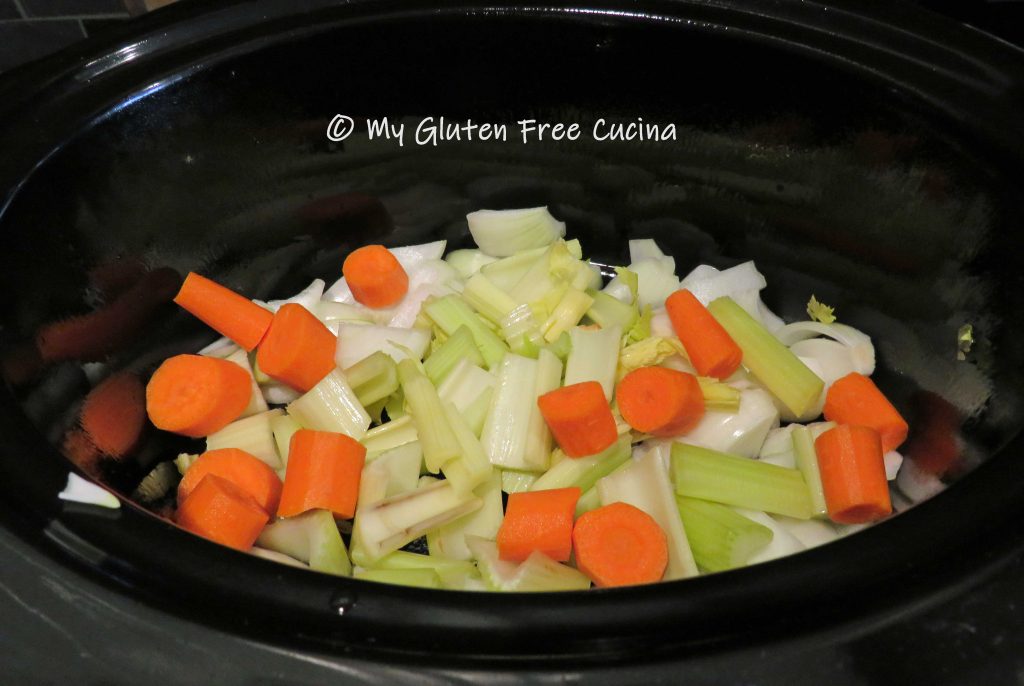
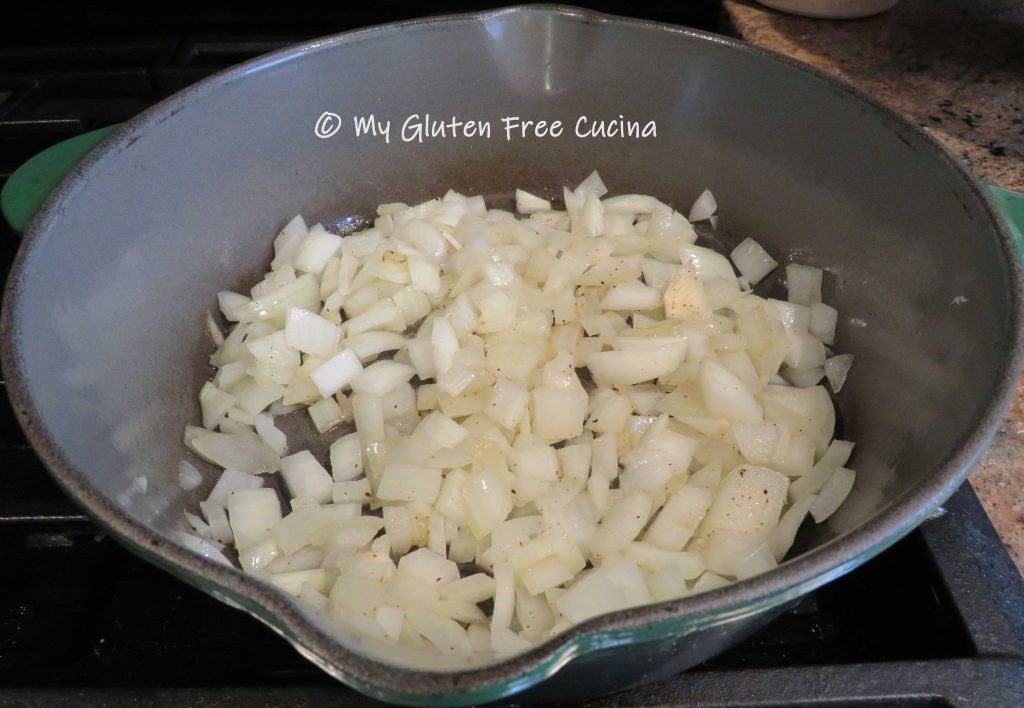
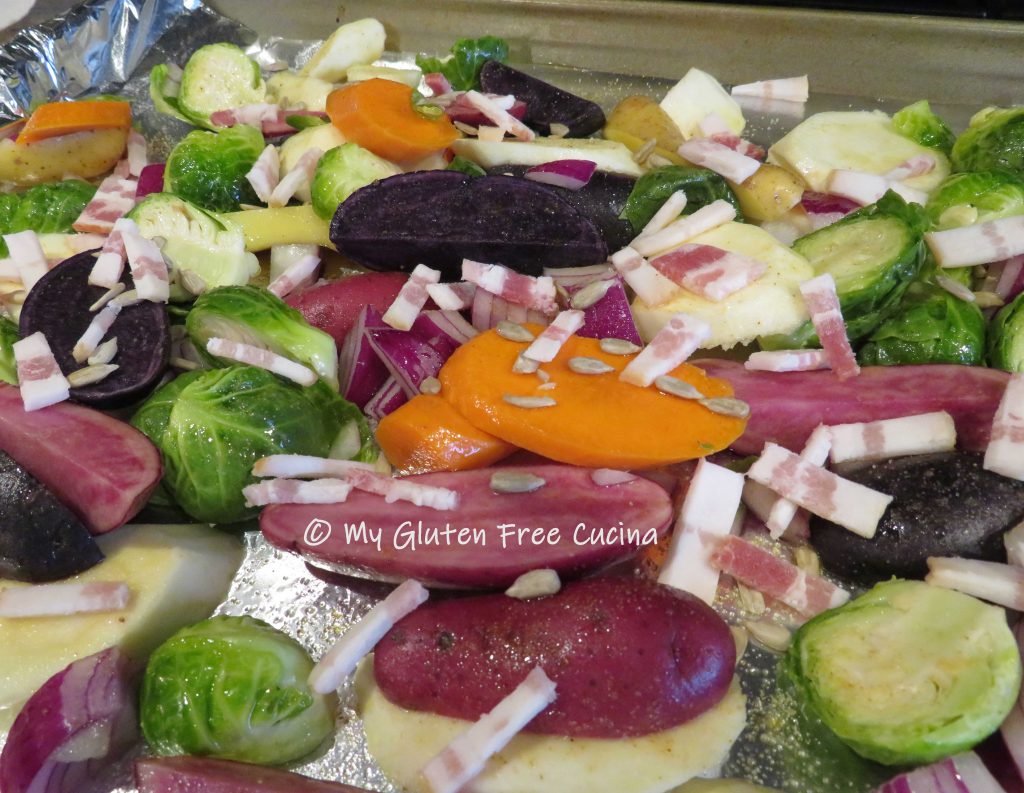
Chop the onions, celery and carrots into large chunks. Mist the Crock-Pot with cooking spray and add the veggies in an even layer.
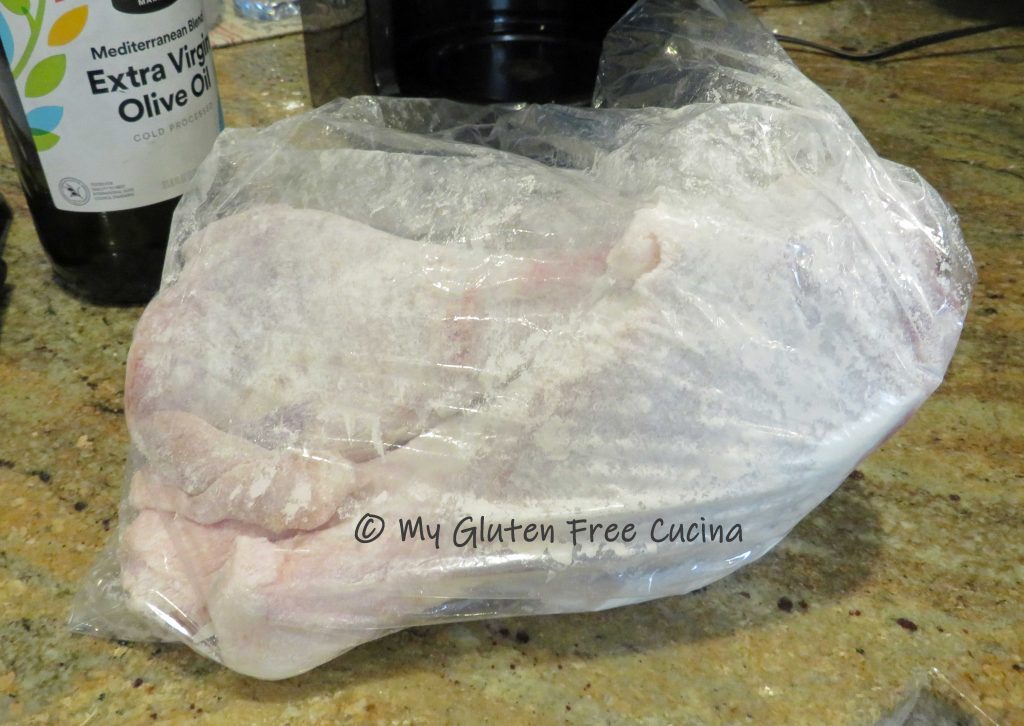
Rinse the turkey legs and pat dry. Add the flour to a food safe plastic bag, they place the turkey legs in the bag. Twist to close and shake to coat the legs evenly with flour.
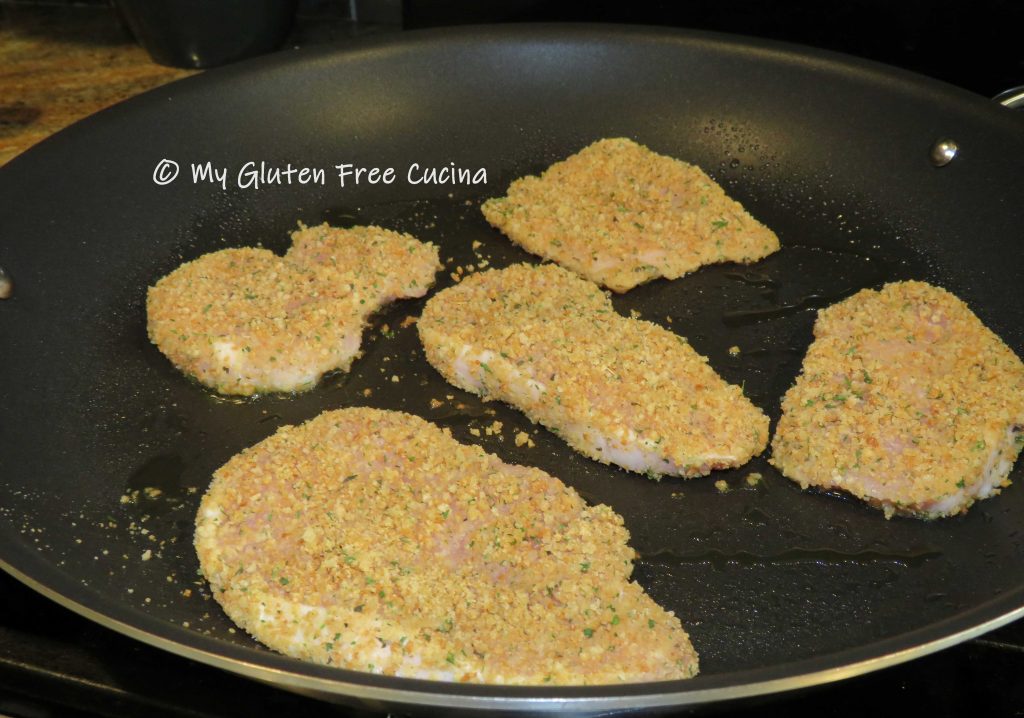
Use a stainless-steel skillet (not non-stick) to brown the legs in olive oil, about 5 minutes per side. Don’t crowd the pan, brown the meat in batches if necessary. Season with salt and pepper to taste.

Place the drumsticks in the crock-pot on top of the vegetables.
Next deglaze the pan. Remove the skillet from the heat and slowly pour in the wine. Return to the heat and use a spatula to scrape up all the little brown bits, then let it simmer for a minute. Strain the solids and reserve the wine.

Whisk together the reserved wine, chicken broth, sage, thyme, garlic powder and turmeric. Drizzle over the turkey legs. The vegetables and meat will release their own liquid as they cook, so don’t add more.

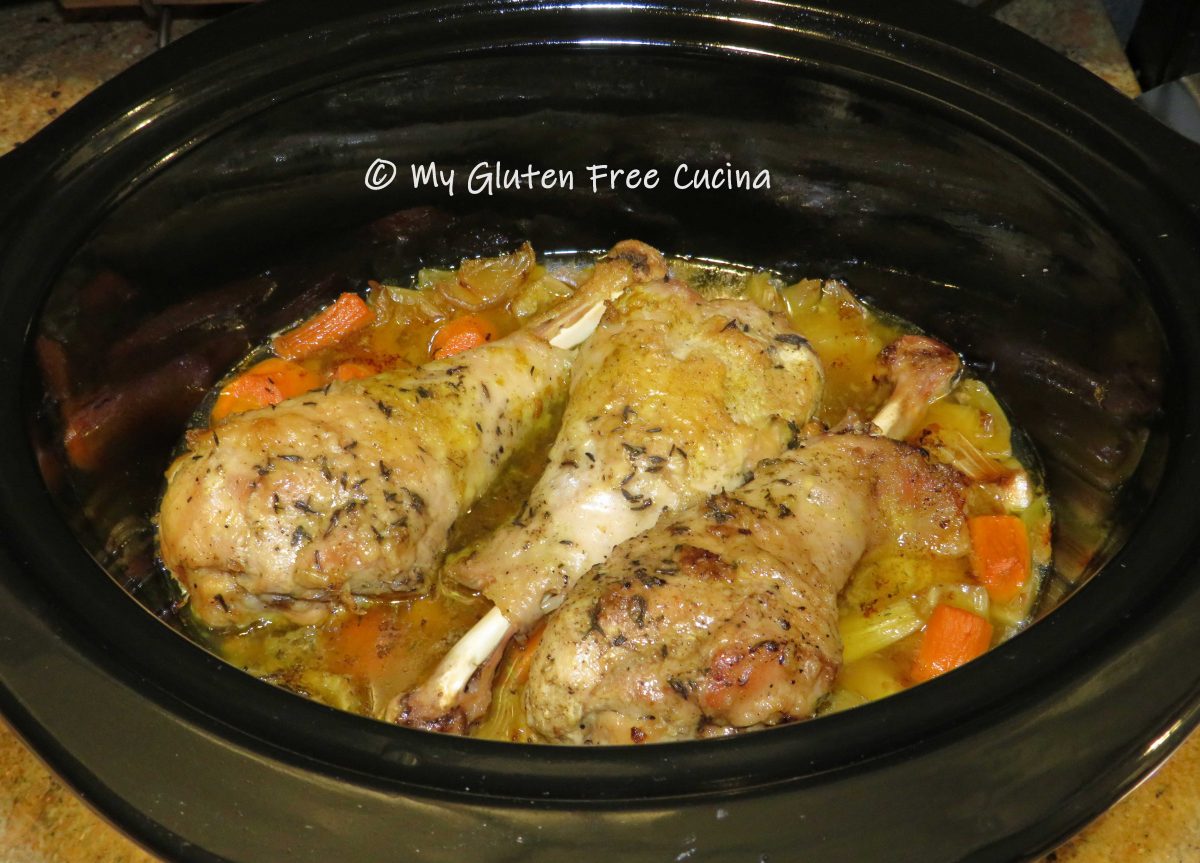
Now set your crock-pot to low and cook for 7 – 8 hours.

That’s all there is to it! Arrange the drumsticks on a serving platter and drizzle a bit of the pan juices over the meat. For a nice presentation you can garnish with fresh rosemary sprigs or other herbs.

Notes ♪♫ Don’t discard those veggies and juices in the bottom of the crockpot. They will make an incredible soup stock or base for sauces and gravies. I like to puree it then store in the refrigerator or freezer, ready for my next creation!


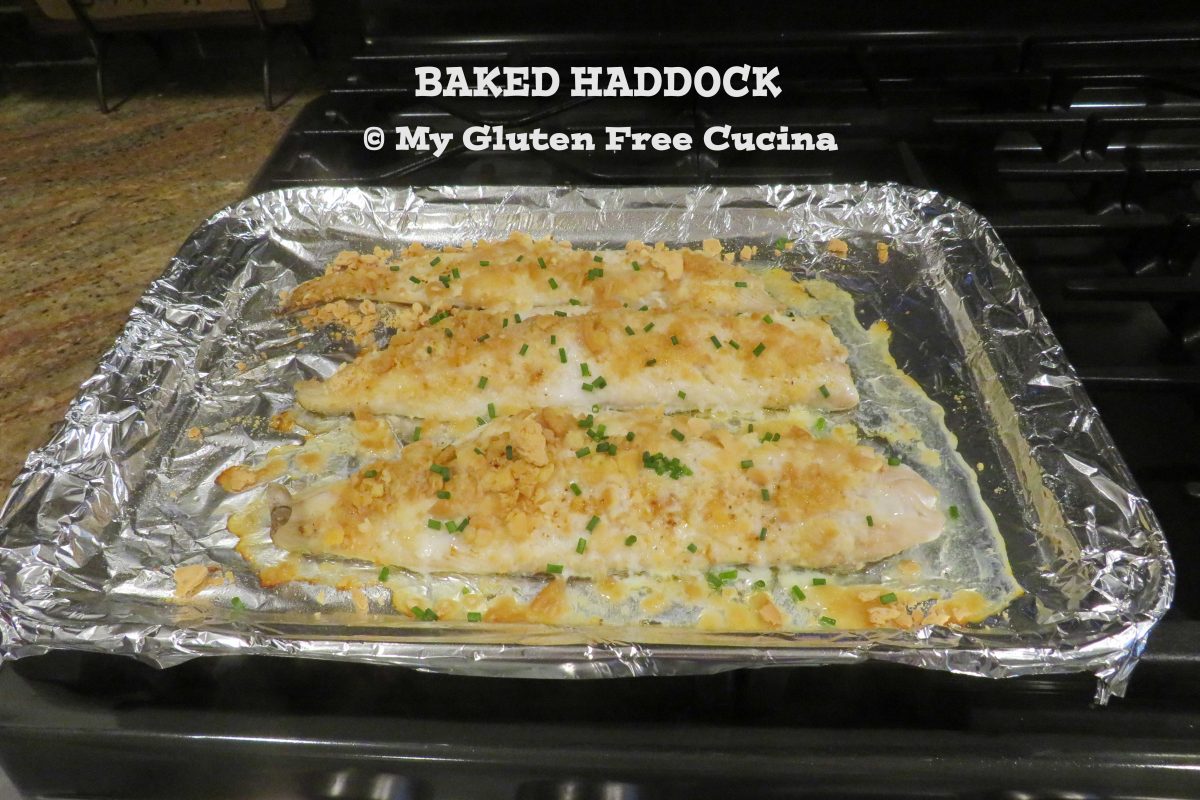
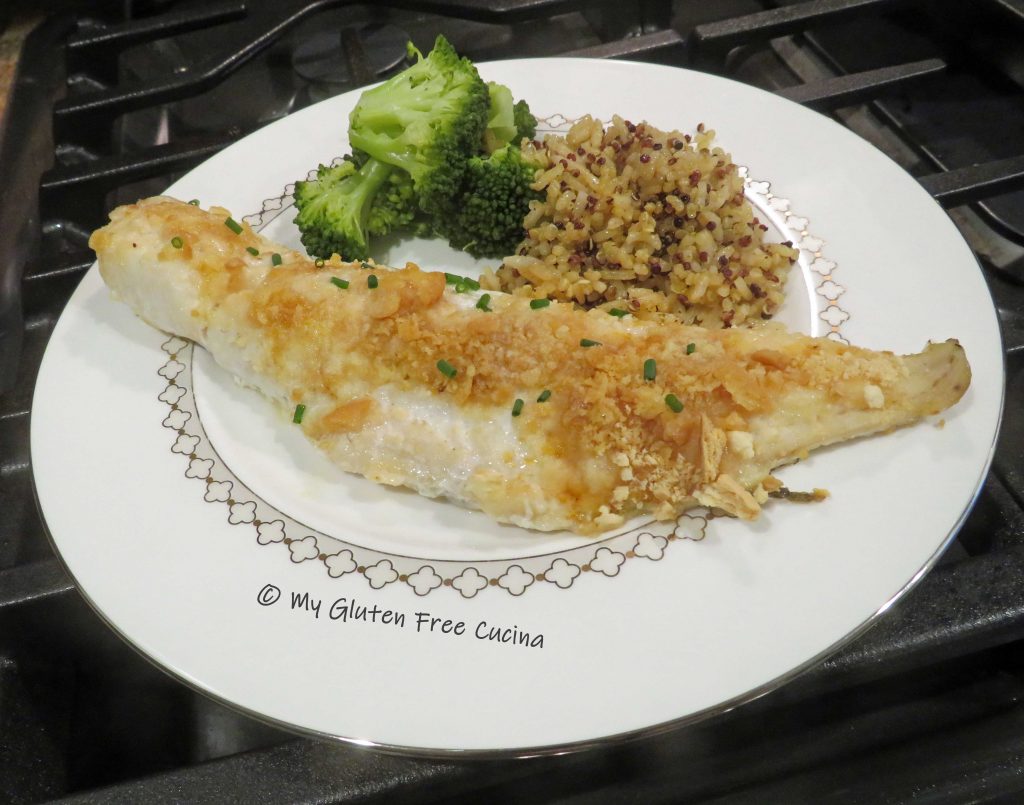
 Pulse the crackers in an electric chopper or place them in a bag and pound into crumbs. Spread the crumbs evenly over the fish. Cut the butter into small pieces and dot the top of the fish.
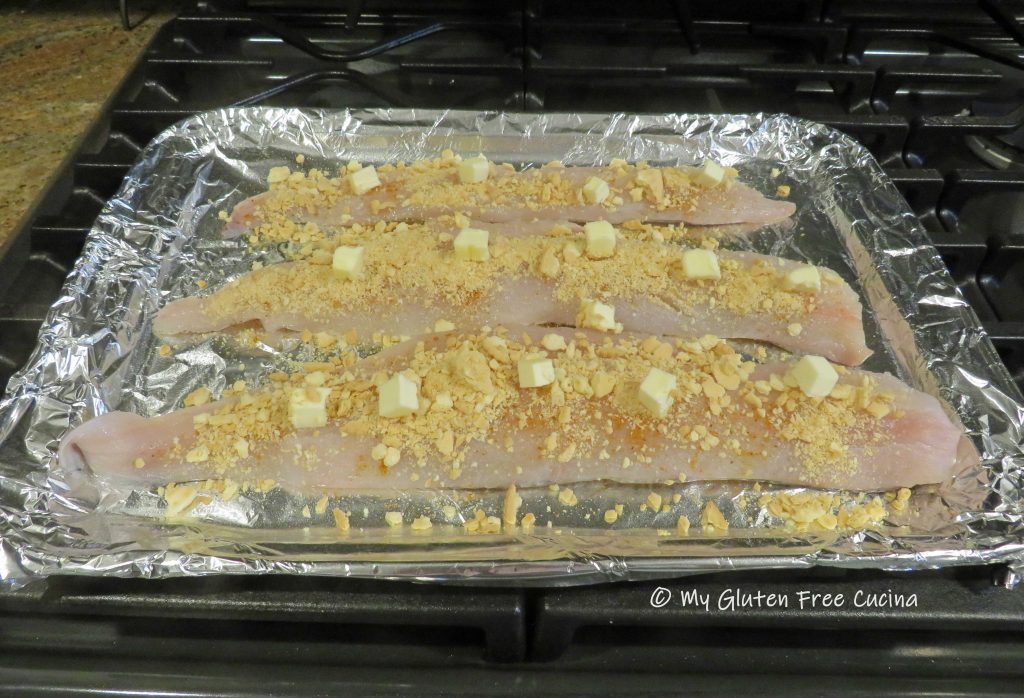
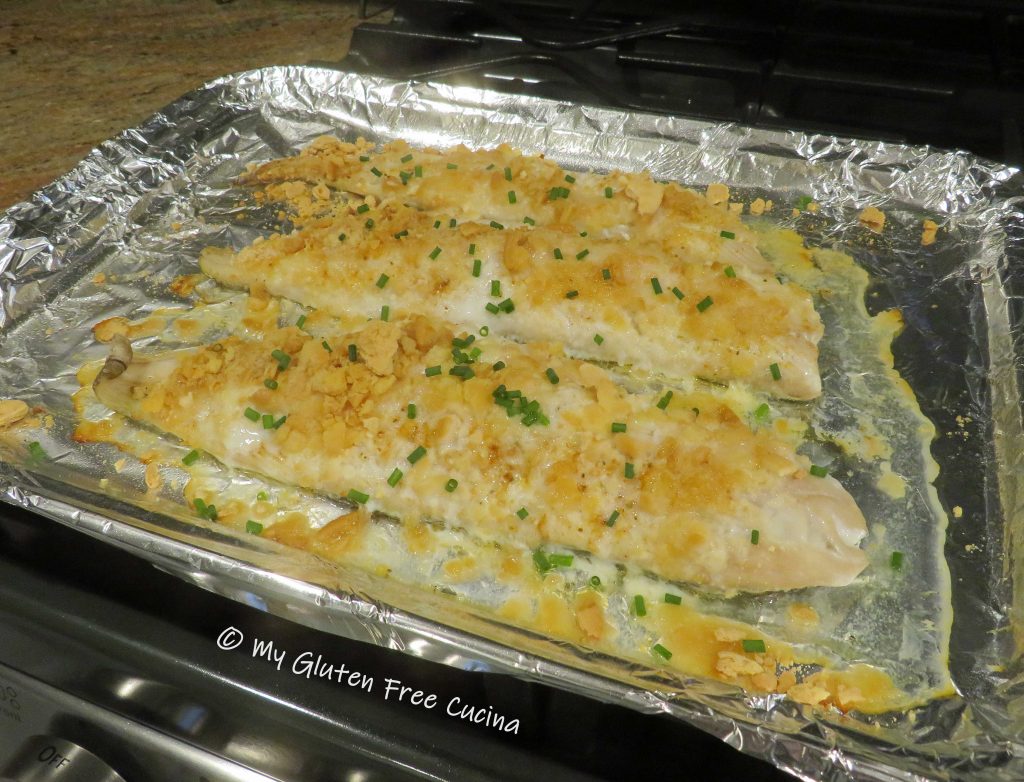
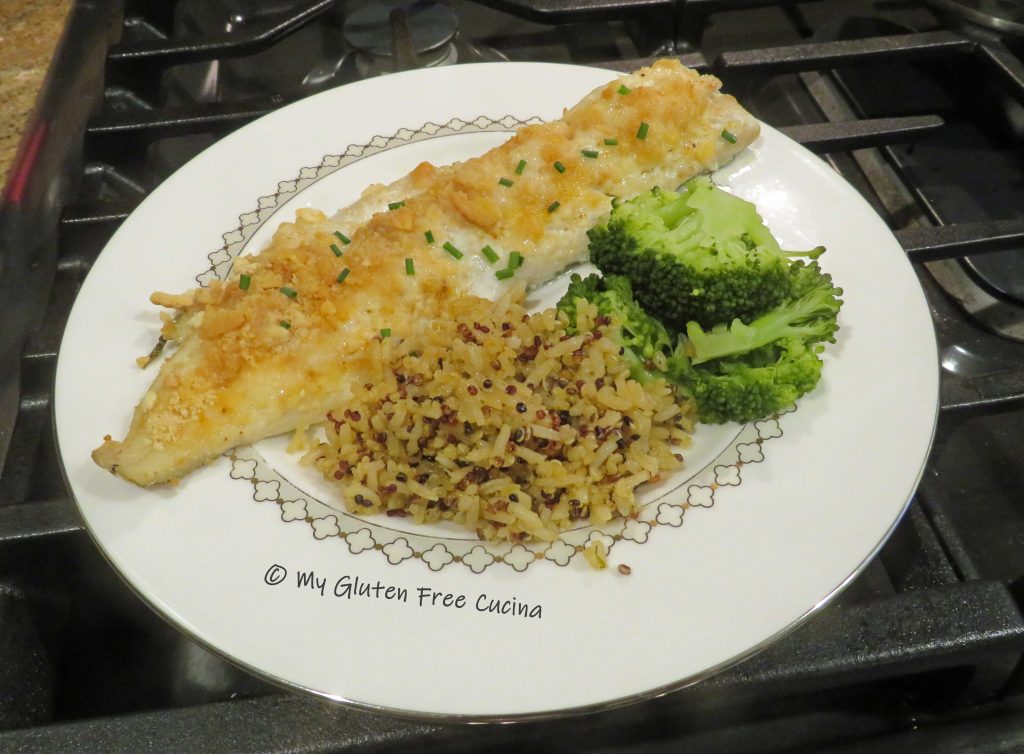


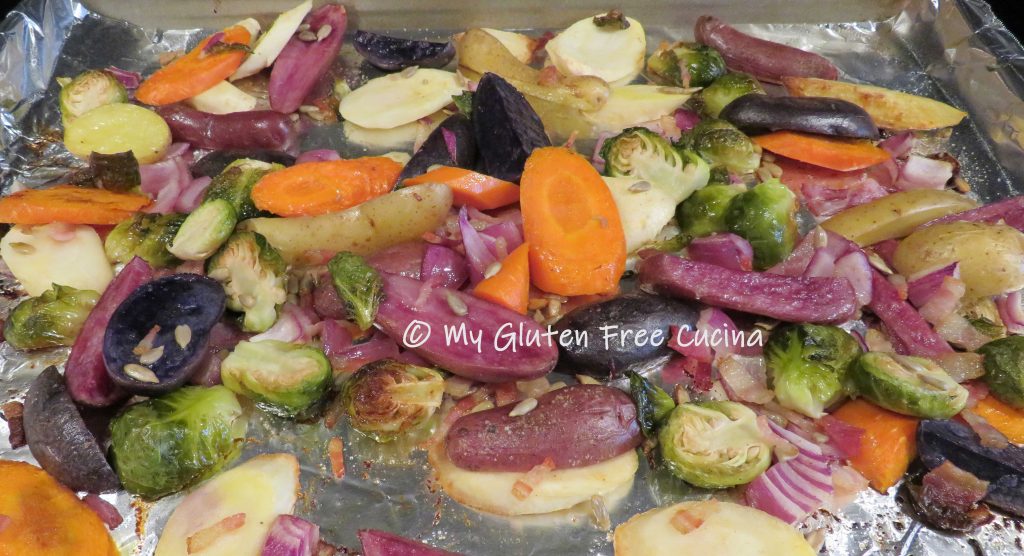
 I added a side of roasted green beans.
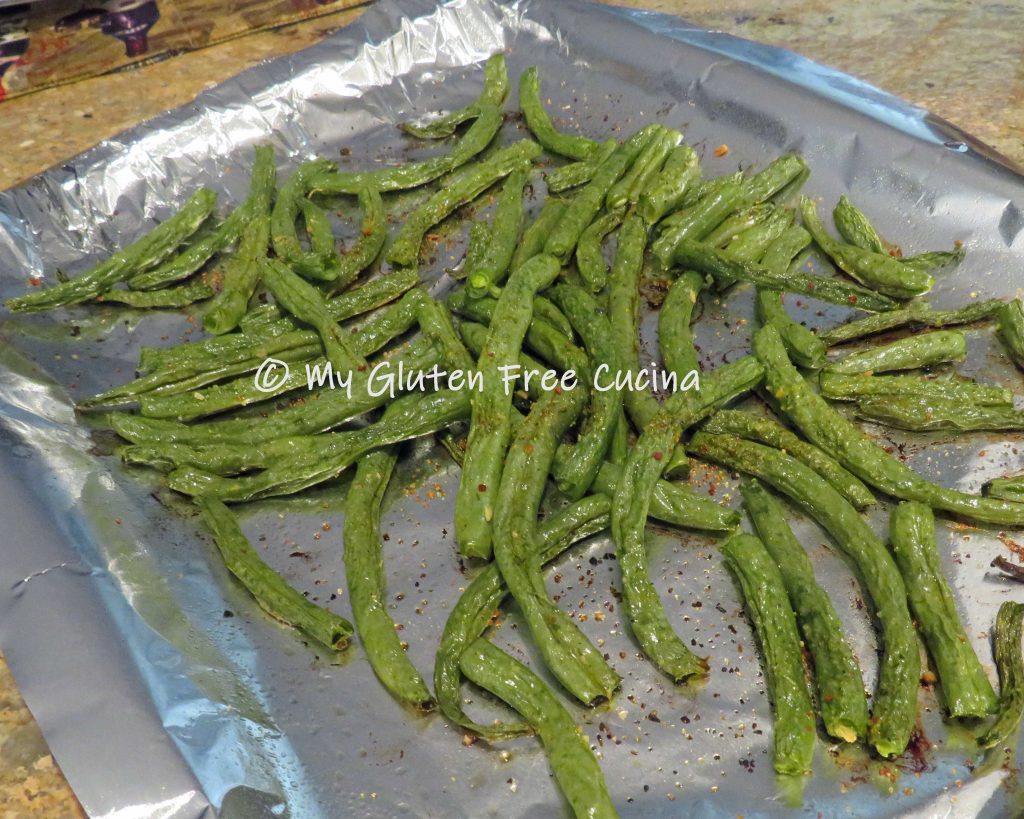


 Preparation:

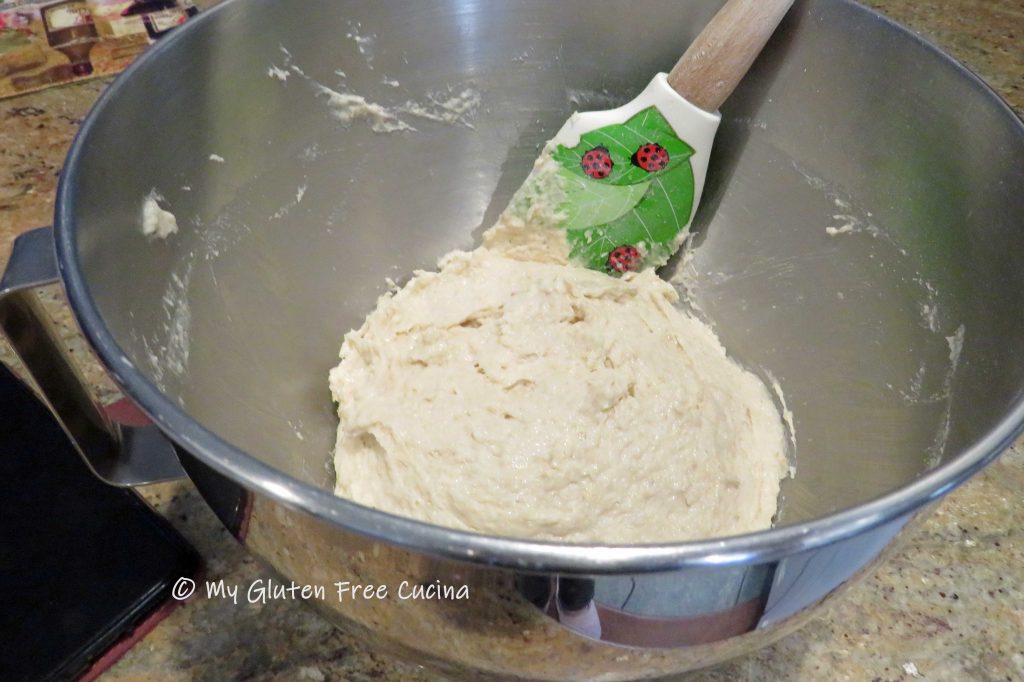
 Beat for 6 minutes to form a wet dough that clings to the beater like this.
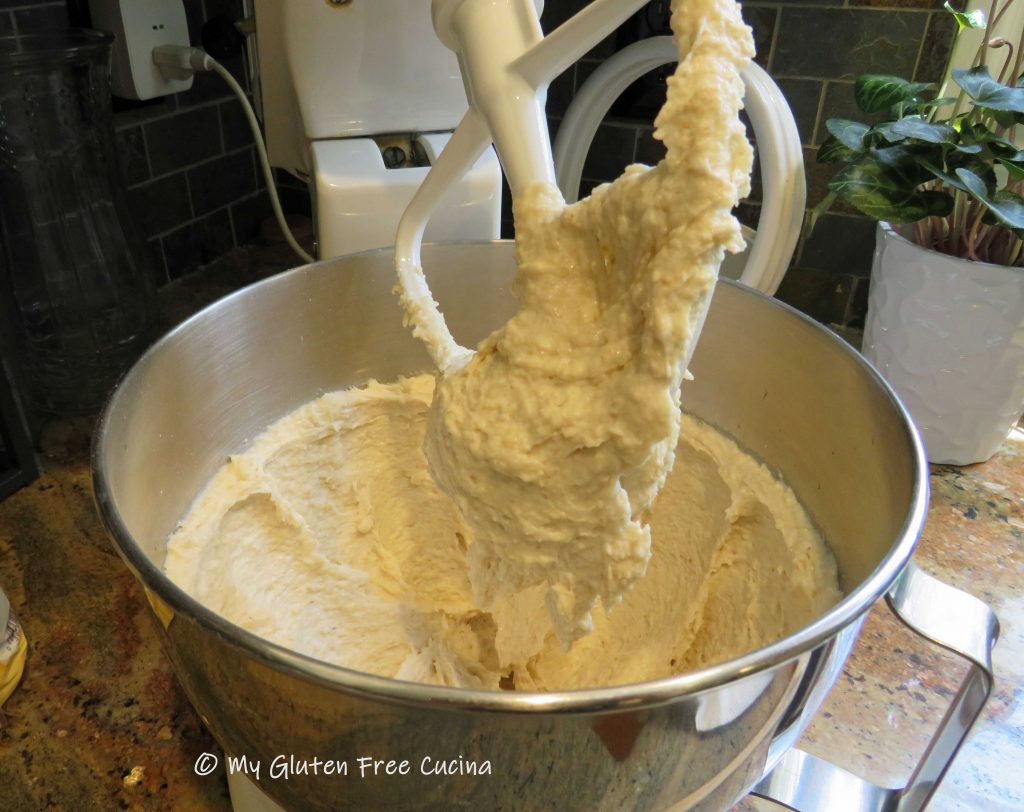


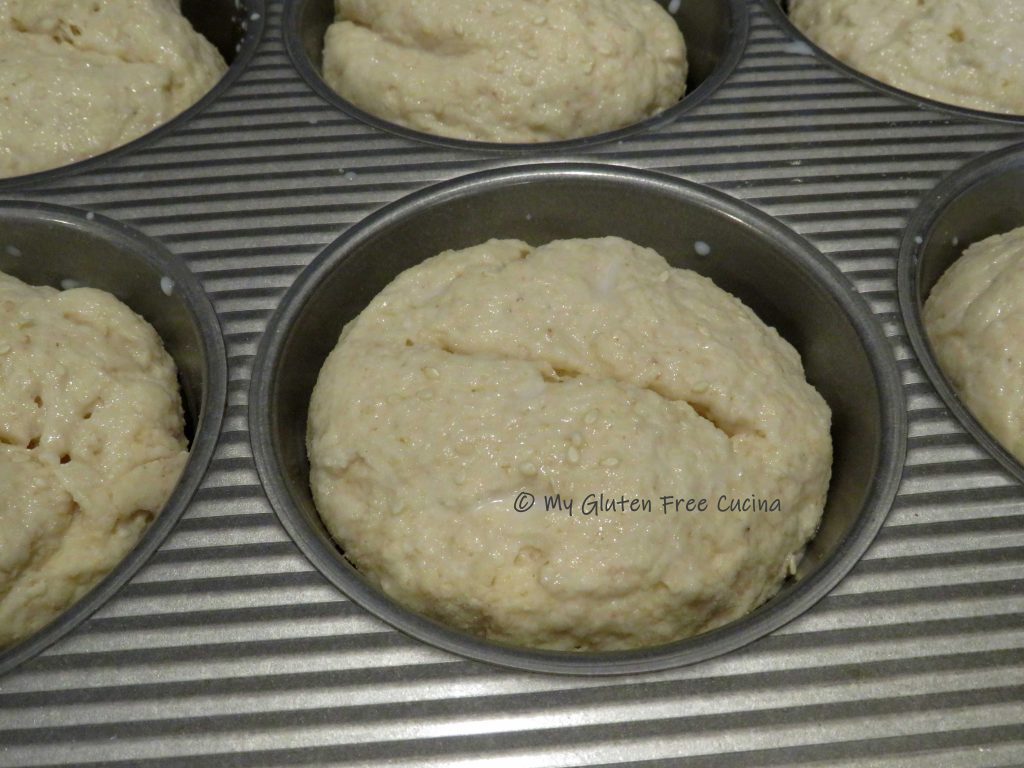


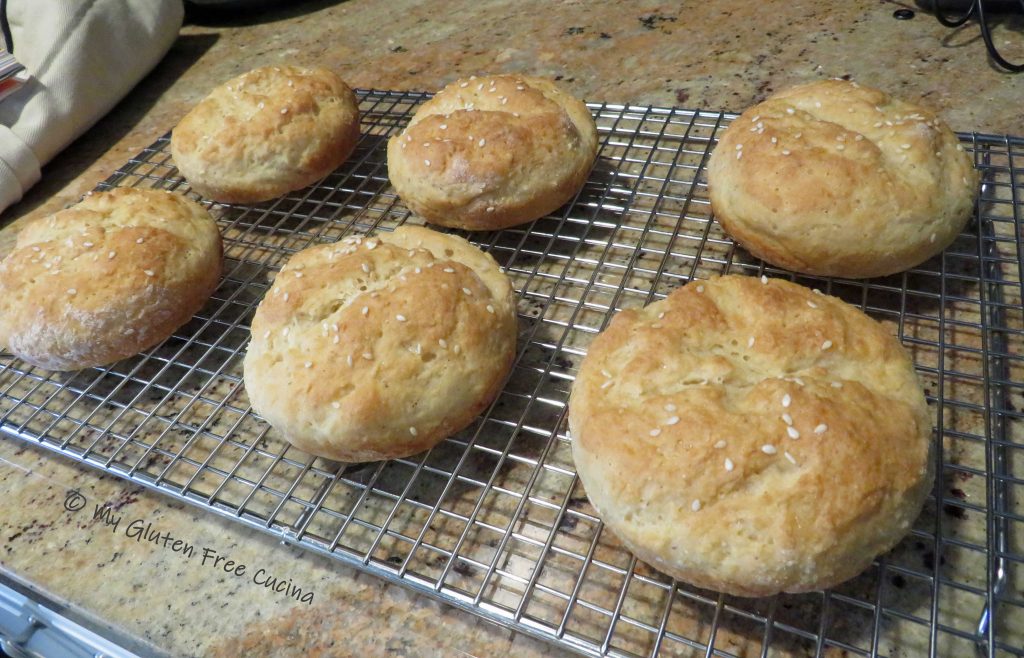
 They are the perfect accompaniment to all your summer burgers and lunch sandwiches! For something different, try them with my

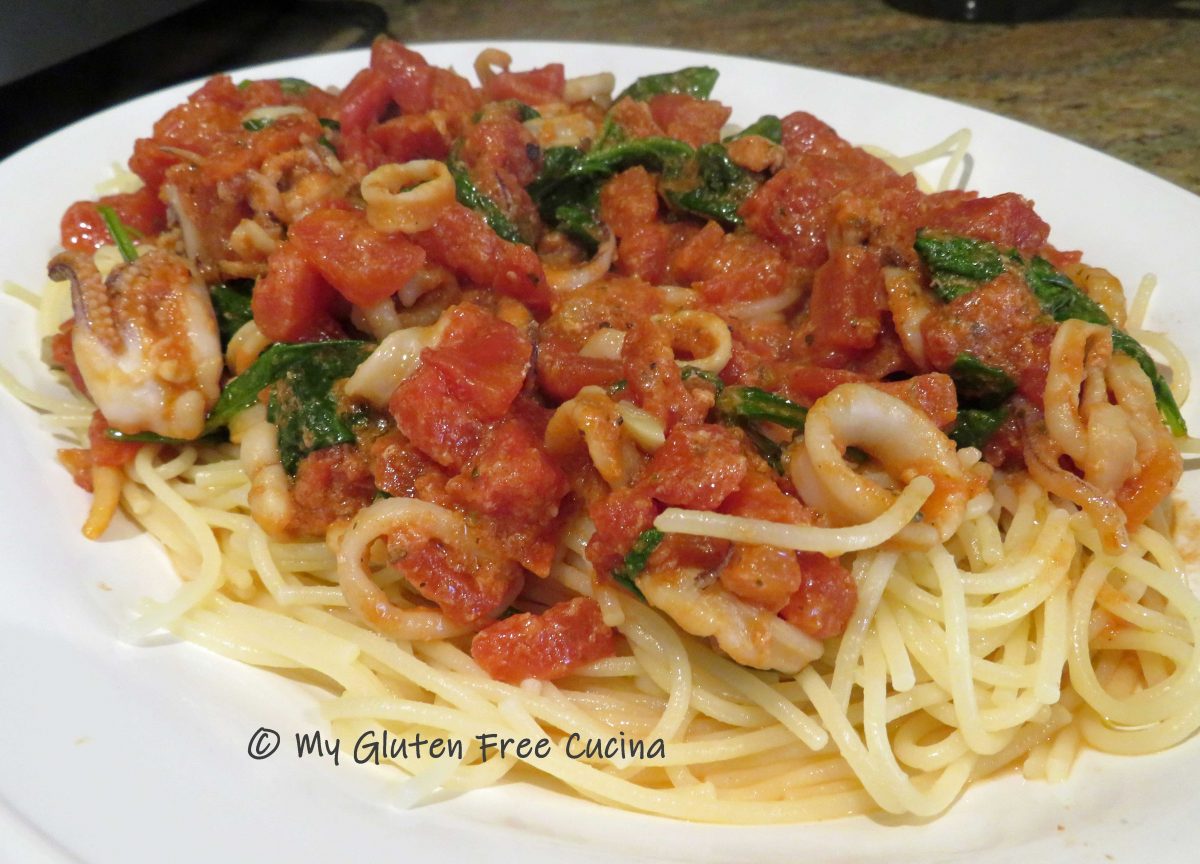
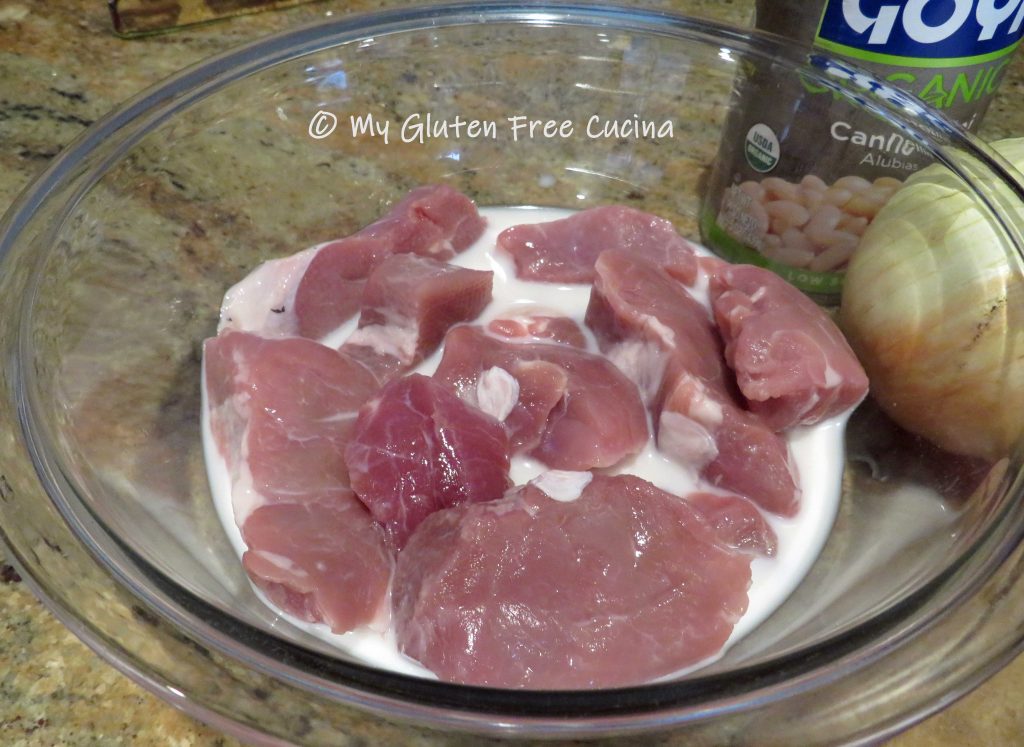
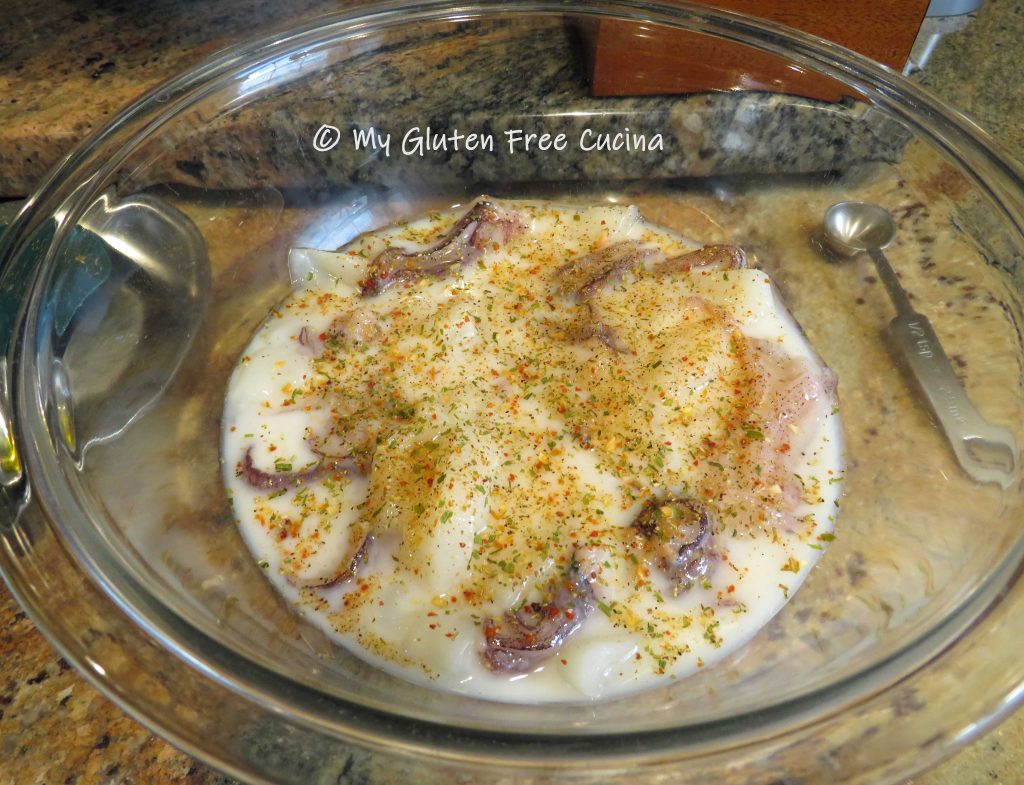
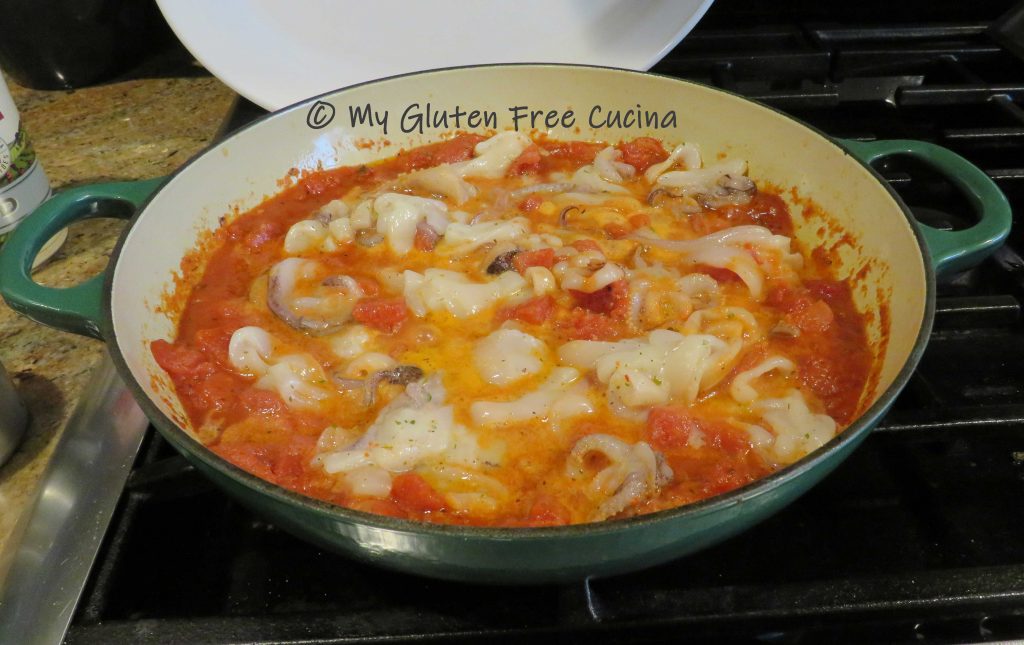
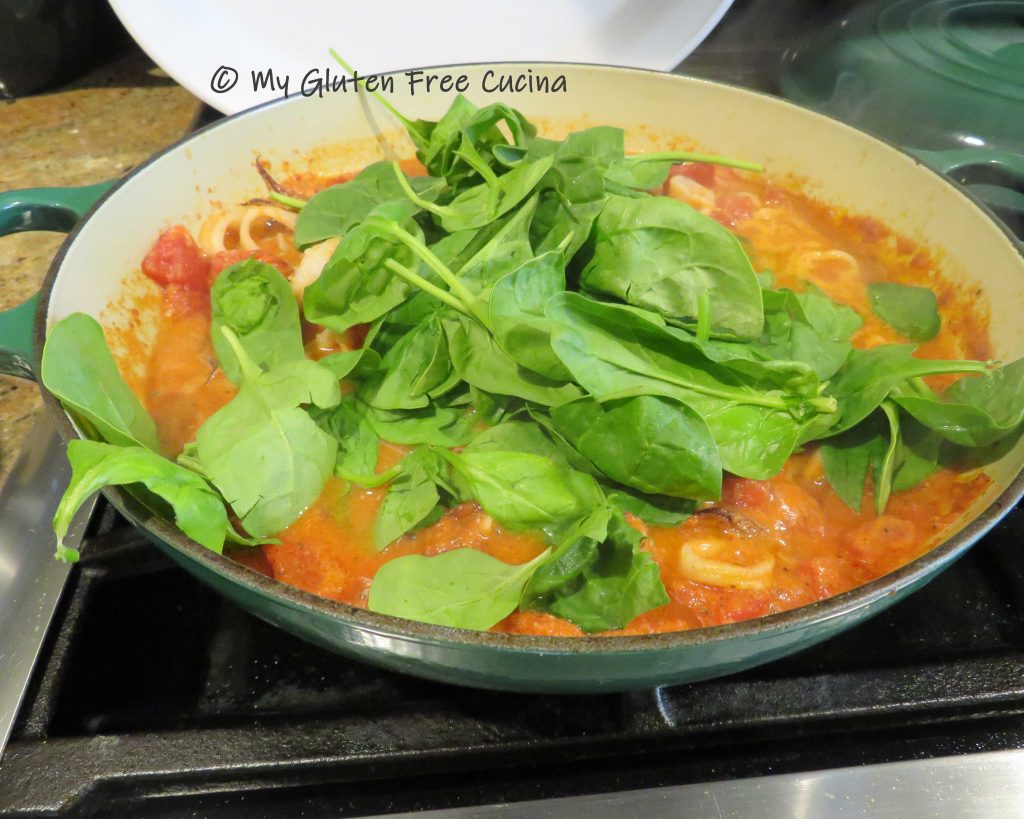
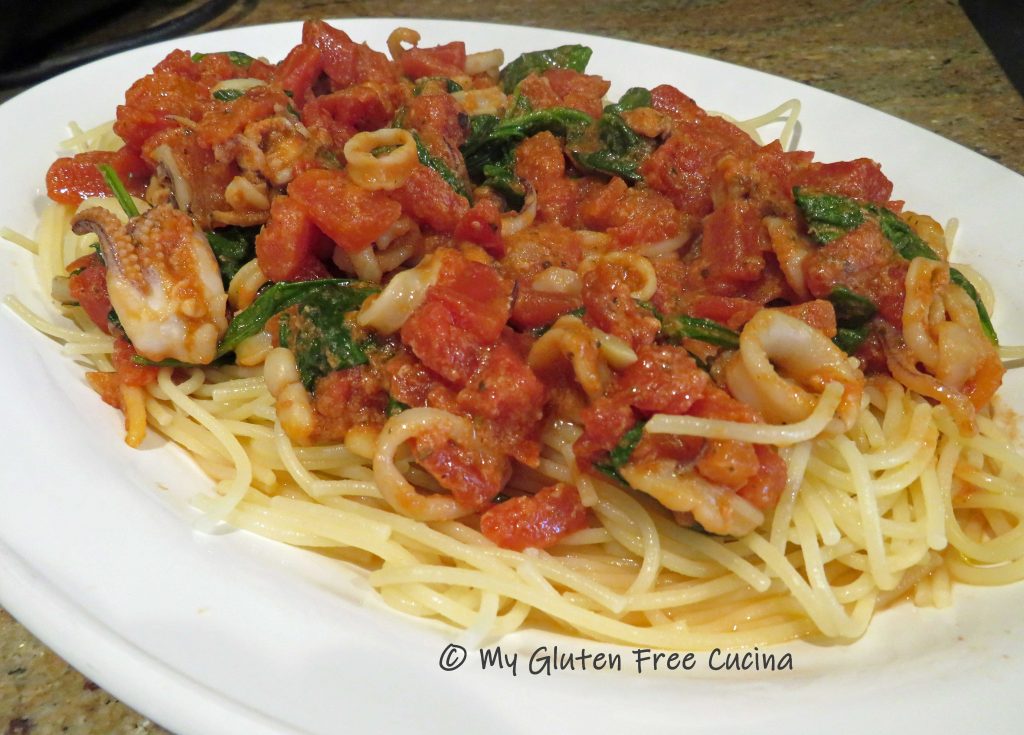
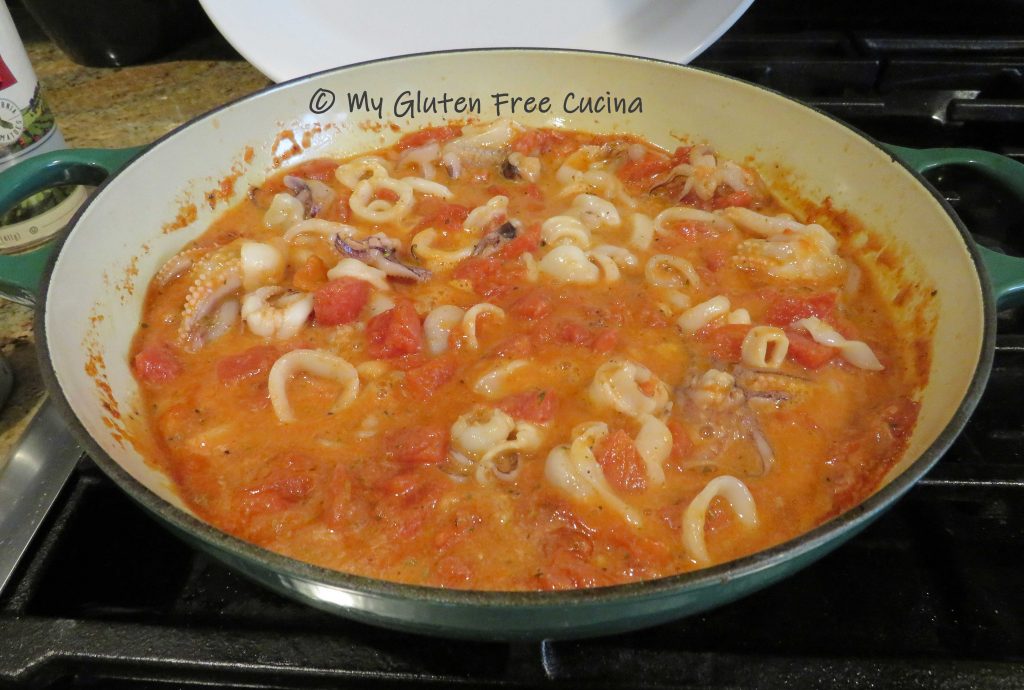 Did you know that there’s a trick to cooking squid? It can be tough and rubbery if not prepared correctly, but if you soak it in milk and don’t overcook, it will be delicious and tender. Soak squid in milk for 30 minutes before cooking.
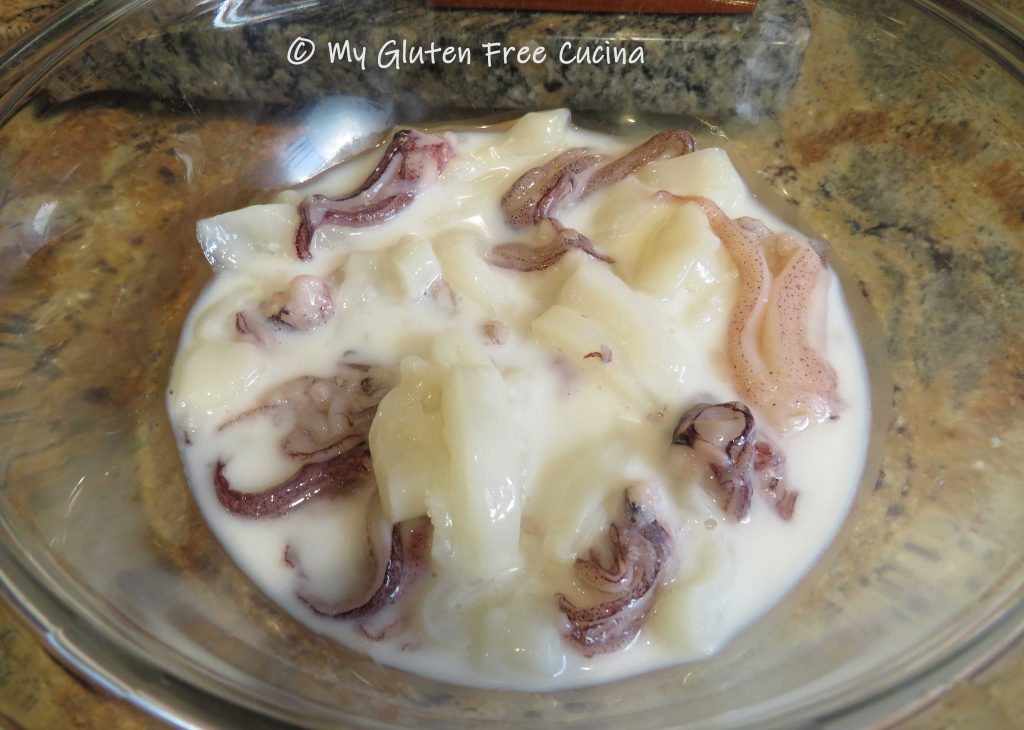


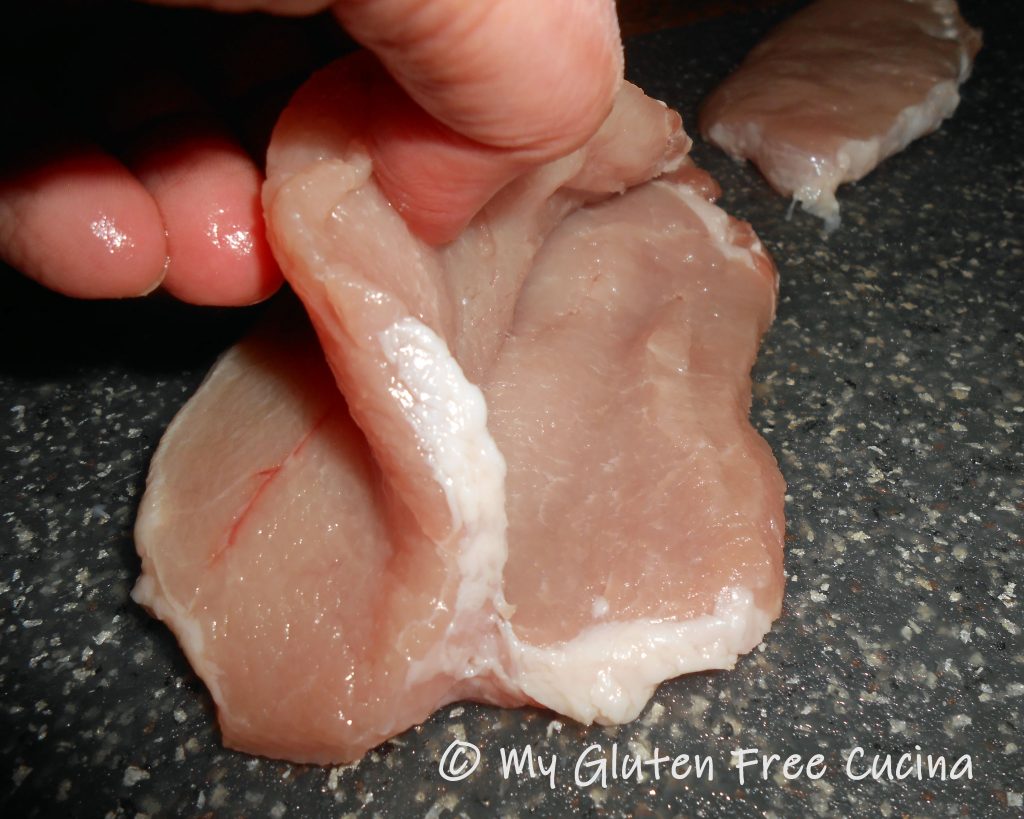
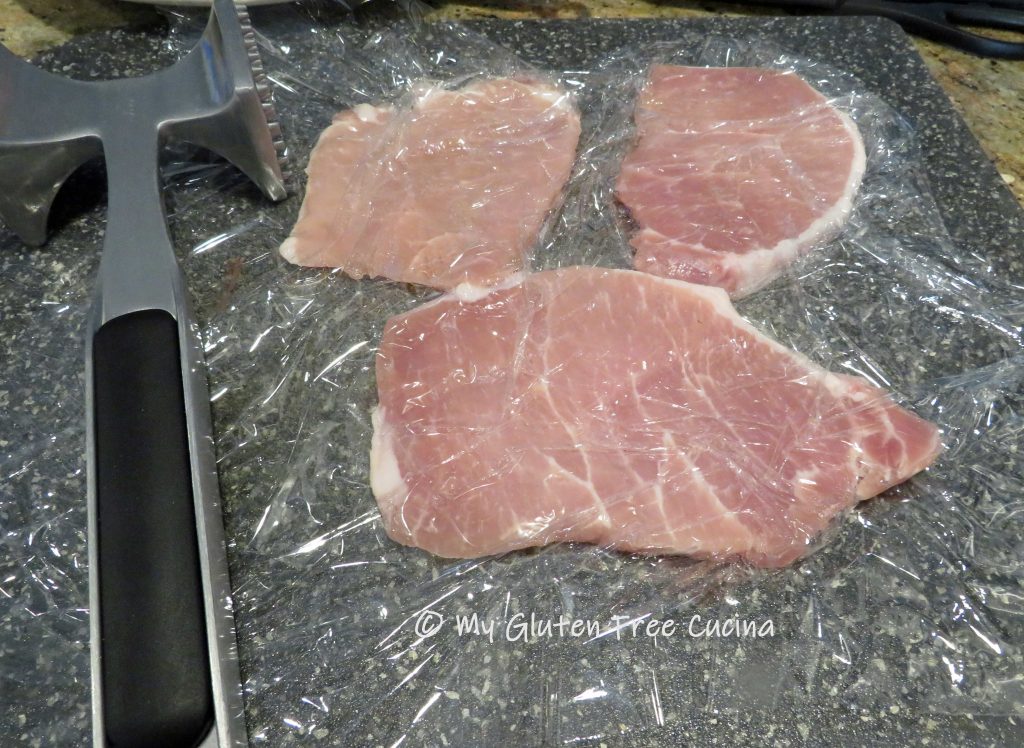
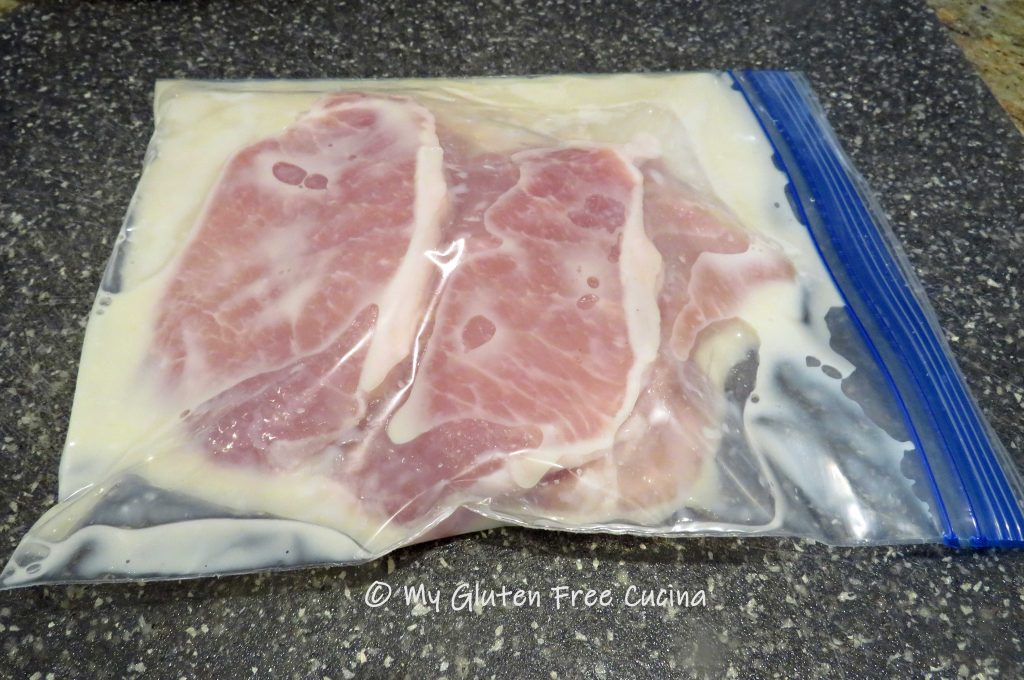
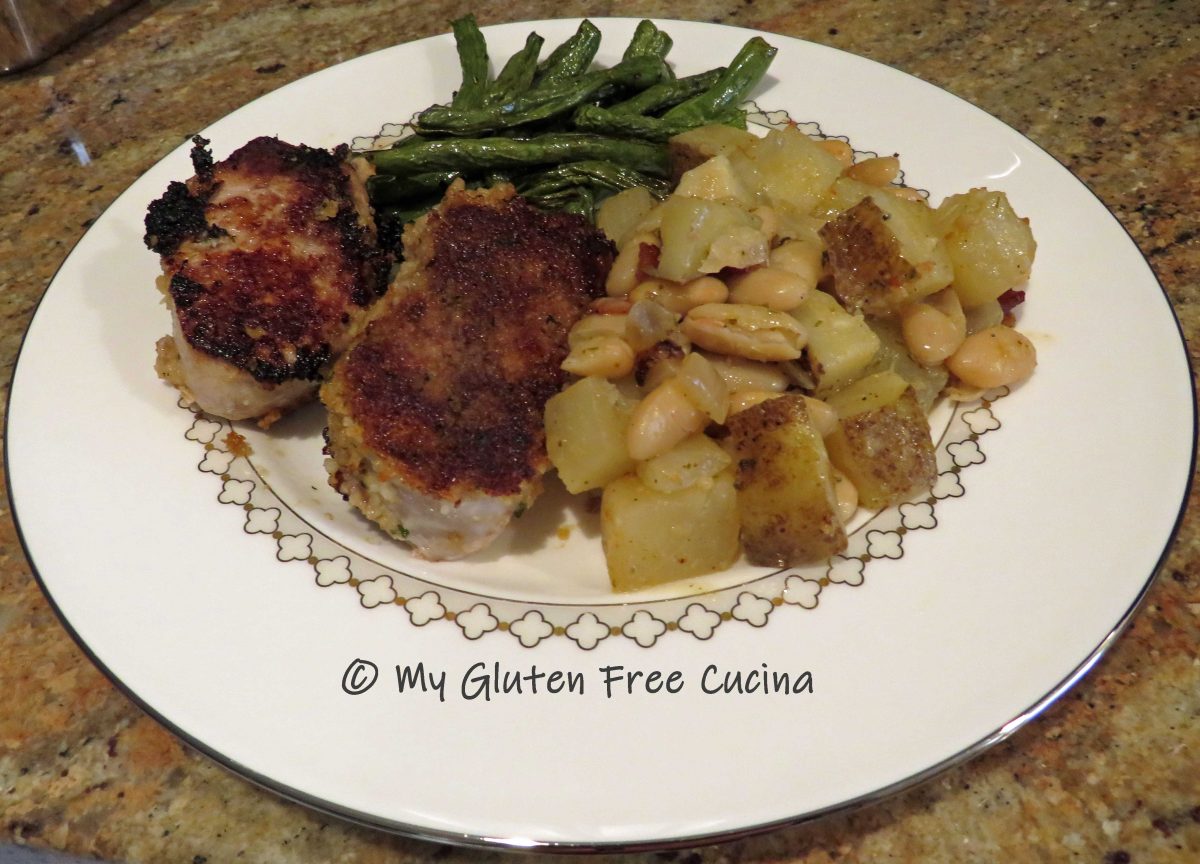
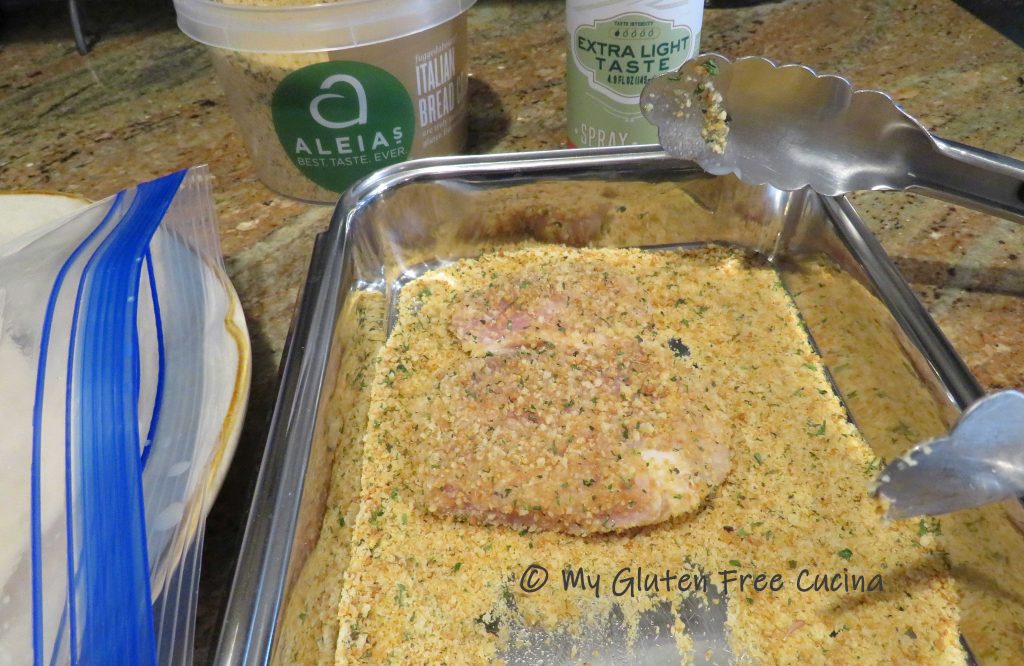 Place the chops in a single layer and cook 2 minutes per side, turning once.