Before I was diagnosed with Celiac disease, easy skillet meals like this were my go-to for busy weeknights. There was a time when I thought I would never enjoy meals like this again, but little did I know! Delicious gluten free pasta and breadcrumbs are widely available so today I can still enjoy some of my old favorites. I love that this dinner can be pulled together in a hurry. It’s such a versatile recipe, you can substitute whatever veggies you have on hand, even leftover or frozen veggies will work.
This post contains affiliate links.
Ingredients:
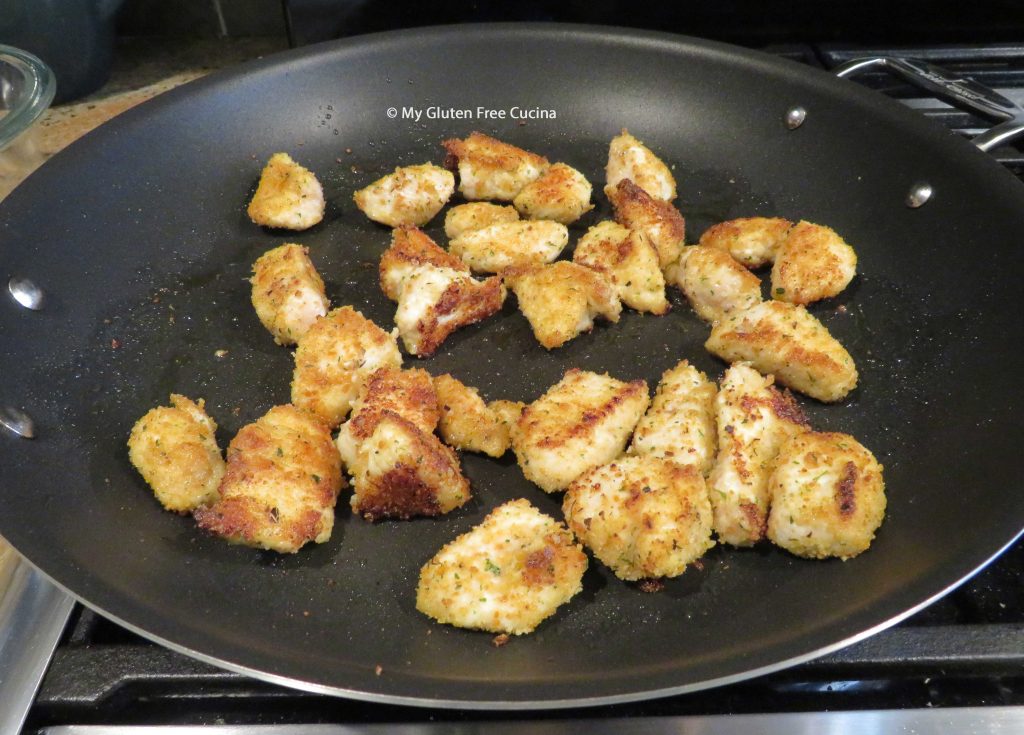
- 12 oz. boneless chicken breast
- 1/3 cup gluten free seasoned breadcrumbs
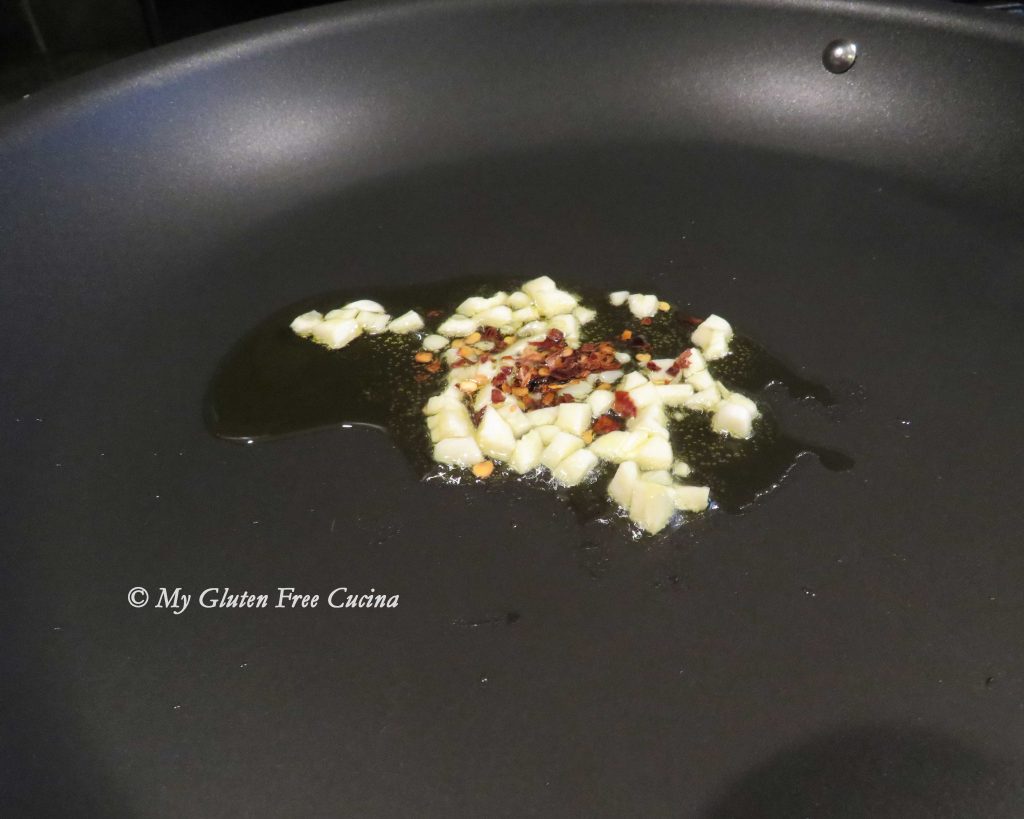
- olive oil
- 3/4 cup each, onions, zucchini, carrots, bell pepper
- 2 garlic cloves, minced
- salt and pepper
- 1/4 cup white wine
- 1/4 cup gluten free chicken broth
- 6 oz. gluten free penne
- grated Parmesan cheese for serving
- Italian parsley for garnish

Preparation:
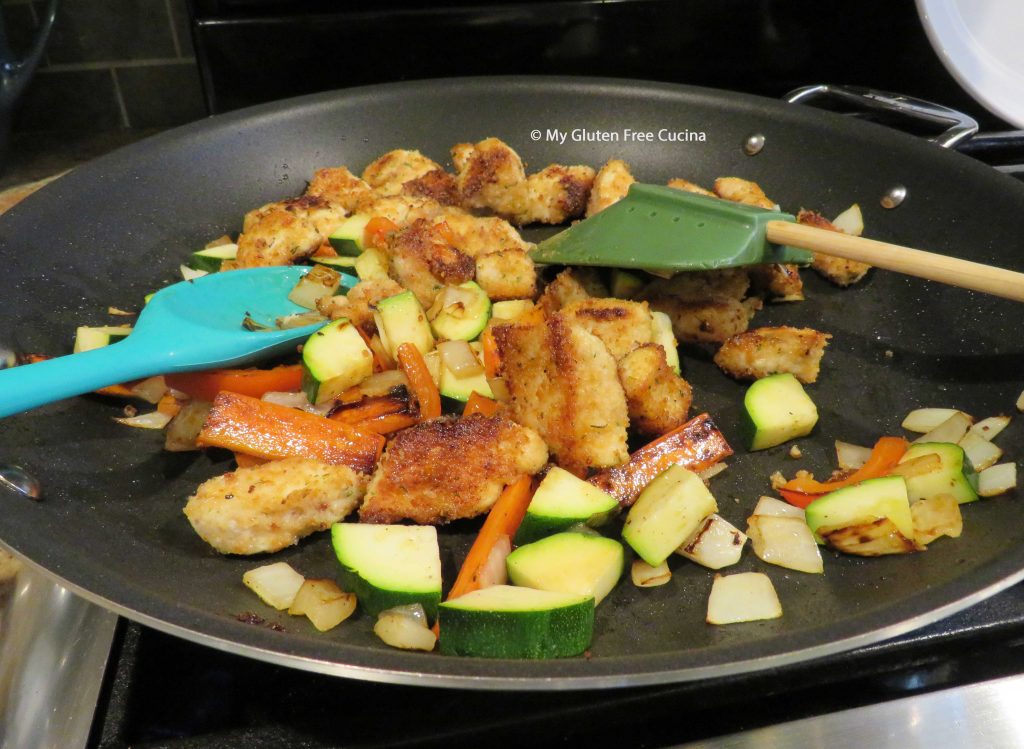
Boil a pot of salted water for the pasta. Cut the chicken into cubes. Place in a bowl and toss with breadcrumbs to coat evenly. Cook the chicken in a large, nonstick skillet with olive oil. Turn to brown all sides. When cooked through, remove and keep warm.
Keep the veggies separated. The carrots will take longest to cook, while the zucchini will only need a few minutes. Toss the veggies with olive oil, salt and pepper before adding to the skillet. Add the carrots in first.
Cook the pasta to 1 minute less than package directions. While the pasta cooks, finish the veggies. Add the onions and bell peppers next. With 5 minutes left for the pasta to finish, add the zucchini.
Add the chicken back to the skillet with the veggies, toss well and add a splash of white wine. Let it reduce, then add 1/4 cup of chicken broth.
Drain the pasta and add it to the skillet with a little reserved pasta water if needed. Finish cooking 1 minute longer, tossing together to blend the flavors.
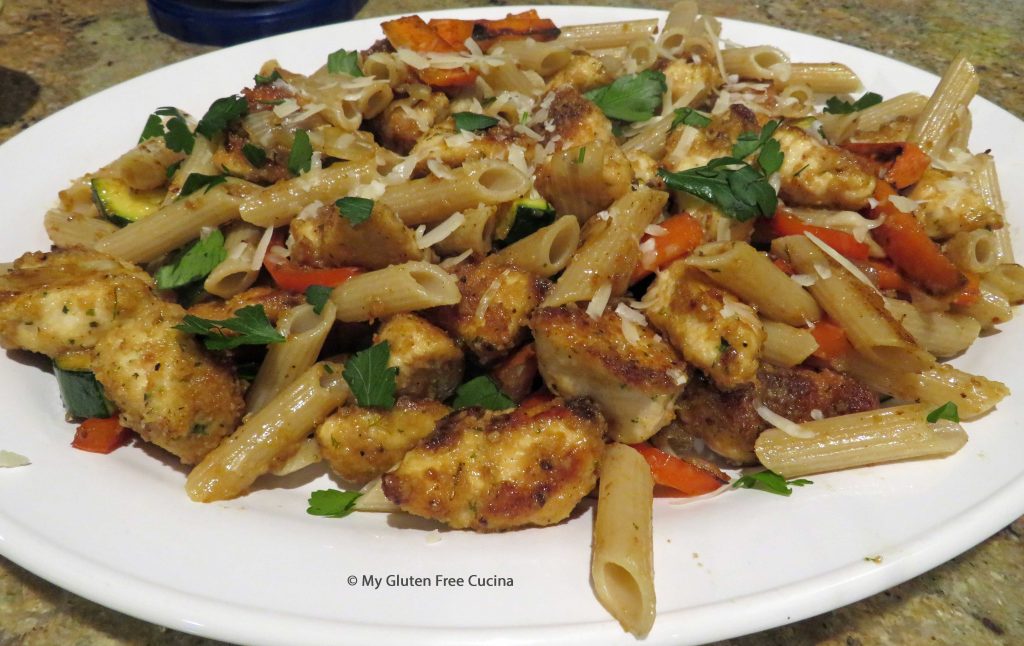
Transfer to a serving platter, finish with grated cheese and garnish with Italian parsley. Serve with more grated cheese.
Notes ♪♫ I used Rummo gluten free penne in this recipe, it’s a rice and corn blend with great taste and texture. If you’re missing the “chew” of wheat pasta, give it a try!