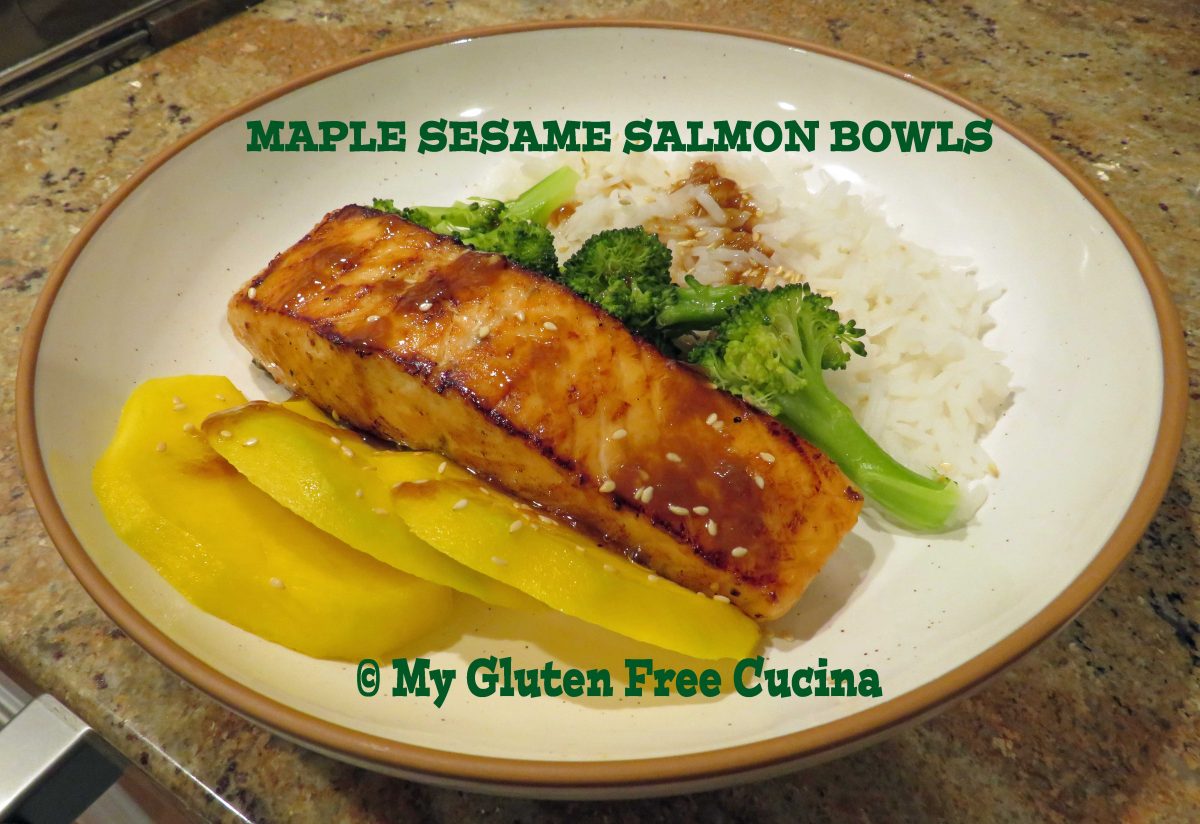
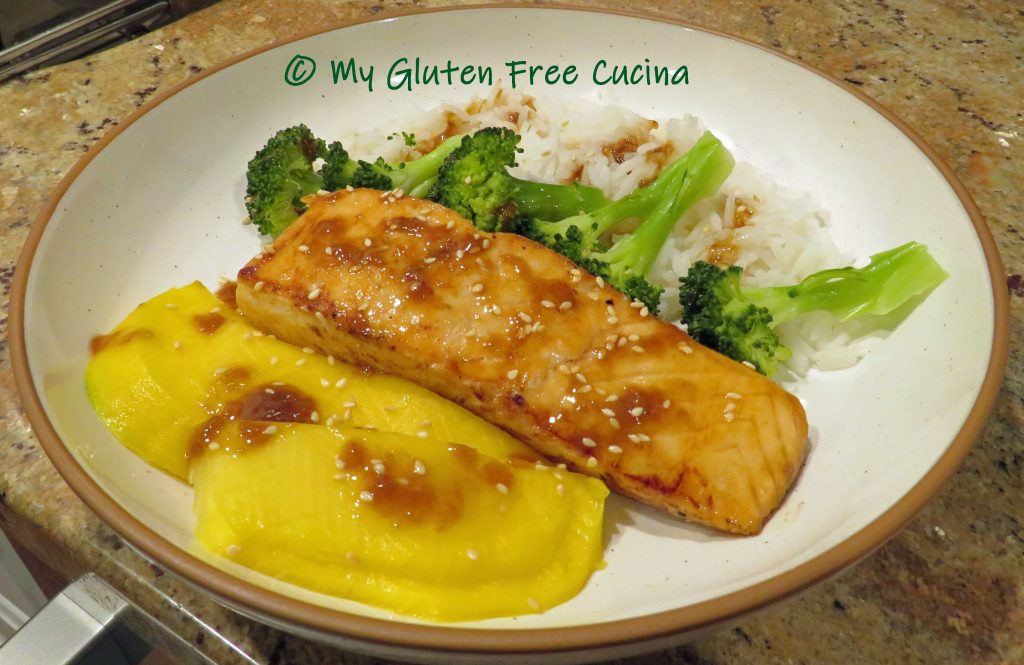
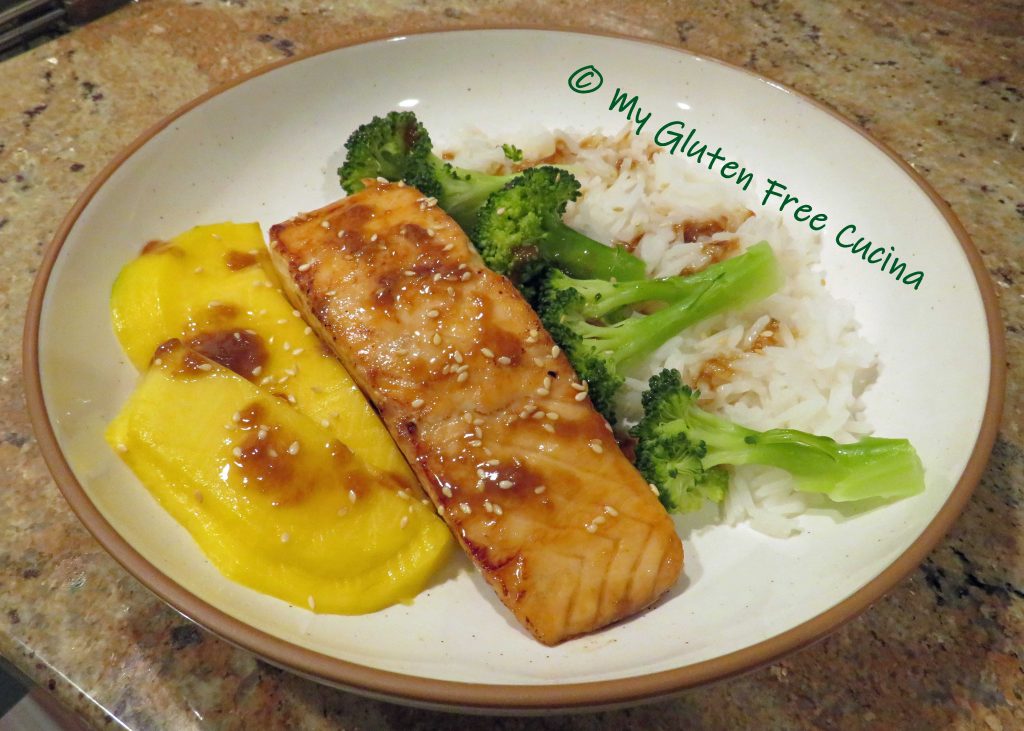
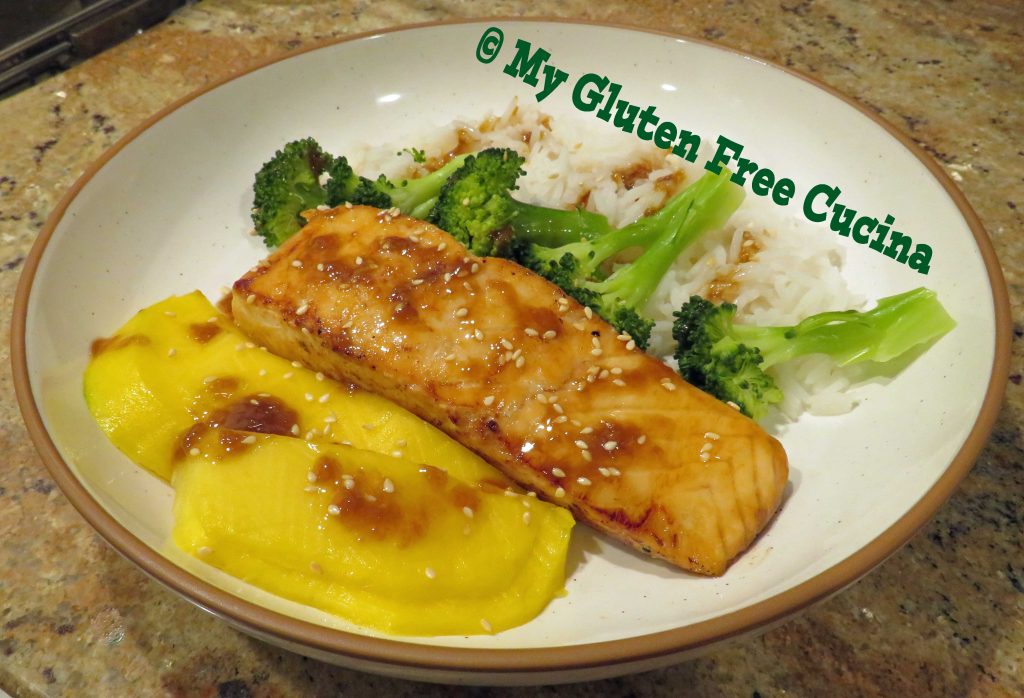
This fast and easy dinner for two is made with simple, naturally gluten free ingredients. One of the first meals I made after the New Year, it was a nice change of pace after all the holiday cooking. The marinade gives the salmon just a hint of an Asian flair, pairing nicely with the jasmine rice, steamed broccoli and fresh mango. Once you prep the ingredients, this meal comes together in 15 minutes!
Dinner for 2
This post contains affiliate links.
Ingredients:
- 1 tbsp. toasted sesame oil
- 1 tbsp. maple syrup
- 1 tbsp. coconut aminos
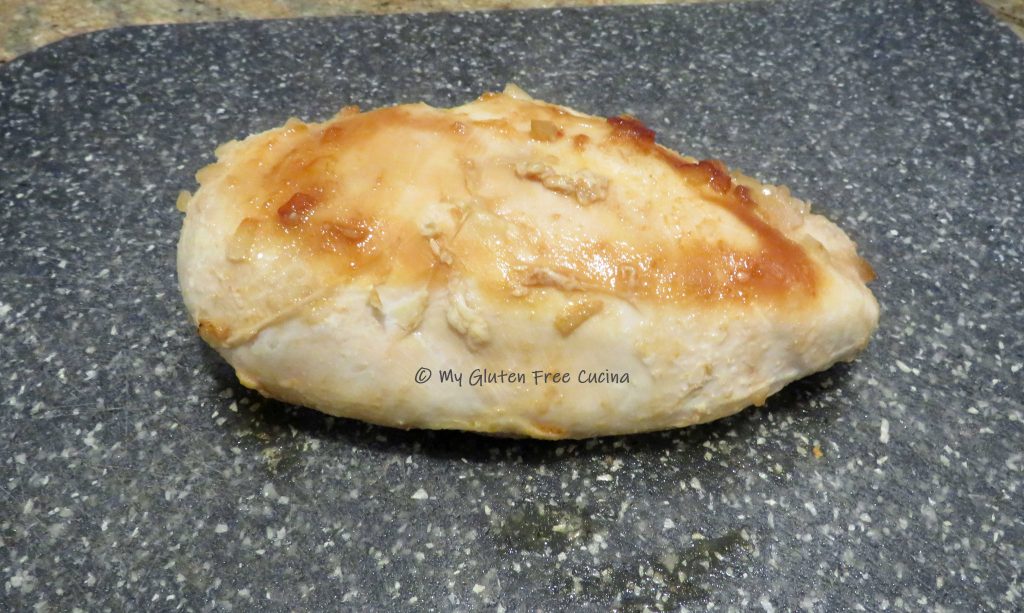
- 2 salmon filets, 6 oz. each
- 1/2 cup (uncooked) jasmine rice
- 1 cup water
- 1/8 tsp. salt
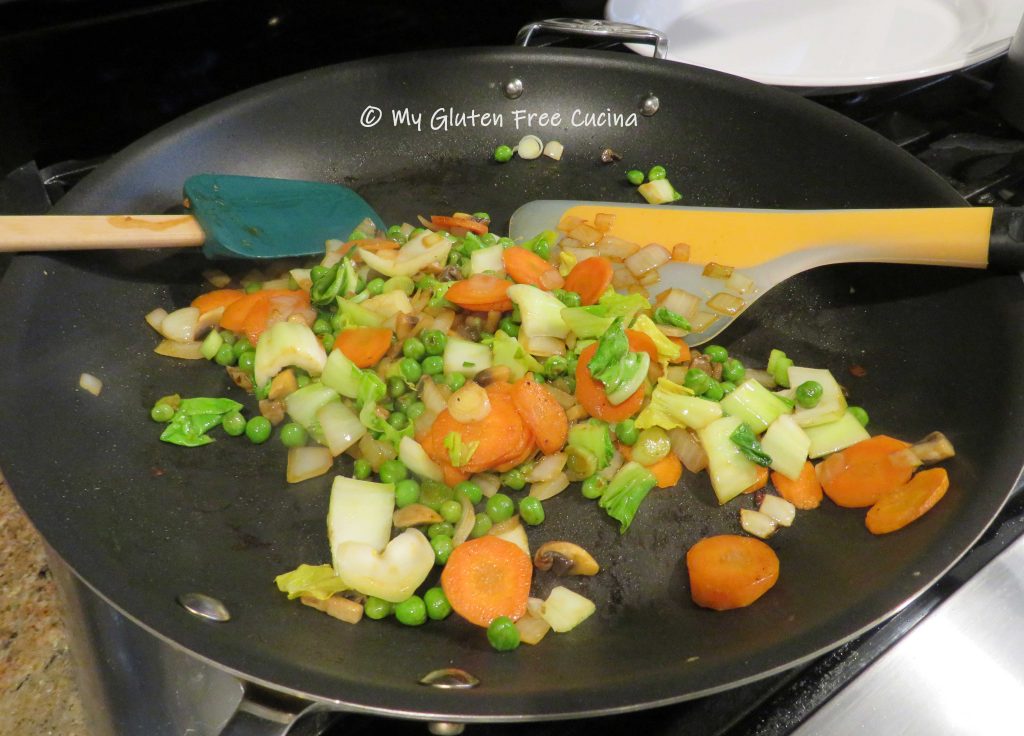
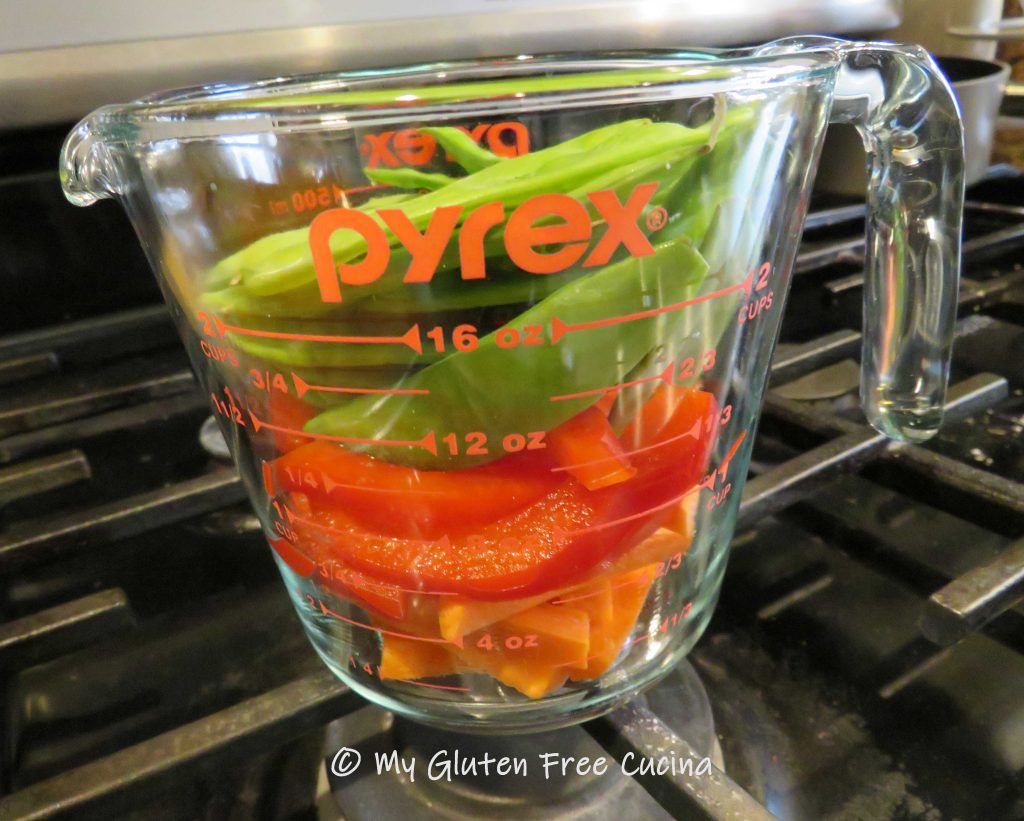
- 1 broccoli crown
- 1 mango
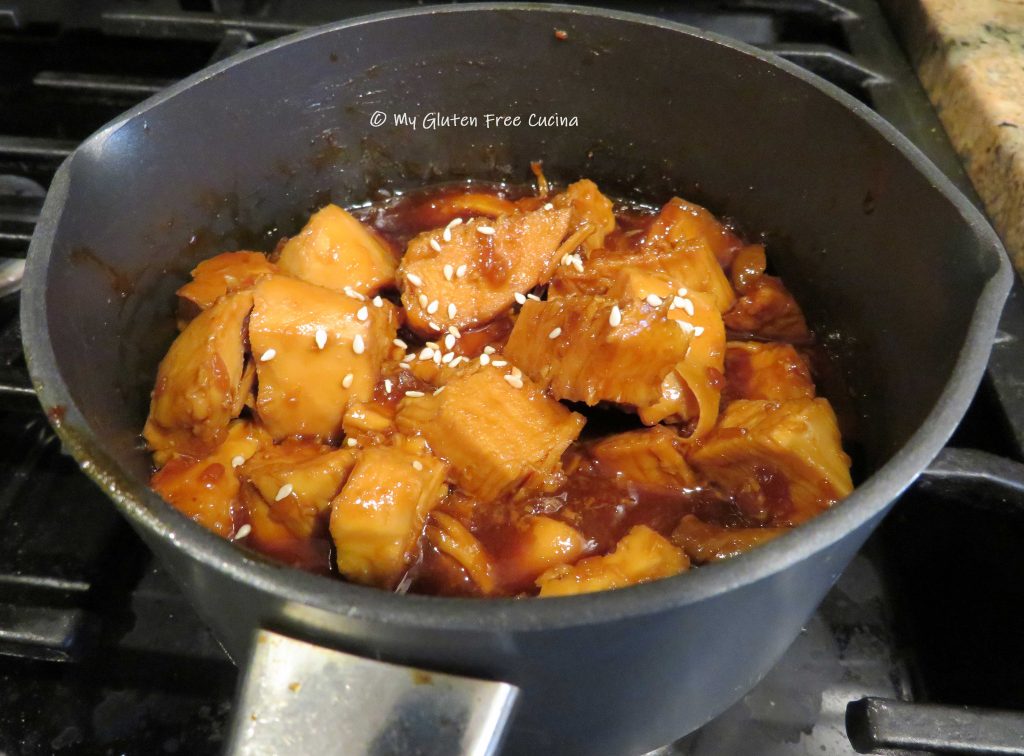
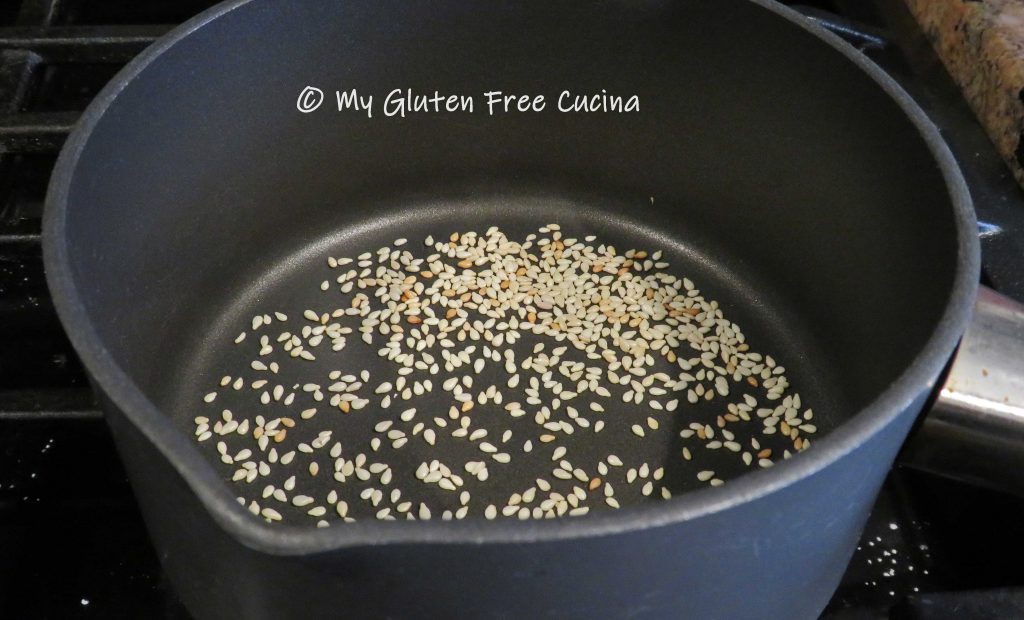
- 1/2 tsp. sesame seeds for garnish
Preparation:
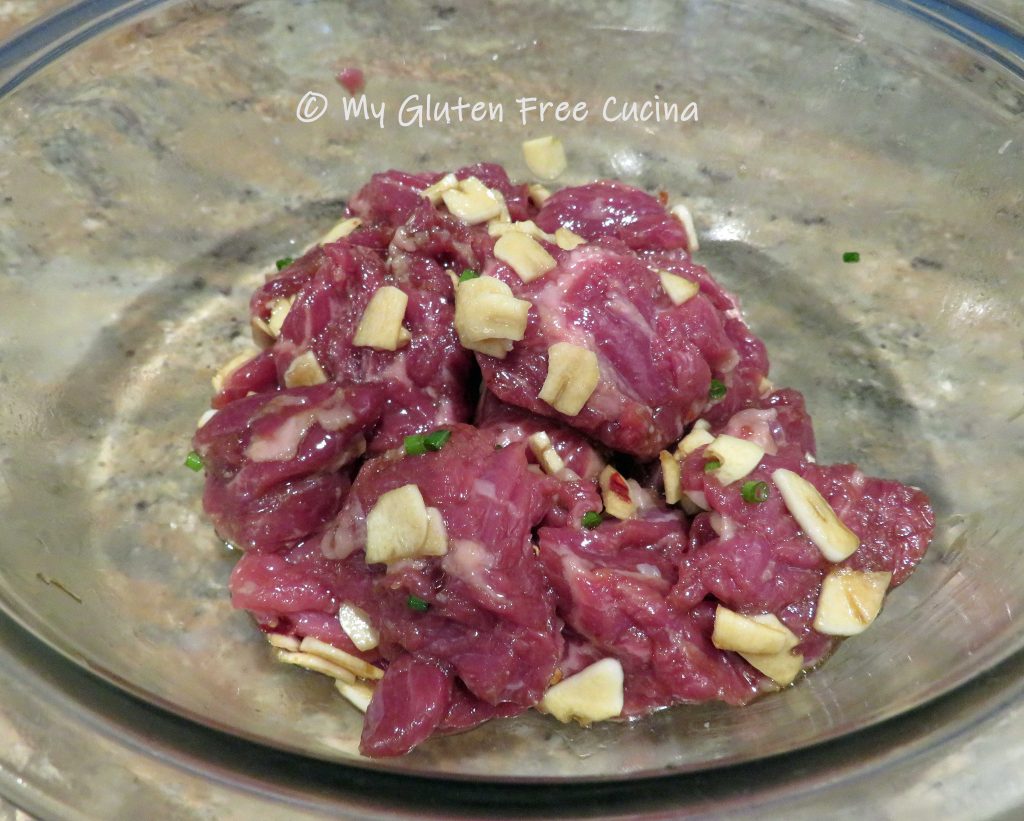
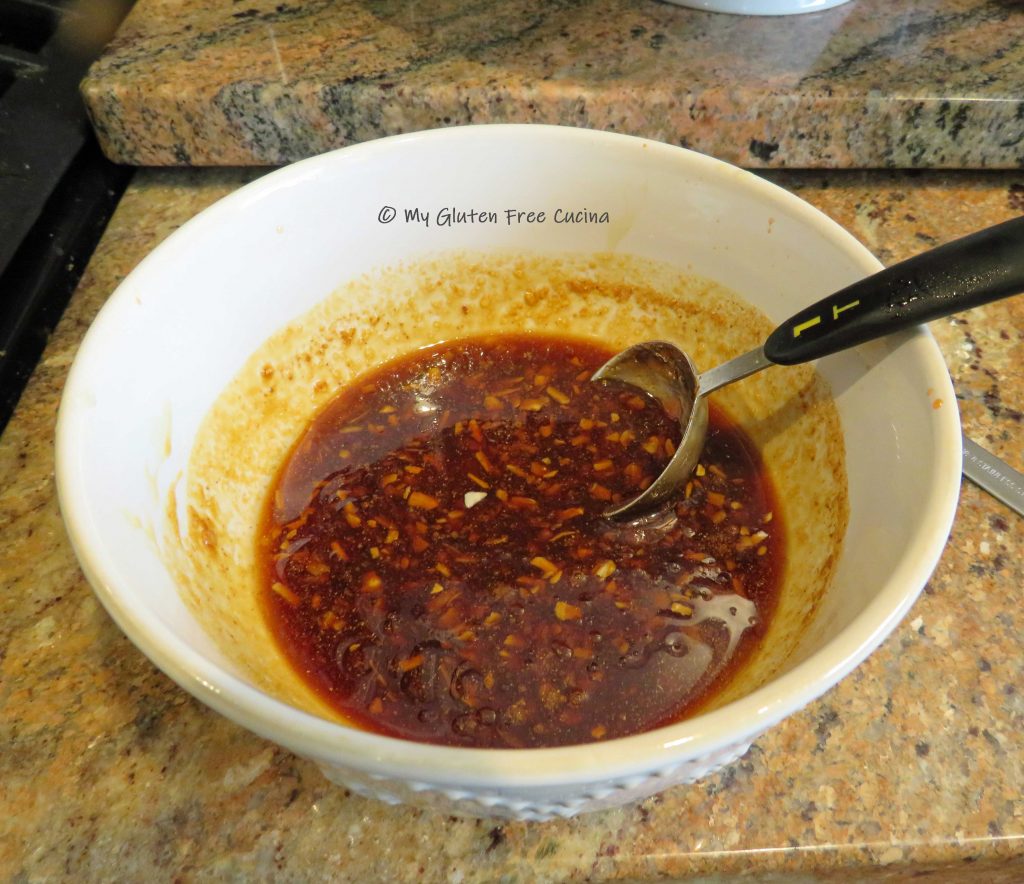
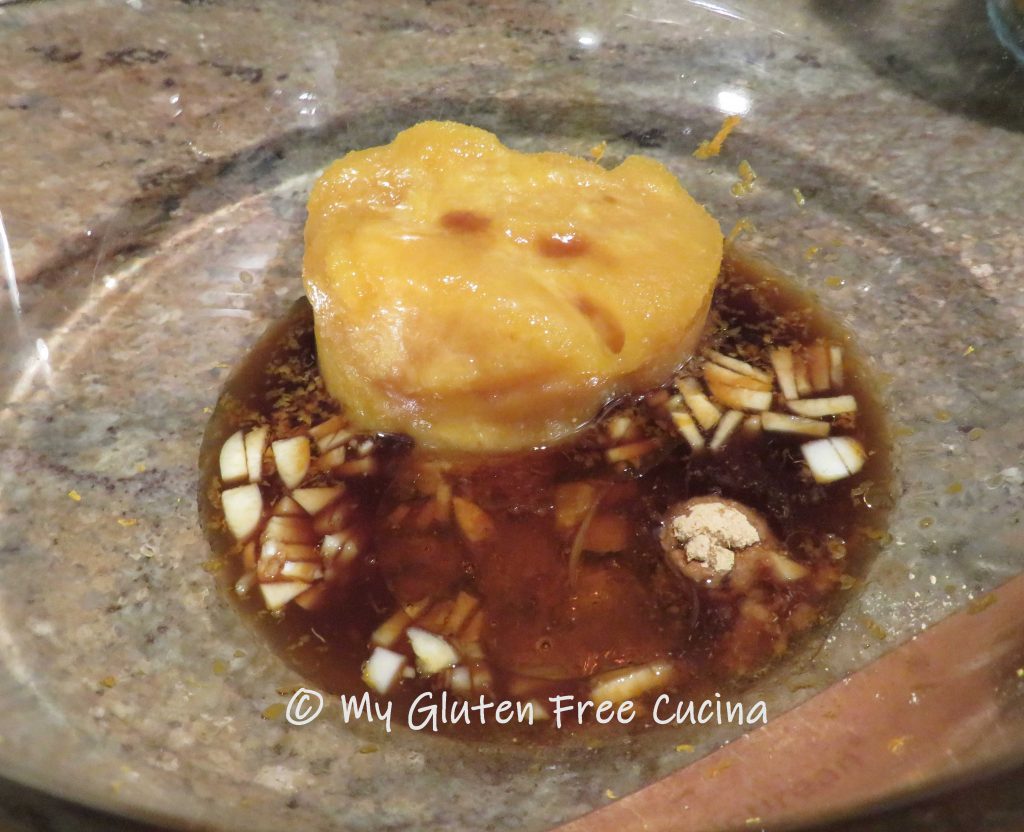
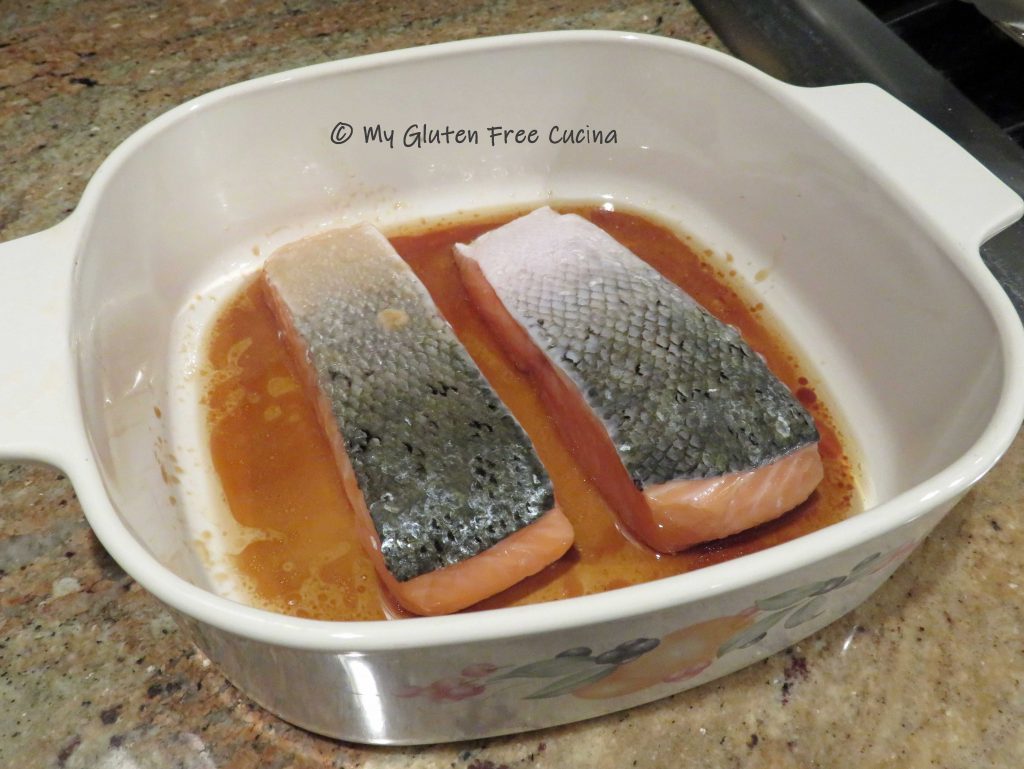
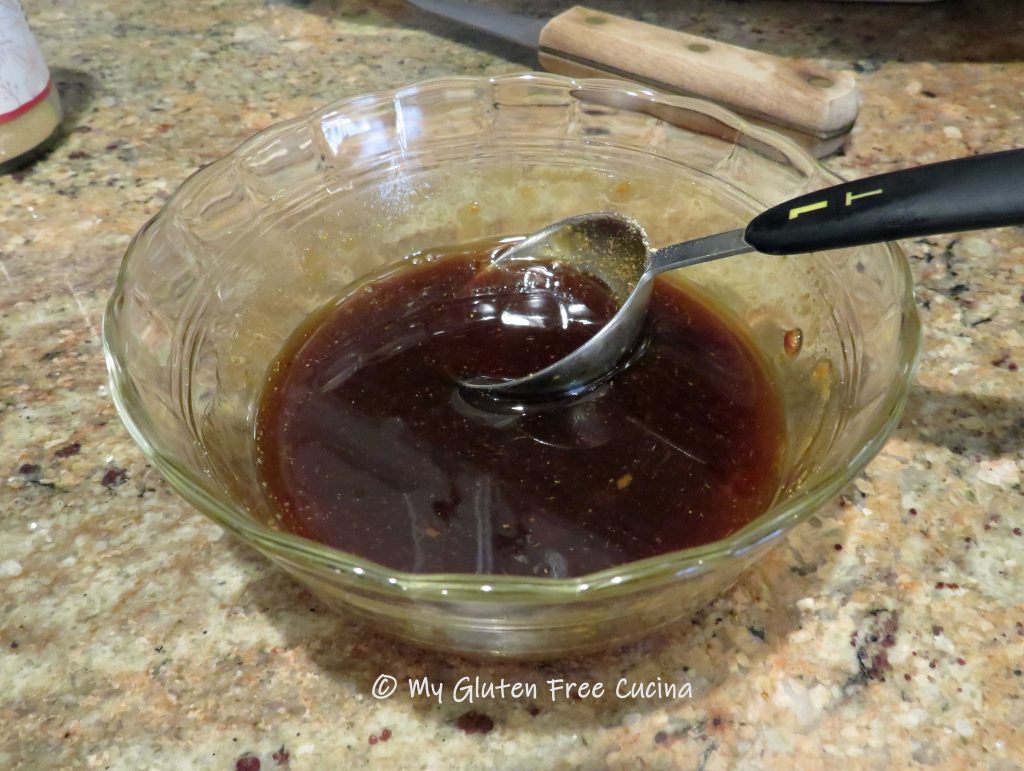
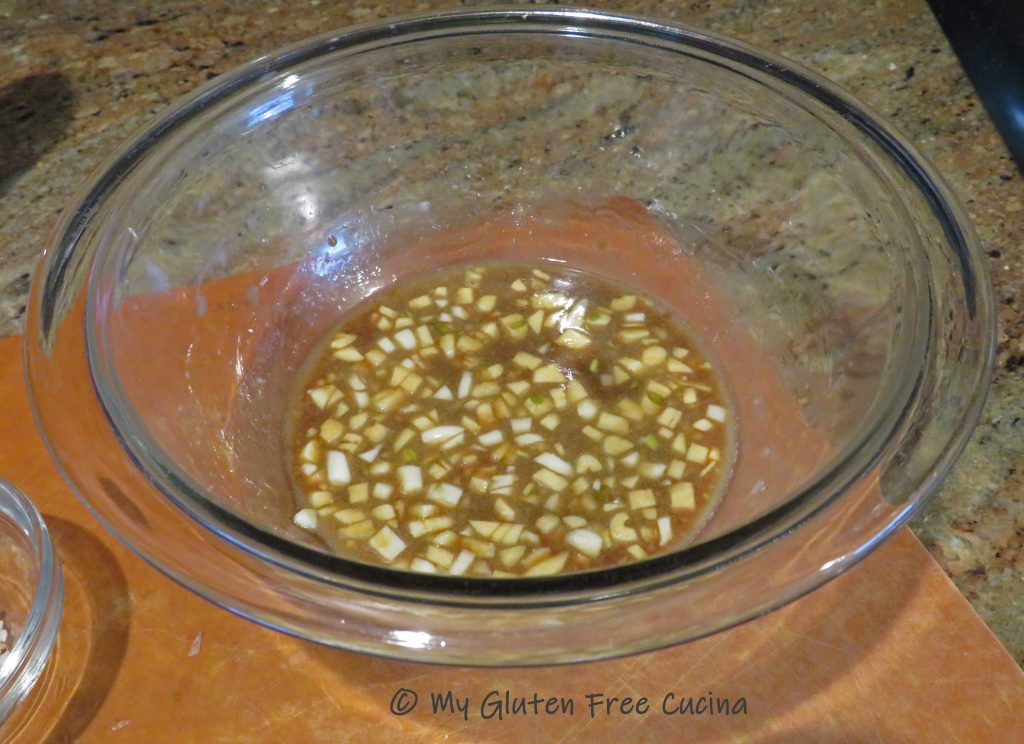
Whisk together the sesame oil, maple syrup and coconut aminos in a non-reactive baking dish.

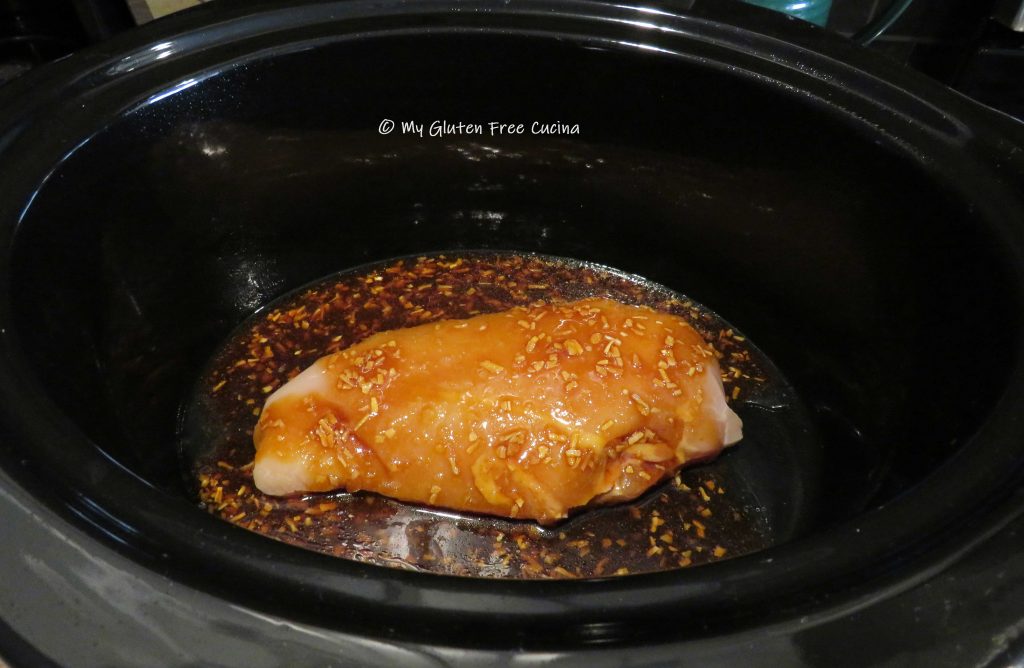
Place the salmon skin side up in the marinade for 20-30 minutes while you prep the other ingredients.
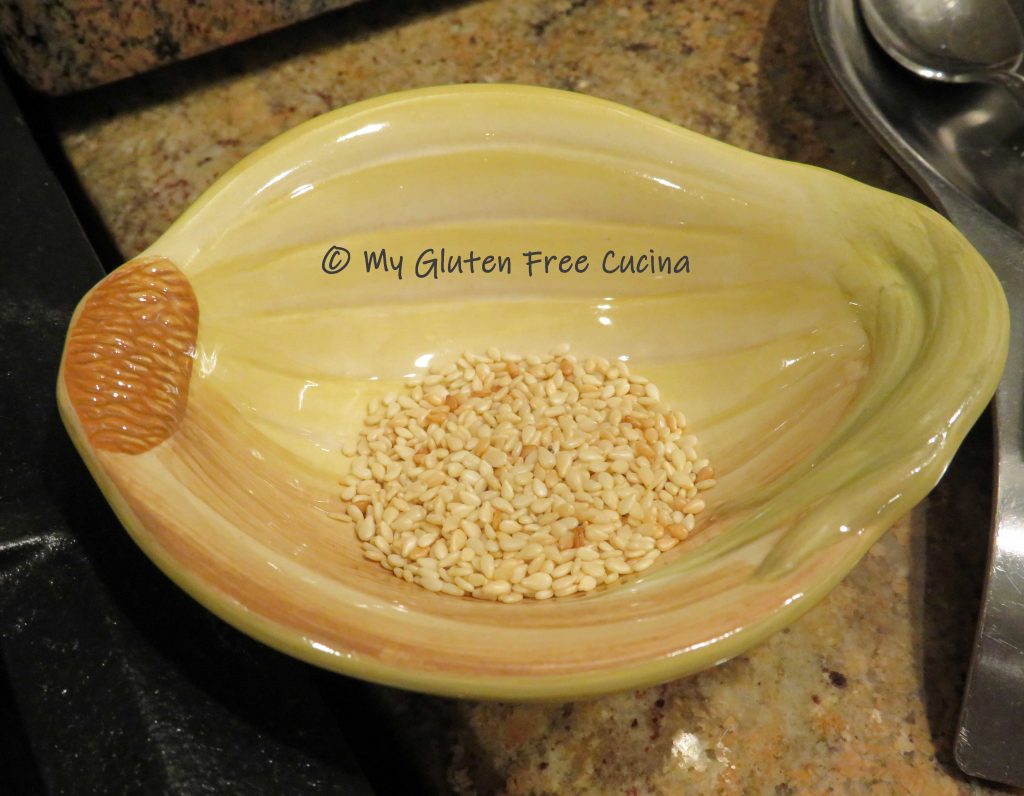
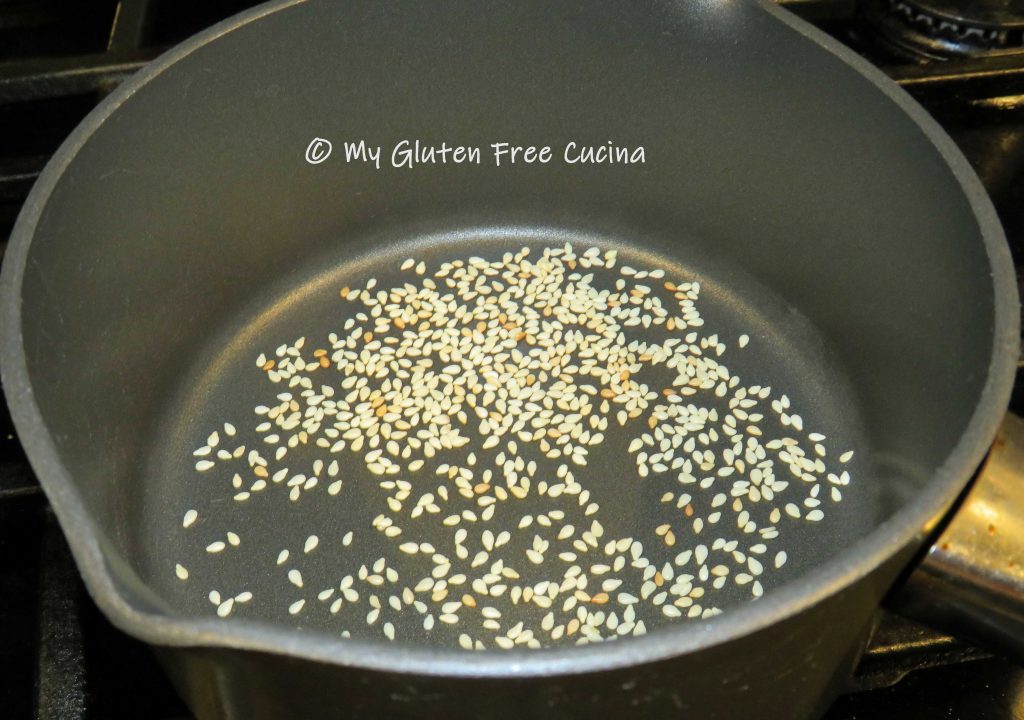
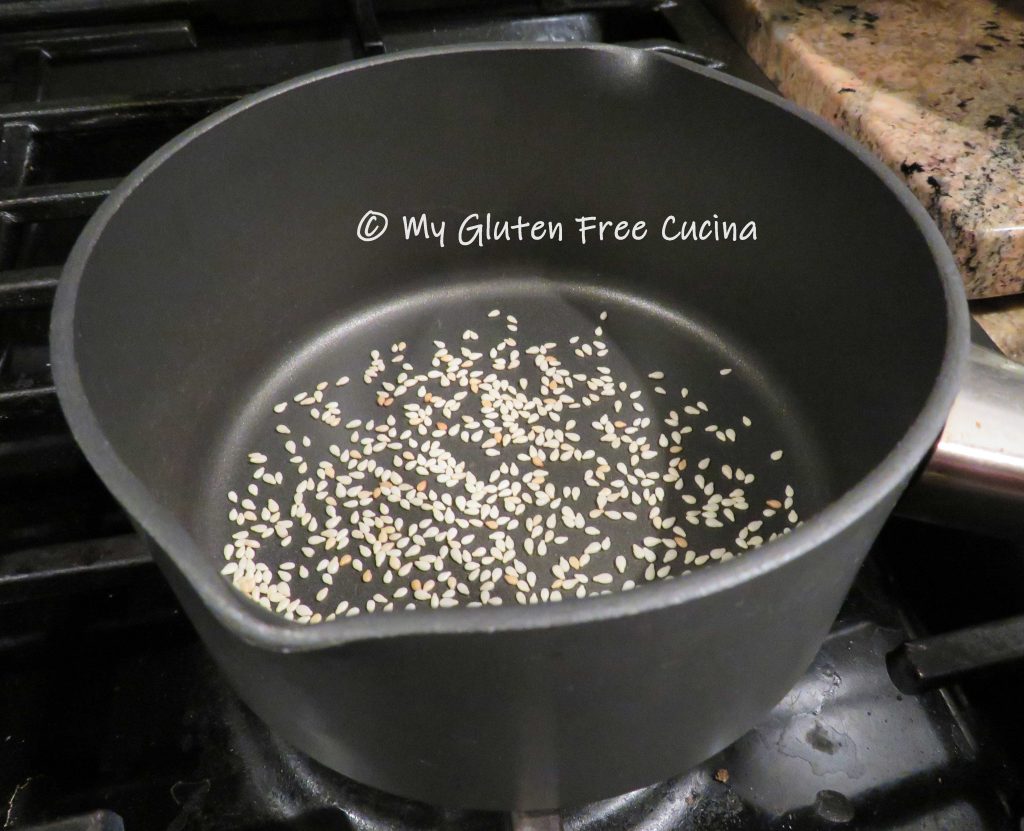
Toast the sesame seeds in a dry pan and set aside for garnish.

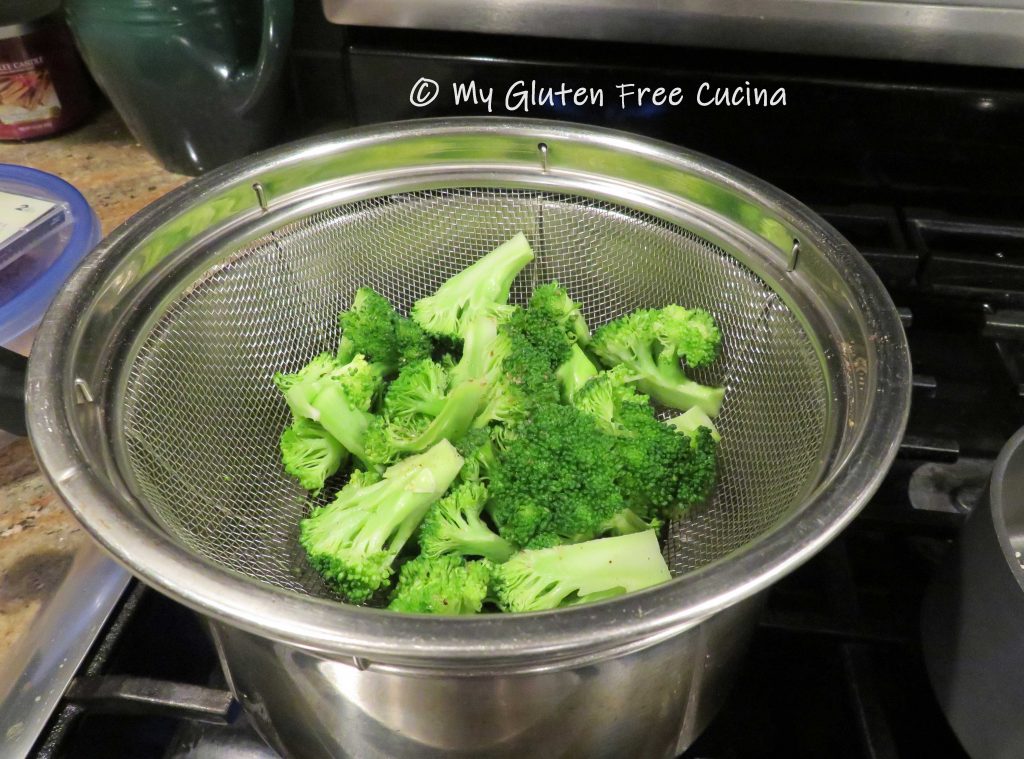
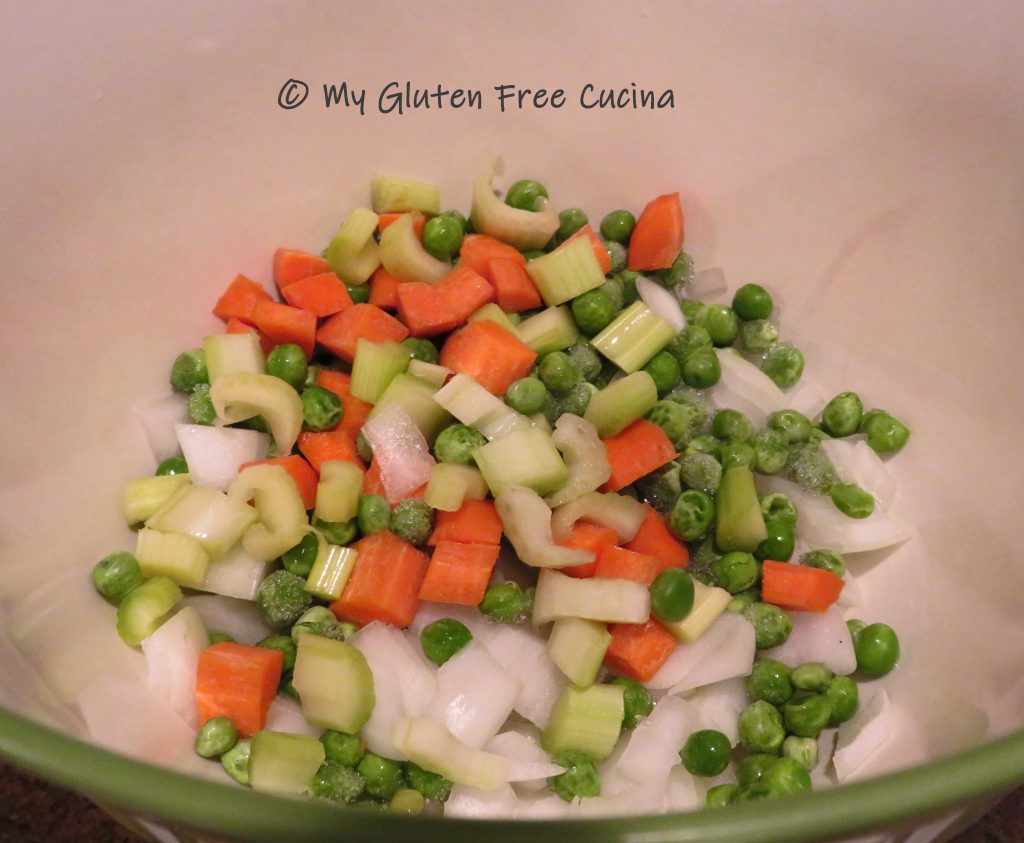
Combine the rice, water and salt in a small saucepan and simmer covered for 15 minutes. Peel and slice the mango. Cut the broccoli into florets and steam for about 10 minutes or until crisp tender.

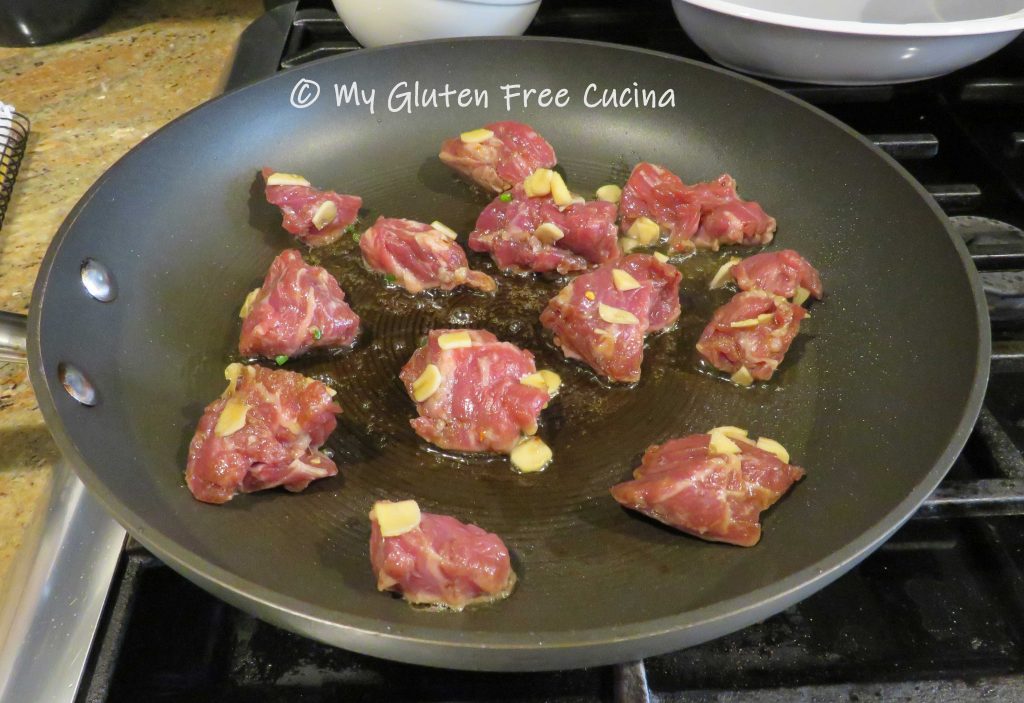
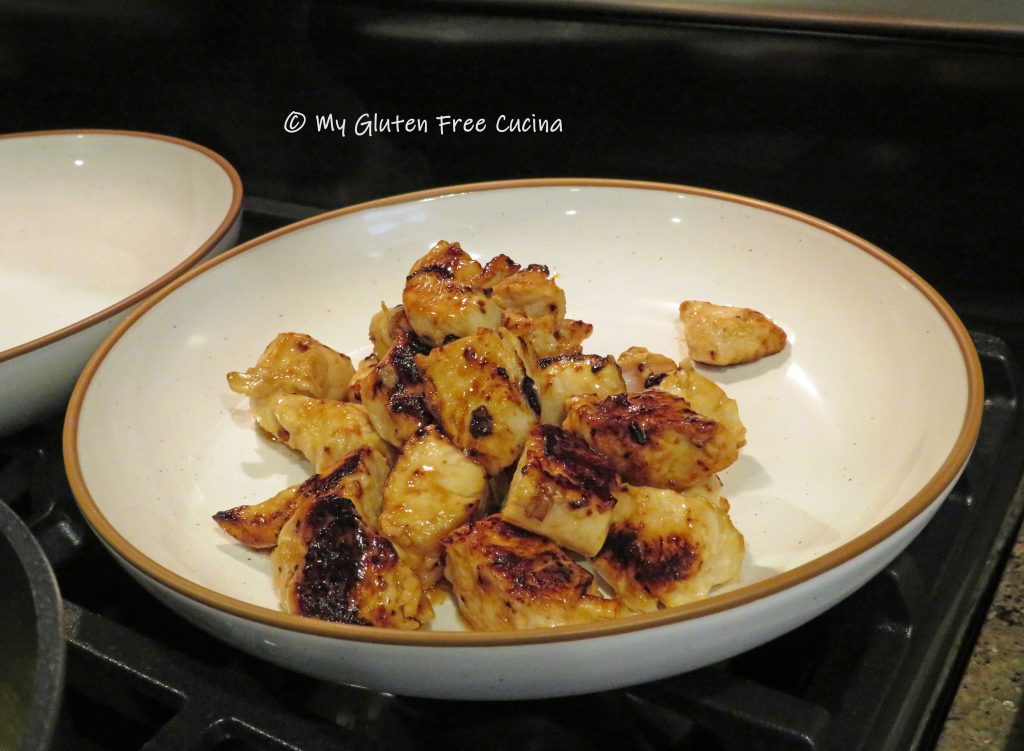
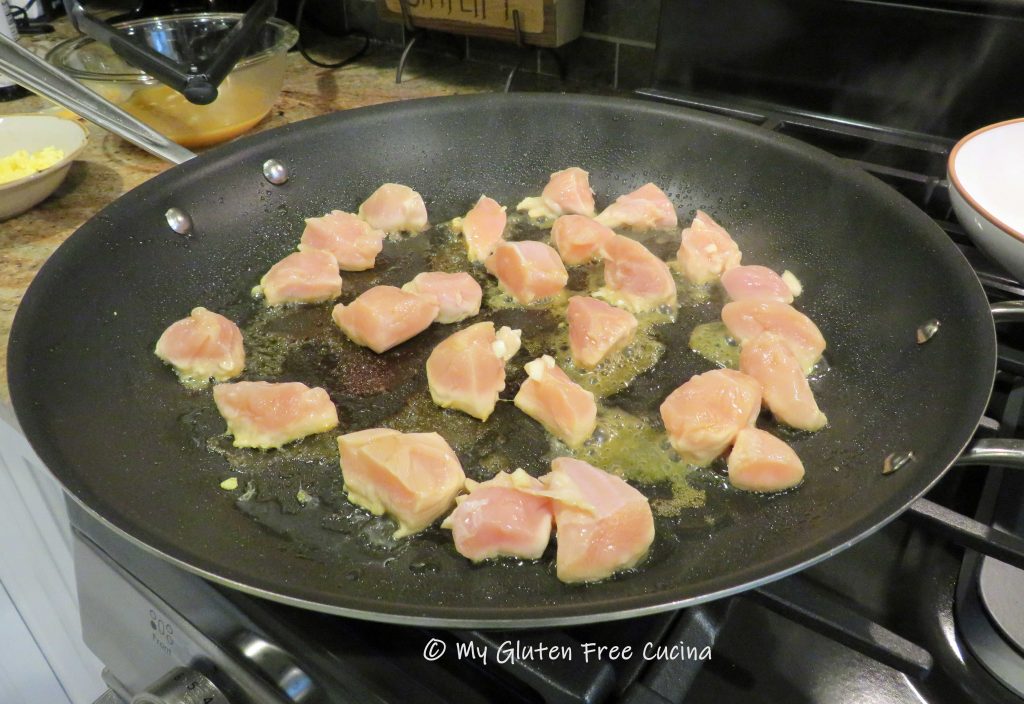
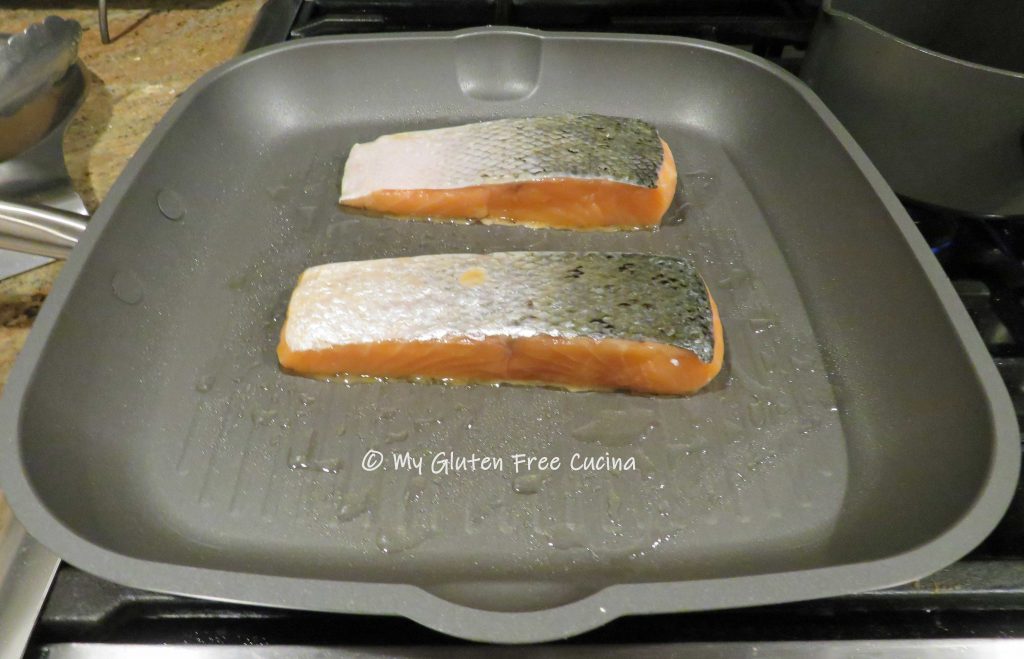
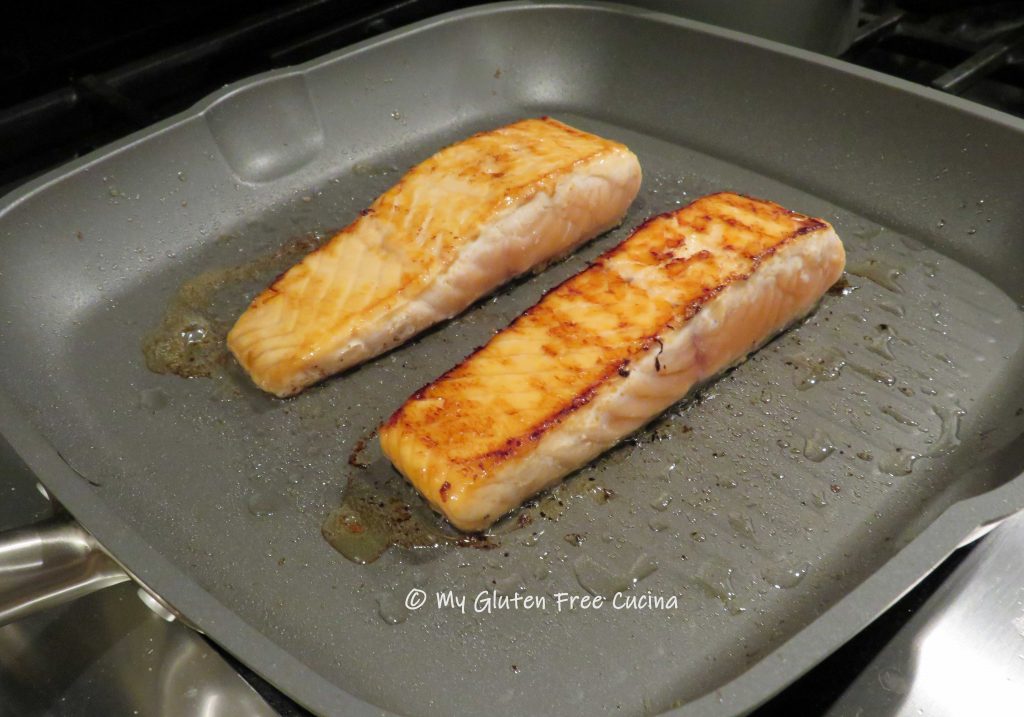
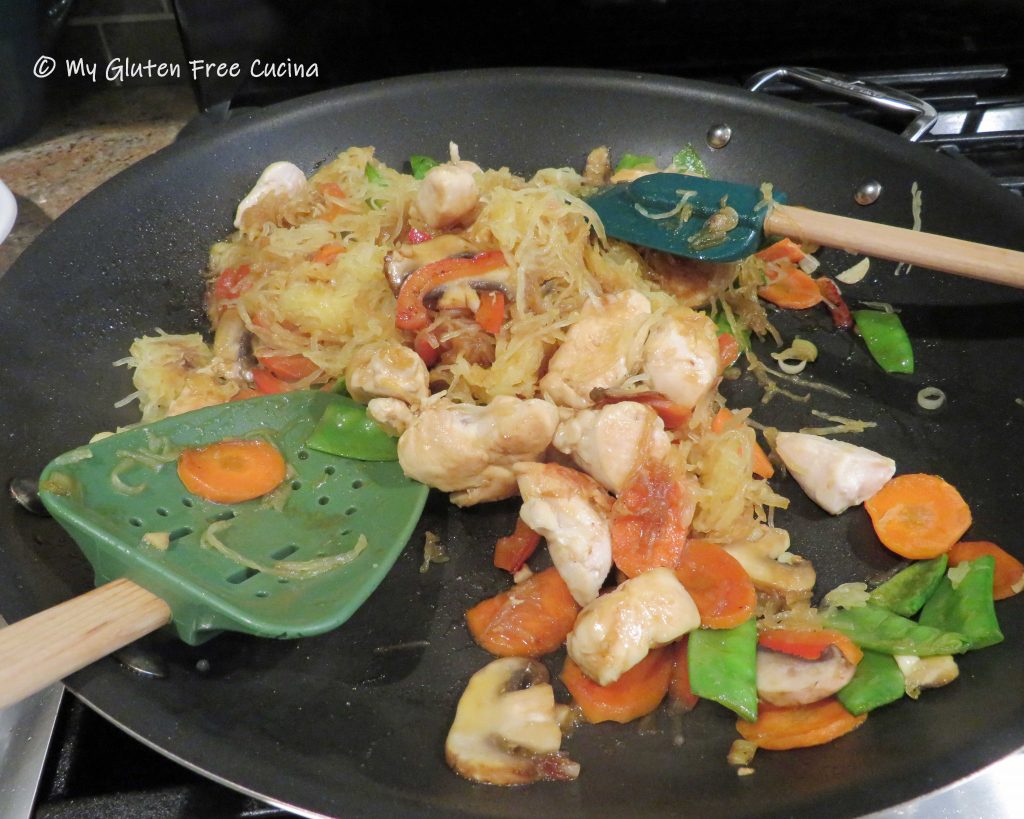
Cook the salmon for 10 minutes in a grill pan or skillet over medium heat. Start the filets skin side up for the first 5 minutes. To caramelize the sugars and get that nice crust, don’t move the salmon around in the pan.
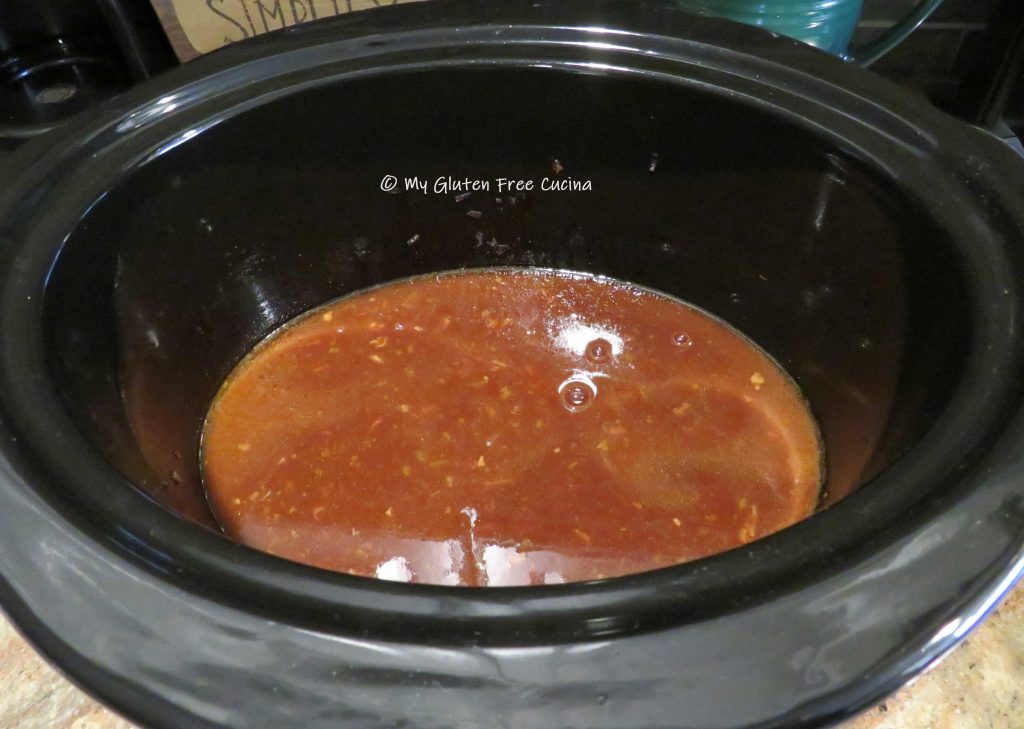
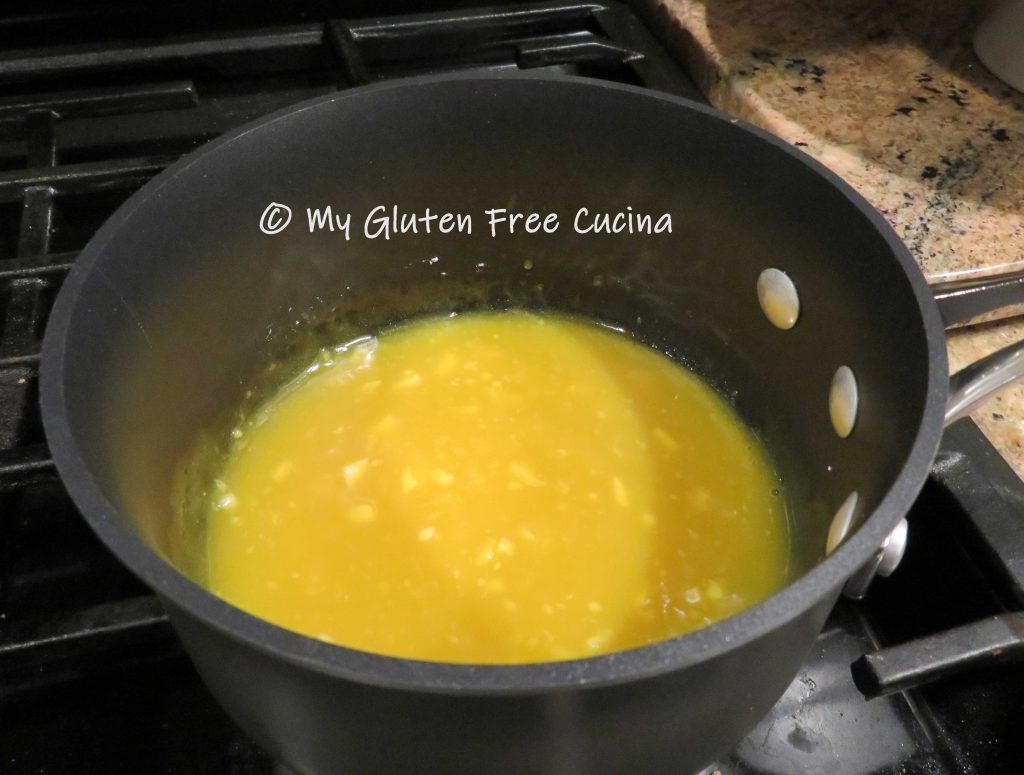
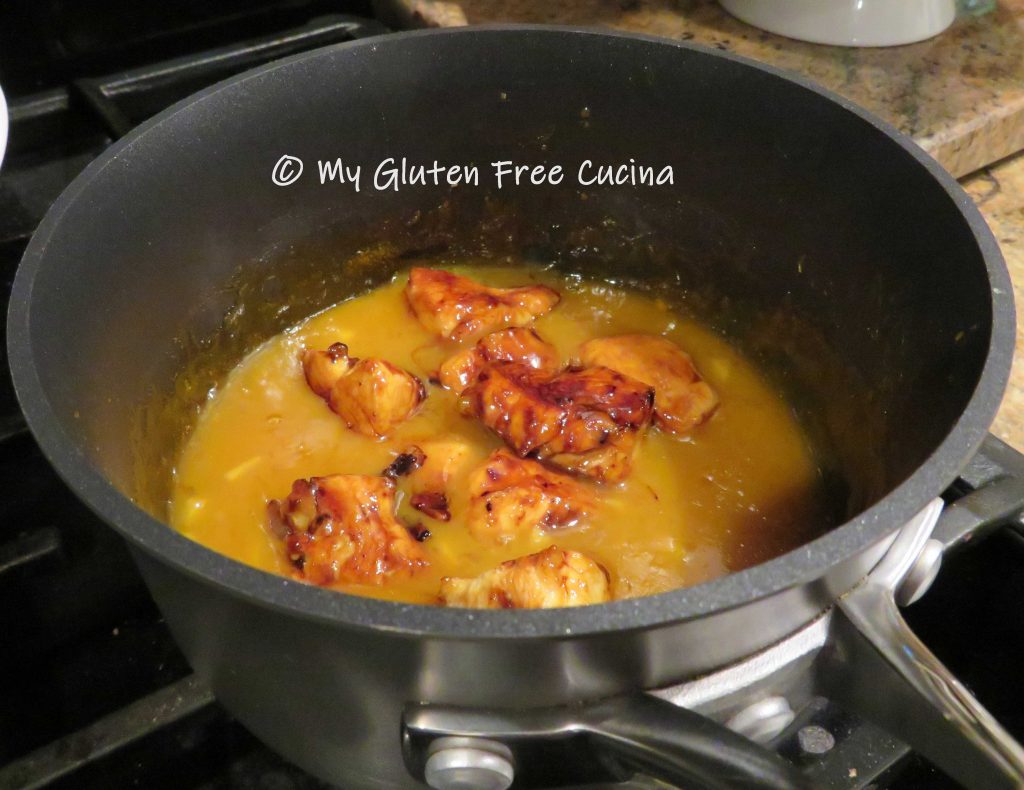
As soon as you remove the salmon from the marinade, pour that marinade into a small sauce pan and simmer (important, to kill any bacteria you must bring it to a boil).

After 5 minutes turn the salmon and finish cooking 5 minutes longer.
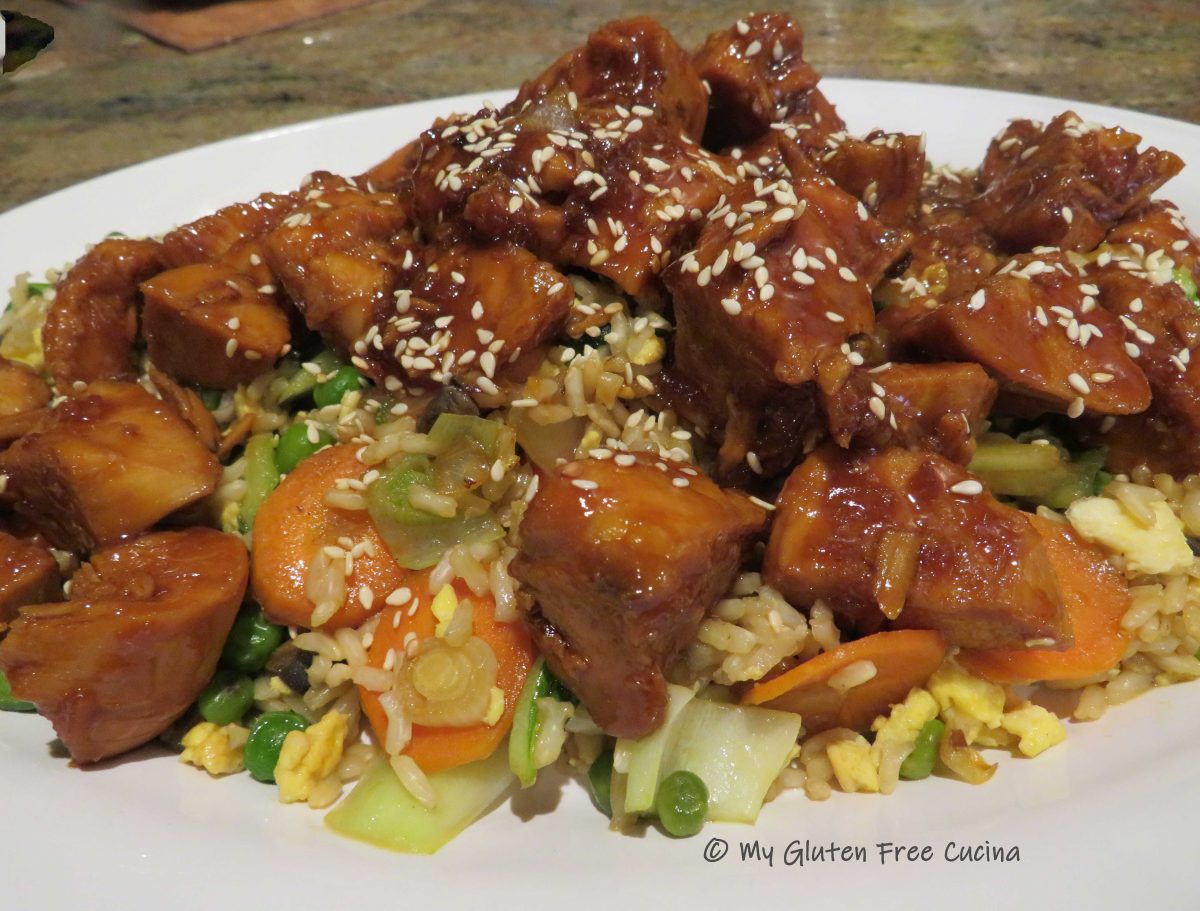
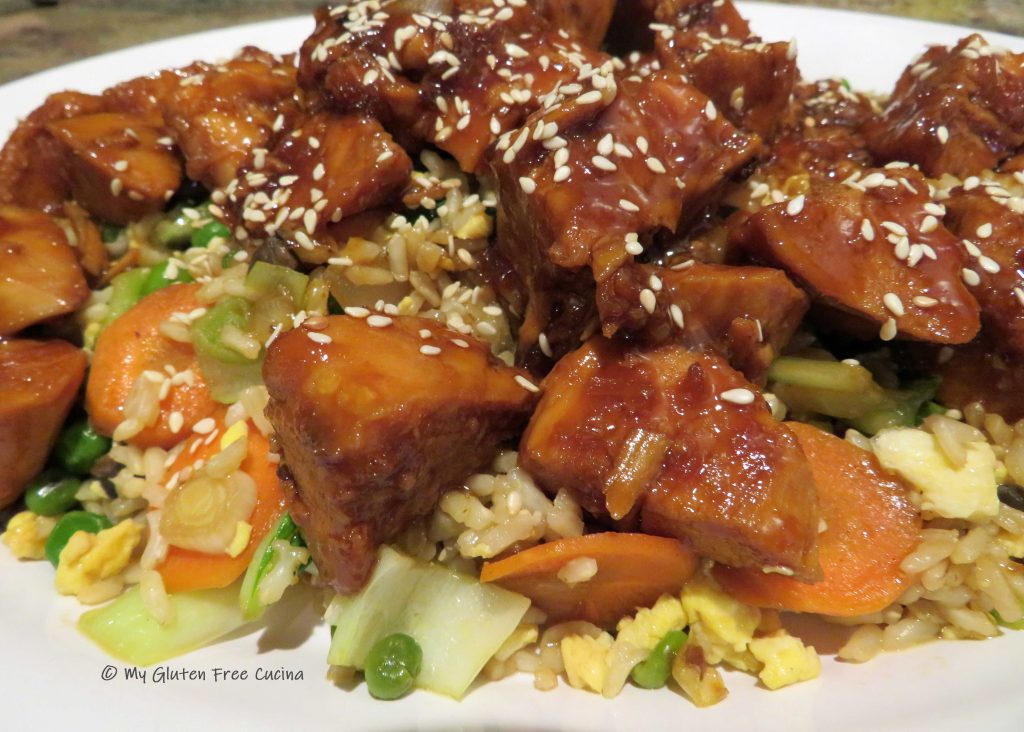
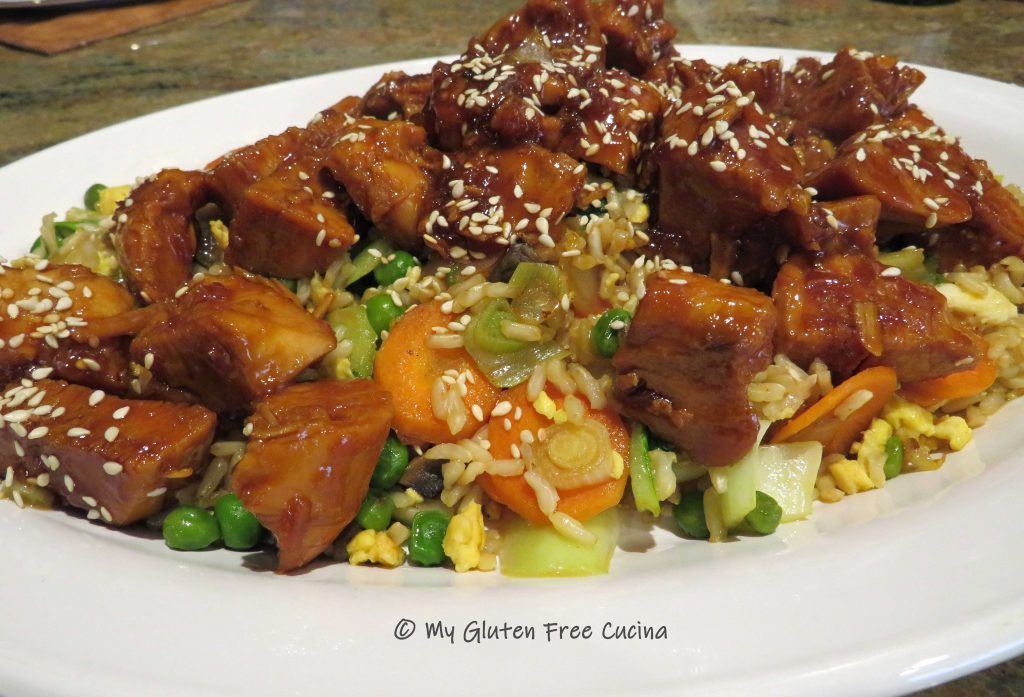
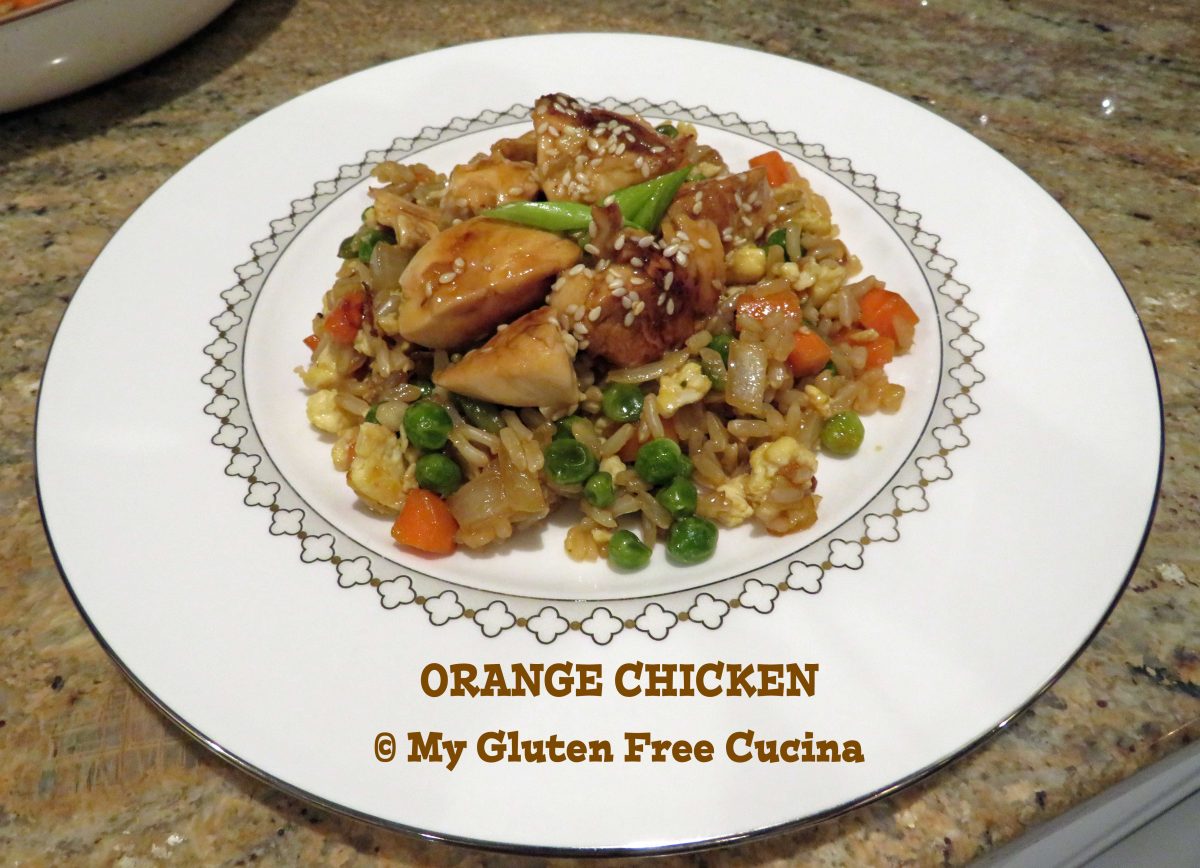
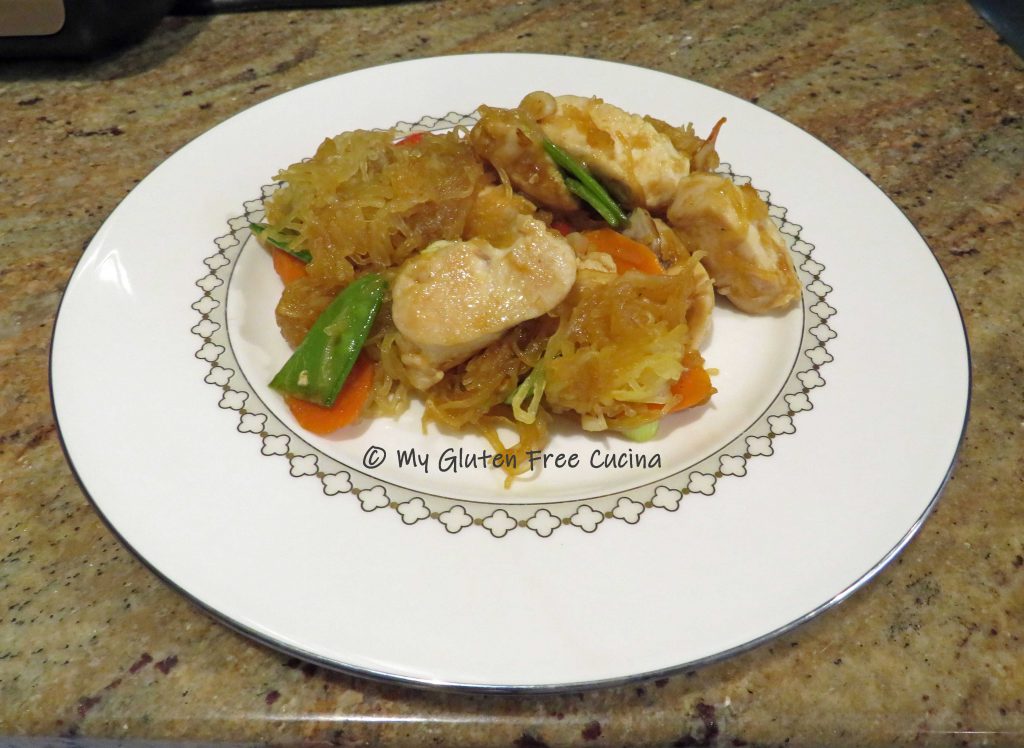
To assemble the bowls, arrange the rice on one side, followed by the broccoli. Add one salmon filet and finish out the bowl with mango slices. Garnish it all with toasted sesame seeds and a drizzle of the marinade.
Notes ♪♫ Salmon is a heart healthy fish that is rich in protein and omega-3 fats. It is widely available both fresh and in the freezer section. I like to buy family packs of individually portioned fillets so that I can take out one or more at a time as needed. For more ways to prepare salmon, check out my Oven Baked Salmon with Almonds and Pecans, or my Gluten Free Salmon Burgers.


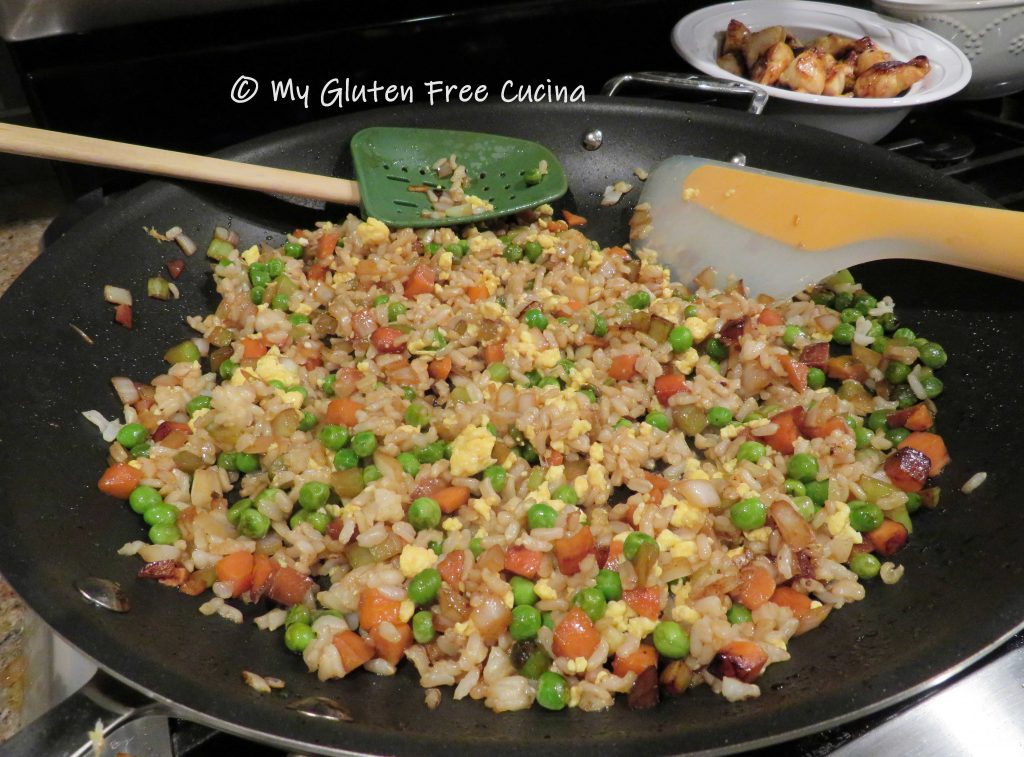
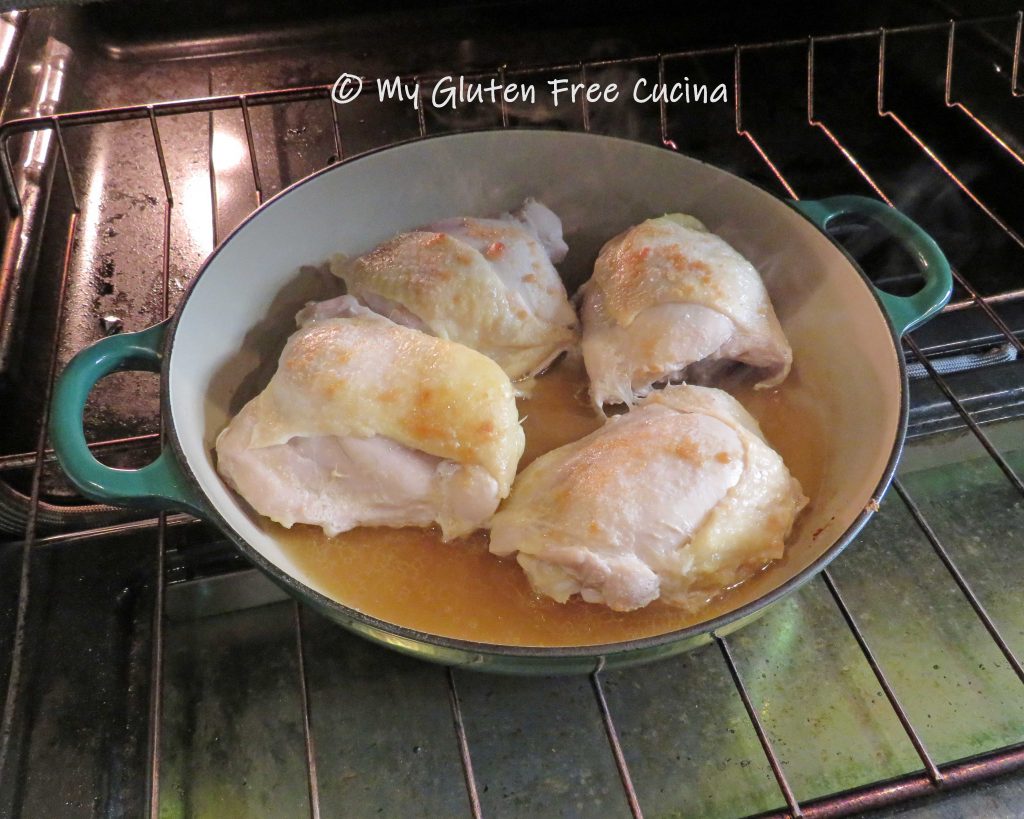
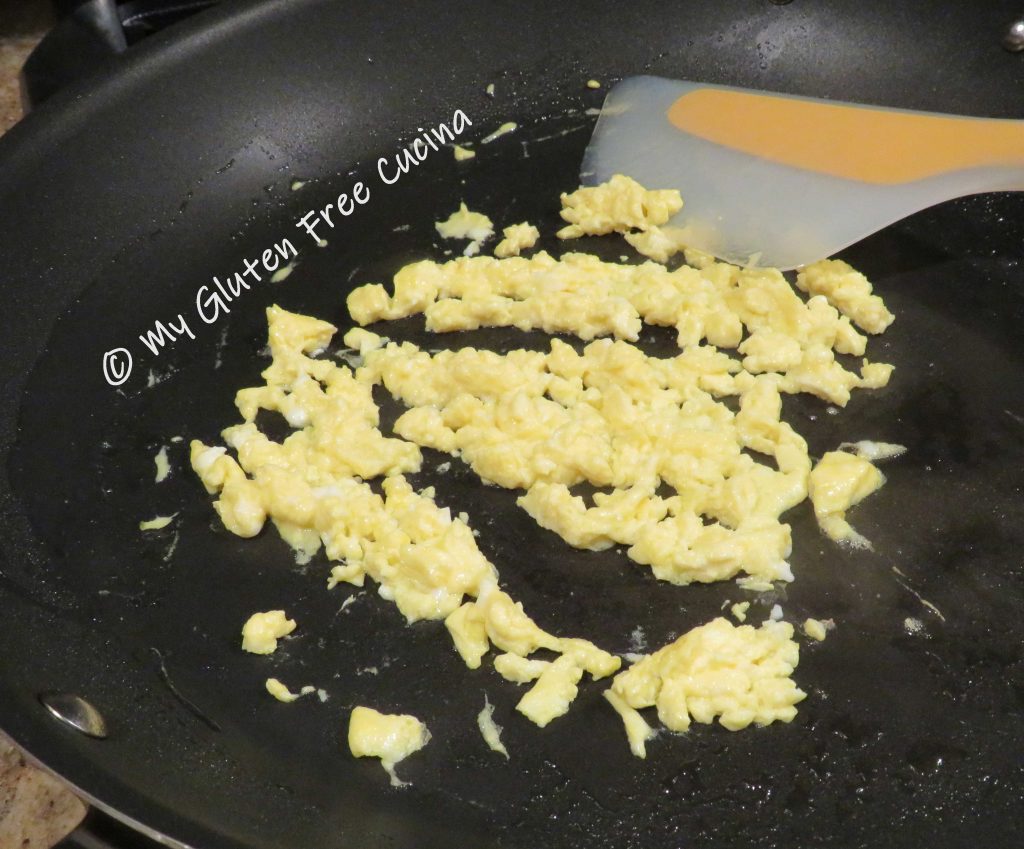
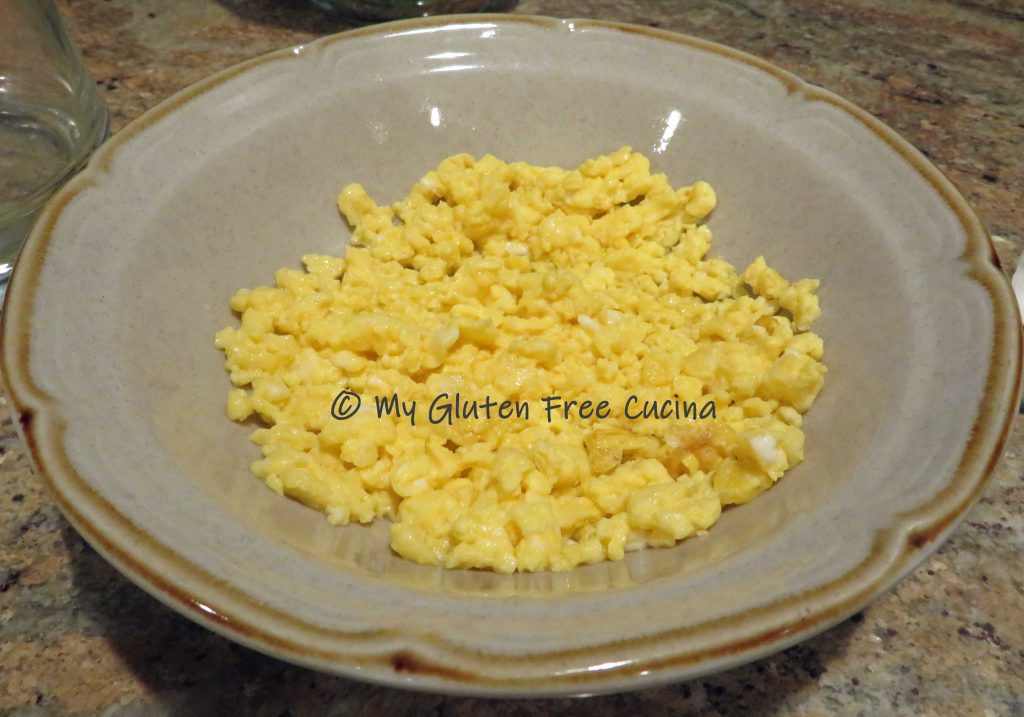
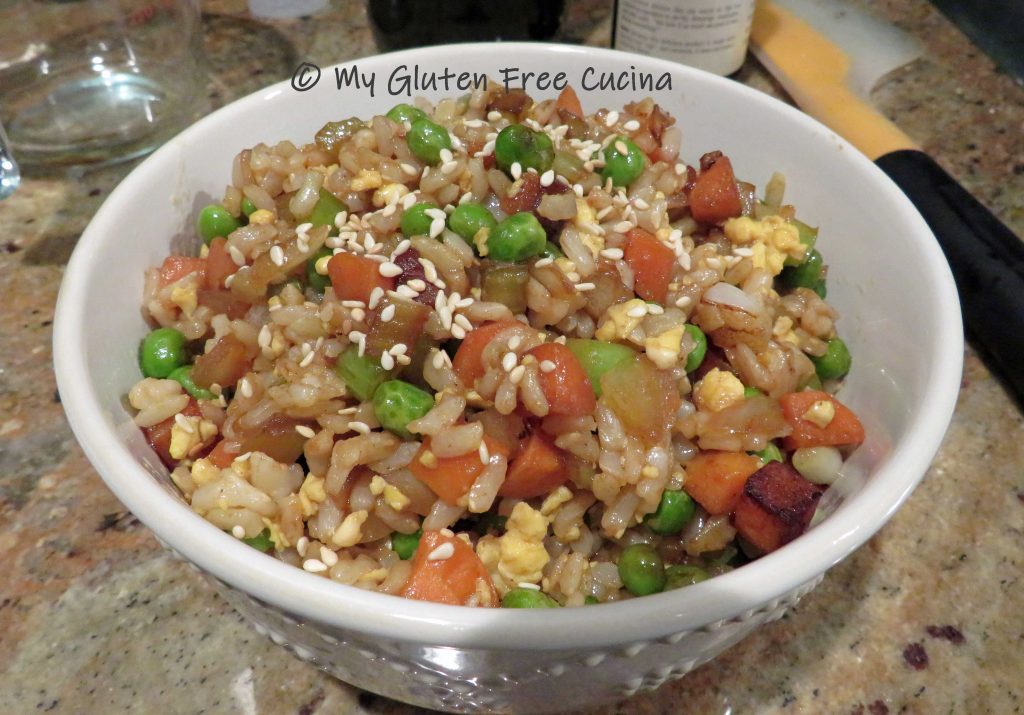
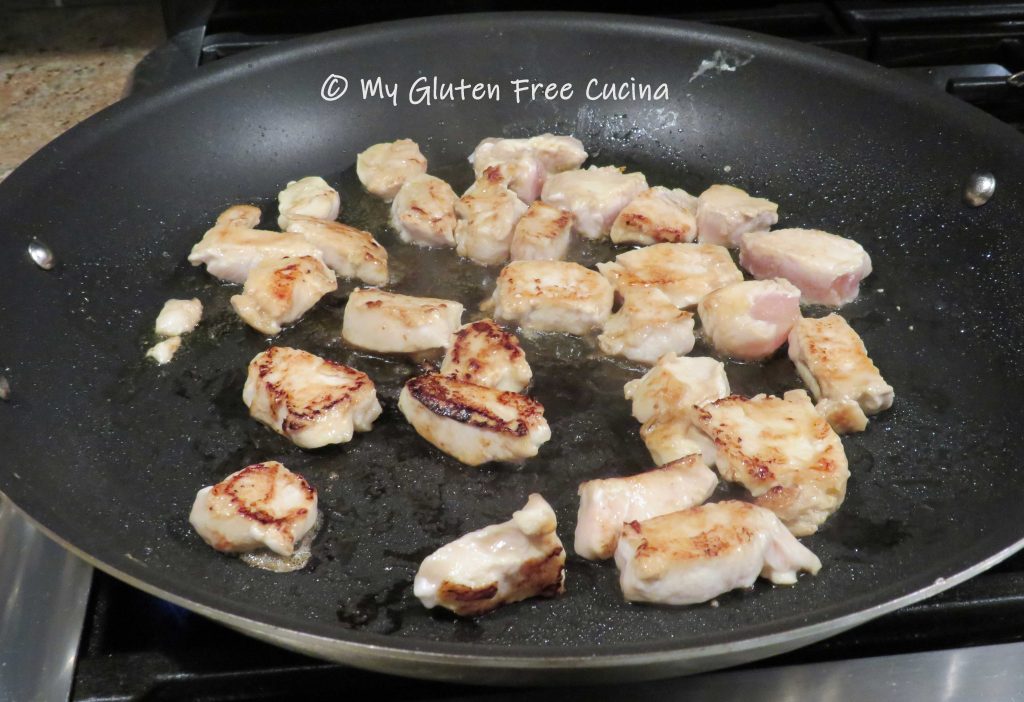
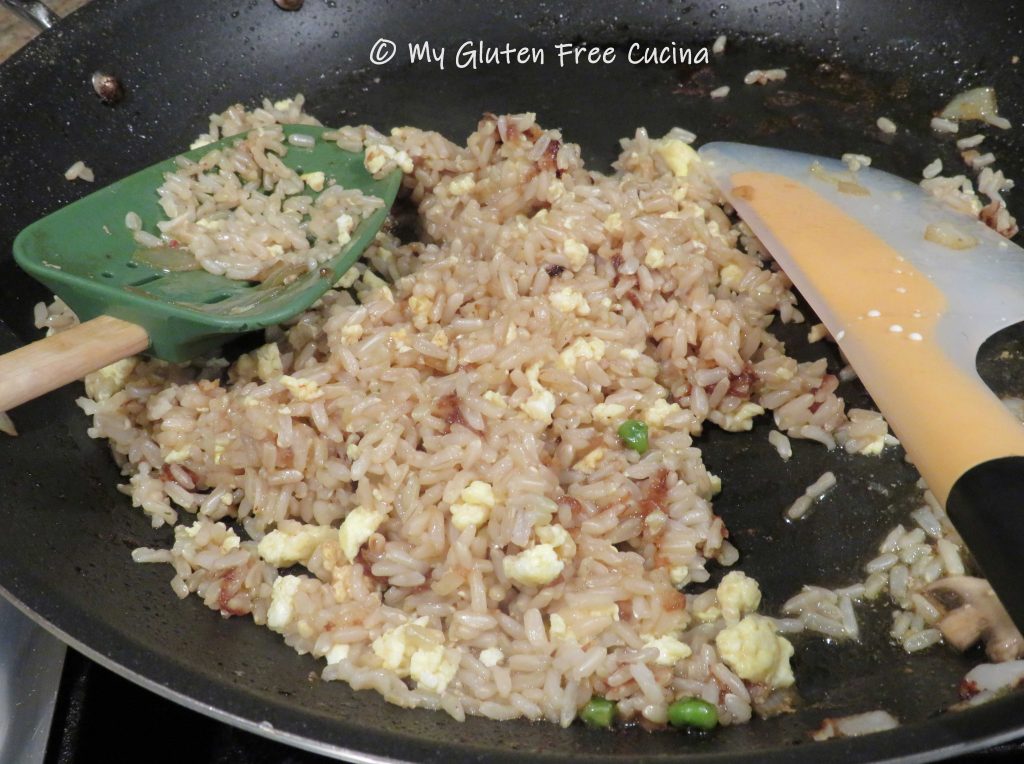
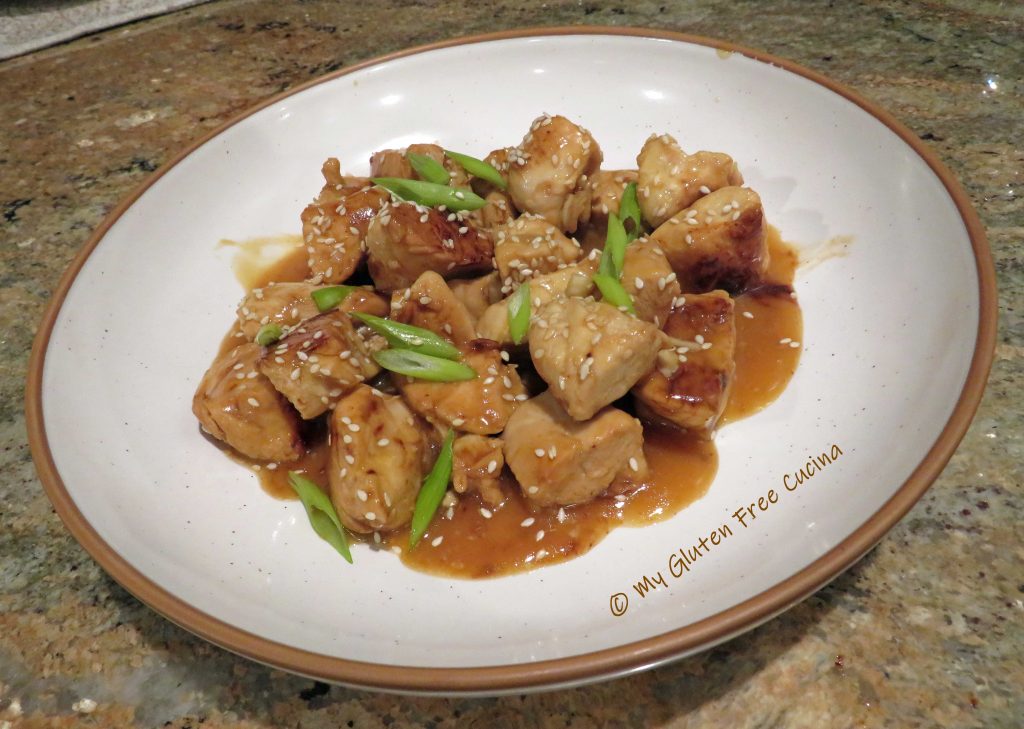
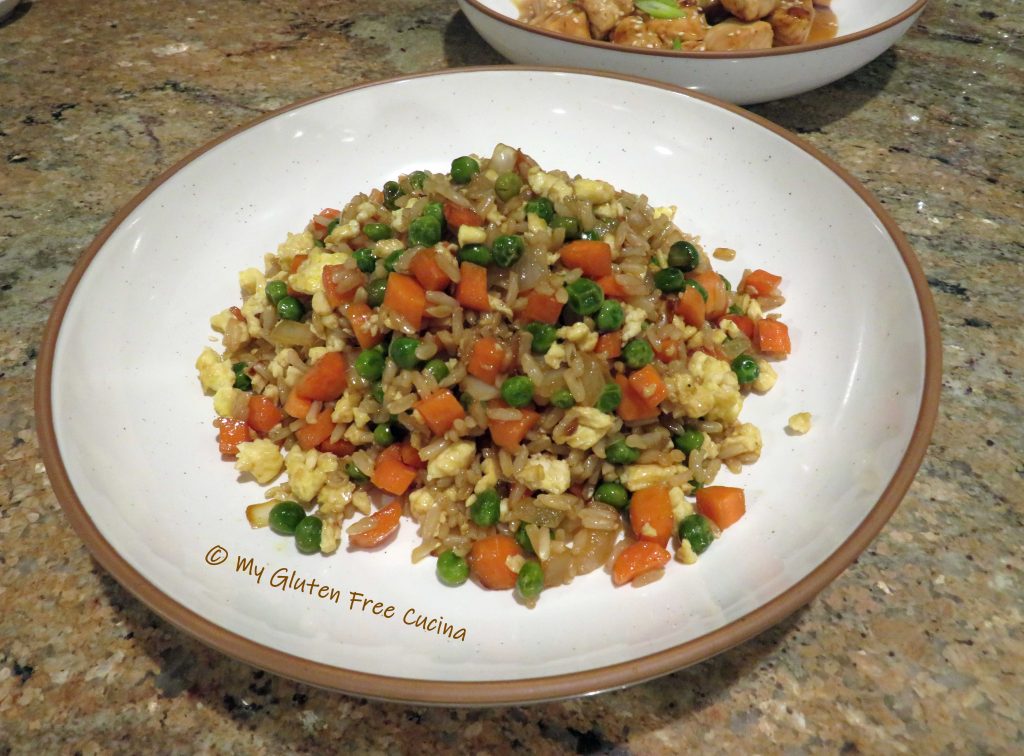
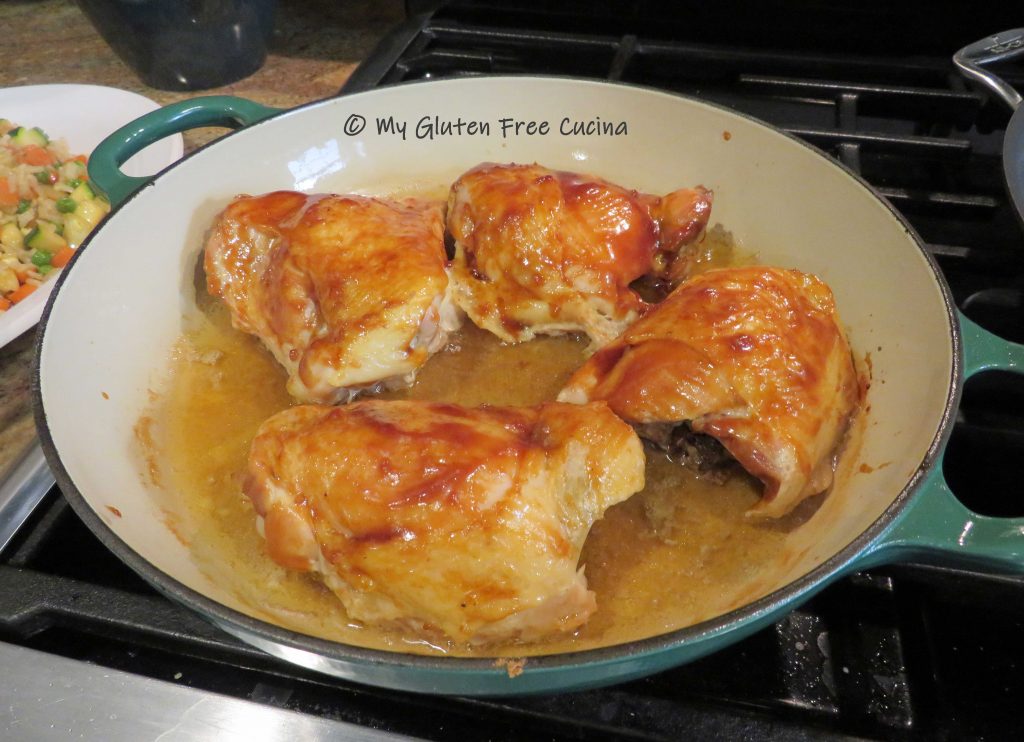 While the chicken was cooking, I made my fried rice.
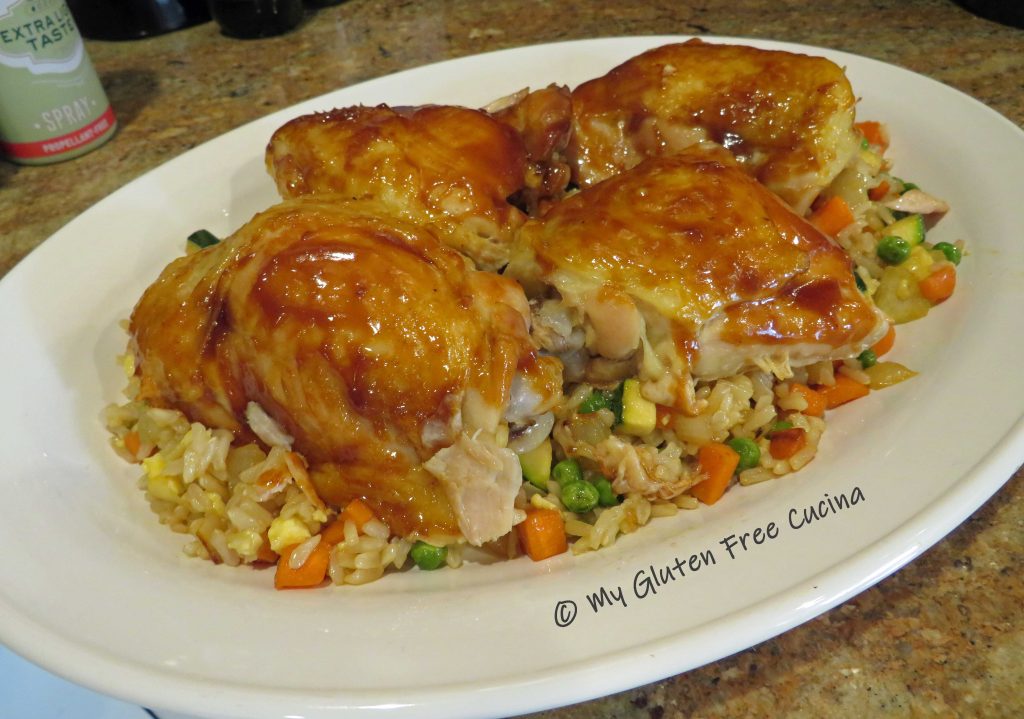


 Coat a
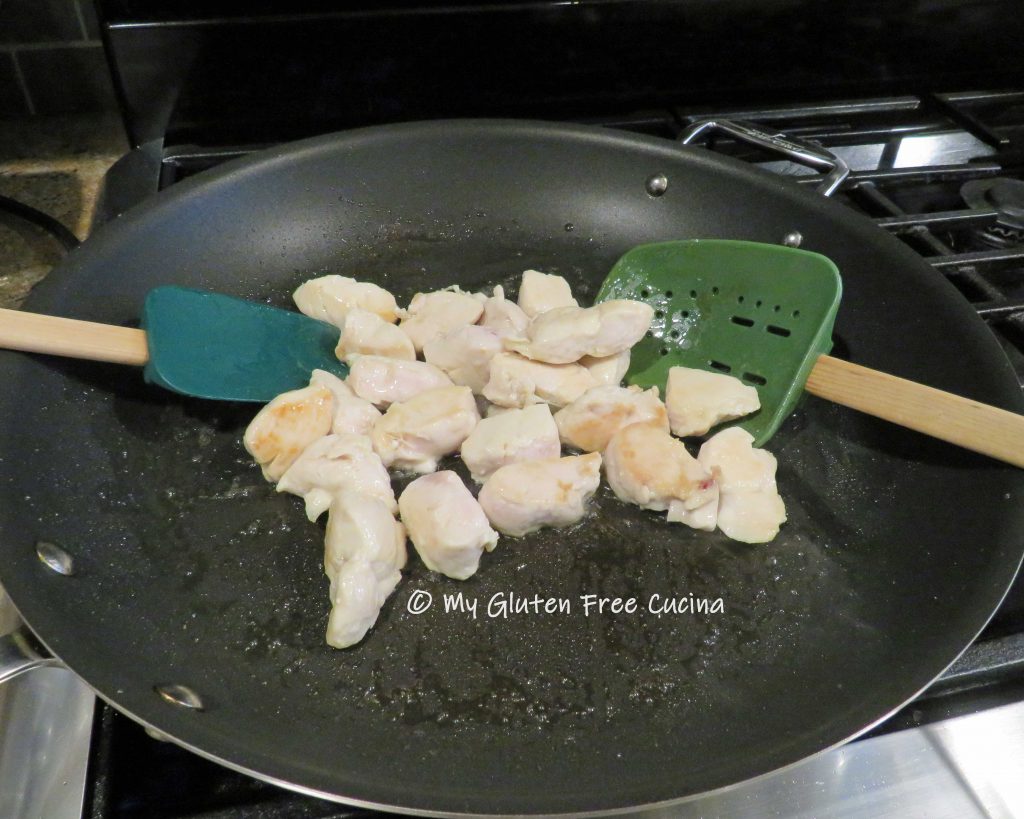


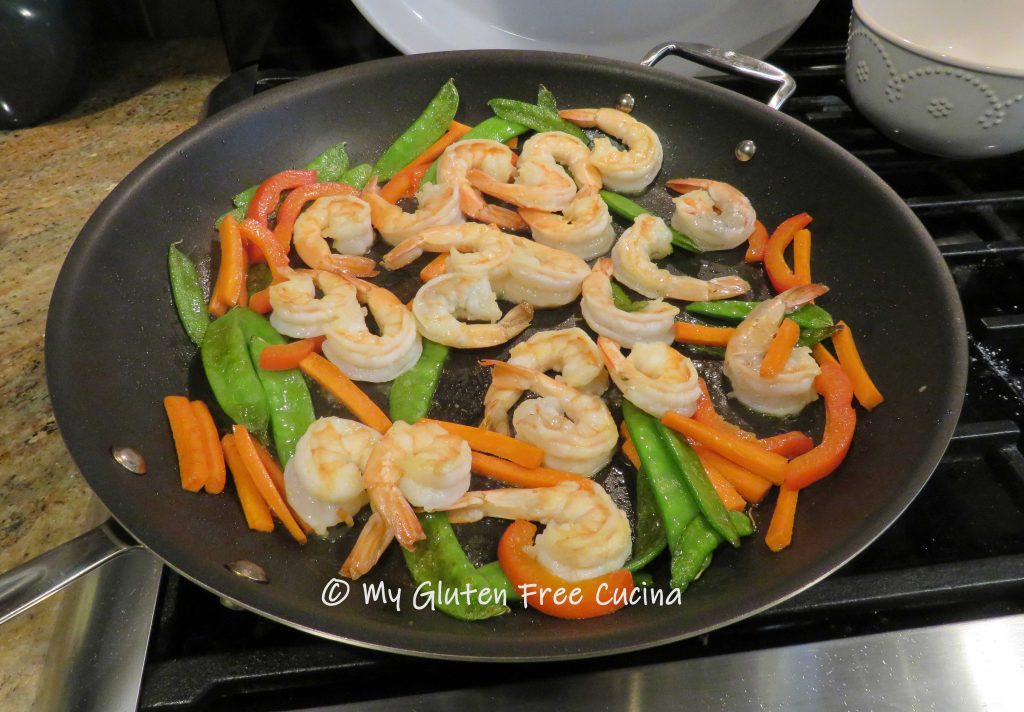
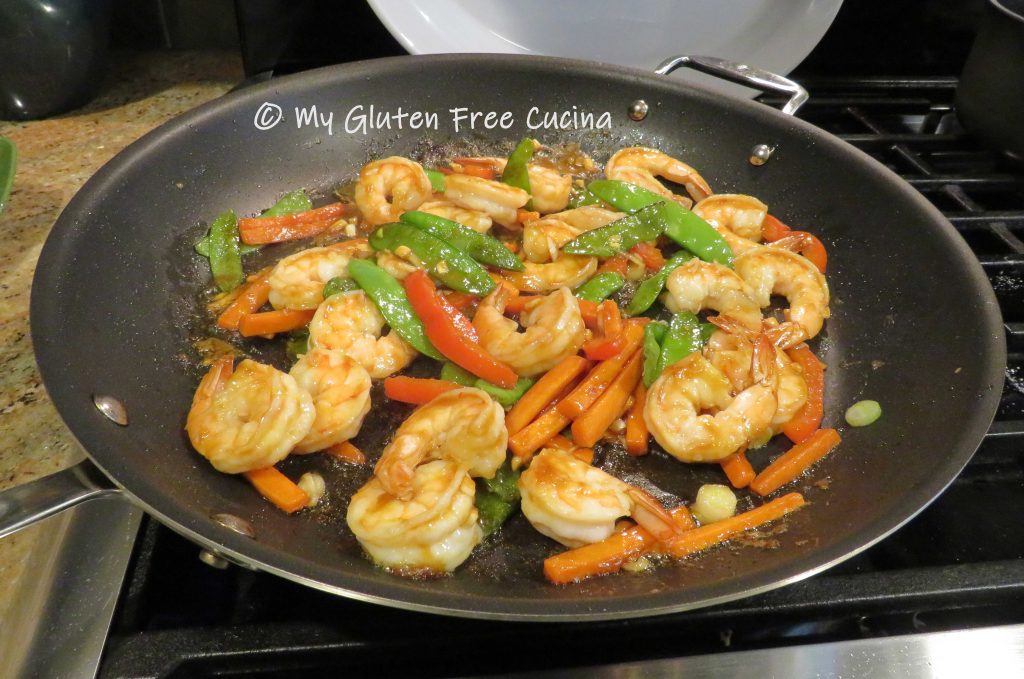
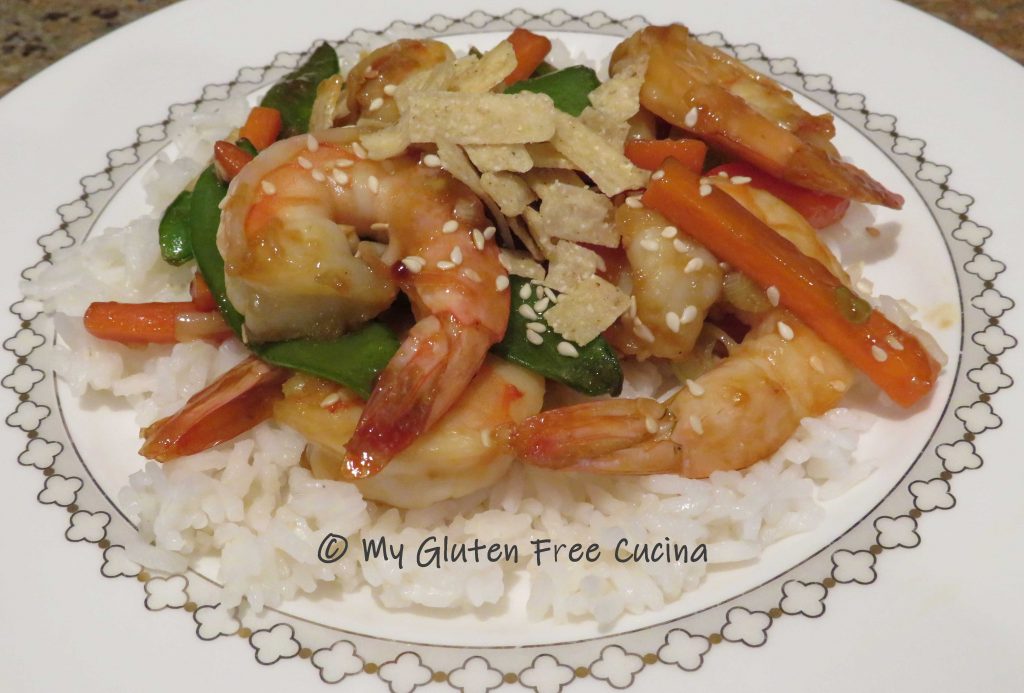
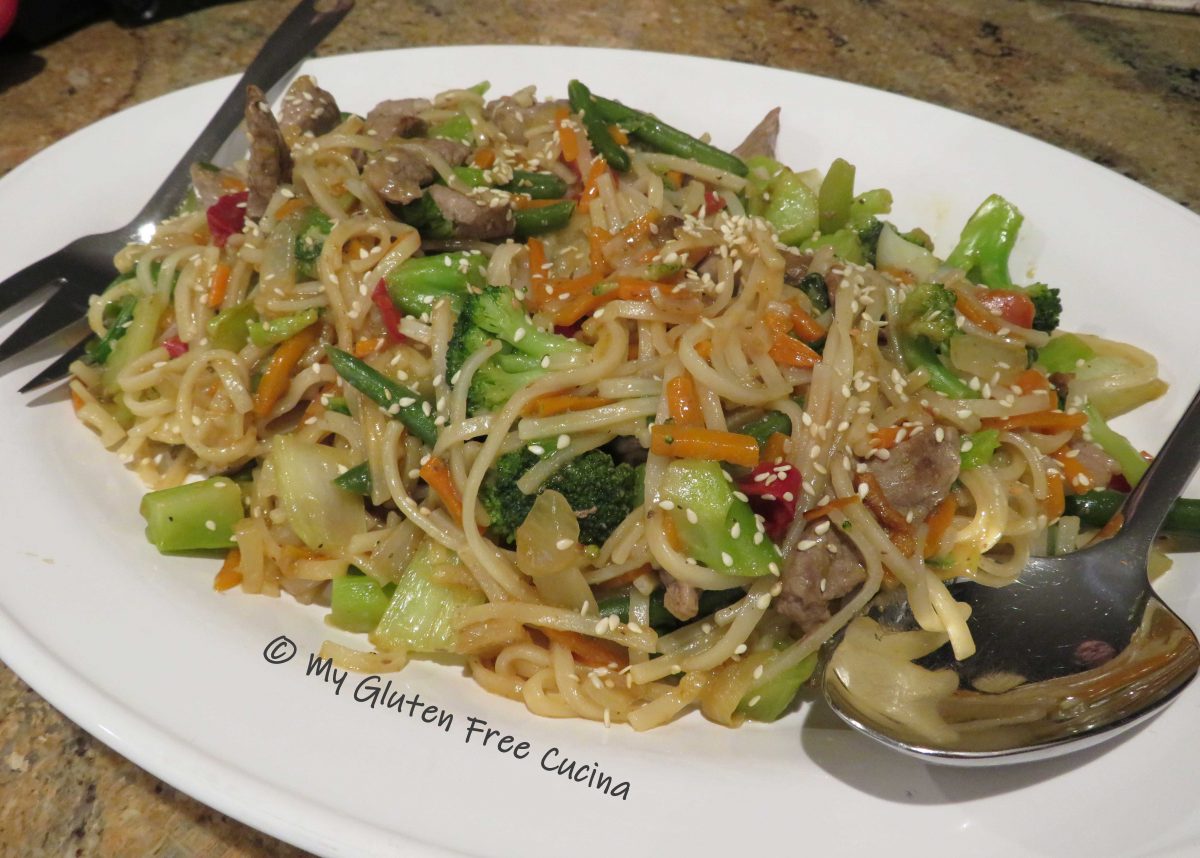
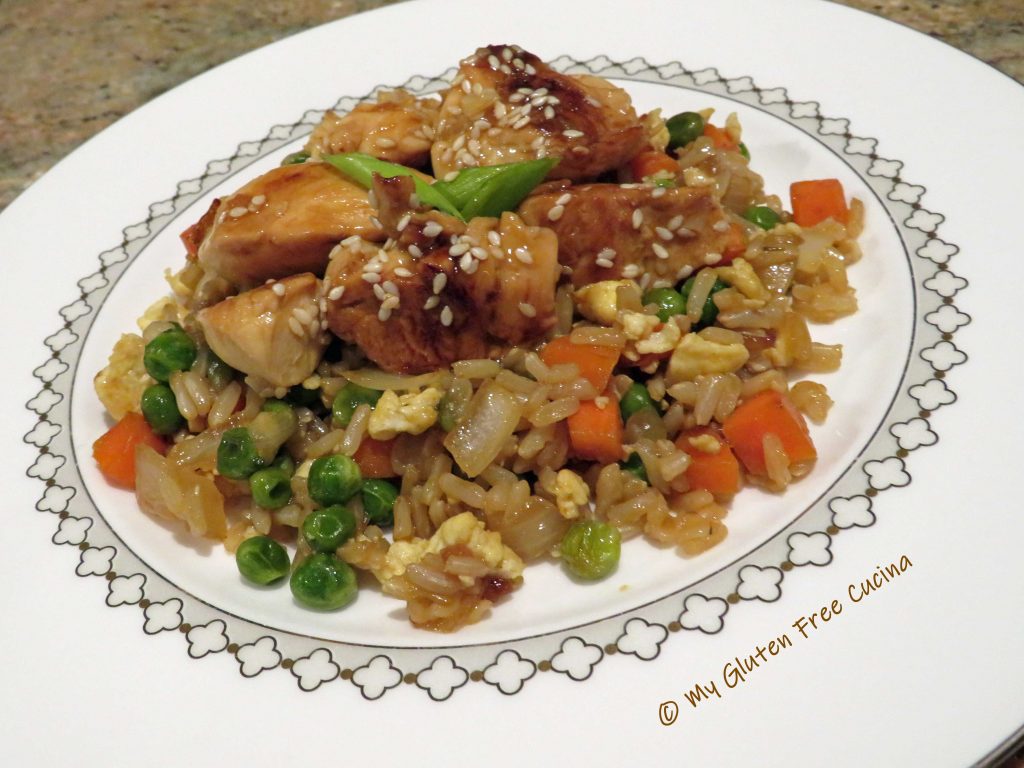
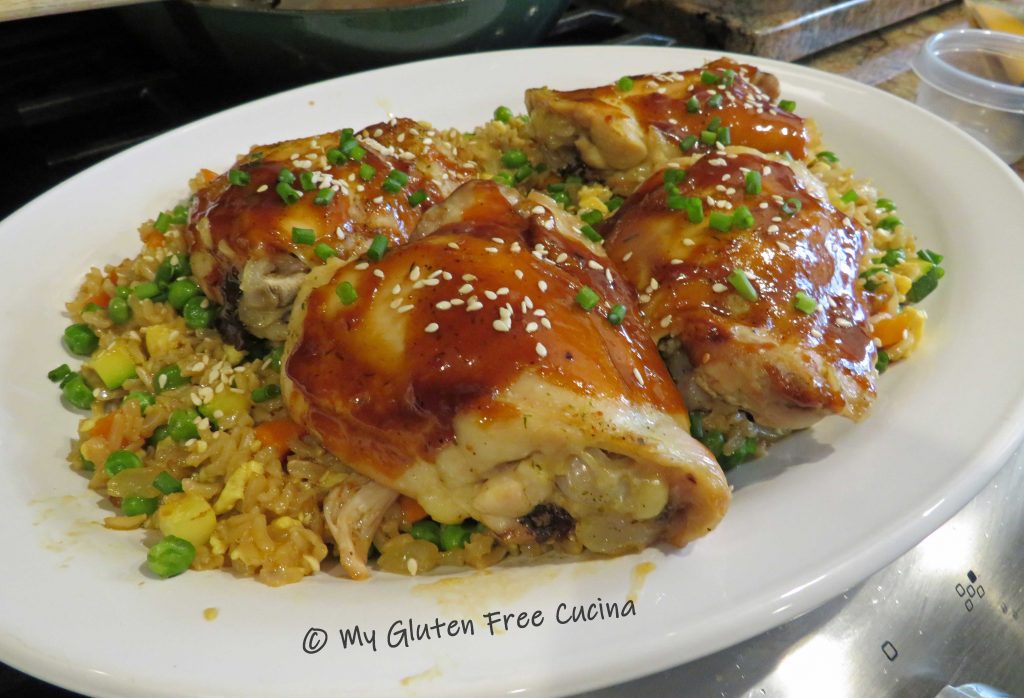
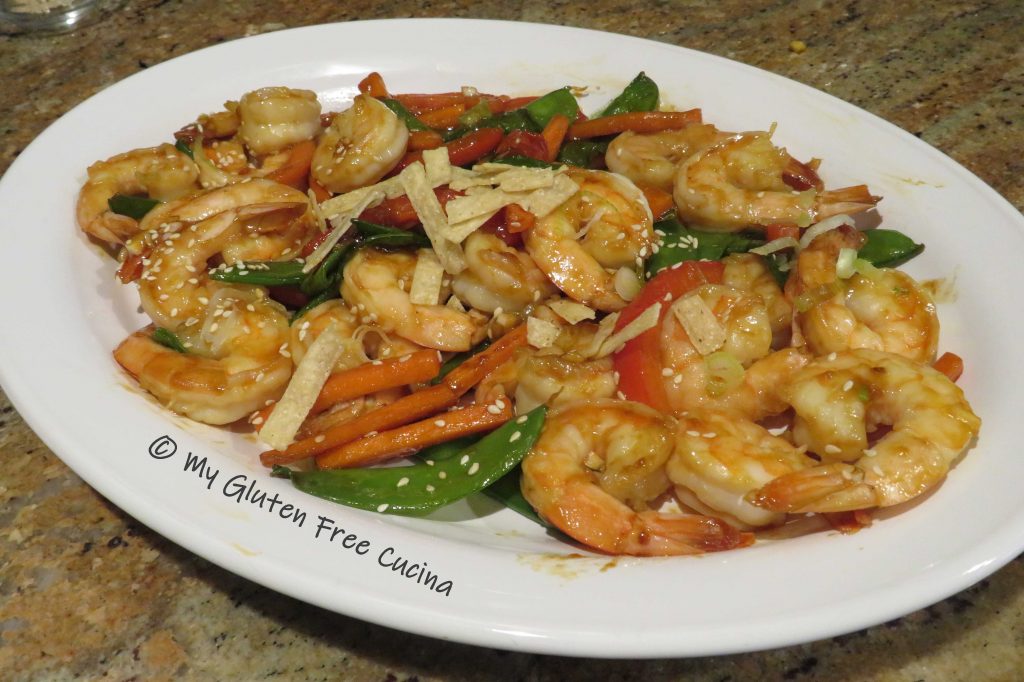 To serve, spoon the shrimp and veggies over the rice with more sesame seeds and tortilla strips.