Gluten Free Orecchiette with Pancetta and Peas

What are Orecchiette?

One of my favorite pasta shapes, orecchiette are a small, cup shaped pasta said to originate in the Puglia region of southern Italy.  Orecchiette means “little ears” in Italian.  You can see why!

Forming this rustic pasta is easy and kid friendly, everyone will enjoy making it as much as they love to eat it.  It’s a wonderful project for a Sunday afternoon, when you can take your time and enjoy the process!

A little dough goes a long way!  This recipe makes plenty for two people and you can double or triple the ingredients as needed.  Follow the easy steps, showing you just how to make this pasta along with the classic pairing of pancetta and peas!

Note ♪♪ I used the new Gluten Free Bread Flour from Better Batter in this recipe.  Shop Better Batter and use my code MGFC30 at checkout to receive 30% off any non-sale item!

Ingredients:

For the dough

To finish

  • 3 tbsp. olive oil
  • 2 oz. diced pancetta
  • 1 cup frozen peas, defrosted
  • 1/2 tsp. Italian seasoning
  • pinch of red pepper flakes
  • grated cheese
  • fresh ground pepper

Preparation:

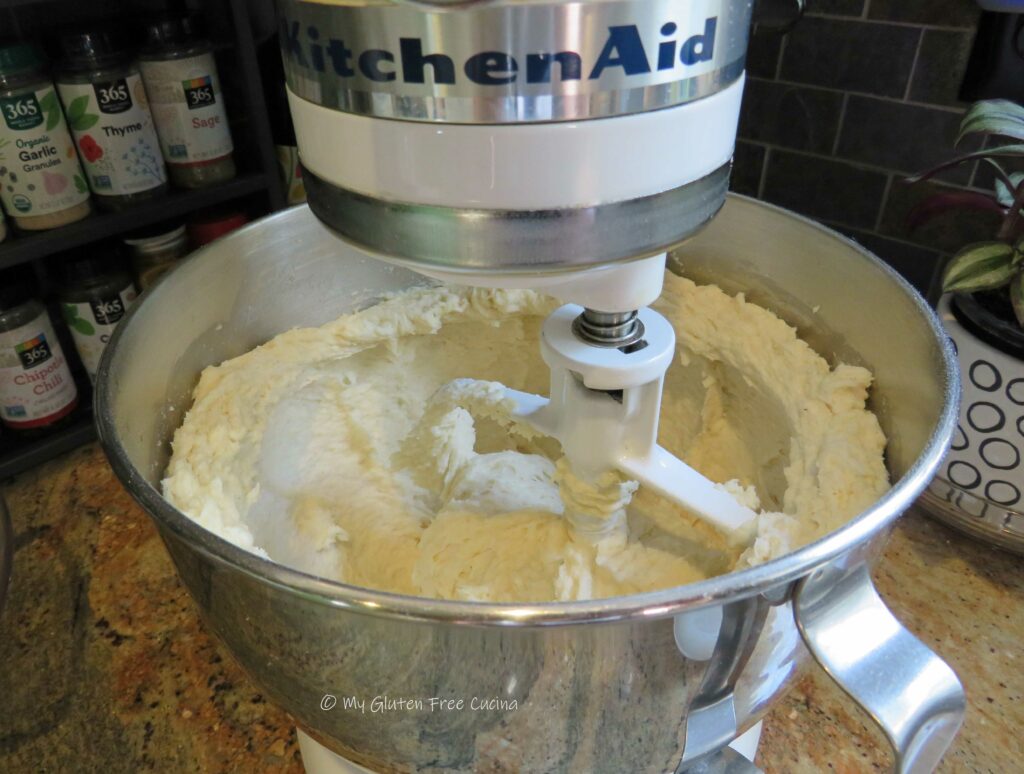
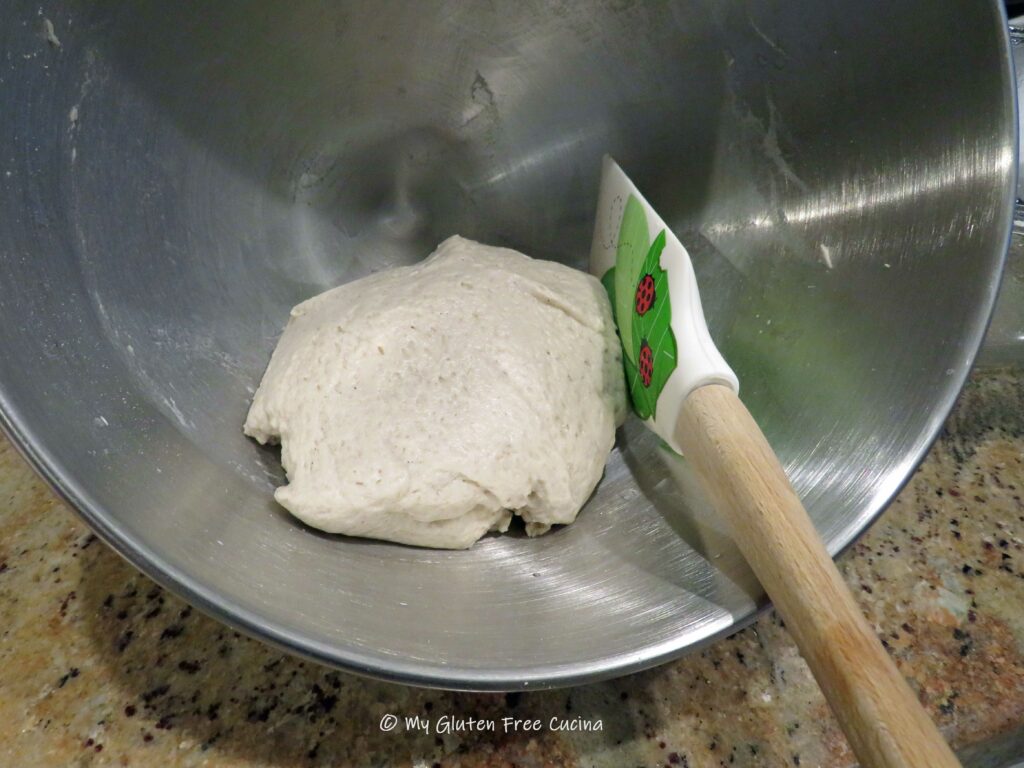
Weigh the flour.  I have tested this recipe many times to come up with exactly the right dough consistency for this pasta, and accuracy is important if you want to get the same result!  Combine all of the dough ingredients in the bowl of a stand mixer.  Beat with the paddle attachment for 5 minutes on low.  The dough will be soft, but not wet.  It should not stick to the beater.

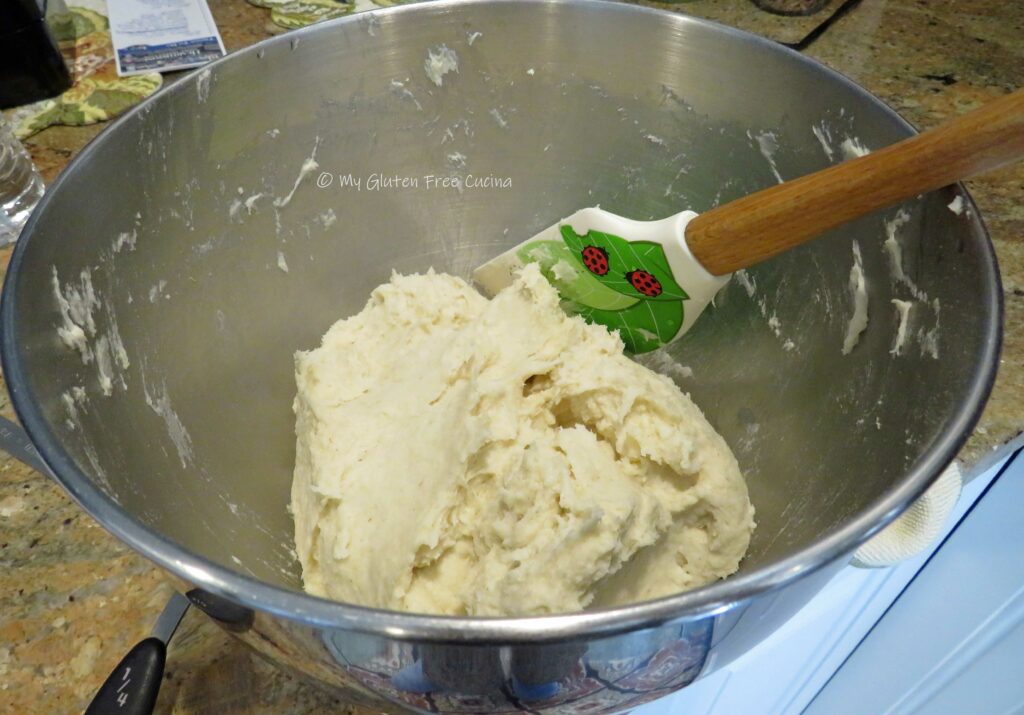
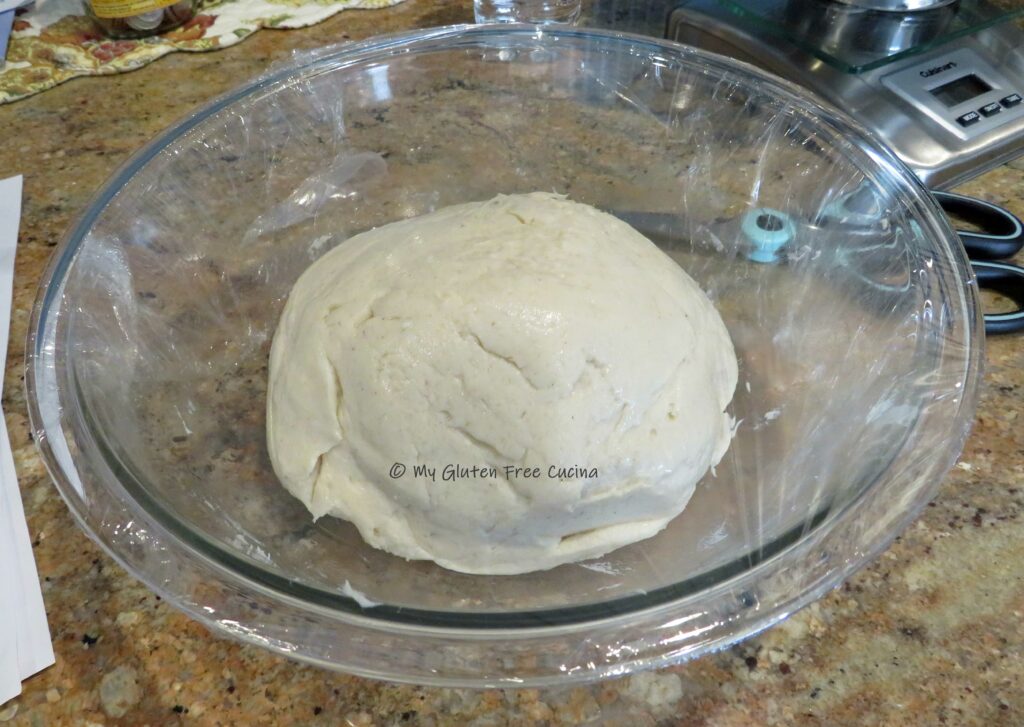
Scrape down the sides of the bowl and bring the dough together in a ball.  Wrap it in plastic wrap and let it rest at room temperature for 10-15 minutes.

Lightly flour a cutting board and divide the dough ball into 4 sections.

Work with one section at a time, and keep the remaining dough covered so it doesn’t dry out.  Start by rolling each section into a cylinder, like this.

Cover and let it rest for 10 minutes.  This is the secret to working with gluten free dough.  Remember, it doesn’t stretch like gluten dough, but after a little rest it will be more cooperative.  I repeated this process twice, before I finally was able to roll each section of dough into a rope, 3/4″ thick.

Use a bench knife to cut the ropes into 1/2″ pieces (note- smaller is better, they will grow quite a bit when cooked!)

Roll each piece between your palms to form round, dime sized balls.  For the final shaping, use a knife to pull the dough ball toward you, like this.

Then invert it over your thumb or forefinger, to form the “ear” shape.

Line a baking sheet with parchment or waxed paper, and dust lightly with flour.  Place the finished Orecchiette on the baking sheet.  Cover with plastic wrap and refrigerate if not cooking immediately.

To finish the dish, bring a large pot of salted water to a rolling boil.  Render the pancetta in 2 tbsp. olive oil for about 5 minutes then add the peas, Italian seasoning and red pepper flakes.  Cook several minutes longer, stirring frequently.

Slide the Orecchiette into the water and cook for 3 minutes, stirring occasionally.  They will float to the top.

Gently remove them with a slotted strainer and toss with the pancetta and peas.

Drizzle with more olive oil, and finish with grated cheese and some fresh ground black pepper.

Notes ♪♫ Orecchiette is one of those pasta shapes that is very hard to find in gluten free (do tell if you have spotted it!).  Fortunately, they are very easy to make, and even a simple meal becomes extra special when you add fresh, homemade pasta.

Print This Post Print This Post

Gluten Free Sourdough Kaiser Rolls

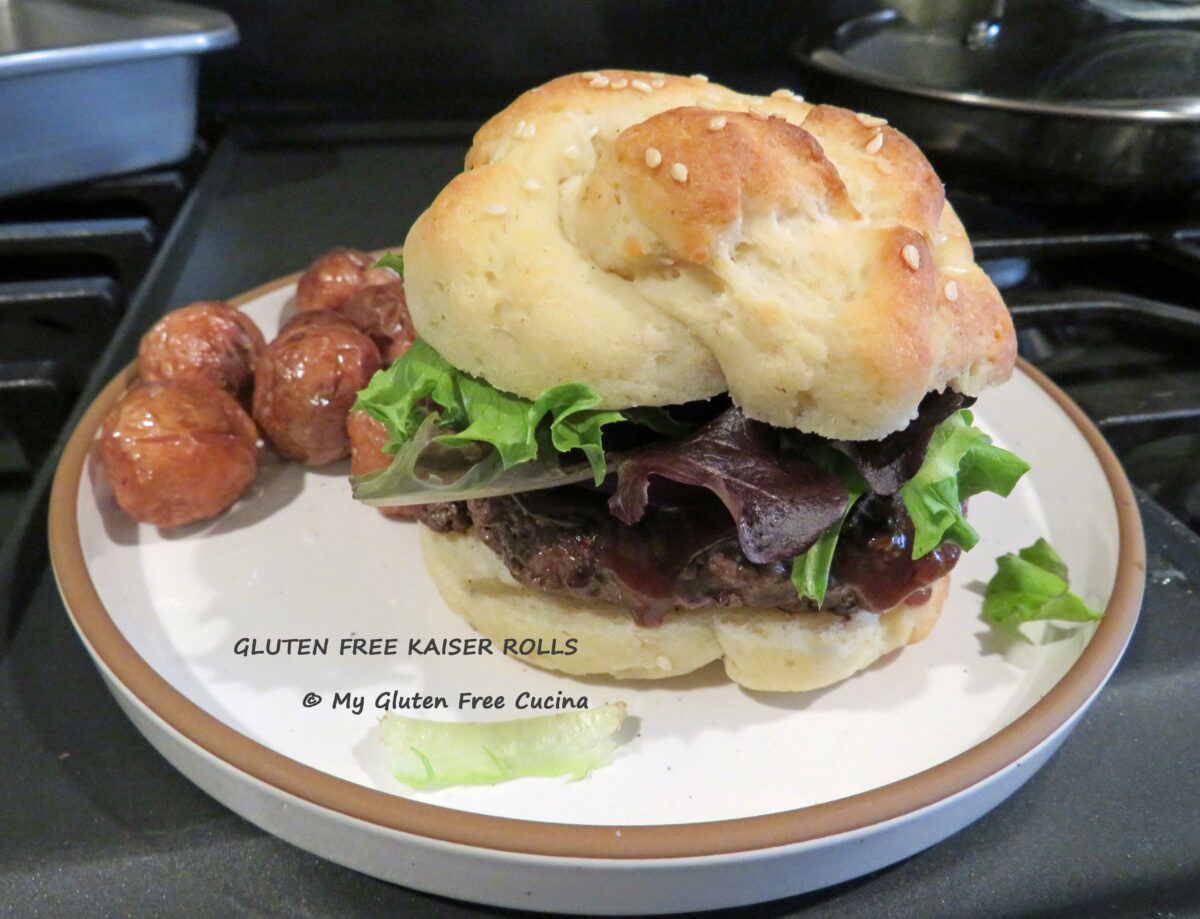
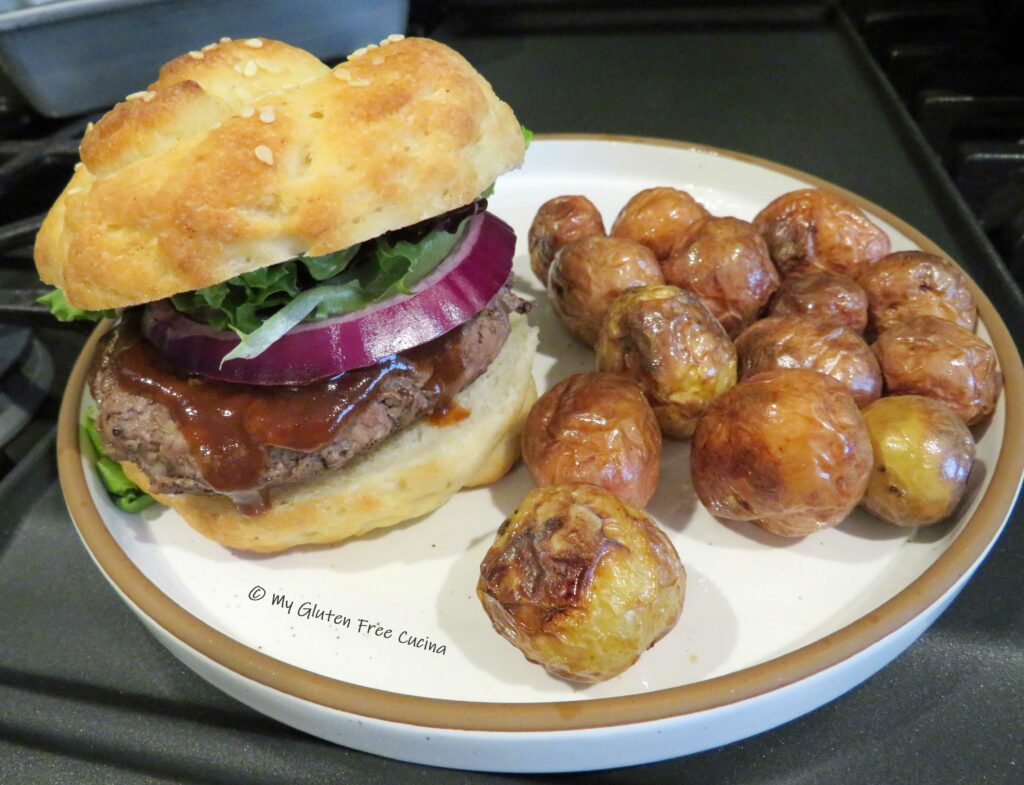
Have you struggled with rolling and shaping gluten free dough?  I’ve been dreaming of a gluten free Kaiser roll since my Celiac diagnosis 7 years ago.  They are just a little more fancy than regular hamburger buns and they look like they came from a bakery!

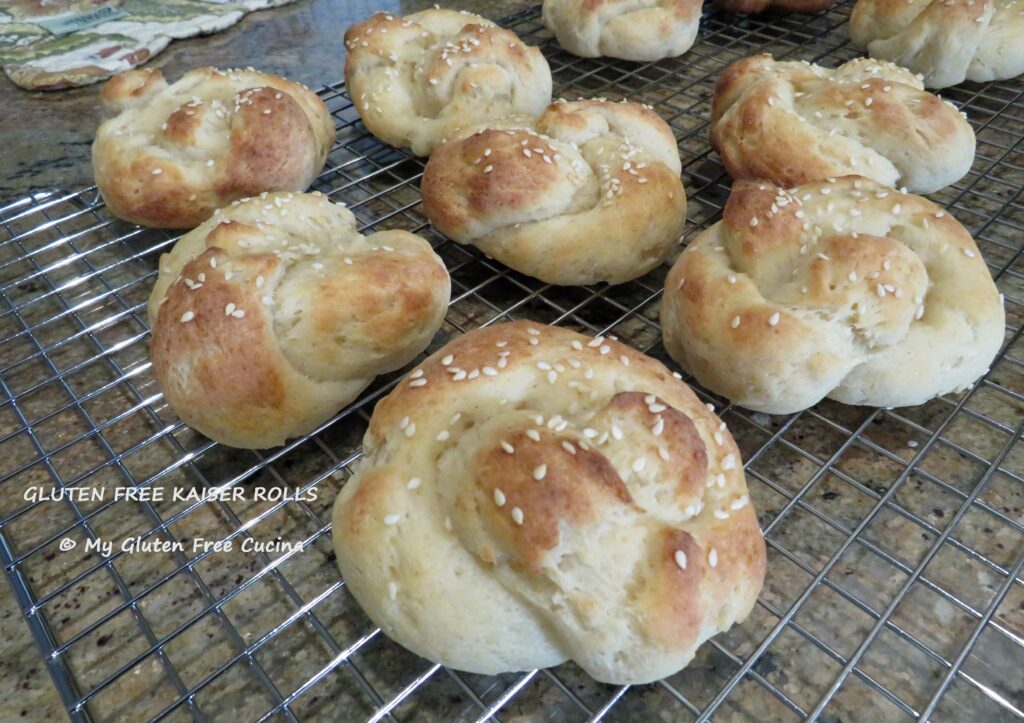
Today, with the new Gluten Free Bread Flour from Better Batter, I’ve made a soft enriched dough that can be rolled into long ropes and yes, even tied in a knot!

Follow the steps and learn how to shape these rolls.  This recipe makes 6-10 Kaiser rolls, depending on size.

This post contains affiliate links.

Ingredients:

  • 395 g Better Batter Bread Flour
  • 9 g (1-1/2 tsp.) salt
  • 75 g fully active sourdough starter (1/4 cup) *See notes
  • 1 egg
  • 1/8 tsp. instant yeast
  • 9 g (1-1/2 tsp.) sugar
  • 2 tbsp. butter, melted and cooled
  • 15 g psyllium husk (3 tbsp) ** (can be omitted, see notes)
  • 160 g warm milk
  • 270 g warm water + 3 tbsp.
  • —————————-
  • 1 tbsp. canola oil plus more for rolling
  • 1 tbsp. milk for topping
  • 1 tsp. sesame seeds for topping

Want to try the new Gluten Free Bread Flour from Better Batter?  Order yours here and be sure to use my Code MGFC30 at checkout for 30% off any non-sale purchase!

Preparation:

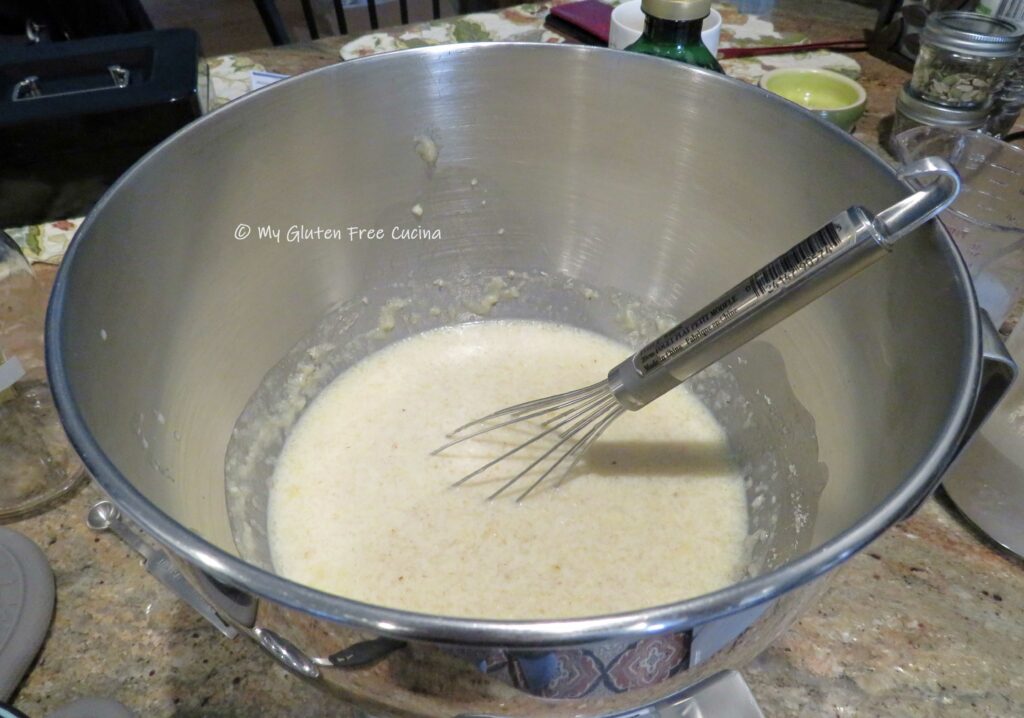
Whisk together the flour and salt.  In the bowl of a stand mixer, combine the sugar, egg, butter, psyllium husk, sourdough and instant yeast.  Let it stand for a few minutes to thicken.

Next add the flour mixture, 160g milk and 270g water, and beat with the paddle attachment for 5 minutes.  If the dough seems a bit dry, add water one tablespoon at a time, up to 3 tablespoons.

Gather the dough together with a spatula and transfer it to an oiled bowl (use about 1 tbsp. canola oil), turn to coat and cover with plastic wrap.

Proof the dough in a warm place for 6 hours.  I used a proofing box set to 80 degrees.

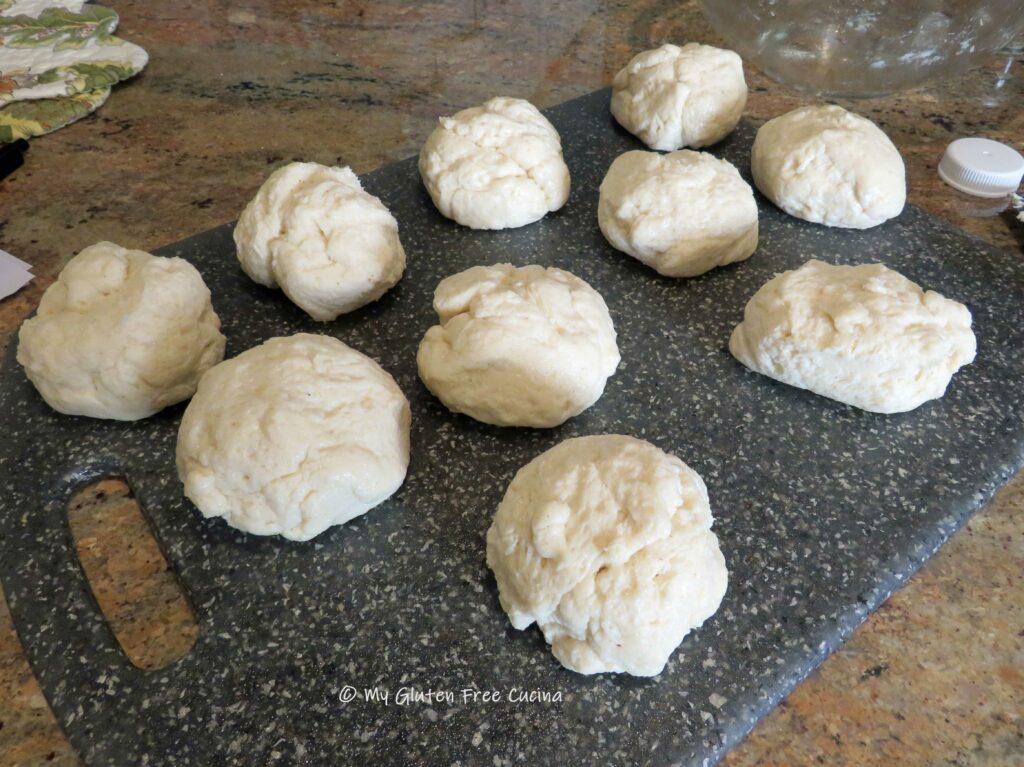
Turn the dough out onto an oiled cutting board.  Divide the dough into pieces with a bench knife and use oiled hands to roll each piece into a ball.  If you want to be really precise, weigh the dough and divide by the number of rolls you want to make.  My dough weighed 36 oz. total, and I made 10 rolls just over 3.5 oz. each.  Perfect for burgers!

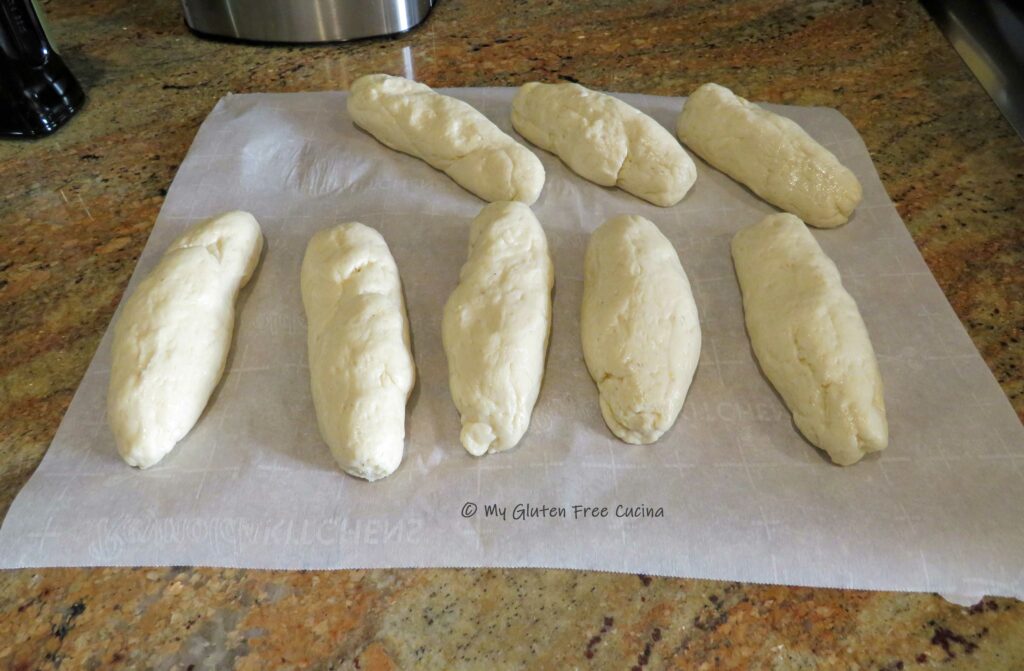
Now here’s the trick, don’t immediately try to roll the dough into ropes.  Cover with a dish towel and let the dough balls rest for 10 minutes, then gently roll each one into a 6″ cylinder.  Be sure to keep a light coating of oil on your hands and cutting board.  Cover and rest again for 5-10 minutes.  Repeat rolling and resting as needed, and with each “rest”, the dough will become more relaxed and easier to roll.

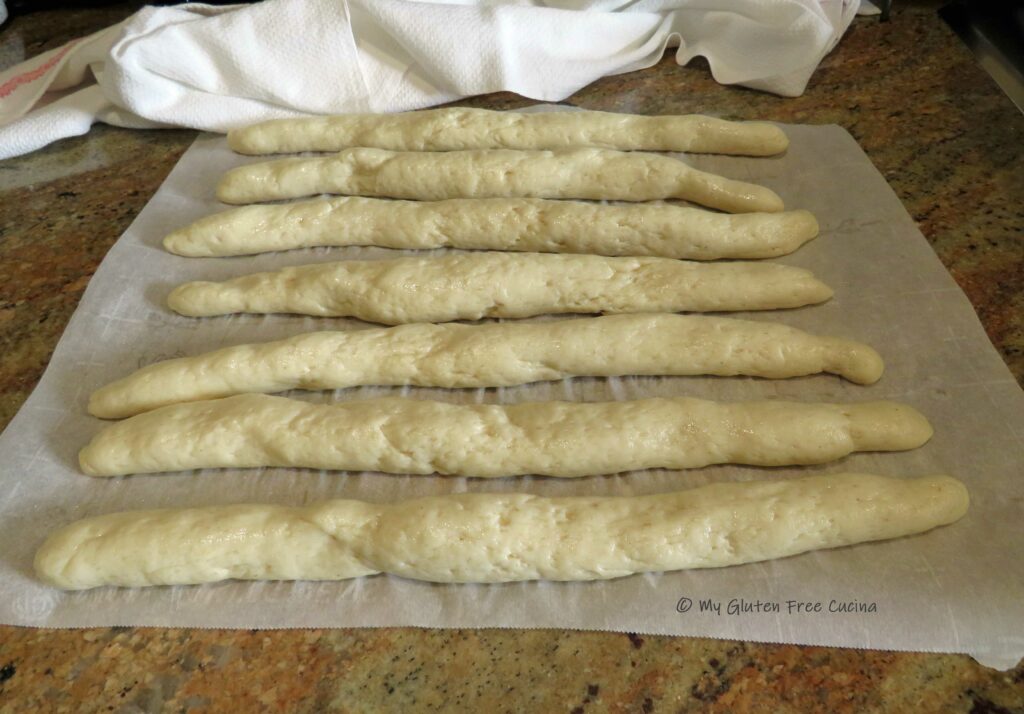
By the 3rd rest you should be able to roll the dough into ropes, about 14″ long.  To keep the dough from splitting, start at the bottom of the cutting board and roll in one direction toward the opposite side.  Then reverse and roll back.  Repeat until the rope reaches the desired length.

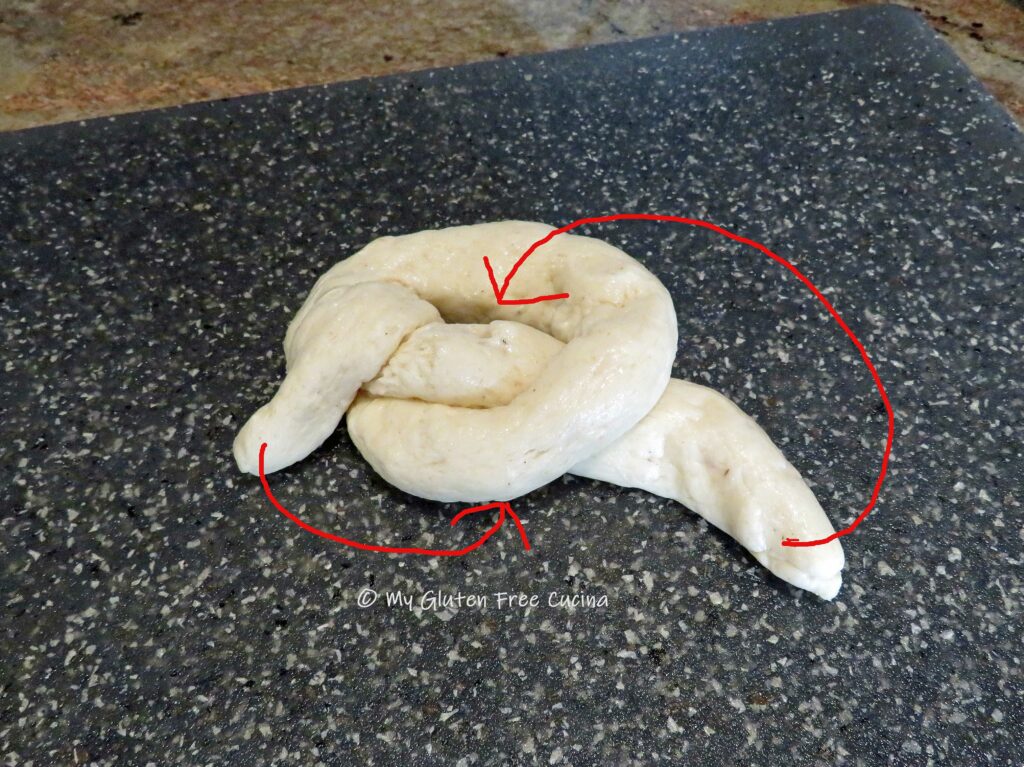
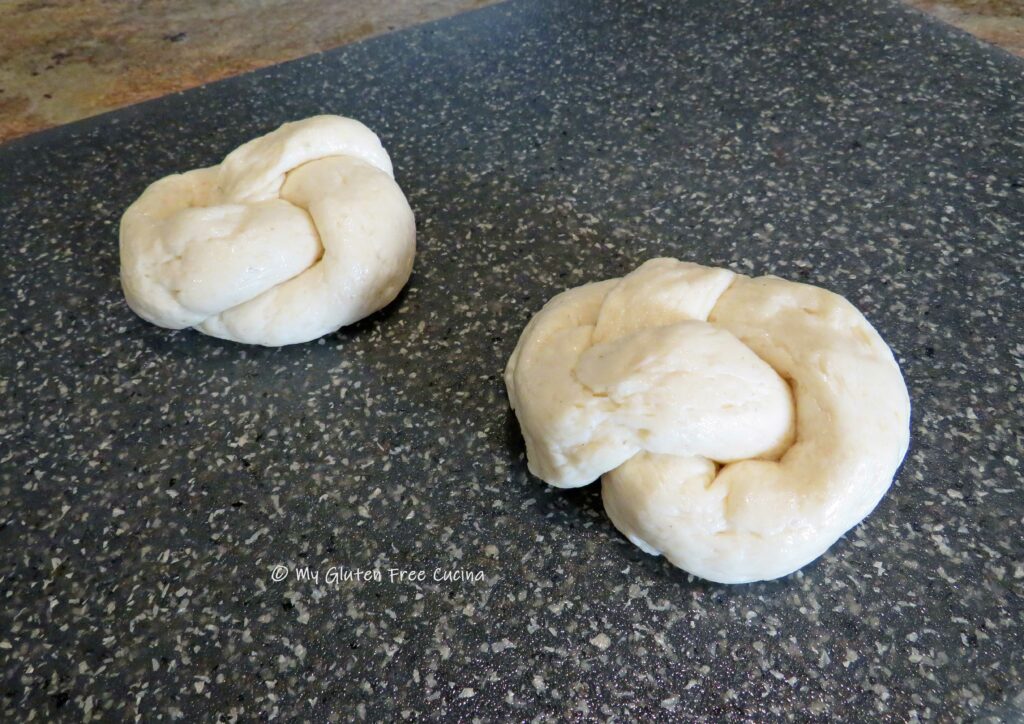
To form the Kaiser rolls, tie each rope into a loose knot.  Then bring the bottom end up over the knot and tuck it into the center.  Tuck the other end underneath.

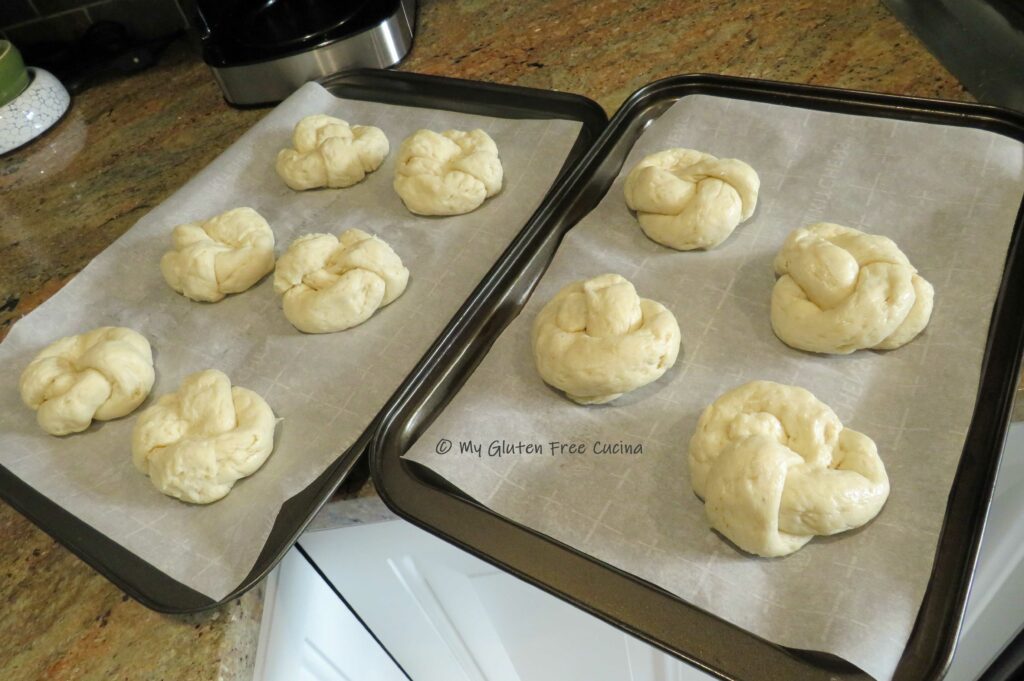
Place the shaped rolls on a baking pan lined with parchment.  Don’t crowd them together, use 2 pans if needed.

Cover with plastic wrap and proof for another 15 minutes while you preheat the oven to 425º.

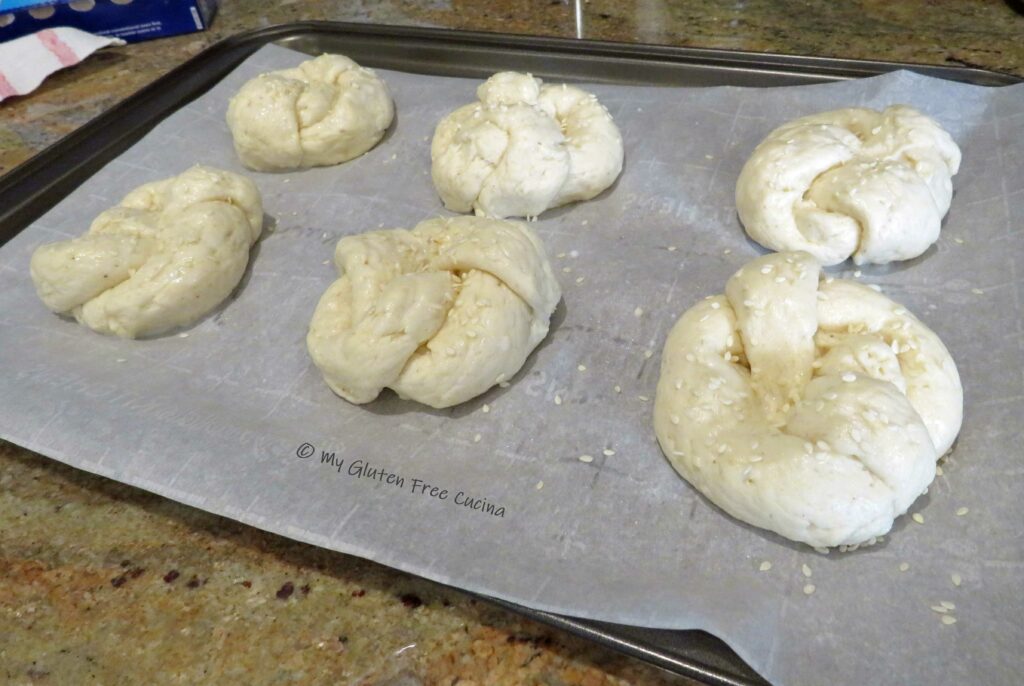
Brush the rolls with milk and sprinkle with sesame seeds.  Bake for 20 minutes or until the internal temperature reaches 210º.

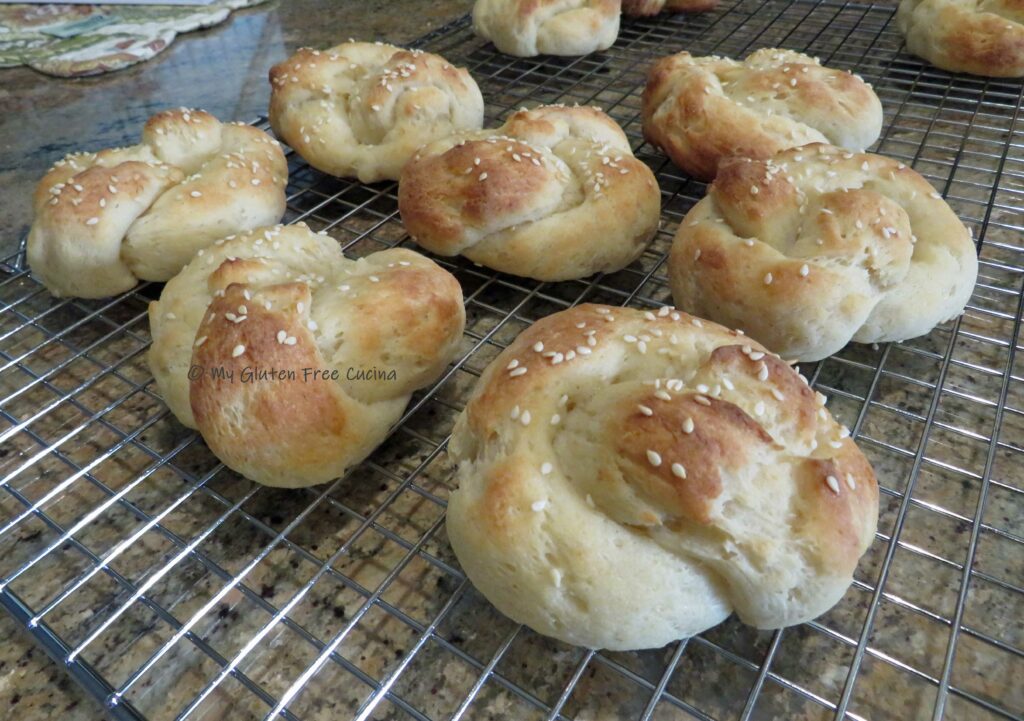
When you remove the rolls from the oven, be sure to let them cool completely before slicing.  I left mine on a rack for several hours, then stored them in a plastic bag at room temperature overnight.

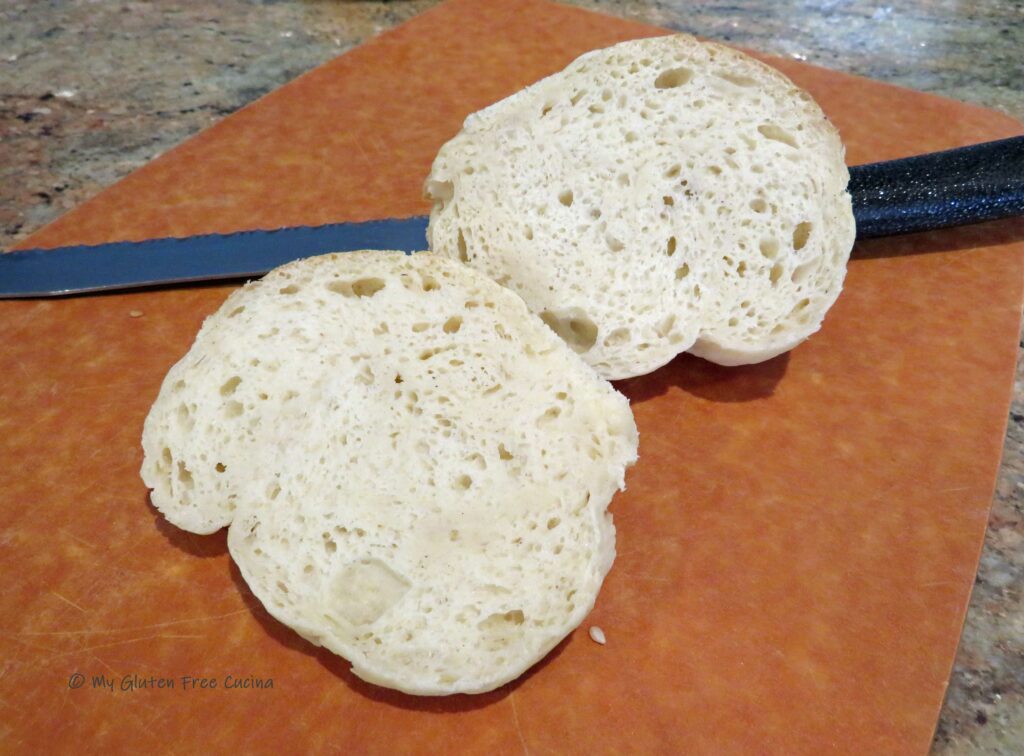
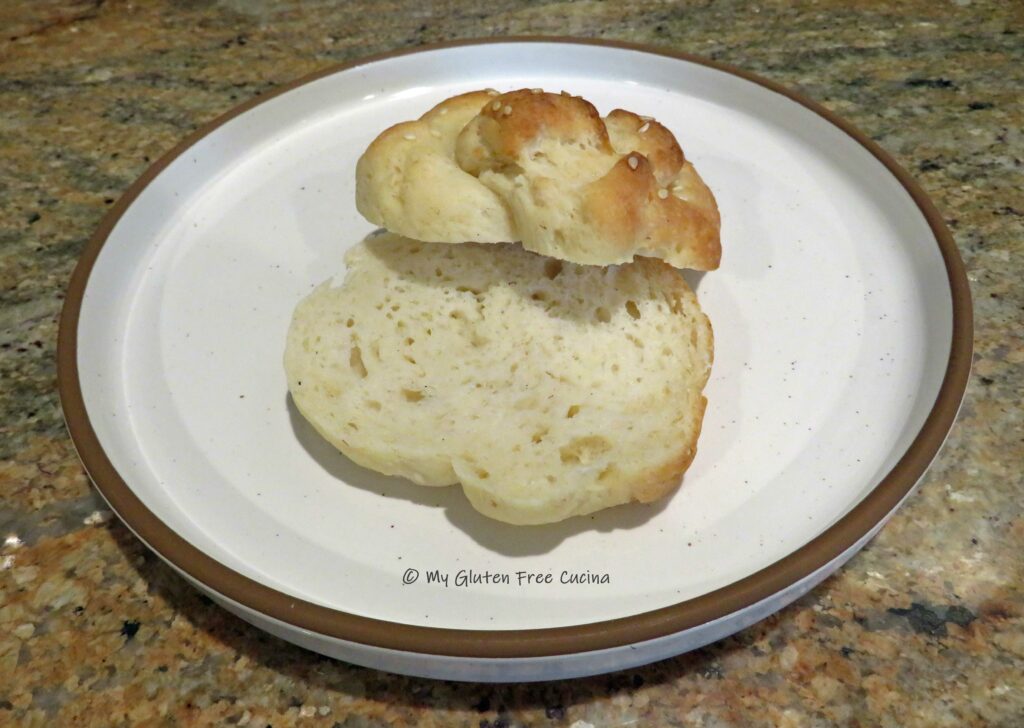
When I sliced them the next day, I was quite pleased with the texture and crumb.  Check it out!

If you have been jonesing for the white bread experience, be sure to try the new Gluten Free Bread Flour from Better Batter, it will make your day!

Notes ♪ I have been experimenting with this recipe and thought the addition of sourdough really enhanced the flavor of the rolls.  If you want to make this recipe without the sourdough, increase the flour by 25g. and increase the water by 50g.  Instead of 1/8 tsp. instant yeast, use 2-1/4 tsp (1 packet).  Proofing time will be 30-45 minutes (not 6 hours).

Notes ♫ I was graced with the opportunity to receive some test samples of the new Gluten Free Bread Flour from Better Batter before it came to market.  In my experimentation I decided to add psyllium husk to my dough and the rolls turned out beautifully.  Note though, my favorite Chef, Patrick Auger who is the mastermind of product development at Better Batter advised that it is not necessary to add psyllium to the new Bread Flour as it was designed to work without.  Thanks Patrick!

Print This Post Print This Post 

Gluten Free Sourdough Fougasse

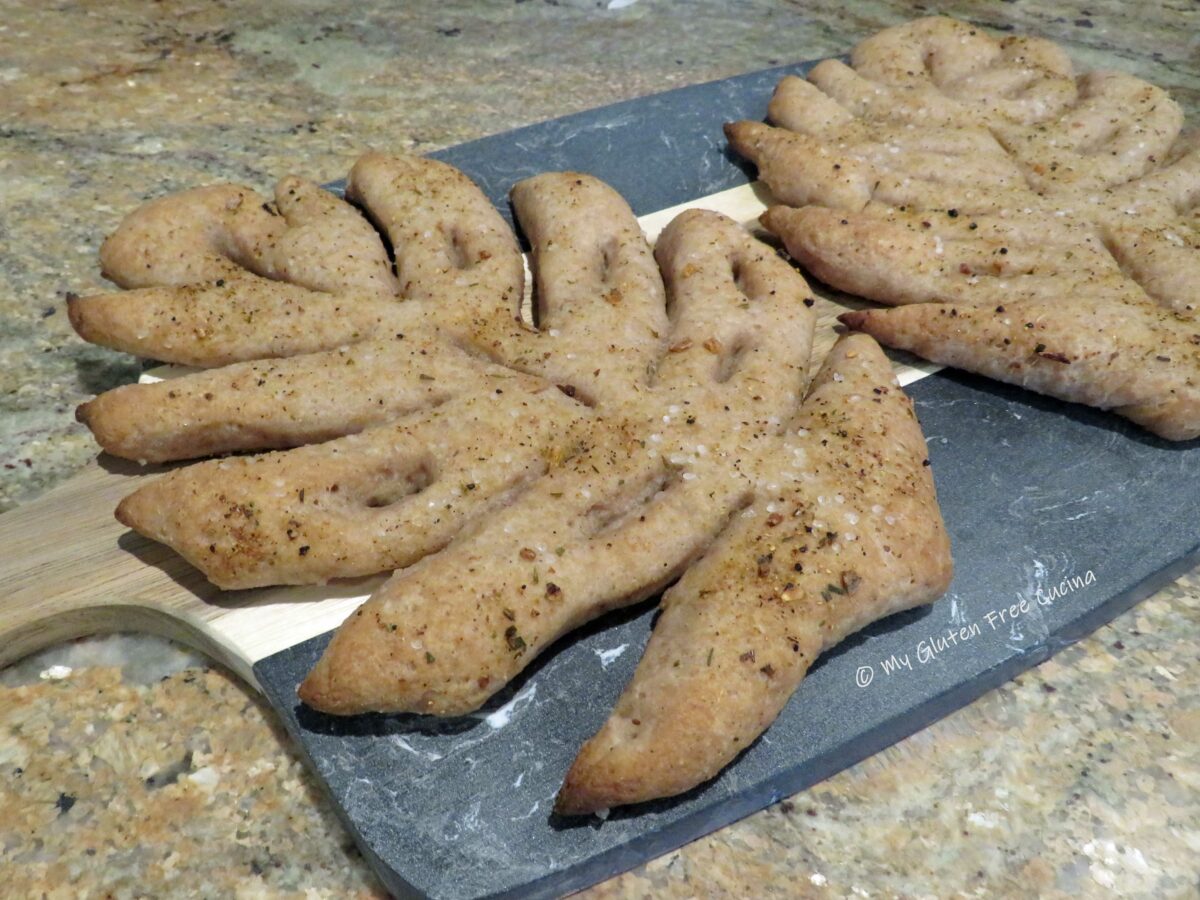
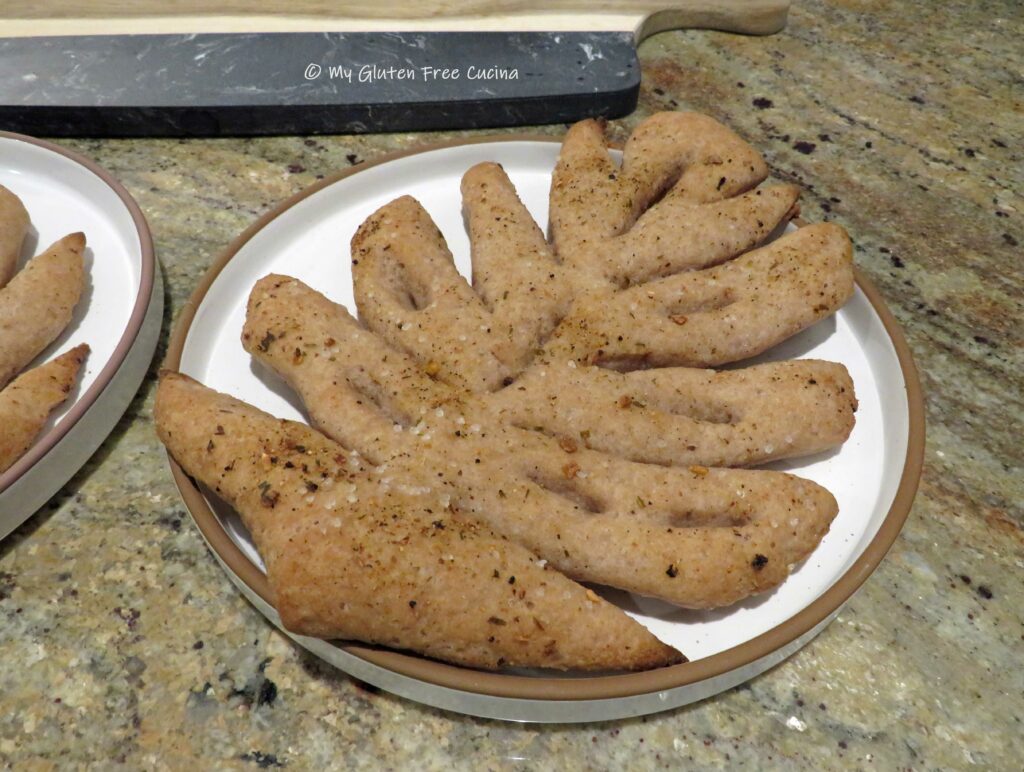
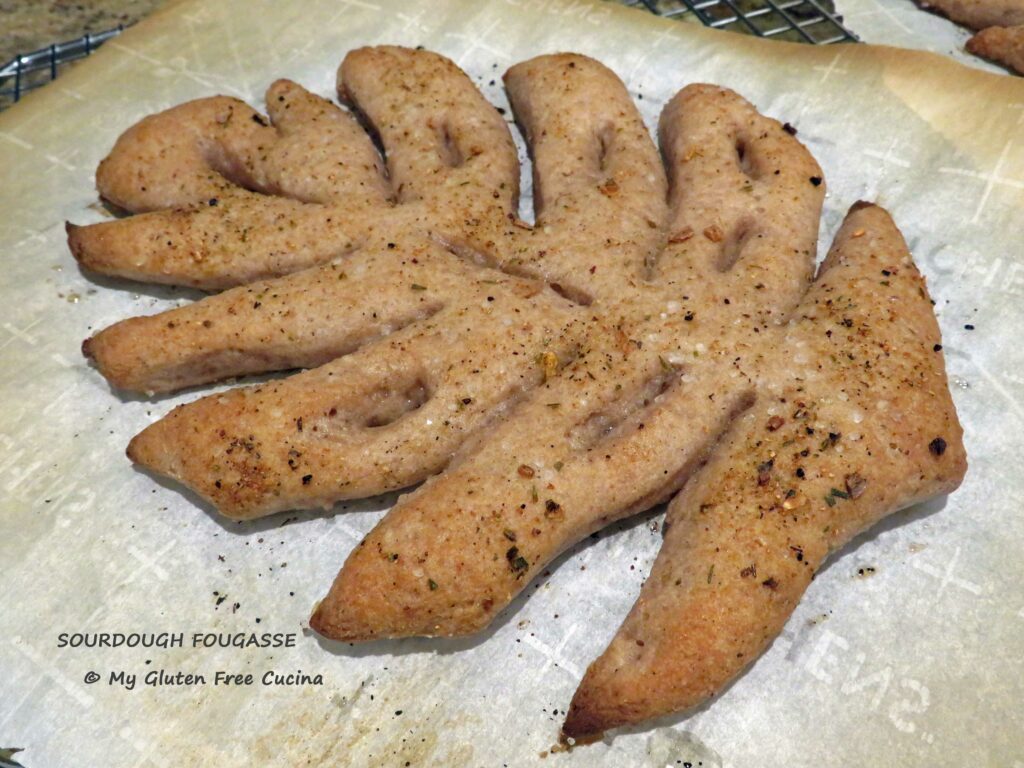
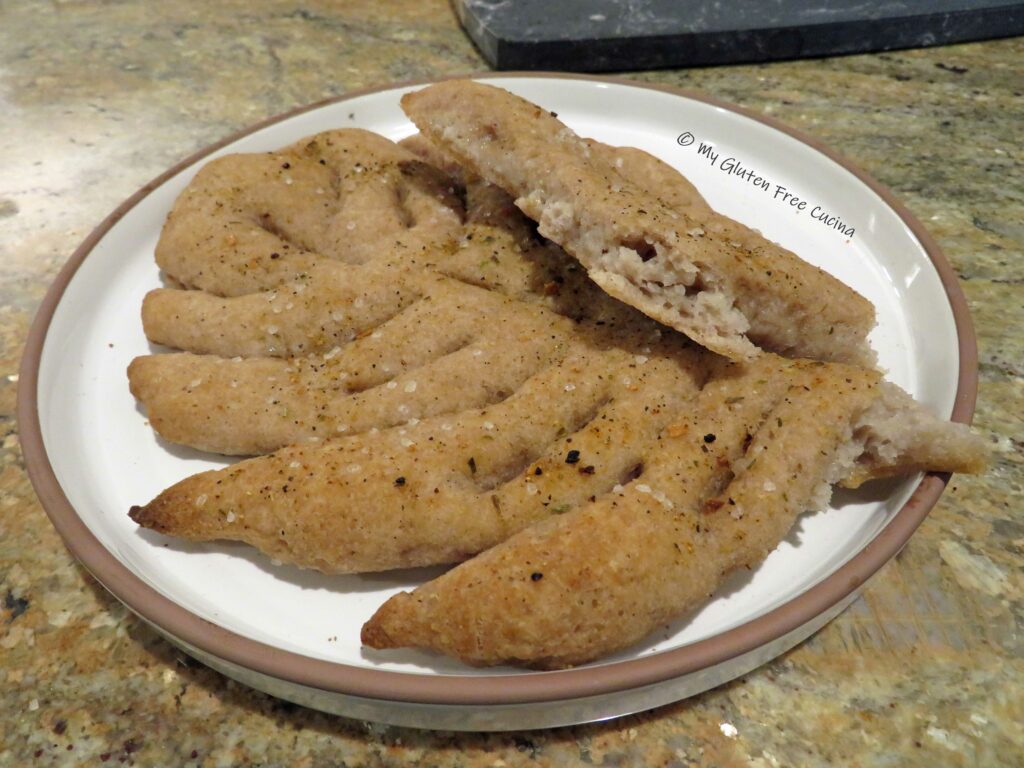
Another bucket list recipe on the books, look at this beauty!  It’s called Fougasse (pronounced foo-gaas), a French inspired flatbread that is similar to focaccia.  The characteristic slashes in the bread create a crisp exterior with a soft chewy center, like a pretzel.  Unlike most gluten free breads, this one can be eaten warm or even hot out of the oven!
I used Better Batter Artisan Flour Blend to make the dough, along with my sourdough starter.  For this recipe, the dough requires just the right amount of hydration to hold the shape of the bread without closing up.  A tall order for gluten free!

Use my Promo Code MGFC30 for 30% off at Better Batter!

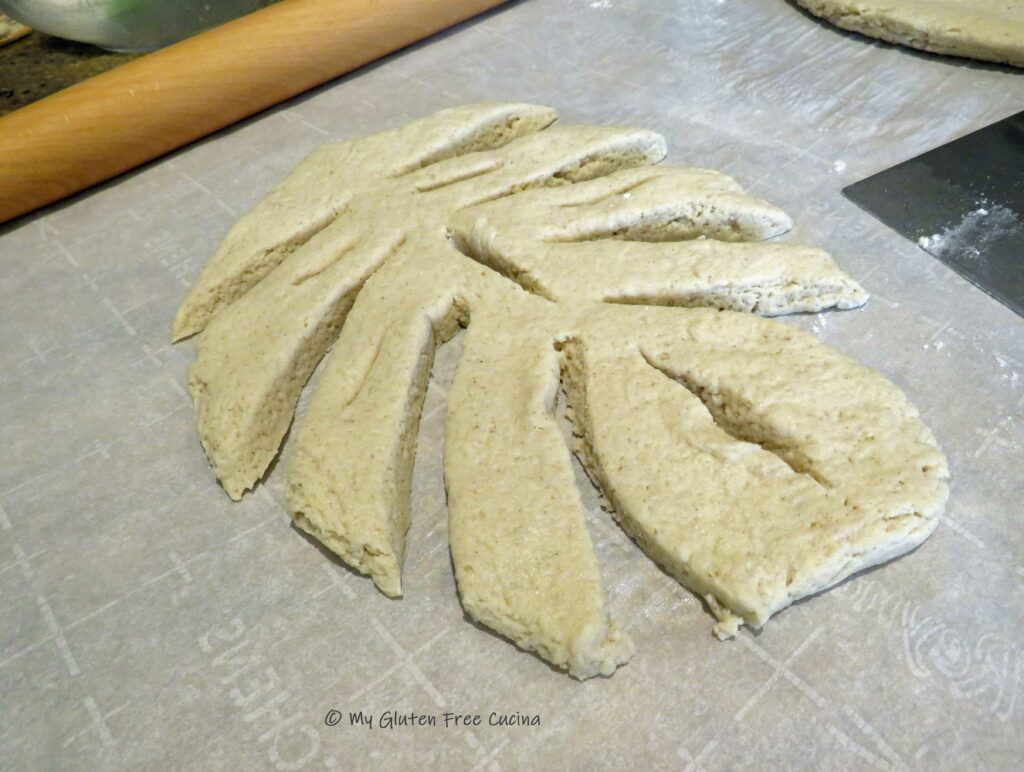
I have been practicing the leaf shape, and although you do not have to get this fancy, I think the presentation is gorgeous.  It reminds me of a monstera plant- gardening peeps, what do you think? 😄🪴

This post contains affiliate links.

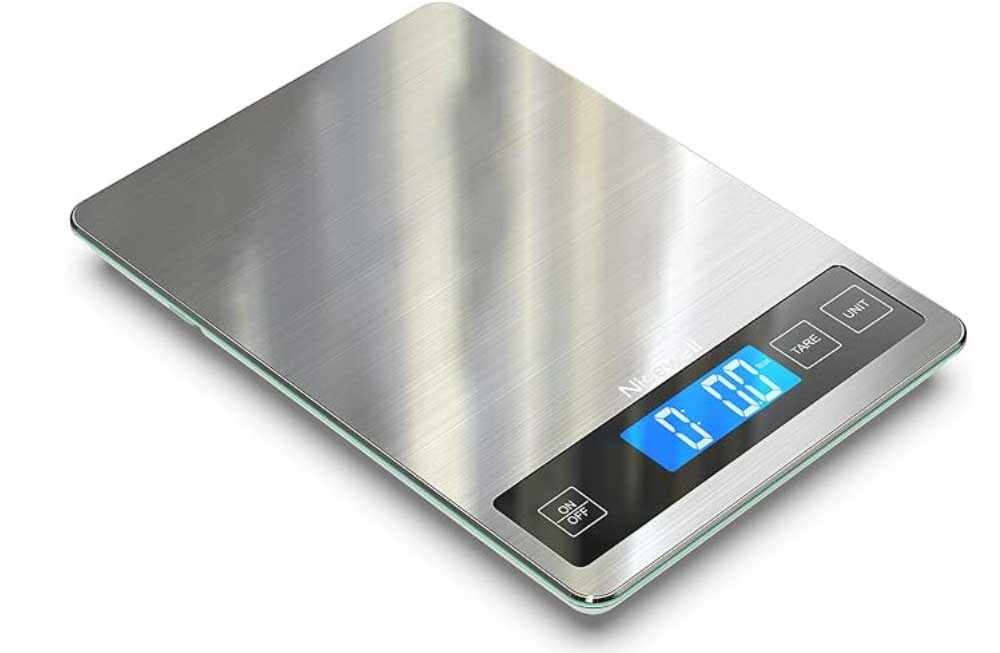
Before we begin, let’s talk about measuring.  I strongly recommend that you weigh all the ingredients (yes, even the water).  A digital kitchen scale can be a most helpful tool for baking, and especially in gluten free baking where precision really matters.


INGREDIENTS:

  • 200g Better Batter Artisan Flour Blend, about 1-1/2 cups
  • 4g salt, about 3/4 tsp.
  • 200g warm water, about 1 cup
  • 70g fully active GF sourdough starter, about 1/4 cup* see notes
  • 8g olive oil, about 1 tbsp.
  • 10g honey, about 1 tbsp.
  • 1/8 tsp. instant yeast (optional, if your starter needs a little help)
  • more olive oil for brushing
  • seasoning, for topping (use your favorite blend)
  • coarse salt, for topping

Preparation:

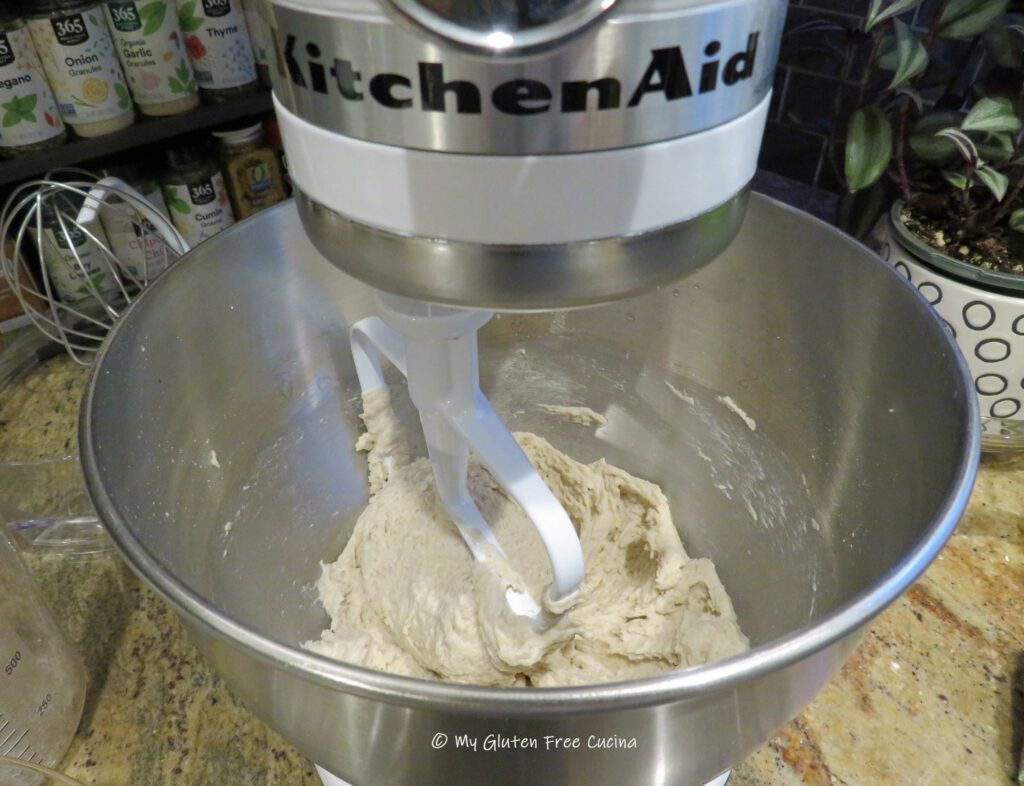
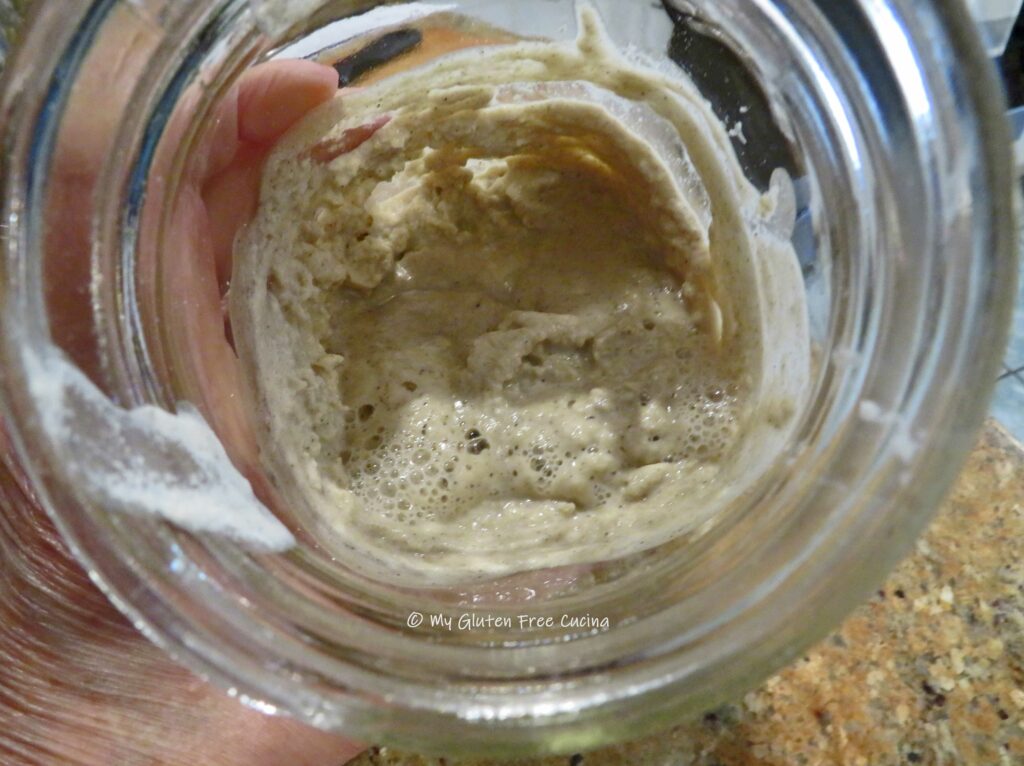
Combine the first seven ingredients together in the bowl of a stand mixer with the paddle attachment.  Gradually increase speed and beat for 5 minutes to form a smooth dough.  The dough should easily come away from the sides of the bowl, like this.

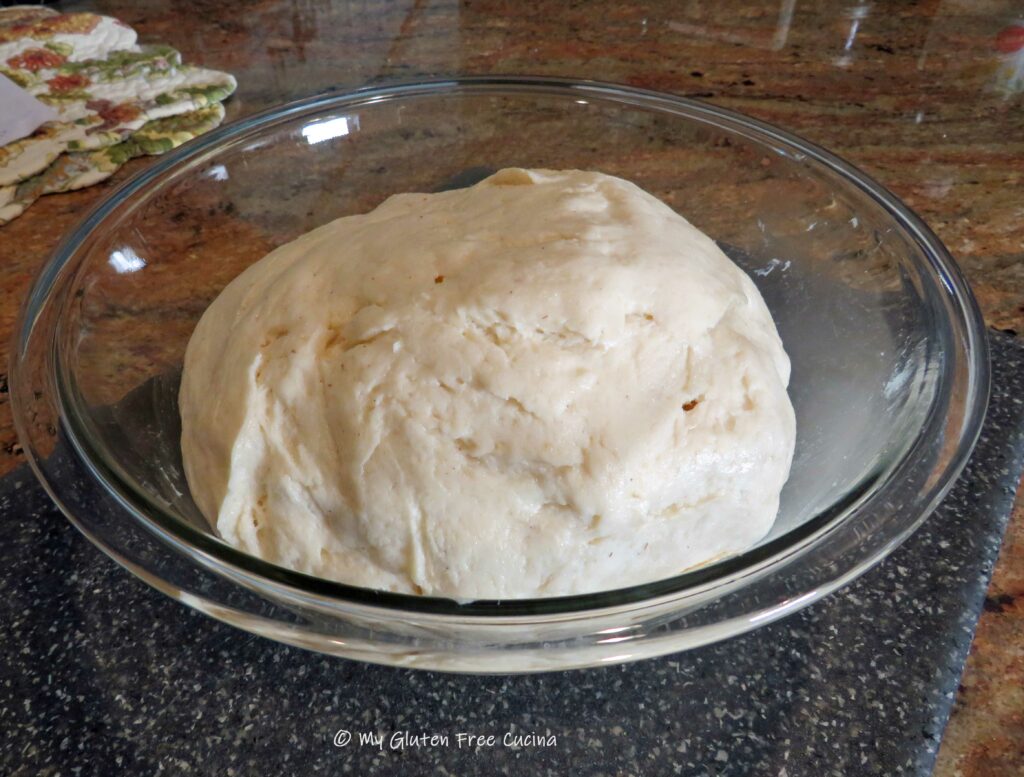
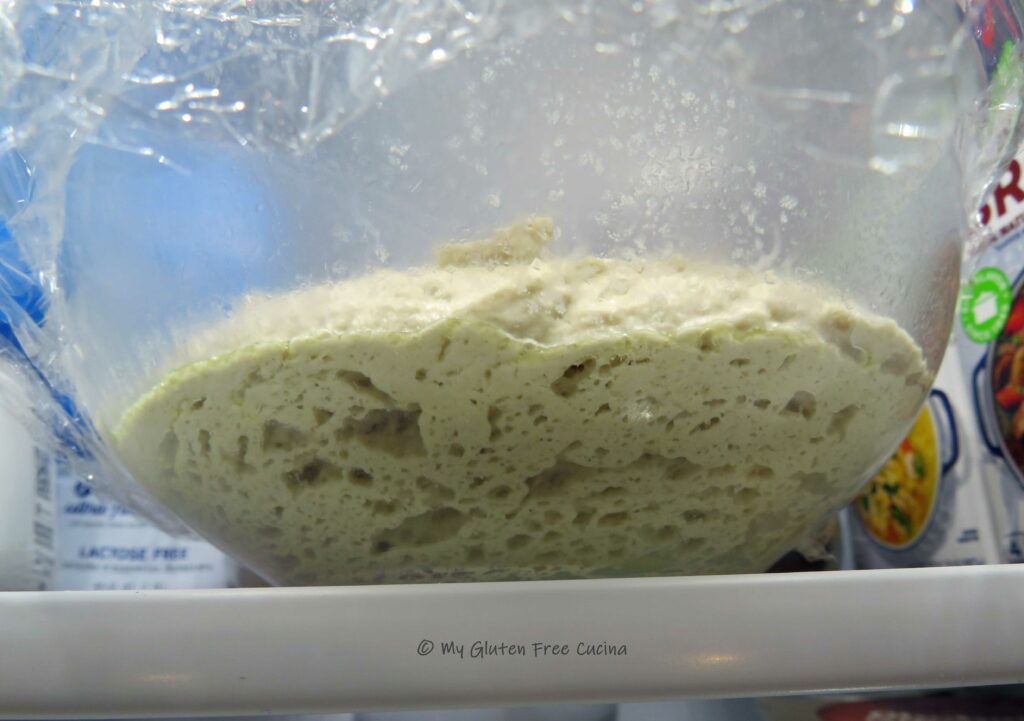
Transfer the dough to an oiled bowl and smooth it with a spatula.  Cover and let it sit at room temperature (or proofing box) for 4 hours.  I usually time this for late afternoon, so it’s ready to go into the refrigerator overnight (12-18 hours).  The overnight proof really develops the sourdough flavor.

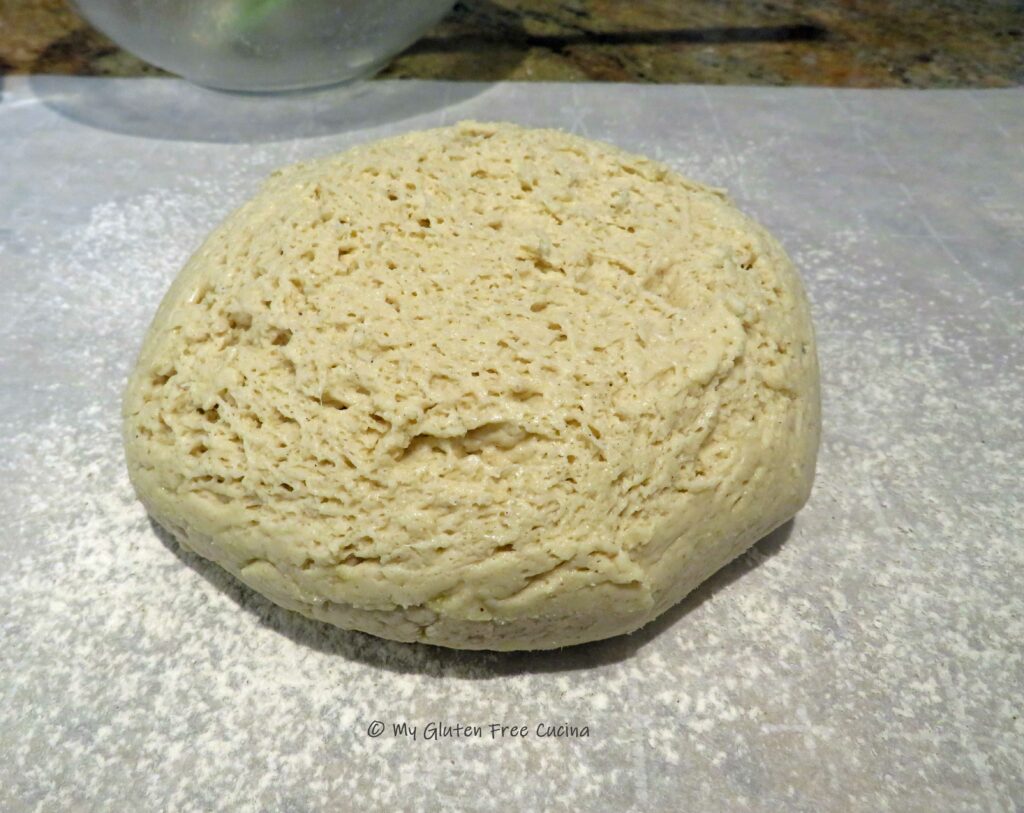
In the morning, the dough should be full of air bubbles (I like using glass bowls, so you can really see what’s going on).  Try not to deflate them as you transfer the dough to a floured sheet of parchment.

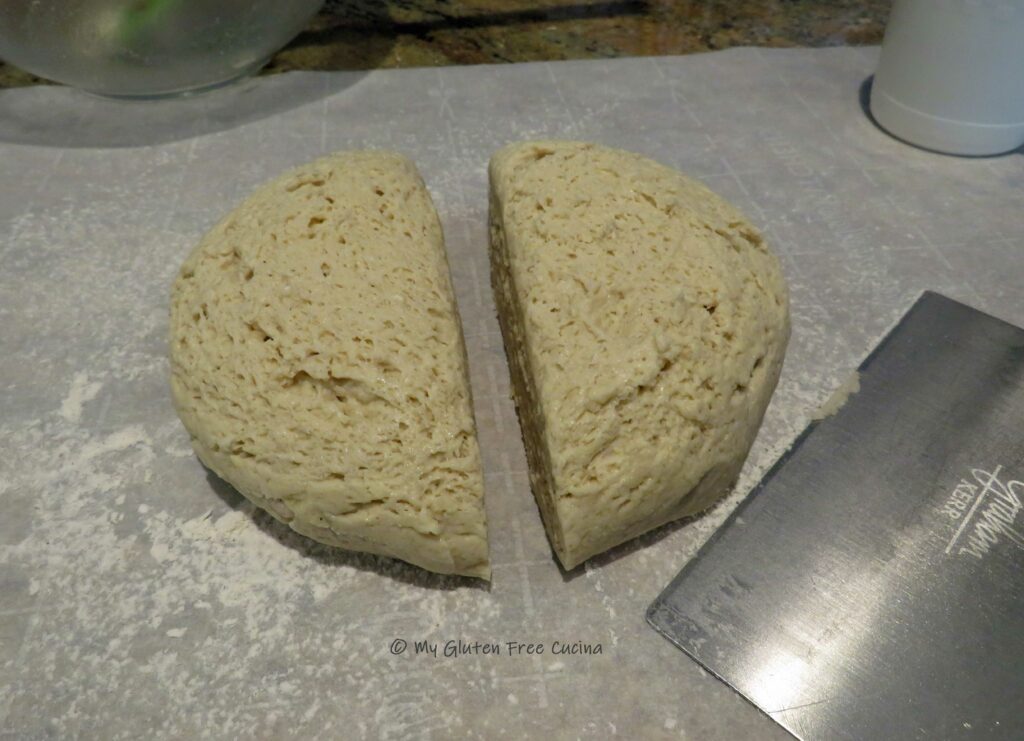
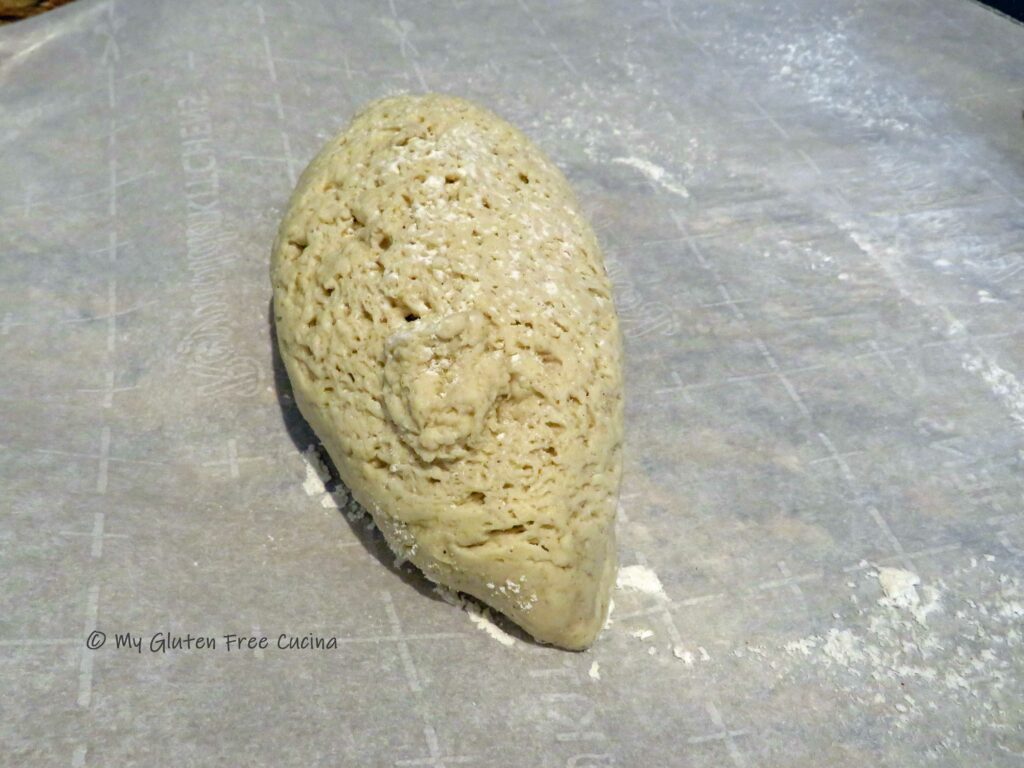
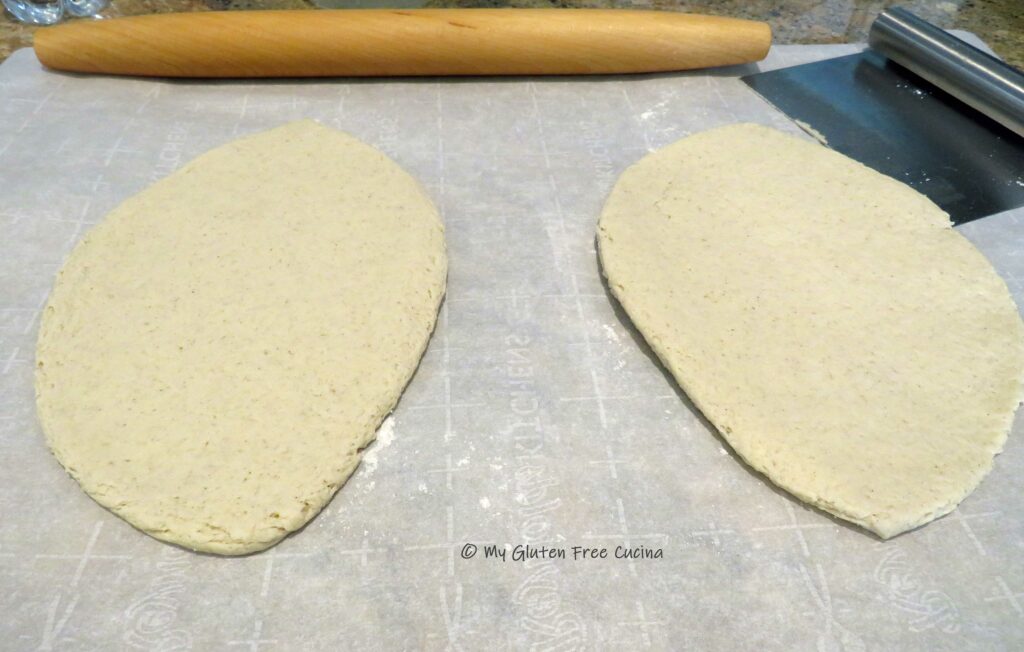
Use a bench knife to divide the dough in half.  Gently shape each half into an oval, try to maintain the shape of the pointed ends.

Next, gently roll each section into an oblong shape, about 3/4″ thick.

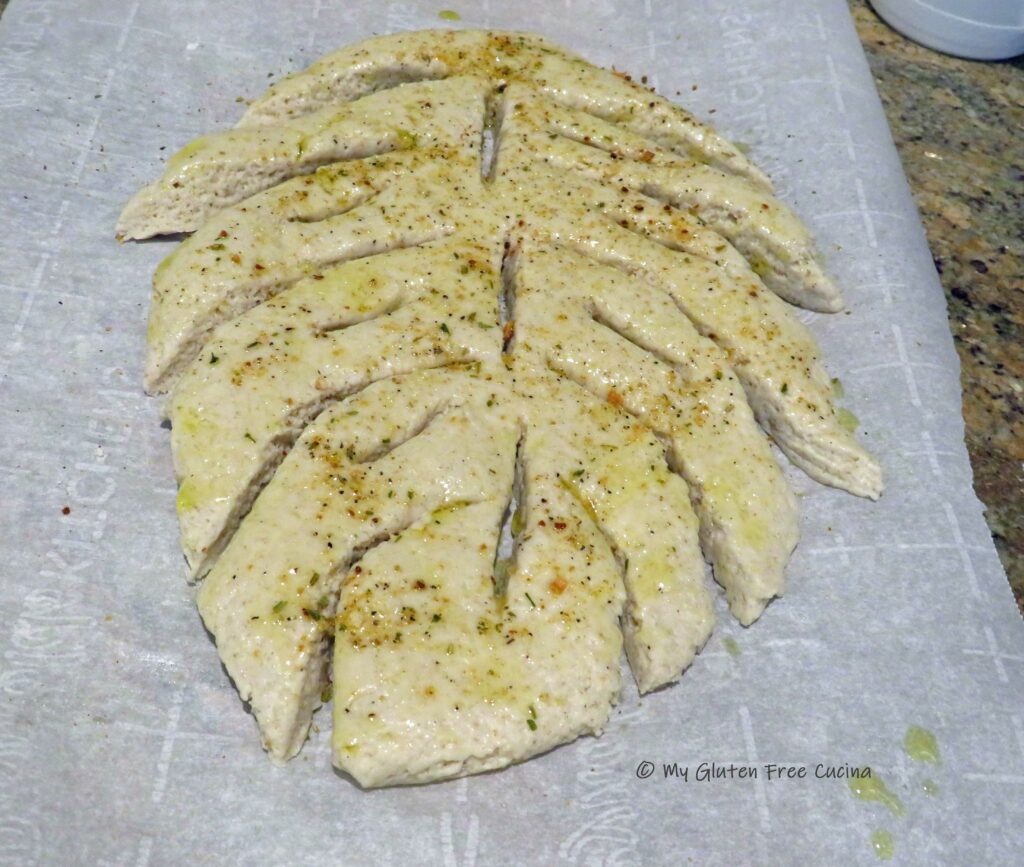
To score, make curved slits along each side, and several interior slits.  After practicing this a few times, I found that my bench knife was the best tool for scoring.  As I made each cut, I used the edge of the bench knife to spread the dough apart, so it doesn’t seal back up.

Brush the shaped dough with olive oil and sprinkle with seasoning and coarse sea salt.  Herbes De Provence would be most traditional, but you can use any seasoning you prefer.  I used a Tuscan blend.

Let the dough rest for 20-30 minutes while you preheat the oven to 450º.  If you have a pizza stone, place it in the oven (if you do not have a pizza stone use a light-colored sheet pan).

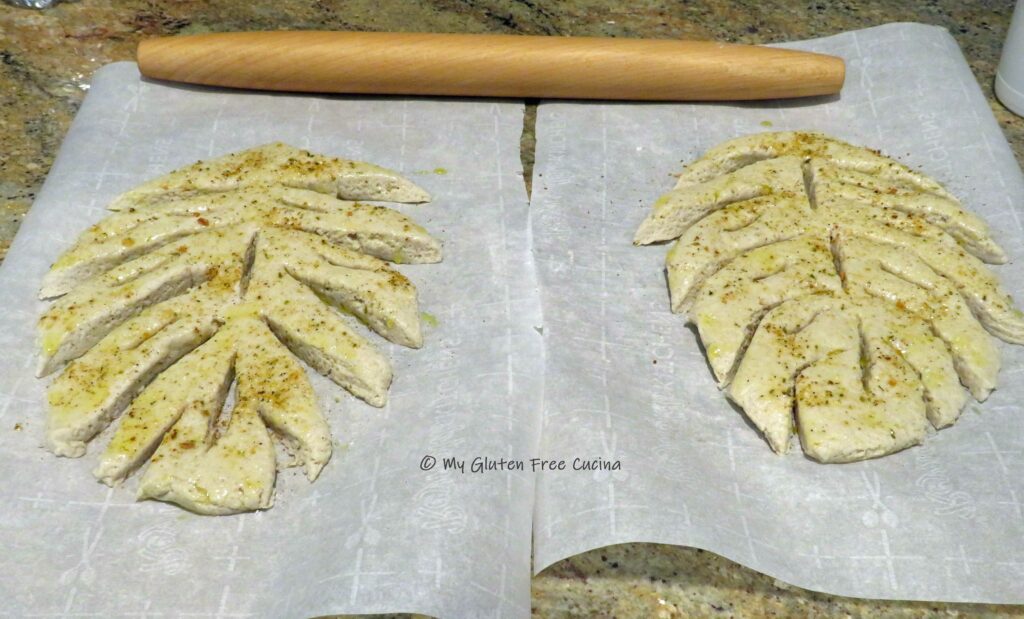
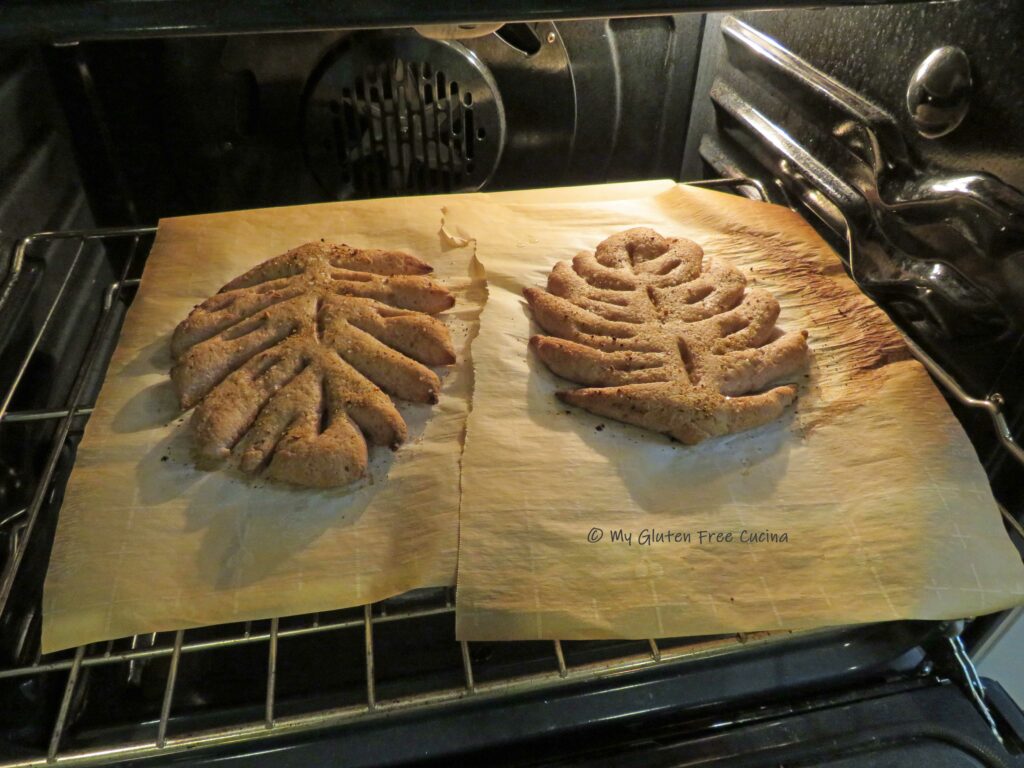
Cut the parchment down the middle so each section is on a separate sheet.  I used a pizza peel to transfer the shaped bread with parchment to my pizza stone.  Bake for 20 minutes, watching that the edges don’t burn.

Wow!  Too pretty to eat?  Not a chance, this bread is going to disappear!

Fougasse is best eaten right away.  The combination crunchy crust and chewy crumb is amazing.  Tear it apart with your hands and serve as is or with olive oil for dipping.   Leftovers can be stored at room temperature for one day, then refrigerate or freeze.  To reheat, use a toaster or air fryer.  You can microwave it but be sure to cover or wrap in a napkin, microwaving will soften the texture in the crust.

Notes ♪♫ How robust is your sourdough starter?  My starter, Sophie is about 6 months old at this writing and will need about 12 hours to be fully active.  For this recipe, I took her out of the fridge for a feeding early in the morning and placed her in my proofing box for most of the day.  Your starter may need more time to fully activate, so it is important to plan ahead when you want to bake.  Read more about Sophie the Sourdough in this post.

Print This Post Print This Post