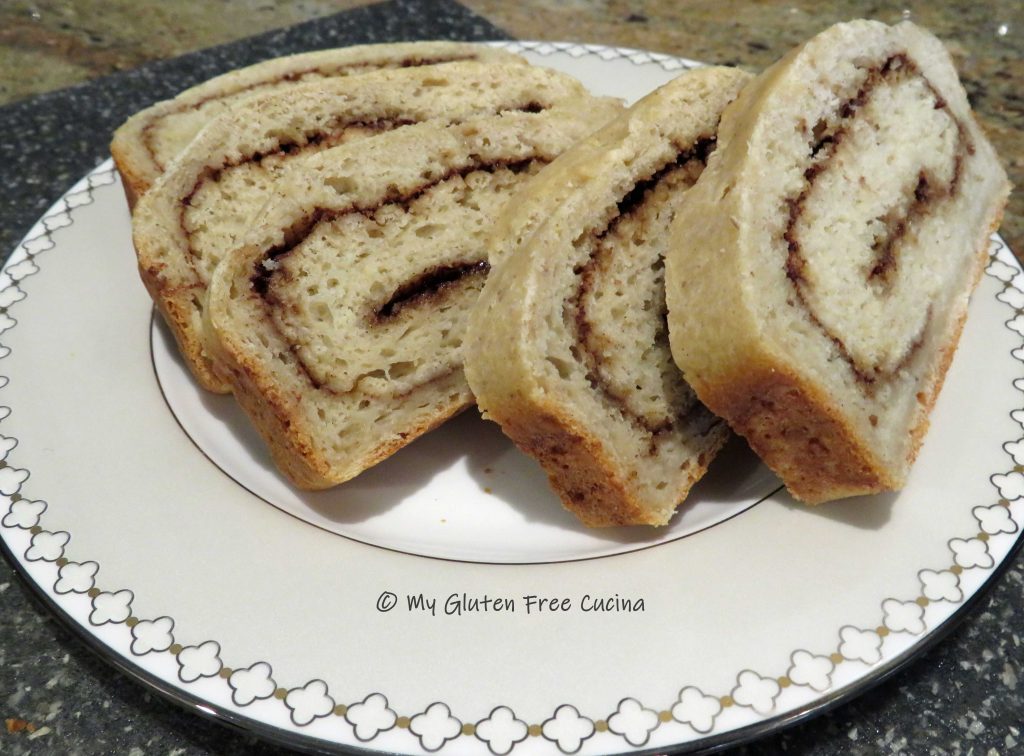
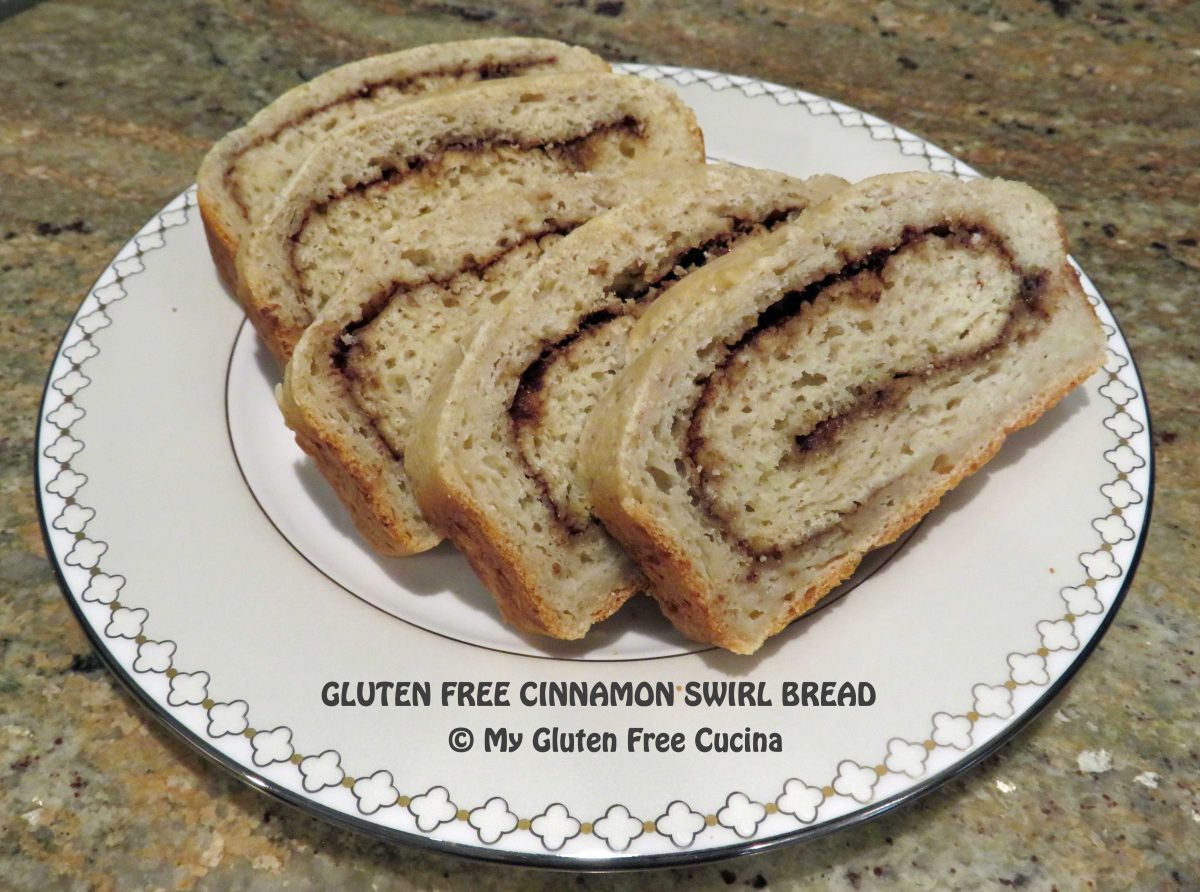
Gluten Free Cinnamon Swirl Bread

Today I made a gluten free version of another old favorite.  This yeasted sweet bread with swirls of brown sugar and cinnamon was adapted from a recipe originally appearing in Better Homes and Gardens.  Before my Celiac diagnosis I used to make it all the time.
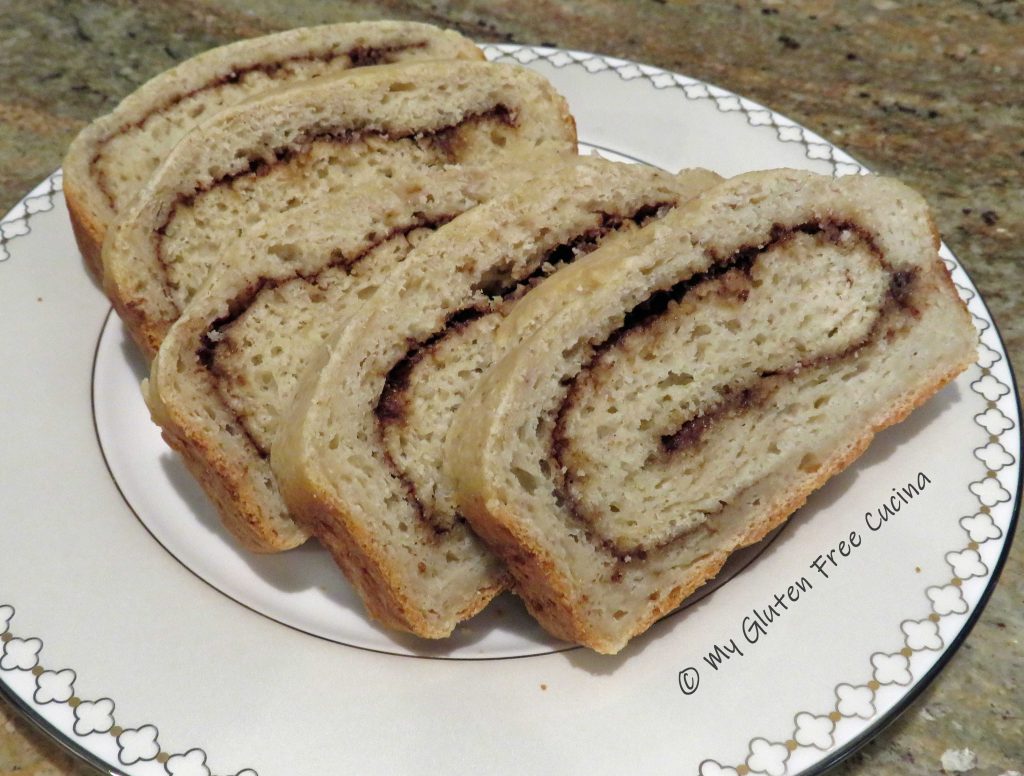
Both adults and kids loved it, even the picky eaters!  I can’t tell you how pleased I was to be making this bread again, it turned out great!

This post contains affiliate links.

When you work with the right gluten free flour, this Cinnamon Swirl Bread is so easy to make!  If you are a fan of Better Batter like me, you probably have all of the ingredients in your pantry!
If you haven’t tried Better Batter yet, I cannot recommend their flour blends enough.  Use my Promo Code MGFC30 for 30% off!  You will not be disappointed!

(When you shop Better Batter, be sure to use my code MGFC30 at checkout for 30% off your non-sale purchase)

Ingredients:

  • Dough:
  • 405g. Better Batter Artisan Blend flour *see notes
  • 1-1/4 tsp. instant yeast
  • 3/4 tsp. salt
  • 3 tbsp. unsalted butter, softened
  • 1-1/2 cups warm milk (I used 2%)
  • 1 egg room temperature
  • 3 tbsp. granulated sugar
  • Filling:
  • 1/3 cup packed brown sugar
  • 1-1/2 tsp. cinnamon
  • 1 tbsp. melted butter
  • Egg Wash:
  • 2 tbsp. egg whites
  • 1 tbsp. water
  • Finishing:
  • 1 tbsp. melted butter, for brushing

Preparation:

I used a 13 x 4″ pullman loaf pan for a long skinny loaf with smaller, diet friendly slices.  You can get the pan here.

Whisk together the flour and salt.  Combine the warmed milk, sugar and yeast in a separate bowl or measuring cup and let it stand 15 minutes.

Add the egg and softened butter to the bowl of a stand mixer and whisk to combine.  Add the milk mixture and whisk until well blended.
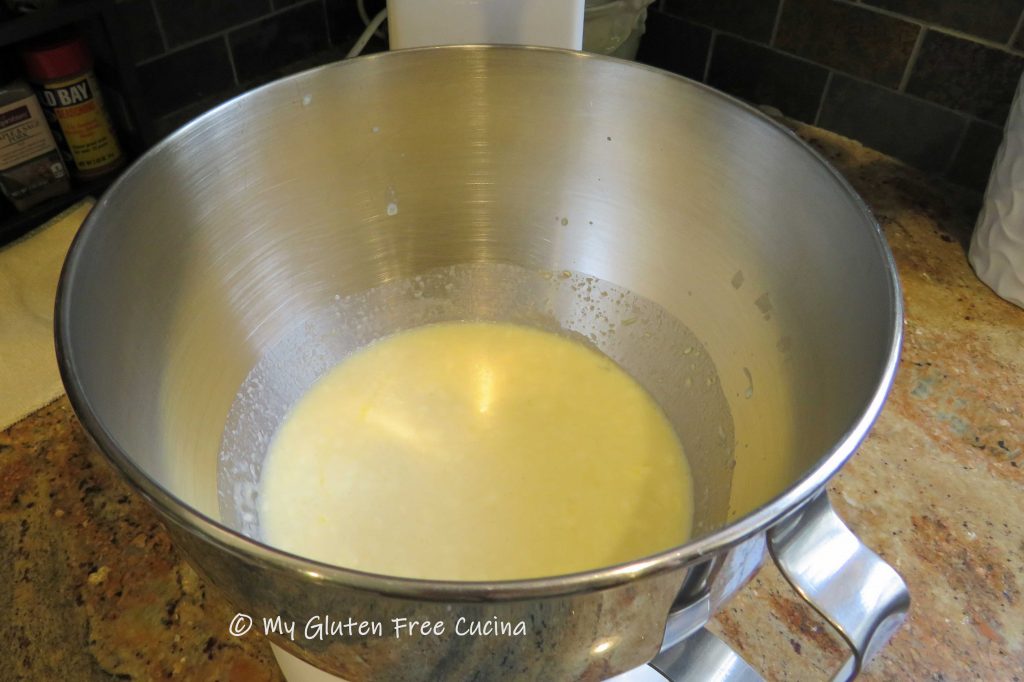
Switch to the paddle attachment and add the flour and salt to the bowl, mixing on low to combine.  Increase speed and beat for 5 minutes to form a dough, occasionally scraping down the sides with a spatula.  Dough will be sticky at this point.
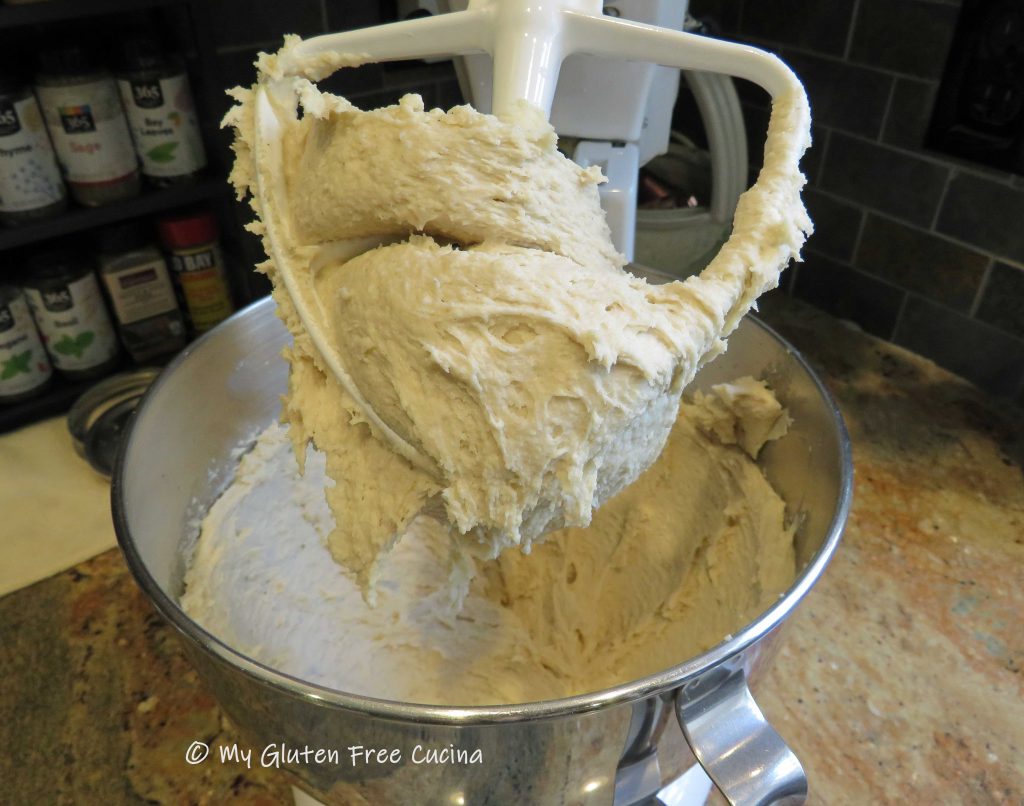
Bring the dough together, cover with plastic wrap and let it rest for 20 minutes.

Cut a sheet of parchment to fit the length of the loaf pan (this will help with rolling and transferring the dough).  Mist the parchment lightly with cooking spray and transfer the dough.  Roll and pat the dough into a rectangle, about 14 x 10” and 1/2″ thick.  (Note- after a 20-minute rest, this dough rolls like a dream, but if you have any sticking just mist your rolling pin with cooking spray.)

Brush the dough with 1 tbsp. melted butter.

Spread the brown sugar and cinnamon mixture evenly over the dough, leaving a 1″ border all around.
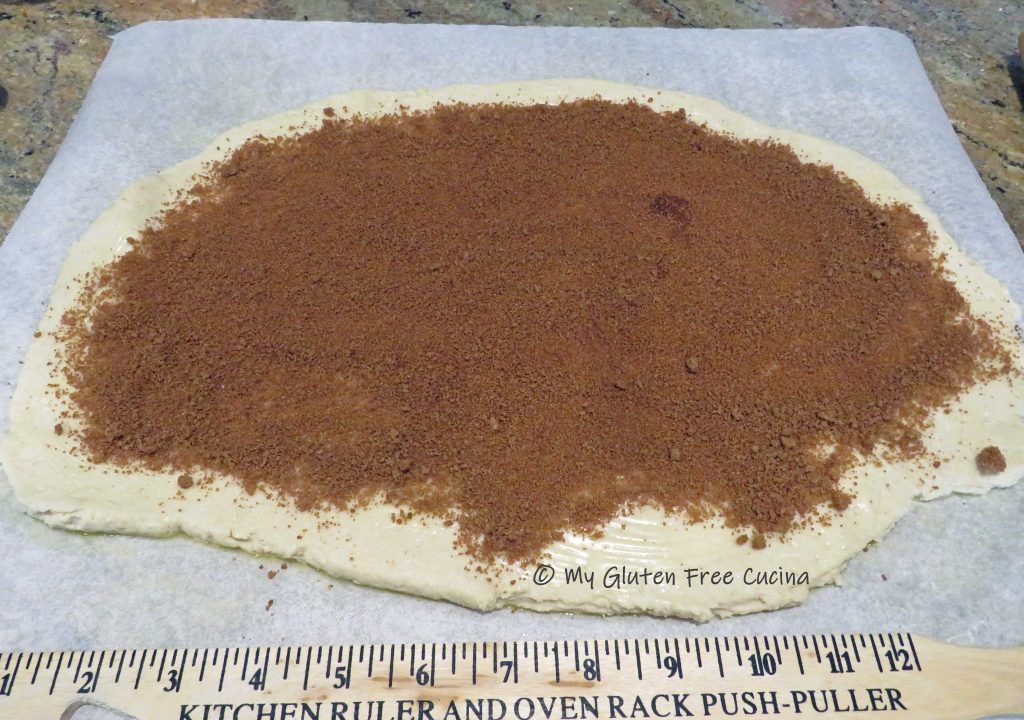
Starting with the long side, use the parchment to lift the dough and begin rolling it up.
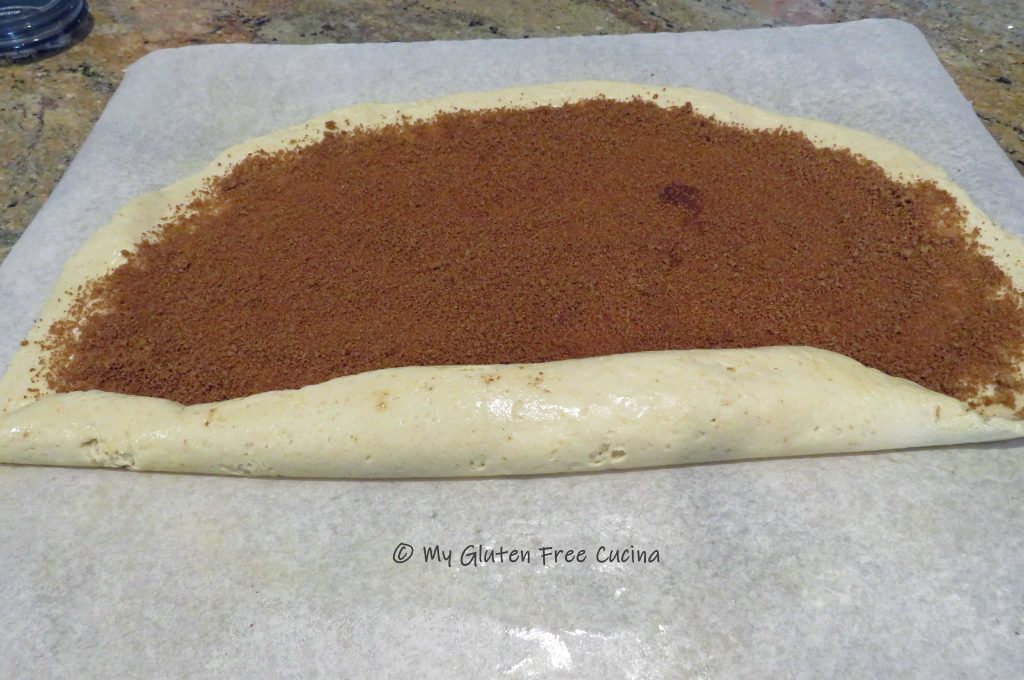
Continue rolling and pinch the seam to seal.
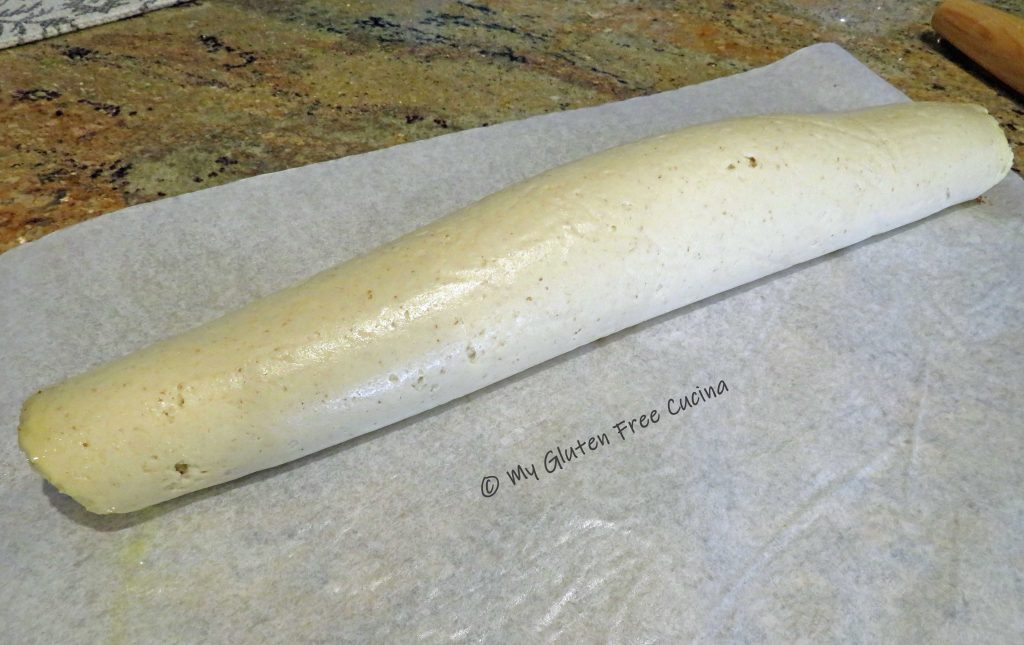
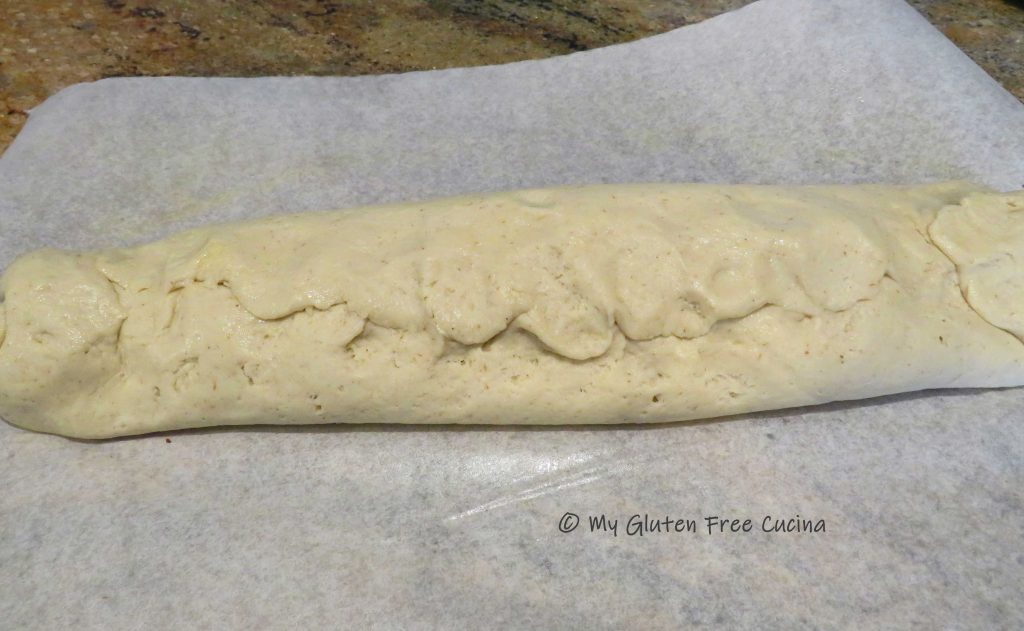
Tuck in the ends like this and turn the dough seam side down.
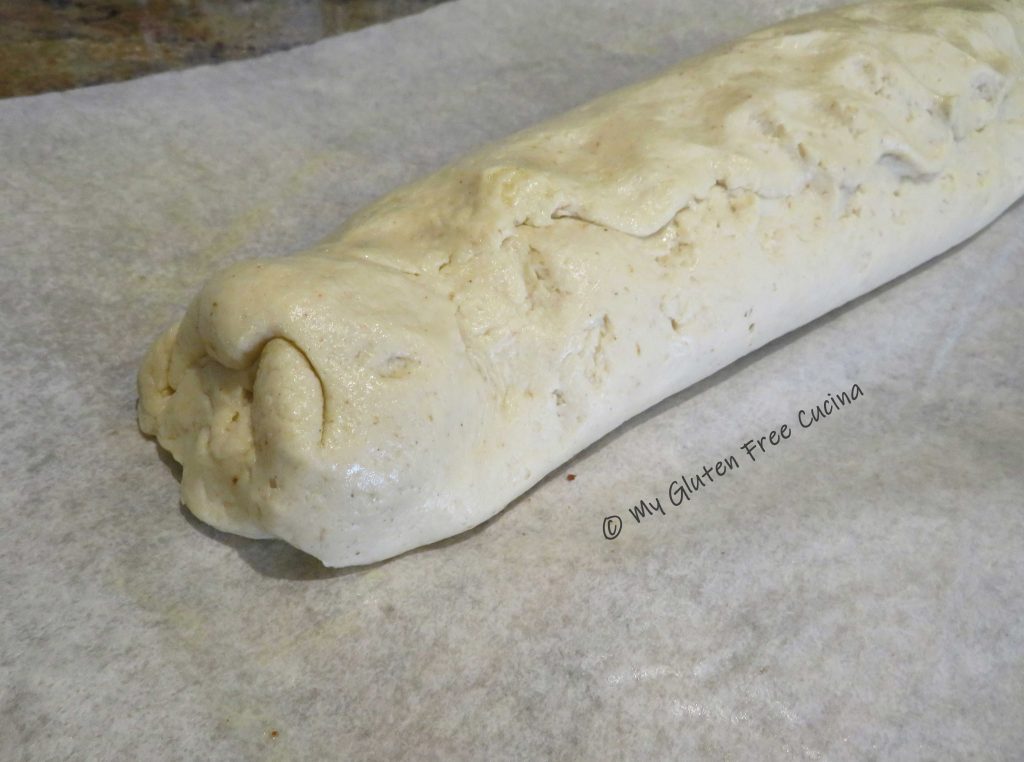
Lift the dough (with parchment) into the pan, cover with plastic wrap and let it rise in a warm place for 30 minutes.  Dough will be puffy but not doubled in size.

Preheat the oven to 350º and whisk together the egg whites and water.  Brush the loaf well with the egg wash.  Pierce the top of the loaf with a fork or docking tool to allow steam to escape.

Bake for 40 minutes or until the internal temperature reaches 200º.  Remove from the oven and brush the top with 1 tbsp. melted butter.
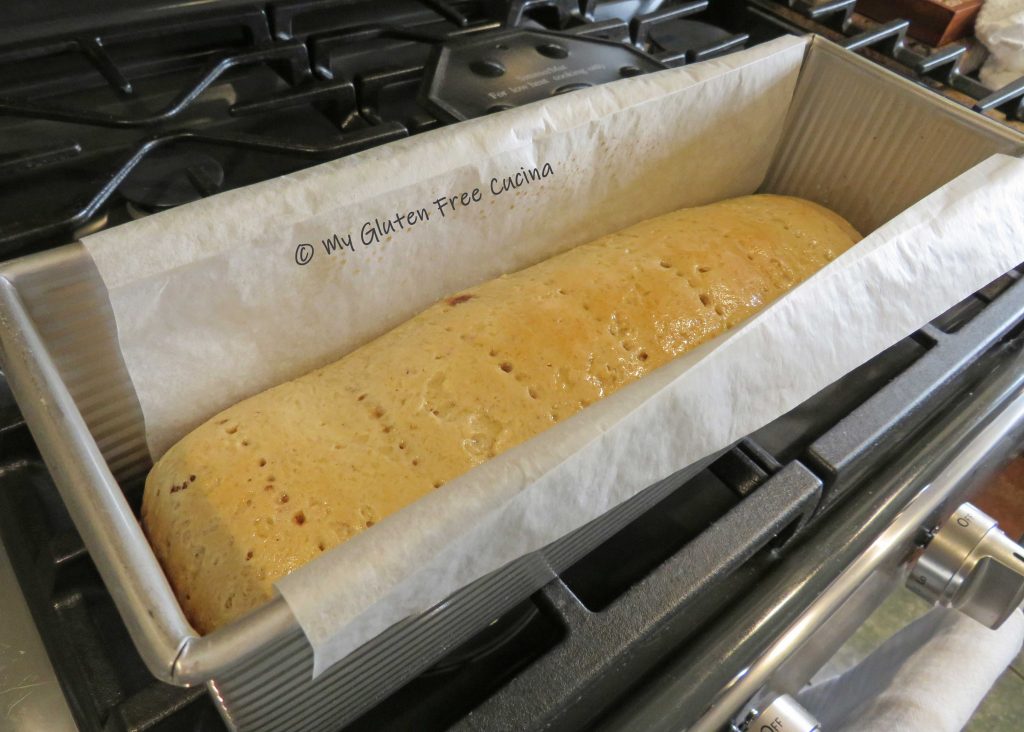
Grasp both sides of the parchment to lift the loaf out of the pan to a cooling rack.
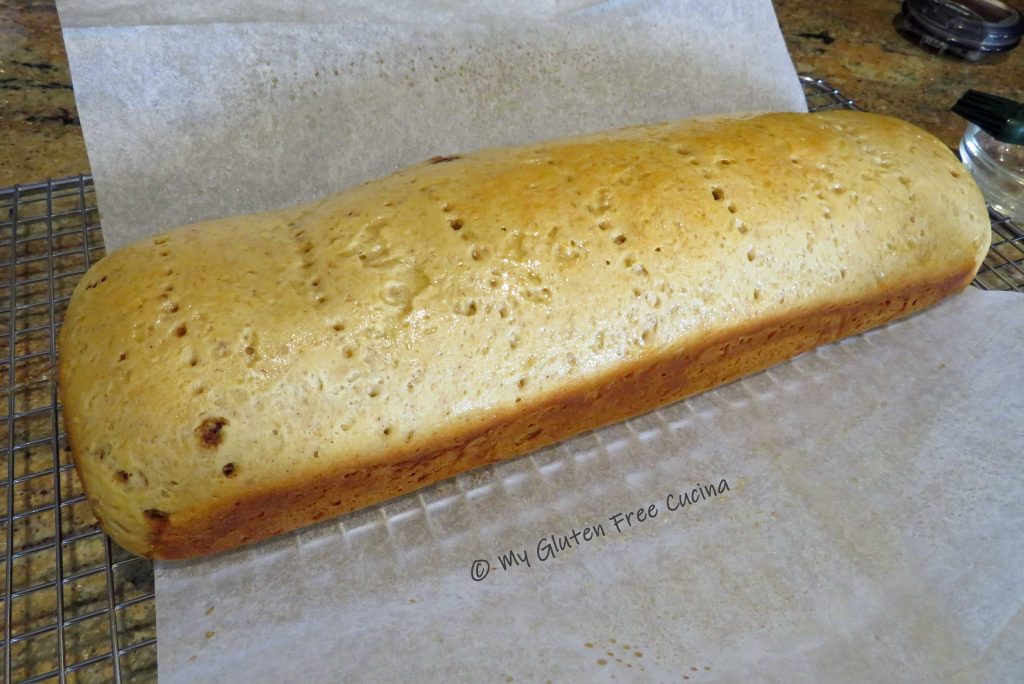
Slide the parchment out and let the loaf cool completely before slicing.
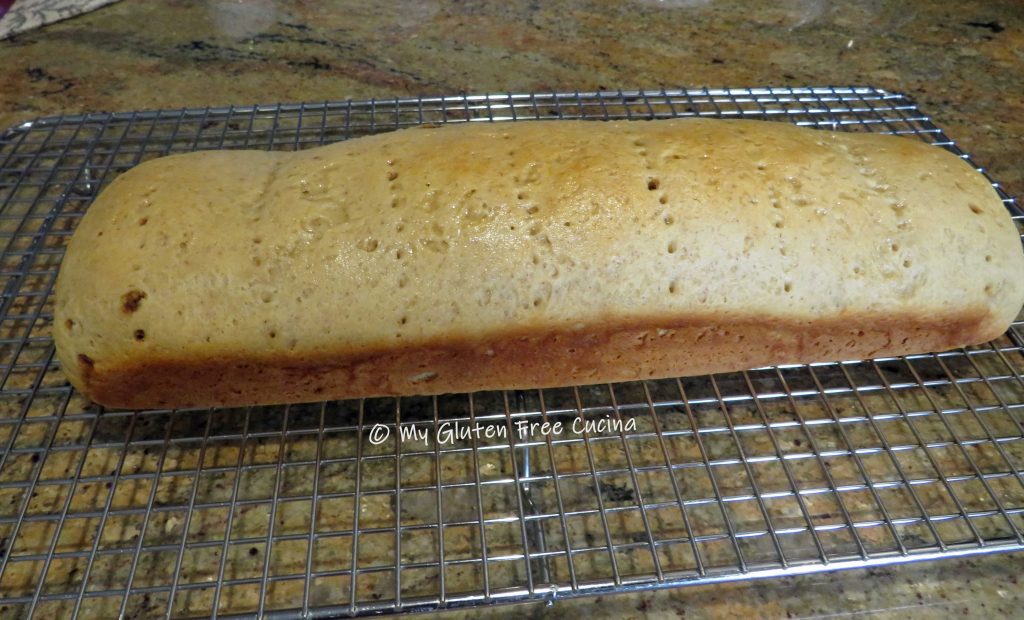
If you like, you can drizzle the top with icing made of 3 tbsp. powdered sugar and 1 tbsp. milk.  I made this loaf for company, and we served it with coffee, just like this.  It was a hit!

Slice and toast, or just add to your breadbasket!  It freezes beautifully, so you can wrap up the extra slices in plastic wrap, store in a freezer safe bag and it will be good for several months.

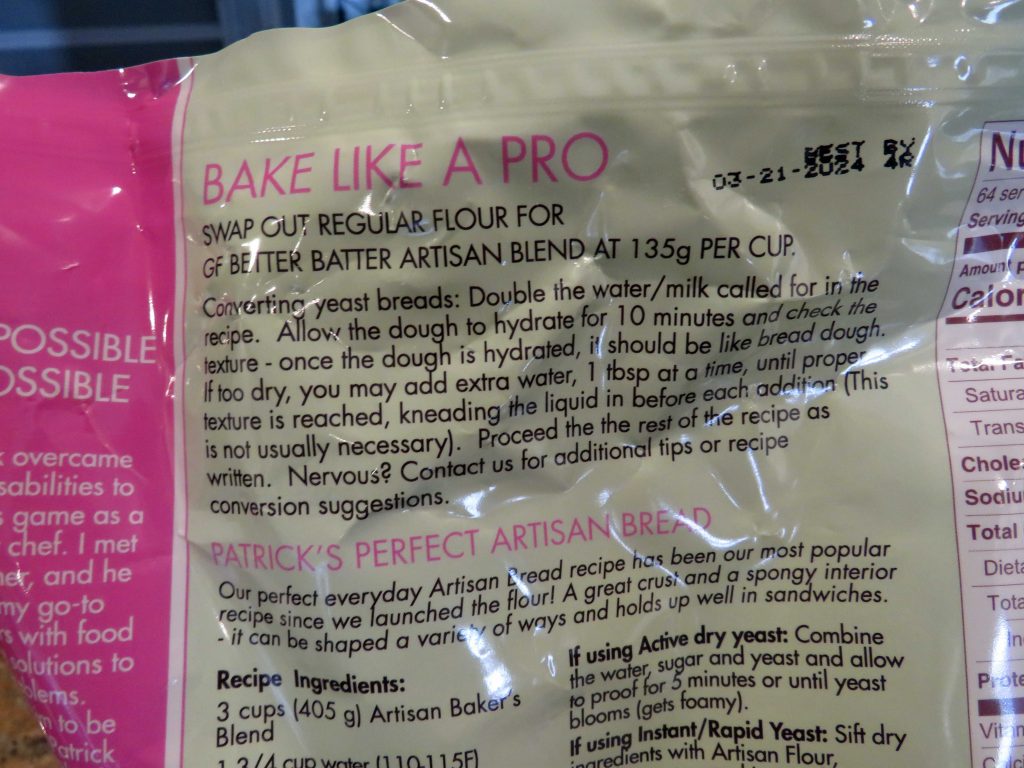
Notes ♪♫ I used and recommend Better Batter Artisan Flour Blend for this recipe.  This flour requires twice the liquid of typical recipes, so if you use another flour, you will need to adjust the liquid to flour ratio.  Start with half the milk (3/4 cup) and only add more if needed, 1 tbsp. at a time.
Print This Post Print This Post


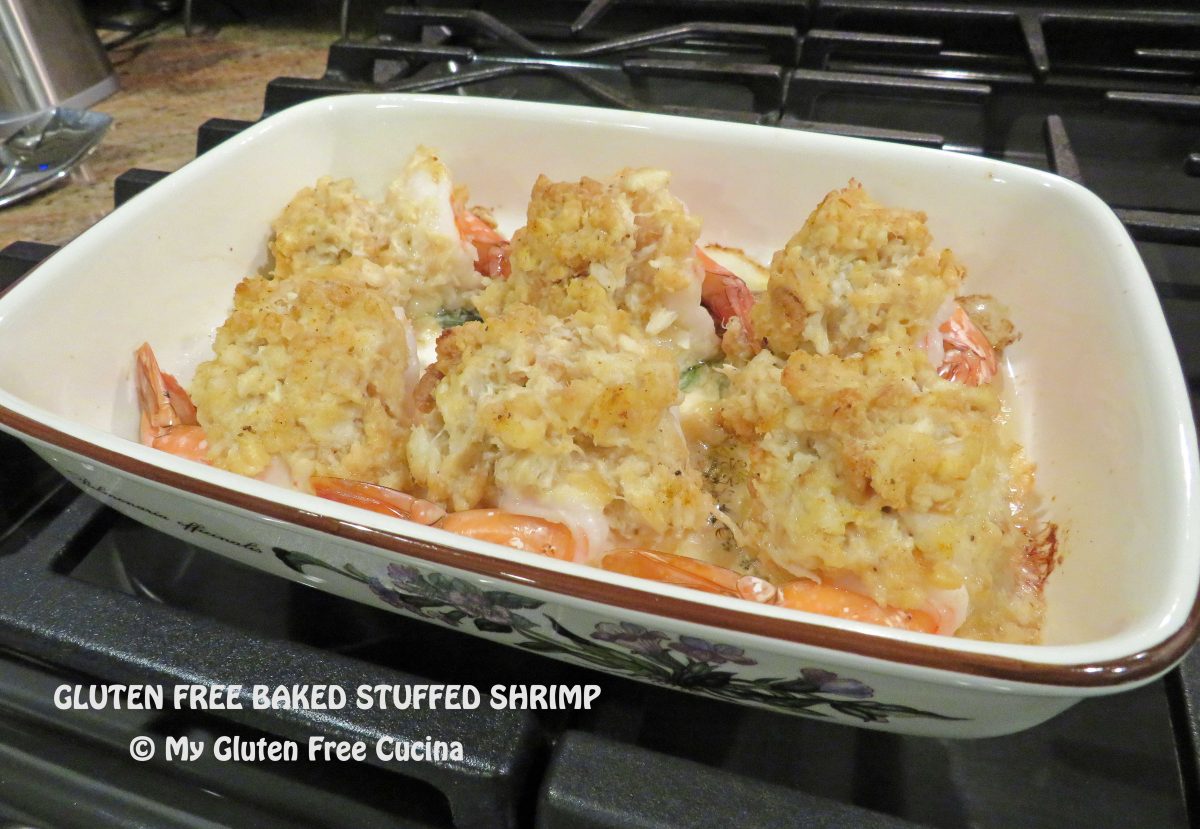
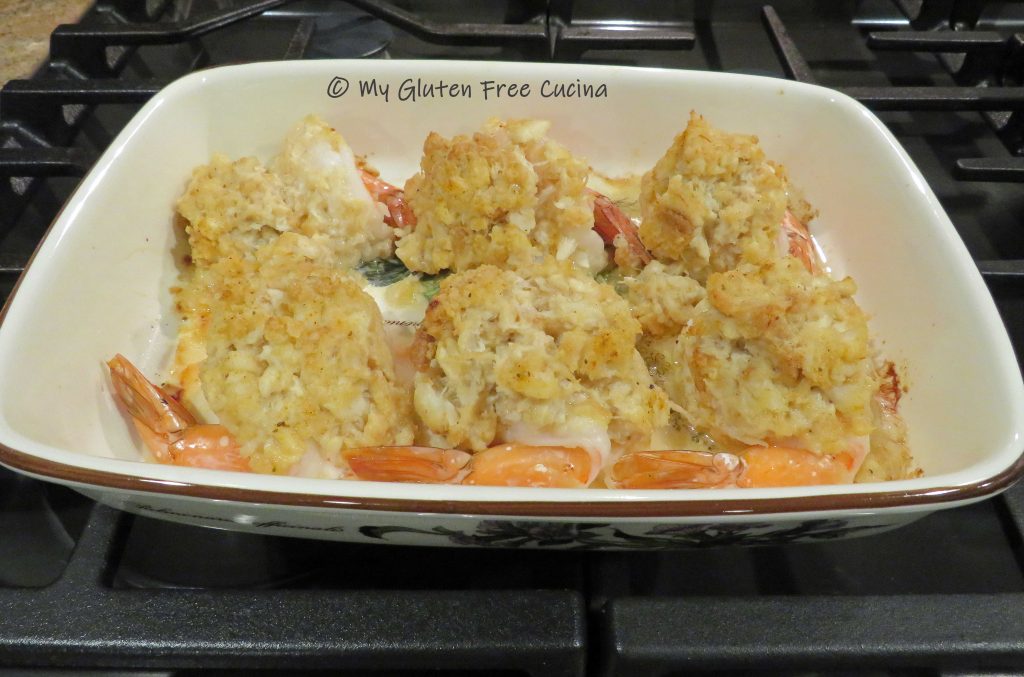
Gluten Free Baked Stuffed Shrimp

This 5-star entrée has all the makings of a romantic dinner for two.  Dine like a king and queen with this old restaurant favorite made right in your own kitchen, minus the gluten!  The addition of crab meat to the butter and cracker crumb stuffing makes it really special!

This post contains affiliate links.

Dinner for two

Ingredients:

Preparation:

Preheat the oven to 400º.  Mist a baking dish with cooking spray.  Melt butter in a small saucepan and set aside.

Combine the crab meat, garlic powder, Old Bay, and cracker crumbs with 2 tbsp. of butter in a small bowl.

Rinse the shrimp under cold water and remove the shells.  Drain and pat dry.

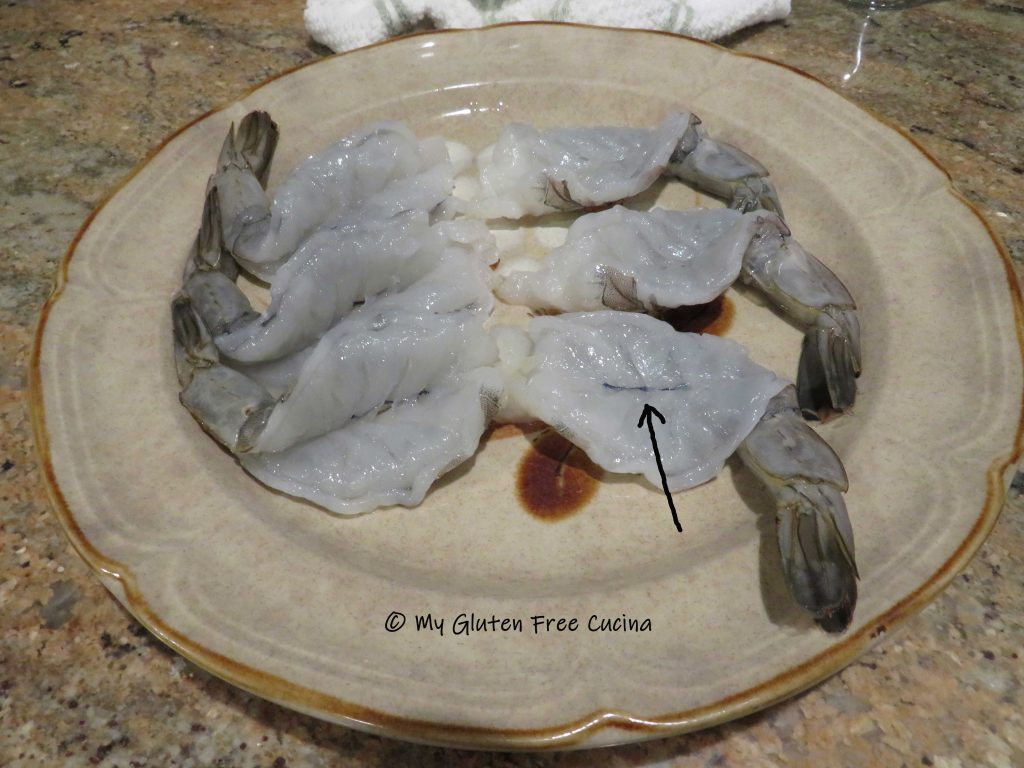
Lay each shrimp on its side, and run a paring knife along the backside, be careful not to cut all the way through.  Open the shrimp and lay on a clean plate or cutting board.

Remove the dark vein running down the center of the shrimp.

Mound the crab stuffing onto each shrimp.

Arrange the shrimp in the baking dish and drizzle the remaining 2 tbsp. butter over the top.  Sprinkle with more Old Bay seasoning, bake for 15 minutes and serve.

This is a filling entrée!  Three shrimp each with a side salad and rice would make a wonderful meal.  Make it tonight for your special someone!

Notes ♪♫ For a hearty dinner size portion, choose colossal shrimp (8-12 count).  I always look for sales in the frozen section and stock up when I can.  Thaw in the refrigerator and rinse under cold water to remove the shells.

Print This Post Print This Post

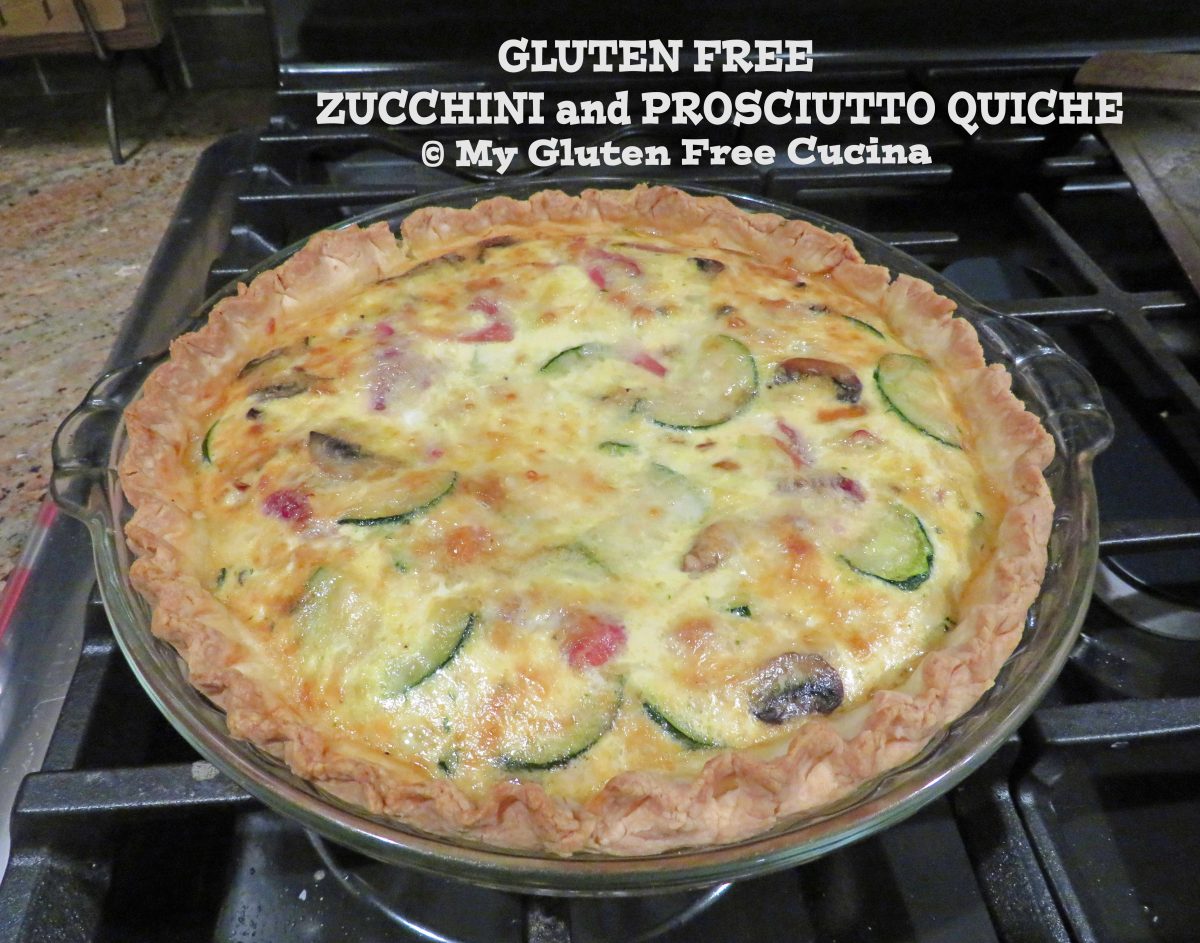
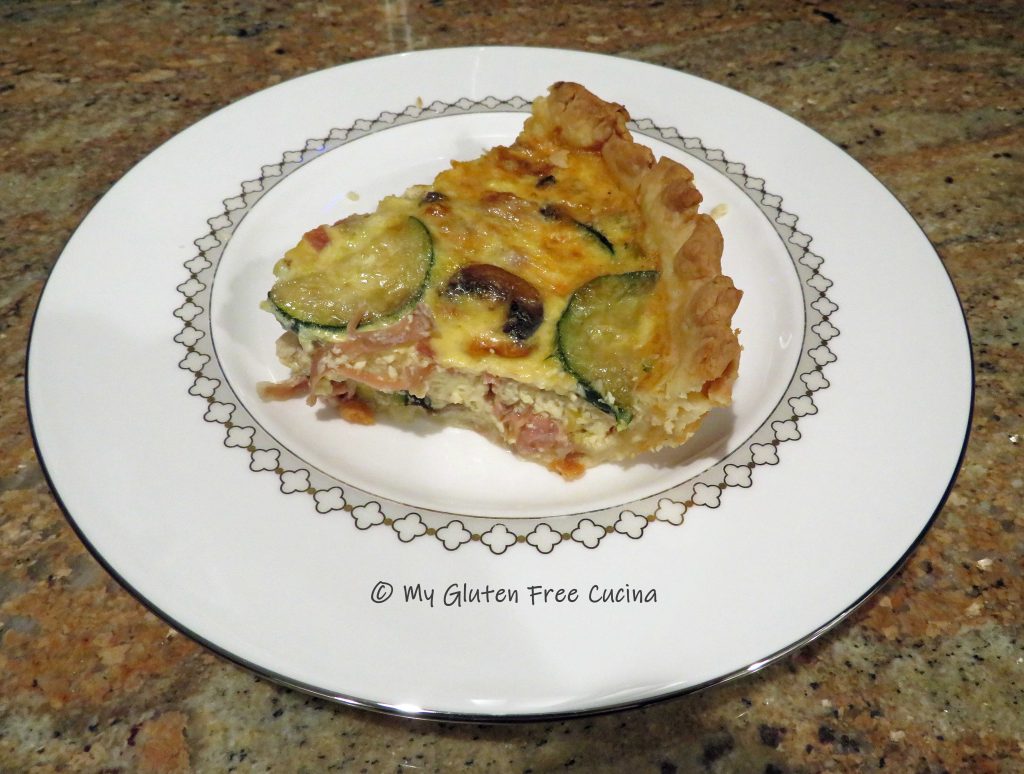
Gluten Free Zucchini and Prosciutto Quiche

Making a gluten free quiche has been on my recipe bucket list for a long time.  This week I finally did it!  The filling is a savory blend of zucchini, prosciutto, mushrooms and Gruyere cheese.  I still can’t believe how tasty it was.

Of course, the foundation of a good quiche is the pie crust.  If you missed my earlier post on how to make an easy, gluten free pie crust you can check it out here.

This post contains affiliate links.

Ingredients:

Preparation:

Preheat the oven to 350º.

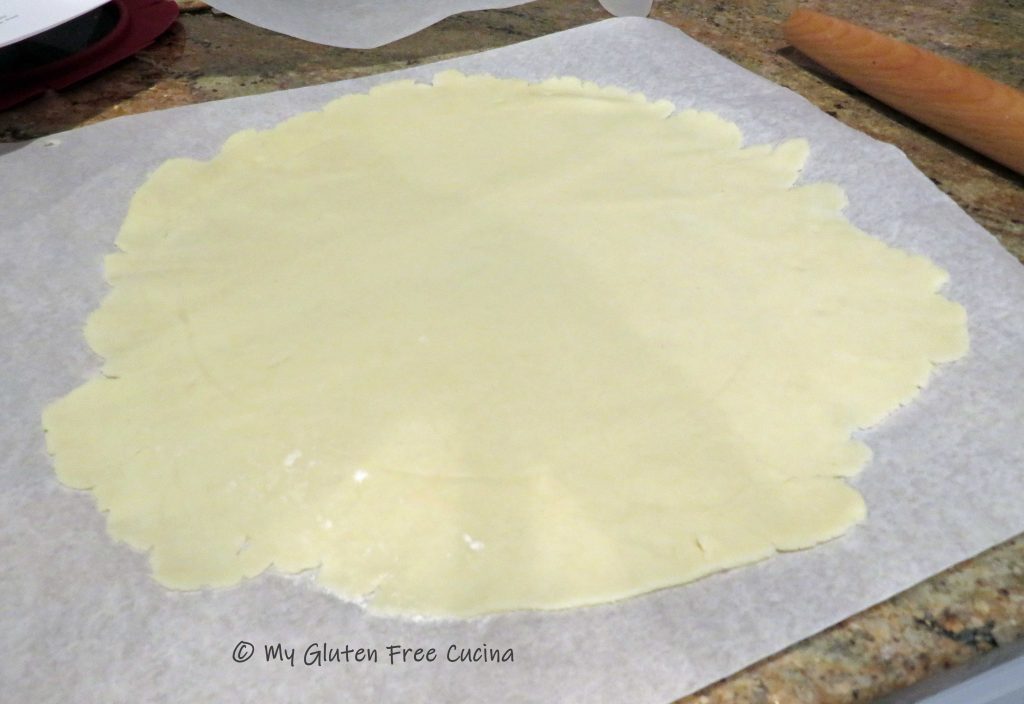
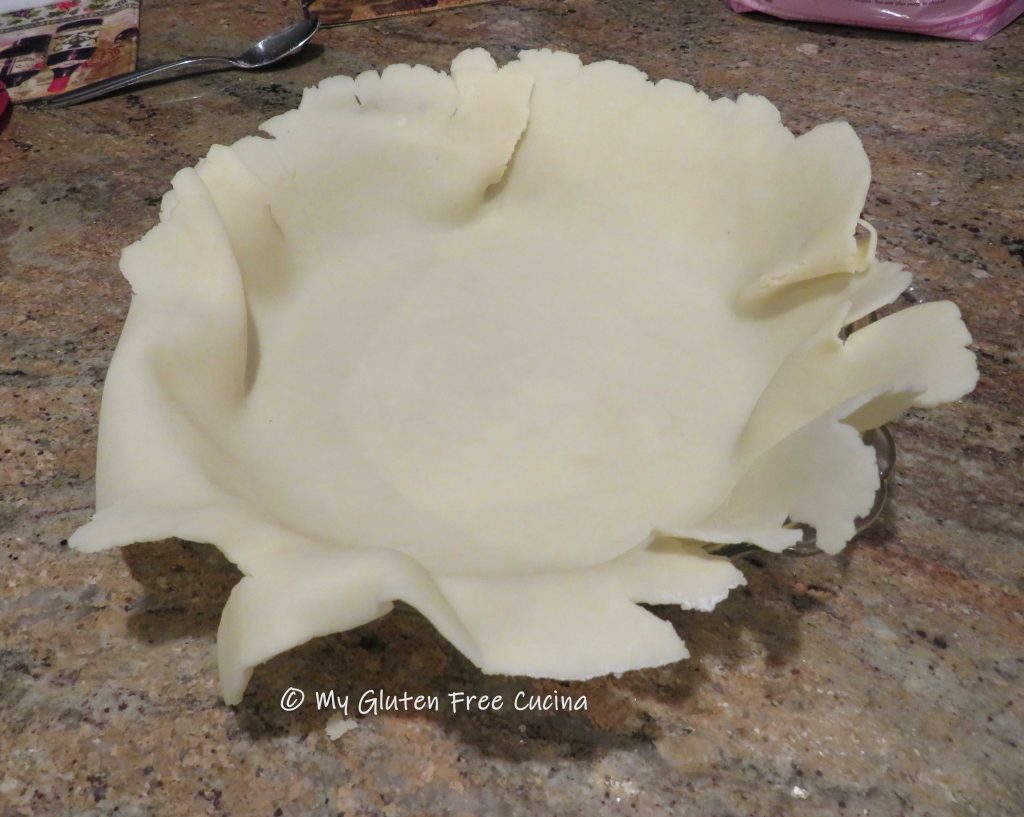
Roll your pie dough into a circle, using your pie dish as a guide.  You want the dough to fit into the pie dish with a little extra to fold under and crimp.

Carefully lift the dough and place in your pie dish.

Trim the excess (can be used to patch any cracks or holes), fold the edges under and crimp.

Because the filling is made with heavy, wet ingredients, you will need to blind bake (pre-bake) the crust for 10 minutes to keep it from getting soggy.  Be sure to weigh down the crust down to keep the bottom from puffing up.  You can cover the crust with parchment and use beans or pie weights.  Or you can try this gadget, it works like a charm and it’s so easy to remove and clean!

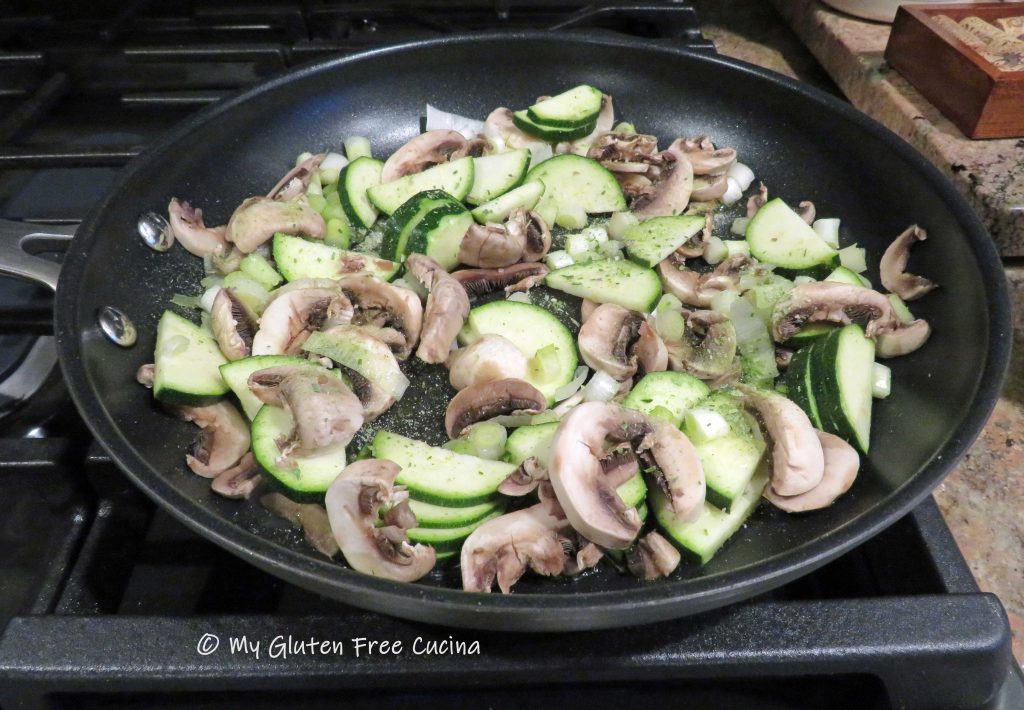
While the crust is baking prepare the filling.  Cut the zucchini and mushrooms into thin slices and chop the whites of the scallions into 1/4″ pieces.  Grate the cheese and tear the prosciutto into small pieces.

Heat 1 tbsp. olive oil in a nonstick skillet, add all of the veggies and sprinkle with seasoning.

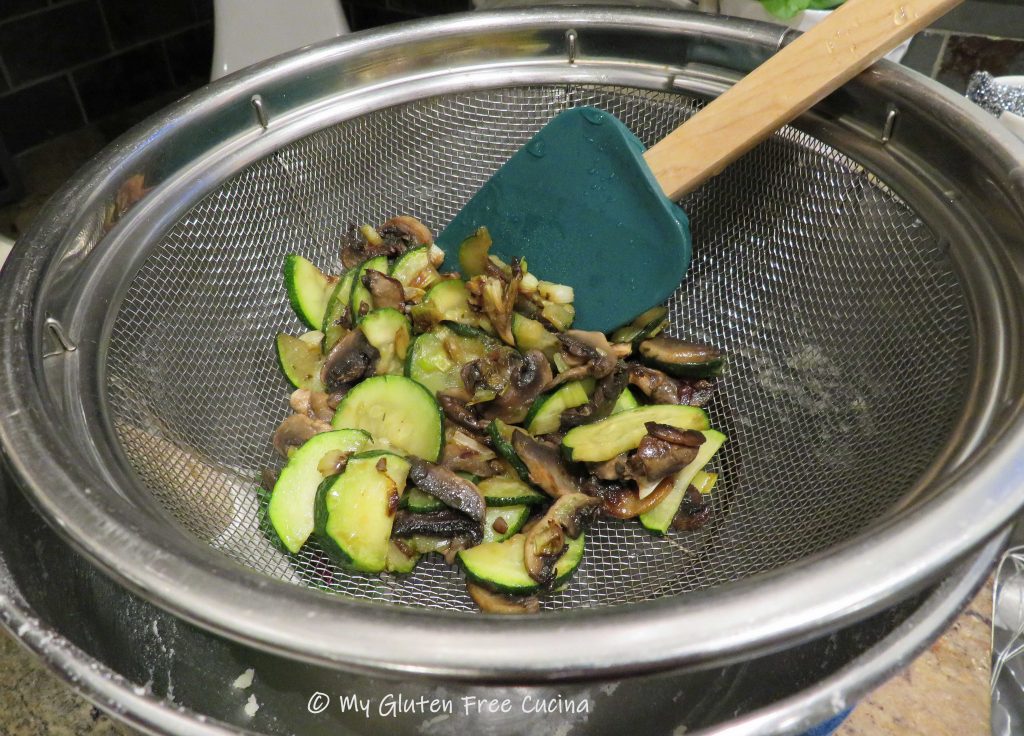
Cook the veggies until they have released their liquid and reduced to about 1 cup.  Transfer to a colander to cool and drain.

Take the partially cooked pie crust out of the oven after 10 minutes and remove the pie weight.

To finish the filling, beat the eggs and milk.  Stir in the drained veggies, 3/4 cup of cheese and the prosciutto.  Add about 8 grinds of fresh ground pepper.

Pour the filling into the prepared crust and top with the remaining 1/4 cup of cheese.

Place the quiche on the center rack of your oven.  I put a cookie sheet underneath, to keep the bottom from getting over cooked.  Bake for 45-50 minutes, until the top is set, and edges of the crust are well browned.

Let it rest for 15 minutes before slicing.

Notes ♪♫ We had this quiche for dinner, and reheated leftovers for lunch the next day.  Like any pie, the number of servings will depend on your appetite, somewhere between 4-8 wedges.  It was delicious and would be an amazing addition to your brunch menu!

Print This Post Print This Post 


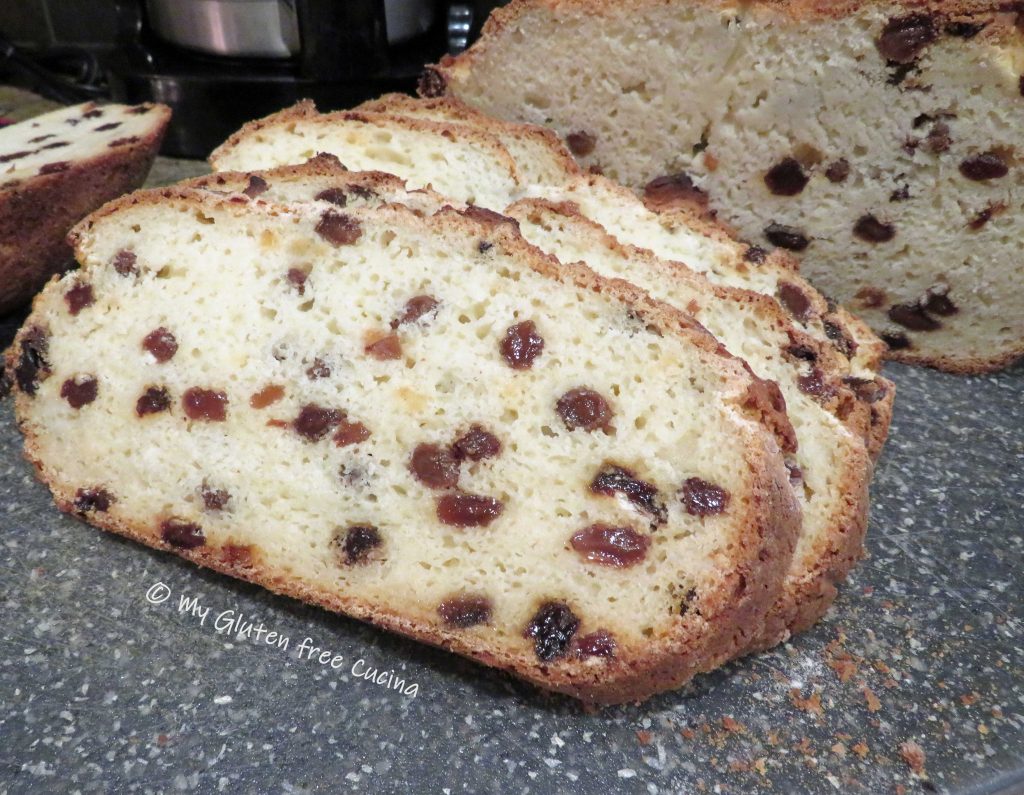
Megan’s Gluten Free Irish Soda Bread

St. Patrick’s Day is right around the corner, and I can’t wait to make this delicious Gluten Free Irish Soda Bread.  The recipe comes to us courtesy of Megan at “Megan P Gluten Free”, who shared the recipe with me a few years ago.  One look at this bread and I knew that I had to make it, especially when I learned that she used my favorite flour, Better Batter!

Thank you, Megan, for the recipe!  You can follow Megan on Instagram, where she shares great content on how to travel, cook and eat gluten free!  Be sure to visit and tell her I sent you!

This post contains affiliate links.

Megan’s Lucky Gluten-Free Irish Soda Bread 

Ingredients:

Note:  When you shop Better Batter and use my code MGFC30 at checkout, you will receive 30% off any non-sale item! CLICK HERE

Preparation:

Preheat the oven to 375°F.  In a large mixing bowl, combine the sugar, flour, baking powder, baking soda, salt, raisins, and caraway (if using).  Stir until the mixture is thoroughly combined and the raisins are fully coated with the flour mixture.

In a separate bowl, mix together the yogurt, buttermilk, and eggs until combined.  Make a well in the middle of the dry mixture.  Pour the wet ingredients into the dry.  Mix the dry and wet ingredients together until well combined with a spatula – no mixer or beater required.

The batter will be slightly sticky.  Grease an 8” round pan (see notes***) and sprinkle with a very small amount of flour.  (I added a few strips of parchment for extra insurance.)  Spoon the batter into the pan.  Gently press the dough with your fingers, leaving the rough surface for an authentic look, but you can smooth it down if you prefer.  Sprinkle a very small amount of flour on top.  Take a paring knife and cut a cross on the top of the loaf.  Place into the hot oven on the middle rack and bake for 60 minutes.  Then cover loosely with aluminum foil if already golden brown and bake for another 20-25 minutes or until the outside is firm and crusty.

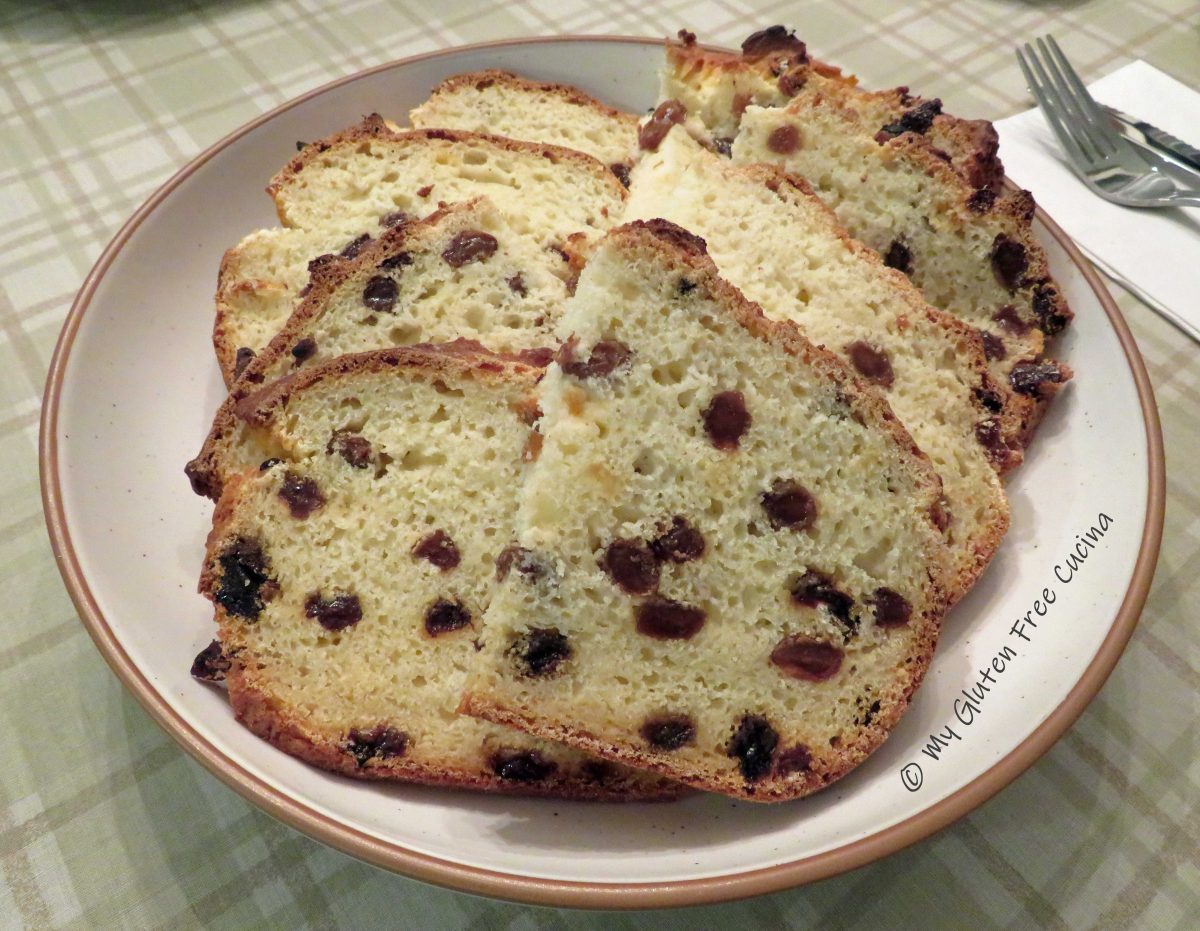
The loaf should sound hollow when tapped when it is cooked through.  Remove from the oven and let cool for 10 minutes before turning out onto a wire rack.  Allow the loaf to fully cool before slicing. Slather with good quality Irish butter and enjoy!

Notes ♪♫

**Megan’s recipe called for 4 cups of flour, which she measured by spoon and level method.  I always bake by weight and used 600g. of Better Batter Original Blend (converted at 150g. per cup).

***Megan used an 8″ cake pan.  I used my 8” KAF bread baking bowl and it was just perfect to create a nice round loaf.  You can find the bowl here on the King Arthur website.

Print This Post Print This Post