Lamb Chops

Isn’t it funny how food can bring back a memory?  I hadn’t had lamb chops since I was a little girl, 60+ years ago!  At a very young age though, I remember my grandmother would often make me a single lamb chop for lunch.  It was the perfect size for a picky kid’s appetite!

Today, lamb can be a bit of a splurge, but I will usually buy it when there’s a sale.

When my herb garden is in season, I use just a bit of fresh herbs and seasonings to bring out the natural flavor of these lamb chops.  You can use dried herbs during the winter months.

This post contains affiliate links.

Ingredients:

  • 6 Lamb Chops
  • 2 tbsp. olive oil
  • 1 garlic clove, crushed
  • fresh rosemary
  • fresh thyme
  • salt and pepper
  • 1/4 cup white wine
  • 1 tbsp. butter
  • fresh parsley, for garnish

Preparation:

Pat the pork chops dry and season with salt and pepper.

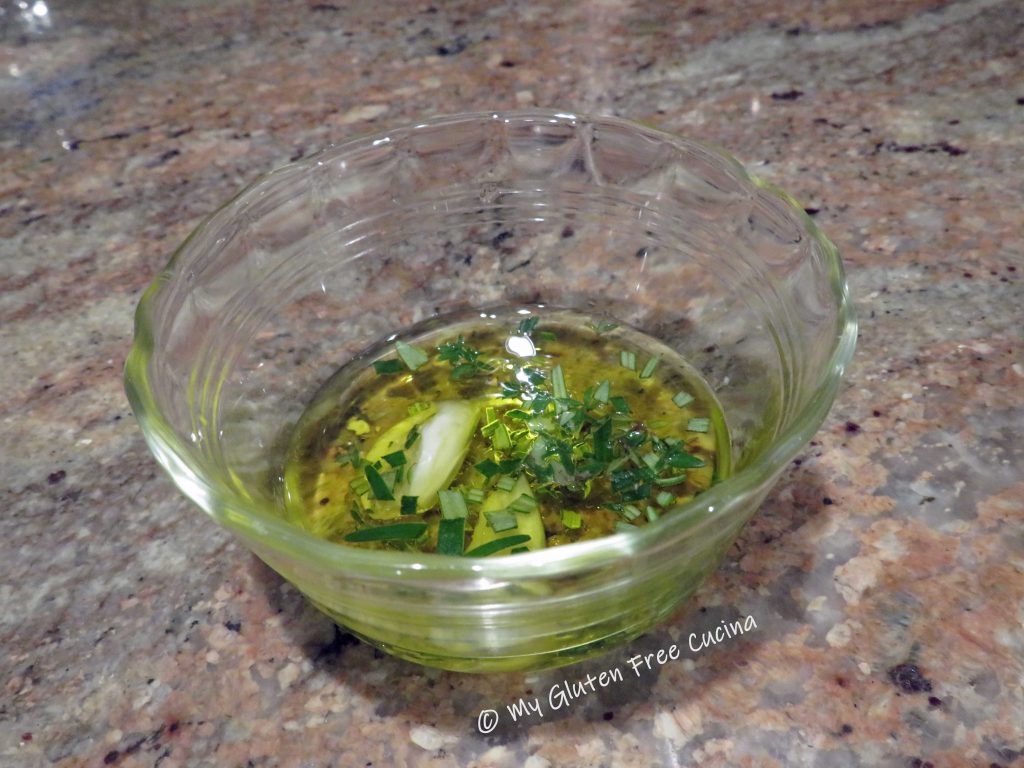
Heat olive oil in a large nonstick skillet with the fresh thyme and rosemary.

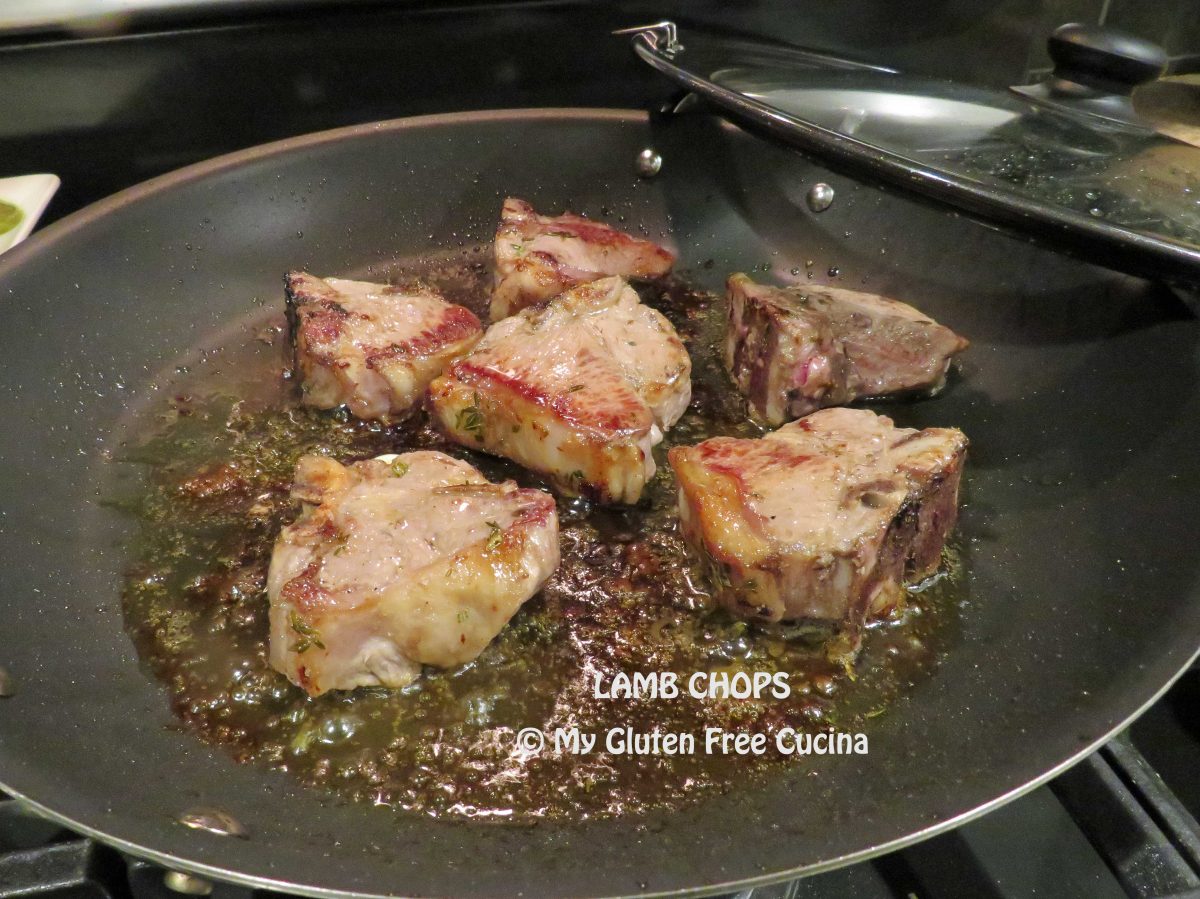
The chops will have fat on one side.  Stand the lamb chops on their side in the pan, with the fat side down and cook 5 minutes to render the fat.

Then lay the chops down, cover and cook 7 minutes on one side.
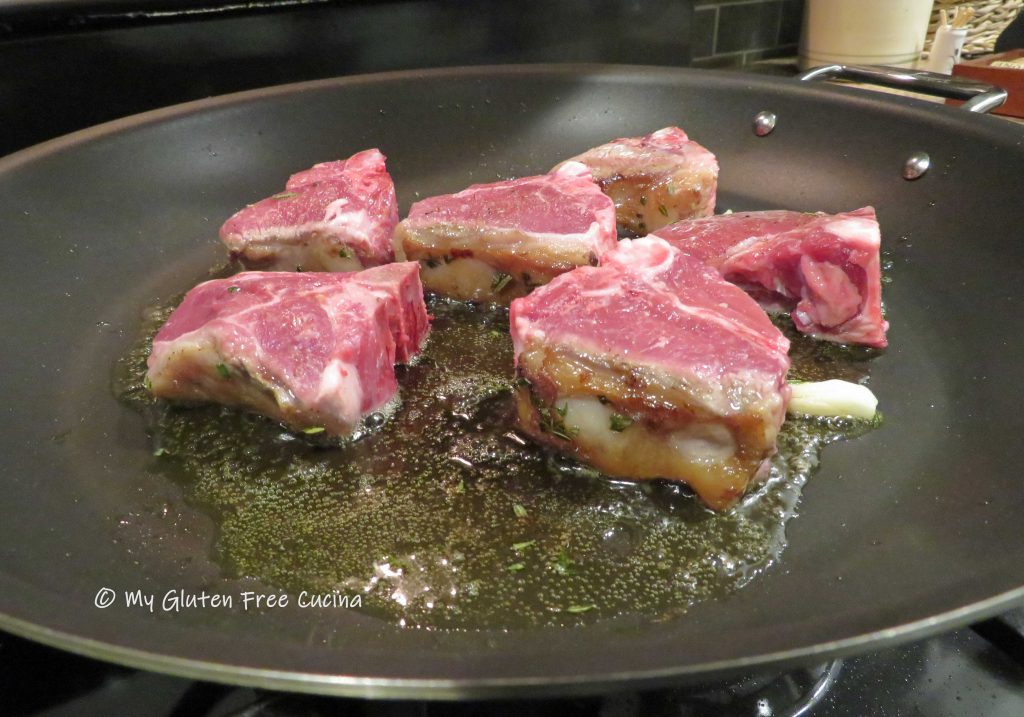
Turn the chops, cover and cook for 7 minutes longer.  During the last 2 minutes of cooking, uncover and add the wine and butter.
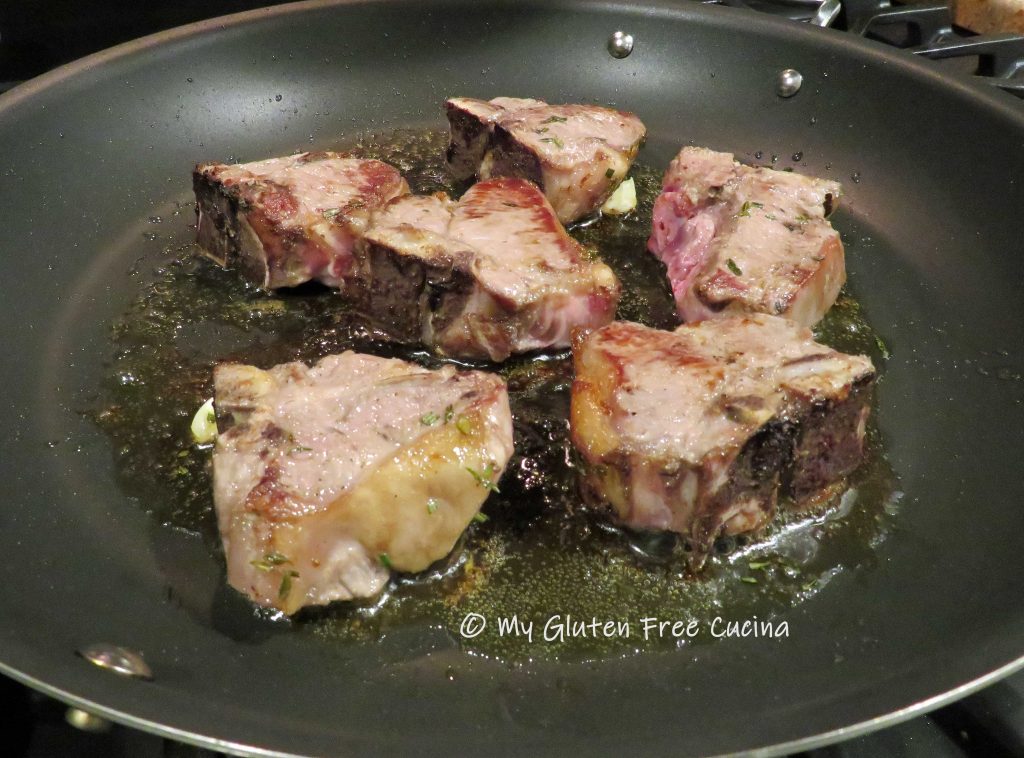
Check with a thermometer that the internal temperature reaches 145º for medium.

Place the chops on a serving dish and drizzle with pan juices.  Finish with fresh parsley.

Notes ♪♫ If you love lamb, check out my Braised Lamb Shanks.  A different cut that lends itself to a slow cooked dinner.

Print This Post Print This Post

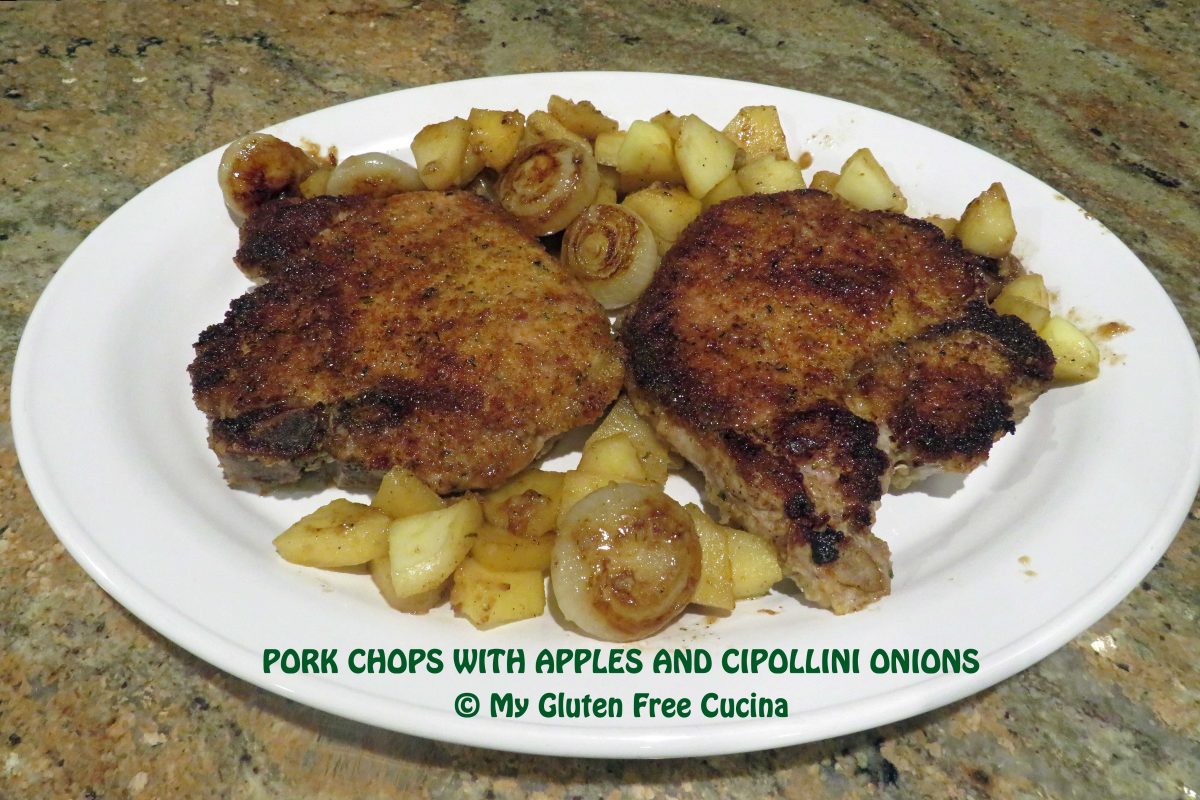
Pork Chops with Apples and Cipollini Onions

Have you tried Cipollini onions?  Cipolla means onion in Italian, and cipollini are “little onions”.  Milder and sweeter than regular onions, Cipollini can be a flavorful addition to pork and beef dishes.

You may think these little onions are difficult to peel, but here’s a trick!  Simply soak them in water for 30 minutes before you begin prepping the meal.  Those skins will pop right off!  This is an easy dinner for two, and with only one pan required, cleanup is a breeze!

Dinner for two

This post contains affiliate links.

Ingredients:

  • 2 pork chops, 1″ thick, bone in
  • 8 oz. cipollini onions, peeled and trimmed
  • 1 apple, peeled and sliced
  • 1/2 cup of 1% milk
  • 1/2 cup of white wine (NOT cooking wine!)
  • 1/2 cup gluten free seasoned breadcrumbs
  • salt and pepper
  • 2 tbsp. olive oil
  • 1 tbsp. butter

 Preparation:

Soak the Cipollini onions in water for 30 minutes.  Be sure they are submerged.  At the same time, tenderize the pork chops by placing them in a non-reactive dish with 1/2 cup milk for 30 minutes, turning once.  Season with salt and pepper.

After soaking for 30 minutes, peel and trim the onions.

Heat a large nonstick skillet with the olive oil and butter.  Season the Cipollini with salt and pepper and cook on medium low heat for 8-10 minutes, turning every few minutes.

Here you can see the onions are partially cooked and starting to get some color.  At this point push them to the side, to make room for the pork chops.

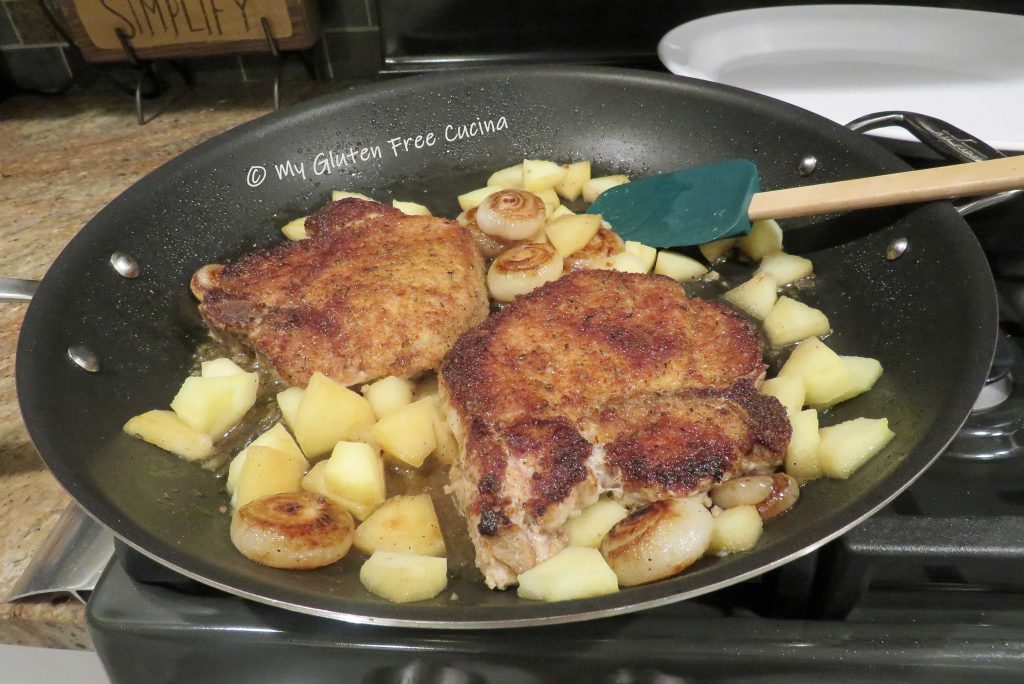
Take each pork chop, shake off the excess milk and dredge in the breadcrumbs.  Add the pork chops to the center of the pan, cover and cook 4 minutes.

Turn the pork chops, add the apples to the pan along with the wine, then cover and cook for an additional 4 minutes.  Remove the cover and allow any remaining liquid to evaporate, then transfer to a serving platter.

I served them with a side of white rice.

Notes ♪♫ I used Aleia’s gluten free Italian breadcrumbs in this recipe.  They are so delicious, the closest I have found in taste and texture to regular Italian breadcrumbs.  Everyone in your family will love them, gluten free or not!

Originally published 02/10/2020           Updated 01/02/2023

Print This Post Print This Post

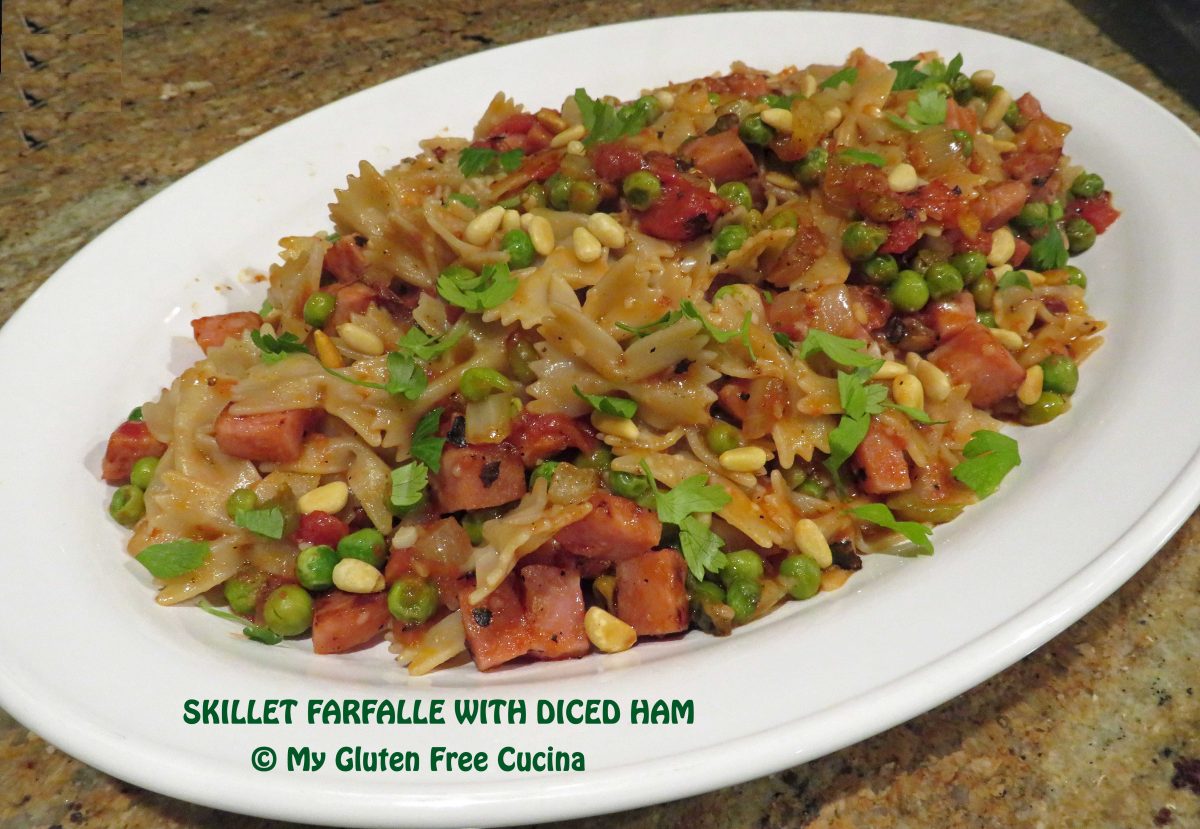
Skillet Farfalle with Diced Ham

I love easy skillet dinners like this one for busy weeknights!  You can make the whole meal beginning to end in about 30 minutes.  Honestly, if you prep the veggies the night before it can be ready in less time than that.  It’s a great way to use leftover ham, or you can purchase a ham steak which is what I did here.  Don’t forget those little finishing touches that can make a meal special, in this case it’s a sprinkle of toasted Pignoli (pine nuts), a favorite of mine!

3-4 Servings

This post contains affiliate links.

Ingredients:

  • 8 oz. boneless ham steak, cut into small cubes
  • 4 oz. gluten free pasta
  • 1 cup sweet onion, diced
  • 1 tbsp. garlic, minced
  • 1 cup frozen peas, thawed
  • 1 can (14.5 oz.) diced tomatoes
  • 1/2 tsp. gluten free Italian seasoning
  • salt and pepper to taste
  • Olive oil
  • 1 tbsp. pignoli (pine nuts), toasted
  • 1/2 tsp. Italian seasoning
  • fresh Italian parsley, for garnish
  • grated Parmesan, for serving

Preparation:

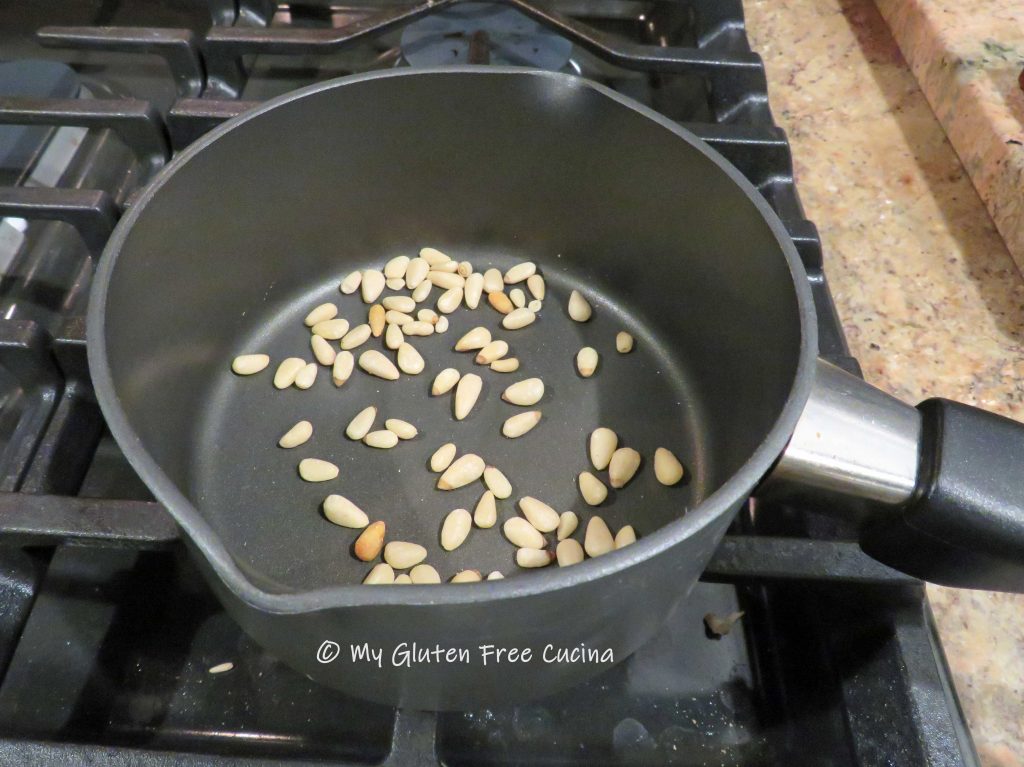
Toast the pignoli until lightly browned and fragrant.  I like to use a small saucepan, so they don’t jump all over the place.  Set aside for garnish.

Cook the pasta to 1 minute less than package directions, drain and set aside.  While the pasta cooks, heat a large, nonstick skillet with 1 tbsp. olive oil and cook the ham 3 minutes.  Remove and set aside.

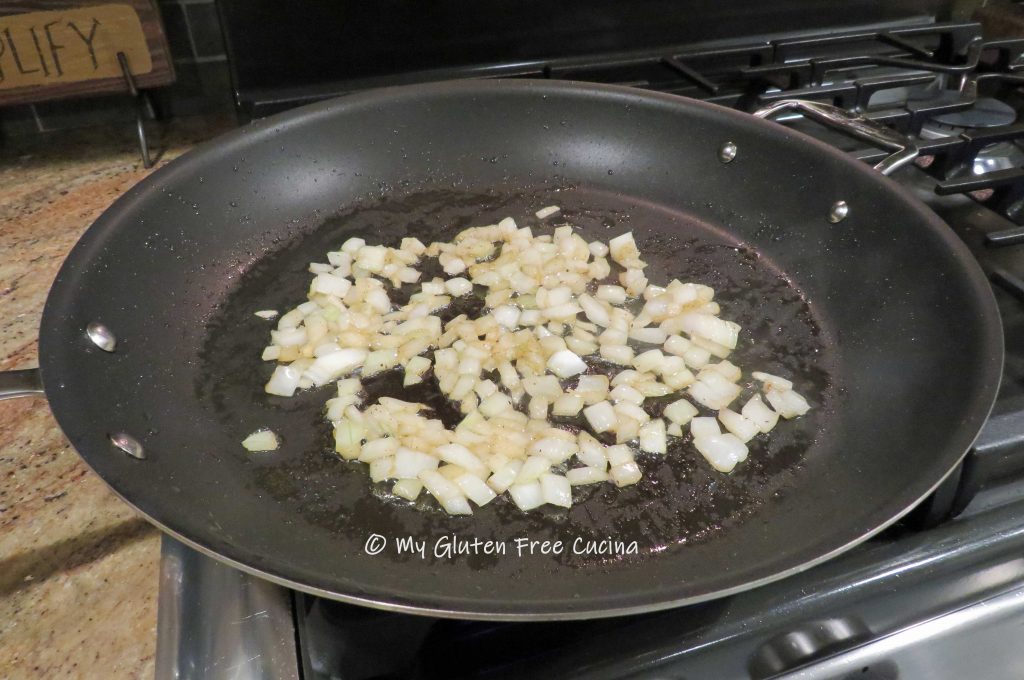
Add a little more olive oil and cook the onions until just beginning to brown, about 3 minutes.  Add the garlic and peas, cook 2 minutes more stirring frequently.  Season with salt and pepper.

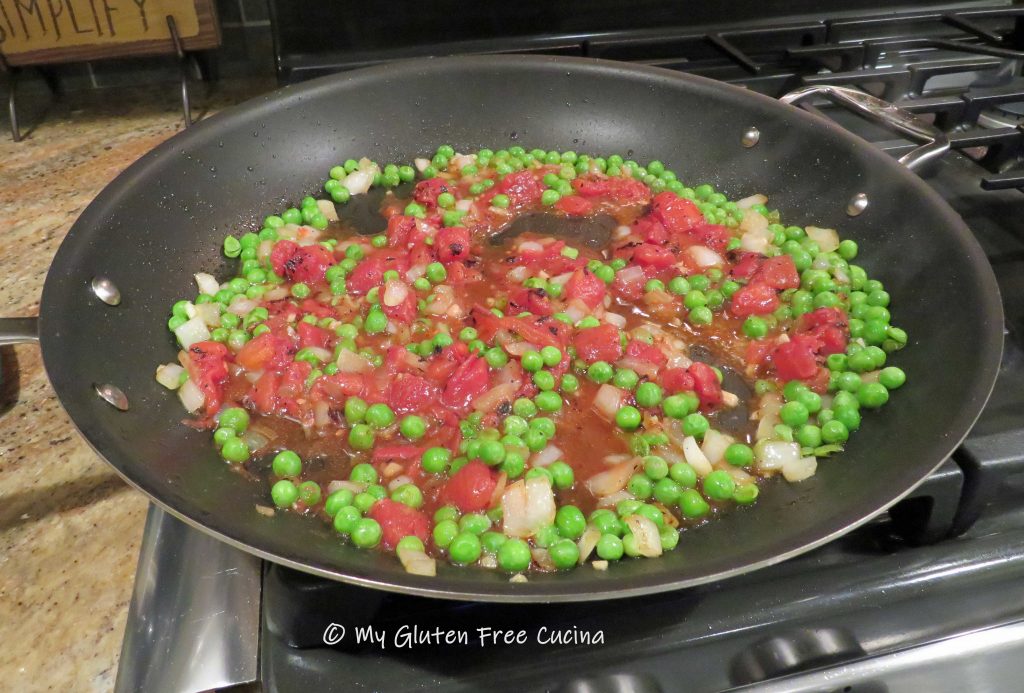
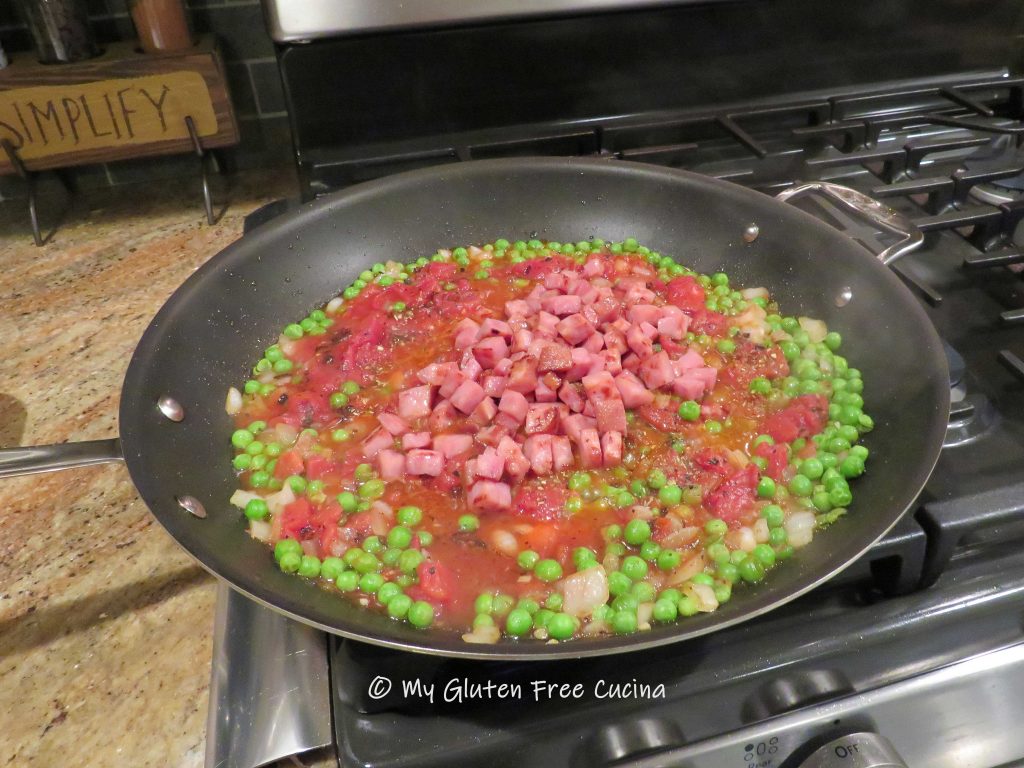
Add the tomatoes with their liquid, toss well to combine and cook until liquid almost evaporates.  If the pan is too dry add a ladle of pasta water.  Sprinkle with Italian seasoning.

Add back the ham.

Next add back the drained pasta and toss well.  Drizzle with olive oil, stir and toss to finish cooking the pasta, 1 minute more.  Sprinkle grated cheese.

Transfer to a serving dish, garnish with parsley and toasted pignoli, and serve with grated cheese.

Notes ♪♫ I used Jovial gluten free farfalle (bowtie pasta) in this recipe.  One of my favorites, it has great taste and chew.  The Smithfield ham steak was labeled gluten free.  Always check ingredient labels for hidden gluten, especially in processed foods and seasoning blends.

Originally published 5/16/2020        Updated 12/10/2022

Print This Post Print This Post

Skillet Chicken and Penne

Before I was diagnosed with Celiac disease, easy skillet meals like this were my go-to for busy weeknights.  There was a time when I thought I would never enjoy meals like this again, but little did I know!  Delicious gluten free pasta and breadcrumbs are widely available so today I can still enjoy some of my old favorites.  I love that this dinner can be pulled together in a hurry.  It’s such a versatile recipe, you can substitute whatever veggies you have on hand, even leftover or frozen veggies will work.

This post contains affiliate links.

Ingredients:

Preparation:

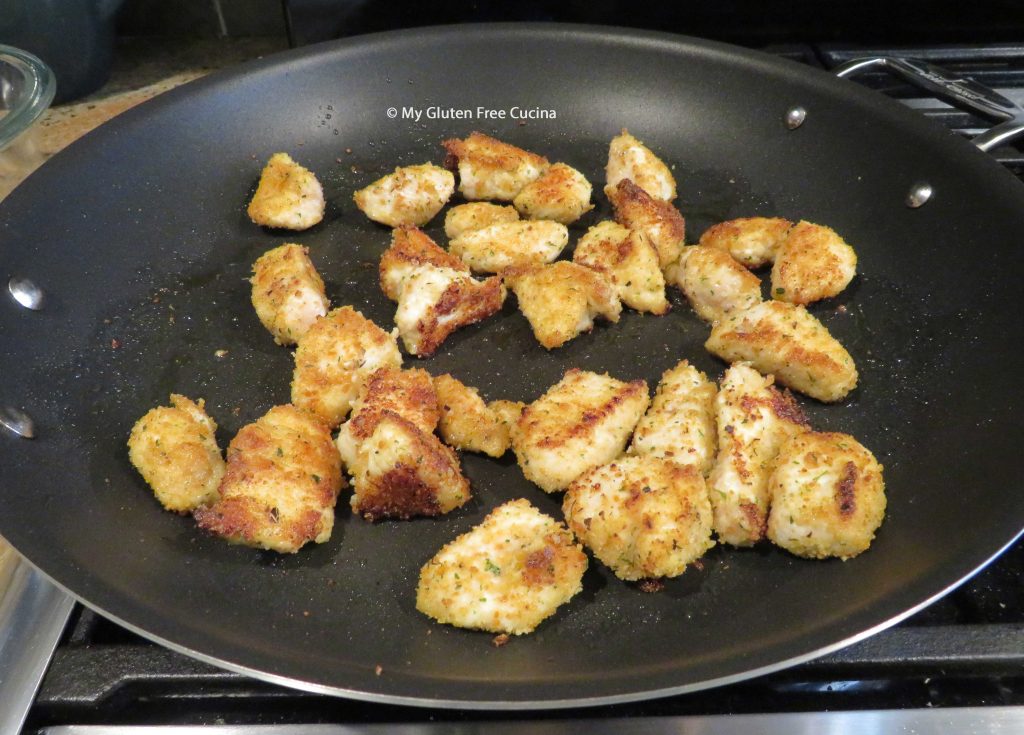
Boil a pot of salted water for the pasta.  Cut the chicken into cubes.  Place in a bowl and toss with breadcrumbs to coat evenly.  Cook the chicken in a large, nonstick skillet with olive oil.  Turn to brown all sides.  When cooked through, remove and keep warm.

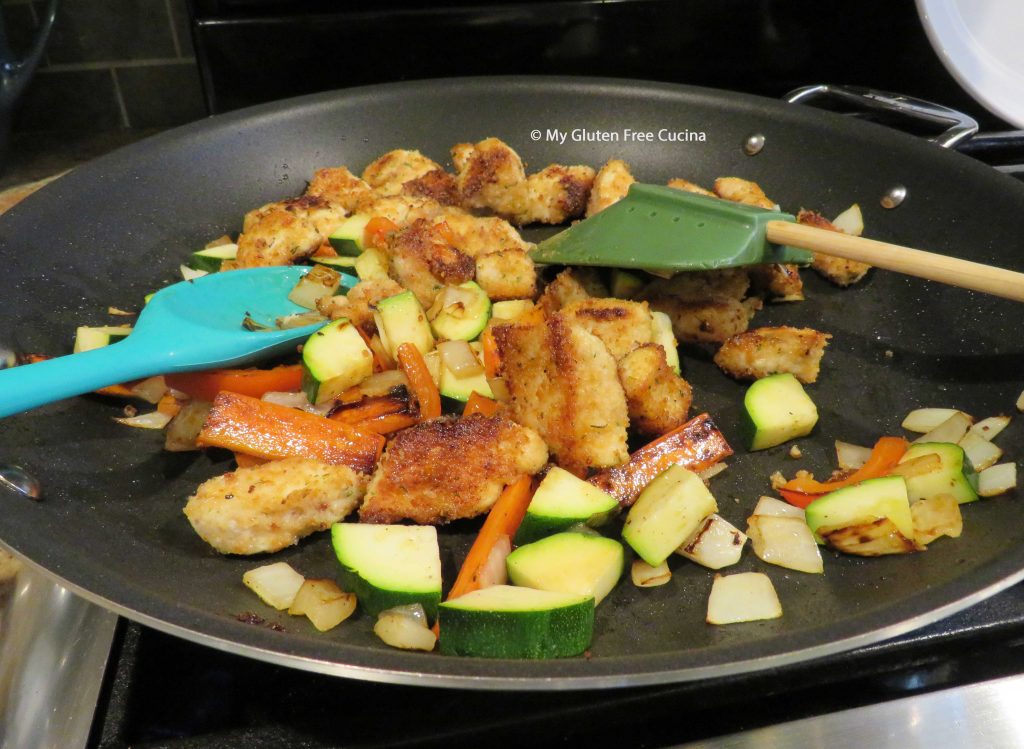
Keep the veggies separated.  The carrots will take longest to cook, while the zucchini will only need a few minutes.  Toss the veggies with olive oil, salt and pepper before adding to the skillet.  Add the carrots in first.

Cook the pasta to 1 minute less than package directions.  While the pasta cooks, finish the veggies.  Add the onions and bell peppers next.  With 5 minutes left for the pasta to finish, add the zucchini.

Add the chicken back to the skillet with the veggies, toss well and add a splash of white wine.  Let it reduce, then add 1/4 cup of chicken broth.

Drain the pasta and add it to the skillet with a little reserved pasta water if needed.  Finish cooking 1 minute longer, tossing together to blend the flavors.

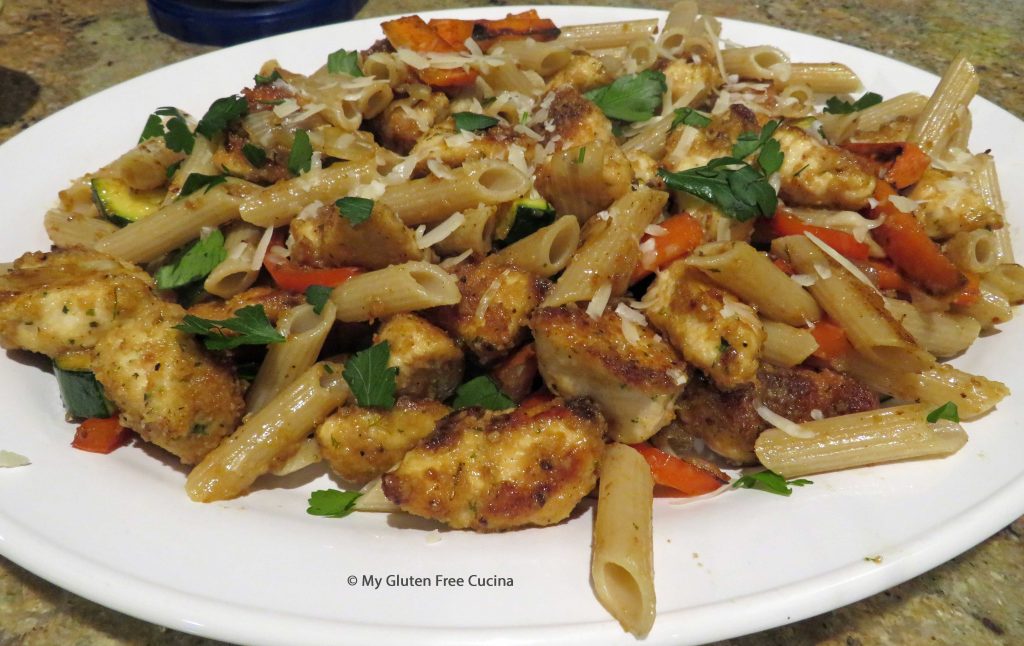
Transfer to a serving platter, finish with grated cheese and garnish with Italian parsley.  Serve with more grated cheese.

Notes ♪♫ I used Rummo gluten free penne in this recipe, it’s a rice and corn blend with great taste and texture.  If you’re missing the “chew” of wheat pasta, give it a try!

Print This Post Print This Post