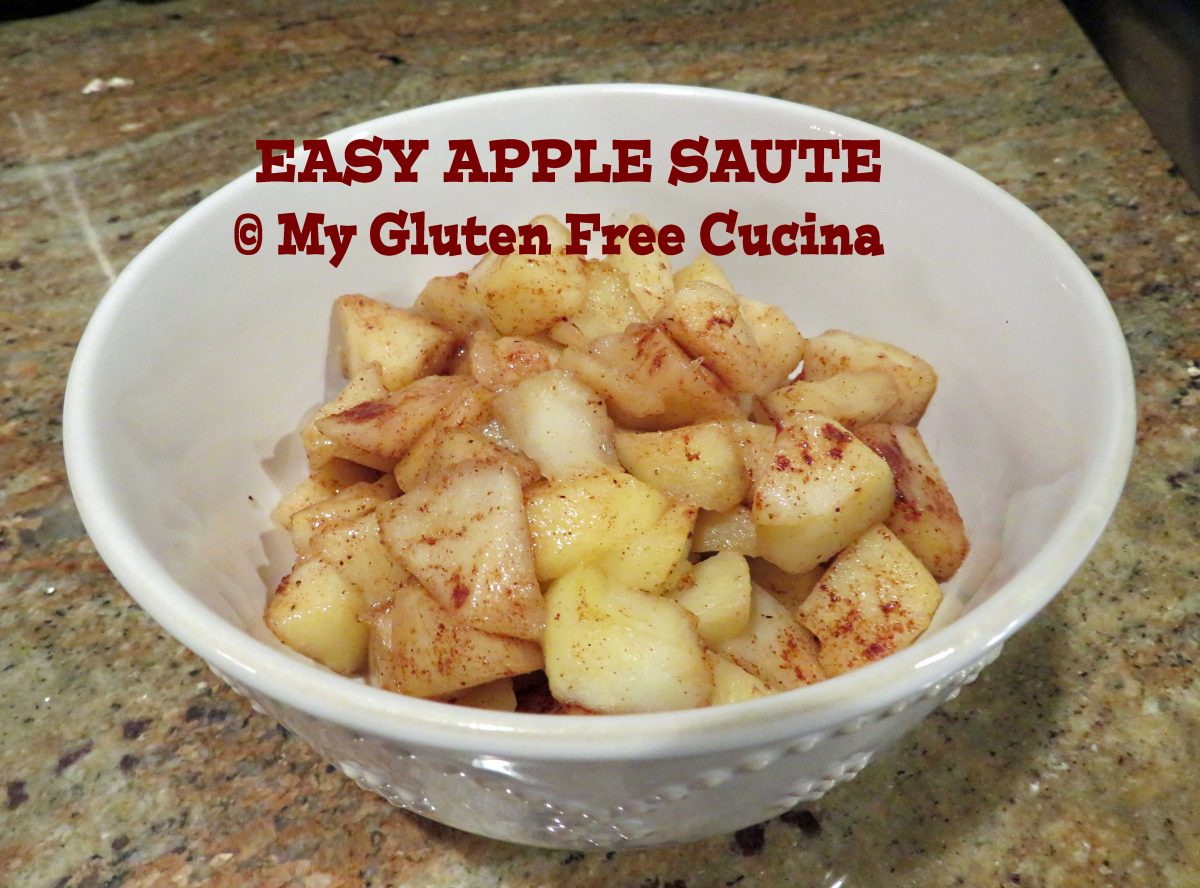
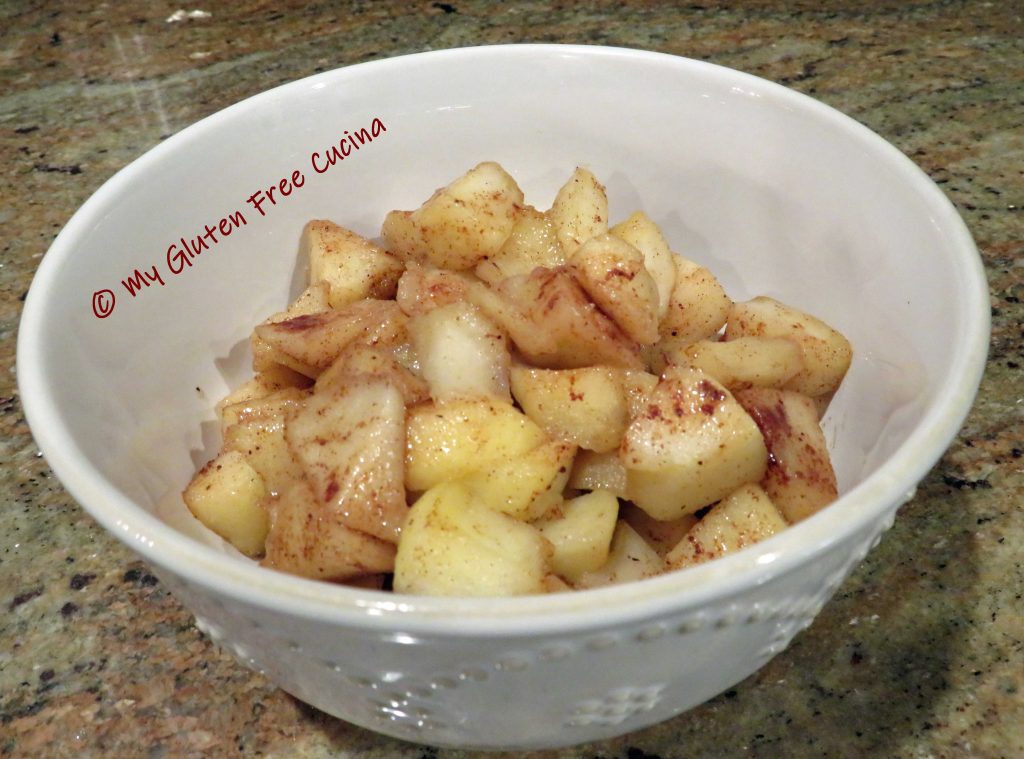
This Easy Apple Sauté is a favorite of mine. It makes a great breakfast accompaniment to oatmeal or pancakes. Do you ever have a side of fruit with dinner instead of a veggie, just to change things up? Apples go well with any pork dish or BBQ meal. And if you like, this basic recipe can stand in as a light dessert without all the extra fat and carbs. Best of all, it’s ready in 5 minutes, no baking!
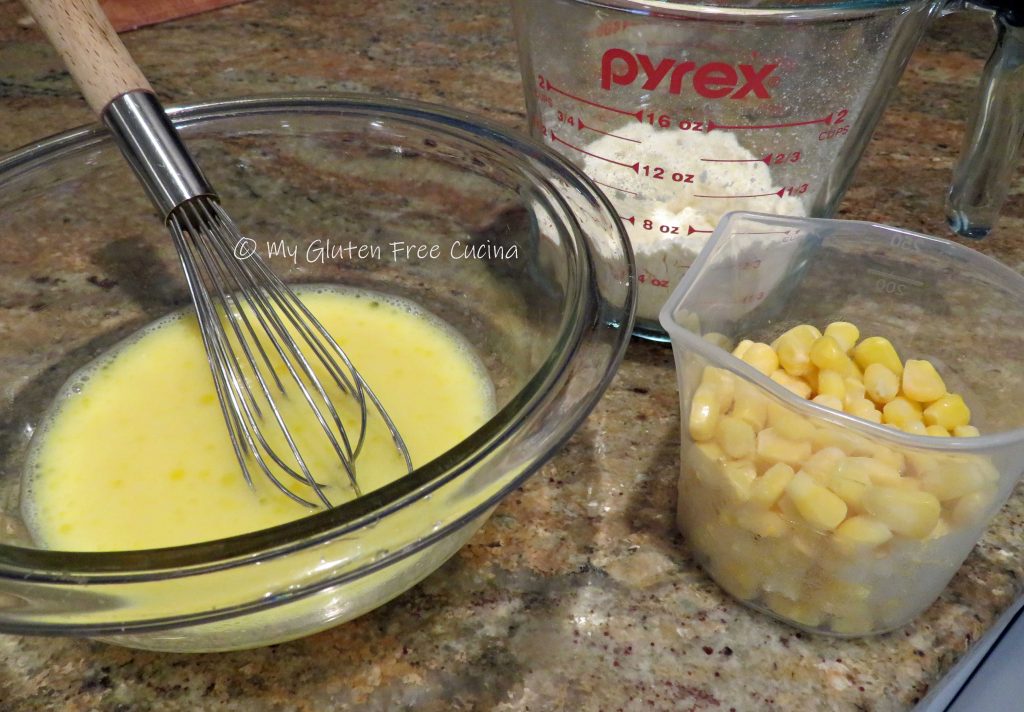
Ingredients:
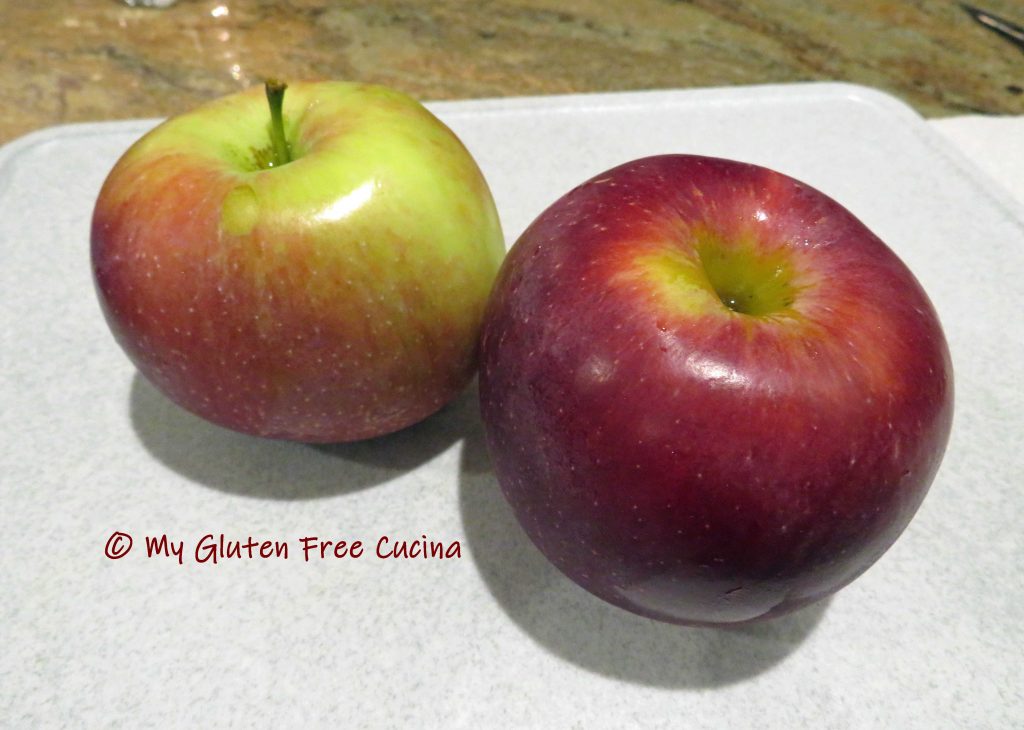
- 2 apples (I used Cortland)
- 1 tbsp. brown sugar
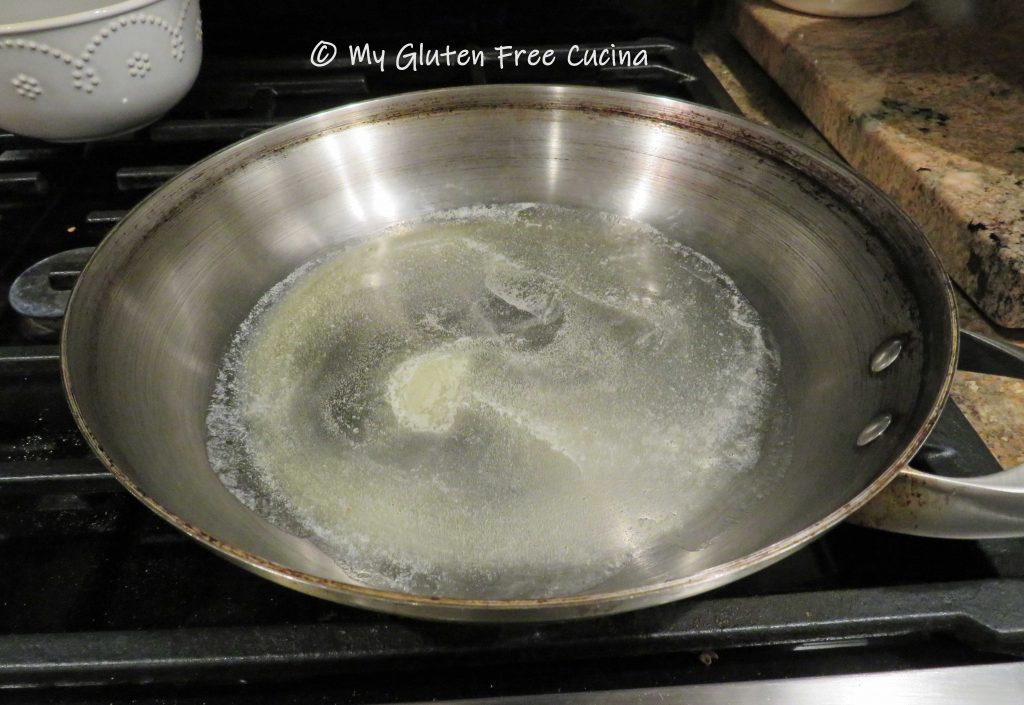
- 1 tbsp. unsalted butter
- cinnamon and nutmeg
This post contains affiliate links.
Preparation:
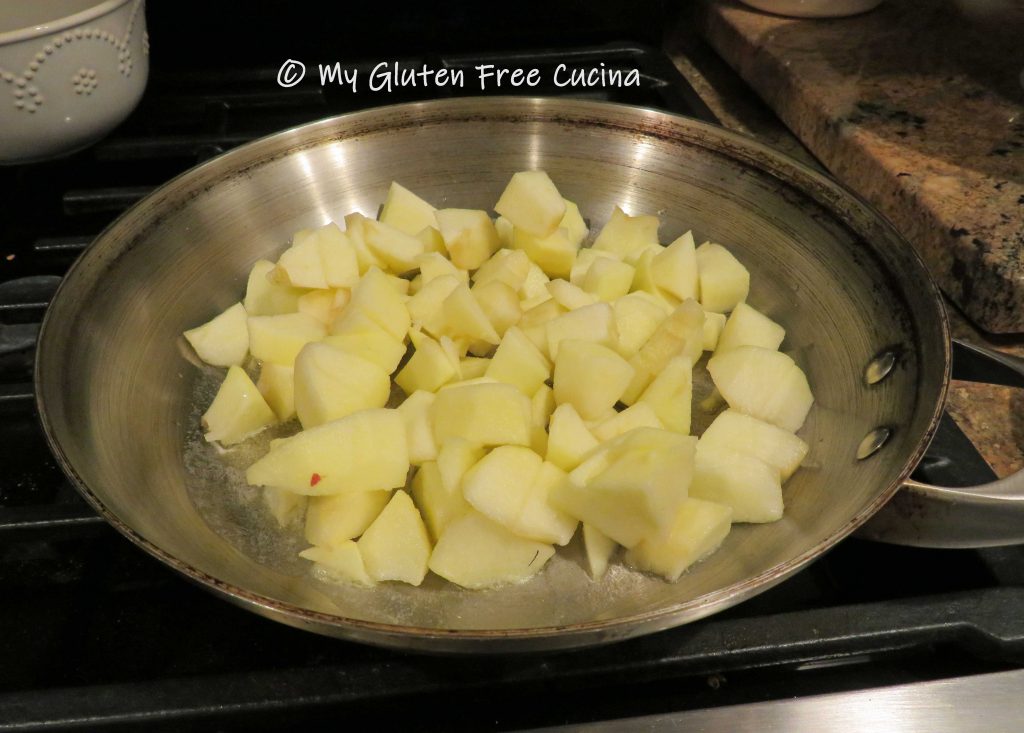
Peel and dice the apples.

Heat a 10″ skillet on medium and melt the butter.
Add the apples to the skillet and toss to coat. Cook 1-2 minutes.
Sprinkle with brown sugar, and stir it in to melt.
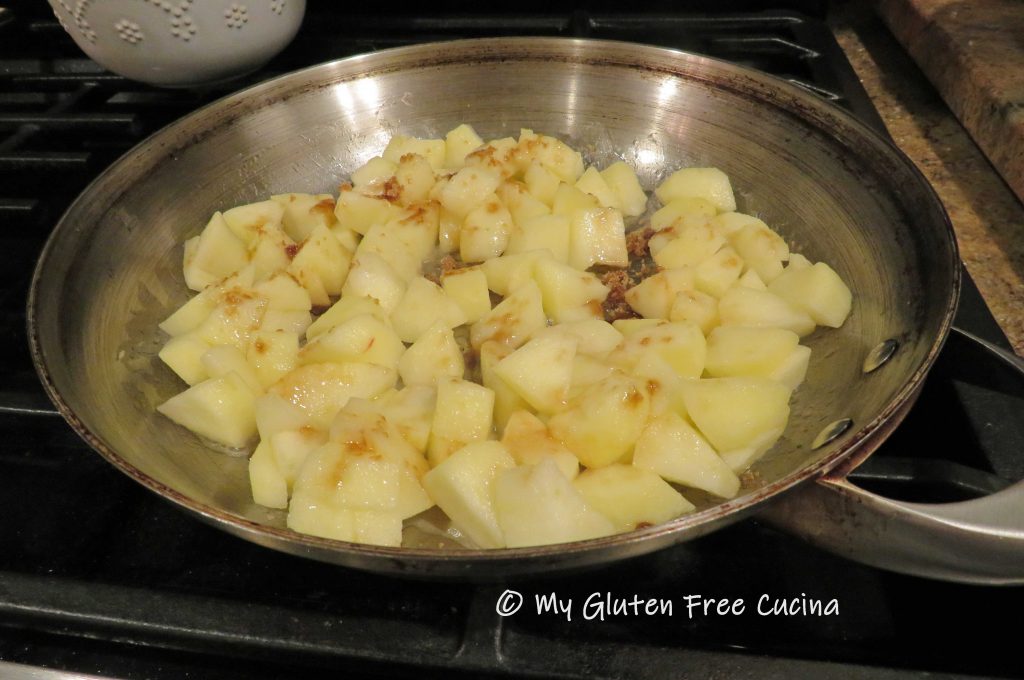
Sprinkle with cinnamon and nutmeg. Cook for 2-3 more minutes, stirring frequently. A light syrup will form in the pan.

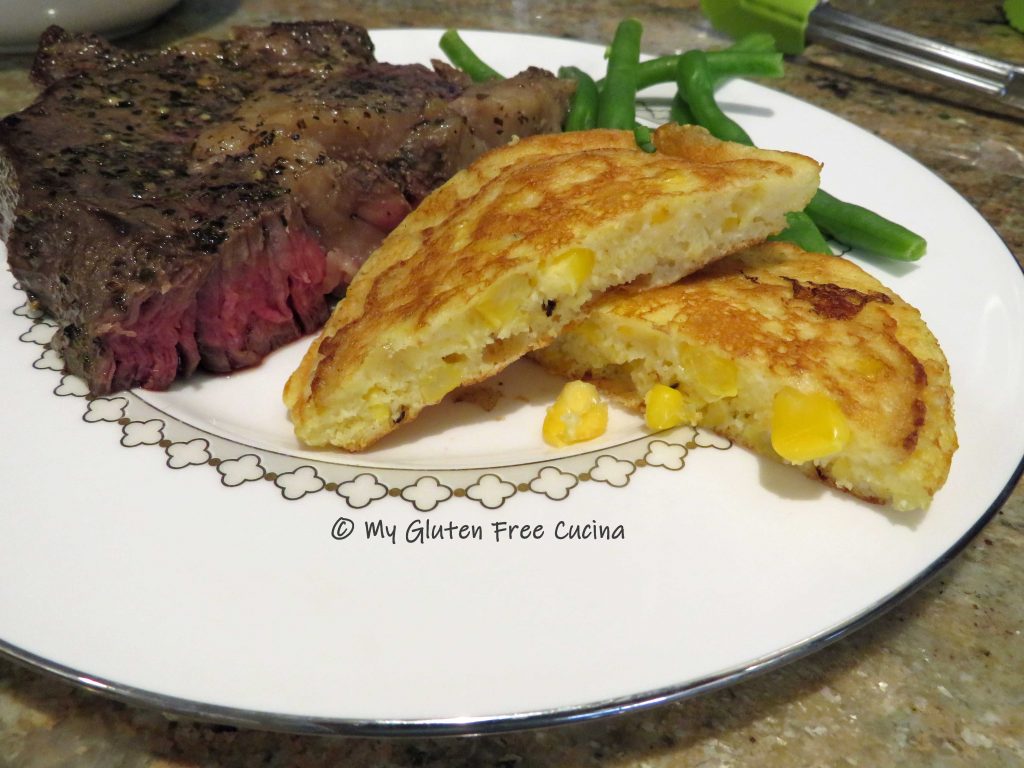
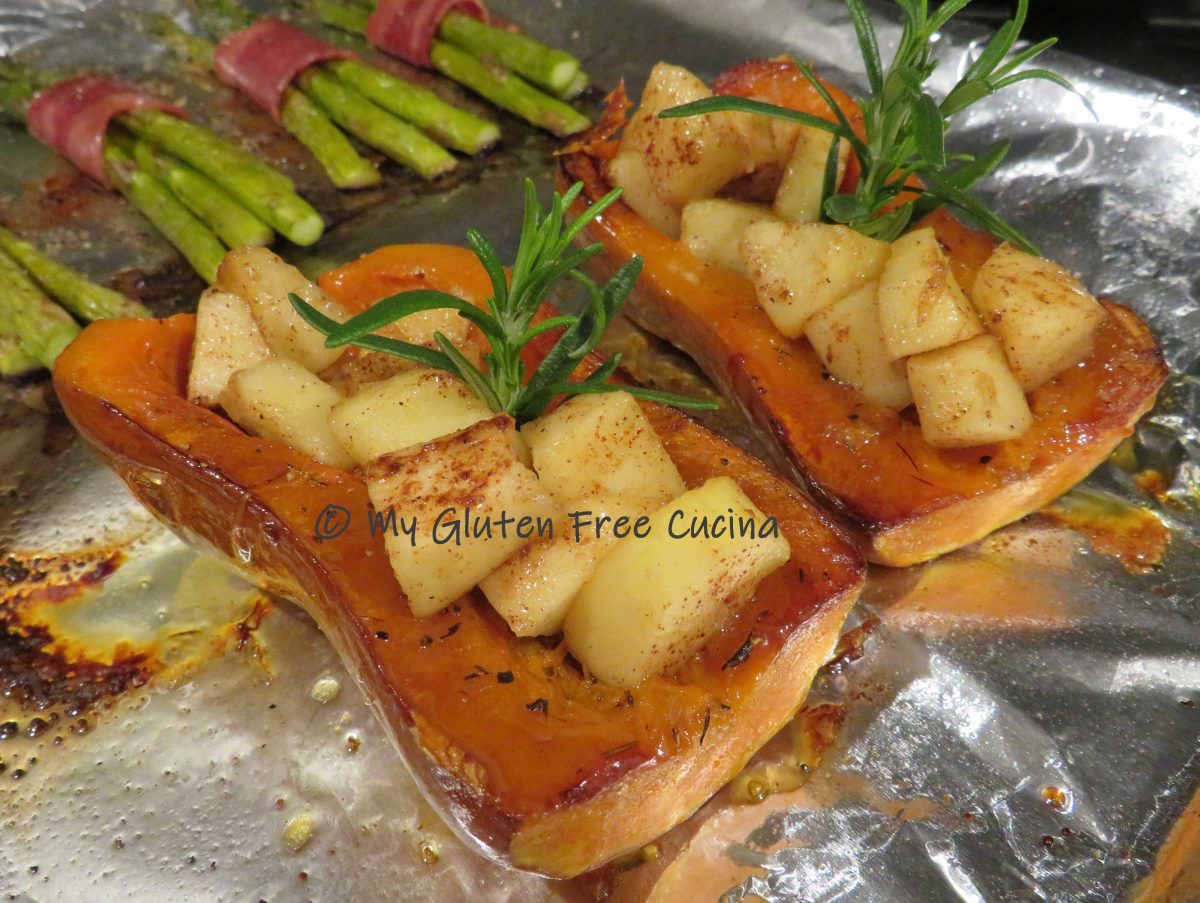
I love this diet friendly treat as a standalone side or as a topping for other fall veggies, like my Apple Walnut Butternut Squash.
 Notes ♪♫ Granny Smith apples are most often recommended for cooking, but there are so many varieties that would be delicious in this fast and easy preparation. Honey Crisp is always a top choice for me, but I used Cortland apples in this post, because a dear neighbor had gifted me a bag. They were so good, so use what you have!


 When I first made this recipe, I used a


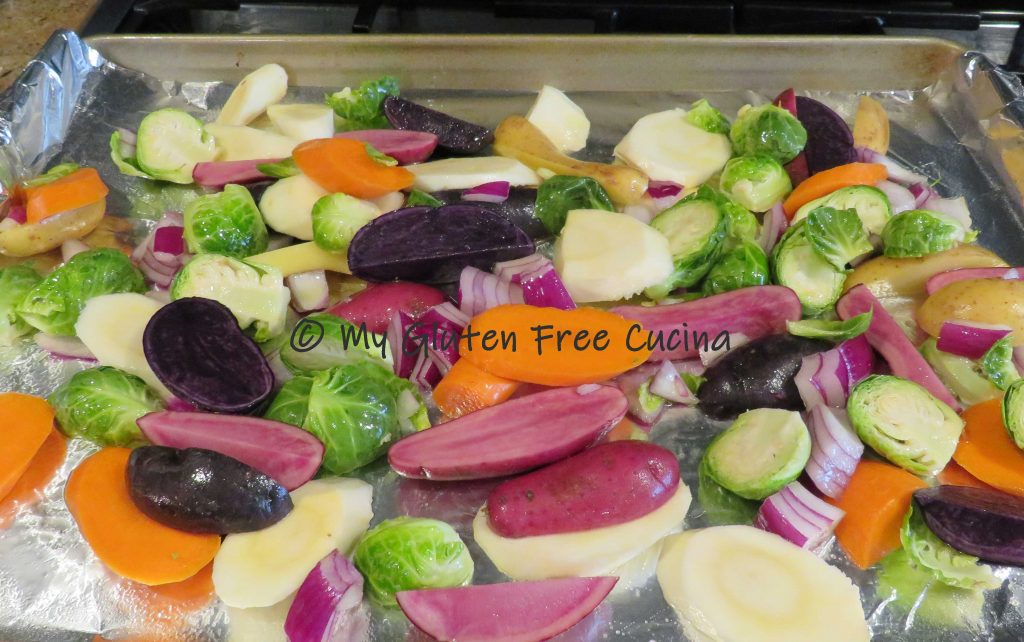
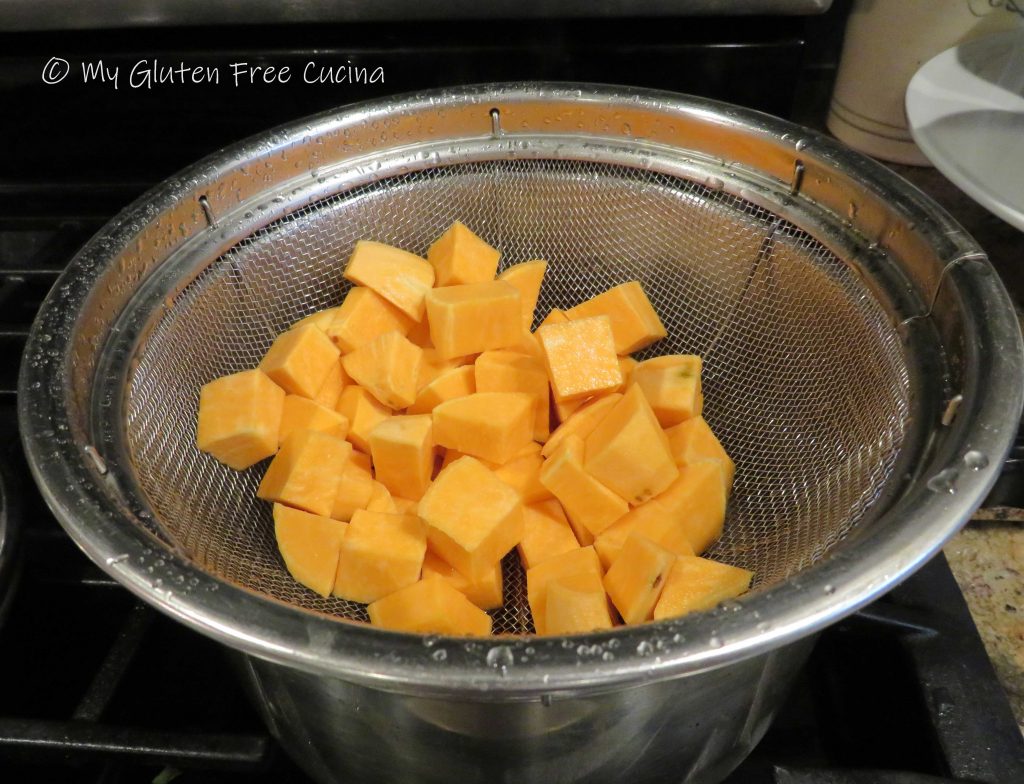
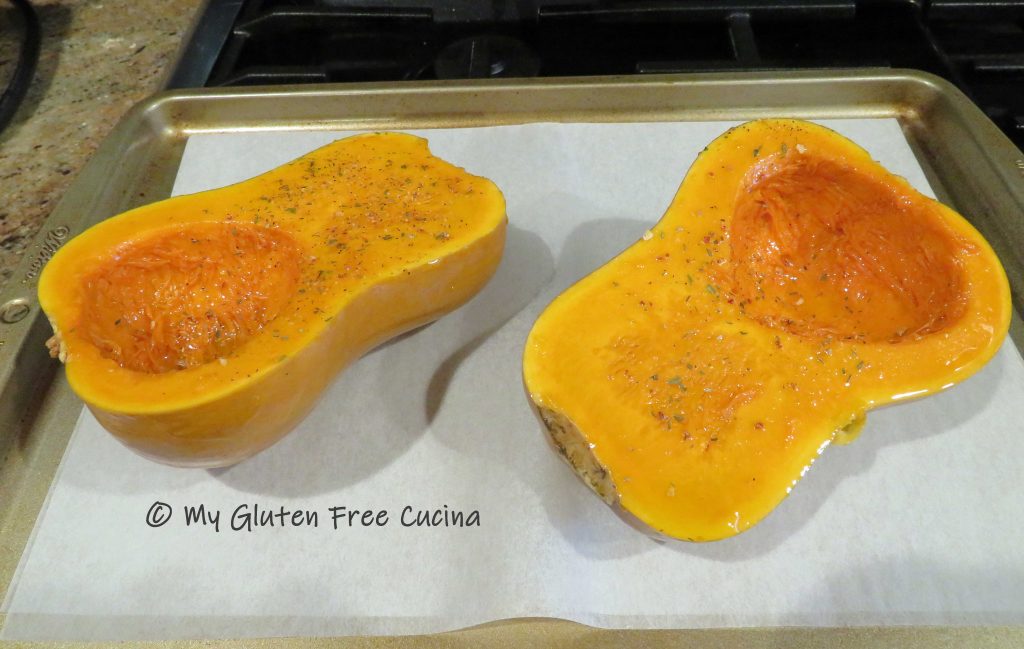 Arrange cut side down on a baking sheet lined with parchment or foil and bake for 35 minutes at 375º.
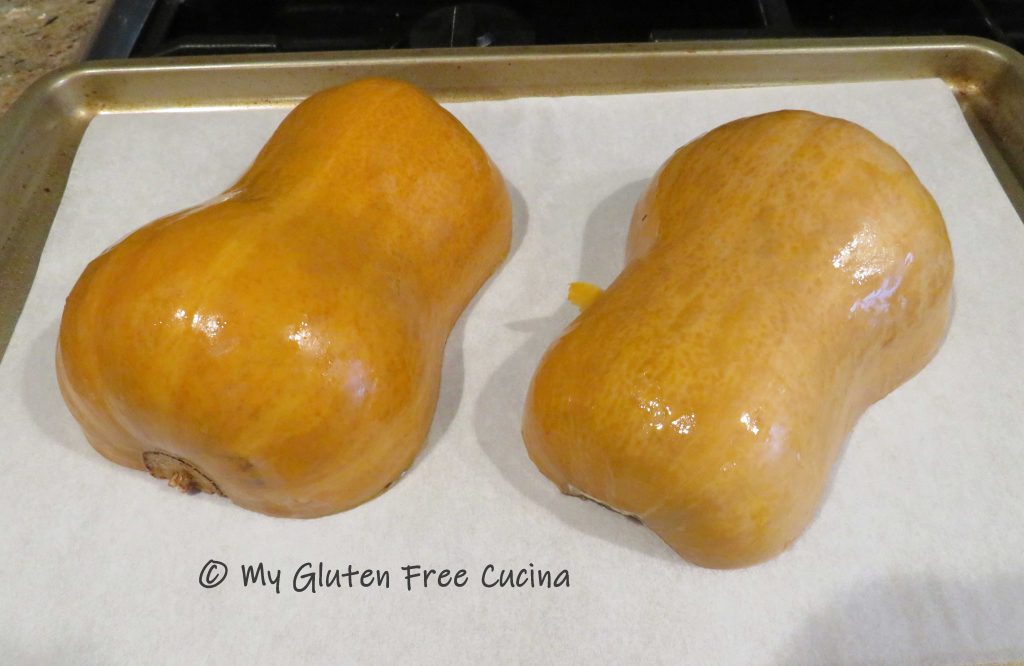
 While the squash is baking, peel and dice the apple. I used a Honeycrisp apple. Heat a small skillet on medium low. Add the apples with a pat of butter and toss to combine. Cook 3 minutes, stirring frequently. Sprinkle with cinnamon.
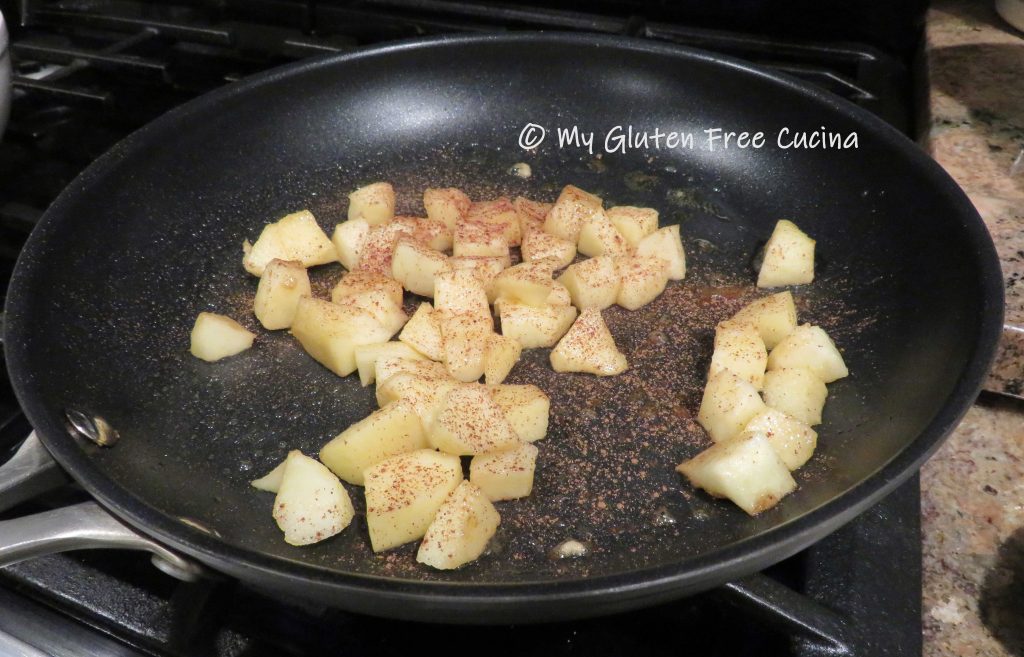


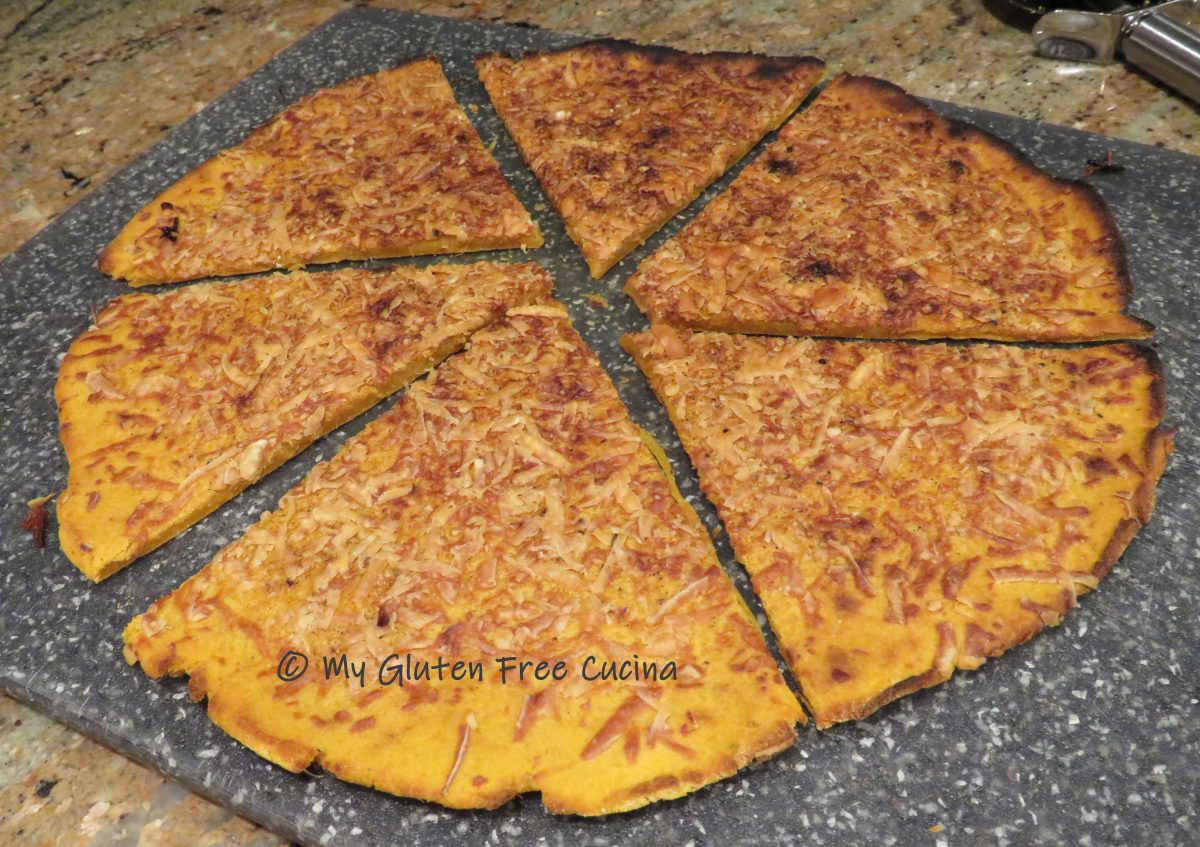
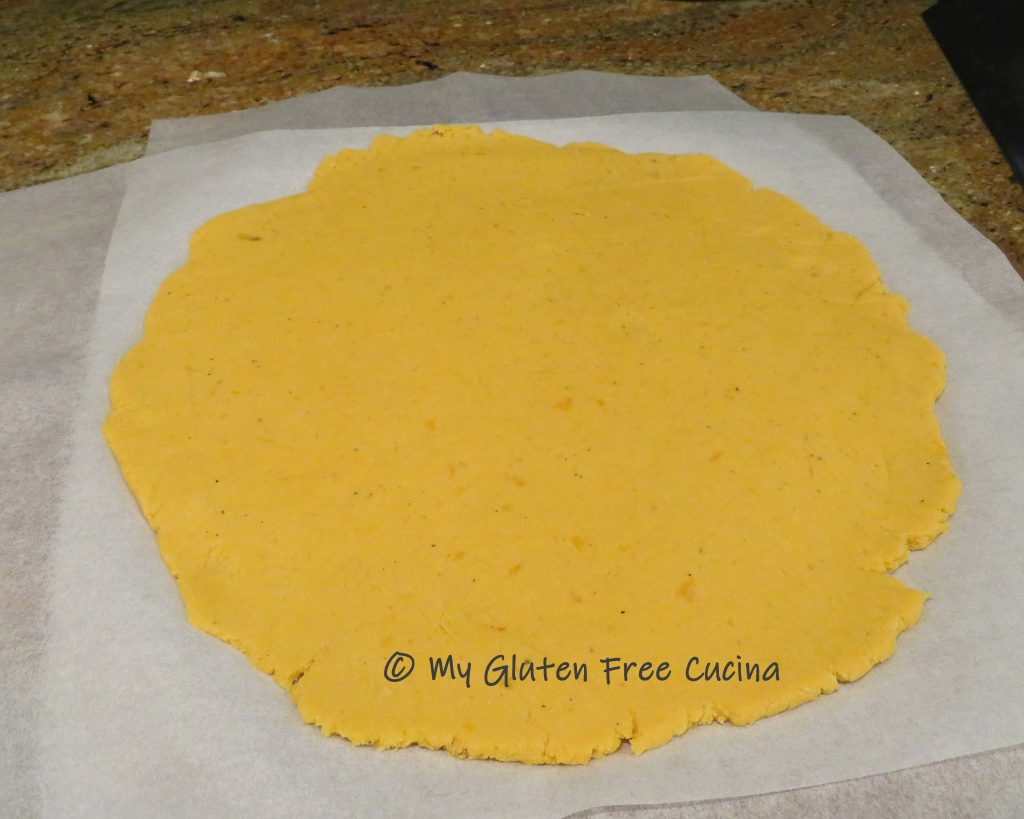 Slide the parchment onto a