Cassava is a gluten and grain free flour made from the root of the yucca plant. A while back I made a Sweet Potato Flat Bread using cassava flour. It was delicious, and ever since that post the thought of experimenting more with cassava has been on the back burner.
This post contains affiliate links.
So now that the holidays are behind us and I’m getting back into my normal baking routine, I want to tell you all about this new recipe. A light, crispy English Muffin made with cassava flour and arrowroot starch.
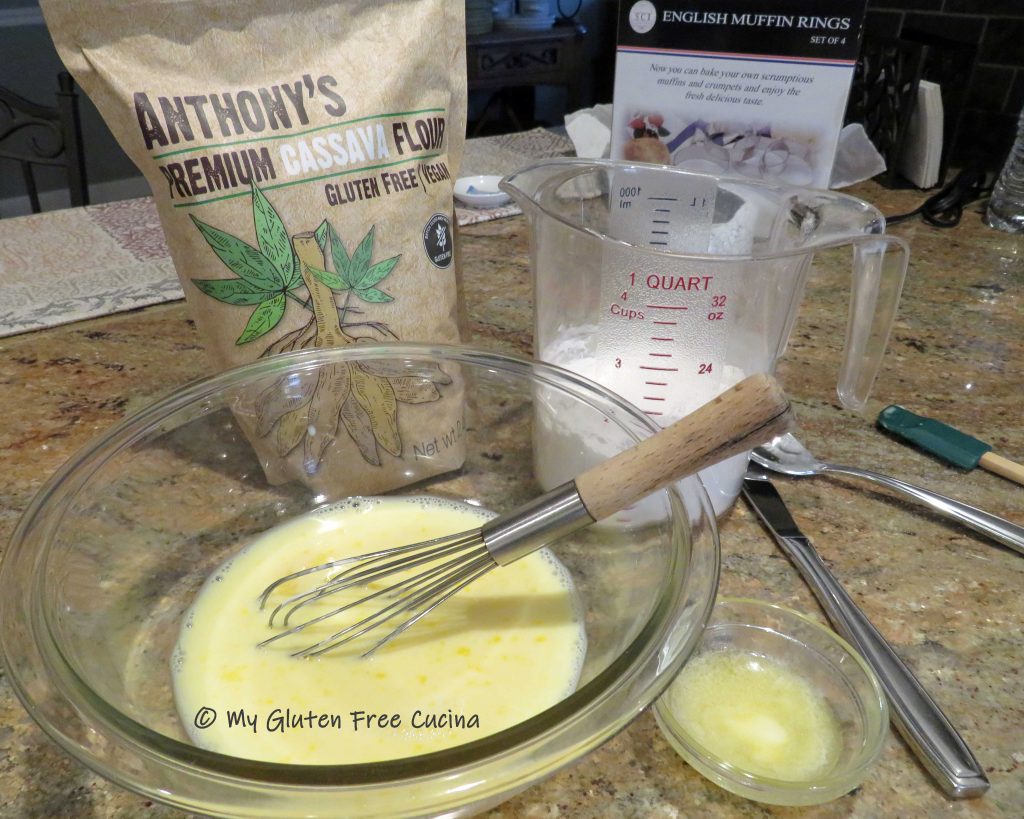
There is so much to like about this recipe. First, look at the ingredient list. Unlike most of my gluten free breads, this one does not have a mile long list of ingredients! You will also notice that I stirred everything together with a dough whisk, no mixer needed. Last and most important, they look and taste great!
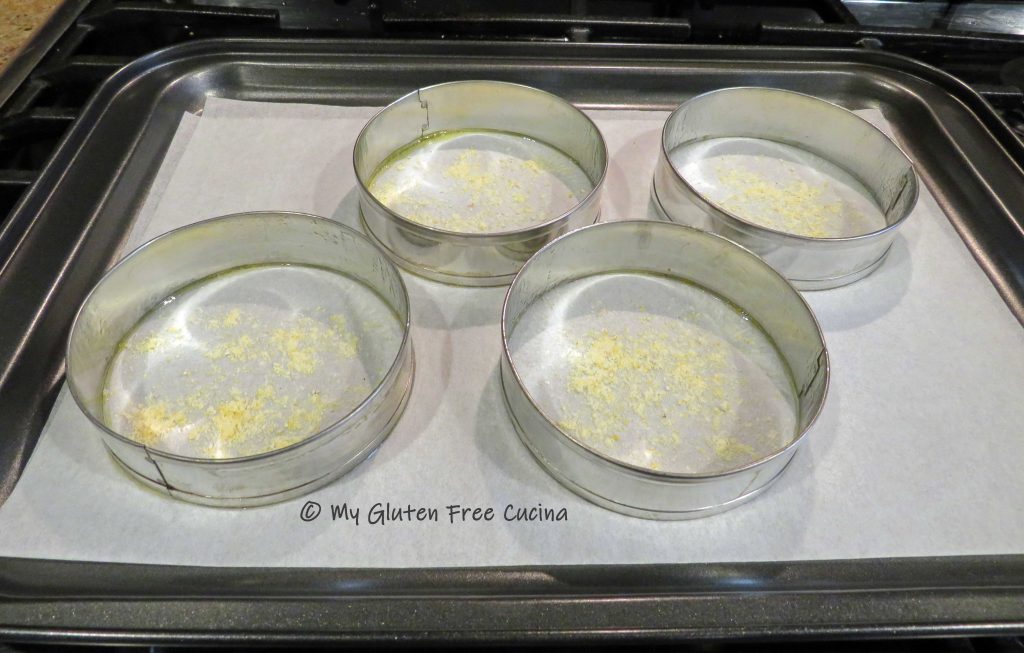
Note that you will need a set of muffin rings for this recipe. The batter is too thin to hold its shape without them.
4 Servings
Ingredients:
- 83 g. cassava flour
- 60 g. arrowroot starch
- 1 tsp. baking powder
- 1/4 tsp. salt
- 2 large eggs
- 1 tbsp. butter, melted and cooled
- 1/2 cup 1% milk
- 2 tsp. cornmeal
- cooking spray
Preparation:
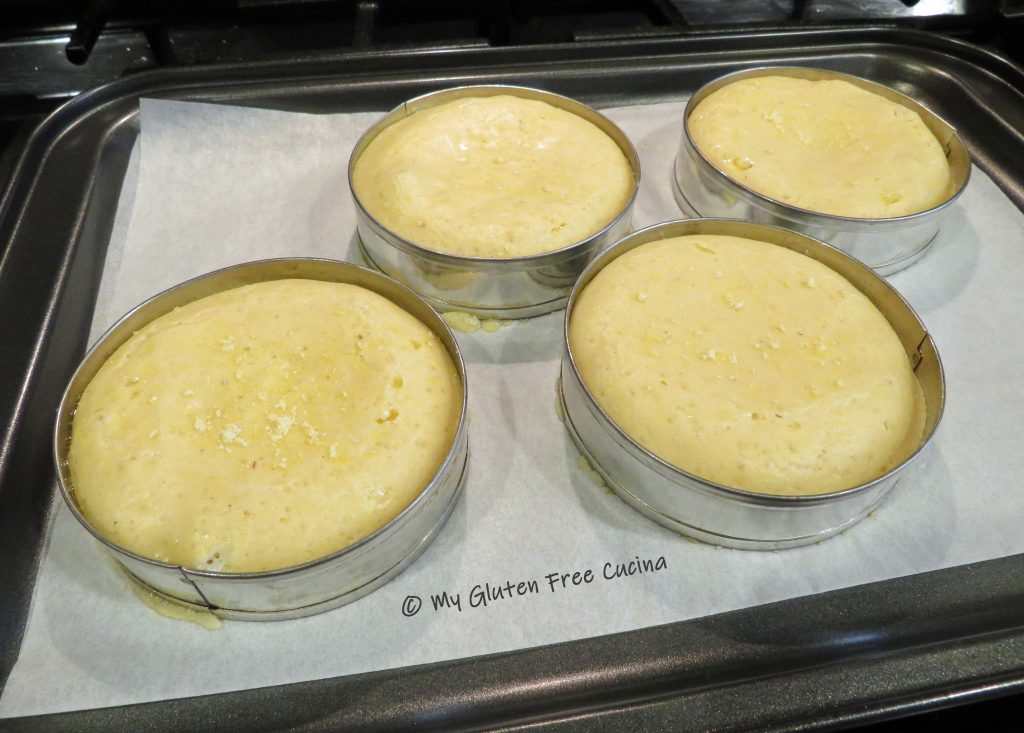
Preheat the oven to 350º. Line a baking sheet with parchment paper, spray the inside of 4 muffin rings with cooking spray and arrange on the baking sheet at least 1″ apart. Sprinkle 1/4 tsp. of cornmeal into each ring.
Whisk together the dry ingredients. In a separate bowl, whisk the eggs, milk and melted butter (be sure the butter has cooled first, you don’t want it to cook the egg).
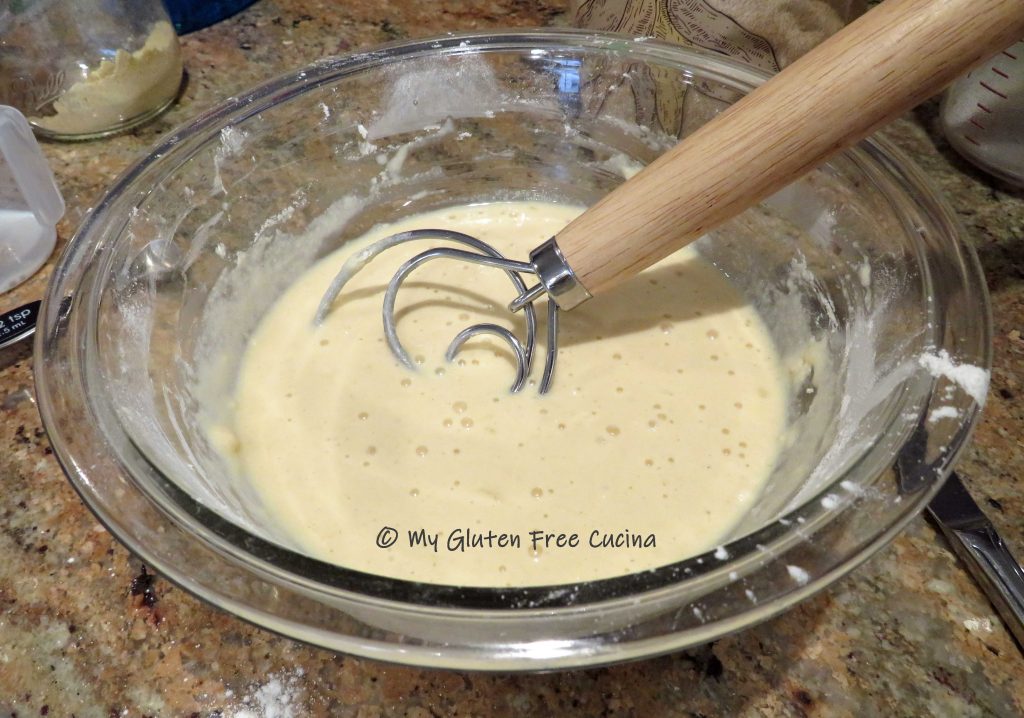
Use a dough whisk to stir the dry ingredients into the wet. You should have a smooth, thin batter that can be poured, like pancake batter.
Spoon the batter into the muffin rings.
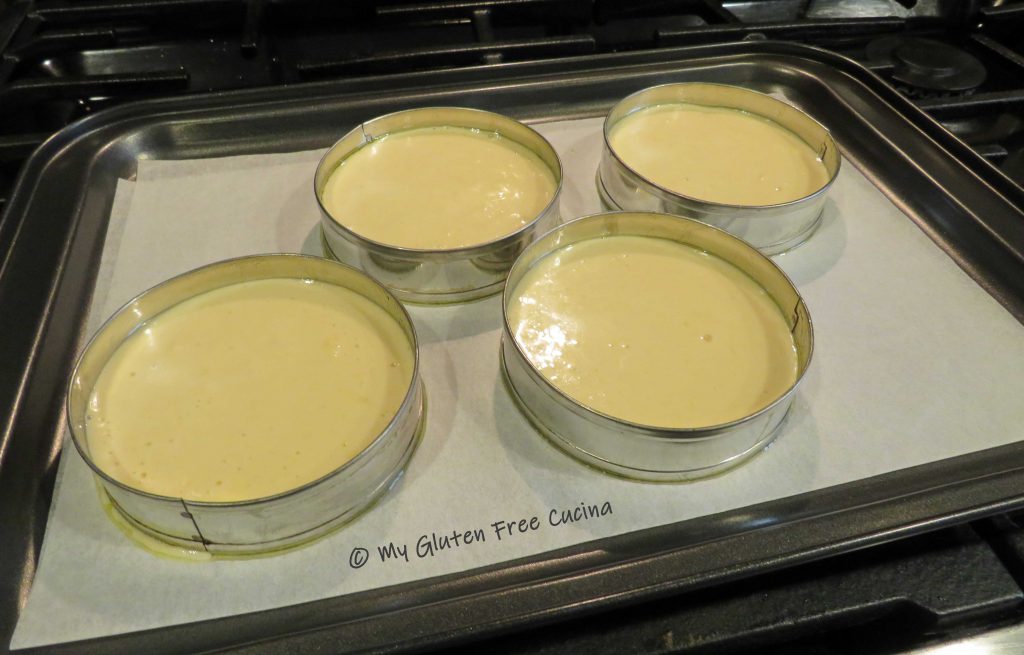
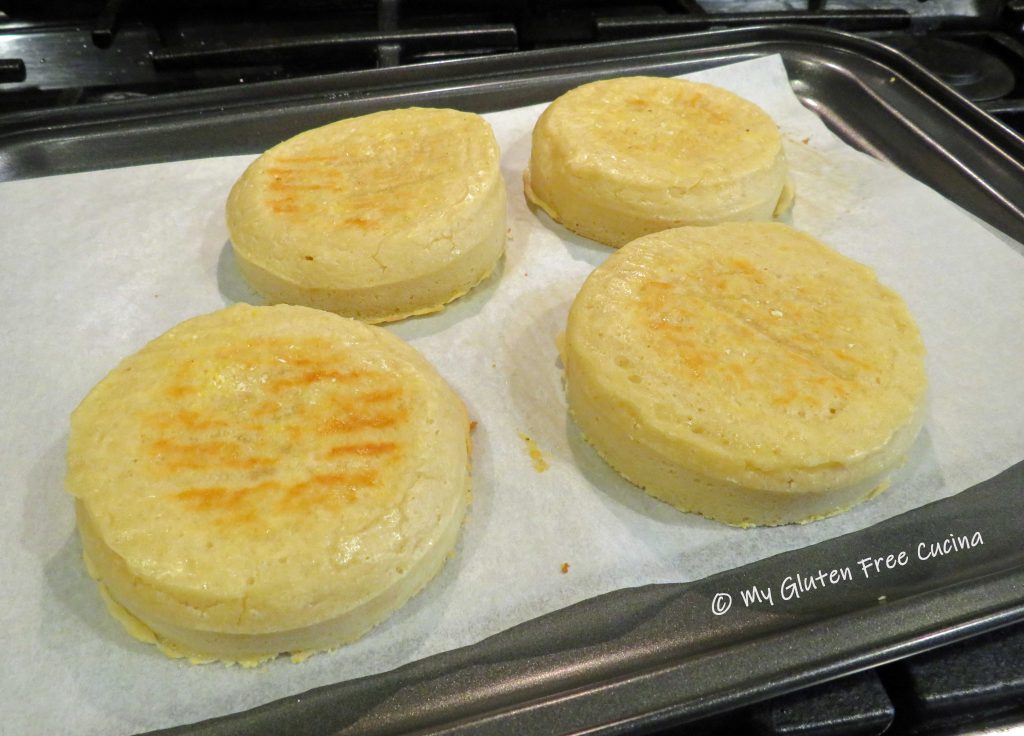
Take a closer look. The batter is thin enough to pour but not so liquid as to leak through the bottom of the muffin rings. Sprinkle the remaining corn meal over the top of each muffin and bake for 8 minutes.
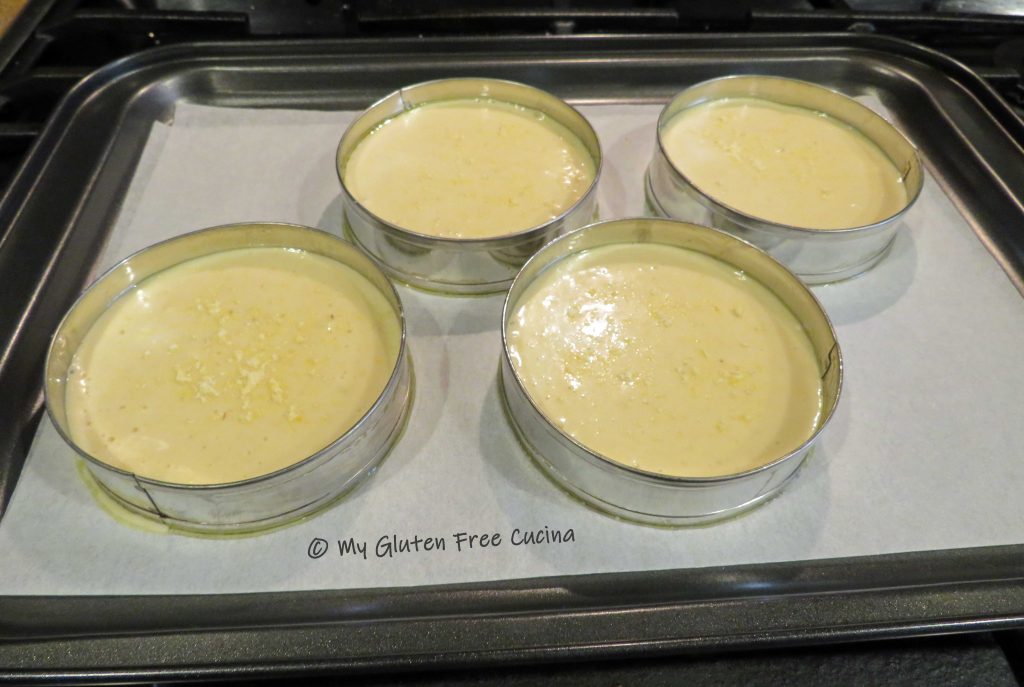
The muffins will be set, but not fully cooked.
Use tongs to carefully remove the muffin rings.
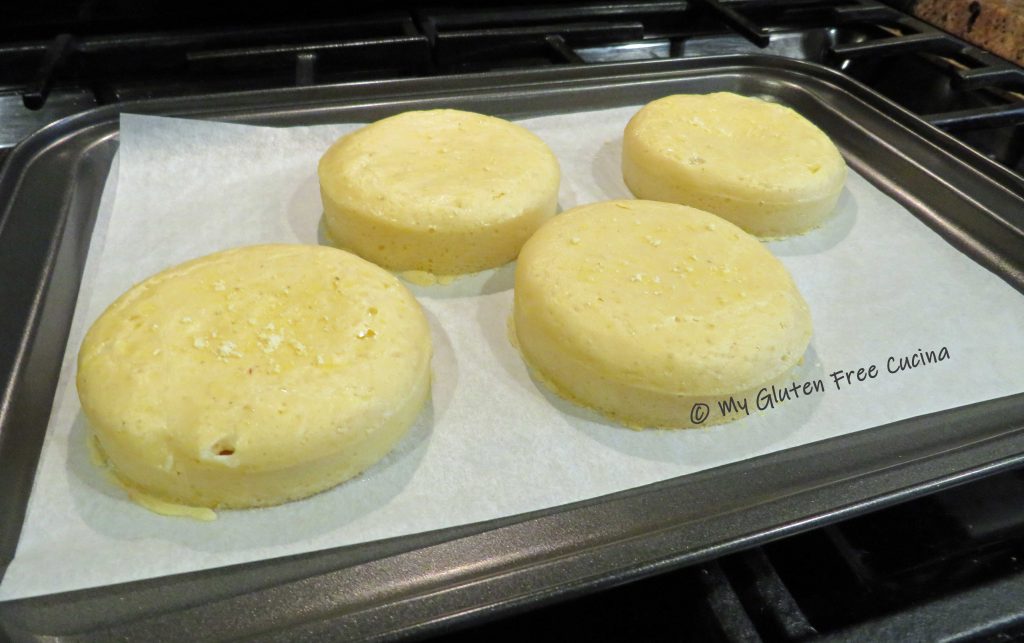 Use tongs or a spatula to gently turn the muffins over and bake for another 6 minutes.
 Remove from the oven and turn them right side up. Cool in the pan for five minutes.

Like all gluten free bread, it needs to set completely before slicing. Cool on a rack for at least an hour.

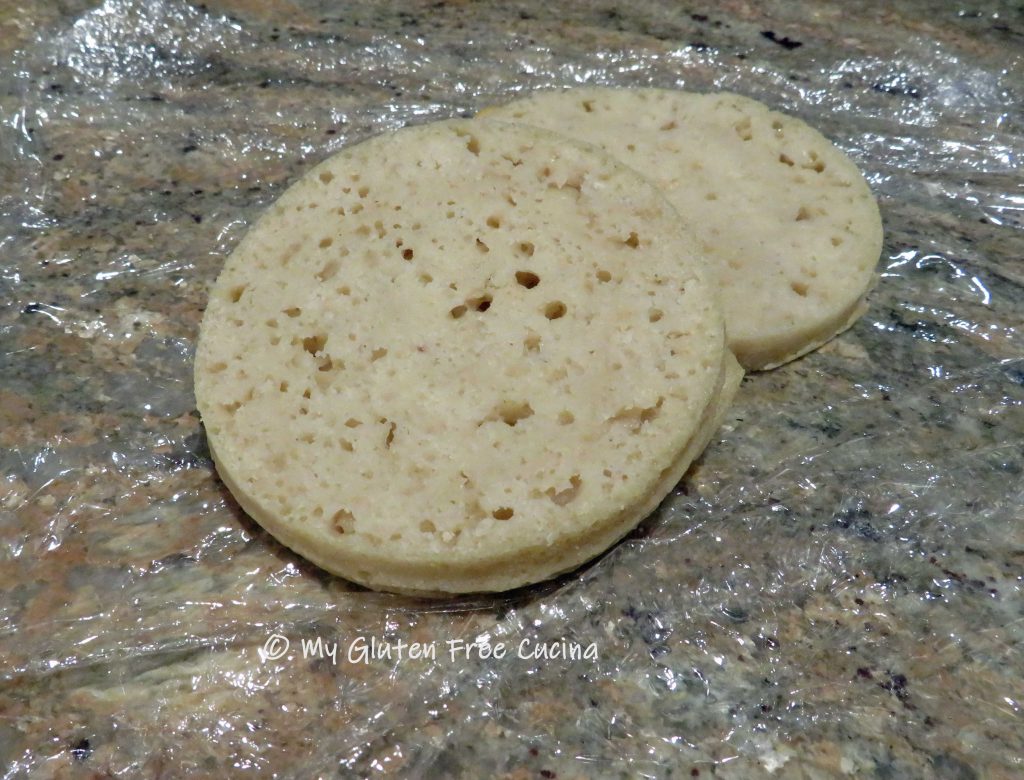
I was very happy with the appearance of the English Muffins right out of the oven. Of course, it’s not a success until you slice it open and taste it. Here’s how they looked before toasting, light with a nice open crumb.

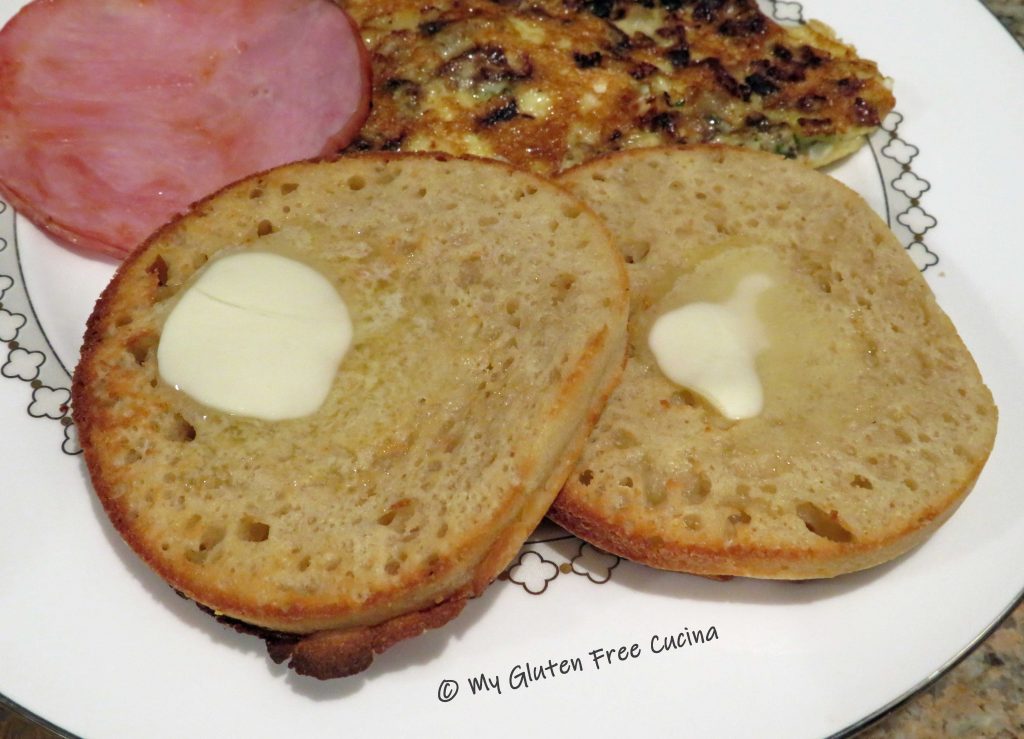
Now for the taste test, I toasted for 5 minutes and served with a simple pat of butter.
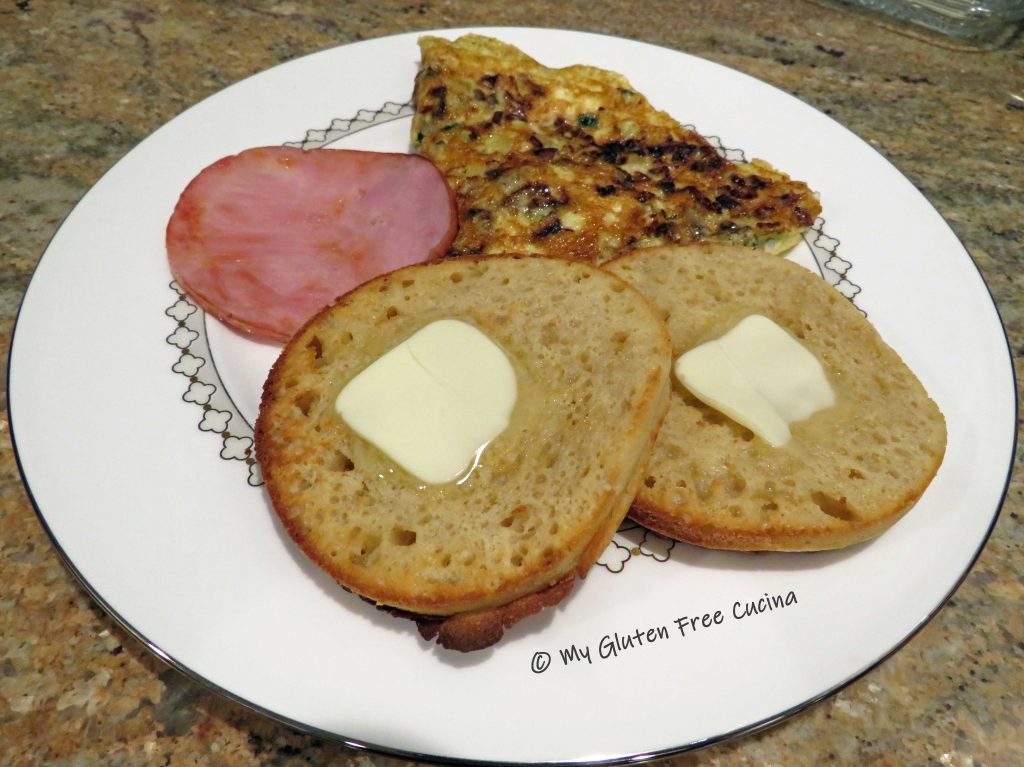
The verdict, I’m quite pleased with how this recipe turned out! The English muffins were mild tasting and light. As you can see they toasted up beautifully with edges nicely browned. I also got a thumbs up from my husband, who does not have to be gluten free.
I recommend that the English Muffins be frozen if you are not going to eat them within a day. Just wrap them individually in plastic wrap and place in a freezer safe bag.
Notes ♪♫ Cassava flour has been touted to behave like wheat flour in gluten free baking, a one for one substitution. In my experience thus far, it can definitely cut down on the ingredient list, but still performs best when blended with another starch.


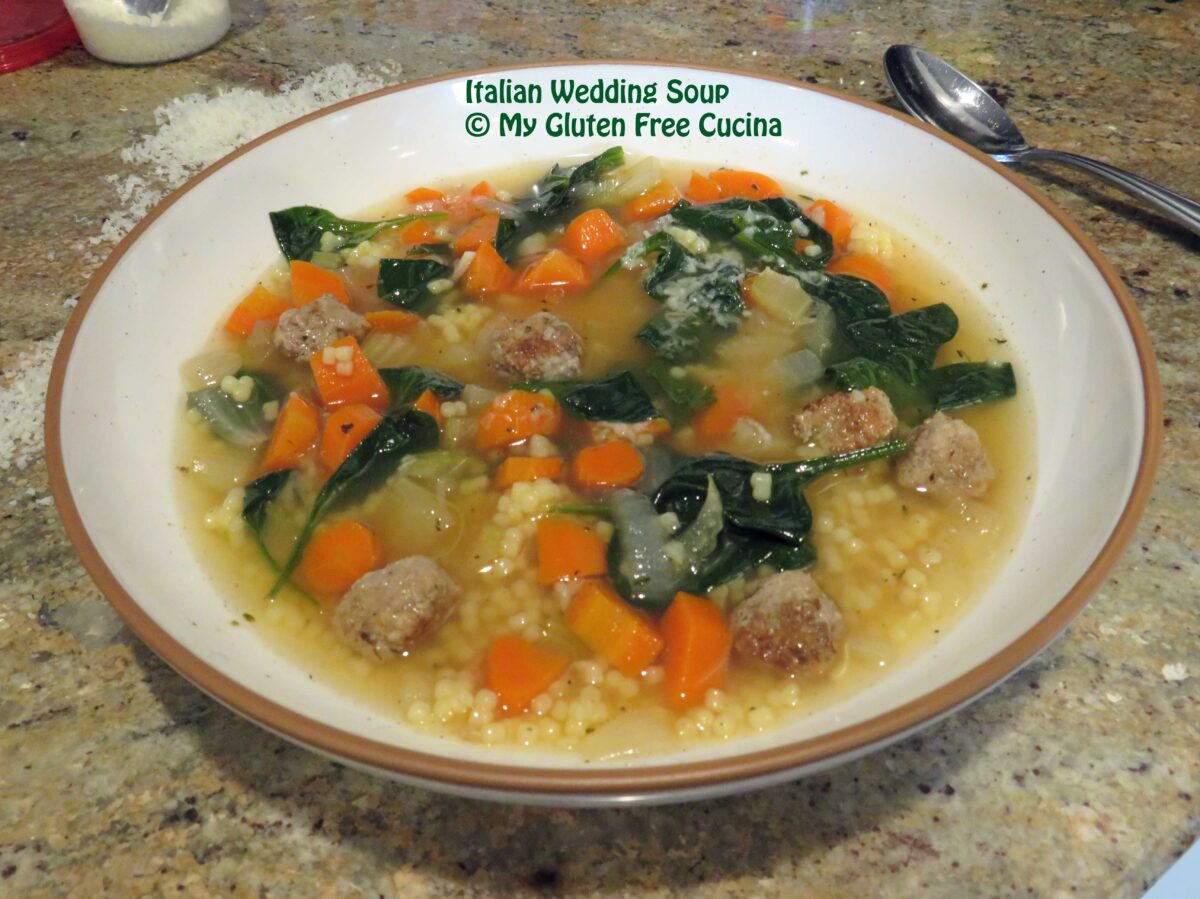


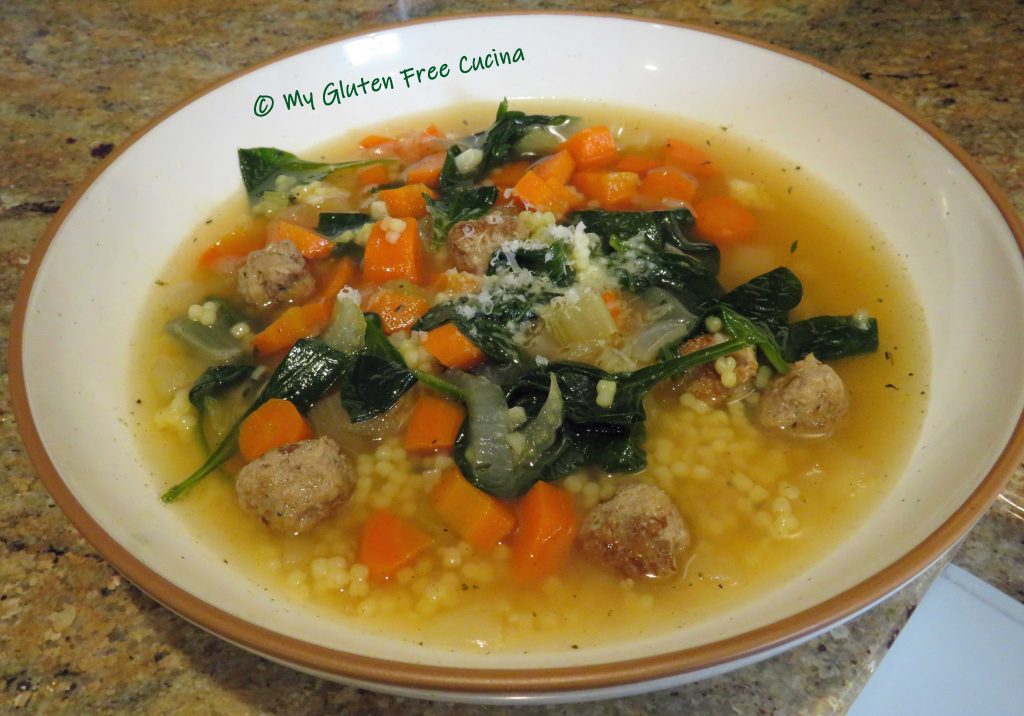
 Serve with finely grated cheese, use the good stuff!


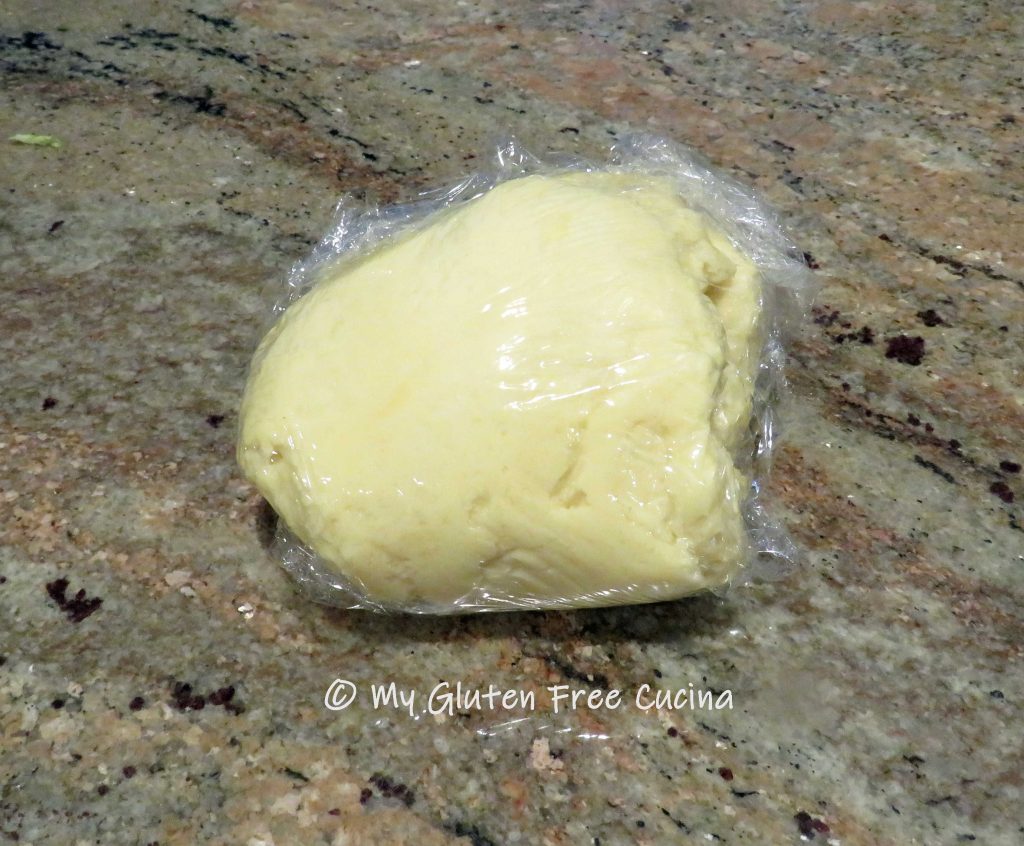

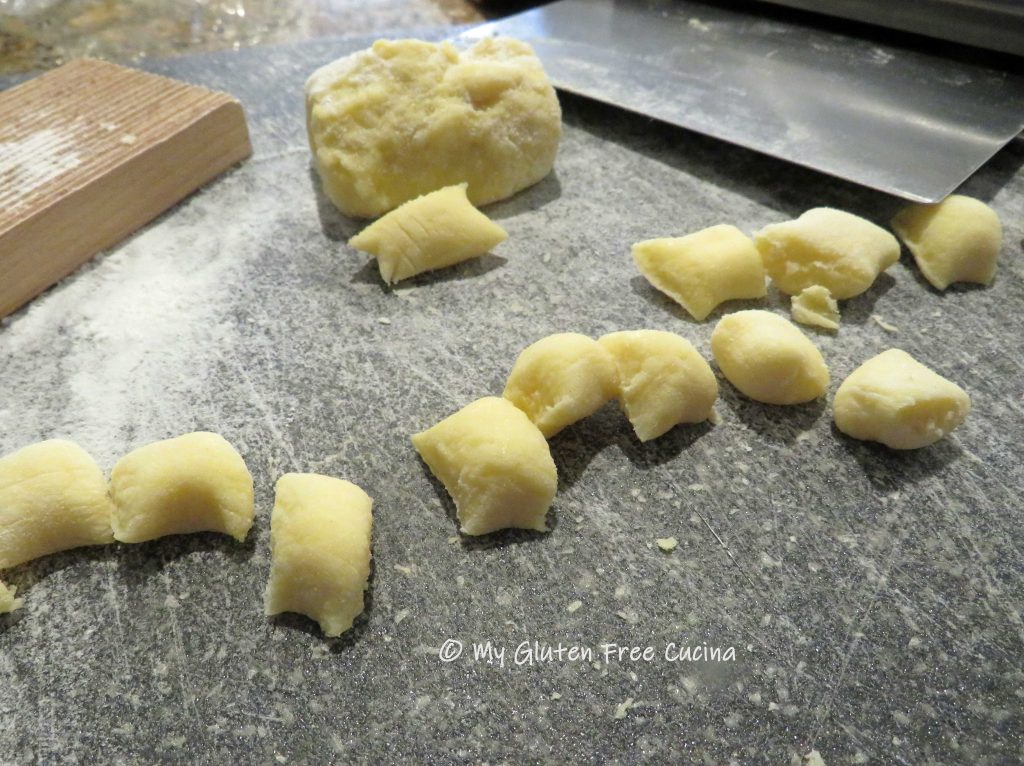
 Line a baking sheet with parchment or waxed paper and flour lightly. Place the finished gnocchi on the baking sheet. If not using right away, cover with plastic wrap and refrigerate.

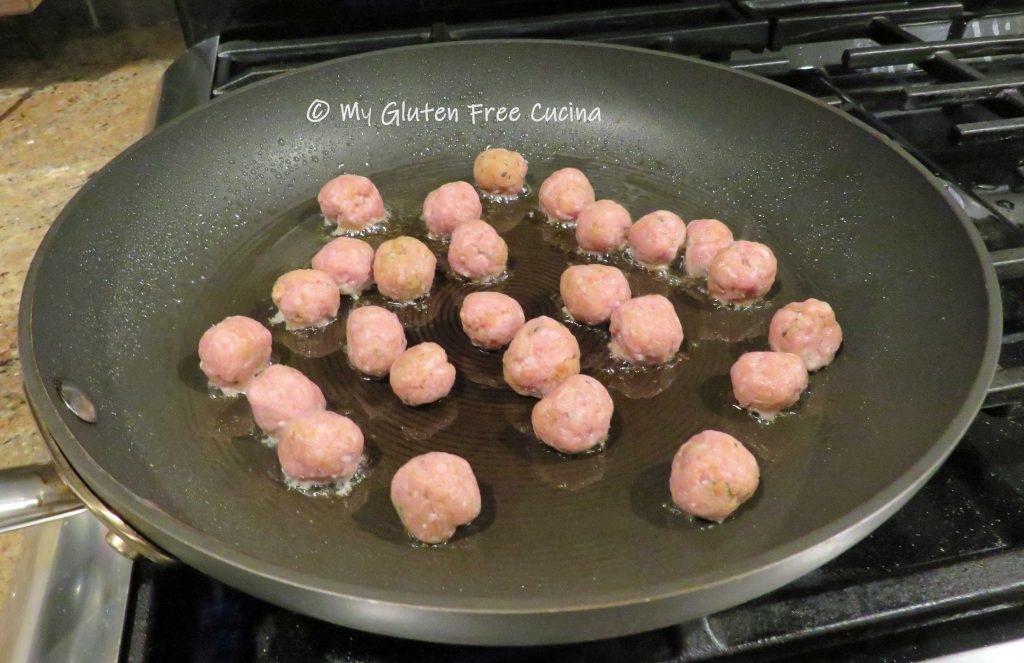
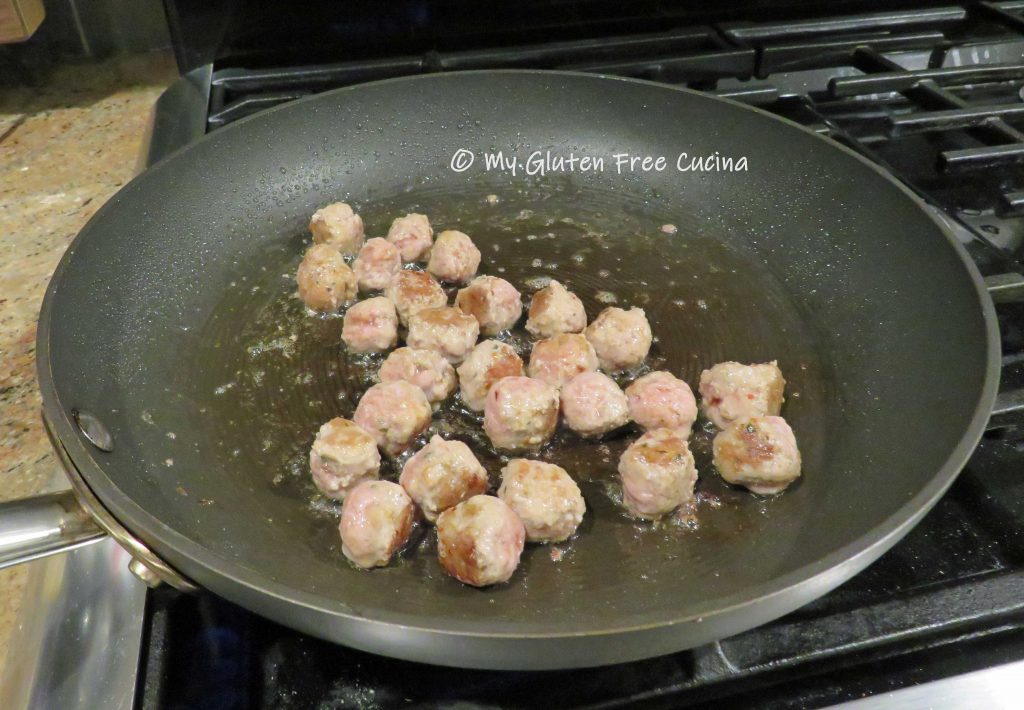
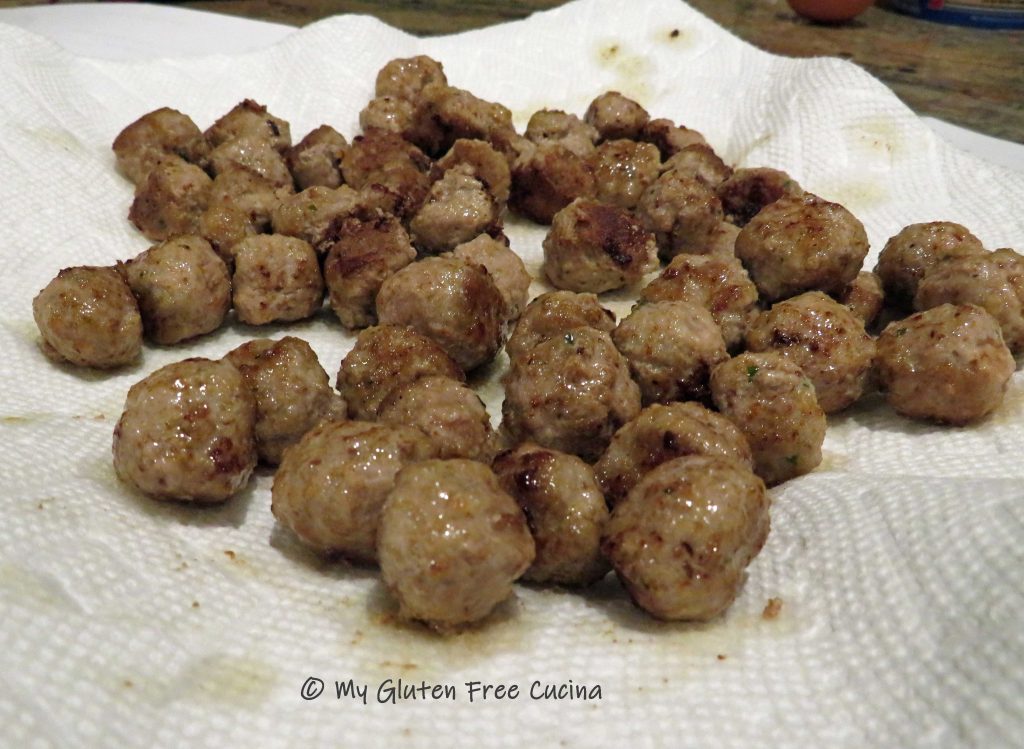
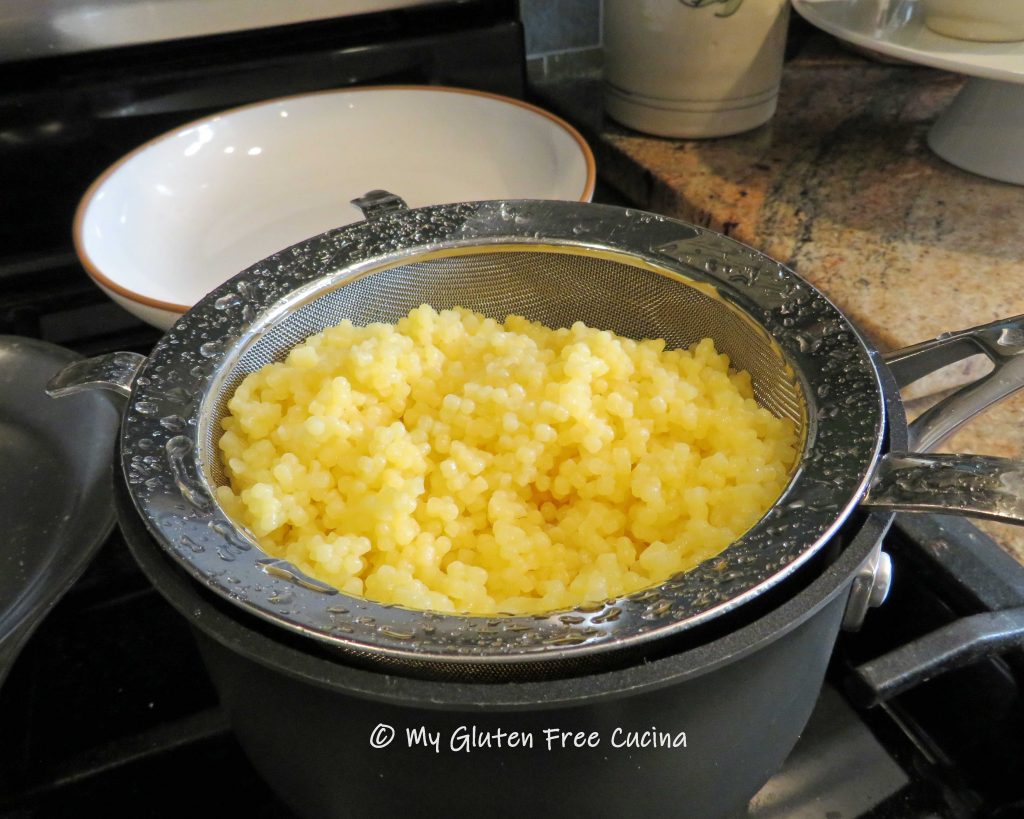
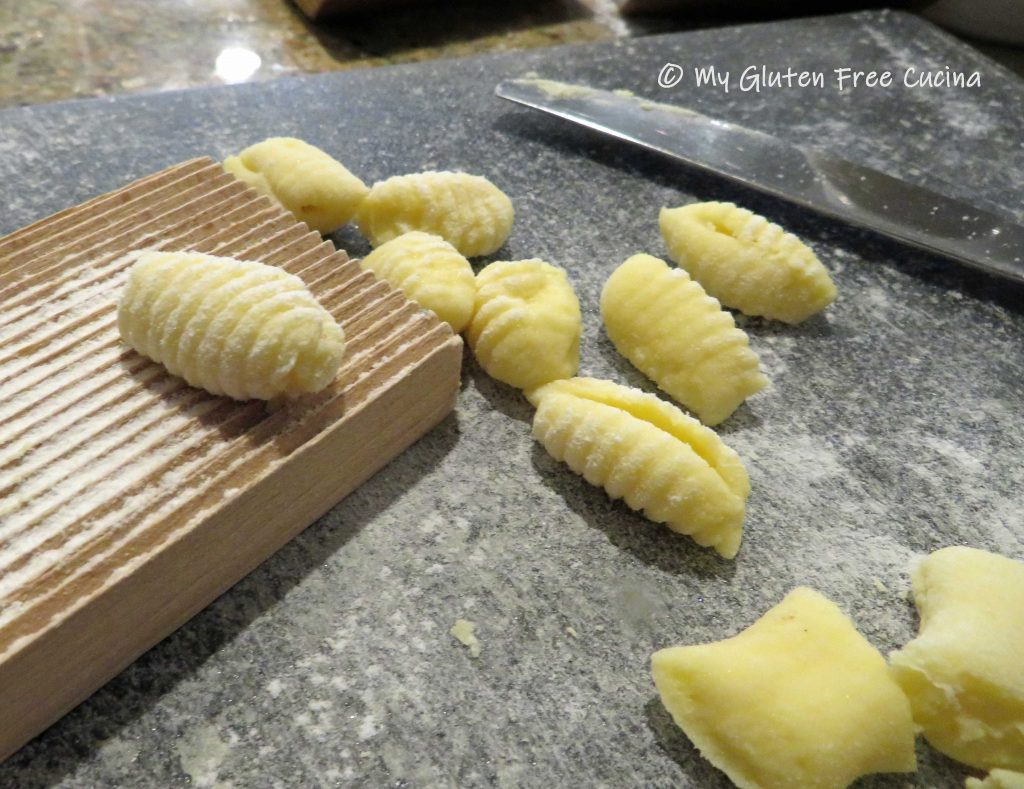
 Use a
Use a 


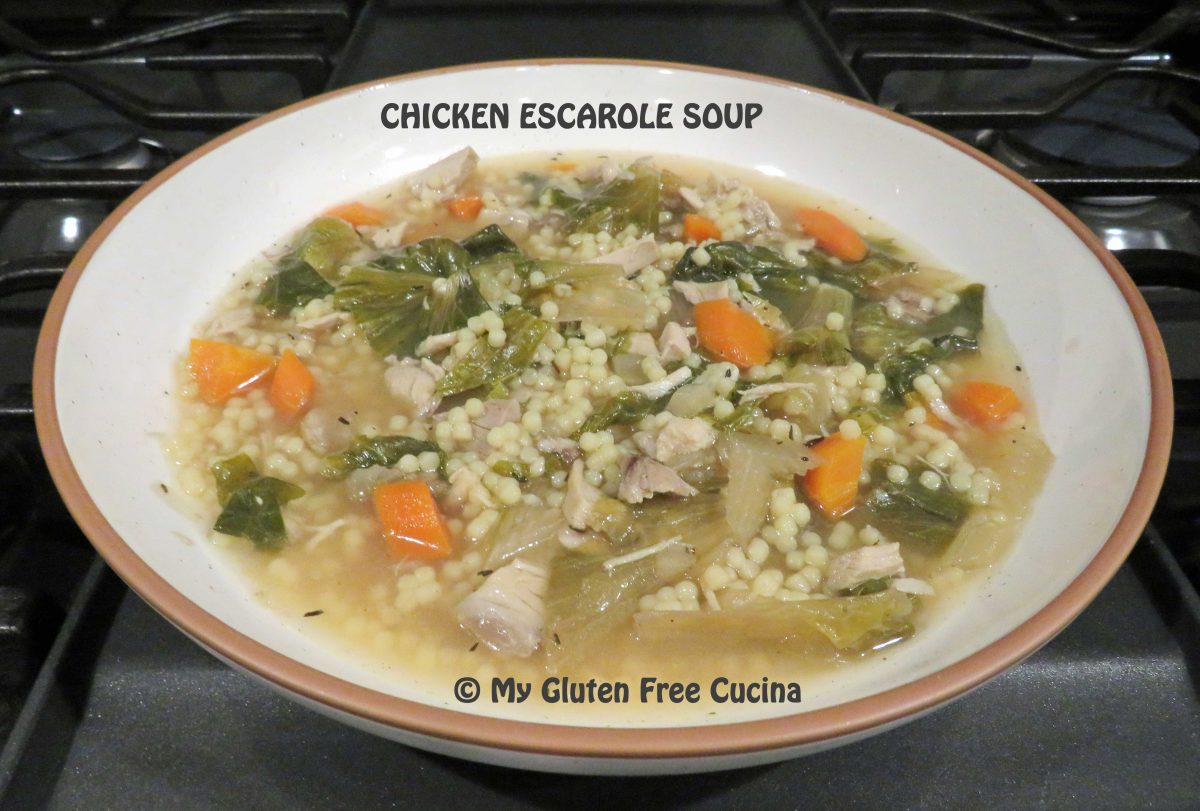


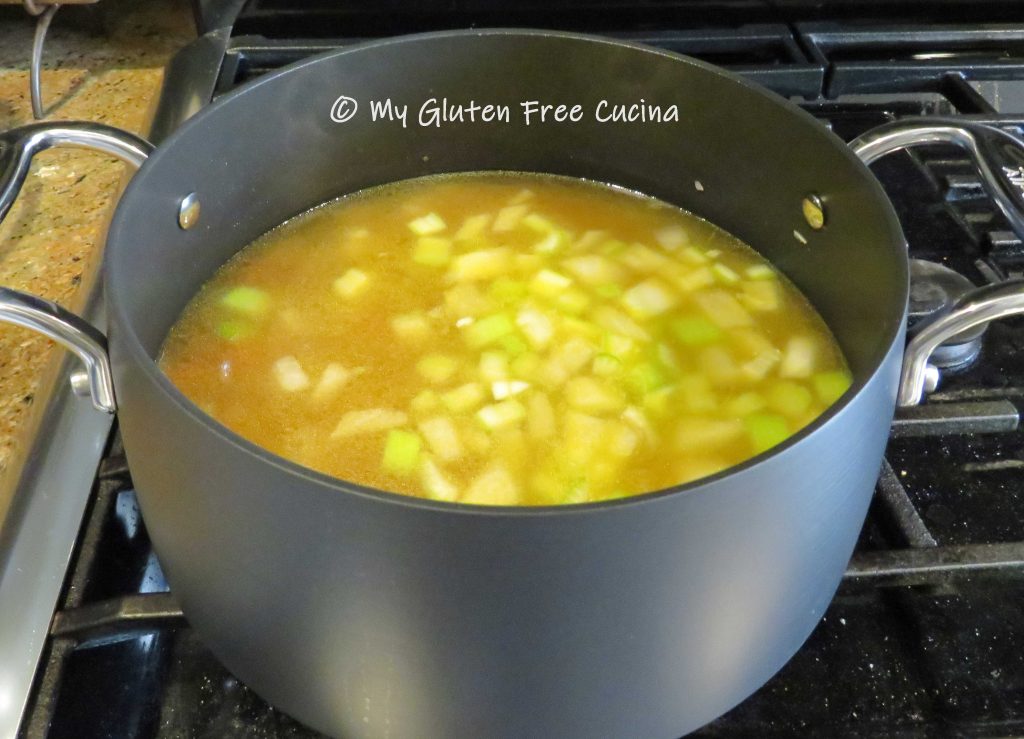
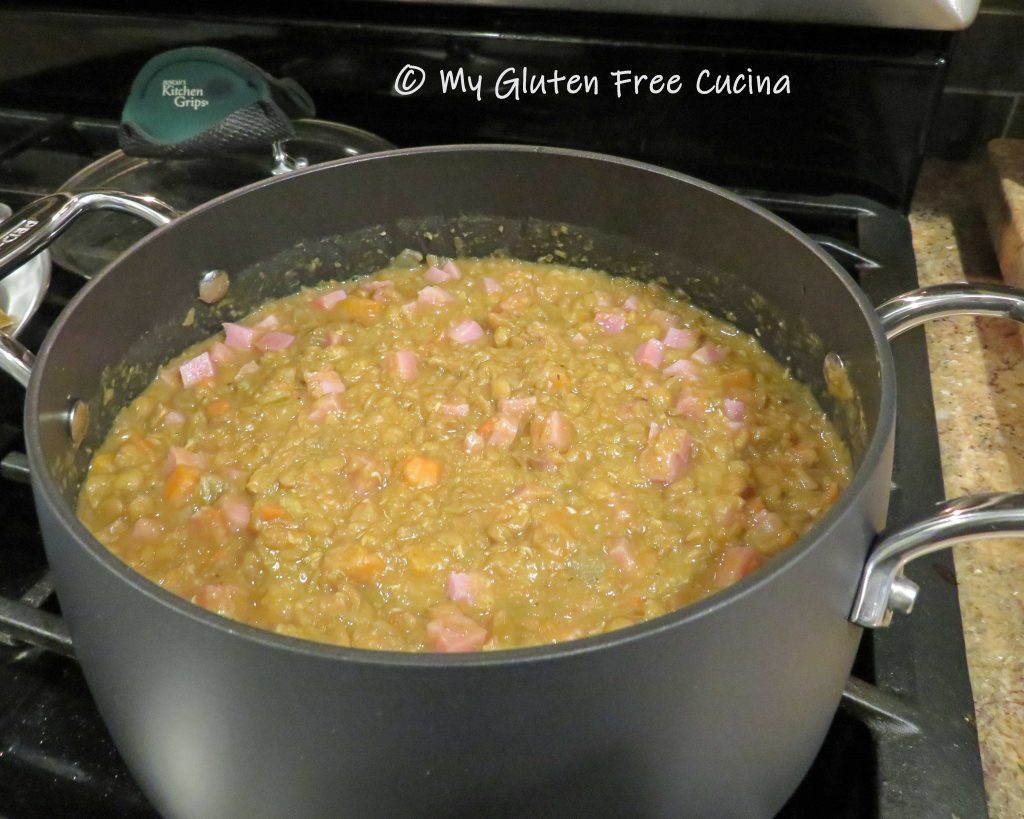
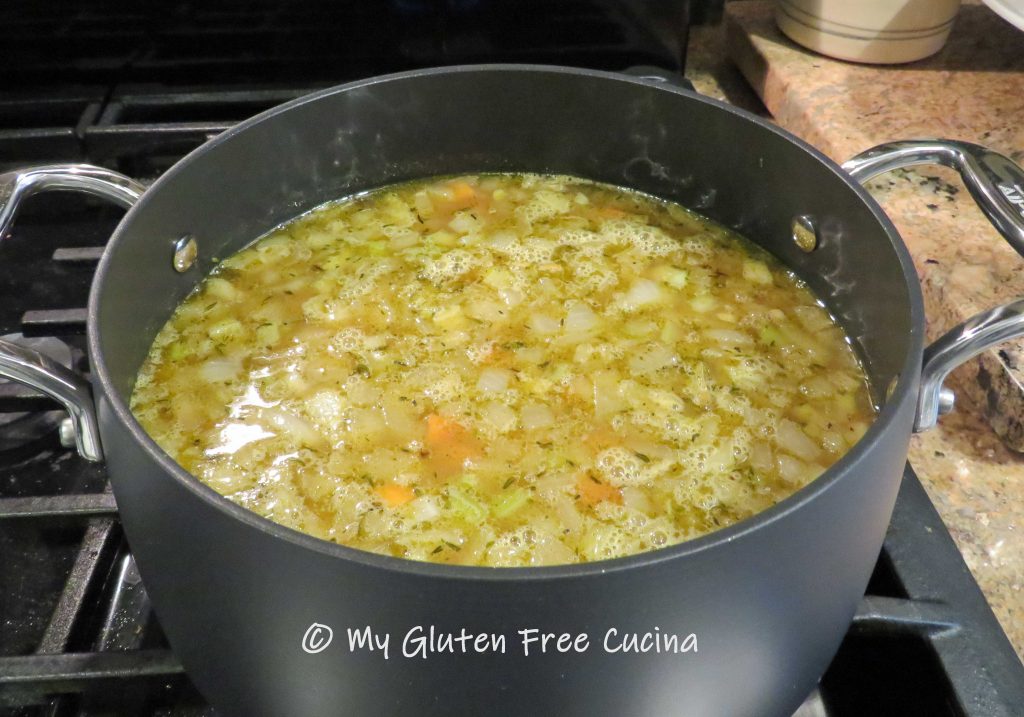
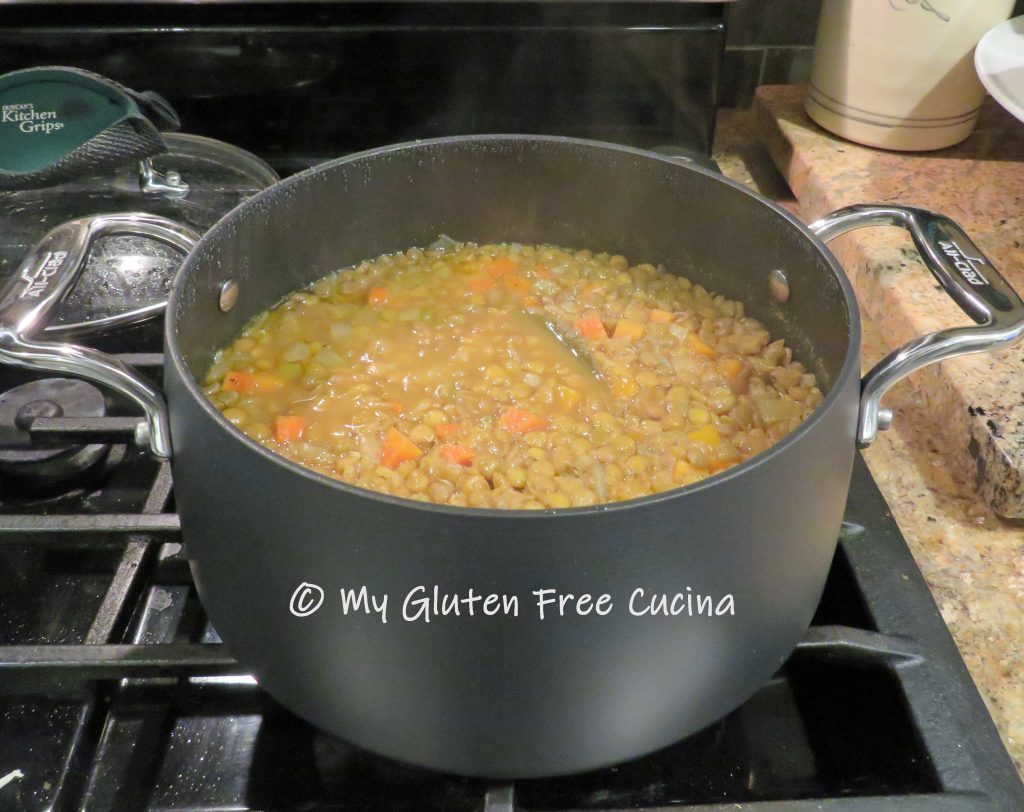
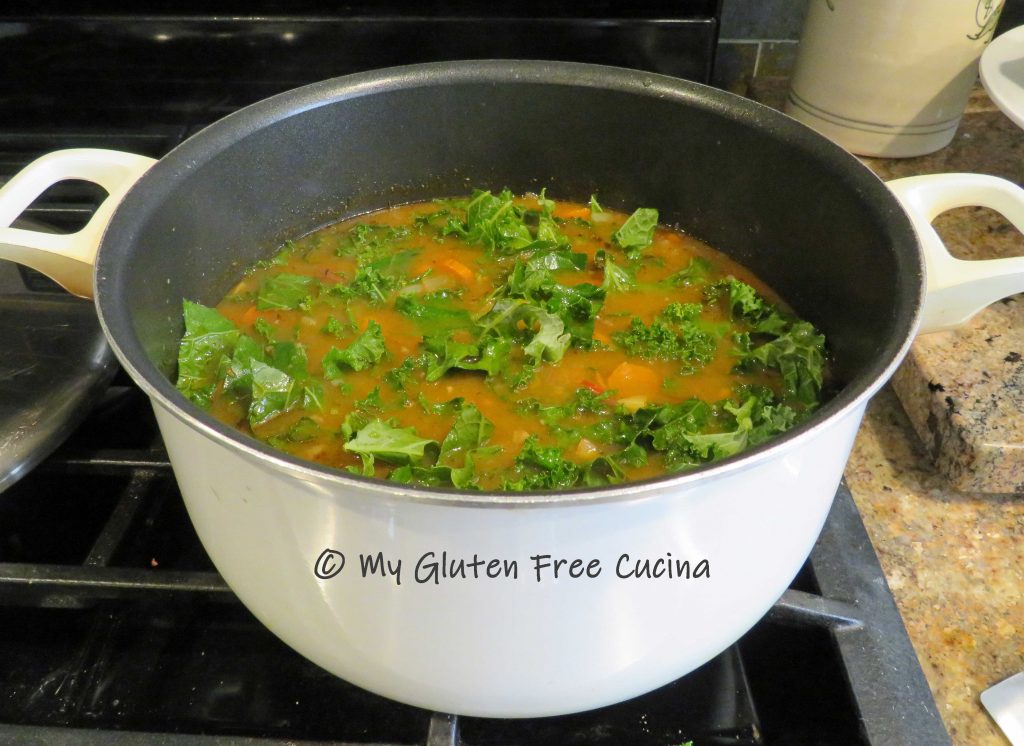
 Dice 6-8 carrots, 6-8 celery stalks, and one large onion. Try to cut the pieces to approximately the same size.
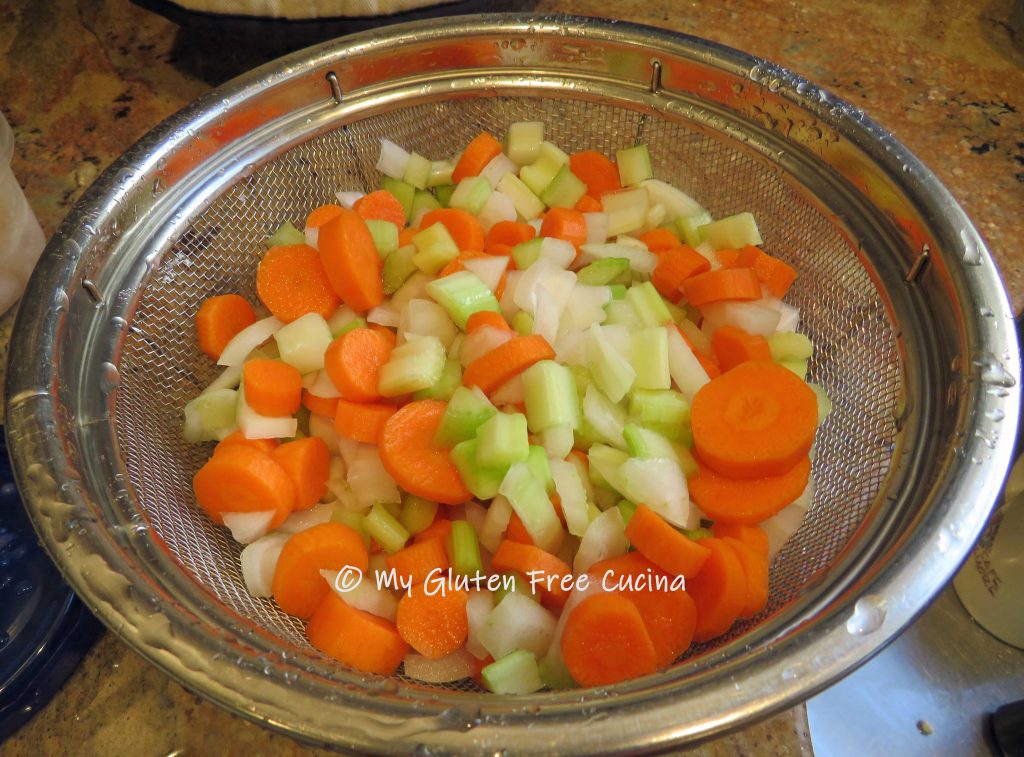 In a clean stockpot, sauté the vegetables in 1 tbsp. olive oil. Season with salt and pepper.
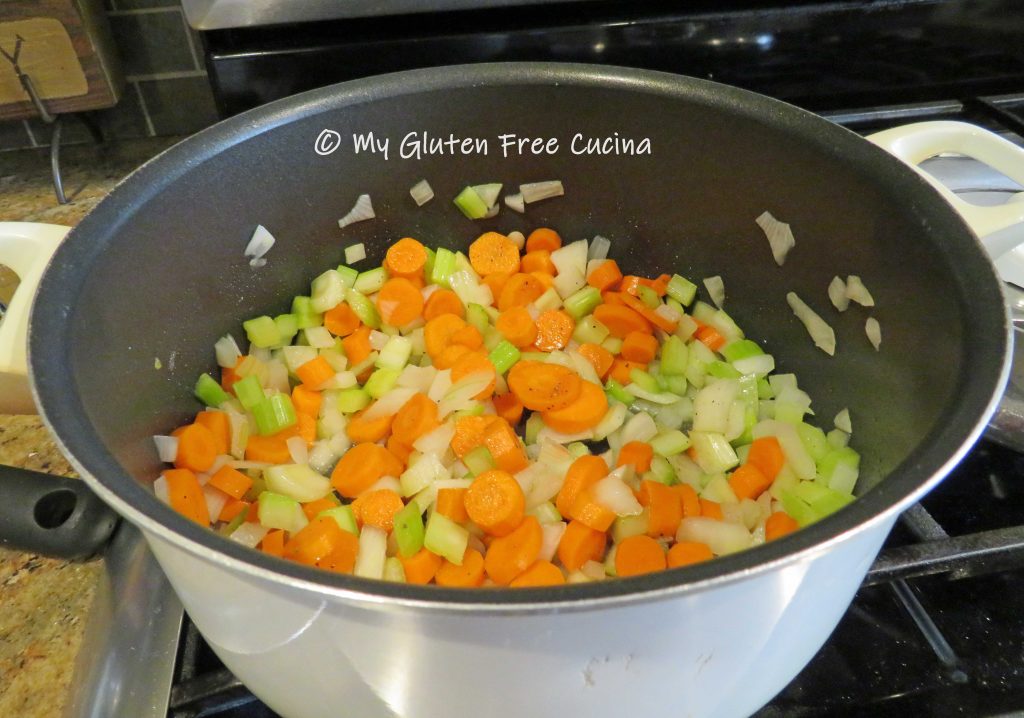

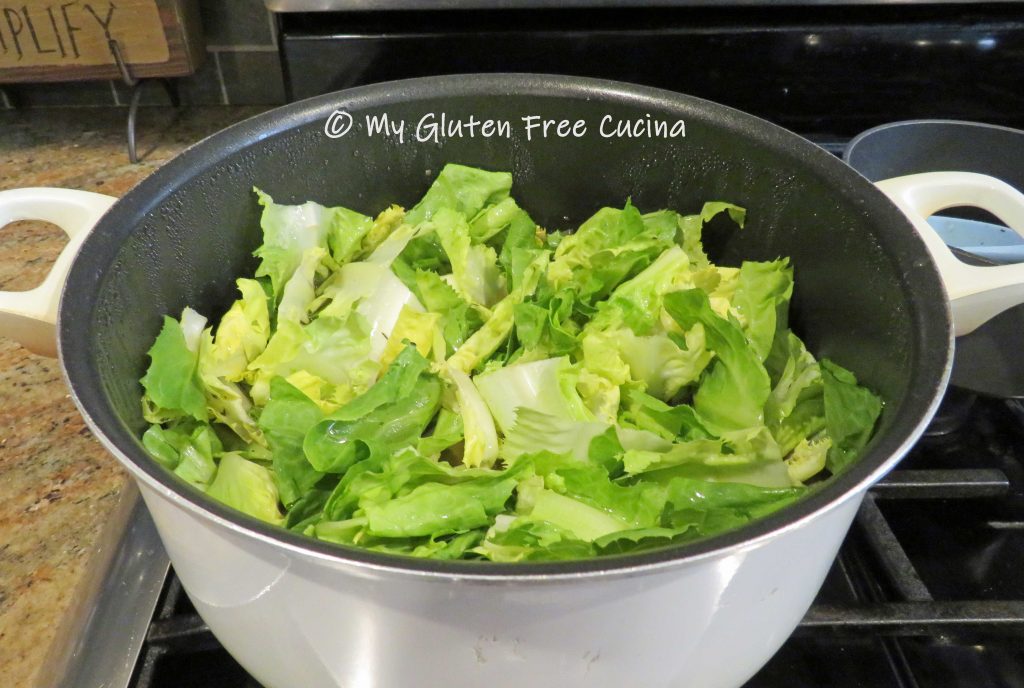
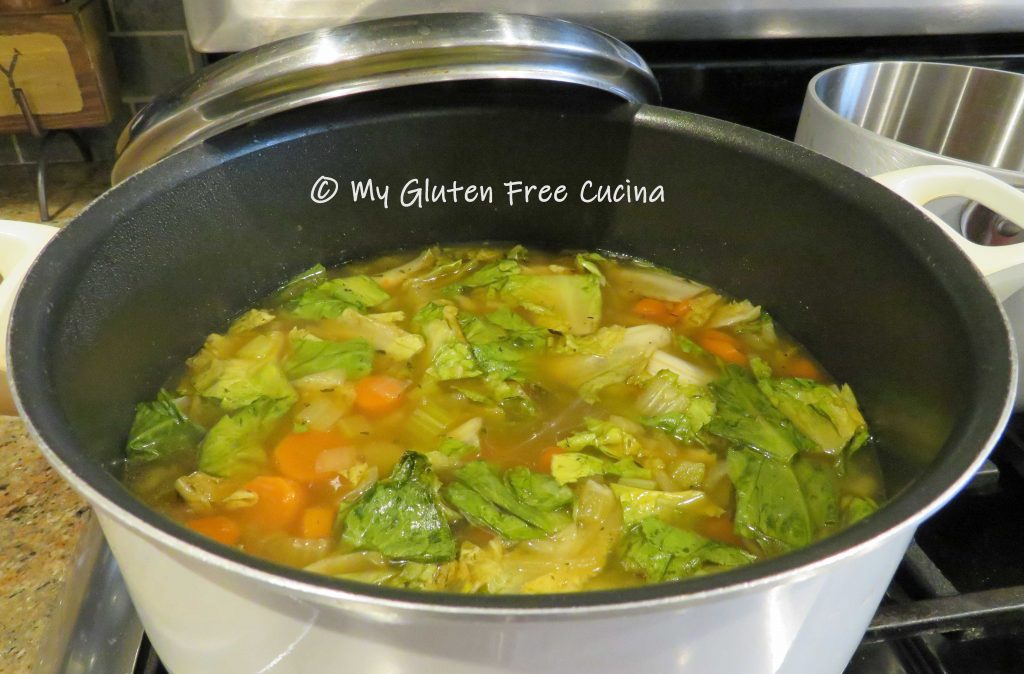
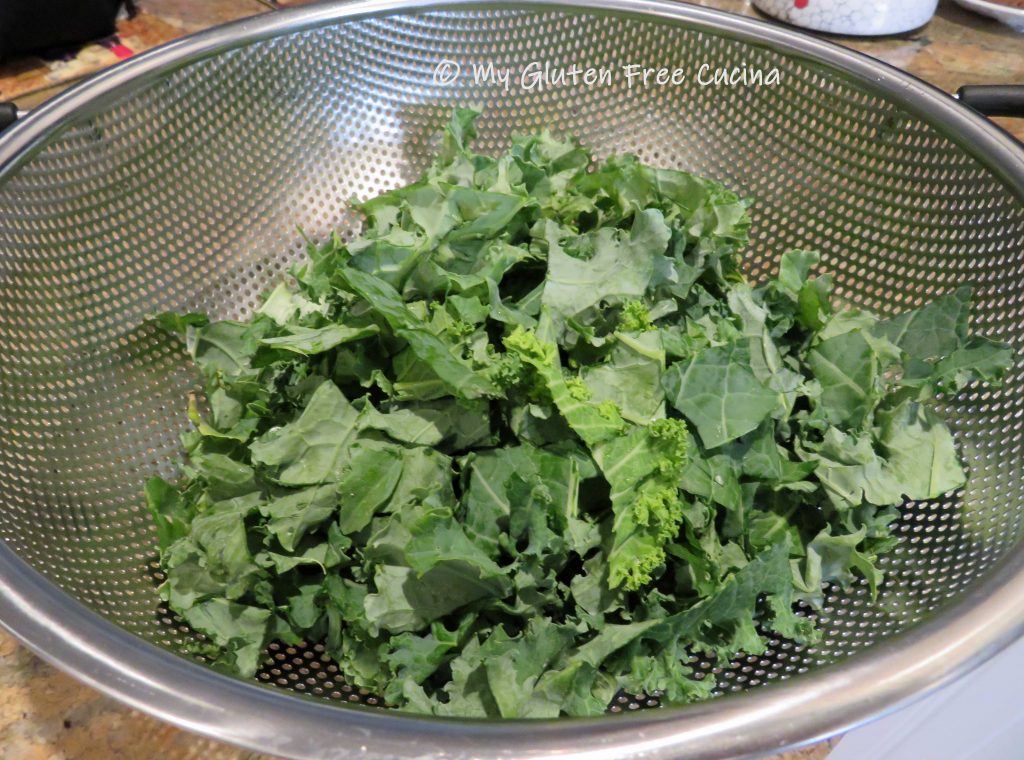
 Remove and discard the outer leaves of the escarole, then tear the leaves into large pieces and rinse thoroughly. To this day I can still hear my mother telling me to wash the escarole “leaf by leaf”.
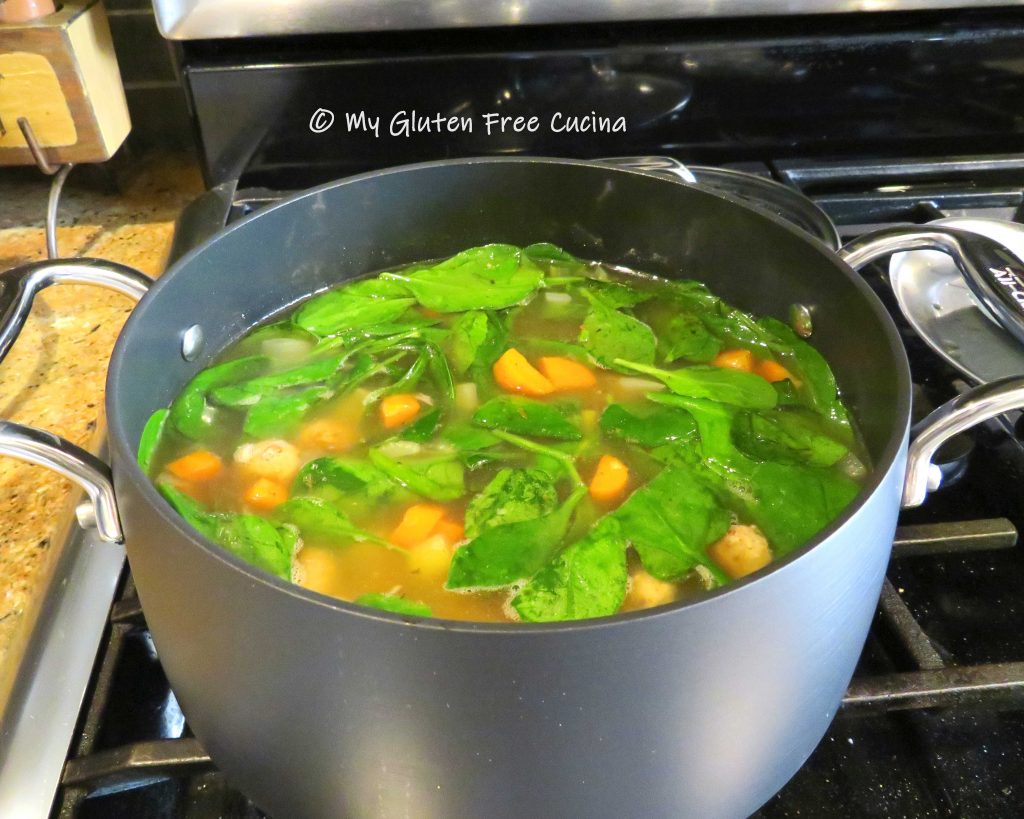
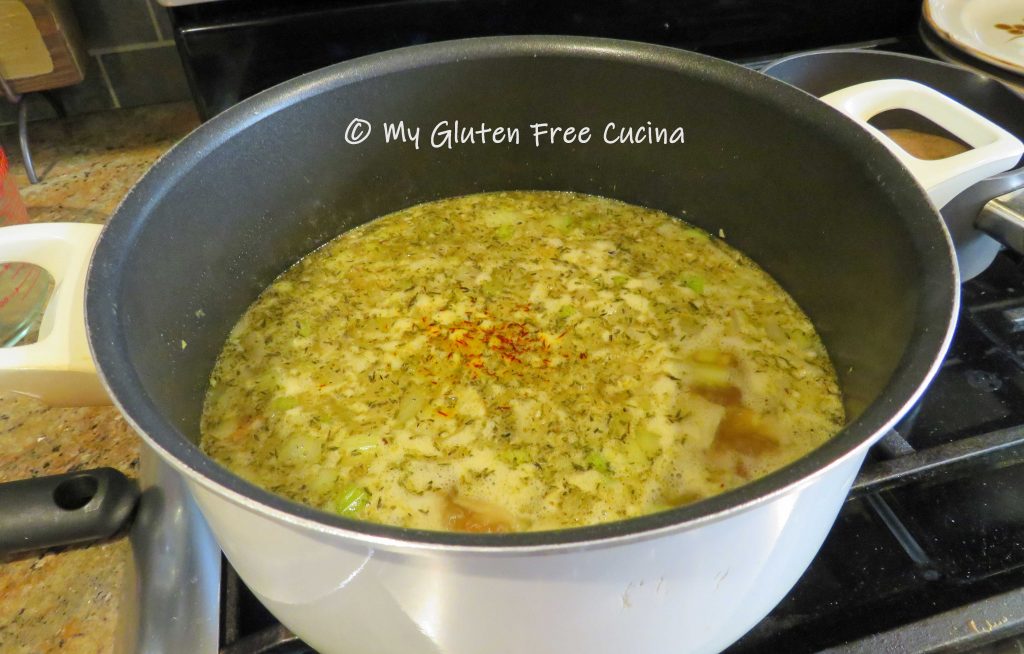
 Escarole cooks quickly, and the residual heat is enough to wilt the leaves. Stir well, cover the pot and let it cool to room temperature. Refrigerate overnight.
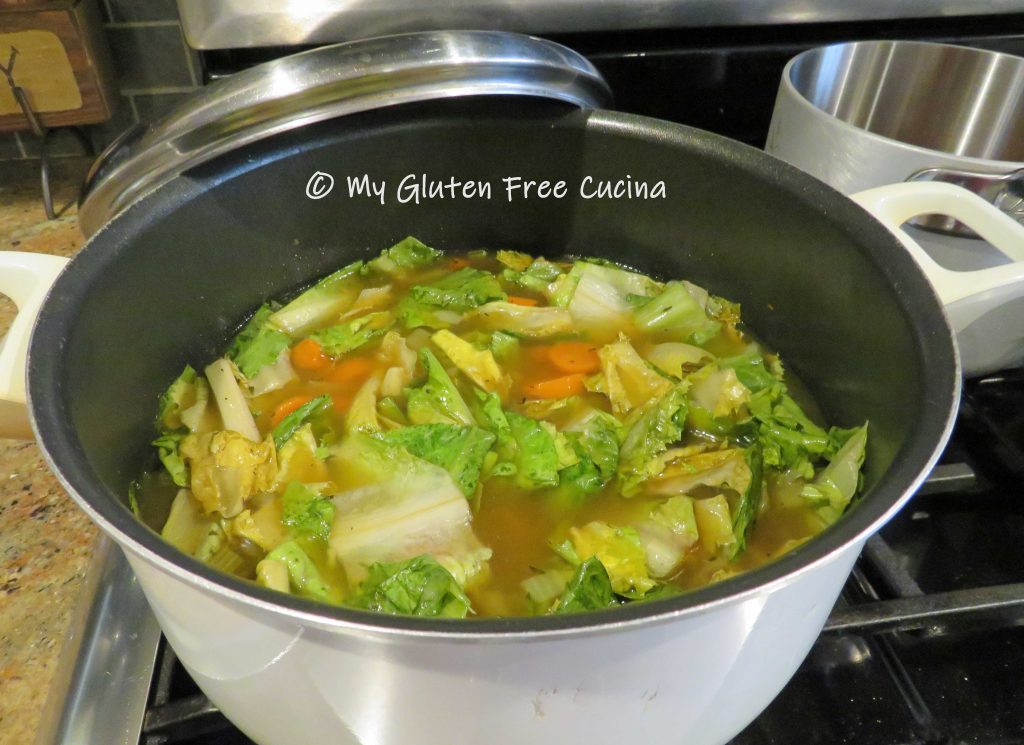


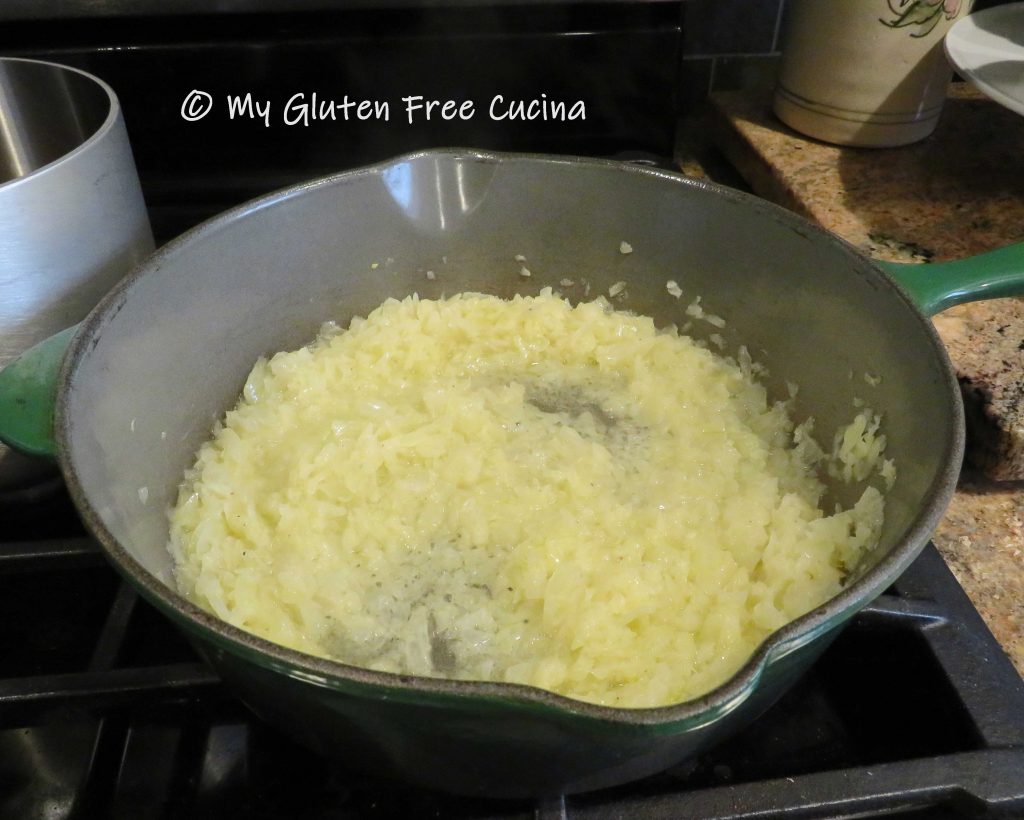 Have the corn starch, broth and a whisk ready for the next step. Sprinkle the corn starch evenly over the onions and whisk whisk whisk for 1-2 minutes. Don’t stop!
 Stream in the warmed broth and continue whisking. The gravy will thicken.
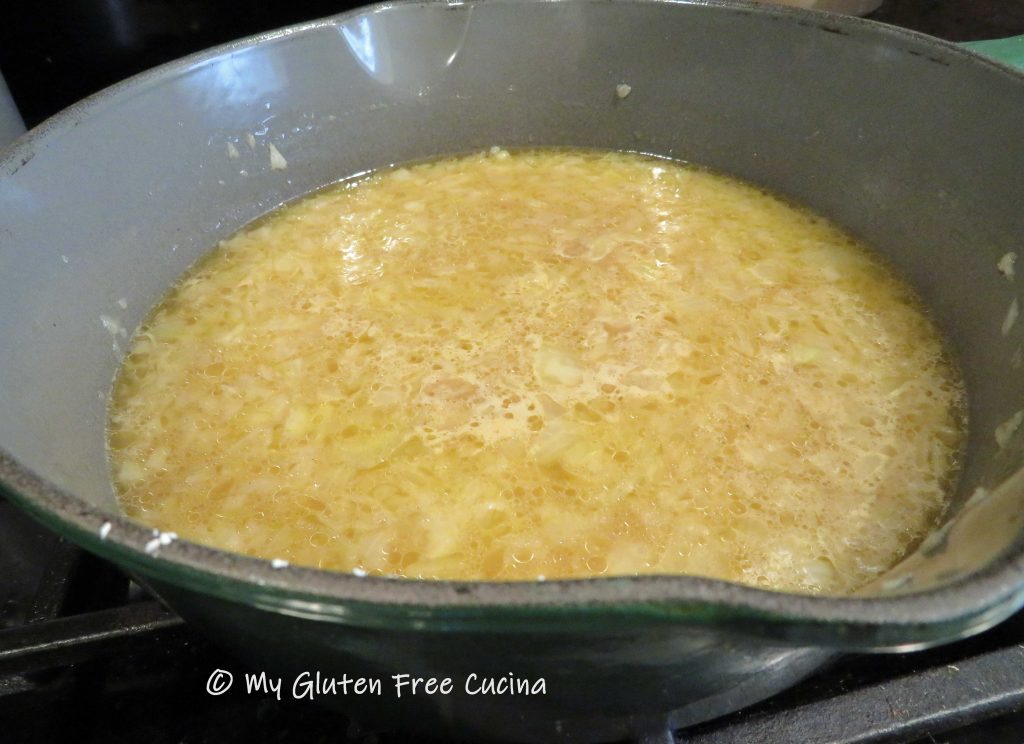 See how the onions have almost melted into the gravy? If you don’t want the little bits of onion that remain you can strain the gravy or puree it with an immersion blender. If you like a little texture definitely leave them in.
 Transfer the gravy to a small sauce pan, then stir in the brandy and cream. Cover and keep warm until serving.


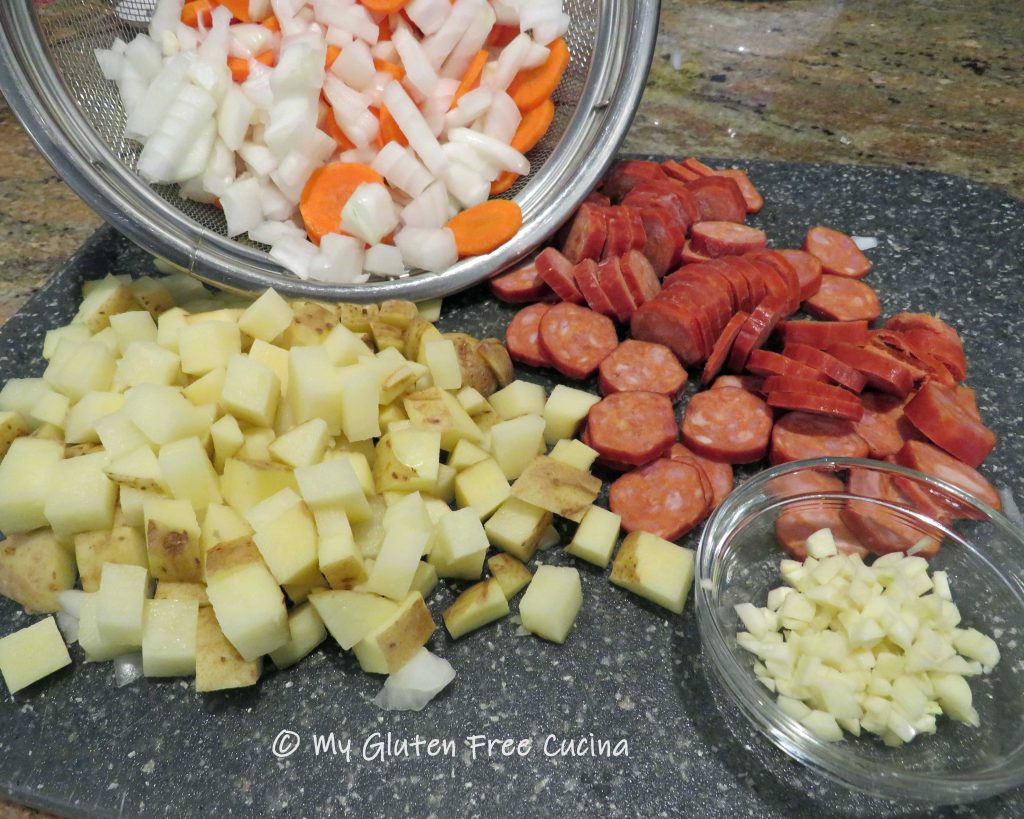
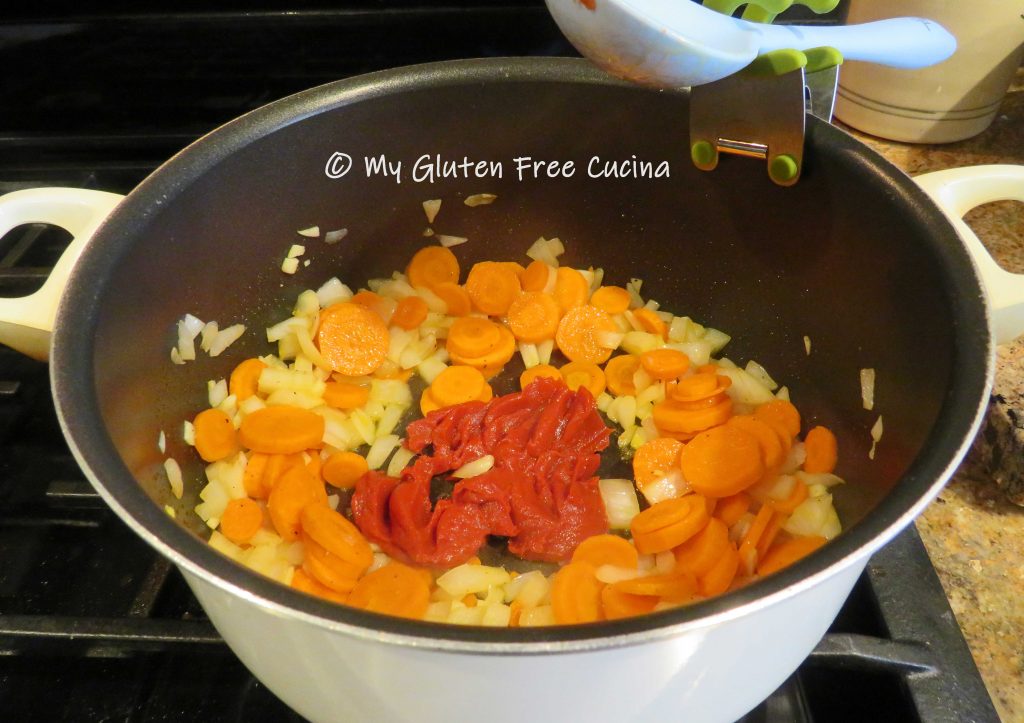
 Heat olive oil in a stock pot, and stir in the onions, carrots and garlic. Season with salt and pepper and cook 2 minutes.
 Add the Linguica, stir and cook for 5 minutes.
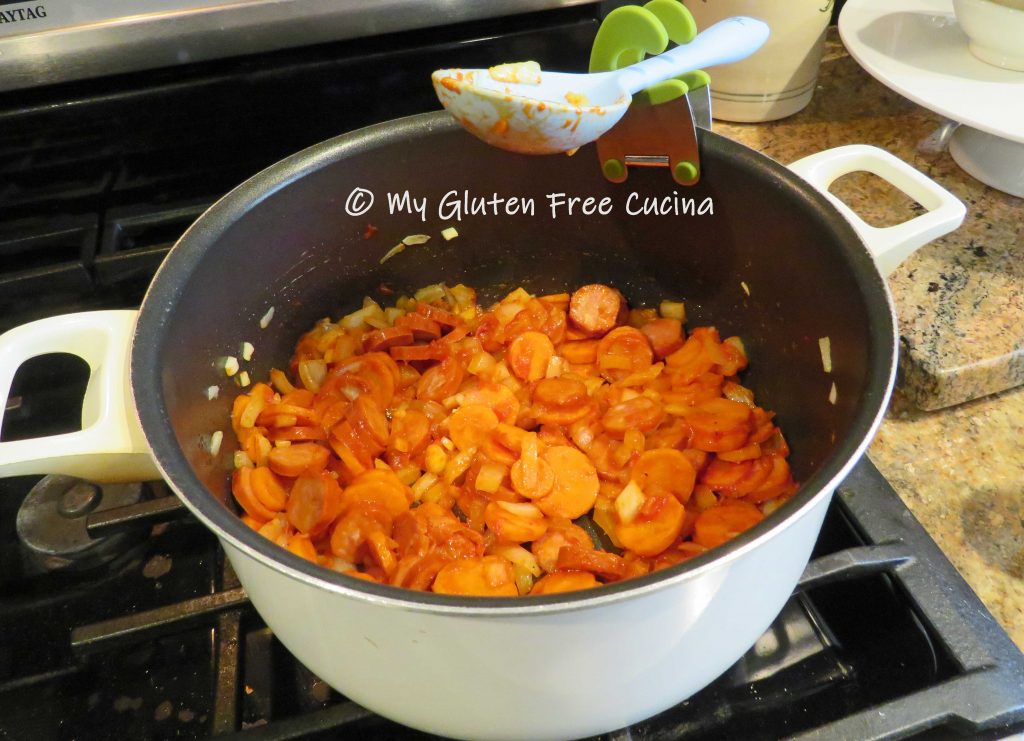


 To complete my seven fishes, I bought a dozen fresh littlenecks and flounder from the frozen aisle. I topped it all off with a crab cake made with

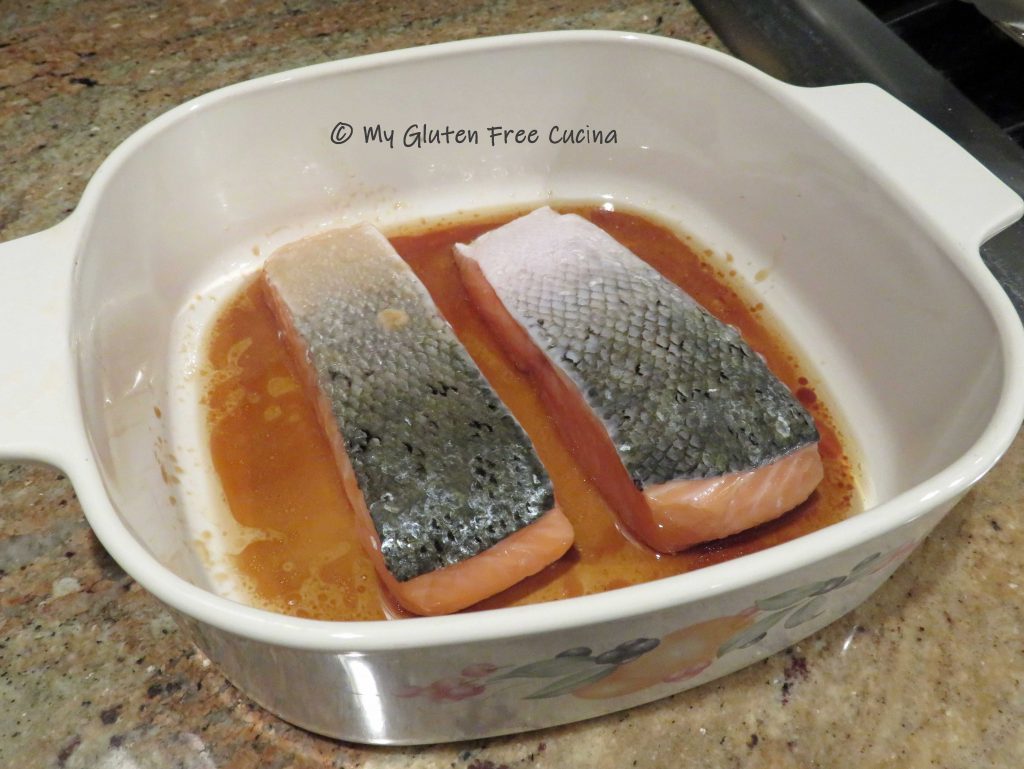
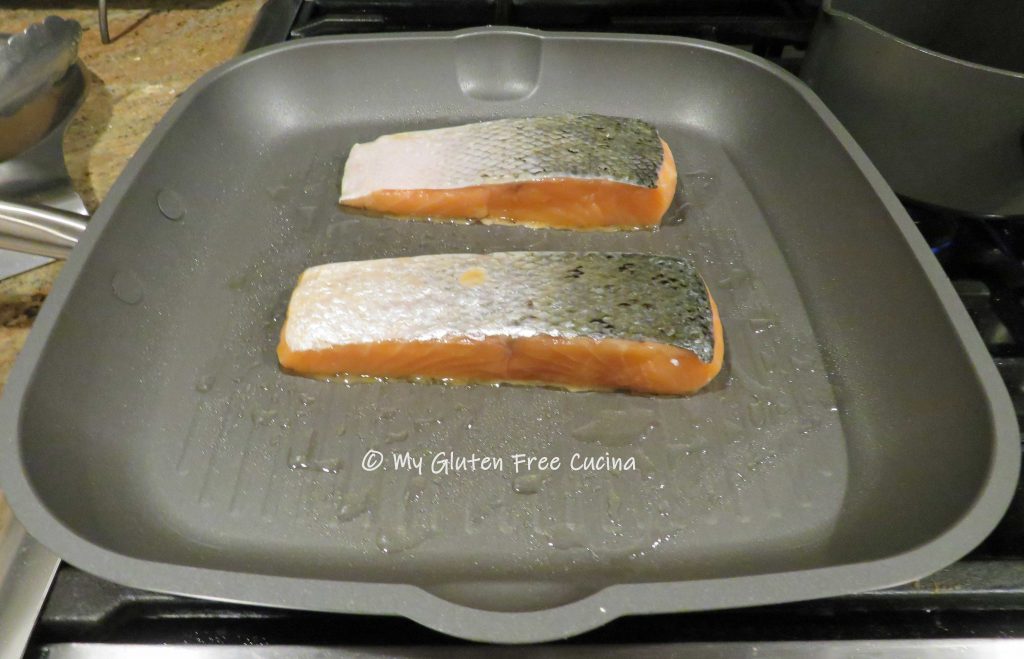
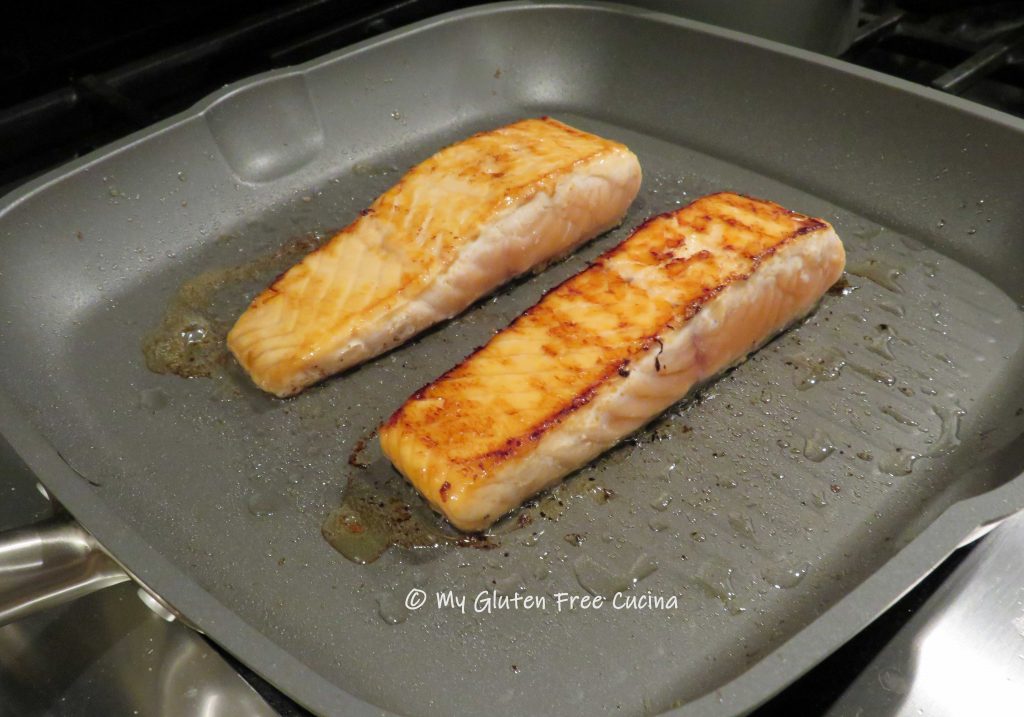
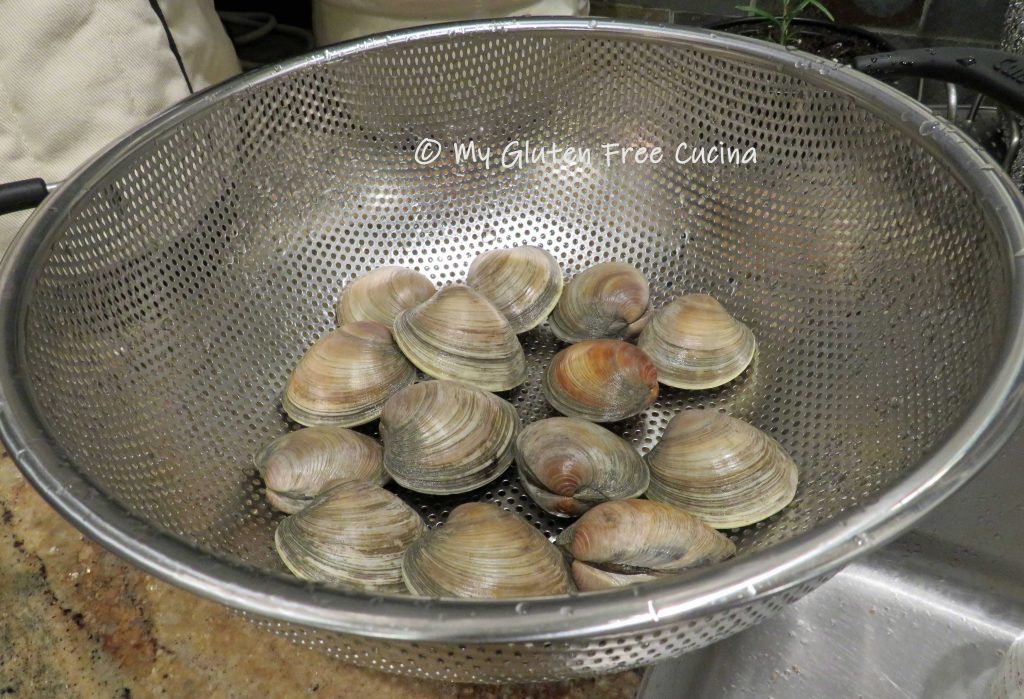 If using frozen fish, thaw before cooking. You can improve the texture by soaking it in milk.
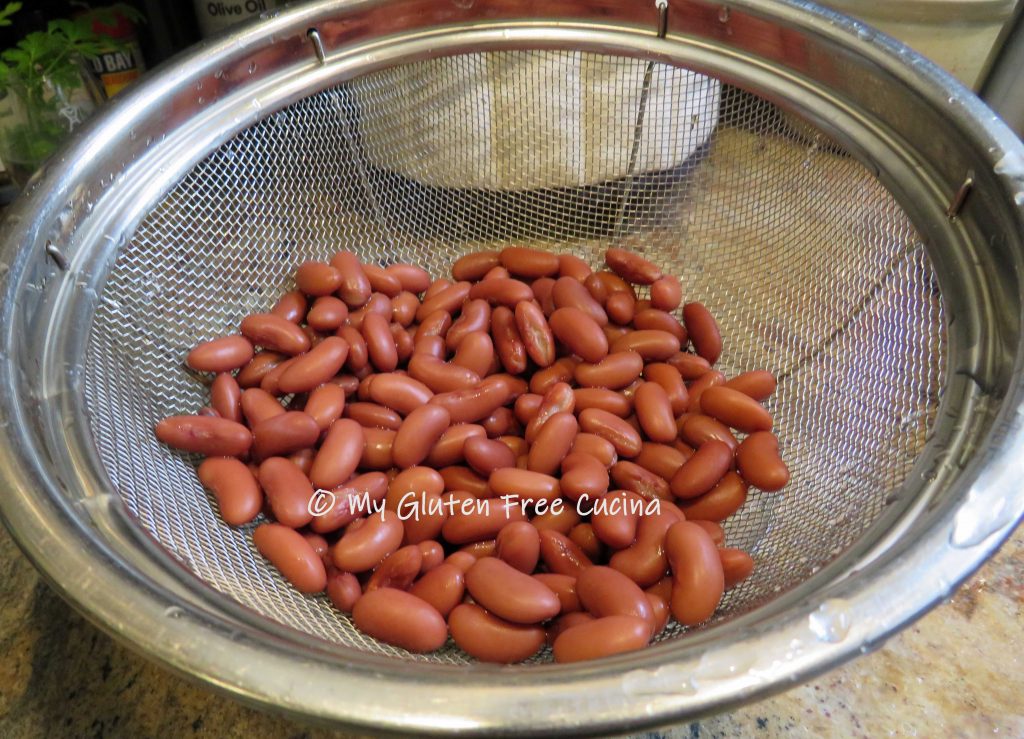
 Sauté 2 minutes then add the tomatoes, lemon juice, Worcestershire sauce, stock, white wine and the spices. Cover and simmer on low for 30 minutes.