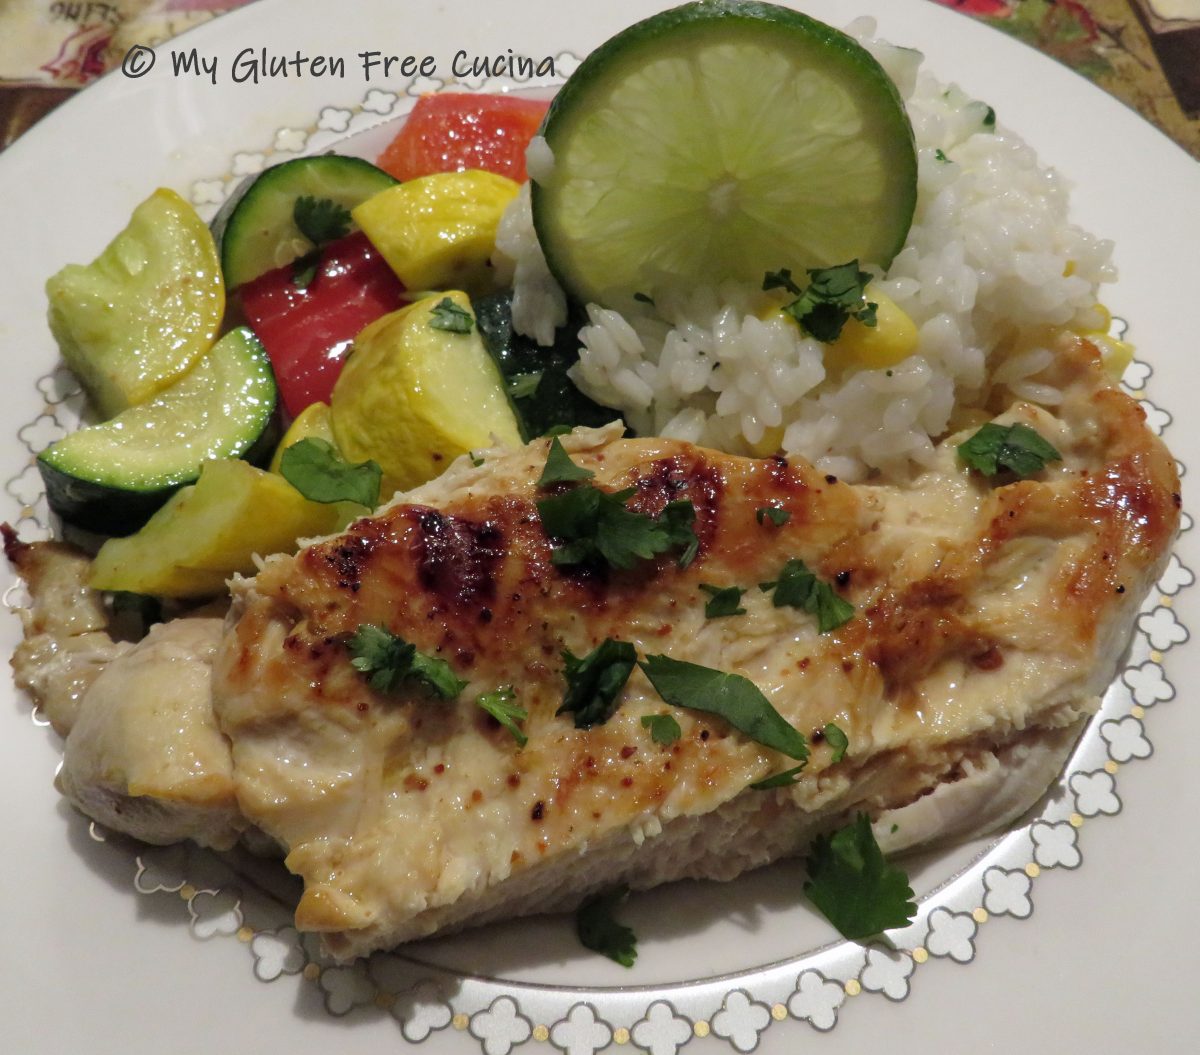
Favorite Mexican Grilled Chicken
I haven’t been out to dinner much lately. Sometimes it’s just easier to stay home, but there is a local Mexican restaurant that I’m especially missing. Not dedicated gluten free but they always make sure that I have a safe basic meal of grilled chicken, rice and veggies. It was a cinch to recreate this favorite dinner at home, especially during the summer months when squash is abundant, and cilantro is growing fresh in my herb garden.

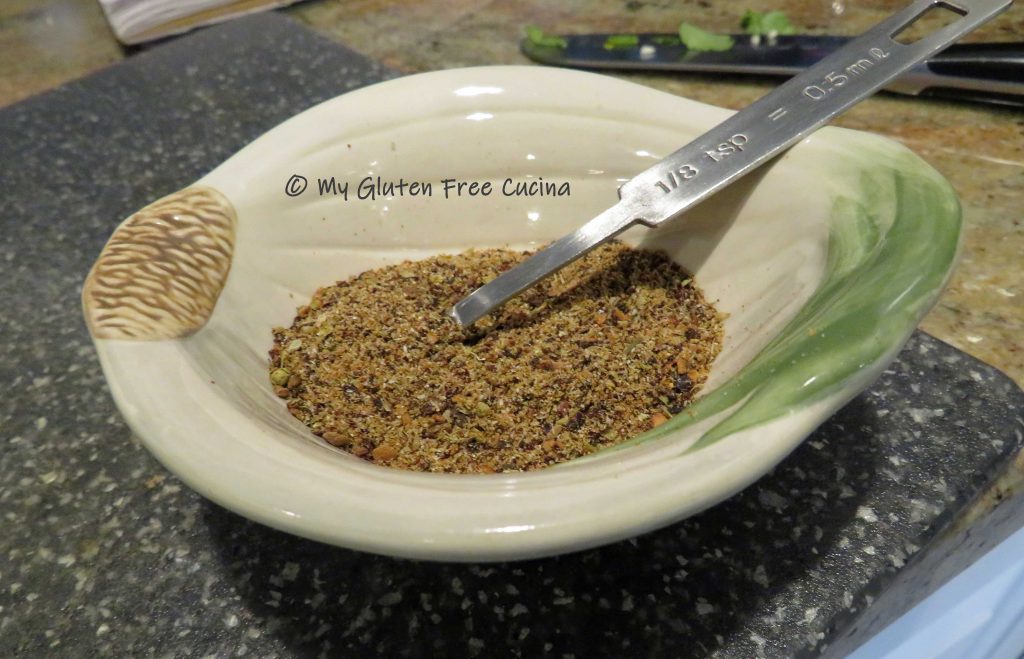
Grilled chicken is a no brainer. So, how do we give it that Mexican flavor profile? To me the must-haves are Chipotle Chile, cumin, onion, oregano, cilantro and lime… The entire meal echos these flavors. Get my Mexican Spice Blend here.
2 Servings
This post contains affiliate links.
Ingredients:
- 14 oz. boneless chicken breast
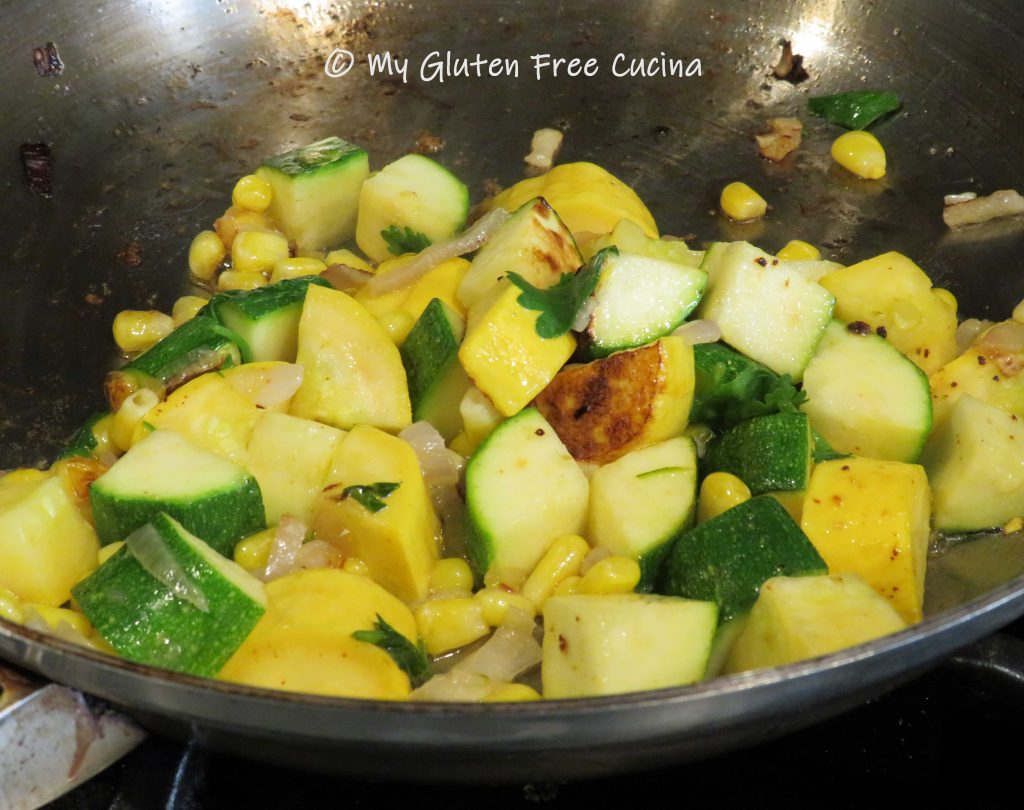
- Zucchini and summer squash, diced
- 1/4 cup sweet corn
- 2 tbsp. shallots, minced
- Olive oil
- Mexican seasoning
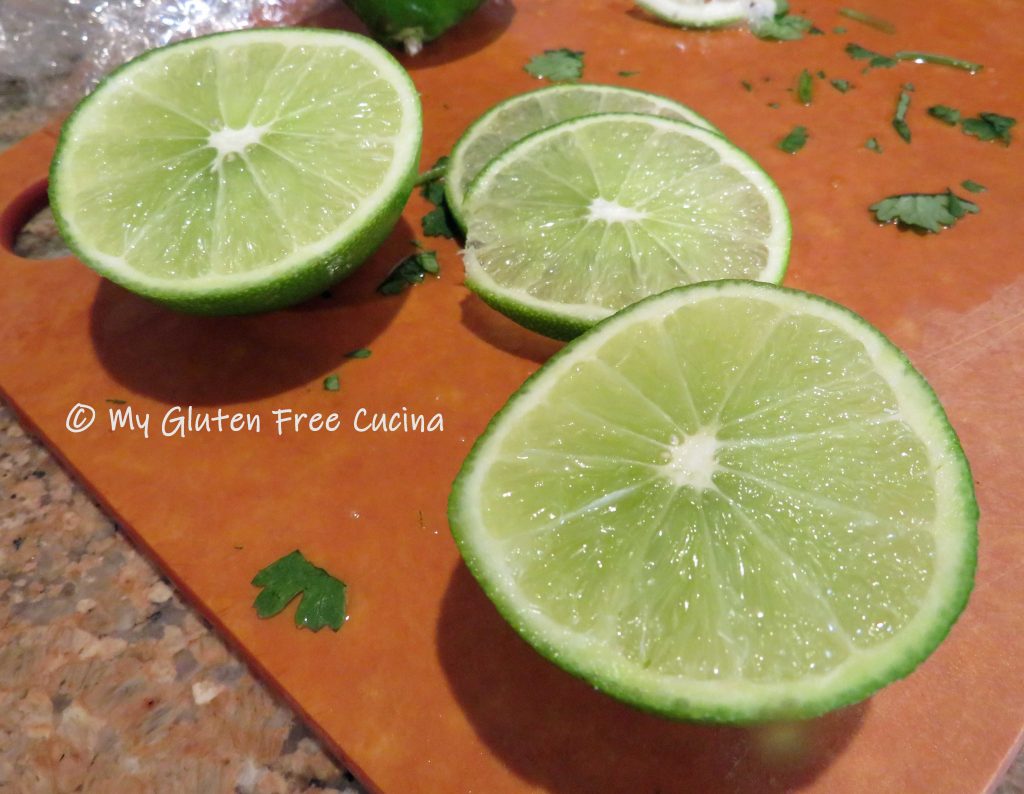
- Juice of 2 limes
- Fresh cilantro, for garnish
Preparation:
Butterfly the chicken breast by slicing through the center horizontally, cutting almost to the other side and opening it up like a heart. Place between 2 sheets of plastic wrap and pound to an even ½” thickness.

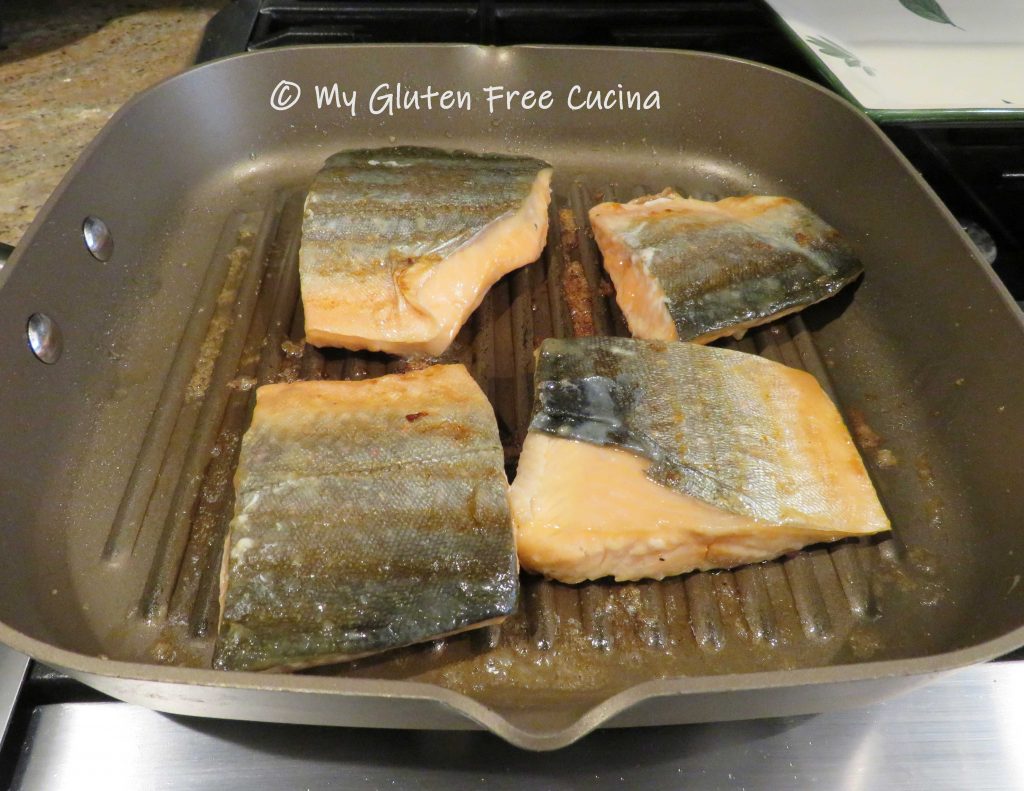
Brush the chicken with olive oil and season with Chipotle seasoning. Let it stand at room temperature for 15 minutes, then heat a grill pan with olive oil on medium low and add the chicken.

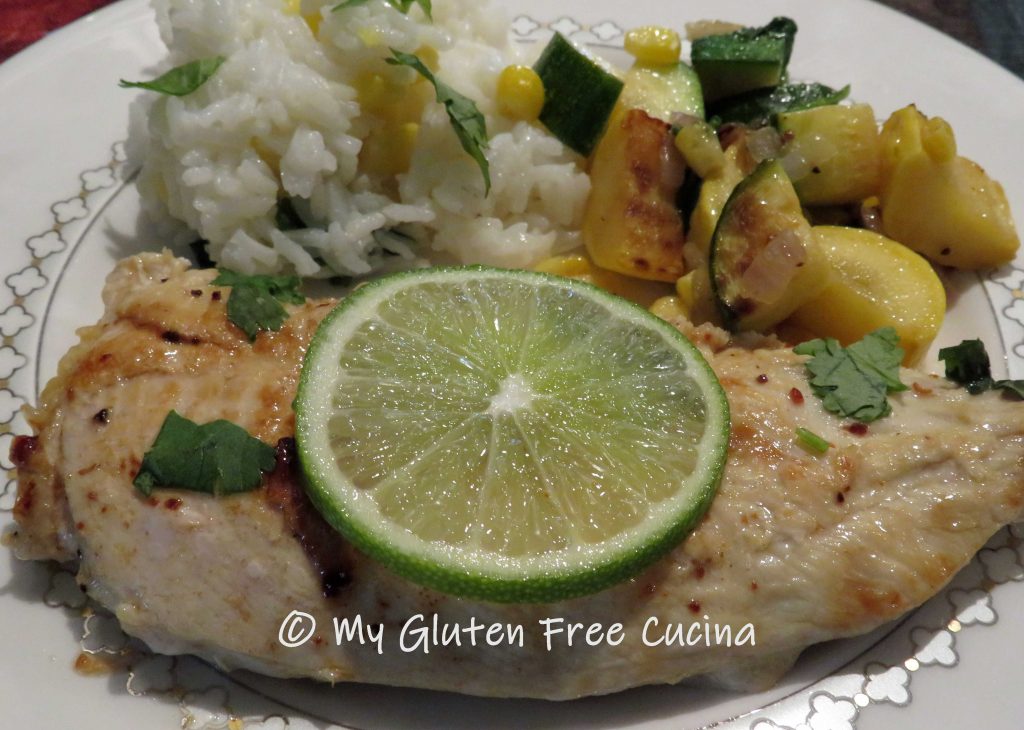
Cook 5 minutes per side, or until the internal temperature reaches 165º. Squeeze lime juice over the chicken and transfer to a serving dish. Garnish with fresh cilantro and keep warm.

Add the zucchini, summer squash, corn and shallots to a hot skillet coated with olive oil, sprinkle with seasoning and a squeeze of lime juice. Cook just a few minutes until crisp tender.
Serve with Cilantro Lime Rice, and Tomatillo Sauce (salsa verde) for dipping.
Thanks for visiting today and be sure and check all my Cinco de Mayo recipes!