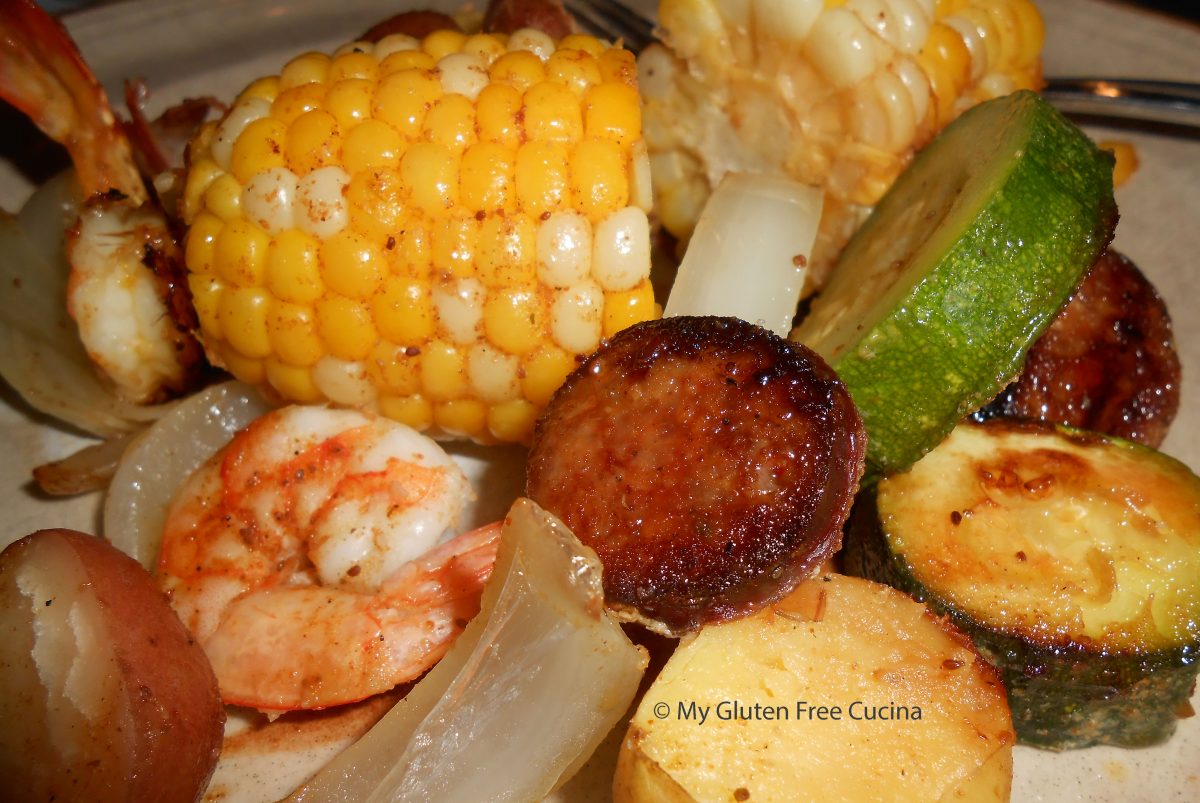
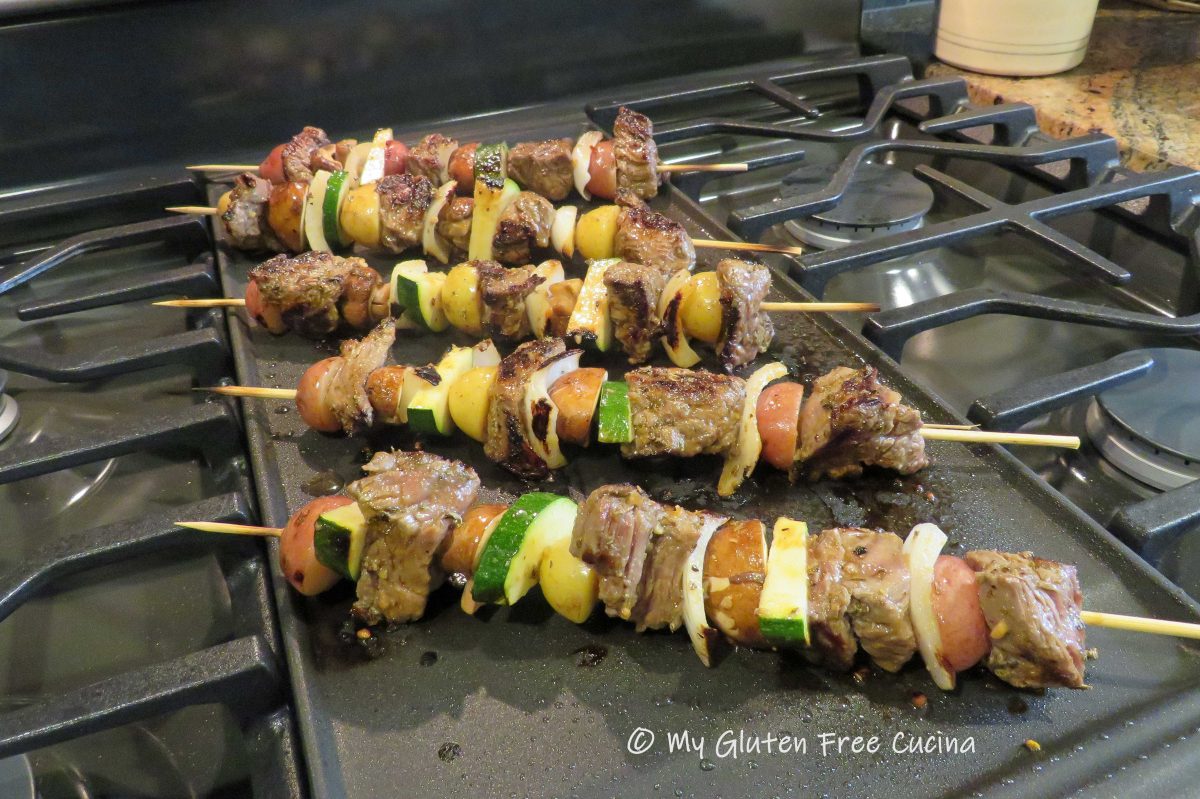
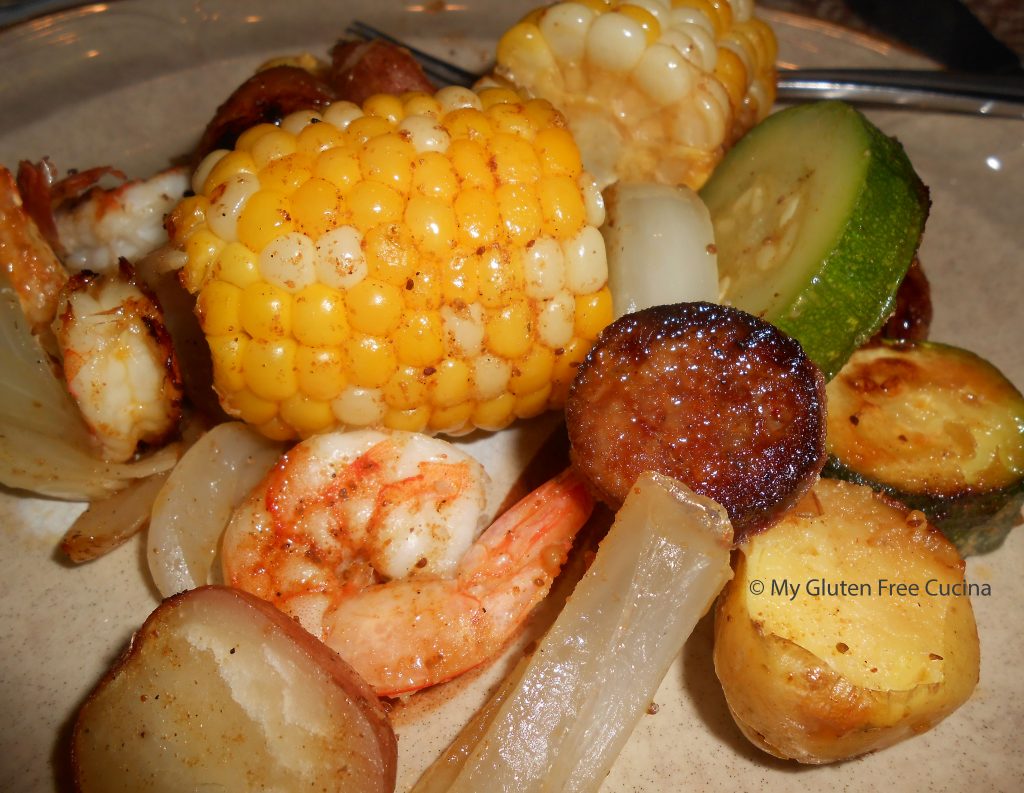
Tasty bites of shrimp, sausage, potato, corn and veggies are assembled into foil packets and grilled to perfection in this easy summer meal! It’s no wonder that some years ago this recipe was going viral.
You can’t go wrong on a gluten free diet when you prepare meals using healthy fresh ingredients, so as summer is getting started, let’s revisit this popular dinner on the grill with a spicy New Orleans twist!
If you have never tried Old Bay® seasoning this recipe is a good excuse to go and buy some, you will find yourself using it in on everything! Plan on about 45 minutes to prep and cook this meal.
4 packets
This post contains affiliate links.

Ingredients:
- 12 extra-large raw shrimp
- 4 oz. gluten free Andouille sausage
- 2 ears of corn, cut into 2″ pieces
- 16 baby marble potatoes, halved
- 1 large sweet onion, cut into wedges
- 1 small zucchini, cut into 1″ slices
- Old Bay® seasoning
- olive oil
Preparation:
Defrost the shrimp under cold water (if using frozen), peel and devein leaving the tails on. Cut the sausage into 1/4″ slices. Halve the potatoes and microwave them in a little water for 4 minutes to give them a head start.
Lay out 4 sheets of foil, 15″ long. Divide the ingredients evenly on the 4 sheets. Be sure to place the shrimp on top so they don’t burn. Drizzle with olive oil (1-2 tbsp. per packet) and sprinkle with Old Bay.

To make the packets, bring the long sides of the foil together and fold over twice to seal. Fold over the ends. You can prepare in advance up to this point and refrigerate.

When you are ready, heat the grill on medium low, cover and cook for 15 minutes. (No grill? No worries, you can cook them in the oven at 450º for 15 minutes.)

Use tongs or a large spatula to lift the packets onto plates and open carefully so the steam doesn’t burn your fingers!

This is a must try dish for summer! Having a cookout? Imagine, no pans to wash and easy cleanup! And, if you’re cooking on someone else’s grill the sealed foil packets will keep your food safe from cross contact.
Notes ♪♫ Be safe! Always check the label on prepared foods such as the Andouille sausage in this recipe for gluten containing ingredients.


