The holidays are upon us and all of the accompanying activities. The parties, the shopping, the cooking and baking! Thanksgiving is one of the biggest food holidays of the year, and you may be feeling overwhelmed about the big day, especially if you are planning a gluten free meal that will appeal to everyone.
This year don’t stress about the menu, I’ve got you covered on the main course and all the sides. Let’s get started with the turkey. Once you try this method of roasting a turkey, you will never do it any other way!
Ingredients:
- 1 whole turkey 11-12 lbs.
- 1/4 cup (1/2 stick) butter, softened
- 1/2 cup (1 stick) butter, melted
- 2 tbsp. fresh sage, rosemary and thyme
- cheesecloth

Preparation:
Take a half stick of butter out to soften at room temperature and melt another stick of butter in a small saucepan. Soak the cheesecloth in the melted butter until completely saturated.
Empty the sink and clear away any utensils, etc. Set up your roasting pan right next to the sink, and place the roasting rack in the sink. Have a plastic trash bag ready. Place your turkey in the sink on the roasting rack and remove the packaging. Remove the neck and giblets and reserve them for another dish or discard. Rinse the turkey, including the cavity, and be careful not to splash water everywhere. Pat the turkey dry with paper towels. Now lift the turkey, rack and all into the roasting pan. Dispose of the packaging, giblets and paper towels in your trash bag.
Now you should have a nice clean turkey and an empty sink. Take a few minutes to scrub the sink down and rinse it well. If anything dripped on the counter, floor or refrigerator clean it up now.
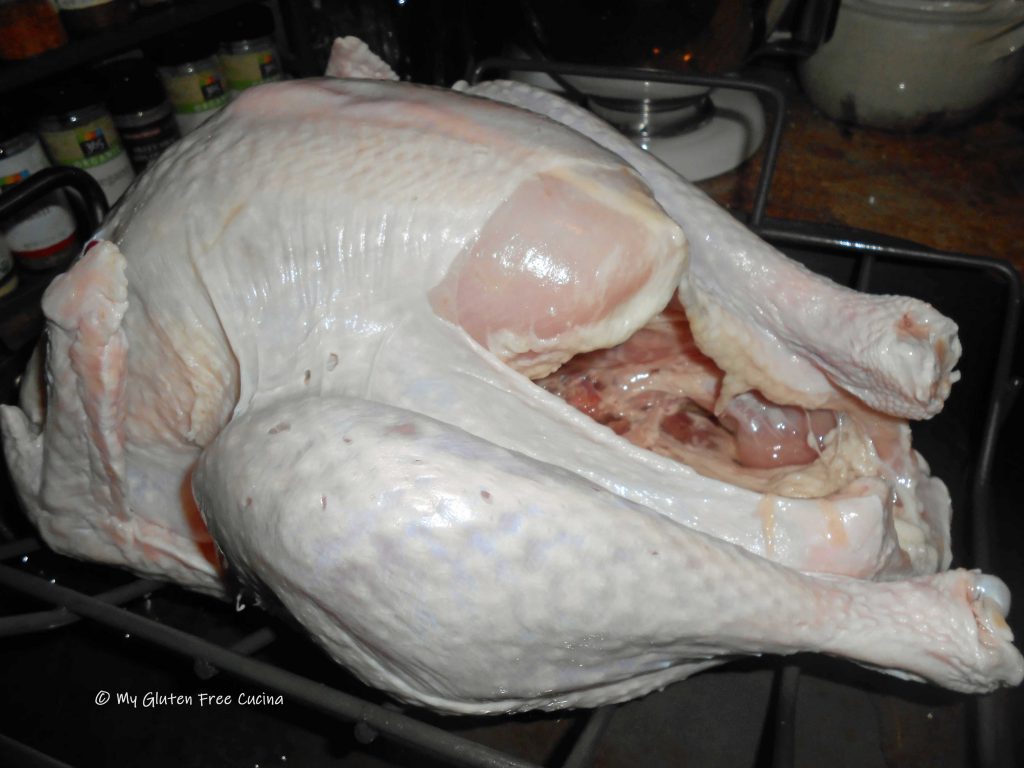
Preheat the oven to 325º. Mince the herbs and combine with the softened butter, then rub the butter all over the turkey. Be sure to get under the wings.
If you are stuffing the bird, spoon the stuffing into the cavity. Don’t overfill, if you have extra stuffing spoon it into a baking dish and bake it separately. Secure the legs and pin down the wings. Now remove the butter soaked cheesecloth from the saucepan and drape it over the turkey. Add a cup of water to the roasting plan and place it in the oven.
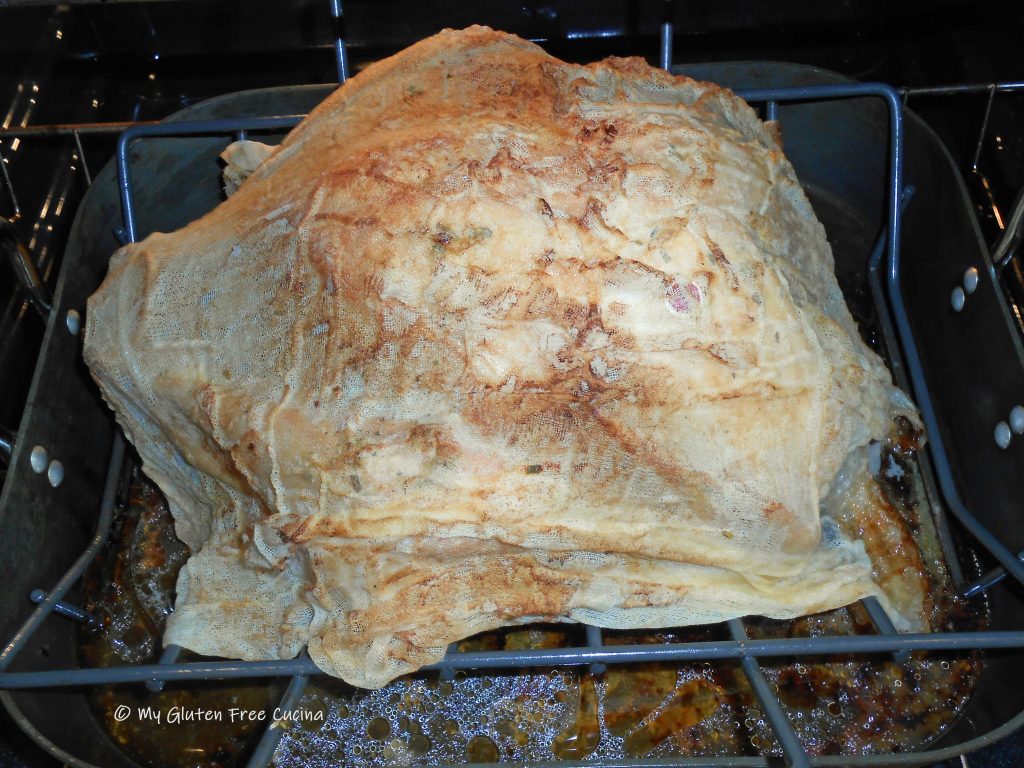
Melt the remaining 1/4 cup of butter and combine it with 1/2 cup gluten free turkey stock. Keep warm for basting. Roast the turkey for 3 to 3-1/2 hours, basting (right over the cheesecloth) every 20 minutes. Add more water to the roasting pan as needed, and when you run out of liquid for basting draw some from the bottom of the pan.
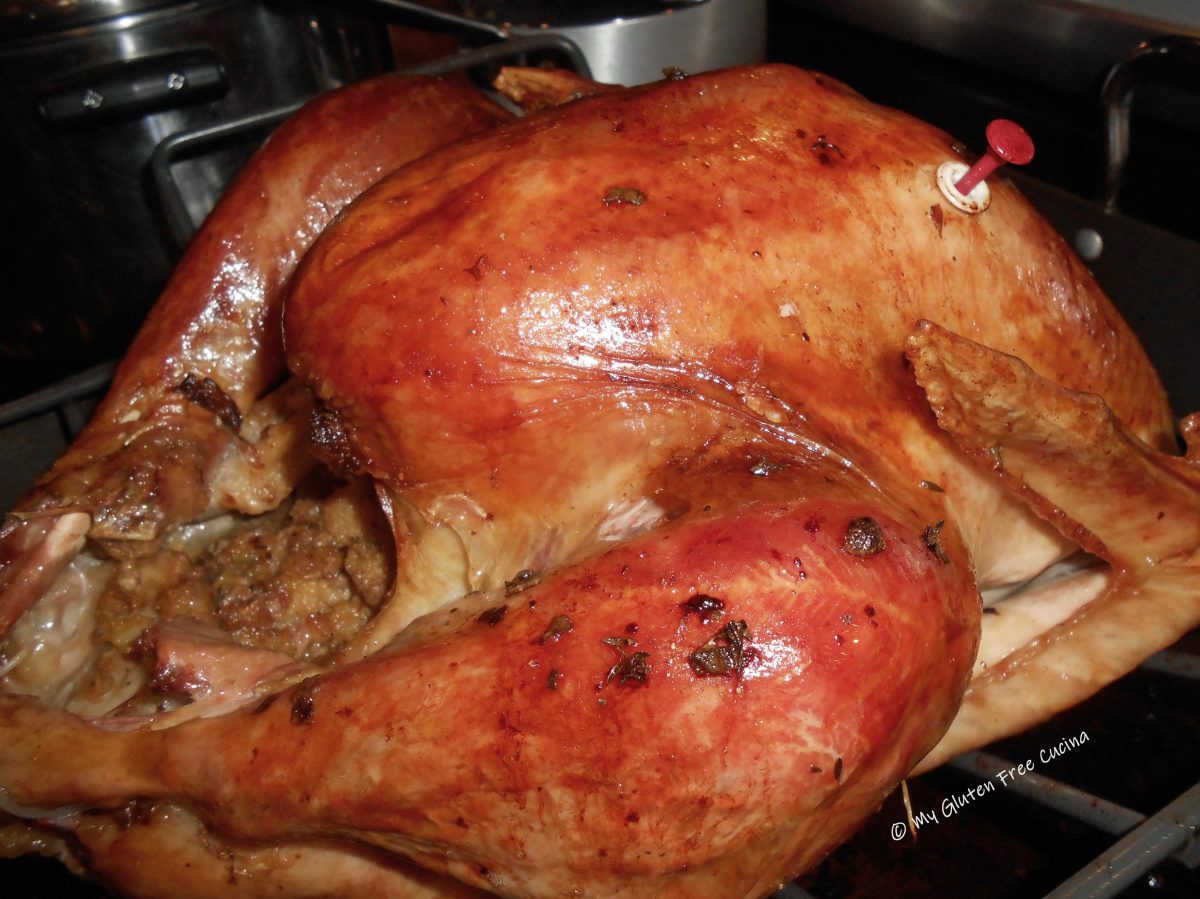
Remove the cheesecloth during the last 45 minutes of roasting. Continue basting every 15 minutes. Turkey is done when the internal temperature reaches 165º.
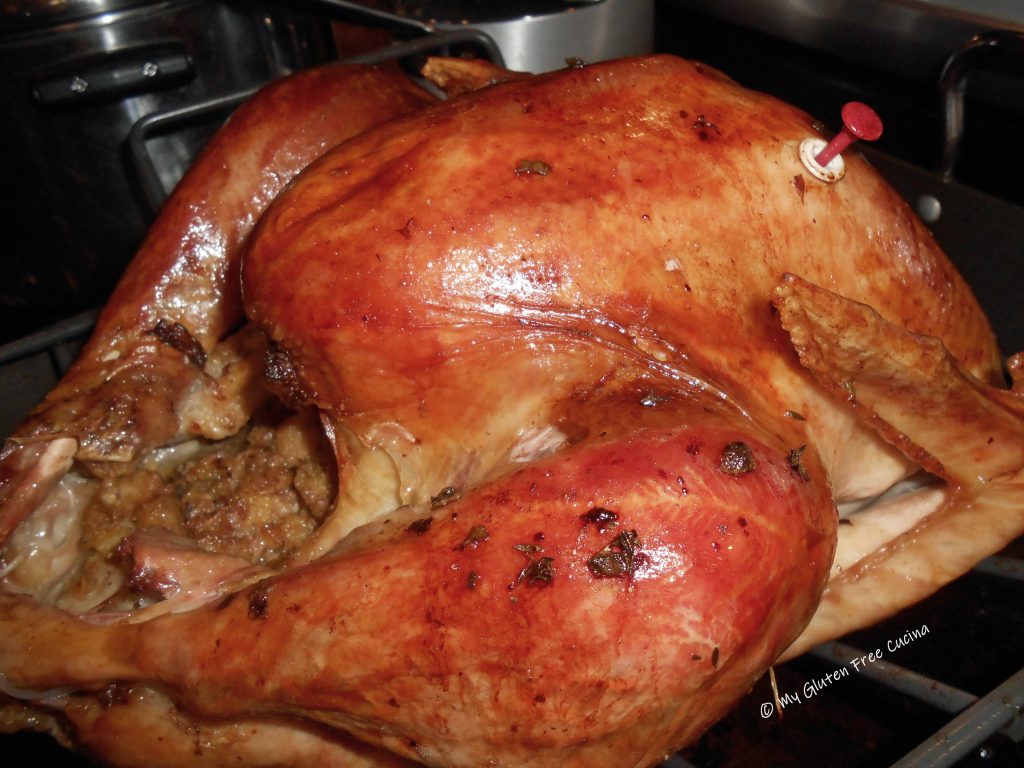
Remove the turkey from the oven and immediately scoop out the stuffing, cover and keep warm. Tent the turkey with foil and let it rest for 30 minutes before carving. Enjoy your appetizers and first course while the turkey rests.
And, in case you were wondering, for smaller gatherings you can use this recipe with a turkey breast. Here’s mine from last year.

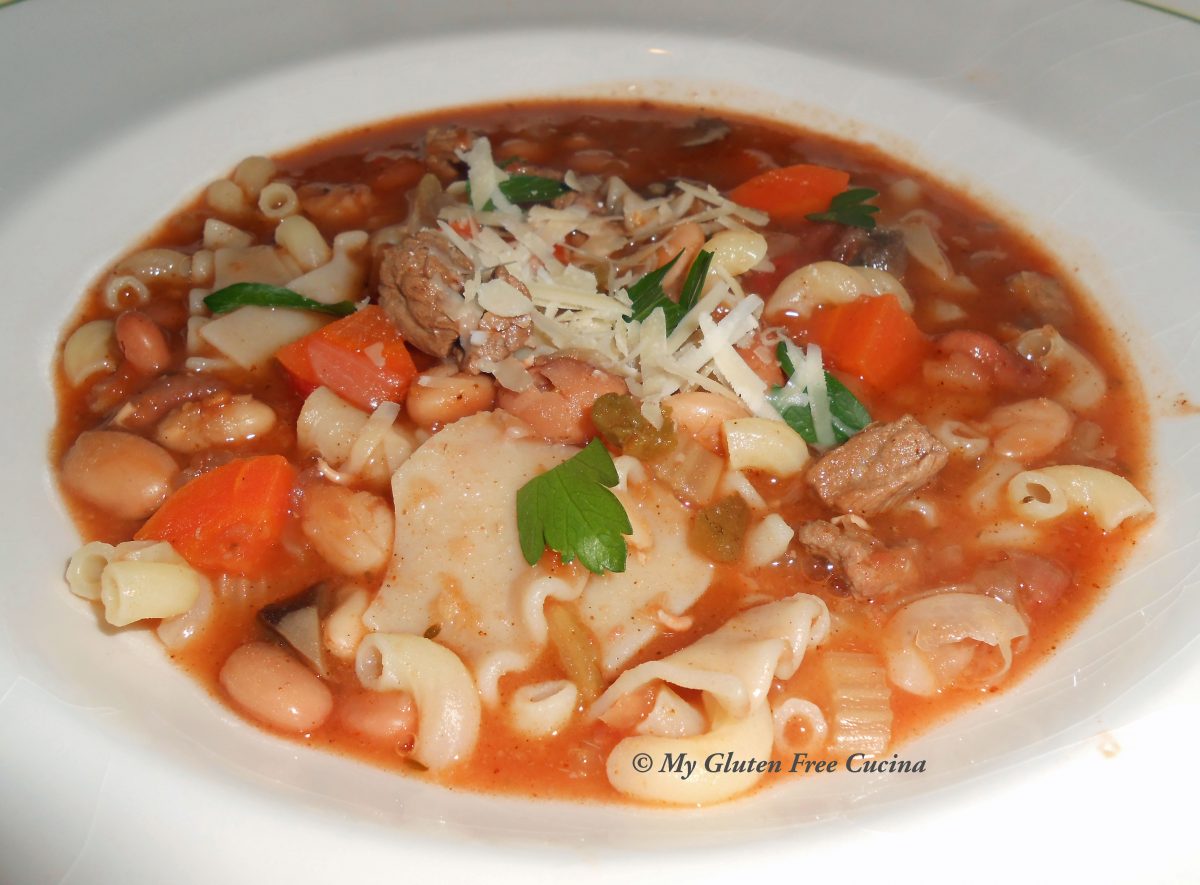
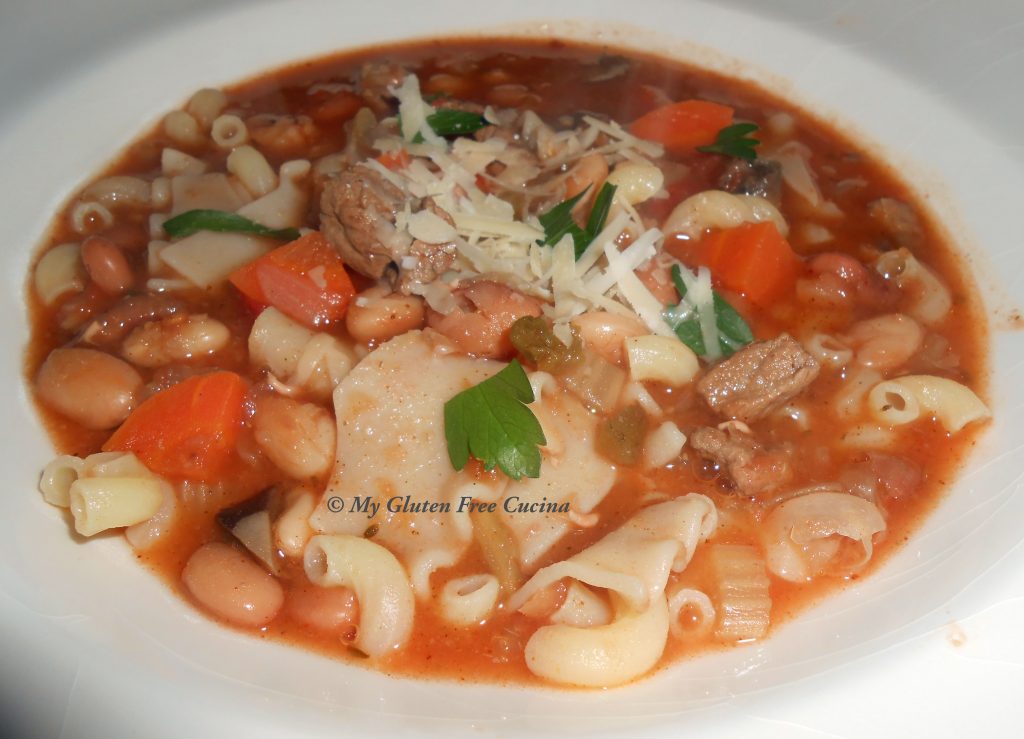
Now that you know how to roast a turkey, please check out all my Thanksgiving sides! I’ve got you covered with gluten free dinner rolls, soup, stuffing and those yummy potatoes!
And as we go about preparing for the big meal, don’t forget that home and family are the real heart of the holidays. God bless you all and I wish you a very happy Thanksgiving.
Notes ♪♫ Turkey is a naturally gluten free food, but I still look for the gluten free label. I avoid brands that inject the turkey with basting solution and ditto for the gravy packets, throw them away and make your own gluten free gravy.


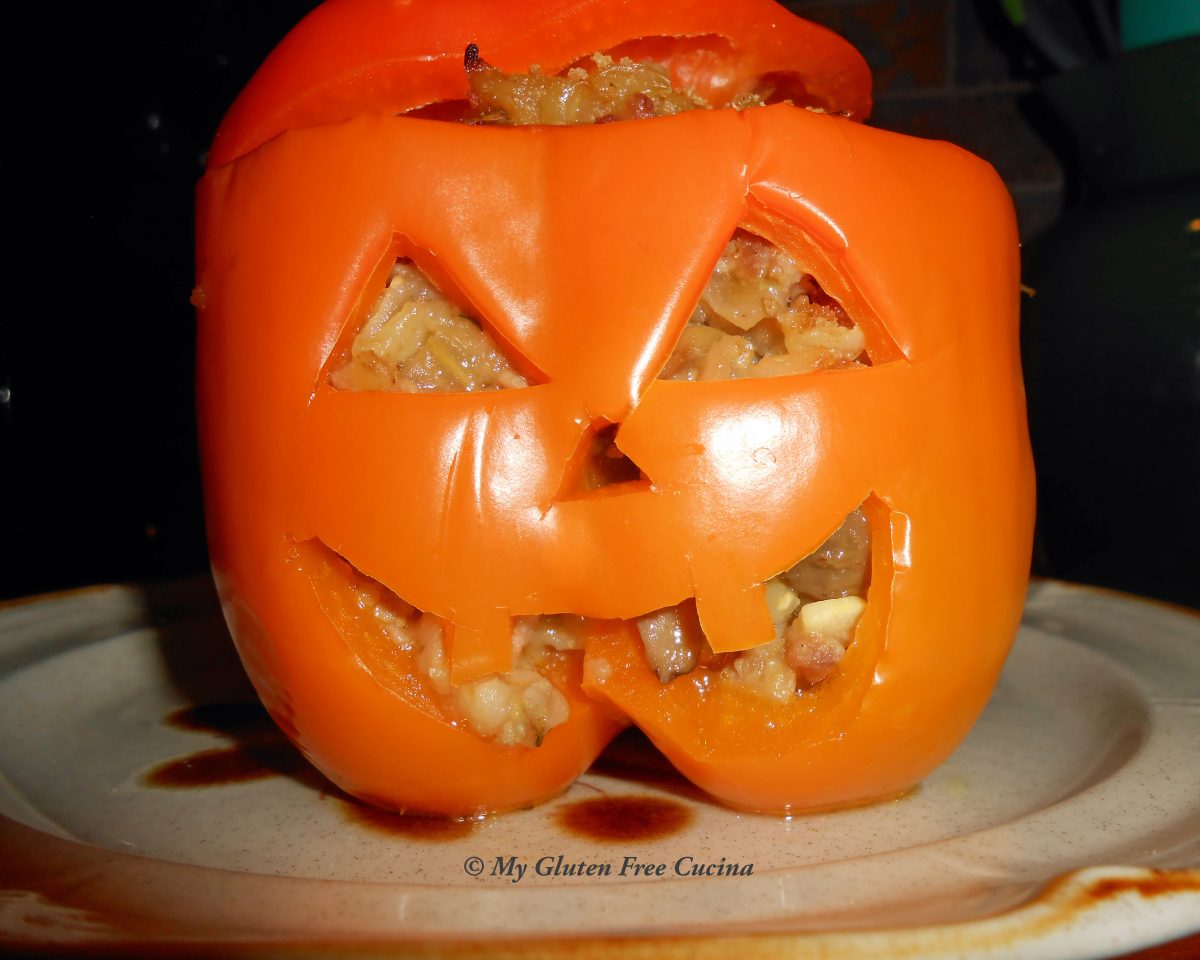


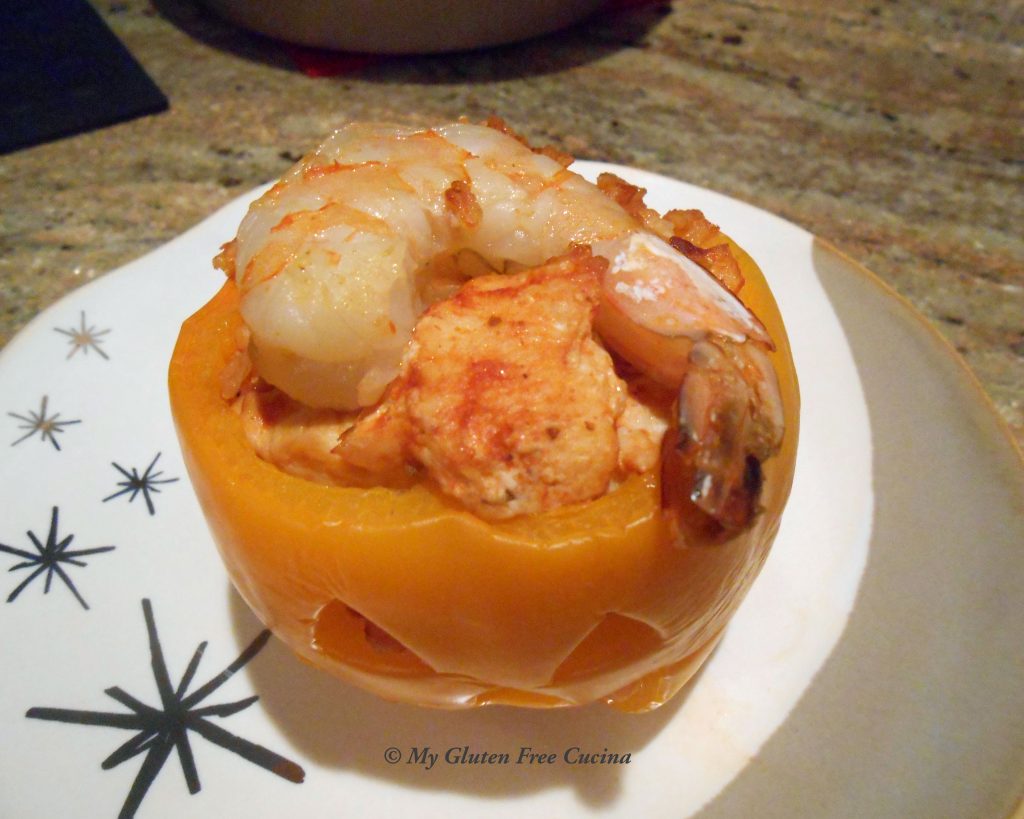
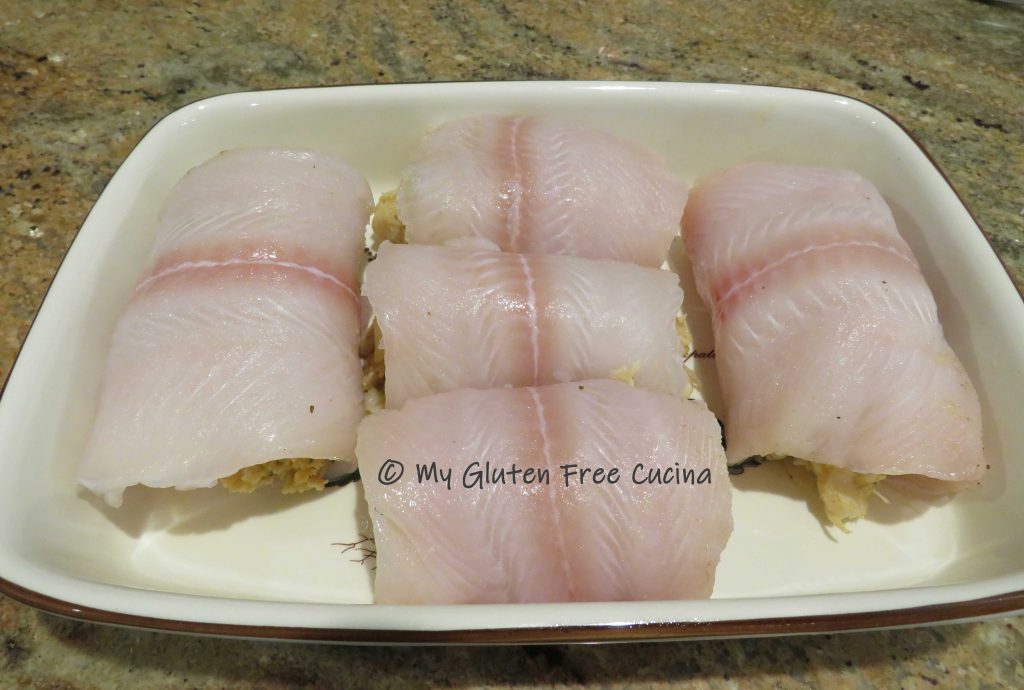
 Blanch the peppers for 3 minutes in boiling water. Drain well and arrange in a baking dish that has been misted with cooking spray.


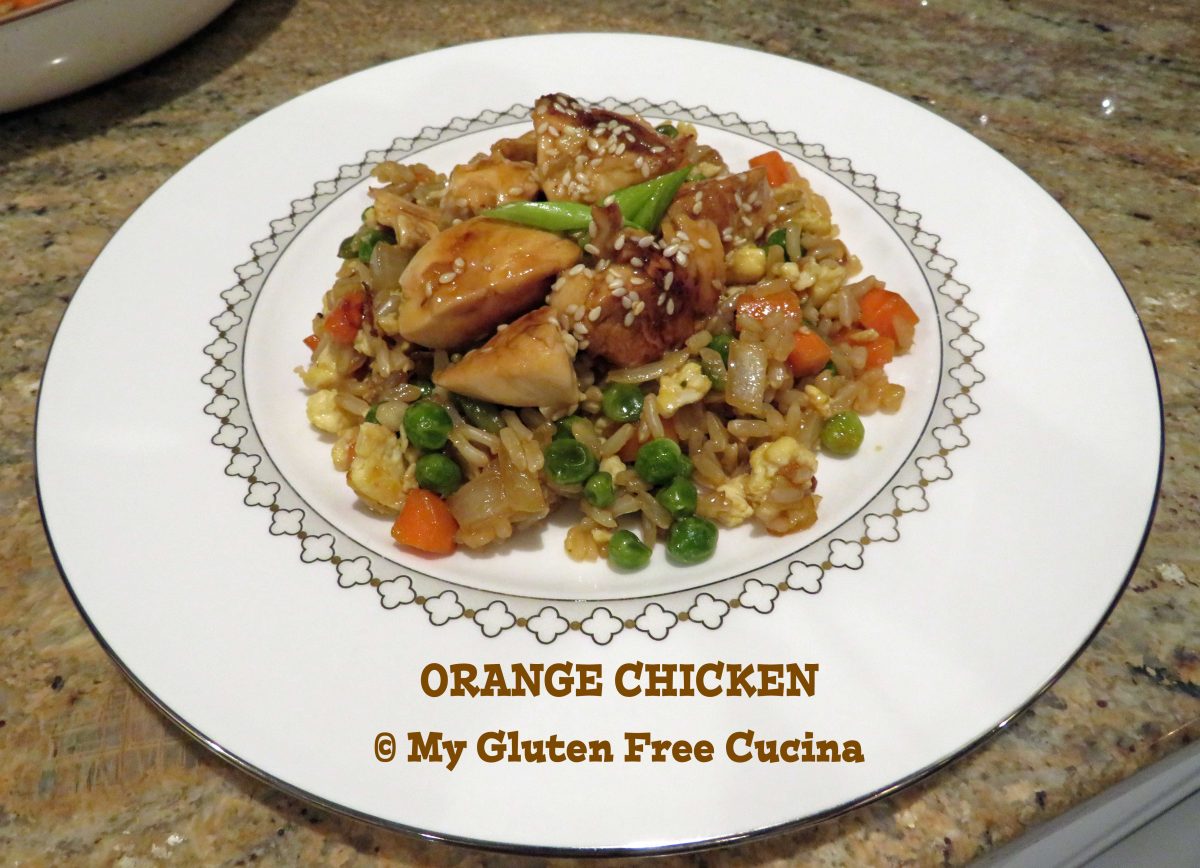


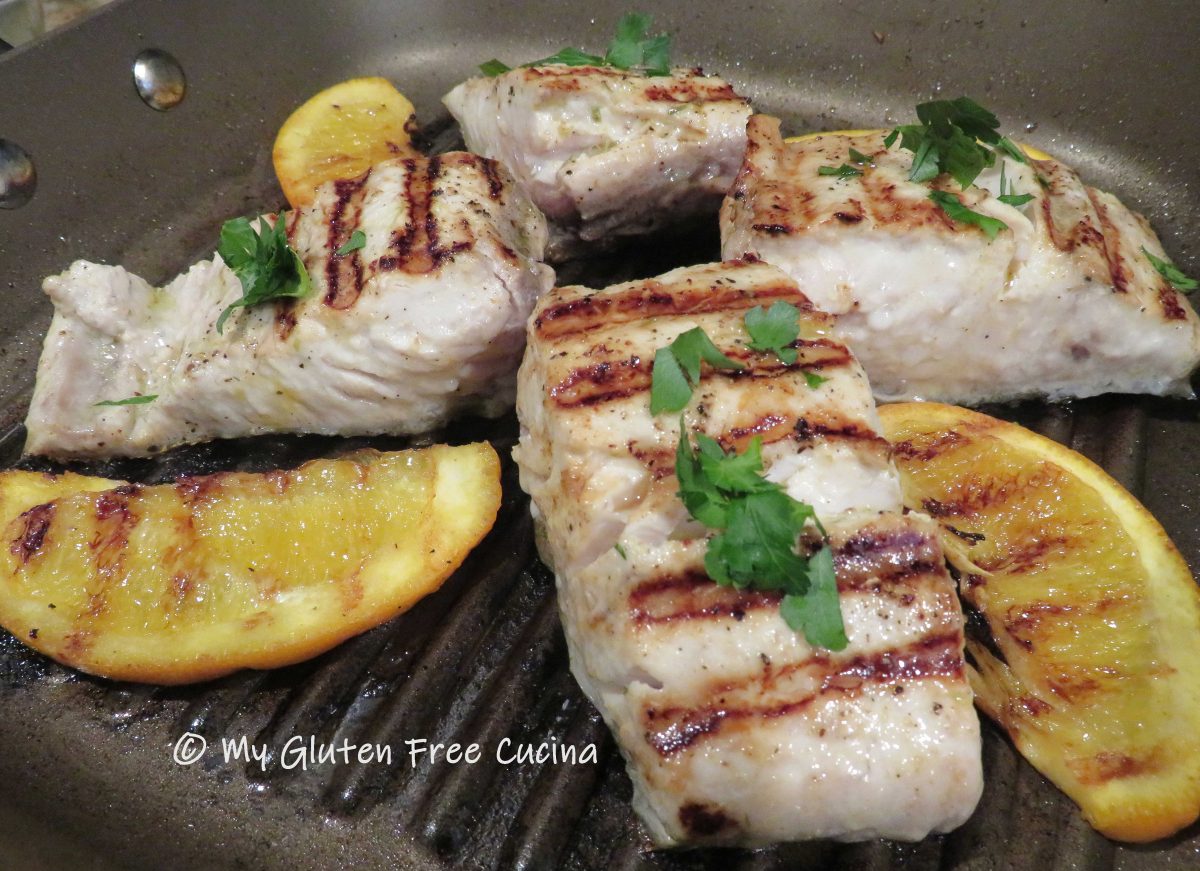


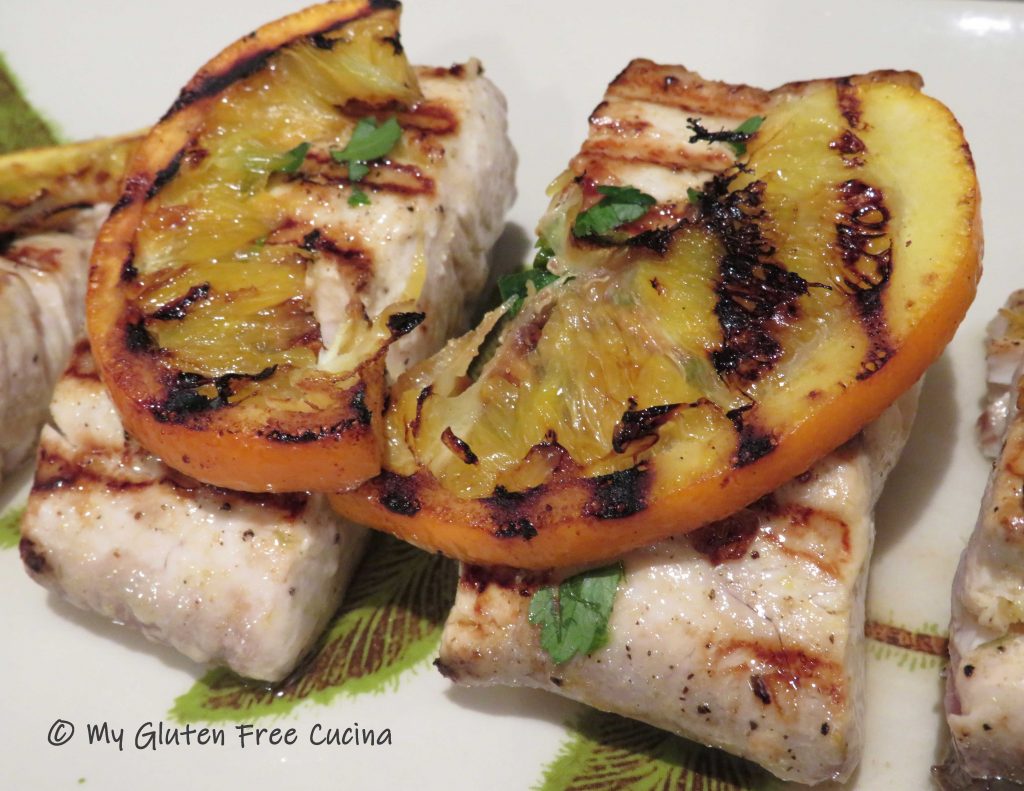
 Cook for 5 minutes over medium heat, then turn the fish and orange slices over and cook 5 more minutes. Drizzle with remaining 2 tbsp. marinade.