Sorghum is an ancient grain that is enjoying renewed popularity. Nutritious and gluten free, I like to keep it in my whole grain rotation for variety in a healthy diet. It has a nutty flavor and chewy texture.
This post contains affiliate links.

The biggest drawback about making Sorghum is that it takes a long time to cook. I usually make it when I plan to be in the kitchen for a nice long stretch. The preparation begins with several hours of pre-soaking, followed by a long, slow simmer along with frequent additions of liquid.
Ingredients:
- 1/2 cup sorghum grain
- 1 cup water
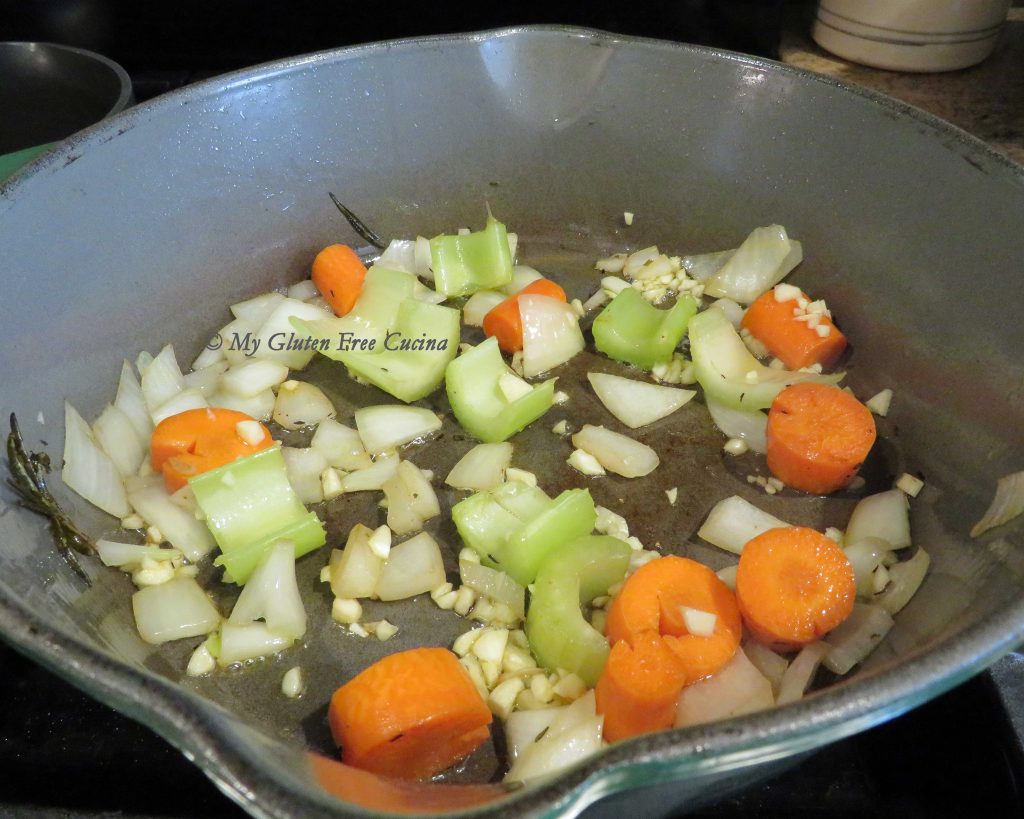
- 3/4 cup mixed vegetables diced very small (such as shallots, onion, scallion, garlic, mushroom, carrot, celery, red and green bell pepper, zucchini)
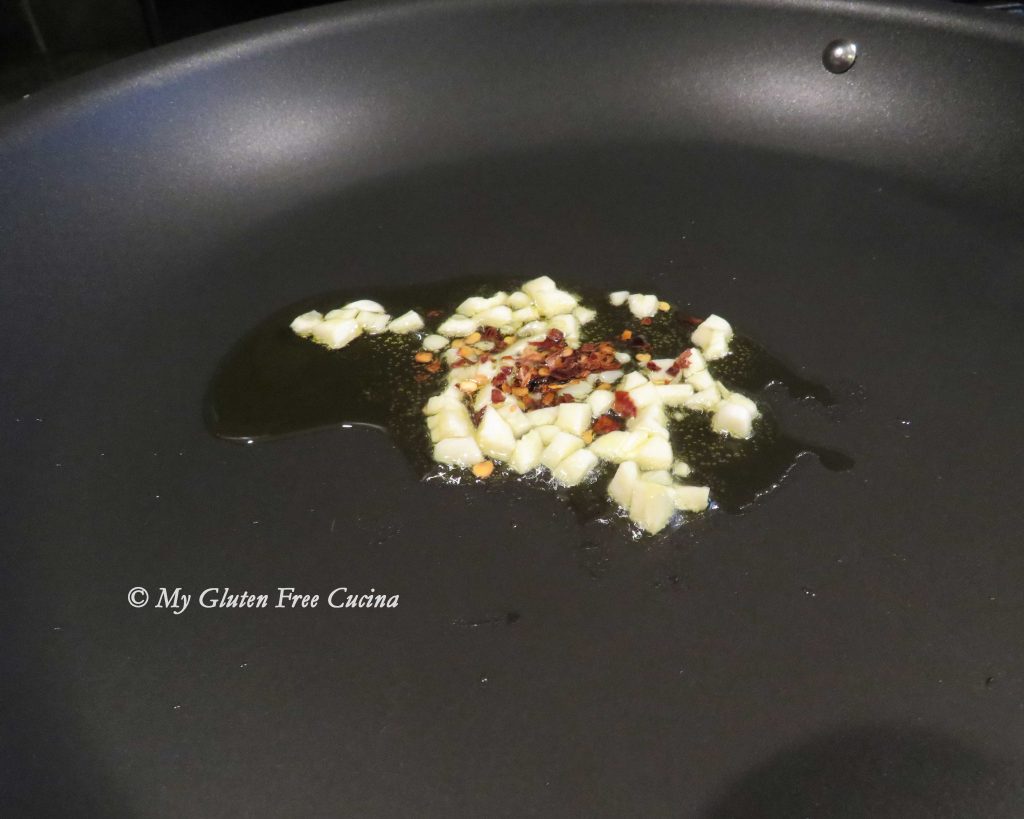
- 1 tbsp. butter
- 1/2 tsp. seasoned salt
- pinch of red pepper flakes
- 1 carton gluten free chicken or vegetable broth (use either or a combination, you will need 1-1/2 to 2 cups total broth)
- fresh chives, for garnish

Preparation:
In a small saucepan, bring 1 cup of water to a boil and add the sorghum. Cover and remove from the heat, and let it soak for 3 hours.

After 3 hours, turn the heat to low and simmer until most of the water has evaporated. Next add 1 tbsp. butter along with the minced vegetables. Season with salt and pepper to taste.

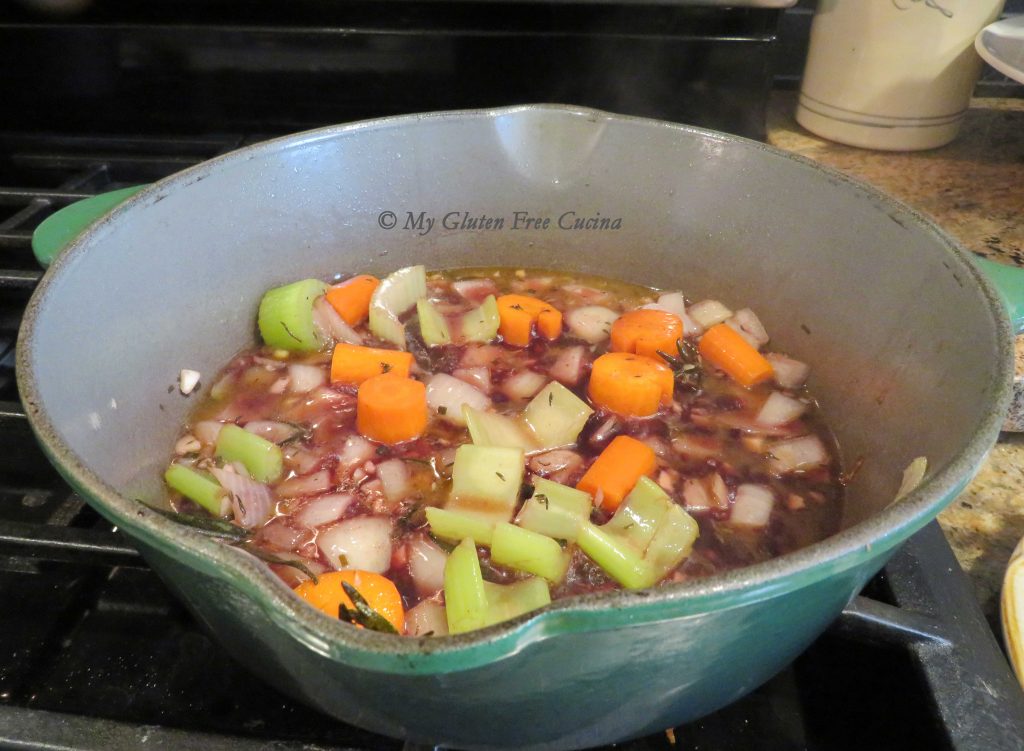
Begin adding the broth, 1/3 to 1/2 cup at a time. Cover and keep on a low simmer, stirring occasionally and add more liquid as it is absorbed. Be careful not to let the bottom burn! Continue until the sorghum has doubled in size, about 90 minutes total cook time.

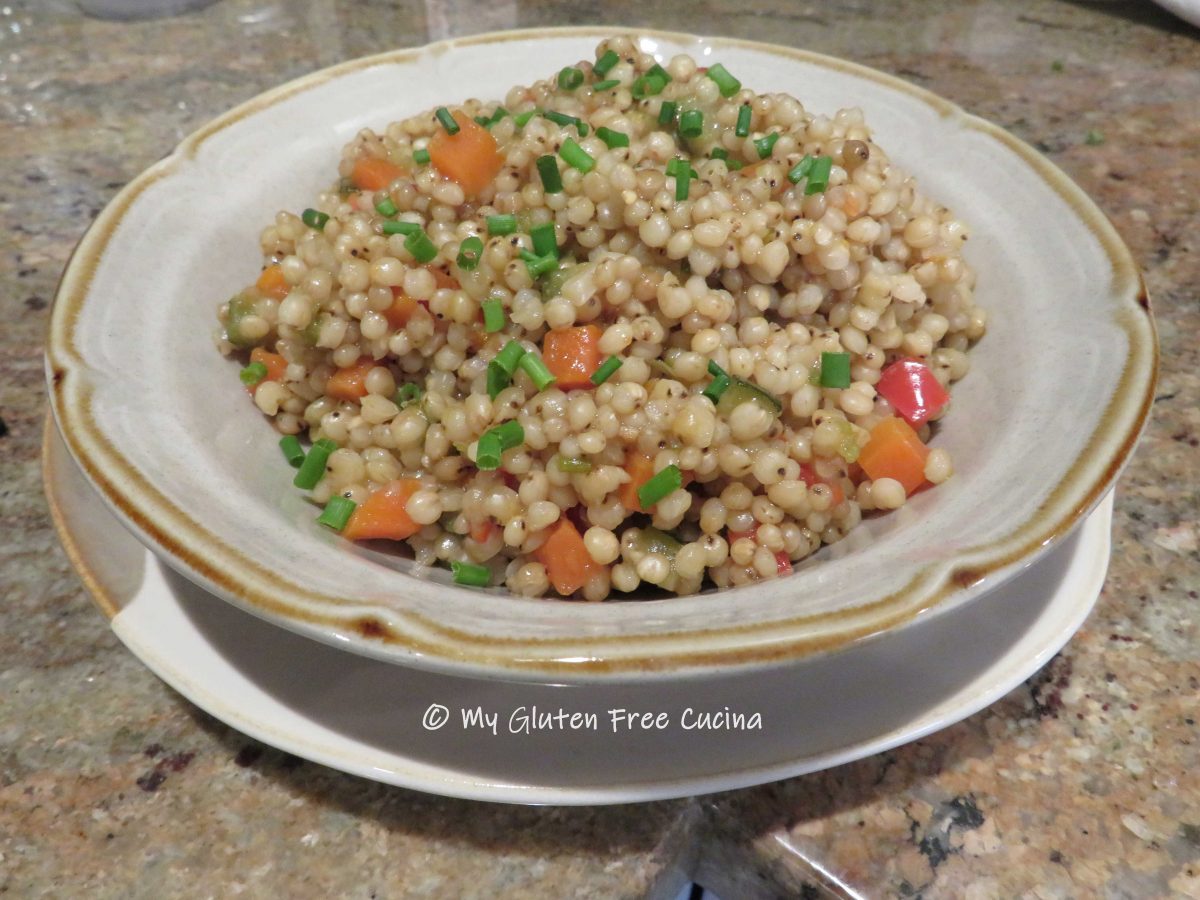
Take a taste to be sure they are cooked through! The grains will be plumped up but will still have a good chew, like “al dente” pasta. Transfer to a serving bowl and garnish with fresh chives.
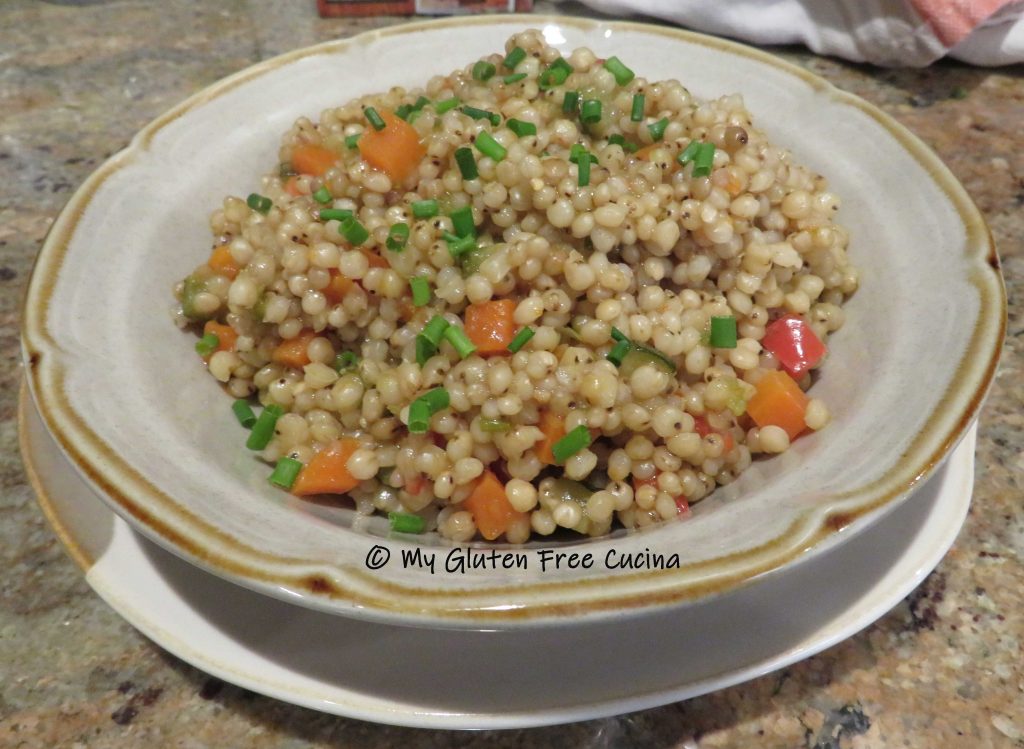
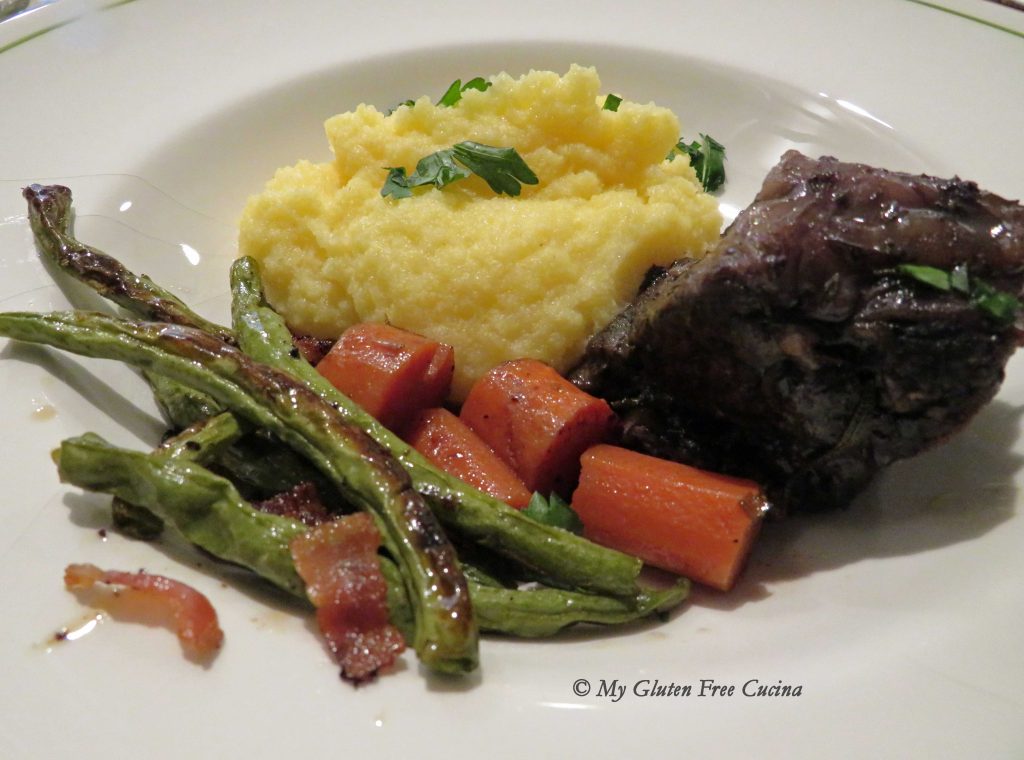
This is a nutritious and fiber rich side that will fill you up. Try it, it’s delicious and a nice change of pace from the usual rice and potato sides!
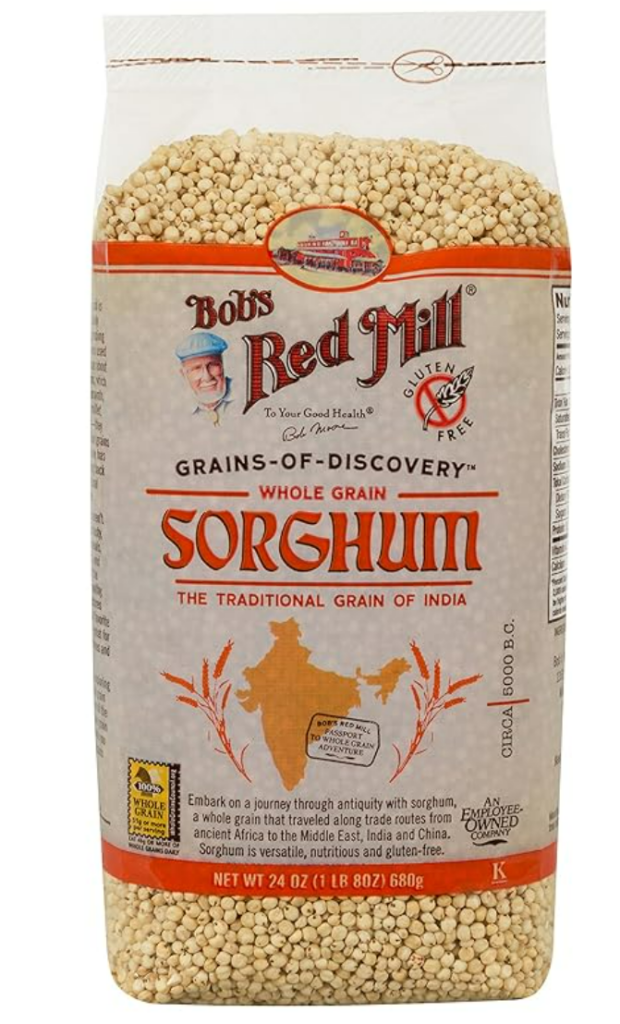
Notes ♪♫ I used Bobs Red Mill whole grain sorghum in this recipe. Did you know that Sorghum grain can also be milled into flour for baking? Learn more in this post about Using a Grain Mill!


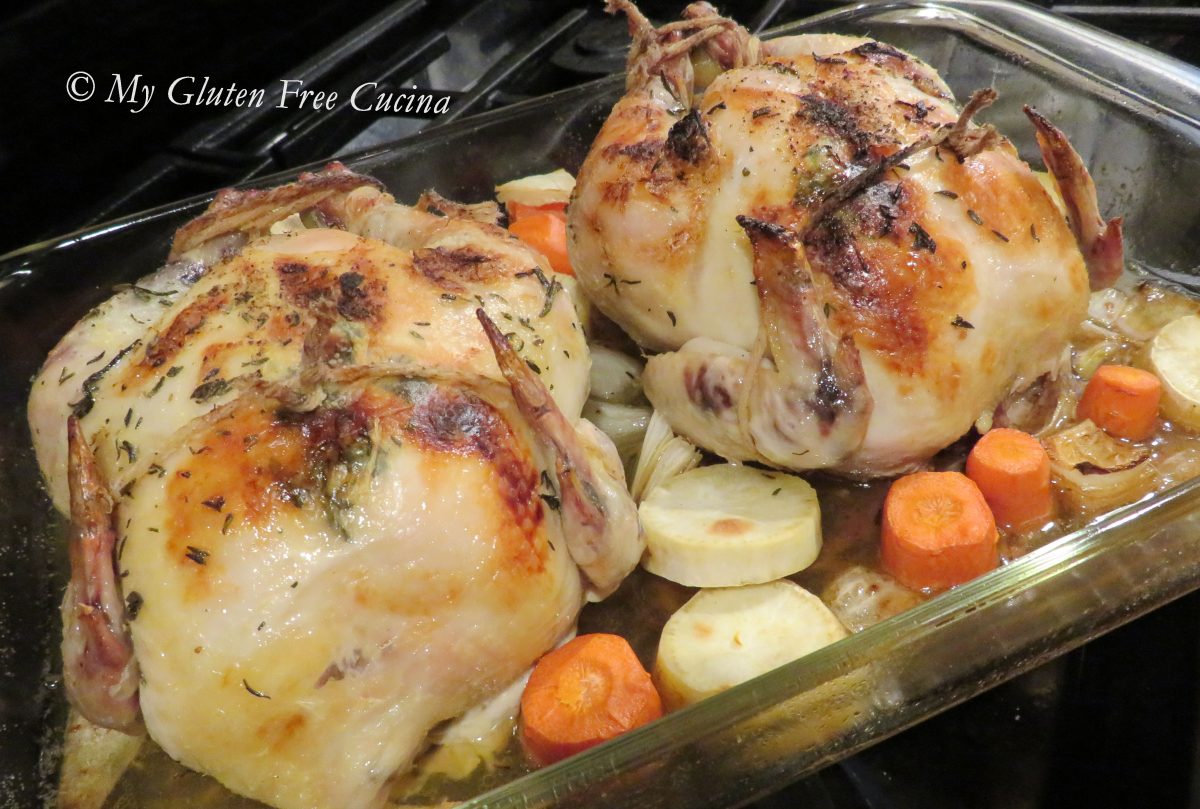
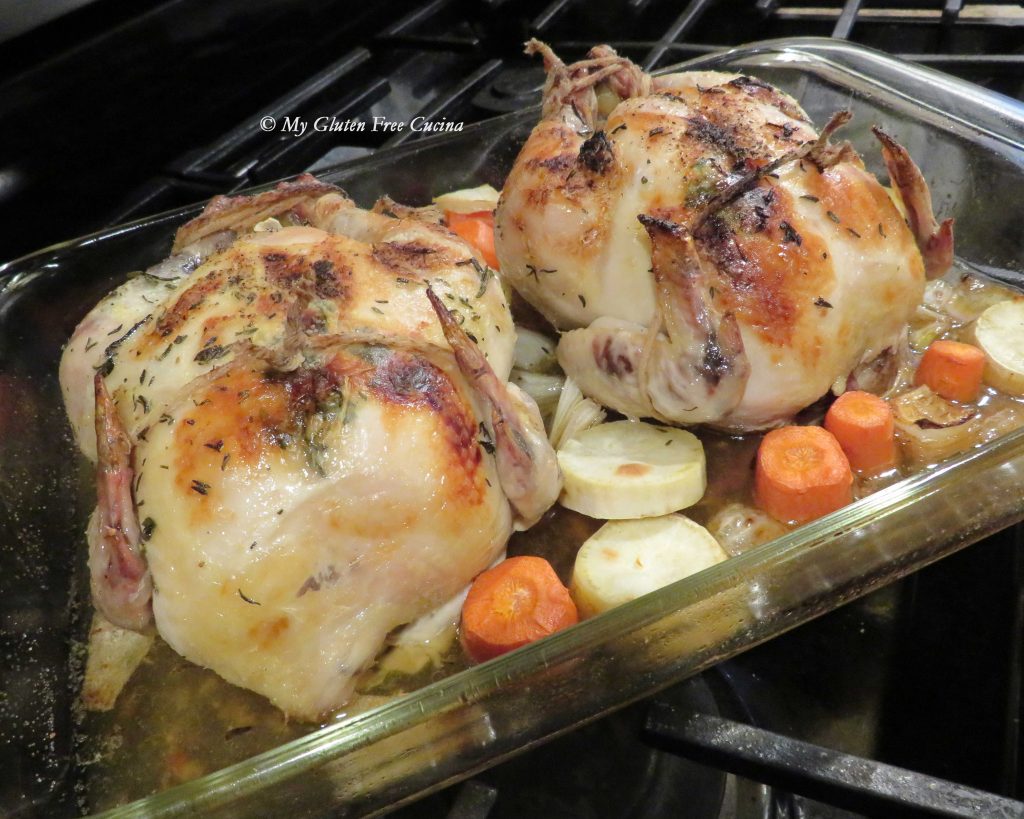
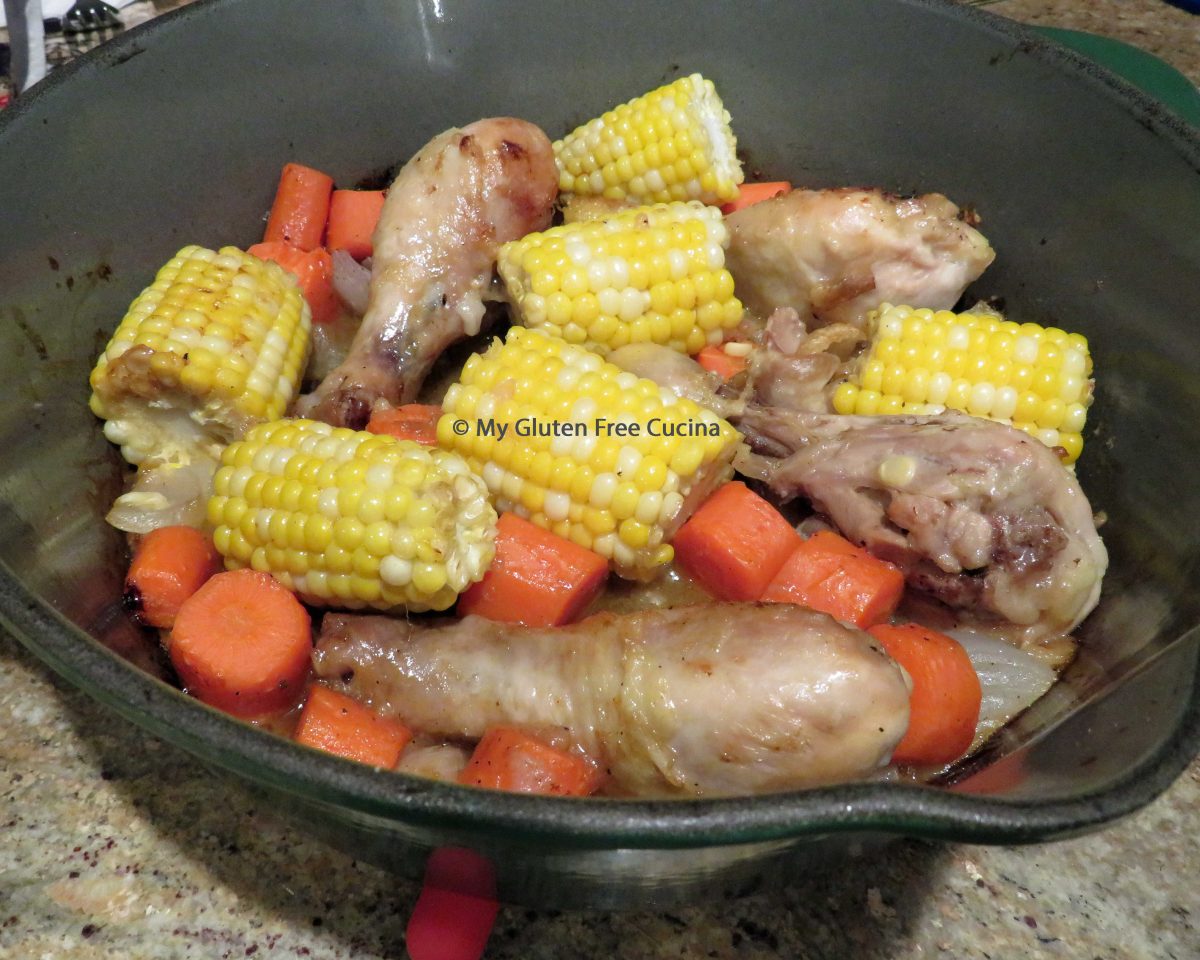
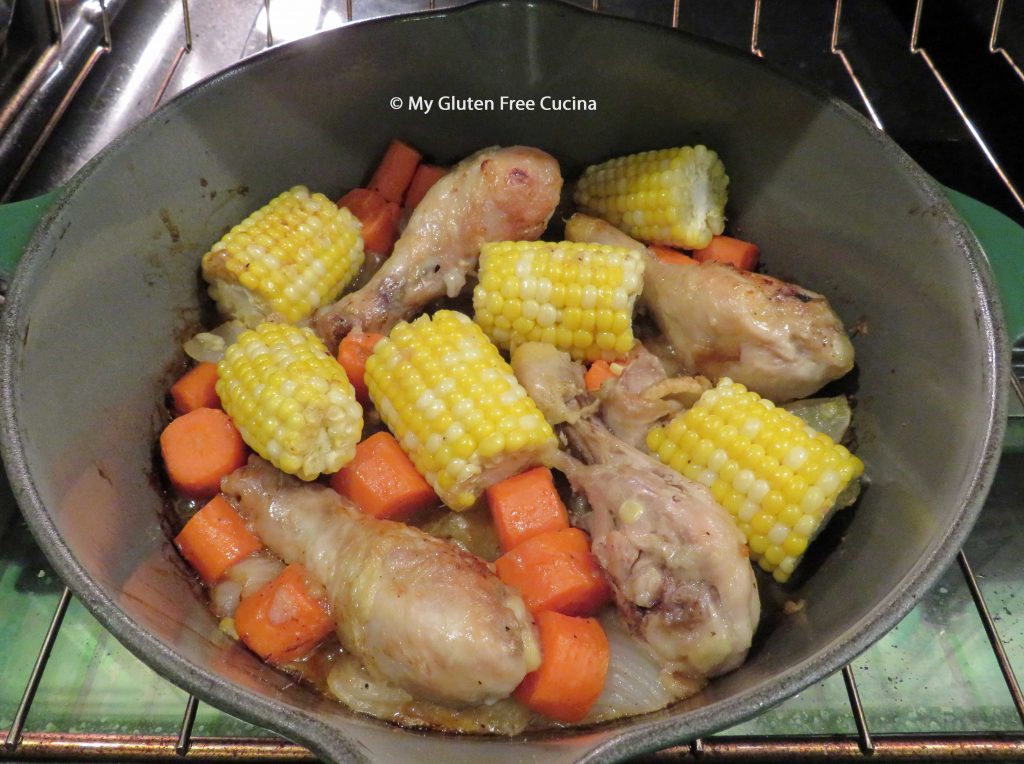
 A single Cornish Hen (2 lb.) should yield 2 servings, or for hearty appetites plan on one hen each. Your gatherings may be smaller, but they can still be delicious!
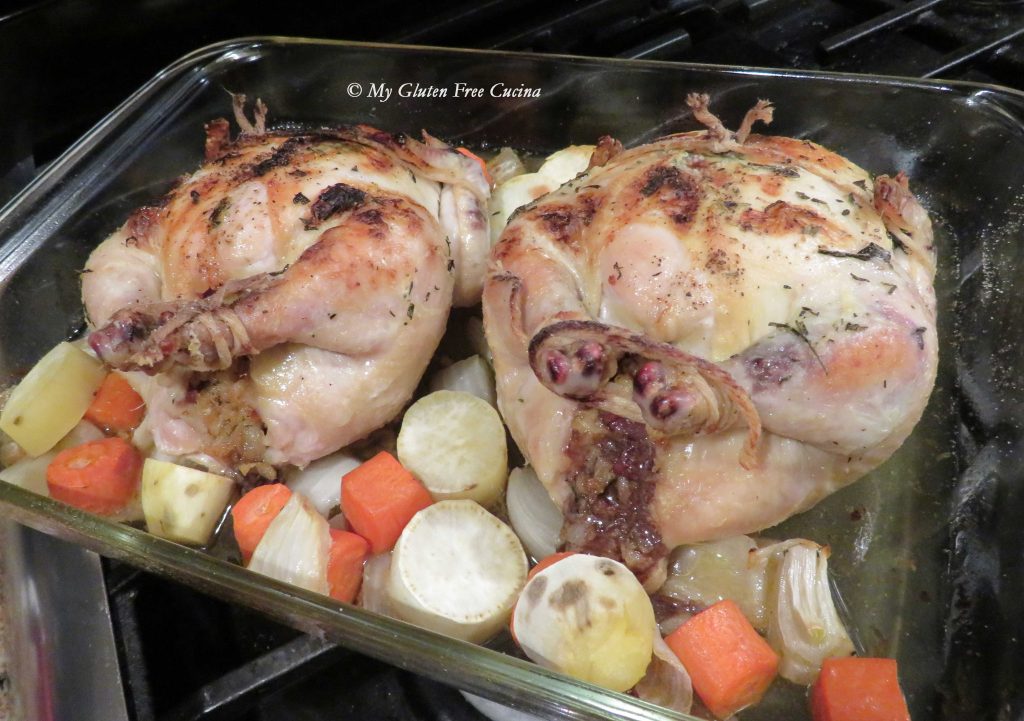