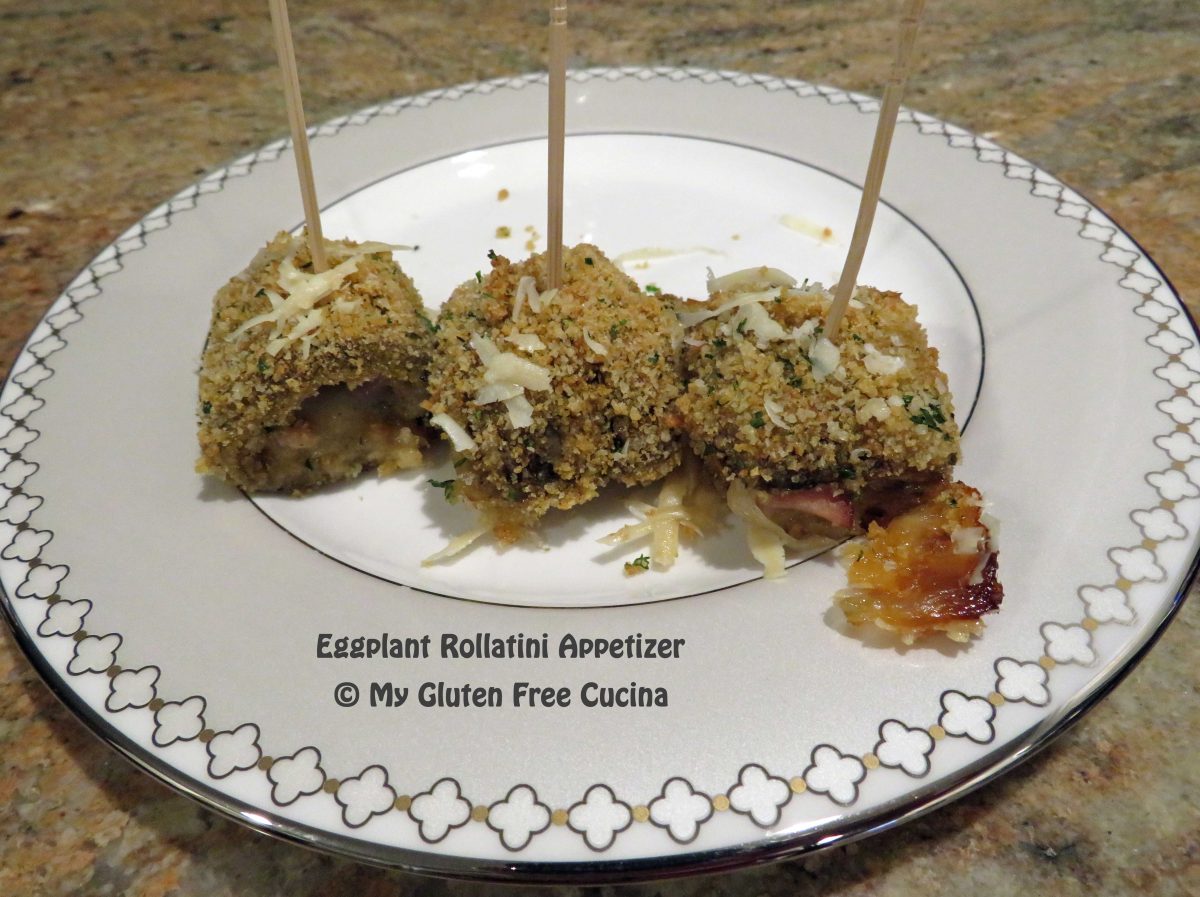
Gluten Free Eggplant Rollatini Appetizer

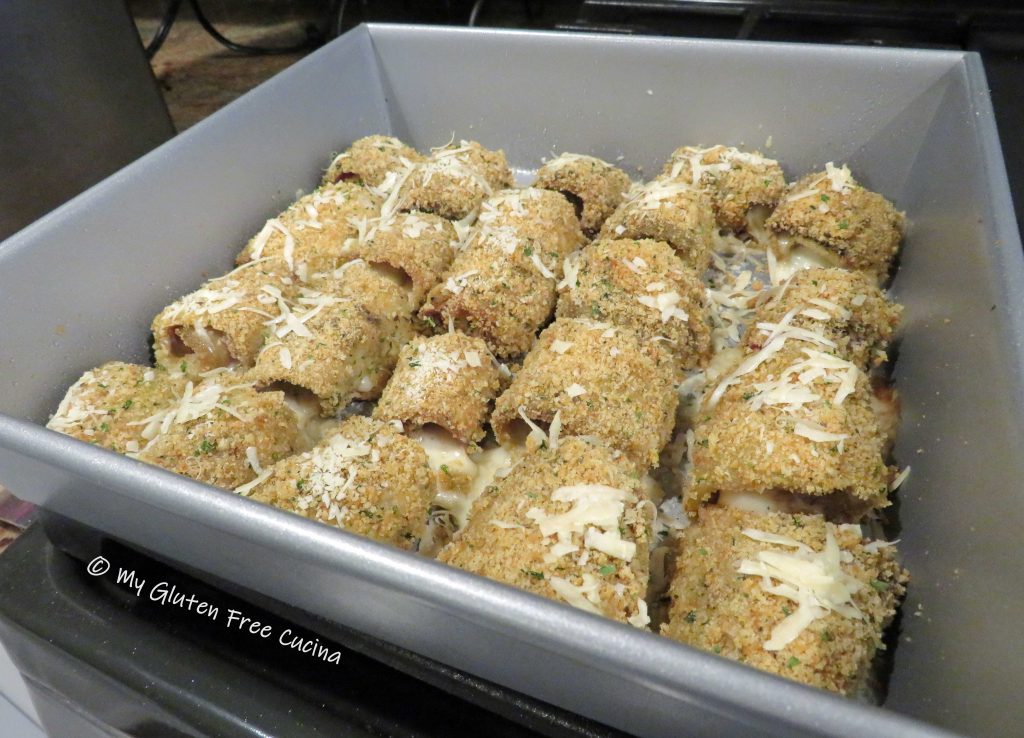
Bite sized Eggplant Rollatini are the perfect finger food for holidays, parties or game day!  If you are looking for a gluten free appetizer for your next get-together, give this recipe a try.  They are really tasty and different than the usual party snack.  This recipe will make 20-24.
This post contains affiliate links.

Ingredients:

Preparation:

Cut the top and bottom off the eggplant, stand it on its side and peel.
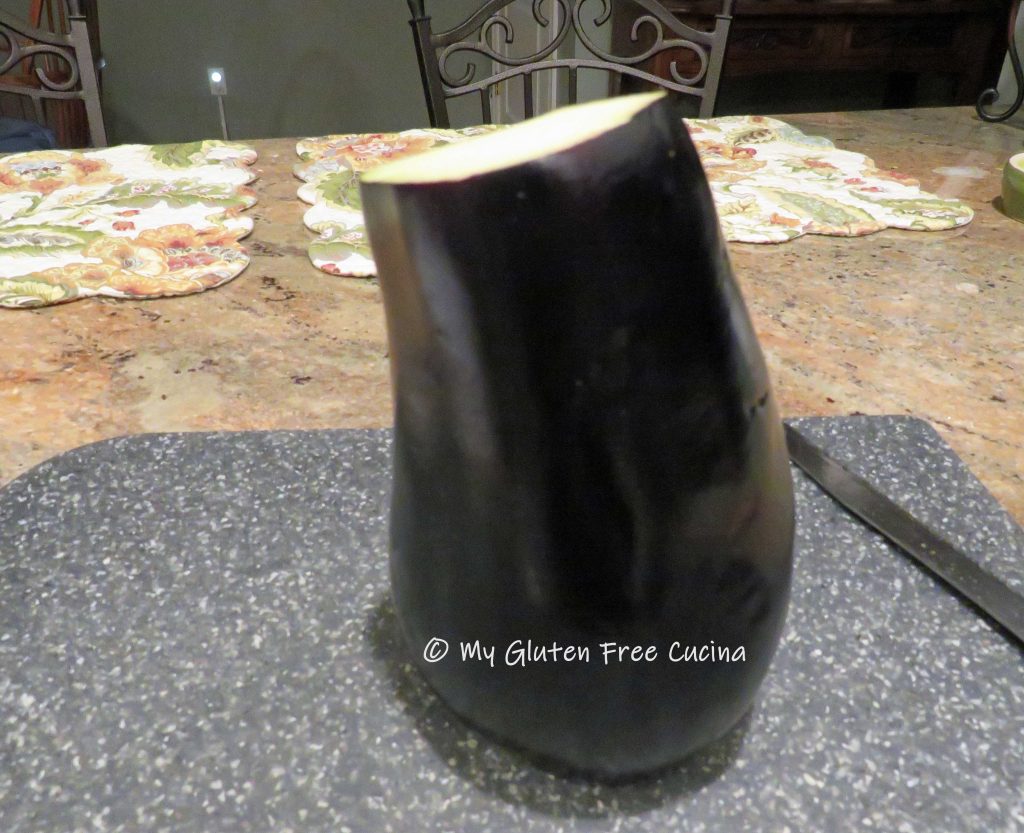
Slice it lengthwise into 12 strips, make them as thin and even as you can.  Trim away any heavily seeded areas.

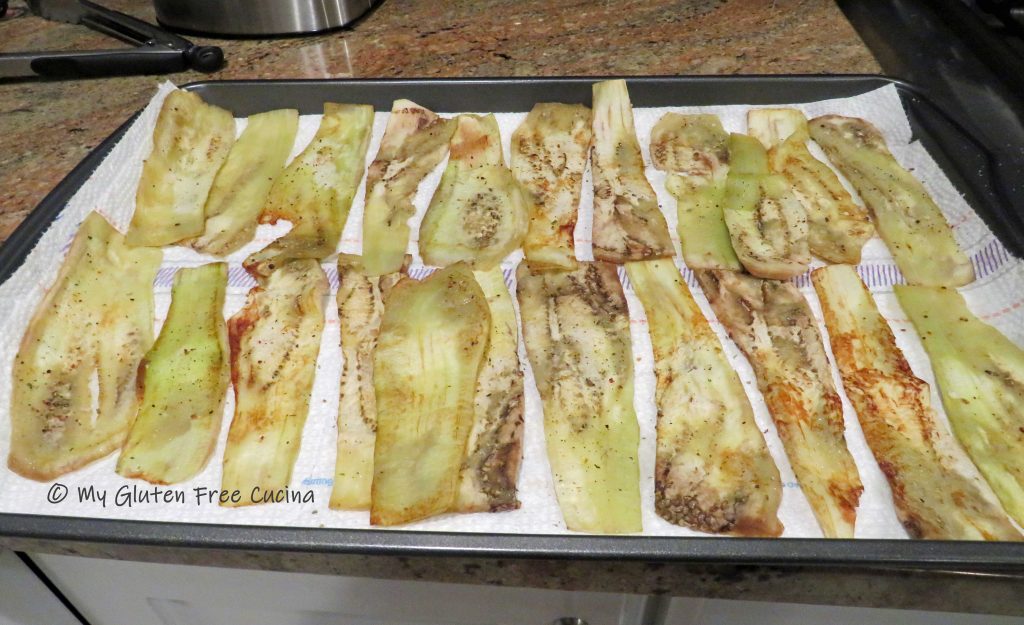
Heat a griddle or large nonstick skillet and coat lightly with olive oil.  Add the eggplant slices in one layer (do it in batches) and cook briefly on each side, enough so that they can be rolled without breaking.  Sprinkle with Italian seasoning.

Lay the cooked slices on a sheet pan lined with paper towel, to remove some of the moisture.
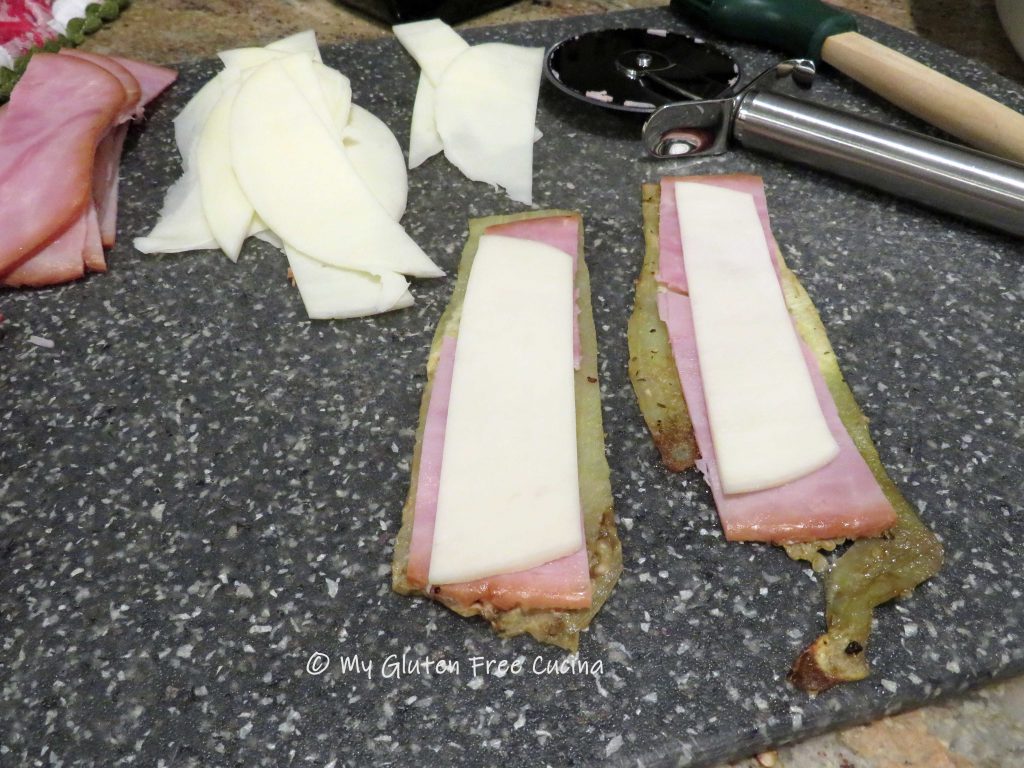
Cut each slice of eggplant down the middle lengthwise to form strips.  Layer each strip with a slice of ham and cheese.
Carefully roll up the eggplant slices and place seam side down in a baking dish.  Use toothpicks to hold the bundles together.  You can make the recipe ahead to this point and refrigerate, in fact chilling the eggplant rolls at this point will make them easier to work with.
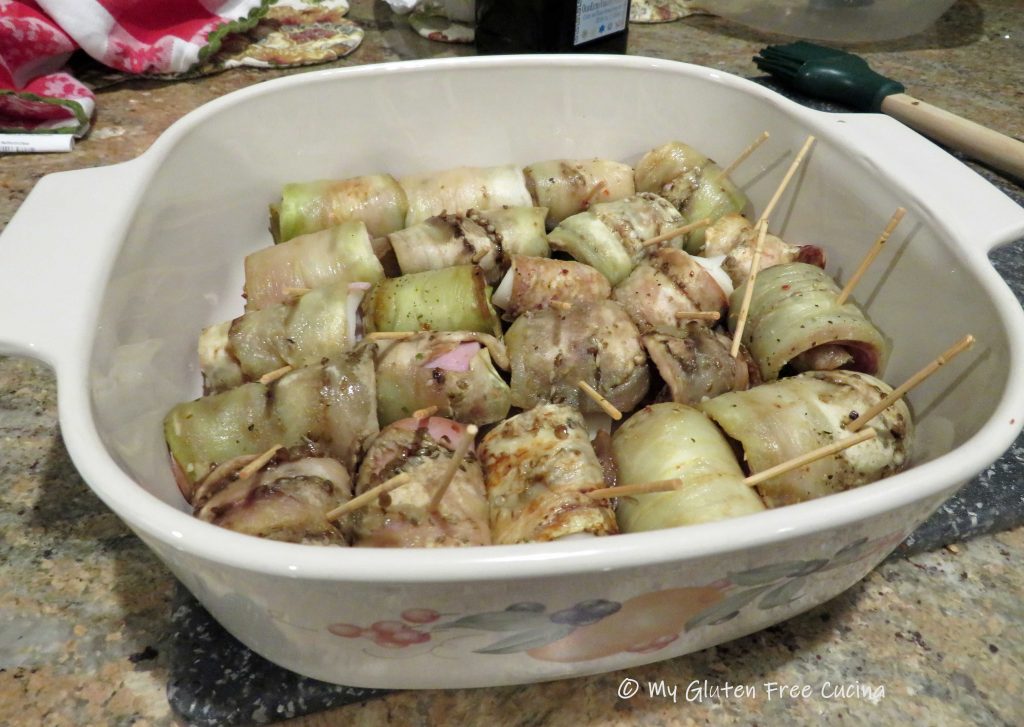
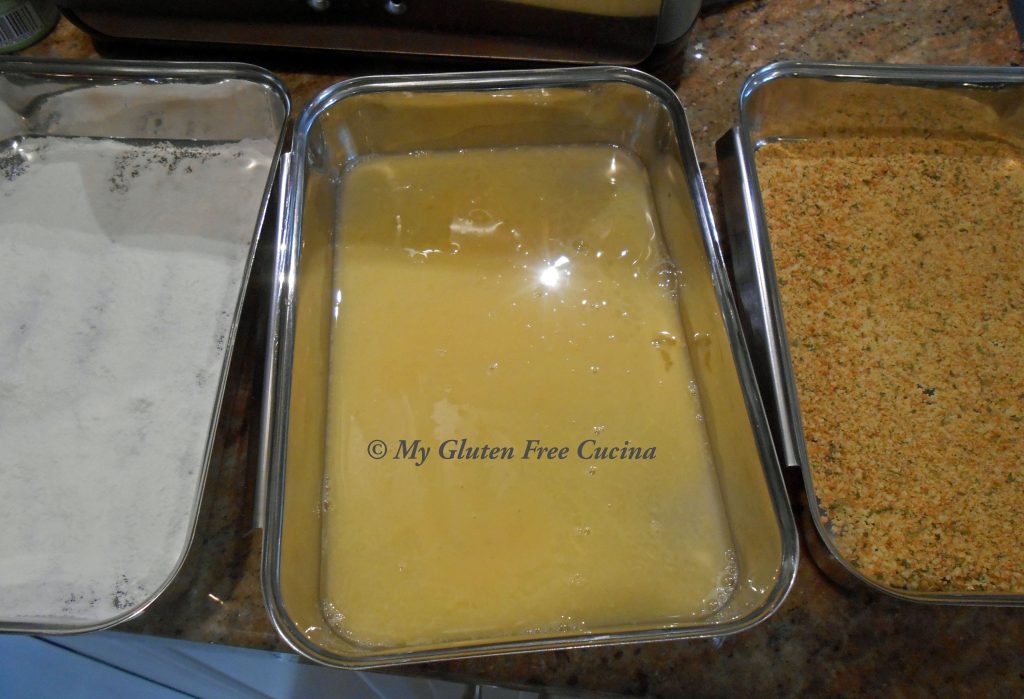
Preheat the oven to 325° and set up 2 breading trays.  In one bowl beat the egg with 1 tbsp. water.  Add the breadcrumbs to the other bowl.
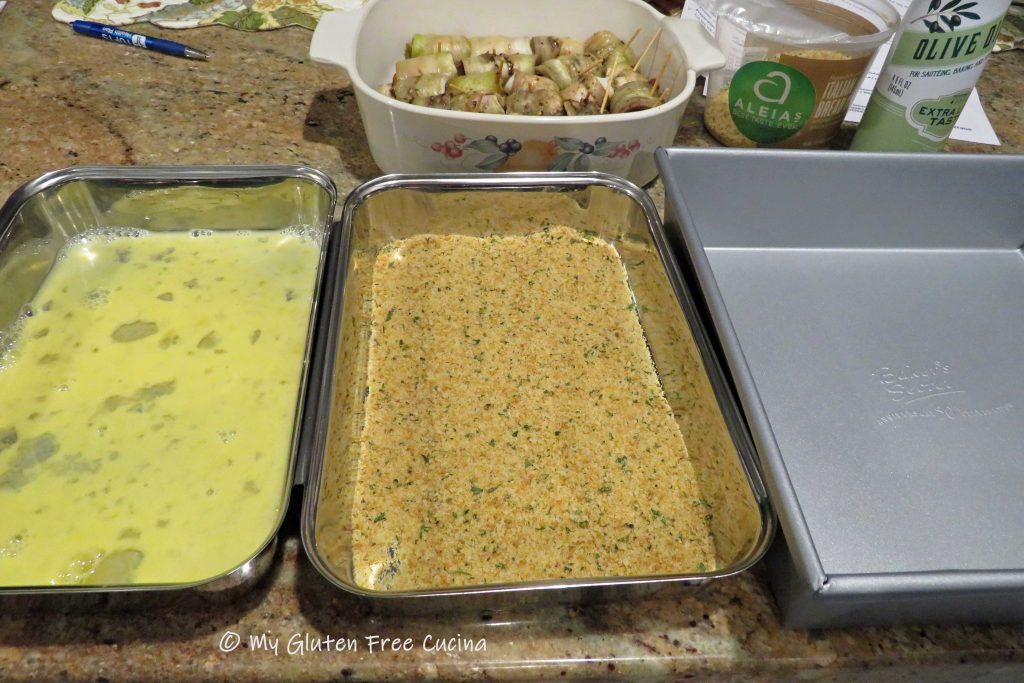
Mist a clean square baking dish with cooking spray.  Using your fingers, carefully pick up one bundle at a time and dip it in the egg, shaking off the excess.  Roll in breadcrumbs and place seam side down in the clean baking pan.  Continue until all the bundles are breaded.  Be sure to remove all toothpicks before baking.
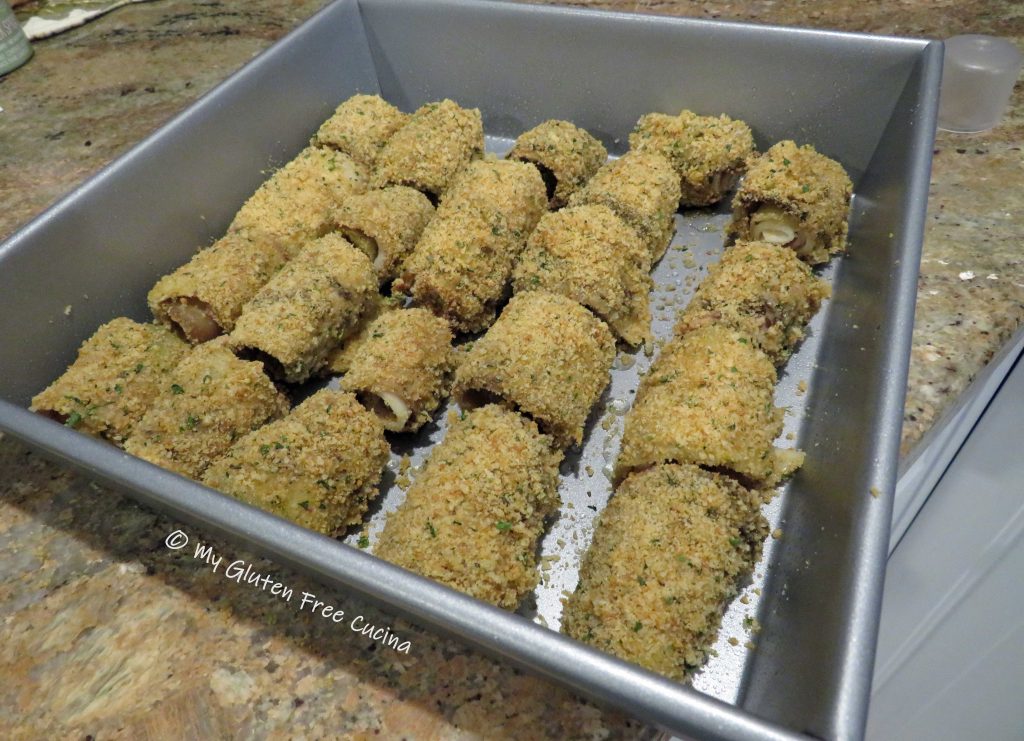
Sprinkle with Parmesan cheese and bake for 25 minutes.

Finish with a drizzle of your favorite BBQ sauce and serve immediately or reheat just before serving.
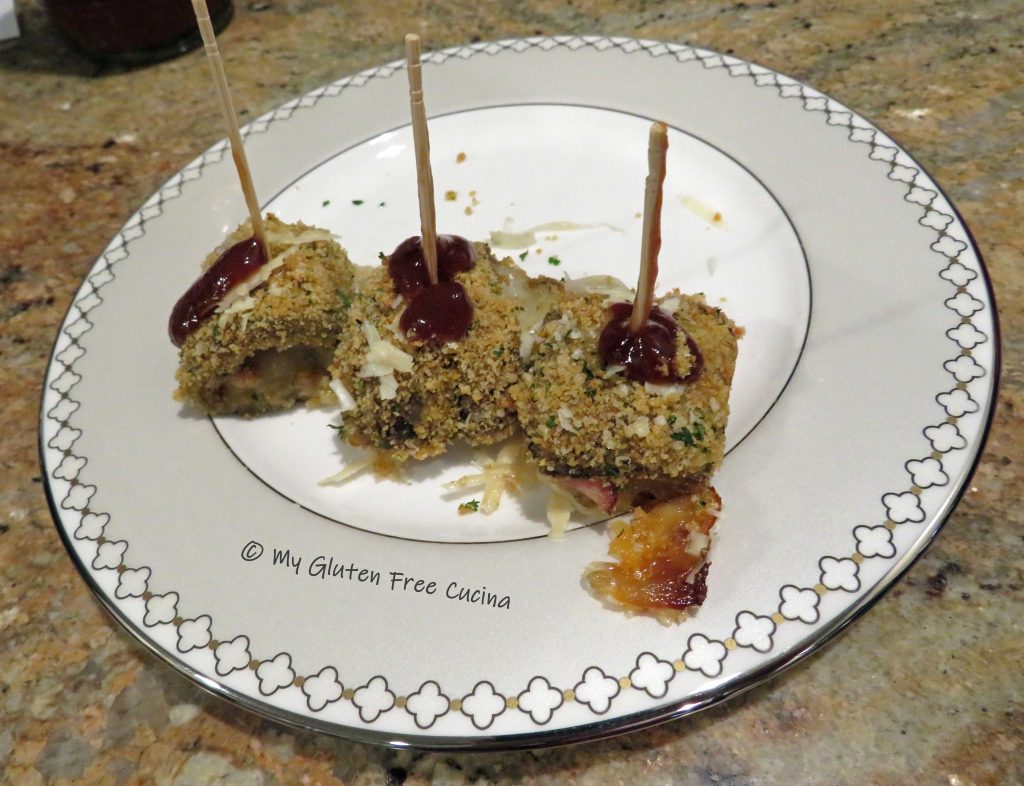
Notes ♪♫ Most of the ingredients in this recipe are naturally gluten free.  Be careful when purchasing cold cuts.  Look for gluten free brands like Boar’s Head and be sure that they have a dedicated slicer for gluten free products at the deli.  For the breading, I always use Aleia’s Gluten Free Italian Breadcrumbs.  They are just the best!

Originally published 12/31/2019            Updated 12/27/2023


Print This Post Print This Post

Gluten Free Stuffed Bread Ring

What is a Stuffed Bread Ring?  I’ll tell you what it is- DELICIOUS!  Think of it as a cross between a pizza and a calzone, or just a fancy ham and cheese ring for grownups.  Great for a party or light meal.

The dough was made with my favorite Artisan Flour Blend from Better Batter.  This is THE flour you want for bread, pizza or anything with a yeasted dough.  The filling is a simple layering of prosciutto and provolone cheese.  By the way, this recipe is also a great way to use up those cute little charcuterie rollups you see in the deli section (that’s what I used)!

Meijer Frederik's Prosciutto & Provolone Cheese Charcuterie Rolls

This post contains affiliate links.

*** Shop Better Batter and use my Code MGFC30 for 30% off your non-sale purchase!

Ingredients:

For the dough:

For the filling:

  • about 12 slices of prosciutto, sliced thin
  • about 12 slices of provolone cheese, sliced thin or shredded
  • olive oil
  • fresh ground pepper
  • Italian seasoning

Preparation:

Combine all of the dough ingredients in the bowl of a stand mixer.  Mix with the paddle attachment for 6-8 minutes.  Cover and refrigerate for 1 hour.

Preheat the oven to 350º.

Lay out 2 large sheets of parchment on your work surface, mist with cooking spray and divide the dough into 2 equal pieces.

Rest for 5 minutes, then roll each section of dough into a large rectangle.  Brush liberally with olive oil and sprinkle with Italian seasoning.

Top with a single layer of prosciutto, followed by the provolone slices.  Leave a border around the dough, so the ends will seal.

Use the parchment paper to help roll up the dough from the long side to form a cylinder.  Pinch the seams closed with your fingers.

With seam side down, carefully form a ring, crimping the ends together.  Place a small, oiled Pyrex cup in the center to maintain the ring shape while the bread bakes.  Use a fork or docking tool to pierce the dough all over (or improvise like I did and use this).  Don’t skip this step, those little holes allow steam to escape so the bread ring doesn’t split open while baking.  Cover and rest for 10-15 minutes.

Brush the bread rings with olive oil and a sprinkle of fresh ground pepper.

Pick up the bread rings, parchment and all and slide them onto a pizza stone or baking sheet.  Bake for 45 minutes or until the internal temperature reaches 200º.

Cool on a rack for at least 15 minutes before attempting to remove the Pyrex bowls (they will be very hot).  You may need to run a paring knife around the edges to loosen the bowls.

The bread rings need to set up for an hour or so, then you can enjoy them warm or at room temperature.

Leftovers can be refrigerated for several days; they will refresh nicely in the microwave, or you can reheat them on a baking stone.

Did I mention that this Stuffed Bread Ring is DELICIOUS?  Pair it with a salad for a nice lunch or light dinner, mangia!

Notes ♪♫ I used a dozen charcuterie rollups to make 2 bread rings, six slices each of prosciutto and provolone.  If you are buying cold cuts at the deli, be sure you have enough to cover the surface of the dough.  You can change up the filling and experiment with different meat and cheese combinations.  You can also add cooked vegetables that have been well drained, nothing watery.  Baby spinach leaves in the filling provide a nice color contrast.

Print This Post Print This Post

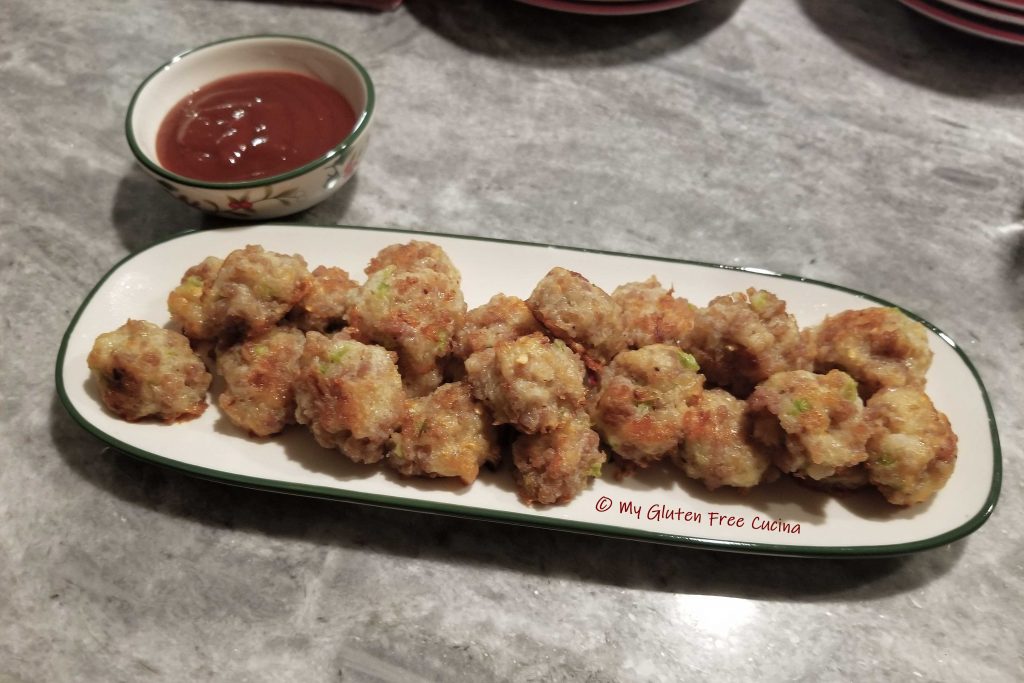
Gluten Free Sausage Cheese Ball Appetizers

These little one bite appetizers are the bomb!  Proof that gluten free does not have to be complicated, this easy recipe is perfect for all your party and game day get togethers.  You may want to make a double batch, they’re that good!

This post contains affiliate links.

I used Premio Mild Italian Sausage in this recipe, but you can change it up and use a sweet or hot sausage, just check ingredients for gluten.

For the pancake/biscuit mix I used and recommend Better Batter.  It works well in this recipe, and no one will know it’s gluten free!  Plus, this mix has so many other uses, you know the extra won’t go to waste.

Ingredients:

  • 2 tbsp. onion, small dice
  • 2 tbsp. celery, small dice
  • 1 tsp. olive oil
  • 1/2 cup mild cheddar cheese
  • 3 tbsp. gluten free pancake/biscuit mix
  • 1/4 tsp. garlic powder
  • 1/8 tsp. crushed red pepper
  • 6 oz. mild Italian sausage (about 2 links), casing removed
  • 1/4 cup egg whites
  • cooking spray
  • 1/2 cup gluten free BBQ sauce, for serving

Preparation:

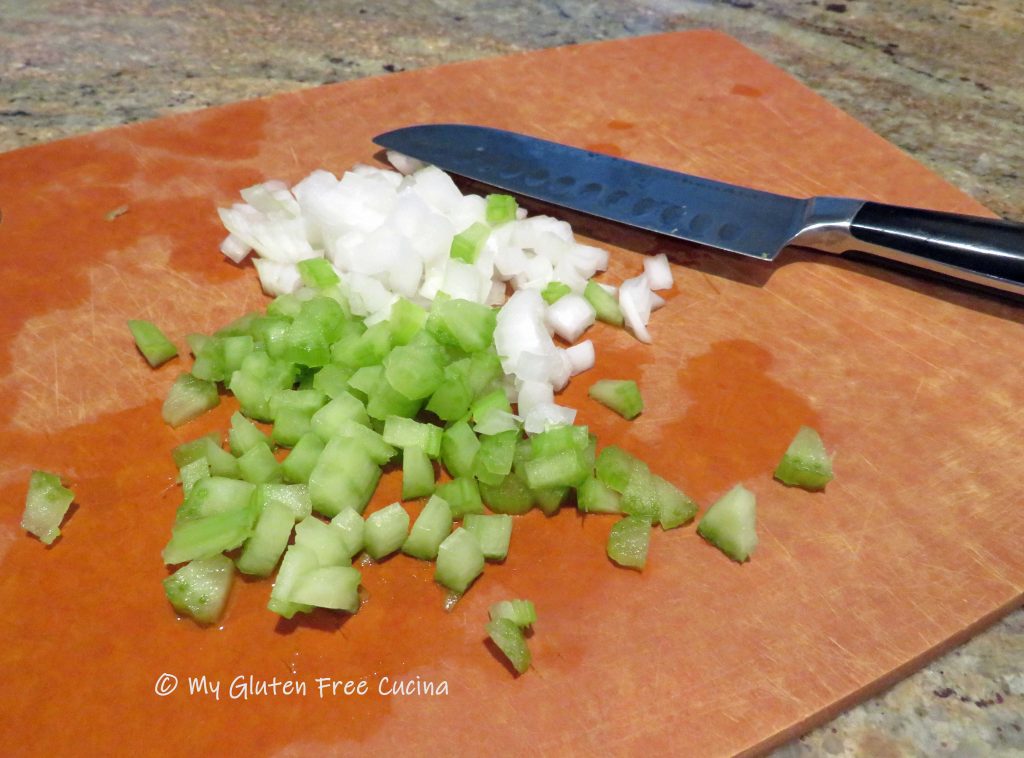
Chop the onion and celery into 1/4″ pcs.  Add to a small nonstick skillet with 1 tsp. olive oil and cook over medium heat until translucent.  Set aside to cool.

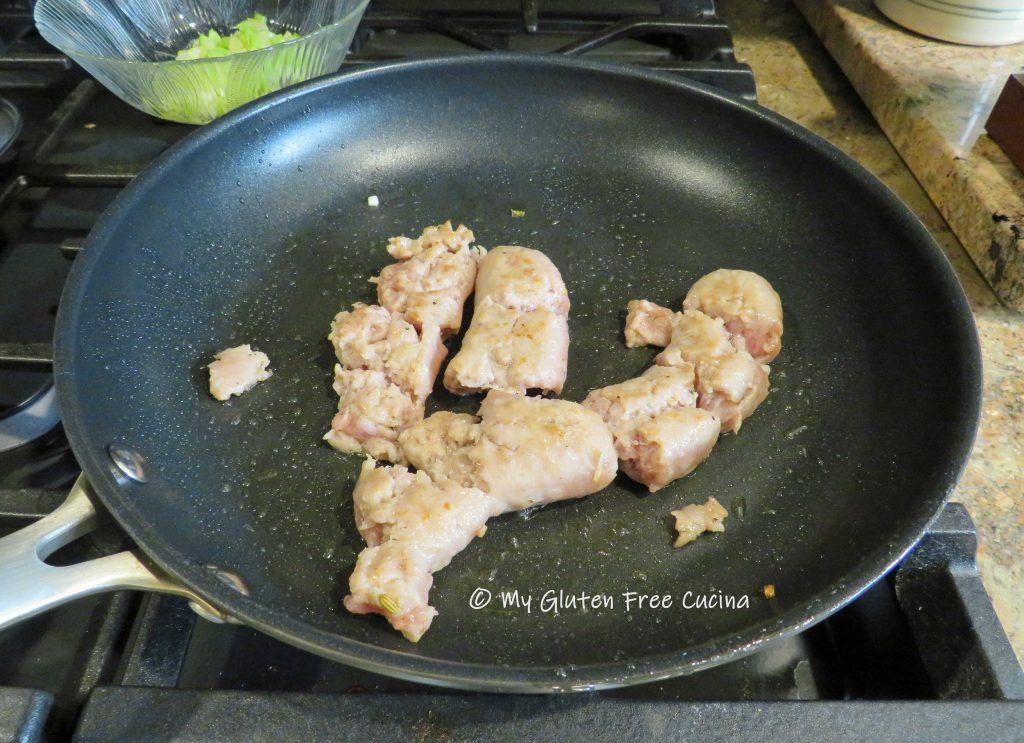
In the same skillet, partially cook the sausage.

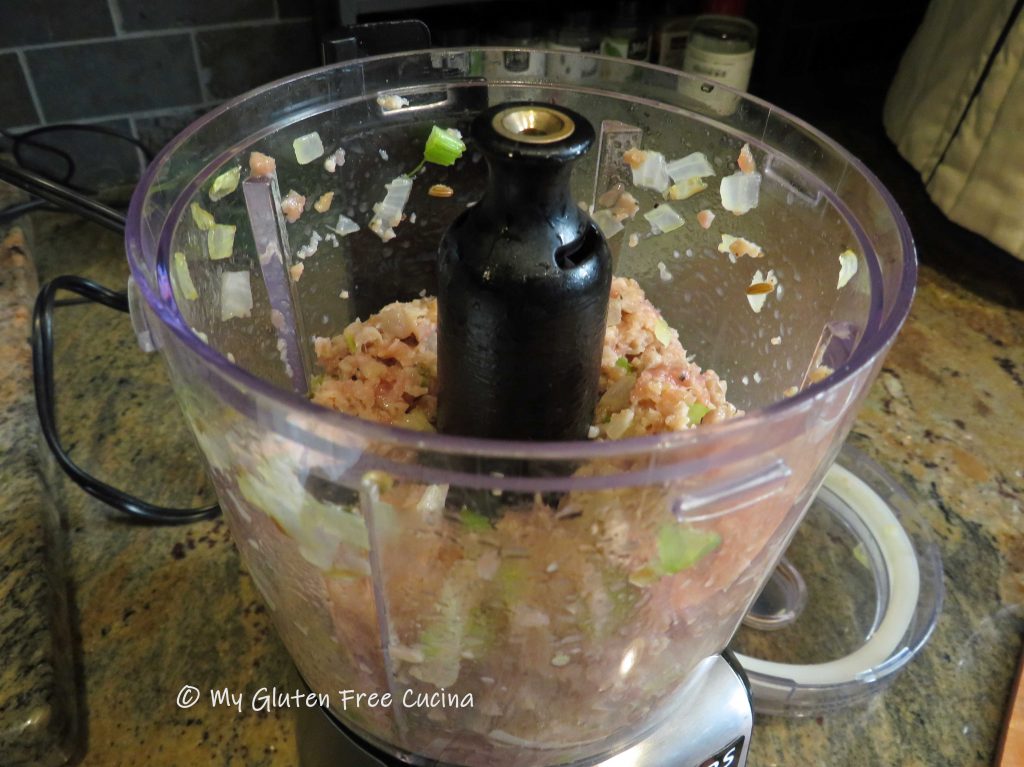
Transfer the sausage, onion and celery to an electric chopper and pulse a few times to break it up.

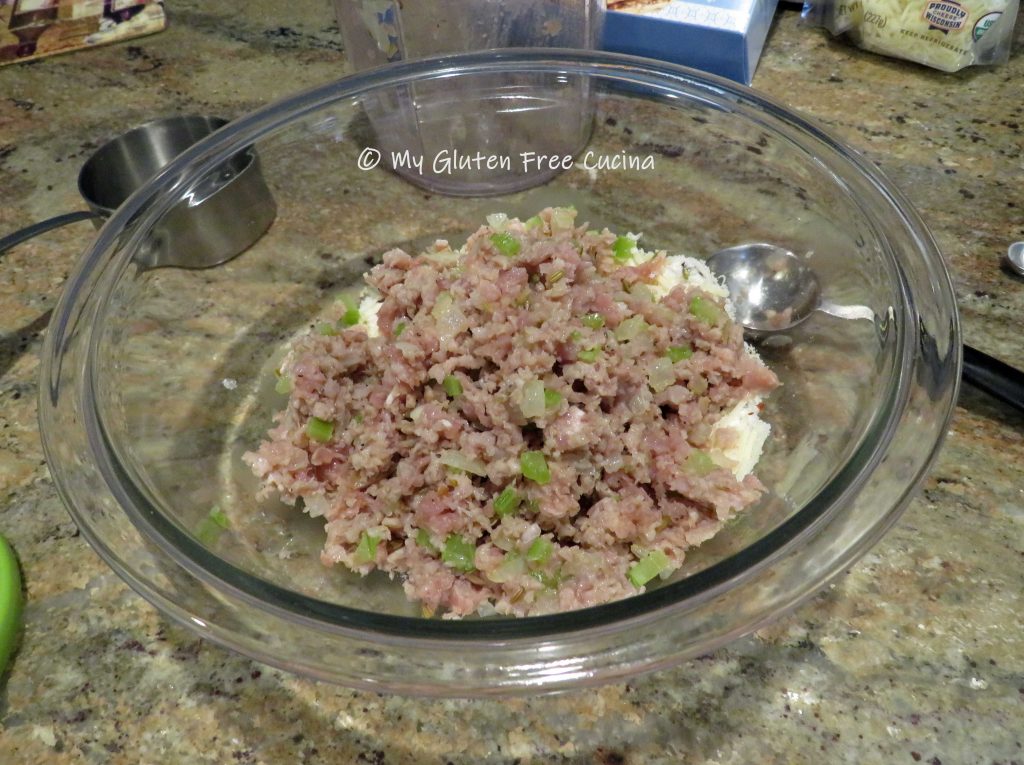
Mix the cheese, pancake/biscuit mix, garlic powder and crushed red pepper together in a small bowl.

Add the sausage, onion and celery mixture with 1/4 cup egg whites.

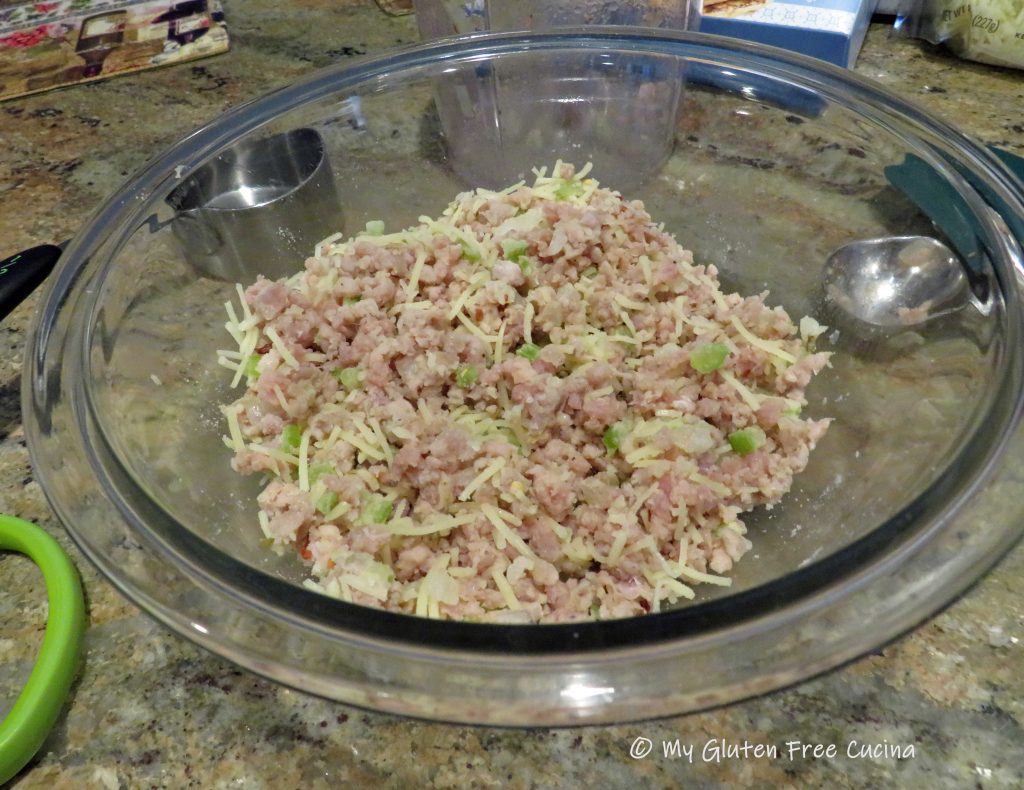
Using your hands, gently toss and mix everything together without squeezing.

Preheat the oven to 375º.  Line a sheet pan with foil and mist with cooking spray.  Form 1-inch meatballs and arrange them on the sheet pan with space in between.

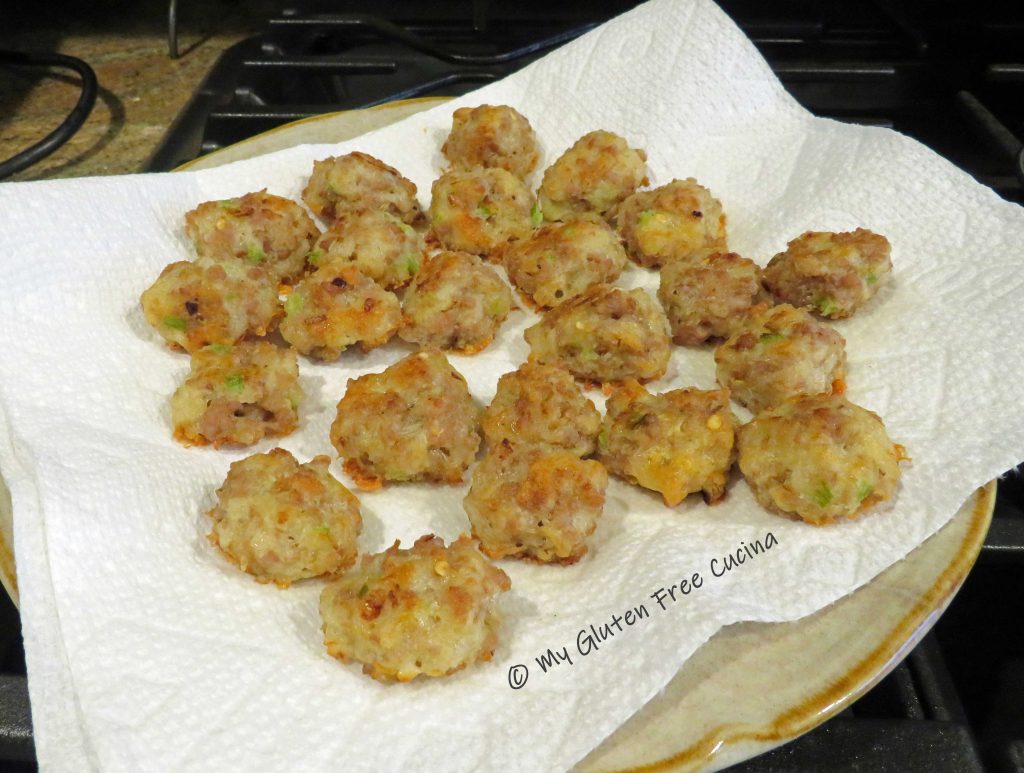
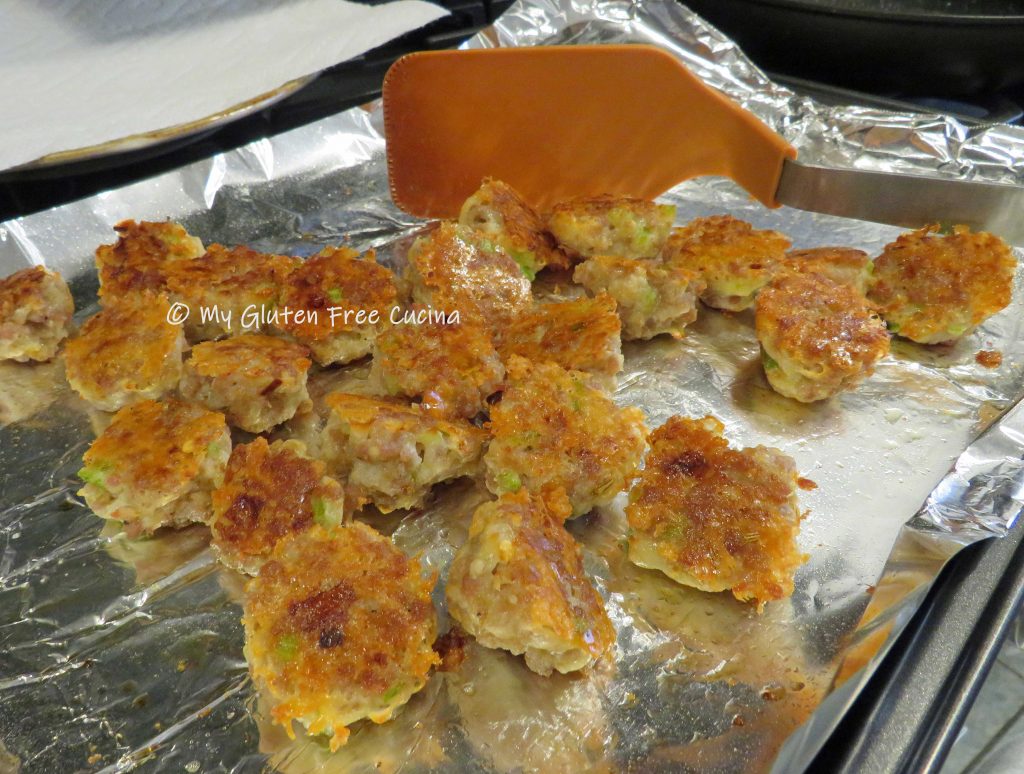
Bake for 15 minutes, turning once.

Drain on paper towels.

Transfer to a serving tray with your favorite gluten free BBQ sauce for dipping.  You can prepare ahead and reheat in the microwave before serving.

Notes ♪♫ This post was inspired by a recipe on Taste of Home.  That’s right, you don’t always need a gluten free recipe or special cookbook.  In fact, only one ingredient substitute was needed to make this recipe gluten free, and you can whip up a batch in under an hour!

Print This Post Print This Post


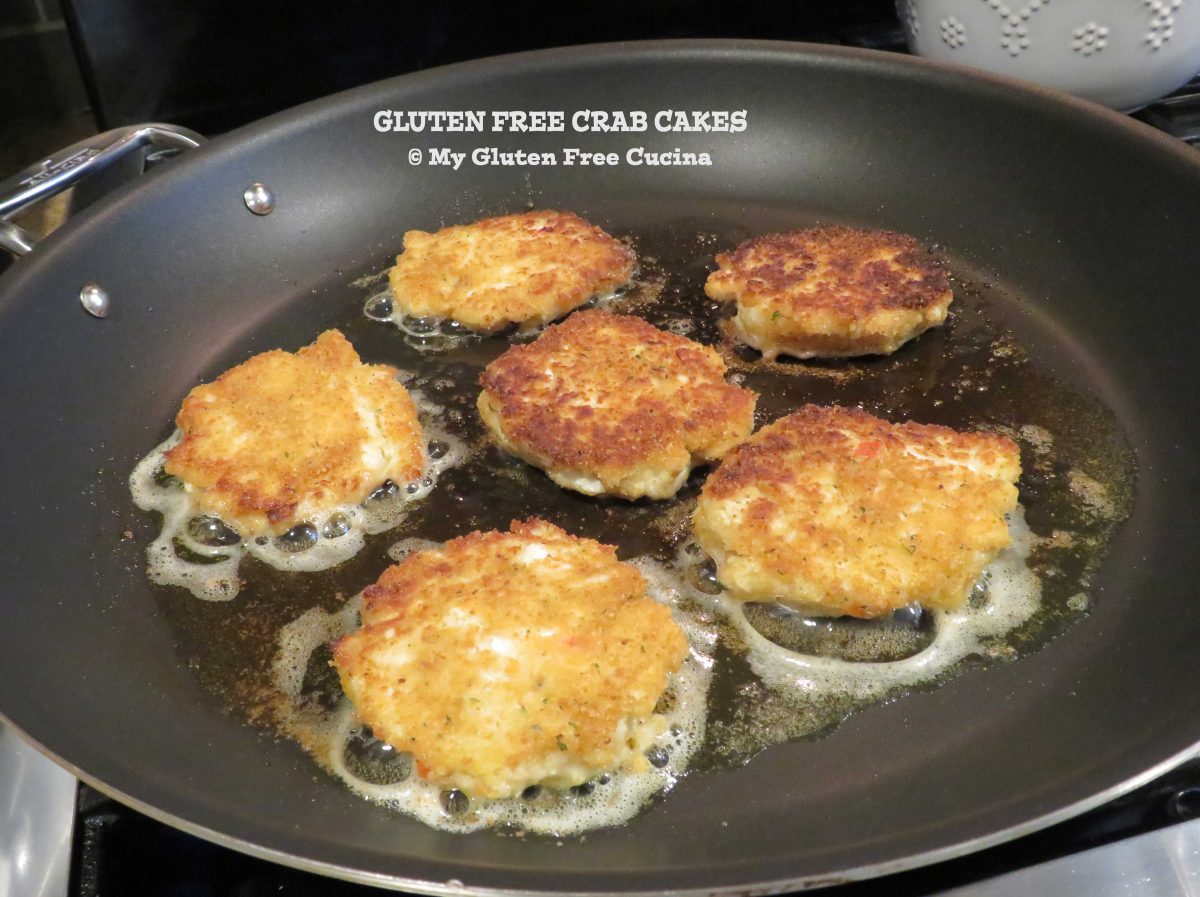
Gluten Free Crab Cakes

Like many of my recipes, this one came about because I was missing an old restaurant favorite.  Crab Cakes are a New England classic and I have always loved them.  Of course, they are now off limits (ah breadcrumbs!).  I’ve been thinking about making a gluten free version at home, and when I finally set my mind to it they came out great!  A lovely appetizer to begin a meal or serve as a main course.

I always say that when you make something from scratch you control what goes into it.  My Gluten Free Crab Cakes are not stingy with the crab meat (restaurants take note!).  With a little advance prep, you can have this entrée on the table in about an hour.

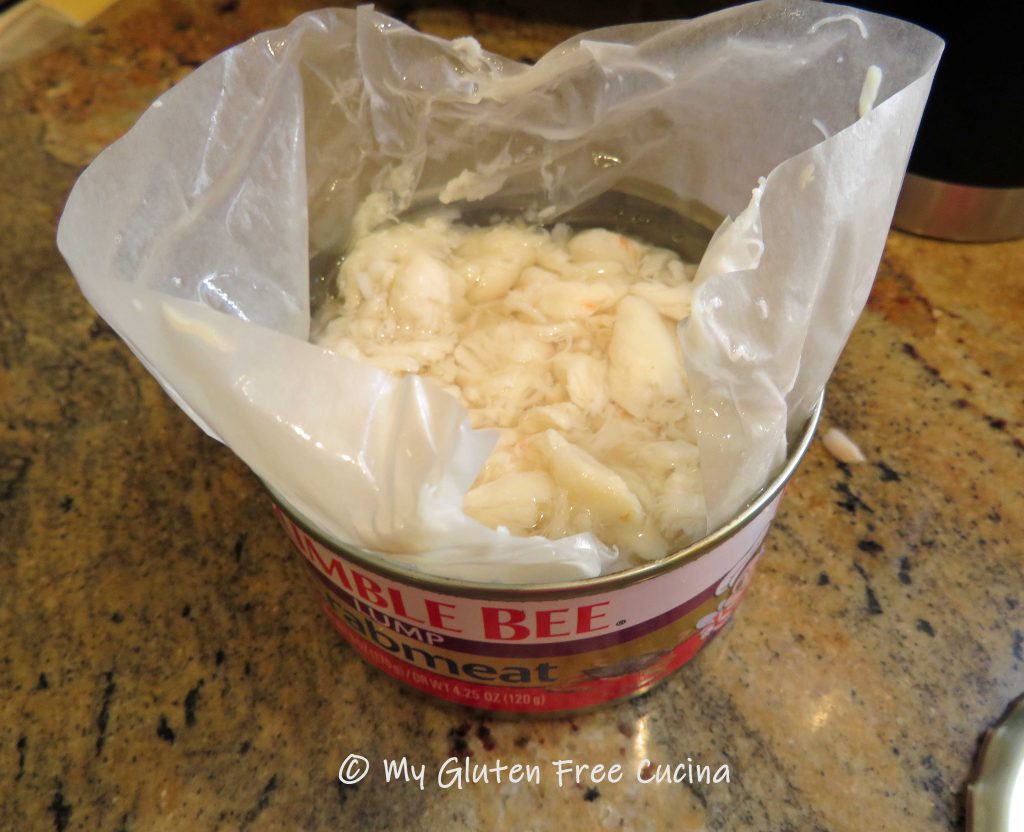
Fresh crab meat is wonderful, but if like me you are not up for cooking and cleaning a live crab, try using frozen crab meat.  It is a very good alternative and worth seeking out.  Of course, you can use canned if that is what you have available.  Look for Fancy Lump Crab and be sure to check the ingredient label.

Yield: 5-6 crab cakes (plan for 1 each as an appetizer or 2 as a main course)

This post contains affiliate links.

Ingredients:

Preparation:

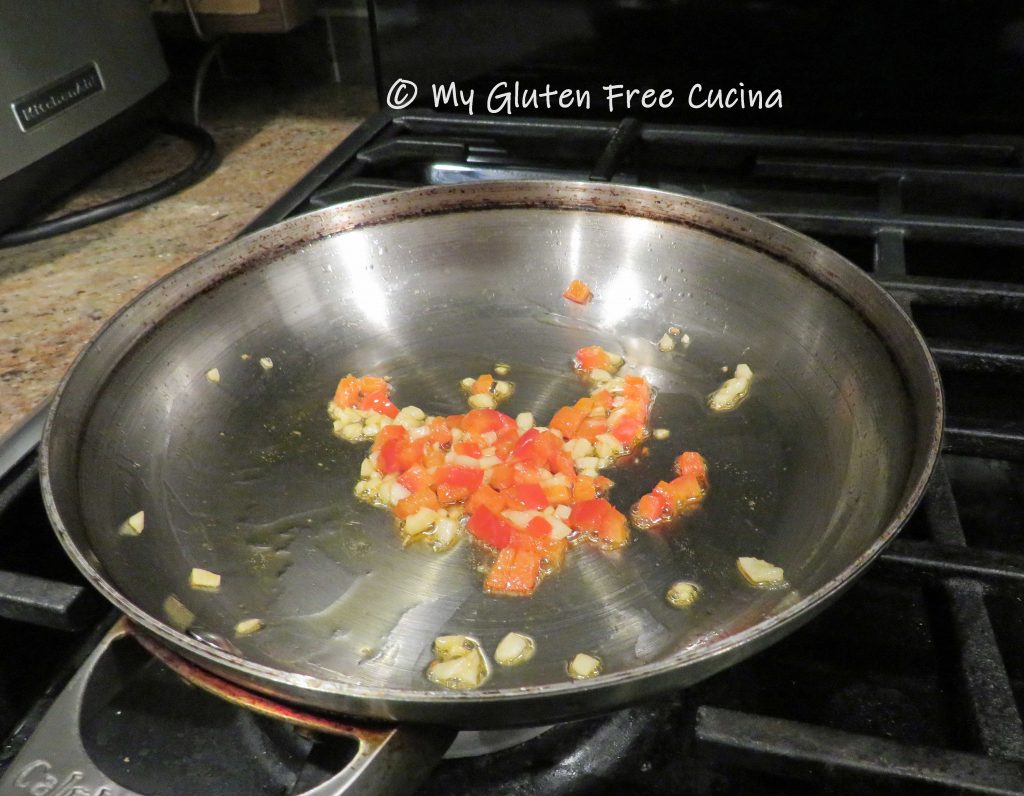
Chop the garlic and red bell pepper into fine mince.  Sauté 2 minutes in 1 tsp. canola oil.  Set aside and cool to room temperature.

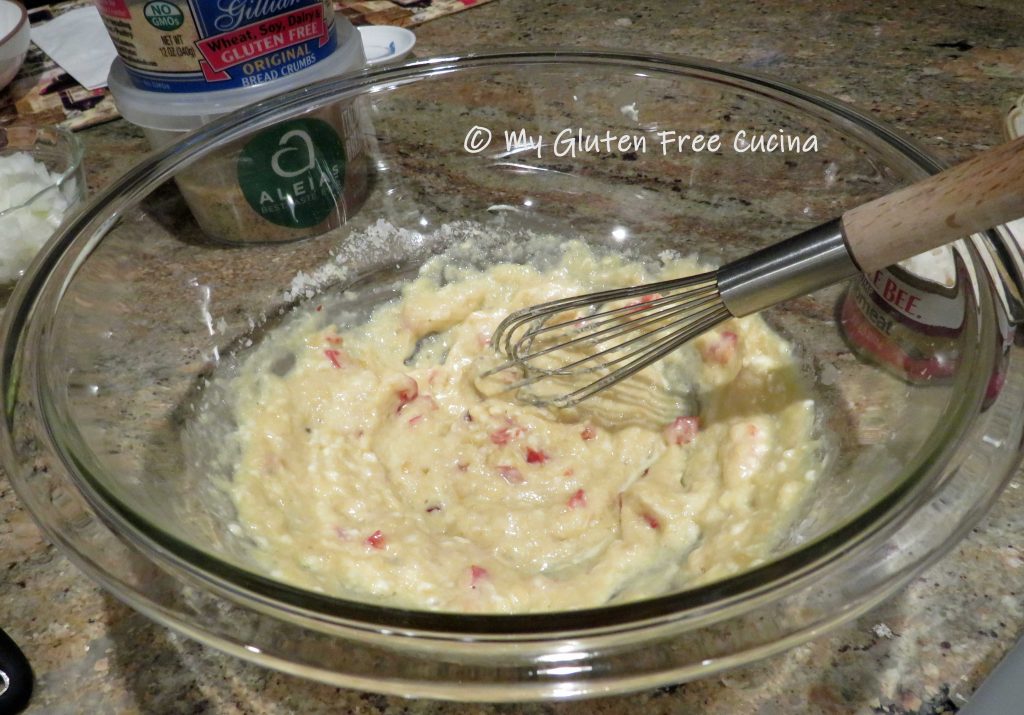
Combine the breadcrumbs in a bowl and toss to mix.  Whisk the egg, mayonnaise, Worcestershire sauce, minced veggies, lemon juice and seasonings in a separate bowl.  Add the potato flakes and whisk until smooth.

Fold in the crab meat and 2 tbsp. (half) of the breadcrumb mixture.
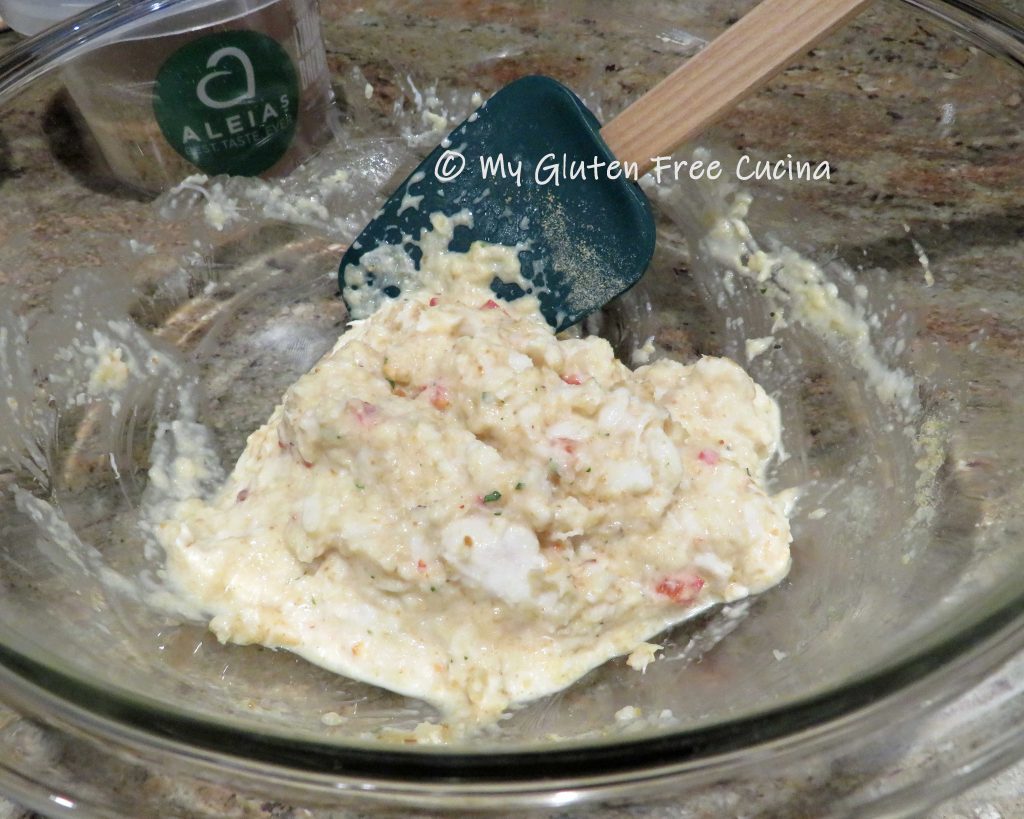
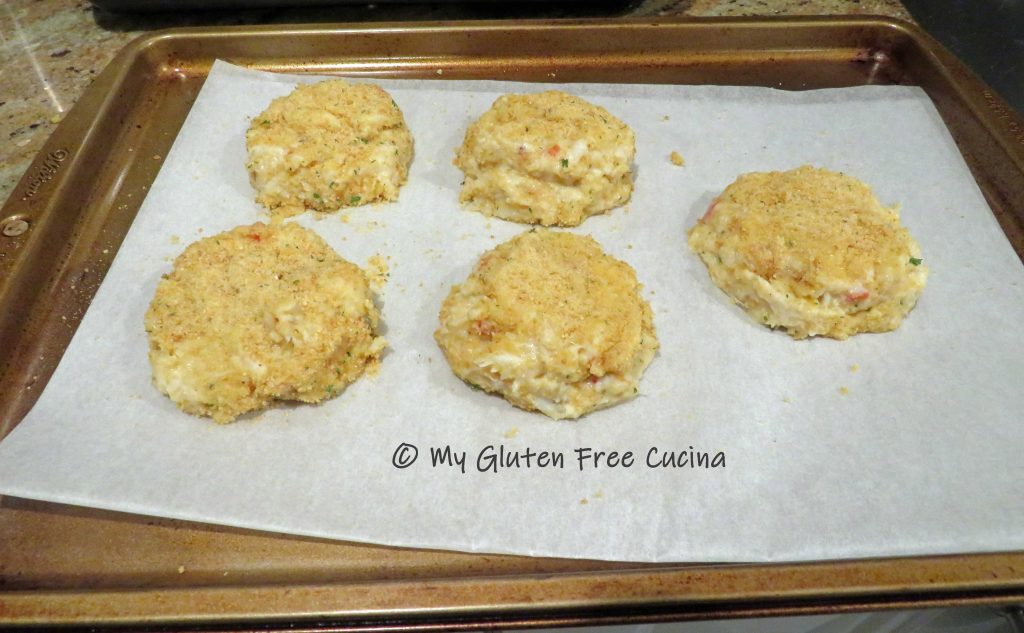
Using a ¼ cup measuring cup, scoop out the mixture to form 5-6 crab cakes.  Handle them gently and they should hold together (they will be wet).  Carefully roll each crab cake in the remaining breadcrumbs to coat.  Arrange them on a baking sheet lined with parchment and refrigerate for 1 hour.  This will help retain their shape and hold together while cooking.

Heat a non-stick skillet over medium low with 1 tbsp. butter and 1 tbsp. olive oil.

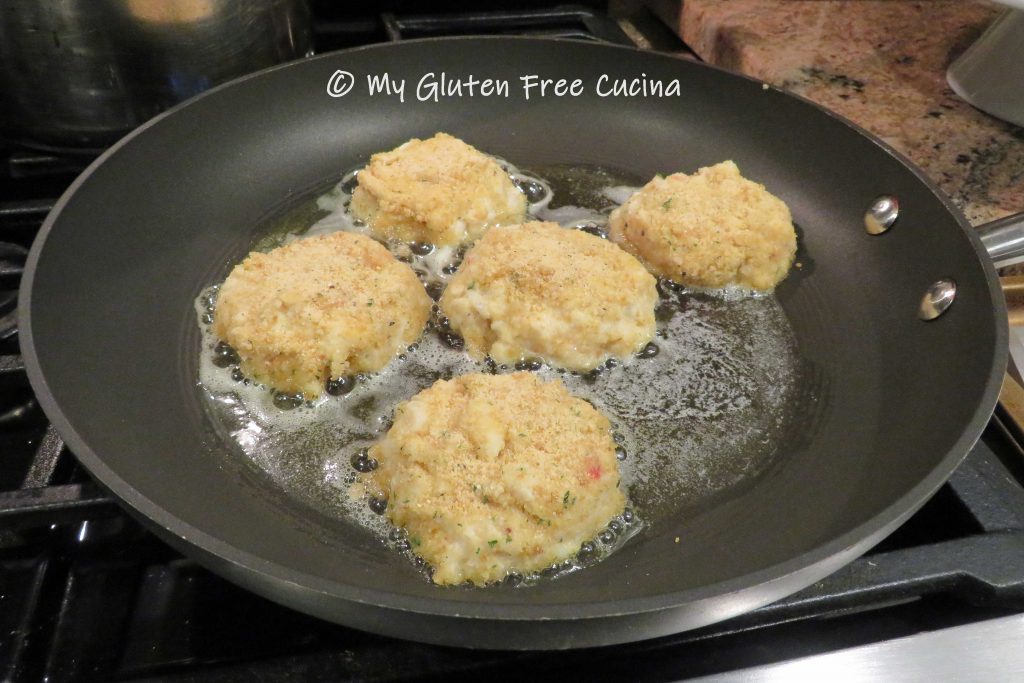
Cook the crab cakes for 5 minutes per side.  To get that golden crust, don’t move the crab cakes around in the pan until it’s time to flip them over.  Transfer to a baking sheet and put them in a 350º oven for a few more minutes to finish, then lower the heat and keep warm until serving.

Friends, they were so delicious!  The recipe is easy enough, wouldn’t you say?  Go on and give it a try, surprise your special someone or treat yourself.

Notes ♪♫ Several of my readers have mentioned that Lea and Perrins Worcestershire Sauce is not gluten free in Canada, as it contains malt vinegar.  (In the US, it is made with distilled white vinegar and is gluten free).  Always check labels!


Print This Post Print This Post


Veal Appetizer Meatballs

Tiny veal meatballs are the perfect party food, great for small plates or an appetizer before the main course.  Unlike their larger cousins, these tender little meatballs are just the right size to pop into your mouth!  You can make up a quick sauce for dipping, or use a good gluten free jar sauce (I won’t tell!).

This post contains affiliate links.

The Lazy Gastronome

Ingredients:

Sauce:

  • 1 can (28 oz.) tomato sauce
  • 1 tbsp. olive oil
  • 1 garlic clove, minced
  • 1/4 cup onion, diced
  • 1 tbsp. tomato paste
  • 1/2 tsp. each Italian seasoning, basil, oregano, marjoram, sugar

Meatballs:

Preparation:

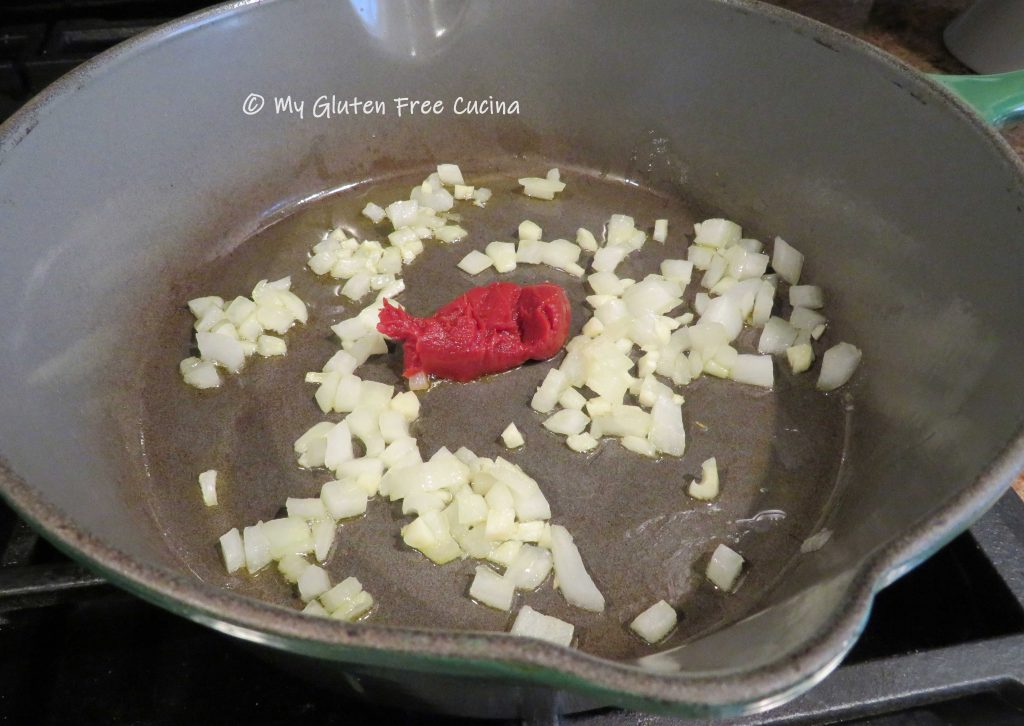
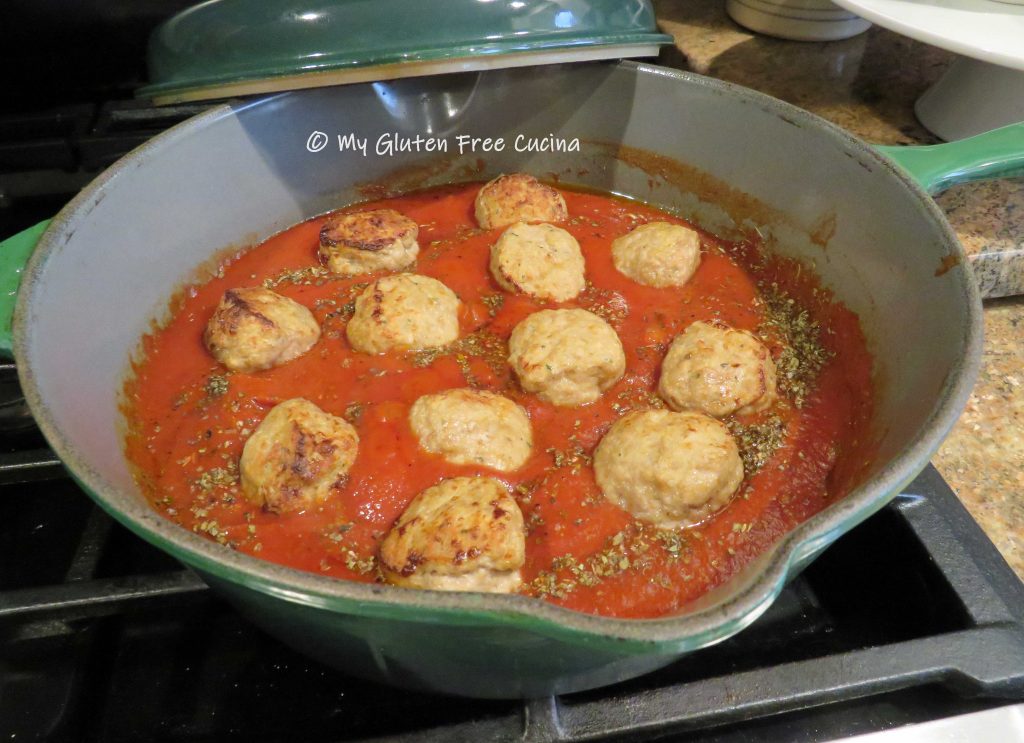
First we’ll make an easy marinara sauce.  In a heavy covered skillet or Dutch Oven, cook the garlic and onion in a little olive oil.  When the onions are translucent, push them to the sides of the pan and add the tomato paste in the center.  Let it toast for a minute before stirring it into the onions.

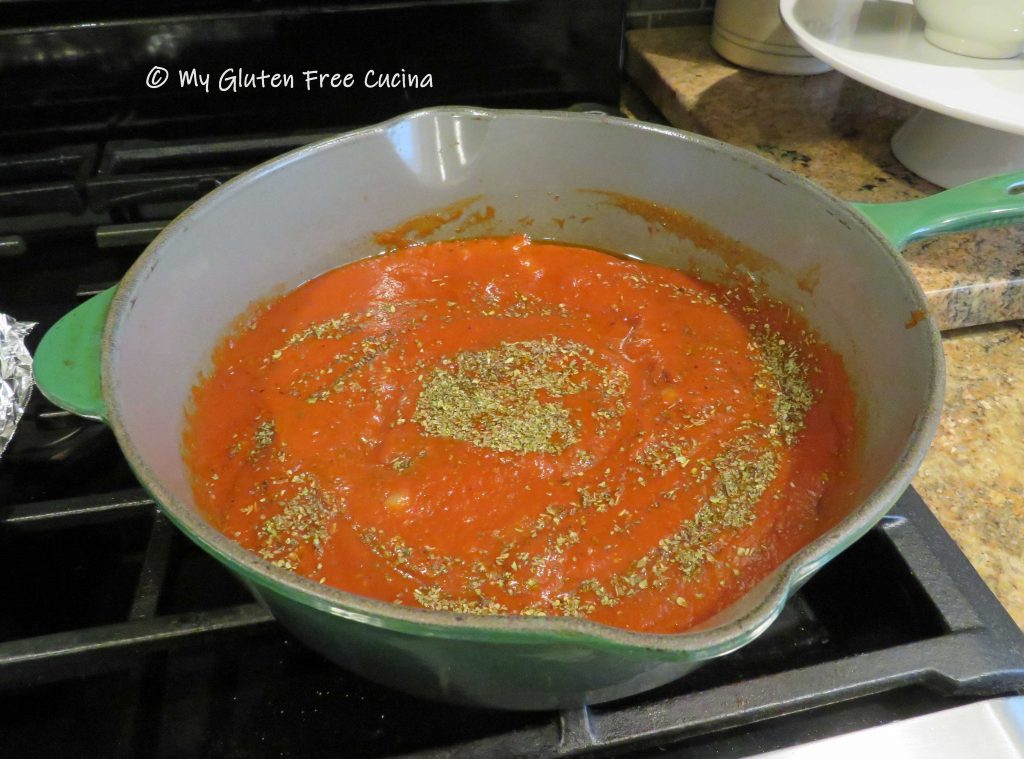
Add the tomato sauce along with the Italian seasoning, basil, oregano, marjoram and sugar.  Stir well, then cover and simmer for 30 minutes.

Next we’ll make the meatballs.  Combine the beaten egg and Italian seasoning.  In another bowl combine the bread crumbs and potato flakes.
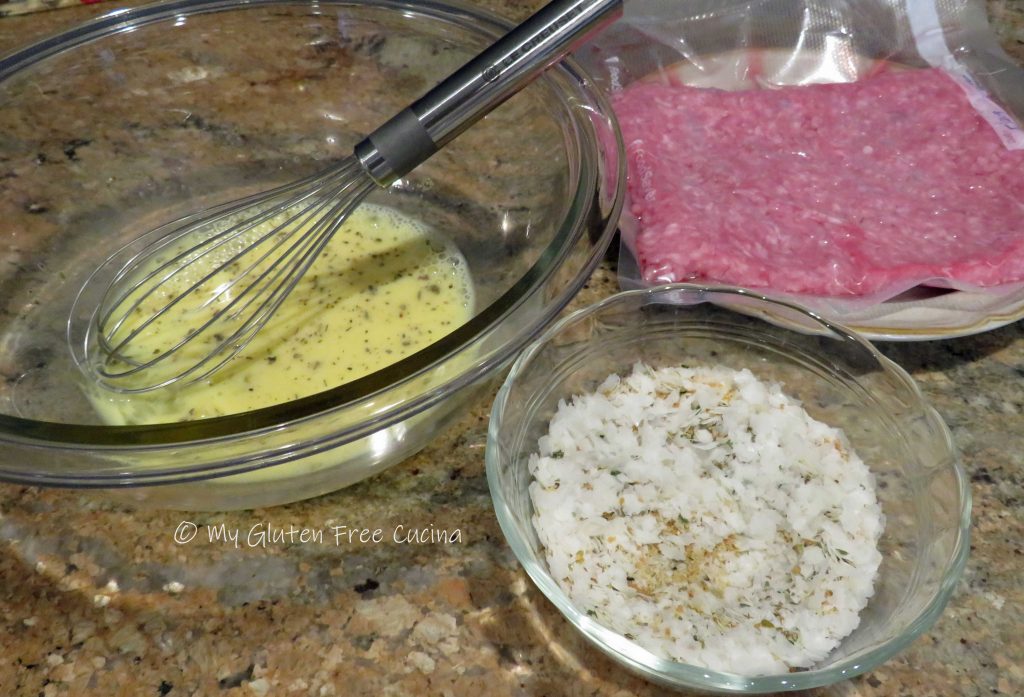
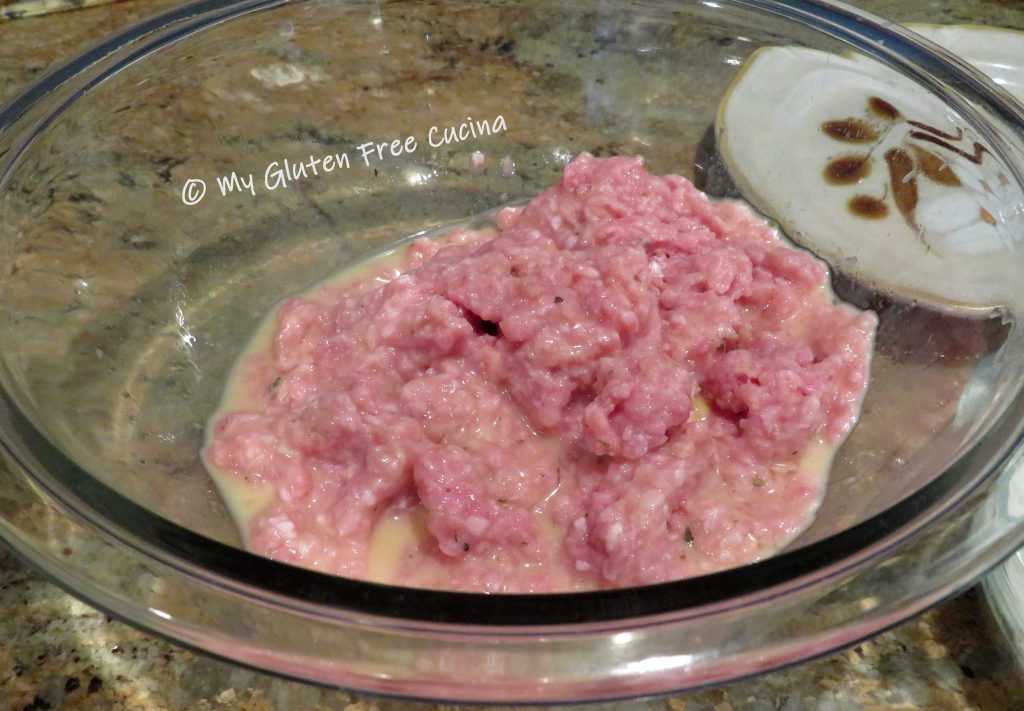
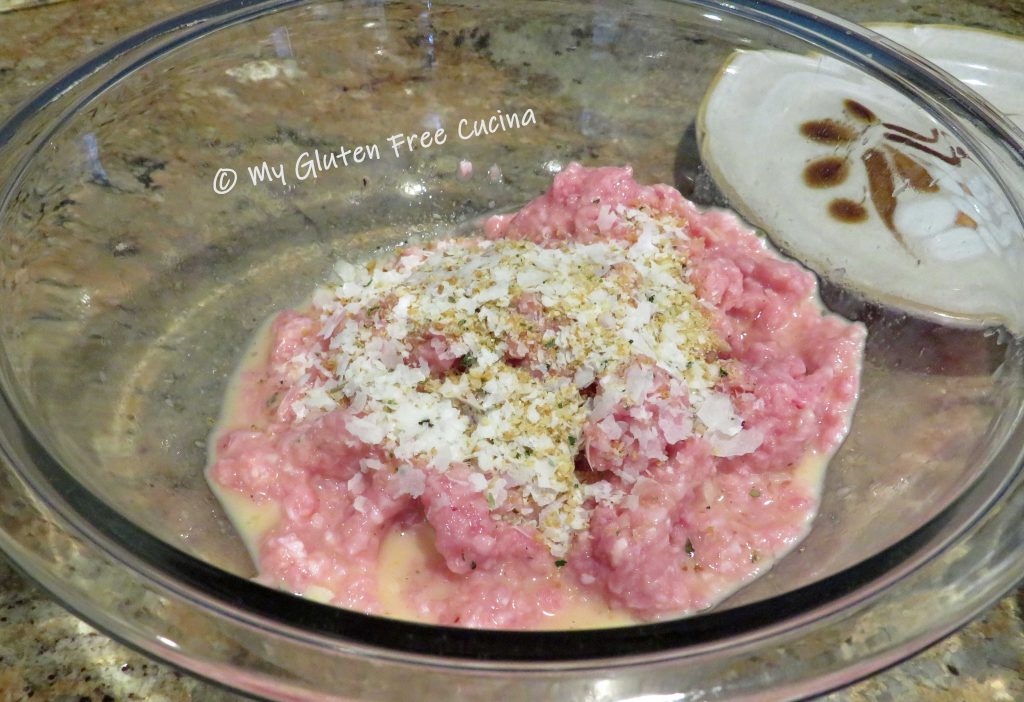
Add the veal into the egg mixture and work it in with your hands.

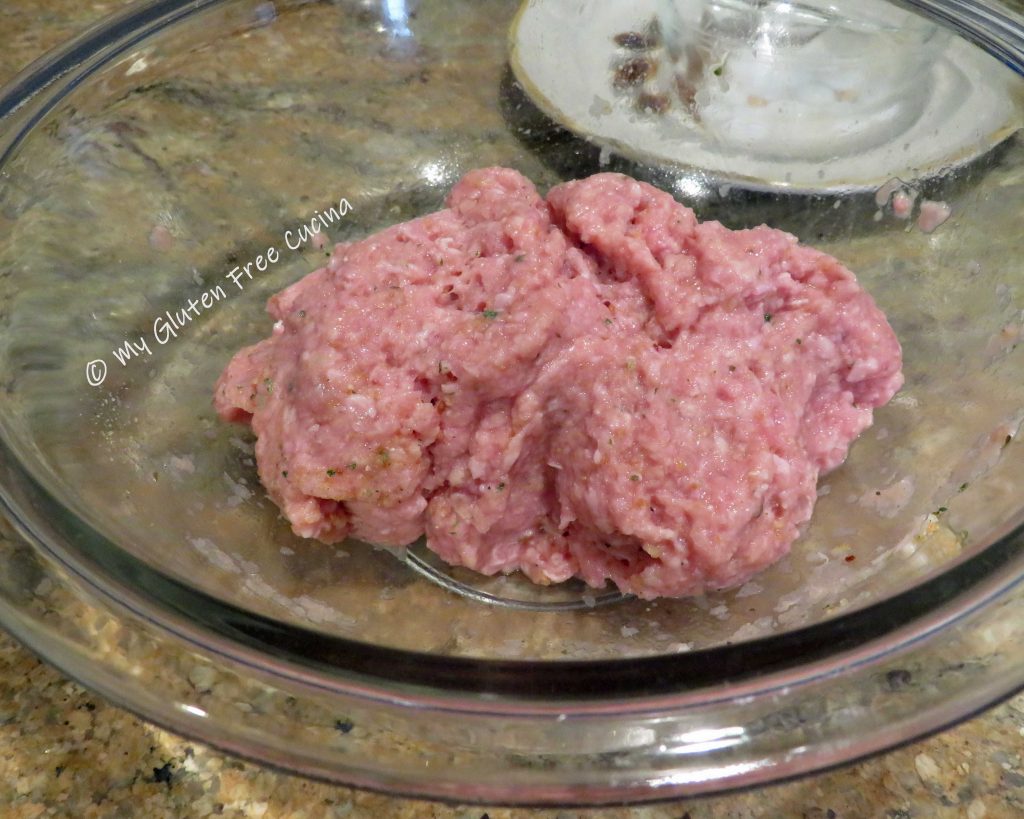
Sprinkle the breadcrumb mixture over the veal and use your hands to thoroughly combine.

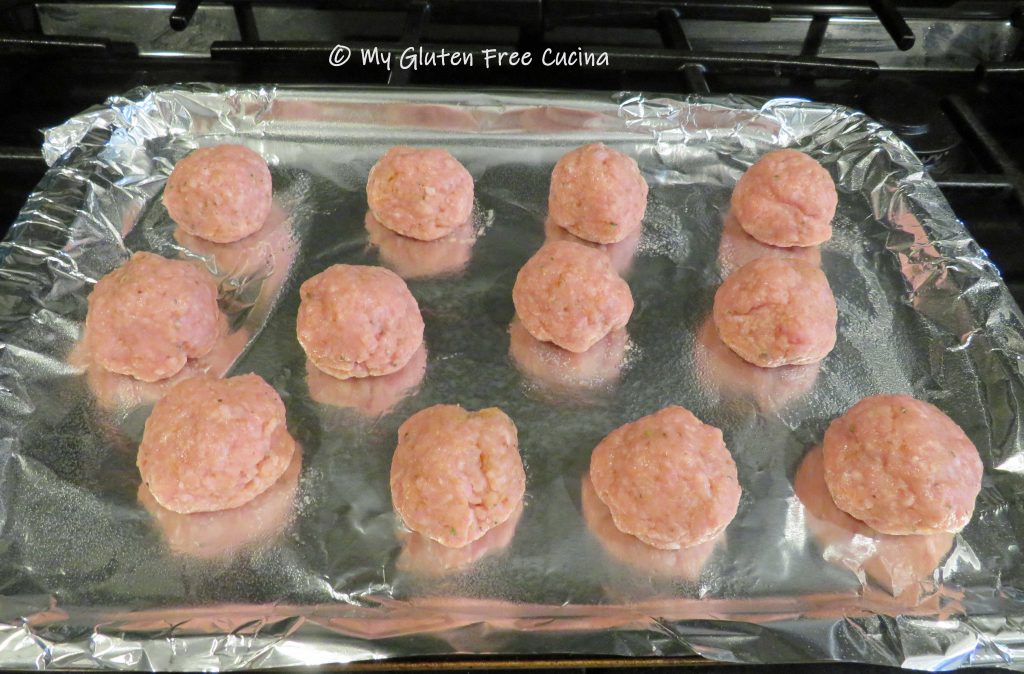
Line a baking sheet with foil and mist with cooking spray.  Divide the veal into 12 portions and form small meatballs.  Arrange them on the baking sheet, leaving space in between.

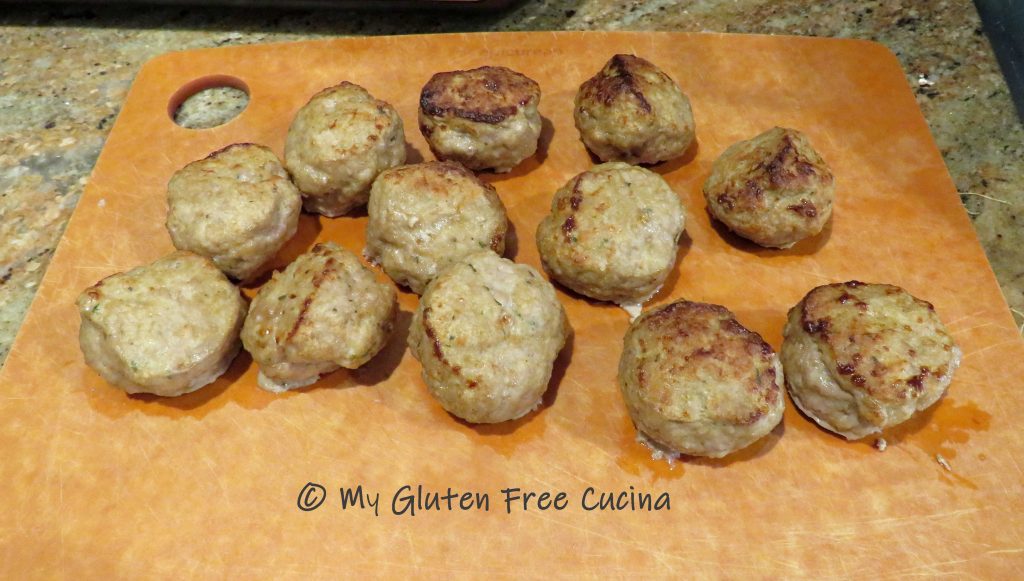
Broil on high for 4-5 minutes per side, turning once.

After broiling, let the meatballs rest for 15 minutes at room temperature to set.  You can also make them a day ahead and refrigerate.

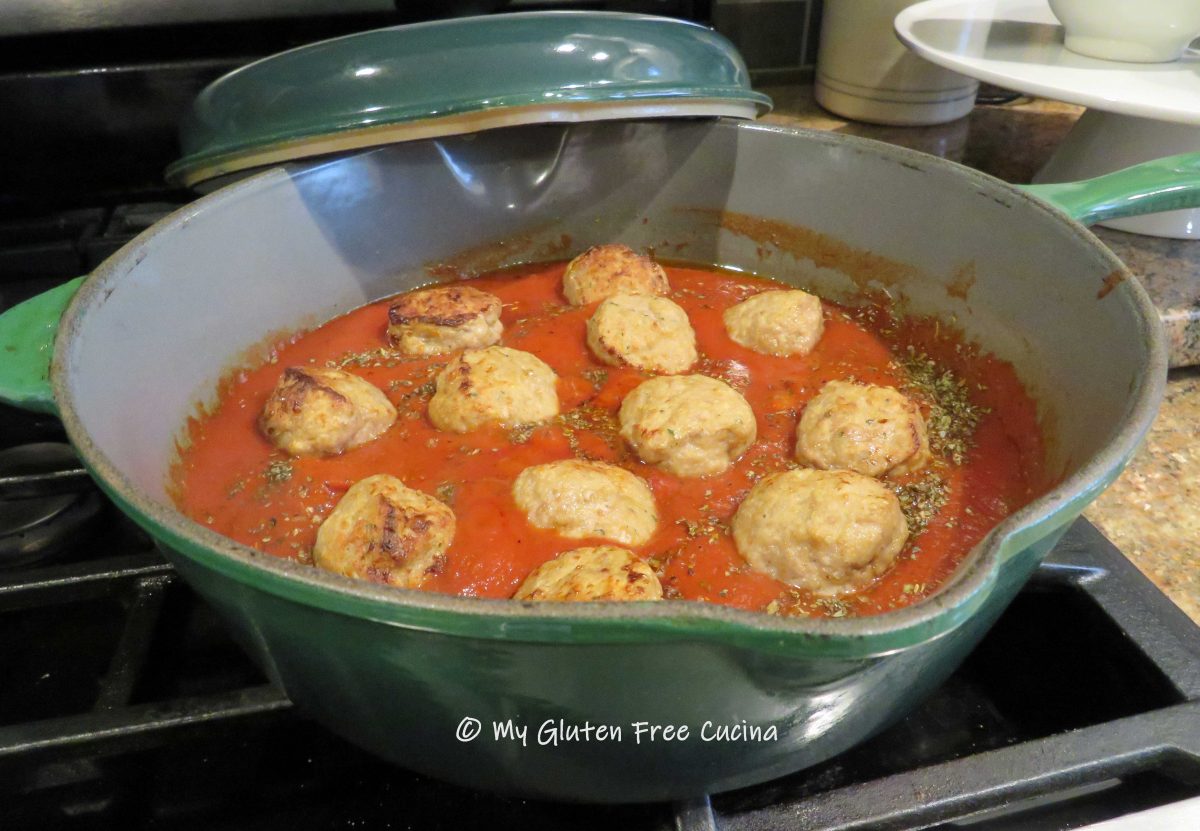
Before serving, add the meatballs to the sauce for 10-15 minutes to warm through.

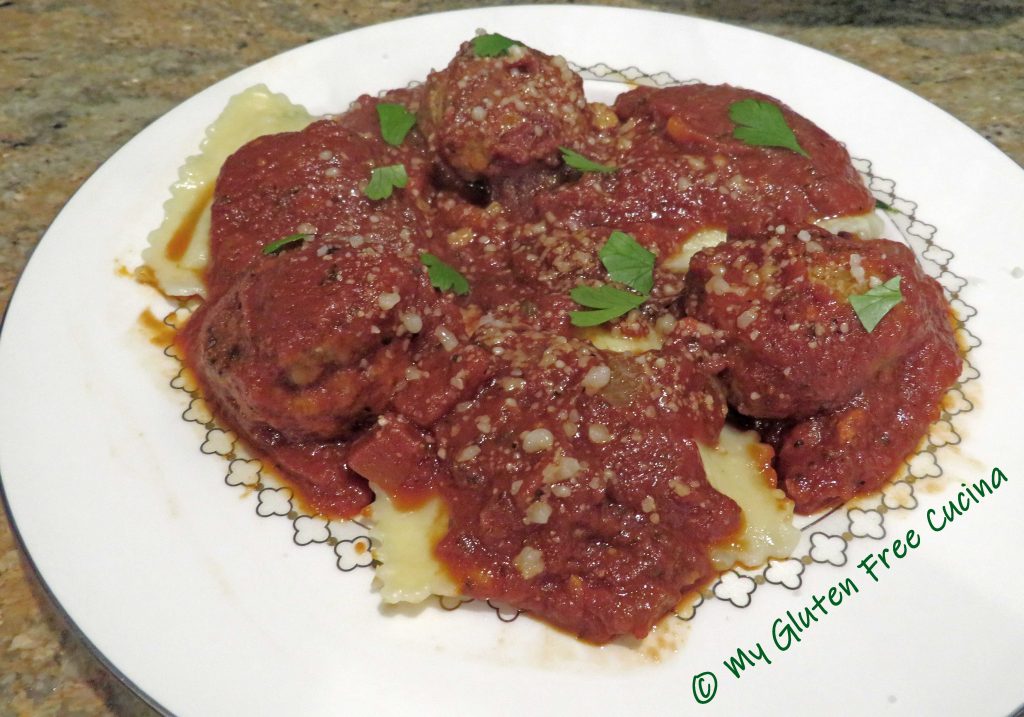
Enjoy them as an appetizer with extra sauce for dipping.  Or, for a small plate idea, serve 3 little meatballs over 3 gluten free ravioli.

Notes ♪♫ I hope you enjoyed this post!  For more meatball recipes check out my traditional, dinner sized Italian meatballs and my Thanksgiving inspired Turkey meatballs.

Print This Post Print This Post

Gluten Free Crab Cake Waffles

Oh what fun I had making these cute little Crab Cakes!  Gluten free and cooked on a waffle maker, they are the perfect summer meal.  Like regular crab cakes, they can be an appetizer or a main course.

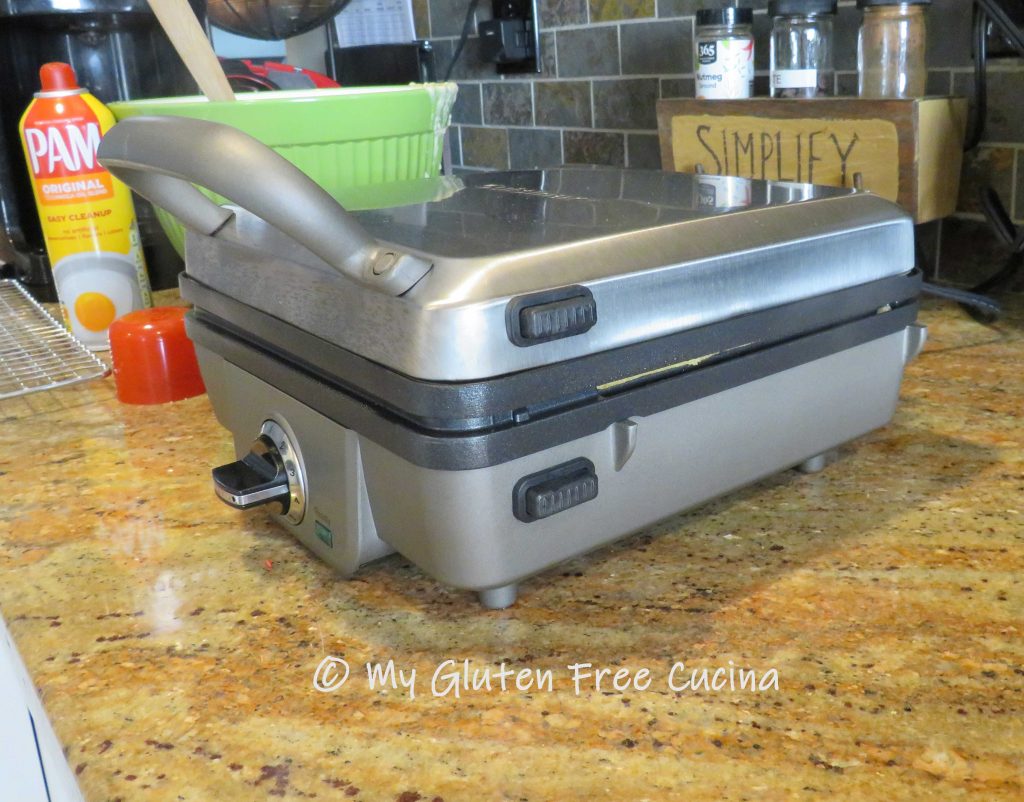
It’s so nice to have a new appliance!  When my waffle iron gave out after many years of service I was excited to get a newer model.  It has detachable plates, a game changer when it comes to cleanup!

I couldn’t wait to try out my new waffle maker, but breakfast wasn’t the first thing on the menu!

This post contains affiliate links.

Inspired by Skinny Taste, these Gluten Free Crab Cake Waffles are surprisingly filling!  The recipe makes 2-4 servings, depending on your appetite.  A single waffle with a couple of sides was enough for us.

Ingredients:

  • 6 oz. can fancy lump crab meat
  • 1/2 cup gluten free plain bread crumbs (I used Gillian’s)
  • 1 egg
  • 2 tbsp. egg whites
  • 1 tbsp. gluten free mayo
  • 1 tsp. Dijon mustard
  • 2 tbsp. fresh chives
  • 1 tbsp. lemon juice
  • 1/2 tsp. Old Bay Seasoning
  • 1/8 tsp. paprika
  • 1/2 tsp. gluten free Worcestershire sauce
  • few grinds of black pepper
  • cooking spray
  • lemon wedges for serving

Preparation:

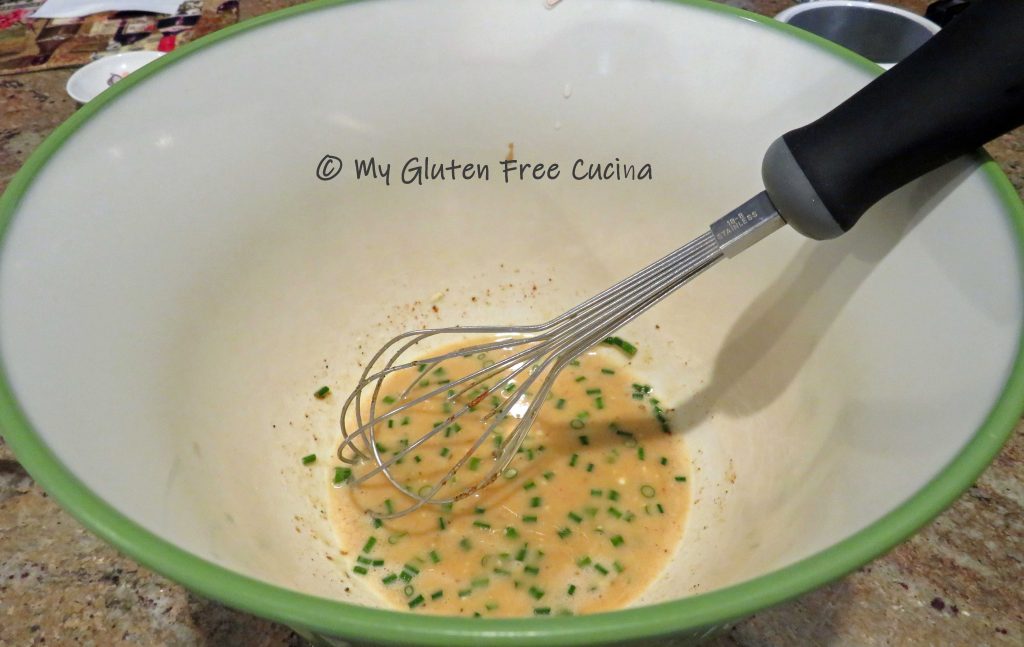
Whisk together the egg, egg whites, mayo, mustard, chives, lemon juice, Worcestershire, Old Bay and Paprika.  Add a few grinds of black pepper, to taste.

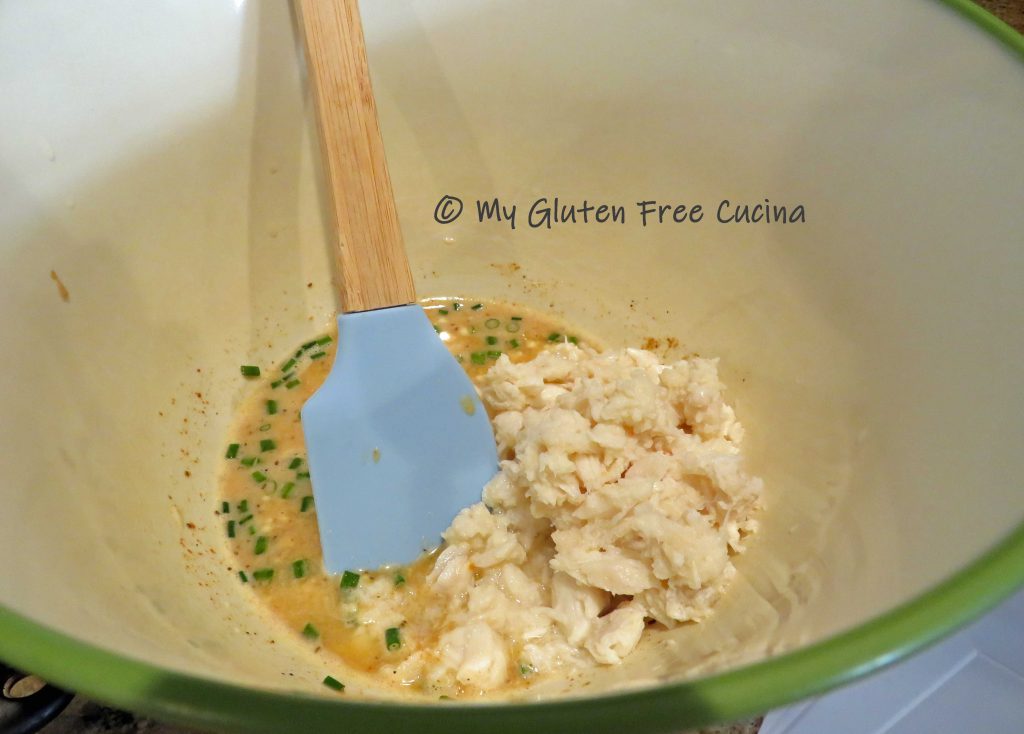
Drain the crab meat and gently stir it in.

Sprinkle the bread crumbs a little at a time and gently fold into the mixture.  Don’t overwork it, handle as little as possible.

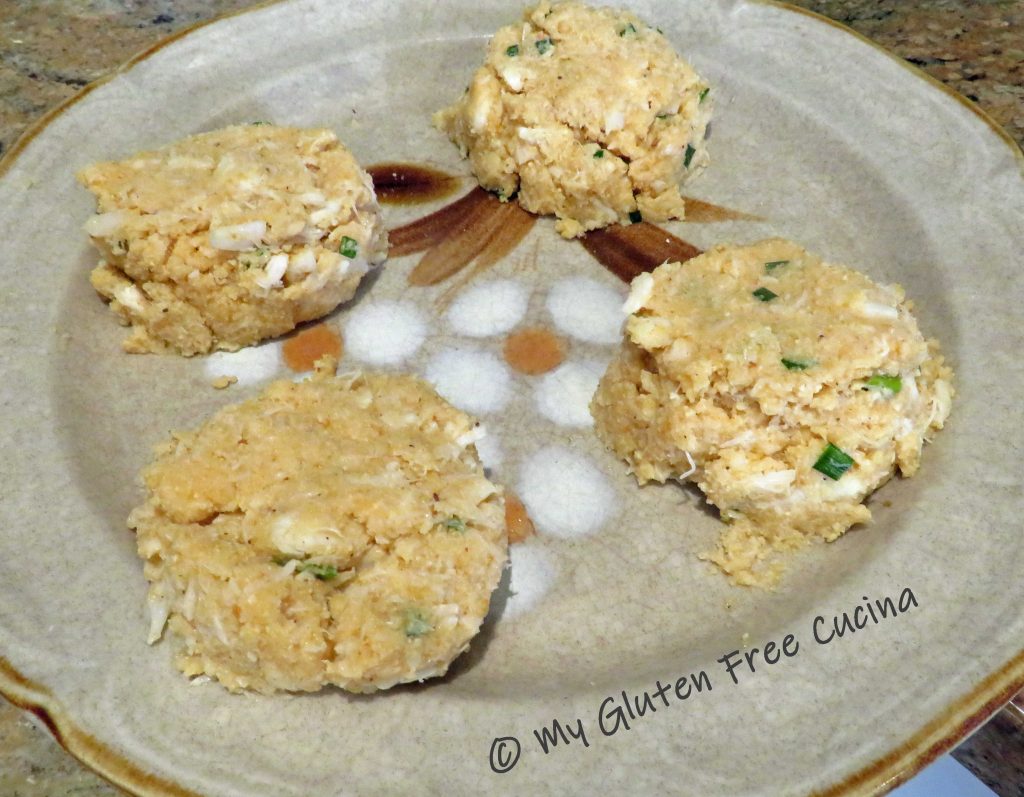
Scoop the mixture into 4 portions, about 1/3 cup each.

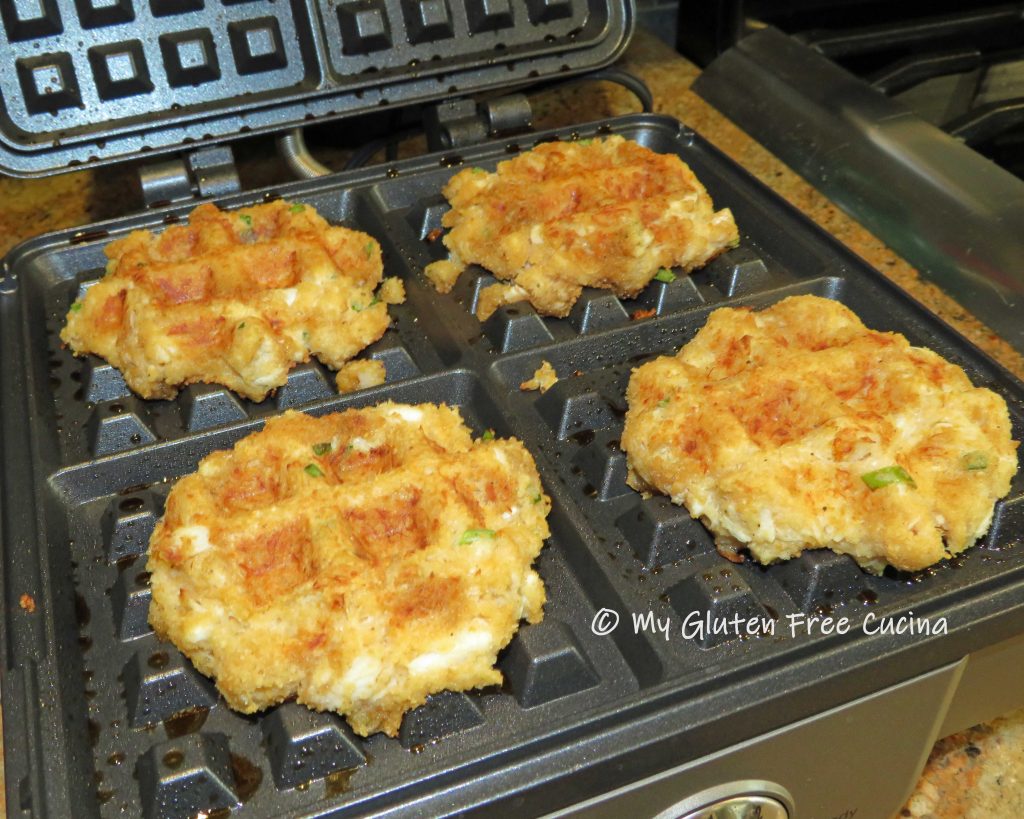
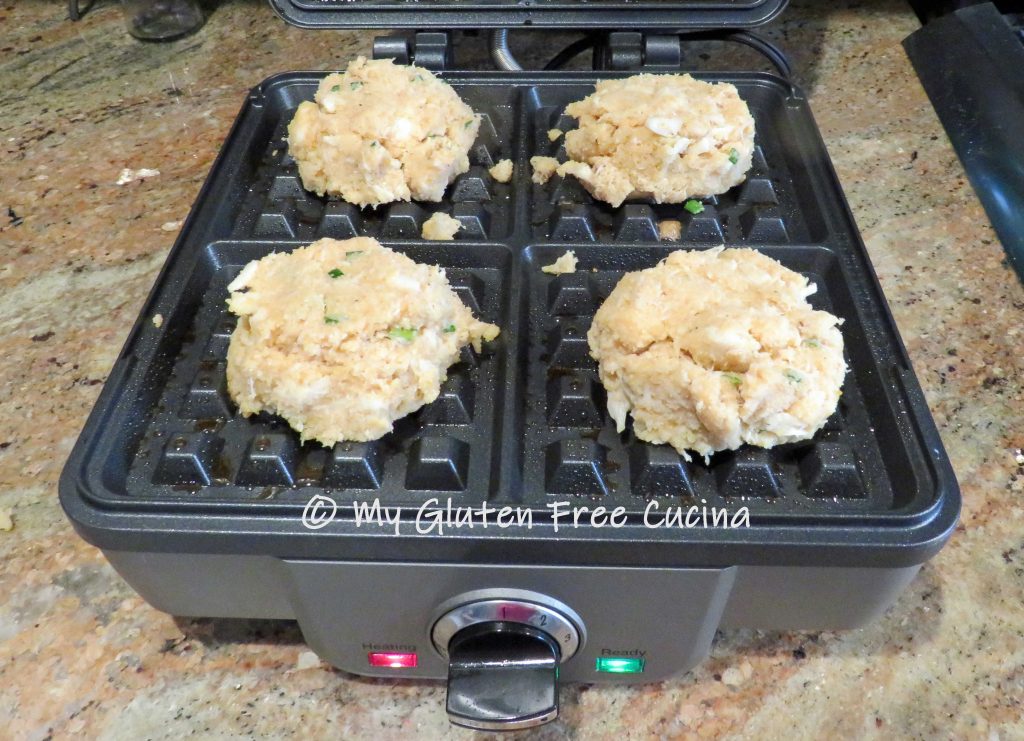
Heat the waffle iron to 350º and coat with cooking spray.  Place one crab cake on each section of the waffle iron and close the lid, pressing gently.

The crab cakes will be done to a golden brown in 3-5 minutes.  Start checking after 3 minutes.

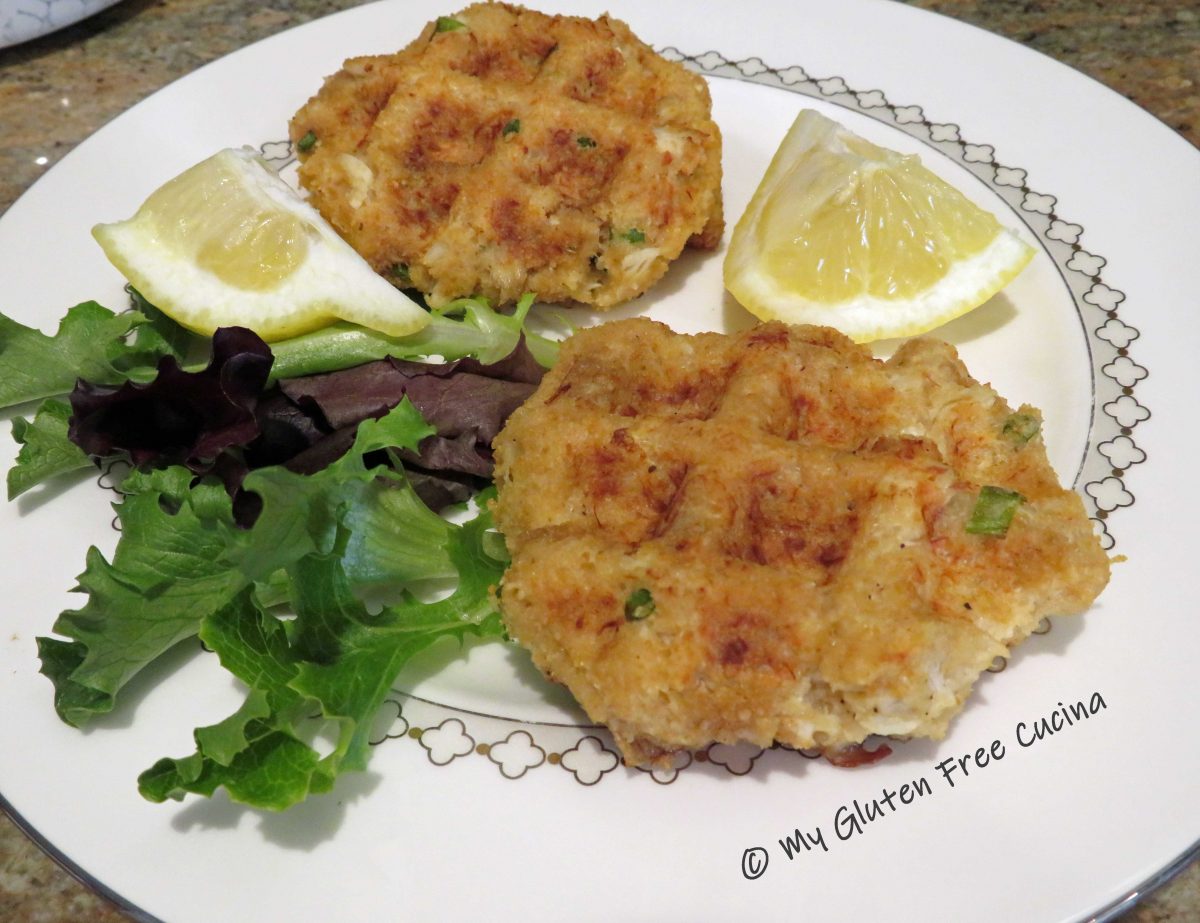
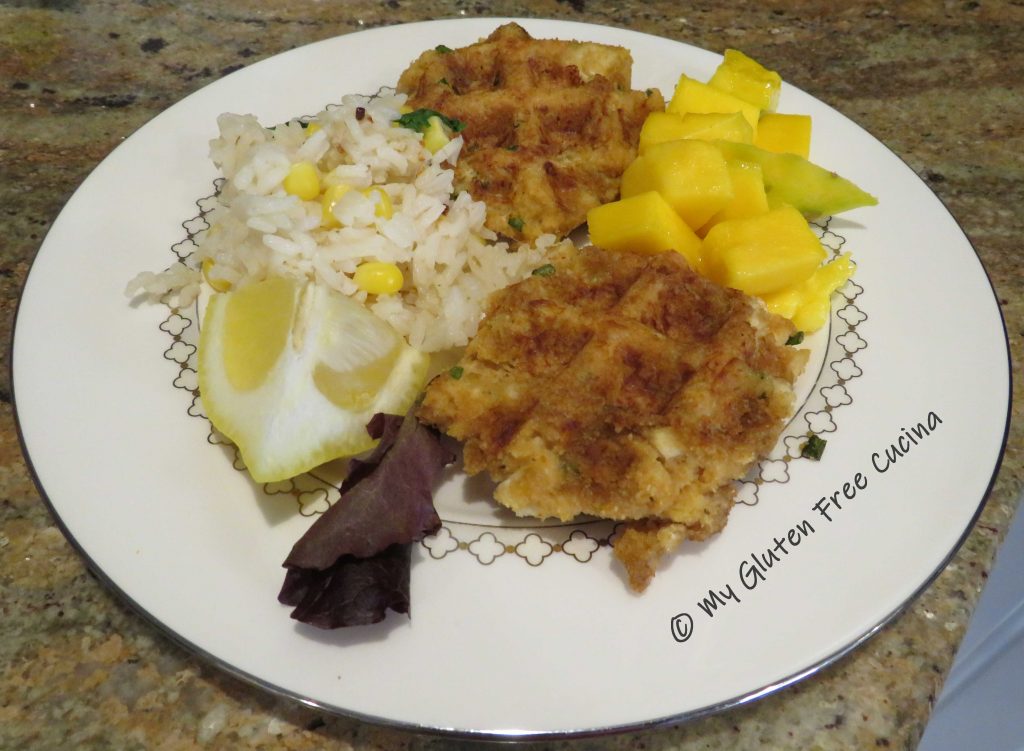
For an appetizer, serve with salad greens and lemon wedges.

As a main course, enjoy them with Cilantro Lime Rice and a refreshing mango salad with a squeeze of fresh lemon and lime.

Notes ♪♫ I hope you enjoyed this fun recipe!  No waffle iron?  No problem.  Here is a traditional crab cake recipe that is every bit as good.

Print This Post Print This Post

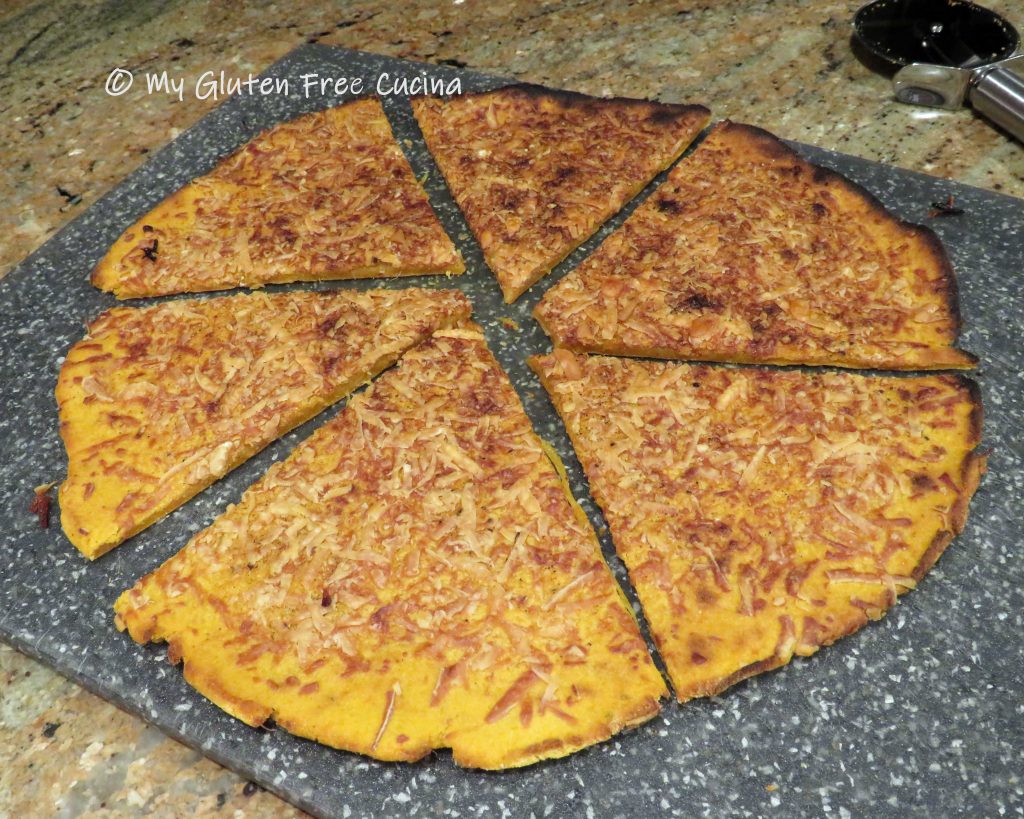
Sweet Potato Flatbread

This delicious flatbread recipe features sweet potato and cassava flour.  A must have in your gluten free pantry, cassava flour is made from the root of the yuca plant.  The entire root is grated, dried, and ground into a mild tasting flour that is both gluten free and Paleo friendly.

This gluten free, grain free flat bread was a nice change from my usual potato side, really different from anything I have ever made.  To achieve the same results, I recommend weighing your ingredients.

6 Servings

This post contains affiliate links.

Ingredients:

  • 1 large sweet potato, about 12 oz.
  • 1/2 cup cassava flour, about 2.2 oz. plus more for dusting
  • 1/4 tsp. salt
  • 1/2 tsp. gluten free Italian seasoning
  • 2 tbsp. olive oil
  • 3/4 cup grated cheese such as parmesan, gruyere etc.

Preparation:

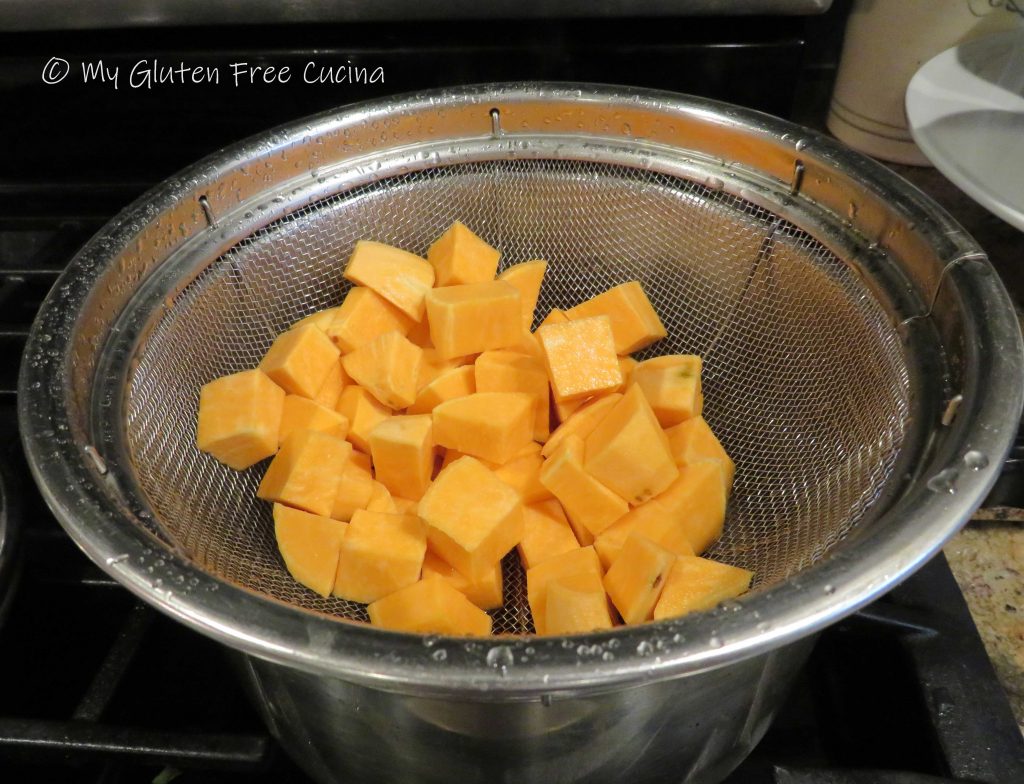
Peel the sweet potato and cut into chunks.  I used 1 sweet potato for this recipe.  After peeling, it weighed 10 oz.

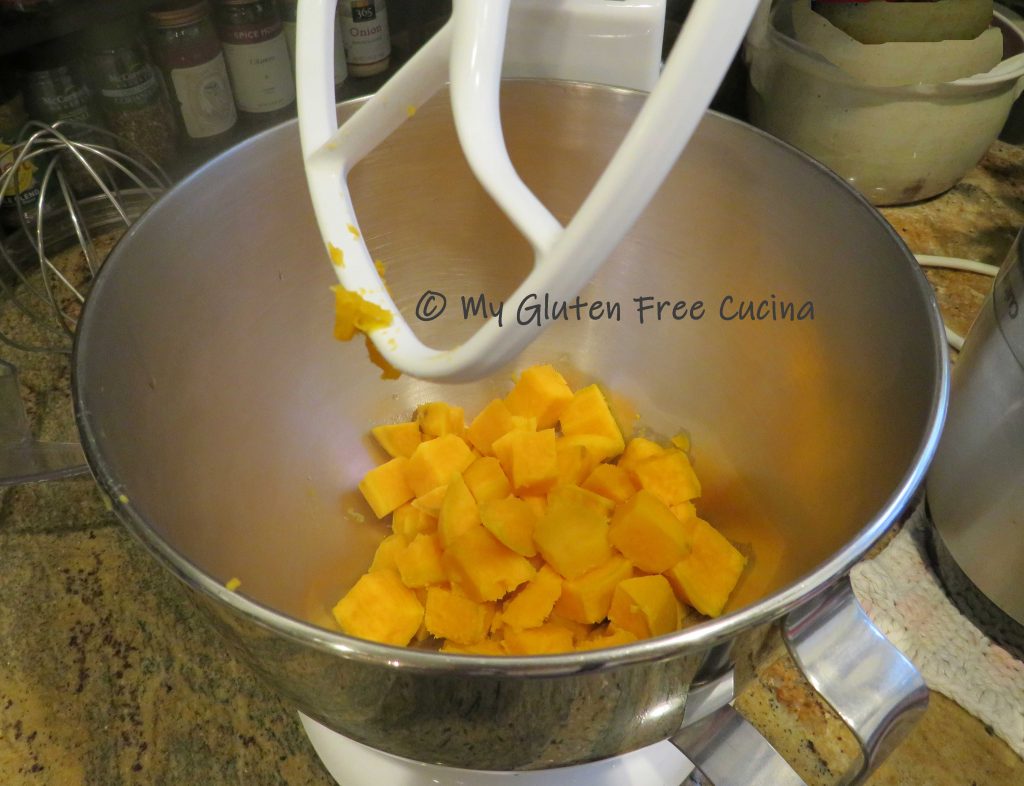
Steam the potato until very soft, 25-30 minutes.  Remove the potato and add to the bowl of a stand mixer.

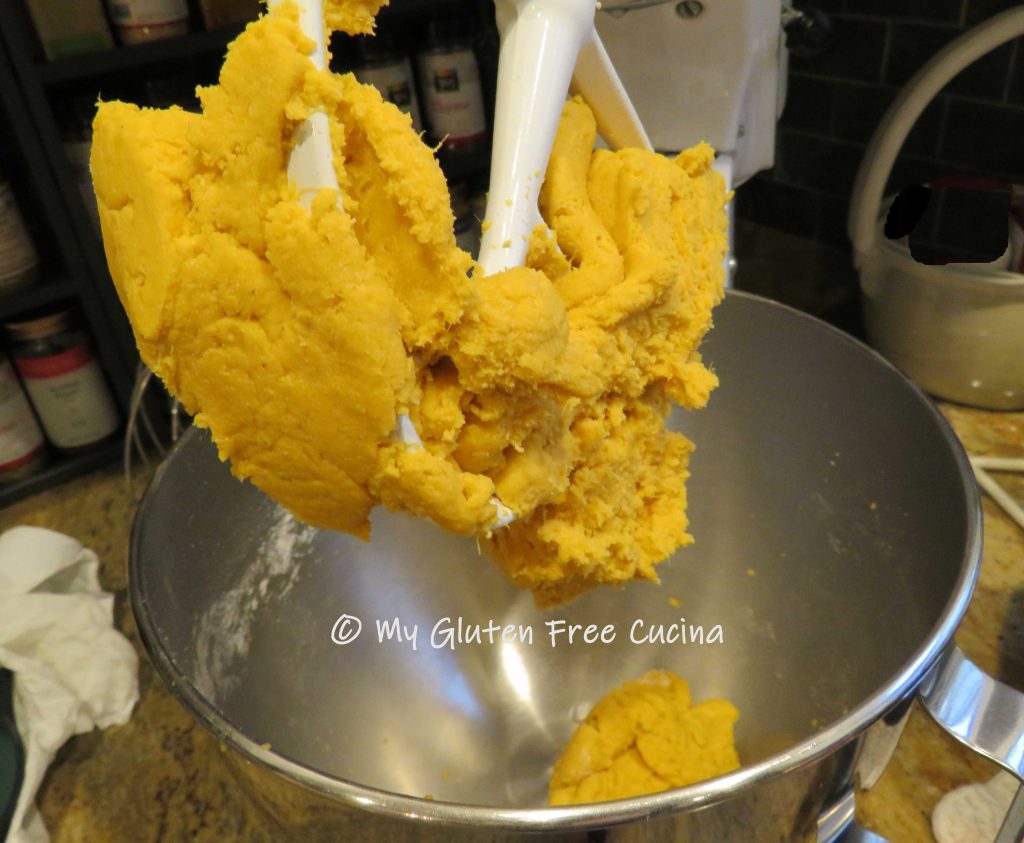
Beat with the paddle attachment until smooth.  Whisk together ½ cup of cassava flour with salt and Italian seasoning.  Add to the bowl and mix until a soft dough forms.  The dough will be heavy and clinging to the paddle, like this.

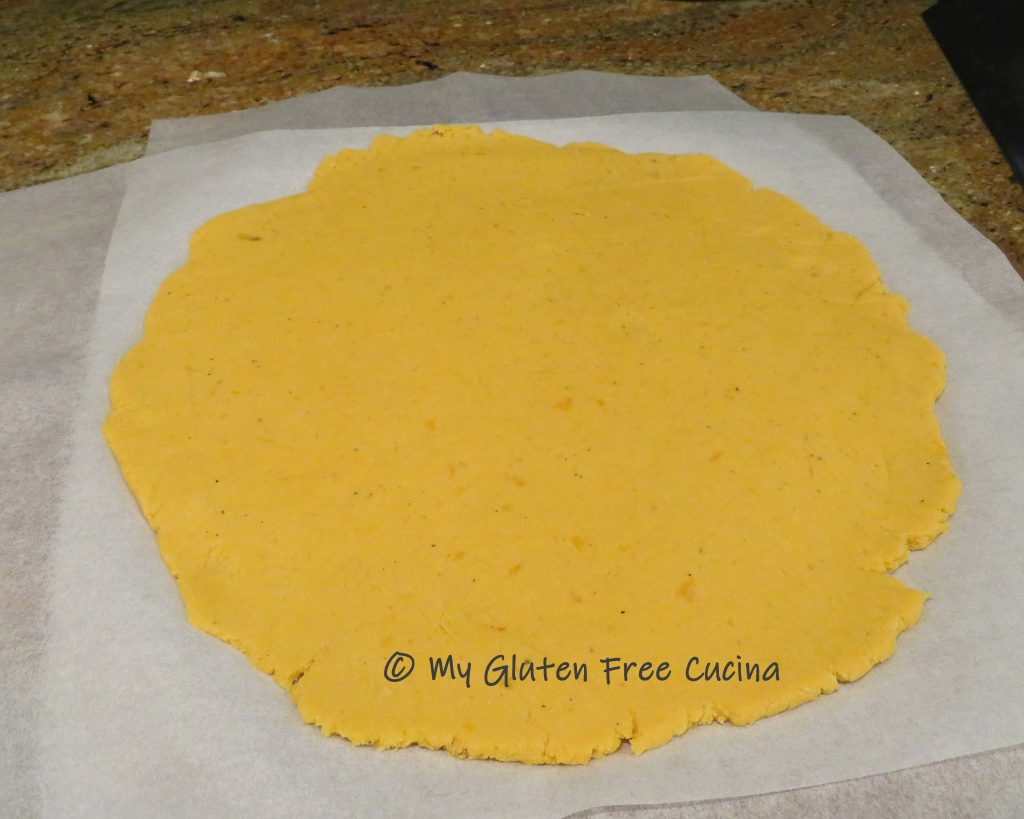
Transfer the dough to a sheet of parchment paper.  I used a pie dough roller and floured fingers to gently roll and press the dough into a 1/4″ thick round.  Use a spatula to neaten the edges.

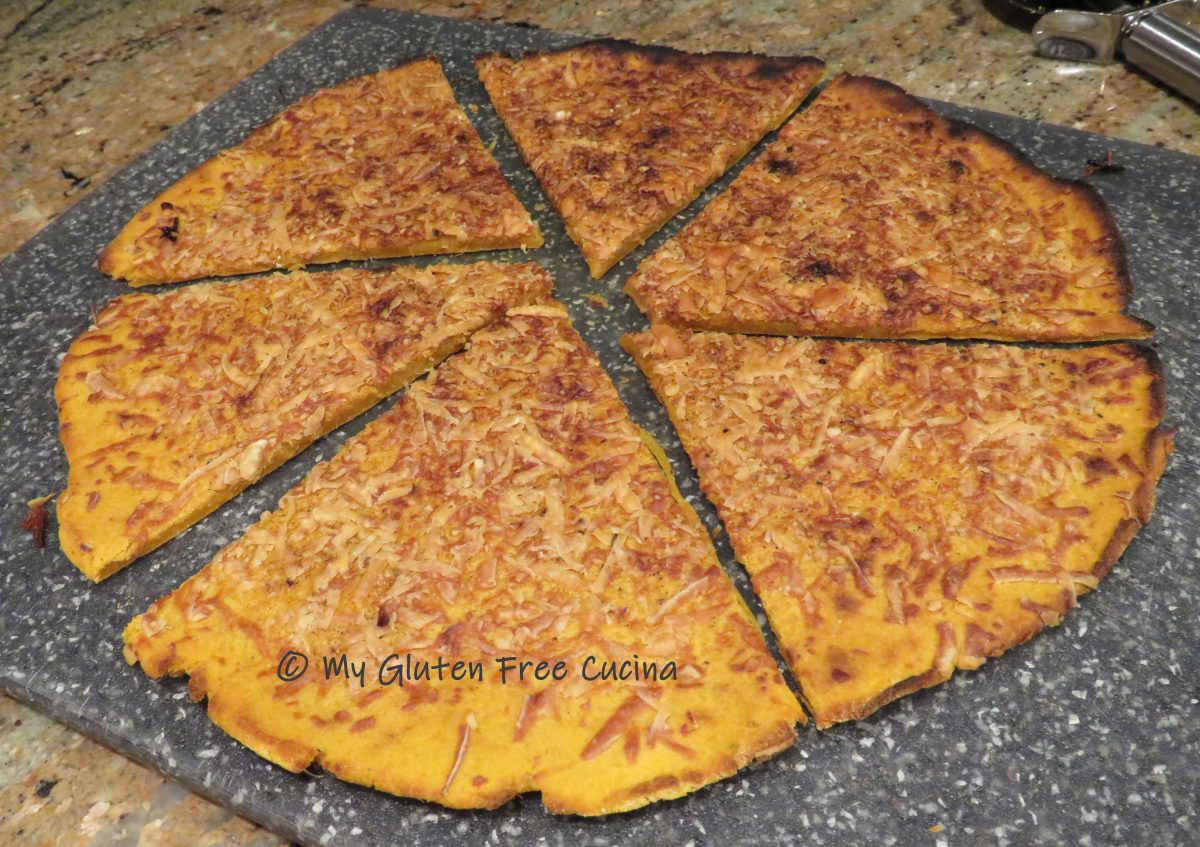
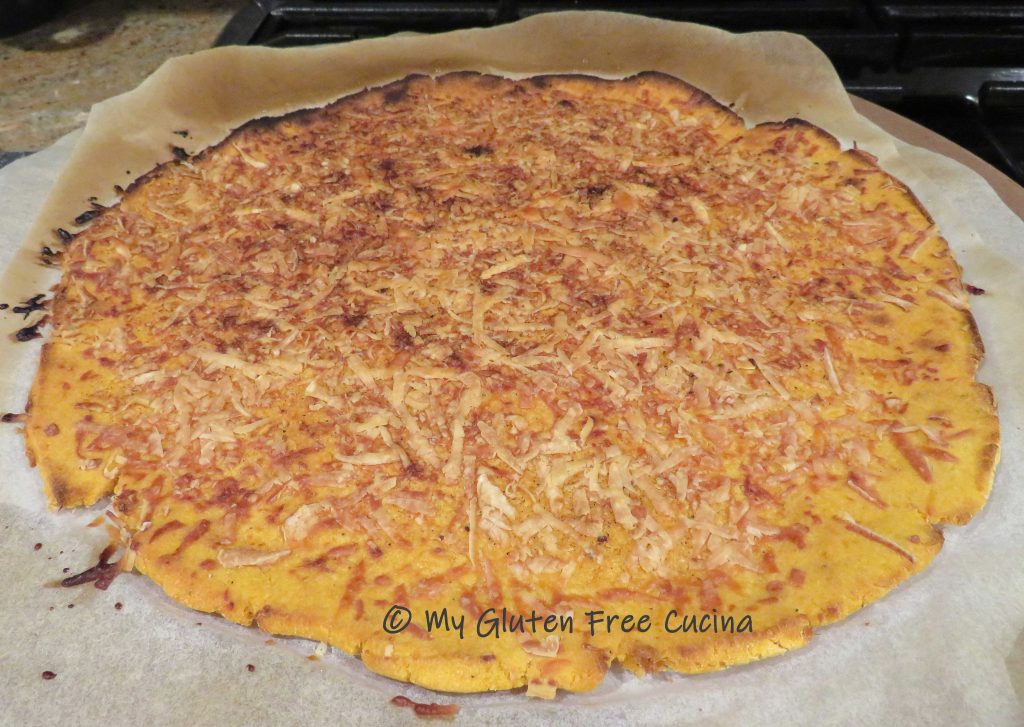
Slide the parchment onto a pizza stone.  Brush with olive oil, sprinkle with more seasoning and the grated cheese.  I used Parmesan and it browned up nicely, but Romano, Gruyere or even cheddar would be fine.  Use your favorite, or whatever you have on hand.  Bake at 375◦ for 25 minutes, then broil on high for 5 minutes.  The cheese should be melted and starting to brown, the edges crispy.  Watch that it doesn’t burn!
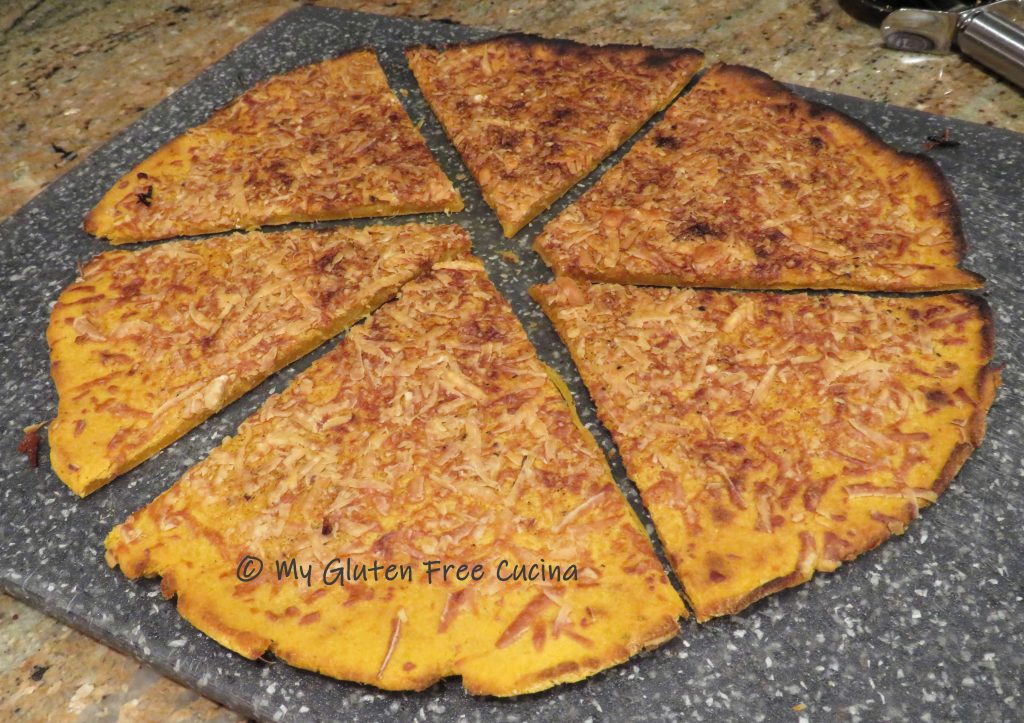
Use a large spatula to slide the flatbread off the parchment onto a cutting board.  Slice into wedges and serve.  You should hear a nice crunch when you cut into it.  Once the flatbread begins to cool it will soften up, so it is best eaten immediately.  Leftovers can be reheated on a pizza stone.

The verdict, everyone loved it!  Potato lovers, change up your menu with this easy, gluten free side.  Everyone will want a slice, so be ready to share!

Notes ♪♫ Cassava flour is quickly gaining popularity in gluten free baking.  If you can’t find it at your supermarket it is widely available online from sites like Amazon.

Print This Post Print This Post

Gluten Free Risotto Cakes

Risotto Cakes are a family favorite, impressive enough for guests or even a holiday appetizer or side dish.  Isn’t it great that we can still enjoy them on a gluten free diet?  This recipe is a great way to use up leftover risotto, but you may find yourself cooking up a fresh batch just to make these delectable Risotto Cakes!  Are you new to making risotto?  Check out my Basic Risotto Recipe for a step by step tutorial.

8 Servings

This post contains affiliate links.

Ingredients:

Preparation:

Always start with cold risotto, it makes the rice easier to handle and the cakes will hold together during cooking.  If you’re making it from scratch, be sure that the risotto has been cooled and refrigerated for several hours.

Set up 3 breading trays with white rice flour, beaten egg + water, and gluten free breadcrumbs.  Start with ½ cup flour and ½ cup breadcrumbs and add more if needed.

Scoop a ¼ cup portion of rice and press into a ball.  Continue to form a total of 8 rice balls.

Use a spatula to flatten each rice ball into a ½” thick cake.

Handle the cakes carefully using spatula and floured fingers.  Pat each cake in the flour, then dip in the egg, and finally coat with breadcrumbs.

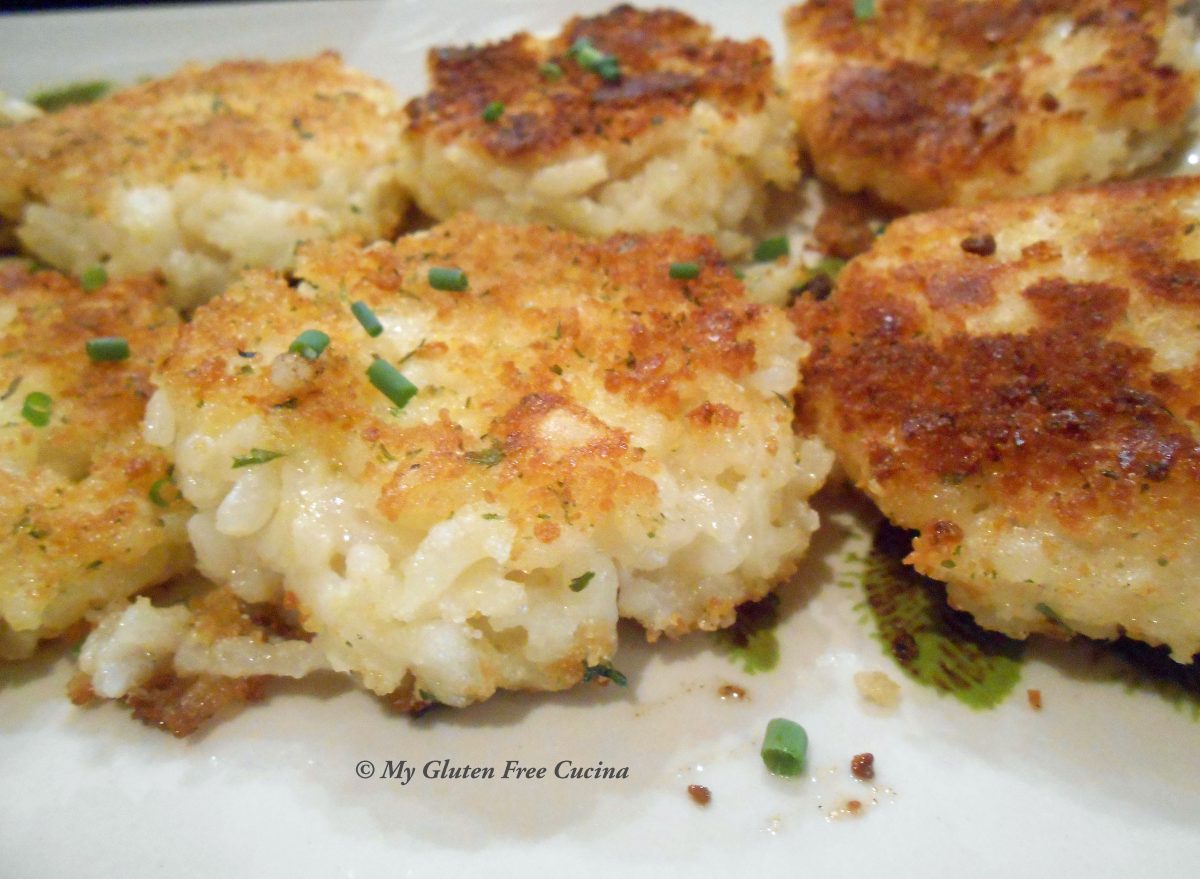
Melt 2 tbsp. Butter and 2 tbsp. Olive oil in a large nonstick skillet.  Add the rice cakes and cook for 10 minutes on medium low heat, turning once.

They should be heated through and nicely browned on the outside.  Don’t they look great?

Garnish with fresh chives and serve immediately.

The crunchy breading is a nice contrast to the soft, sticky interior.  Thanks for stopping by today and I hope you will check out more of my favorite risotto recipes here!

Notes ♪♫ Carnaroli rice is widely regarded as the best for making risotto and it is worth seeking out if you can’t find it at the grocery store.  It is a high-quality short grain rice with a wonderful texture that is perfect for making risotto that is creamy but firm.  If you cannot find Carnaroli rice, then substitute Arborio.

Print This Post Print This Post

Gluten Free BBQ Chicken Potato Skin Appetizers

This is a great appetizer to make for game day or a casual get together.  The recipe is somewhat labor intensive, but if you plan ahead like I did you can cut the prep time.

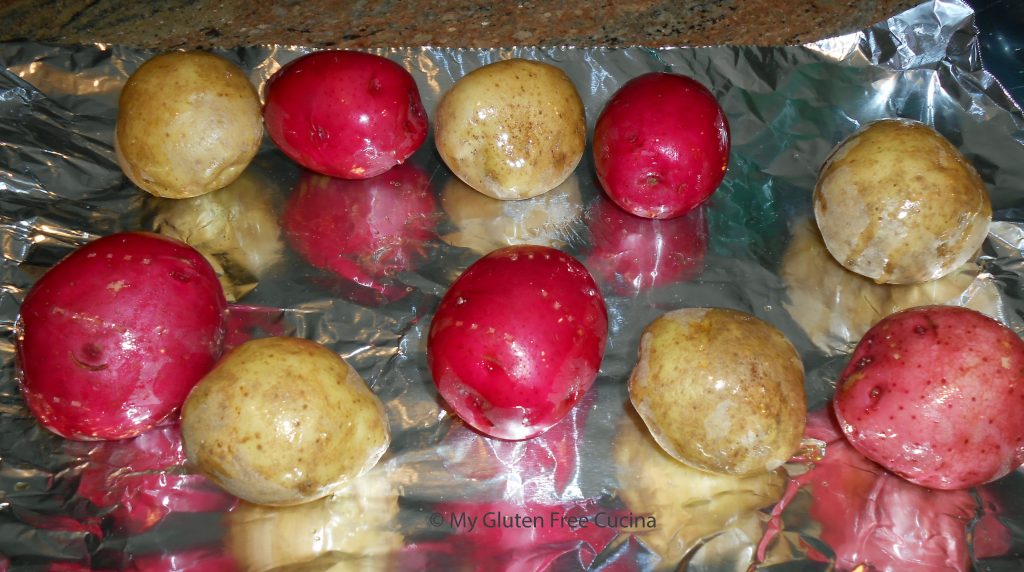
I used small round baby potatoes (also called new potatoes) that are perfect for bite sized finger food.  They are uniform in size, important when you want everything to finish cooking at the same time.  They come in red and yellow which makes a nice presentation.

Servings: 20

This post contains affiliate links.

Ingredients:

  • 10 small round potatoes about 2″ diameter
  • 1/2 sweet onion, cut into small dice
  • 1 garlic clove, minced
  • 1/2 tsp. gluten free BBQ seasoning
  • 2 cups shredded chicken (I used 2 leg quarters)
  • gluten free BBQ sauce
  • 1/2 cup shredded Gruyere cheese
  • 4 slices of gluten free bacon, cut into 1/2″ pieces
  • 1 bunch of scallions, sliced

Preparation:

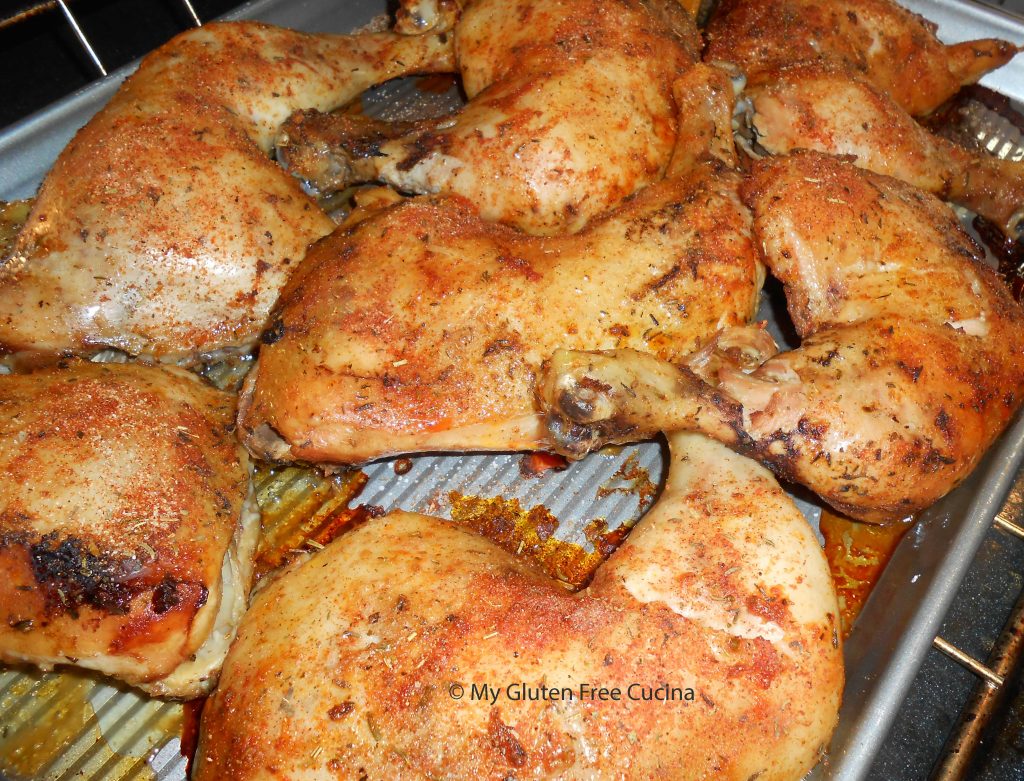
The day before I made Crock-Pot Rotisserie Chicken, so we had chicken for dinner that night and reserved the rest for the appetizer.

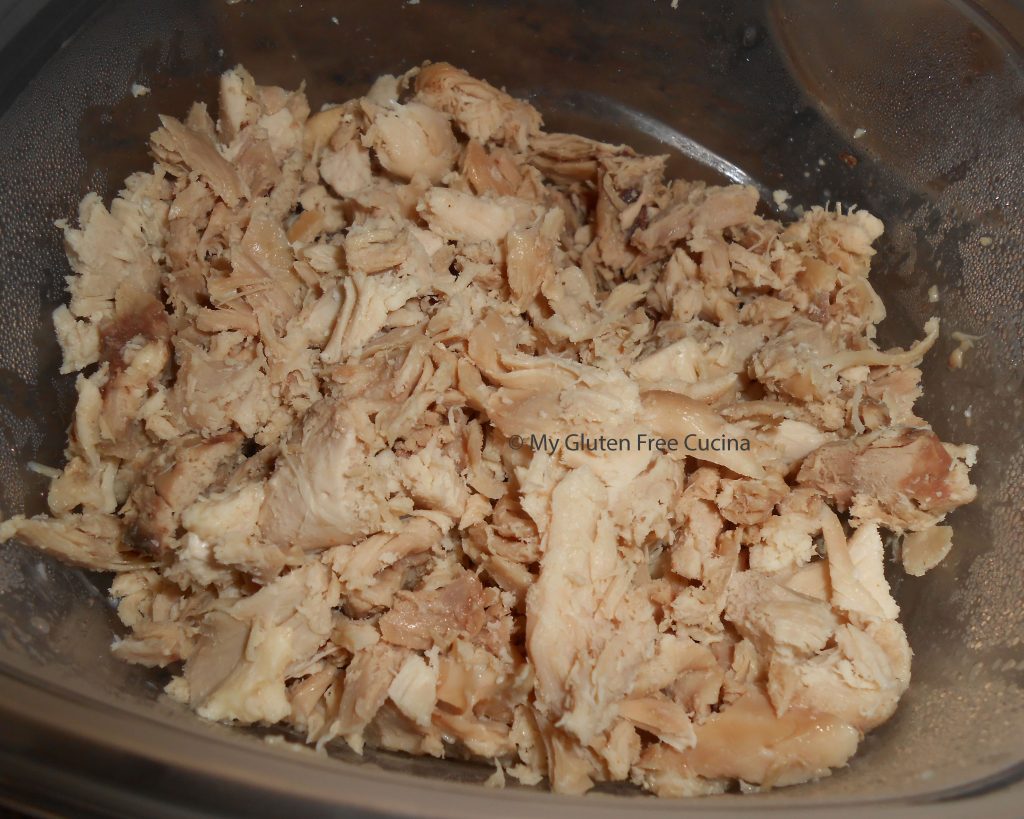
I shredded and refrigerated the meat from 2 leg quarters.  If you already have chicken leftovers this is a great way to use them up!

Brush the potatoes with olive oil and roast them at 400º for about 1 hour or until they are easily pierced with a fork.

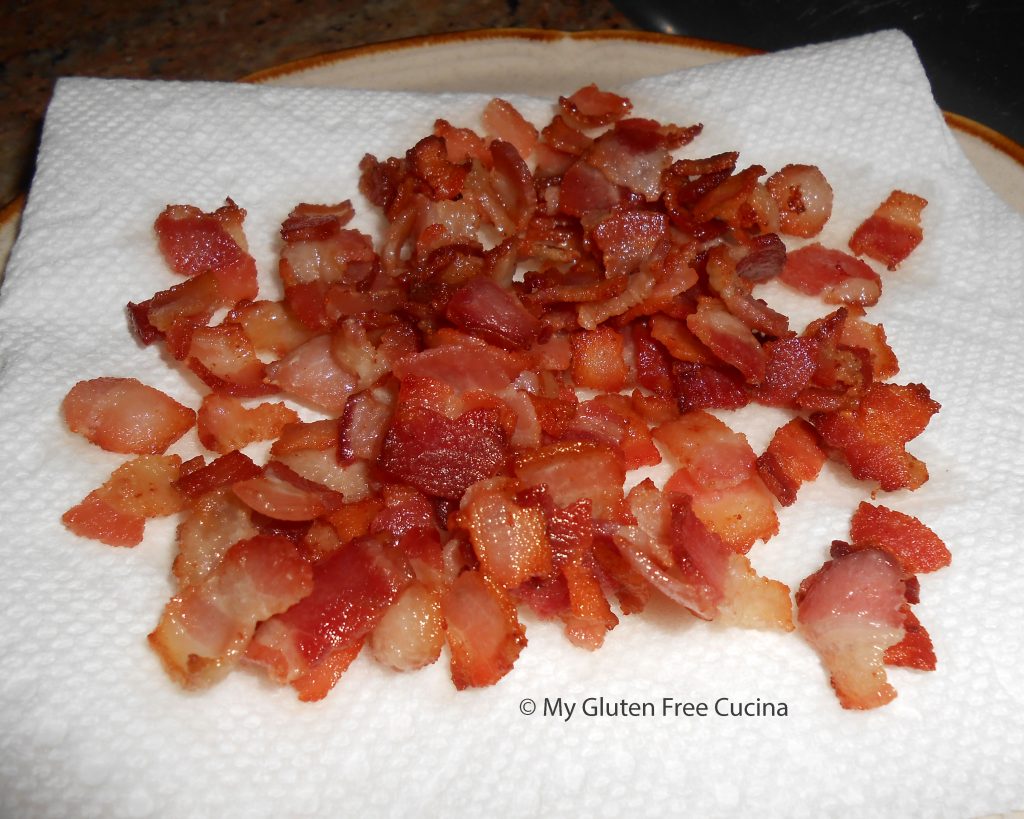
While the potatoes are in the oven, cook the bacon until crisp and drain on paper towels.

Cook the onions and garlic in the bacon fat, stirring frequently until the onions are soft and lightly browned.

Remove the potatoes from the oven and when they are cool enough to handle, cut them in half and scoop out the centers with a spoon.  Brush with olive oil and sprinkle with BBQ seasoning, then return to the oven and bake for 10 more minutes.

Mix the reserved chicken, onions, garlic and 6 tbsp. BBQ sauce together in a bowl.

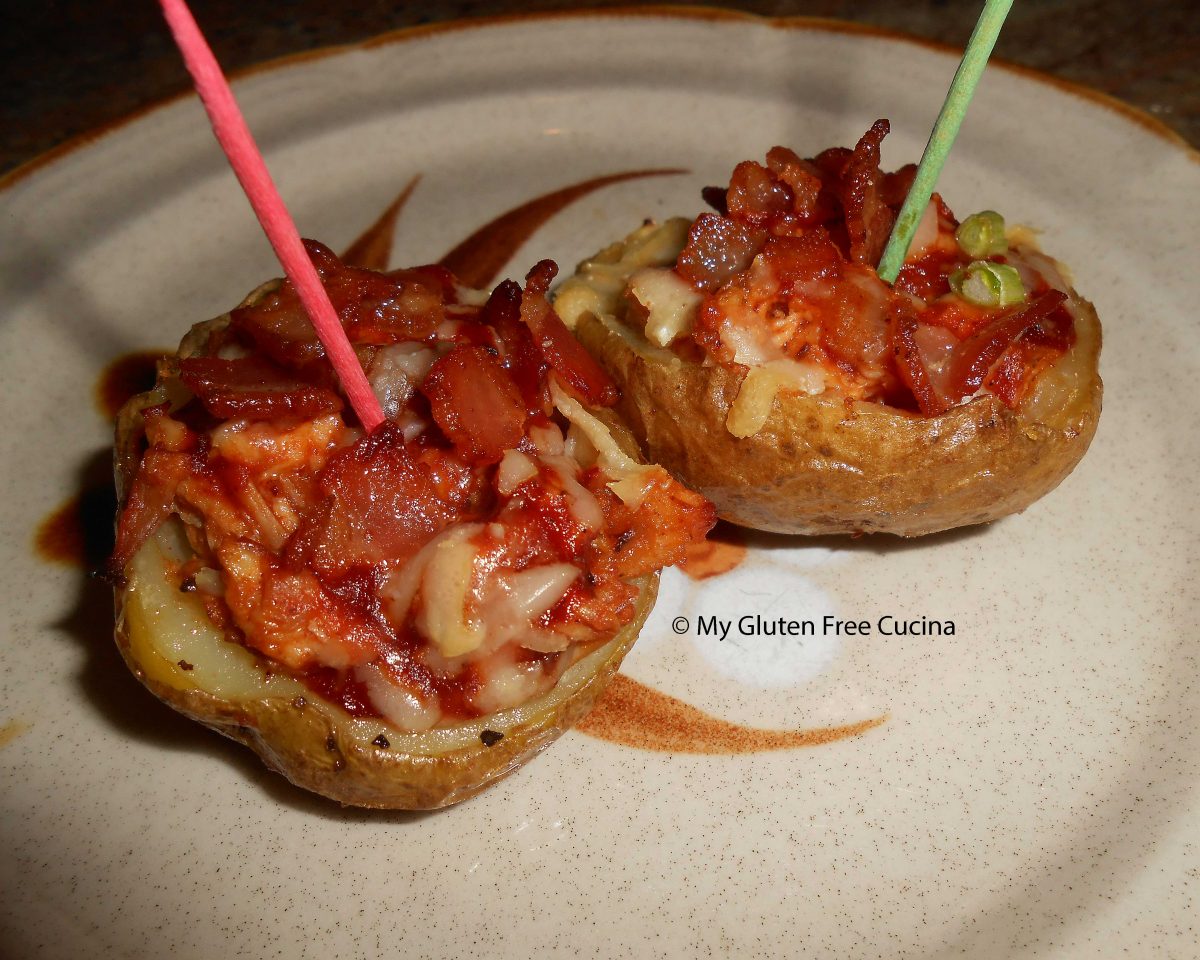
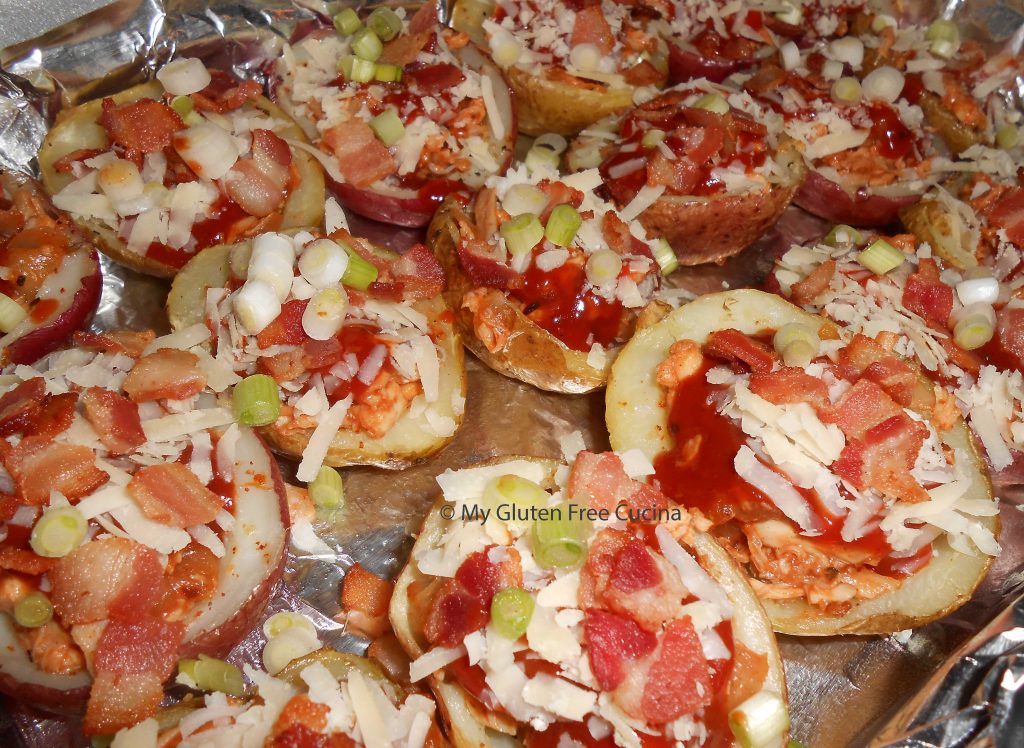
Spoon some of the chicken mixture into each potato skin, top each with another tbsp. of BBQ sauce, then sprinkle with Gruyere cheese, bacon and scallions.

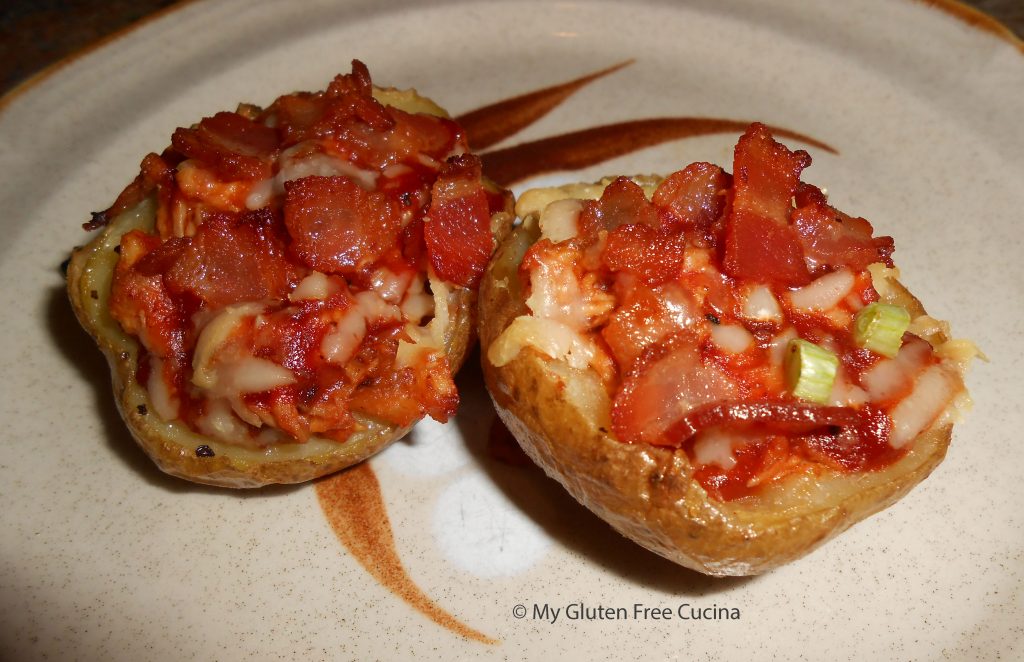
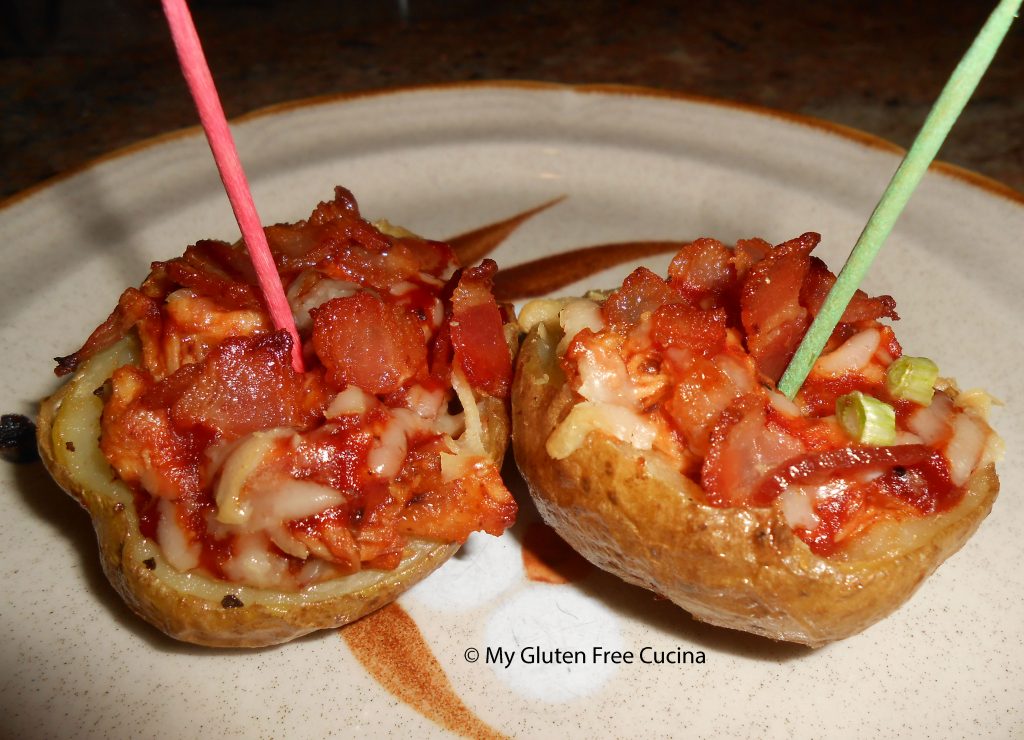
You can prepare ahead up to this point, just cover and refrigerate.  Before serving, bake uncovered at 350º for 15-20 minutes, or until the potatoes are heated through and the cheese has melted.  Drizzle with more BBQ sauce and serve hot.

Serve with more BBQ sauce for dipping.

Big on flavor, this appetizer will appeal to everyone, not just those who are gluten free.  Make a double batch, everyone will want a taste or two!

Notes: ♪♫   Wondering if your BBQ Sauce is gluten free?  I love Stubbs BBQ Sauce because not only is it gluten free but also it contains no high fructose corn syrup.  Their Smokey Mesquite is my favorite flavor.  Want to learn how to make a simple, homemade Gluten Free BBQ Sauce?  Check out my recipe here.

Print This Post Print This Post