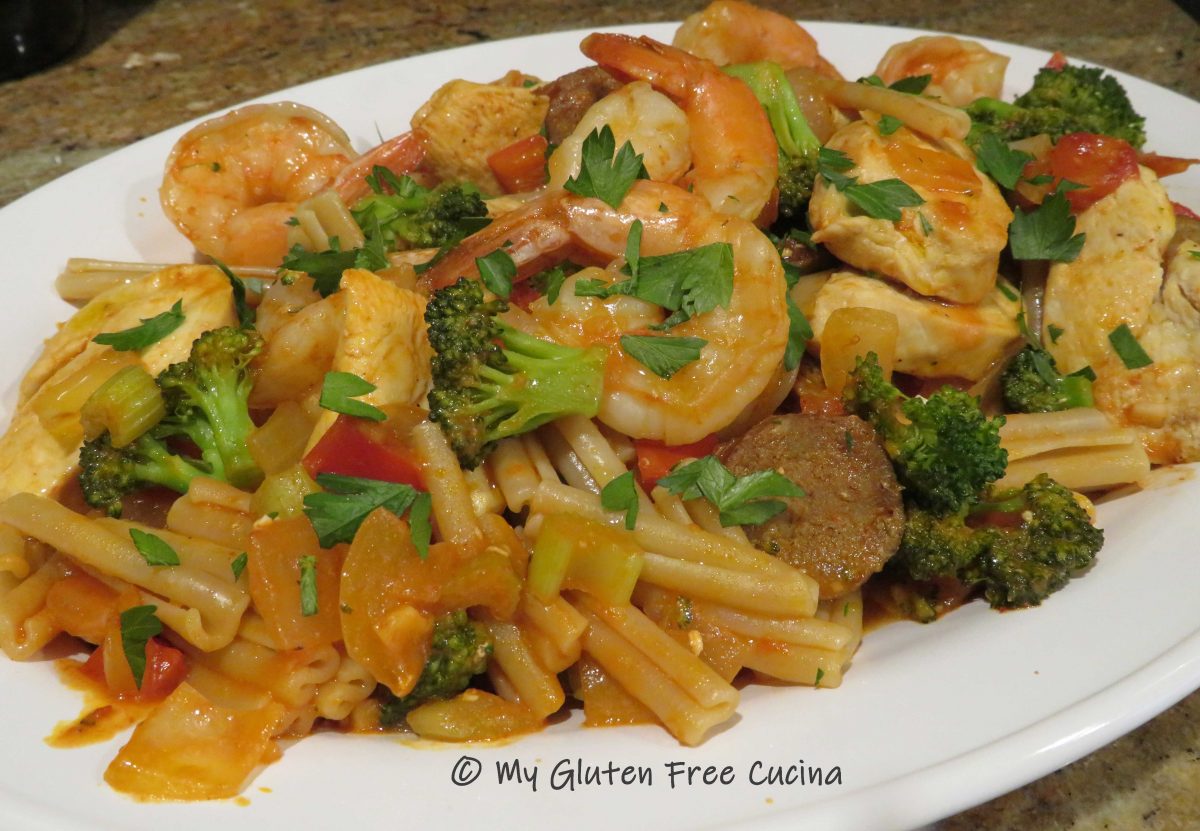
Gluten Free Jambalaya Pasta
Fra Diavolo meets Cajun in this spicy pasta dish with a definite southern twist! Cajun seasoning gives it a real kick, and it can be anything from a modest pinch to a generous shake, you decide. I borrowed smoky Andouille sausage, chicken and shrimp from the traditional recipe, along with the “trinity” of pepper, onion and celery. I finished it with a light tomato sauce but instead of rice I served it over gluten free Caserecce pasta from Jovial, one of my absolute favorites! Use pork or chicken Andouille sausage in this recipe. Always check ingredients and look for the gluten free label.
4 Servings
This post contains affiliate links.
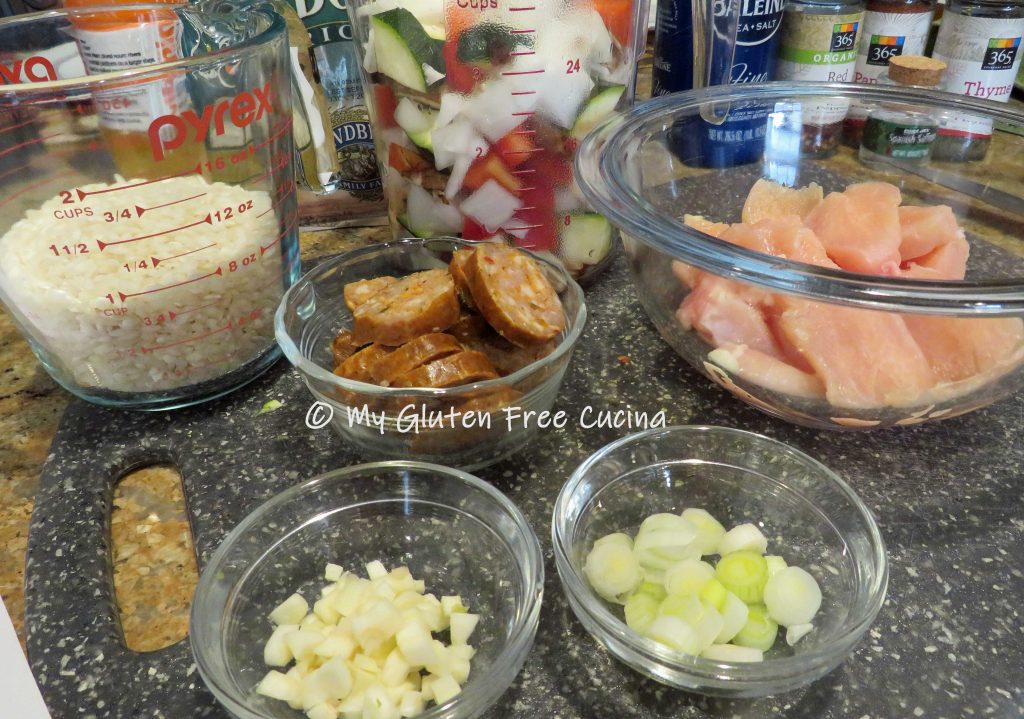
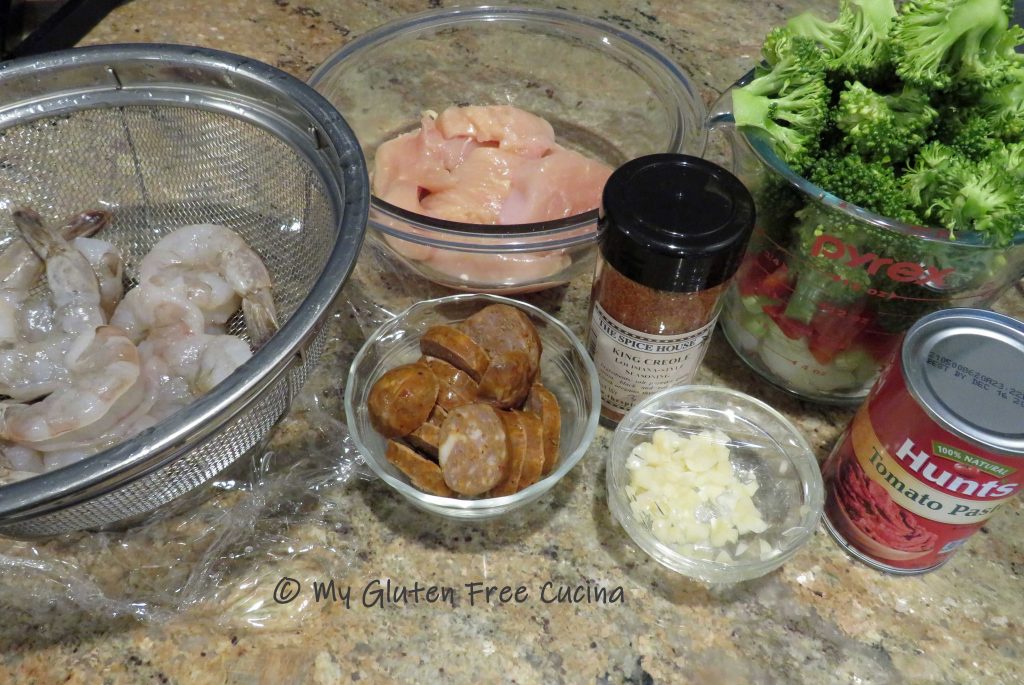
Ingredients:
- 6 oz. Andouille sausage, cut into coins
- 6 oz. colossal raw shrimp (about 6), peeled and deveined
- 12 oz. boneless chicken breast, cut into medallions
- 2 cups broccoli florets, cut into 1″ pieces
- 1/4 cup red bell pepper, diced
- 1/2 cup sweet onion, diced
- ¼ cup celery, sliced
- 1 tbsp. garlic, minced
- olive oil, about 2 tbsp.
- 3 tbsp. tomato paste
- 3 tbsp. cream, half and half or milk
- Cajun or Creole seasoning
- 4 oz. gluten free pasta, cooked 2 minutes less than package directions
- 3 ladles of the pasta water
- Parsley for garnish
Preparation:
Once the ingredients are prepped, this meal comes together in about 15 minutes. Slice the sausage into coins, peel and devein the shrimp, slice the chicken into medallions. Mince the garlic and dice the bell pepper, onion and celery. Chop the broccoli into bite size pieces.
Cook the pasta to 2 minutes less than package directions, reserving 3 cups of the pasta water. Heat a large skillet with olive oil. Add the sausage and cook 1 minute, or until the sausage begins to release its fat.

Add the chicken, season well and cook 3 minutes longer, turning once. It does not need to be cooked through at this point.

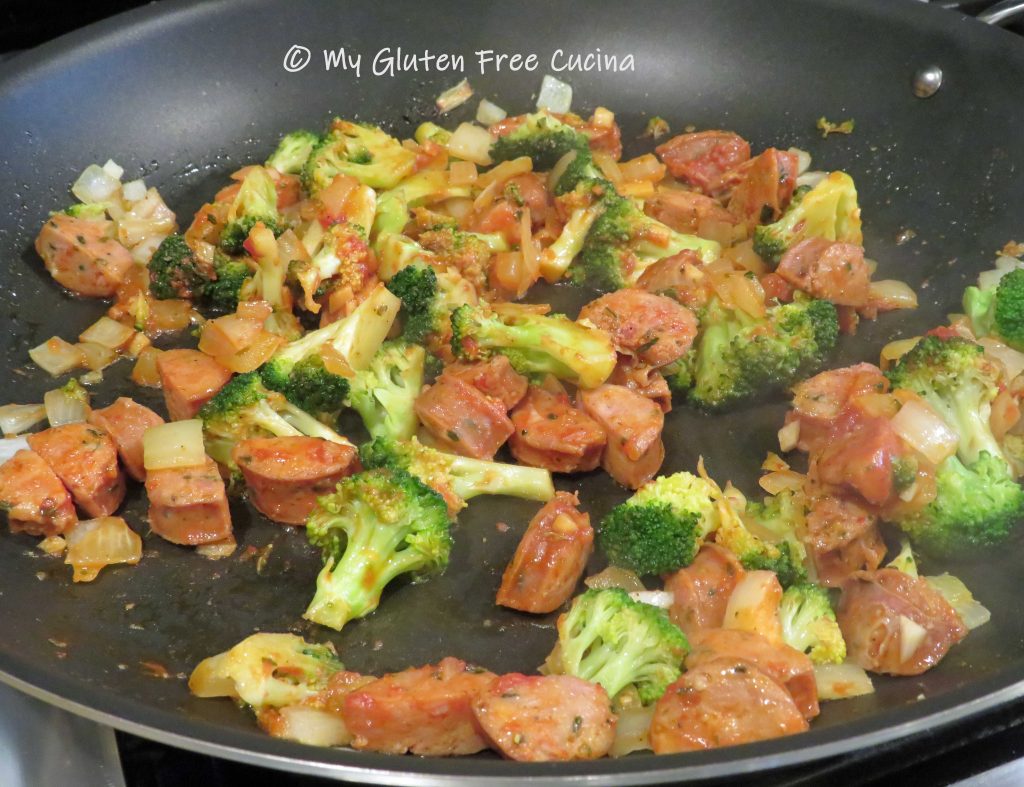
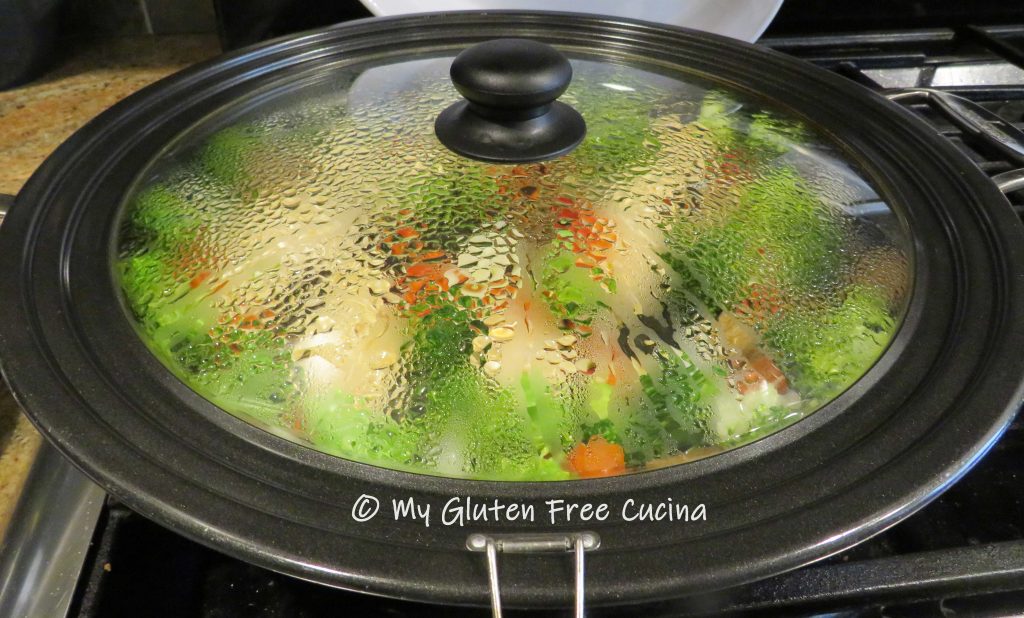
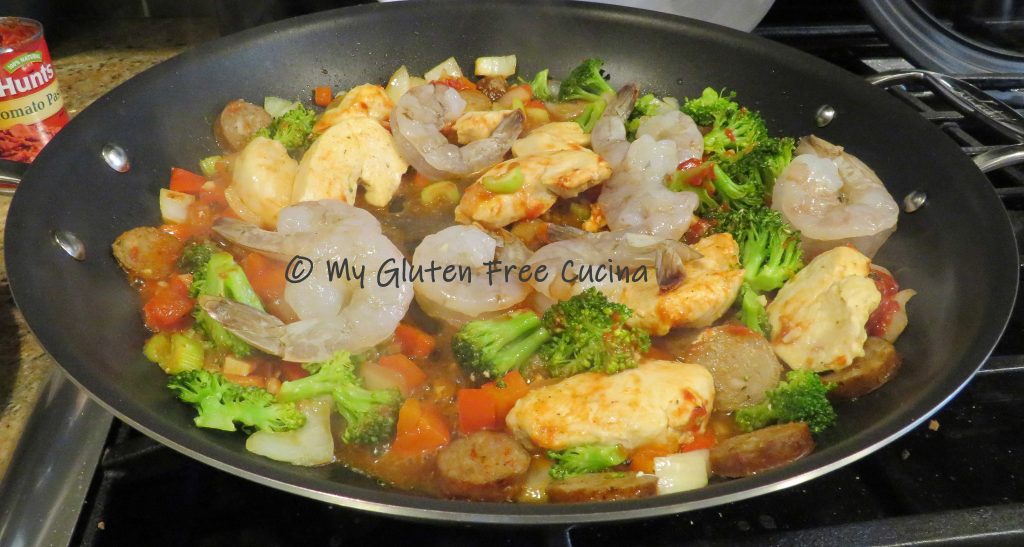
Add the broccoli, peppers, onions, celery and garlic.

Season, cover and cook 3 minutes until the veggies are crisp tender.
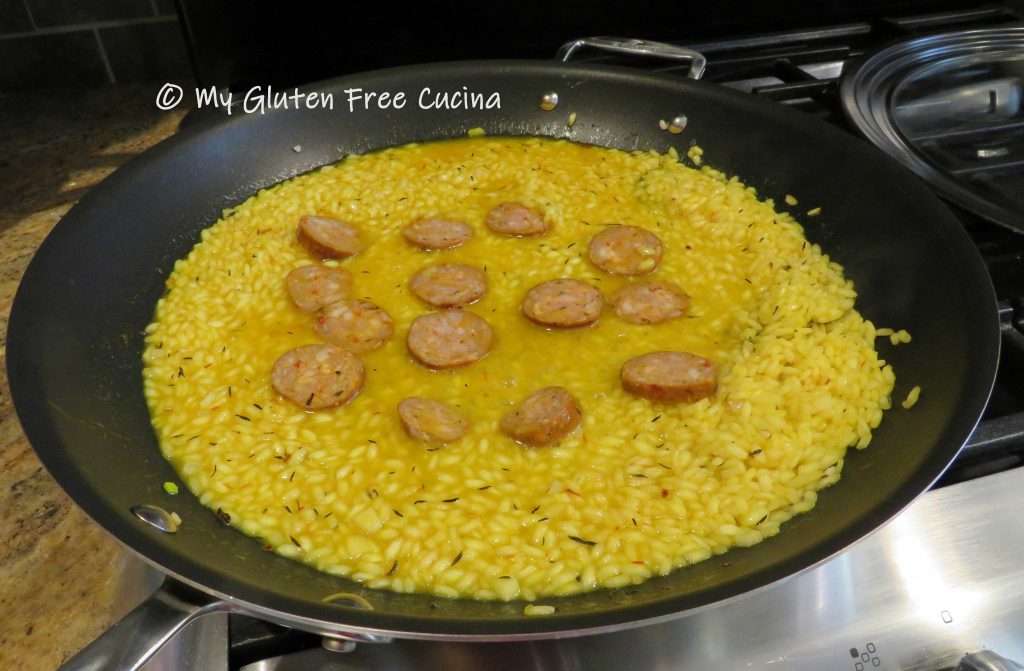
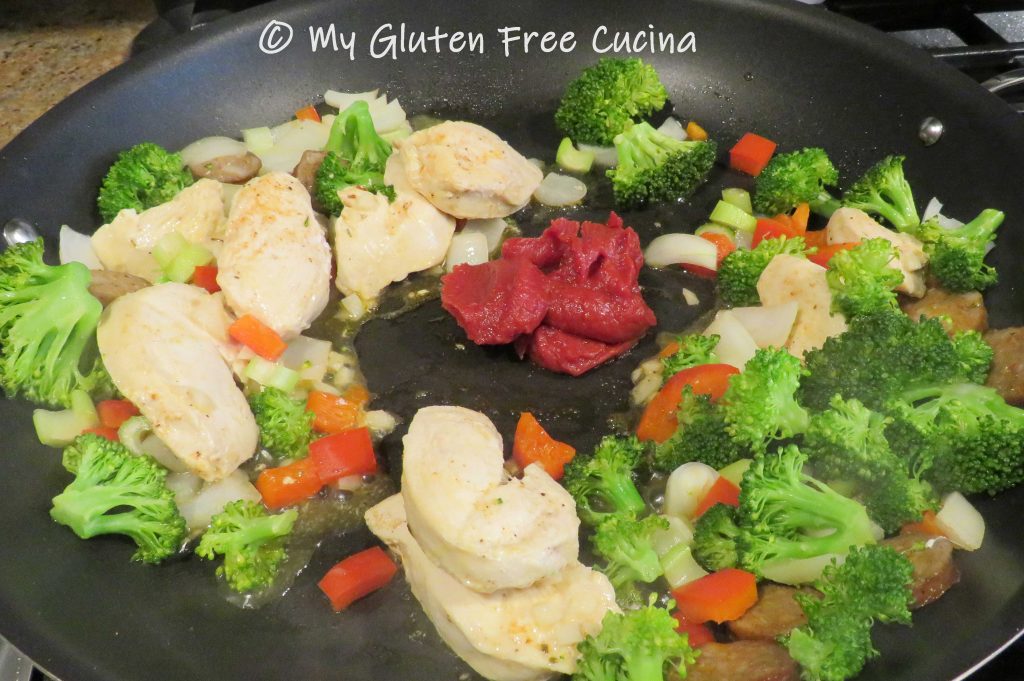
Make a space in the center of the skillet and add the tomato paste. Let it toast for 1 minute, pushing it around with a spatula then toss it with the meat and vegetables.
Add 1 ladle of the pasta water with the shrimp, and continue cooking just until the shrimp turns pink.
Add 2 more ladles of pasta water with the cream, half and half or milk. Look at the gorgeous colors!

Finally, add the drained pasta to the skillet and toss well for another 2 minutes to finish cooking the pasta and meld the flavors.

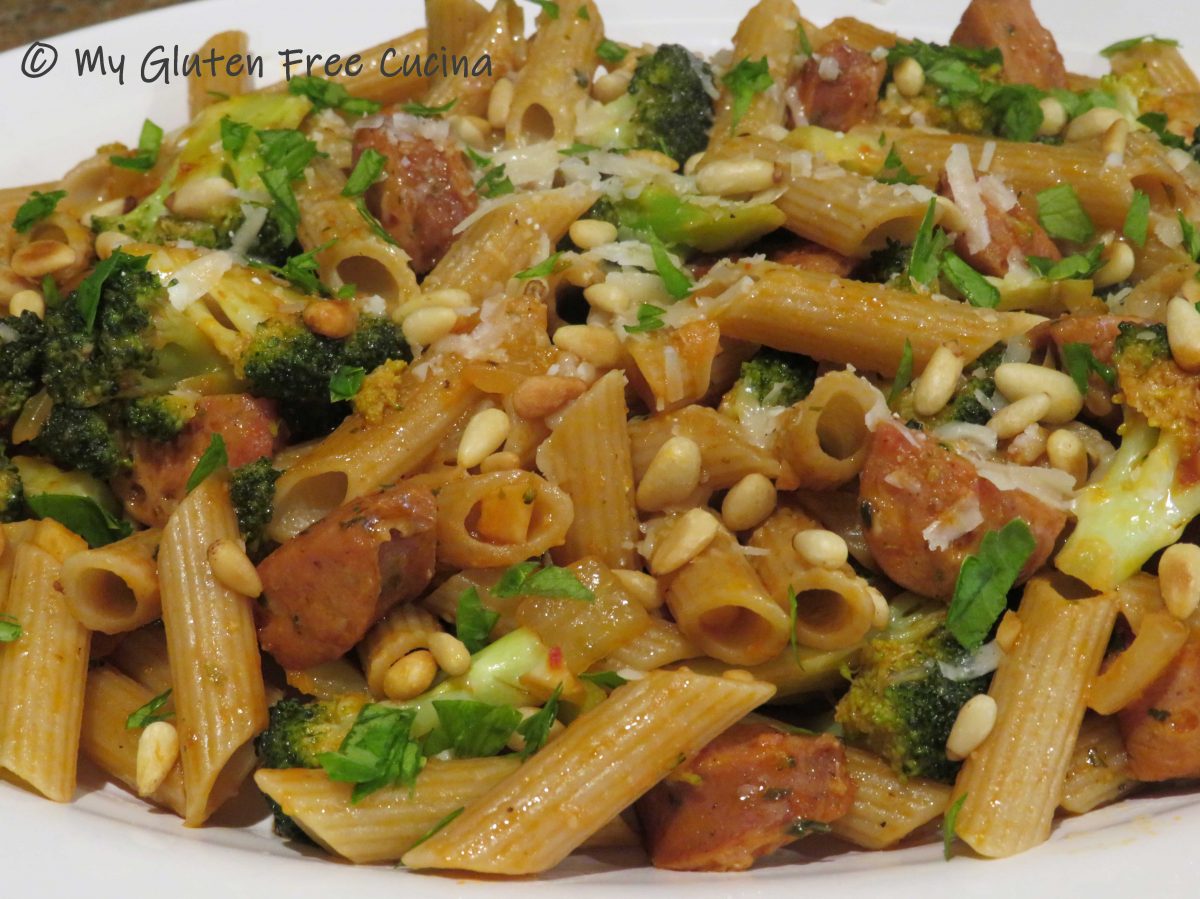
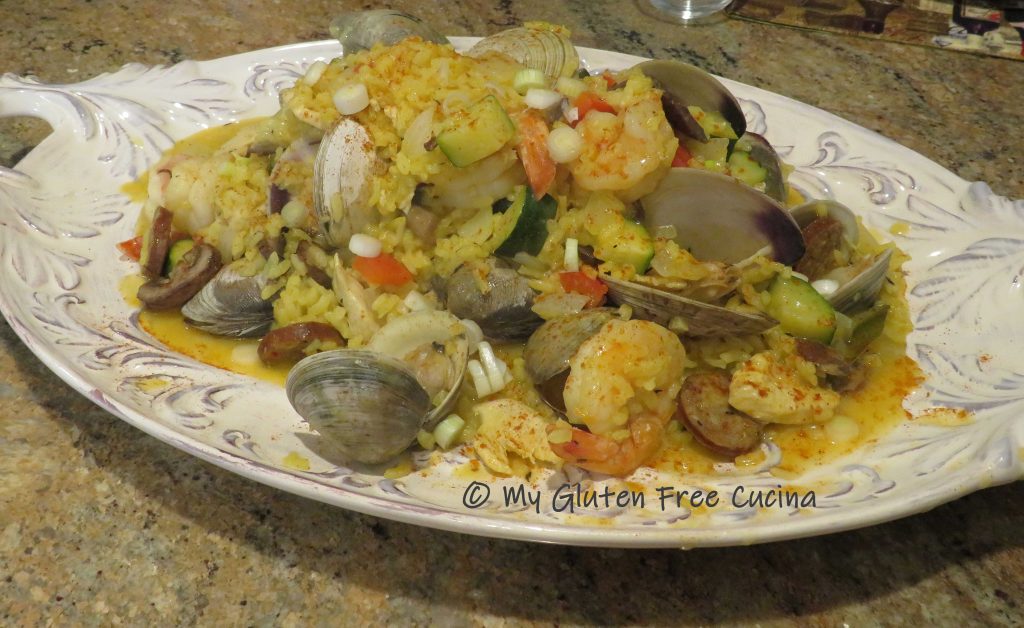
Transfer to a platter, garnish with parsley and dinner is ready. It smells so good; I had to hurry through the photo shoot!

What a meal! The Andouille sausage gave it just the right amount of heat. I went easy on the seasoning, but next time I’ll give it a few extra shakes!

This pasta version of Jambalaya is my favorite, maybe because I’m Italian! I hope you enjoyed it as well. For more Jambalaya recipes check out my traditional Jambalaya and my Jambalaya stuffed peppers!
Notes: ♪♫ What is the difference between Cajun and creole seasoning? Cajun seasoning is spicy combination of peppers and herbs that bring on the heat, while Creole seasoning leans more toward a balanced blend of heat and sweet. It’s a matter of taste, so use whatever makes your palette happy!