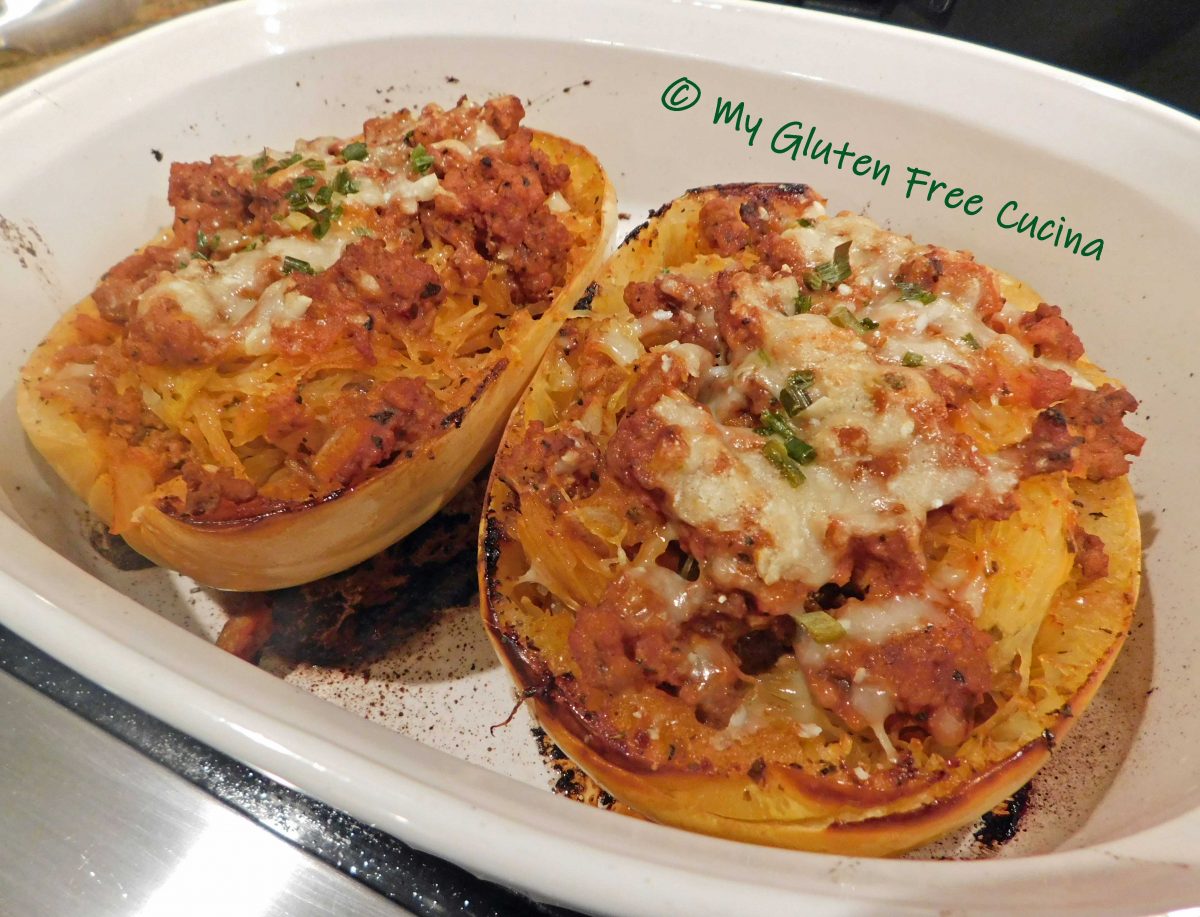
This gluten free and grain free dish is a satisfying alternative to pasta. Versatile spaghetti squash is baked, shredded, tossed with meat sauce and baked again in its own shell for a tasty finish. I could not believe how delicious this was, and how good I felt after dinner!

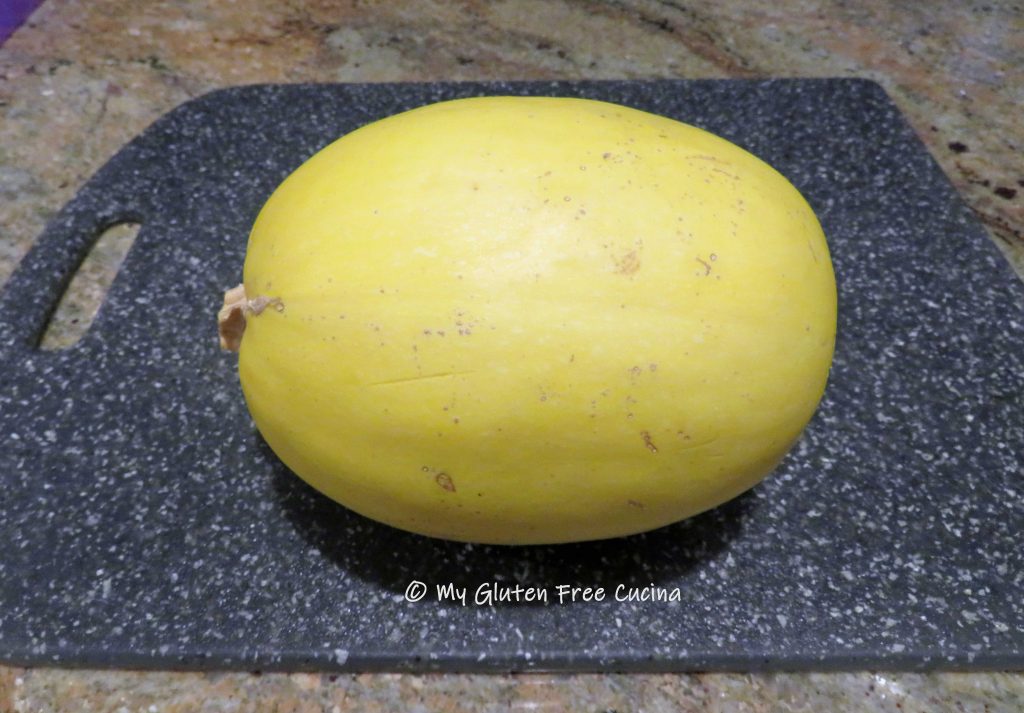
I used a medium sized spaghetti squash (about 8” long) for the two of us. To double or triple the recipe, choose squash that are all about the same size so that they finish cooking at the same time.
2 Servings
This post contains affiliate links.
Ingredients:
- 1 medium spaghetti squash
- Olive oil
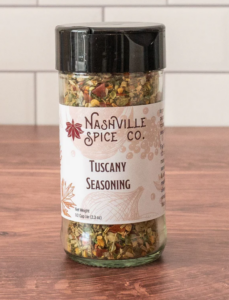
- Gluten free Italian seasoning
- salt to taste

For the Meat Sauce
- 2 tbsp. Olive oil, divided
- ½ lb. Lean ground beef
- Italian seasoning, to taste
- ½ cup onion, diced
- 3 garlic cloves, minced
- 1/2 cup mushrooms, diced
- ¼ cup carrots, grated
- 1 tsp. Basil
- ½ tsp. Oregano
- 15 oz. can tomato sauce
- Ground pepper, a few grinds
- drizzle of olive oil
- dash of red wine vinegar
- ½ cup grated parmesan cheese
- parsley or chives

 Preparation:
Using a sturdy knife, cut the spaghetti squash in half. Believe it or not this is the most difficult part of the whole recipe!
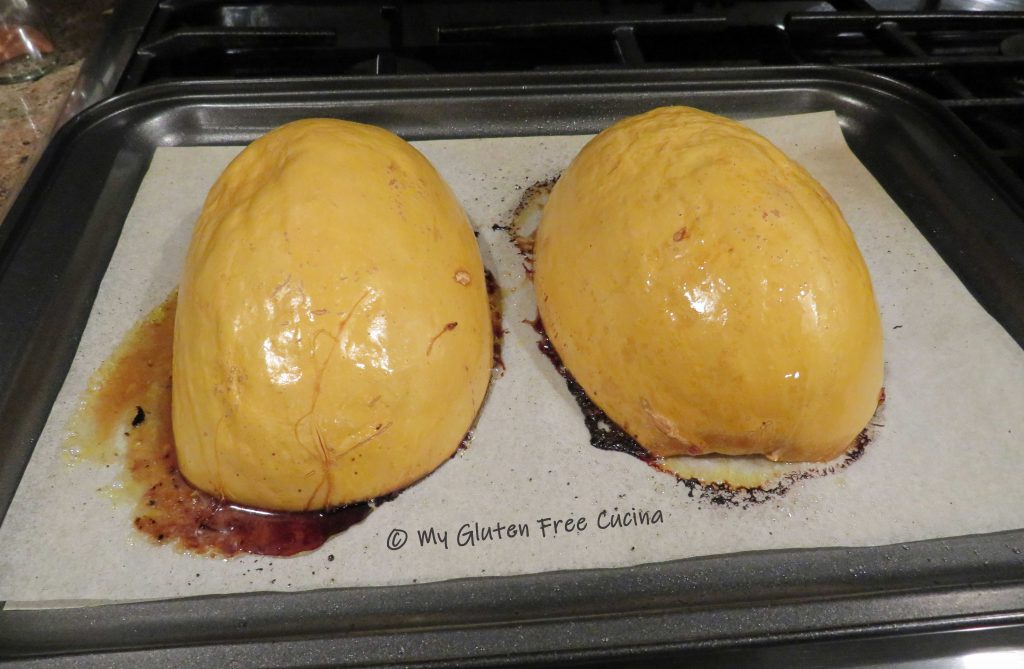
 Scrape out the seeds with a large spoon. Brush each half with about 1 tbsp. of olive oil, and sprinkle generously with Italian seasoning.
 Place the two halves cut side down on a parchment lined baking sheet. Bake for 1 hour at 400°.
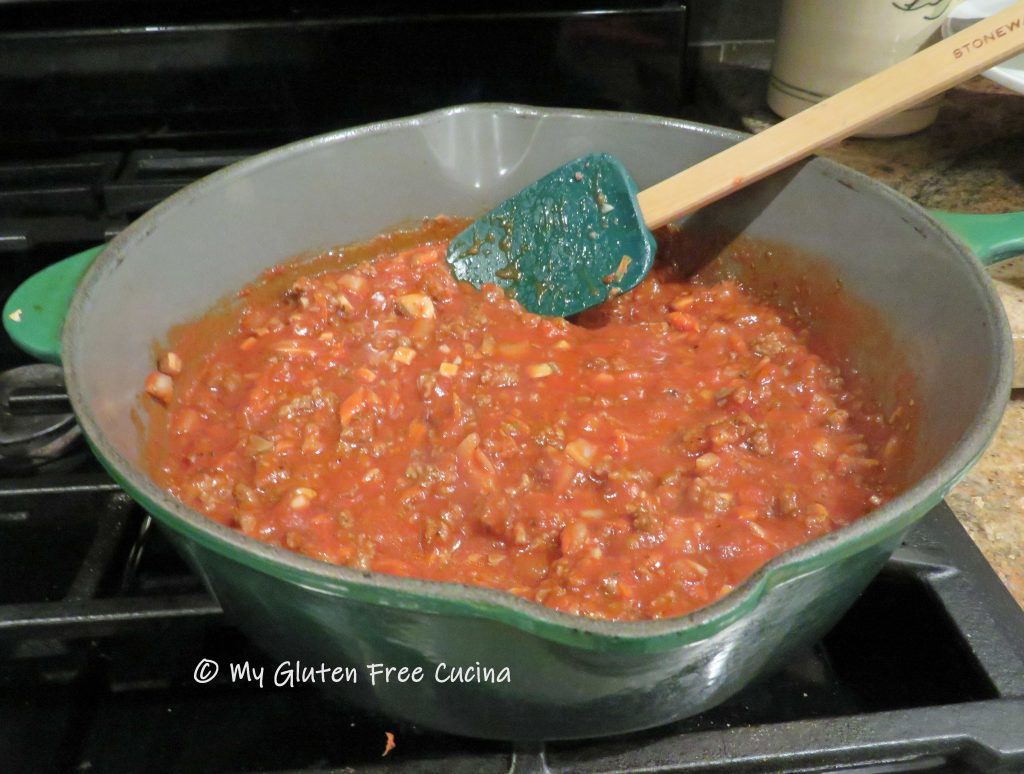
 While the squash is baking make the meat sauce.
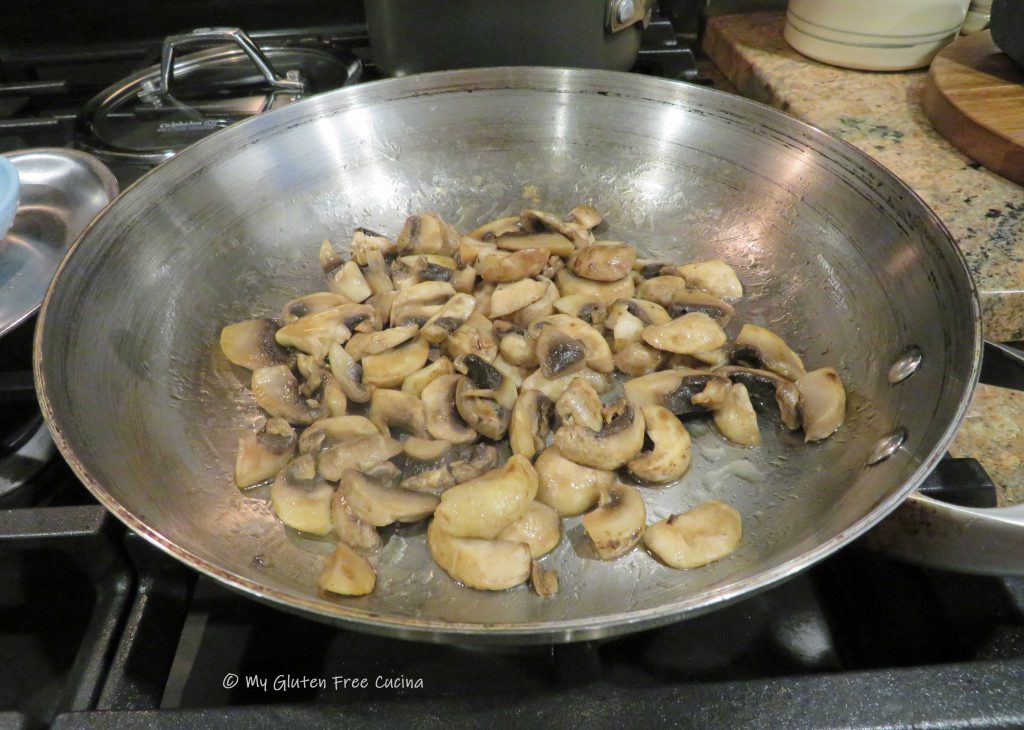
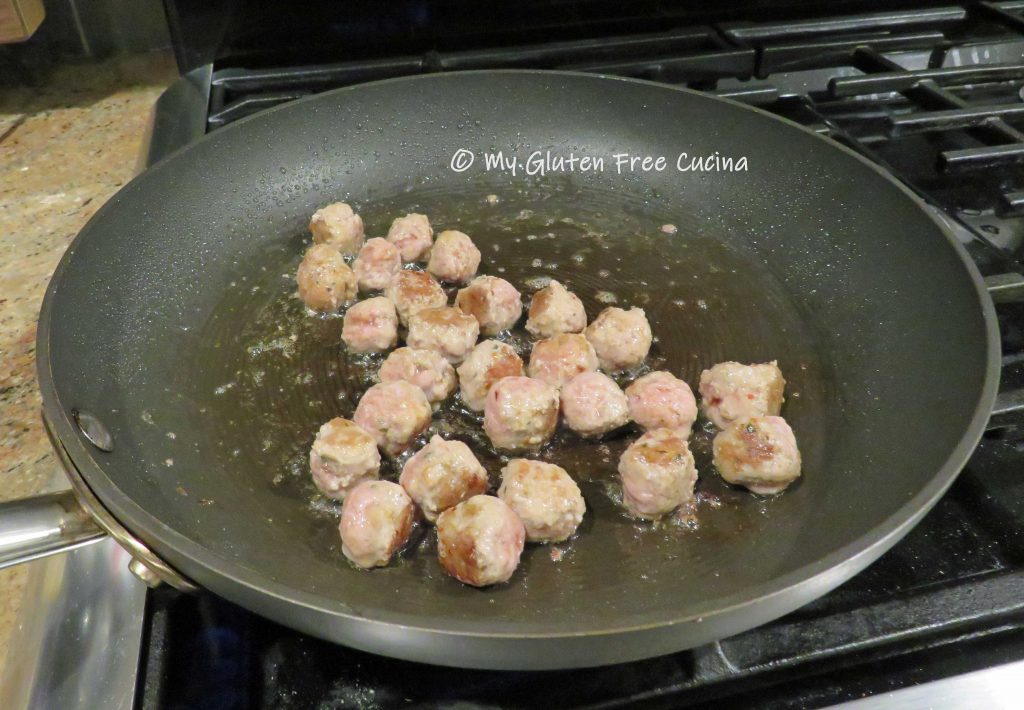
 Heat a deep skillet with one tbsp. olive oil and add the ground beef. Cook on low heat, turning and breaking up the meat with a meat spatula.
 When the beef has browned, stir in the onions, followed by the garlic, carrots and mushrooms. Sprinkle with Italian seasoning and fresh ground black pepper. Continue cooking 3-4 minutes, stirring frequently to help the liquid evaporate.

Next add the tomato sauce, basil, and oregano. Drizzle with 1 tbsp. olive oil and 1 tsp. red wine vinegar. Simmer on low for about 30 minutes or until the squash is ready. Stir frequently and watch that it doesn’t burn.
When the squash has baked for 1 hour, remove from the oven. Use tongs to carefully turn the halves over and let them cool for 10-15 minutes until they are safe to handle.

Use 2 forks to shred and separate the “spaghetti” and transfer it to a bowl.

 Toss with half of the meat sauce and spoon the mixture back into the squash shells.
 Top with more sauce, grated cheese and herbs. Return to the oven for another 20-30 minutes.
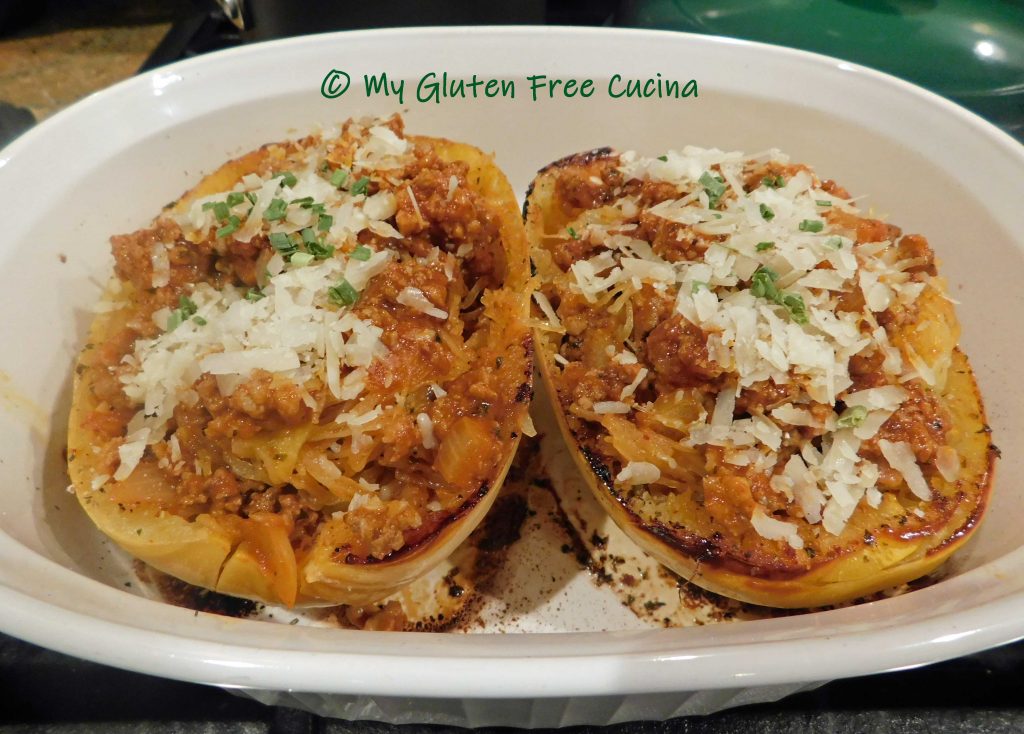 You can finish them off under the broiler for 2-3 minutes to crisp up the edges.
 Serve in the shell with extra sauce on the side.
Notes: ♪♫ Roasting is my favorite way to prepare vegetables and spaghetti squash is no exception. It does require more time than boiling but so worth it – you will taste the difference!


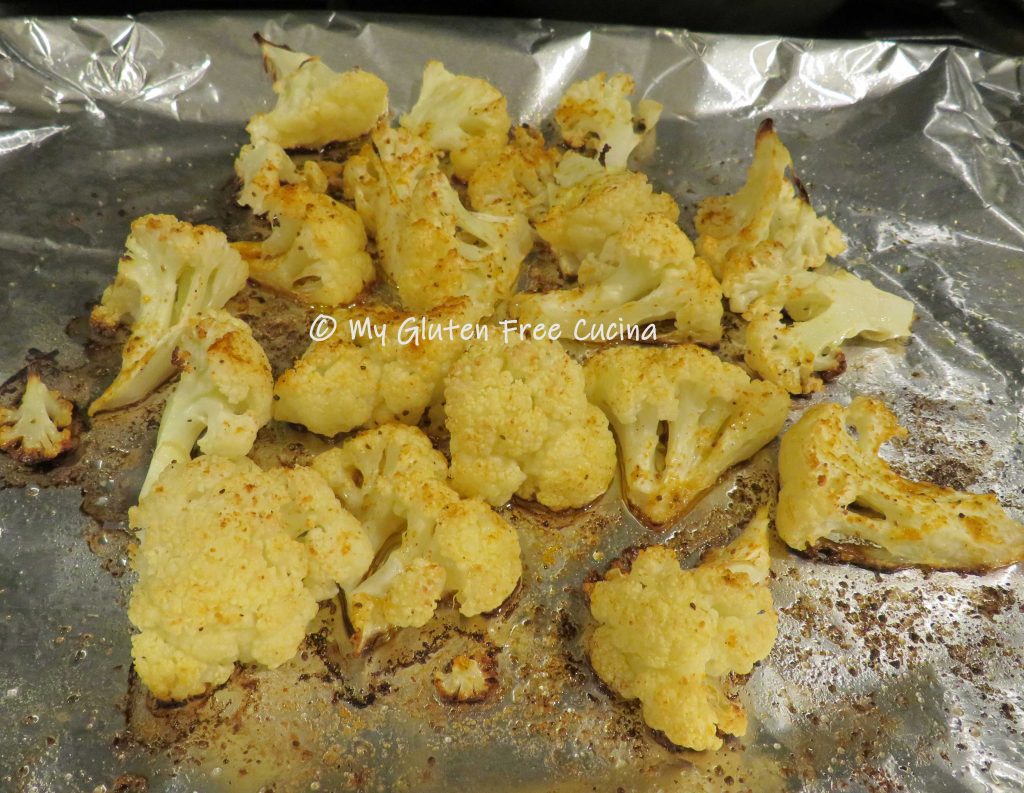

 Add the roasted cauliflower to the skillet.
 Warm the cooked risotto in a
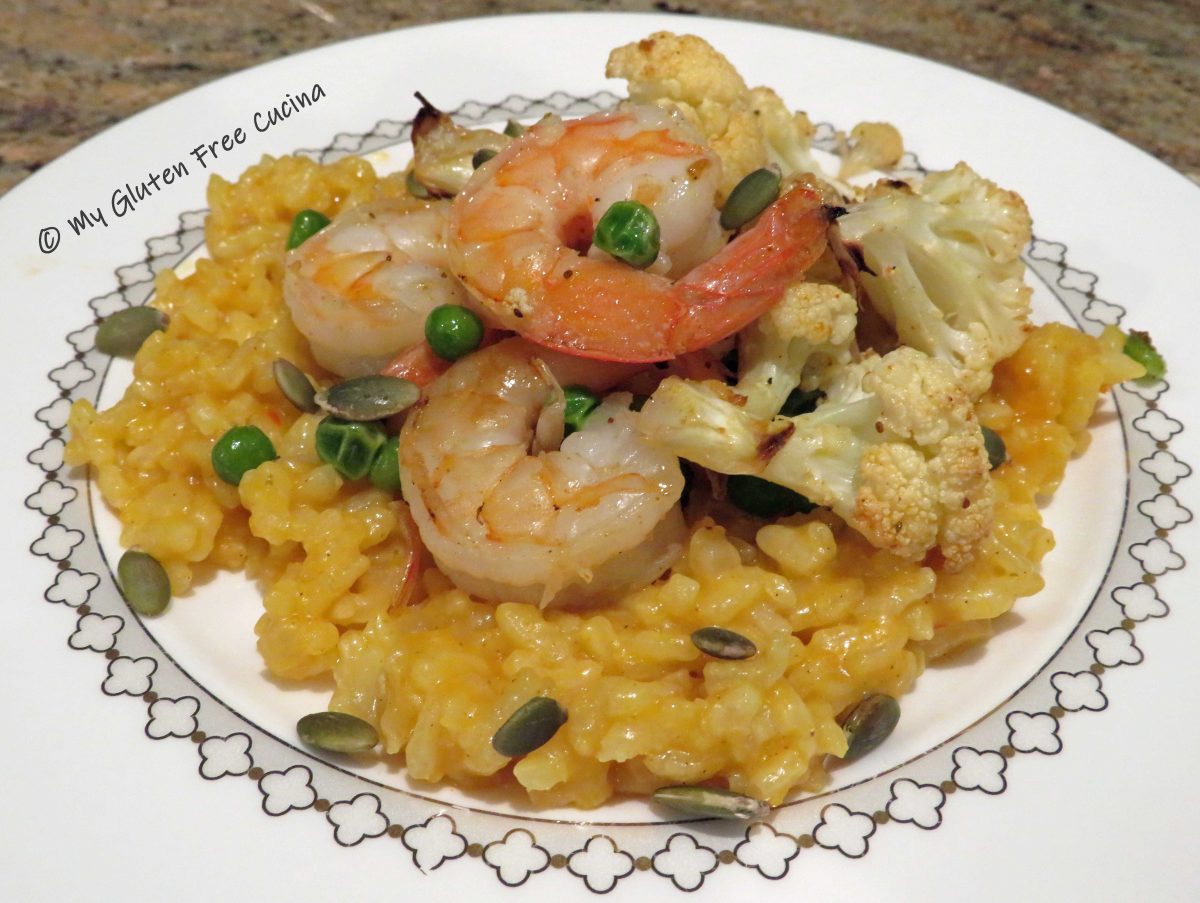
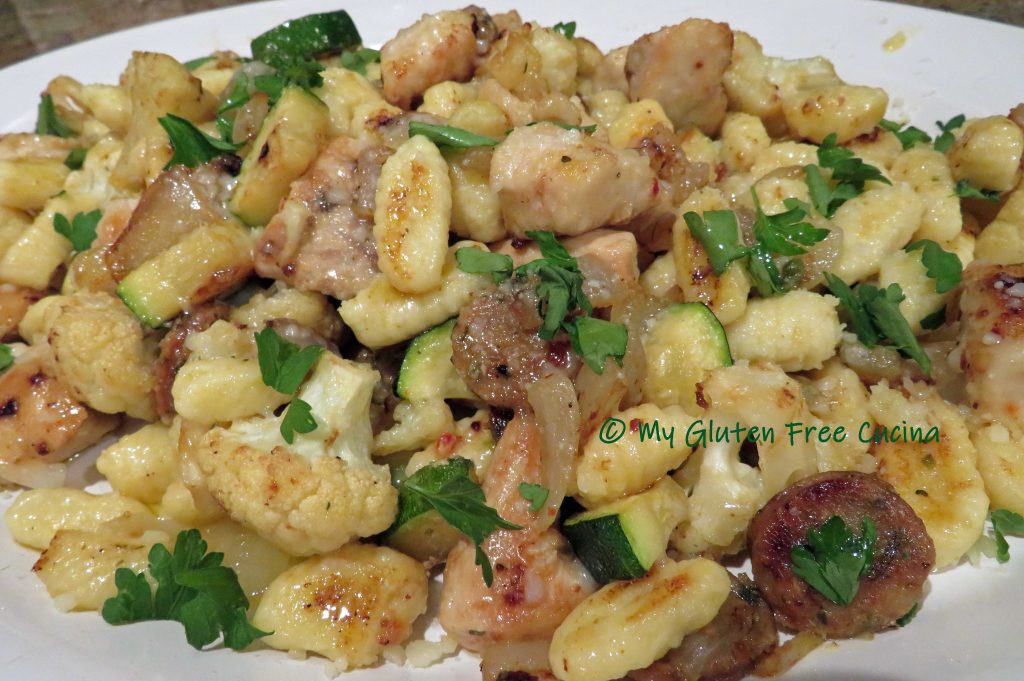
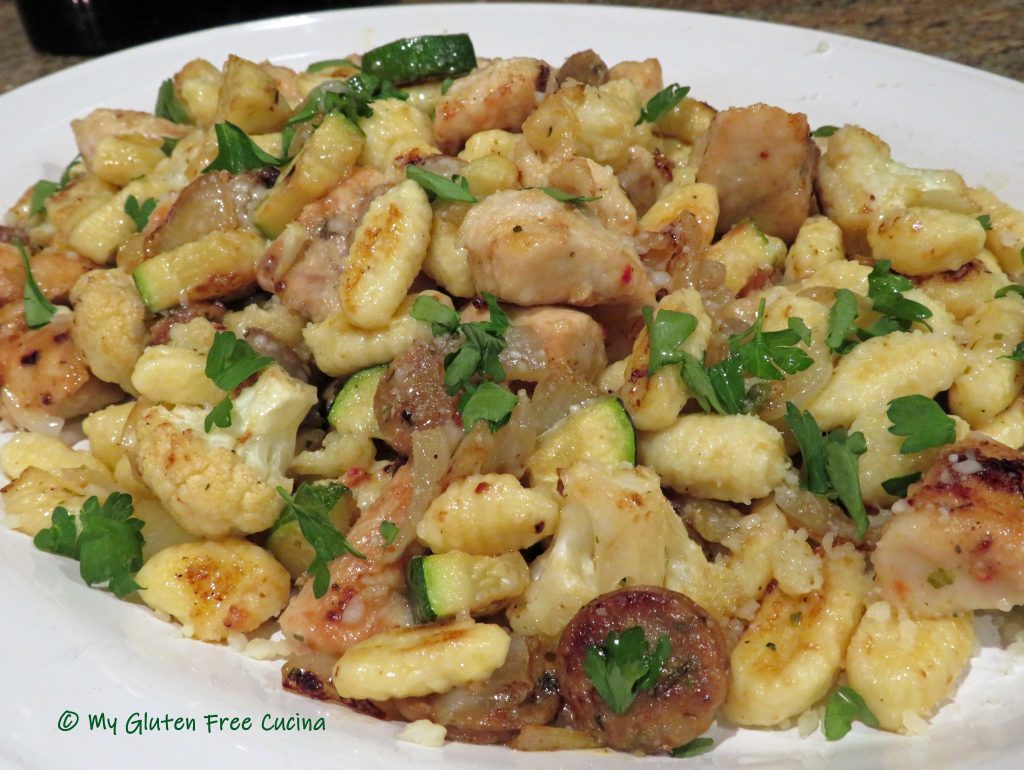
 To plate, make a bed of risotto and top with the shrimp and veggies. Garnish with a few pumpkin seeds.
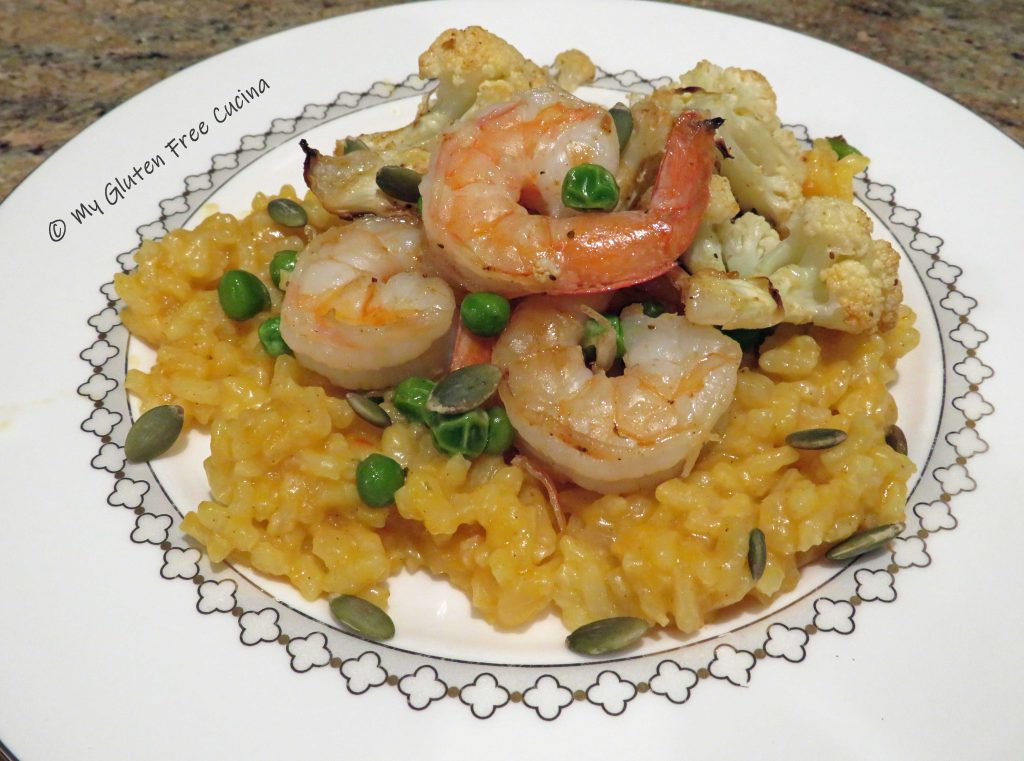


 Serve with finely grated cheese, use the good stuff!

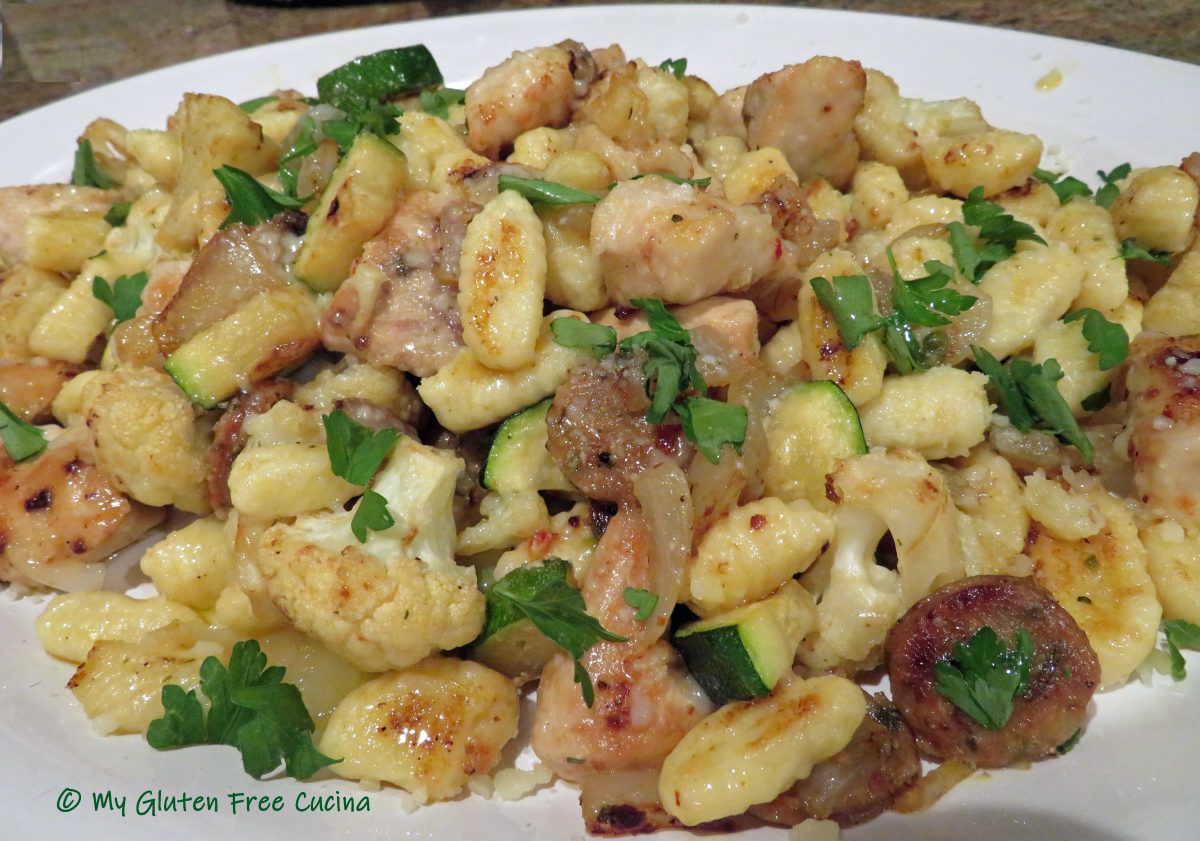


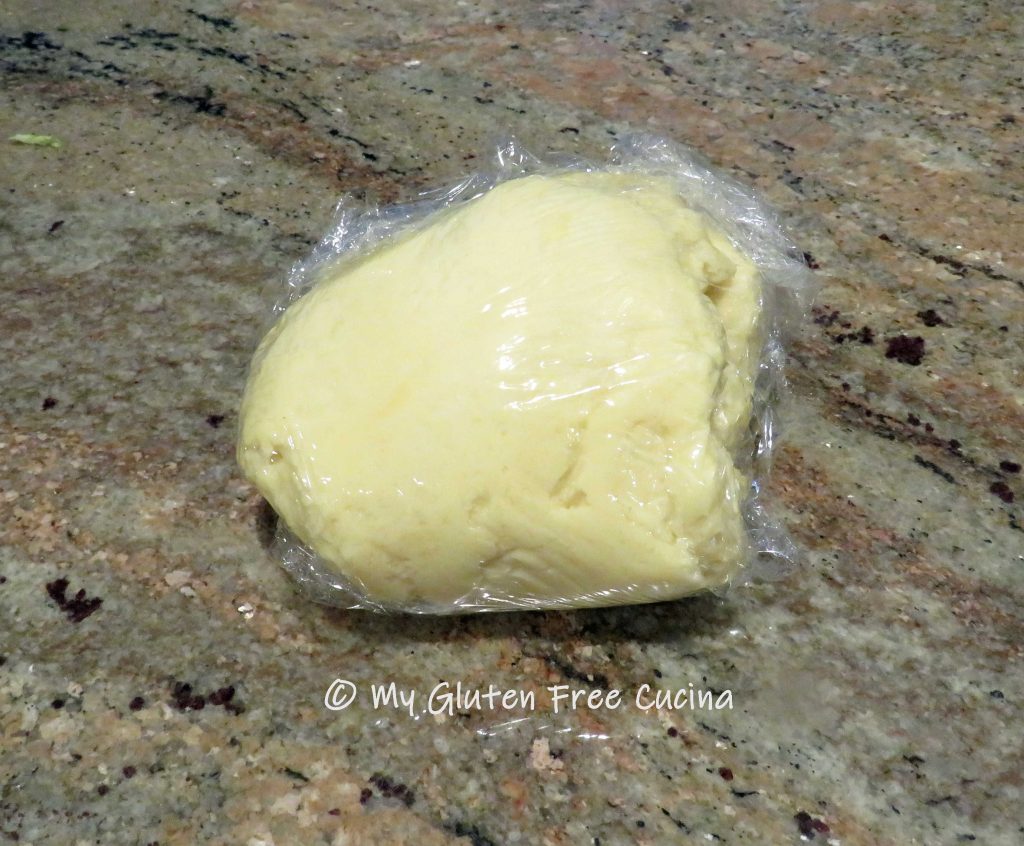

 Line a baking sheet with parchment or waxed paper and flour lightly. Place the finished gnocchi on the baking sheet. If not using right away, cover with plastic wrap and refrigerate.
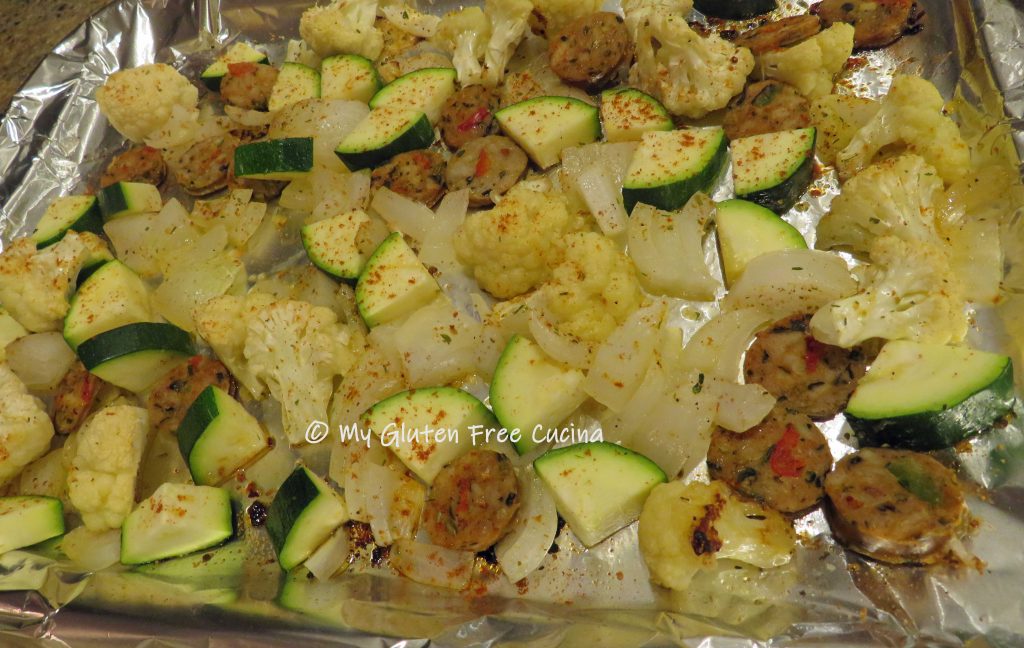

 Use a
Use a 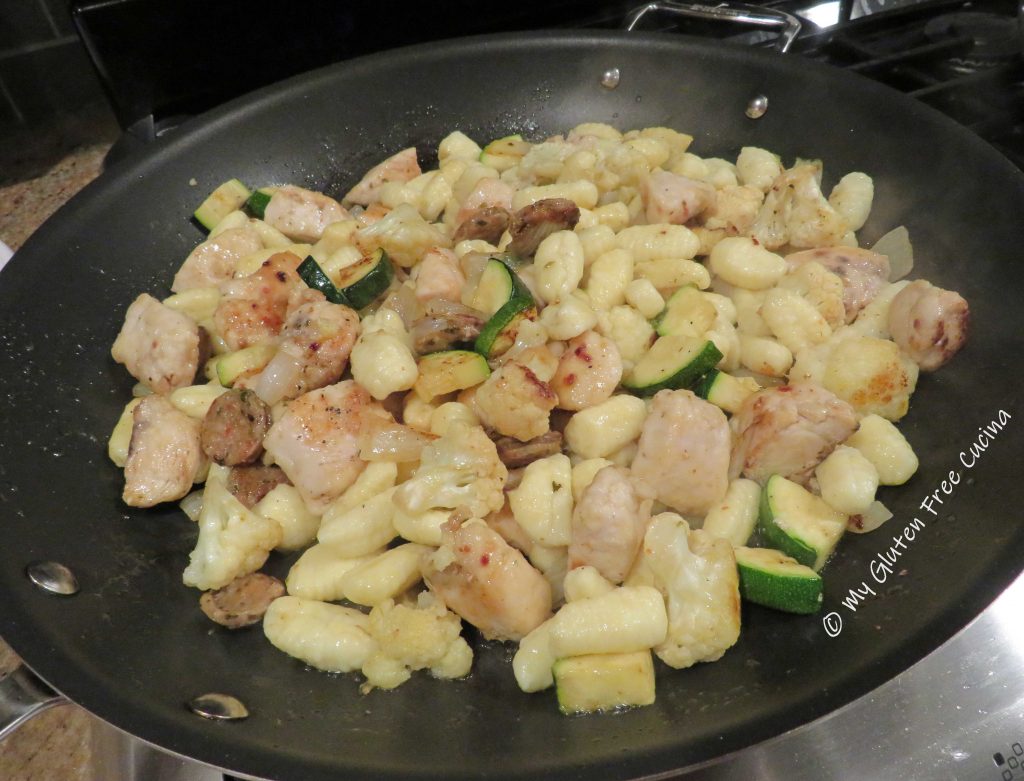


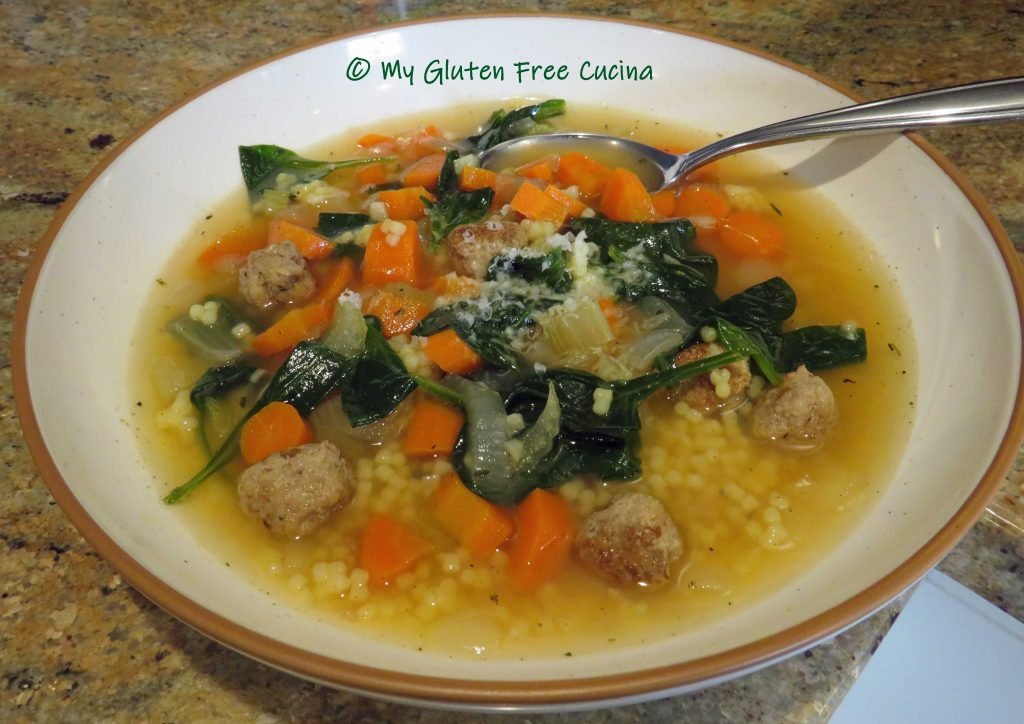
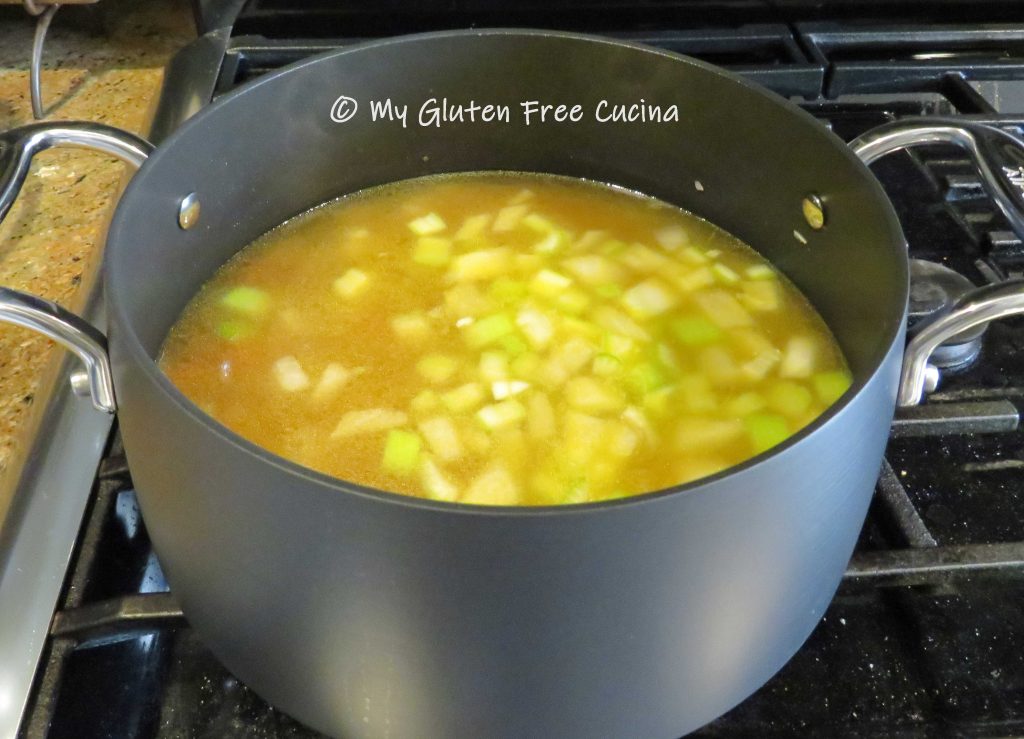
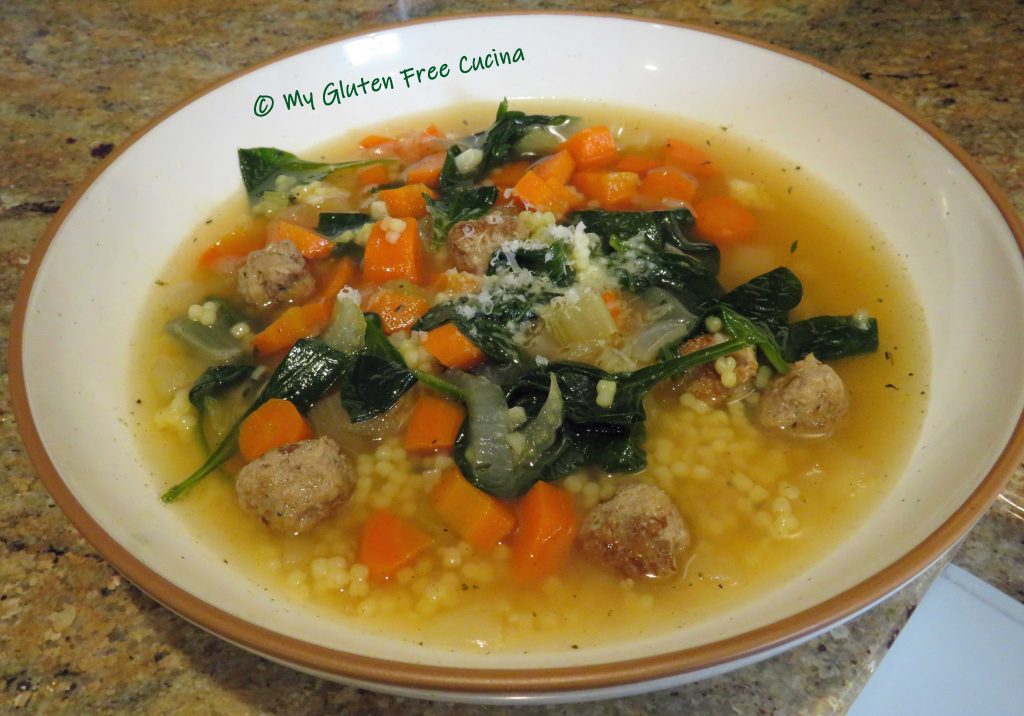
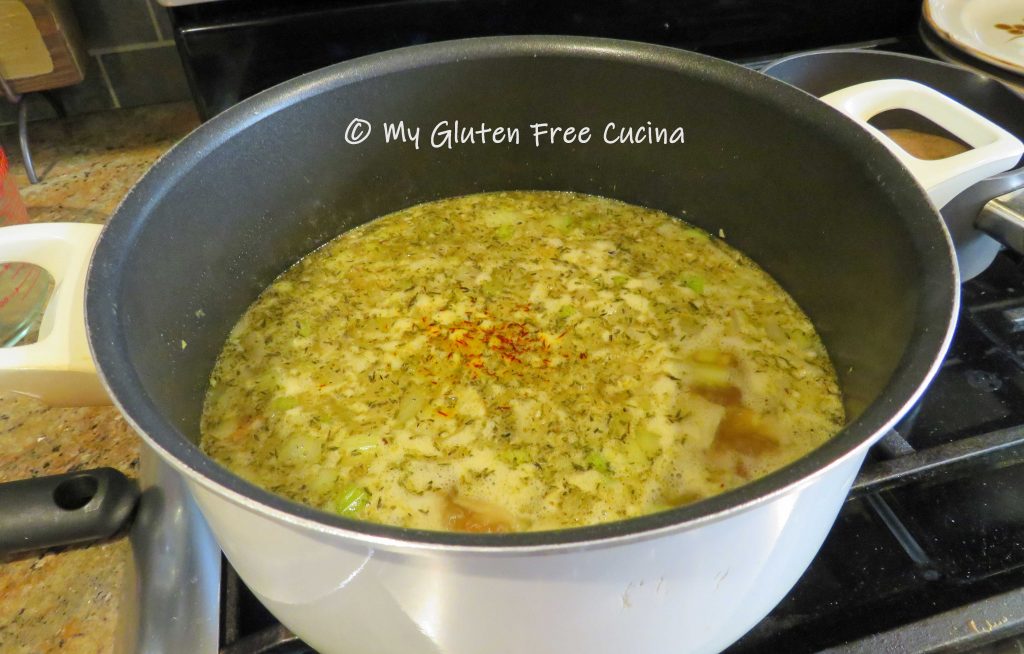
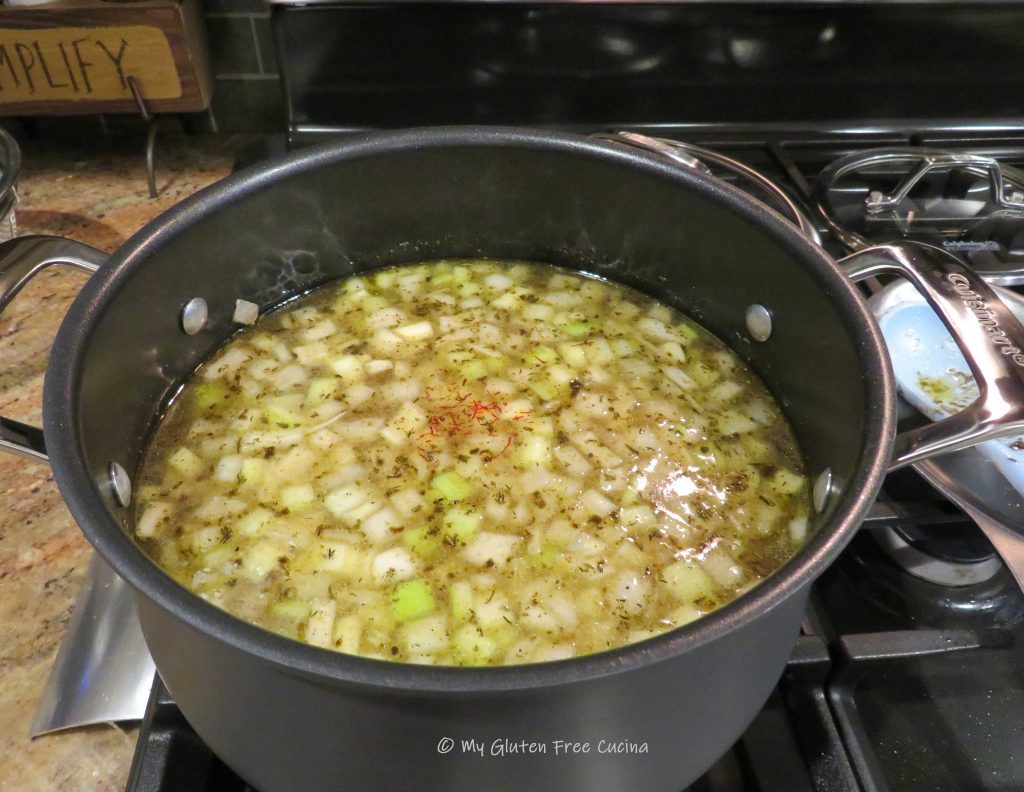
 Dice 6-8 carrots, 6-8 celery stalks, and one large onion. Try to cut the pieces to approximately the same size.
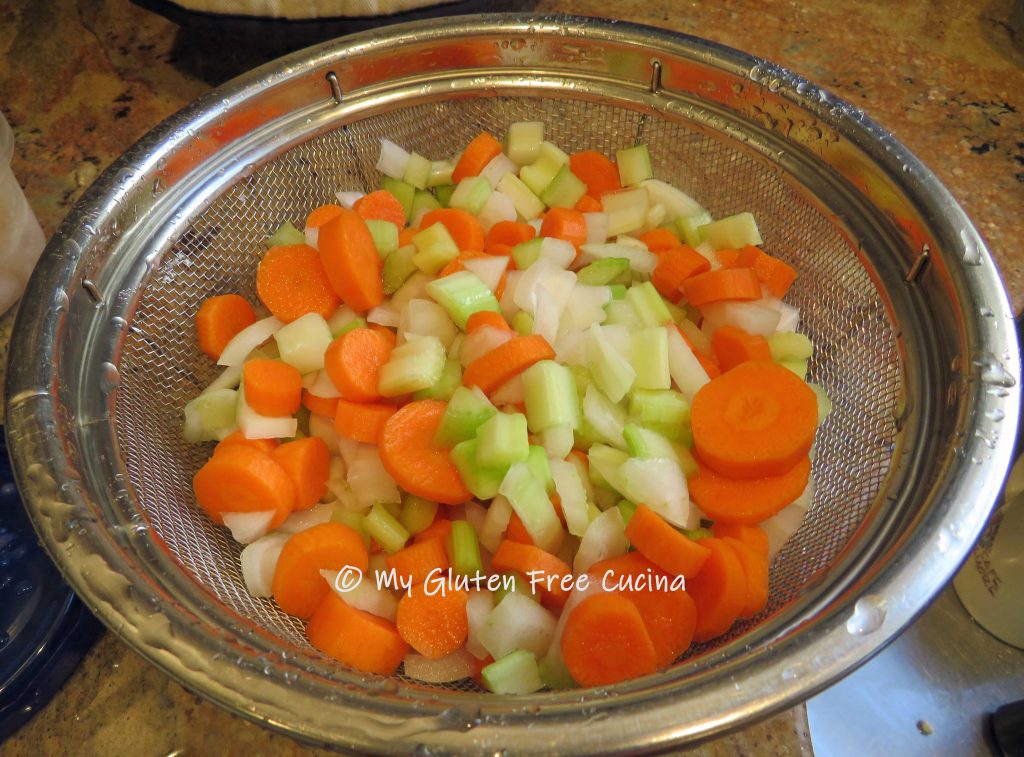 In a clean stockpot, sauté the vegetables in 1 tbsp. olive oil. Season with salt and pepper.
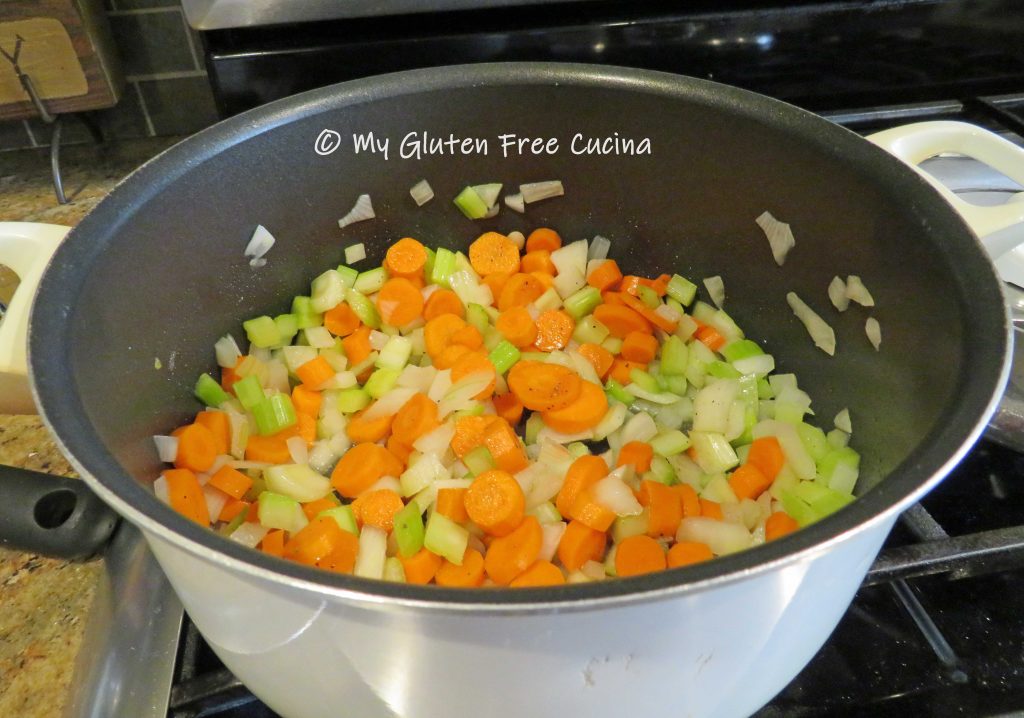

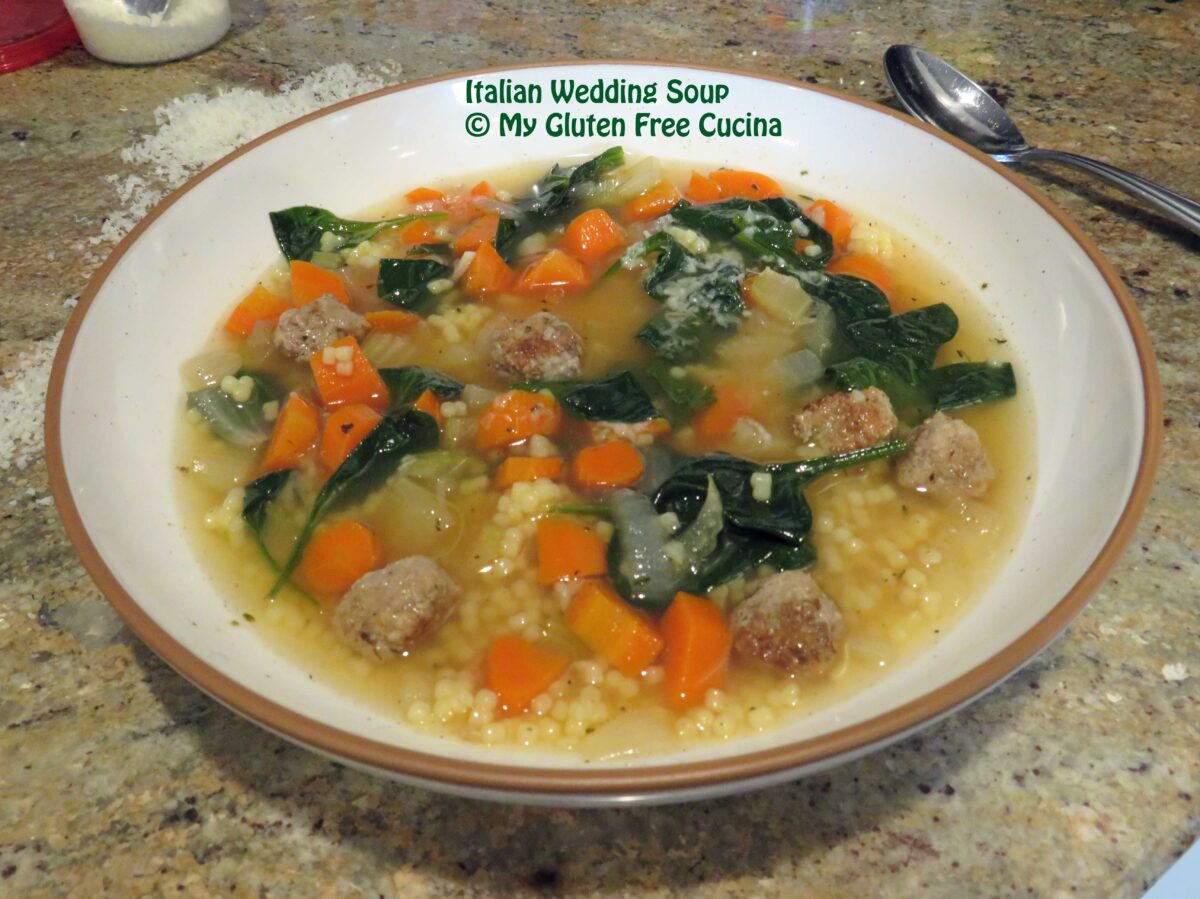
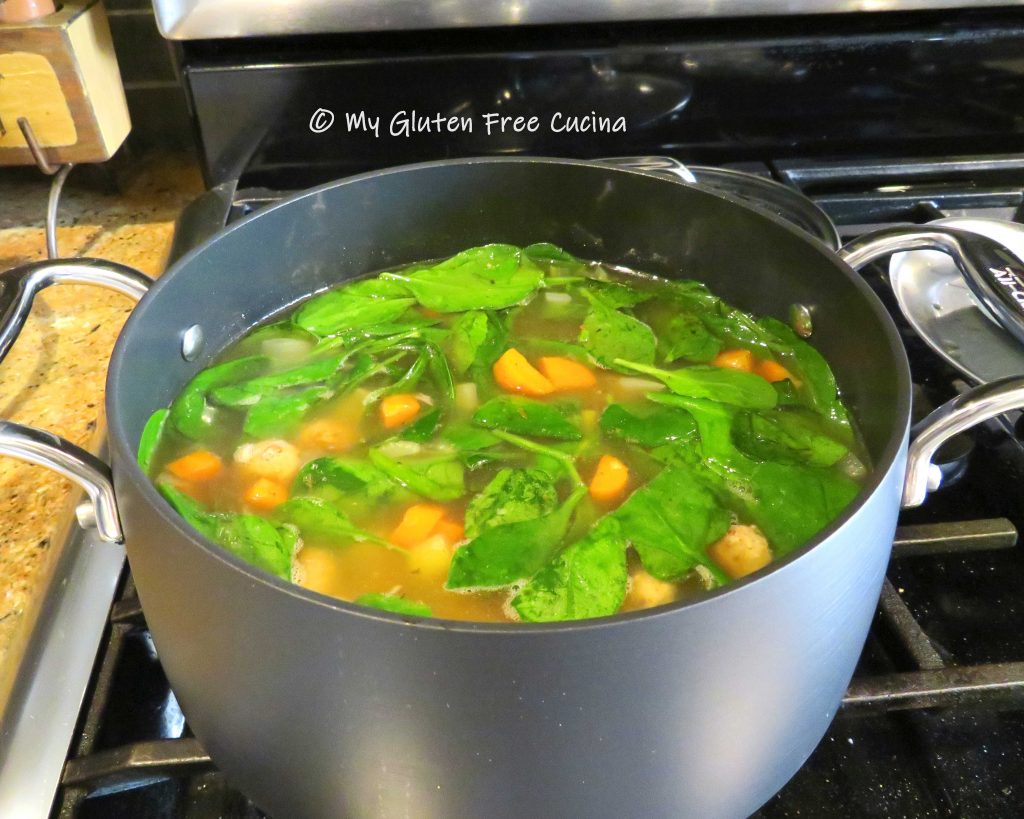
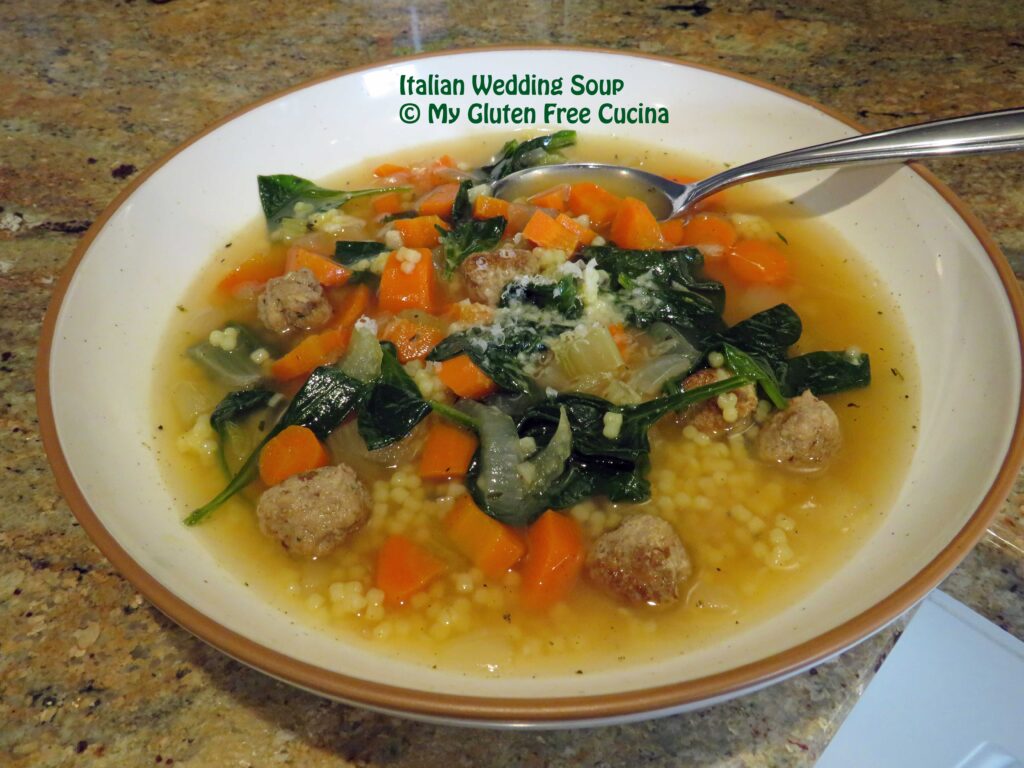
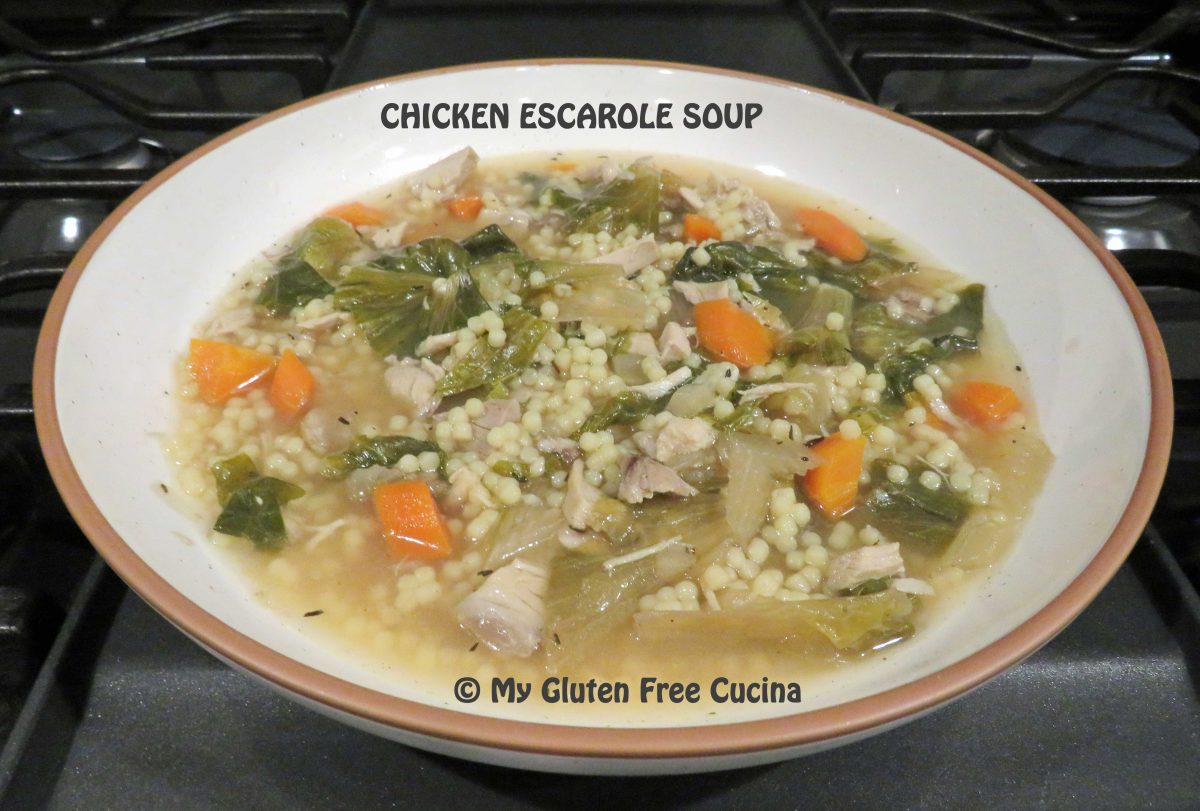
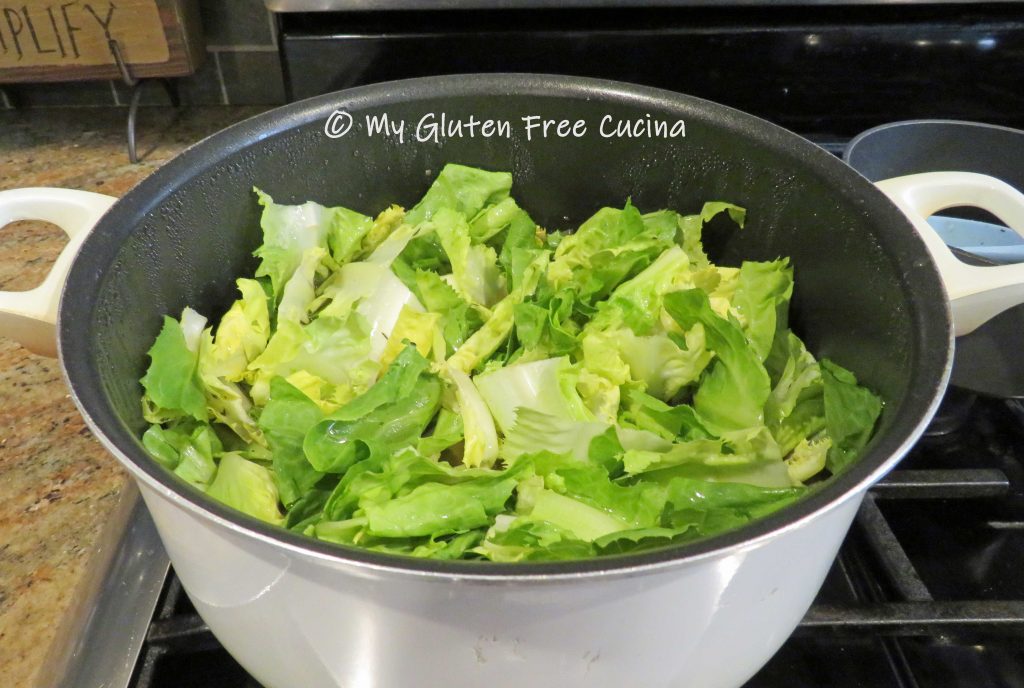
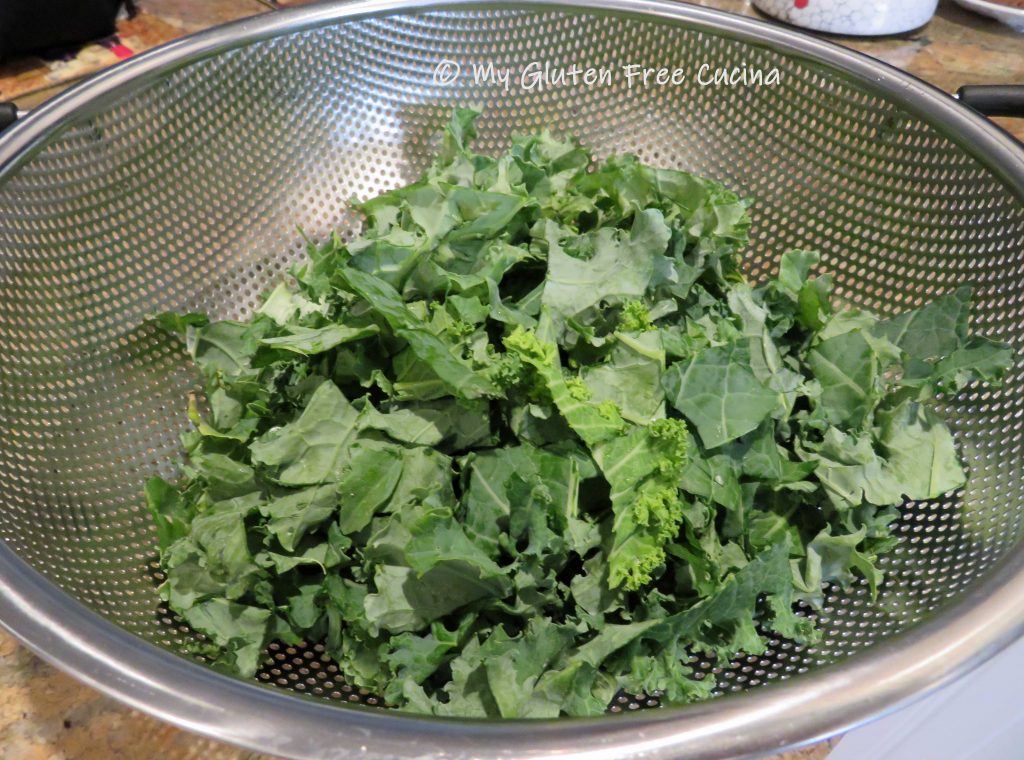
 Remove and discard the outer leaves of the escarole, then tear the leaves into large pieces and rinse thoroughly. To this day I can still hear my mother telling me to wash the escarole “leaf by leaf”.
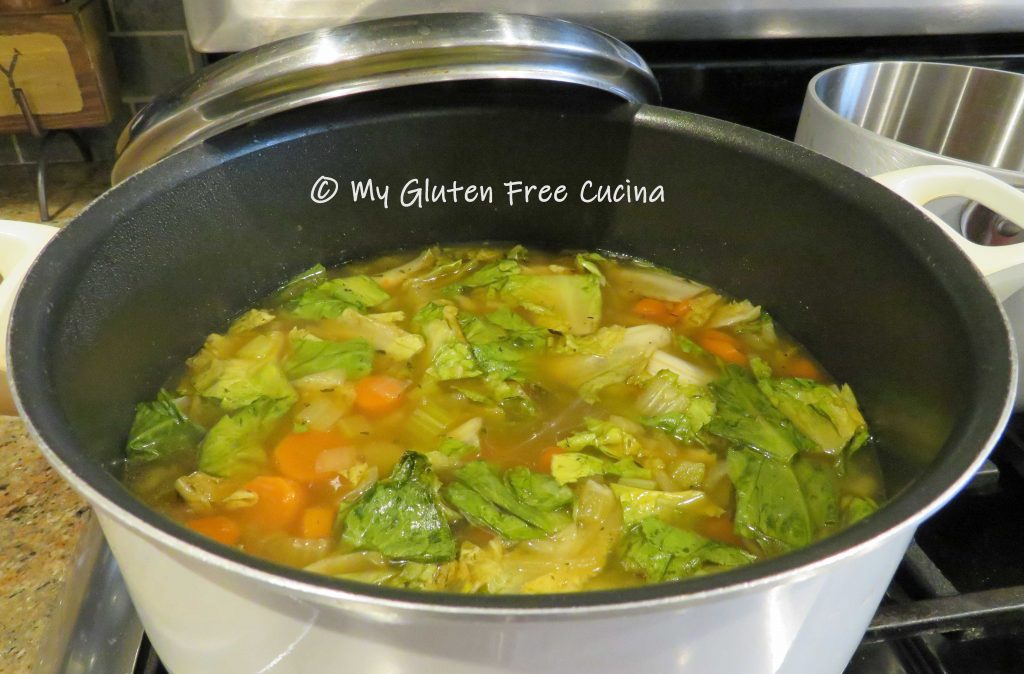
 Escarole cooks quickly, and the residual heat is enough to wilt the leaves. Stir well, cover the pot and let it cool to room temperature. Refrigerate overnight.
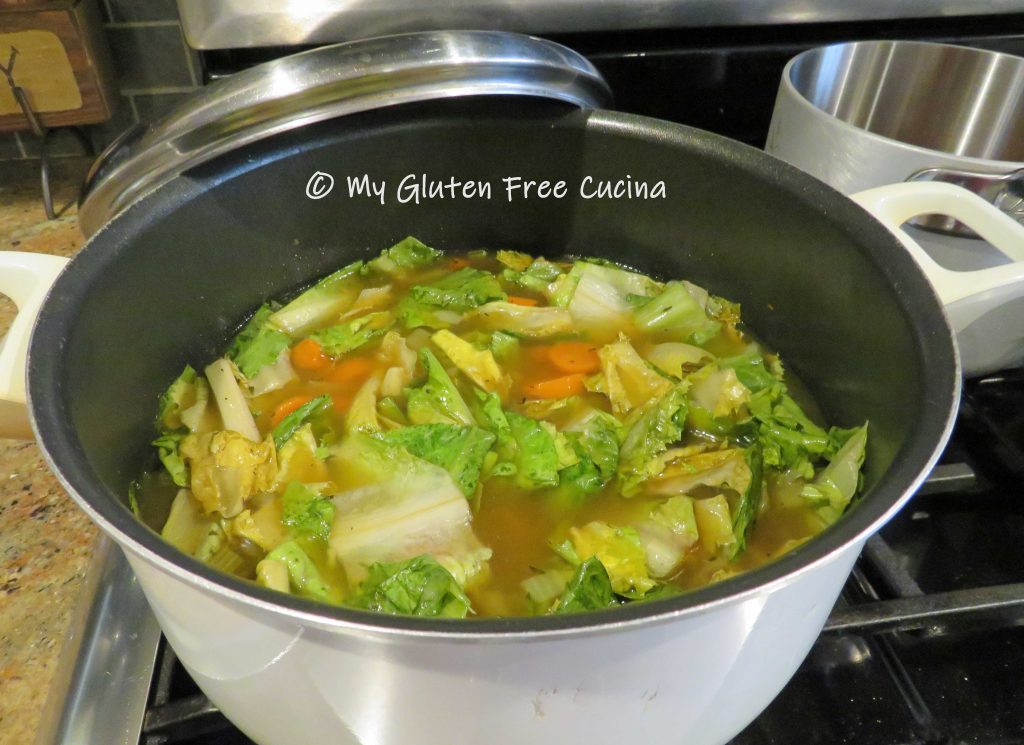


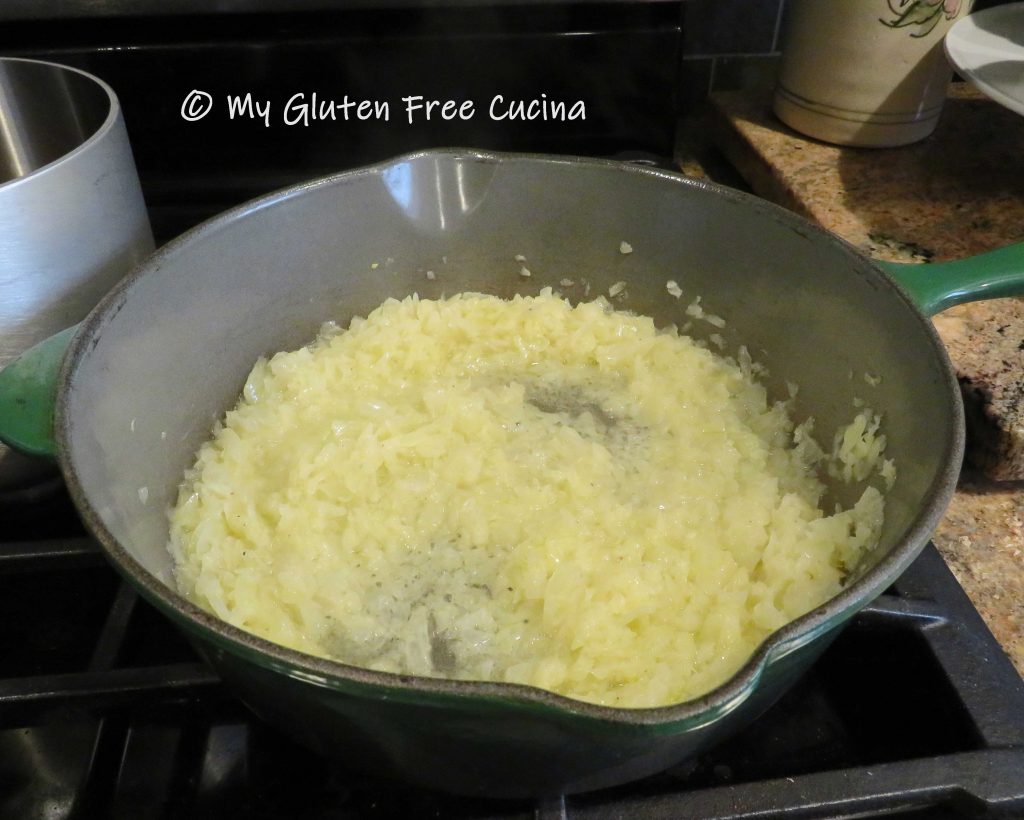 Have the corn starch, broth and a whisk ready for the next step. Sprinkle the corn starch evenly over the onions and whisk whisk whisk for 1-2 minutes. Don’t stop!
 Stream in the warmed broth and continue whisking. The gravy will thicken.
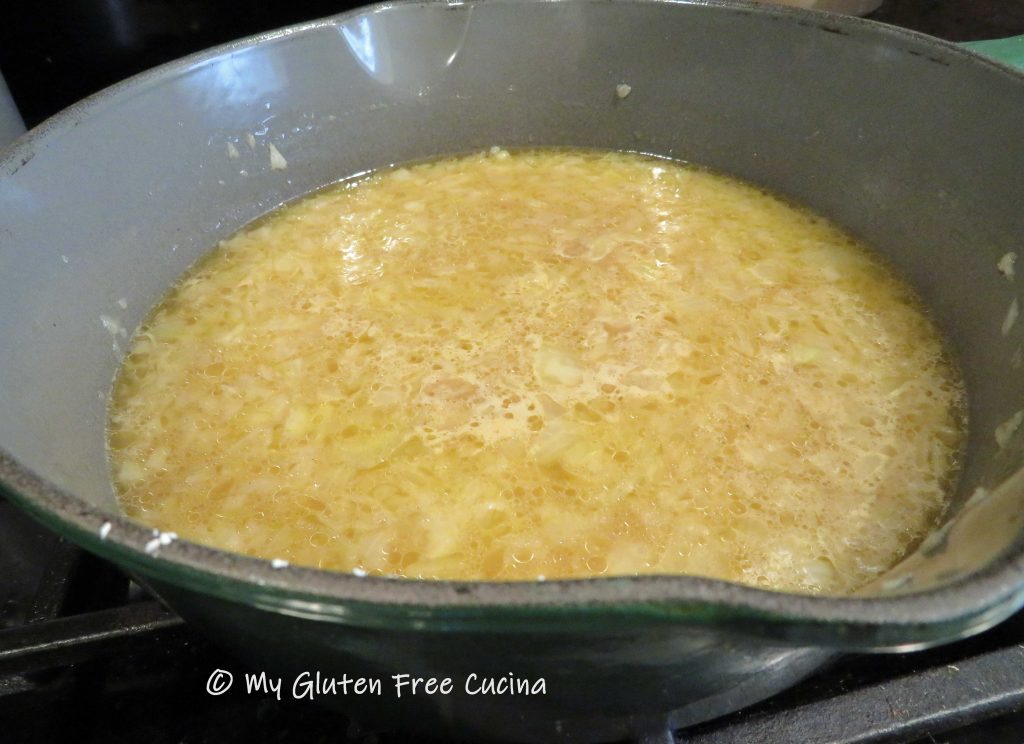 See how the onions have almost melted into the gravy? If you don’t want the little bits of onion that remain you can strain the gravy or puree it with an immersion blender. If you like a little texture definitely leave them in.
 Transfer the gravy to a small sauce pan, then stir in the brandy and cream. Cover and keep warm until serving.

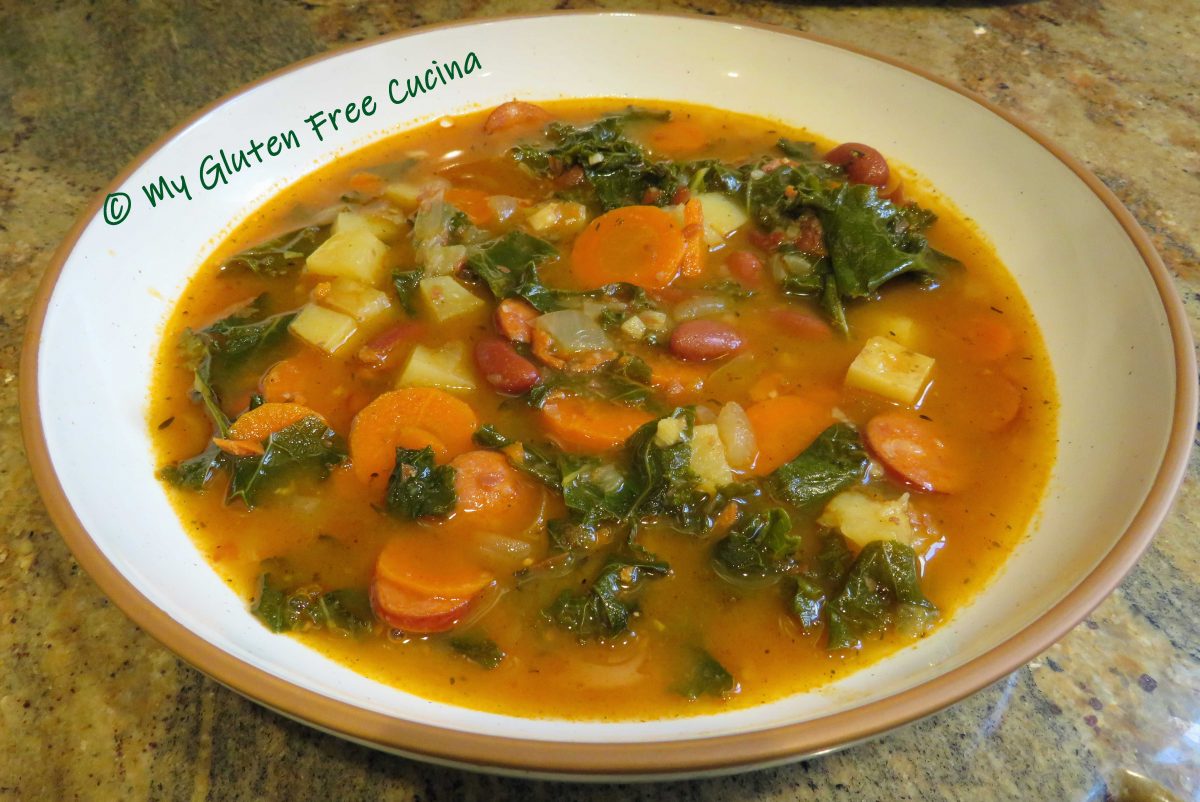


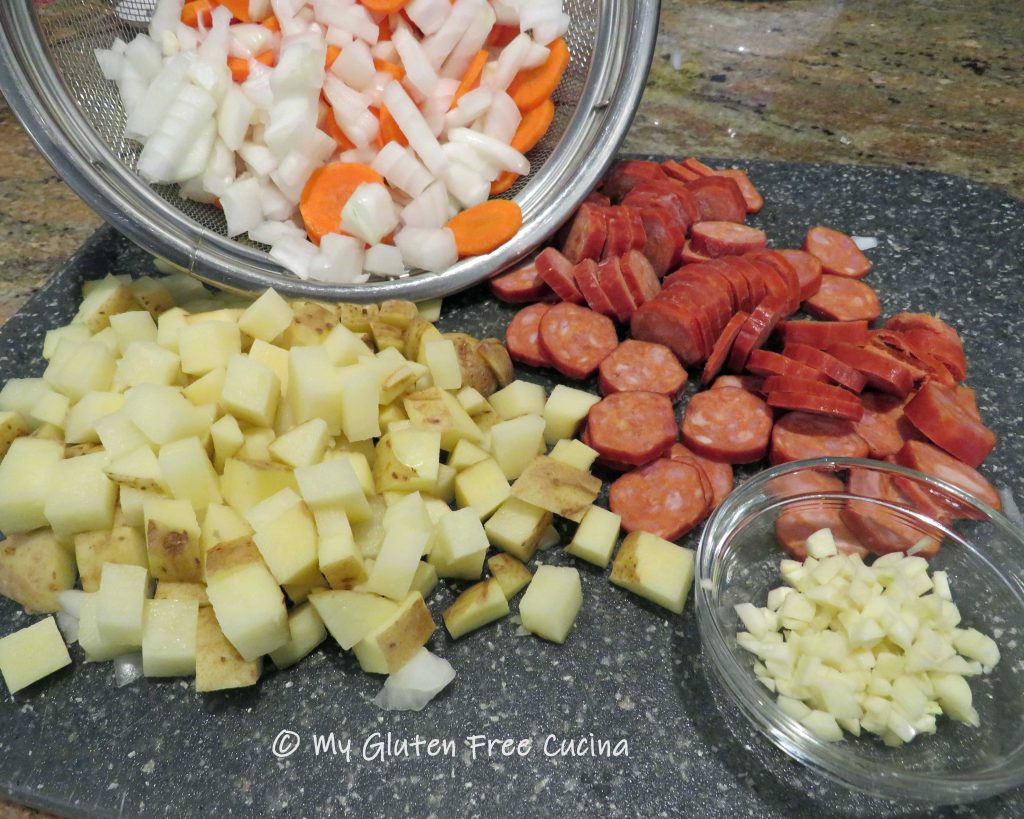
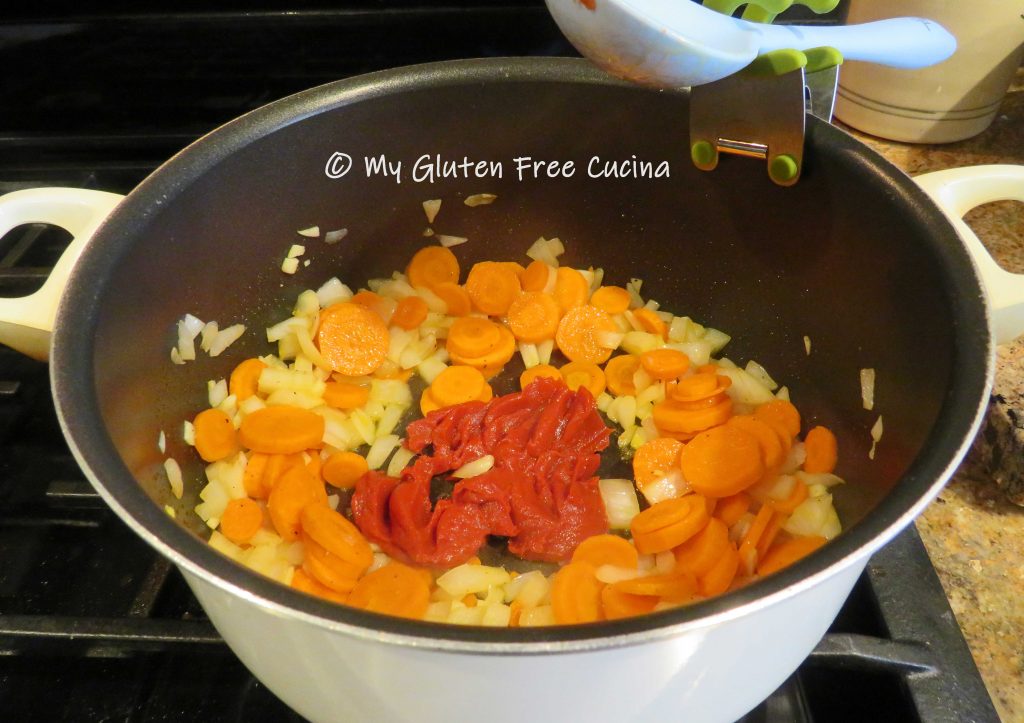
 Heat olive oil in a stock pot, and stir in the onions, carrots and garlic. Season with salt and pepper and cook 2 minutes.
 Add the Linguica, stir and cook for 5 minutes.
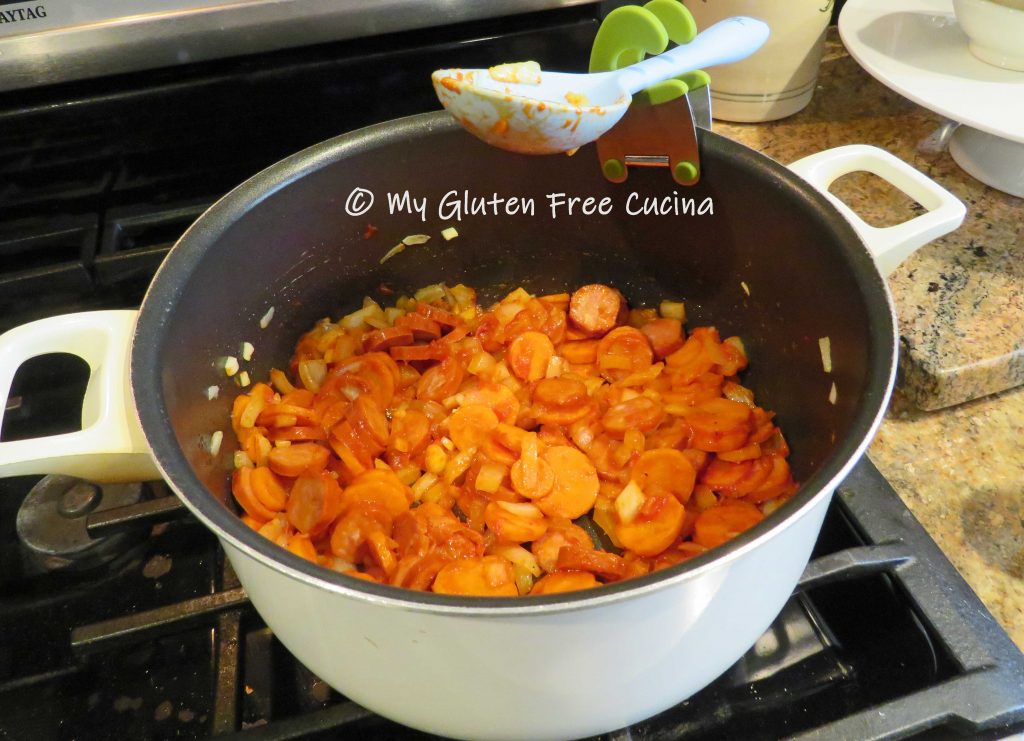


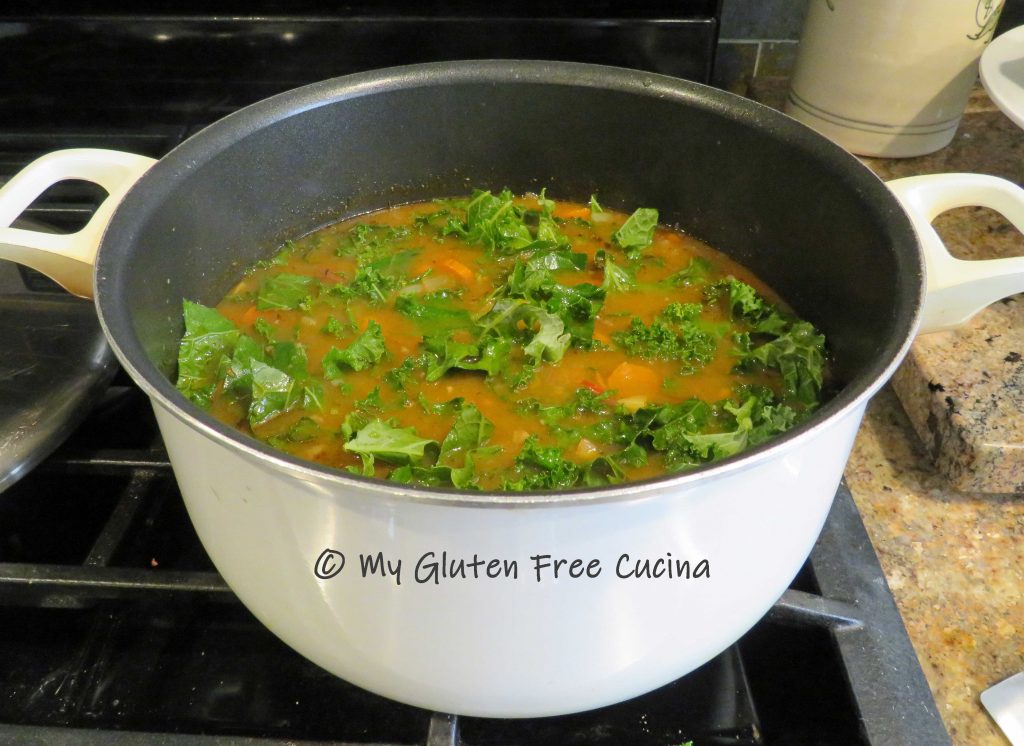


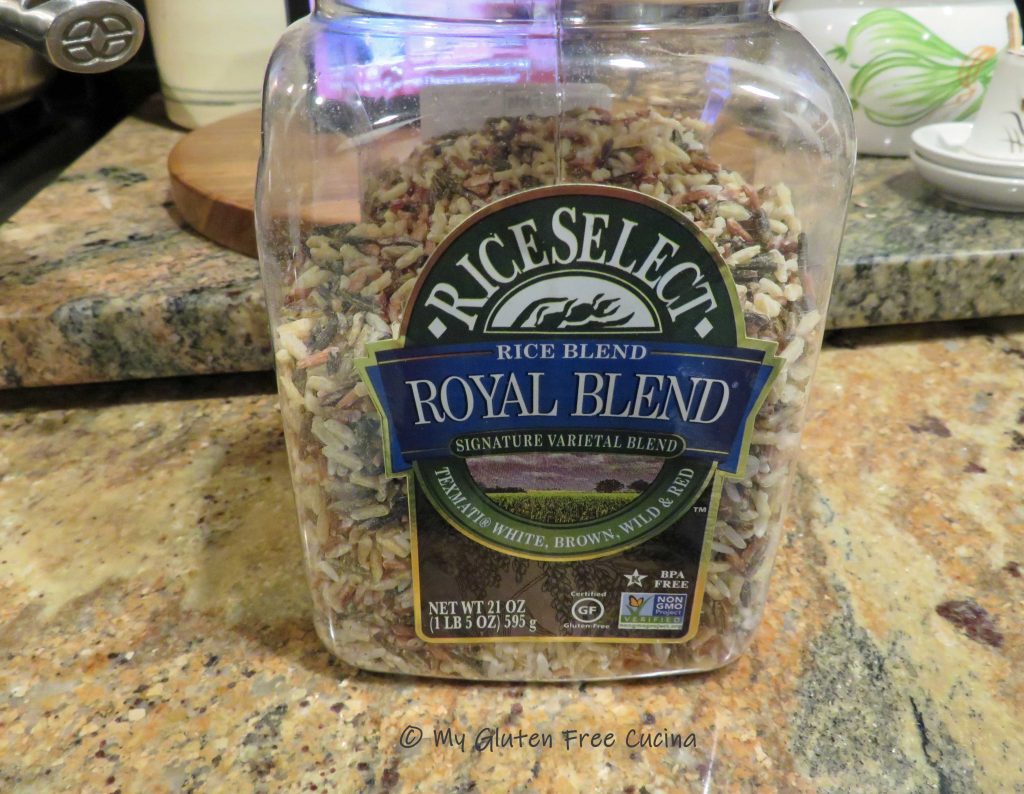


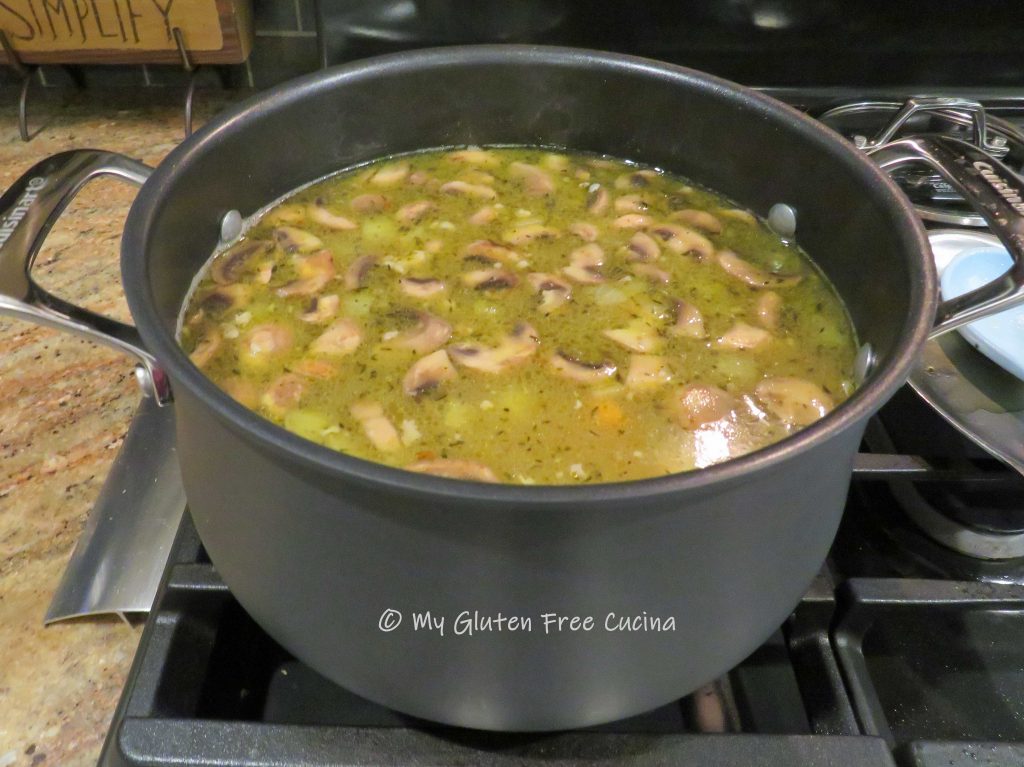
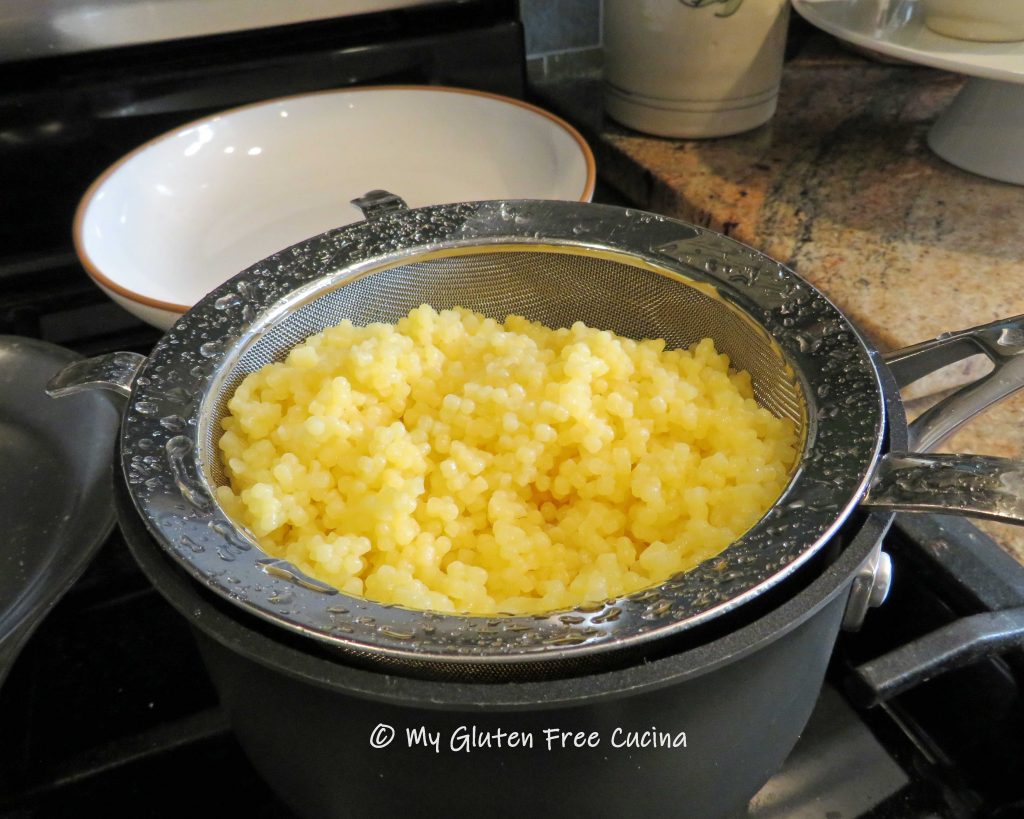
 While the soup simmers, cook the rice according to package directions.