I have always loved pancakes and waffles, going all the way back to my childhood when Dad made us pancakes for breakfast on Sunday. Back then I would devour a whole stack!

As an adult I have continued this Sunday tradition, even after my Celiac diagnosis. At first, I went with a popular gluten free pancake mix. Ugh! I continued trying different brands and some were better than others, but all were expensive.
Finally, I decided to make my own gluten free blend from scratch. Still pricey for sure, but in the end, it cost much less per serving than a packaged mix.
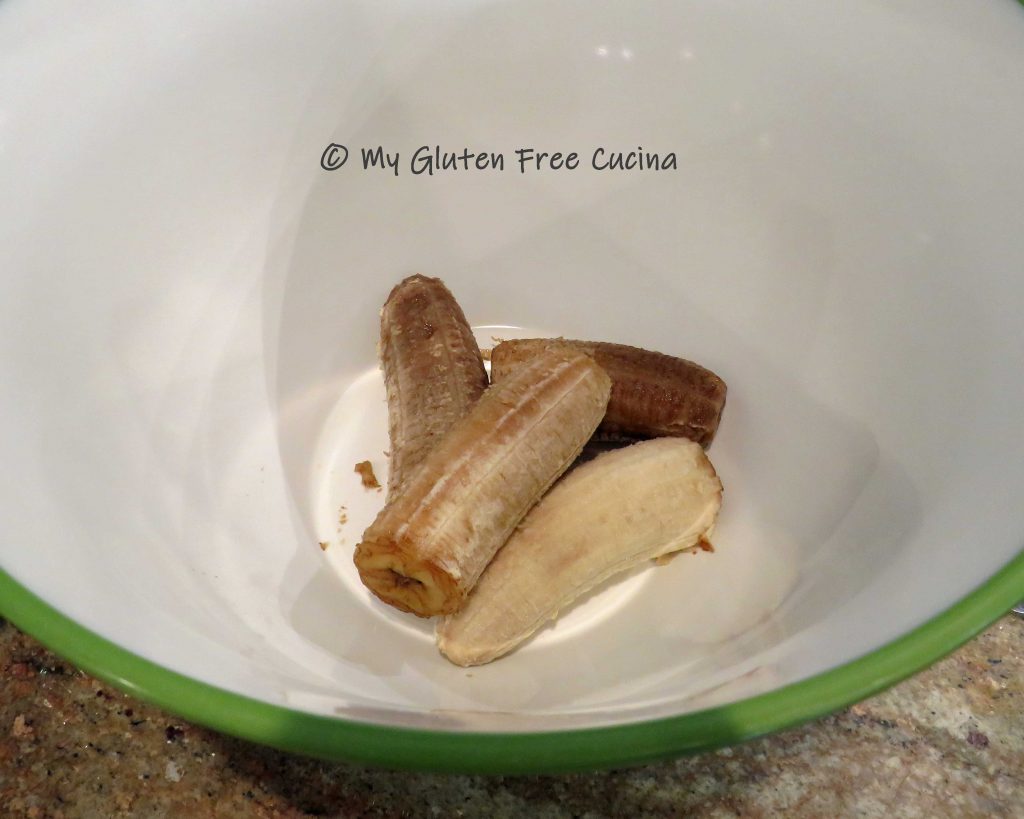
The main ingredients, almond flour, coconut flour and tapioca starch are staples in my gluten free pantry. I think the taste and texture of my waffles are better than any prepared mix, and the banana provides moisture, flavor and sweetness! This is a great recipe to use up bananas that are past their prime.

8 servings (serving size = 1 waffle)
This post contains affiliate links.
Ingredients:
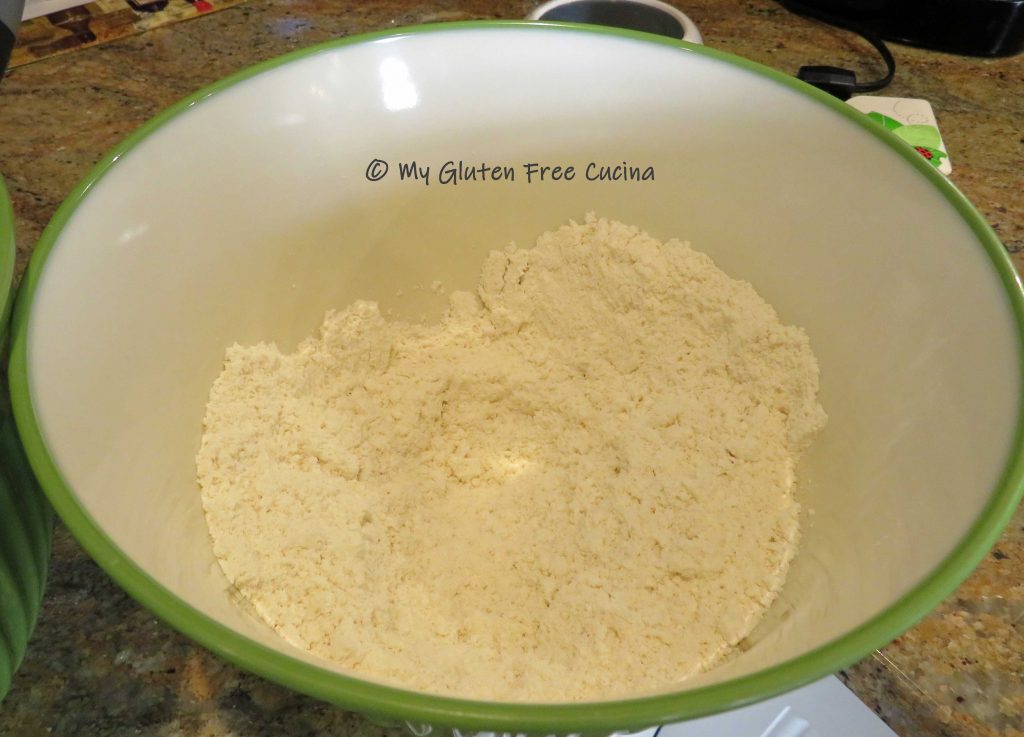
- 1 cup tapioca starch 105g
- 2/3 cup coconut flour 85g
- 1-1/3 cup almond flour 135g
- 1 tsp. baking powder 6g
- 1 tsp. baking soda 6g
- 1/2 tsp. Salt 3g
- —————————————
- 2 large eggs 100g
- 2 ripe bananas, mashed 150g
- 2 tbsp. Canola oil 22g
- 2 tsp. Vanilla 7g
- 1-1/2 cups 2% milk 350g
- Cooking spray
Preparation:
I often eat half of a banana and throw the rest in the freezer. After a couple of weeks those bananas pile up and it’s time to make more waffles!
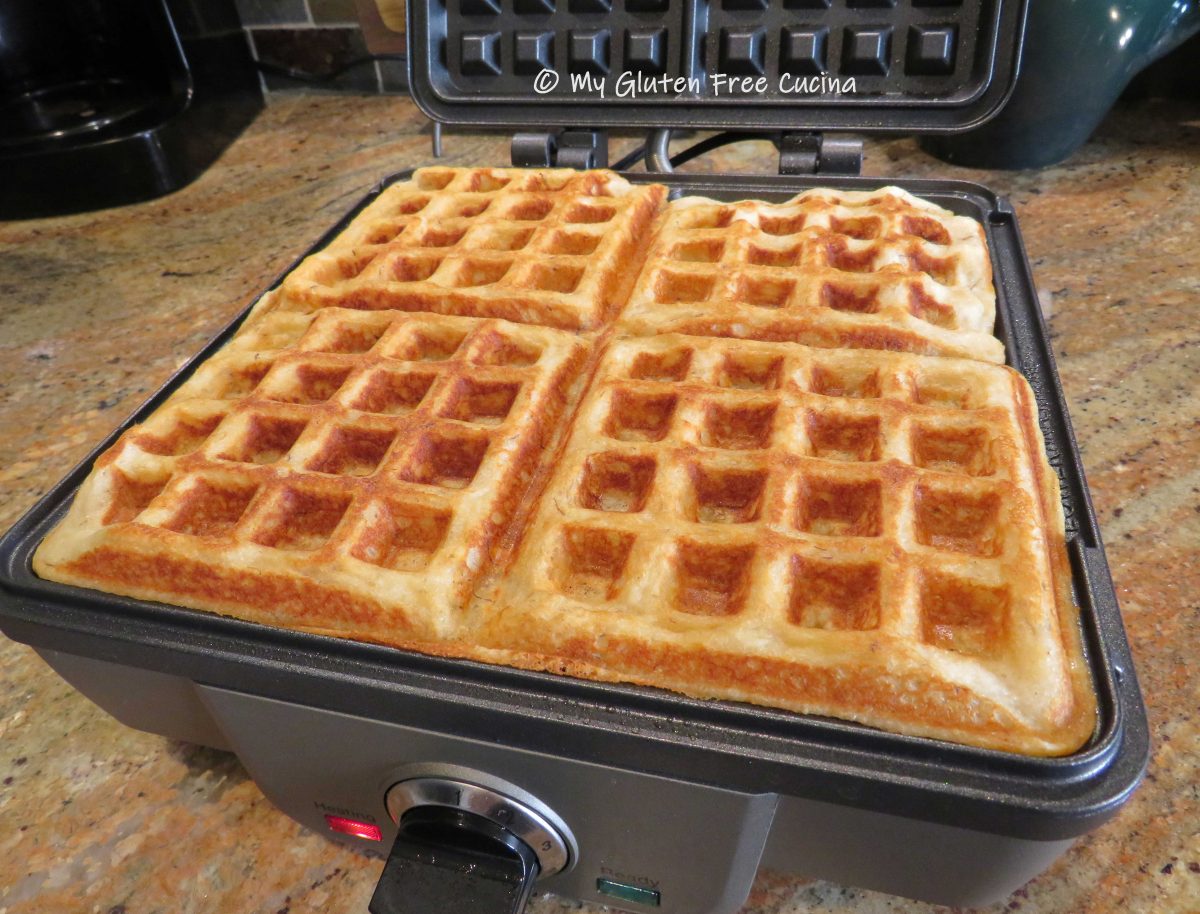
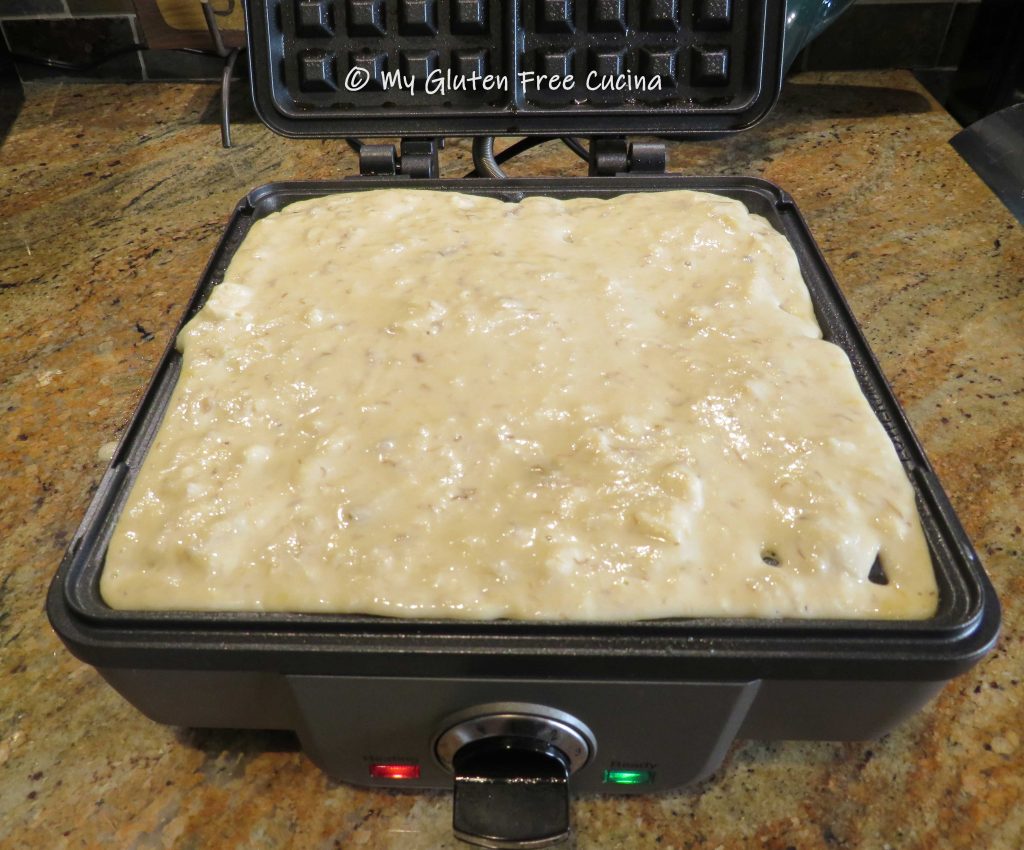
 Before you begin, preheat your waffle iron to 350°. Whisk together the dry ingredients.
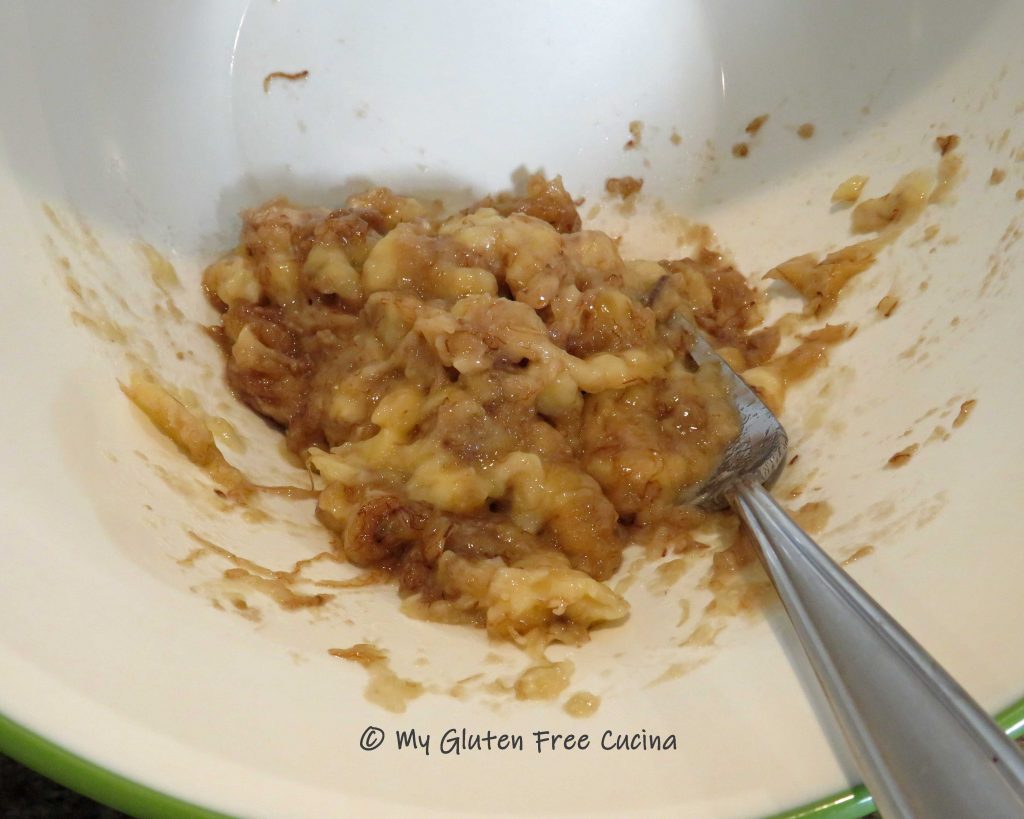
 In a separate bowl, mash the banana with a fork and add the egg, oil, vanilla and milk. Whisk well to combine.

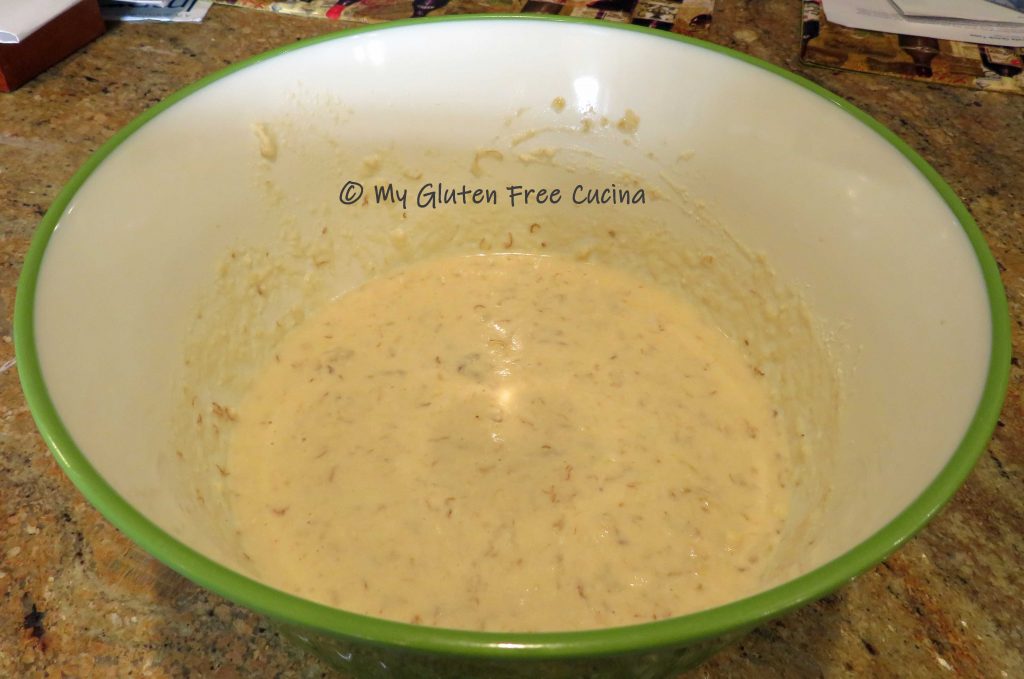
Fold the dry ingredients into the wet with a spatula, just until moistened.
Coat both sides of the waffle iron with cooking spray. Spoon the batter into the center and use a spatula to spread it into the corners.
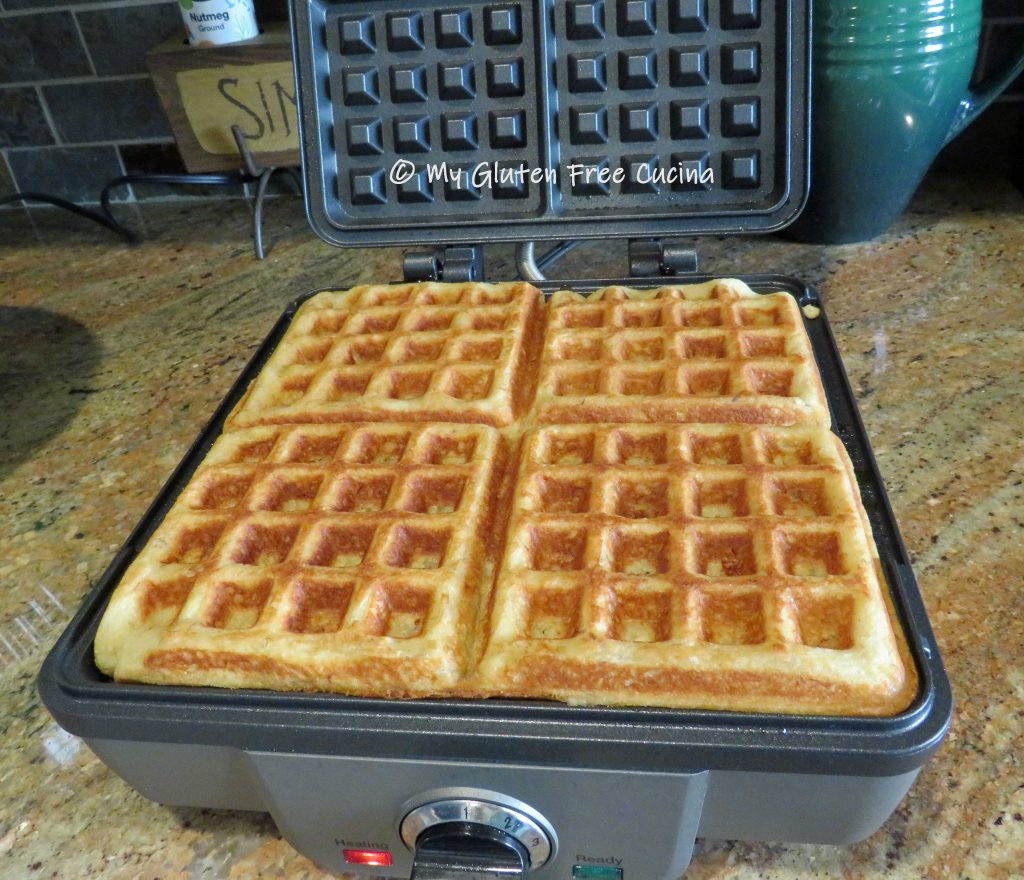
Close the lid and cook for 5 minutes, remove and transfer to a cooling rack. Repeat with the remaining batter.
You can serve them immediately or cool to room temperature and freeze for later. I like to make a big batch and store in freezer safe bags.
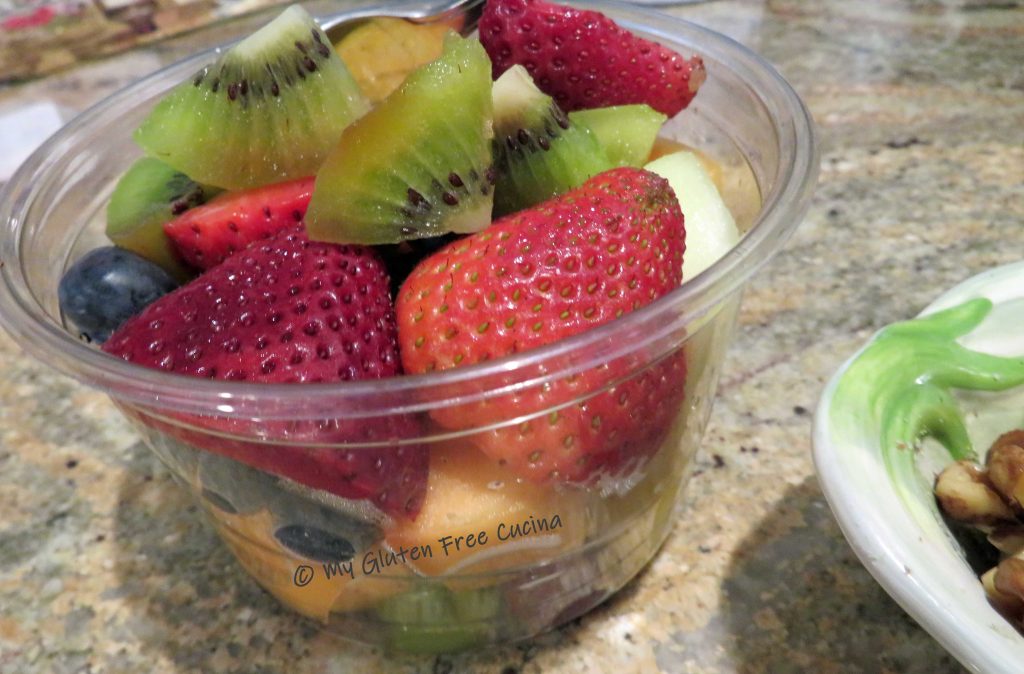
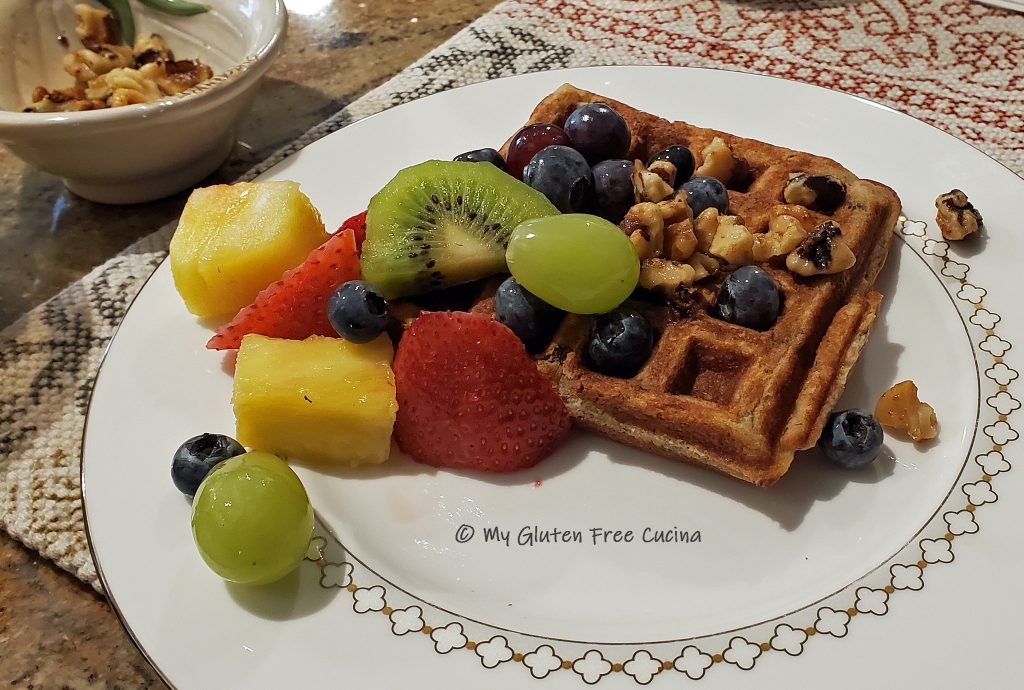
The waffles are filling, one is more than enough for our small appetites. I serve them with fresh fruit and candied walnuts. You can reheat them in the microwave, oven or toaster.

 Always use real maple syrup!
Notes ♪♫ Gluten free pancakes and waffles take longer to cook than the wheat version. I struggled at first with pancakes that were cooked on the outside and gummy in the middle, until I realized that I needed to adjust the time. Then I decided to use my waffle iron, and that was the magic. Since both sides cook at once, 5 minutes at 350° is usually perfect.
Substitutions: You can substitute 2/3 cup part skim ricotta for the banana, it makes a light fluffy waffle. In the fall I like to use pumpkin puree.


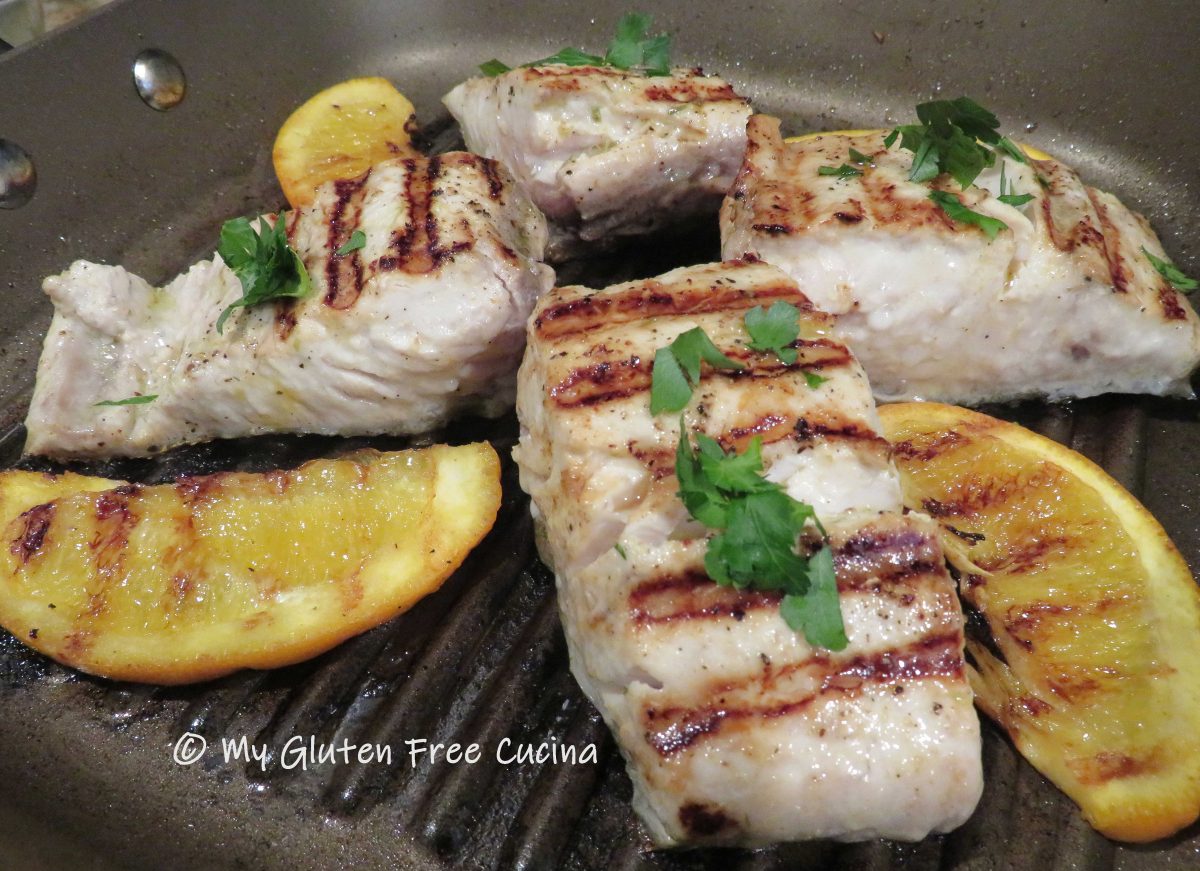


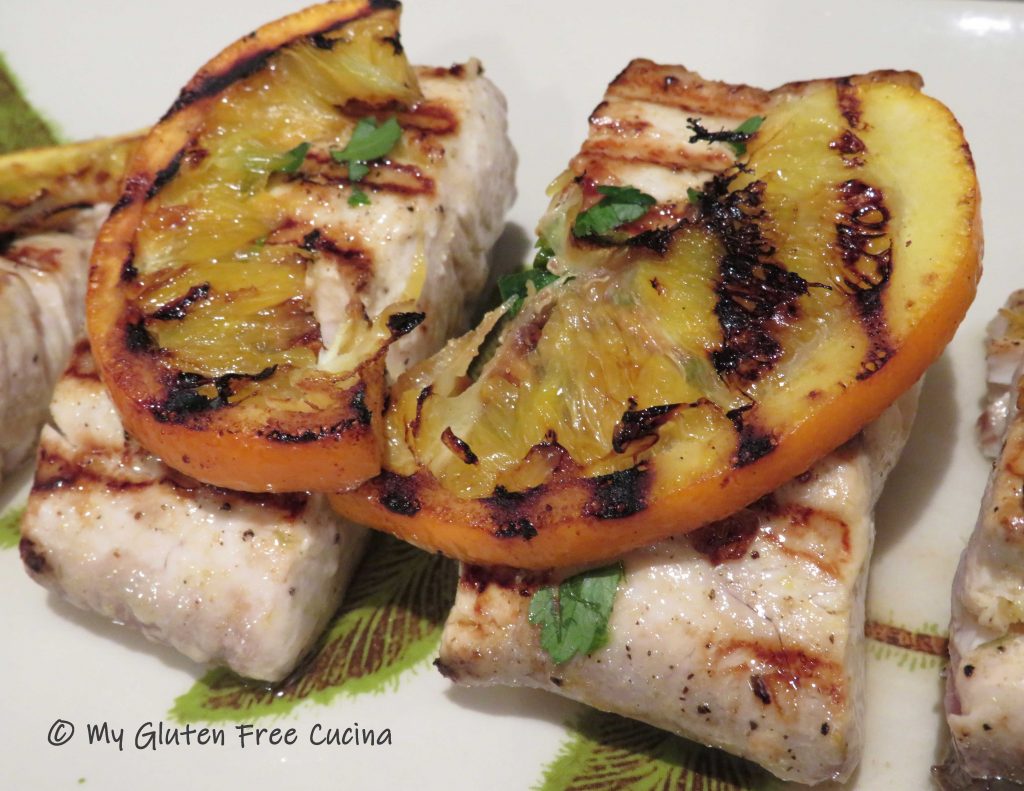
 Cook for 5 minutes over medium heat, then turn the fish and orange slices over and cook 5 more minutes. Drizzle with remaining 2 tbsp. marinade.