Gluten Free Shrimp Scampi

Sometimes you have a meal in a restaurant, and it just sticks in your mind until you finally take the time to recreate it at home.  This is one of those meals.  I love seafood pasta and Shrimp Scampi has to be at the top of my list for all-time favorites.

Did you know this dish is super-fast and easy to prepare?  Yes, a five-star dinner that is quick enough to make on a weeknight!

Dinner for two

This post contains affiliate links.

Ingredients:

  • 2 garlic cloves, sliced thin
  • 1/8 tsp. red pepper flakes
  • 2 tbsp. olive oil
  • 1 cup (about half of a 14.5 oz. can) fire roasted diced tomatoes
  • 1/2 lb. large shrimp, peeled and deveined
  • 1/2 tsp. sea salt
  • 2 tbsp. white wine
  • 2 tsp. lemon juice
  • 2 tbsp. unsalted butter
  • 4 oz. gluten free spaghetti
  • 2 tbsp. shaved Parmigiano Reggiano
  • 1 tbsp. chopped Italian parsley

Preparation:

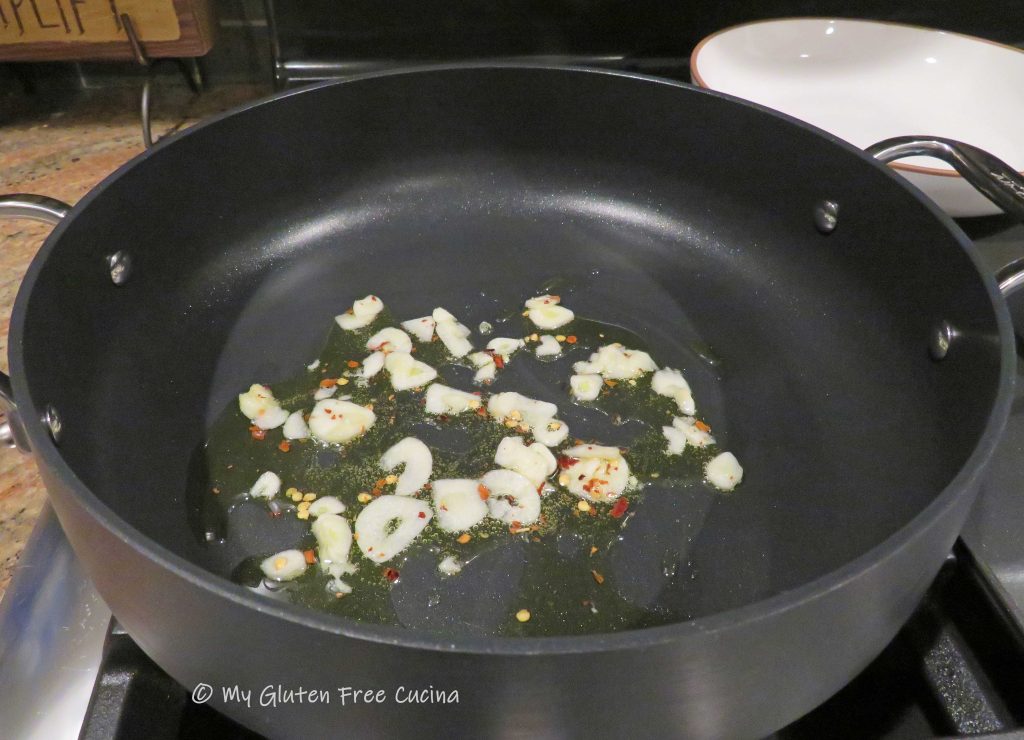
Heat the olive oil in a nonstick deep skillet or Sauteuse Pan.  Add the sliced garlic and red pepper flakes.  Cook for 30 seconds.
Add the tomatoes, salt, and wine.  Simmer 10 minutes.  Heat a large pot of salted water for the spaghetti and bring to a boil.  Add the spaghetti and set your timer for 1 minute less than the package directions.

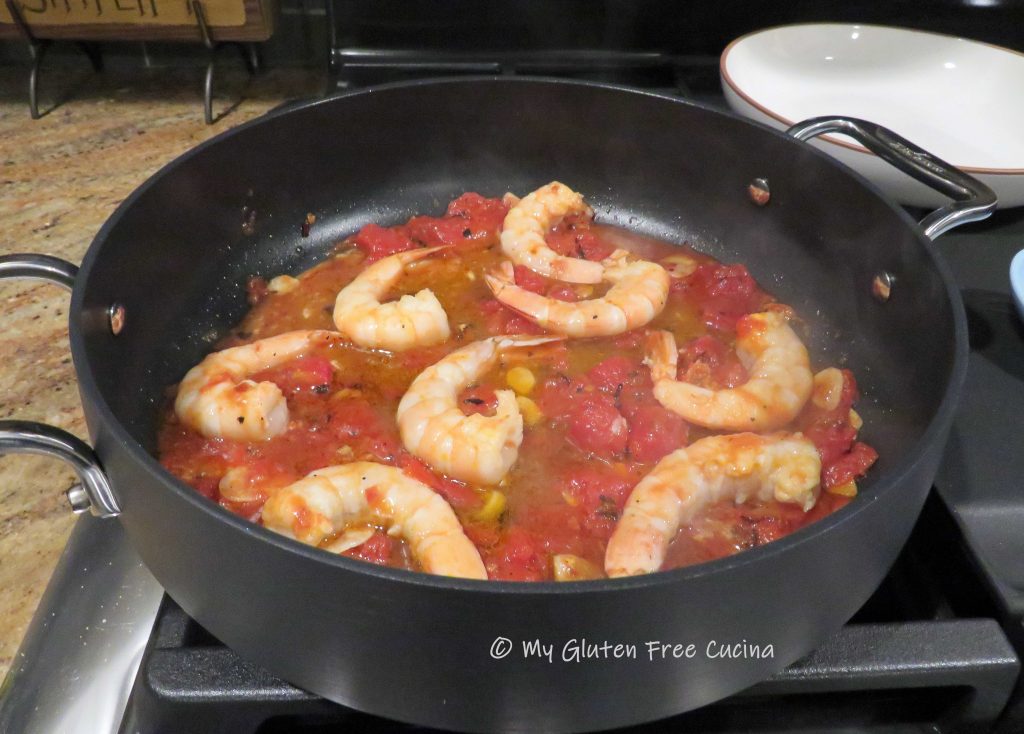
When you have 8 minutes to go on the spaghetti, add the shrimp to the sauce with the lemon juice.  Cook for 3 minutes then turn to finish.
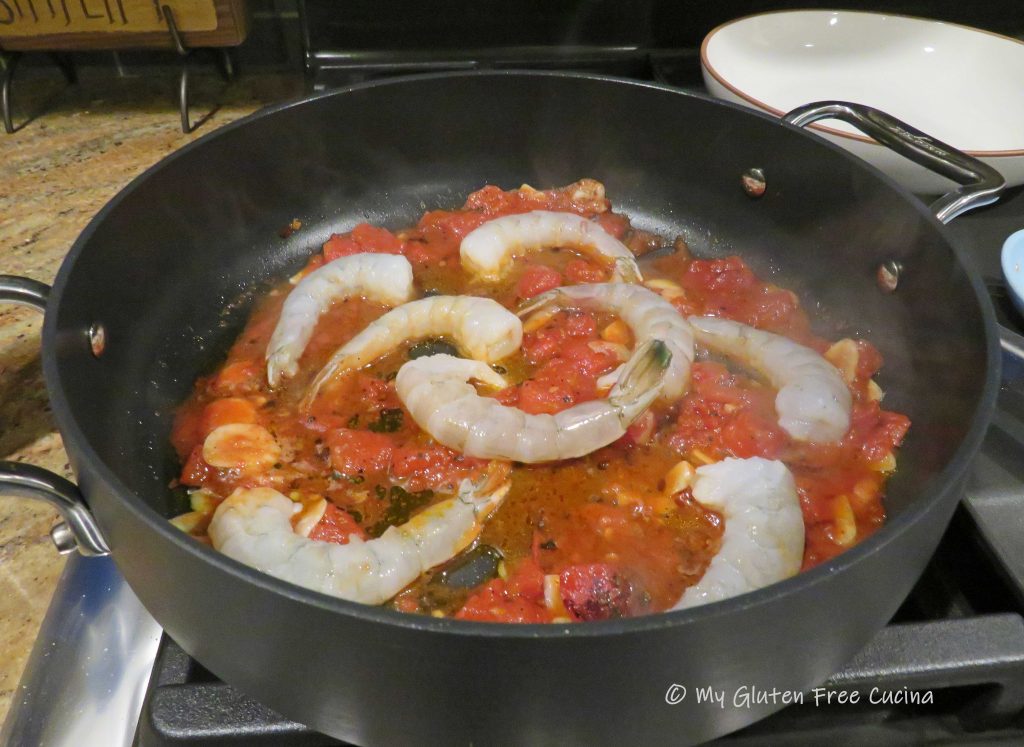
Drain the spaghetti and add it to the pan with 2 tbsp. unsalted butter.  Cook for 1 minute longer to marry the flavors.

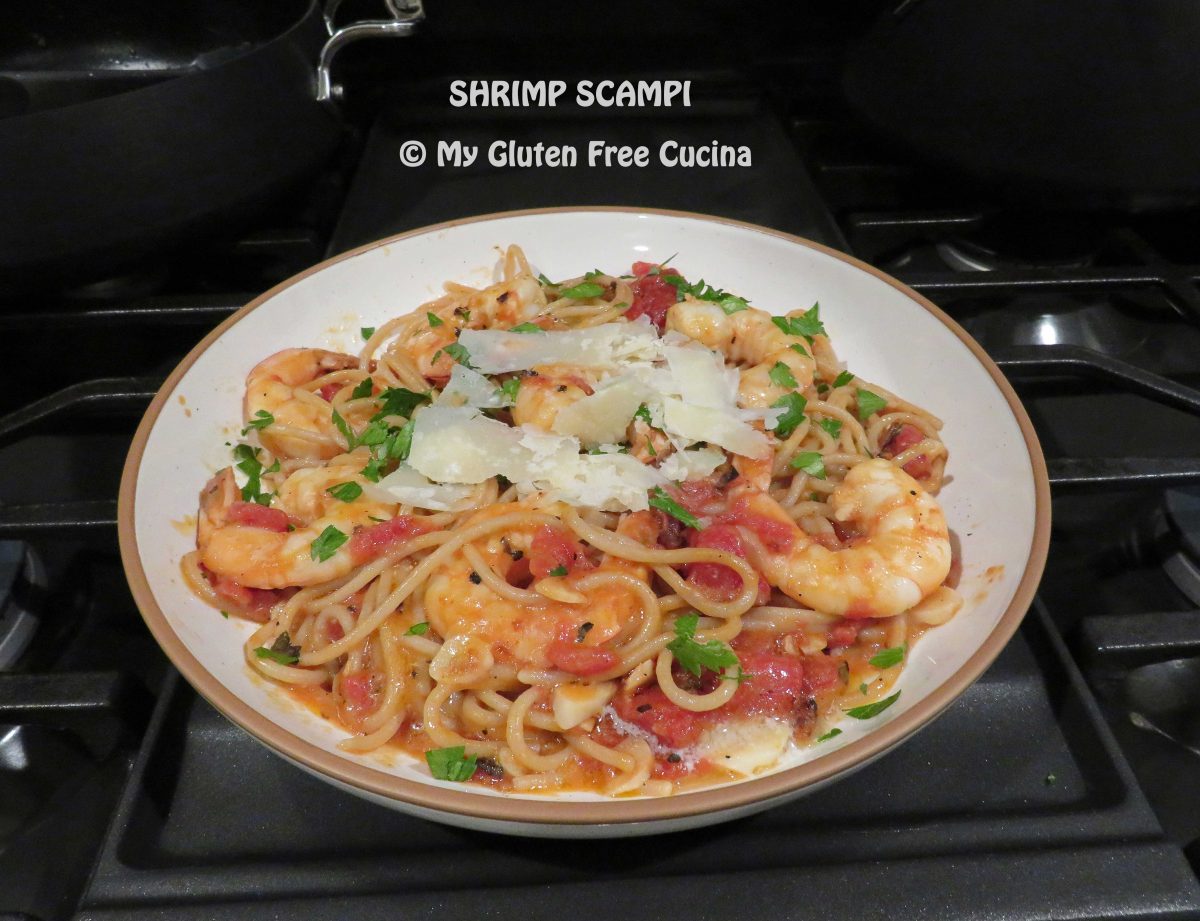
Transfer to a serving bowl and garnish with fresh Italian parsley and shaved Parmigiano.

Notes ♪♫ I know the food police will say that combining cheese with seafood flies in the face of Italian culinary tradition.  But when I had this dish at a restaurant, it came topped with Parmesan shavings and let me tell you it was out of this world!  Use the good stuff, real Parmigiano Reggiano, shaved fresh right before serving.  I am 100% Italian and trust me, it’s wonderful.

Print This Post Print This Post

Roast Turkey Breast

I so look forward to our Thanksgiving turkey dinner each year and all the delicious sides!  But what if you don’t want to deal with roasting a whole turkey?  Maybe a turkey breast is just the ticket for smaller gatherings.  I always plan on 1/2 lb. per serving, and a whole breast is more than enough for 6-8 people.

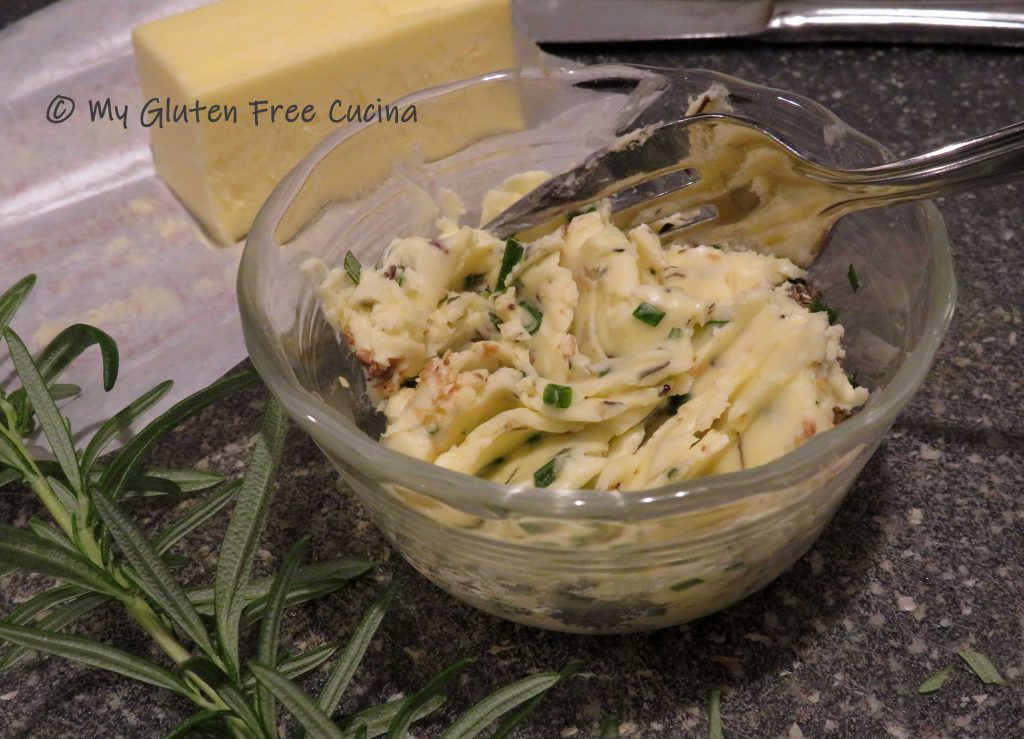
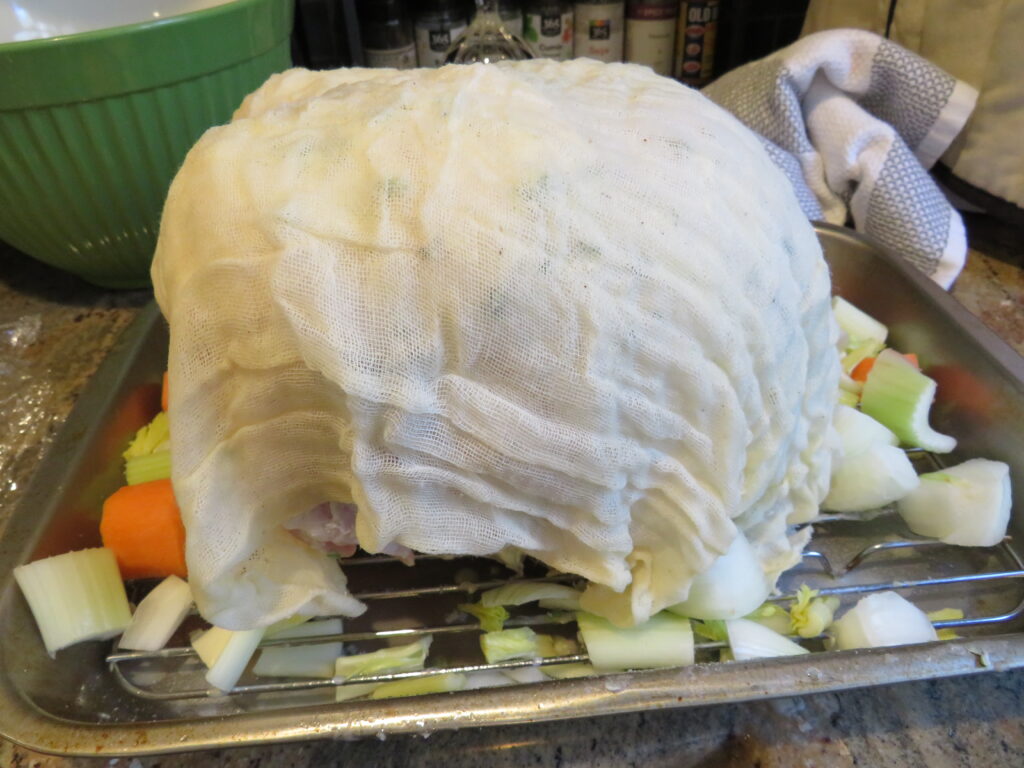
I prepare the breast the same way I would a whole turkey.  Nothing fancy, just rub the breast with herbed butter, cover with cheesecloth and roast it.  You can do this!

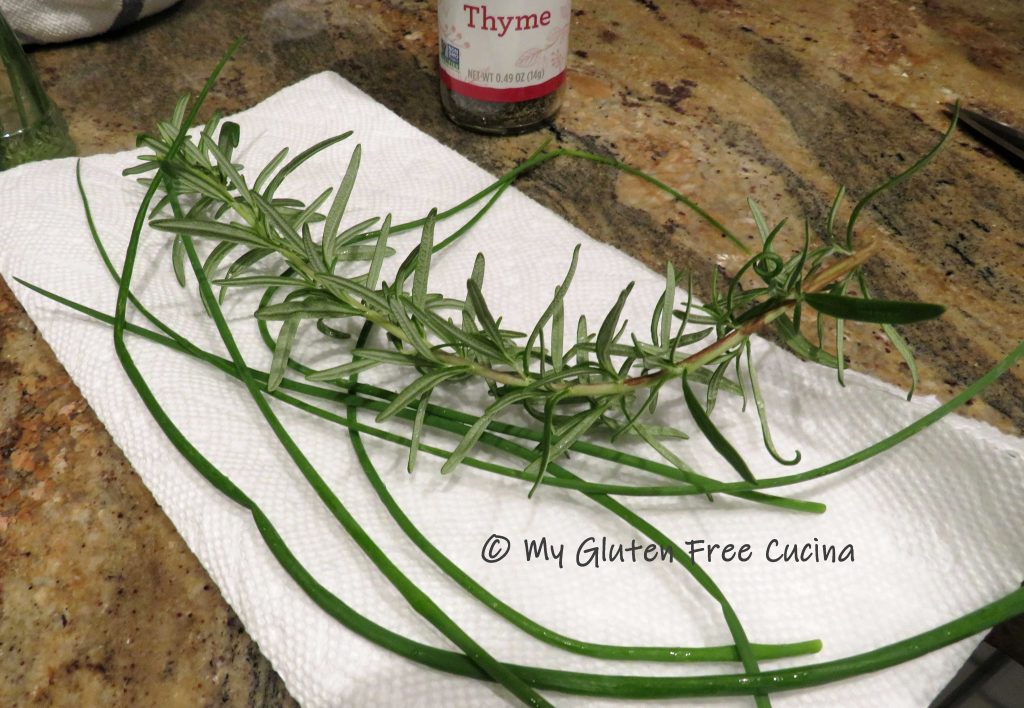
I am so lucky to still have chives and rosemary growing in my garden in late November, but if you don’t grow your own herbs, either grab some at the market or use a smaller amount of dried.

This post contains affiliate links.

Ingredients:

  • 8-10 lb. turkey breast, thawed
  • 1/2 stick butter, softened
  • 1/2 tsp. lemon peel
  • 1/2 tsp. thyme
  • 1 tbsp. fresh chives (or 1 tsp. dry)
  • 1 tbsp. fresh rosemary (or 1 tsp. dry)
  • 1 cup chicken broth, or use white wine, or water
  • 2 carrots
  • 2 celery stalks
  • 1/2 sweet onion

Preparation:

Mince the herbs and combine with the lemon peel and softened butter.

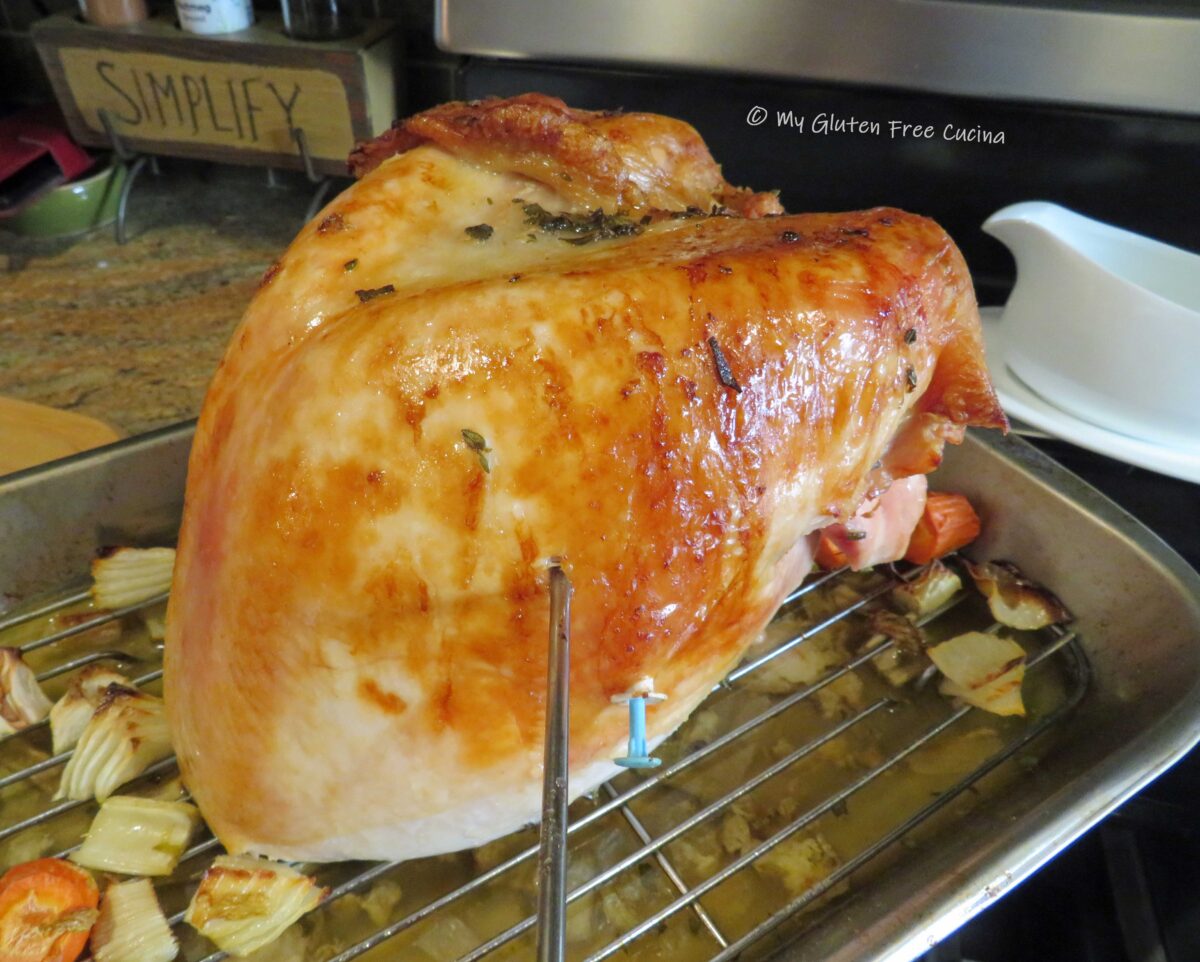
Preheat the oven to 325º and spray a small roasting pan and rack with cooking spray.  Chop the onion, celery and carrot and add to the bottom of the pan.  Rinse the turkey breast and pat dry with paper towels.  The breast will usually have a pop-up thermometer, if not use a meat thermometer (I used both just to be on the safe side).

Rub the breast all over with the butter mixture and cover with cheesecloth.  Pour 1 cup of liquid (chicken broth, wine, water or combination) into the bottom of the pan.

Roast for 25 minutes per pound, or until a thermometer inserted into the thickest section registers 165º.  The pop-up thermometer was spot on, but I was still glad that I used my own.
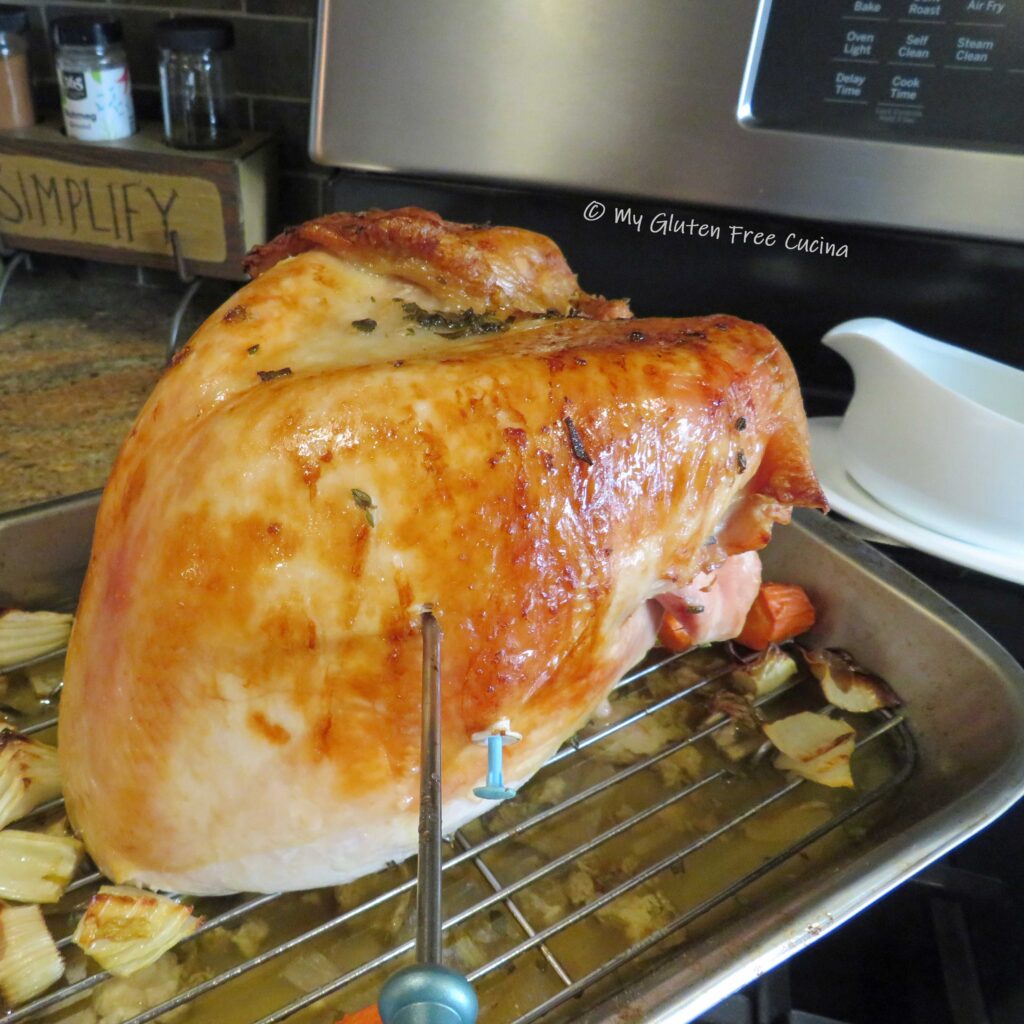
Tent with foil and let it rest for at least 15 minutes.  The internal temperature will continue to rise as the turkey rests.

That’s all there is to it, slice and serve.

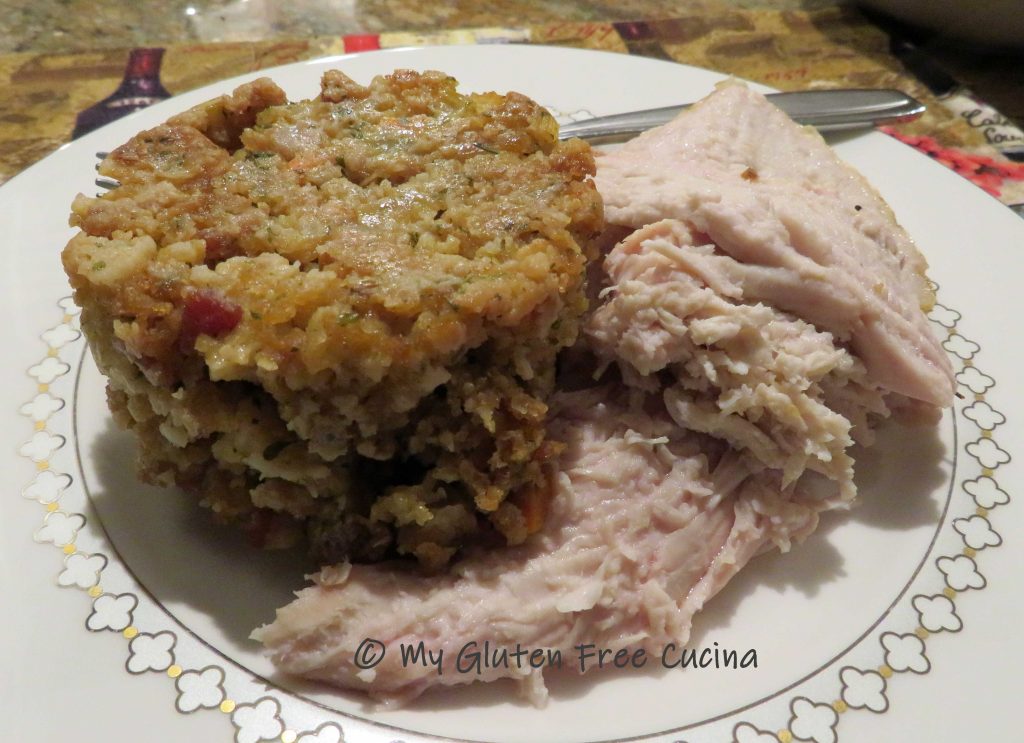
Enjoy with Gluten Free Roast Turkey Gravy and be sure and check out my Gluten Free Ramekin Stuffing Cups!

Notes ♪♫ White meat lovers will love this easy meal.  For all the dark meat lovers out there be sure and check out my from scratch Gluten Free Roast Turkey Gravy made with legs or thighs, or for ultimate ease try my Crock-Pot Turkey Drumsticks.  Happy Thanksgiving to all from My Gluten Free Cucina!

Print This Post Print This Post

Gluten Free Multigrain Sandwich Loaf

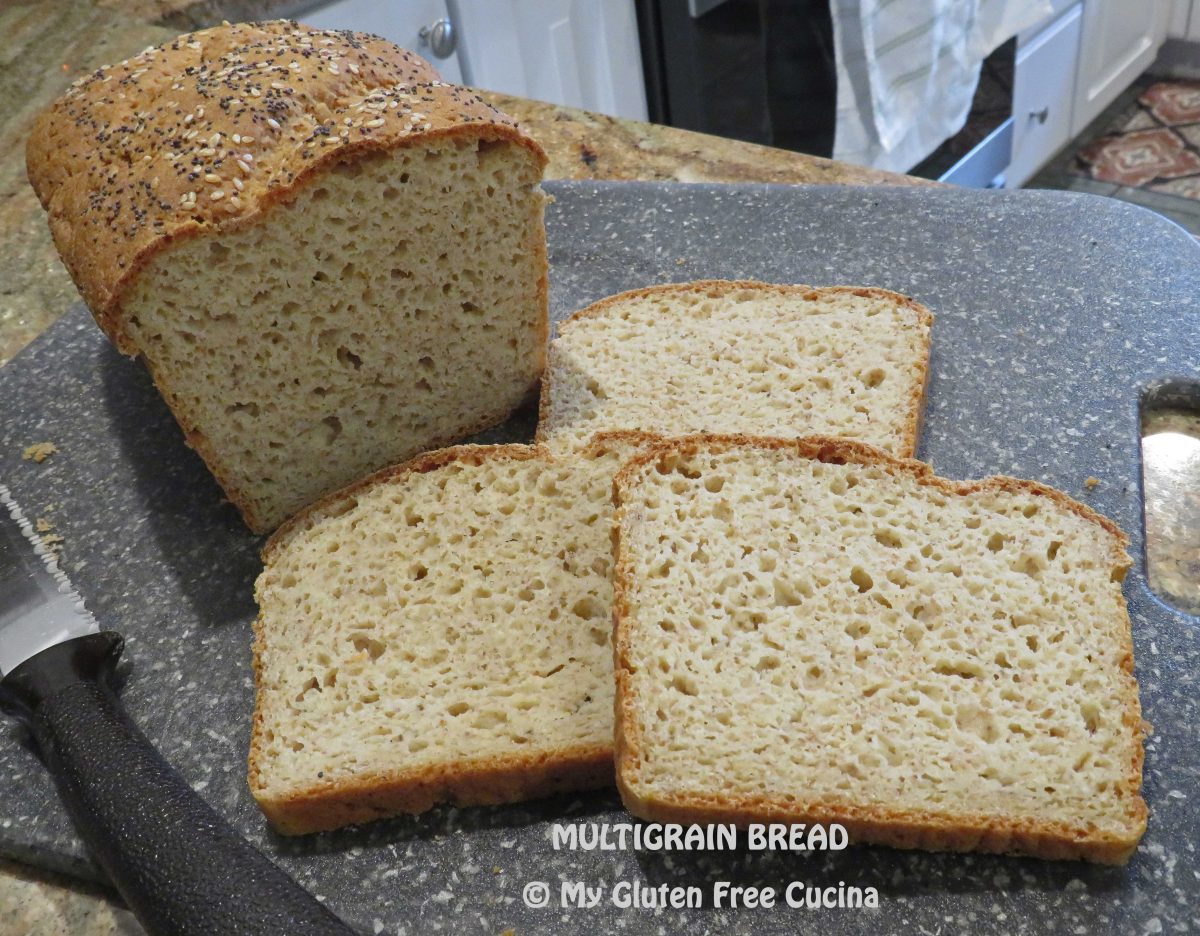
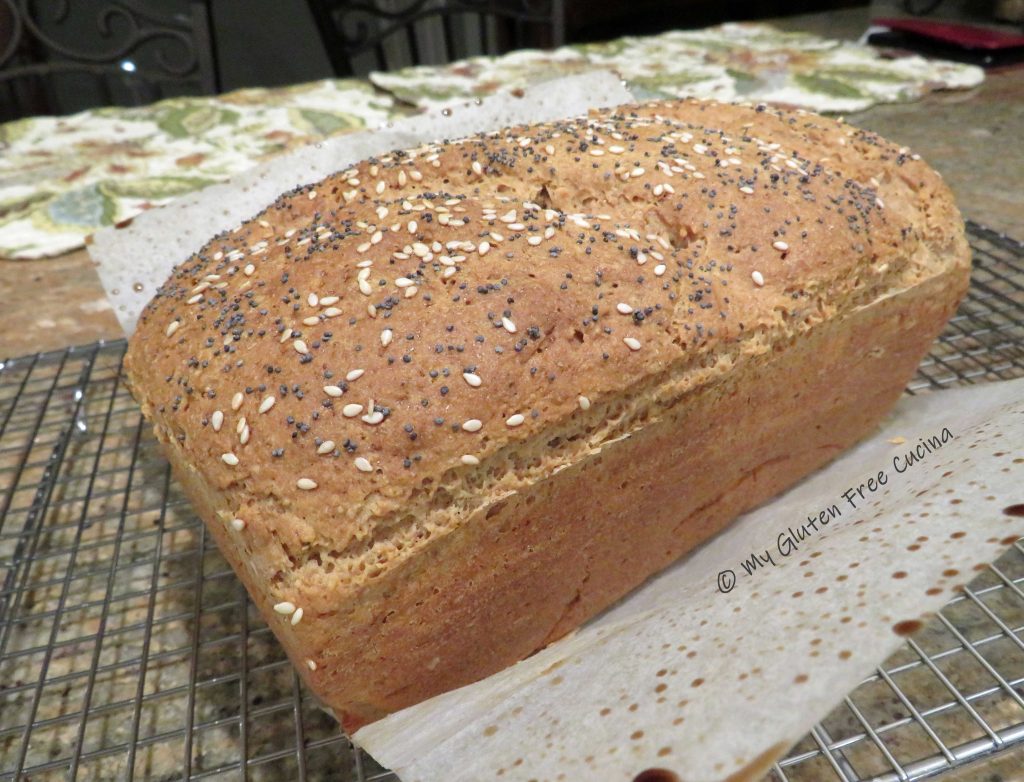
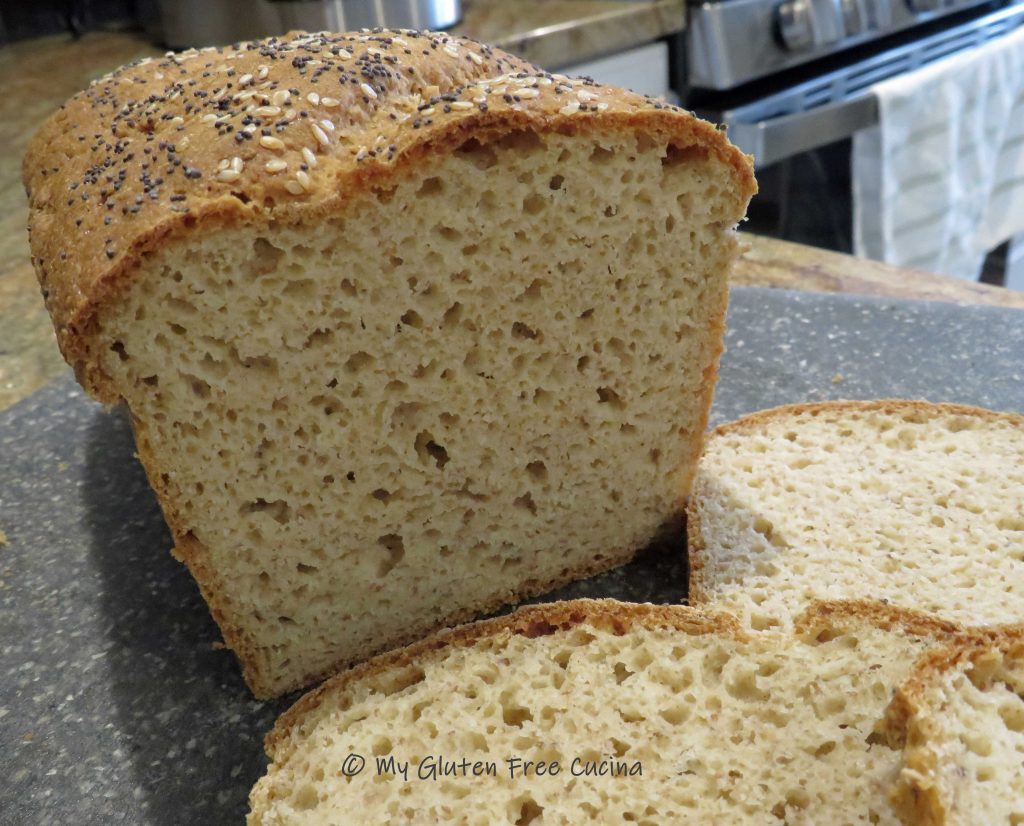
Just look at that beautiful loaf of bread!  In the gluten free universe, this is what dreams are made of!  Not only does it taste great, but it is also nutritious and wholesome, made with a combination of grains that delivers real bread flavor without the gluten.

If you like to mix up your own flour blends, then this recipe is for you!

I adapted this recipe from one of my own, Gluten Free Sandwich Thins.  I always made them for lunch when I worked in an office, but now that I’m home most of the time I find that I like to have sliced bread in the house.  When you make a loaf, you can slice it as thin or as thick as you want for sandwiches, toast or just to go with dinner.

This bread is wonderful for sandwiches.  It doesn’t need toasting, doesn’t fall apart in your hands and the middle is not wet or tacky at all.  It’s a gluten free dream come true!

This post contains affiliate links.

Ingredients:

  • 1 tbsp. yeast
  • 1 tbsp. ground chia seeds
  • 1 tbsp. sugar
  • 1/2 cup warm water
  • 127 g. whole grain sorghum flour
  • 183 g. brown rice flour
  • 56 g. tapioca starch
  • 56 g. arrowroot starch
  • 56 g. potato starch
  • 21 g. teff grain, ground
  • 1 tsp. gelatin
  • 1.5 tsp. xanthan gum
  • 1 tsp. salt
  • 1 large egg
  • 3 tbsp. olive oil
  • 3/4 cup warm milk (I used 2%)
  • 1/2 cup warm water
  • 2 tbsp. milk, for brushing
  • sesame seeds
  • poppy seeds

Preparation:

Line a 1 lb. loaf pan with parchment paper and mist with cooking spray.

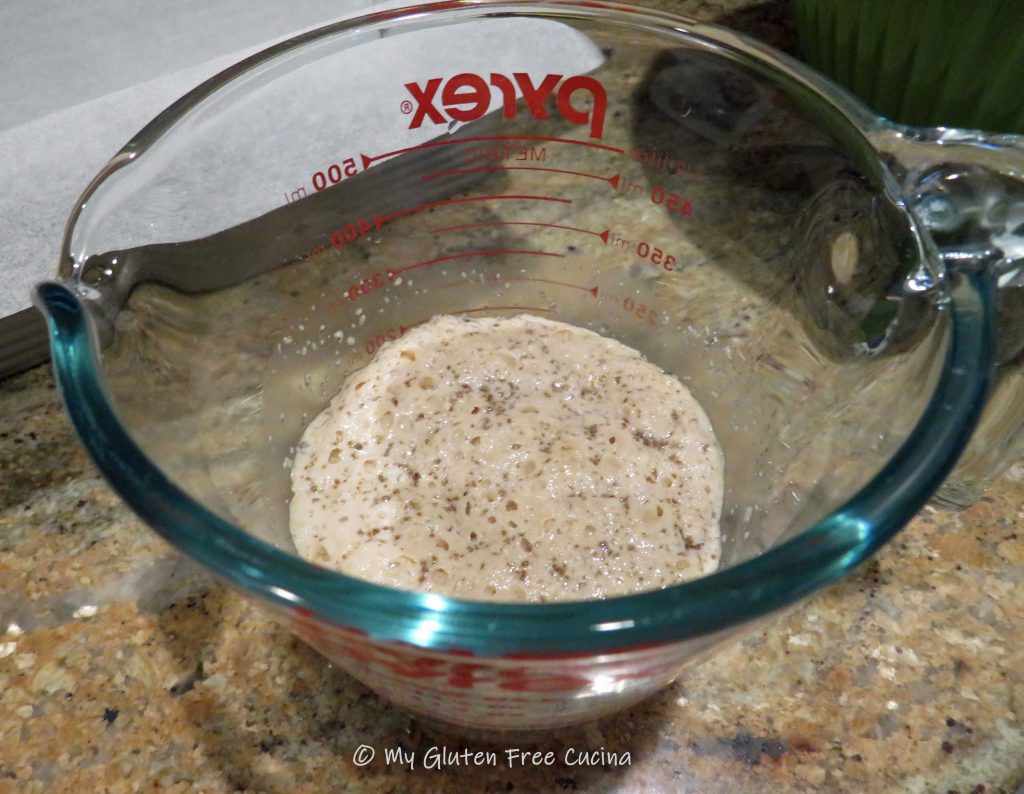
Combine the yeast, ground chia seeds, sugar and 1/2 cup water in a small bowl or measuring cup.  Let the mixture rest for 10 minutes.
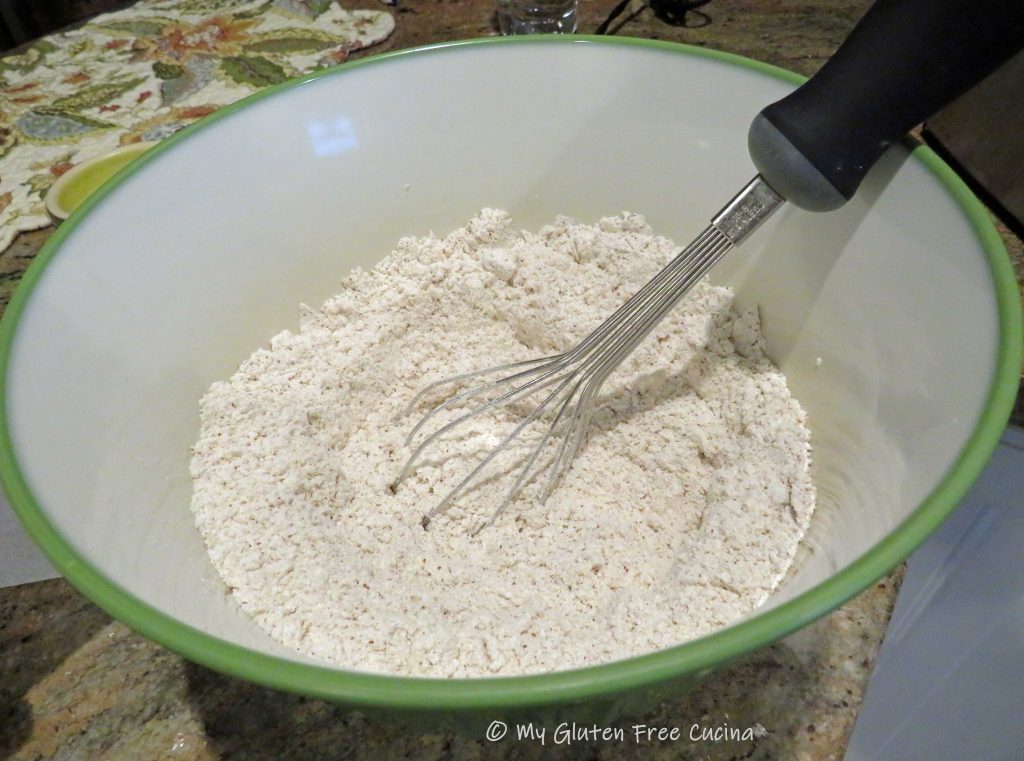
In a separate bowl, whisk together all of the dry ingredients, sorghum flour through salt.

When the yeast has bloomed, add the mixture to the bowl of a stand mixer along with the egg, olive oil, milk and water.

Whisk it all together, and then add the dry ingredients into the wet.  Mix for 5 minutes with the paddle attachment.  The dough will be heavy and wet.
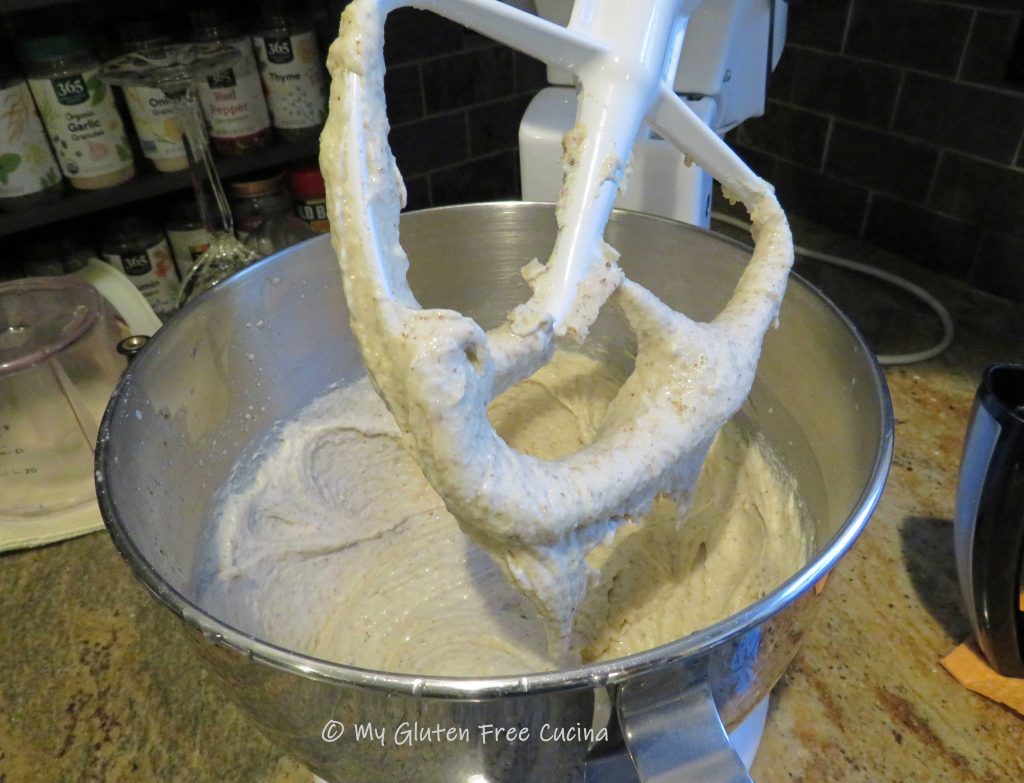
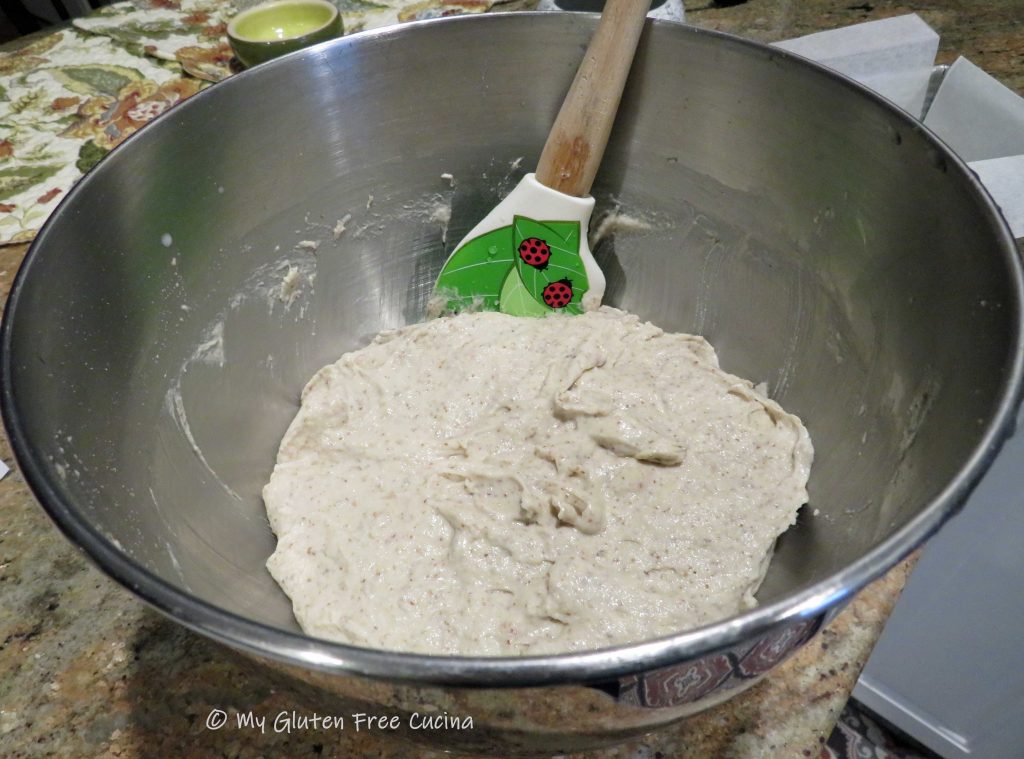
Scrape the dough into the prepared pan, smoothing out the top with a spatula dipped in water.
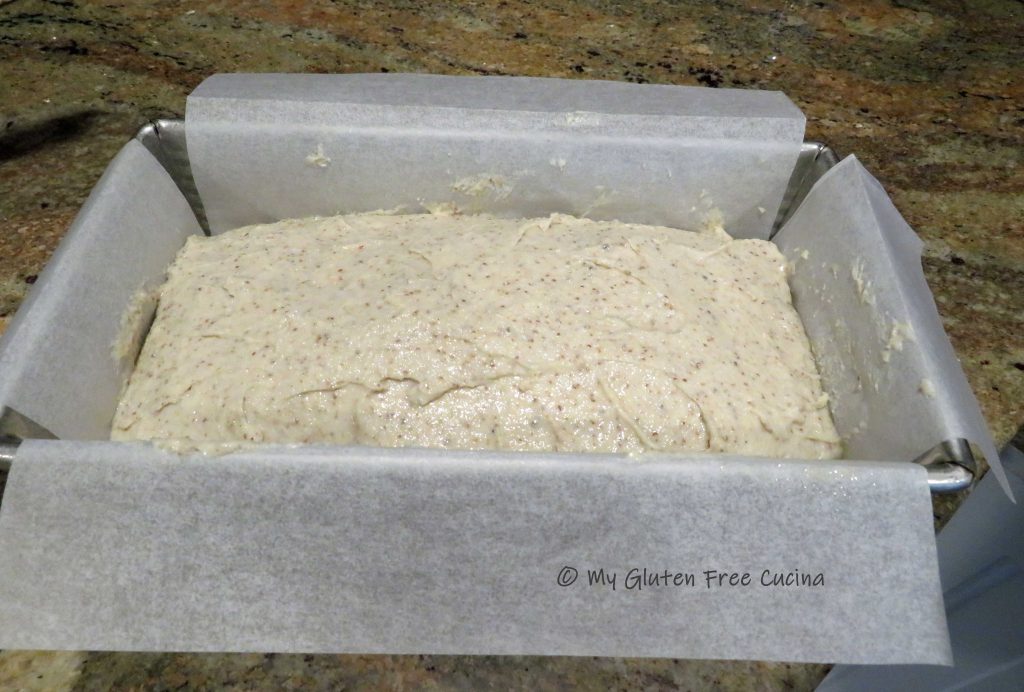
Covered with oiled plastic wrap and let it rise for 30 minutes while you preheat the oven to 400 degrees.

Brush the top of the loaf with milk, and sprinkle with sesame and poppy seeds.

Quickly make 2 diagonal slashes across the top of the loaf with a sharp knife.

Place the loaf on the middle rack of the oven, close the door and drop the temperature to 375º.  Bake 50-55 minutes, or until the internal temperature reaches 205º (use a thermometer).

Cool in the pan 15 minutes, then transfer to a rack.

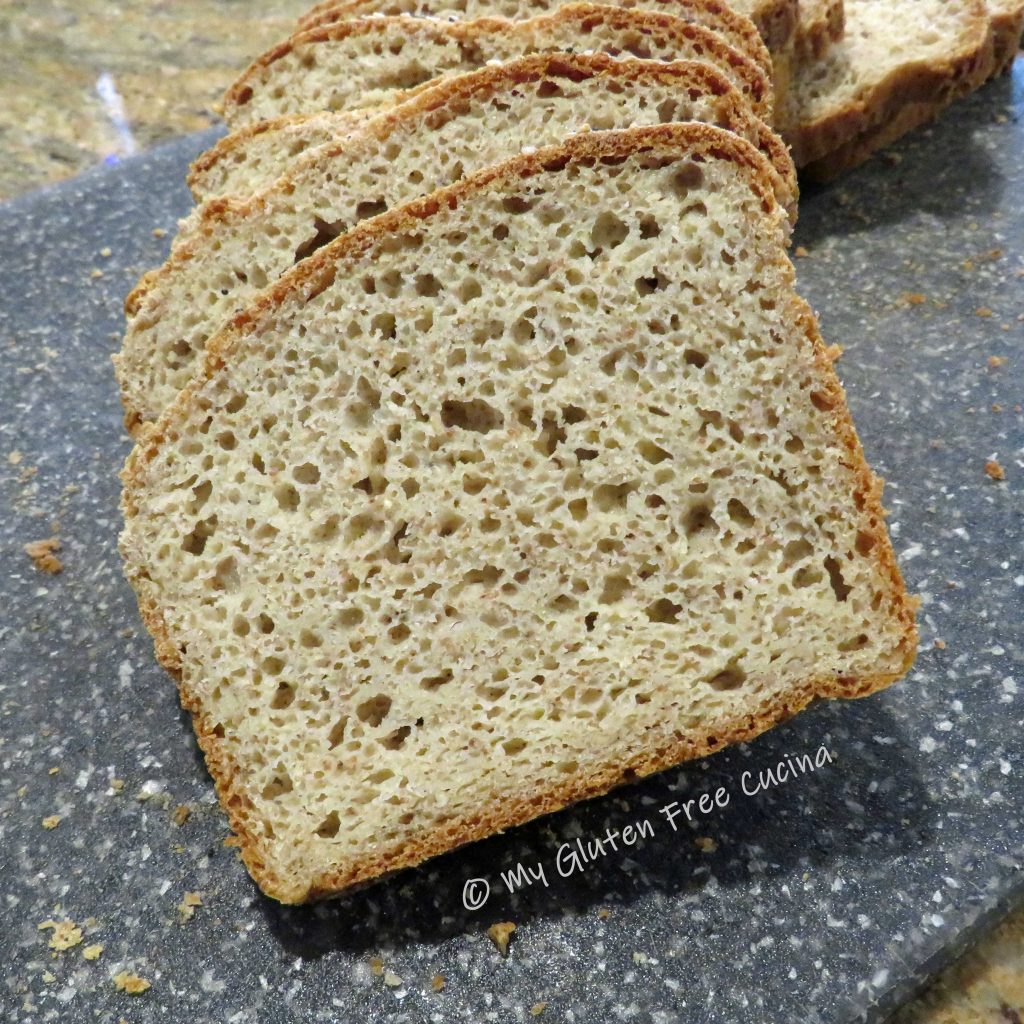
Cool to room temperature, then bag it and let the loaf stand at room temperature overnight.  Resist the urge to cut into that loaf right away, and your patience will be rewarded with this amazing crumb!  It is truly worth the wait!

Notes ♪♫ You might be interested to know that I mill some of my flour from the whole grain.  In this recipe, I used my KitchenAid grain mill attachment to mill whole sorghum berries into flour.  For the teff flour, I ground whole teff grain in a coffee grinder.  Storing grain in its whole form will keep it fresh longer, great for those infrequently used ingredients.  If you would like to learn more about using a grain mill, check out this post.

Print This Post Print This Post

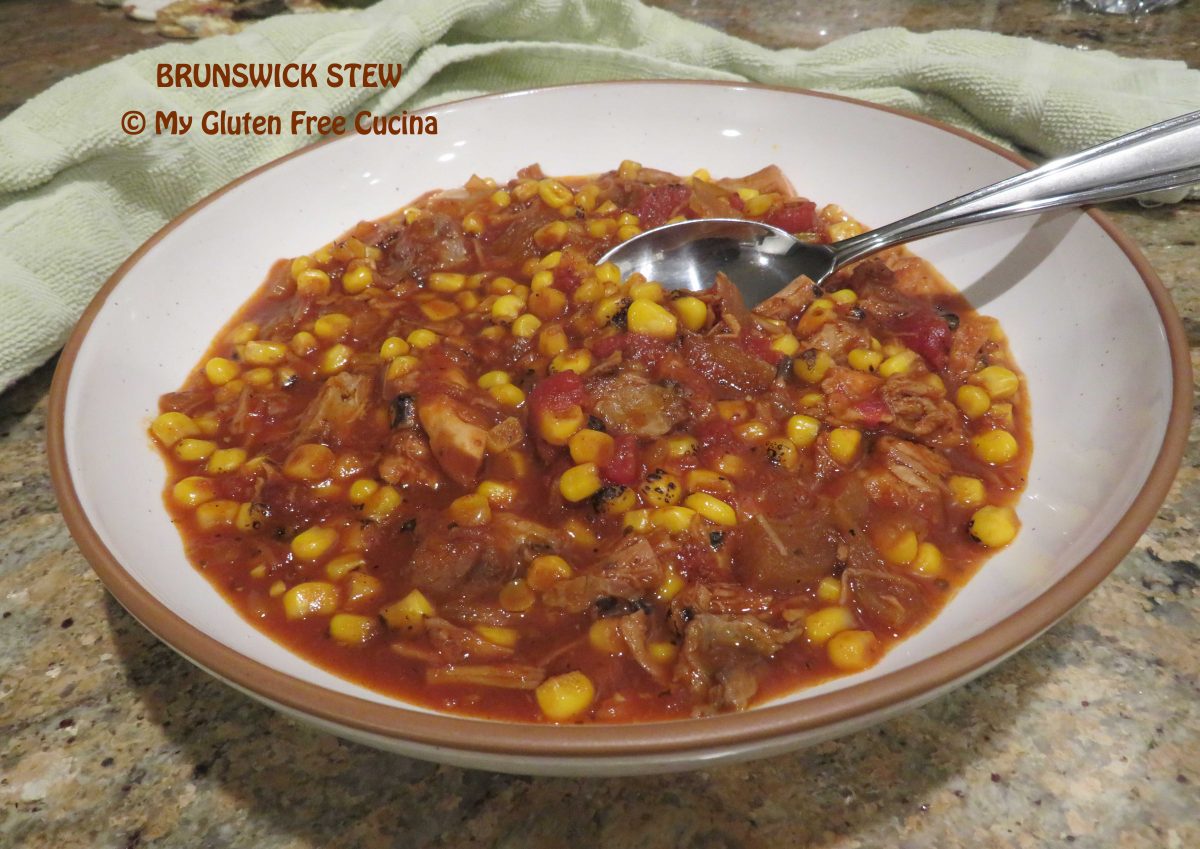
Gluten Free Brunswick Stew

Restaurants have long known the secret, that today’s leftovers can be reinvented into tomorrow’s soups and stews.  It eliminates waste and makes good economic sense too.  I try to follow this principle in my own kitchen by using every last bit of food so that nothing goes to waste.

Brunswick Stew was always a restaurant favorite of mine.  This thick, spicy stew is the ideal way to use up leftovers.  So, whenever I make pulled pork, I put aside some of the meat to make this easy stew.  I add chicken as well, and the rest of the ingredients are pantry staples.

I’m excited to tell you that no oddball ingredients were needed to make Brunswick Stew gluten free.  Of course, when dining out always check with the kitchen to be sure it is safe to order.  At home, you know what to do.  Check labels when using canned products, condiments and seasonings.

 This post contains affiliate links.

Ingredients:

 Preparation:

Shred 3 cups total of leftover pulled pork and/or chicken.  I used 2 cups of leftover pulled pork and 1 cup cooked chicken (meat from one leg quarter).  Look it over carefully to be sure there are no bones.  I also removed most of the visible fat.

In a 4 qt. nonstick soup pot, heat olive oil and butter until melted.  Add the diced onion and cook until translucent.

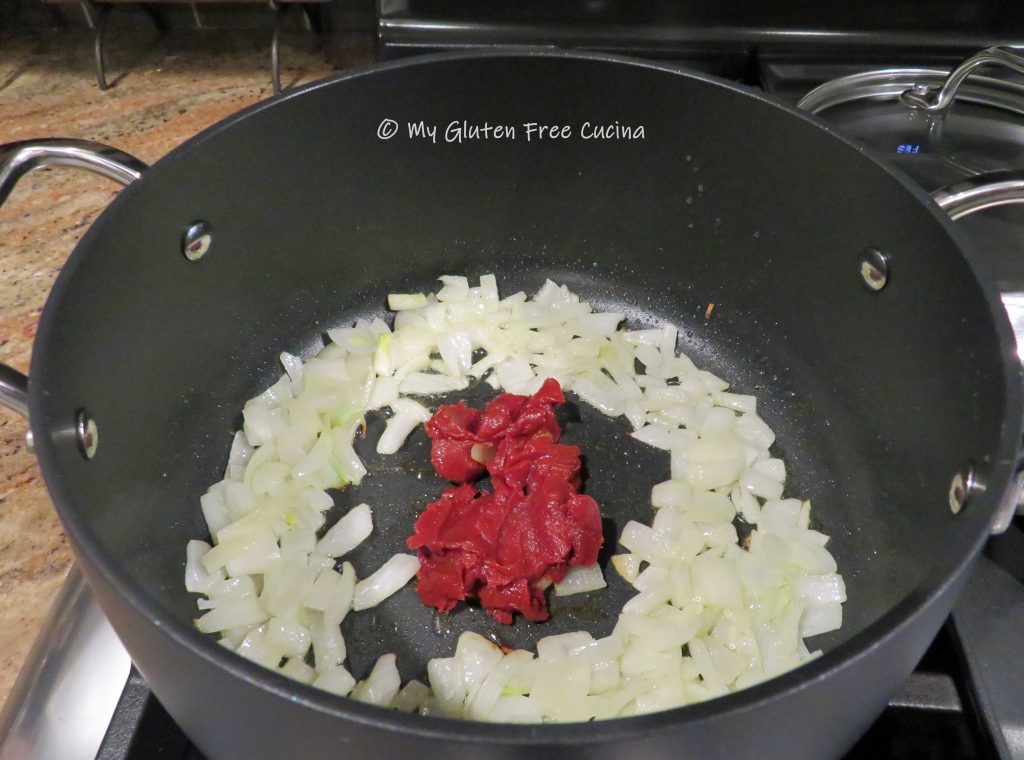
Make a space in the center of the pan and add the tomato paste.

Let it toast for a minute then add the stock, tomatoes, BBQ Sauce, brown sugar, Worcestershire sauce and seasonings.
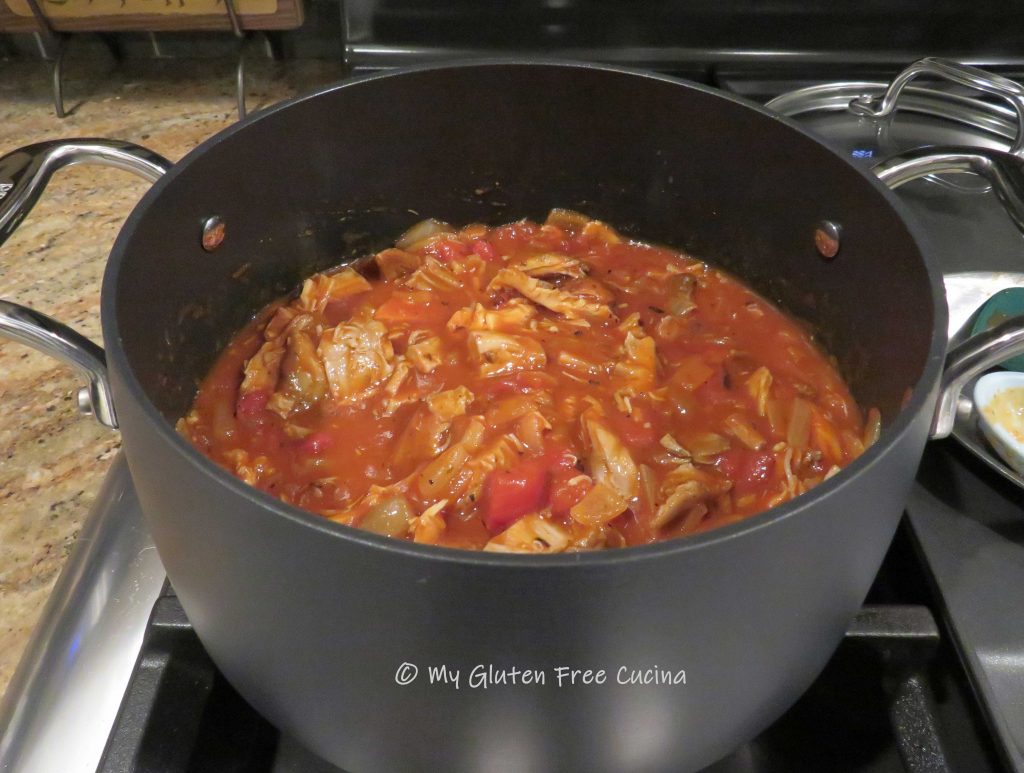
Finally add the fire roasted corn and stir everything together.
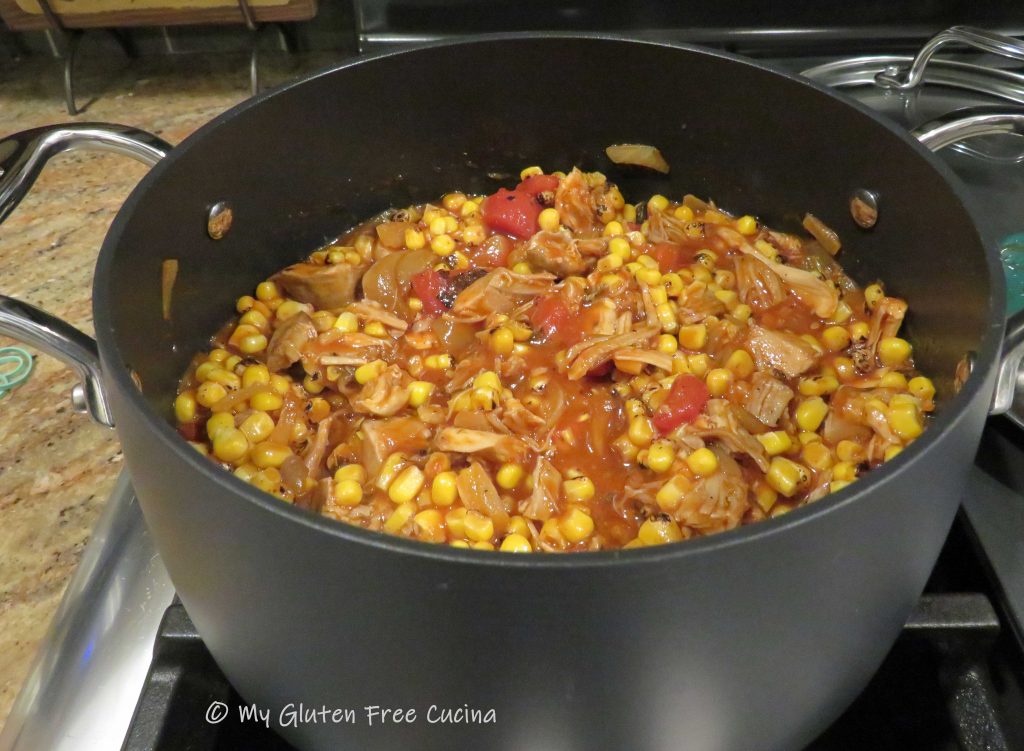
Keep it on a low simmer until all ingredients are heated through, about 20 minutes.  Remember, most of the ingredients are already cooked, so we are warming it up and giving the flavors a chance to meld together.  Like all soups and stews, this one is even better the next day!

Notes ♪♫ As you add the ingredients be sure to taste for seasoning.  If you held back on the pepper flakes and BBQ Seasoning, you could add a bit more for those who like it spicy.  If you prefer a sweeter taste add another tsp. of brown sugar.

Print This Post Print This Post

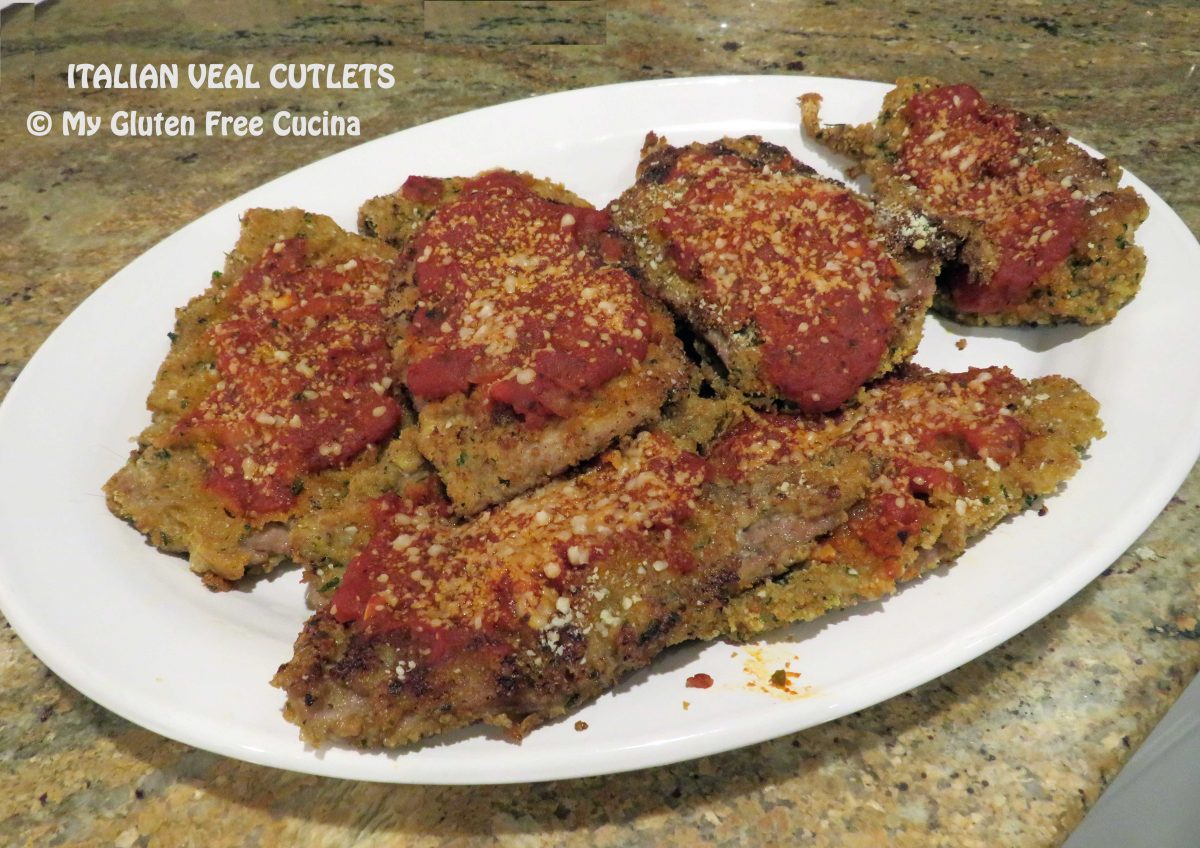
Gluten Free Italian Veal Cutlets

For a special Sunday Dinner, make your family a nice platter of Italian Veal Cutlets.  This was one of my dad’s favorite meals, I especially remember how he loved to order a veal cutlet sandwich at one of the local restaurants.  So be sure to make enough for dinner and leftovers for sandwiches the next day!

This post contains affiliate links.

I am fortunate to live in an Italian neighborhood where we can find thin sliced veal cutlets at the market.  At today’s prices, it’s a splurge but if you are making a nice dinner for two you can get away with less than a pound.  Serve with gluten free pasta and extra marinara sauce.

Ingredients:

Preparation:

Set up 3 breading trays (or use plates), one with rice flour, one with beaten egg and one with breadcrumbs.  Preheat the oven to 350º.

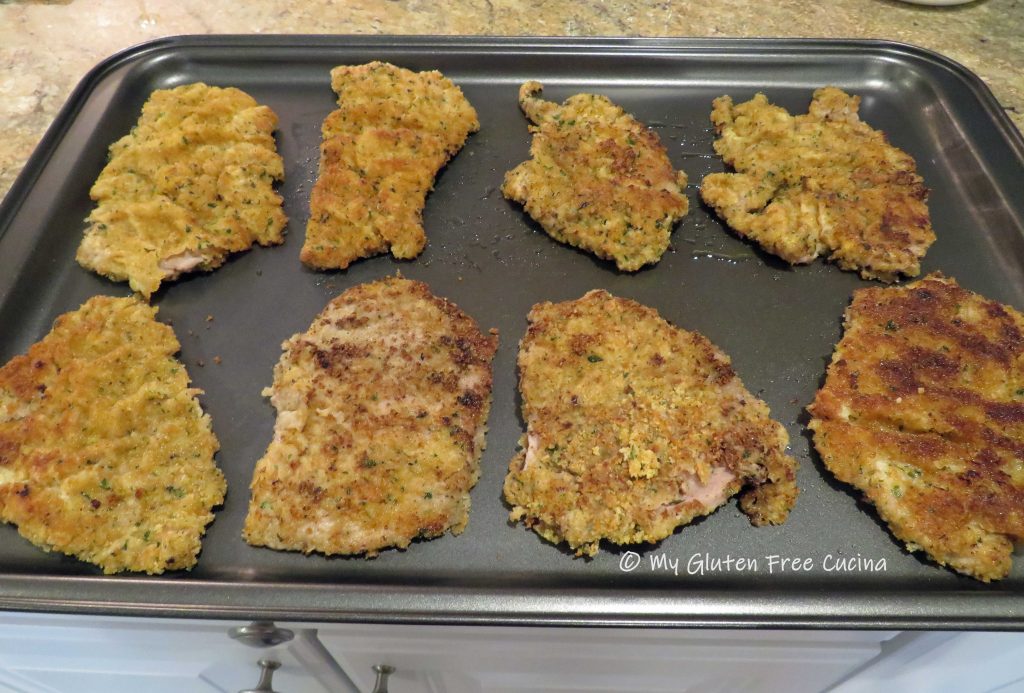
Heat a large nonstick skillet with several tablespoons of olive oil.  Keep the heat on medium low.  Working quickly, dredge each piece of veal in the flour, then dip in the egg mixture.  Shake off the excess egg and dredge in the breadcrumbs.  As you finish coating each piece add it to the skillet.  Cook 2 minutes per side until nicely browned, then transfer to a baking sheet.  Continue with the remaining slices, adding more olive oil to the pan as needed.  The cutlets do not have to be cooked through at this point, they will finish in the oven.

Ladle marinara over each slice and top with grated cheese, as much as you like.

Place in the oven for 15-20 minutes, just enough to melt the cheese.
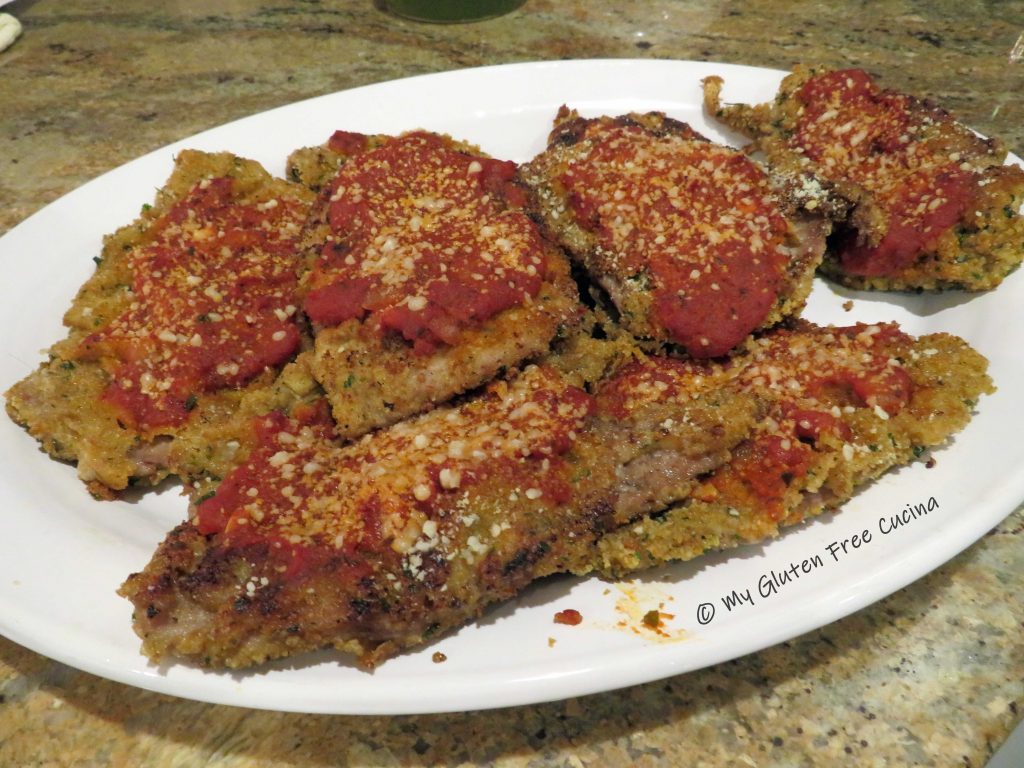
That’s it.  Not complicated at all.  Serve with a nice plate of pasta and some good gluten free bread to soak up the sauce and you’ve got a fine meal on the table in under an hour (they’ll think you’ve been cooking all day though).

Notes ♪♫ Veal cutlets need to be sliced very thin.  If you can’t get them this way at the store you will need to place the meat between 2 sheets of plastic wrap and pound to 1/4″ thickness with a meat mallet.  If veal is not in the budget, you will be happy to know you can also make this recipe with chicken!

Print This Post Print This Post