Gluten Free Chicken Orzo Casserole

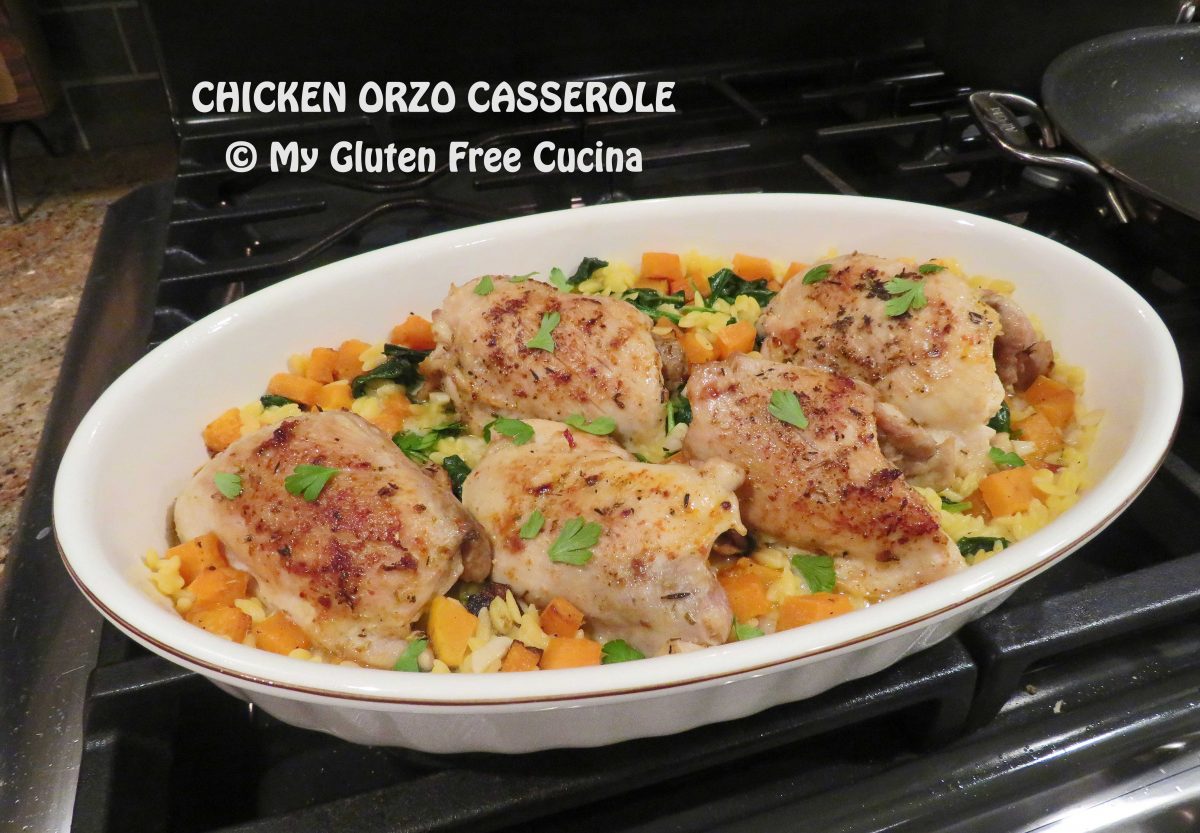
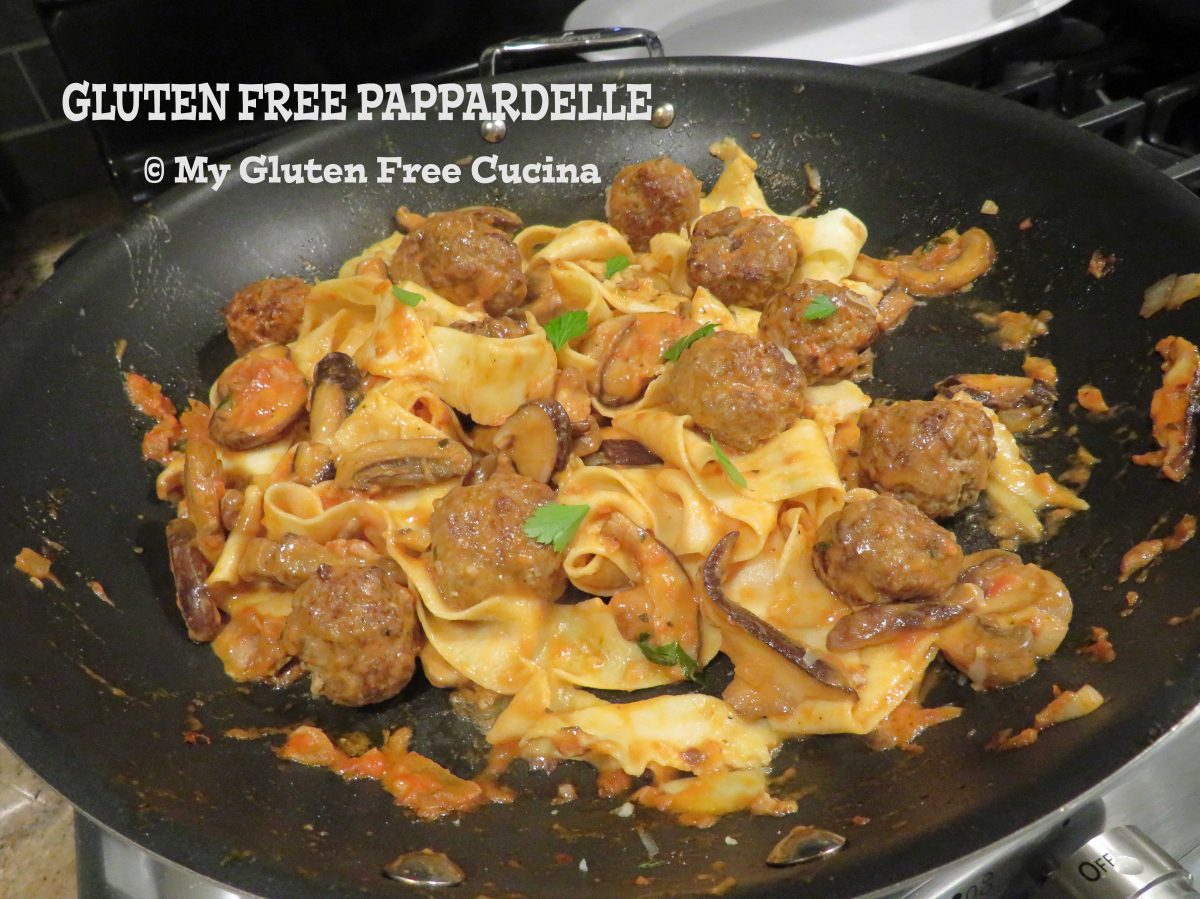
Look at the beautiful colors in this casserole!  Would you believe it’s gluten free?  It absolutely is!  I love that we can enjoy popular orzo dishes like this one, made with gluten free Orzo pasta from DeLallo.

But what I especially love about this recipe is that it uses healthy fresh ingredients, like boneless, skinless chicken thighs, peeled and seeded butternut squash, and bagged baby spinach.  The prep work is a snap!

This post contains affiliate links.

Ingredients:

  • 2 cups butternut squash, cut into small cubes
  • 1 lb. boneless skinless chicken thighs, about 5
  • 1 cup uncooked gluten free Orzo pasta, (I used DeLallo)
  • 3 cloves garlic, minced
  • pinch of red pepper flakes
  • 5 oz. bag baby spinach
  • 1/2 cup white wine, divided use
  • 2 cups gluten free chicken broth, divided use
  • 2 tbsp. heavy cream
  • olive oil
  • Italian seasoning (I like this one)
  • paprika
  • salt and pepper, to taste
  • cooking spray
  • fresh Italian parsley for garnish

Preparation:

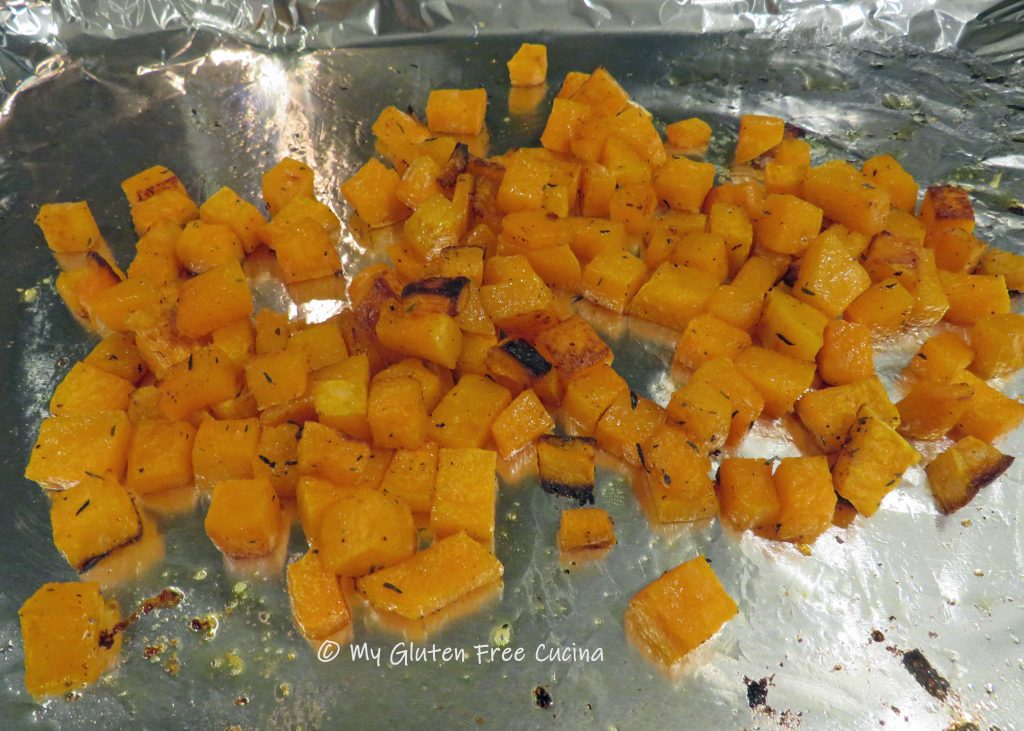
Cut the butternut squash into small cubes.  Toss with olive oil, salt, pepper and Italian seasoning.  Line a baking sheet with foil and mist with cooking spray.  Spread the squash cubes in an even layer, bake at 425º for 20 minutes, then set aside to cool.

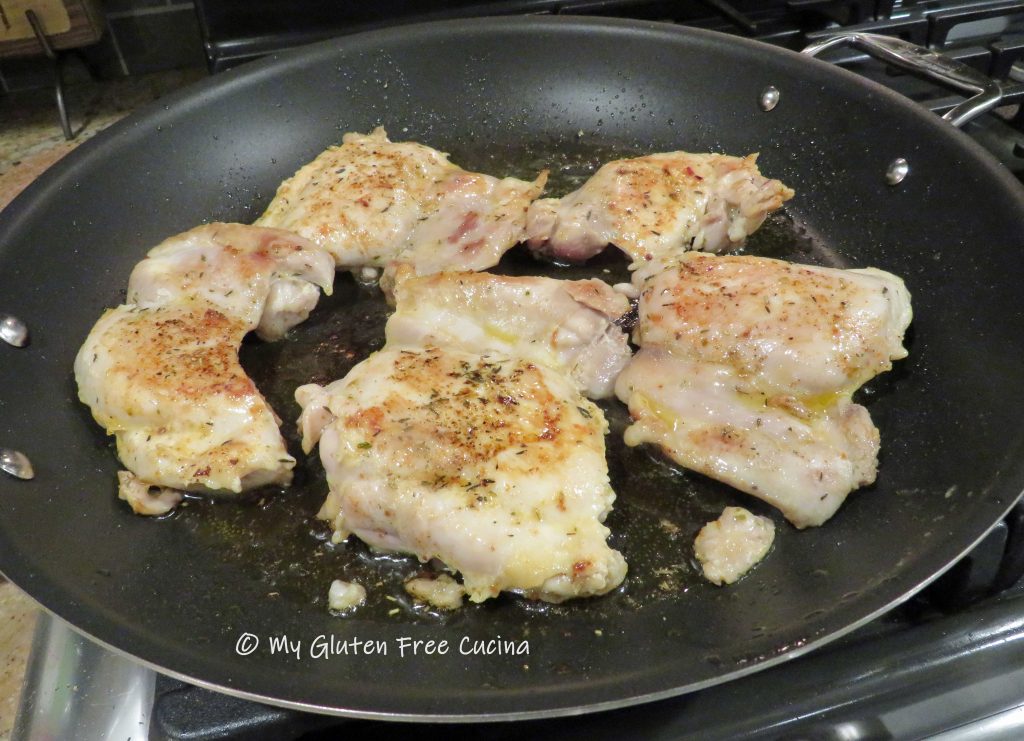
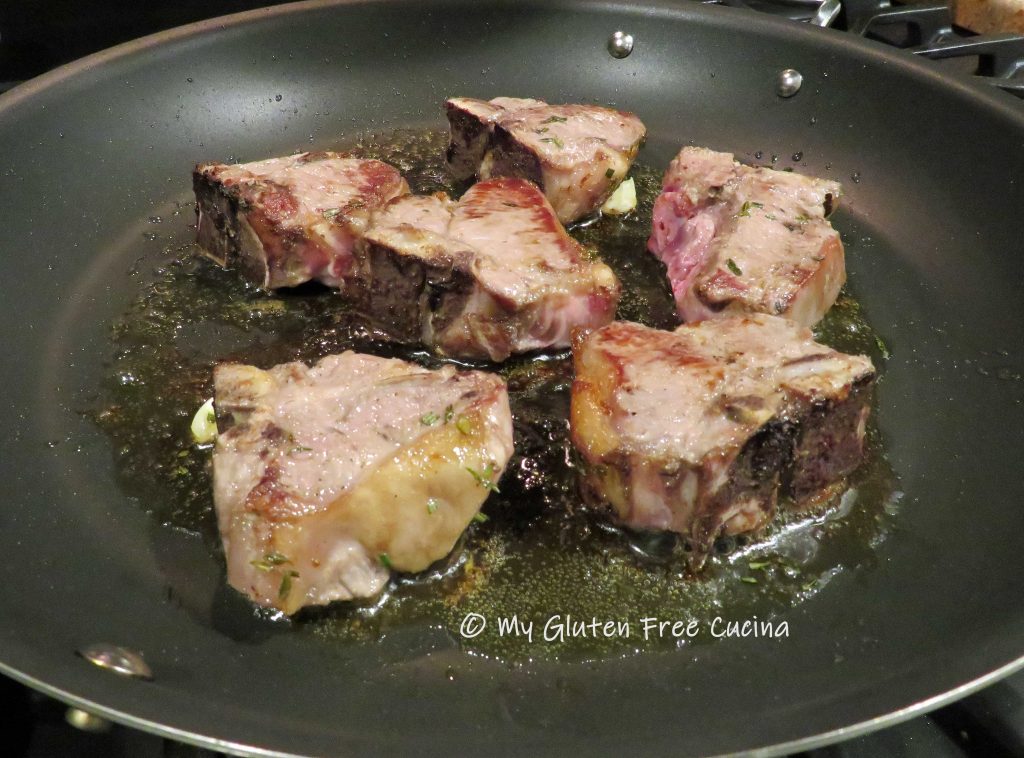
Season the chicken thighs with salt, pepper, Italian seasoning and paprika.

Heat a nonstick skillet with olive oil and add the chicken.  Cook 7 minutes per side, turning once.  Toward the end of cooking add 1/4 cup white wine to the pan and cook several minutes more until mostly evaporated.

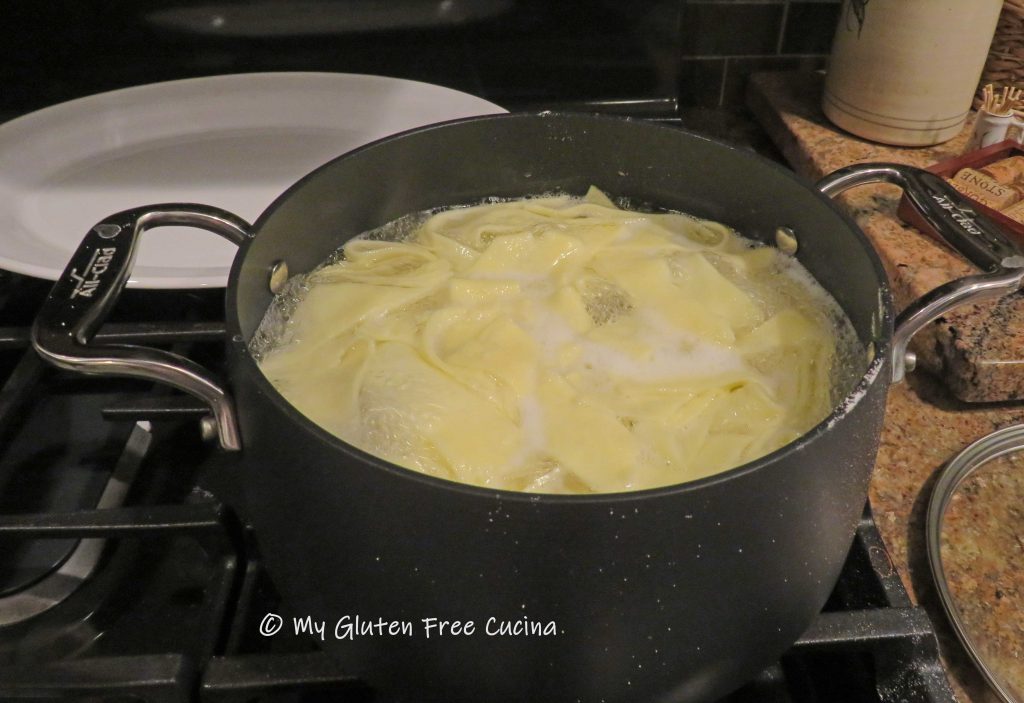
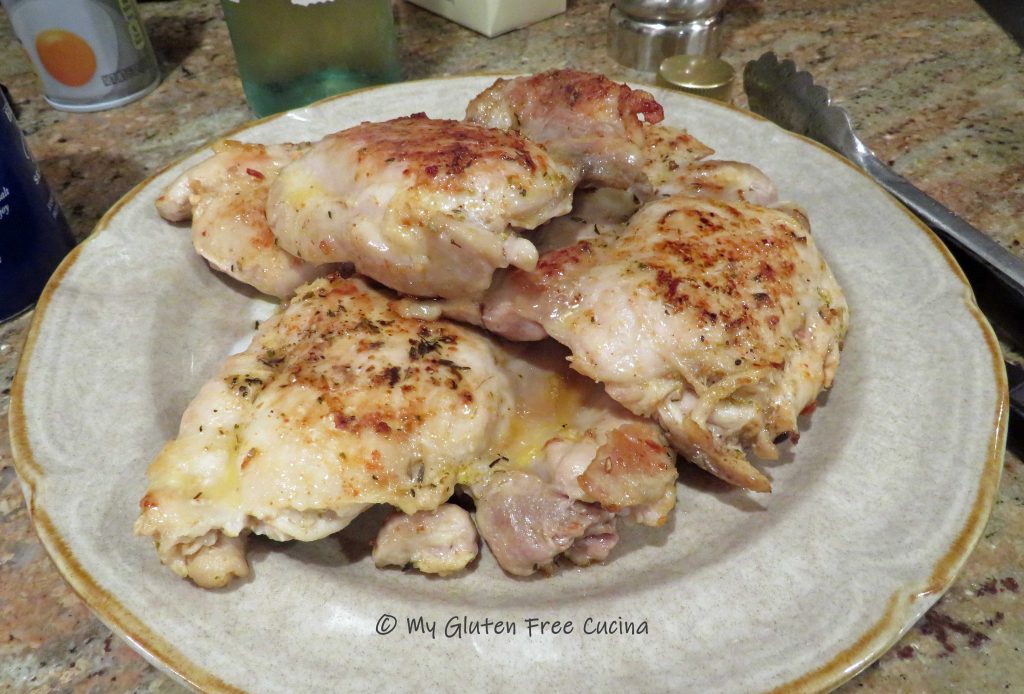
Transfer the chicken to a plate and wipe the skillet clean.  Set up a pot of salted water for the gluten free orzo and cook according to package directions.

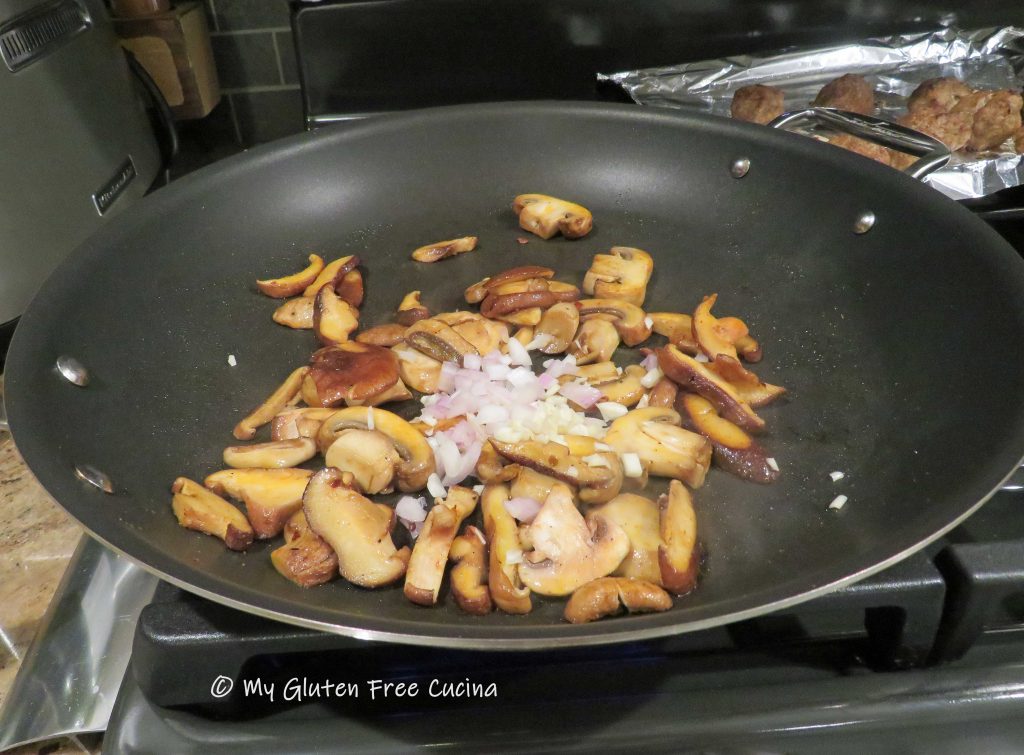
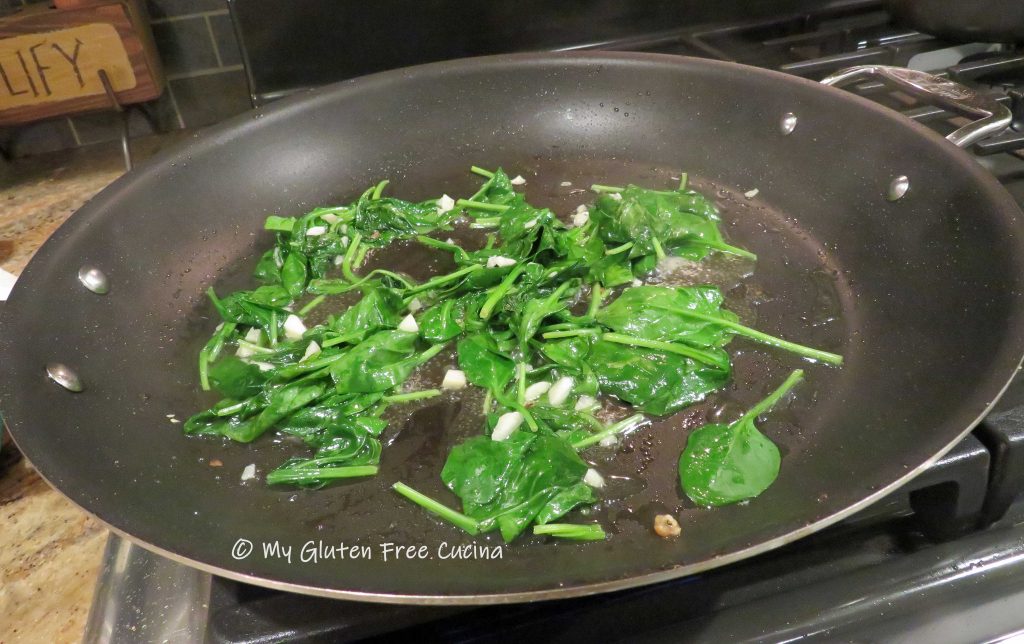
In the skillet, add 1 tbsp. of olive oil, the minced garlic and pinch of red pepper flakes.  Cook just until fragrant (30 seconds) then add 1/4 cup of white wine.  Add the baby spinach and simmer until wilted.  (It looks like a lot of spinach, but don’t be afraid to add it all, it will cook down to nothing!)

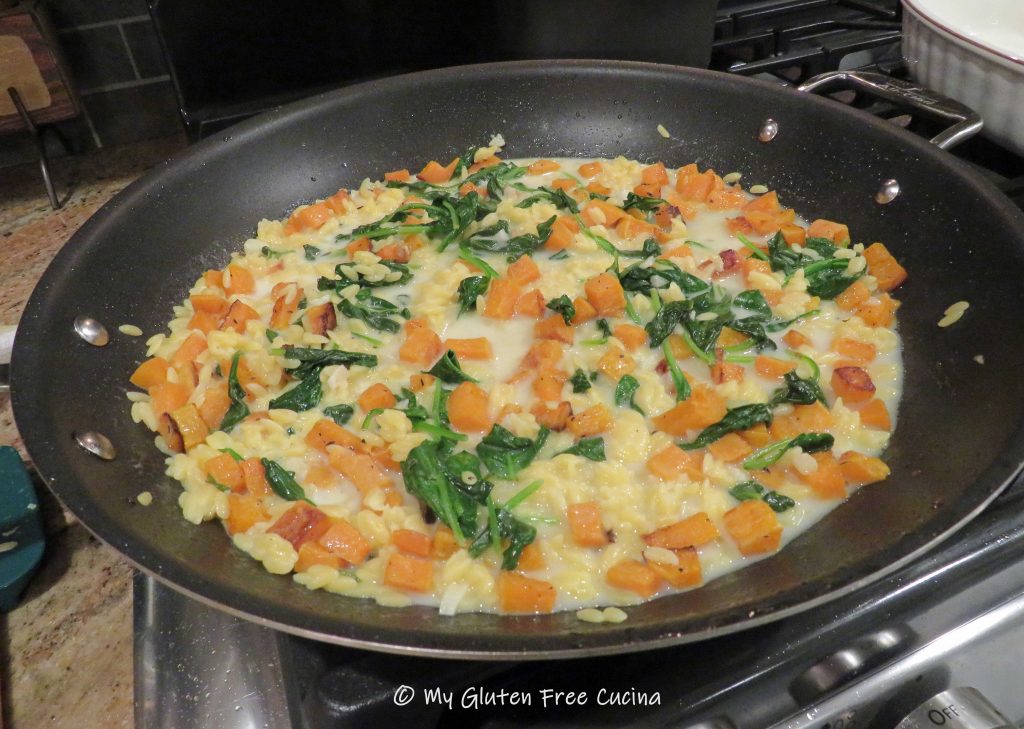
Add the roasted butternut squash back to the pan.

When cooked, drain and rinse the orzo under warm water to remove some of the starch.  Use a fork to break up the orzo if it seems to be sticking together.  Gradually add it to the skillet with the spinach mixture.  Add a pinch of salt, or to taste.

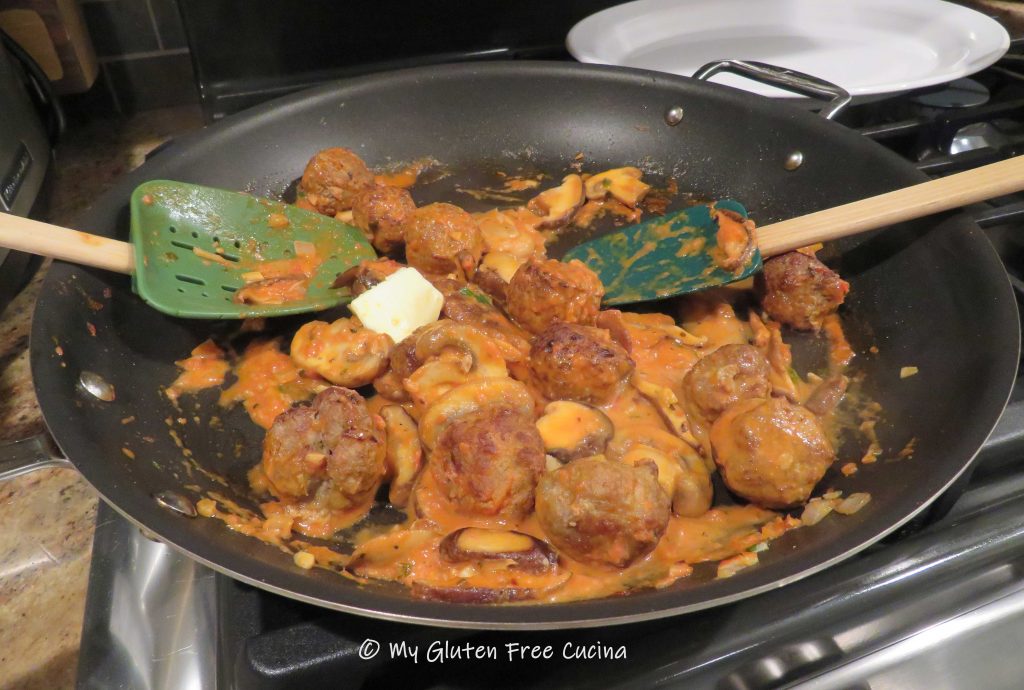
Stir in 1 cup gluten free chicken broth and 2 tbsp. heavy cream.

Simmer several minutes to reduce the liquid slightly, then transfer the mixture to a casserole dish that has been coated with cooking spray.  Arrange the chicken thighs in the casserole, cover with foil and bake 20 minutes at 350º.

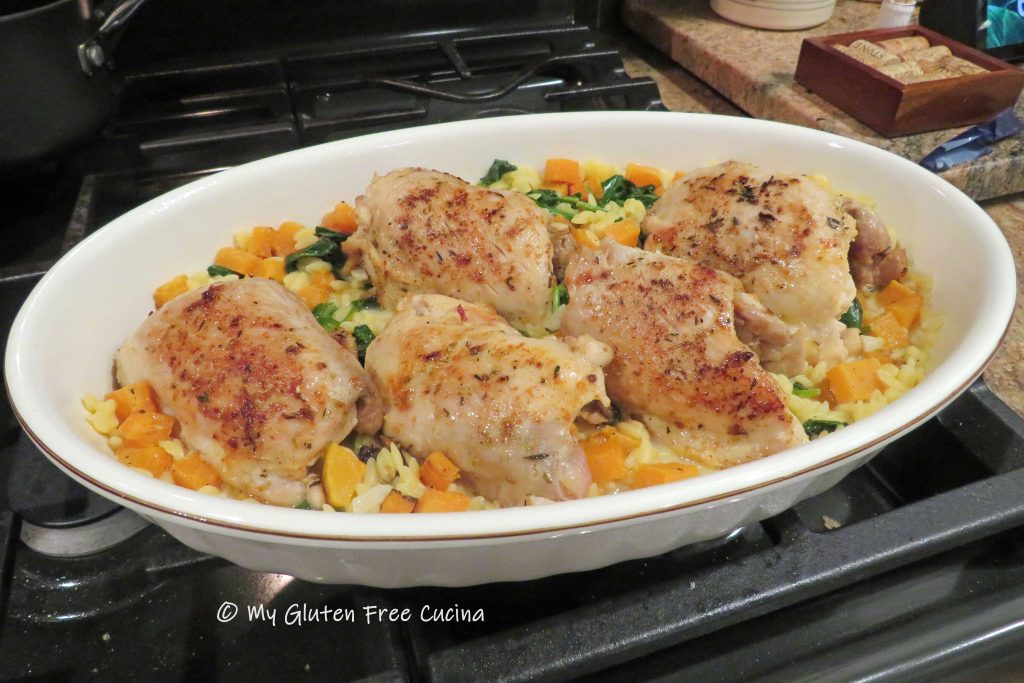
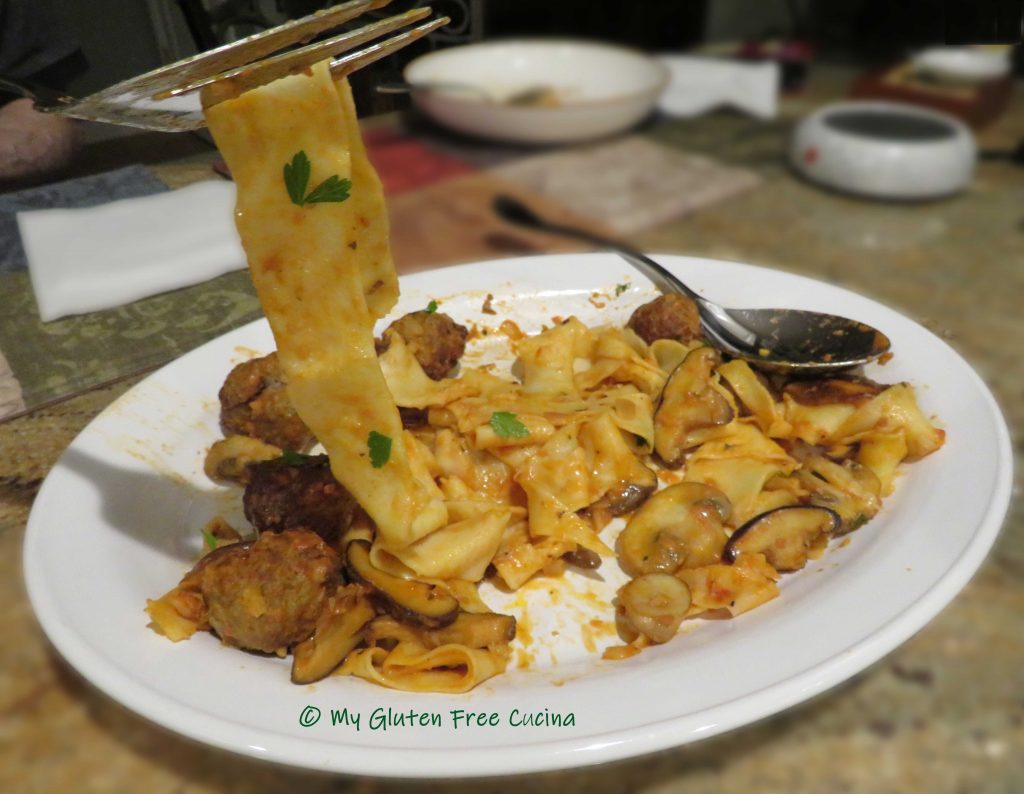
Remove from the oven and garnish with fresh Italian parsley.

Notes ♪♫ Some recipes add the uncooked orzo pasta right into a casserole, but for gluten free pasta I always recommend cooking it separately.  Since some gluten free pasta can be quite gummy, you are able to rinse off some of the starch before adding to your dish.

Print This Post Print This Post


Gluten Free Banana Date Muffins

Say goodbye to those dry, bland tasting gluten free muffins at the grocery store.  These Banana Date Muffins are incredibly moist and hearty, a real stick to your ribs breakfast!

Dates are wonderful for baking, and they give a natural sweetness to these muffins, not to mention a fiber boost.  I also added a little brown sugar substitute to the mix, but you can omit this or use real brown sugar.

This post contains affiliate links.

Ingredients:

Wet Ingredients

Dry Ingredients

280g. Better Batter all-purpose gluten free flour blend (use my Code MGFC30 at checkout for 30% off!)

  • 1 tsp. baking soda
  • 1 tsp. baking powder
  • 1/2 tsp. salt
  • 1 tsp. cinnamon

Other

  • cooking spray
  • 1 tbsp. butter for brushing

Preparation:

Preheat the oven to 400º.  Mist a 12-cup nonstick muffin pan with cooking spray or use paper liners.

Boil water and add the dates.  Cover and remove from heat, then let them soak for 15 minutes.

Melt the butter in a small saucepan.

Whisk together the dry ingredients.  In a separate bowl, whisk together the remaining wet ingredients (eggs, mashed banana, honey, vanilla and brown sugar).

Pour the soaked dates and their water into a blender, food processor or electric chopper.  Puree into a paste, do it in 2 batches if needed.

Combine the pureed dates with the melted butter and cool 10 minutes.

Next combine the date mixture with the other wet ingredients.  Add the dry ingredients to the wet and stir together with a dough whisk just until moistened.

Fill the 12 muffin cups, level to the rim.

For nice, rounded domes, smooth the tops of the muffins with a small spatula.

Bake for 20-22 minutes.  Check that a toothpick inserted in the center comes out clean.

Melt the remaining tbsp. of butter, and brush over the tops of the muffins.  Cool in the pan for 15 minutes.

Remove the muffins and serve warm, or cool on a rack to freeze.

Thaw frozen muffins in the refrigerator.  To reheat microwave for 1 minute.

Notes ♪♫ I used Better Batter Original All Purpose Flour Blend in this recipe (be sure to use my code MGFC30 at checkout for 30% off your non-sale purchase at Better Batter!).  If you are using a different flour blend that does not contain xanthan gum, I recommend adding 1/2 tsp. to the dry ingredients.

Print This Post Print This Post

Lamb Chops

Isn’t it funny how food can bring back a memory?  I hadn’t had lamb chops since I was a little girl, 60+ years ago!  At a very young age though, I remember my grandmother would often make me a single lamb chop for lunch.  It was the perfect size for a picky kid’s appetite!

Today, lamb can be a bit of a splurge, but I will usually buy it when there’s a sale.

When my herb garden is in season, I use just a bit of fresh herbs and seasonings to bring out the natural flavor of these lamb chops.  You can use dried herbs during the winter months.

This post contains affiliate links.

Ingredients:

  • 6 Lamb Chops
  • 2 tbsp. olive oil
  • 1 garlic clove, crushed
  • fresh rosemary
  • fresh thyme
  • salt and pepper
  • 1/4 cup white wine
  • 1 tbsp. butter
  • fresh parsley, for garnish

Preparation:

Pat the pork chops dry and season with salt and pepper.

Heat olive oil in a large nonstick skillet with the fresh thyme and rosemary.

The chops will have fat on one side.  Stand the lamb chops on their side in the pan, with the fat side down and cook 5 minutes to render the fat.

Then lay the chops down, cover and cook 7 minutes on one side.

Turn the chops, cover and cook for 7 minutes longer.  During the last 2 minutes of cooking, uncover and add the wine and butter.

Check with a thermometer that the internal temperature reaches 145º for medium.

Place the chops on a serving dish and drizzle with pan juices.  Finish with fresh parsley.

Notes ♪♫ If you love lamb, check out my Braised Lamb Shanks.  A different cut that lends itself to a slow cooked dinner.

Print This Post Print This Post

Gluten Free Pappardelle with Mushroom Cream Sauce and Veal Meatballs

This plate full of happiness features beautiful ribbons of homemade pappardelle pasta prepared with a tomato mushroom cream sauce.  Tiny veal meatballs complete the dish.

Completely gluten free, I used my favorite, Better Batter Original All Purpose Blend to make the pasta noodles and they were just perfect!  I used my KitchenAid® to roll out the pasta dough and that definitely made the job easier.  You can do it with a rolling pin if you have patience!

This post contains affiliate links.

Dinner for 2

Ingredients:

For the pappardelle

For the Veal Meatballs

  • 1/2 lb. ground veal
  • 1 egg, beaten
  • 1 tsp. minced garlic
  • 2 tbsp. minced shallots
  • 1 tsp. fresh parsley
  • salt and pepper to taste
  • 2 tbsp. gluten free seasoned breadcrumbs
  • 2 tbsp. potato flakes
  • cooking spray

For the Sauce

  • 1 tbsp. olive oil
  • 1/8 tsp. red pepper flakes
  • 3 oz. shitake mushrooms, sliced
  • 5 oz. baby bella mushrooms, sliced
  • 2 tbsp. minced shallots
  • 1/4 tsp. salt
  • 1/4 tsp. pepper
  • 1/8 tsp. garlic powder
  • 1/8 tsp. onion powder
  • 1/8 tsp. paprika
  • 2 tsp. garlic, minced
  • 1 tbsp. fresh Italian parsley, chopped
  • 1/4 cup white wine
  • 2 tbsp. heavy cream
  • 2/3 cup tomato sauce
  • 2 tsp. butter
  • 2 tbsp. grated parmesan

Preparation:

To make the pappardelle, combine 70g. flour with remaining ingredients in the bowl of a stand mixer and beat with the paddle attachment for 5 minutes to form a soft dough.

Bring the dough together and sprinkle with more flour, then wrap in plastic wrap.  Let the dough rest for 15 minutes.

Divide the dough into 4 sections and work with one piece at a time.  Begin feeding it through the pasta roller, starting with the thickest setting.  Pass it through several times, then begin increasing the roller setting each time until you have a sheet that is thin without tearing the dough.  For pappardelle, this would be setting 3 or 4 on a KitchenAid pasta roller attachment.  Repeat with each section and lay the sheets on floured wax paper.

Note: For a full tutorial on how to make pappardelle refer to this post!

When you have completed rolling the 4 sheets, cut them into 3/4″ ribbons.   Hang them up to dry on a pasta drying rack.

To make the meatballs, combine all ingredients in a bowl and mix well with your hands.

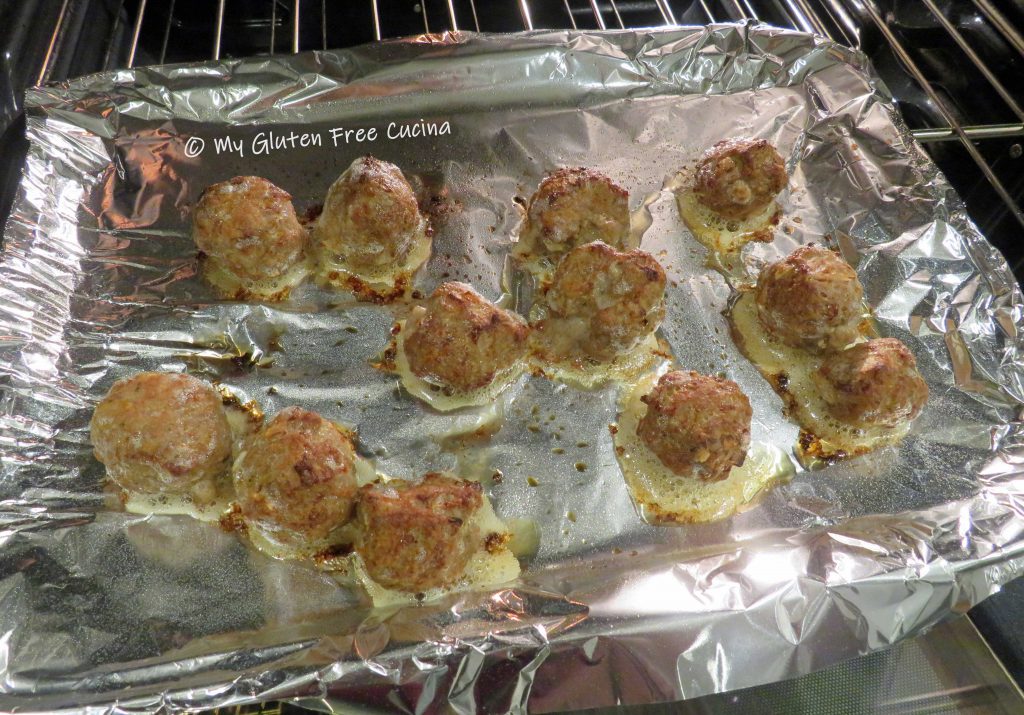
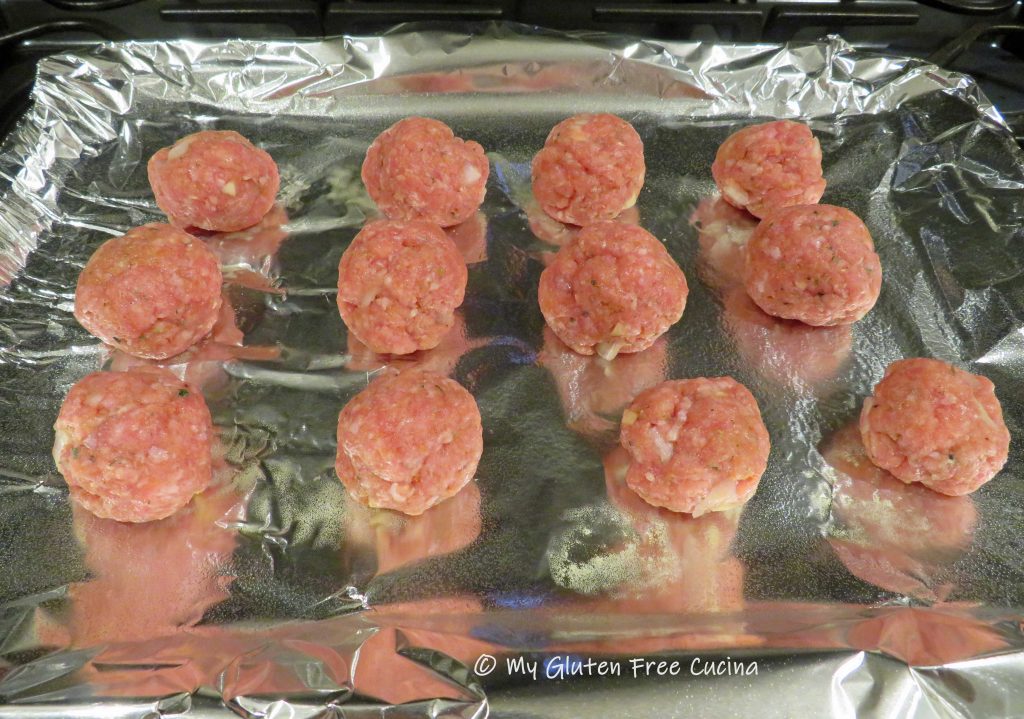
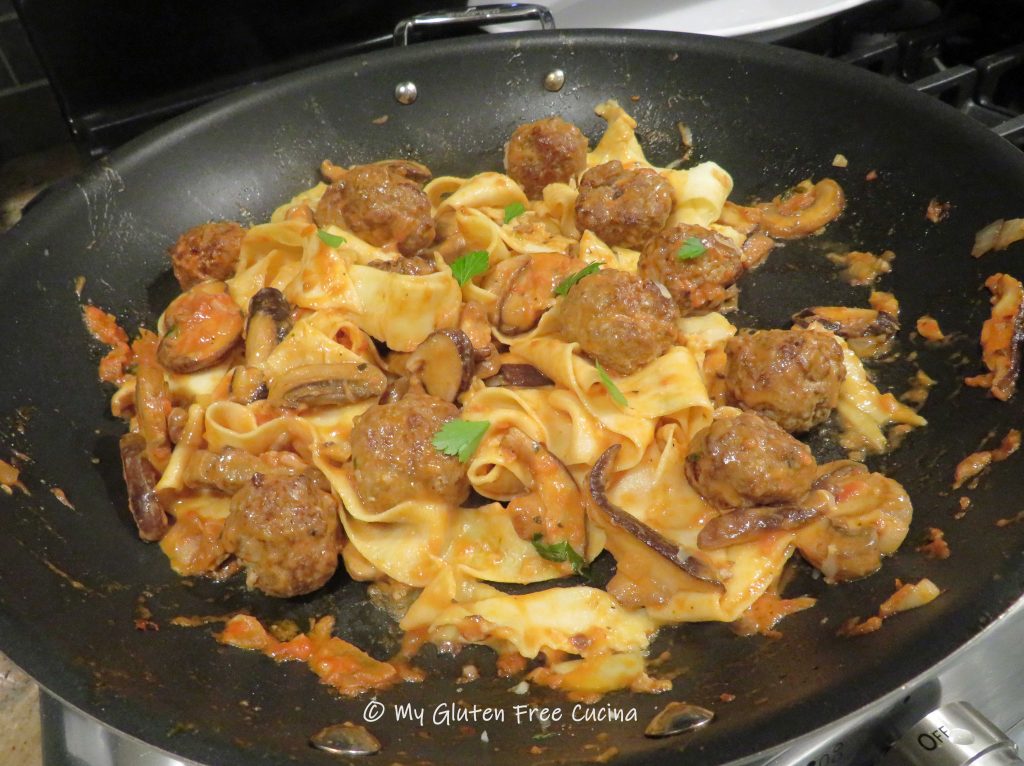
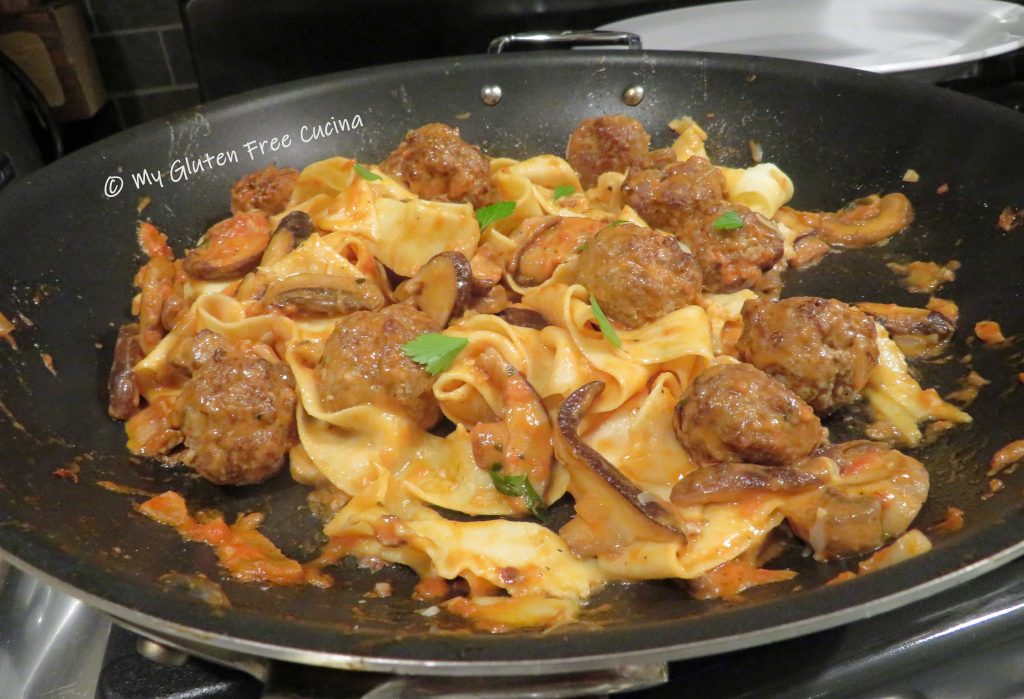
Line a baking sheet with foil and mist with cooking spray.  Form 12 small meatballs and arrange on the baking sheet, leaving space in between.

Broil 4 minutes per side, 8 minutes total.  Remove from the oven and set aside.  Set up a pot of salted water for the pasta and bring to a rolling boil.

Now, to put it all together make the sauce.  In a large nonstick skillet over medium low heat, add the olive oil and red pepper flakes.  Add the mushrooms and shallots, season and stir frequently until they begin to release their liquid.

Add the garlic and parsley then add the white wine.

Allow the wine to reduce for 2 minutes then stir in heavy cream.

Finally add the tomato sauce and the veal meatballs with 2 tsp. butter.

Add the pasta to the boiling water and cook for 3 minutes.  You can add a ladle of the pasta water to the sauce if it appears dry.

Use tongs to carefully remove the pappardelle from the water and add to the sauce.  Add another pat of butter and stir in the parmesan cheese.

Carefully fold everything together until cheese is completely melted.

Transfer to a serving platter and garnish with Italian parsley.

Notes ♪♫ Gluten free dough can be so temperamental.  It does tend to stick and tear.  For best results keep the dough and the roller lightly dusted with flour as you work.  I was thrilled to get my pasta sheets to setting #4 on my KitchenAid®, this was an ideal thickness for the pappardelle noodles.  Try to get to at least the third setting, and don’t worry if you have a few tears and odd shaped noodles, they will still be delicious!

Print This Post Print This Post

Pork Chops with Apples and Cipollini Onions

Have you tried Cipollini onions?  Cipolla means onion in Italian, and cipollini are “little onions”.  Milder and sweeter than regular onions, Cipollini can be a flavorful addition to pork and beef dishes.

You may think these little onions are difficult to peel, but here’s a trick!  Simply soak them in water for 30 minutes before you begin prepping the meal.  Those skins will pop right off!  This is an easy dinner for two, and with only one pan required, cleanup is a breeze!

Dinner for two

This post contains affiliate links.

Ingredients:

  • 2 pork chops, 1″ thick, bone in
  • 8 oz. cipollini onions, peeled and trimmed
  • 1 apple, peeled and sliced
  • 1/2 cup of 1% milk
  • 1/2 cup of white wine (NOT cooking wine!)
  • 1/2 cup gluten free seasoned breadcrumbs
  • salt and pepper
  • 2 tbsp. olive oil
  • 1 tbsp. butter

 Preparation:

Soak the Cipollini onions in water for 30 minutes.  Be sure they are submerged.  At the same time, tenderize the pork chops by placing them in a non-reactive dish with 1/2 cup milk for 30 minutes, turning once.  Season with salt and pepper.

After soaking for 30 minutes, peel and trim the onions.

Heat a large nonstick skillet with the olive oil and butter.  Season the Cipollini with salt and pepper and cook on medium low heat for 8-10 minutes, turning every few minutes.

Here you can see the onions are partially cooked and starting to get some color.  At this point push them to the side, to make room for the pork chops.

Take each pork chop, shake off the excess milk and dredge in the breadcrumbs.  Add the pork chops to the center of the pan, cover and cook 4 minutes.

Turn the pork chops, add the apples to the pan along with the wine, then cover and cook for an additional 4 minutes.  Remove the cover and allow any remaining liquid to evaporate, then transfer to a serving platter.

I served them with a side of white rice.

Notes ♪♫ I used Aleia’s gluten free Italian breadcrumbs in this recipe.  They are so delicious, the closest I have found in taste and texture to regular Italian breadcrumbs.  Everyone in your family will love them, gluten free or not!

Originally published 02/10/2020           Updated 01/02/2023

Print This Post Print This Post