Gluten Free Caramelized Onion Focaccia

It seems like a lifetime ago.  In fact, it was over 20 years ago that I was a card-carrying member of the Cooking Club of America (anyone else?).  I had all the gadgets, the refrigerator magnets, and of course the magazine Cooking Pleasures.  I started making this focaccia bread, which appeared in the February-March 2000 issue for family get-togethers, and it quickly became my go-to for everything from dinners to parties to potlucks at the office.  Everyone loved it!

Today the club and the magazine are sadly, no more.  The recipe, long ago crumpled into a folder had been abandoned since my Celiac diagnosis.

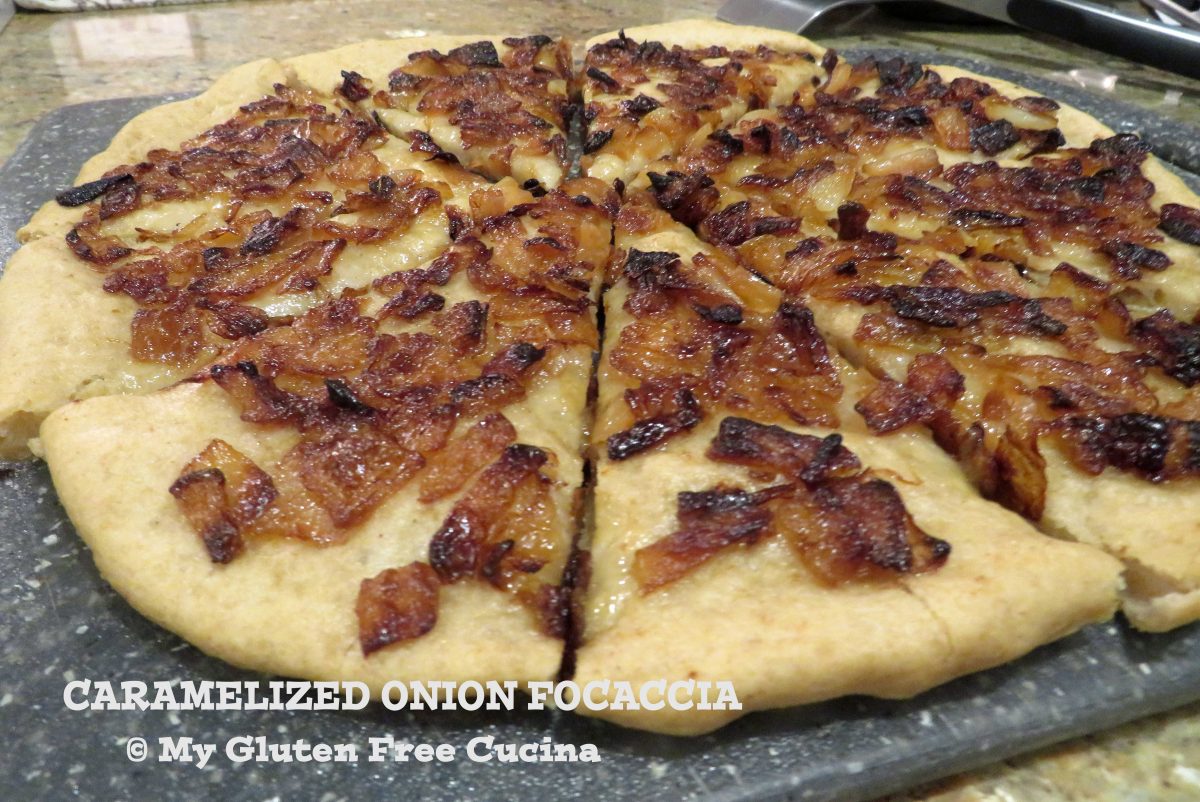
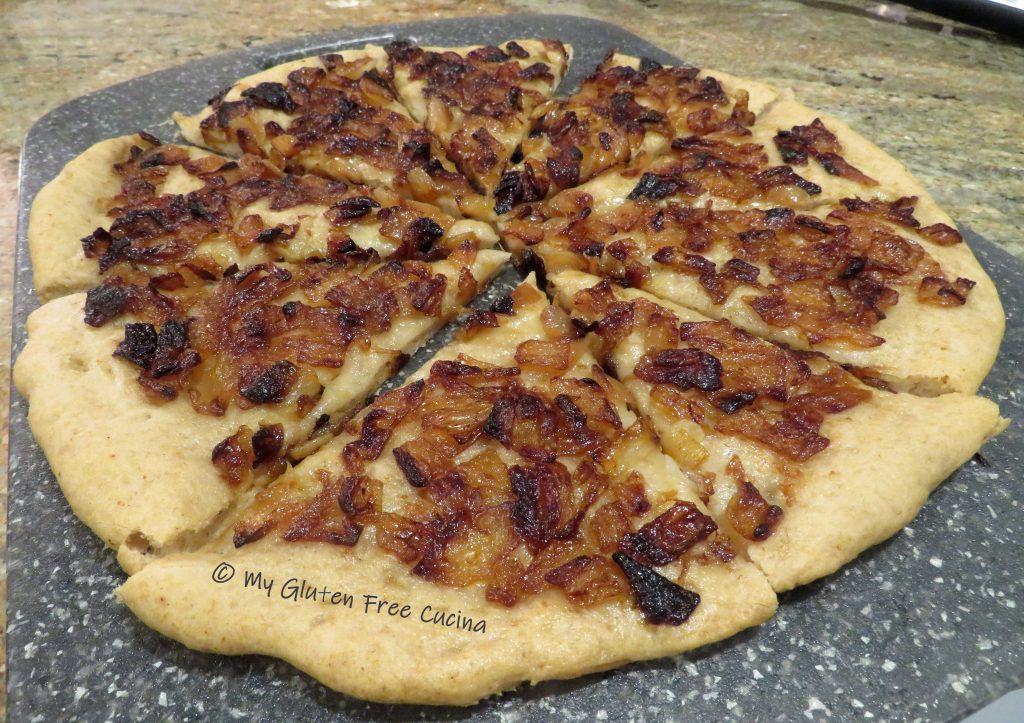
Something made me think of it the other day, maybe the upcoming holidays or just reminiscing about things I used to bake.  So, I decided to dig out the recipe and try adapting it to be gluten free.  How did it come out?  Take a look!

Inspired by Cooking Pleasures Magazine, February-March 2000 issue

Note ♫ I used, and highly recommend Better Batter Artisan Flour Blend for this recipe.  This is my favorite gluten free flour blend for making breads and pizza, try it and I promise you will not be disappointed!

***** CLICK HERE — Be sure to use my code MGFC30 at checkout for 30% off your non-sale purchase of Better Batter *****

This post contains affiliate links.

Ingredients:

Preparation:

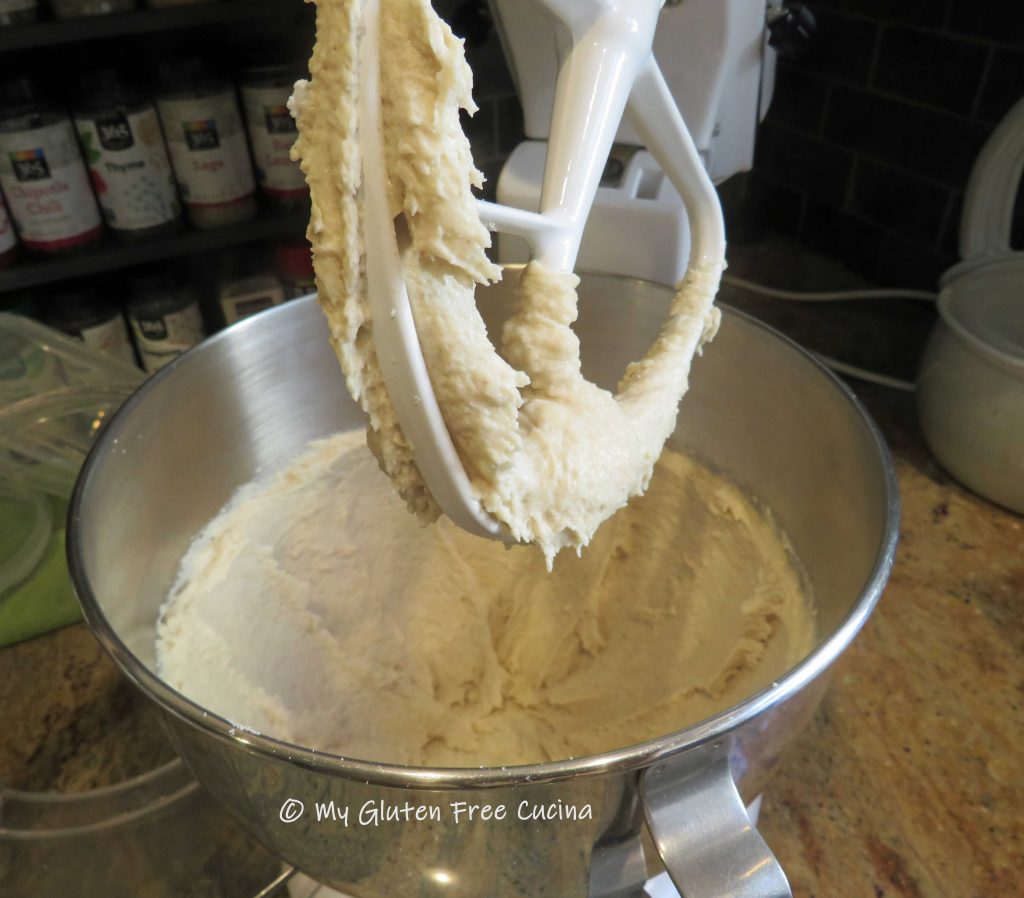
Combine water and yeast in the bowl of your stand mixer and give it about 10 minutes to activate.  Whisk together the flour and salt and add to the yeast mixture along with 2 tbsp. olive oil.  Mix with the paddle attachment for 8 minutes.

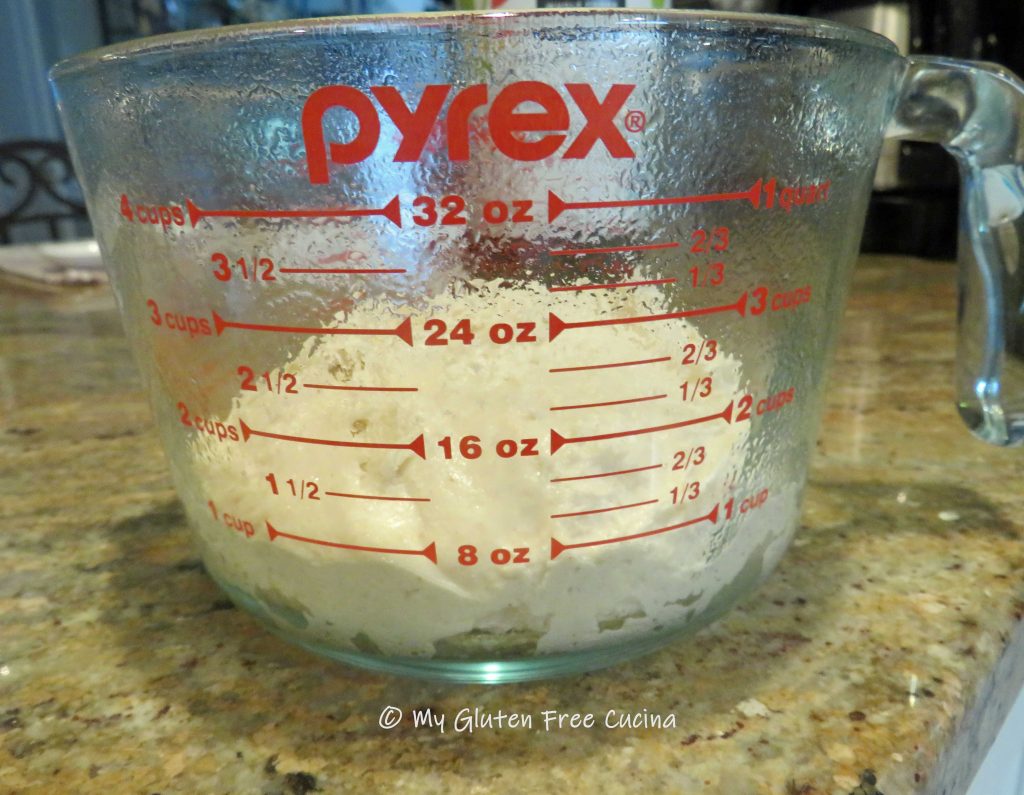
Transfer the dough to a greased bowl and refrigerate for one hour.

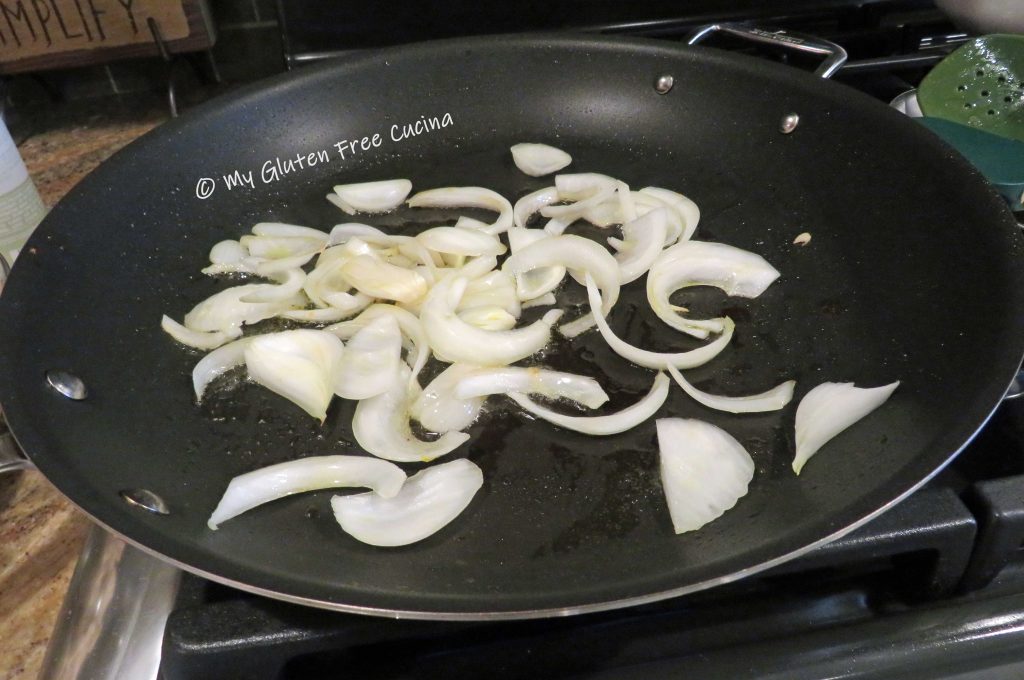
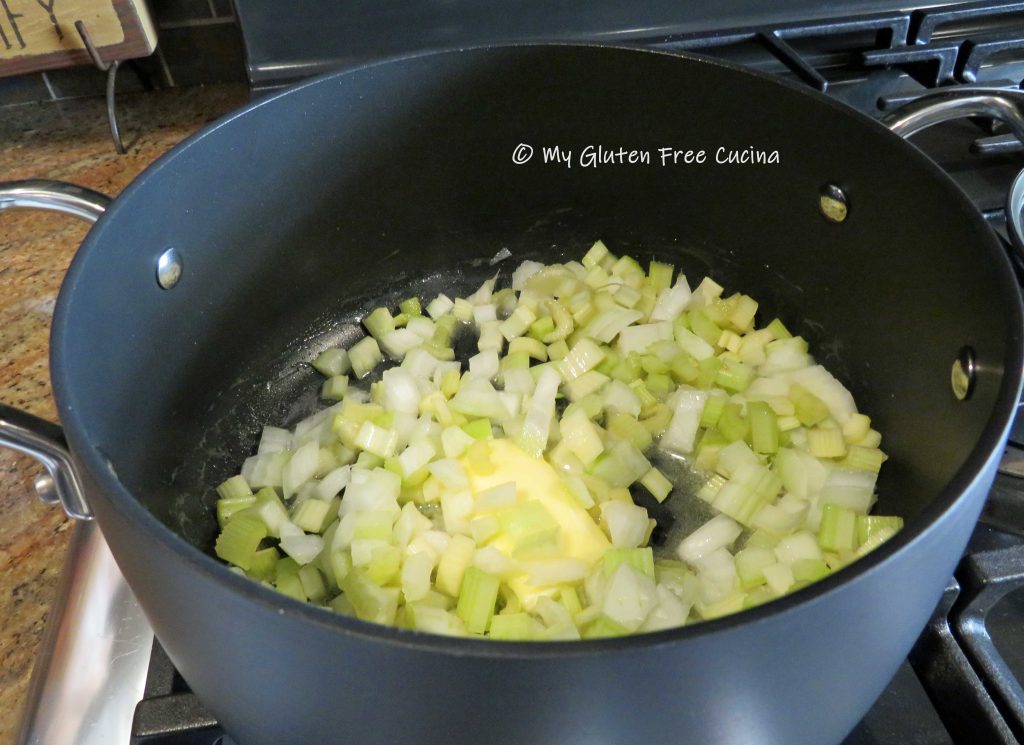
While the dough rests, make the caramelized onions.  Use a heavy skillet, covered braising pan or Dutch oven.  Over medium heat, add 2 tbsp. butter, 1 tbsp. olive oil and all of the onions.  As the butter melts, stir to coat the onions.  Cover and cook over medium low for 20 to 25 minutes or until the onions are translucent.  Then uncover, continue cooking over medium-low heat for 30 to 40 minutes or until onions are golden brown, stirring frequently.  Set aside to cool.

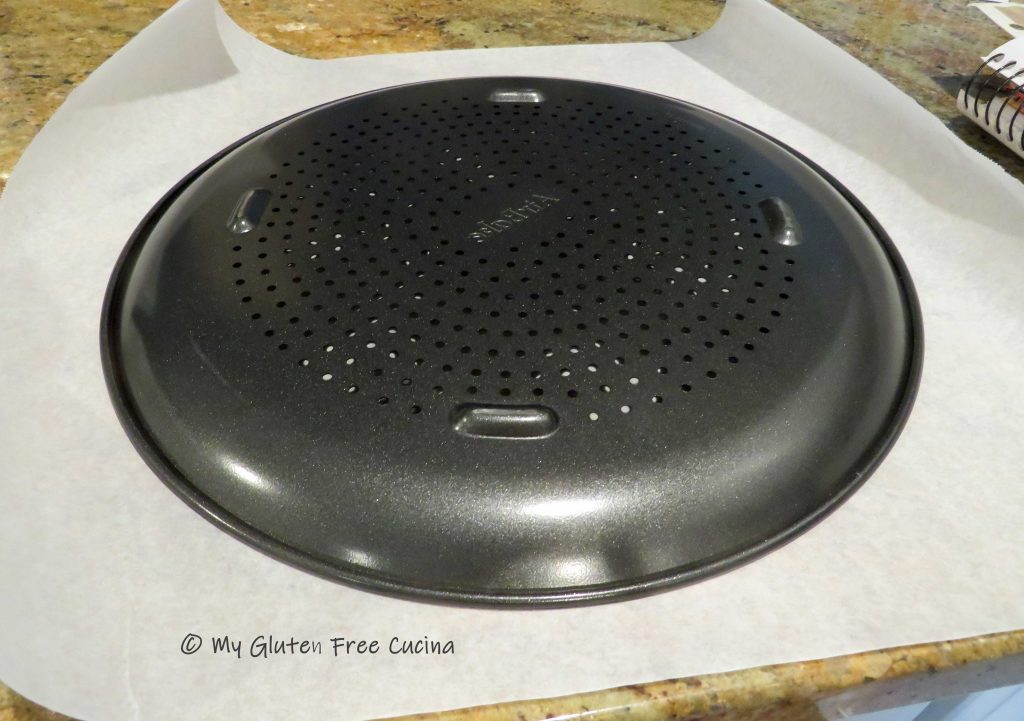
Place a pizza stone in the oven and preheat to 425º.  Cut a piece of parchment to fit a perforated 16″ pizza pan.

Hint: Trace your pan onto the parchment paper and cut for the perfect fit.

Mist the parchment with cooking spray and roll the dough into a round.  Slide it onto the pizza pan, cover with oiled plastic wrap and let it rest at room temperature for 30 minutes.

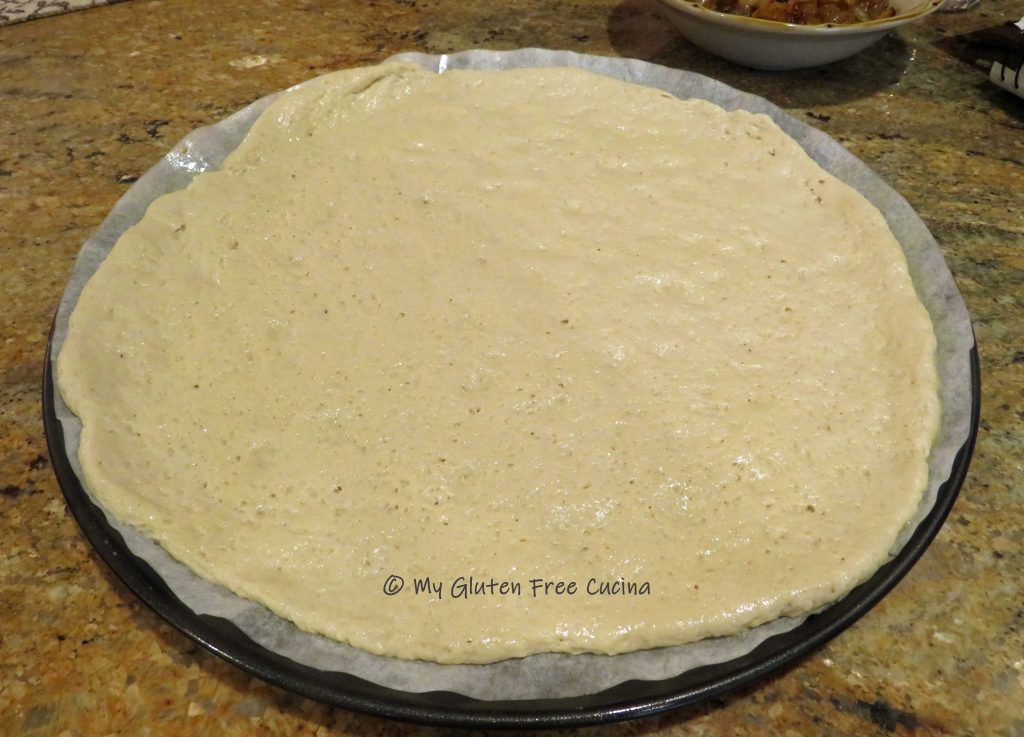
Create dimples by pushing down the dough with your fingertips.  Spread the caramelized onions evenly over the dough and brush the edges with olive oil.

Place the pizza pan in the oven on top of the baking stone.  Bake for 25 minutes total.  During the last 10 minutes carefully slide the pizza out of the pan, remove the parchment and finish baking directly on the pizza stone.

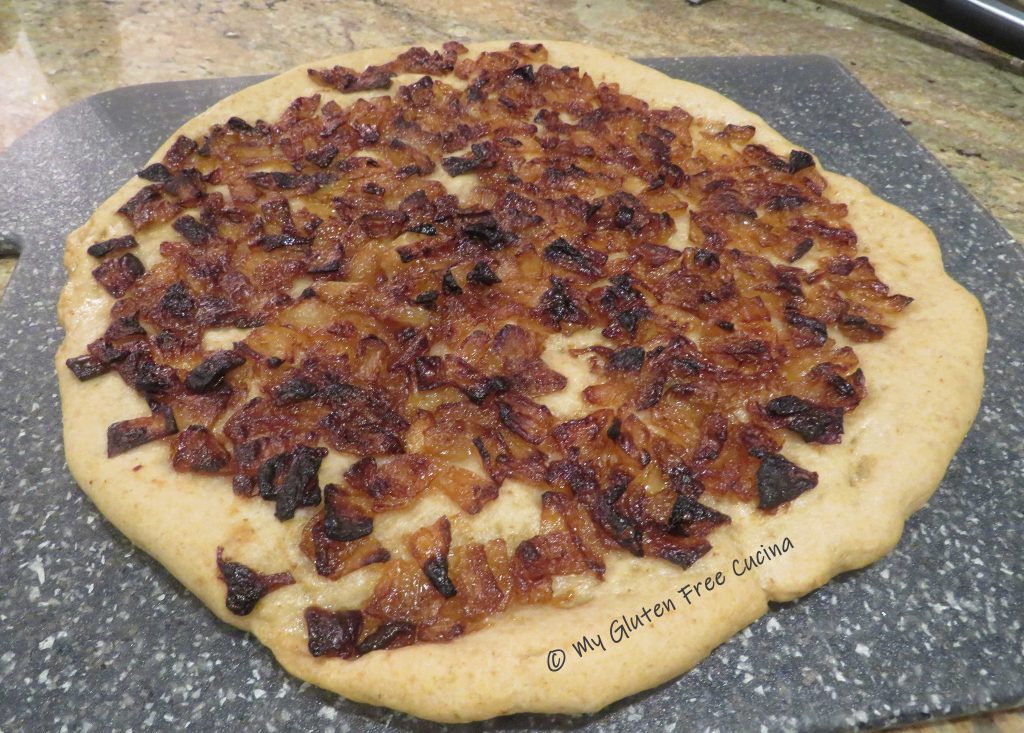
This is it, the minute you cut into the focaccia and hear that crunch!  Cut into wedges and serve.

Notes ♪♫ Caramelizing the onions is time consuming, but so worth it.  Take your time, and don’t rush the process.  Use a good heavy pan and stir, stir, stir- don’t walk away!  You will be rewarded with the most delicious decadent topping for this amazing focaccia.

Print This Post Print This Post

Gluten Free Chicken Chow Mein

Chicken Chow Mein, that most popular of takeout meals was my first introduction to Chinese American cuisine.

As a kid, my “go-to” takeout order was a combination dinner of Chow Mein, fried rice and an egg roll.  I ordered it every time!  While I have recreated many of my favorite takeout recipes, I can’t even remember the last time I had Chicken Chow Mein.  So why has this one remained on the back burner?

The noodles. 

How could I replicate the crunchy, restaurant style fried noodles that go with Chow Mein?  Traditional Chow Mein noodles are made with wheat.  And while I am a big believer in make from scratch, I just didn’t want to make my own noodles.

Then I discovered this!

I found these Gluten Free Chow Mein Noodles on Amazon, and they were spot on!  Get yours here!

For the connoisseurs out there, this is the East Coast version of Chow Mein, where the stir-fry is served over crispy fried noodles.

This post contains affiliate links.

Ingredients:

Veggies

  • 1/2 sweet onion, cut into 1/4″ slices
  • 6 celery stalks, cut into 1/4″ slices
  • 1 carrot, coarsely grated
  • 1/2 head of green cabbage, shredded
  • 2 cups bean sprouts

Marinade

  • 1 tbsp. sesame oil
  • 1 tbsp. minced fresh ginger
  • 1 tbsp. minced garlic
  • black pepper, to taste

Sauce

  • 1/2 cup gluten free chicken broth
  • 3 tbsp. gluten free oyster sauce
  • 1 tbsp. gluten free soy sauce (tamari)
  • 2 tsp. corn starch
  • 1 tsp. sugar

Chicken

  • 1 lb. boneless chicken breast
  • olive oil
  • sesame oil
  • gluten free chow mein noodles

Preparation:

Let’s break down the recipe into four easy steps.  Ready?

  1. Prep the veggies
  2. Marinate the chicken
  3. Make the sauce
  4. Stir fry the chicken and veggies

First, prep the veggies.  I used a mandoline to slice the onion, cabbage and celery.  A coarse grater was perfect for shredding the carrot.

Next mix together the marinade ingredients.  I used an electric chopper to mince the garlic and ginger.

Slice the chicken breast into thin strips and toss with the marinade.  Cover and refrigerate for 1 hour.

Whisk together the sauce ingredients.

Heat 1 tbsp. olive oil and 1 tsp. sesame oil in a large, nonstick skillet over medium low heat.  Add the chicken and quickly brown on all sides.  It does not have to be cooked through.

Remove the chicken to a bowl and keep warm.  Wipe the skillet clean and add another tbsp. olive oil and 1 tsp. sesame oil.

Add the onion first and stir fry until translucent.

Add the carrot and celery.  Continue cooking for several minutes.

Add the cabbage and toss well to combine.  Cover and cook for about 5 minutes.

Add back the chicken and stir into the veggies.  Make a well in the center and pour in the sauce.

Add the bean sprouts and continue tossing and stirring as the liquid thickens.

Transfer to a serving dish and sprinkle a few noodles over the top!

Serve over Chow Mein noodles with a side of white rice.

Notes ♪♫ My gluten eating family loved this meal!  The Chow Mein noodles are the bomb, and they are great with salads too!  I will definitely be adding this meal to our dinner rotation.

Print This Post Print This Post

Gluten Free Mushroom Soup

Homemade Mushroom Soup is always my first soup of the season.  An annual tradition signaling the end of summer, I make a pot right after Labor Day as our thoughts turn to cooler weather and comfort food.

This soup is the foundation for so many of my favorite winter stews and casseroles.  I keep some on hand in my freezer pantry, for those recipes that call for “a can of”.

Turmeric and saffron give this soup its beautiful golden color!  The recipe is so fast and easy, you can make a batch in under an hour.  I use a combination of mushrooms, such as white button, cremini and shitake. 

You can finish with cream for a Cream of Mushroom soup that is better than any canned.  Puree the soup or leave it chunky, your choice.  It freezes beautifully so make some now to have ready for the holidays!

This post contains affiliate links.

Ingredients: 

 Preparation: 

Whether you slice the mushrooms yourself or buy them pre-sliced, you will need to give them a good rinse.

Melt butter in a Dutch oven or 4-Quart soup pot.  Sauté the onions and celery in the butter until translucent.

Add all the mushrooms to the pot. 

Continue cooking over medium heat until the mushrooms release their liquid.

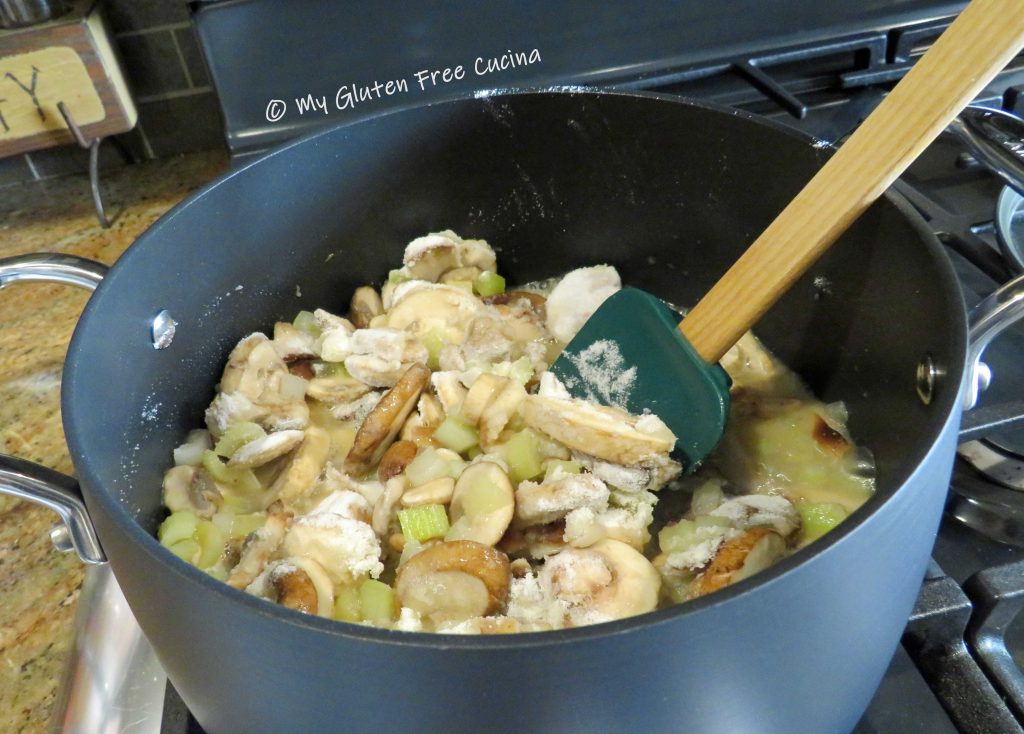
Have the chicken broth ready and stir in the flour.  It will immediately begin to thicken. 

Slowly stream in the chicken broth, stirring constantly so the flour doesn’t clump.  Add the salt, pepper, turmeric and saffron. 

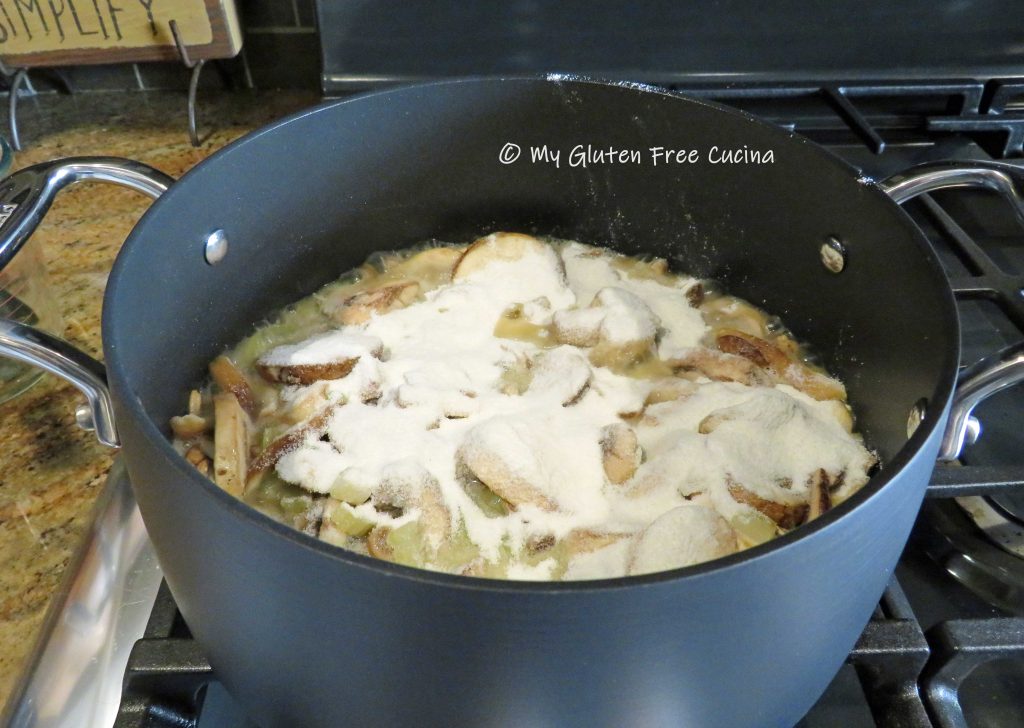
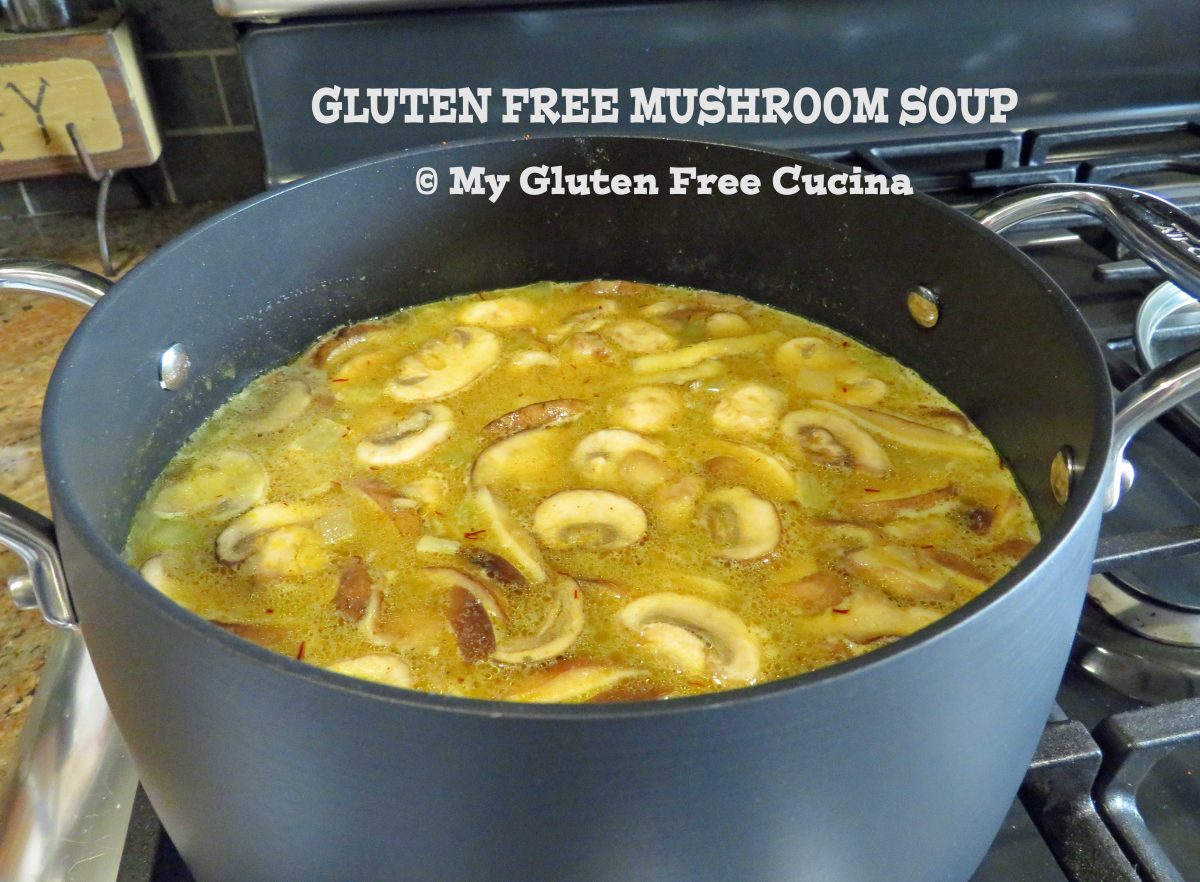
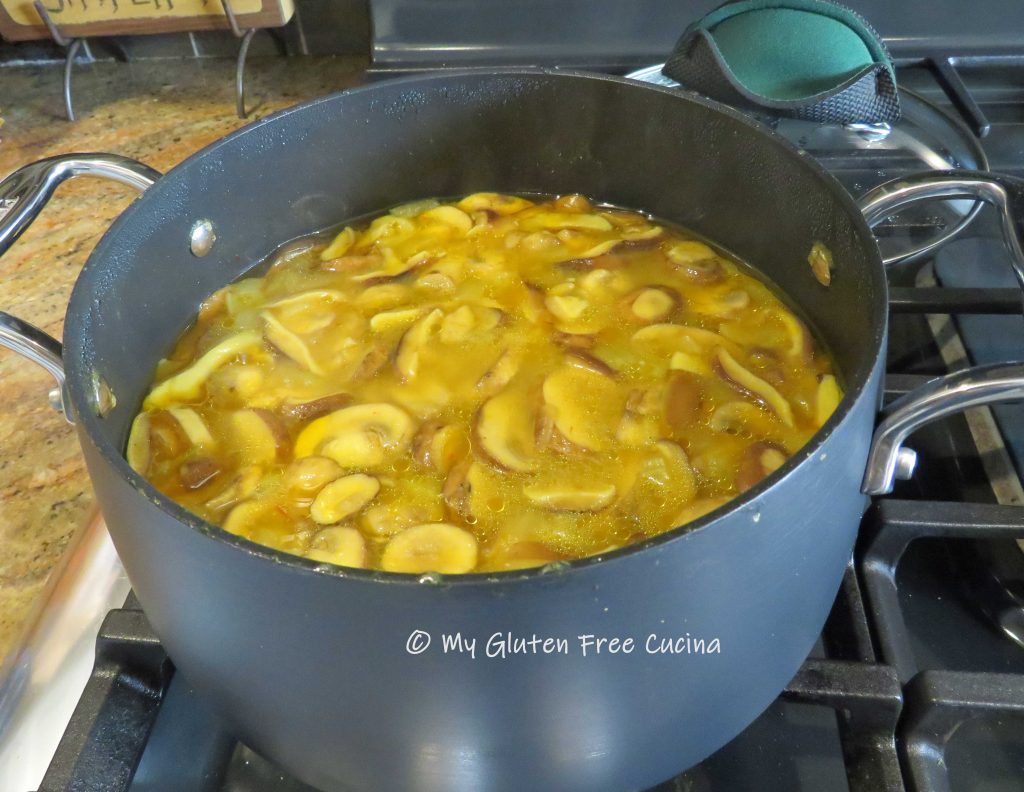
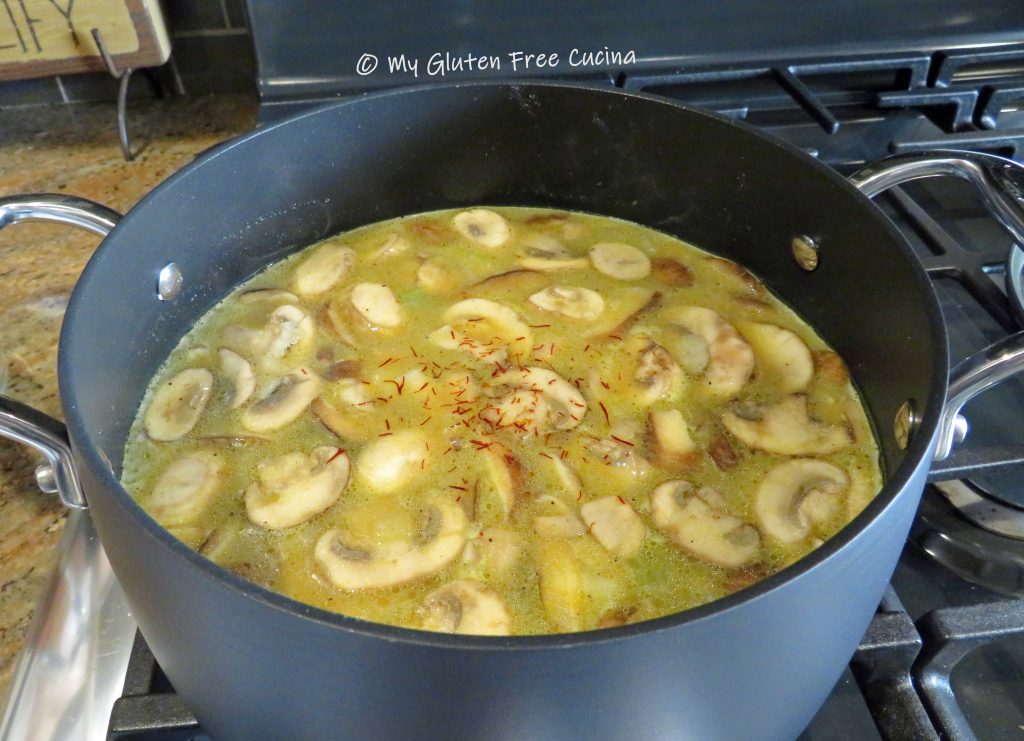
Simmer 15 minutes then remove from heat.  Soup can be prepared ahead and frozen up to this point.

Here it is after cooling down for an hour or so.

I ladle the soup into freezer containers, about 1-1/2 cups each.

Notes ♪♫ If you plan to freeze the soup, I recommend not adding cream at this point.  For Cream of Mushroom Soup, drizzle in cream or half and half just before serving.

Print This Post Print This Post

Gluten Free Baked Penne

Today’s hearty baked pasta dish is pure comfort food!  A great choice for a potluck or casual family dinner, everyone will want to dig into this tasty casserole.  I use a combination of gruyere cheese with its superb melting qualities and parmesan cheese in the topping for a crispy contrast.  I sneak a few healthy veggies into the mix for even more flavor and texture.  Who’s hungry?

This post contains affiliate links.

Ingredients:

  • 1/2 cup grated Gruyere cheese
  • 1 cup grated Parmesan cheese, divided
  • 1/2 sweet onion, cut into large dice
  • 6 cremini mushrooms, sliced
  • 1/2 small zucchini 1/2″ dice
  • 2 garlic cloves, minced
  • olive oil
  • 8 oz. ground beef
  • 8 oz. ground veal
  • 3/4 tsp. Tuscan seasoning, divided
  • 2 tbsp. tomato paste
  • 2 cups tomato sauce
  • 1/2 tsp. sugar
  • 1/2 tsp. oregano
  • 1 tsp. basil
  • 8 oz. gluten free penne
  • cooking spray
  • 1/3 cup gluten free seasoned breadcrumbs
  • Italian parsley for garnish

Preparation:

Grate the cheese and set aside.  Add olive oil to a large nonstick skillet over medium low heat.  Cook the onions until they are translucent, then add the mushrooms, zucchini and garlic.  Sprinkle with 1/2 tsp. Tuscan seasoning.  Remove from the pan and set aside to drain in a colander to remove excess liquid.

In the same pan, add more olive oil along with the ground beef and ground veal.  Season with 1/4 tsp. Tuscan seasoning.

Break up the meat with a spatula and stir until completely browned.  Clear a space in the center of the pan and add the tomato paste.

Let it toast for 1 minute then stir it into the browned meat.

Add the tomato sauce, sugar, oregano and basil.  Cover and bring to a low simmer for 10 minutes.

Heat water for the pasta and cook according to package directions.  Stir the cooked and drained veggies into the meat sauce.

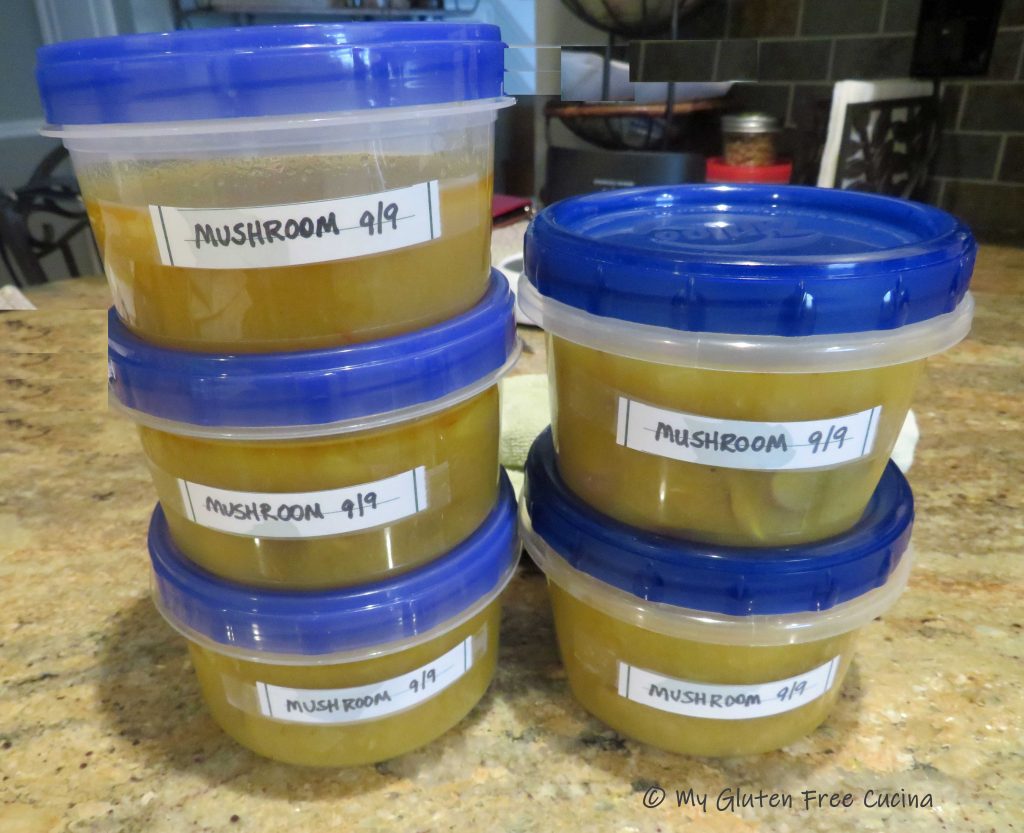
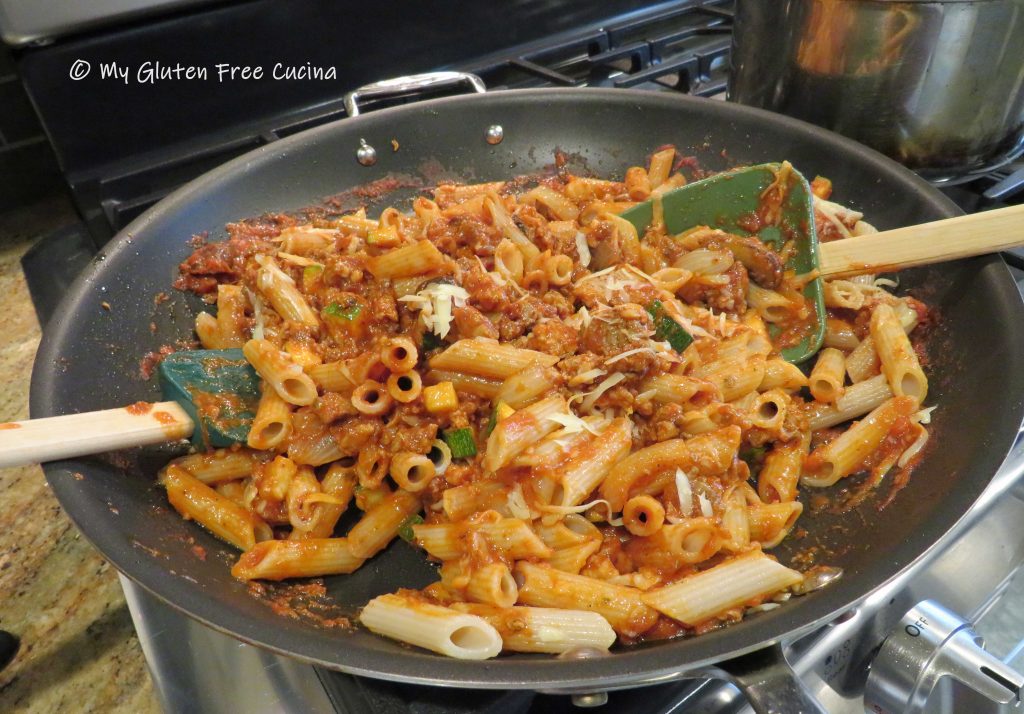
Drain the pasta and add to the pan with 1/2 cup gruyere cheese.  Toss to combine.

Mist a casserole dish with cooking spray and fill with the pasta and sauce mixture.  Drizzle the top with olive oil and top with 1/3 cup breadcrumbs and 1/3 cup parmesan cheese.

Cover with foil and bake for 15 minutes at 350º.  Use tongs to carefully remove the foil and broil for 2 minutes to crisp up the top.

Garnish with Italian parsley and bring to the table.  Serve with extra parmesan cheese and marinara sauce.

Notes ♪♫ Not all gluten free pastas are created equal.  I used Jovial Brown Rice Penne in this recipe.  My favorite brand, it holds up especially well in casseroles, where even after boiling and baking it maintains a great al dente consistency.

Print This Post Print This Post


Gluten Free Oatmeal Bread

A word of Caution- This recipe contains oats.

A recent statement from Gluten Free Watchdog states that they cannot currently recommend ANY brand of gluten free oats.

Whether or not you continue to consume oats is a personal choice.  As we await more information, I will preface any recipes that include oats with a link to this important statement from Gluten Free Watchdog, an independent, subscriber-driven gluten-testing organization.  About | Gluten Free Watchdog

***

This bread needs to be in your breakfast rotation!  It is a hearty, dense loaf that toasts up like a dream.  I always have gluten free old fashioned rolled oats (not instant) in my pantry, so when I need oat flour, I can just process a little in my coffee grinder and voila, fresh flour!  This bread is so good, everyone in your family will love it, gluten free or not.

This post contains affiliate links.

The Lazy Gastronome

Ingredients:

Preparation:

Place a pizza stone on the middle shelf of the oven and preheat to 450º.  Line a 9 x 4 x 4″ loaf pan with parchment and mist with cooking spray.

Warm the milk for 30-45 seconds in the microwave.  Add to the bowl of your stand mixer then whisk in the honey and yeast.  Cover and let it proof for 10 minutes.

Whisk in the vinegar and psyllium husk and let the mixture rest for about 5 minutes to thicken.

Whisk together the dry ingredients (sorghum flour through salt).

Add the dry ingredients to the wet and mix with the paddle attachment for 8 minutes to form a thick batter.

Turn the batter out onto a lightly floured cutting board.  It will look like this and have a mashed potato consistency.  Sprinkle a tiny bit of flour over the top and cover with plastic wrap for 5 minutes.

After 5 minutes, the dough will be much more workable so you can roll and shape it into a loaf.  Do not add more flour!  I used a dough scraper to help with handling and shaping.

Hint: Resist the urge to add more flour during shaping, or you may end up with the dreaded tunneling effect!  This happened to me a few times ????

Carefully place the shaped loaf into the prepared pan, cover with plastic wrap and proof for about 30 minutes.

Remove the plastic wrap and mist the top of the bread with water.  Sprinkle rolled oats over the top and mist with water again to help them adhere.

Place in the oven on the preheated pizza stone and bake for 30 minutes.

After 30 minutes, carefully grasp the parchment paper on either side and lift the loaf out of the pan.  Place it directly on the pizza stone, lower the oven temperature to 400º and continue baking for another 30 minutes.  When done, the internal temperature should be 210º.

Remove from the oven and cool in the pan for 5 minutes before placing the loaf on a cooling rack.  Let it cool down for 10 minutes then gently peel off the parchment paper.

This bread needs plenty of time to set, at least 5-6 hours!  Even better, leave it covered at room temperature overnight and slice in the morning.  Resist the urge to cut into it right away, or the bread will be wet and gummy in the center.

Your patience will be rewarded.  Here’s the crumb shot!

Notes ♪♫ I am one of those people with Celiac who is able to tolerate oats.  I realize that not everyone can and that this bread may just not be for you.  If you do consume oats, always be sure to choose brands such as Bakery on Main or Gluten-Free Prairie, produced under a gluten free purity protocol.

Print This Post Print This Post